- contact@scarhandpainting.com


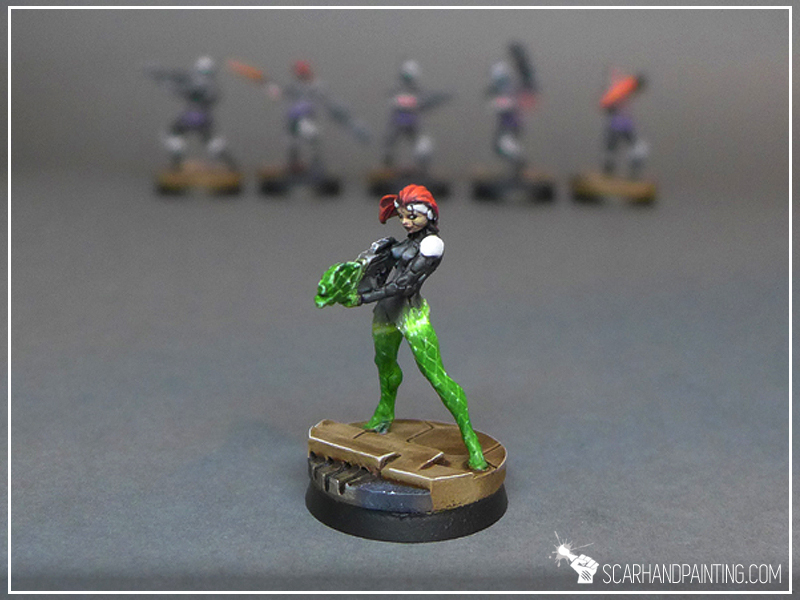
Welcome to Painting Ghosts tutorial. Here I will present to you a Step-by-step of fast and easy painting Ghosts process.
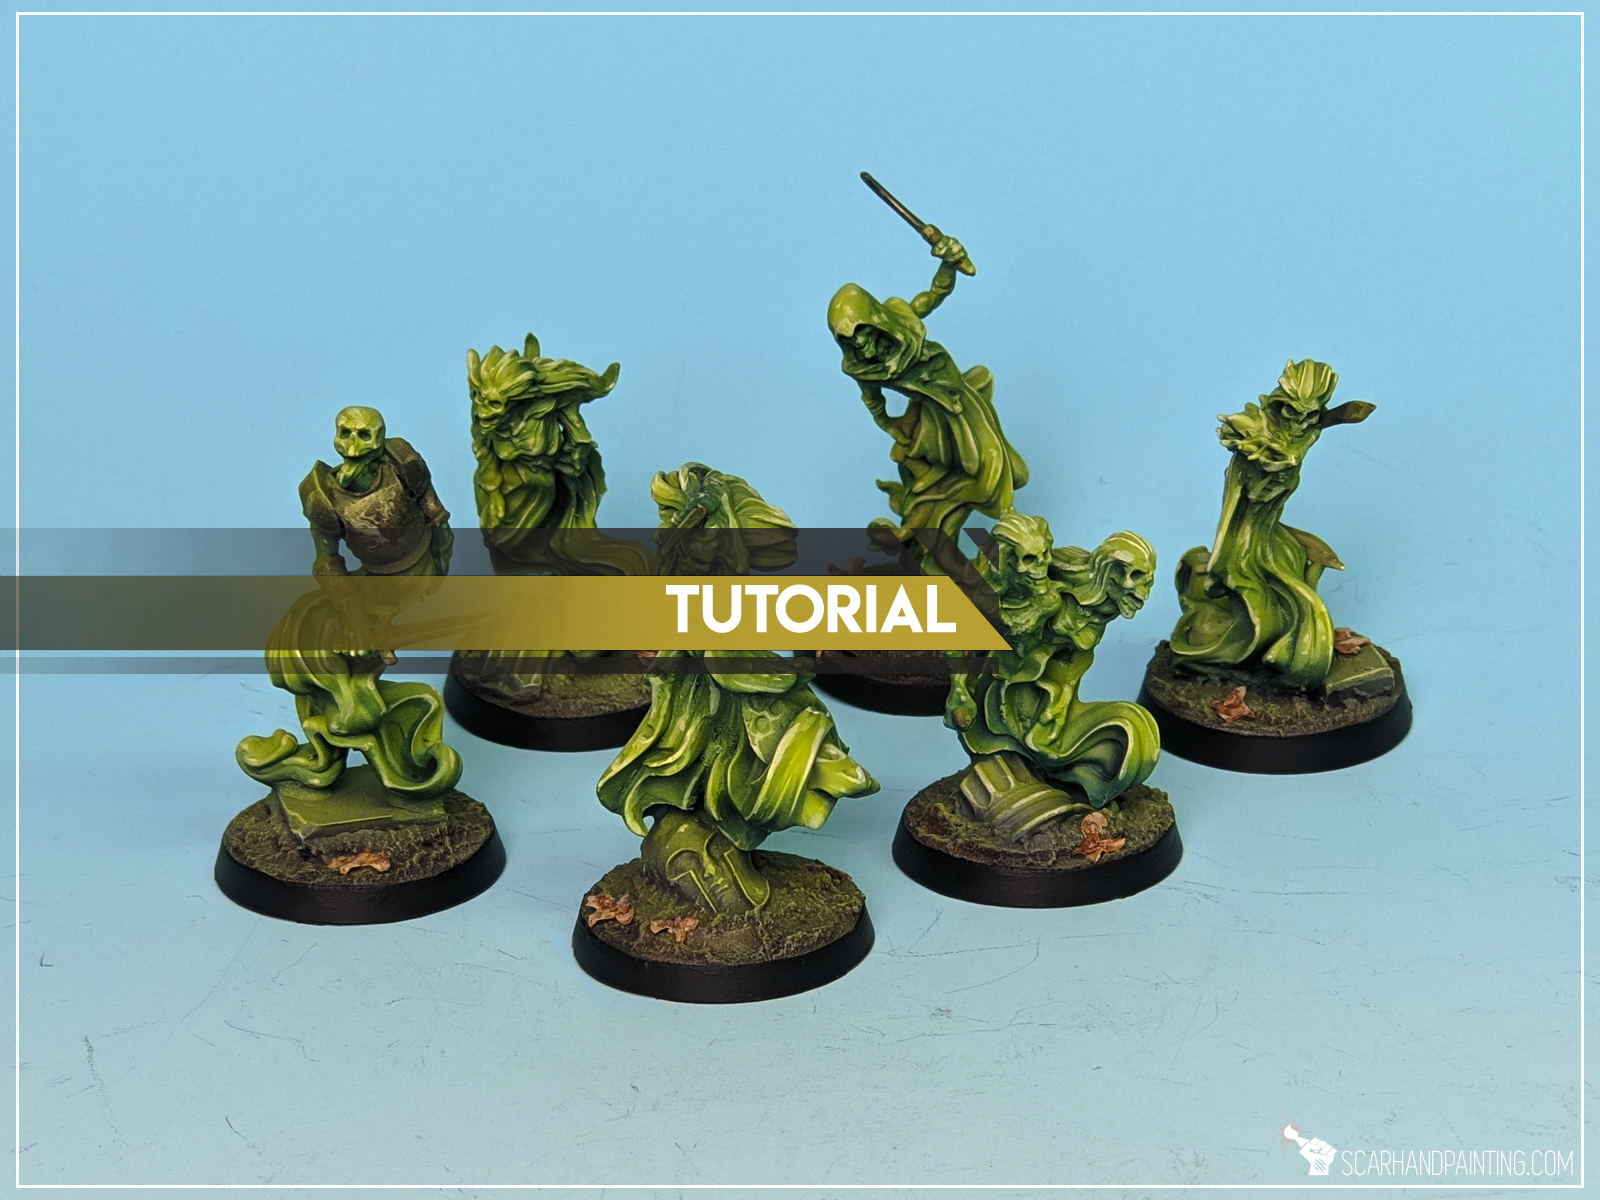
Before we start, some notes:

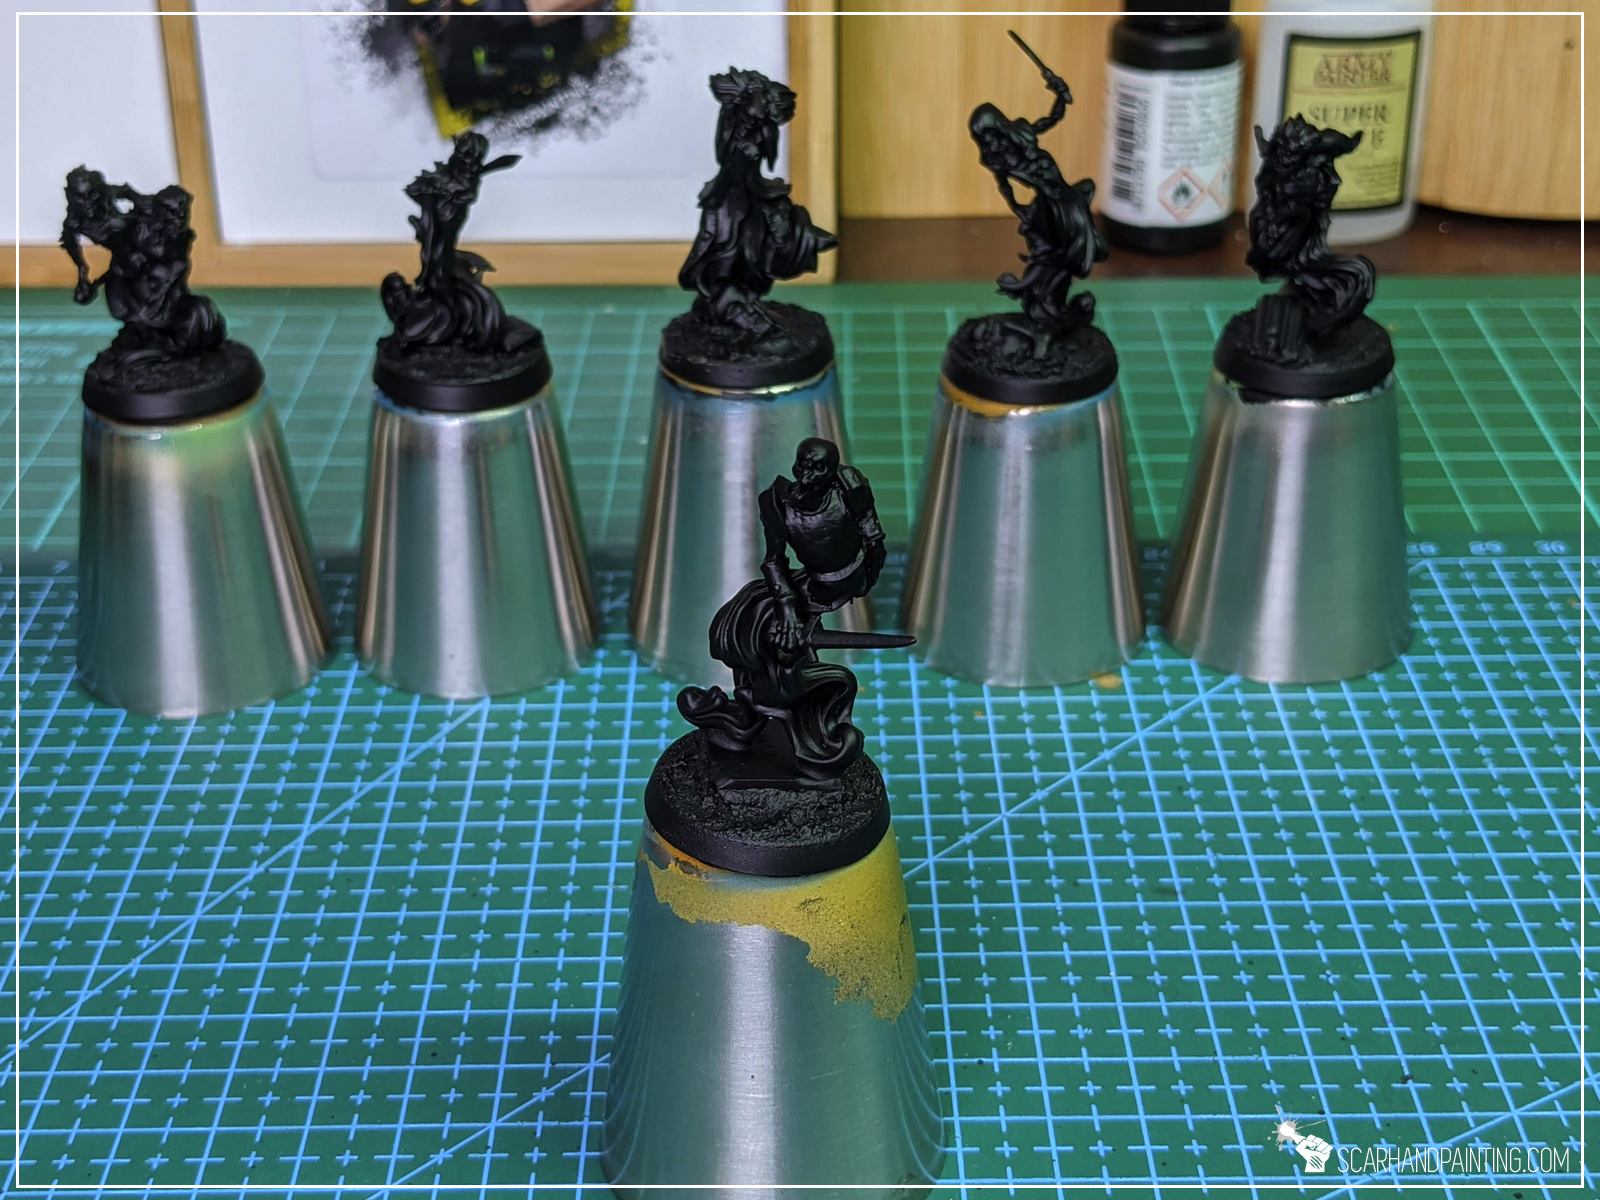
Step one: Undercoat
I started with an airbrushed layer of Black.
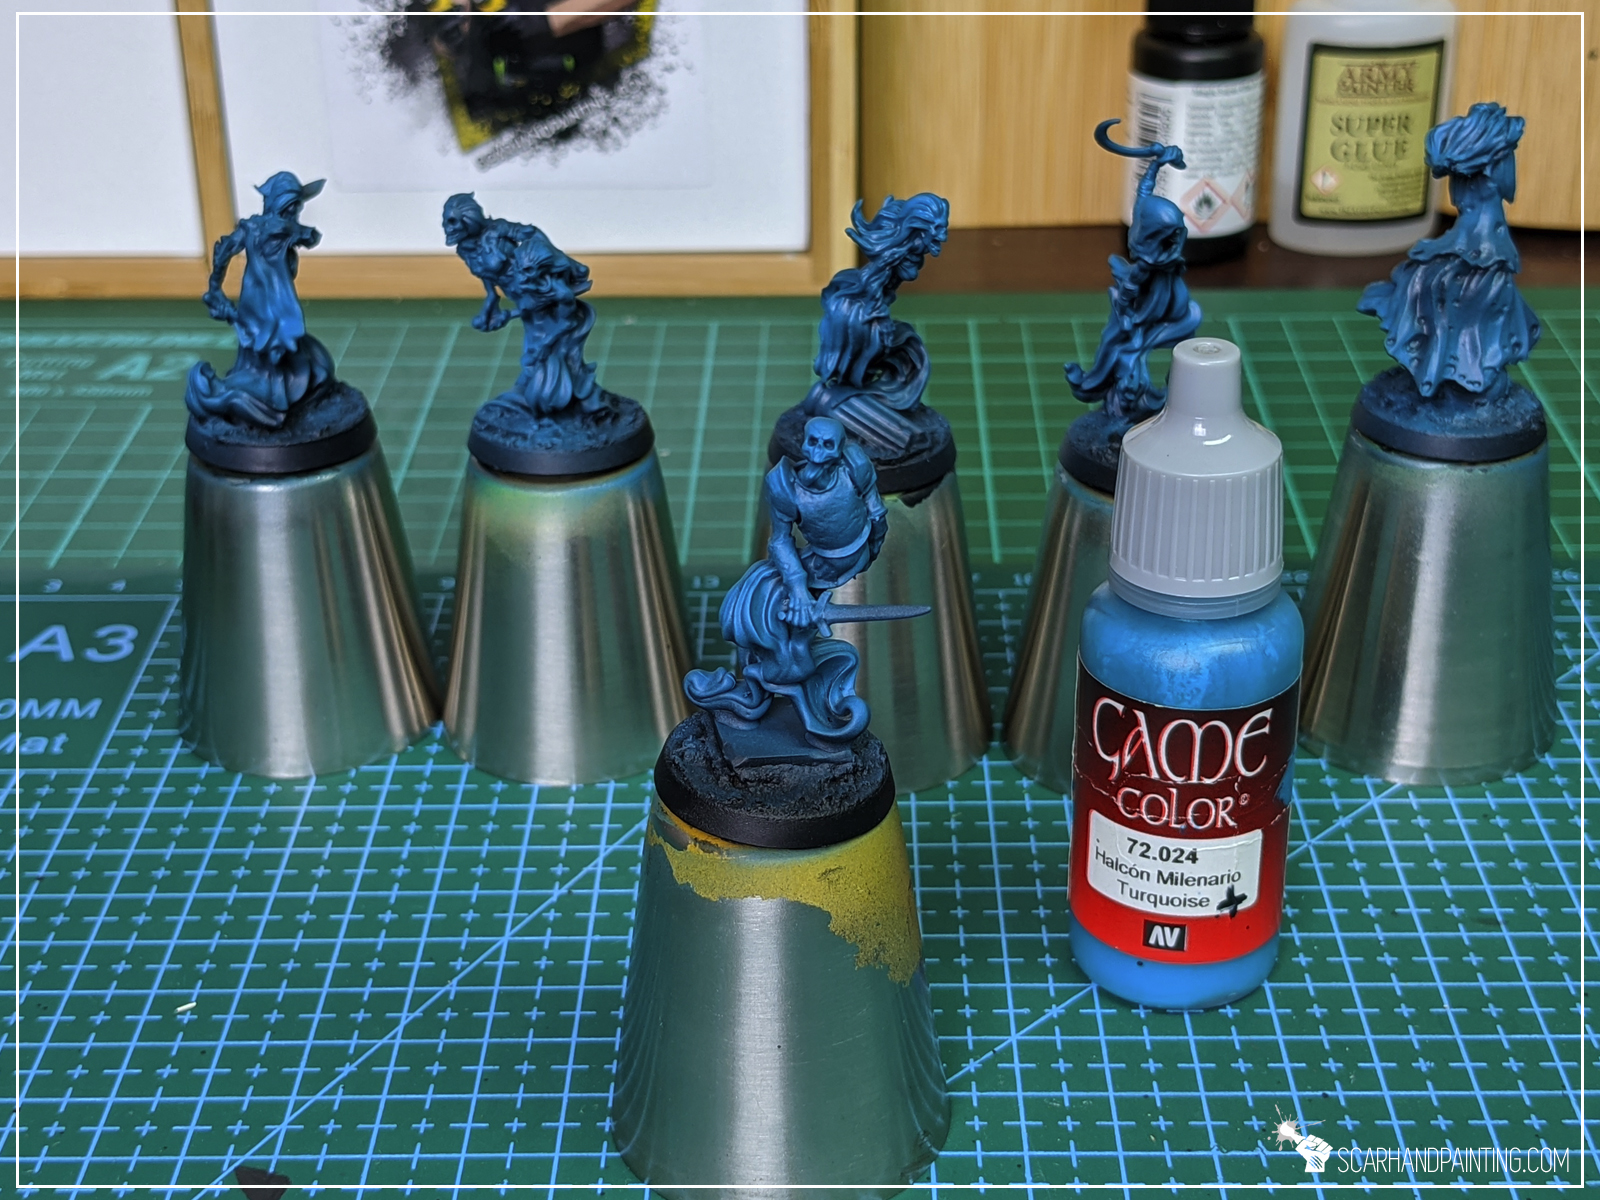
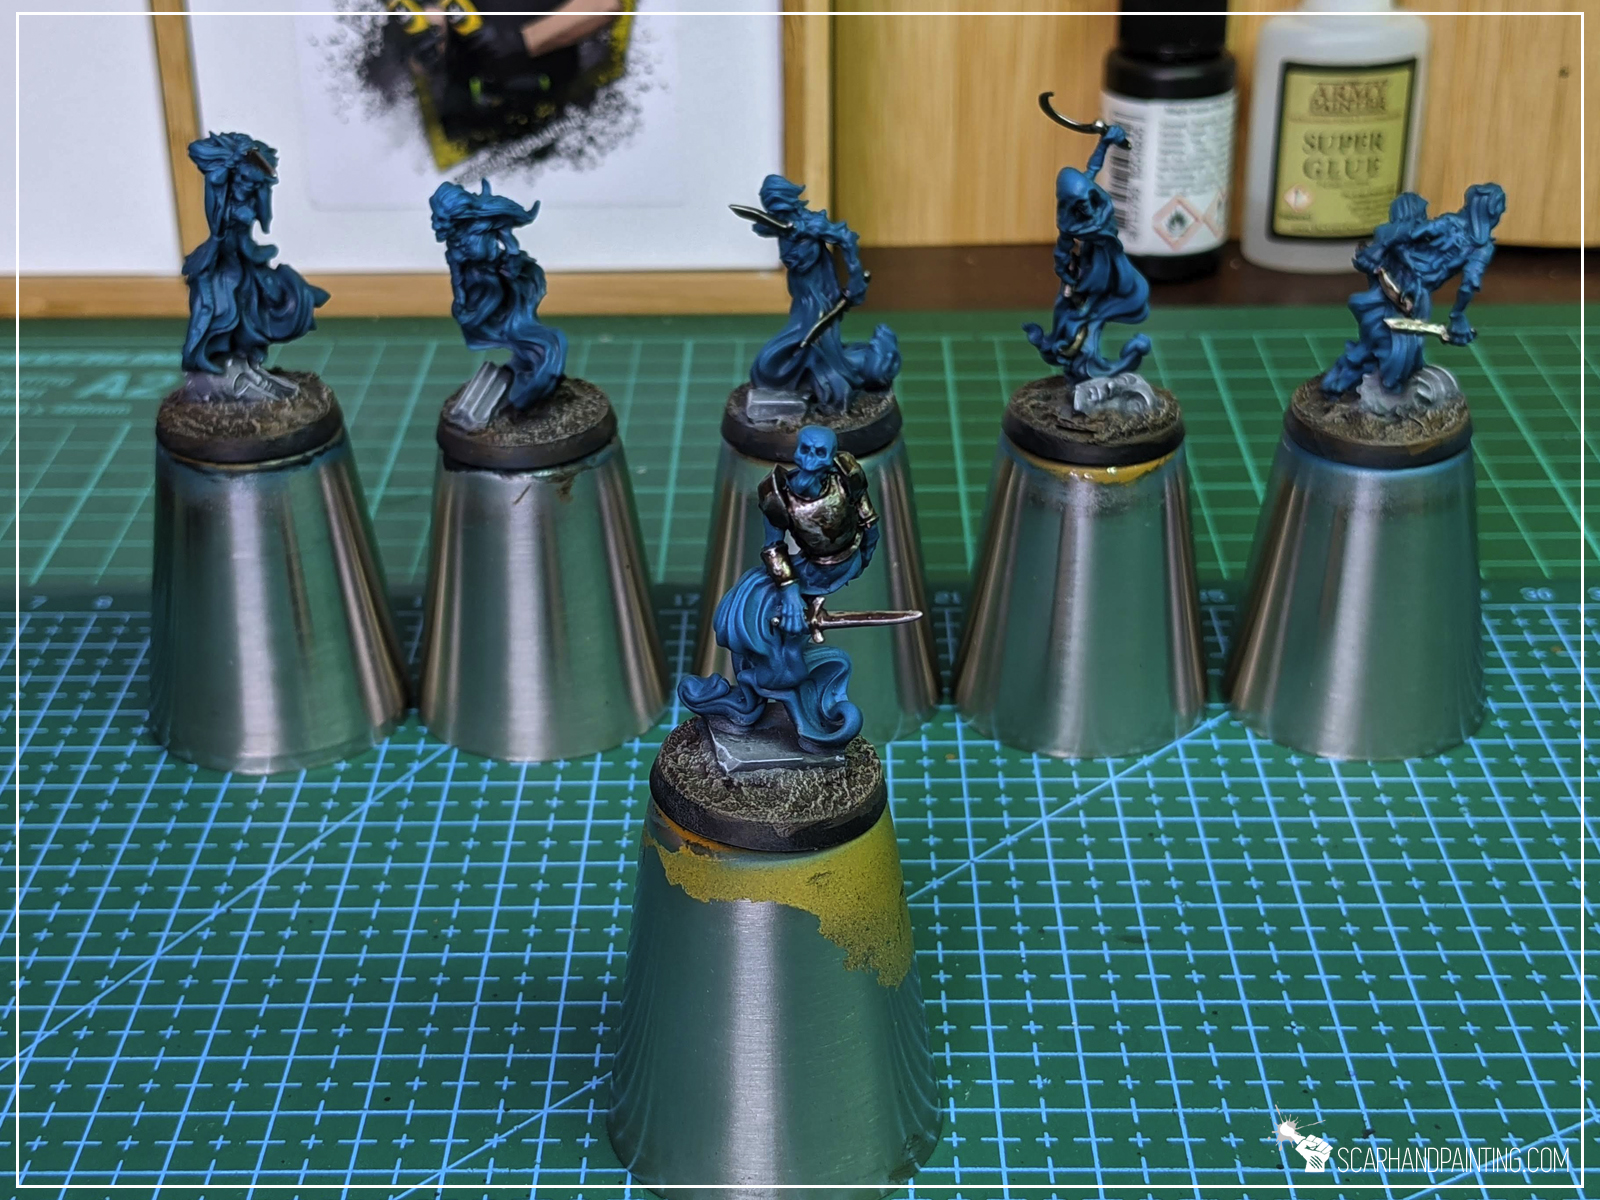
Step two: Vallejo Turquoise, airbrushed
I airbrushed thinned Vallejo Turquoise all over the miniatures.

Insert: Additional detail
At that point I have painted all the none-ghost detail, following these two recipes: Painting Metal , Painting Bases. This tutorial is about painting ghostly elements so I leave this step to you. I have painted these elements now to build up ghostly light on top of them alongside layers to come next.

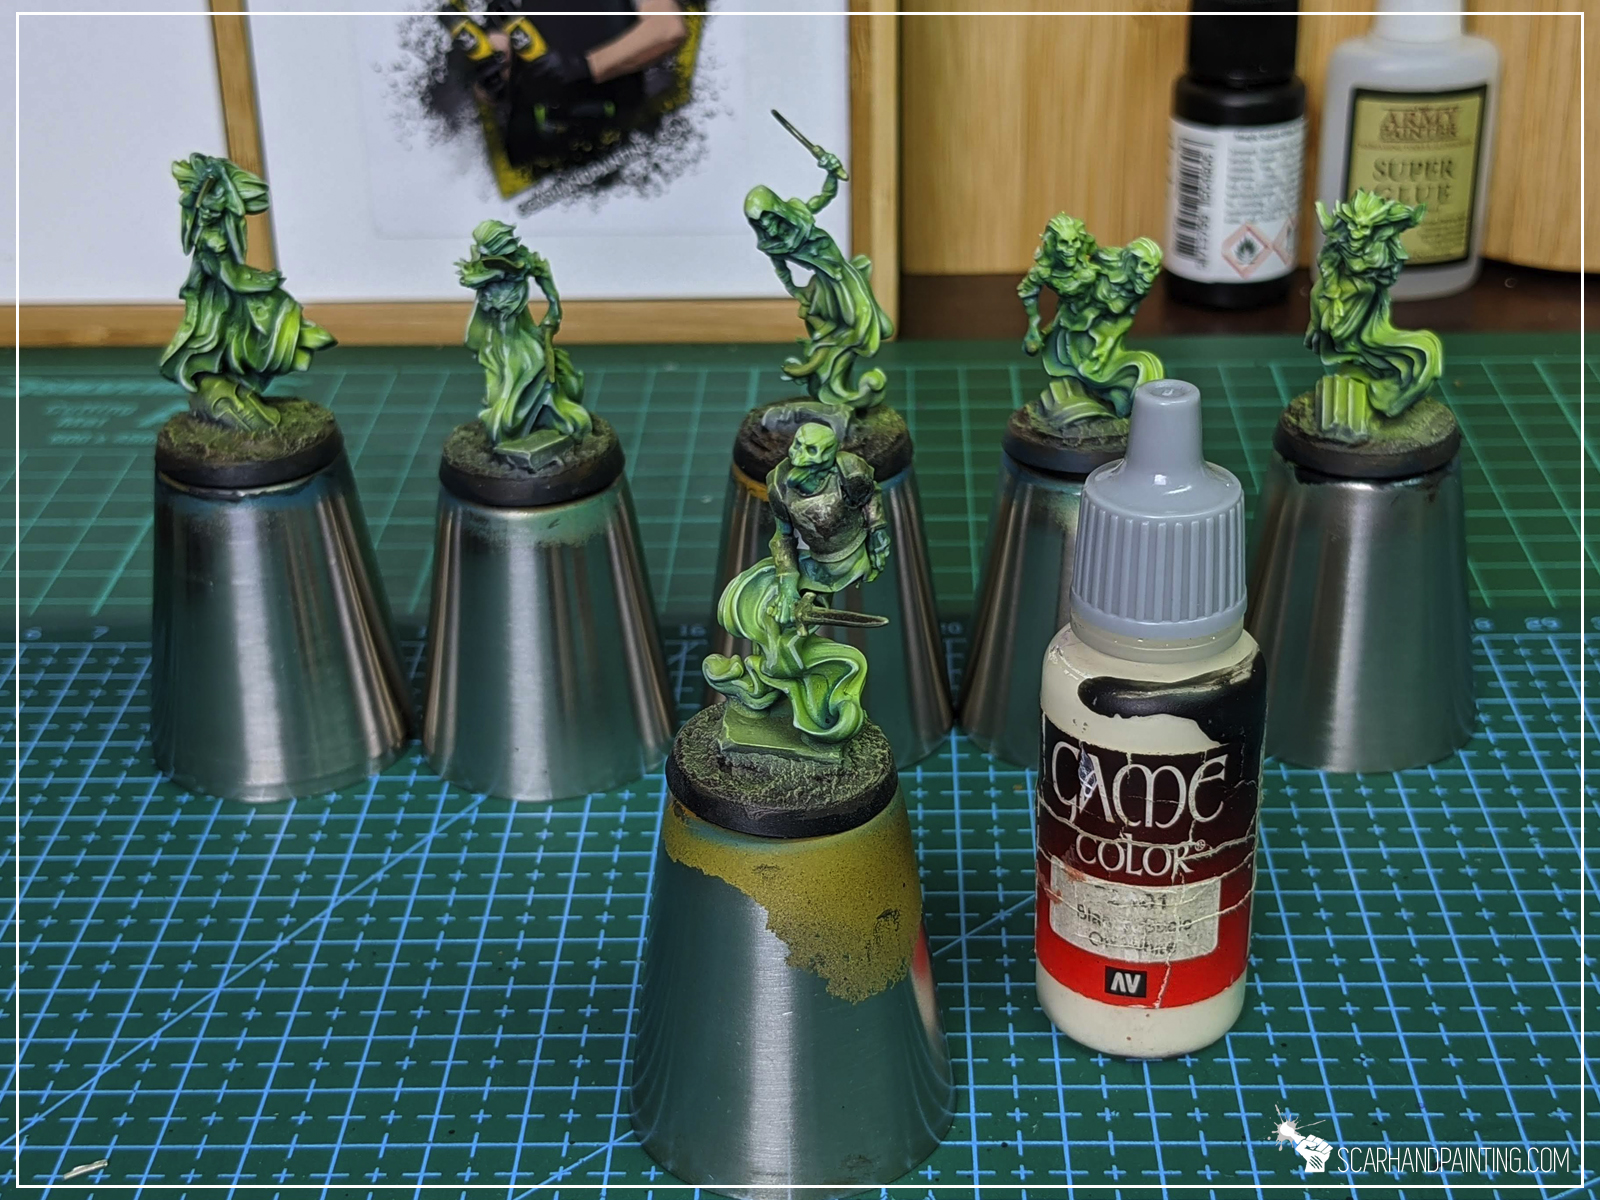
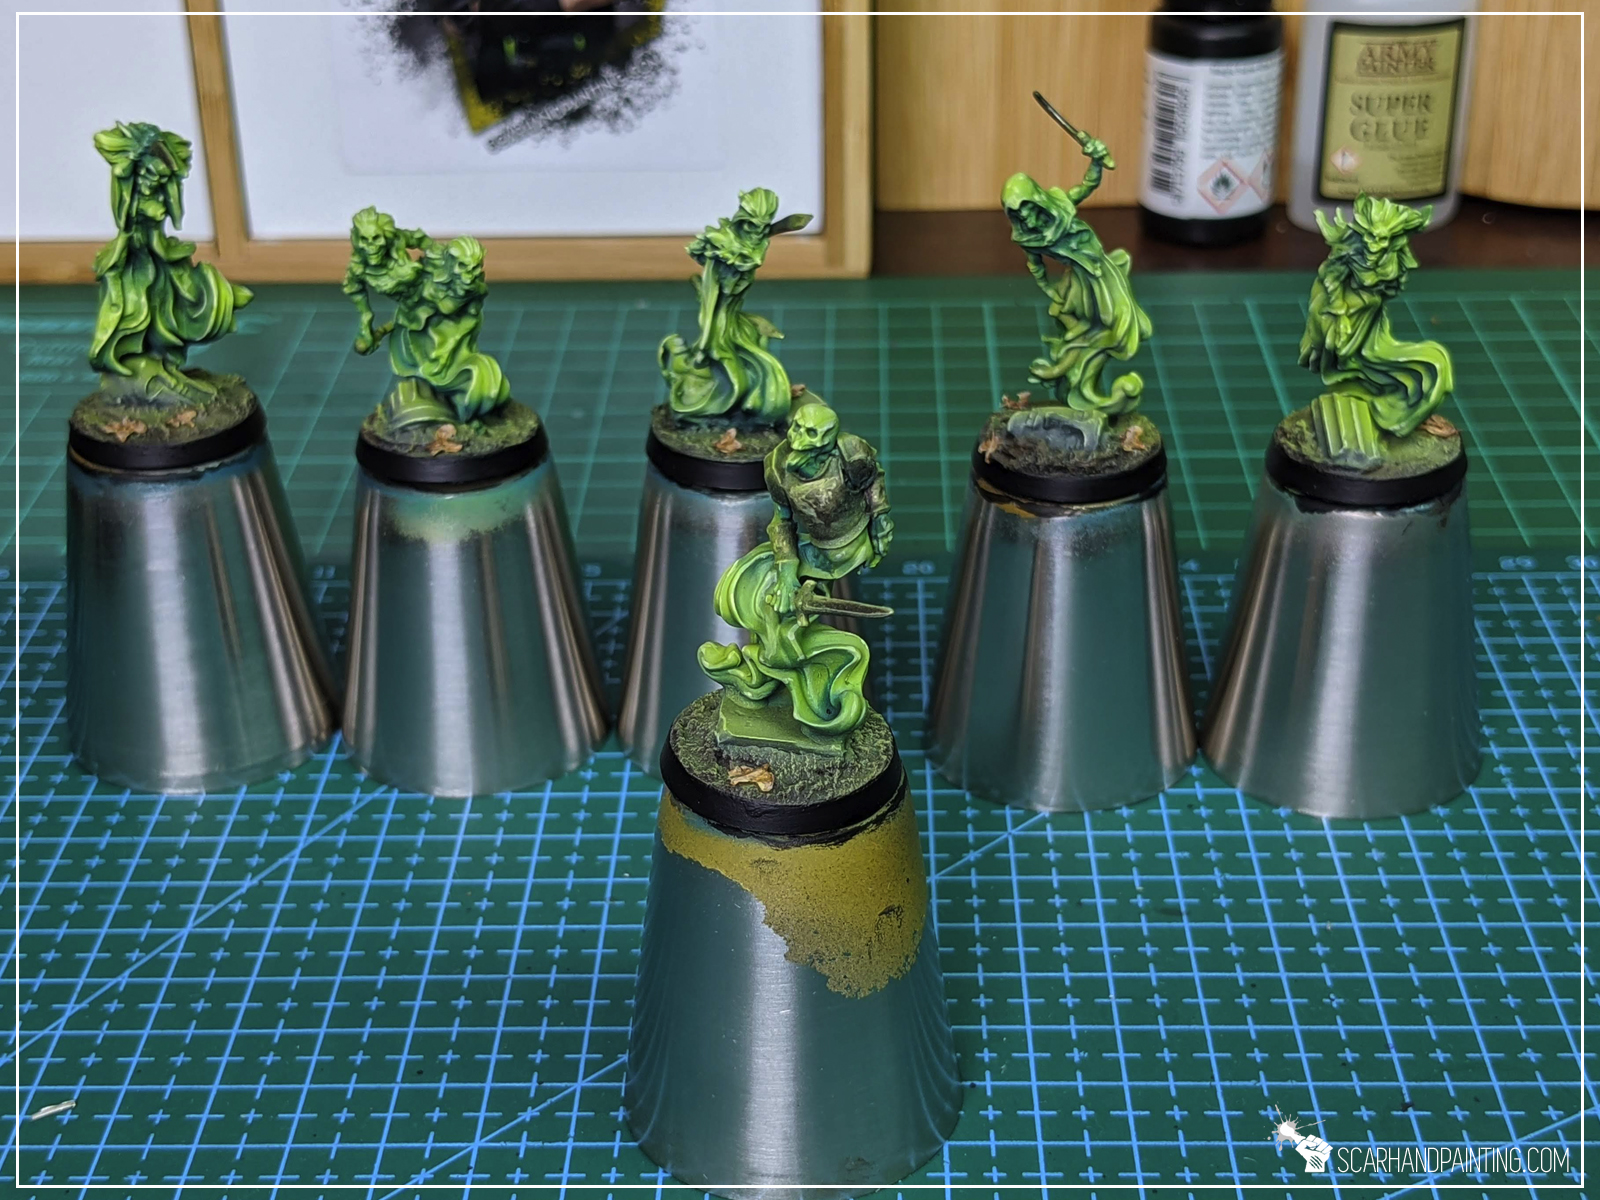
Step three: Vallejo Duck Egg Green, airbrushed
Next I airbrushed Vallejo Duck Egg Green air over ghostly elements, focusing on the most exposed areas. I have thinned this paint just a bit to mitigate speckling.

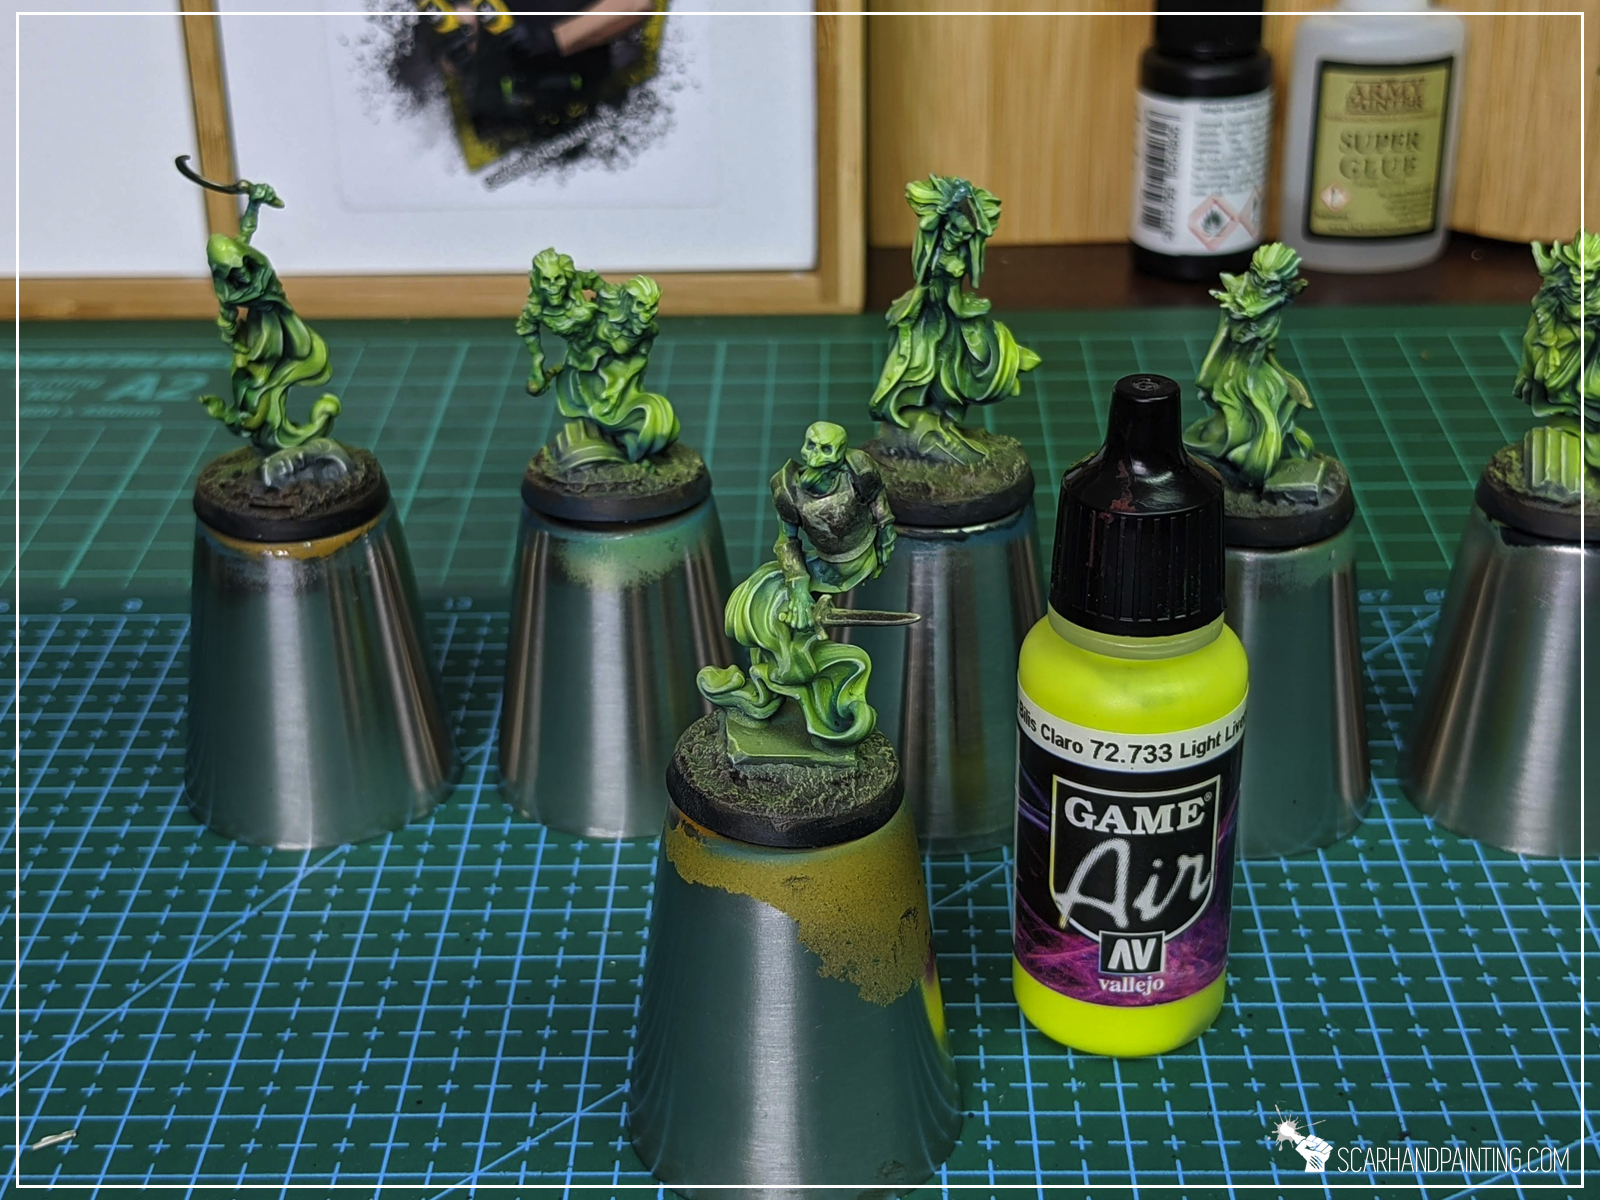
Step four: Vallejo Light Livery Green, airbrushed
I then airbrushed Vallejo Light Livery Green air over previous layer.

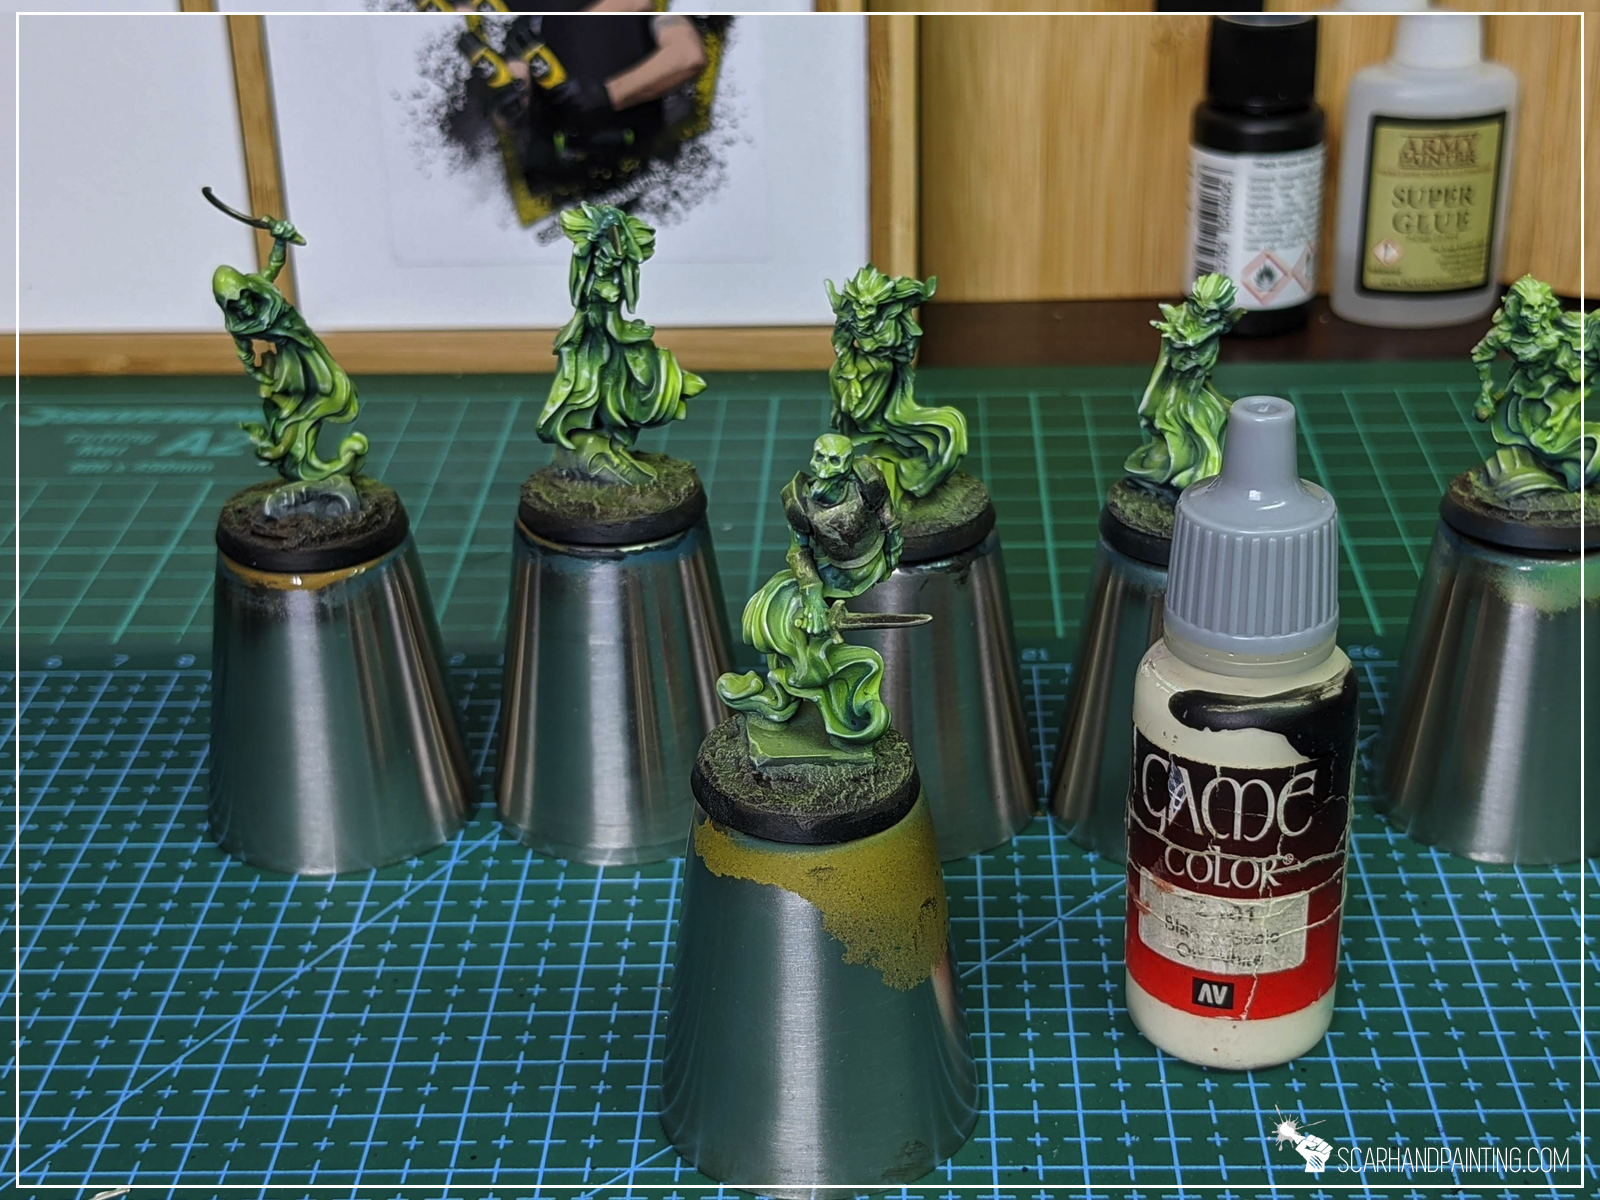
Step four: Vallejo Off White, highlights
I manually painted edge highlights with Vallejo Off White.
Step five: Vallejo Light Livery Green, juice up
I manually blended highly thinned Vallejo Light Livery Green air on top of previous highlights.
Step six: Vallejo Off White, highlights
I manually painted edge highlights with Vallejo Off White, but this time contained to dots and points of focus.
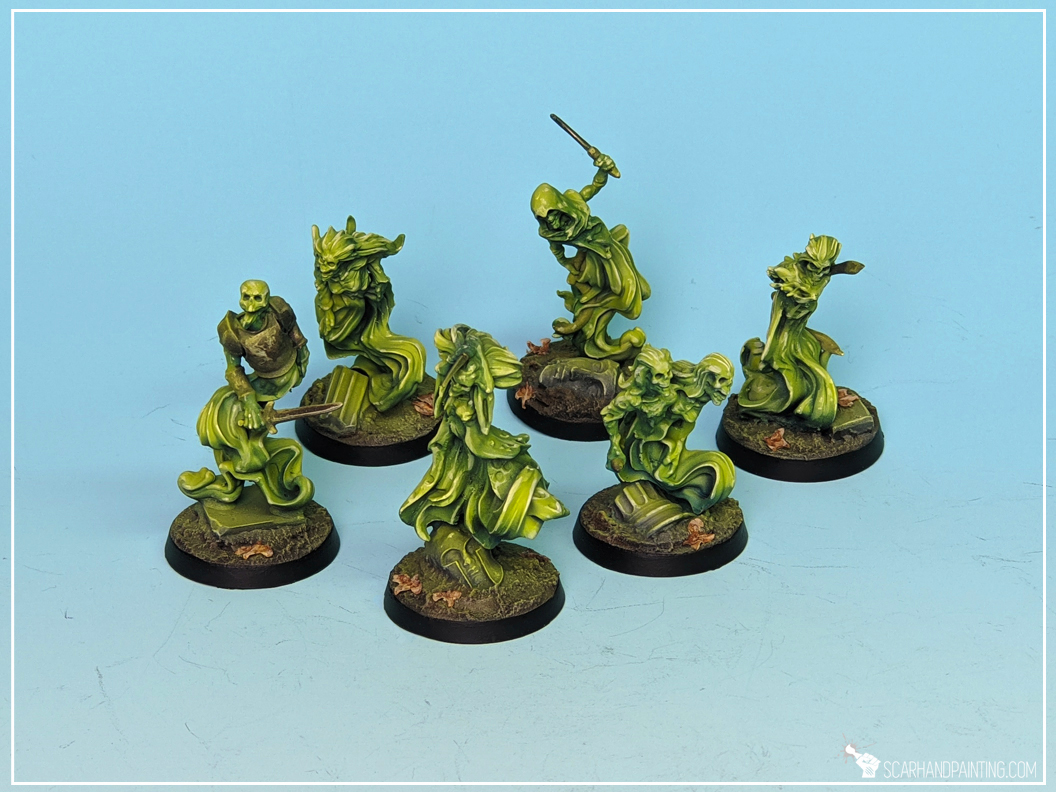
Step seven: Vallejo Light Livery Green, blend
I airbrushed thinned Vallejo Light Livery Green air all over the miniatures, after which I sealed it with Vallejo Polyurethane Matt Varnish and painted the base’s edge black, as it should be. Added few Birch Tree seeds as a final touch.
Note from the author: I hope you enjoyed this article. Be sure to let me know what you think in the comments or at my facebook. If you ever use the tutorial – please tag me at facebook or send pics to my e-mail, so I can enjoy your work 😉

Welcome to Rocky Bases tutorial. Here I will take you on a Step-by-step trip through the process of creating and painting Rocky Bases as presented in the picture below. This adventure is possible thanks to generosity of Gamers Grass and their easy to use, fantastic products.

Before we start, some notes:
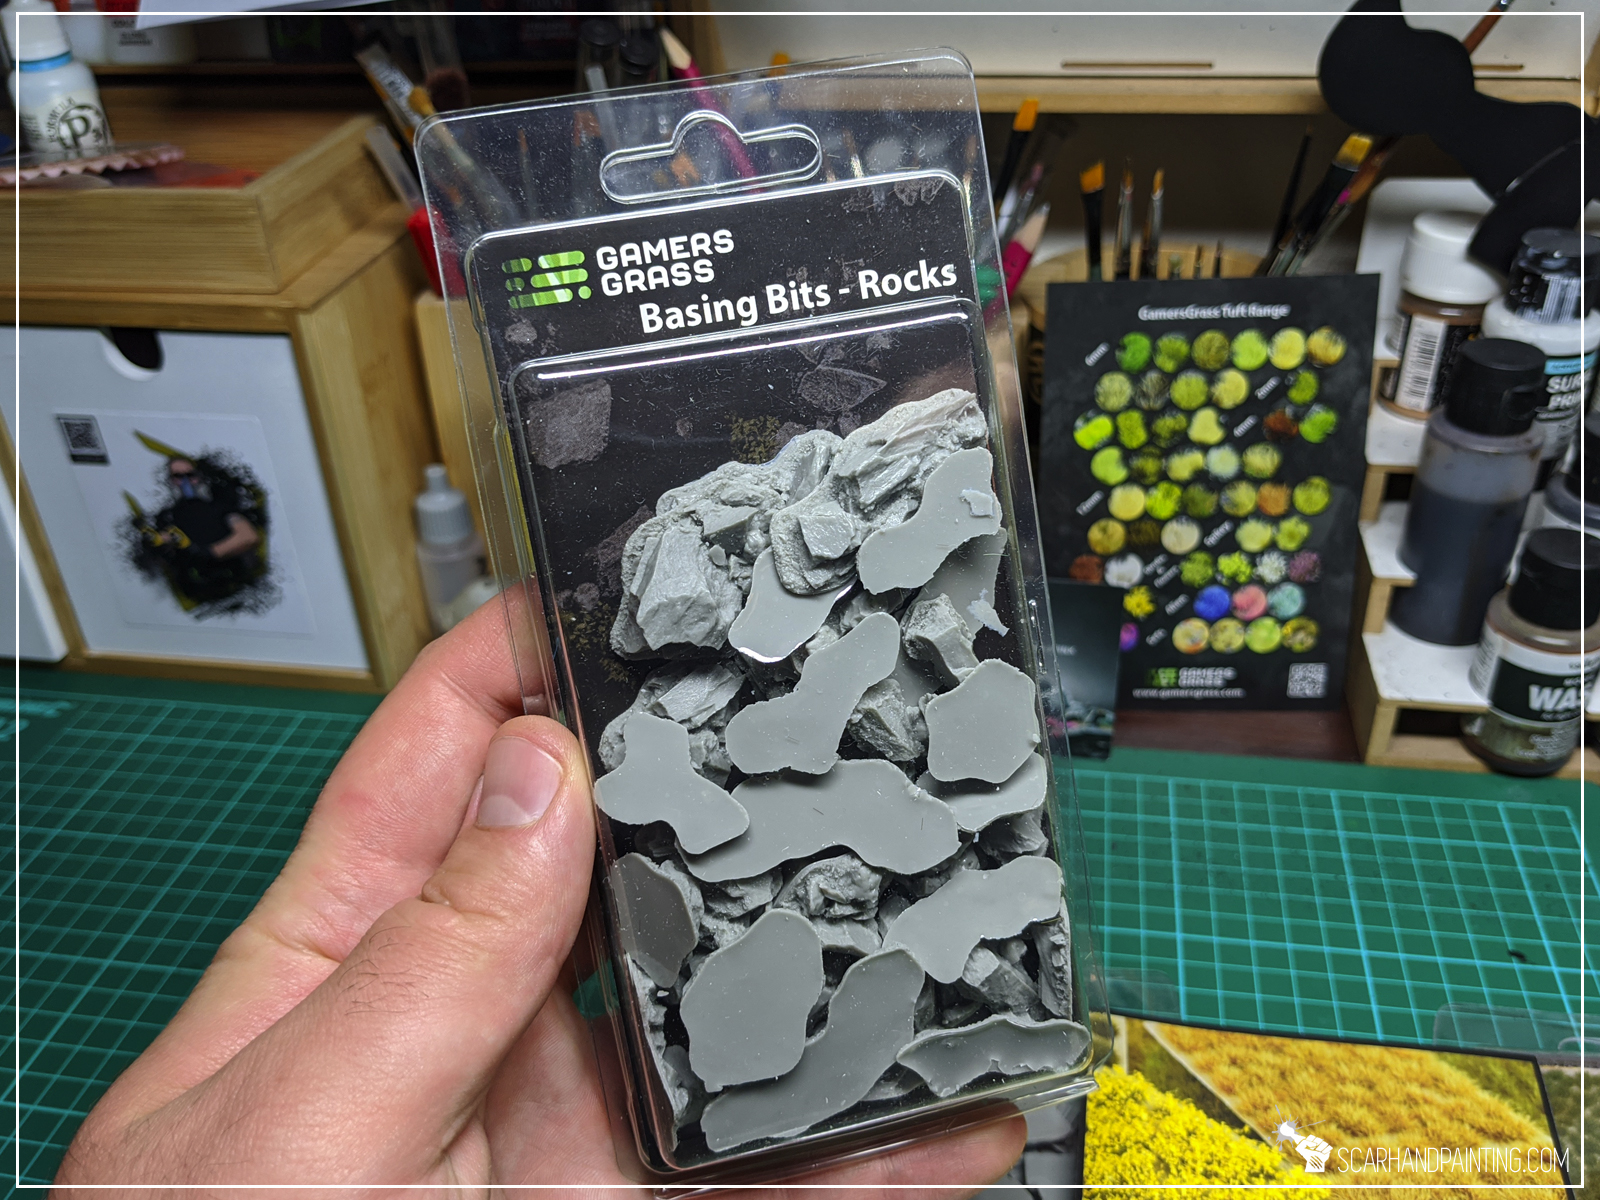
As mentioned in previous Tutorial, when making bases, I usually aim for fast, simple, yet effective solutions. It is important to pick a basing method that is easy to copy onto large quantities of miniatures or coming back to a project. This is why I consider Gamers Grass Basing Bits a perfect solution. Nicely textured, ready to use straight out of the box – glue them on, add some texture around – you’re ready to paint. All that being said – for this particular base type I choose Gamers Grass “Rocks” basing bits.
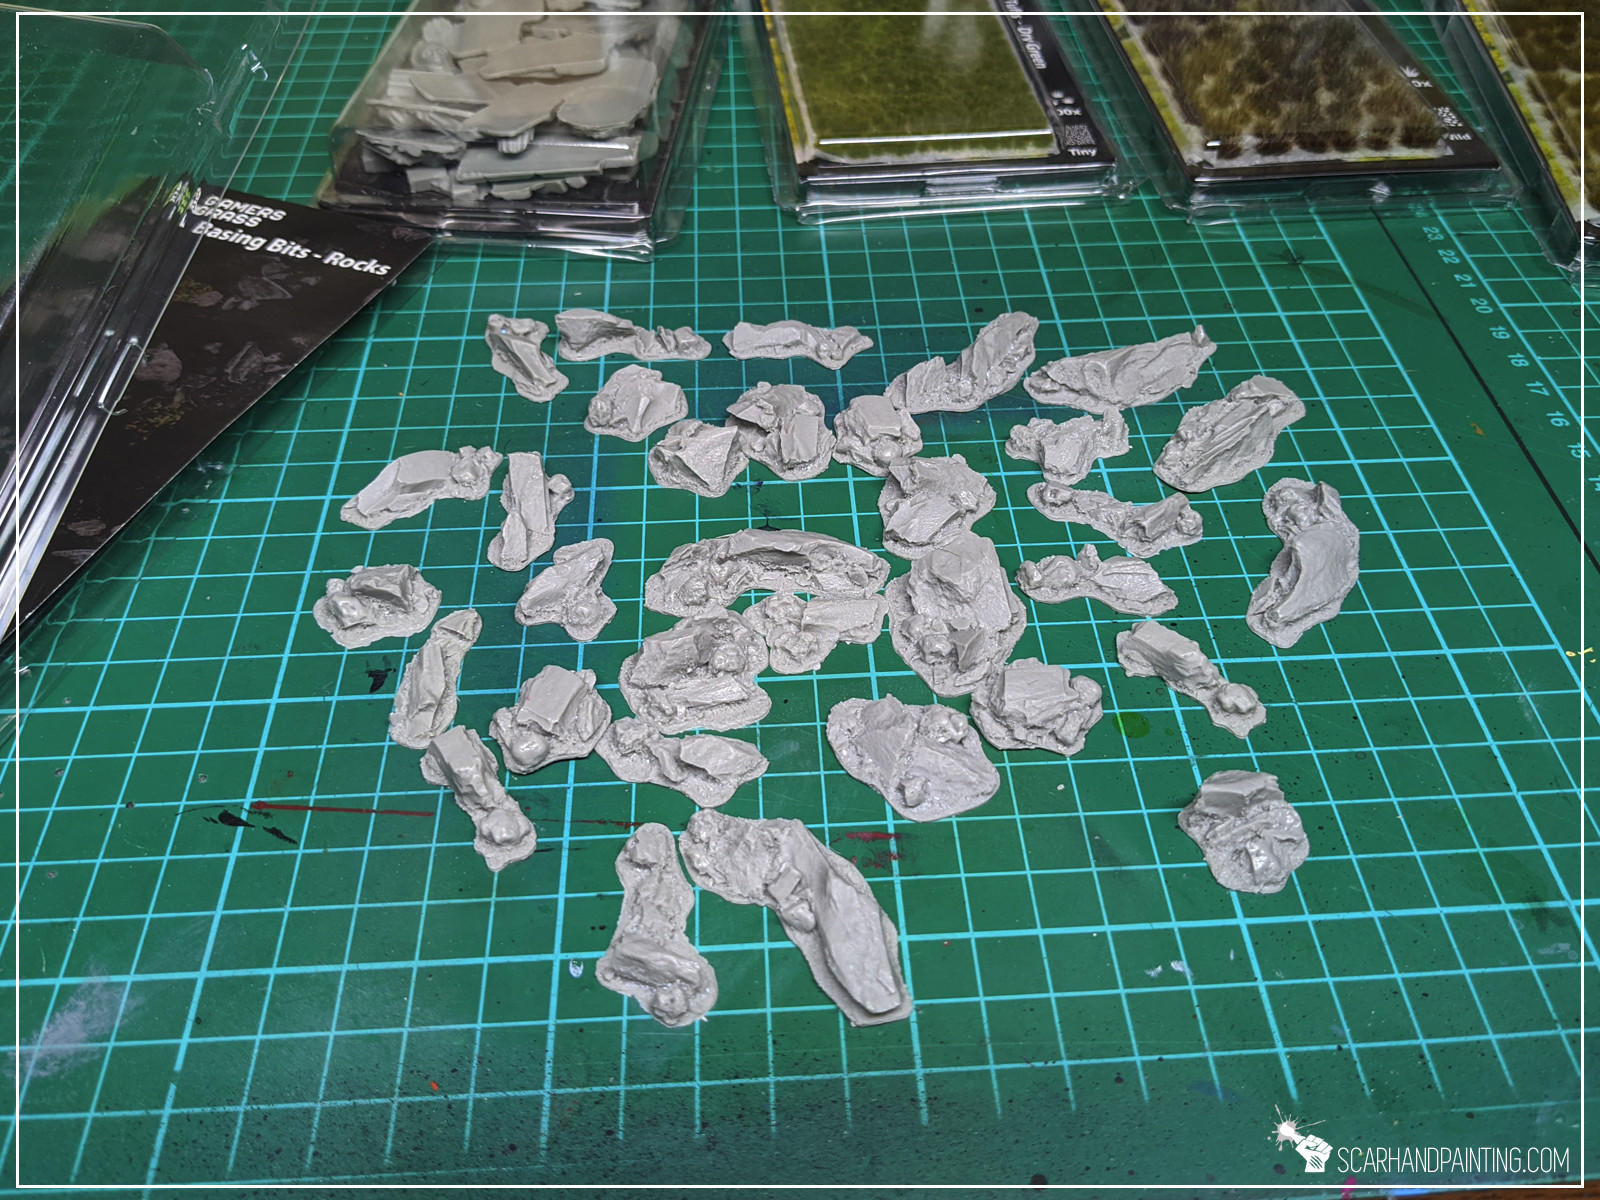
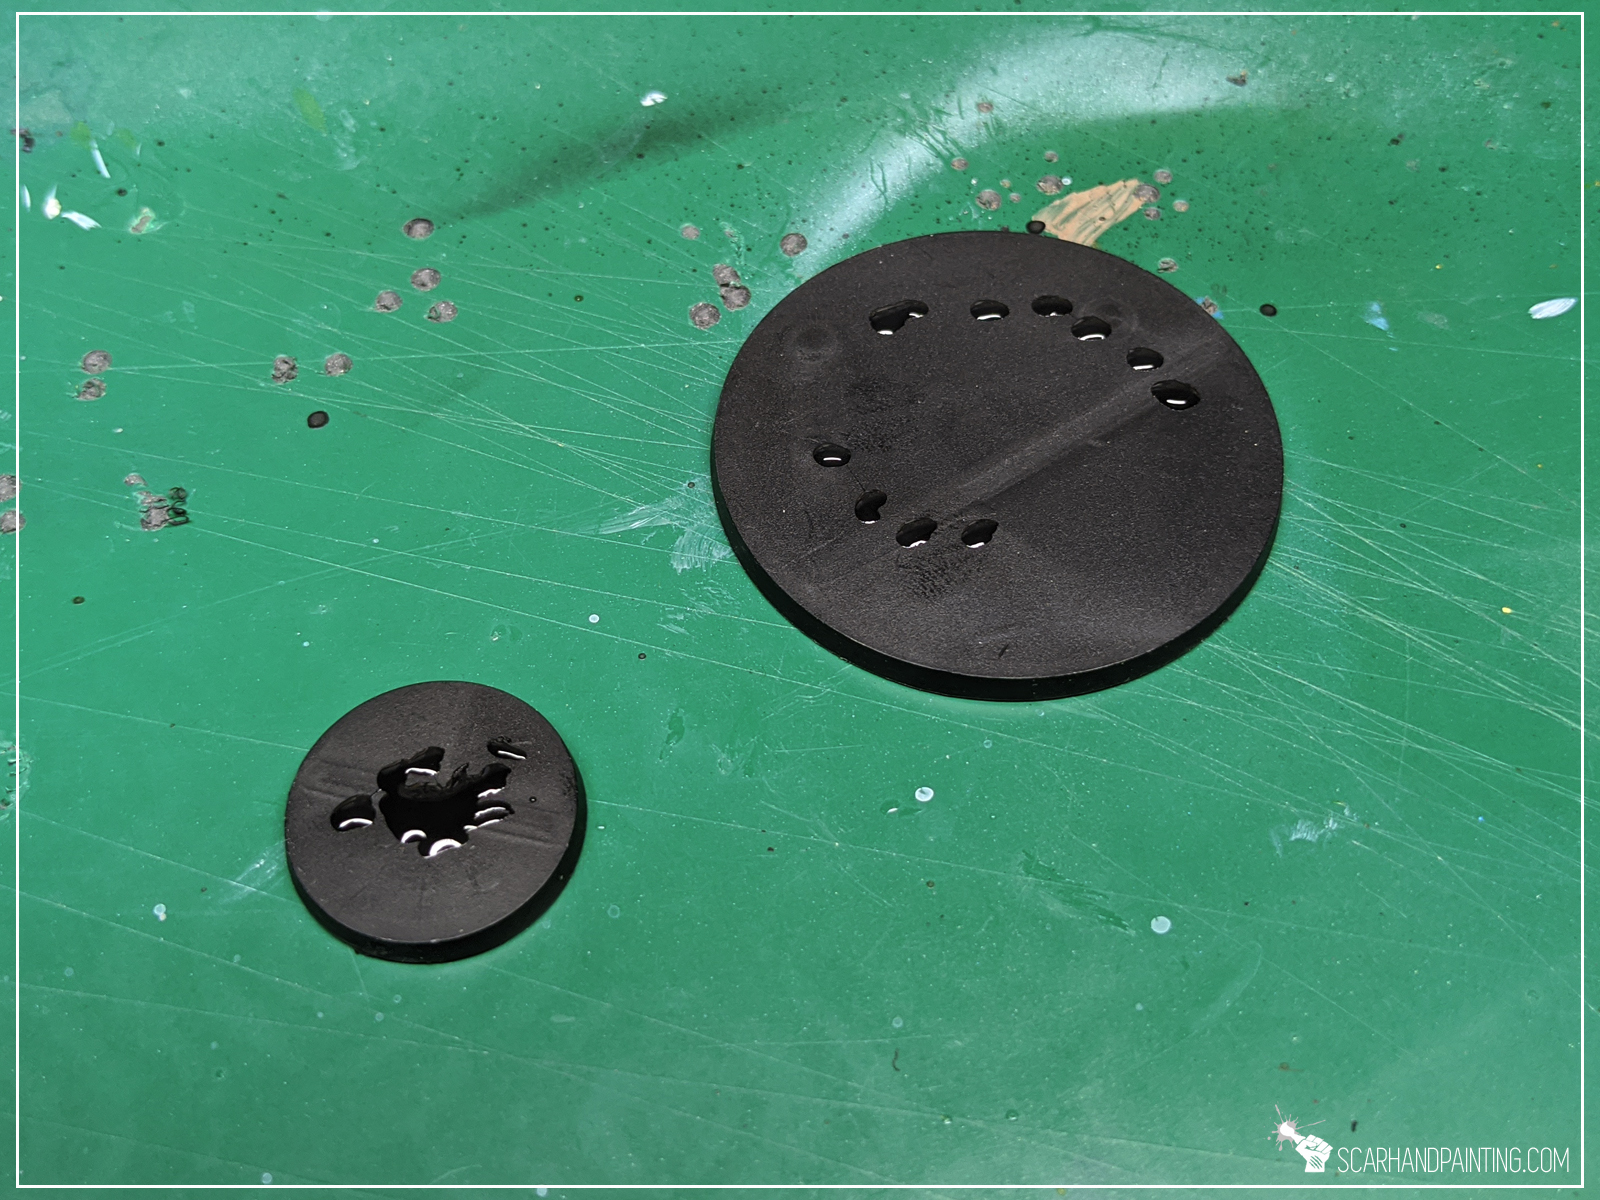
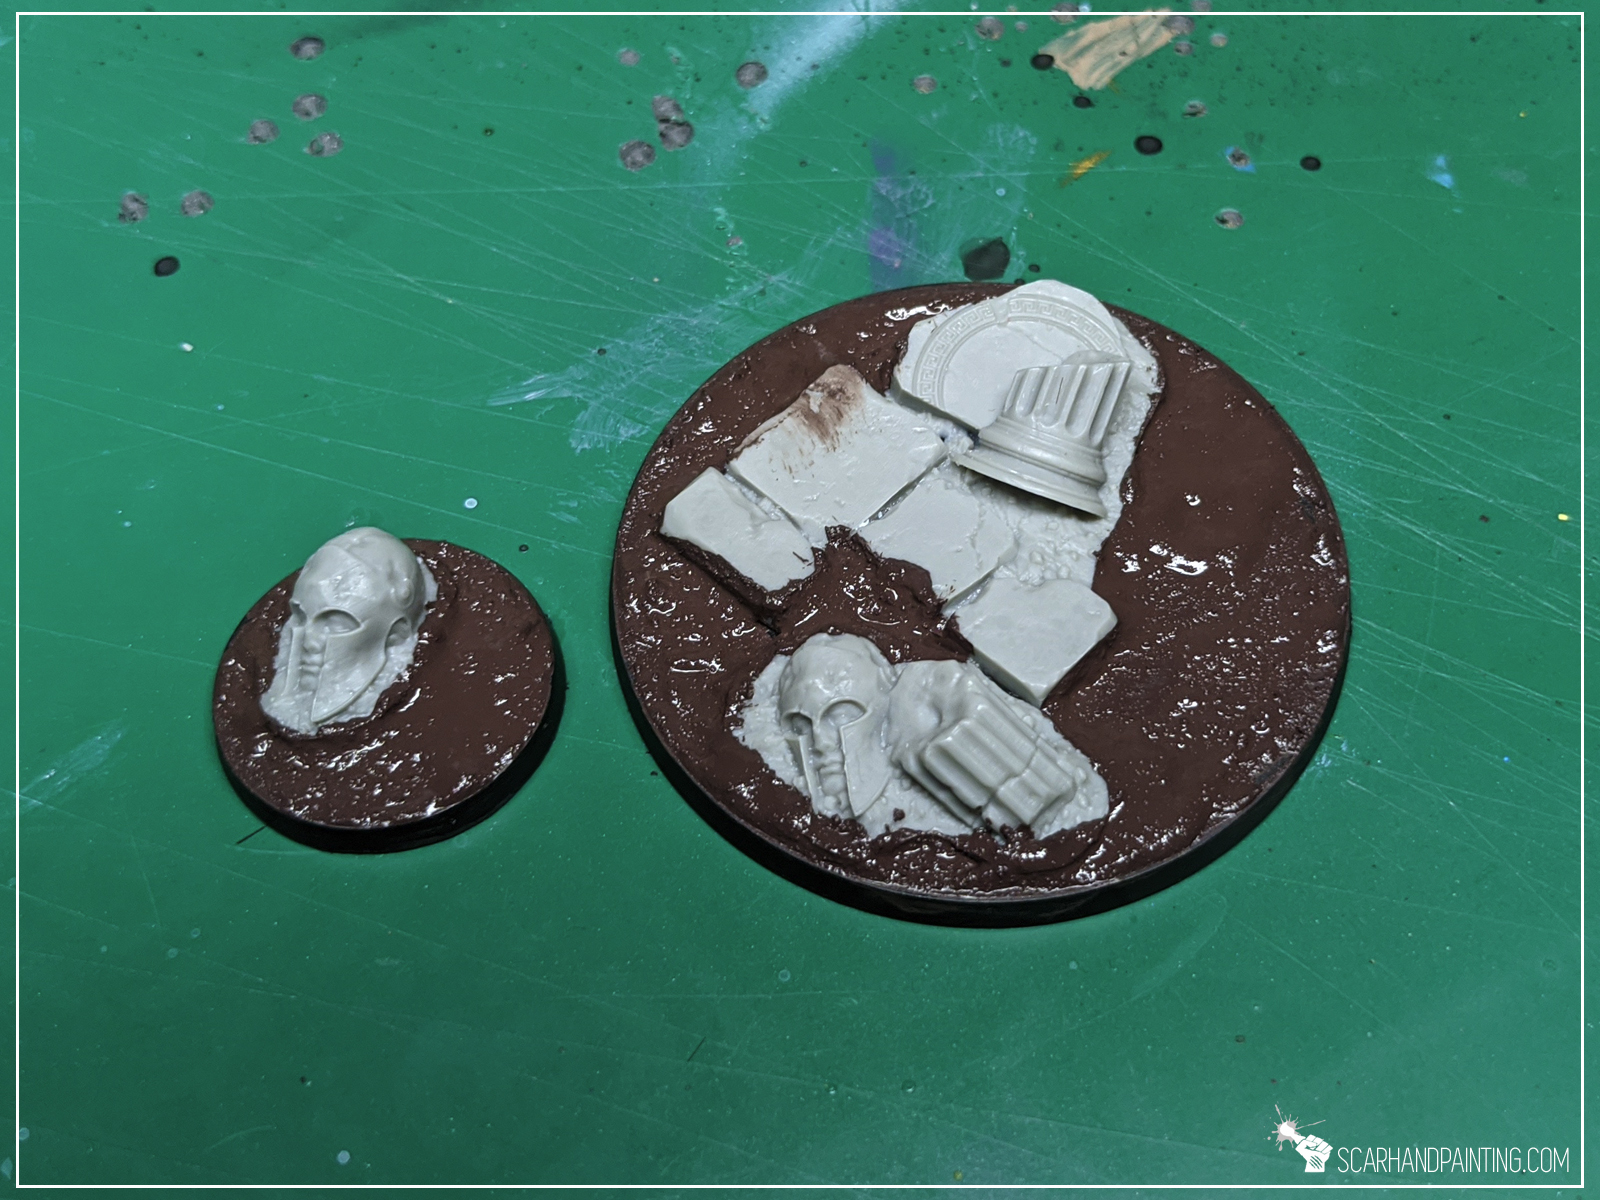
Step one: Applying basing bits
I started by applying glue onto the base and gluing few basing bits on top.

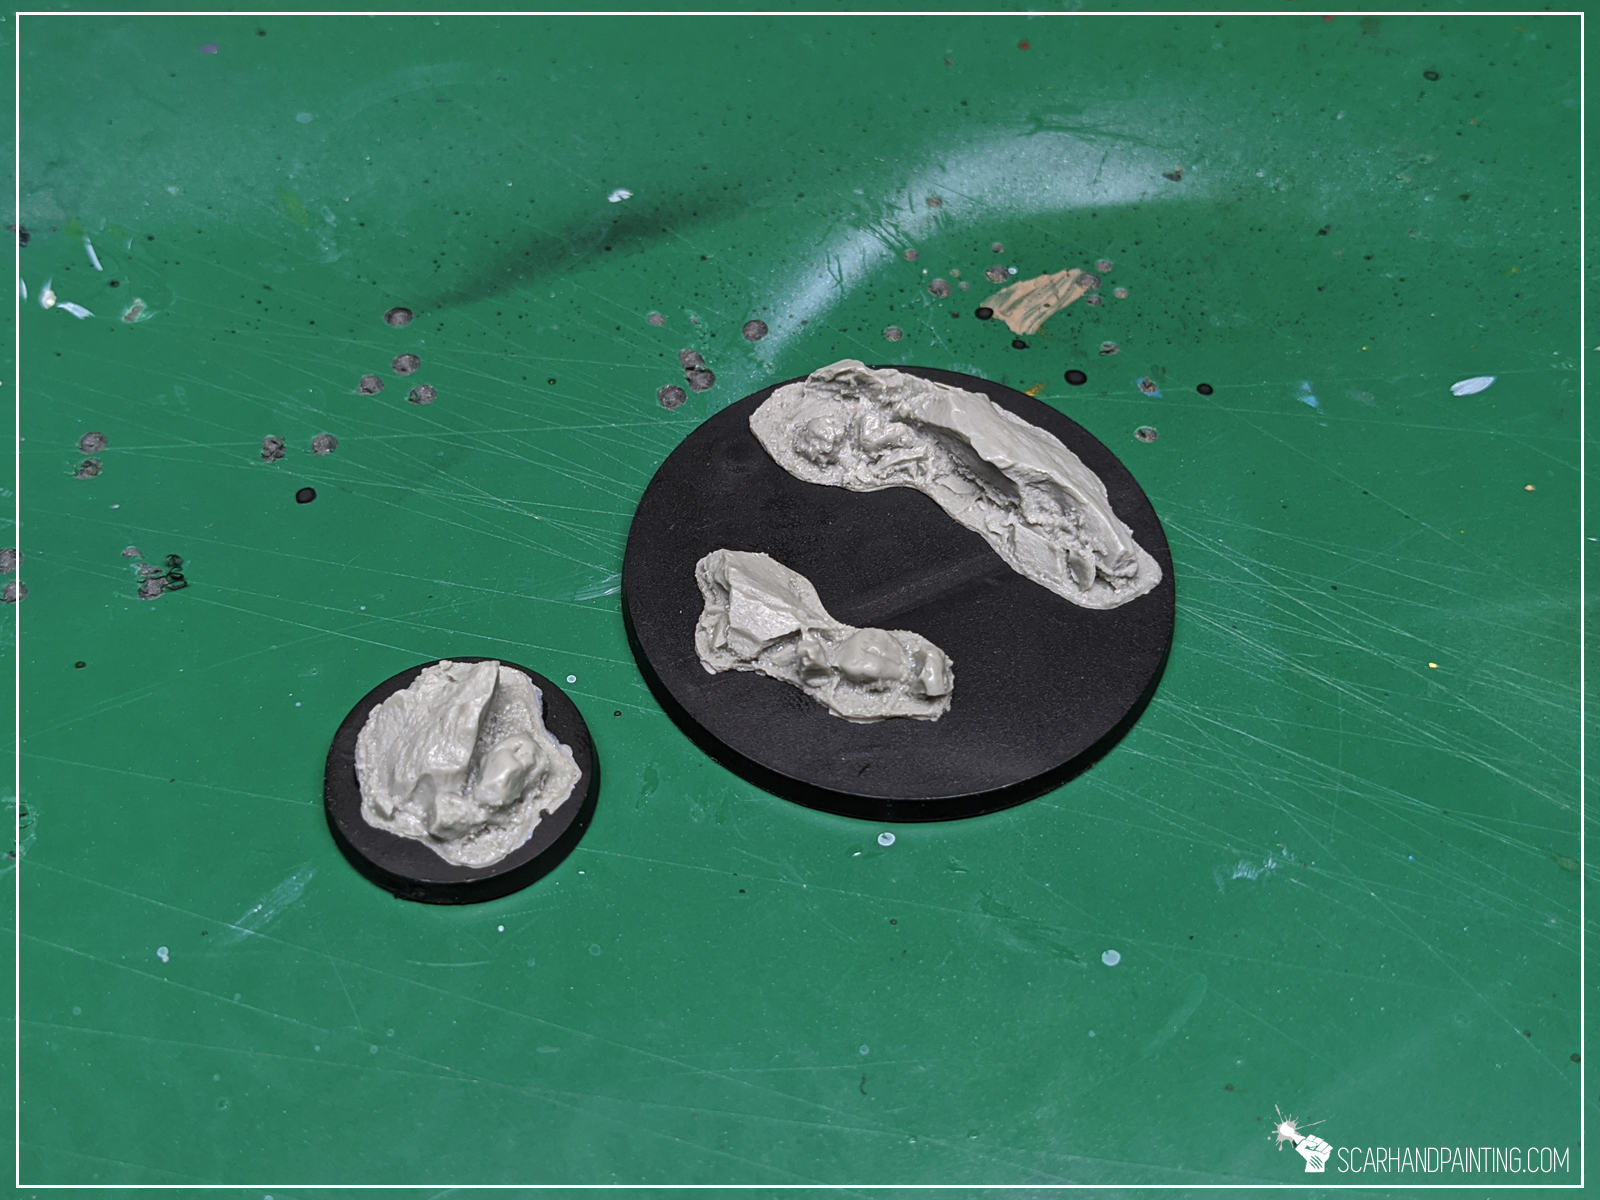
Step two: Applying texture
I then applied texture with Games Workshop Stirland Mud.


At this point entire “Modelling” part is done. If it seem fast it’s because it really is. Just two steps and you’re ready to paint!

I choose to paint these Rocky bases in a classic Bron plus Grey style. Assuming these are meant to be used for a large collection, I want to keep things simple. Would be perfect to close in about three layers per color, with a single type of tufts on top. Just your everyday nice looking, coherent bases. Here’s how I went about it…
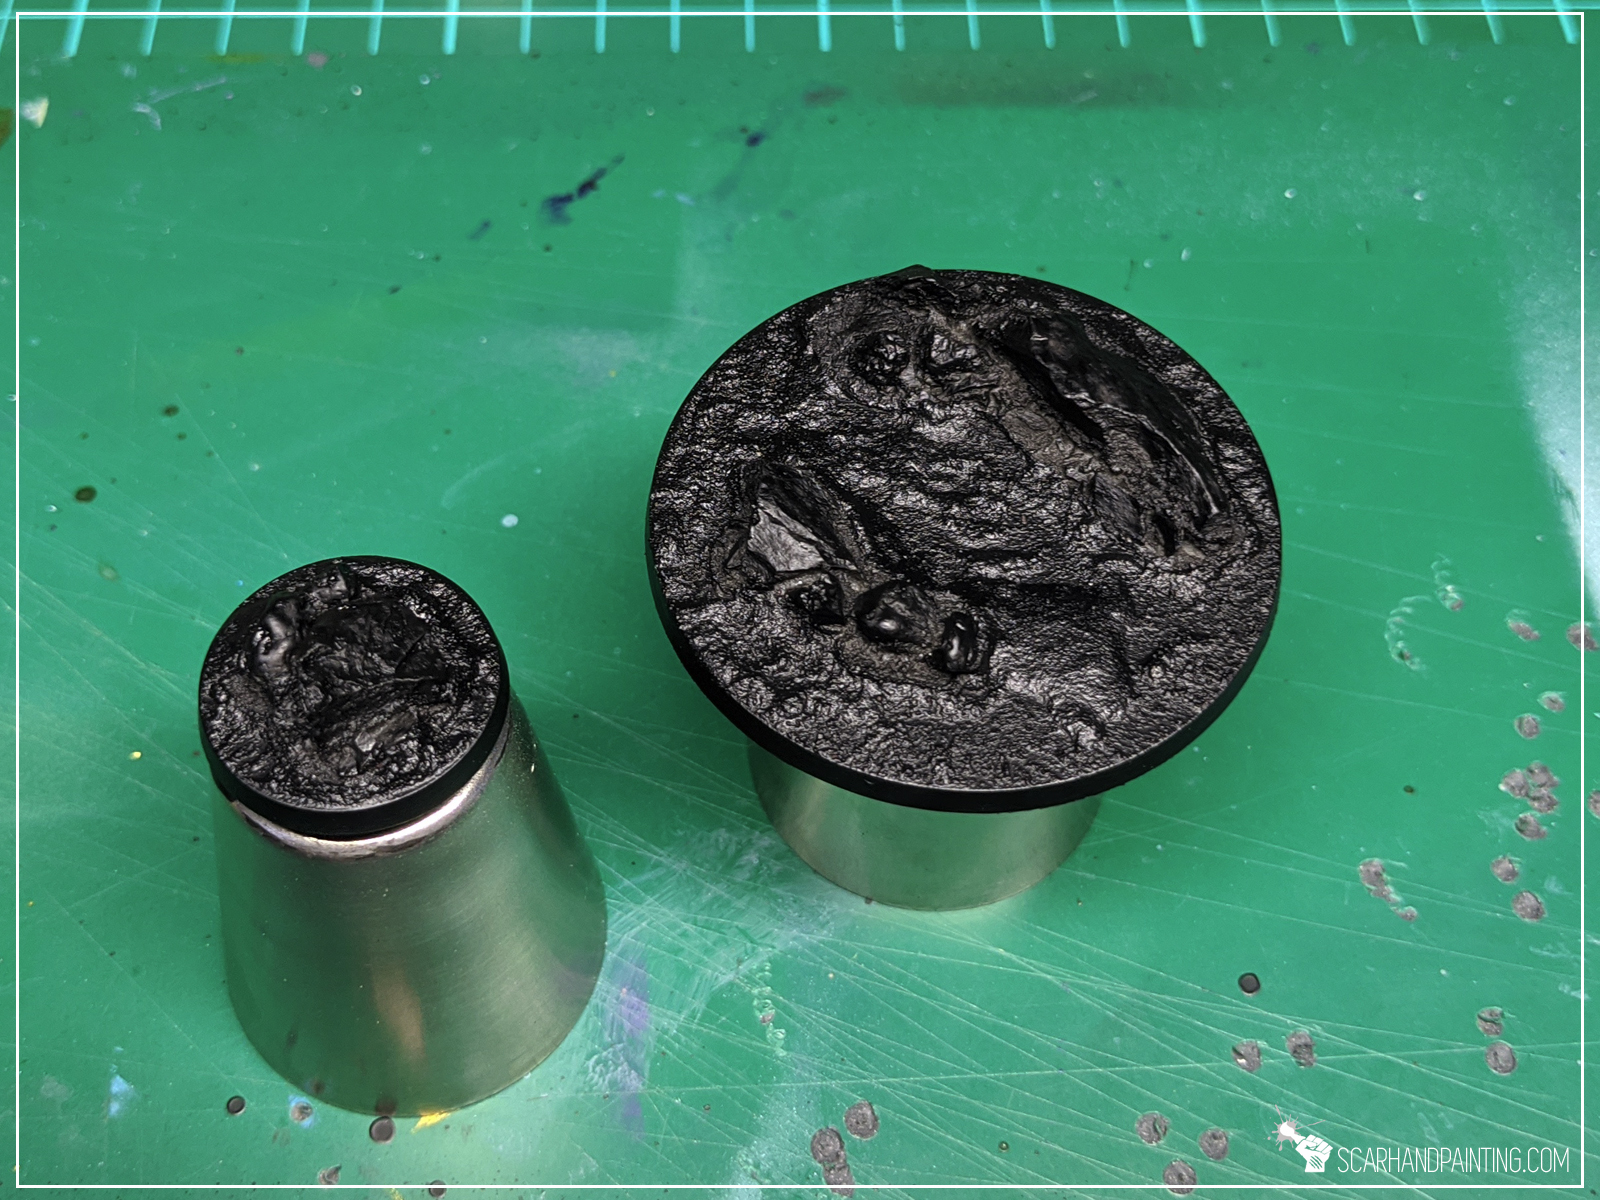
Step two: Undercoat
I applied a black undercoat.
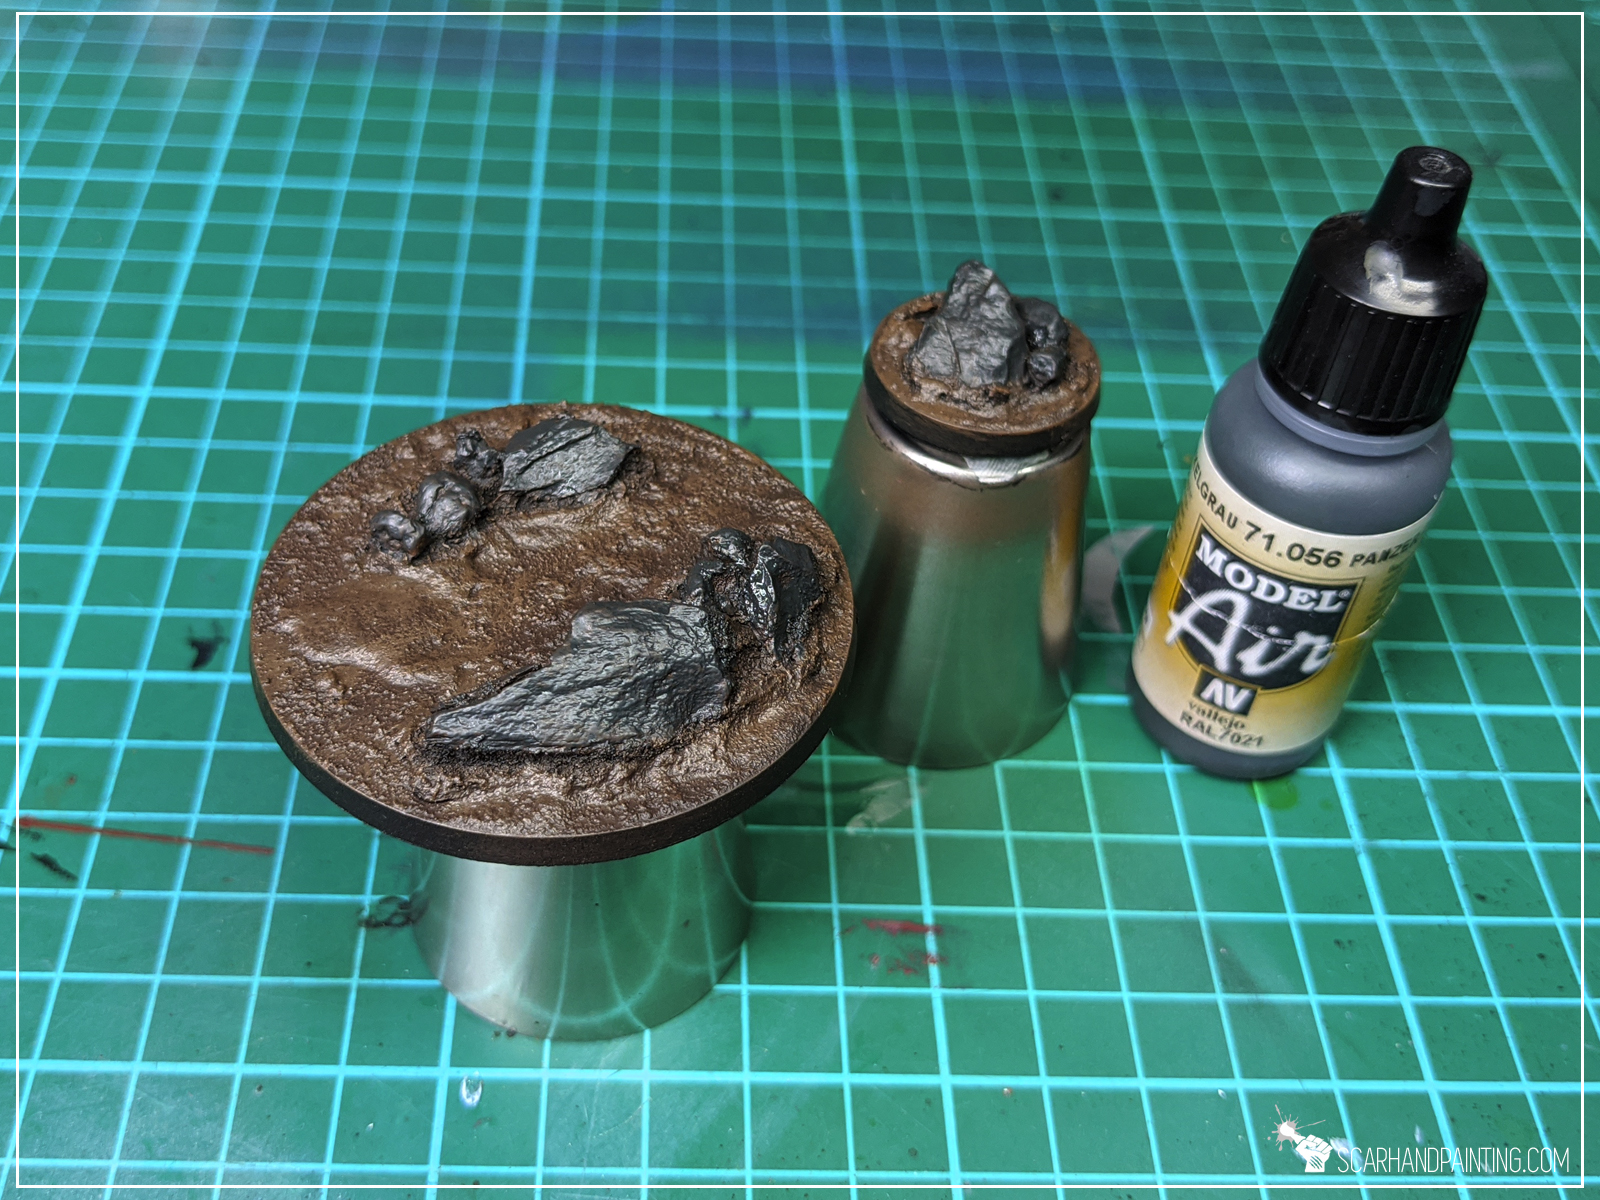
Step two: Main color
I then painted entire base with Vallejo Charred Brown. Once dry I drybrushed Games Workshop Calthan Brown on top.


Step two: Secondary color
For rocks I went with Vallejo Panzer Dark Grey, followed by a drybrush of Games Workshop Fortress Grey.
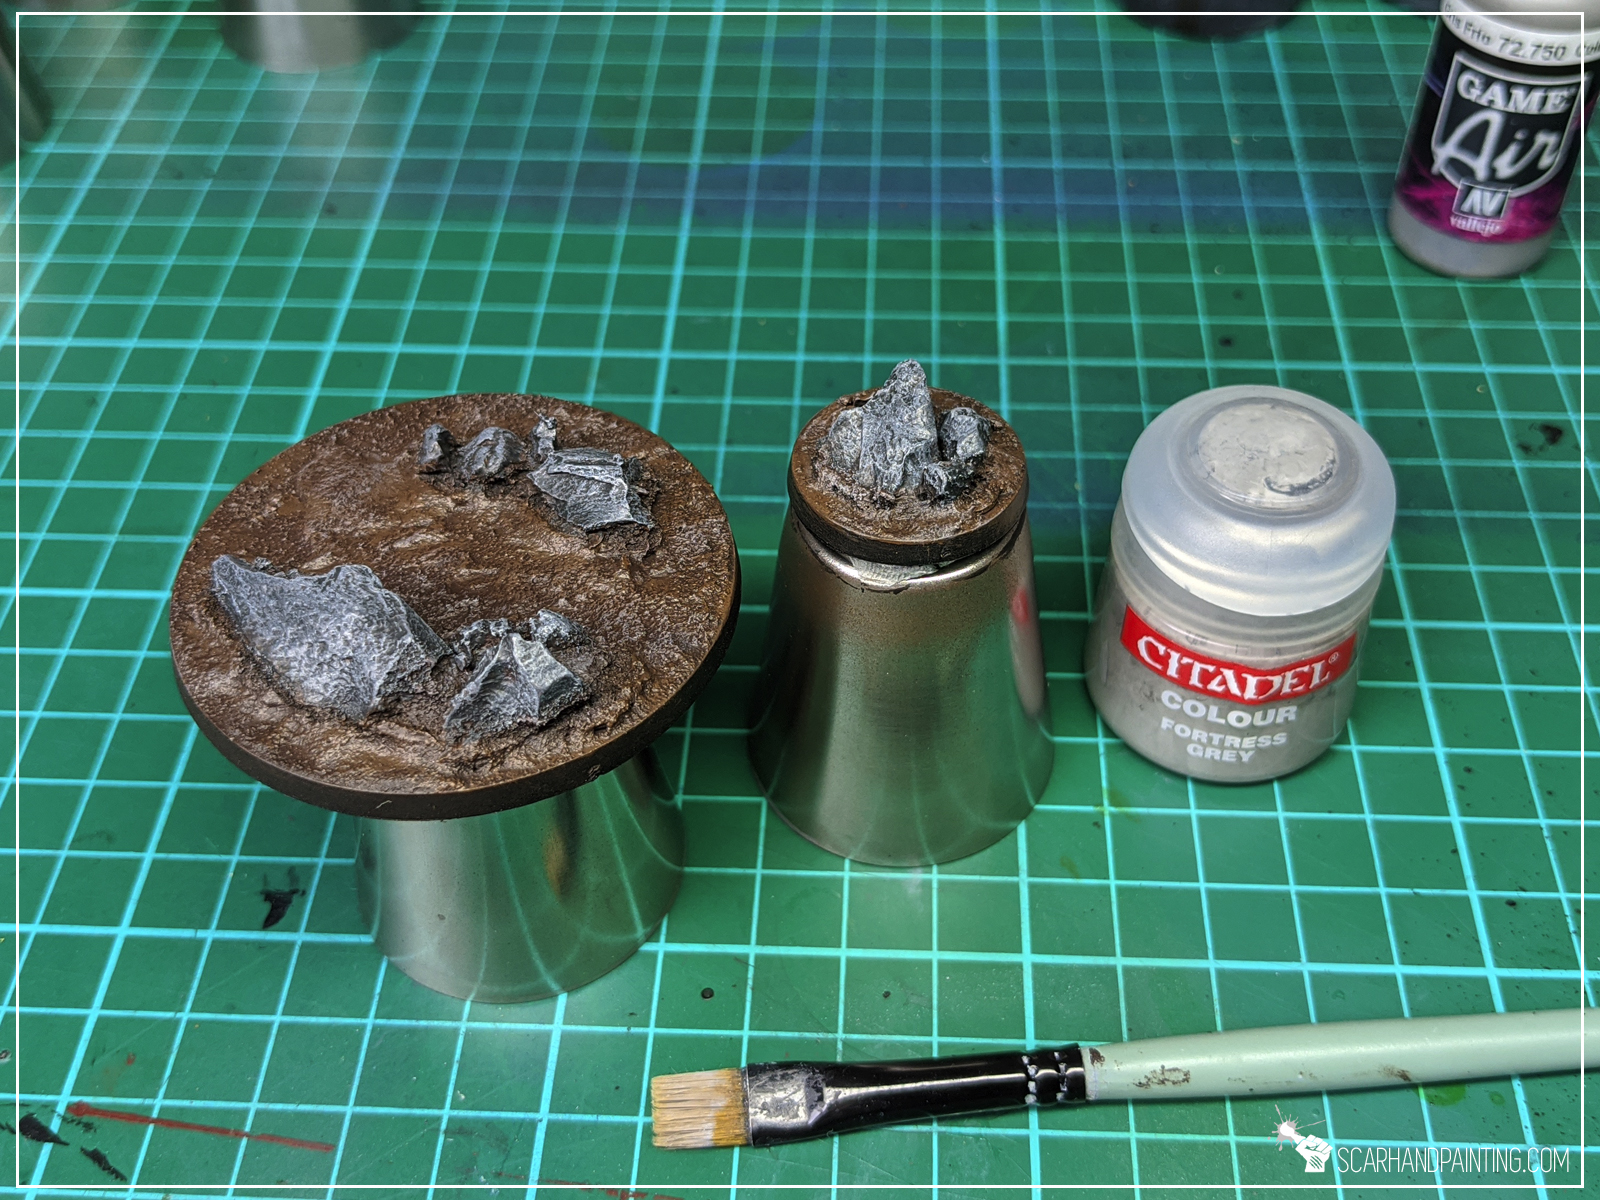
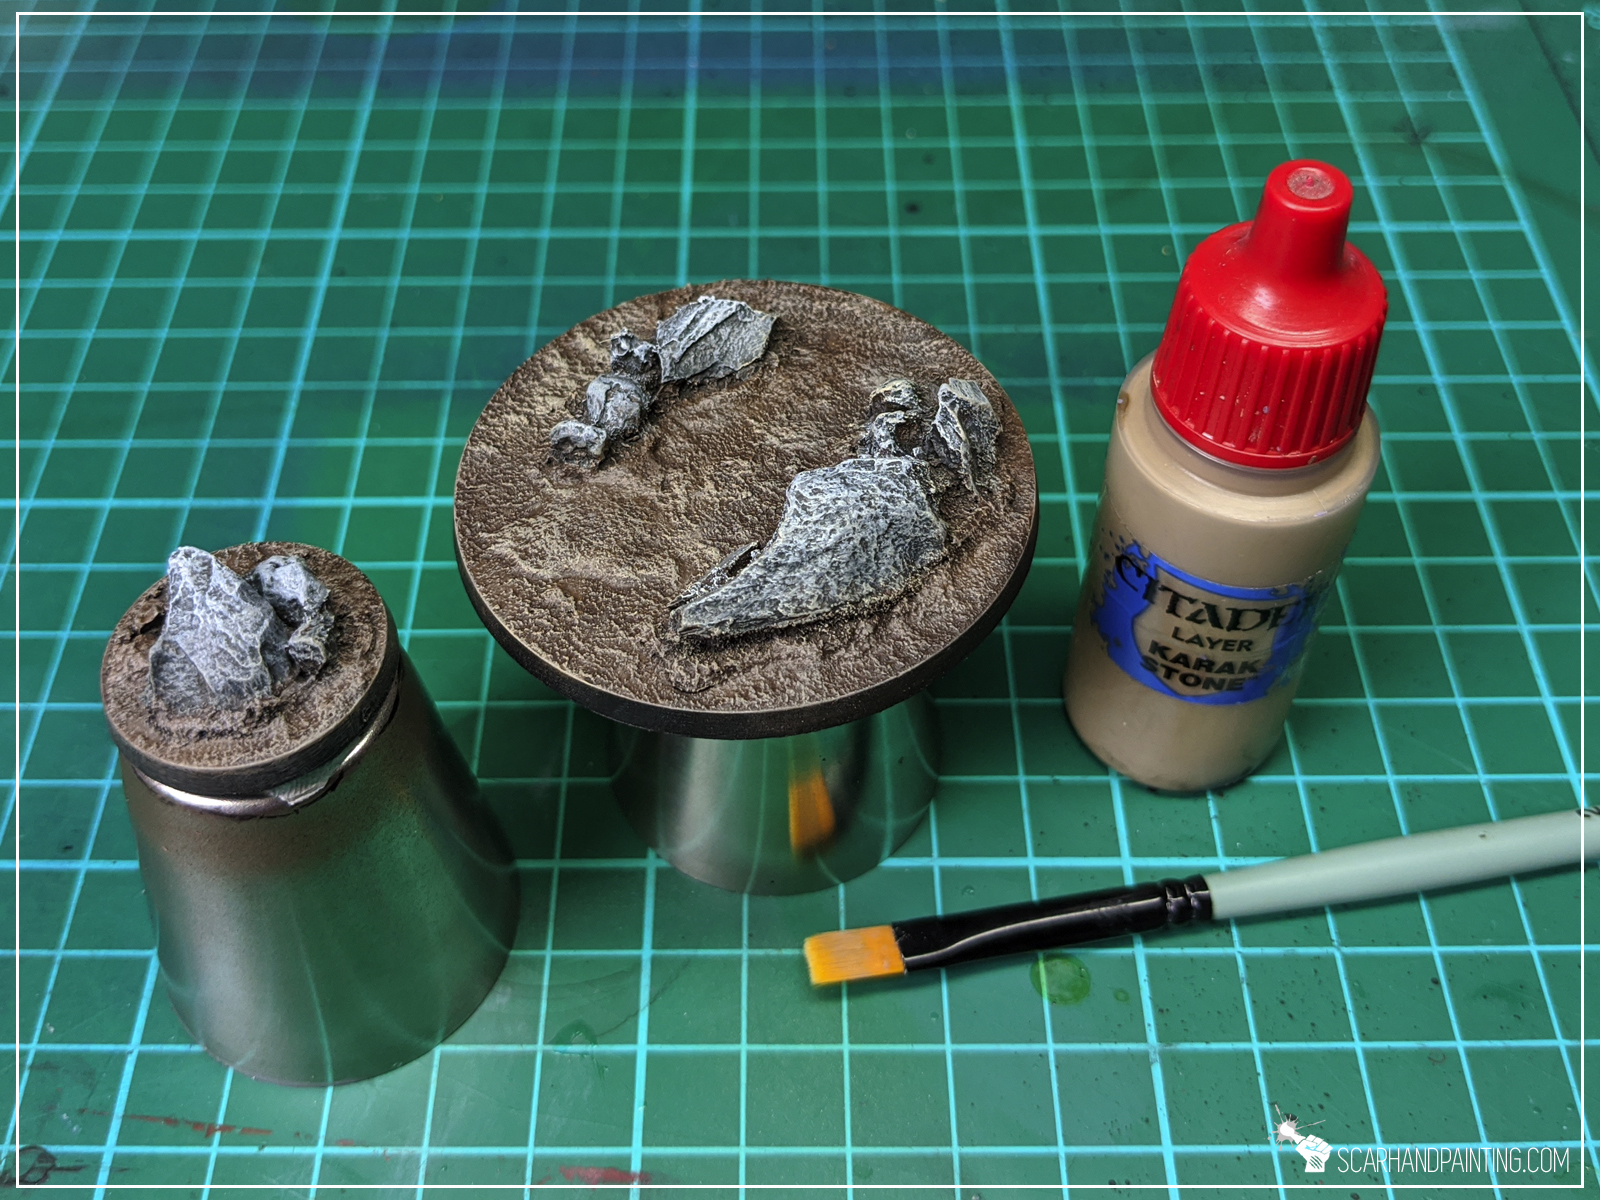
Step tree: Highlights
Final highlight was done with a drybrush of Games Workshop Karak Stone for brown and a drybrush of Vallejo Ghost Grey for rocks.

Step tree: Tufts
Finally I applied Gamers Grass Swamp Wild Tufts.
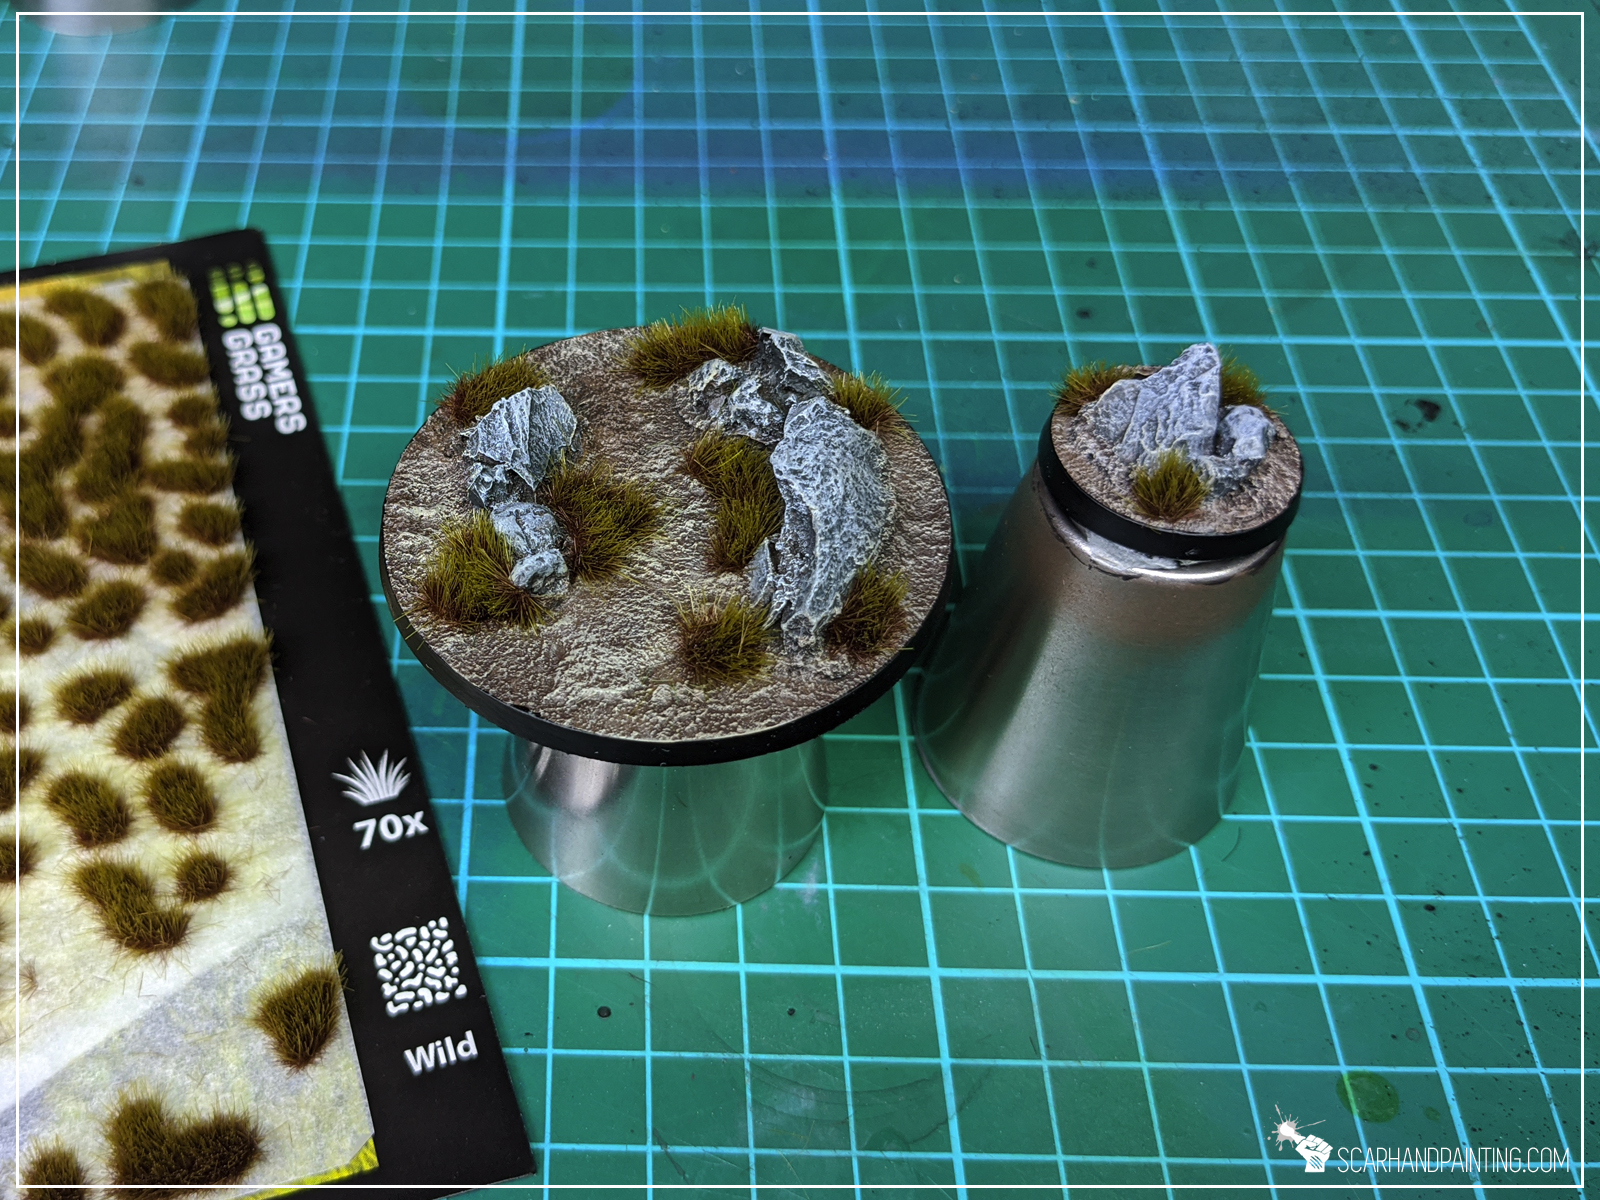

And with that the job was done! Fast and easy – as all bases should be. I hope this was a pleasant tutorial and that you saw how simple the process is. If you want to learn more about Gamers Grass products – here’s my review:
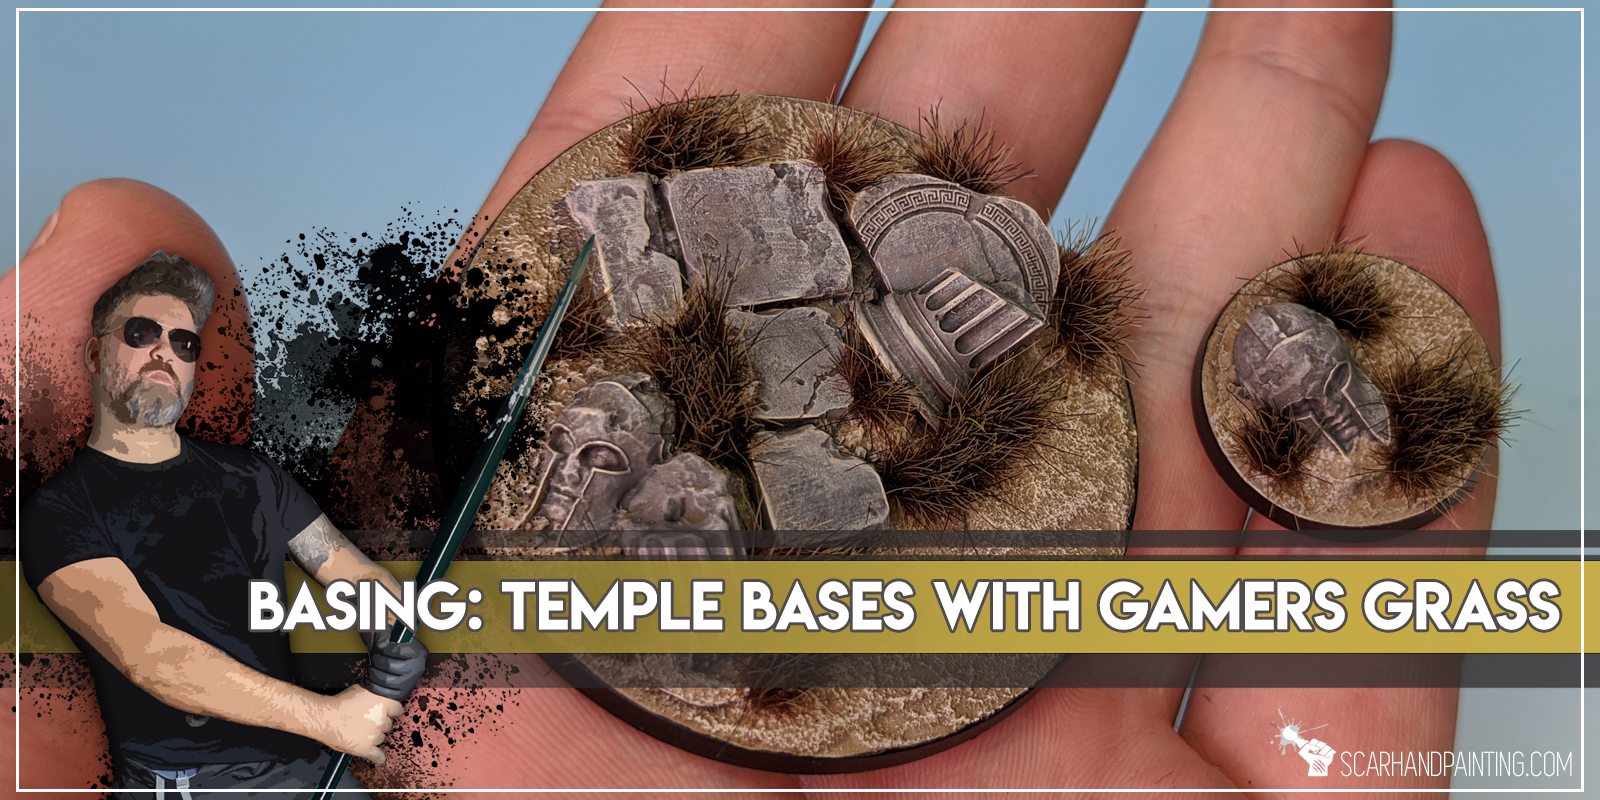
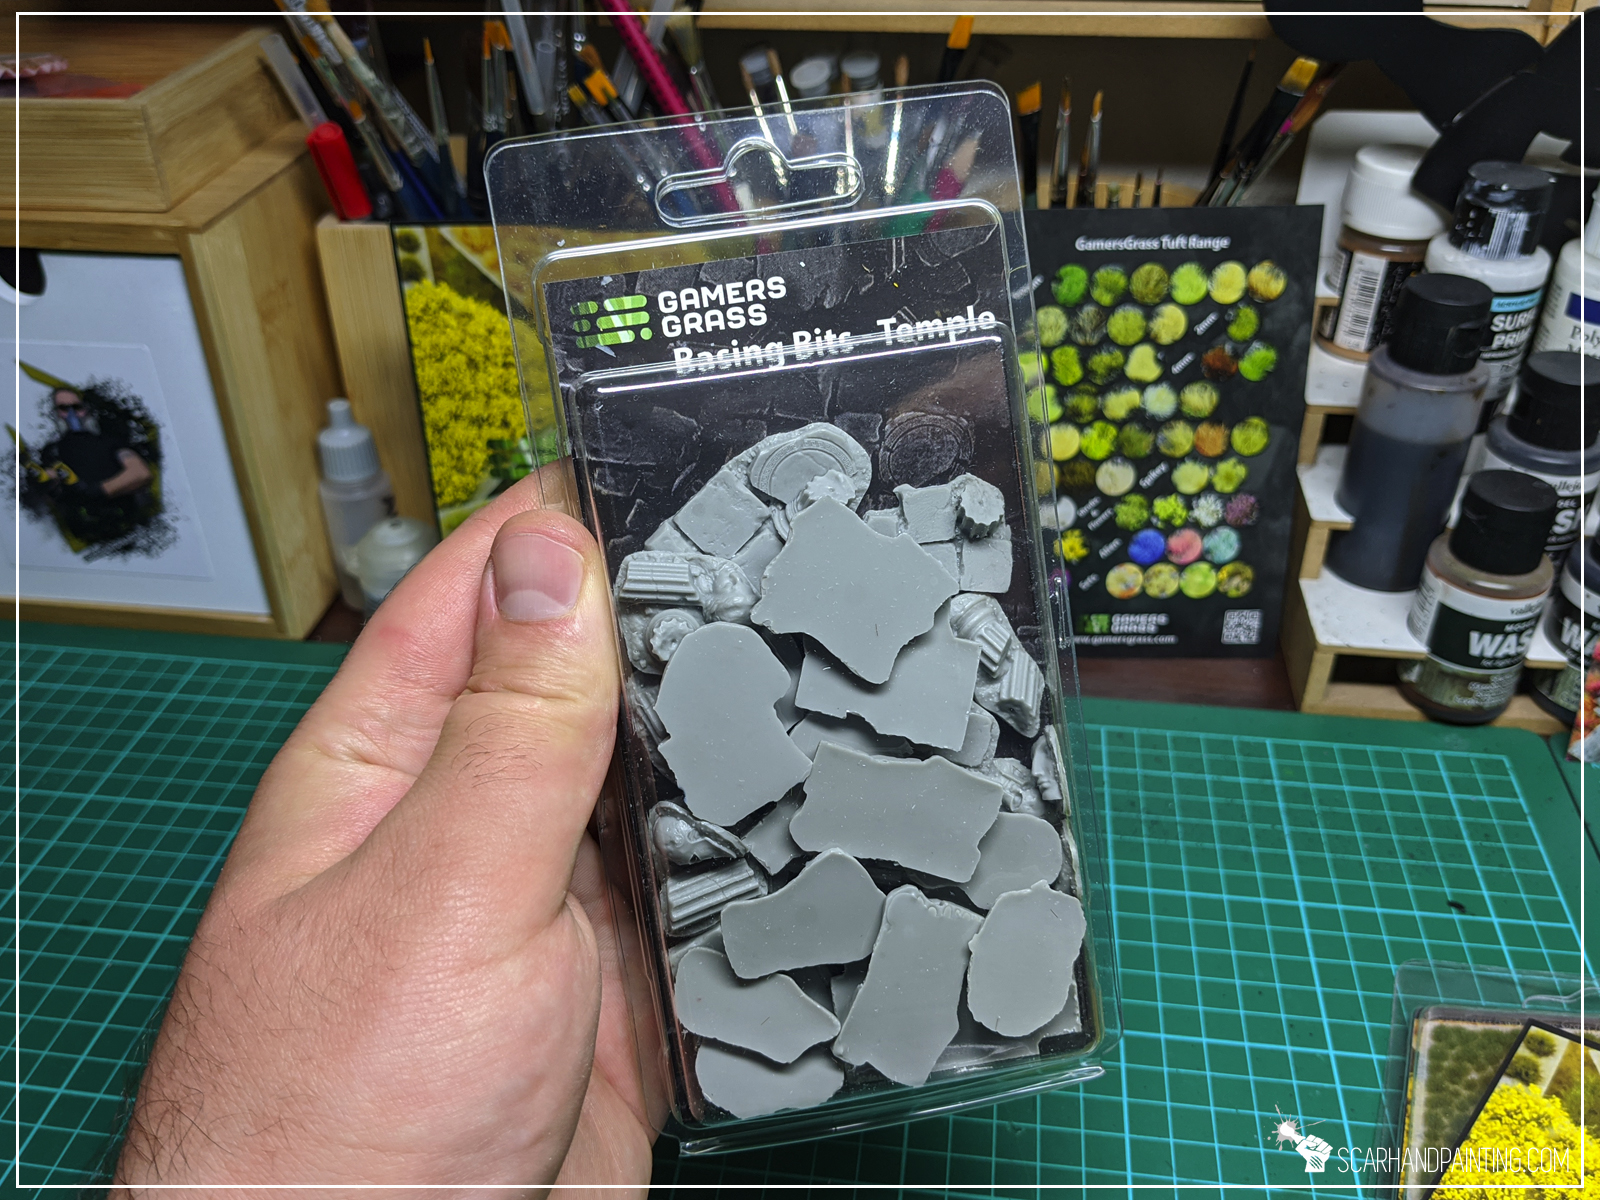
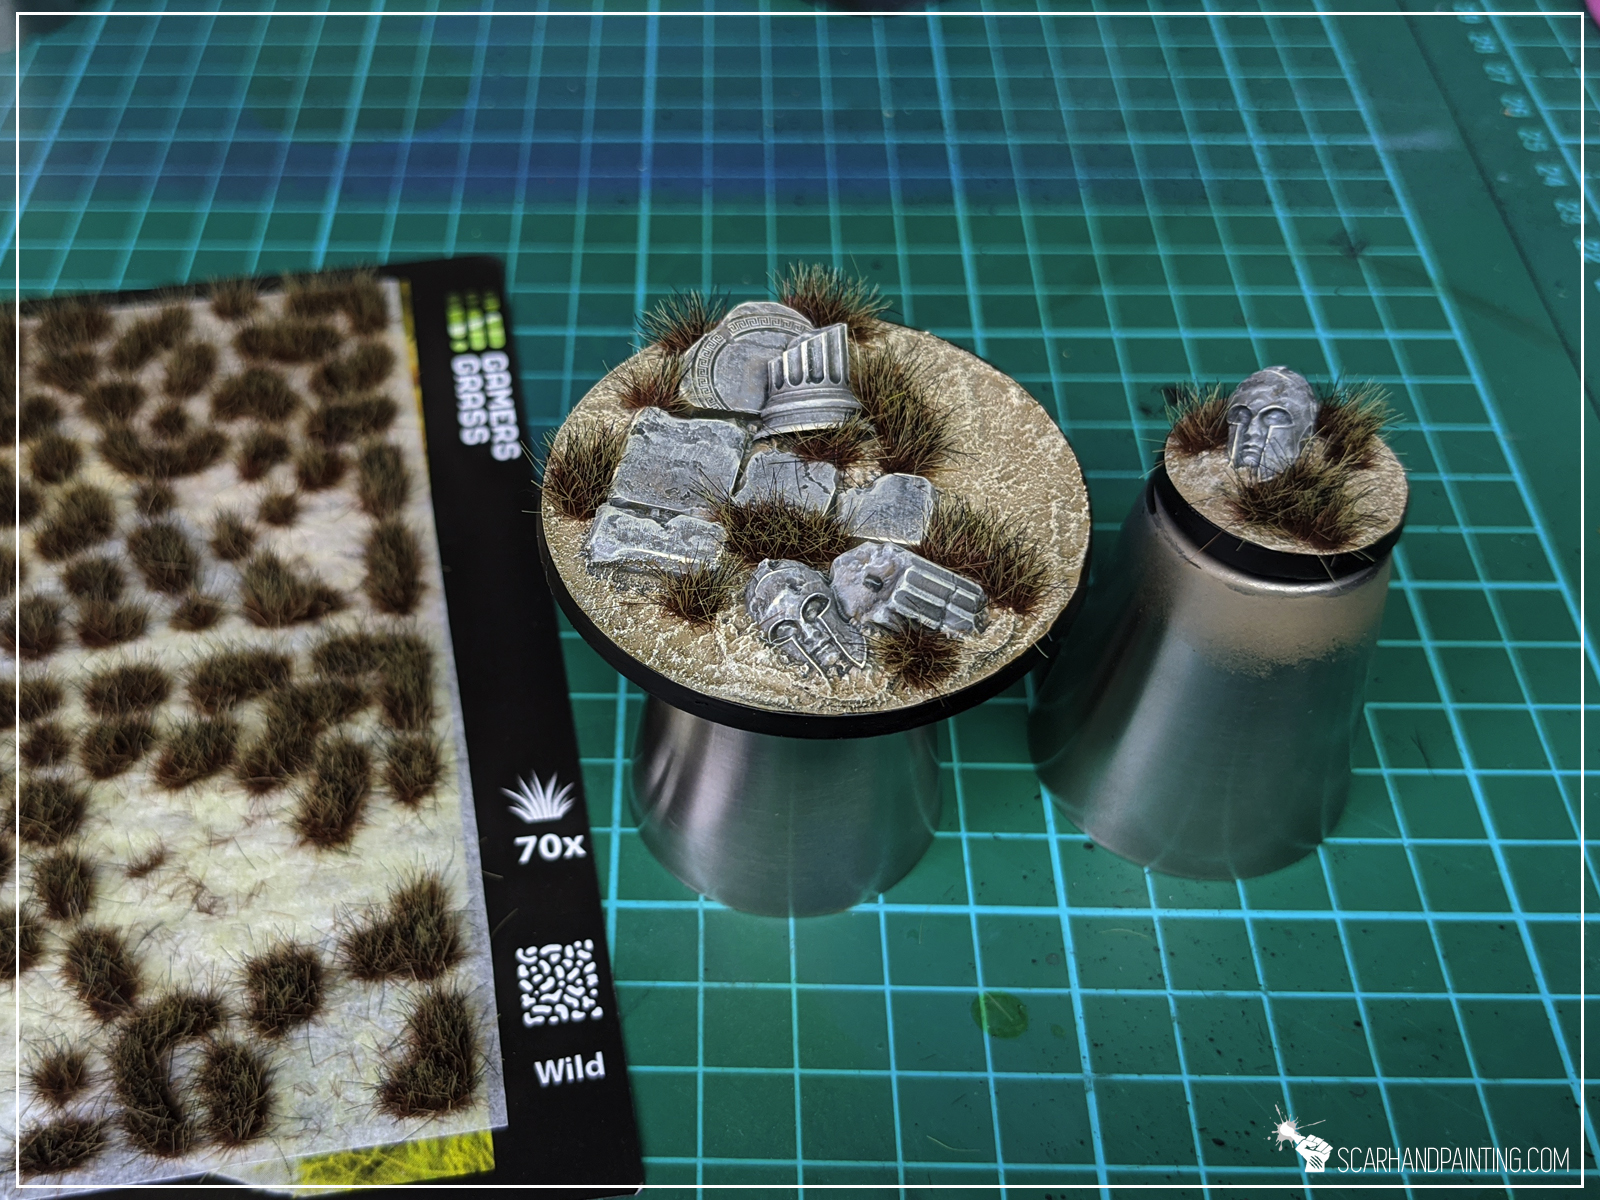
Welcome to Temple Bases tutorial. Here I will take you on a Step-by-step trip through the process of creating and painting Temple Bases as presented in the picture below. This adventure is possible thanks to generosity of Gamers Grass and their easy to use, fantastic products.
Before we start, some notes:
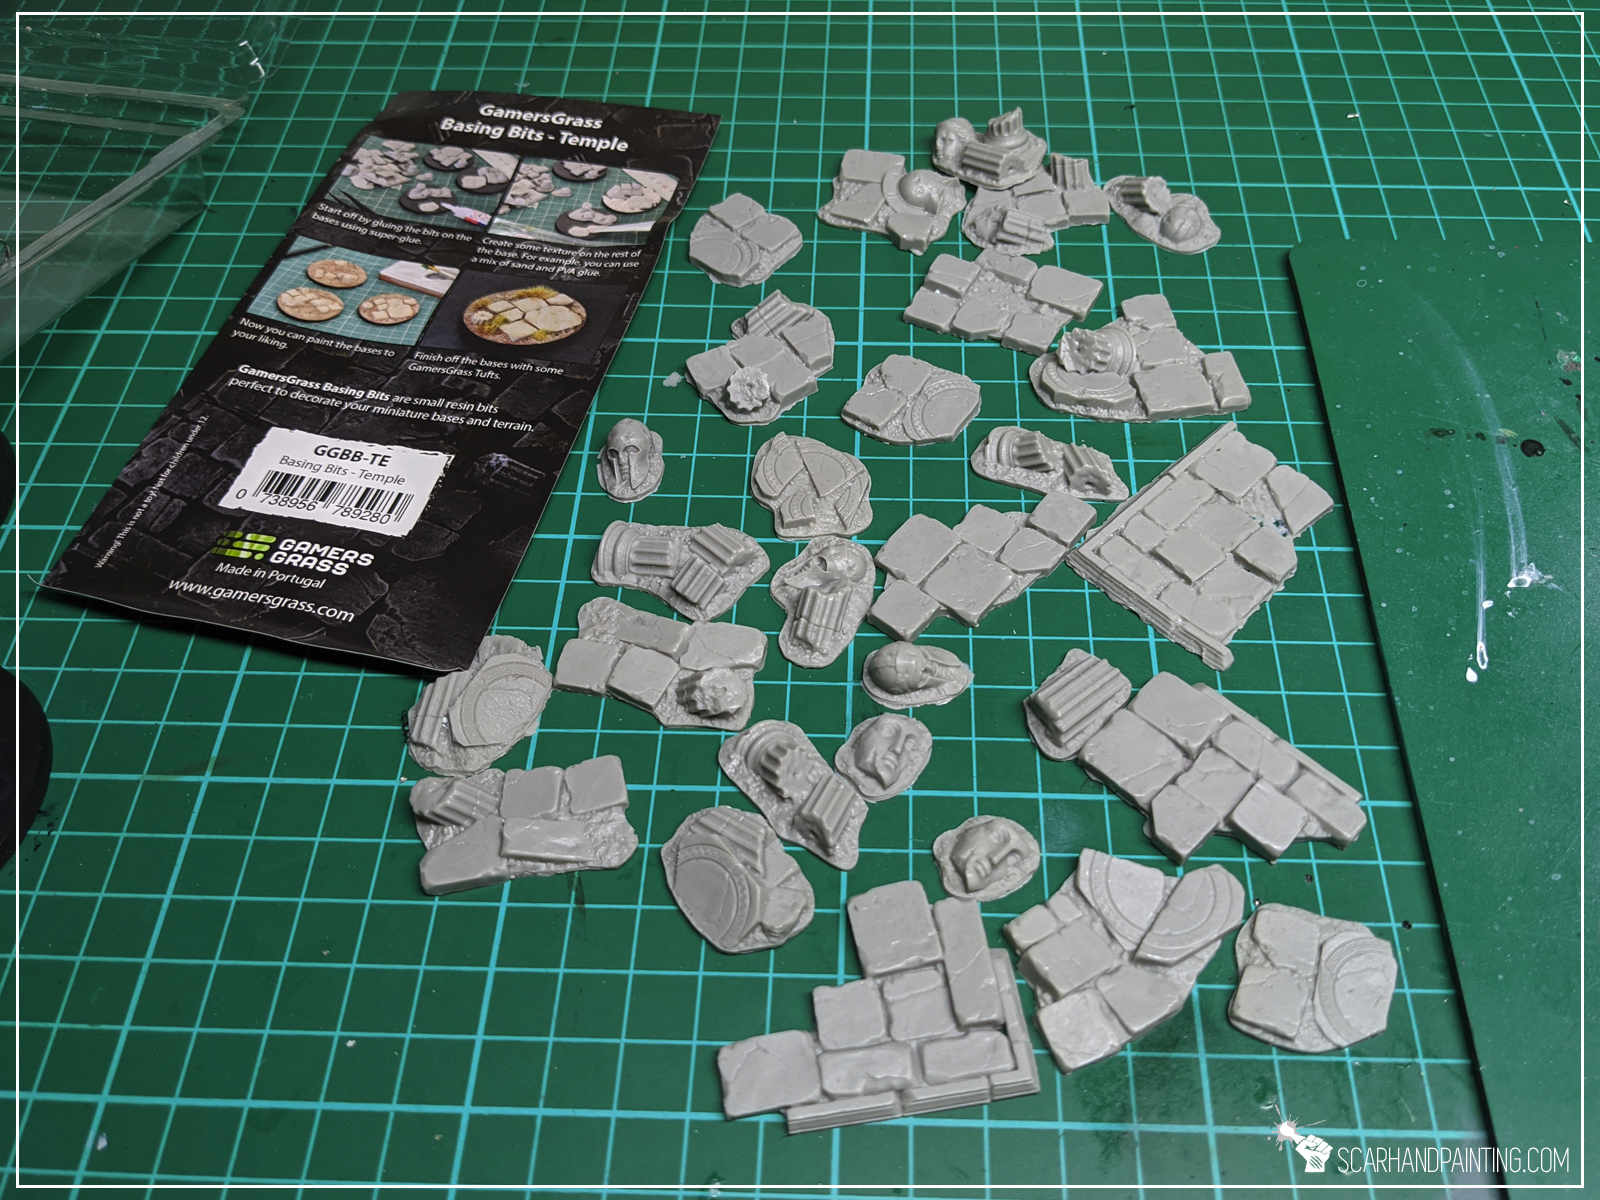
In my opinion base is supposed to complement a miniature, not steal the spotlight. For this reason, when making bases, I usually aim for fast, simple, yet effective solutions. Important thing to note when deciding on what to use for your bases is to pick a method that is easy to copy. This is why I consider Gamers Grass Basing Bits a perfect solution. Nicely textured, ready to use straight out of the box – glue them on, add some texture around – you’re ready to paint. All that being said – for this particular base type I choose Gamers Grass “Temple” basing bits.
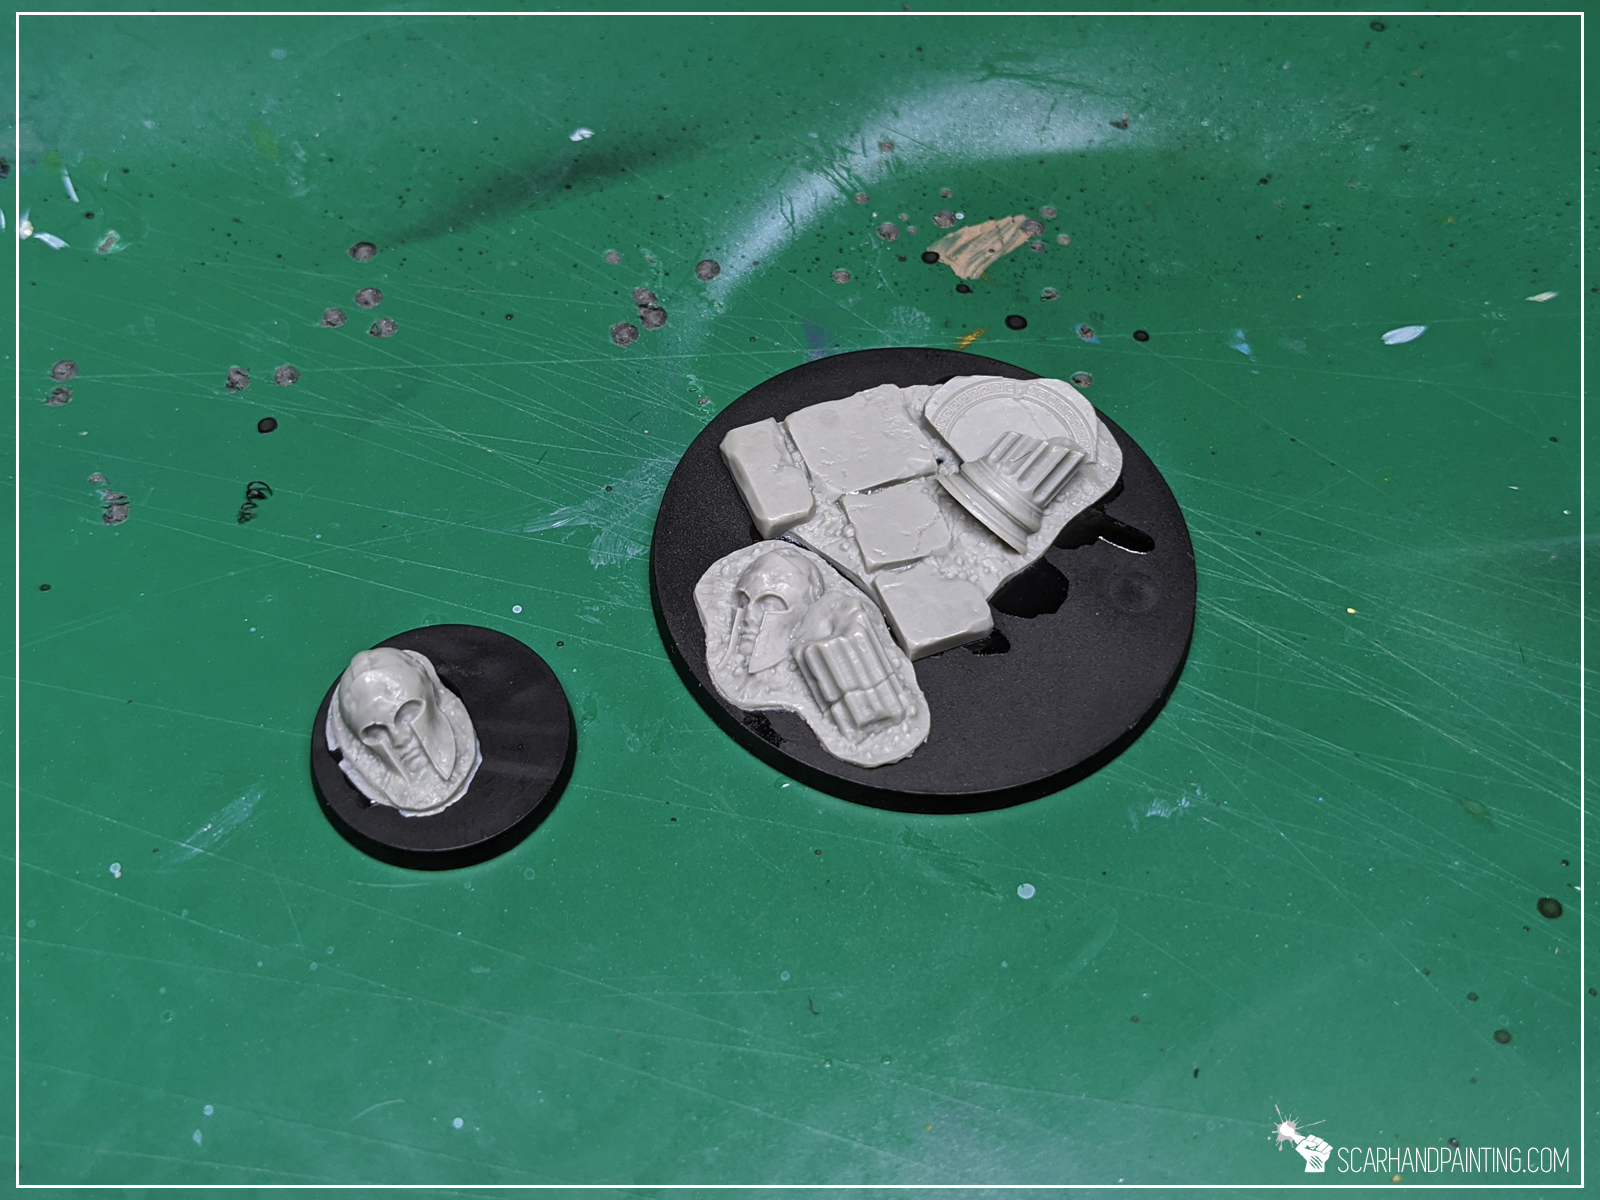
Step one: Applying basing bits
I started by applying glue onto the base and gluing few basing bits on top.


Step two: Applying texture
I then applied texture with Games Workshop Stirland Mud.
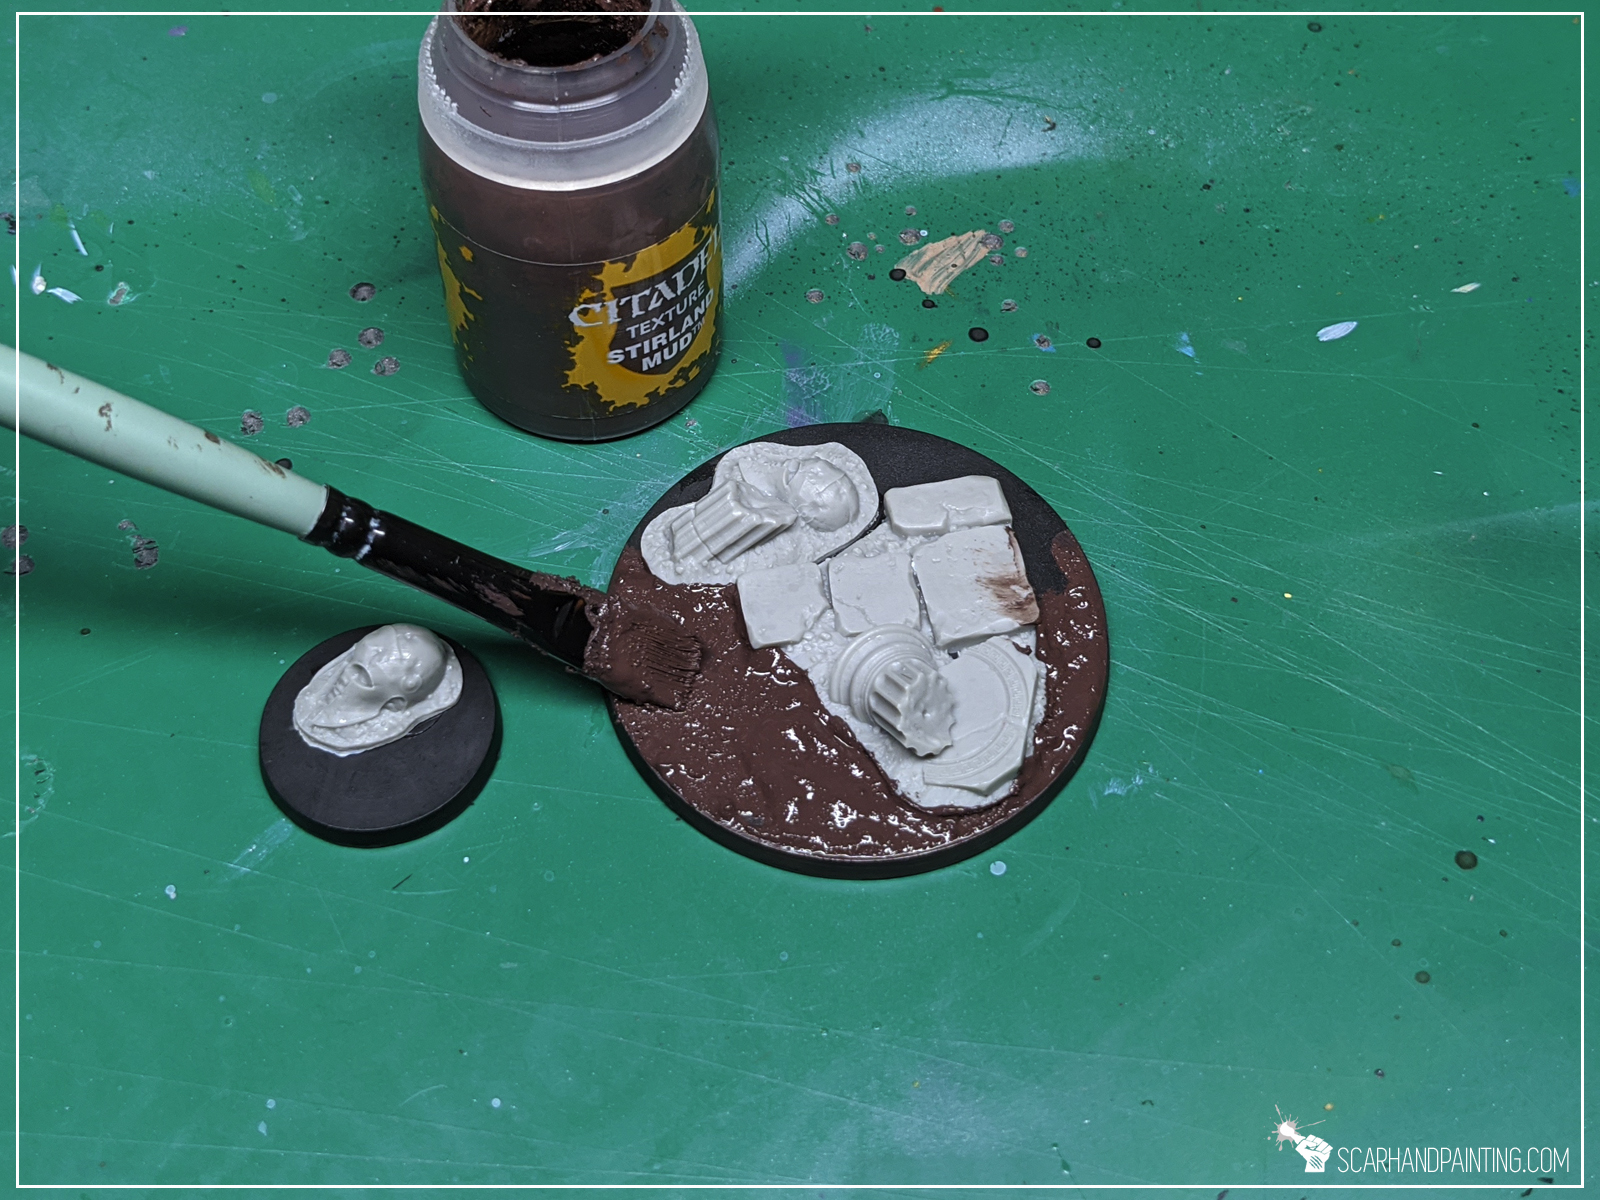
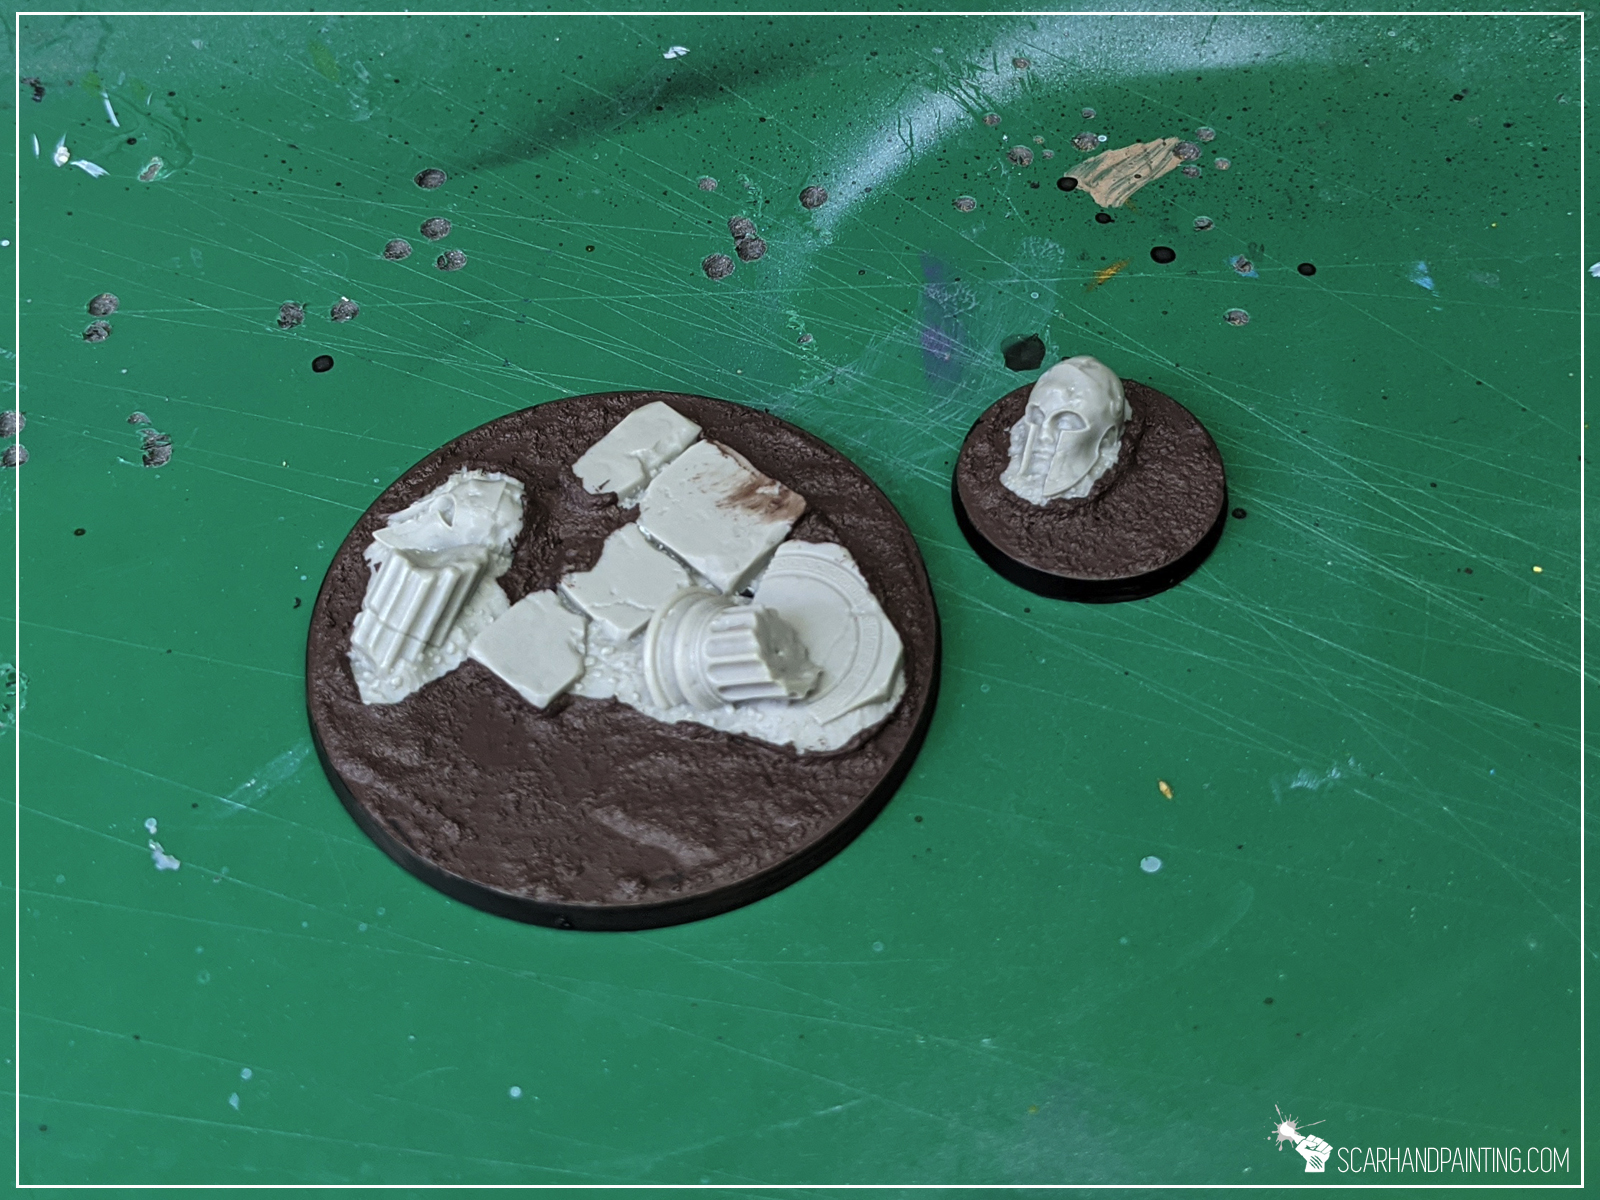
At this point entire “Modelling” part is done. If it seem fast it’s because it really is. Just two steps and you’re ready to paint!
I choose to paint these Temple bases in a bit of a Desert’ish style. Let’s say these are meant to be used for a large army. I want to keep things simple, best if within three layers per color, crowned with a single type of tufts. Nothing fancy, just nice looking, coherent bases. Here’s how I went about it…
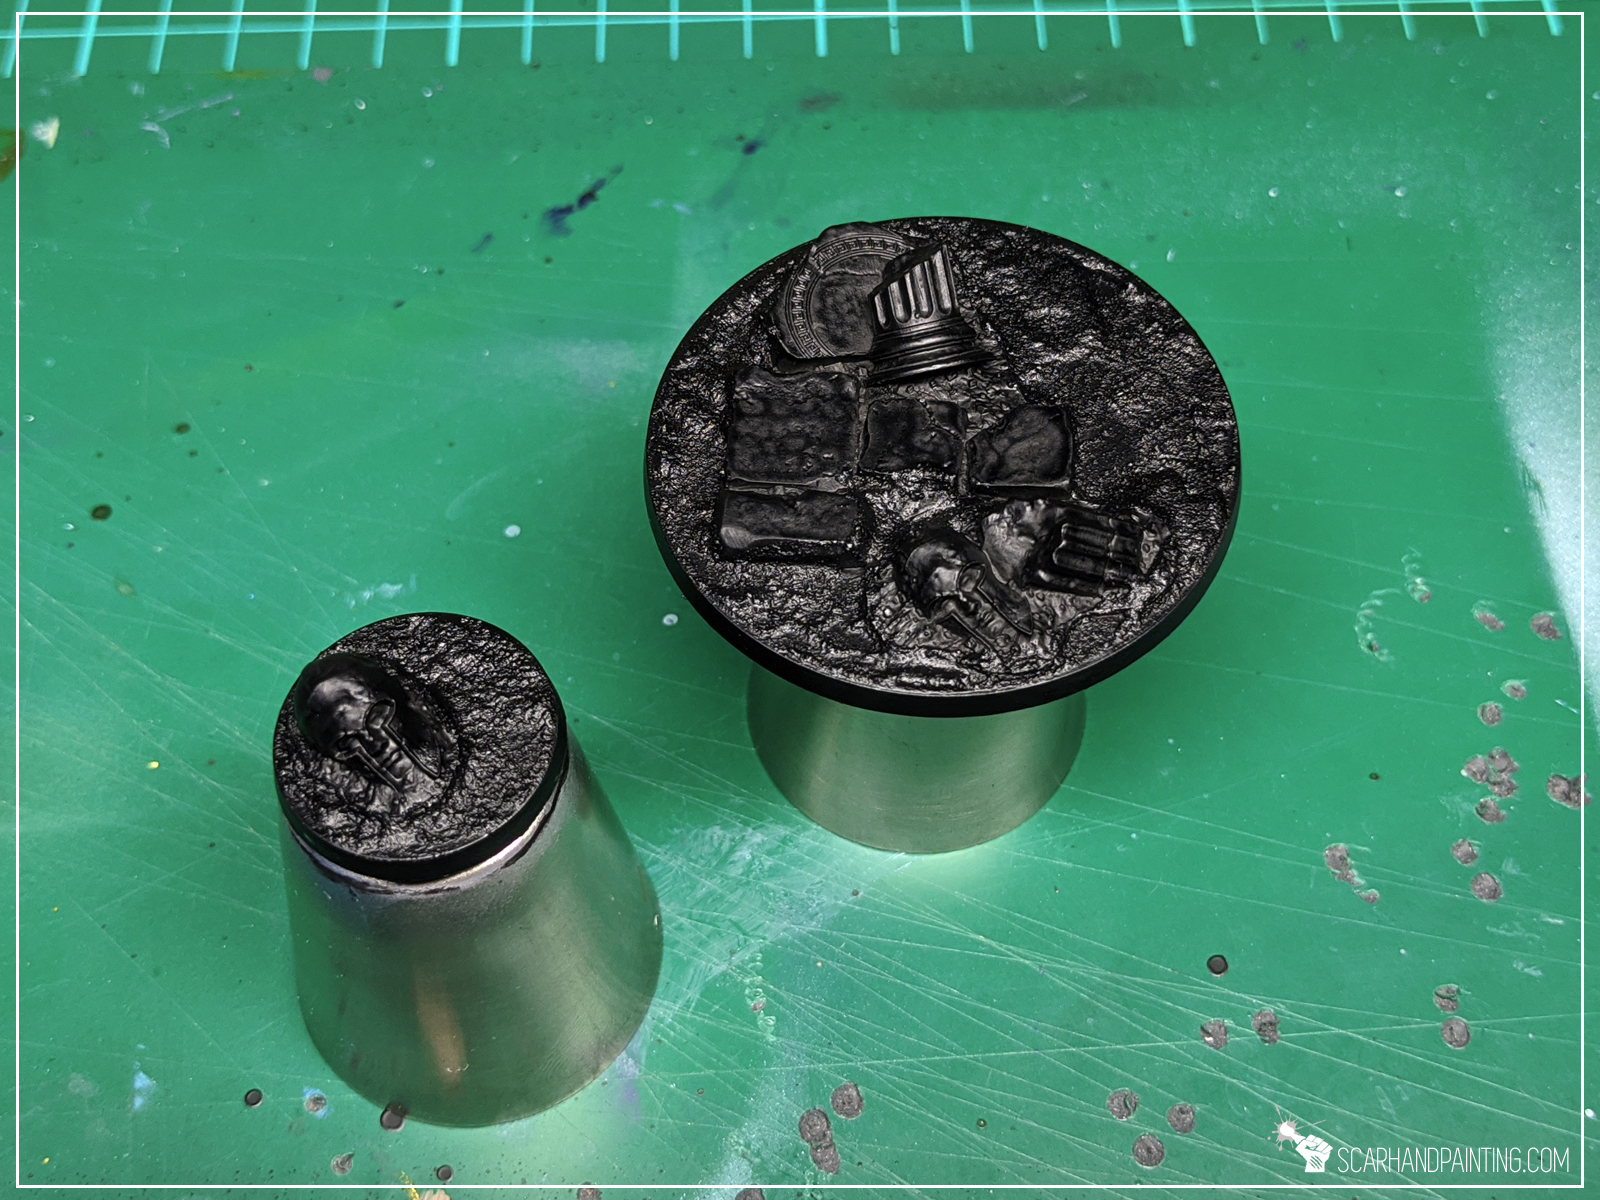
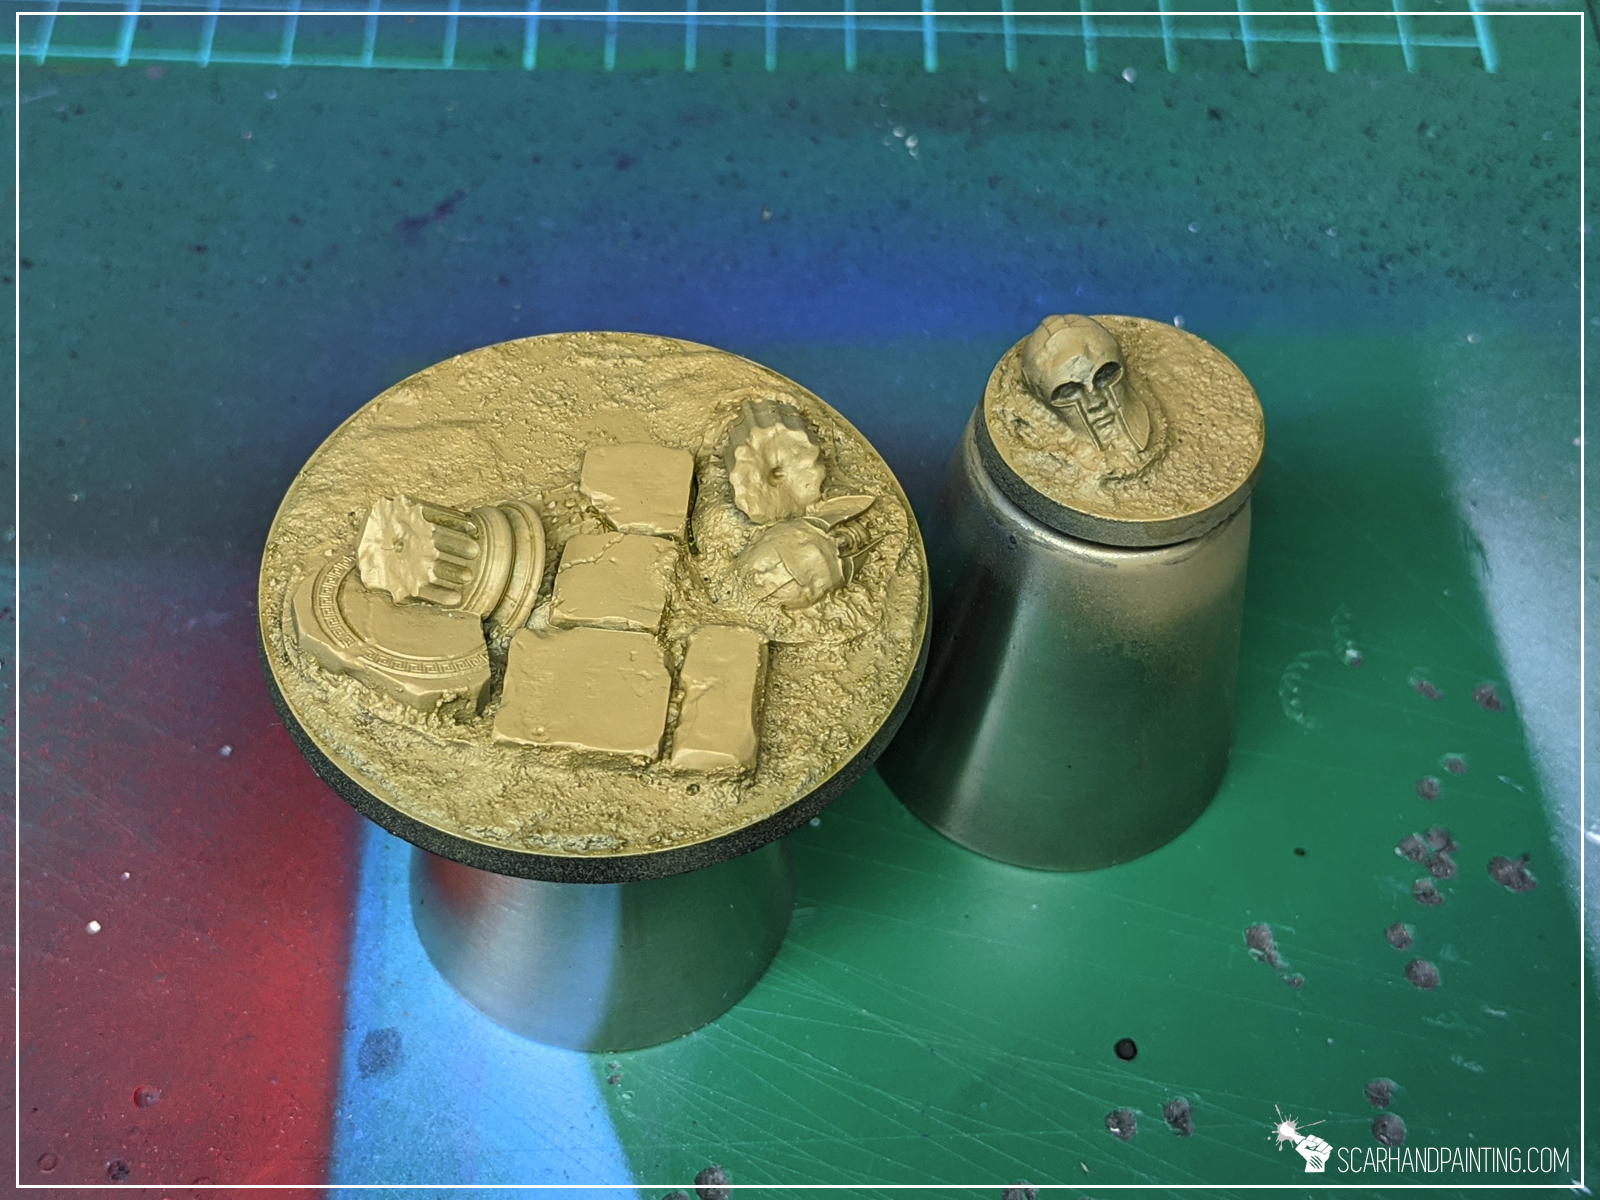
Step one: Undercoat
I applied a black undercoat. This is my usual start for everything 😛
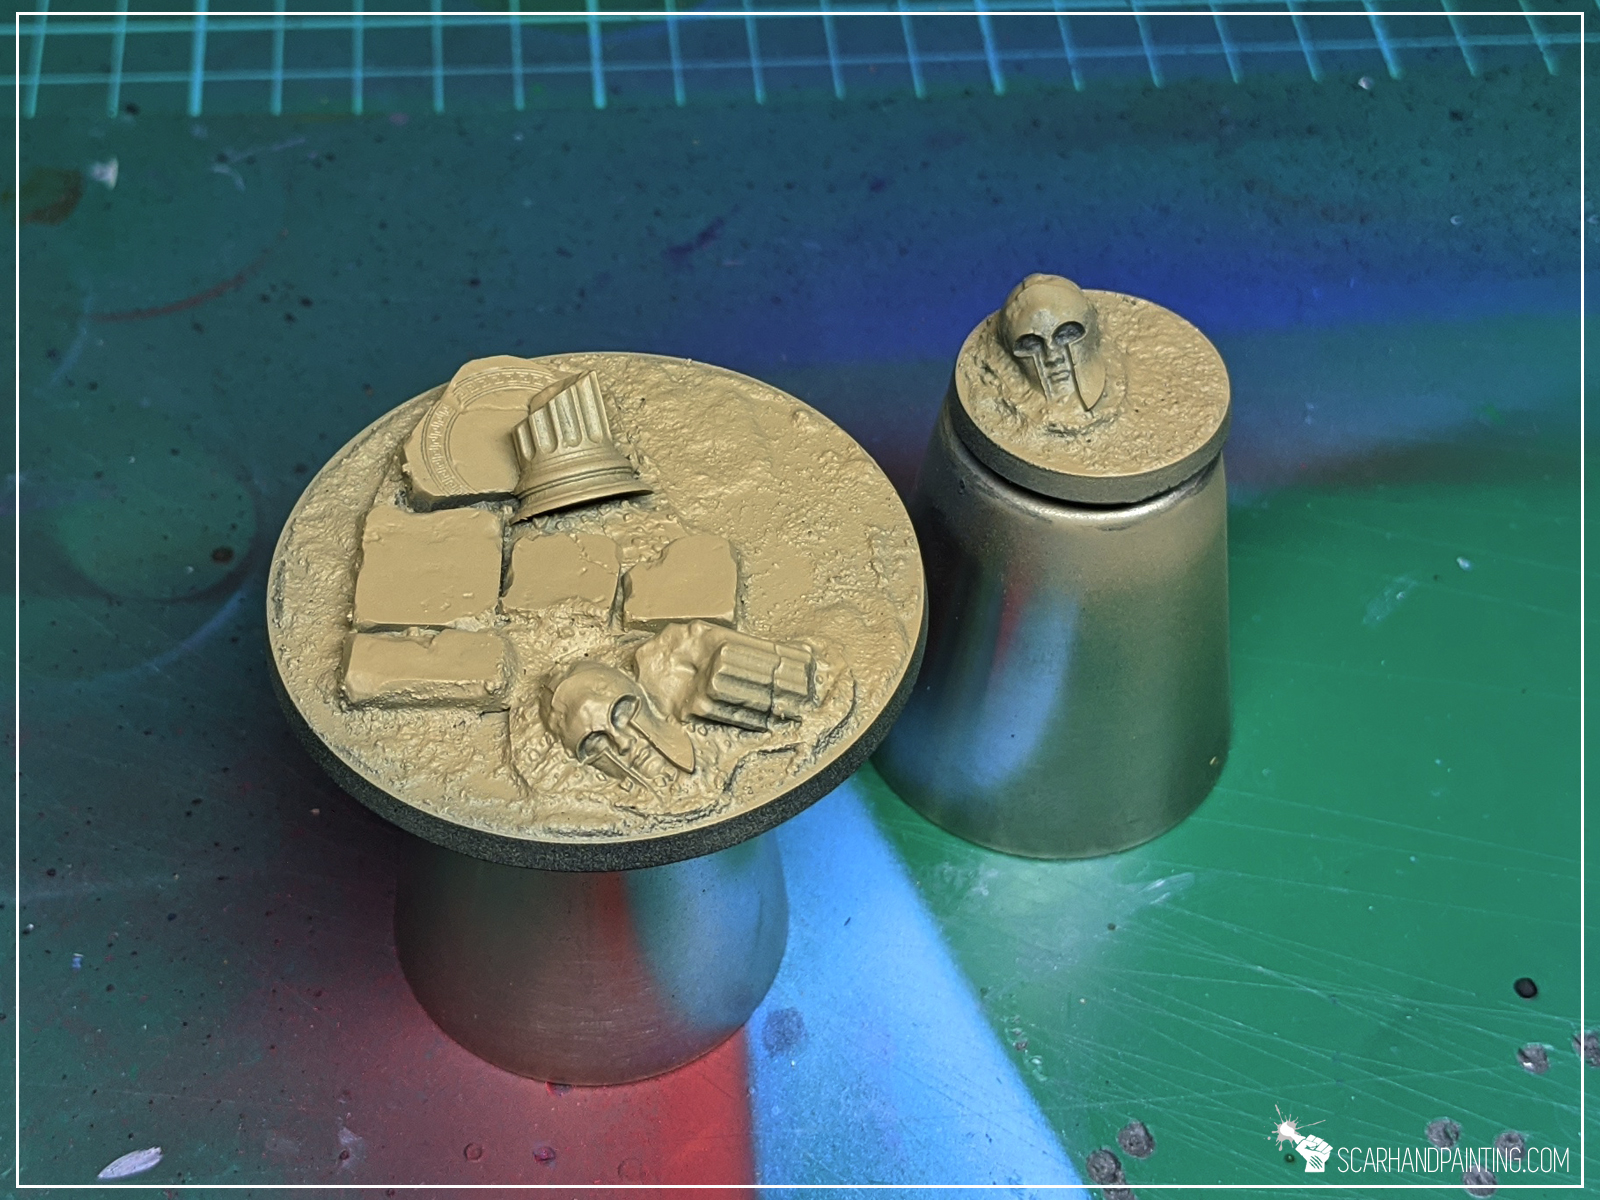
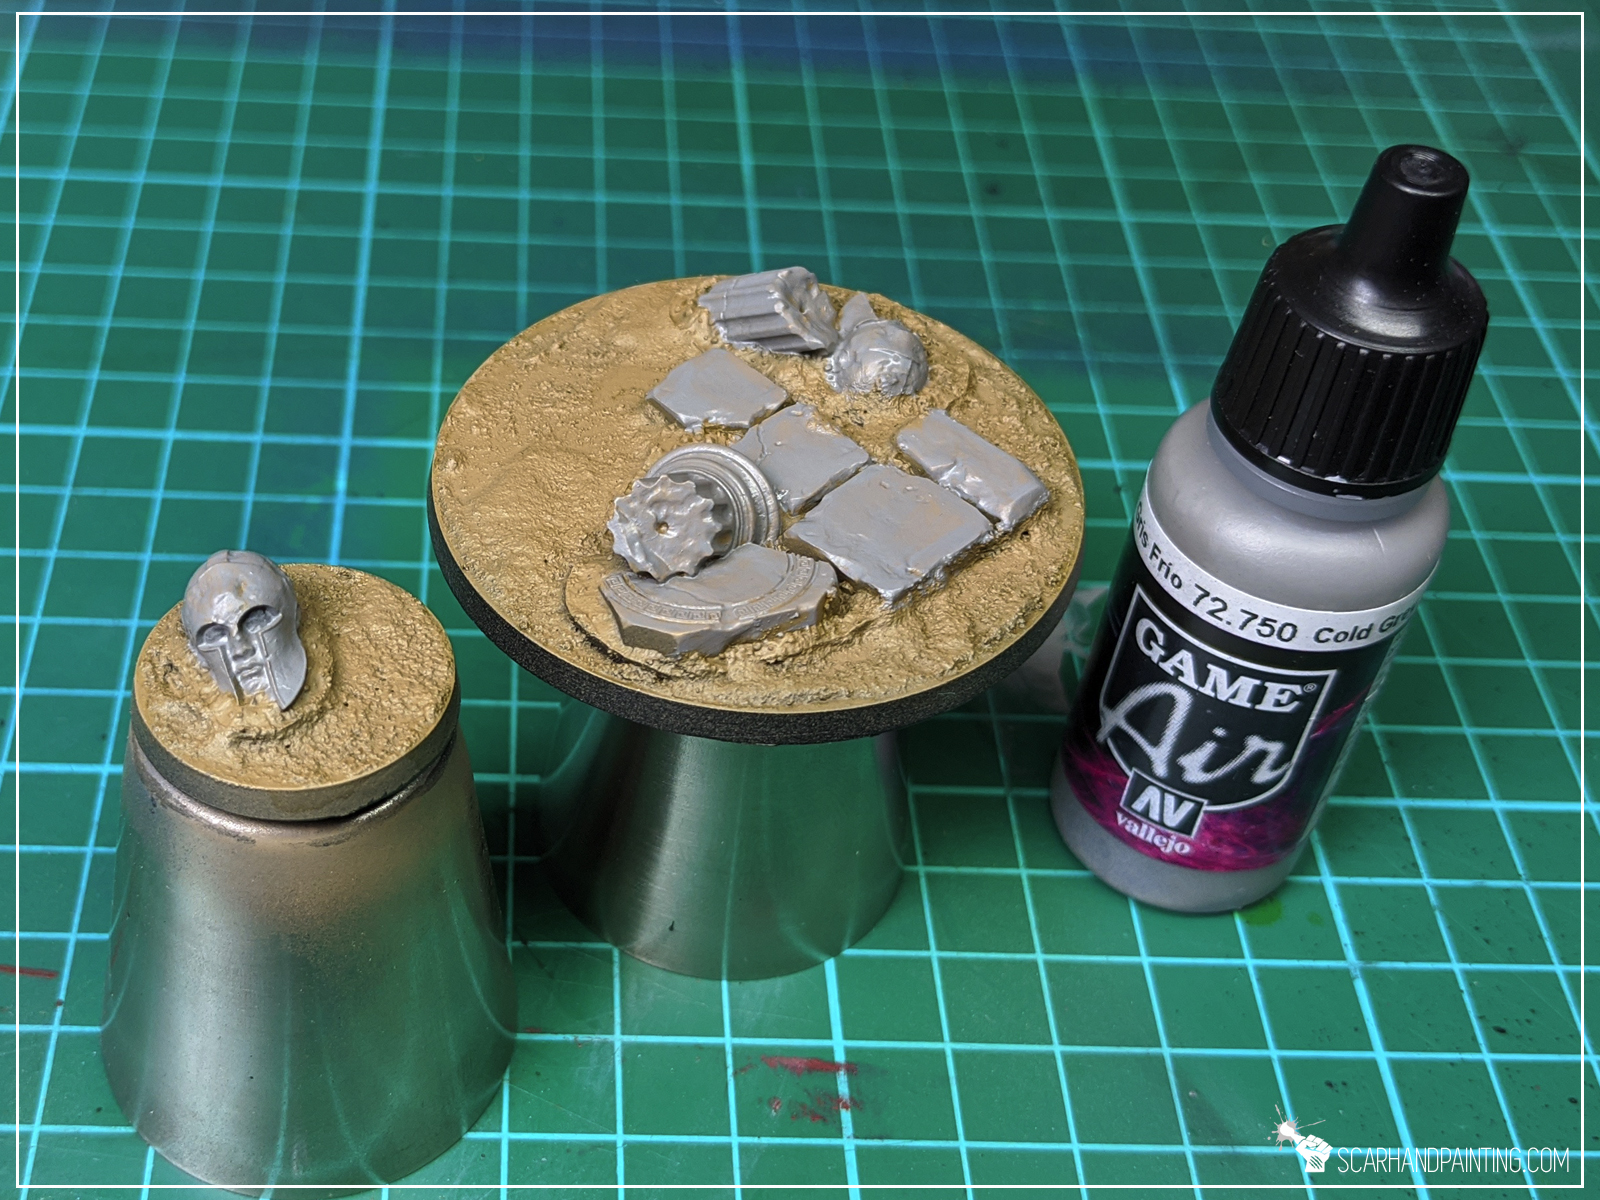
Step two: Main color
I then airbrushed Vallejo Desert Yellow over entire base. Once dry I applied Vallejo European Dust Wash.
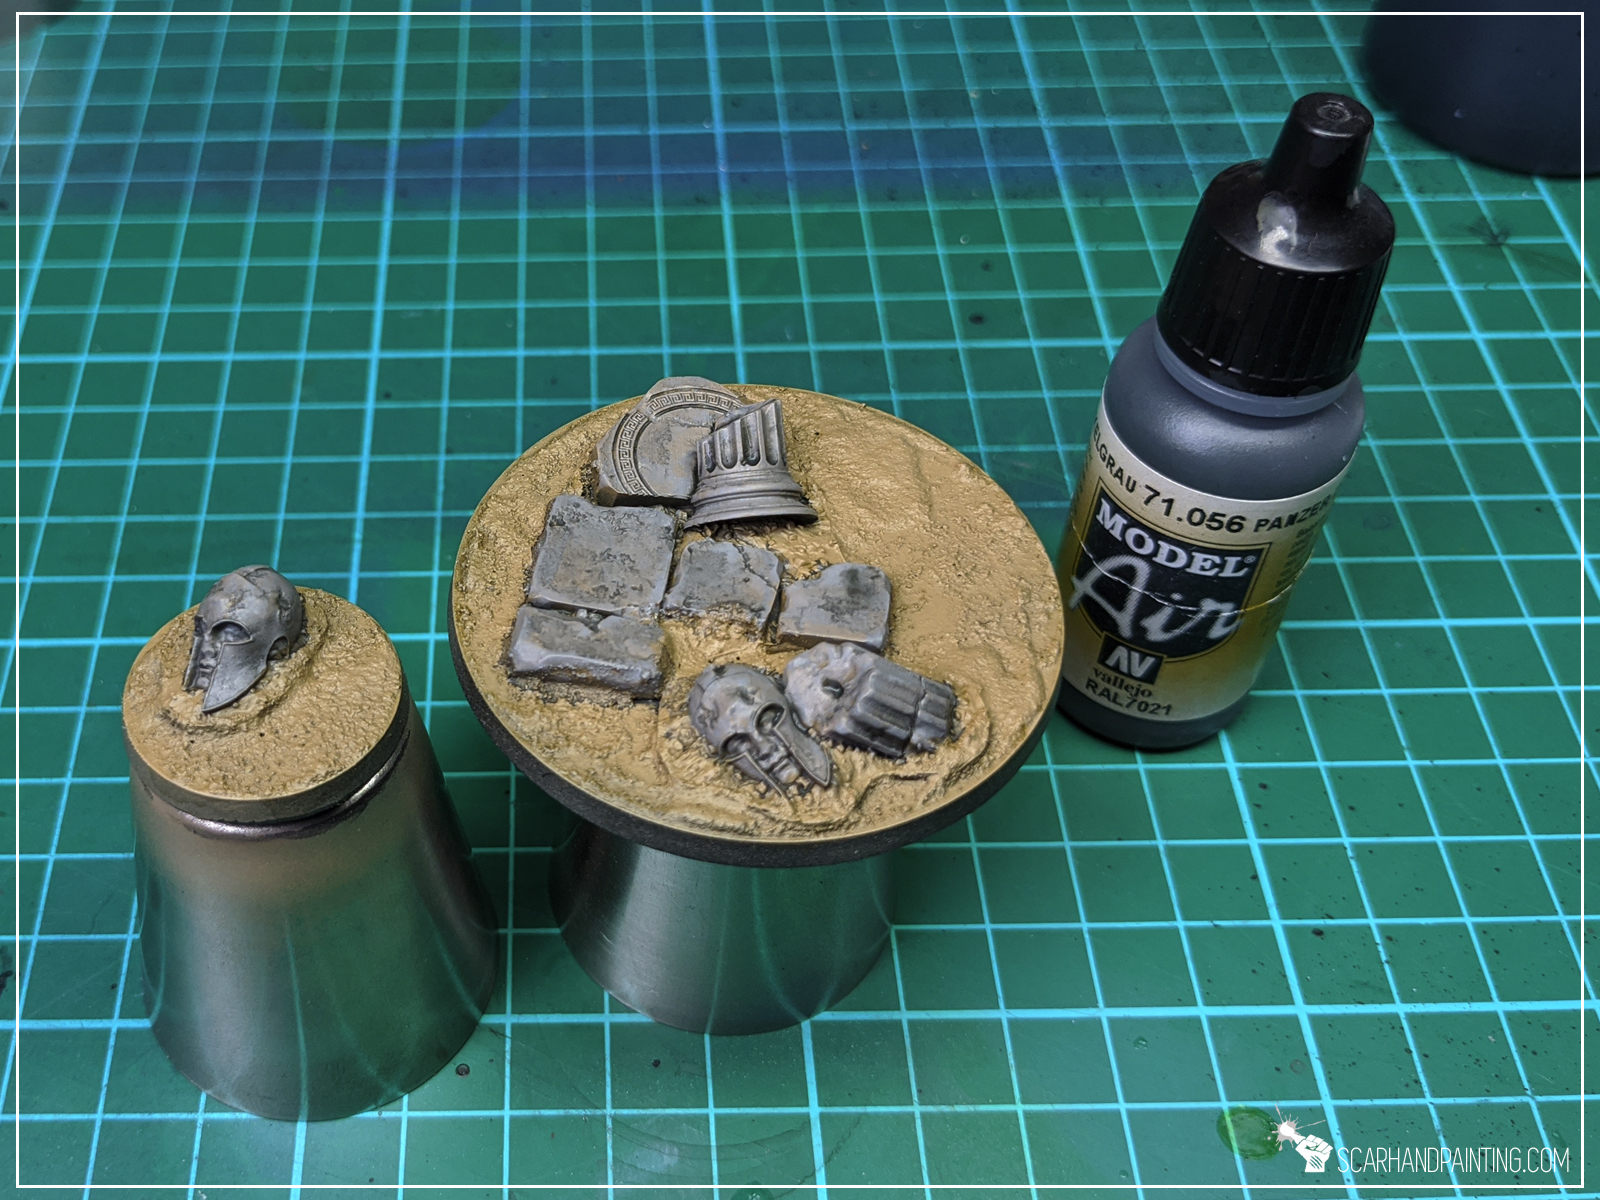
Step two: Secondary color
For ruins I choose Vallejo Cold Grey, followed by a wash of water thinned Vallejo Dark Panzer Grey.
Step tree: Highlights
I then highlighted both colors with a soft drybrush of Games Workshop Flayed One Flesh. I also applied some highlights with the same color on the edges of ruins – just a bit to make them pop.

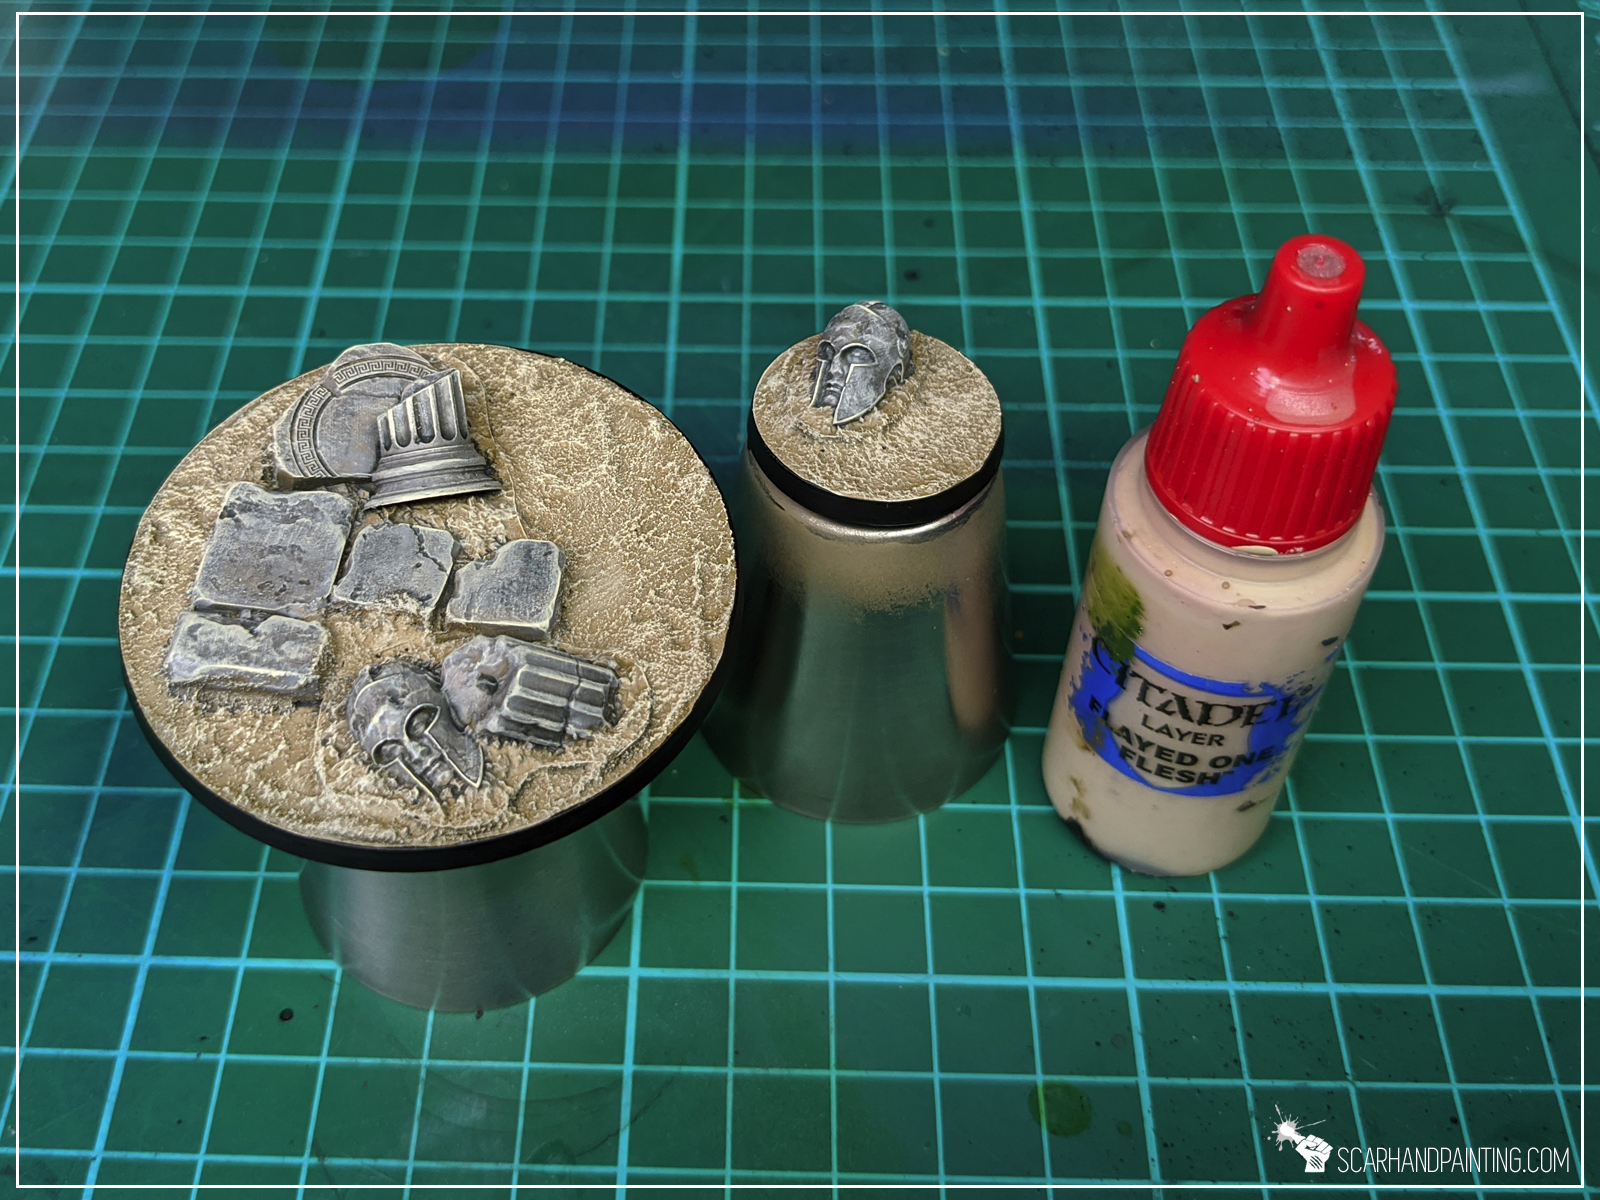
Step tree: Tufts
Finally I applied Gamers Grass Burned Wild Tufts.

Job done! There’s some poetry in both starting and finishing a base using products from the same company 😛 Either way – I hope this was a pleasant tutorial and that you saw how simple the process is. If you want to learn more about Gamers Grass products – here’s my review:
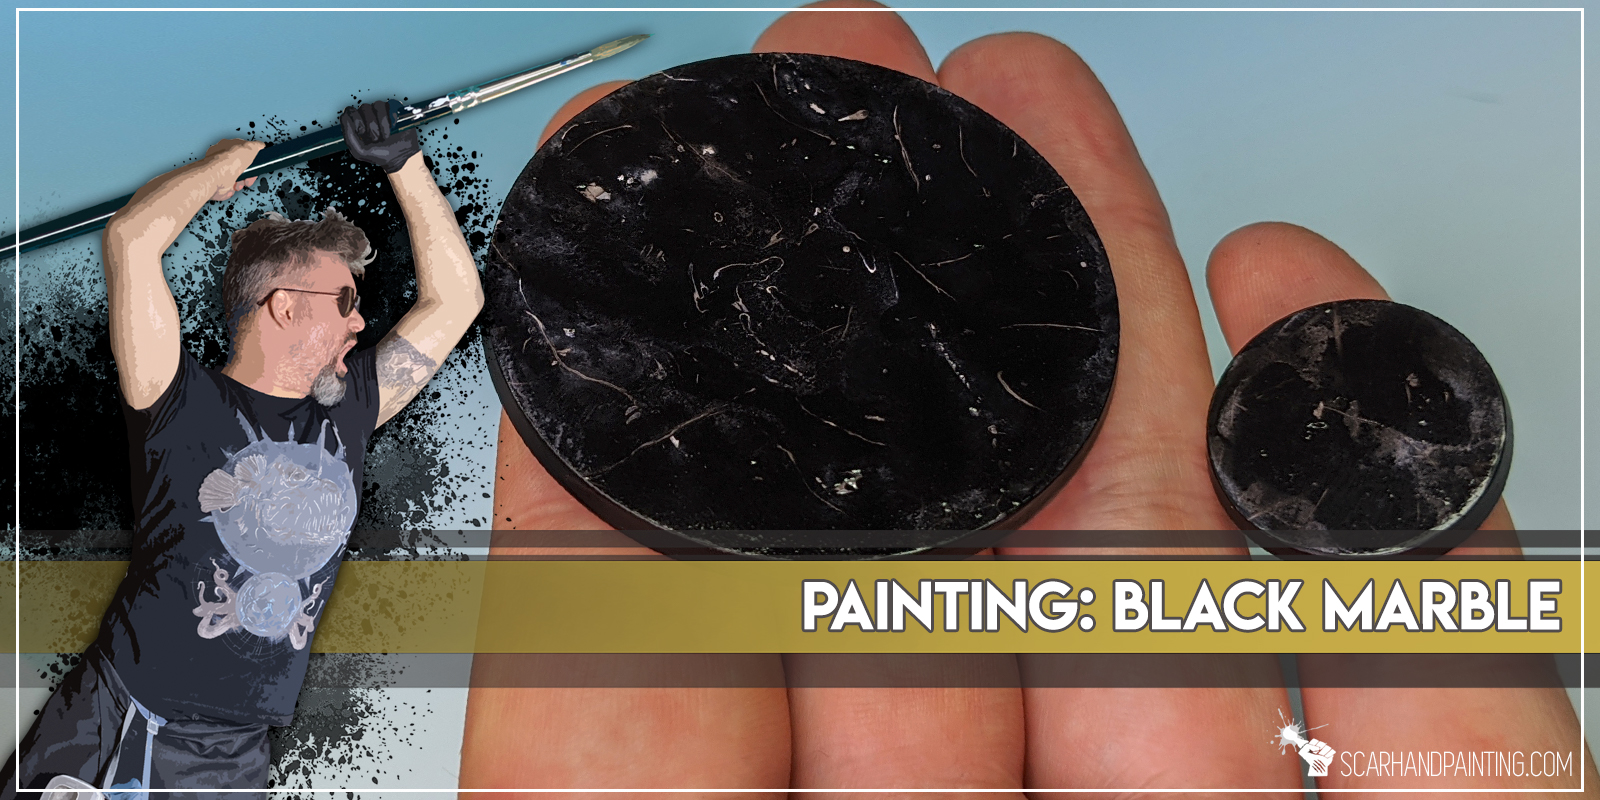
Welcome to Painting Black Marbe tutorial. Here I will take you on a Step-by-step trip through the process of painting black marble.
Before we start, some notes:
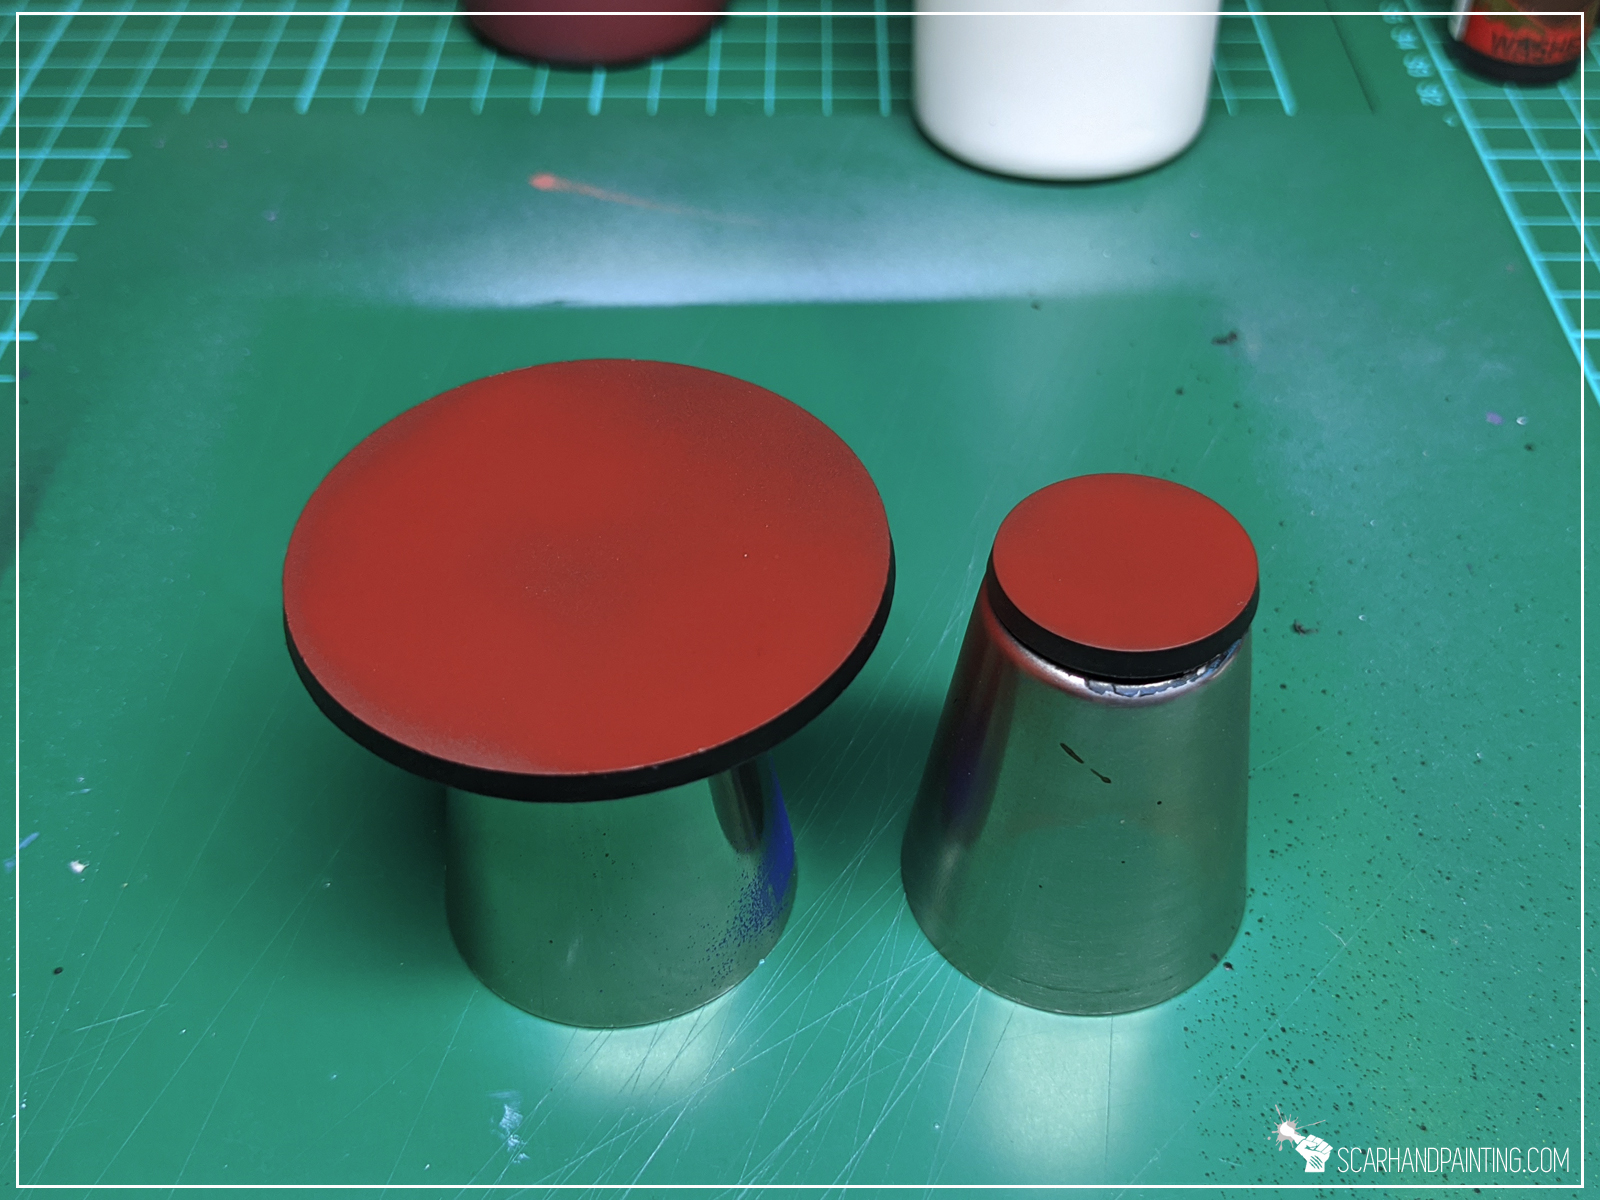
Step one: Undercoat
I started with an airbrushed layer of White.

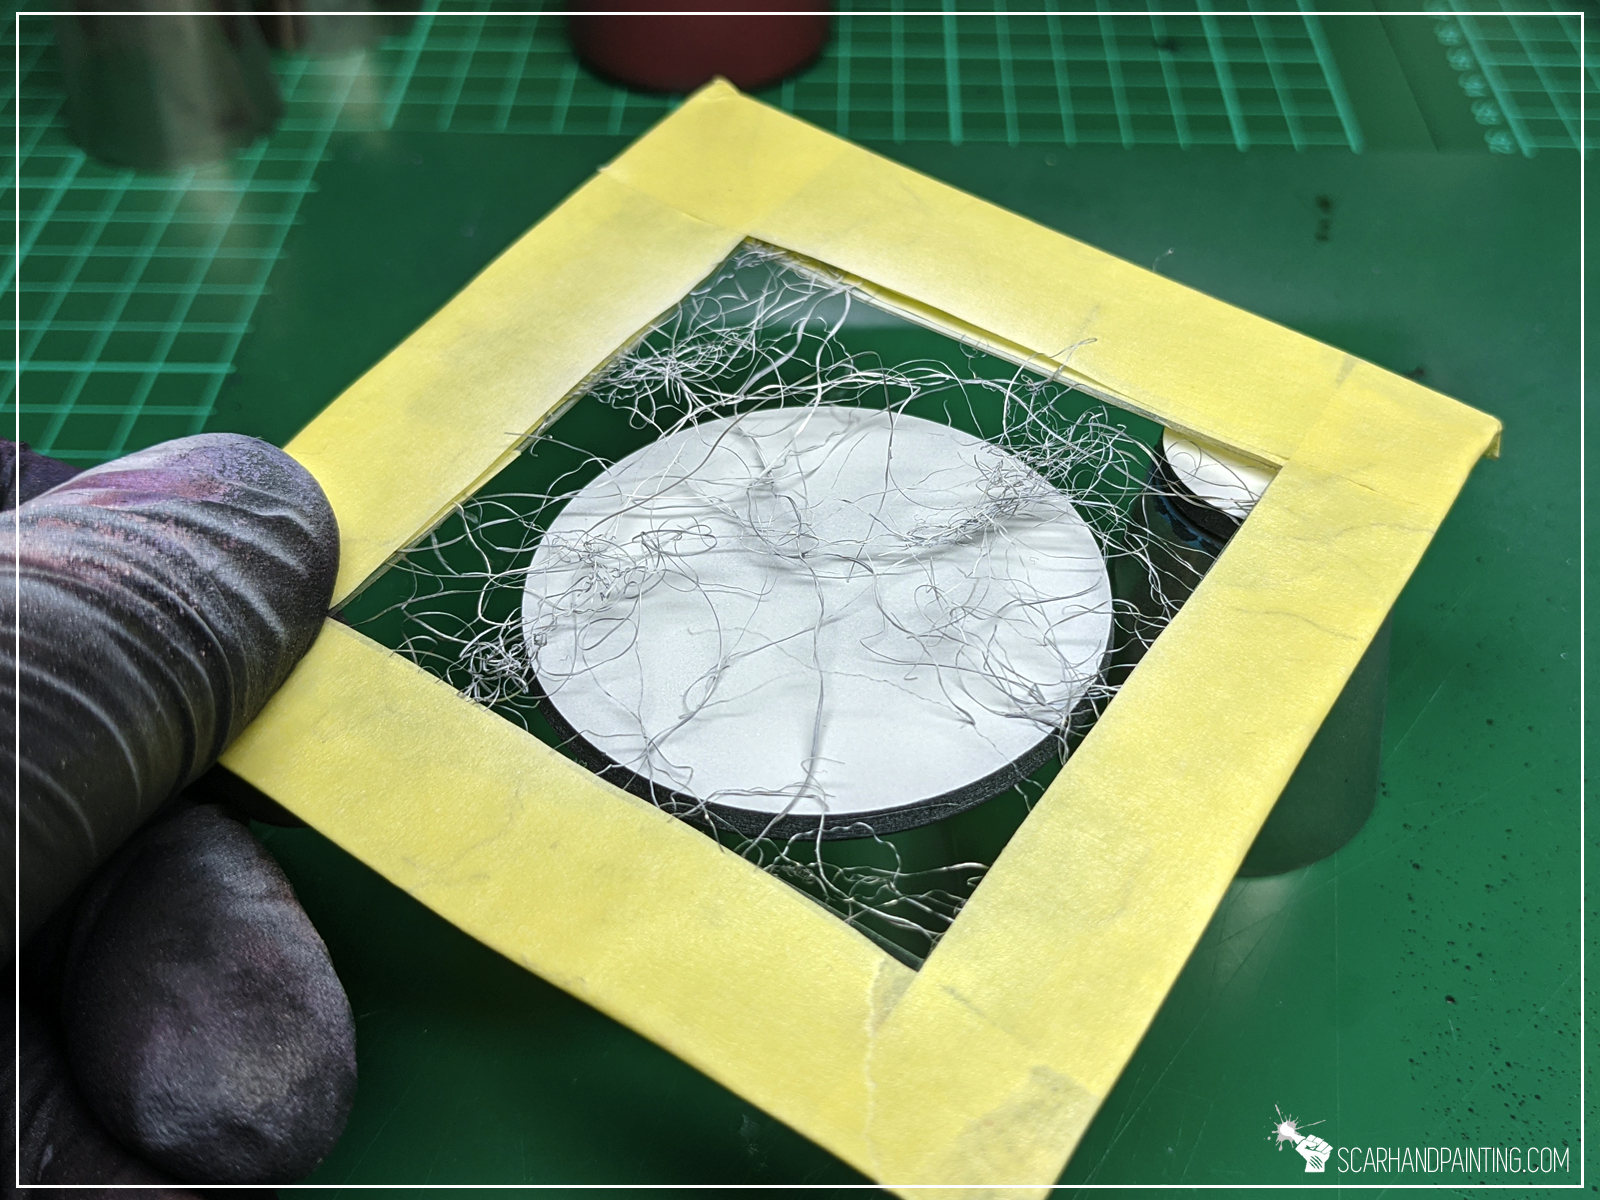
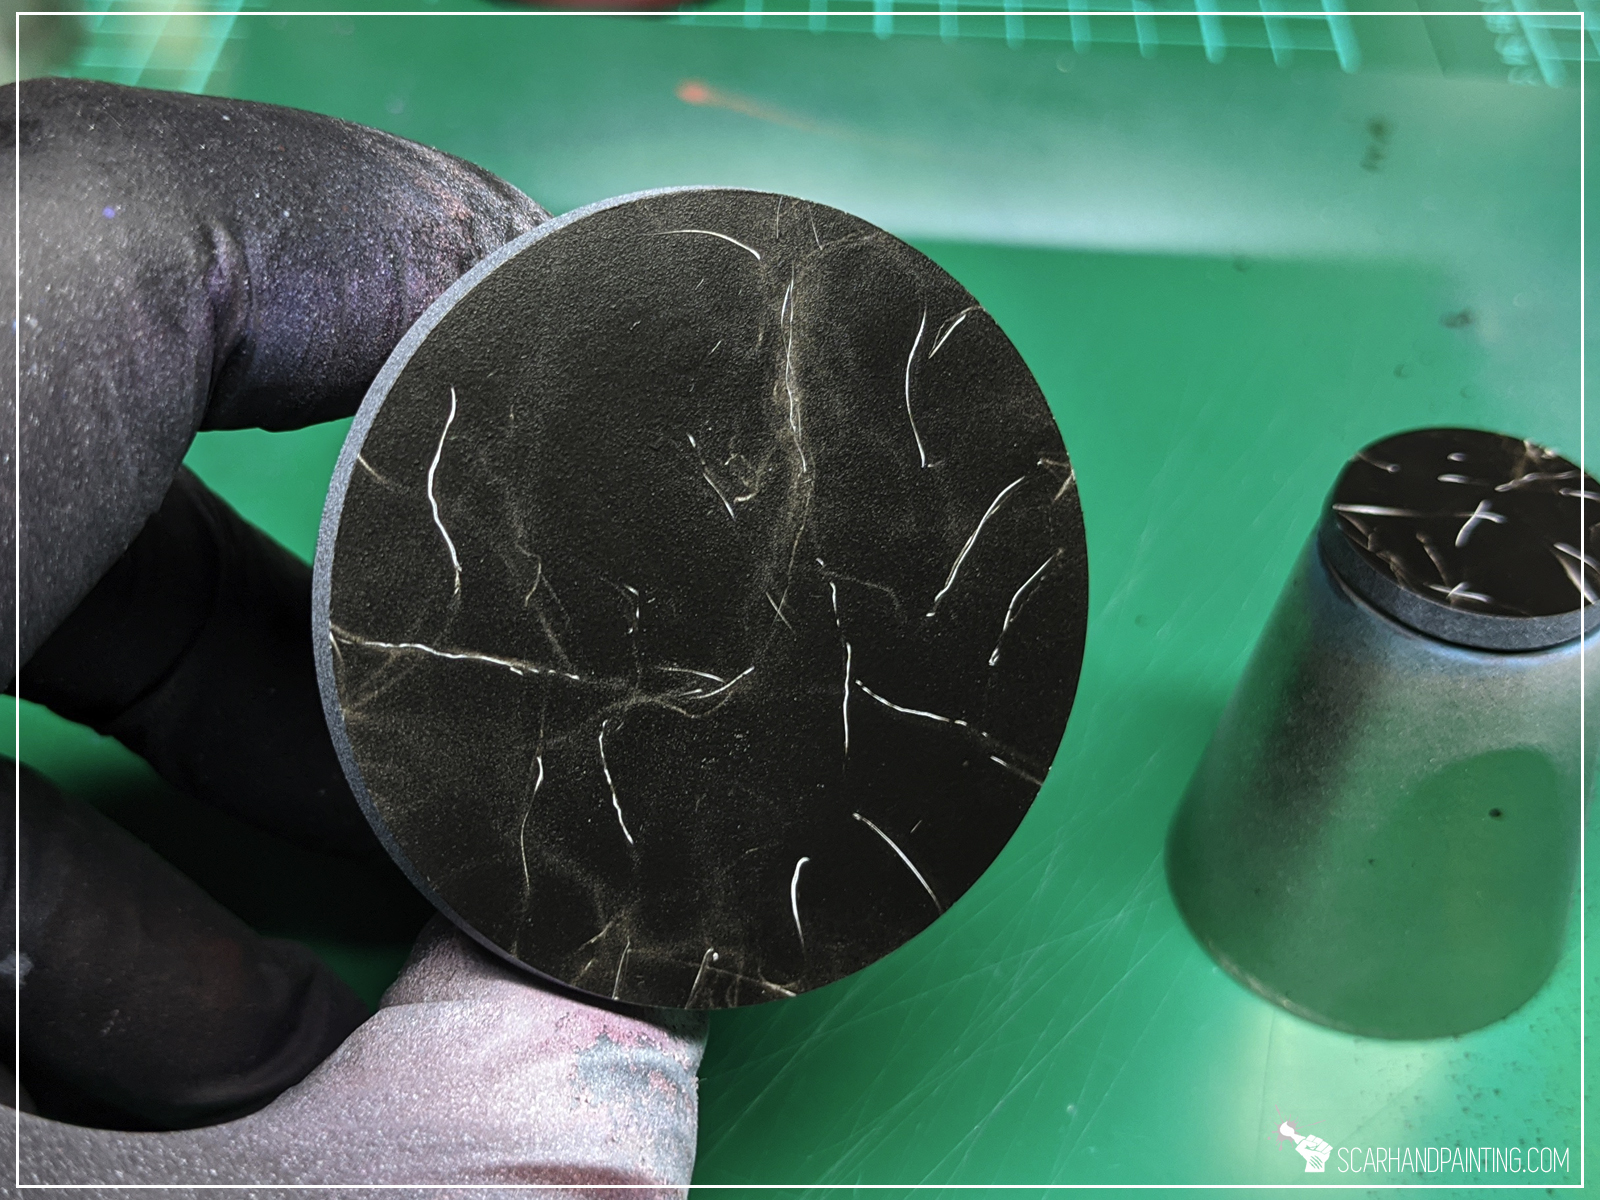
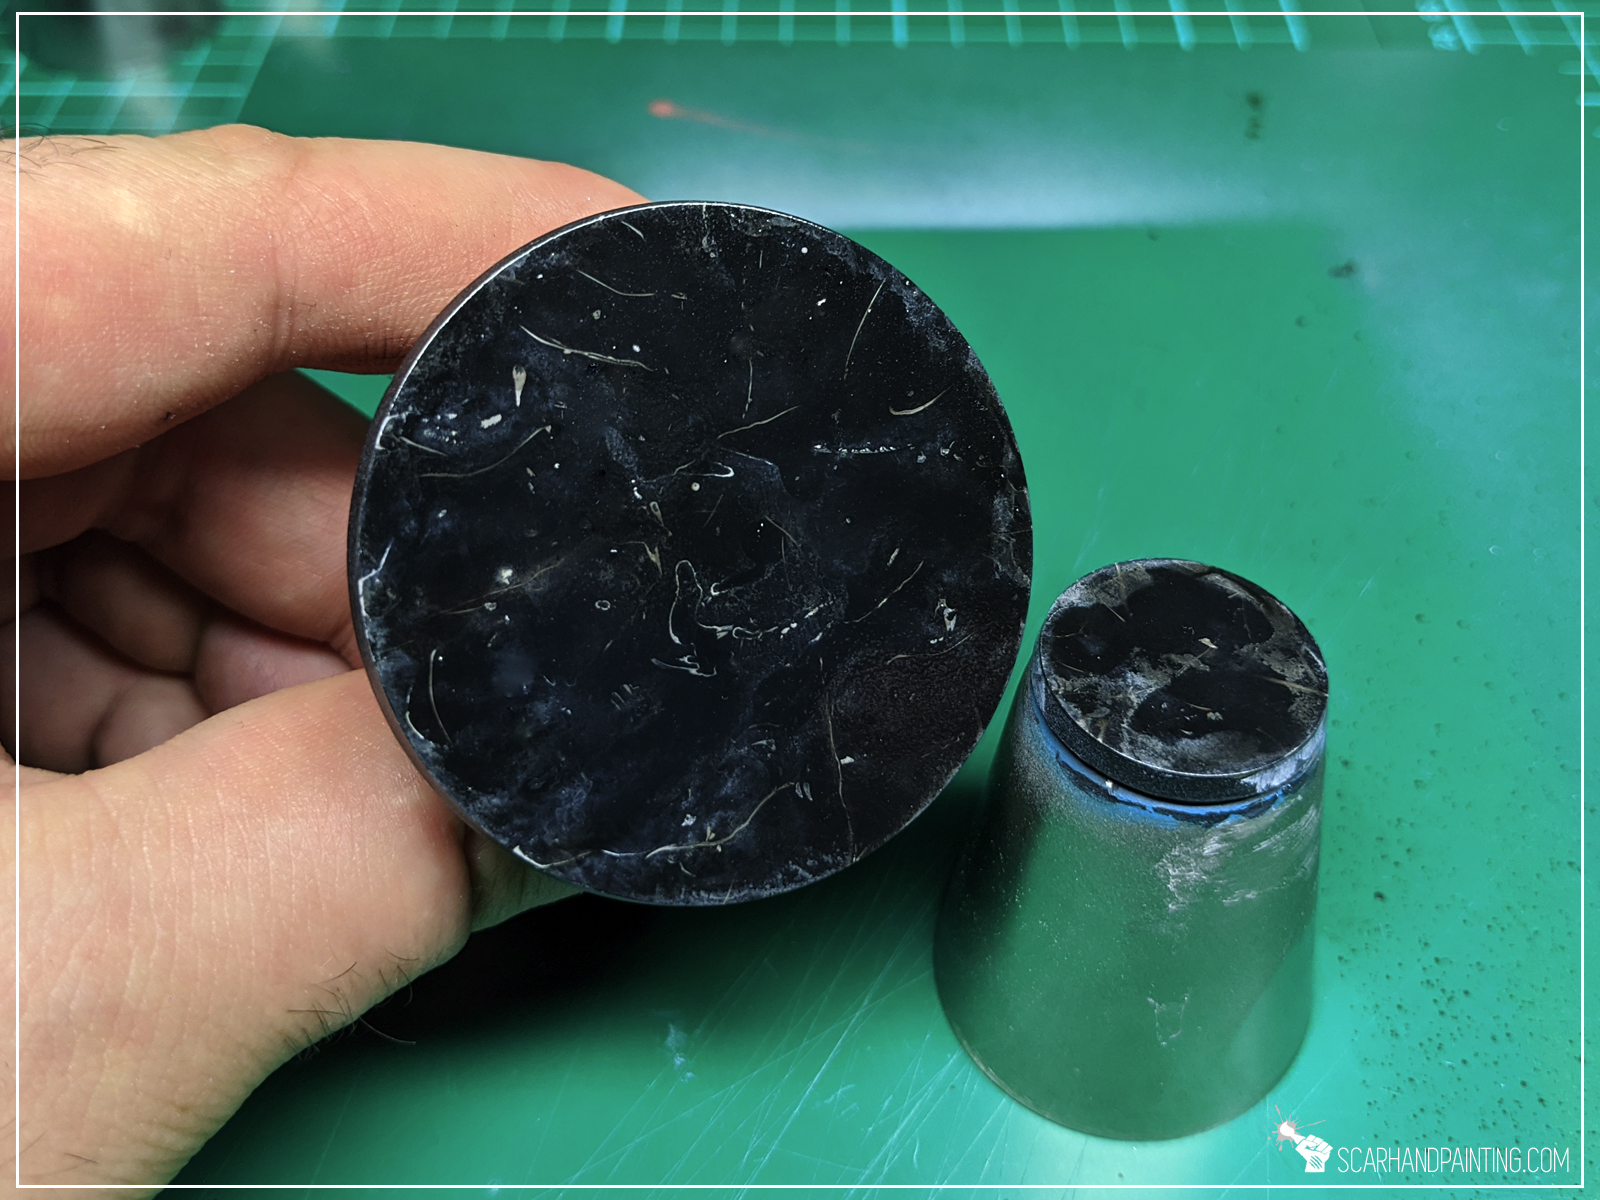
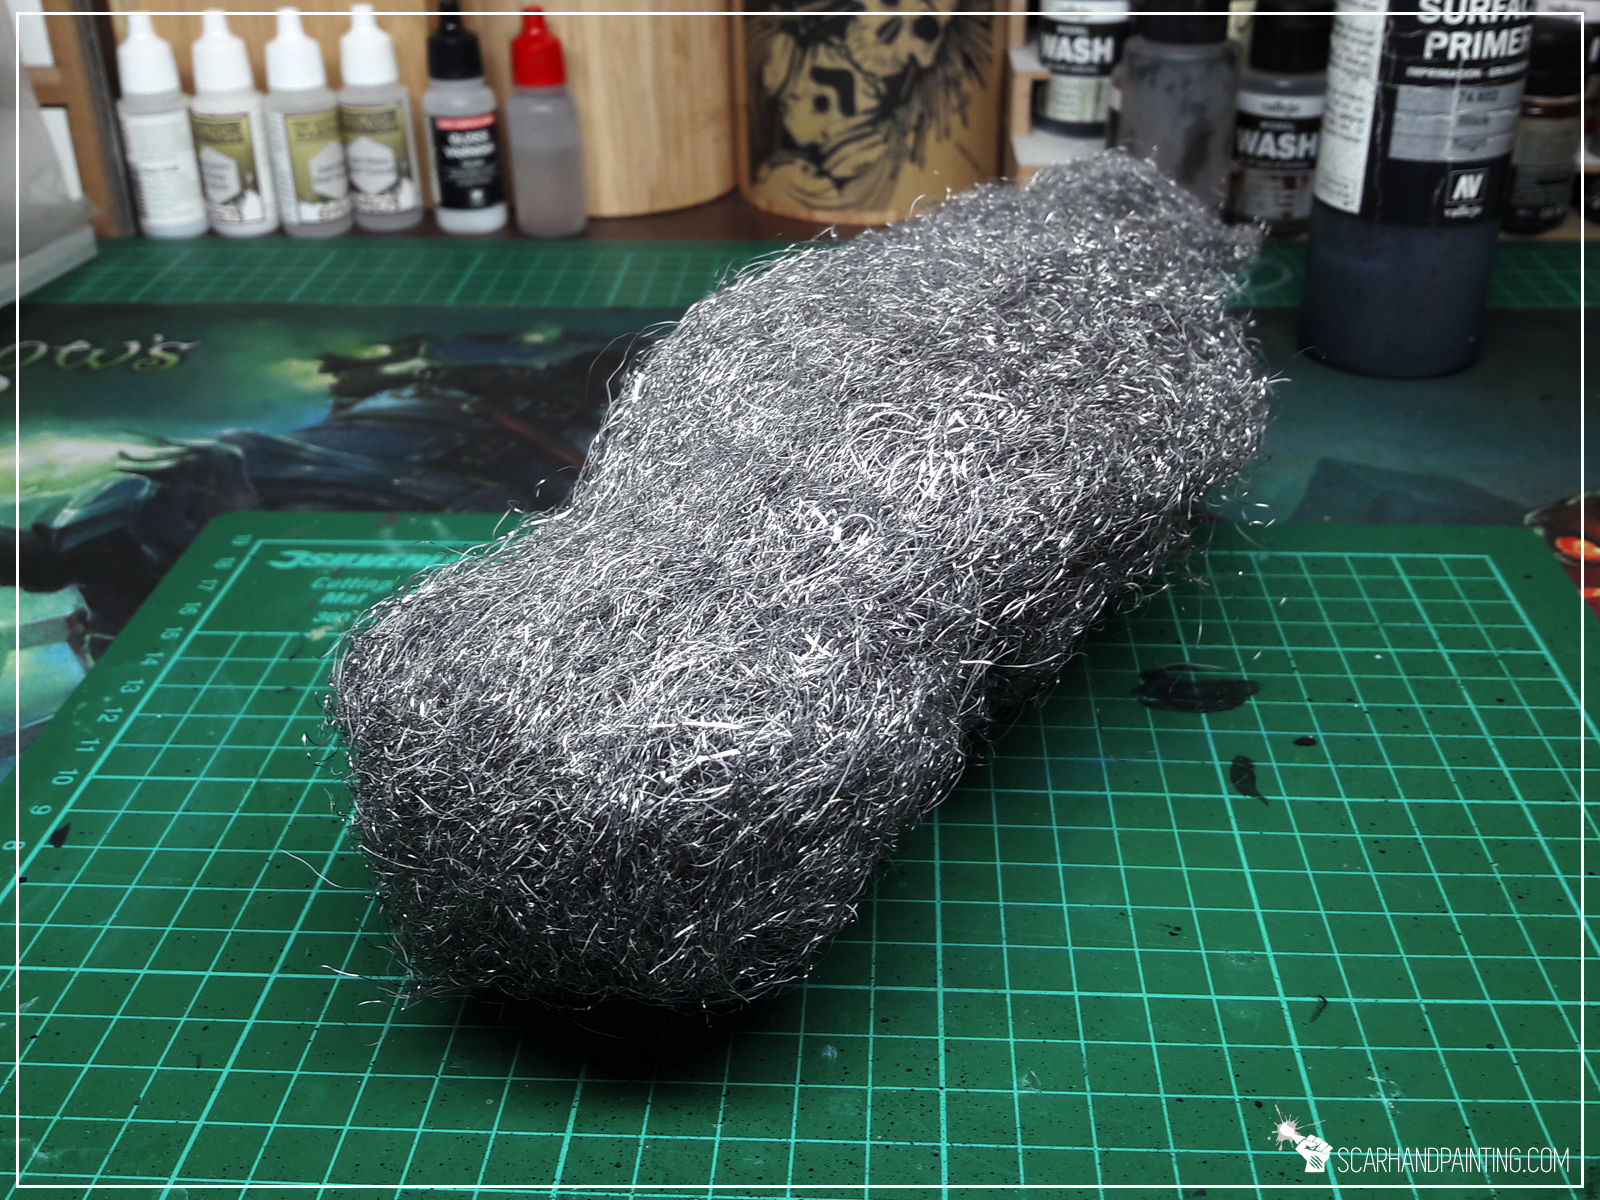
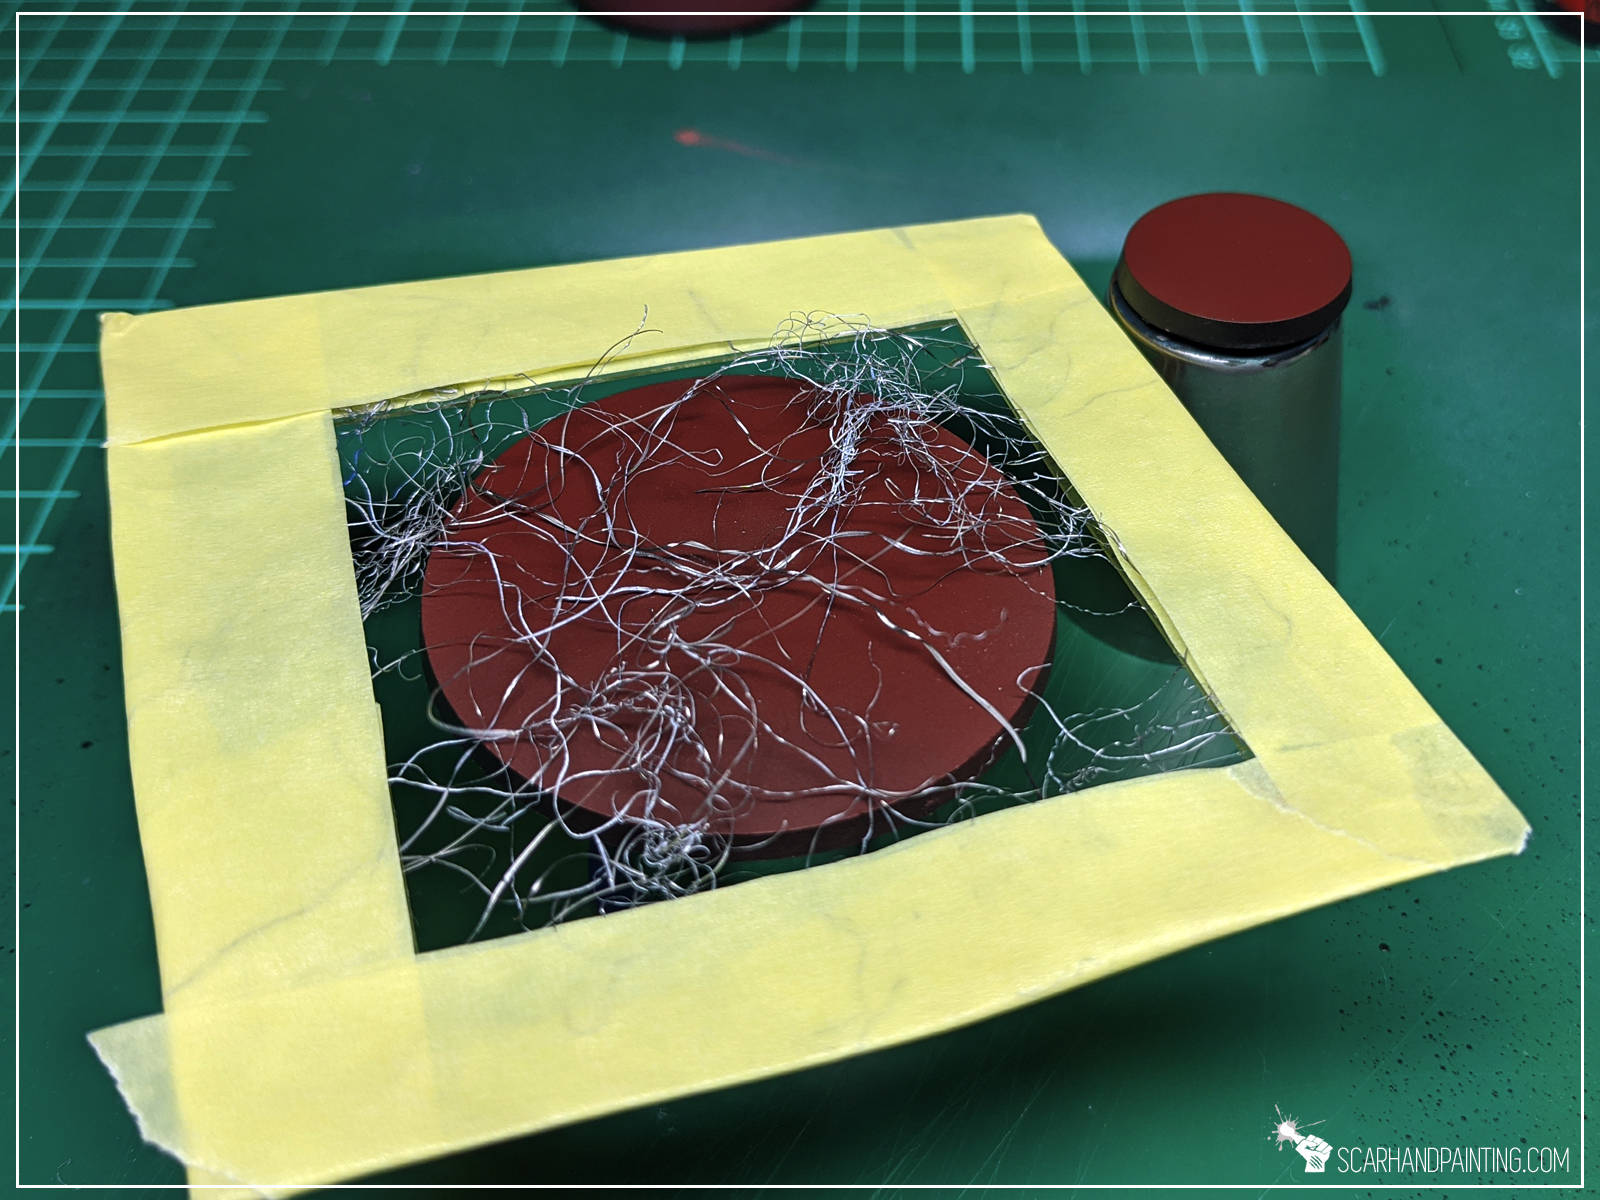
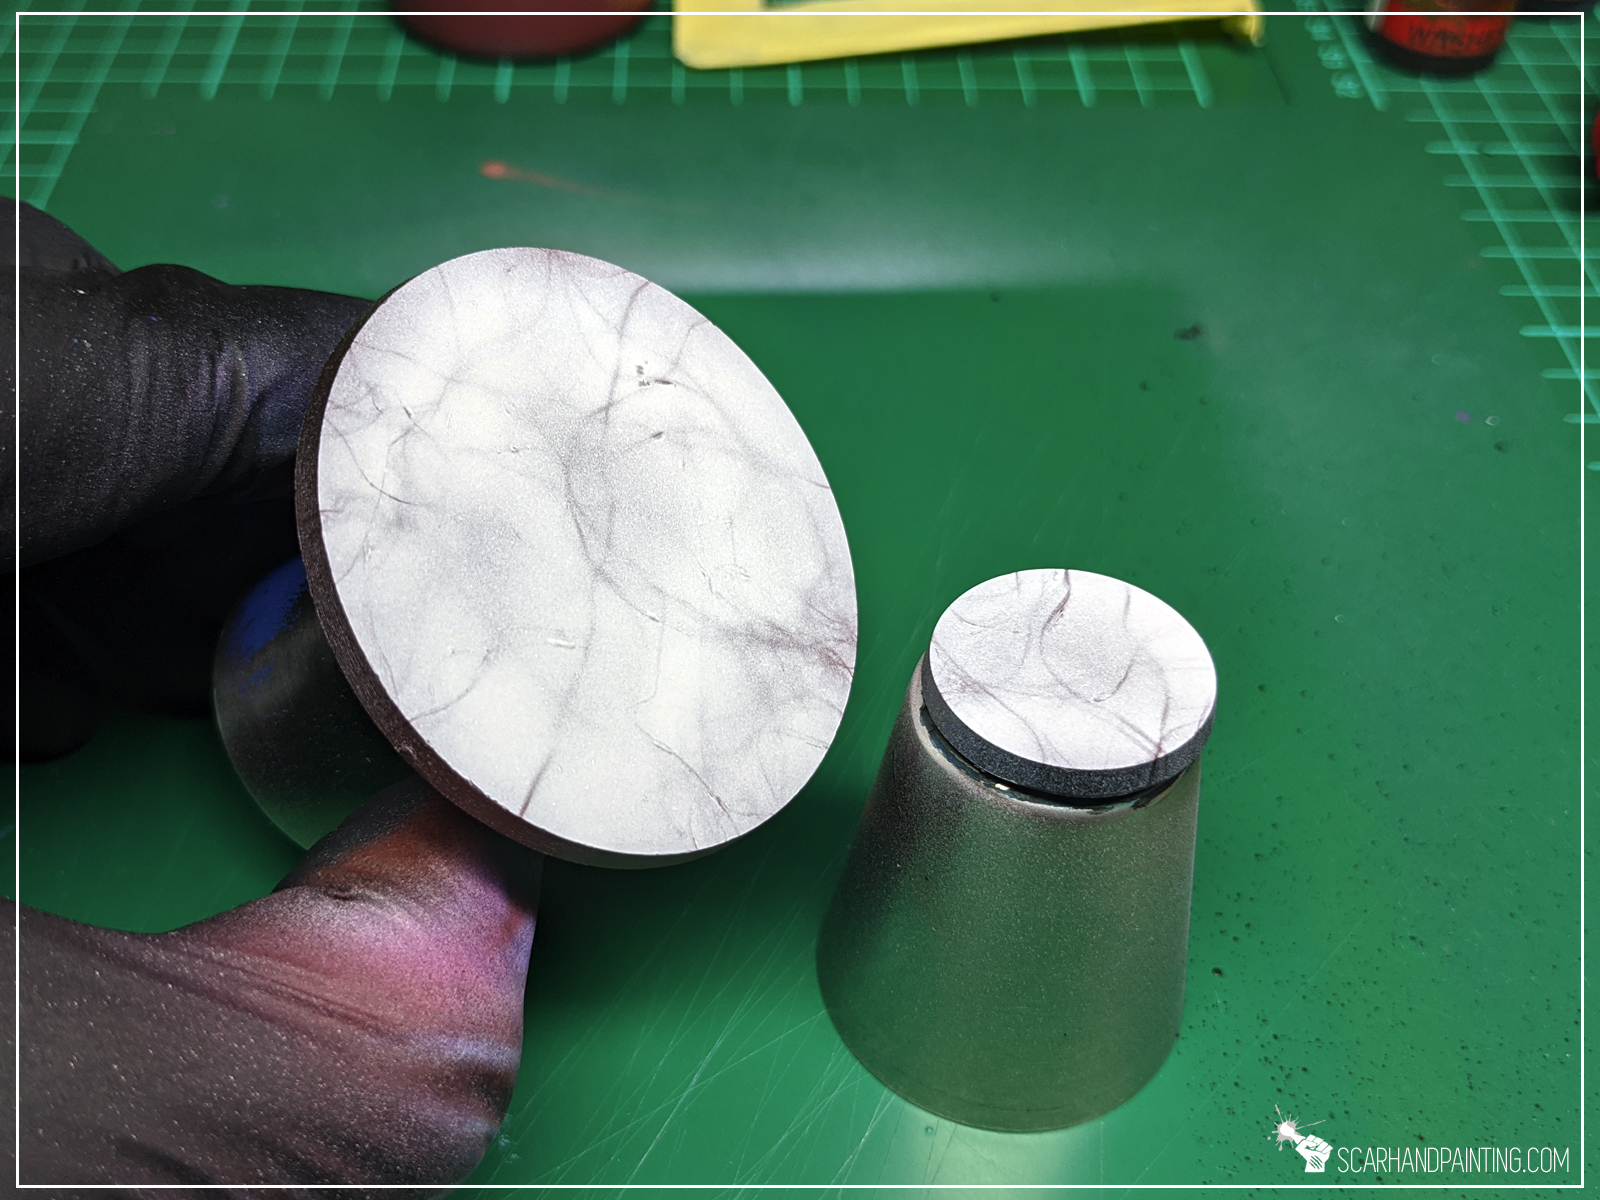
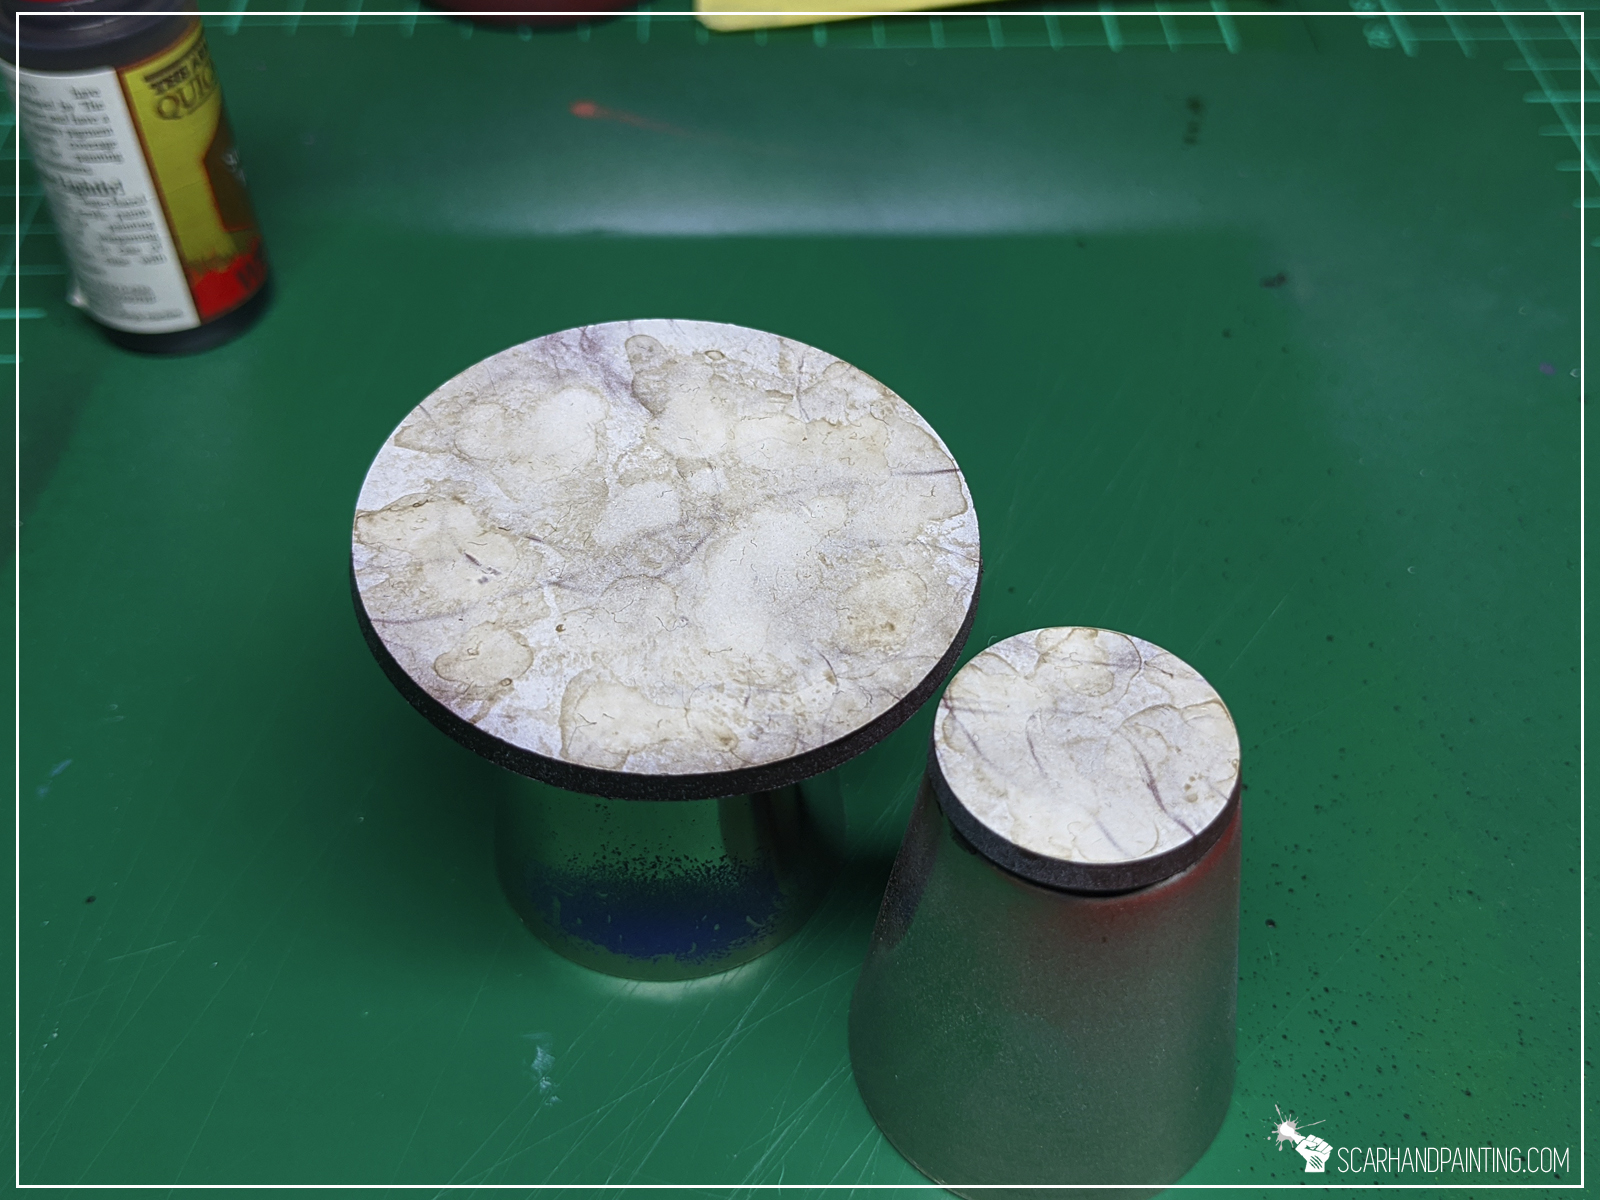
Step two: Base texture
For this step I used a Steel Wool stencil prepared in the previous Tutorial: Painting Marble. I simply took few pieces of steel wool, taped them together and used them as a stencil. I then airbrushed black paint through the stencil. Furthermore in some places I have removed black paint with a wet toothpick to create strong white lines.
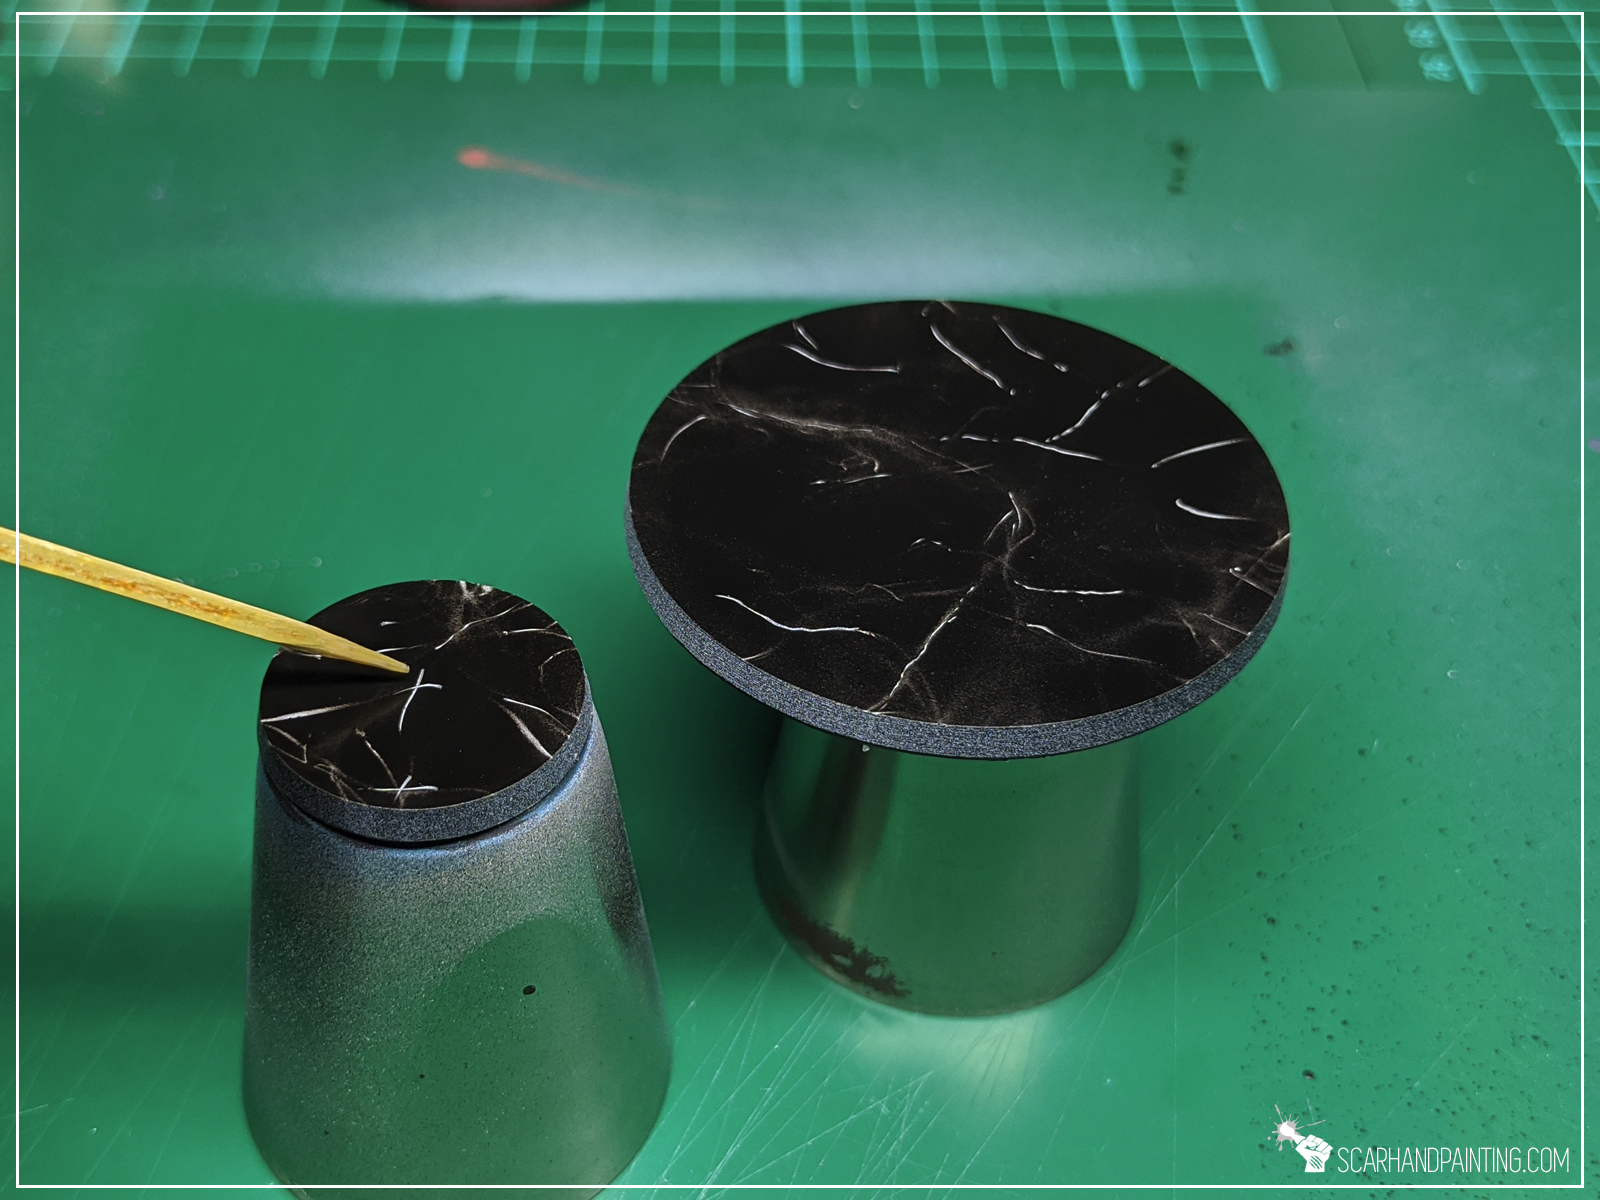
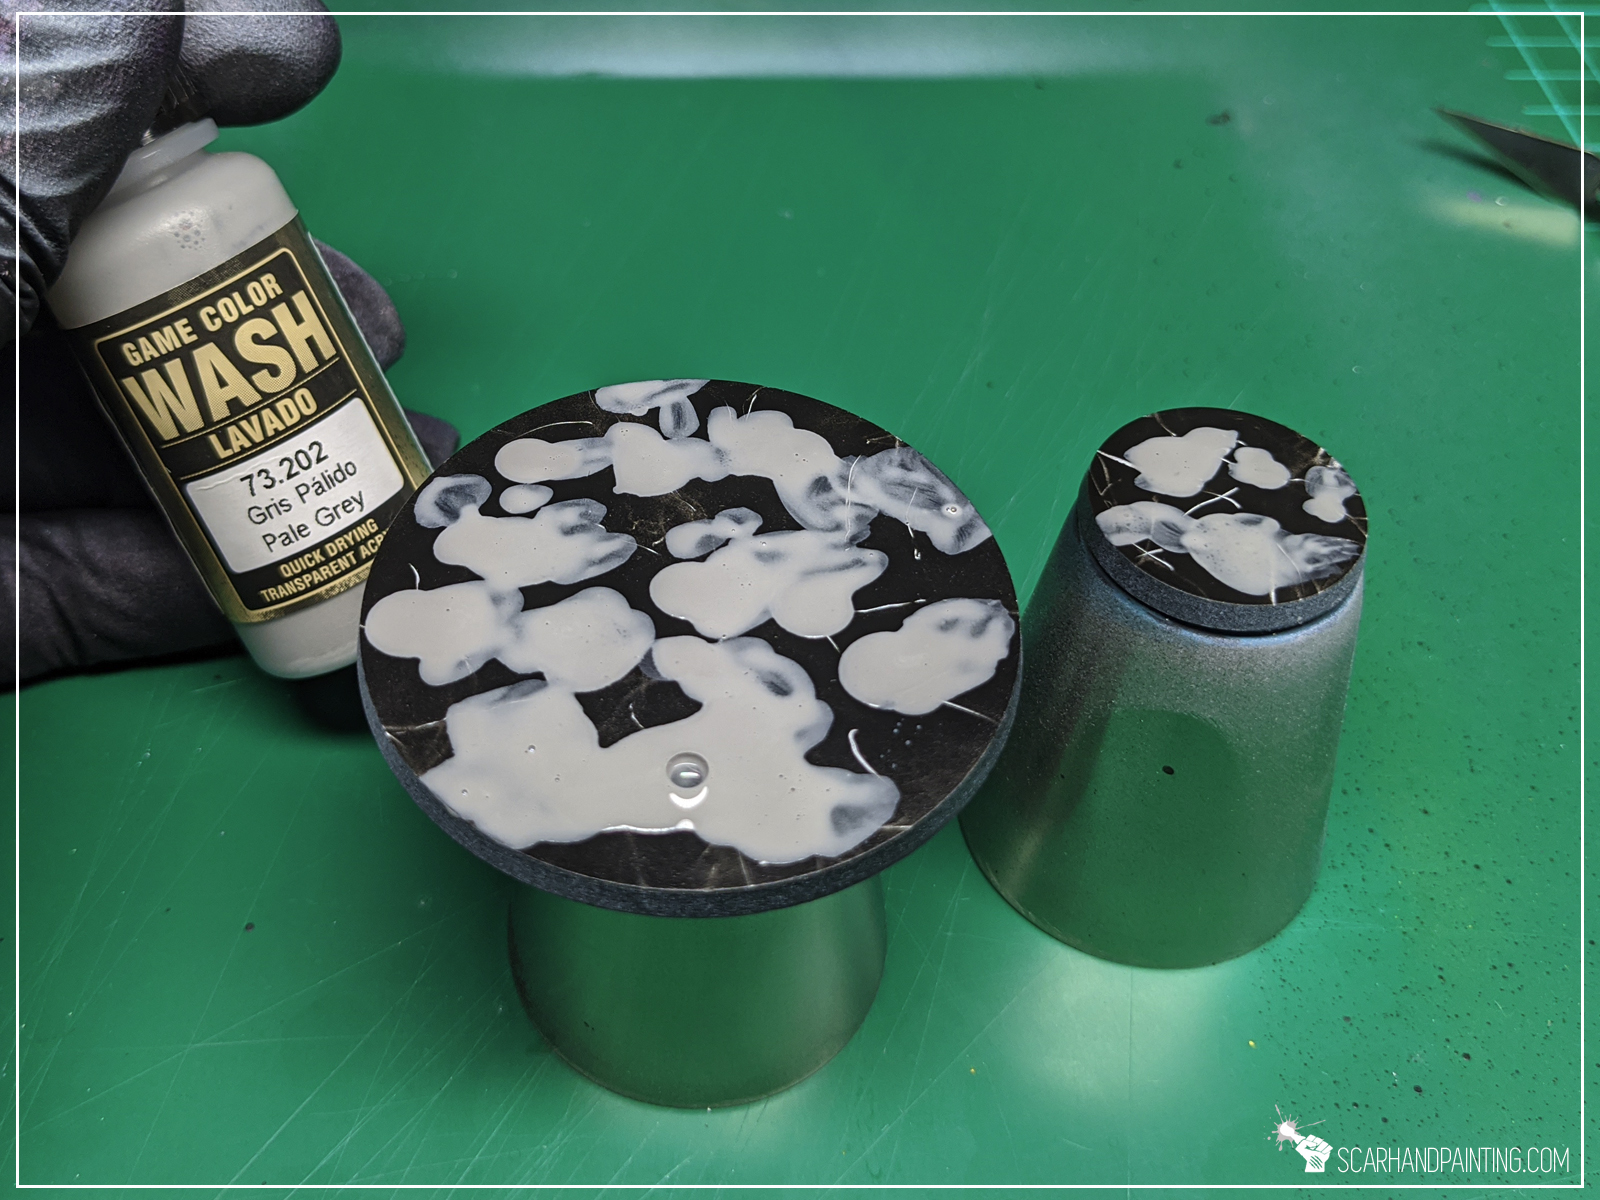
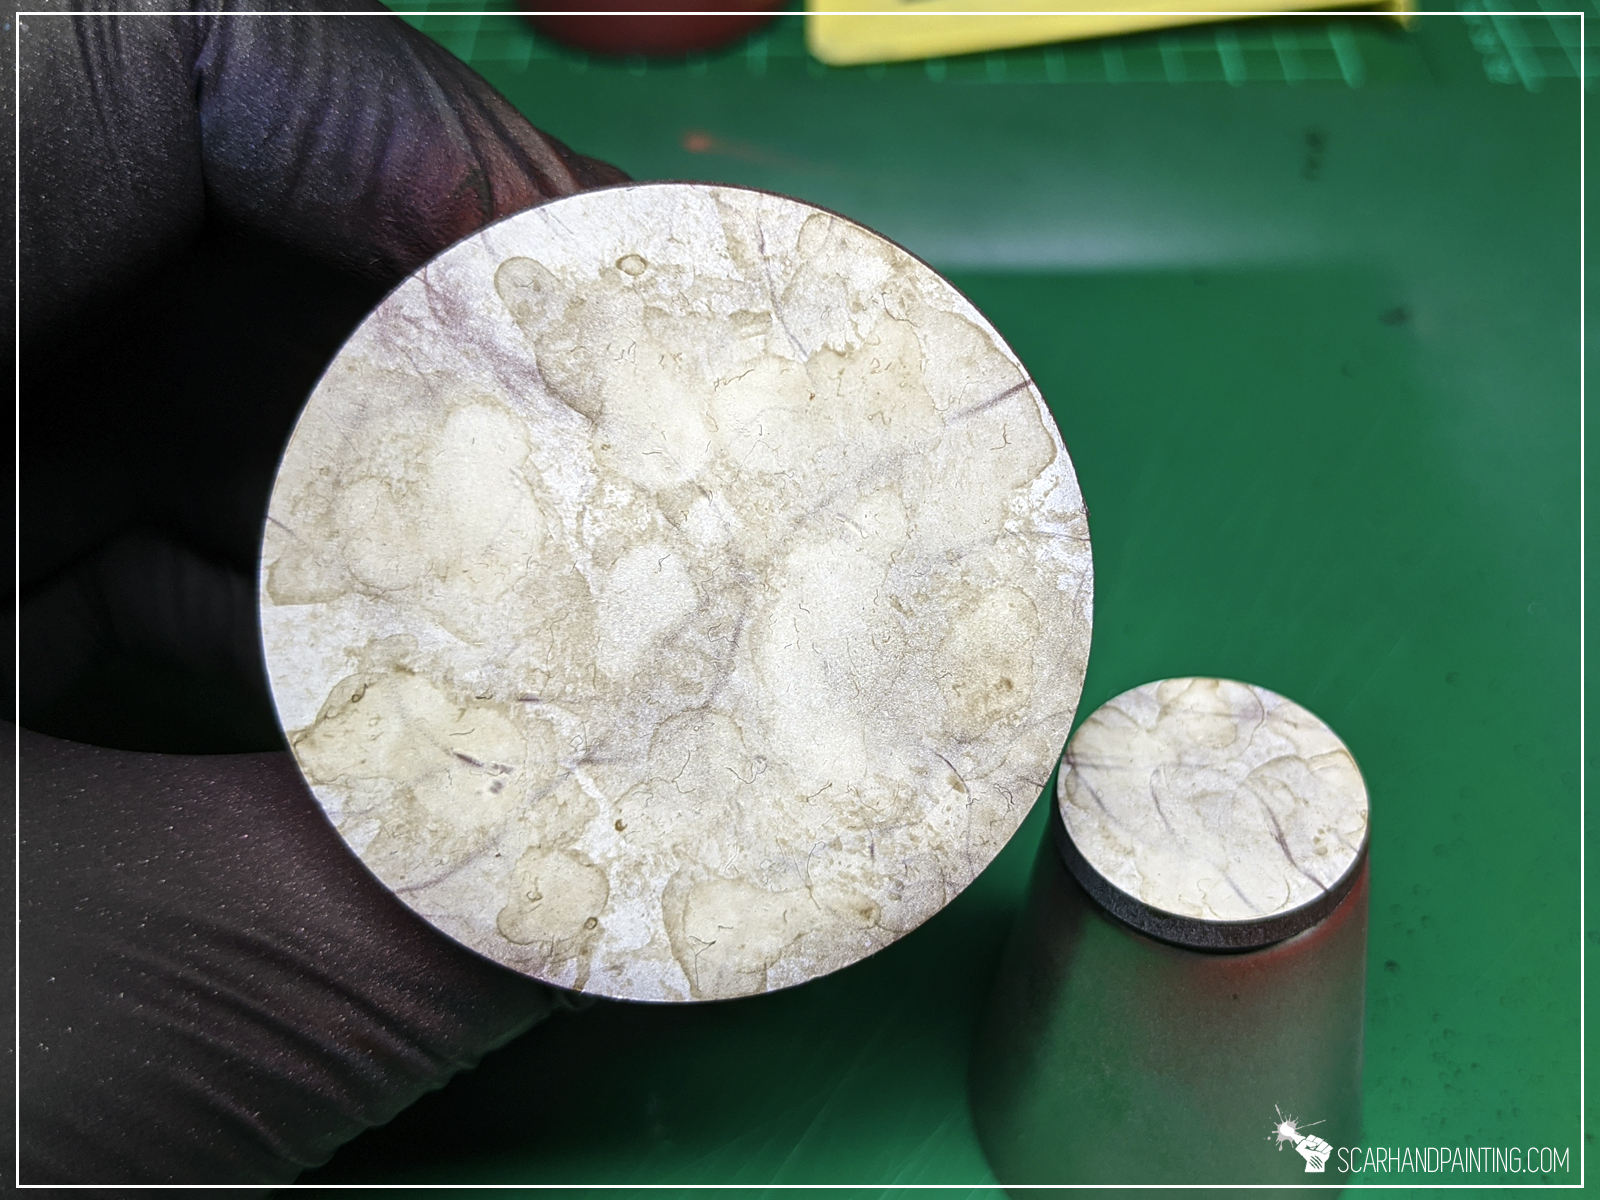
Step three: Texture
Next I added a layer of texture by manually applied stains of Vallejo Pale Grey Wash. After waiting half a minute I removed the excess of the paint with a paper towel.


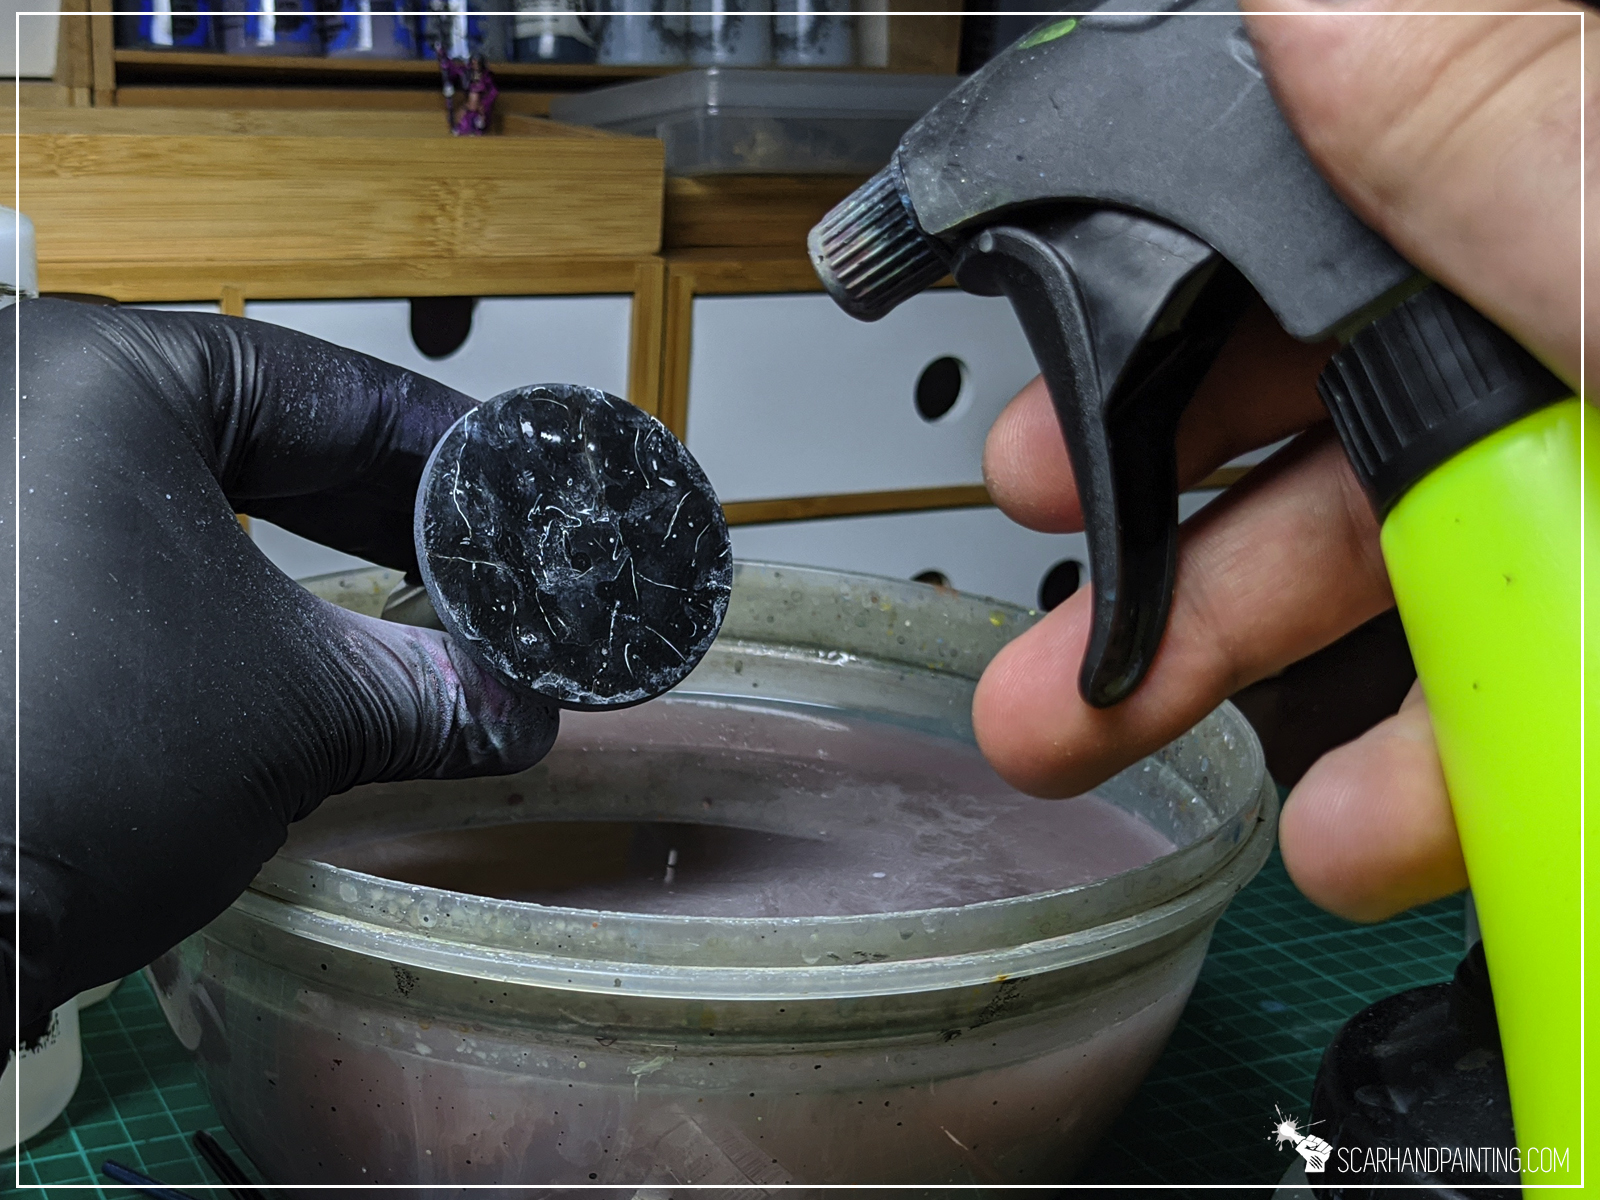
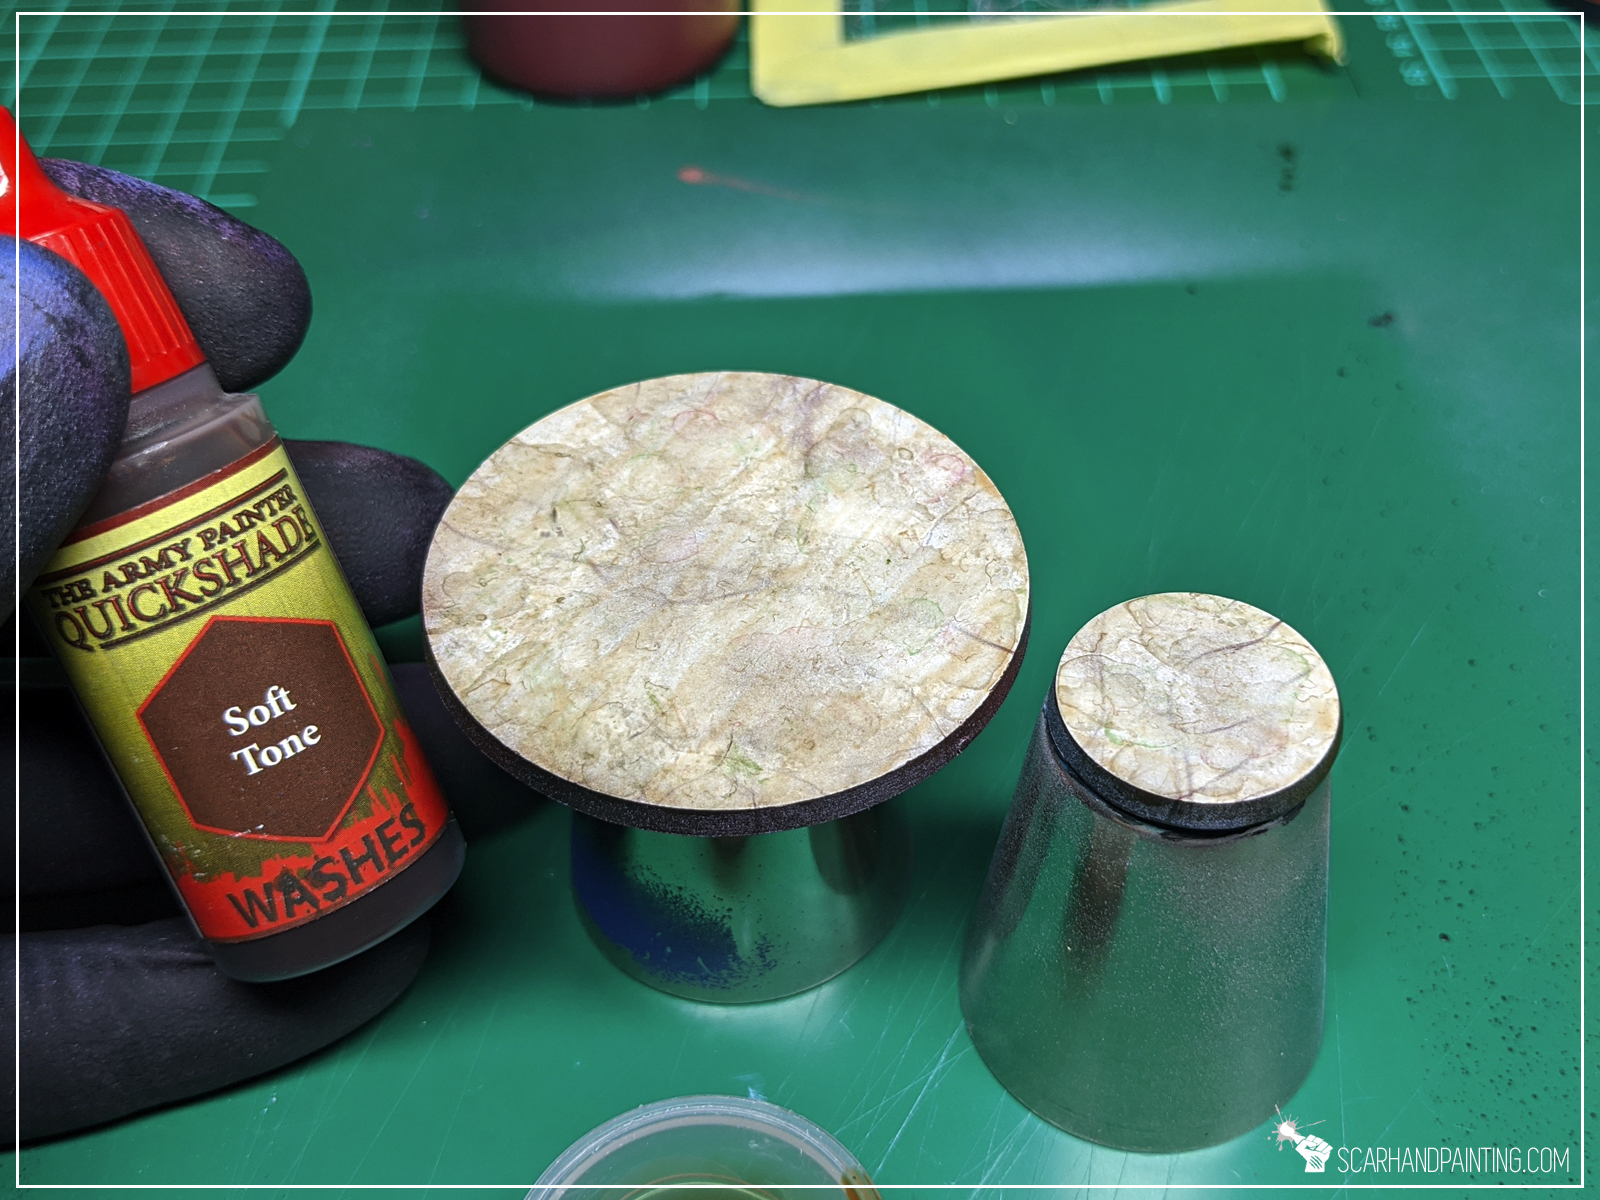
Step four: More texture
I then applied stains of Vallejo Air White, but this time removed the excess of the paint with slightly pressured water. You can simply airbrush water with around 0,5 bar pressure if you don’t have a sprinkler.

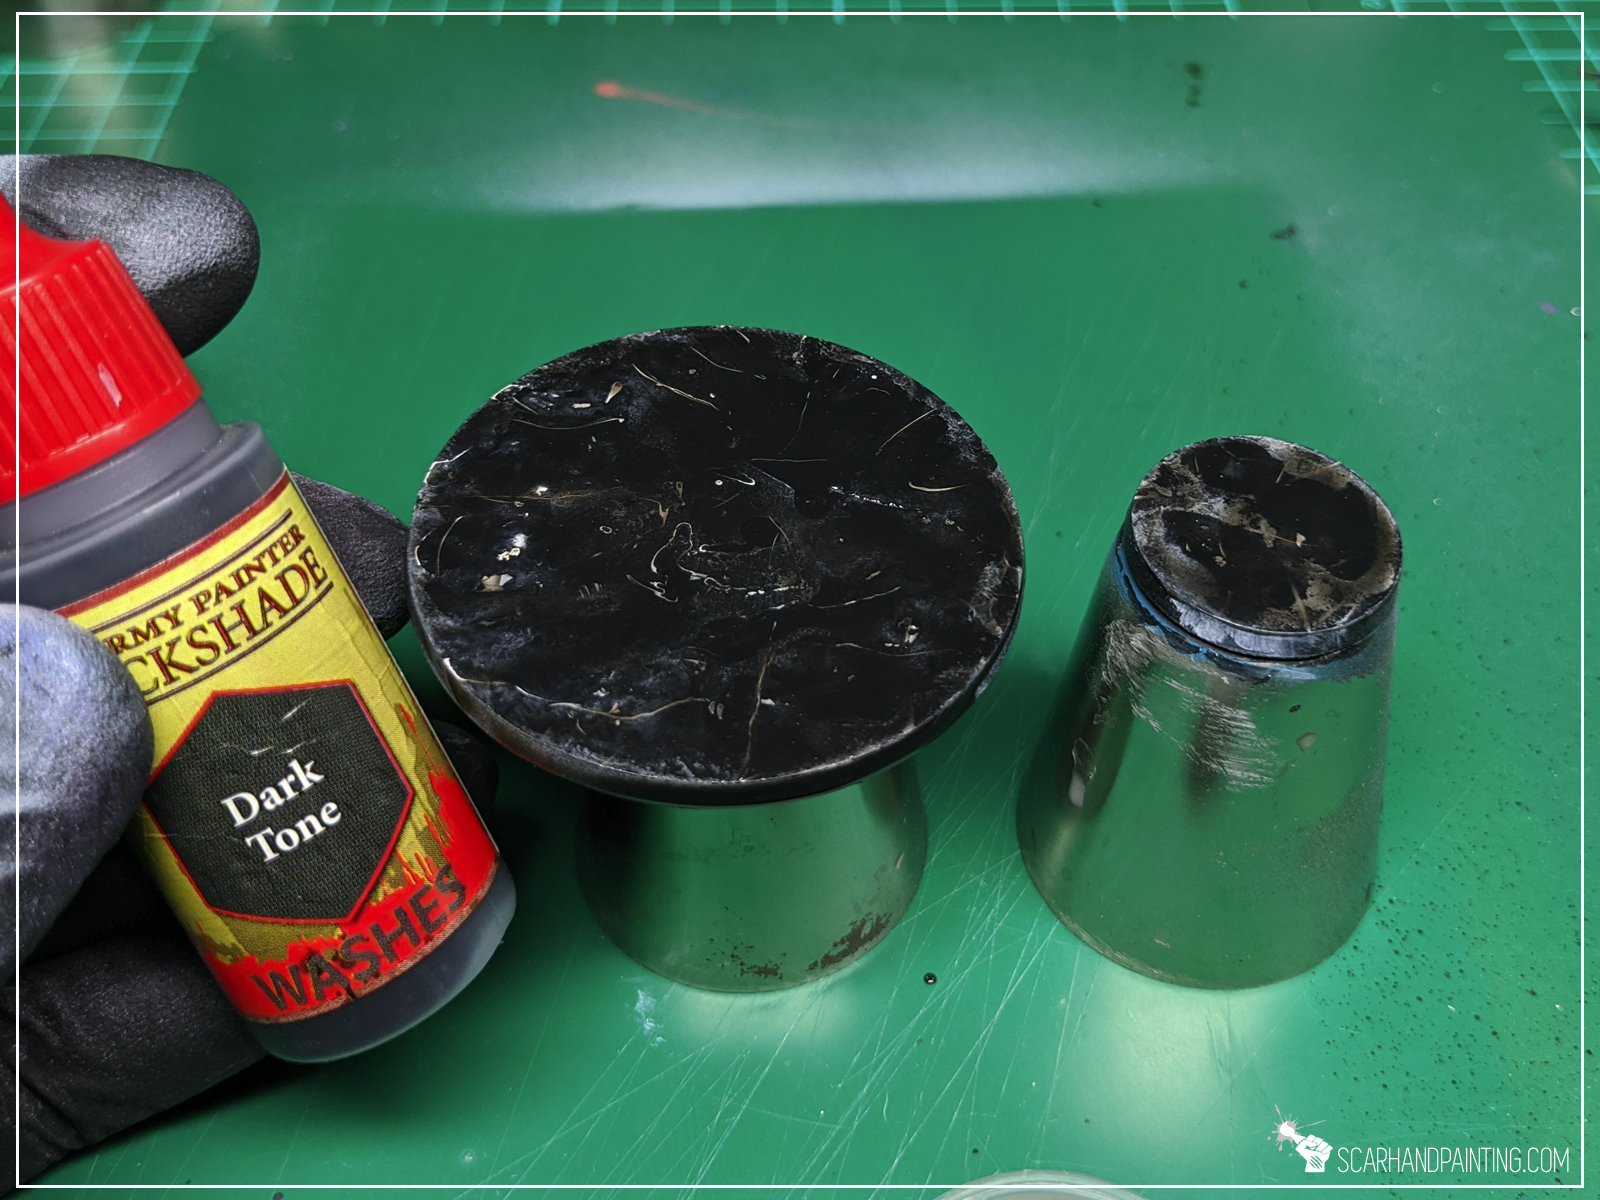
Step five: Sealing the colour
To seal the colour I applied an even, smooth layer of Army Painter Dark Tone Ink.

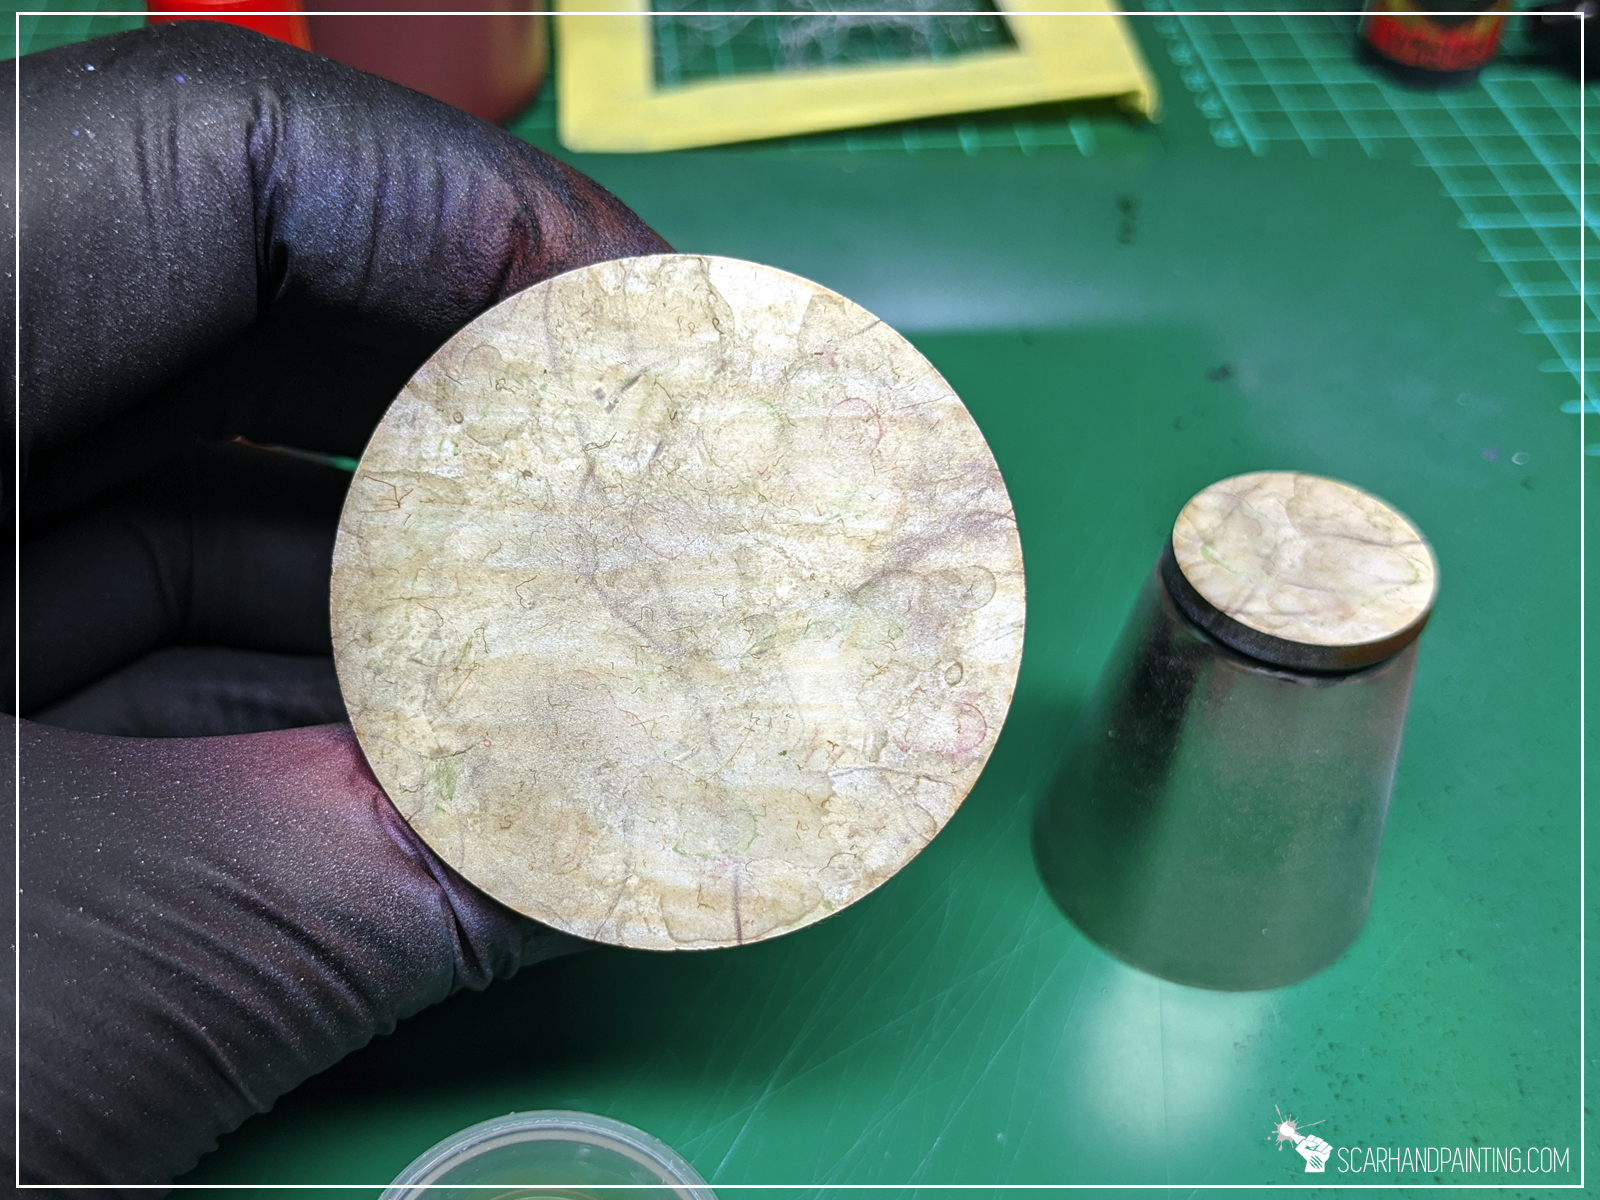
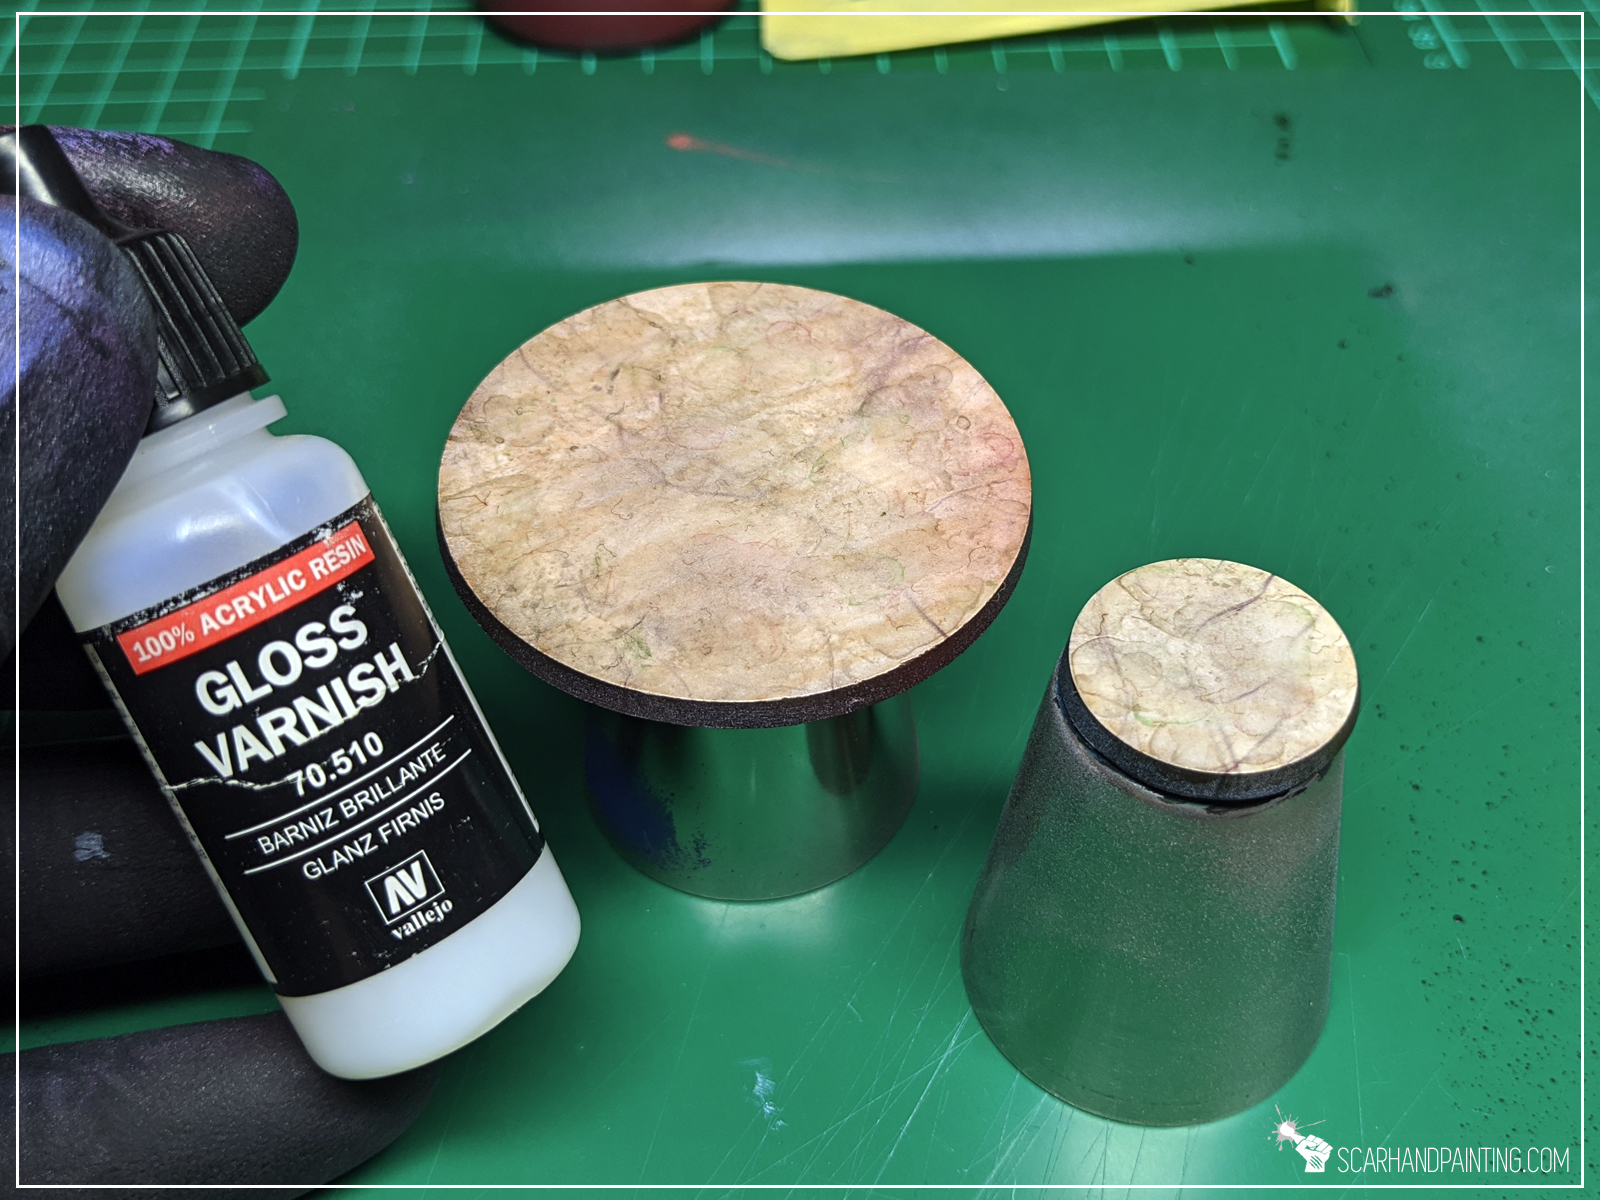
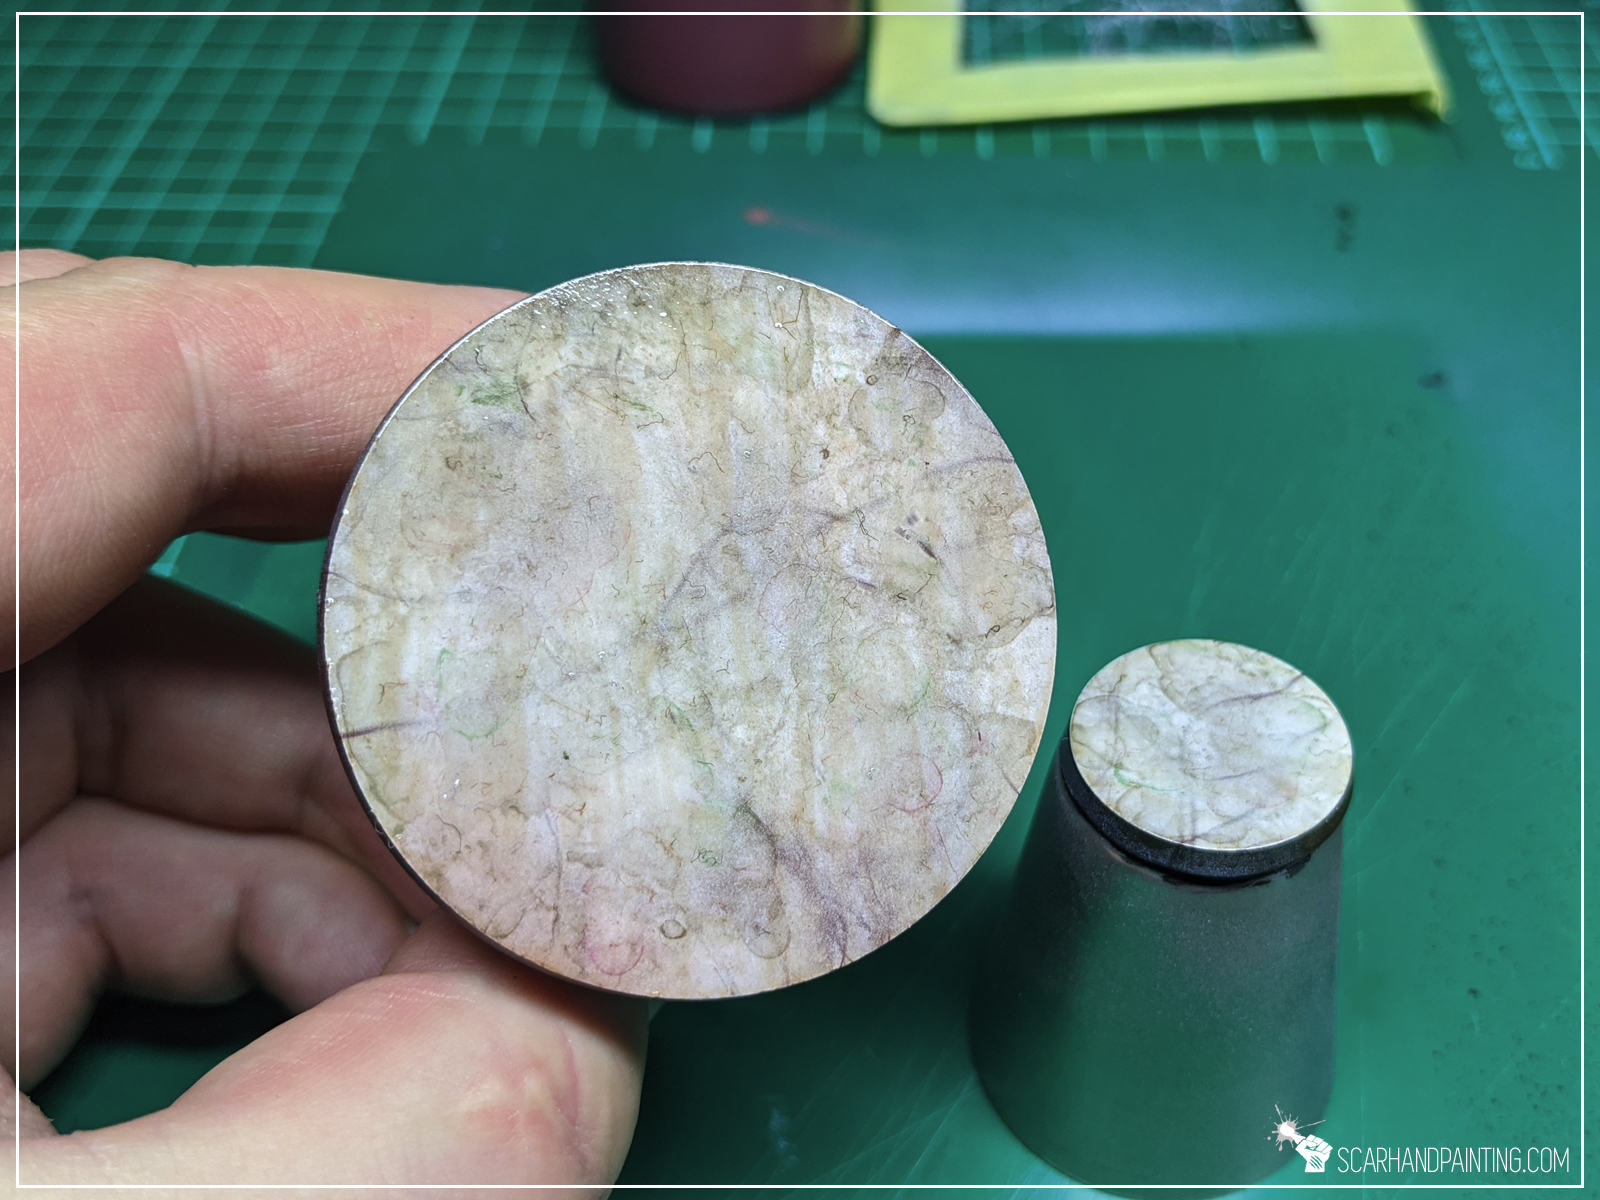
Step five: Gloss
Finally I applied two layers of airbrushed Gloss Varnish. This resulted in a nice polished glossy look but also added that 3d look to different layers.
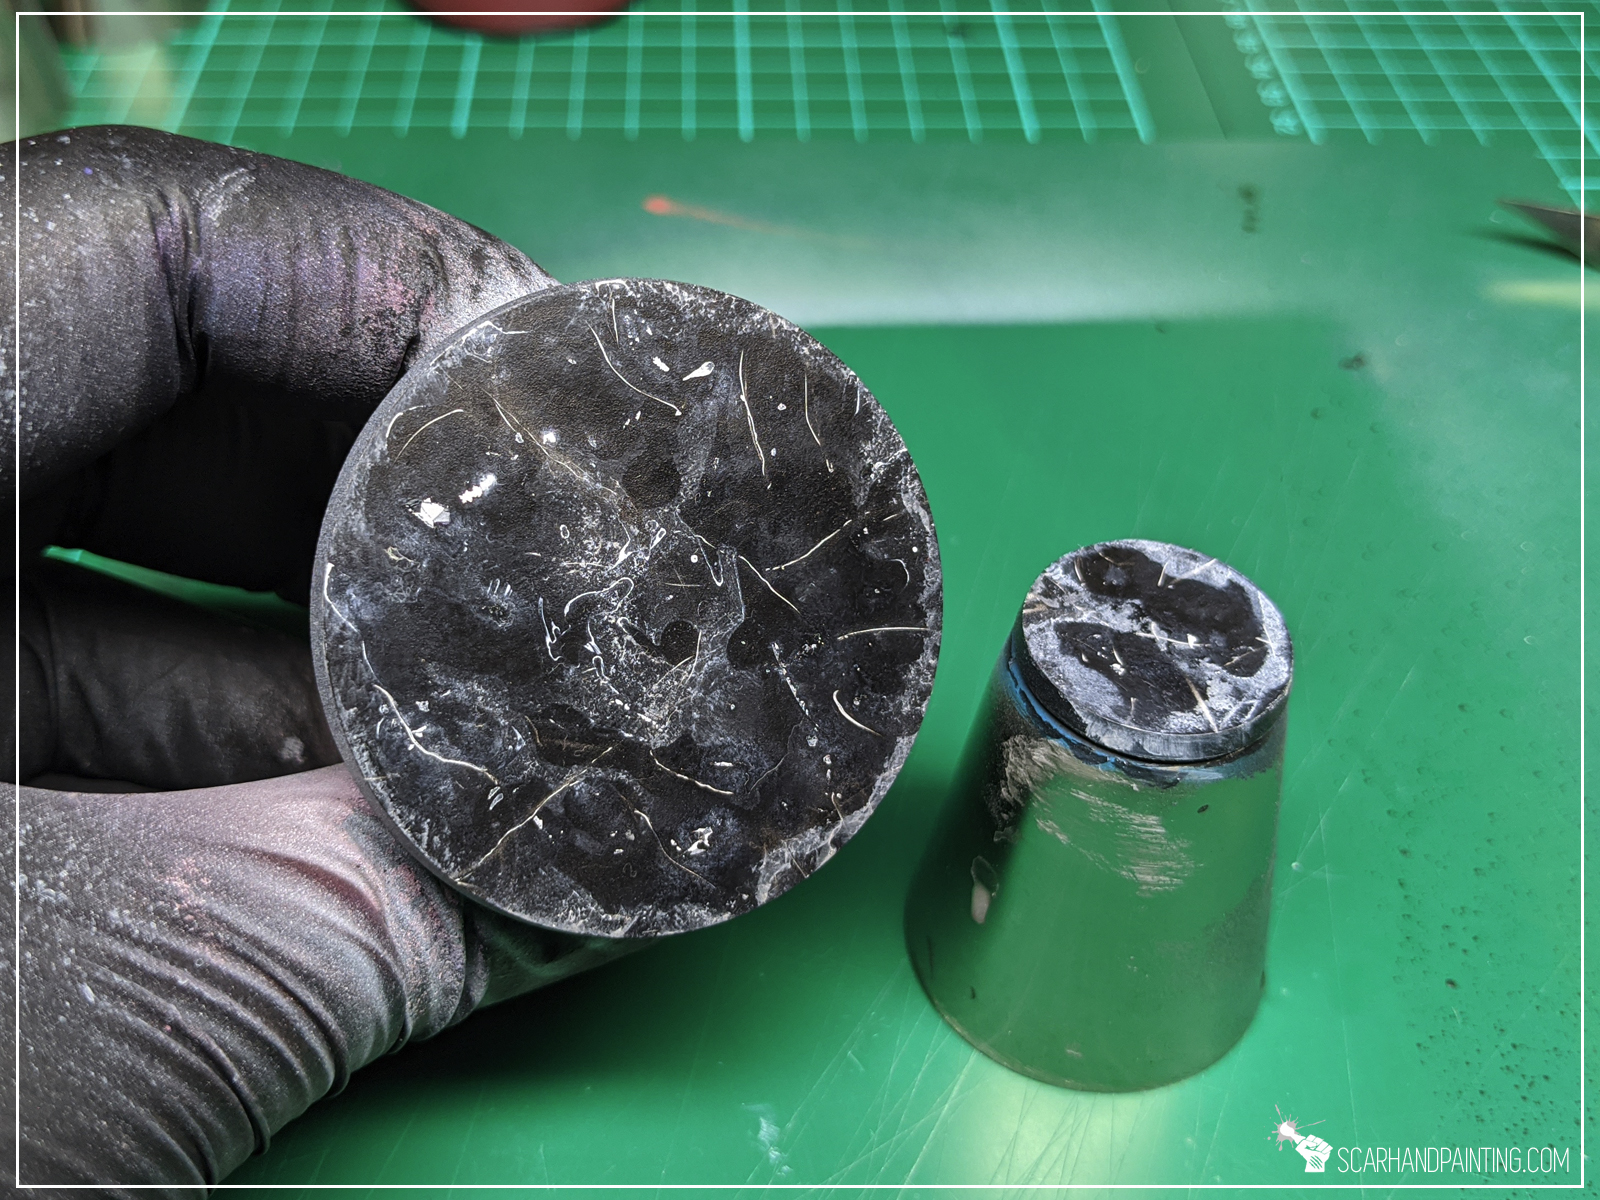
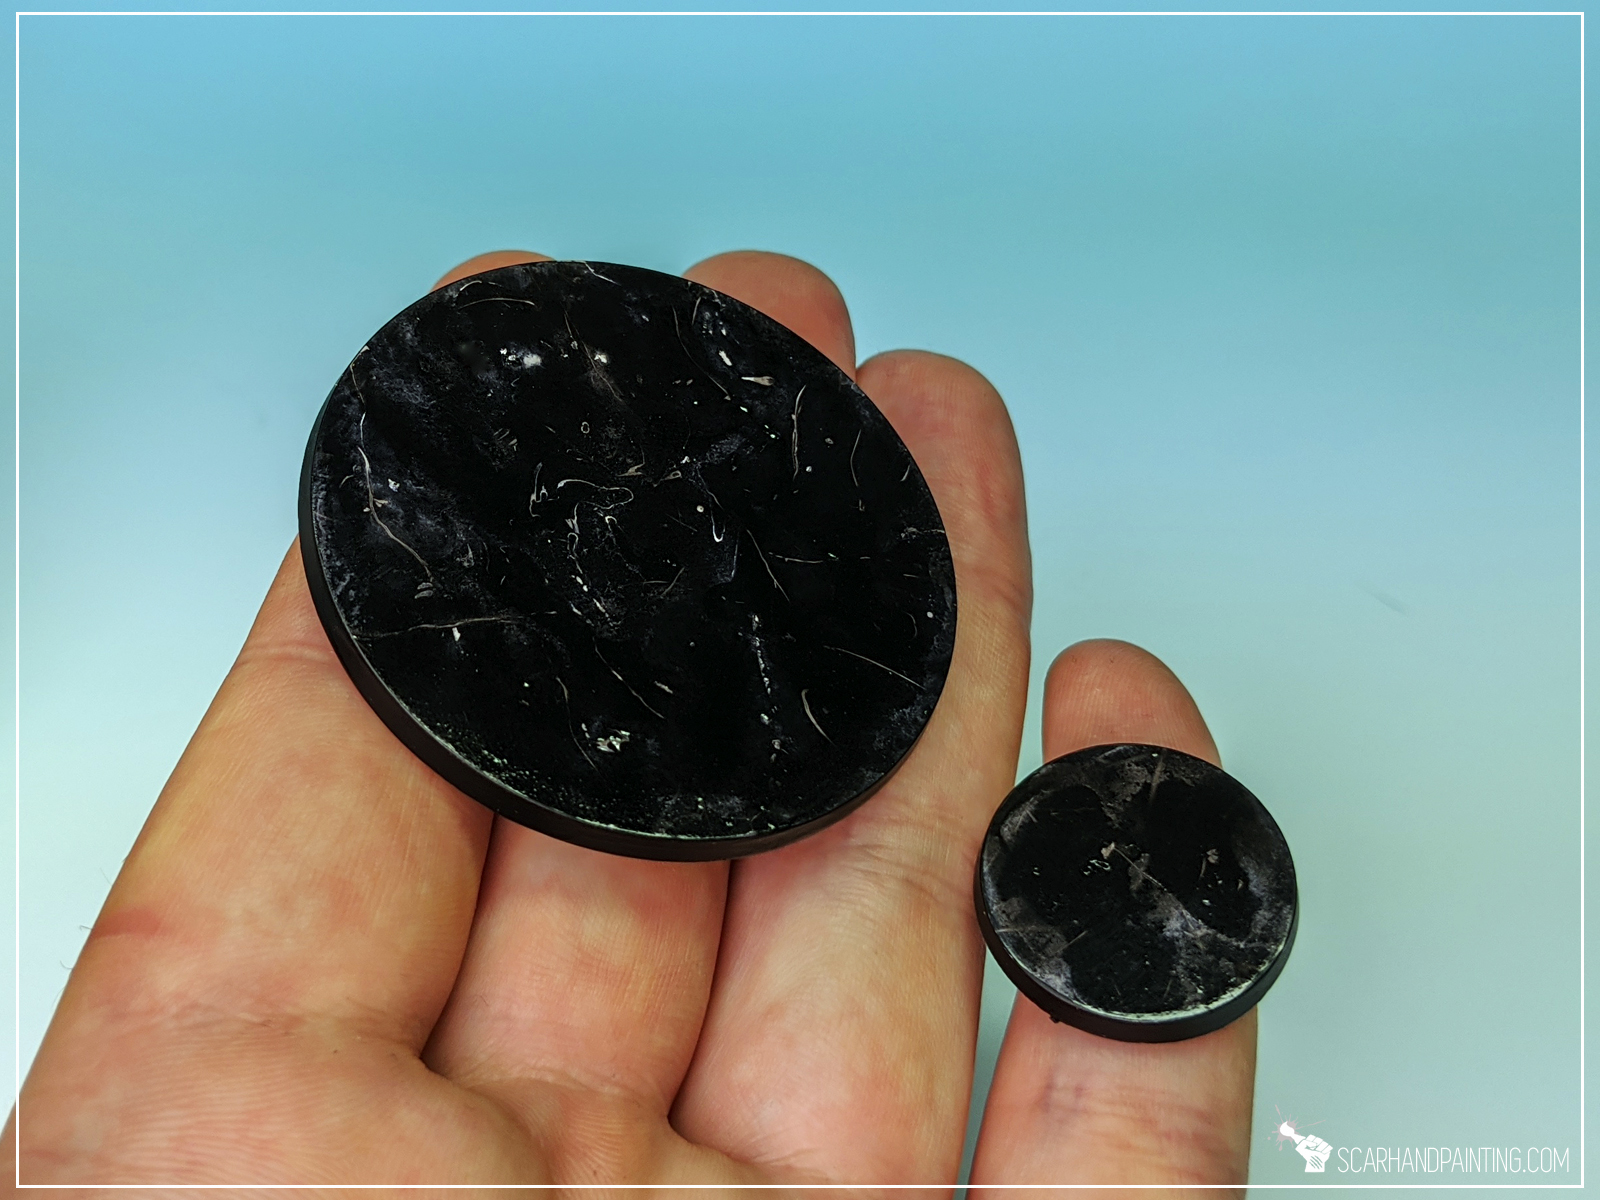
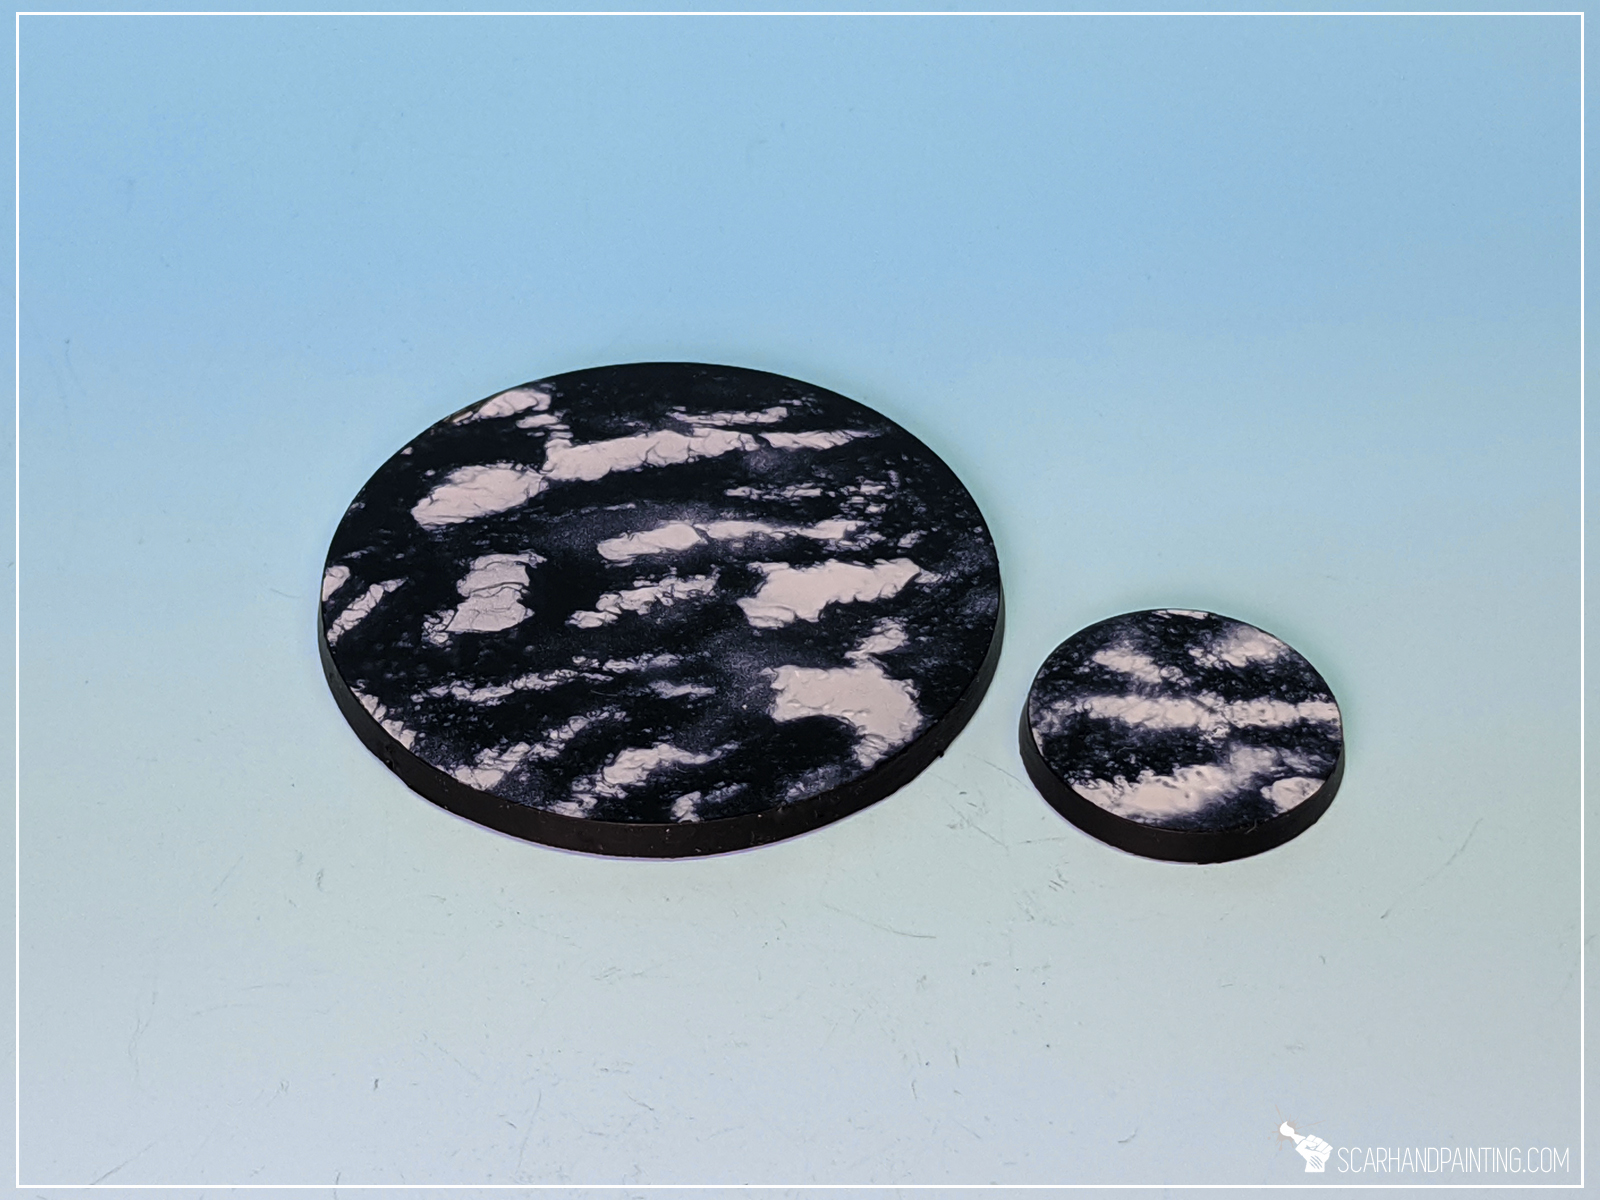
Here’s how the finished base looks like.


This bonus method is much simpler and I think it had a lot of potential, still I stumbled upon it by accident just fed ways ago and hadn’t had time to test it thoroughly. Here’s basics:
Done! Seems mind blowing? Surely is. Have I done this right? Totally no 😛 White spots are too large, but as mentioned – there’s potential in the method and at some point I will find a way to make it work.


Note from the author: I hope you enjoyed this article. Be sure to let me know what you think in the comments or at my facebook. If you ever use the tutorial – please tag me at facebook or send pics through Line app to scarhandpainting, so I can enjoy your work 😉
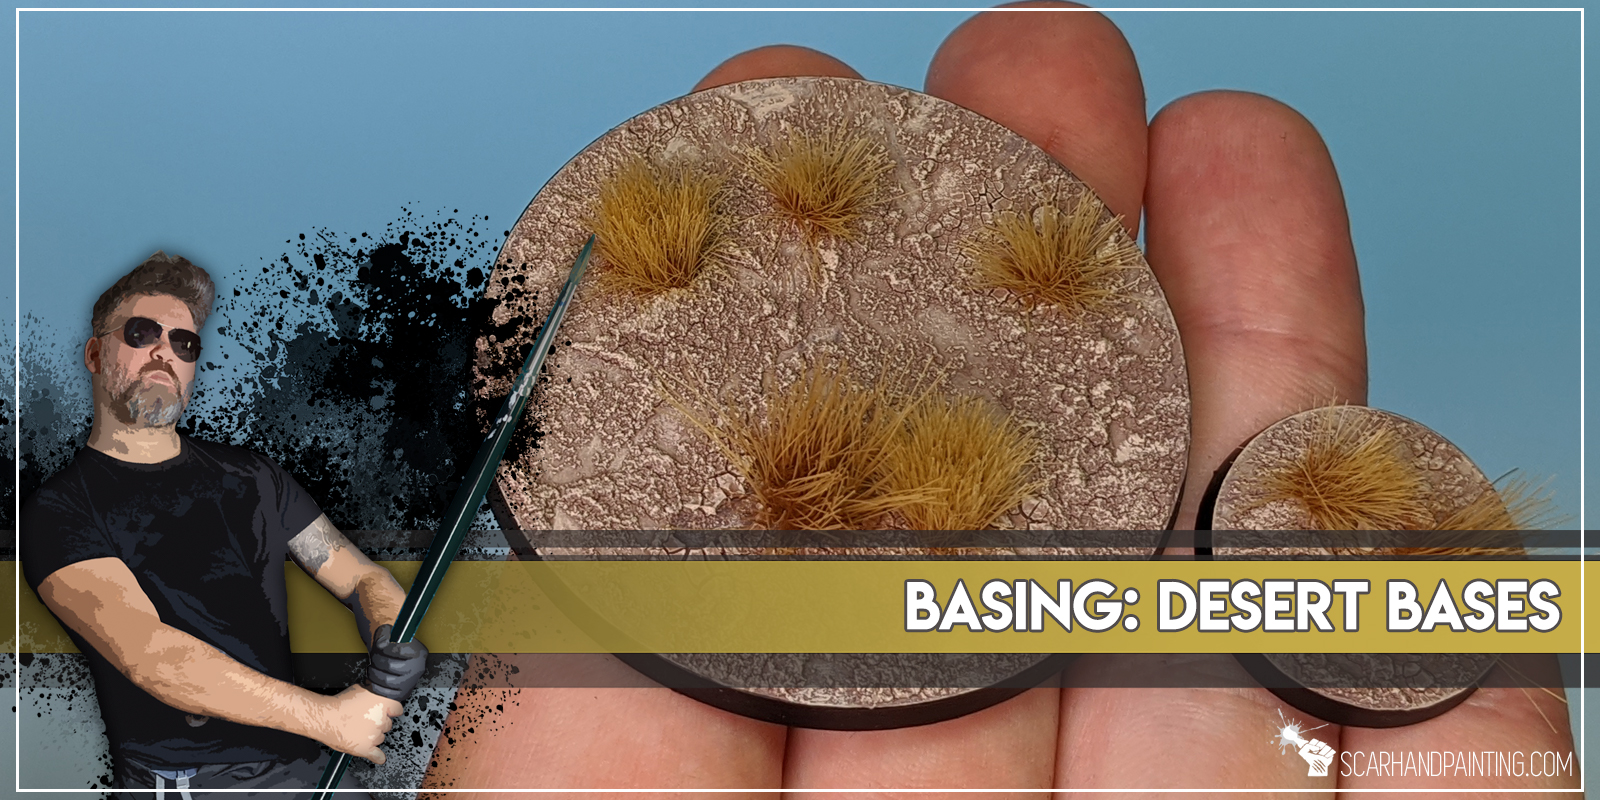
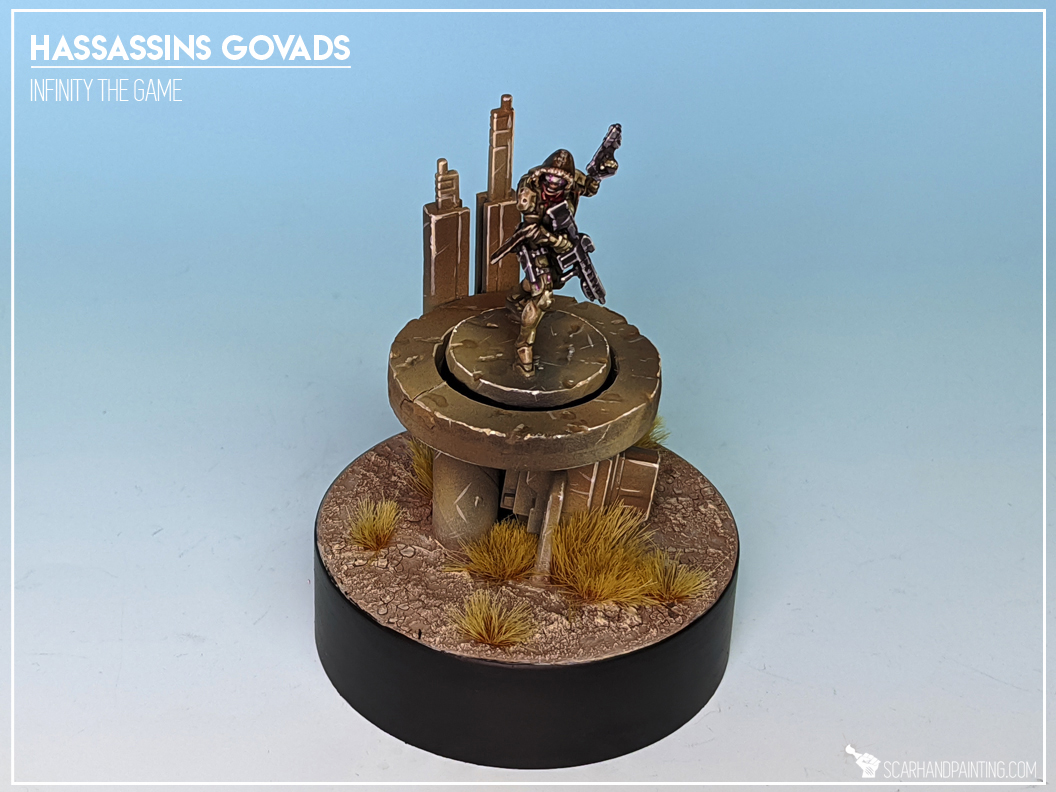
Welcome to Painting Desert Bases tutorial. Here I will take you on a Step-by-step trip through the process of painting Desert Bases the same way as seen at: Gallery: Infinity USARF
Before we start, some notes:
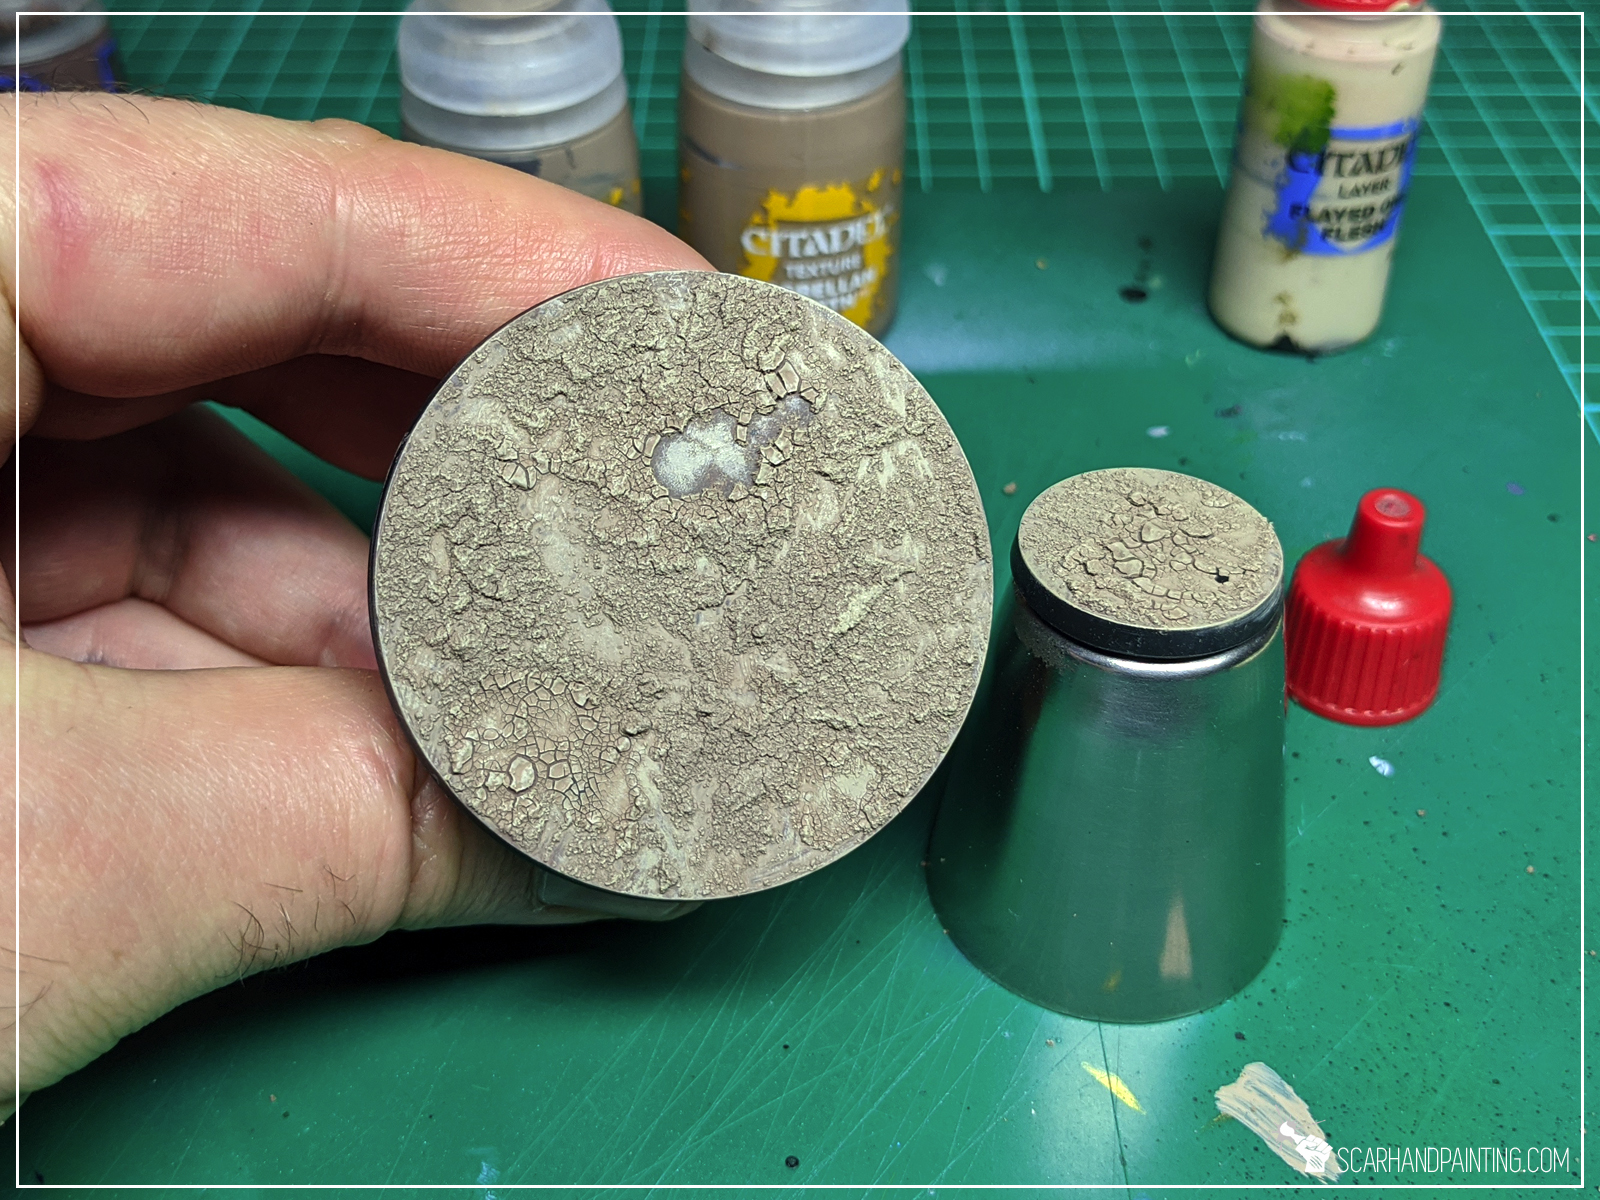
Step one: Undercoat
I started with a lazy layer of Games Workshop Gorthor Brown. Any similar colour would do and the layer doesn’t need to be thorough.

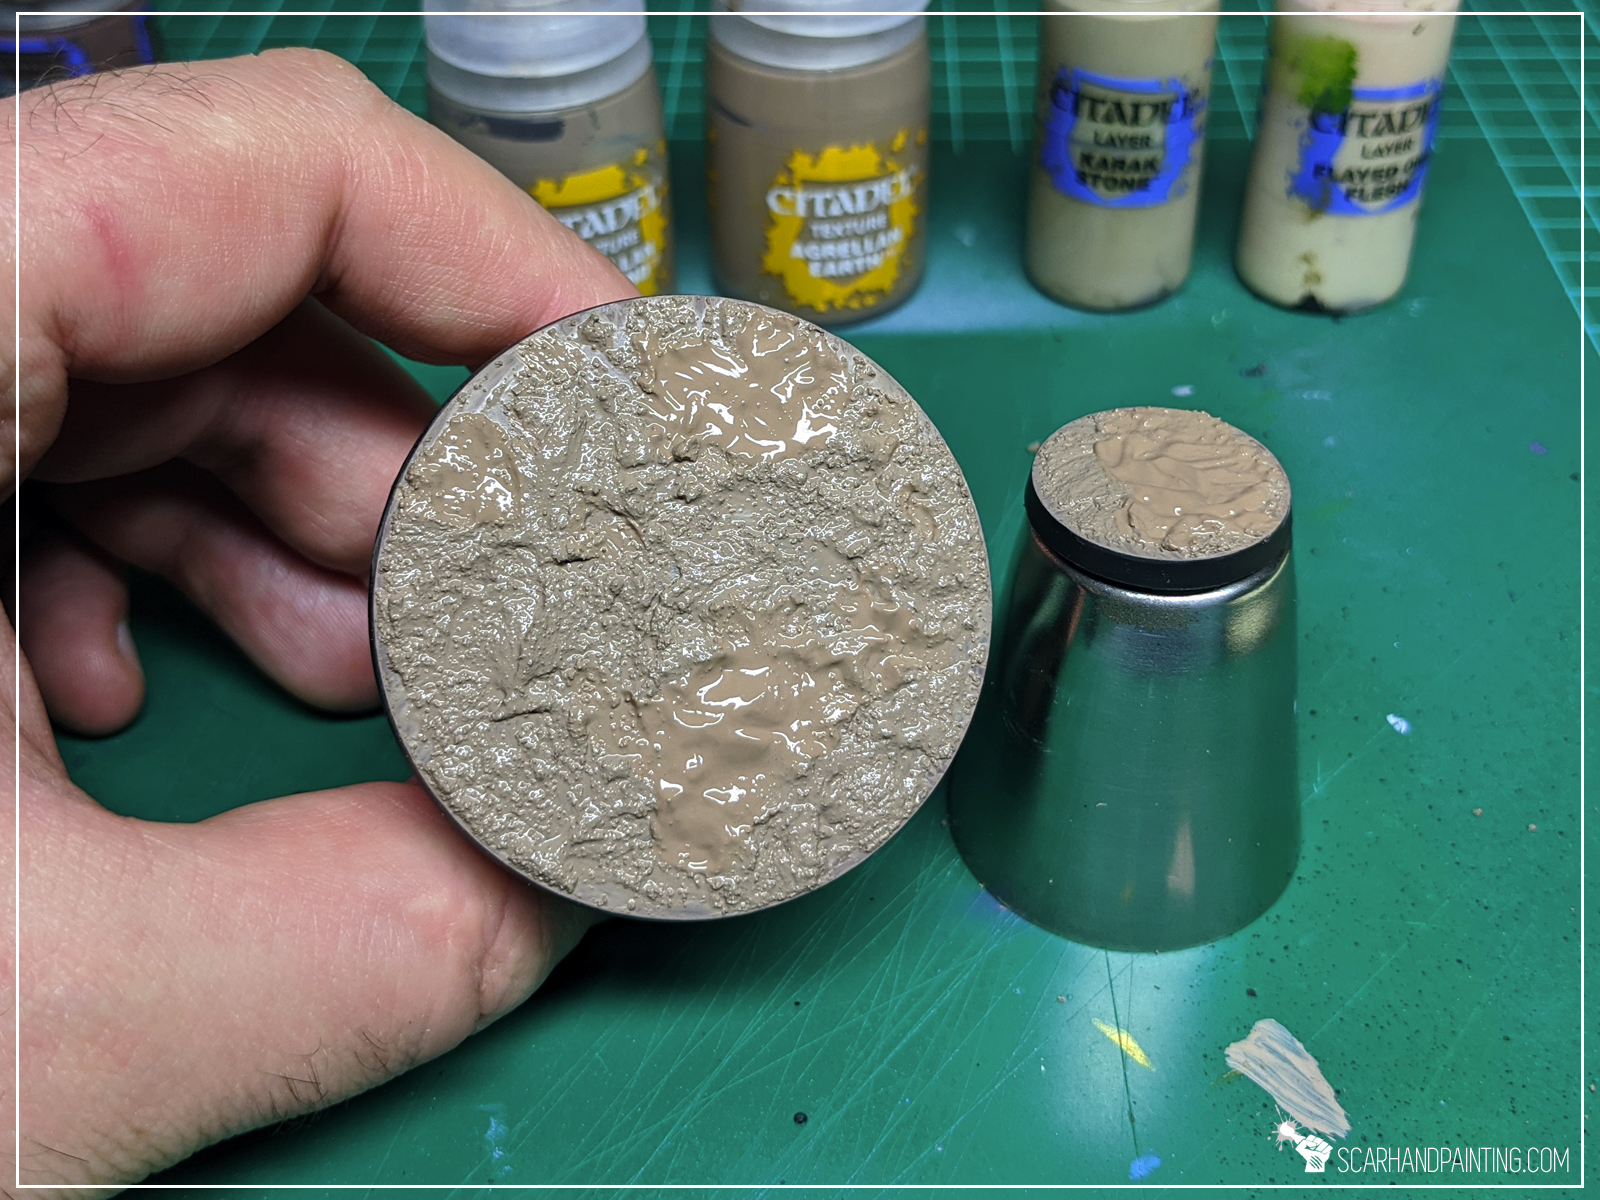
Step two: Base texture
I applied a solid irregular layer of Games Workshop Agrellan Badlands with some points of Games Workshop Agrellan Earth on top.
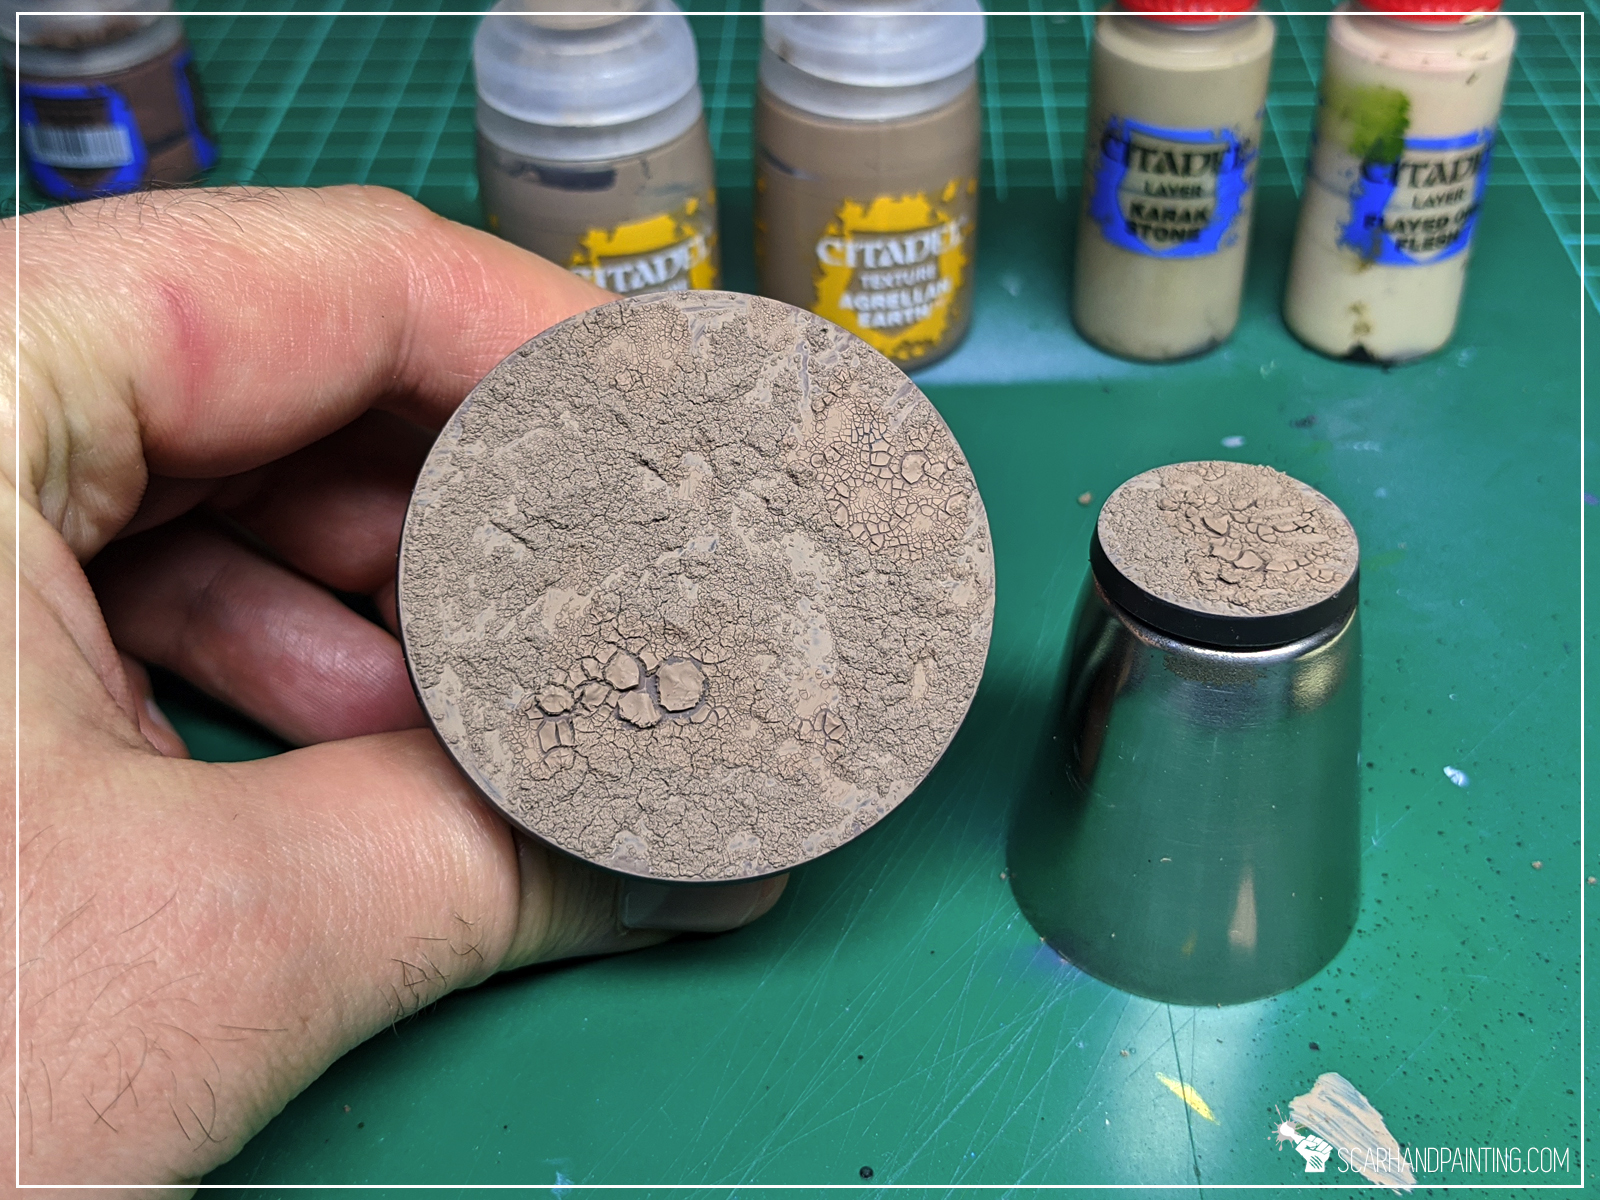
Step three: Highlight
Next I drybrushed a layer of Games Workshop Karak Stone. Some pieces of cracked earth fell off, but that doesn’t matter in the long run.
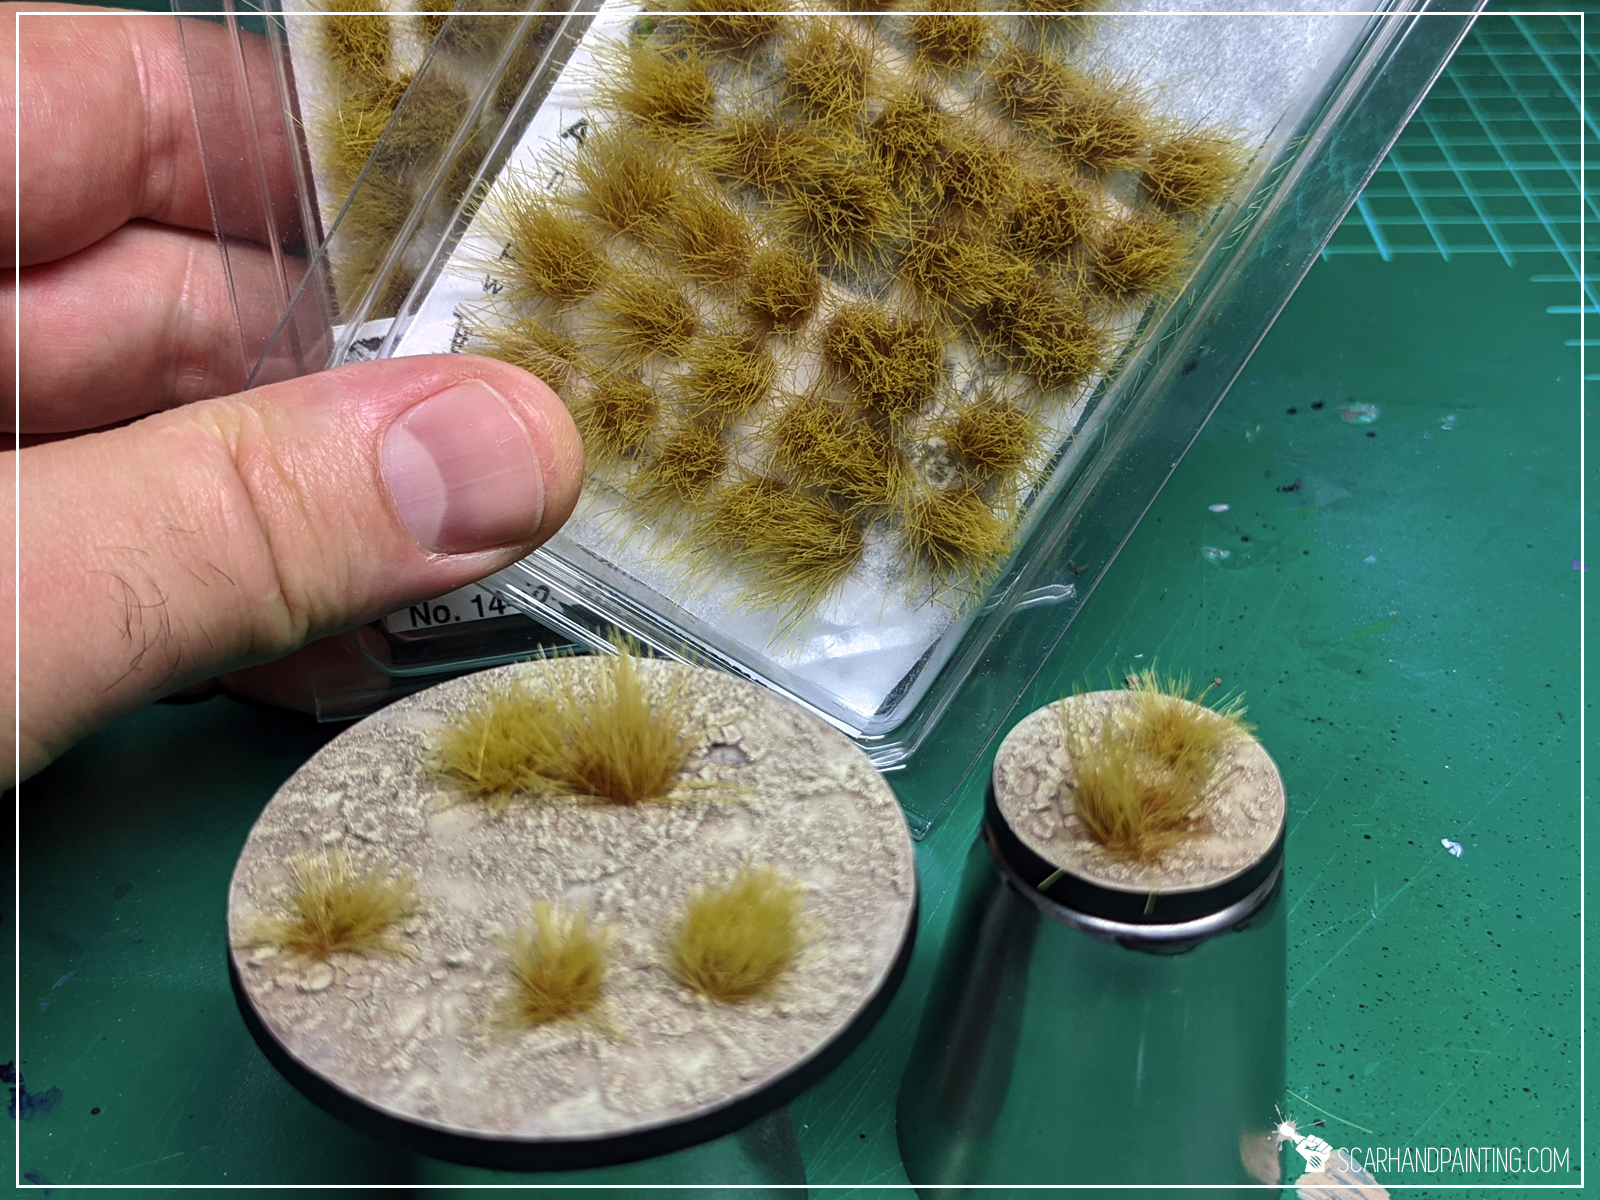
Step four: Highlight
I drybrushed again, this time with Games Workshop Flayed One Flesh.

Step five: Tufts
I glued Paint Forge Steppe tufts on top of the bases, ensuring that any points where cracked earth fell off got covered.

Here’s how the finished base looks like. 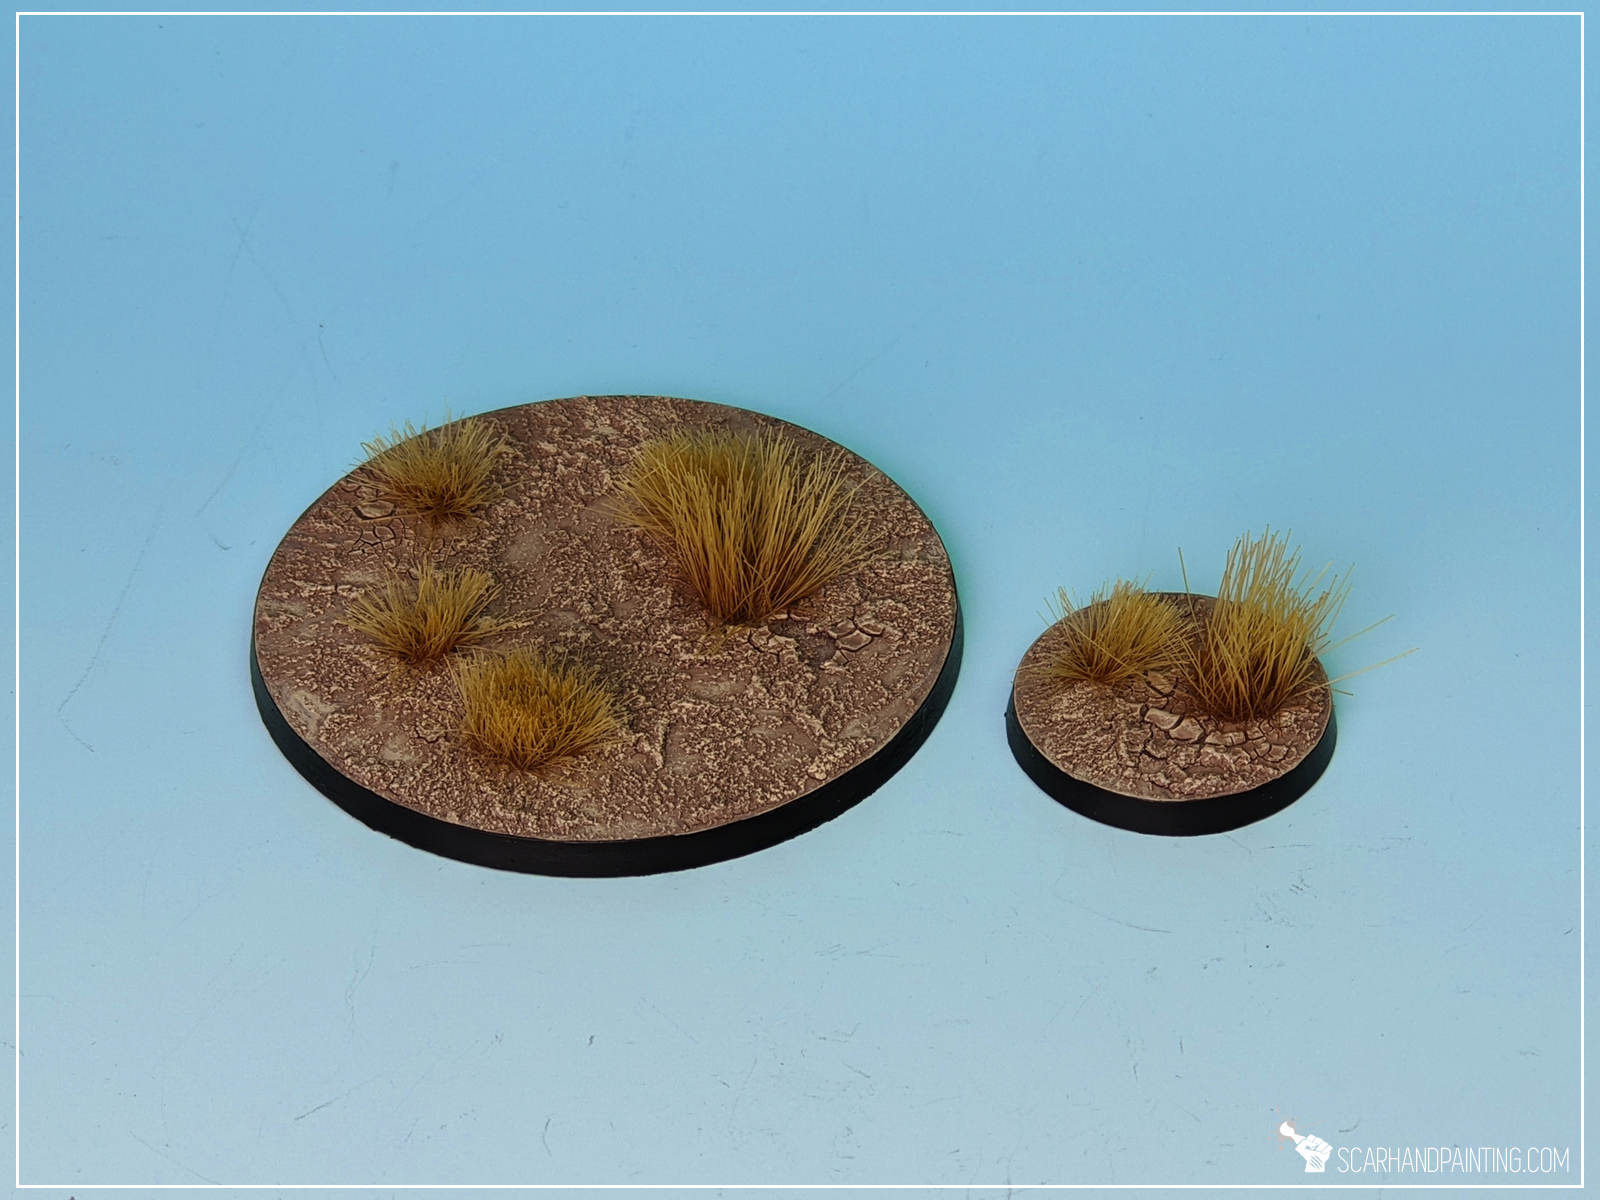
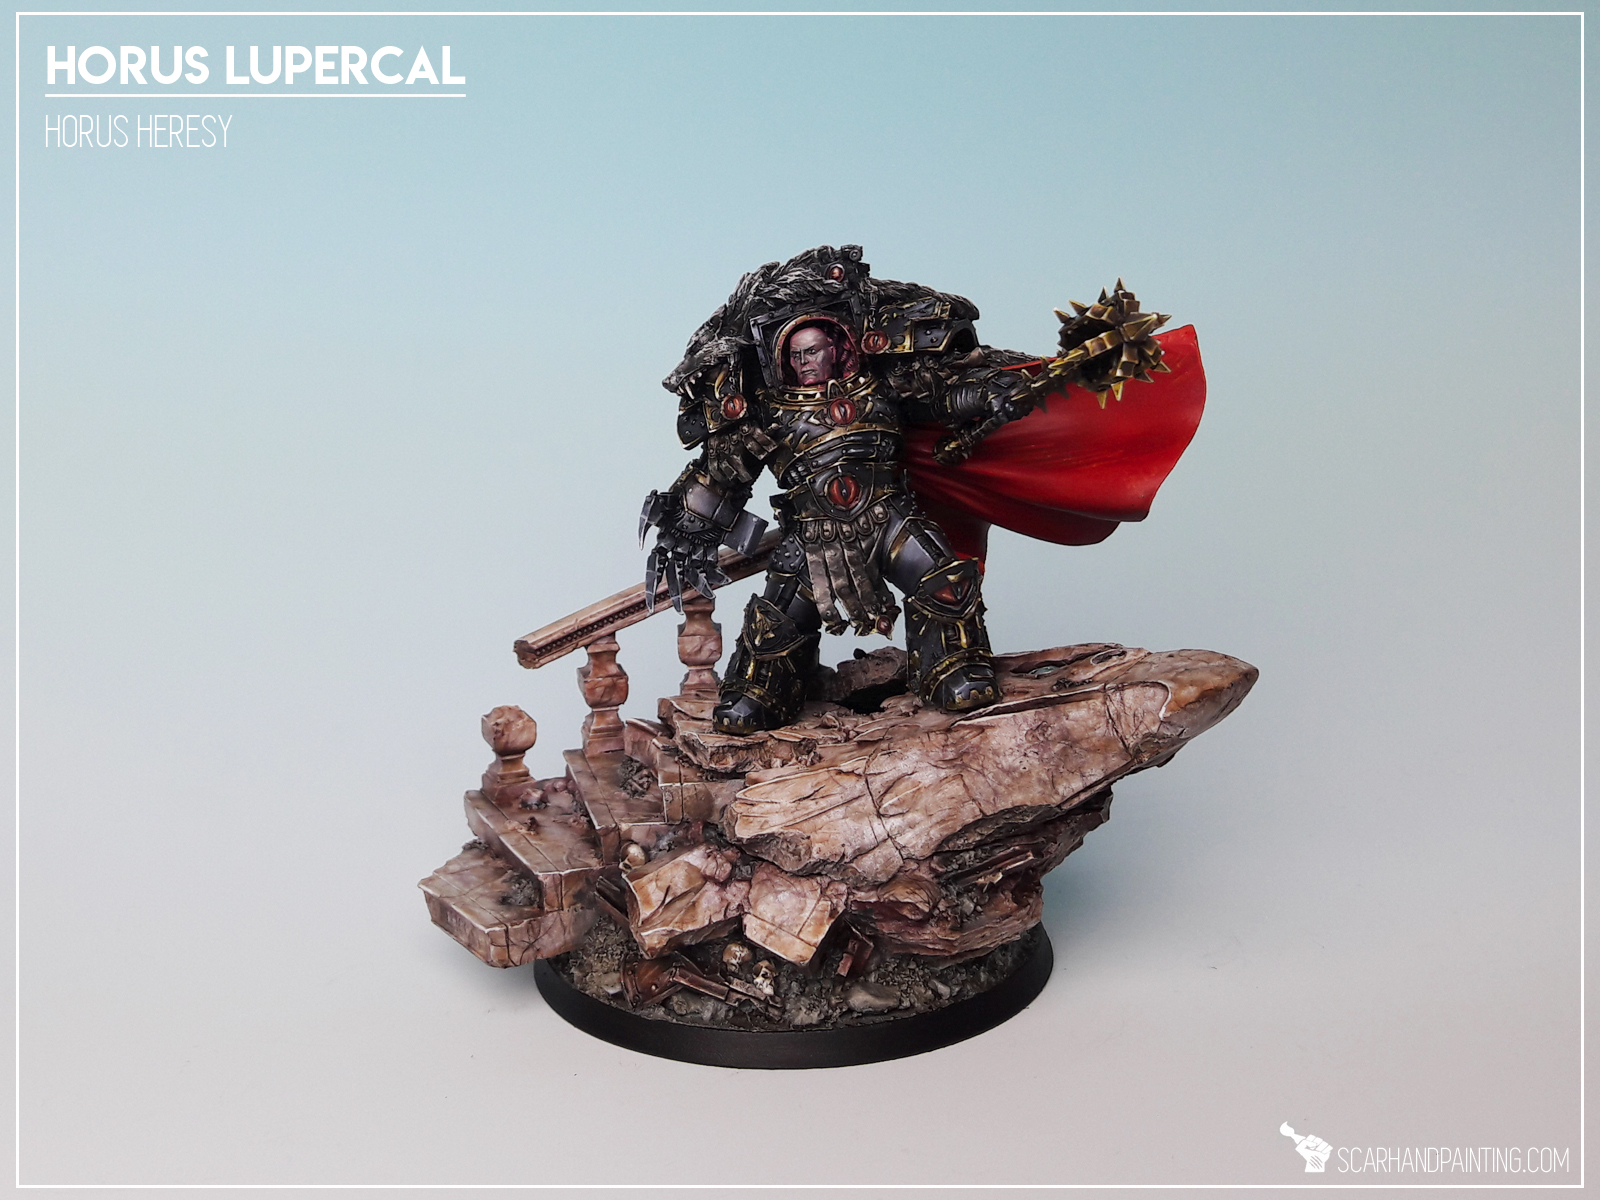
Welcome to Painting Marbe tutorial. Here I will take you on a Step-by-step trip through the process of painting marble the same way as seen at: Gallery: Horus Lupercal

Before we start, some notes:
Step one: Undercoat
I started with a solid layer of Vallejo German Red Brown. Any similar colour would do.
Step two: Base texture
For this step I used a life hack. I took few pieces of steel wool, taped them together and used them as a stencil. I then airbrushed pure white paint through the stencil and onto the bases.


Step three: Texture
Next I applied more layers of marble texture. This time I manually applied irregular stains of Army Painter Strong Tone Ink, waited half a minute then removed the paint with a paper towel. I then repeated the process once again applying and then removing excess Strong Tone Ink.


Step four: Sealing the colour
I then painted entire base with Army Painter Soft Tone Ink thinned with Games Workshop Lahmian Medium. I tried to keep the layer smooth and even.
Step five: Gloss
Finally I applied two layers of airbrushed Gloss Varnish. This resulted in a nice polished glossy look. Depending on the effect you aim for Gloss Varnish can be switched with either Satin ot pure Matt.
Here’s how the finished base looks like.


Note from the author: This tutorial is by far the most popular article on Scarhandpainting.com. It was first published in early 2016 and then refurbished exactly four years later. I hope you enjoy this new look and that the tutorial is now much easier to follow. Comments and Critique are welcome.
In this step-by-step tutorial I’m going to show you how to create Cityfight bases same way I did for Gallery: Tau Sa’Cea.

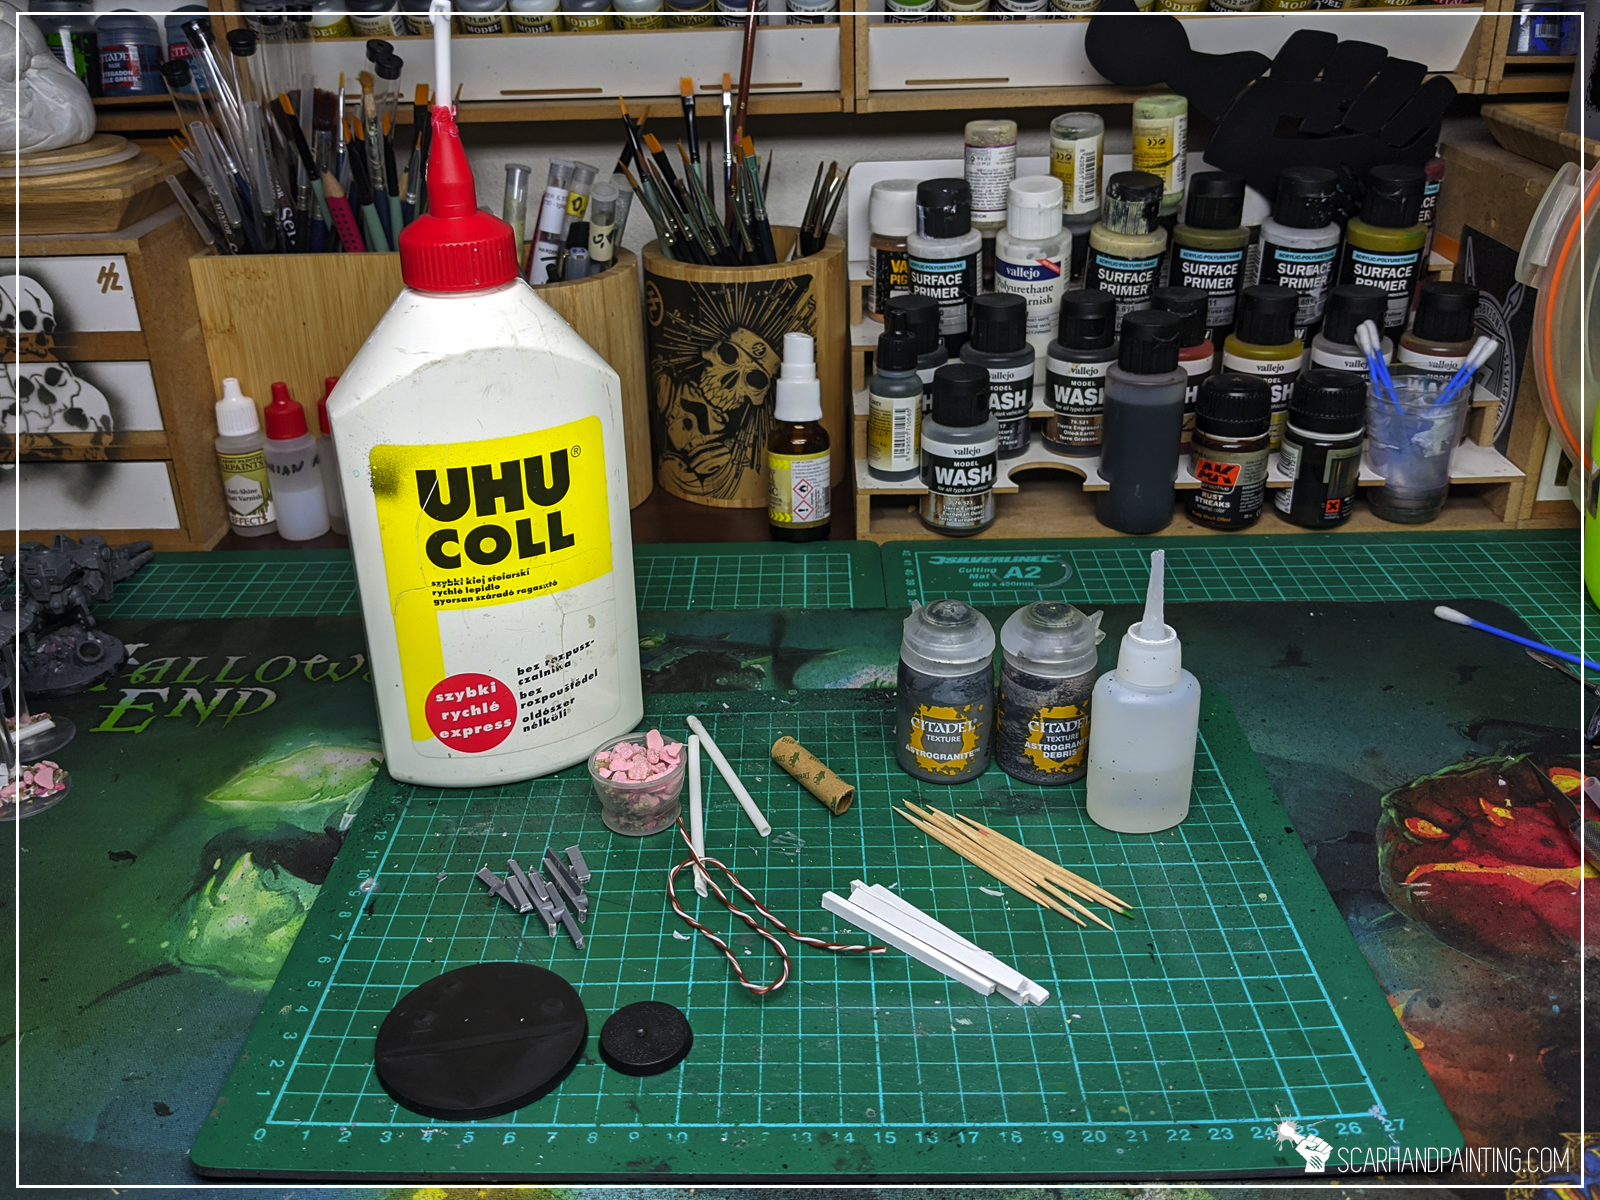
I used:
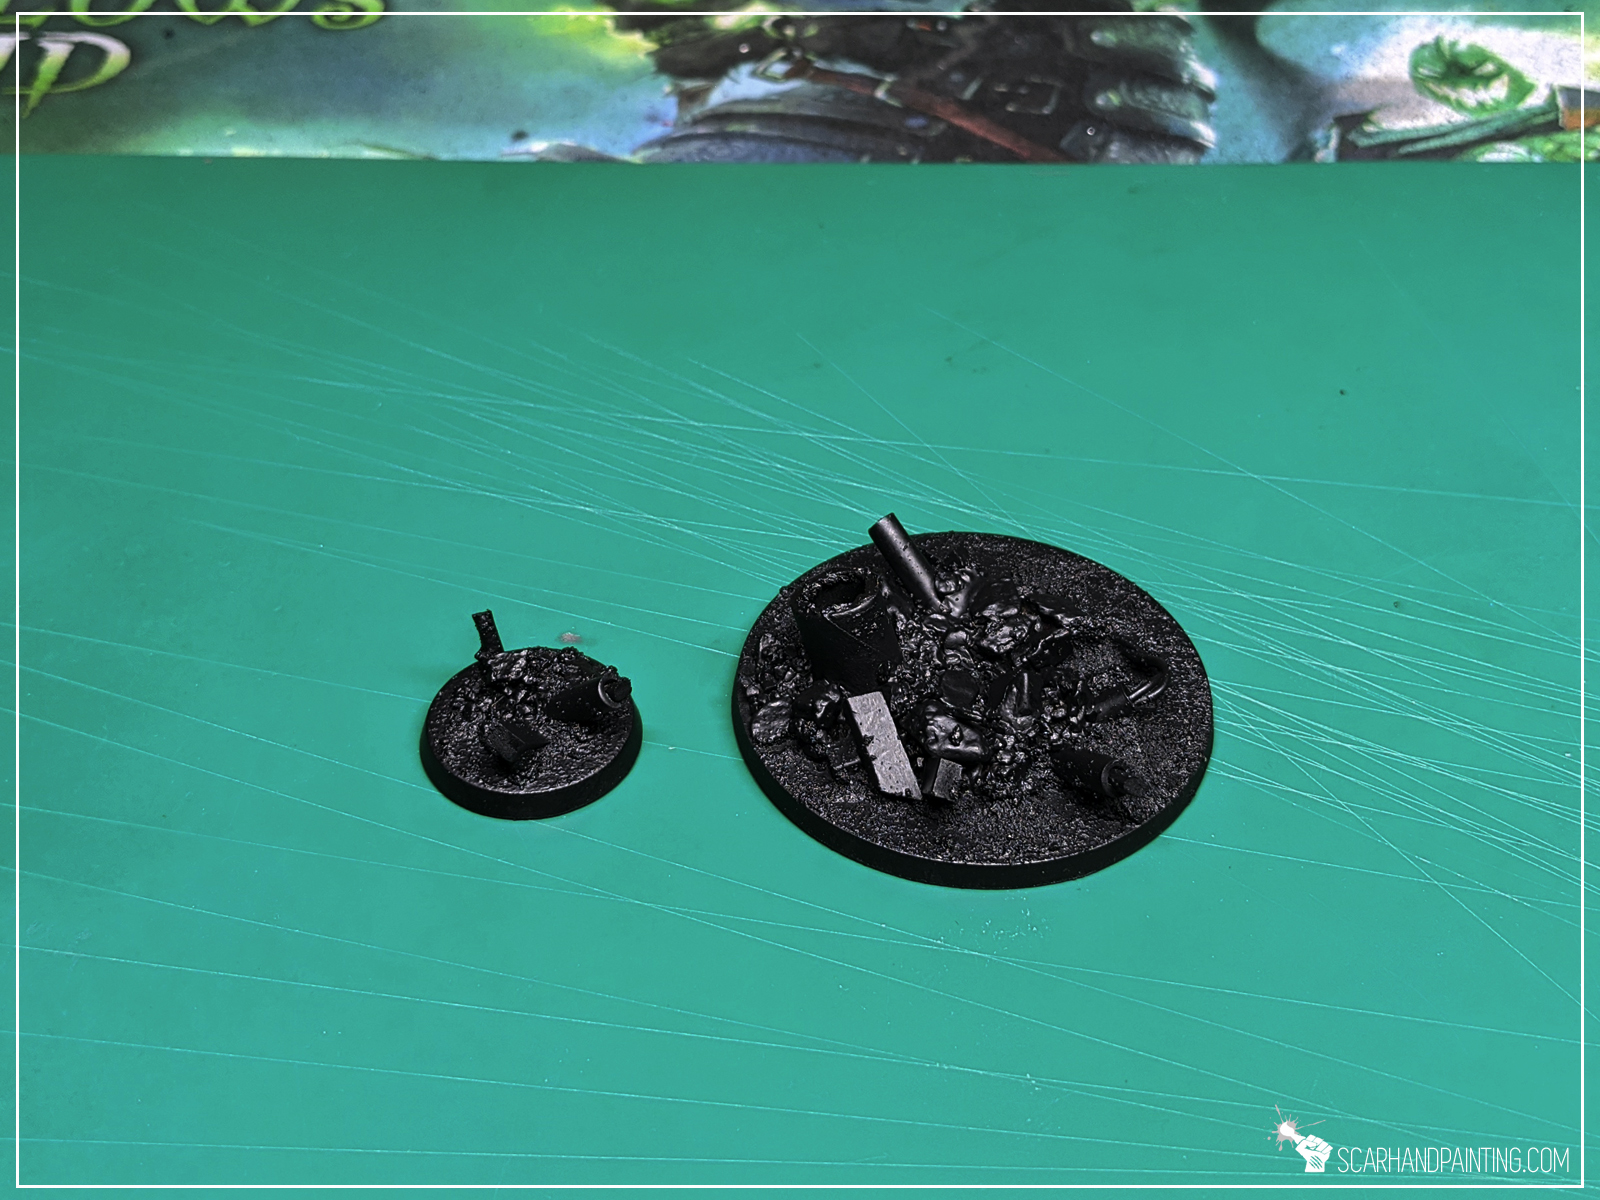
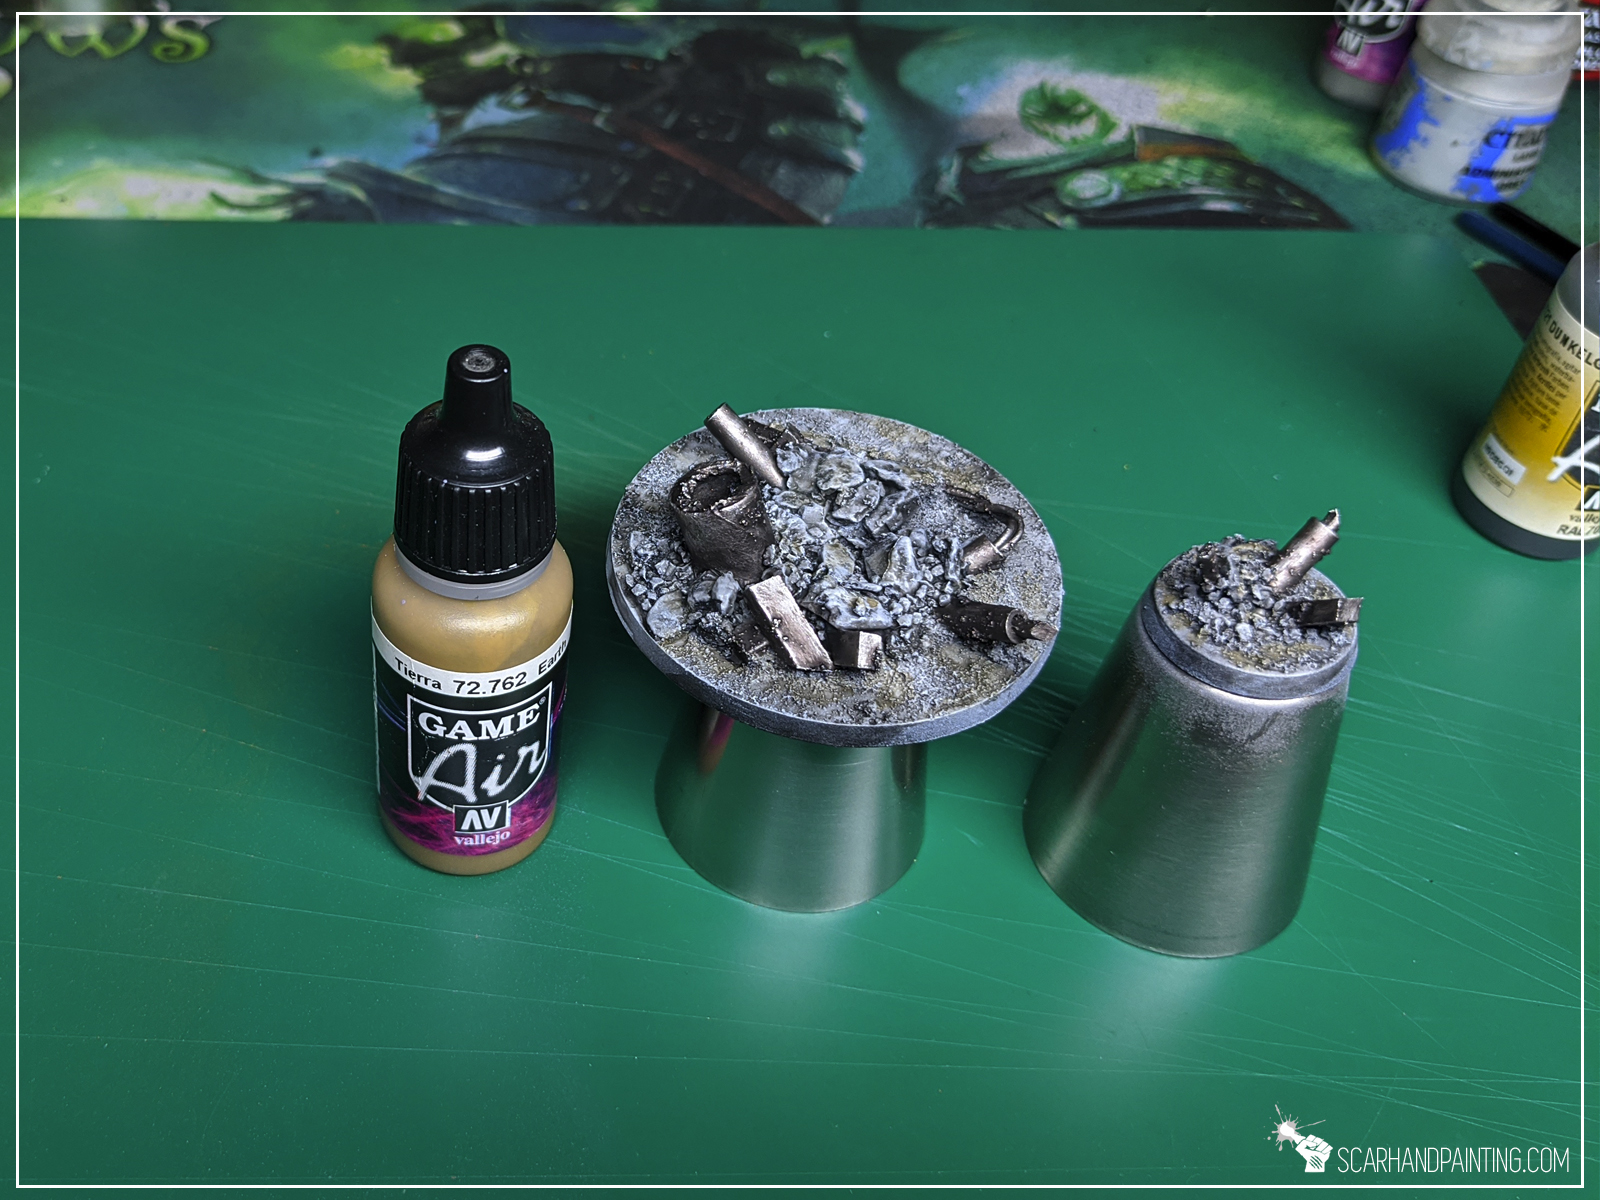
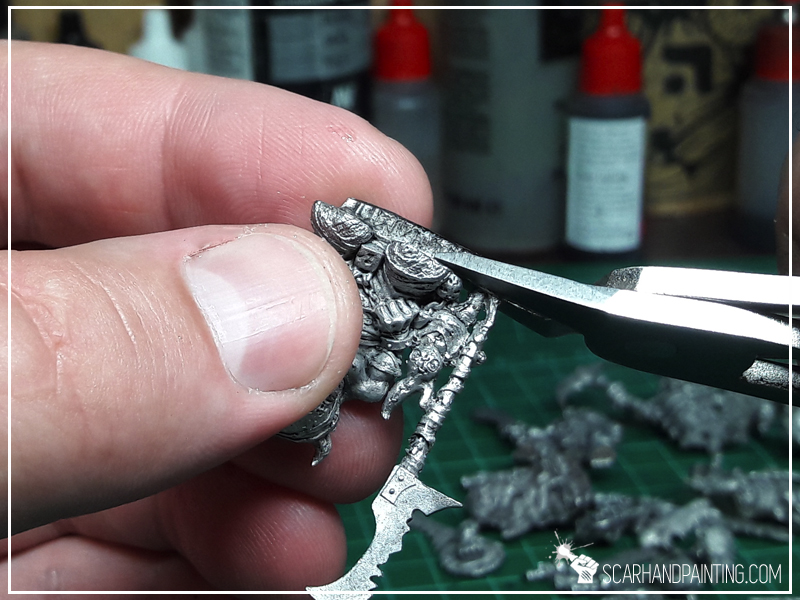
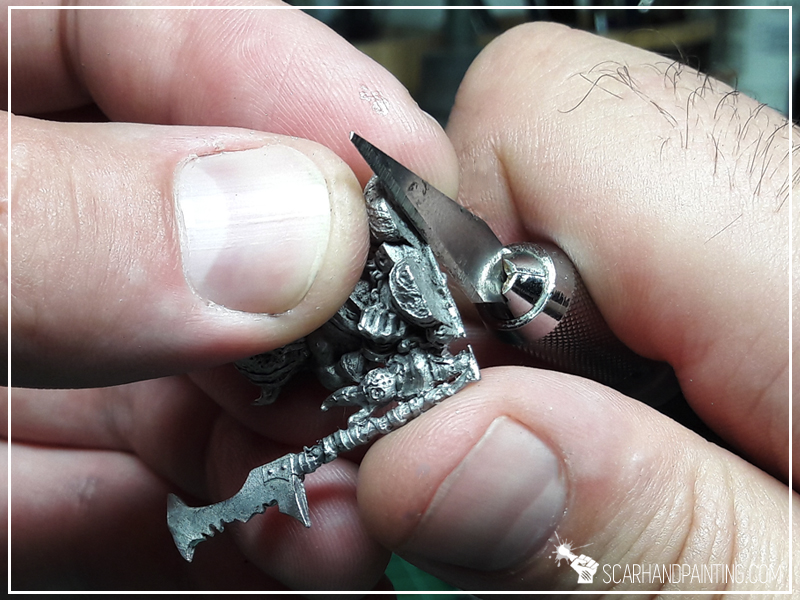
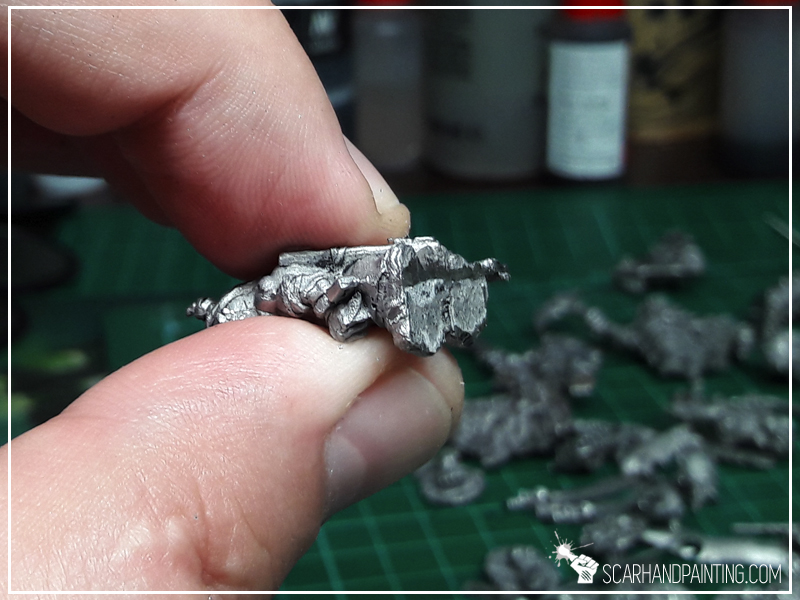
Step one: Special detail
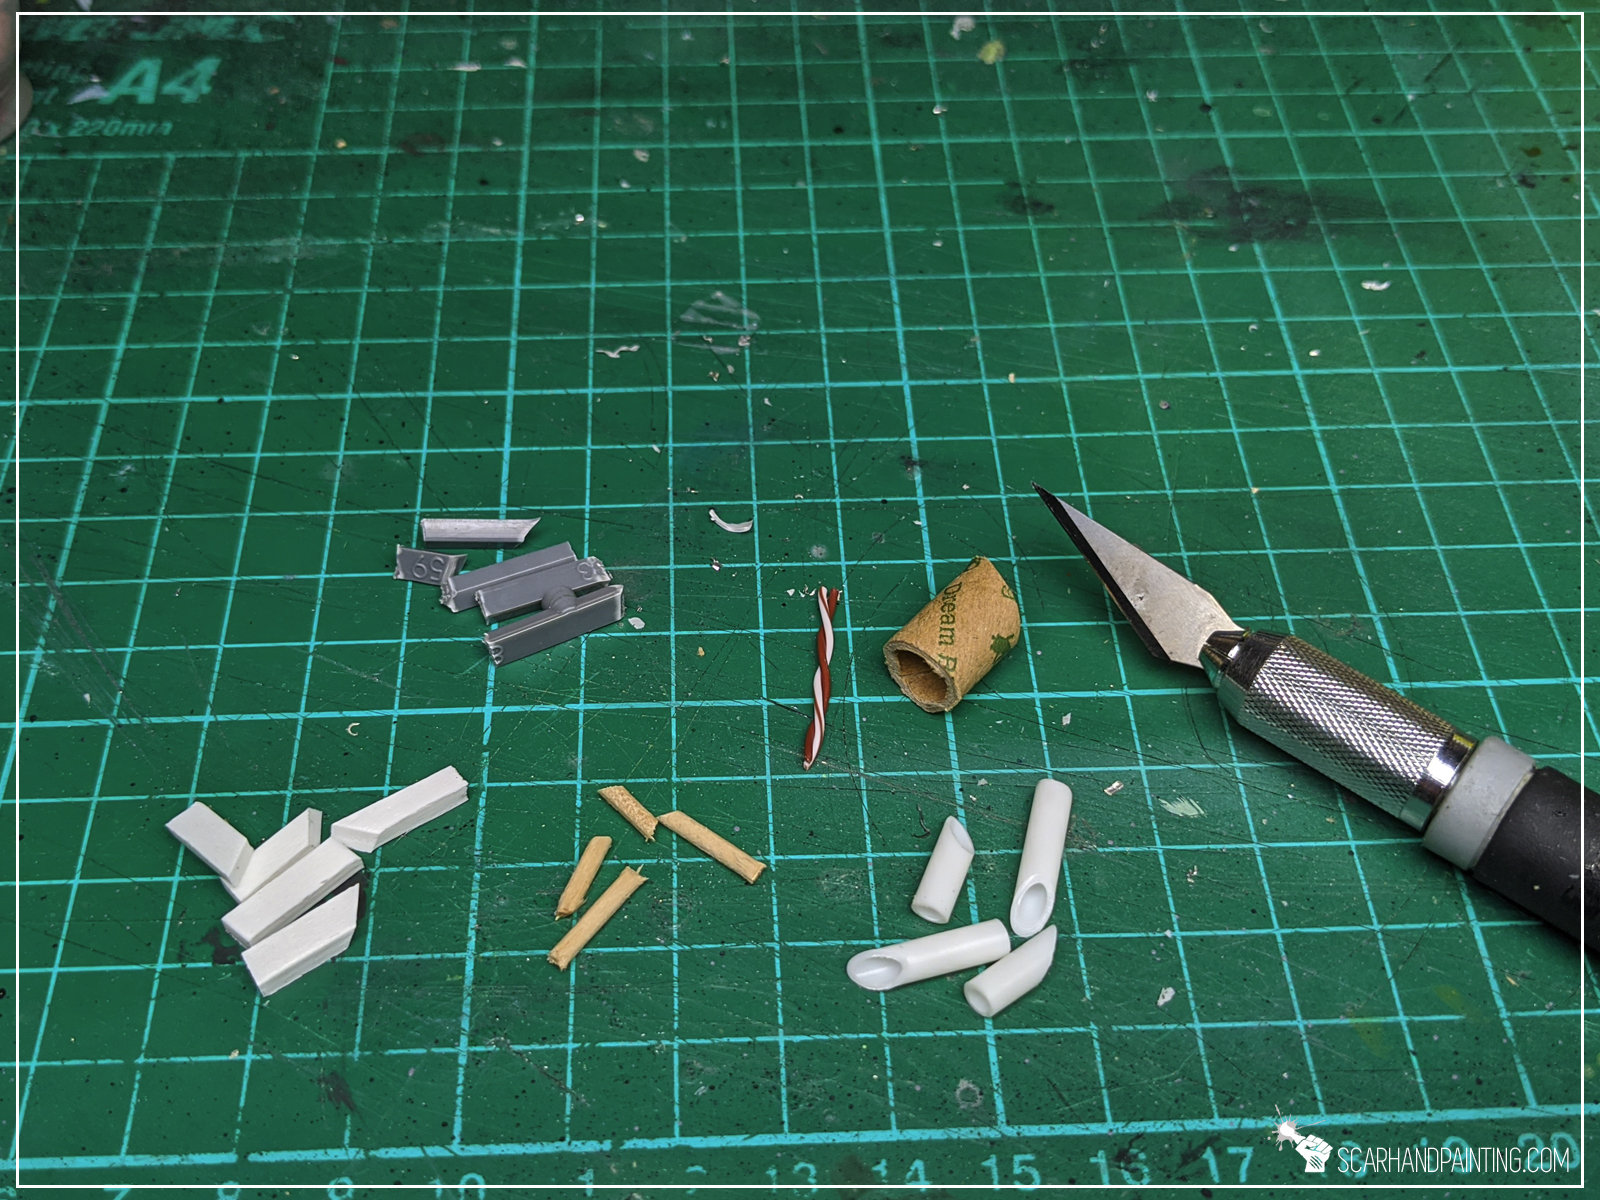

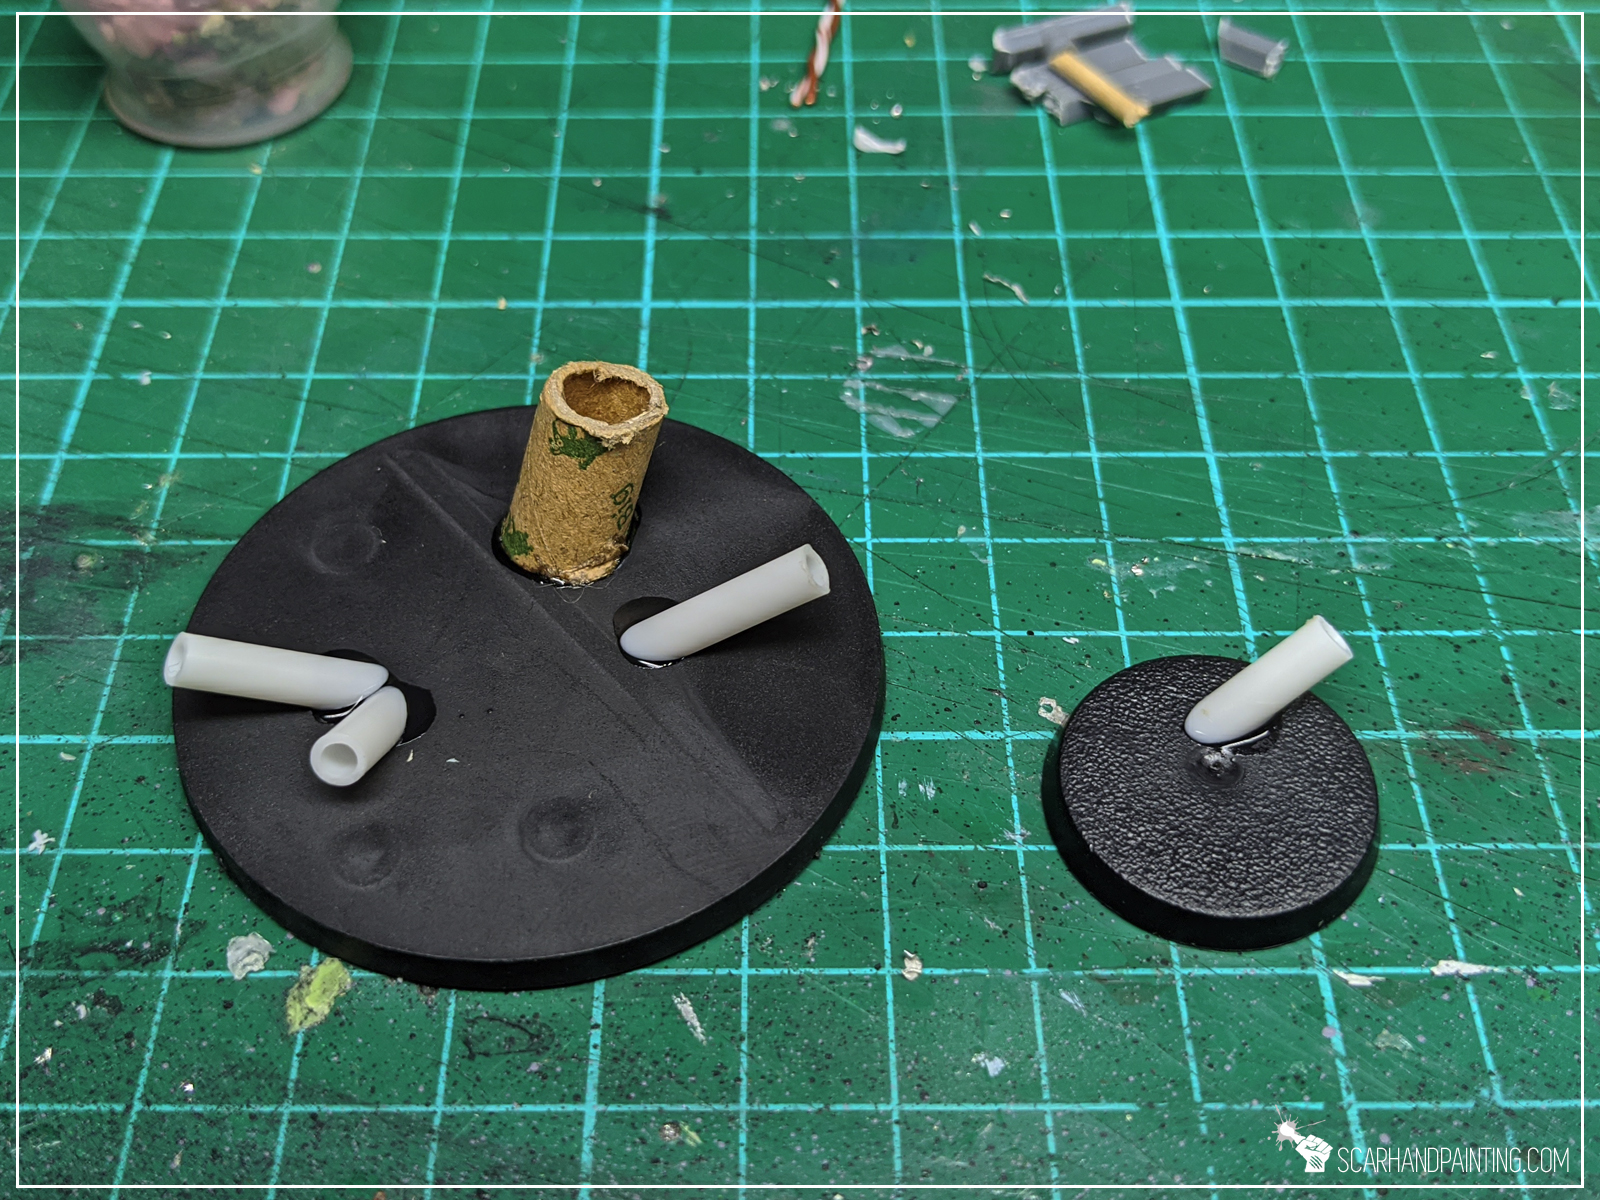

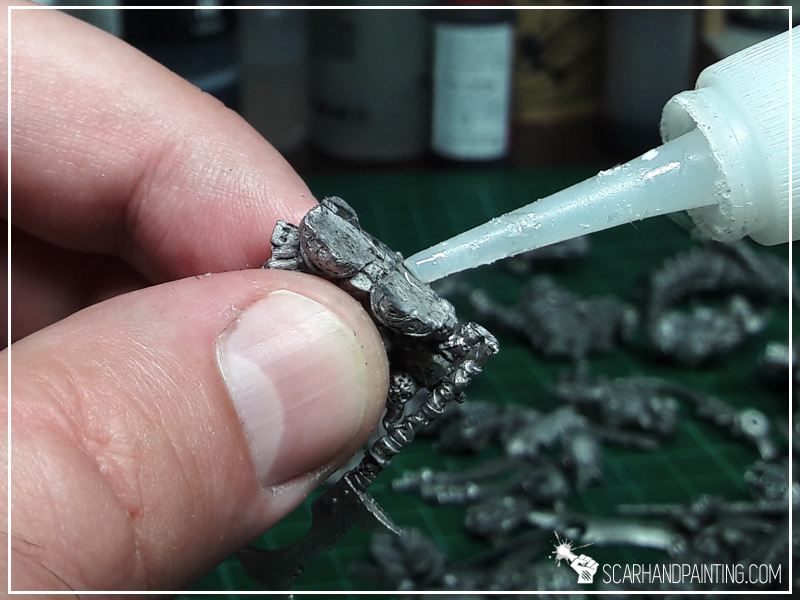
Using a hobby knife I cut all the sticks, sprues, toothpicks, plasticard and tube into small pieces. I made sure to cut one side of each piece at an angle, to better position each piece on the base. I then glued random pieces on top of a base using Super glue.
Step two: Gravel
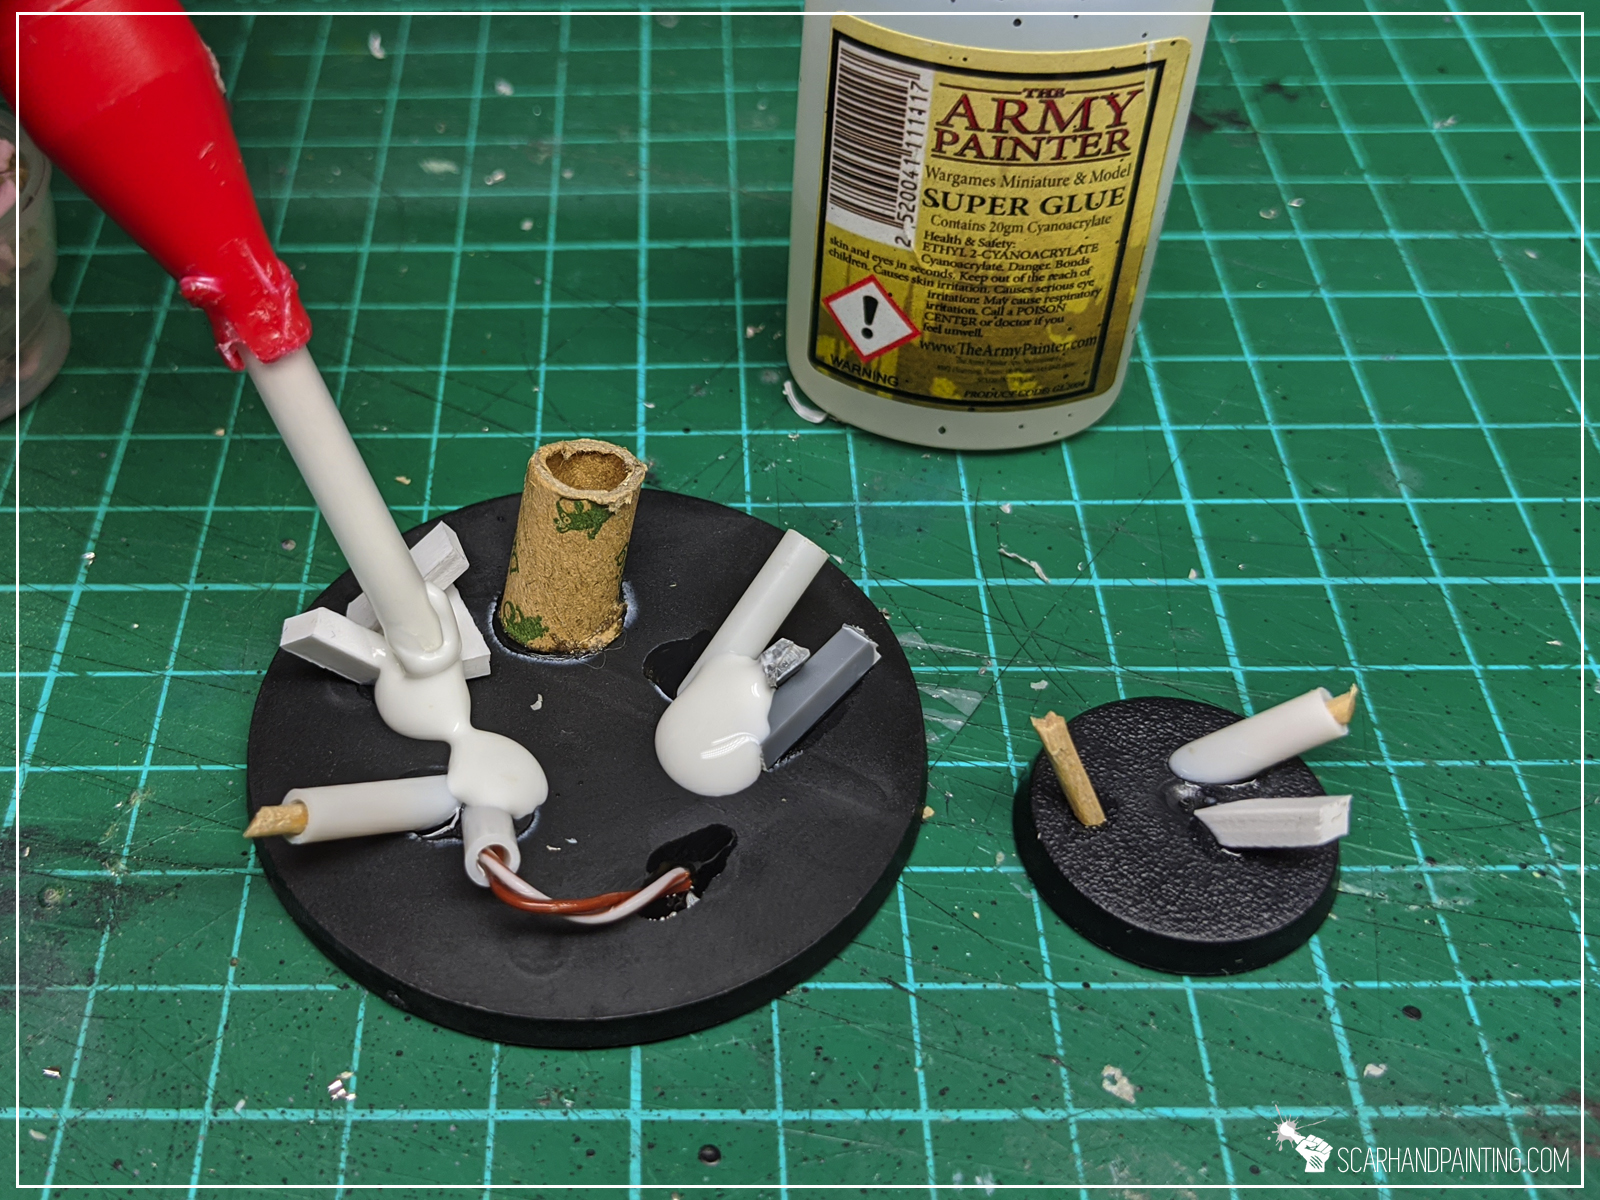
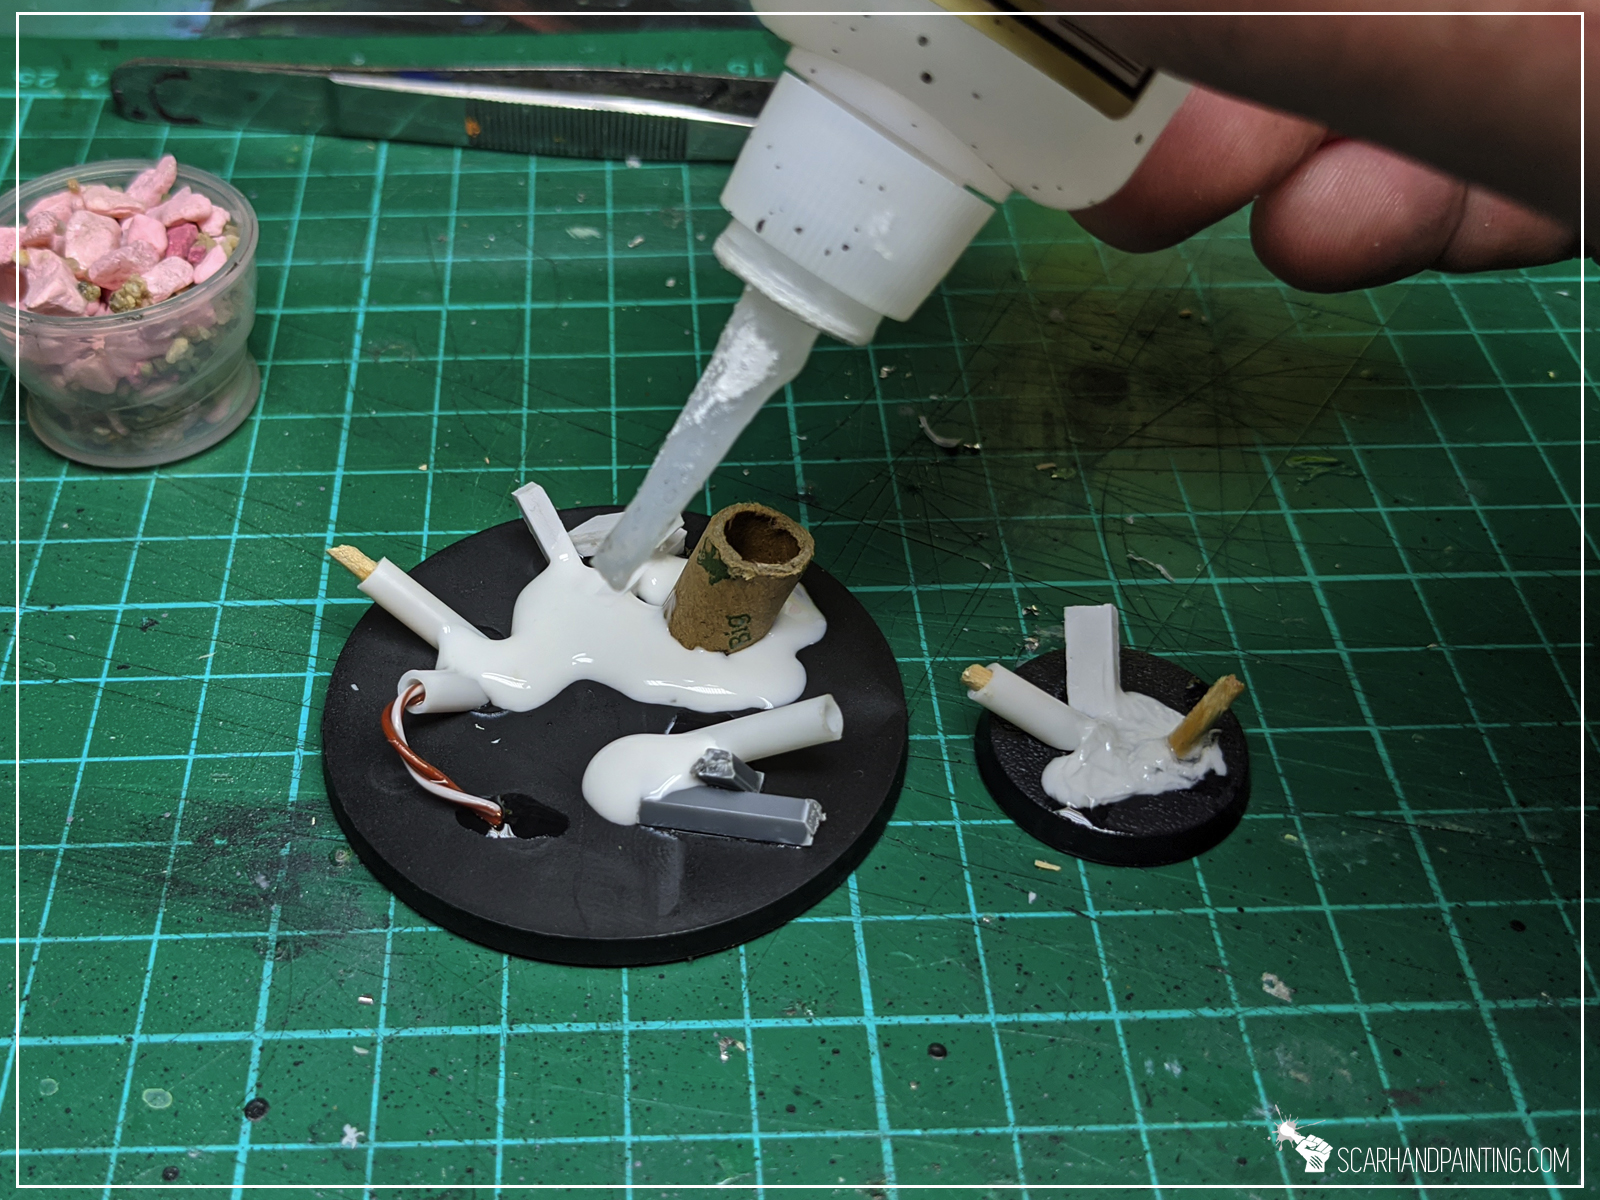


I applied PVA glue around previously glued pieces. I then applied Super glue on top of it and, before super glue hardened, covered entire thing with thick sand mixed with hobby gravel.
Step three: Texture
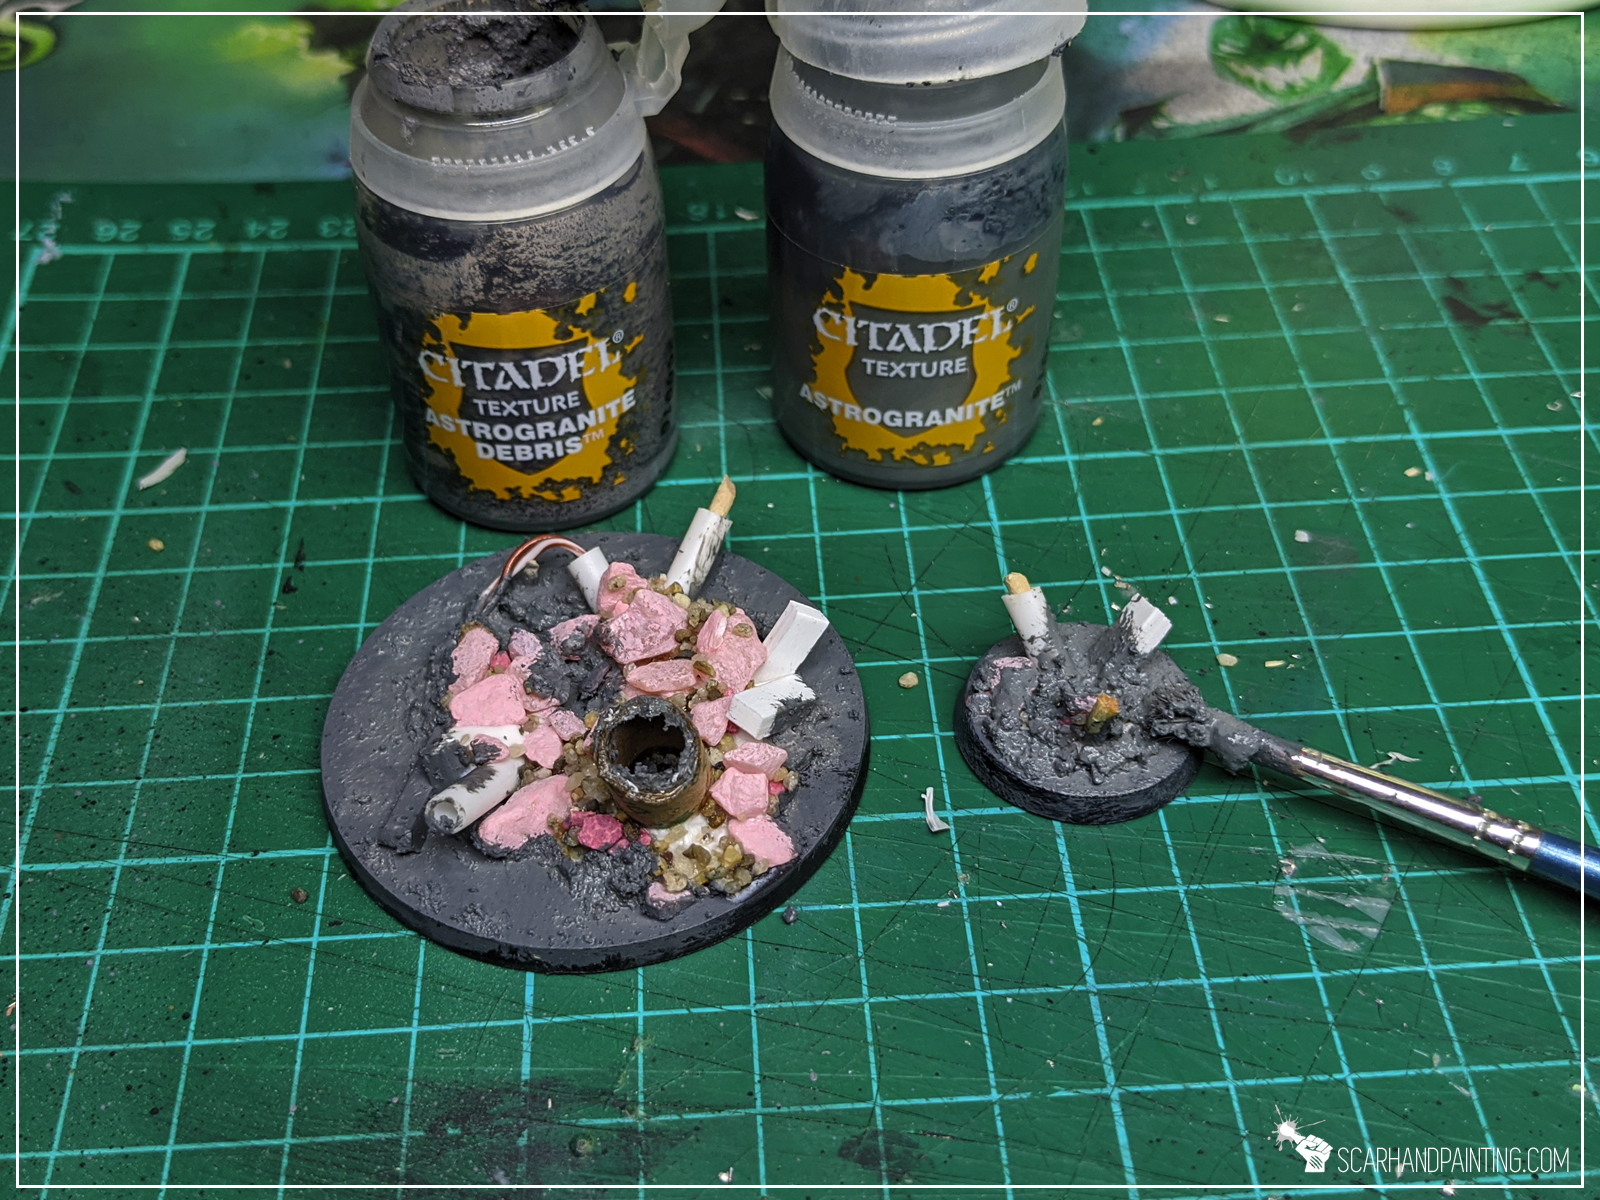
I then textured rest of the base using Games Workshop Astrogranite and Astrogranite Debris paints.


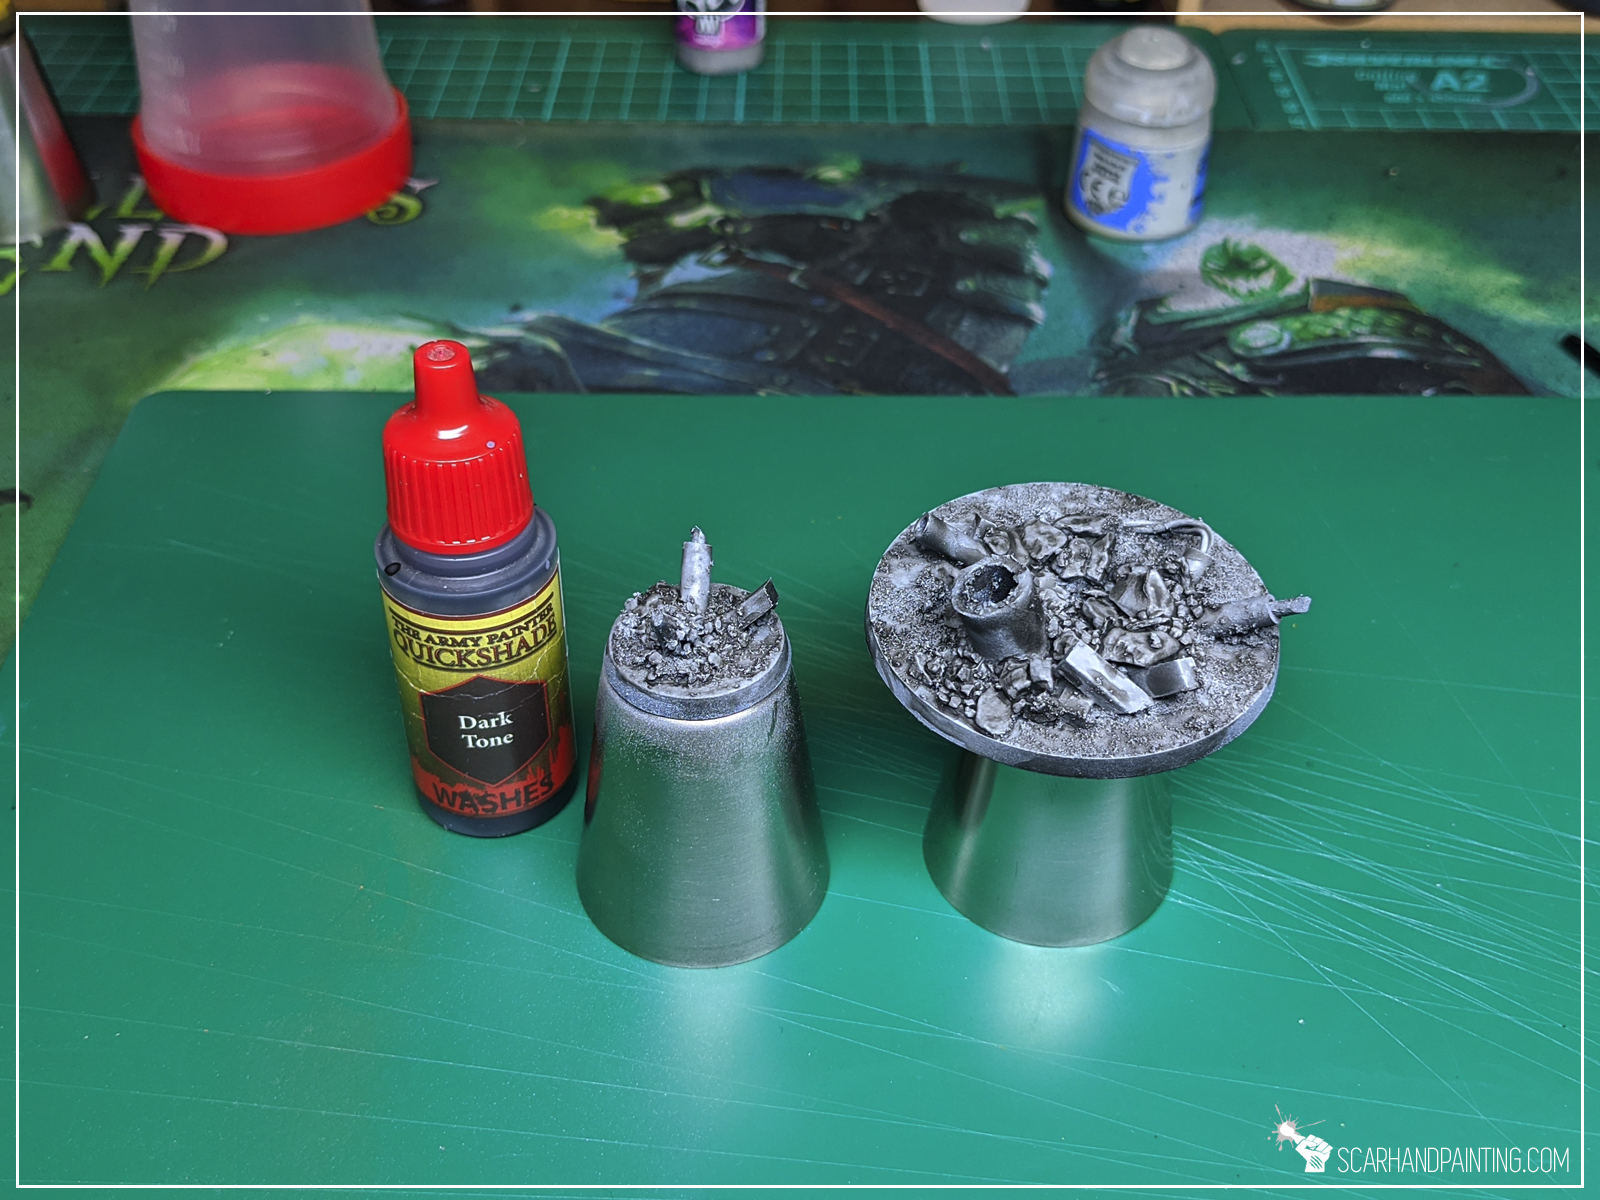
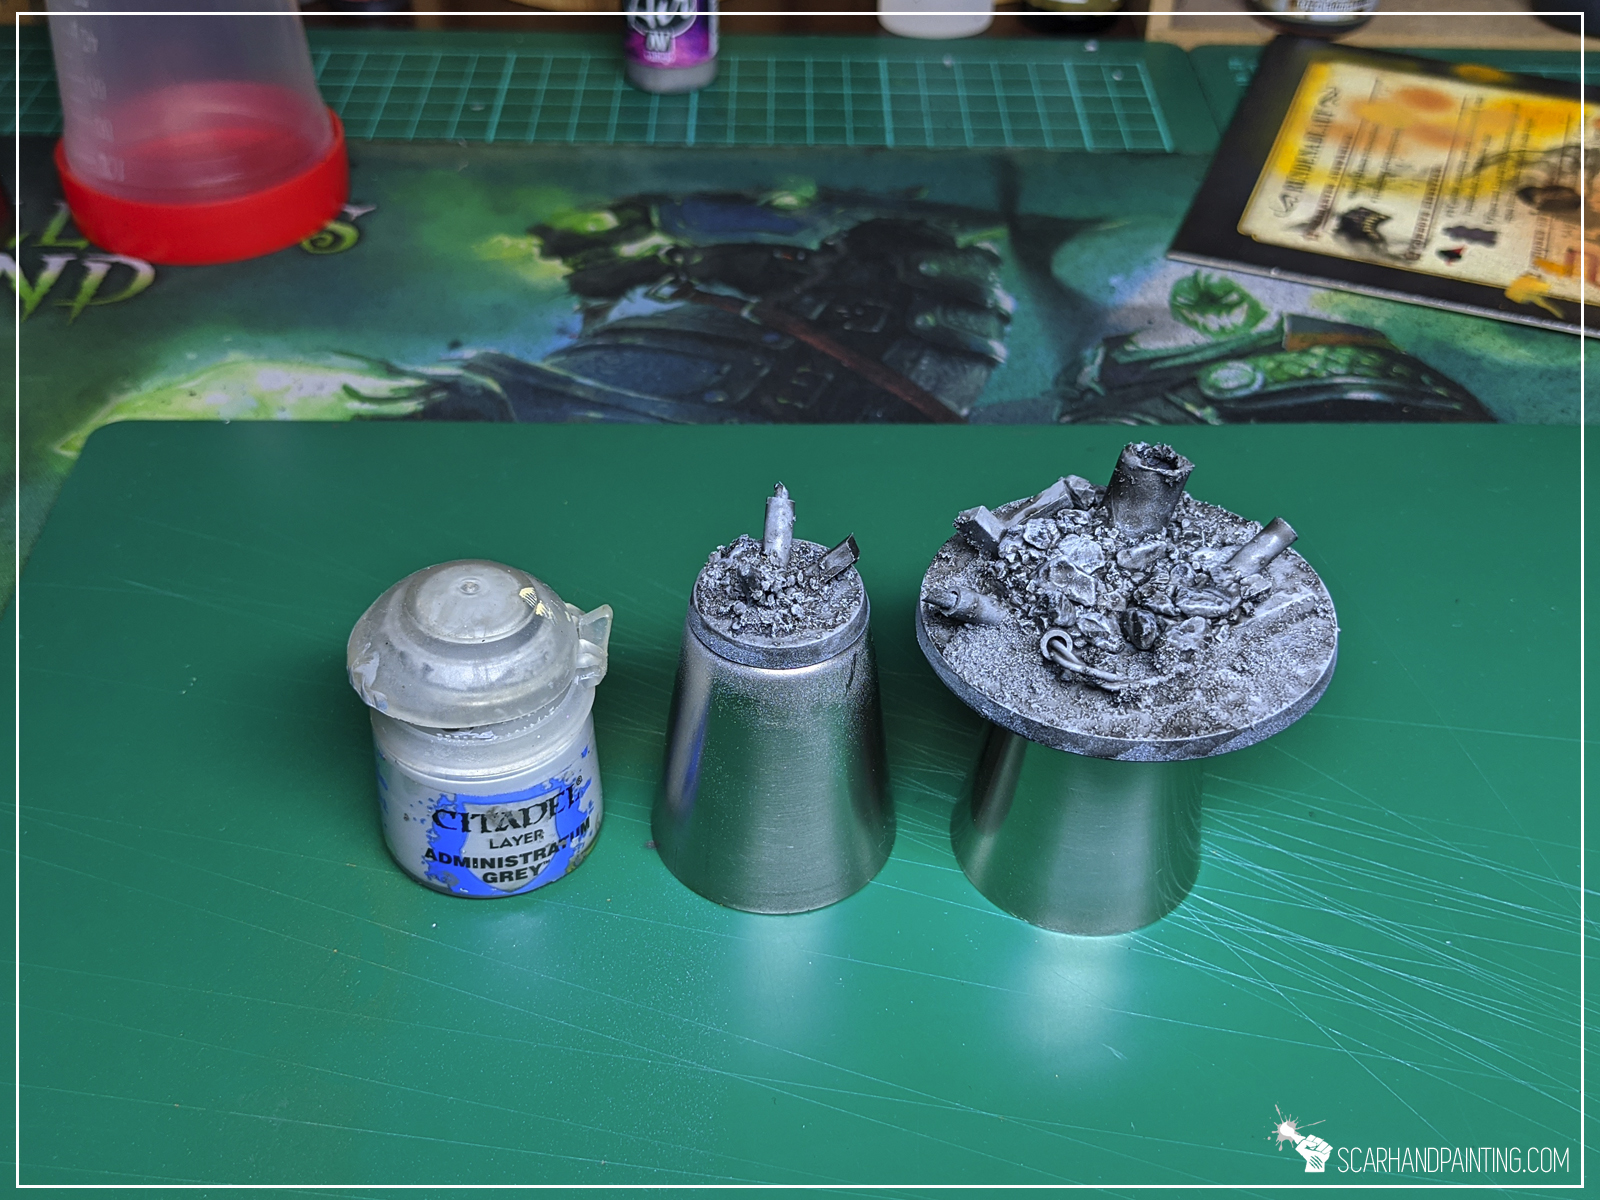
I started with Black Undercoat, then airbrushed a layer of Vallejo Cold Grey, followed short by Vallejo Stonewall Grey. I then washed everything black using Army Painter Dark Tone Ink and once it dried I drybrushed entire base with Games Workshop Administratum Grey.


For metal debris elements I used a mix of Games Workshop Warplock Bronze and Army Painter Gun Metal, followed by a highlight of Army Painter Shining Silver. I then washed all the pieces brown with Army Painter Strong Tone Ink.
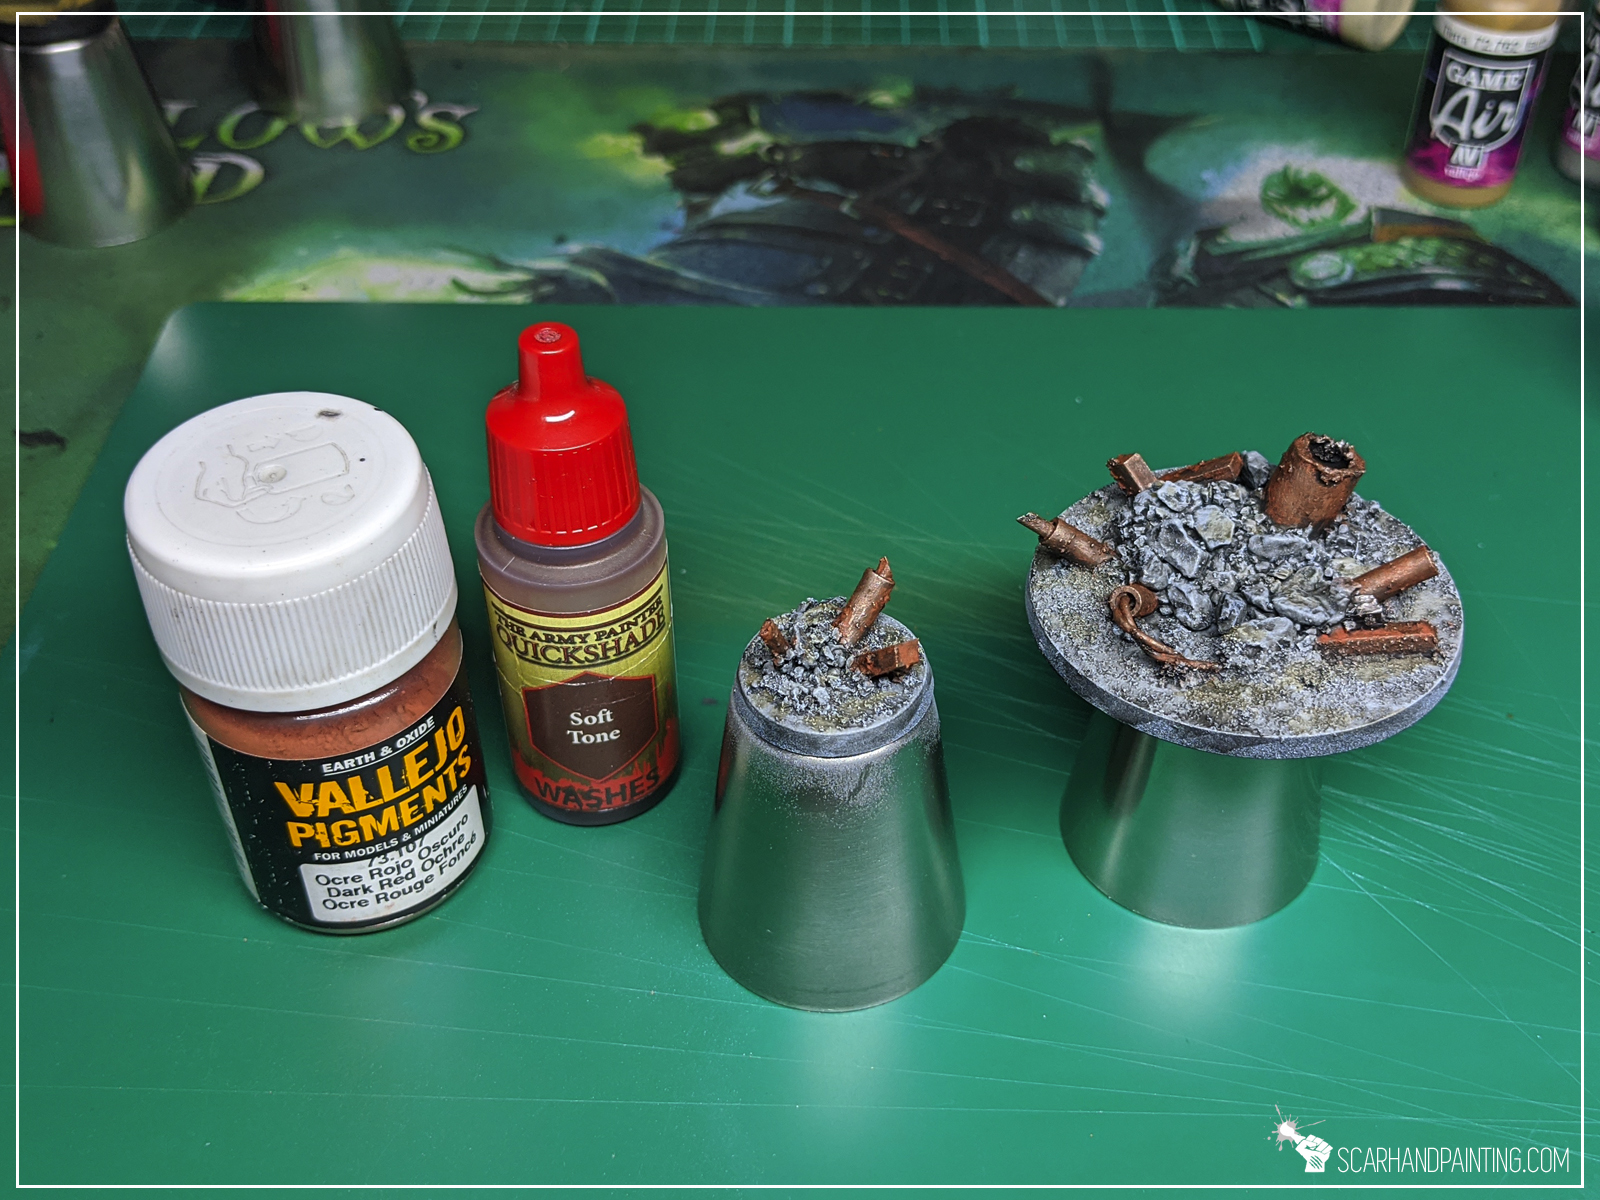

For additional depth and effects I blended in some watered Vallejo Earth. Next I washed all metal debris with a mix of Vallejo Dark Red Ochre Pigment and Army Painter Soft Tone Ink. Lastly I drybrushed grey areas with Vallejo Ghost Grey.
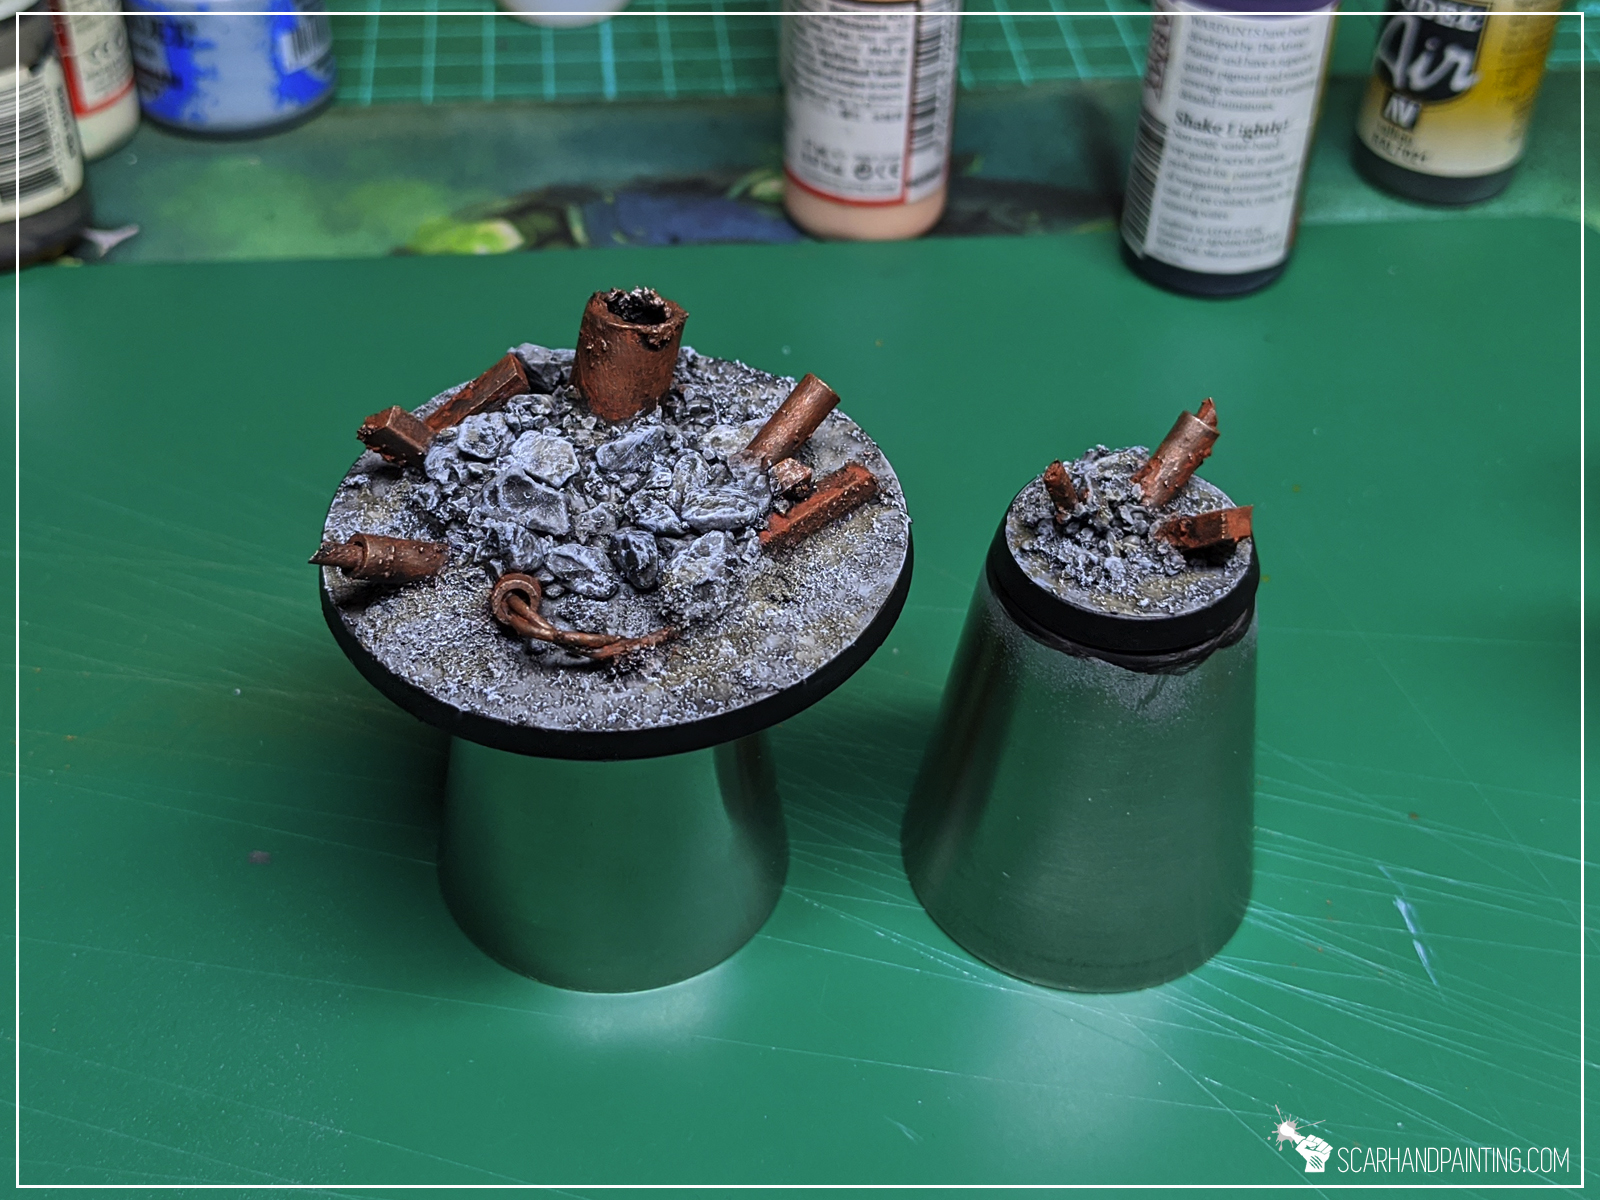
Edges repainted black and job done!
You like this article? Don’t be a stranger! Let me know what you think in the comments below or at my Facebook profile! Cheers!
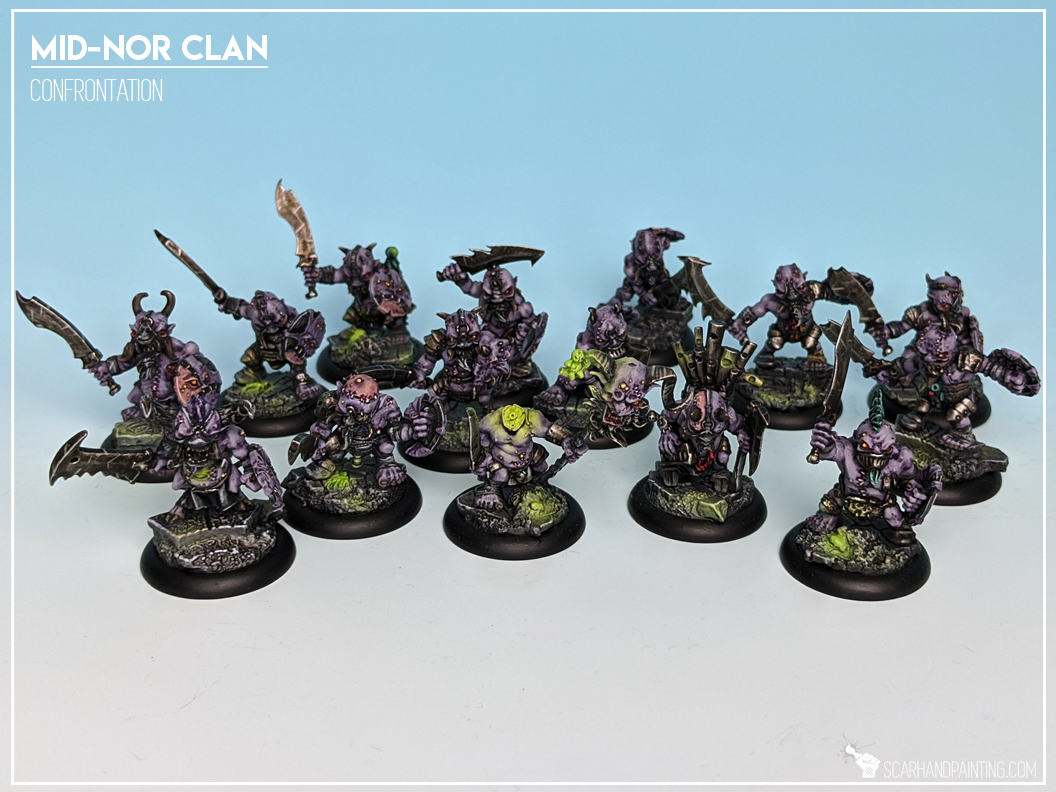
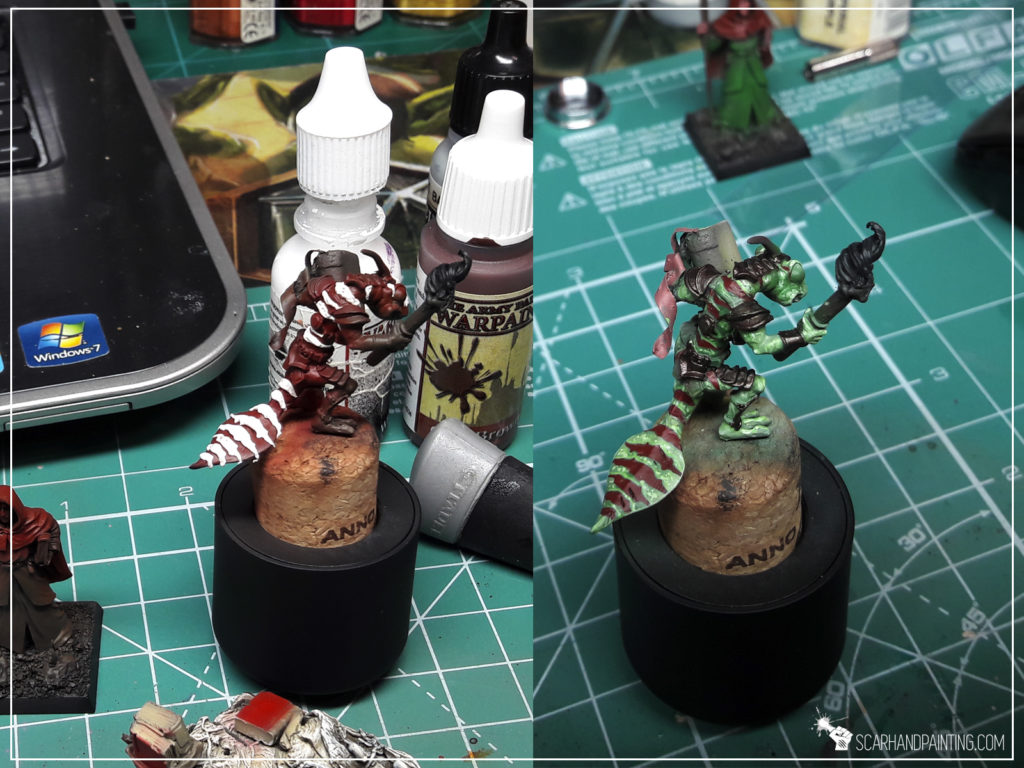
Welcome to Painting Daemonic Purple Skin tutorial. Here I will take you on a Step-by-step trip through the process of painting purple skin the same way as seen at: Gallery: Confrontation Mid-Nor

Before we start, some notes:
* This one requires basics of loaded brush technique.
* For the purpose of this tutorial I used a Confrontation Mid-Nor miniature that has a large detail and is better to show the steps on.
* As usual, please take note that what works for me might not necessarily work for you.
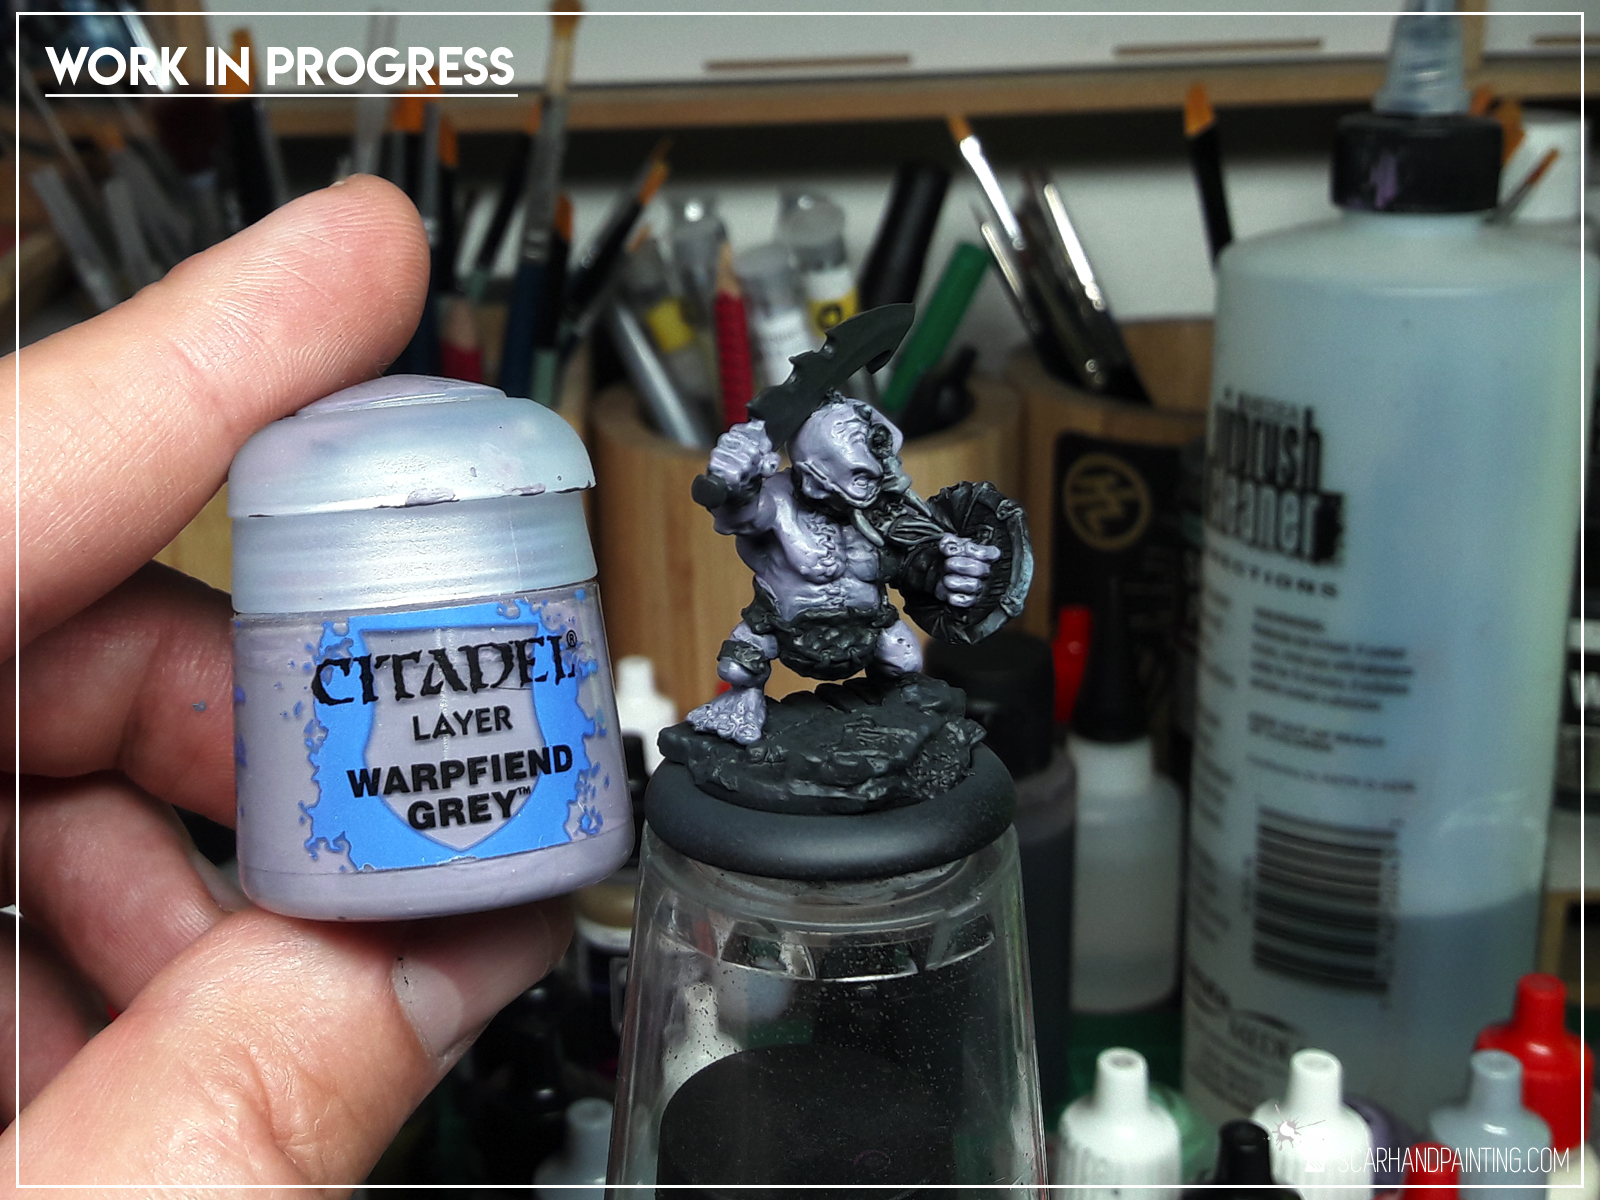
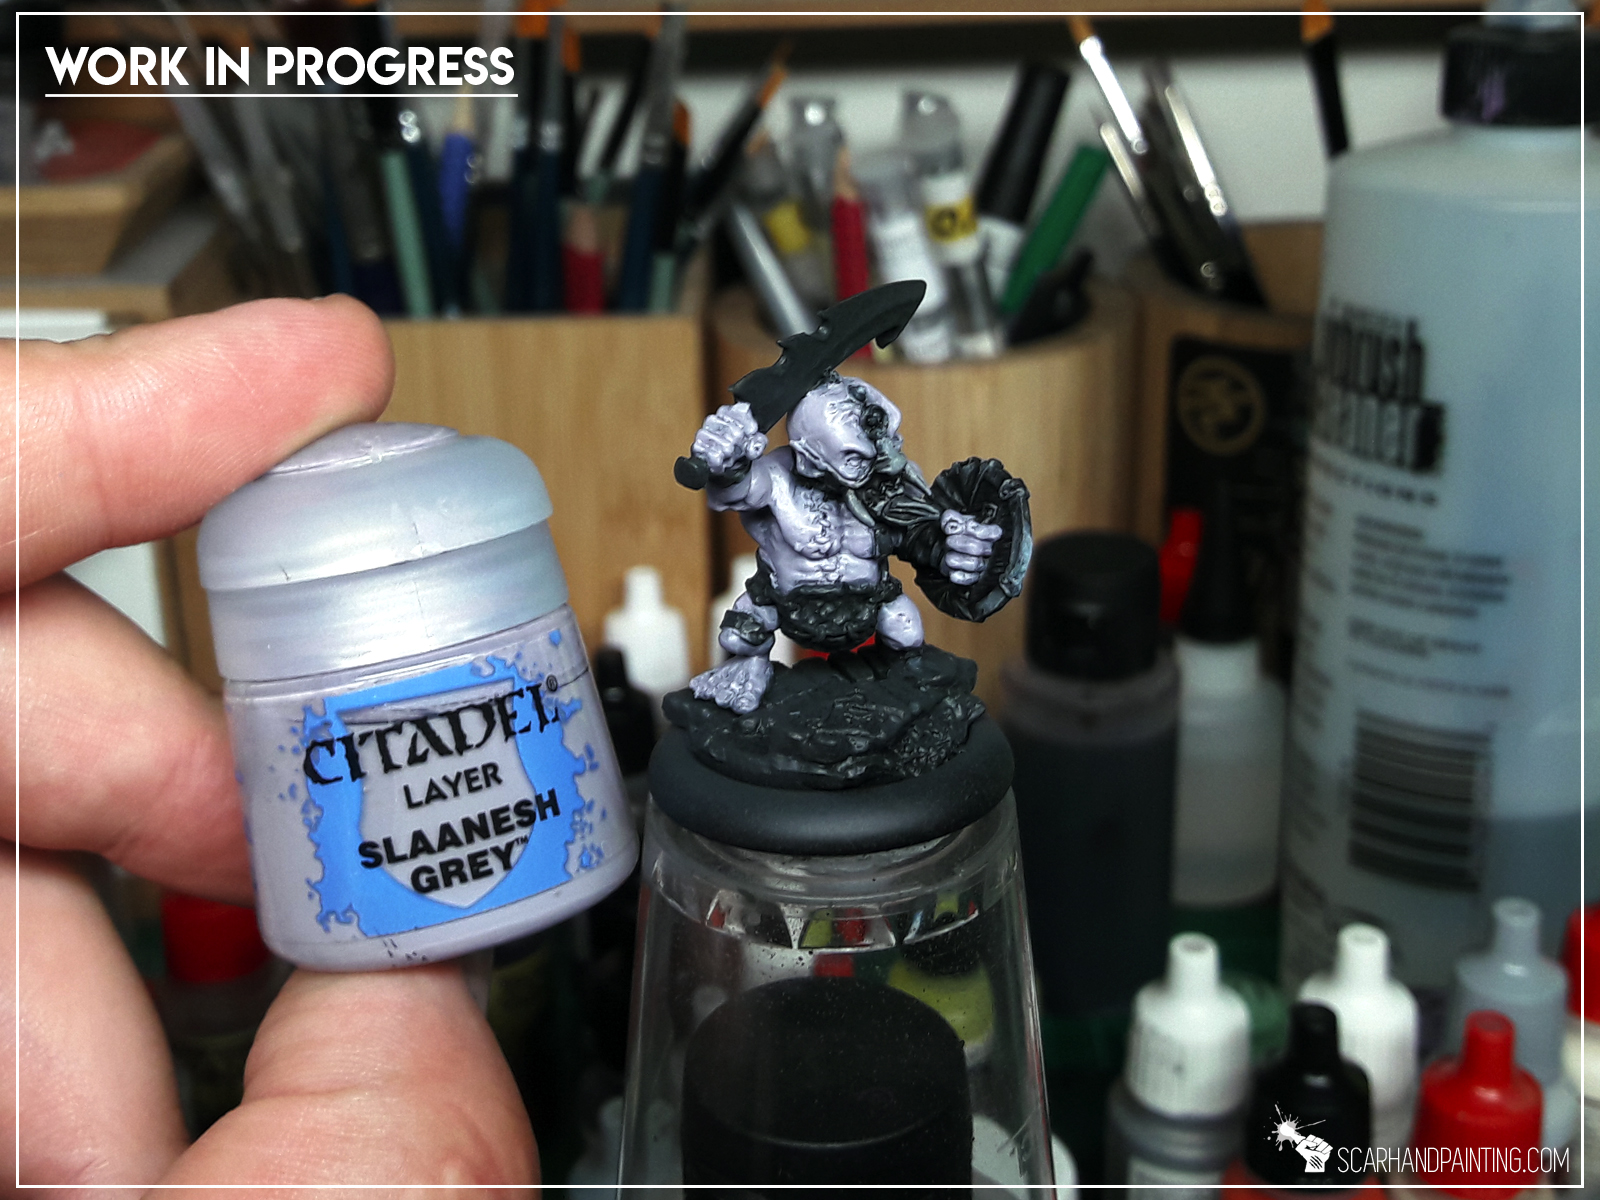
Ready to do this? I assume your miniature is already painted black (or in my case first layers of “Infinity Black“), so buckle up and let’s go!

* Start with a solid layer of Warpfiend Grey (GW). The layer does not have to be perfectly smooth. The goal is to make sure all deep areas are filled with paint. I tend to thin down the paint with a bit of water to fasten this step.
* orem ipsum dolor sit amet, Integer commodo tristiqu odio, aliquet ut. Maecenas sed justo imperdiet bibendum. Vivamus nec sapien imperdiet diam. Aliquam erat volutpat. Sed onsectetur suscipit nunc et rutrum. Lorem ipsum dolor sit amet,volutpat. Sed onsectetur suscipit nunc et rutrum. Lorem ipsum dolor sit amet, volutpat.
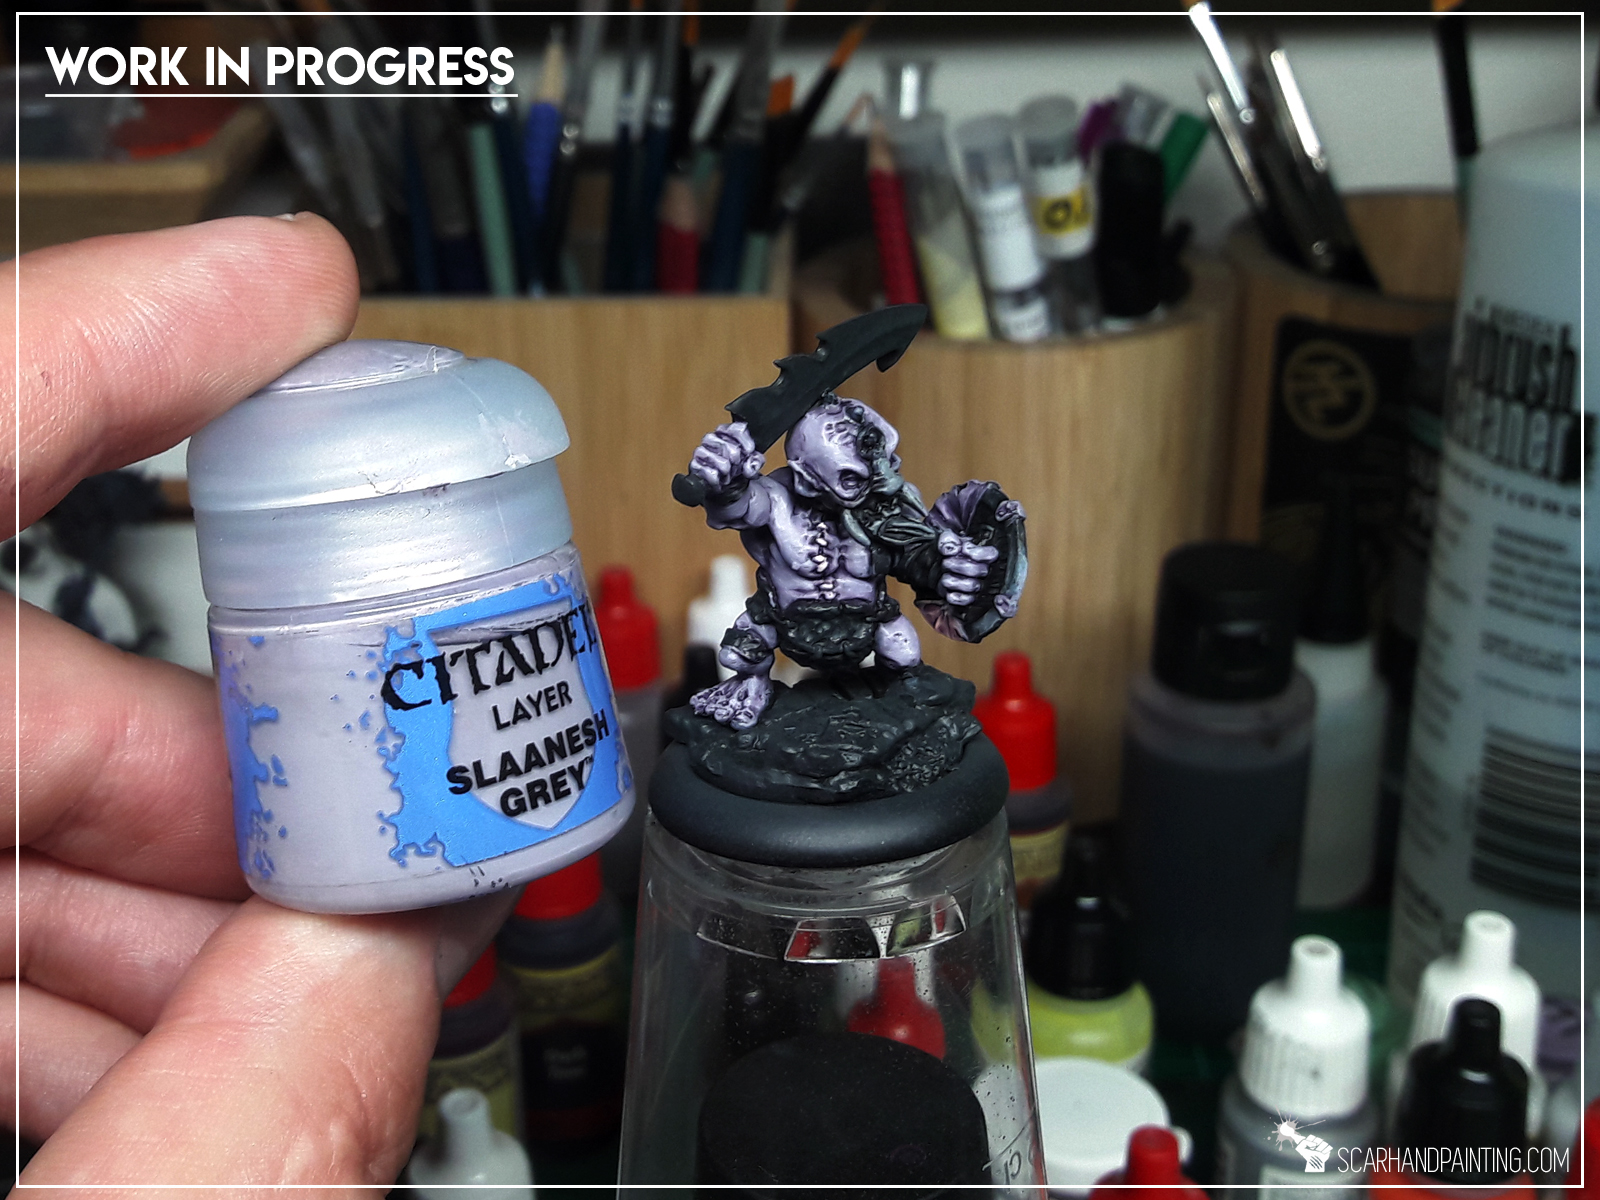
* Time for a little bit of magic trickery. Wash with a mix of Purple Tone Ink (AP) 2:1:1 Strong Tone Ink (AP), Lahmian Medium (GW).

* Back to Slaanesh Grey (GW). Here's where loaded brush becomes handy. Repaint all the exterior areas with Slaanesh Grey. Might be a bit thinned, the paint has enough pigment to do the job.
* Now same thing, but with a mix of Slaanesh Grey (GW) with just a bit of Pale Flesh (Val). This time though focus in edges and middle points of larger areas.
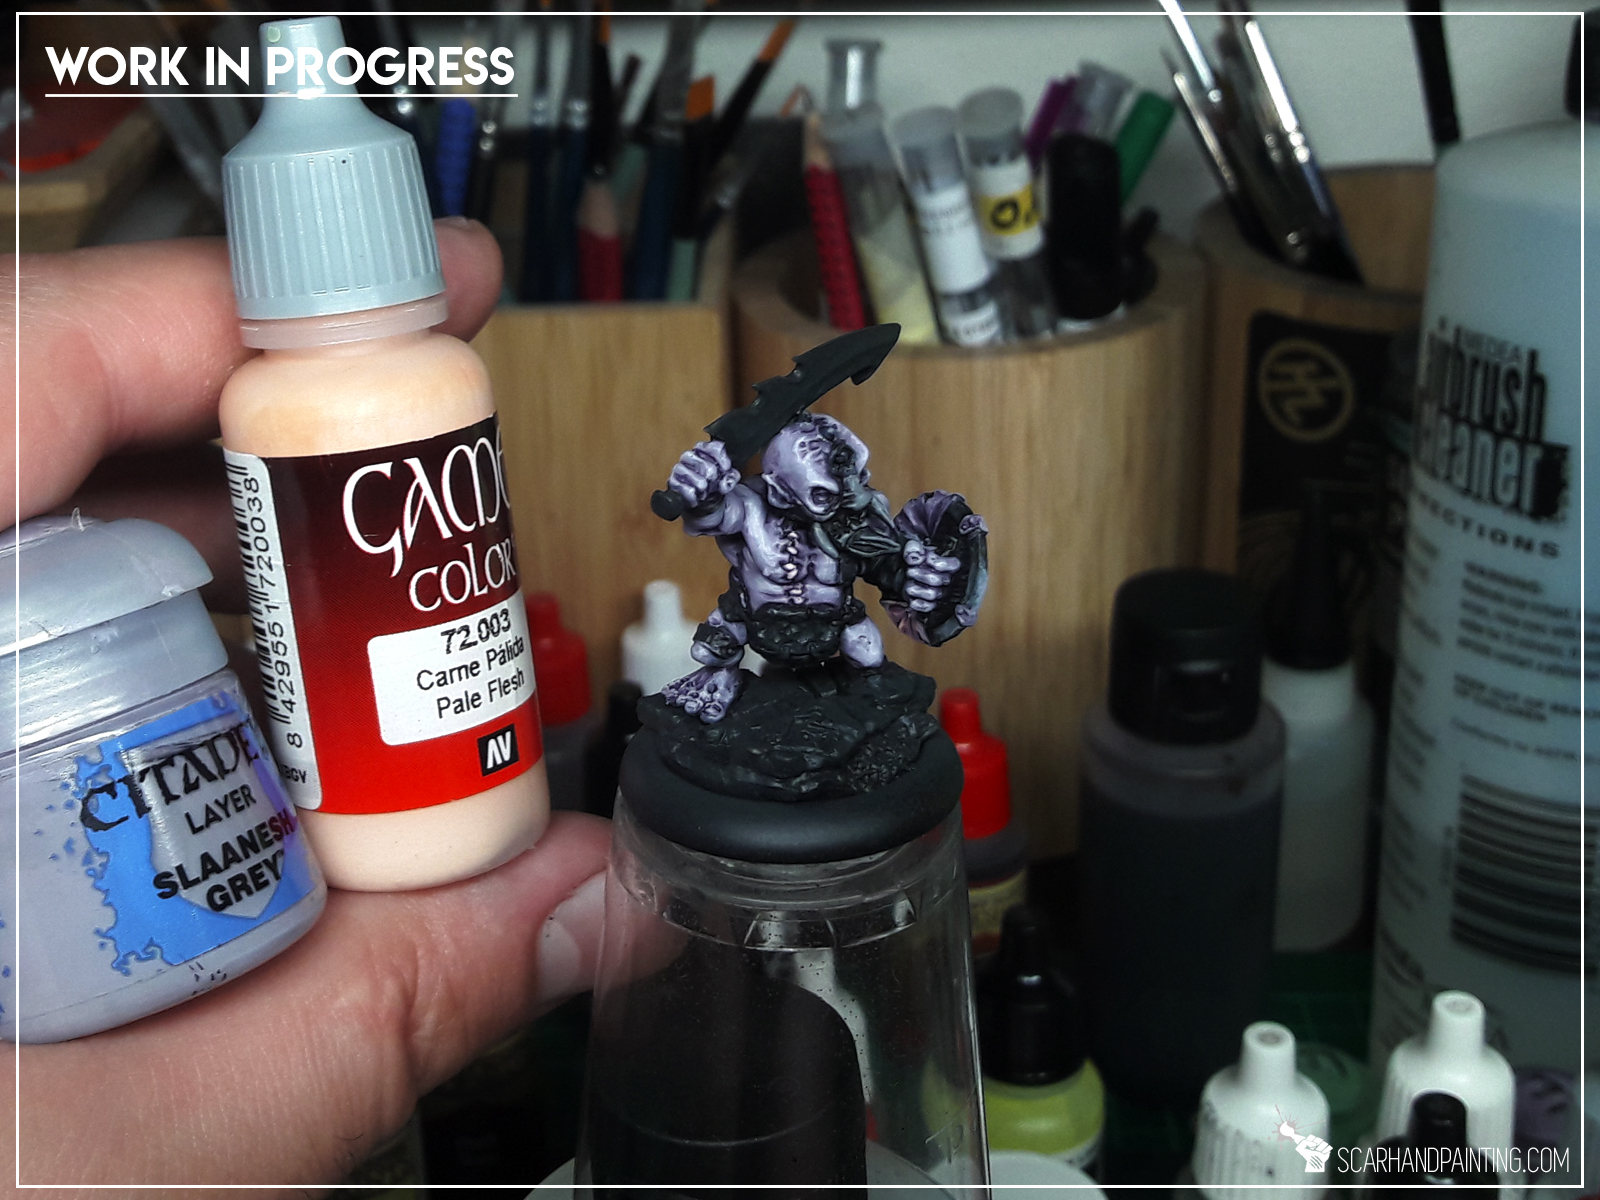
…and that’s it. You can further highlight edges and important points adding more Pale Flesh (Val) to the mix. The end result looks like this:

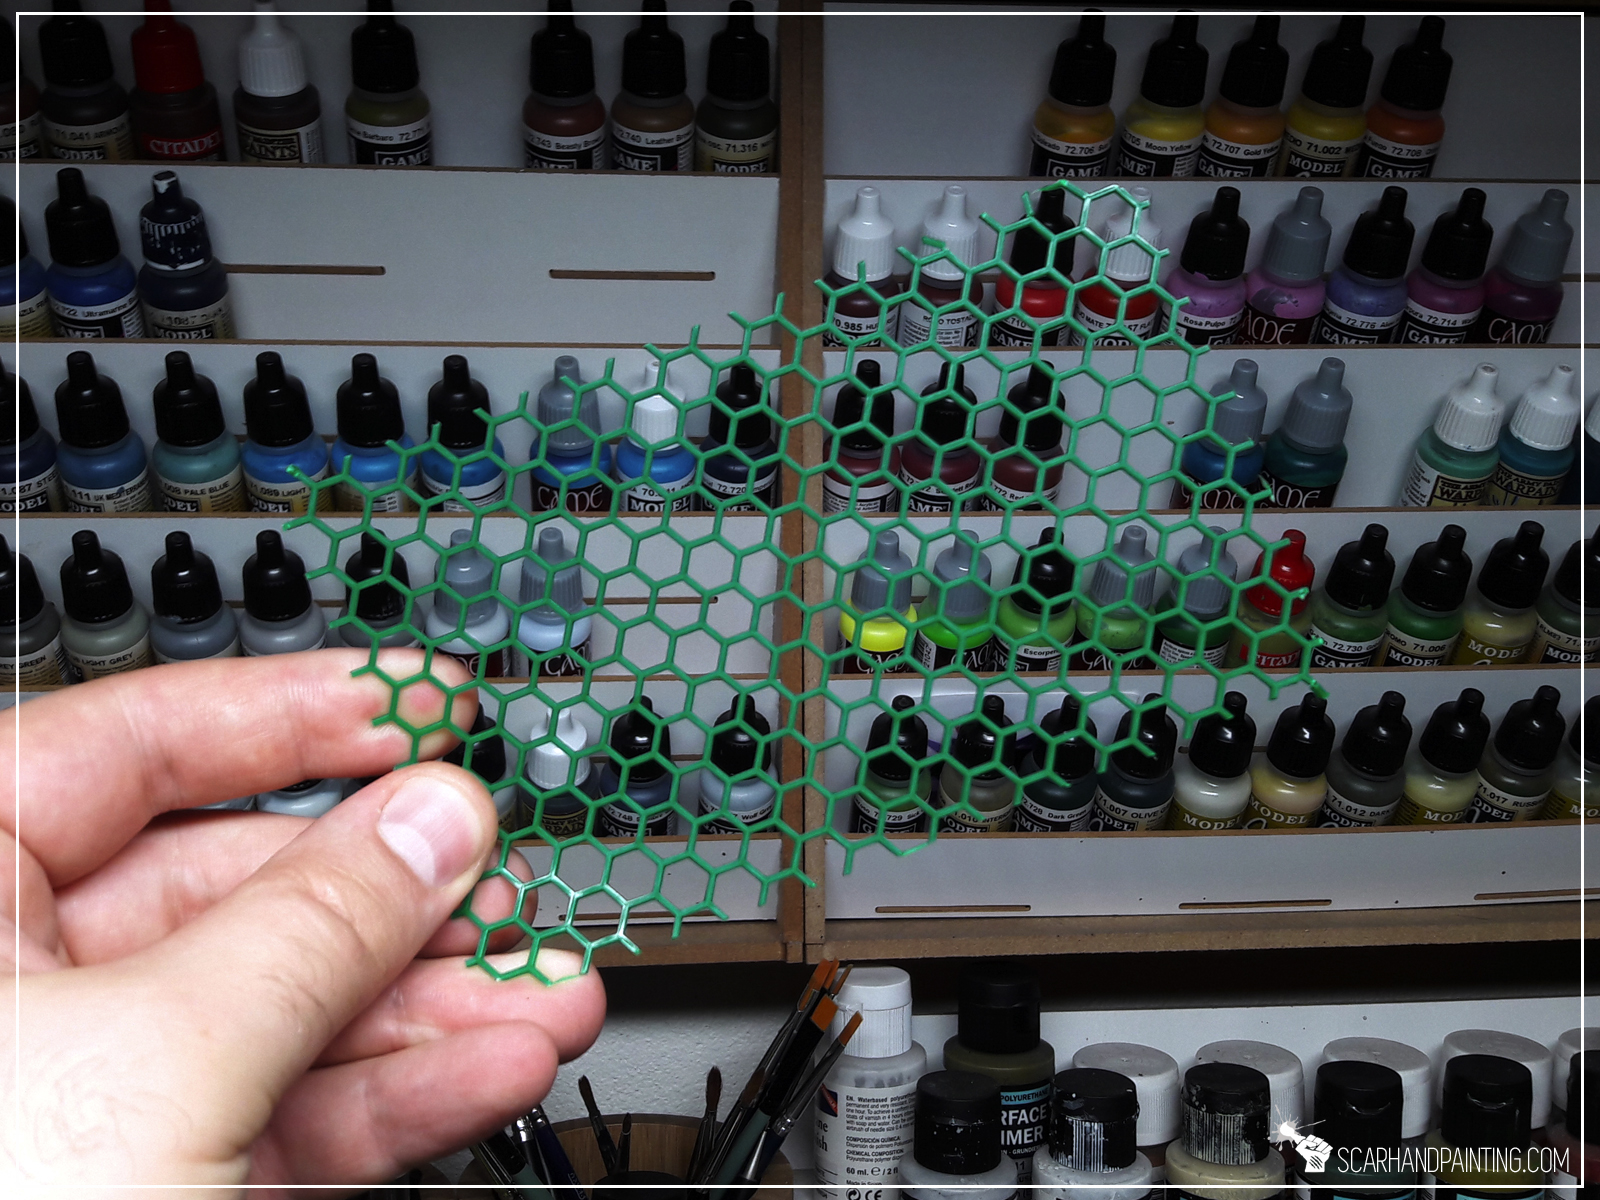
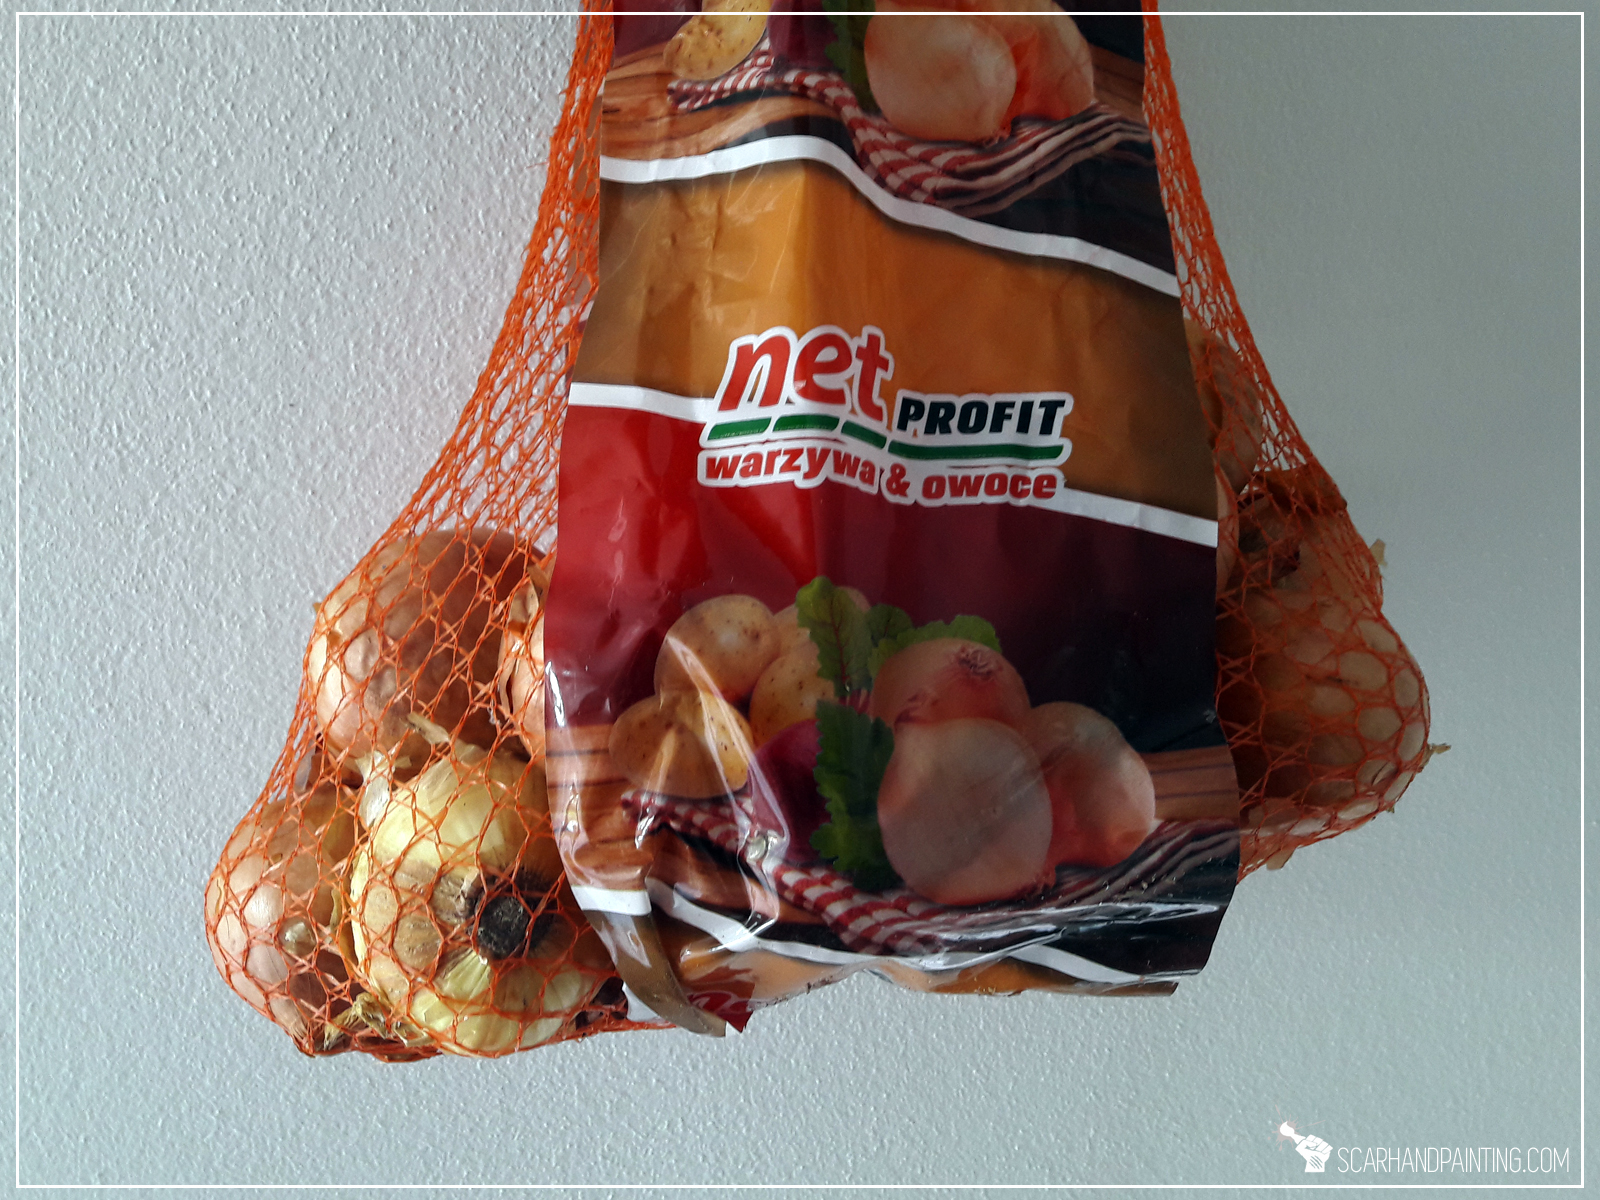
Let’s talk Stencils. There’s just so many awesome airbrush stencils out there. The world around us is filled with them, even though we’re used to pass them by without further notice…
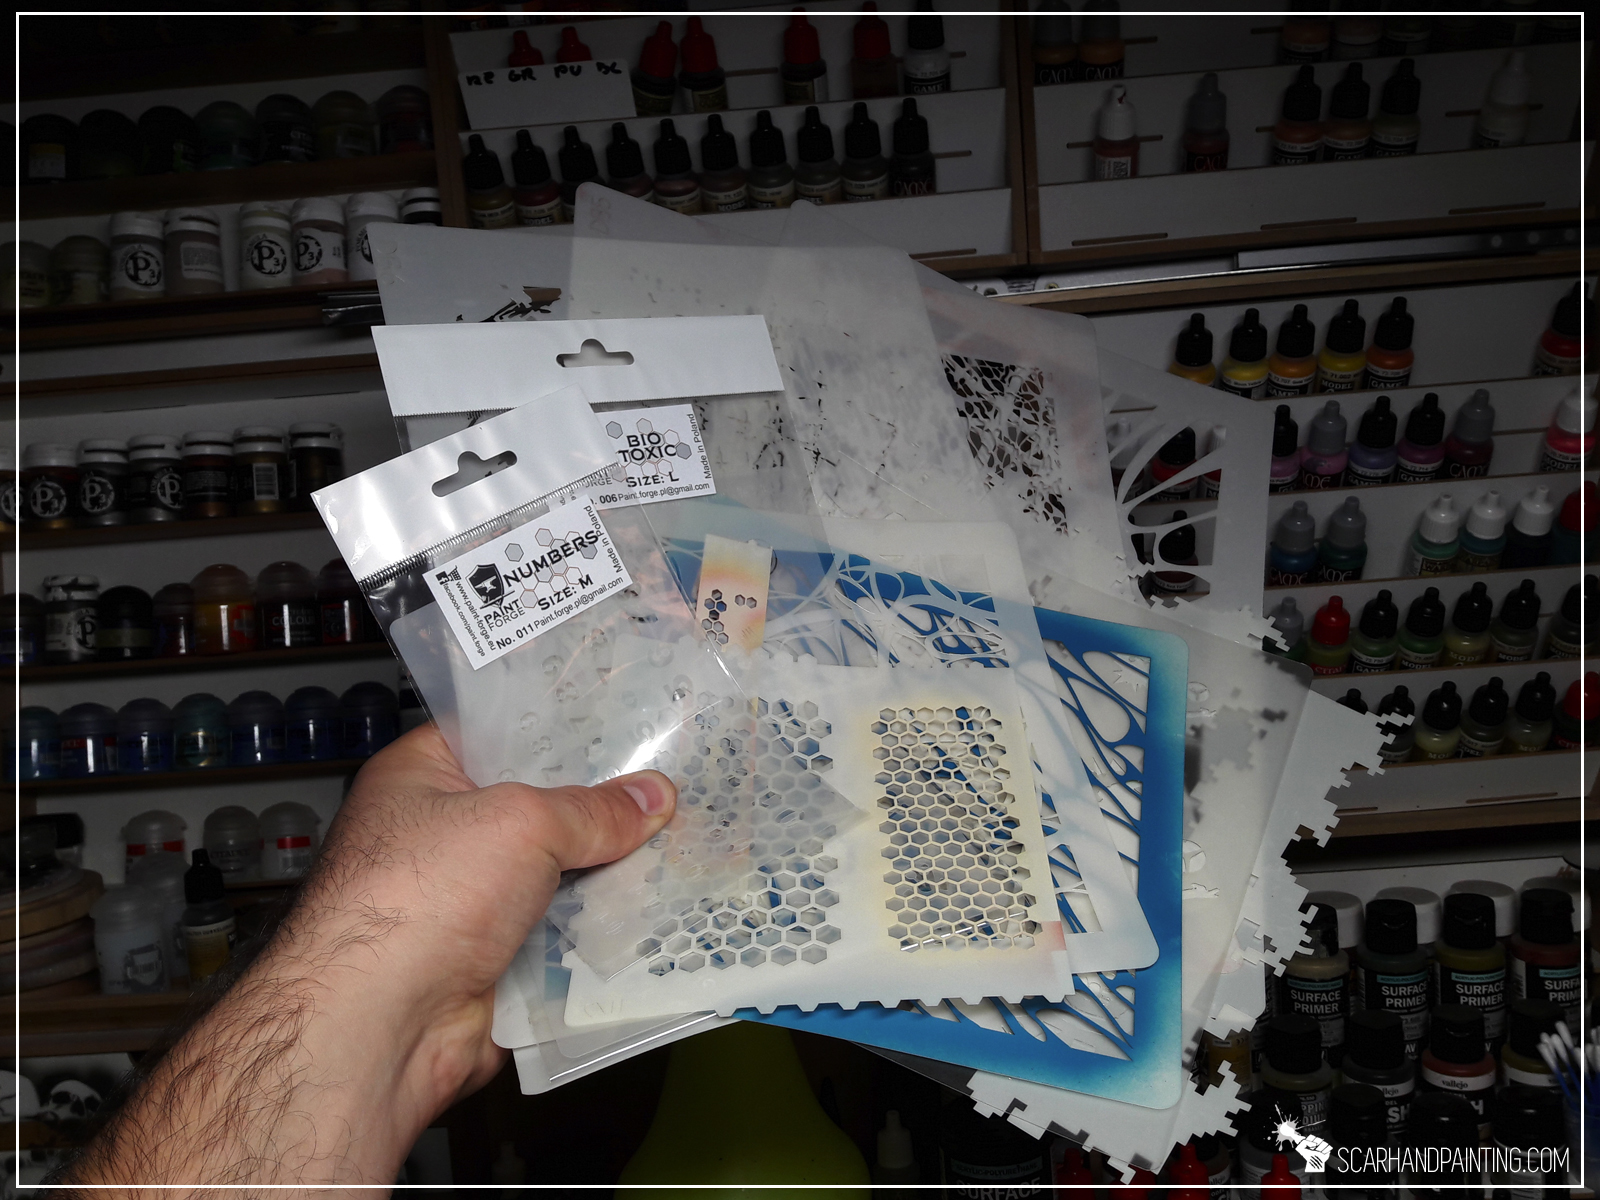
No, I ain’t talking about these! These are all professional stencils, some of which are crazy expensive! Nope – I’m talking about all the stencils that you might already have at home and not know about it! Some may be found in the kitchen, some inside your bathroom, some can even now be in your reach, across the hobby desk!
“But Maciej, you resourceful genius” I hear you say “how come?!”
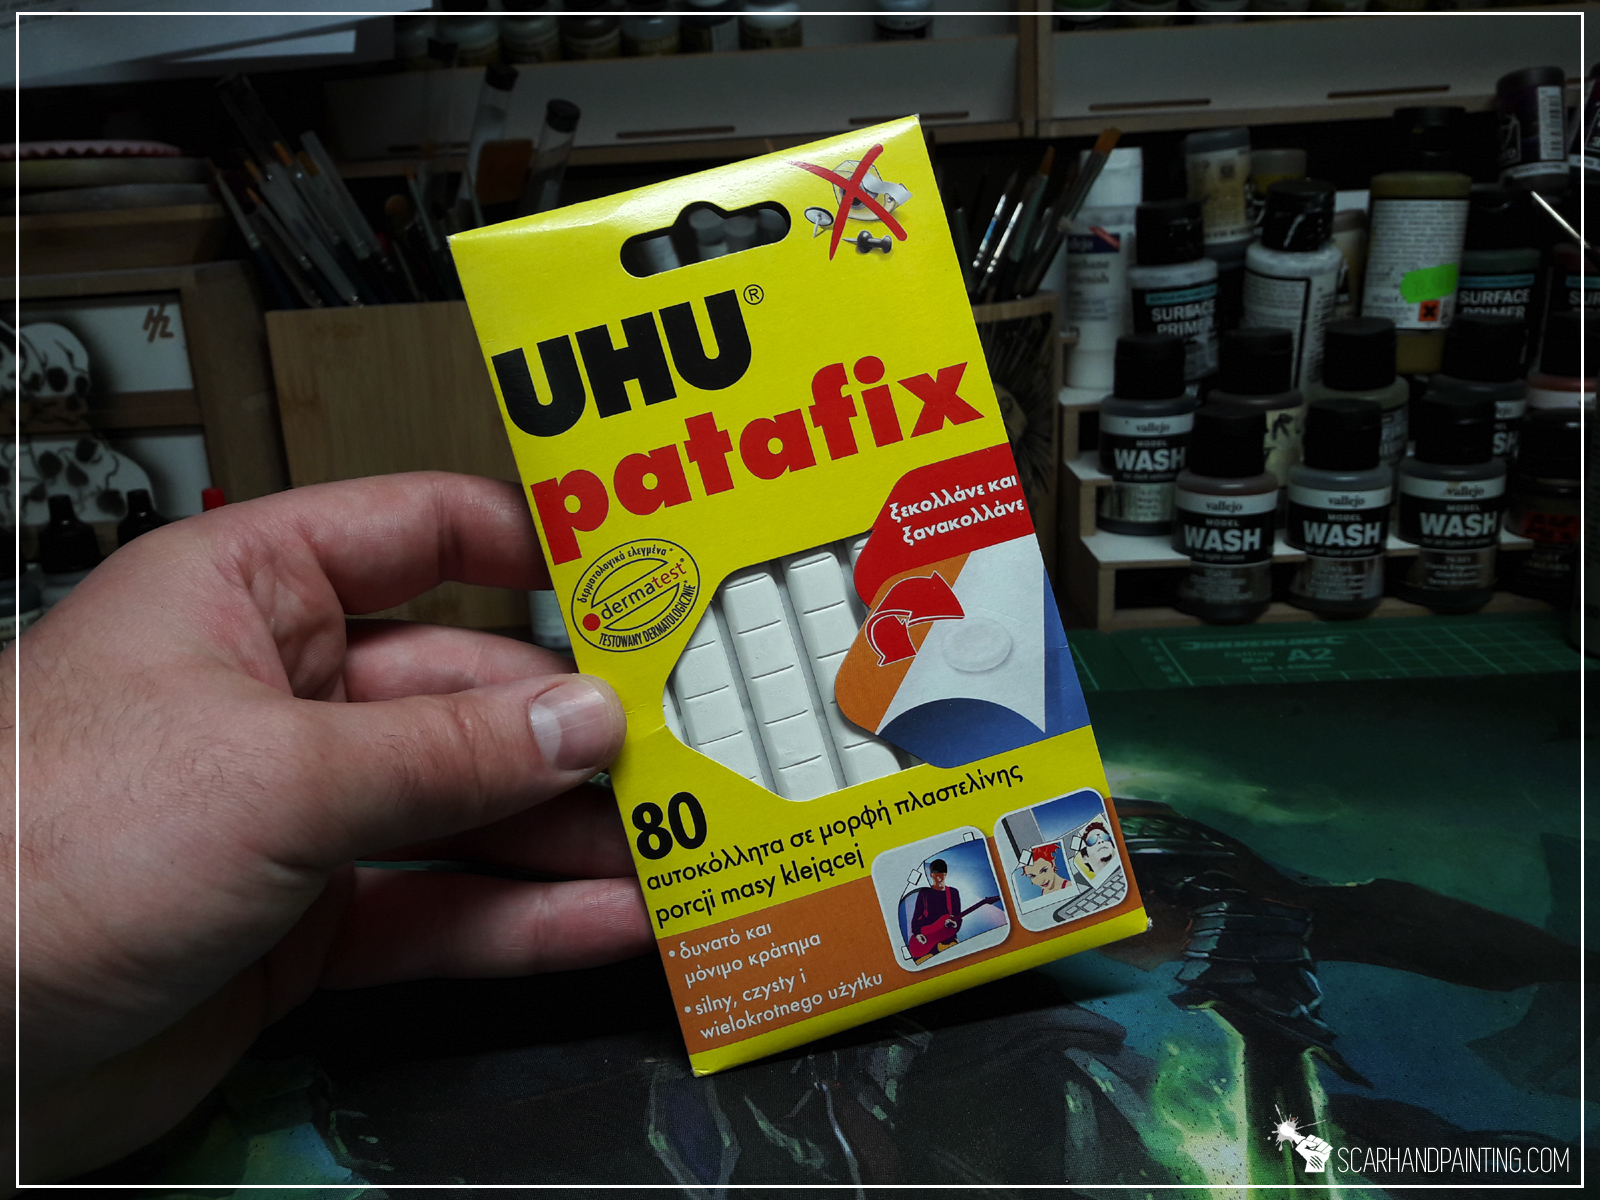
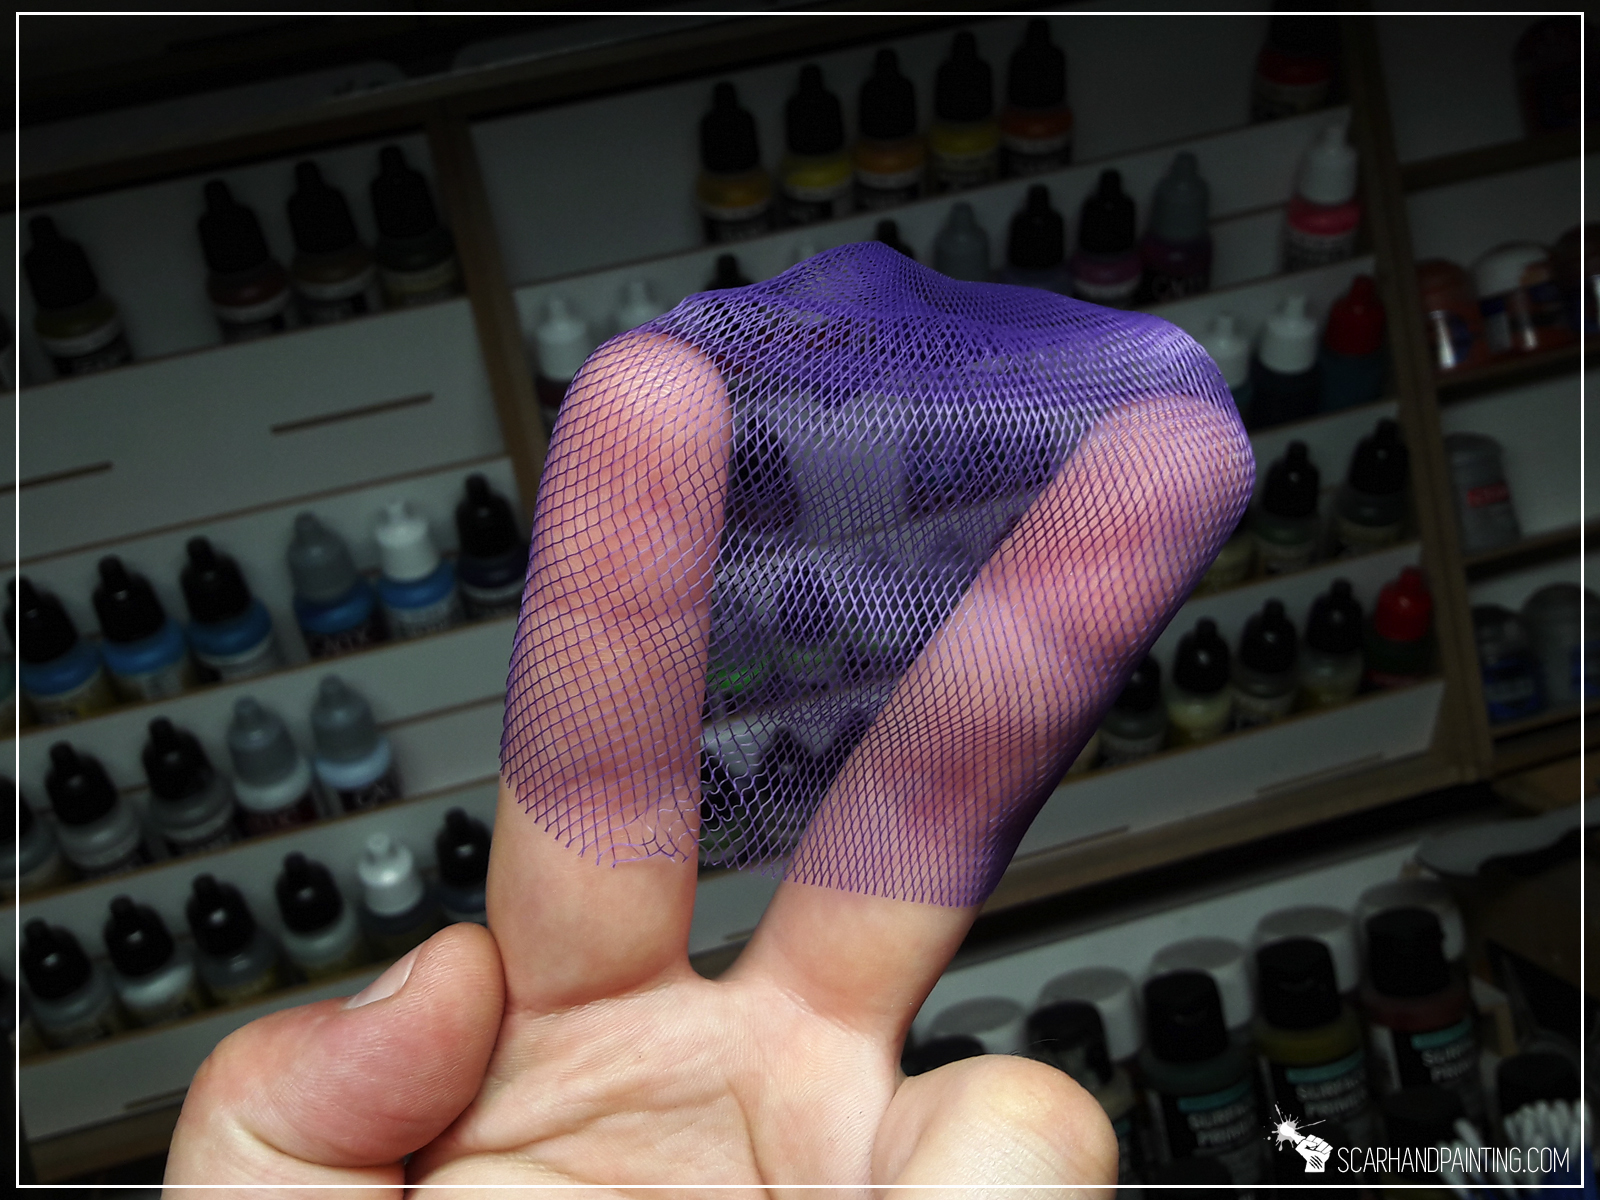
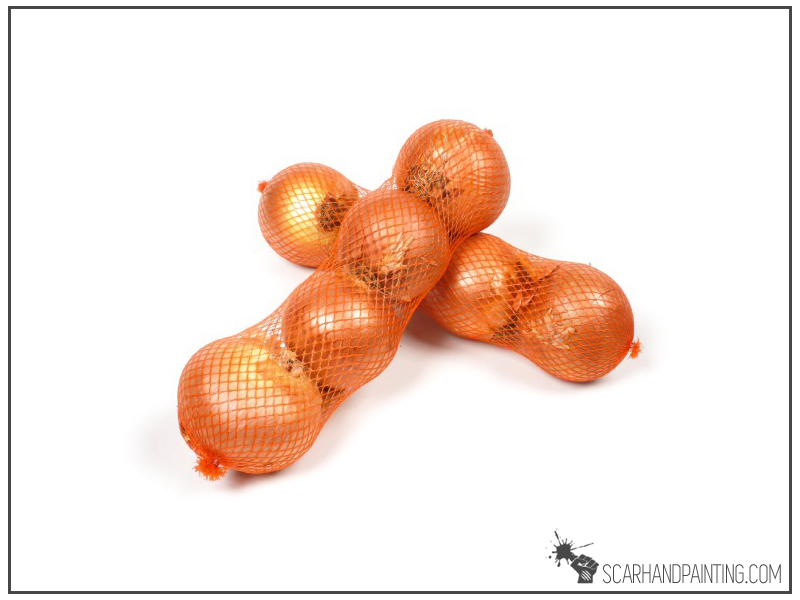
Here’s the thing: “Anything can be a stencil!” Still don’t believe me? Check these out!
Dirty, dusty effect – why not?


Still haven’t used, but I know there will come a time to do it 😛

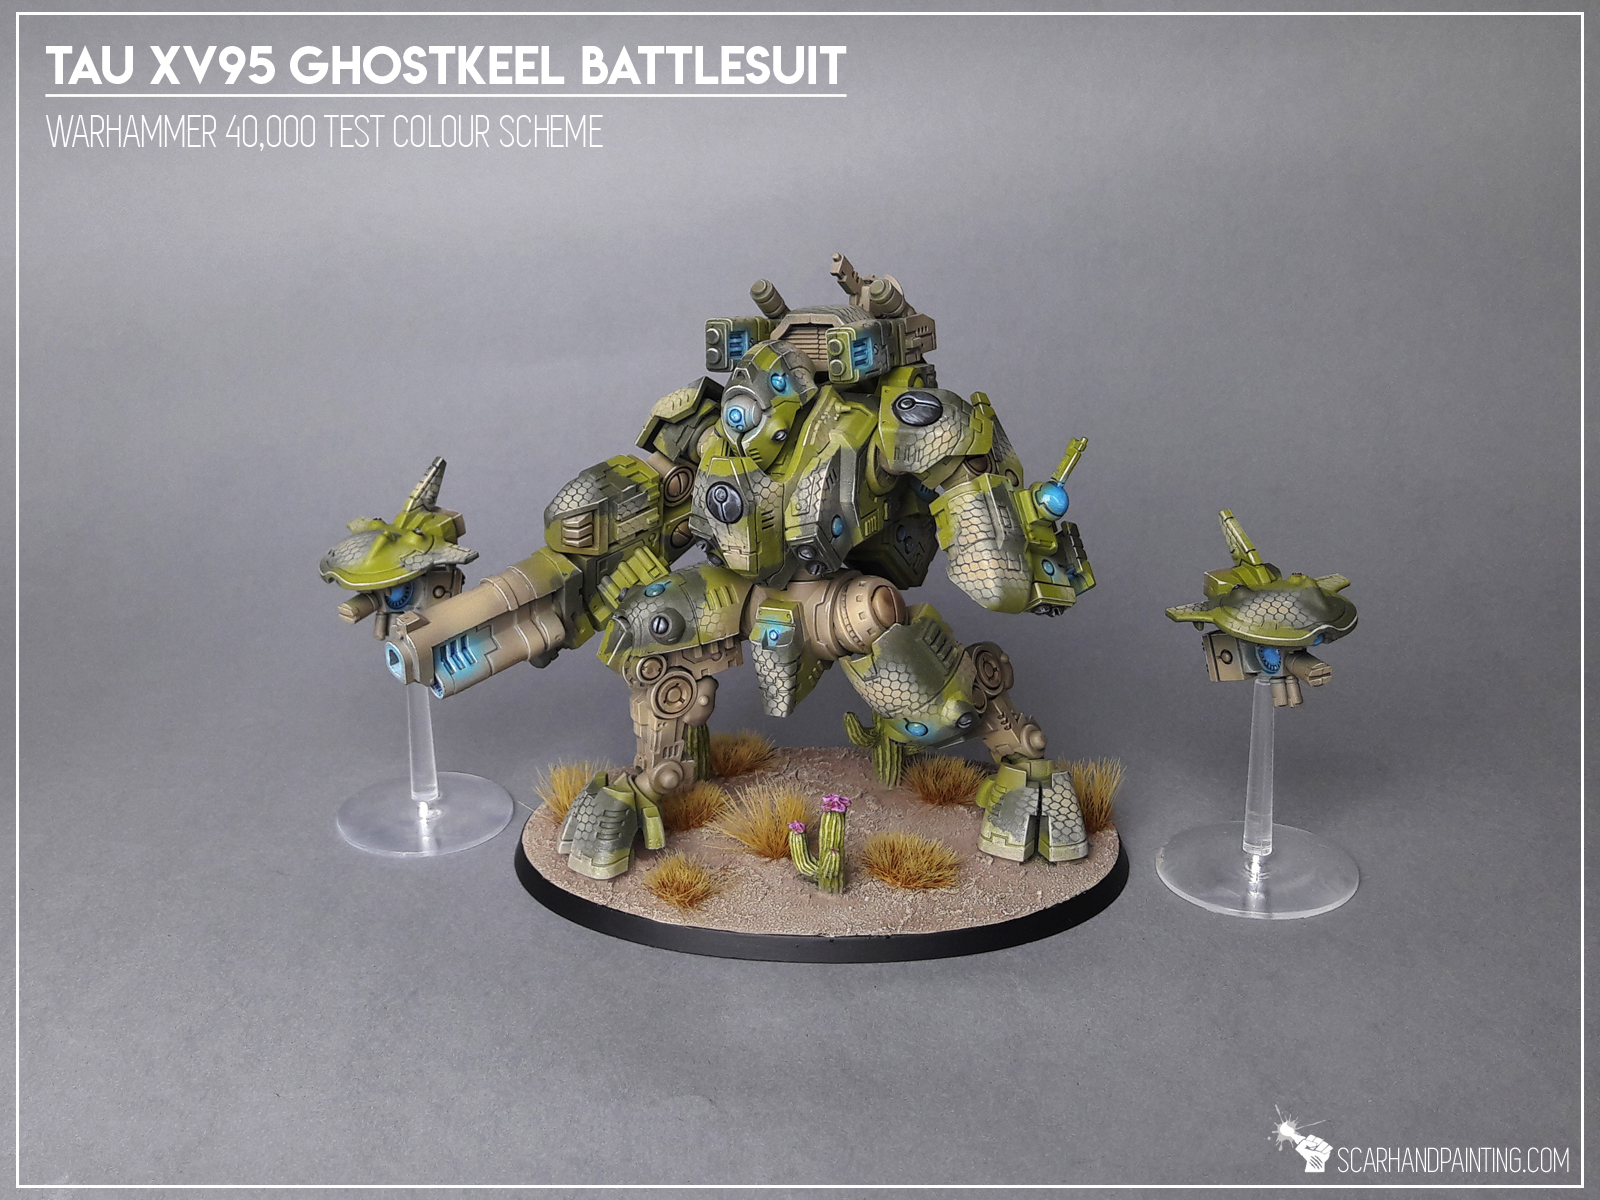
Cuz there’s never enough hex in your life!
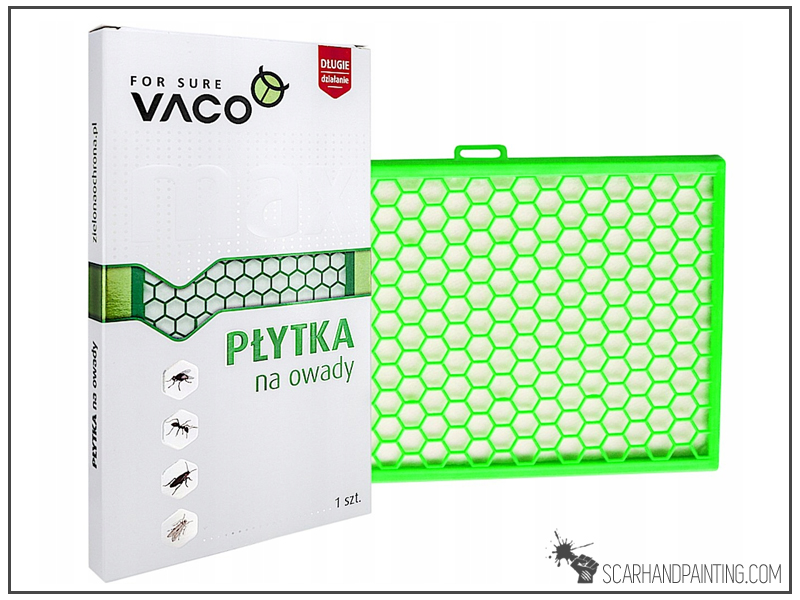
I call upon thee God of Thunder!


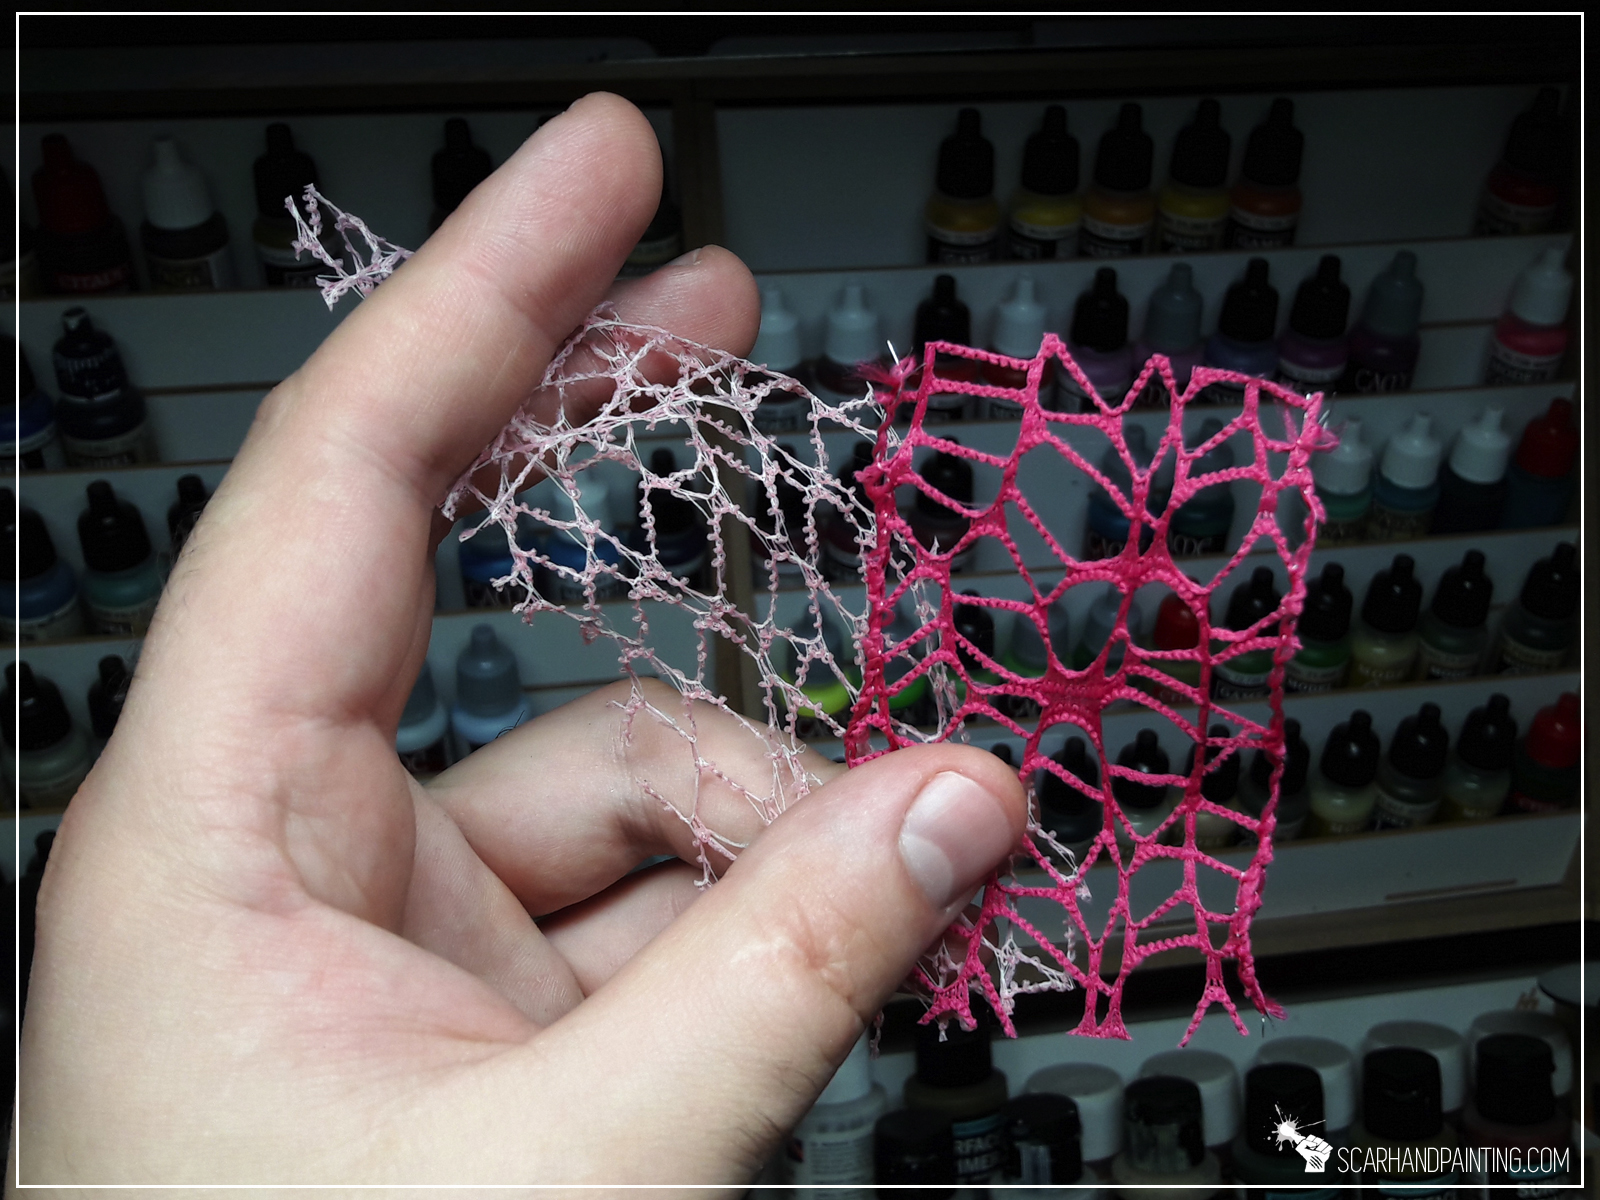
Not a stencil, but totally worth consideration 😉
My favorite source of elastic, detailed stencils.


Feel inspired to rampage across your home and try to find as many stencils as possible? Feel like “gonna catch them all!”? I wish you good hunt!
PS: What are yours favorite DIY stencils? Let me know in the comments or under THIS facebook post 😉
In this step-by-step tutorial I’m going to show you how to base miniatures.

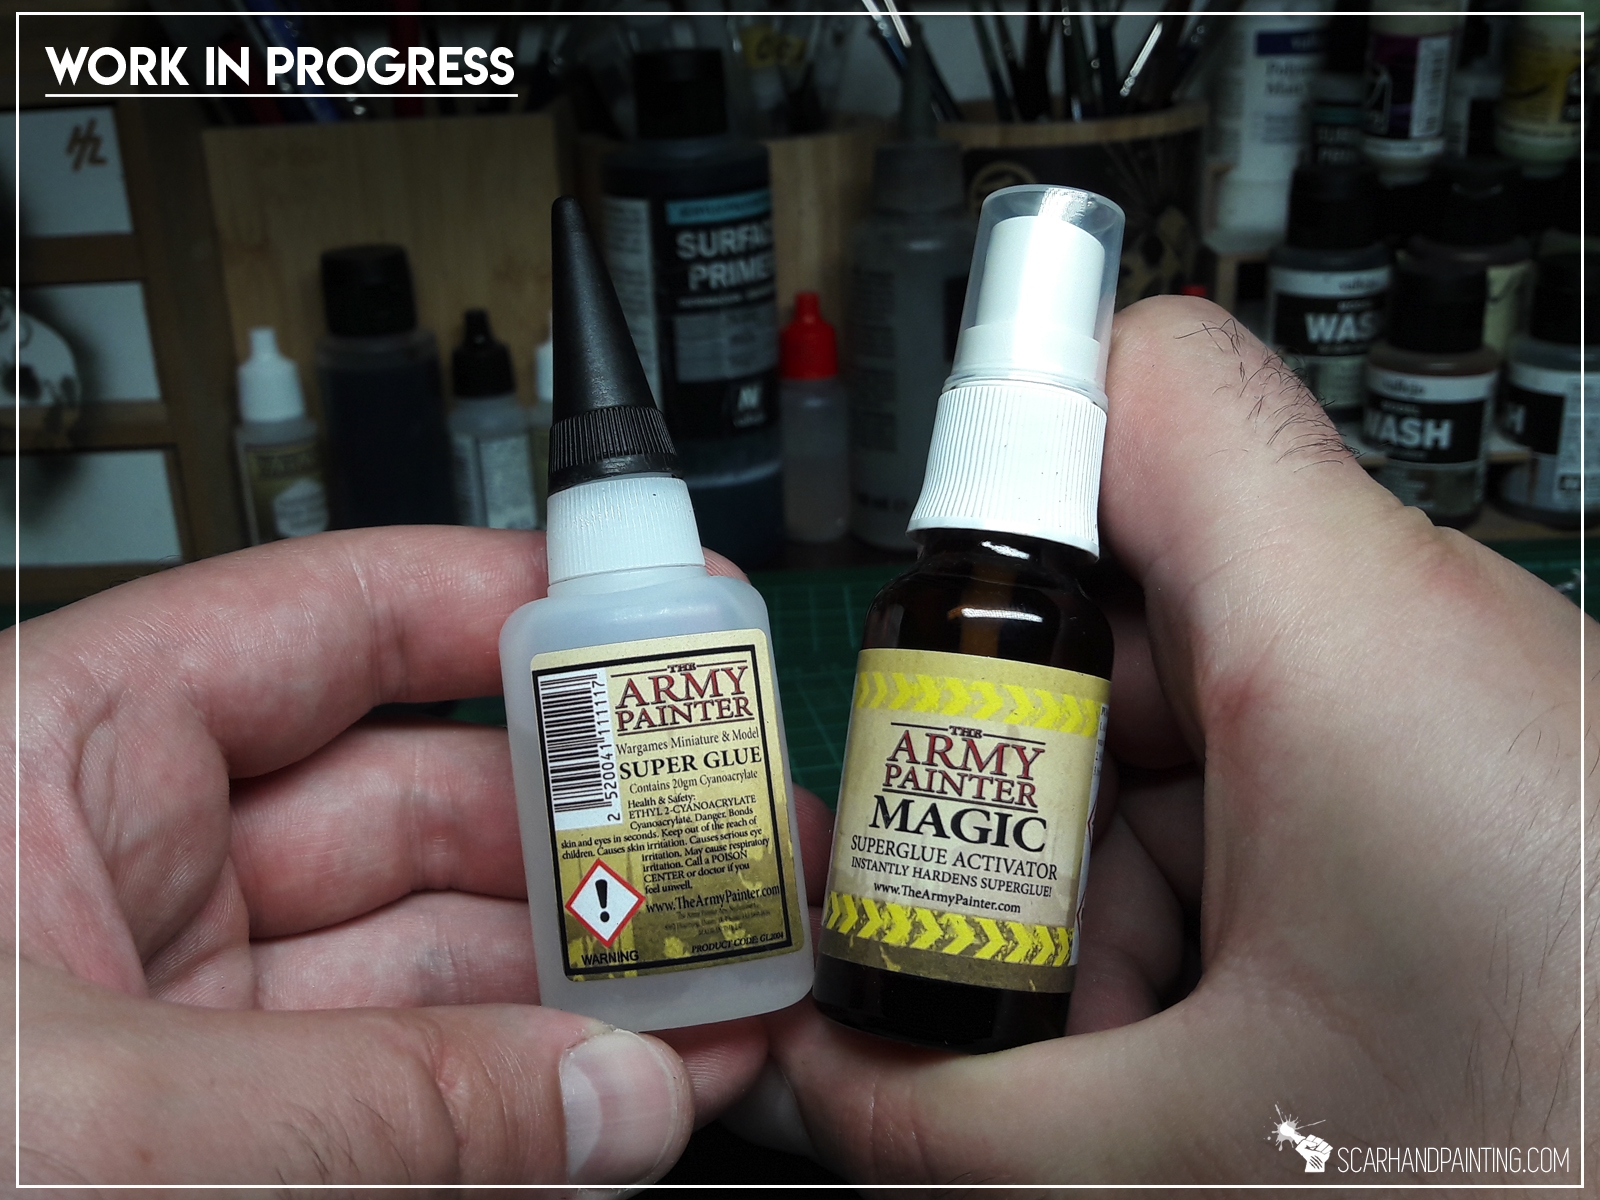
Basing miniatures is an overall easy thing, still every now and then I stumble upon hobbyists asking on how to properly do it. Let’s start the answer with: “There’s no one proper way, but there are certainly plenty of bad ways to base miniatures.” A quick example of a “bad way” would be if you glued irregular sand on top of a base and tried to glue a miniature on top of it with cyanoacrylate glue. Glue would go on a rampage all over the sand while it won’t hold the miniature in place due to insufficient area of contact. Another example of a “bad way” would be gluing a miniature on top of a painted base without a pin resulting in miniature being glued to paint rather than the base. This can only end badly for the miniature and your paint job. Ok, so what are the “proper ways”? Here’s three major techniques I use:

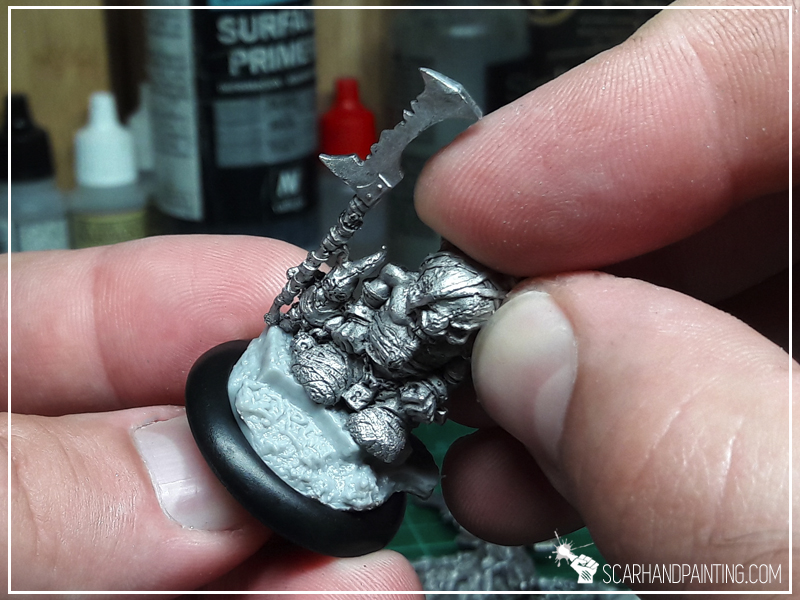
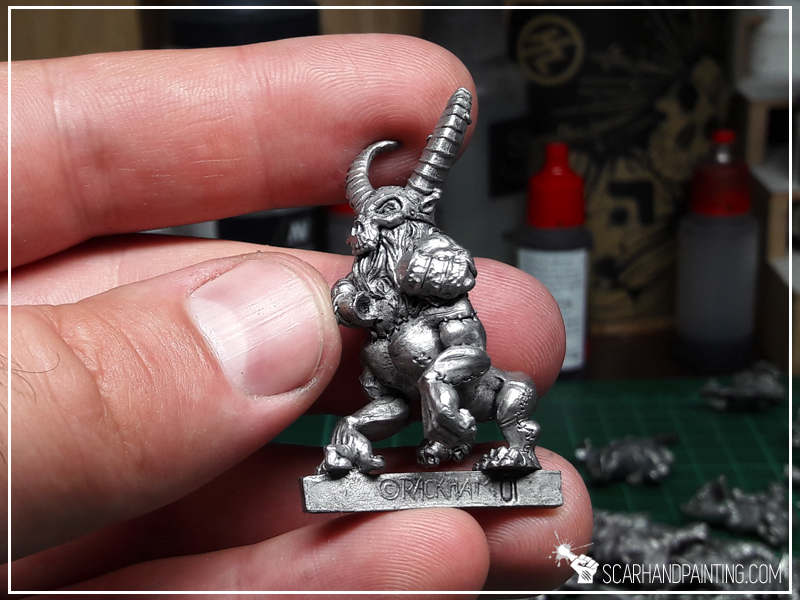
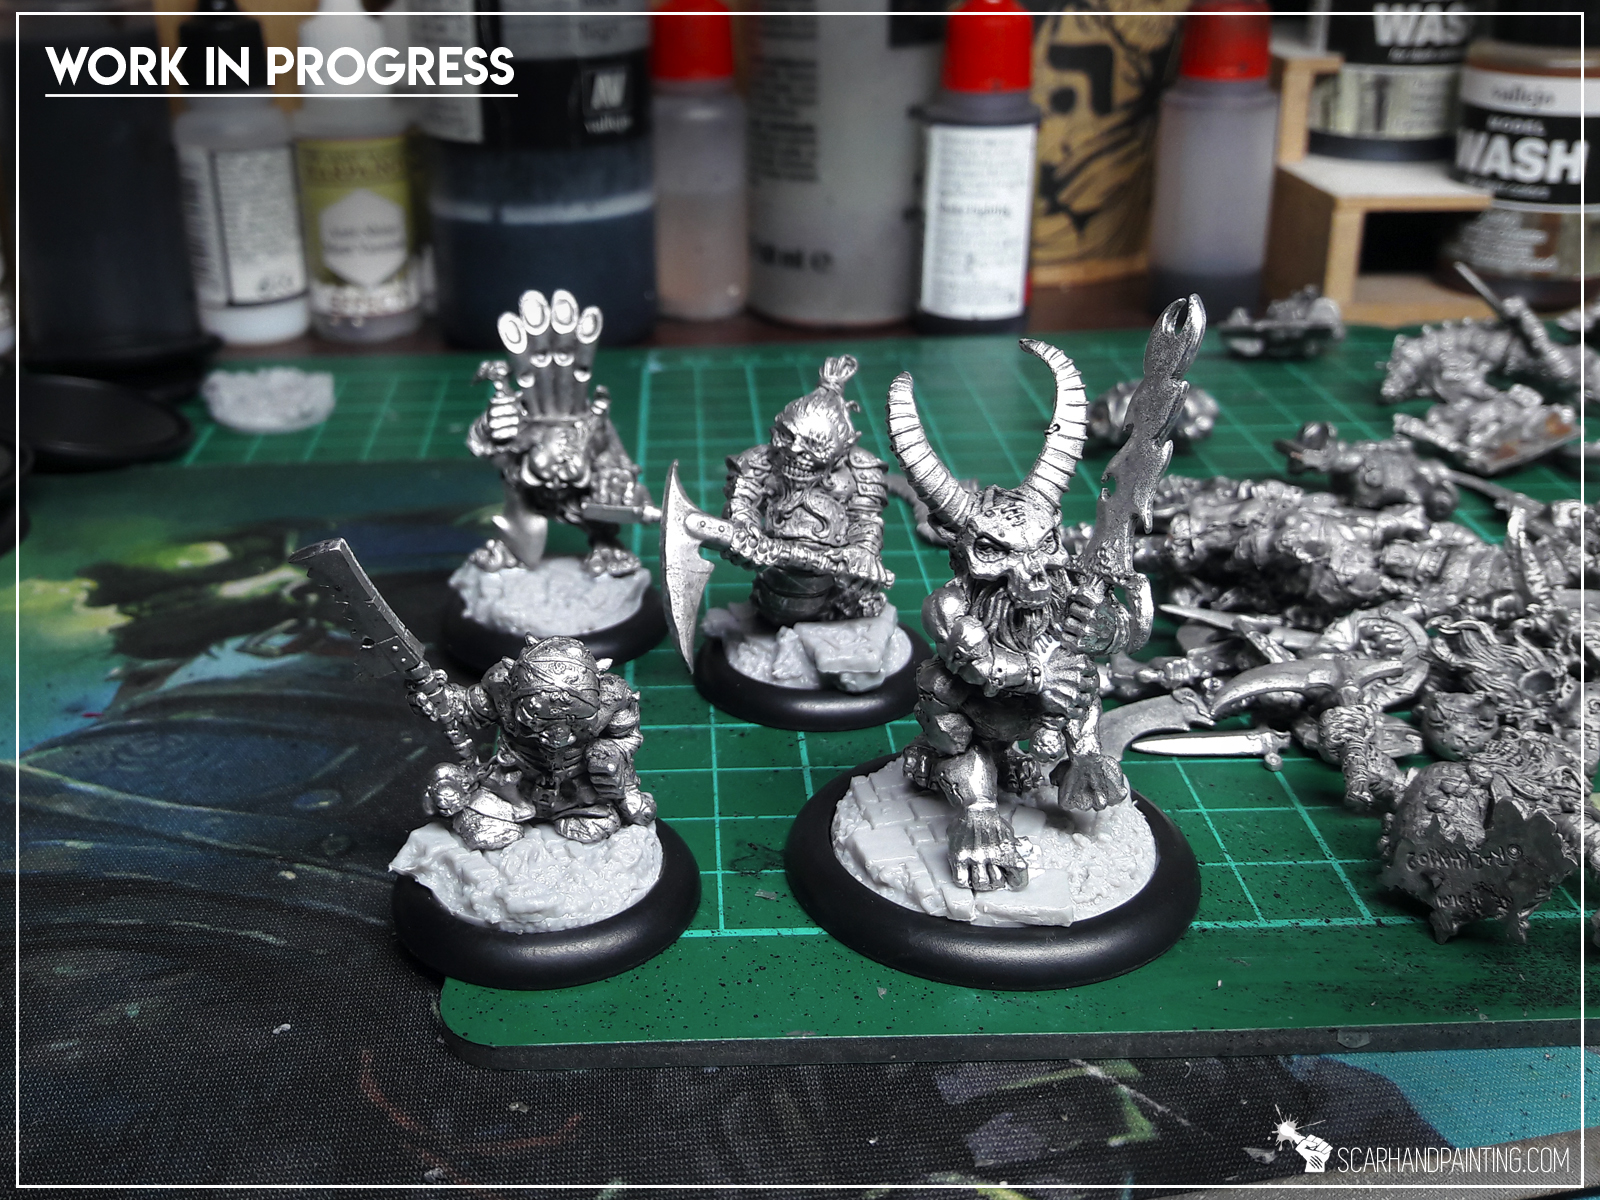
Some miniatures seem stable and have a large, flat area at the bottom be it giant feet, or an underside of a robe. In this case I usually go with with no pin at all and trust in the vast area of contact to keep the miniature in place.
Here’s how I go about it:
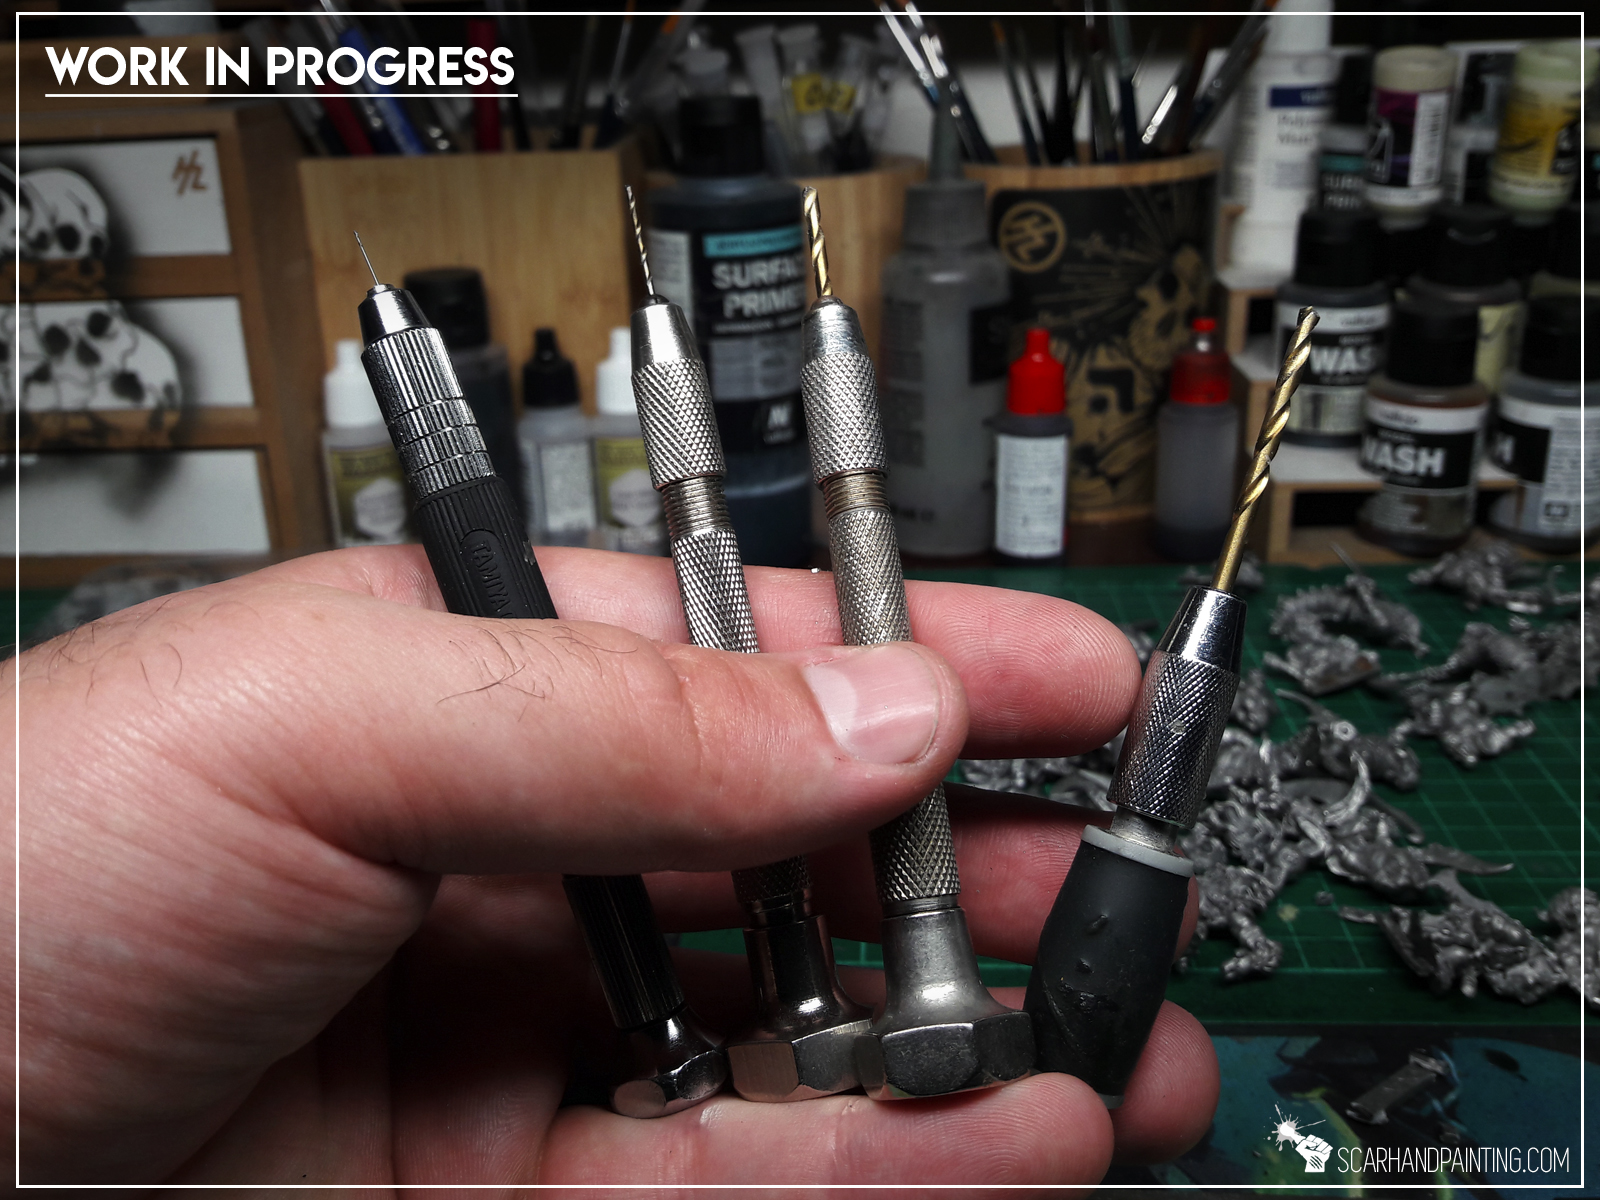
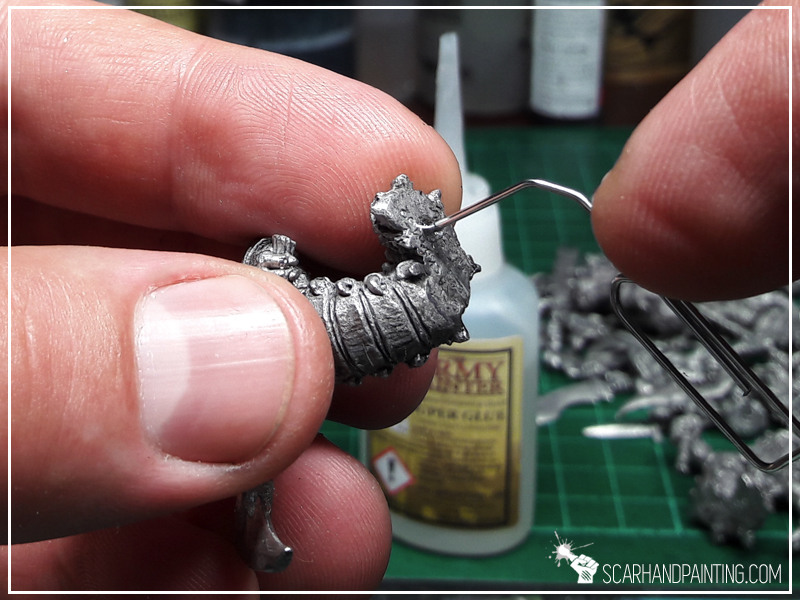
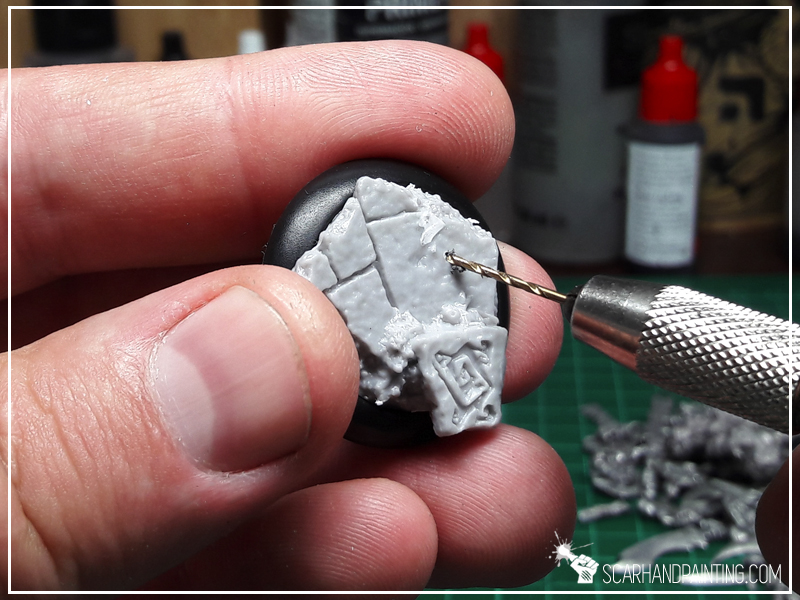
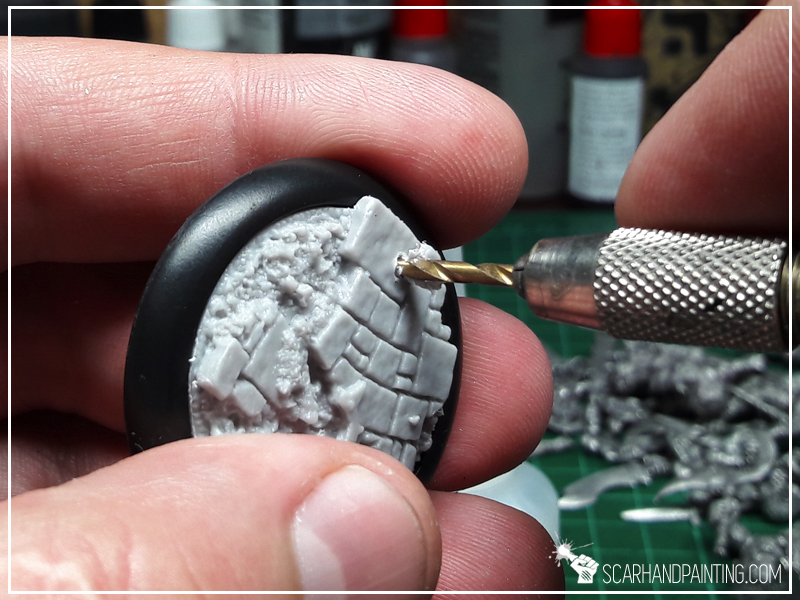
I use this method in case of wobbly miniatures with small area of contact that for some reason don’t have the rail. Such miniatures require to be pinned to the base to ensure their safety and durability. Note that pinning requires additional tools as well as proper pins. Alongside a trusted hand drill you can also purchase original hobby pins, but these are expensive. Depending on how thick is the miniature I use either paperclips or a thin steel wire.

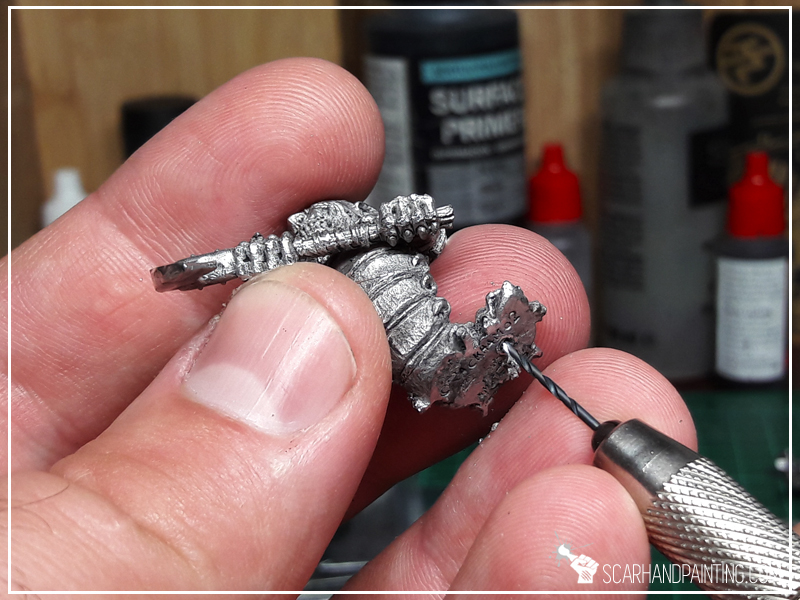
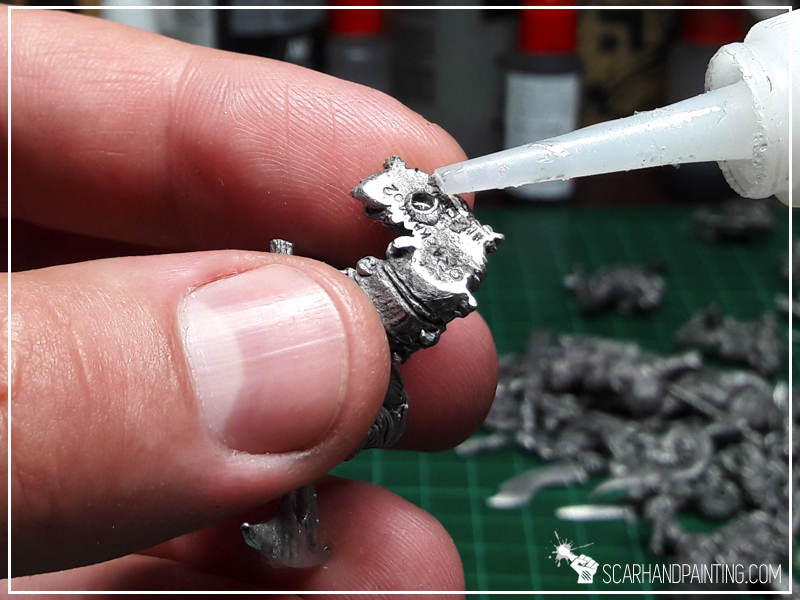
The steps I undertake to pin a miniature:

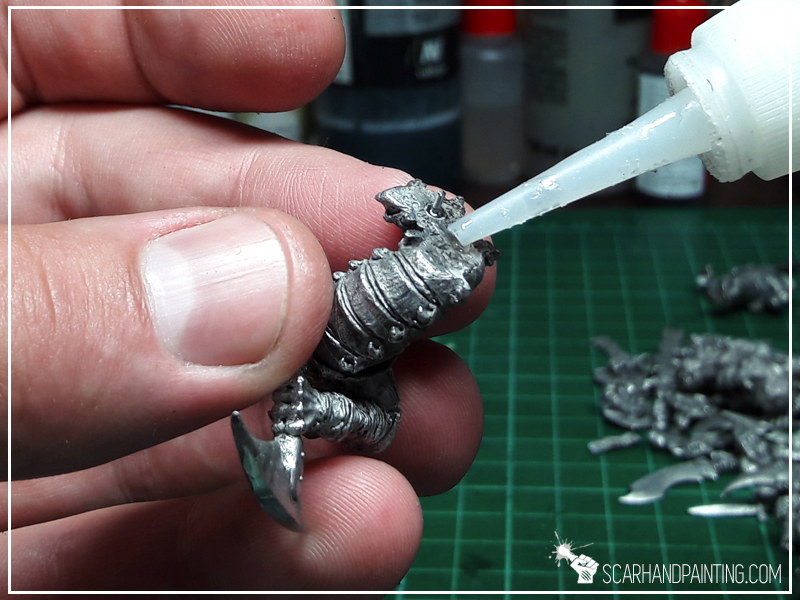

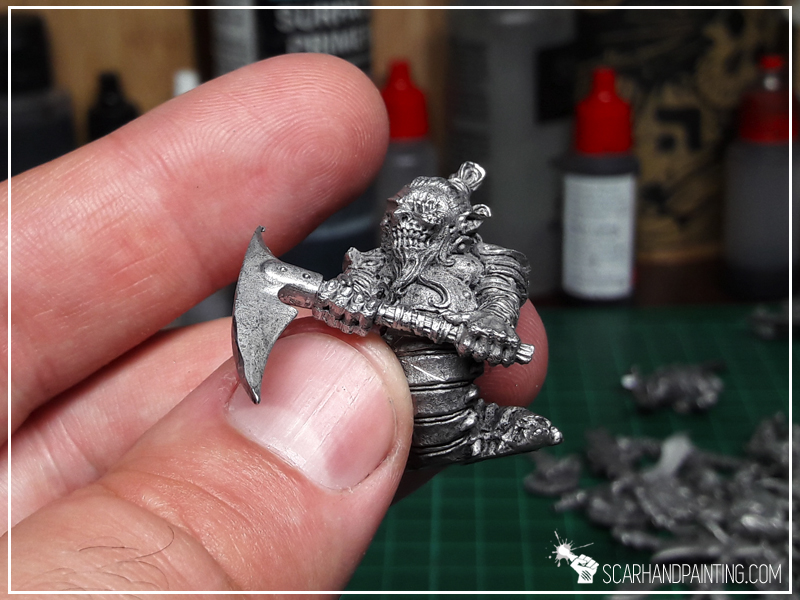
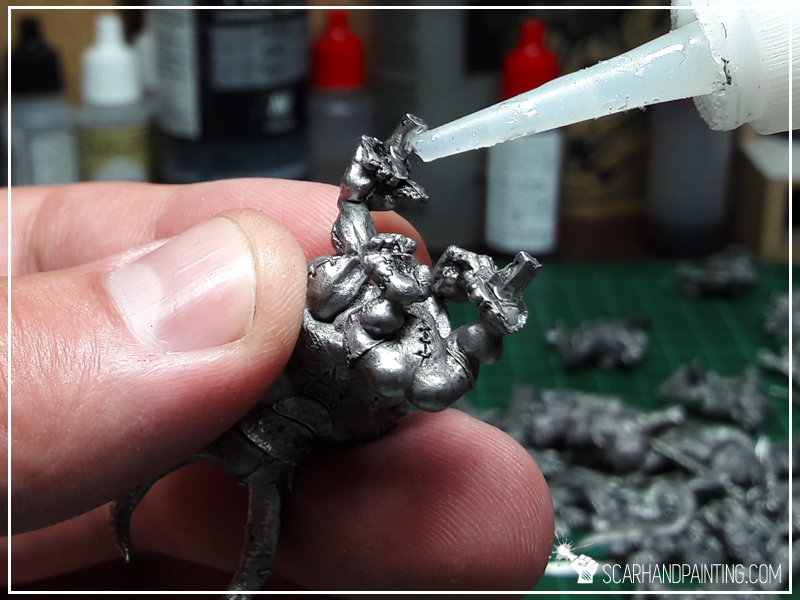
This is my favorite method. I believe that a natural part of the miniature is better at holding it in place rather than a smooth steel pin.
This is what I do:
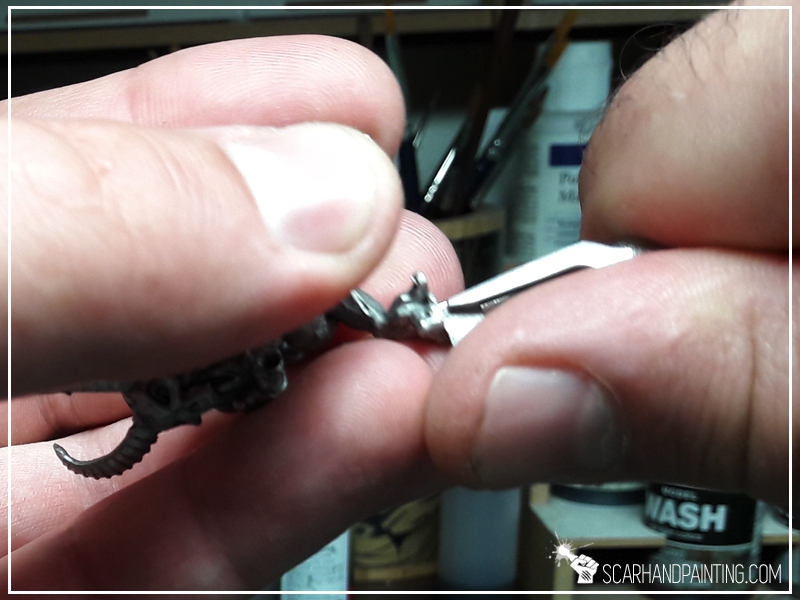


From all the other methods this one works the best for me. Plus it’s faster than normal pinning. Just remember, there’s no one proper method. If you feel like a miniature might use a pin – Just follow your guts on this and pin it. Better safe than sorry.
I might drop another article on basing miniatures in the future. Maybe some Painting Philosophy type with insight on why I paint my miniatures based and not separately. If you think it’s an interesting topic and/or if you liked this article – consider letting me know in the comments or at my Facebook profile… or even share if you think the article deserves it. 😉
PS: Check this stuff out! It blown my mind! XD