- contact@scarhandpainting.com


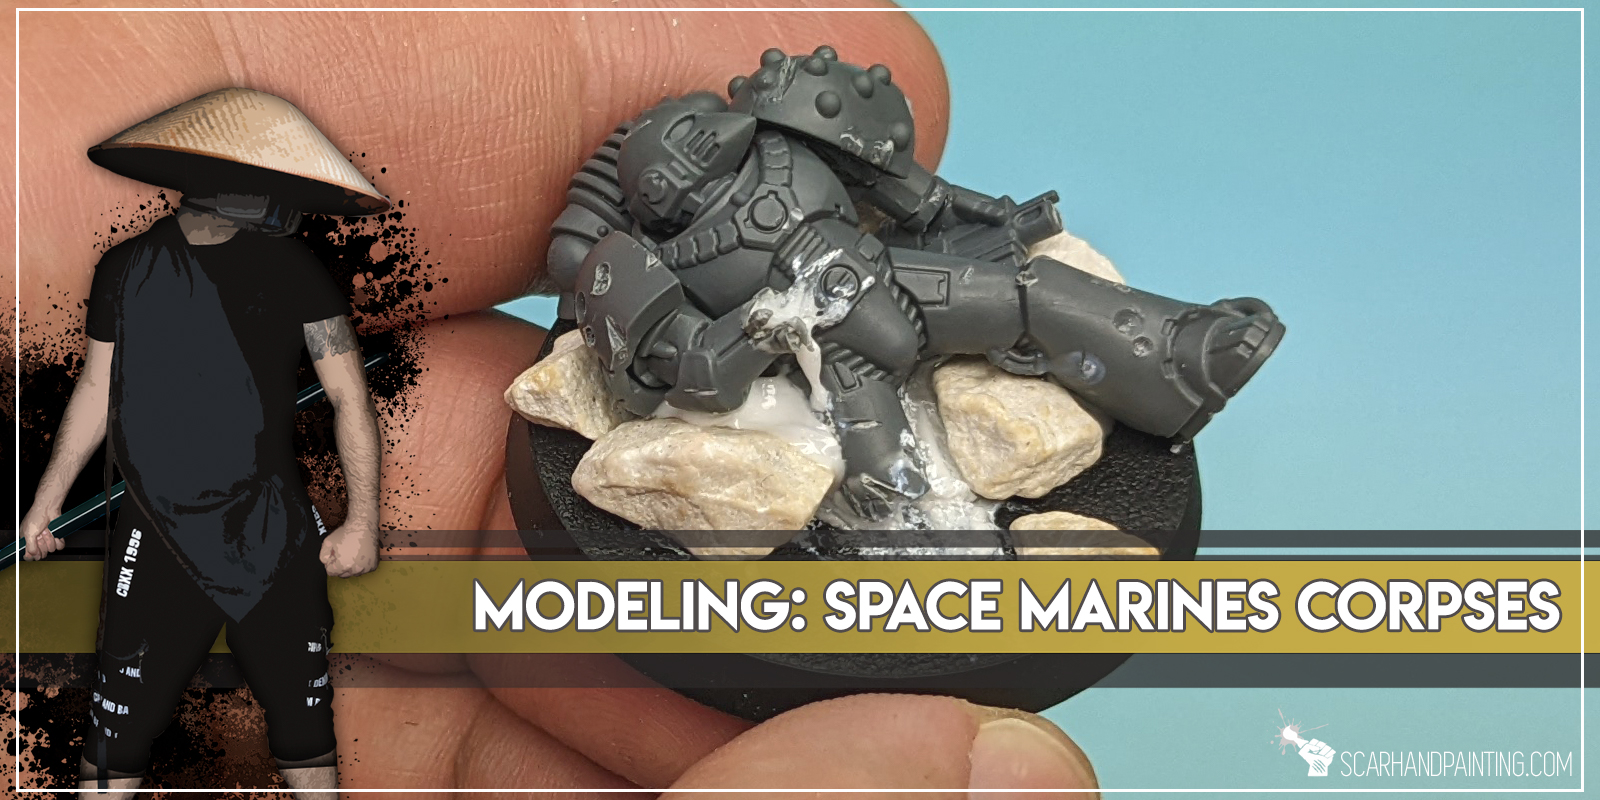
Space Marines are the very core of Warhammer 40k universe, not to mention the most popular army. For this reason, be it on the countless battlefields of 40k, or dust covered remnants of Horus Heresy atrocities, there’s probably gonna be plenty of dead Marines laying around. These could do for a very thematic prop on a scenic base for one of your characters, or even for an emerging theme across multiple bases of your army.
Today I will present to you few basic techniques of turning Space Marines into battle ravaged ones.
Some notes:

The Basics:
Before we fill the battlefield with uncountable dead Marines, let’s go through some basics. The techniques presented in this article can be used to create some outstanding looking bases but also to turn regular Space Marines into battle ravaged veterans. I focus on simple techniques that can be employed without high end specialist equipment and that do not require any advanced modeling skills. I deliberately used materials that are easily accessible and focused on presenting what can be done with a single out of the box Space Marine miniature without any outside parts. The goal is to take a cheap Marine and turn him into an awesome scenic base worthy of a character with low effort and fine end result.
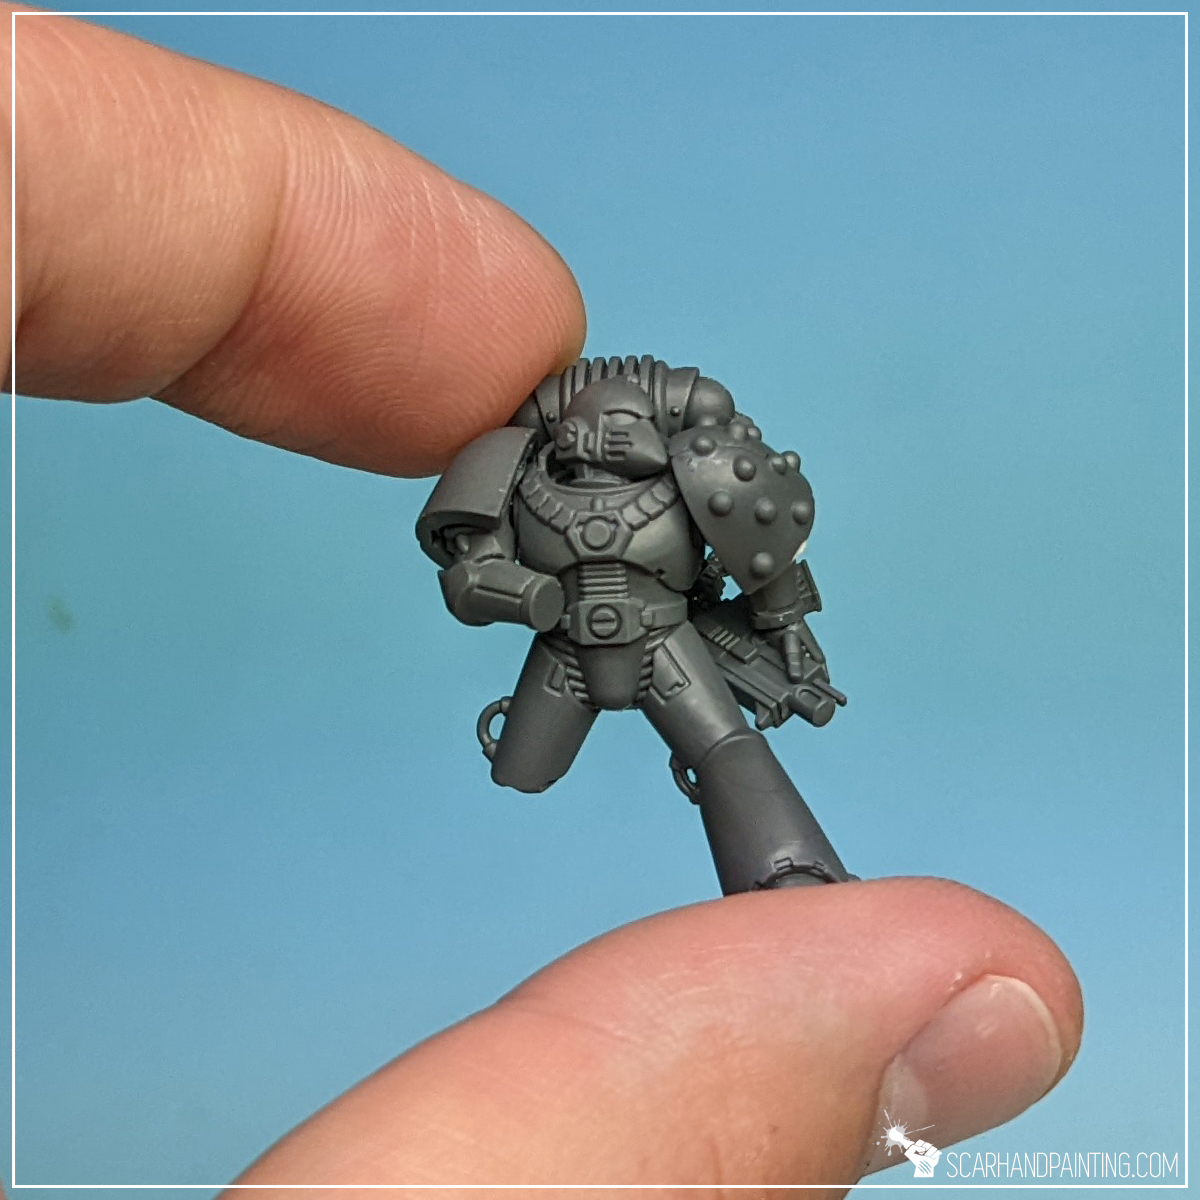

Miniature preparation:
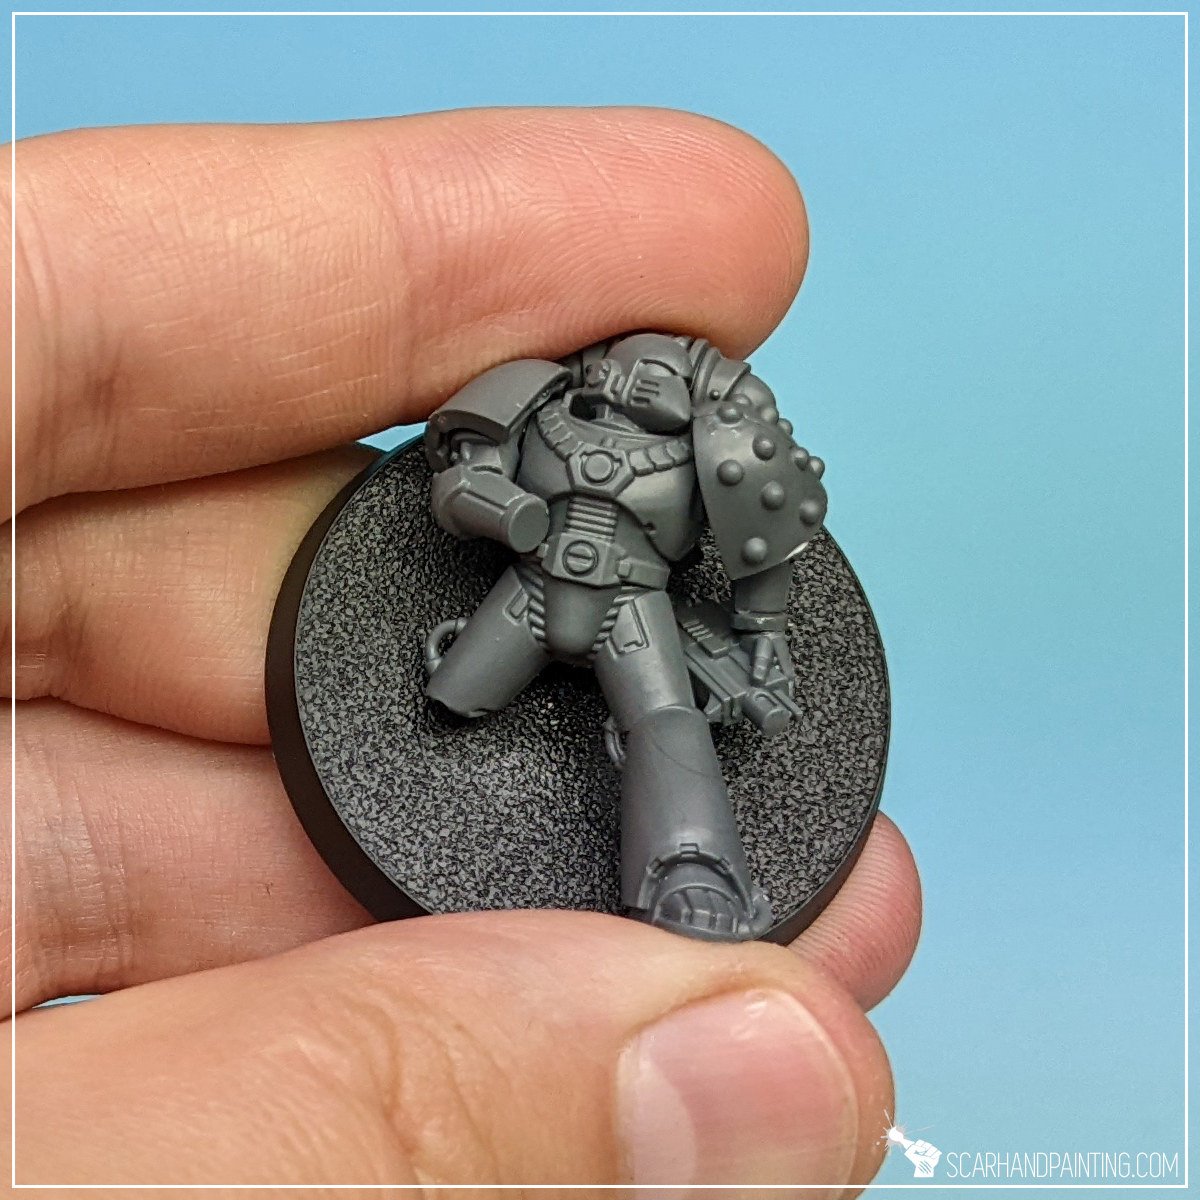
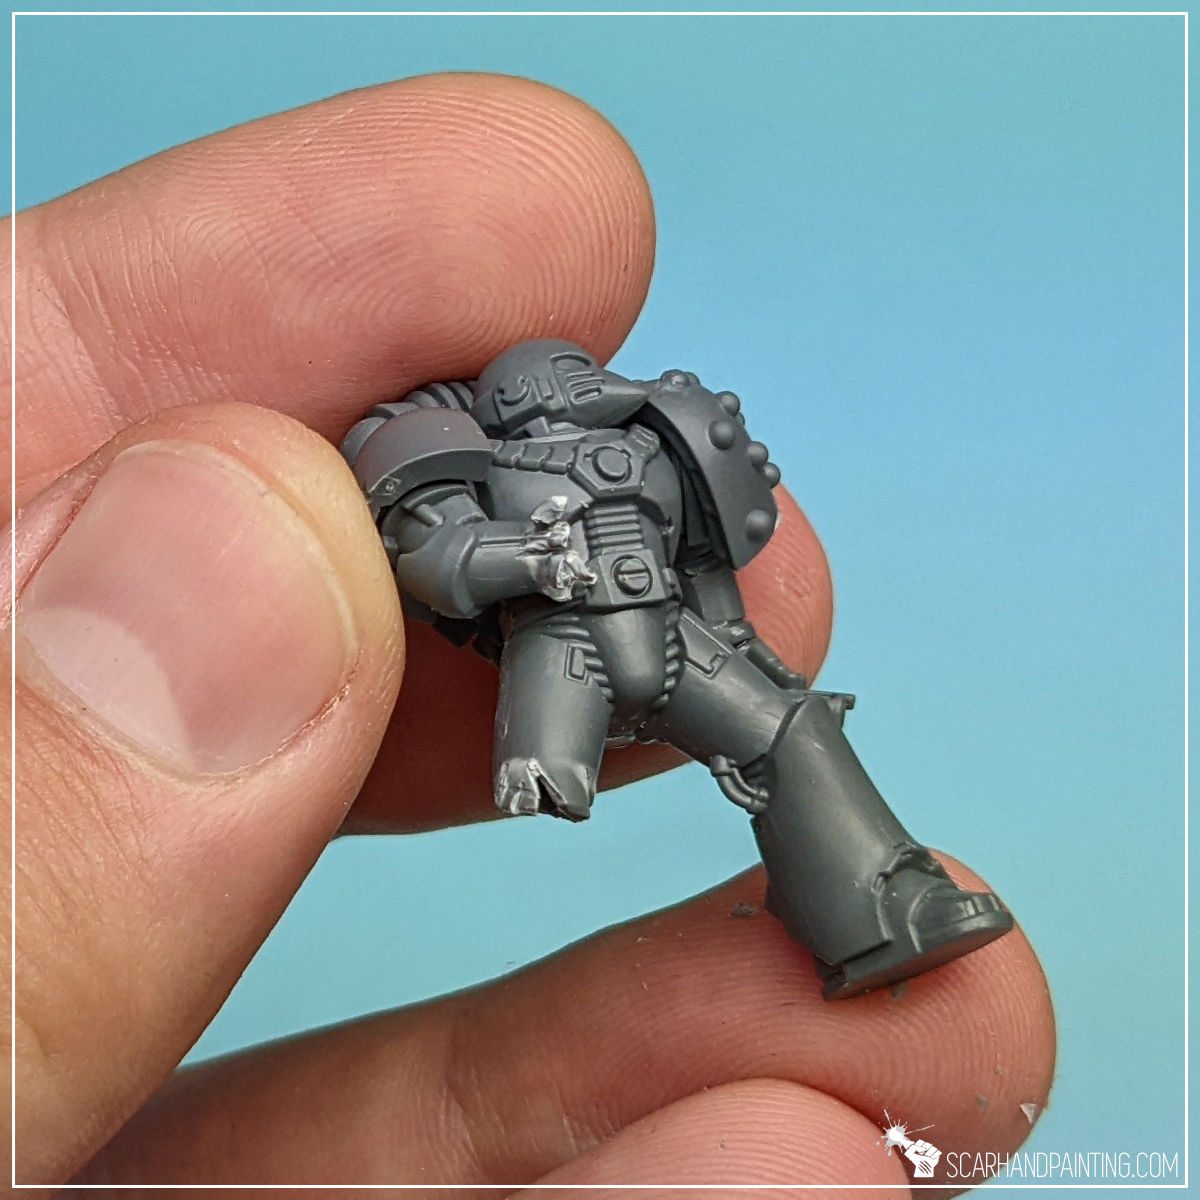
I started by cleaning all parts of flash lines and building a single Space Marine miniature. When gluing parts together I already had a pose in mind. This is why I glued Bolter hand in a rather uncommon way. Usually I would remove a limb or two, but in this case I just skipped on gluing one leg and left one hand.

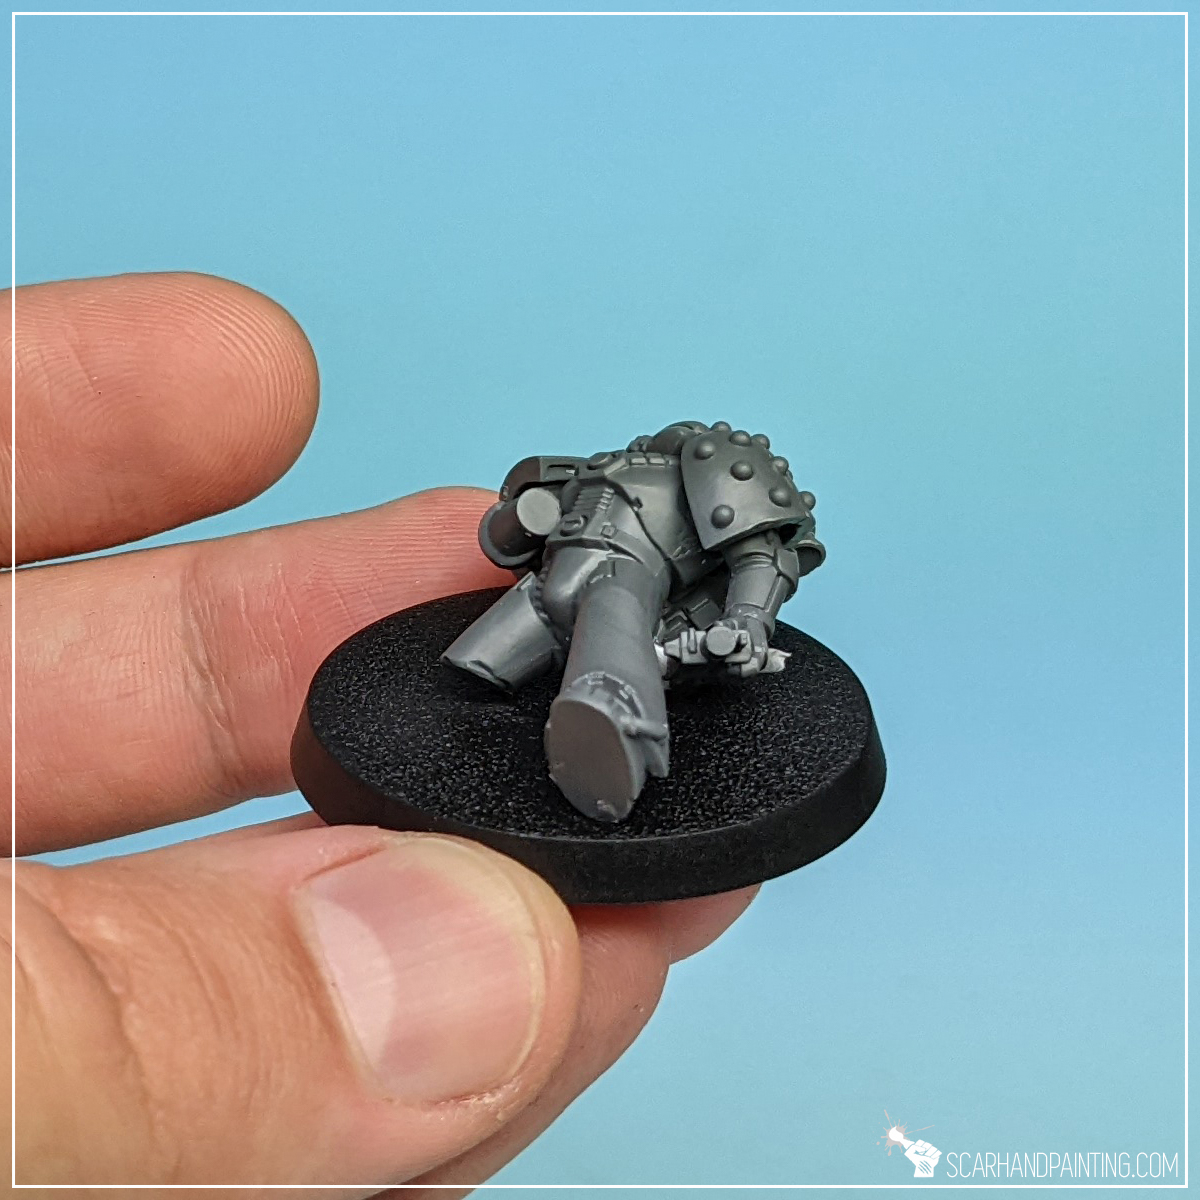
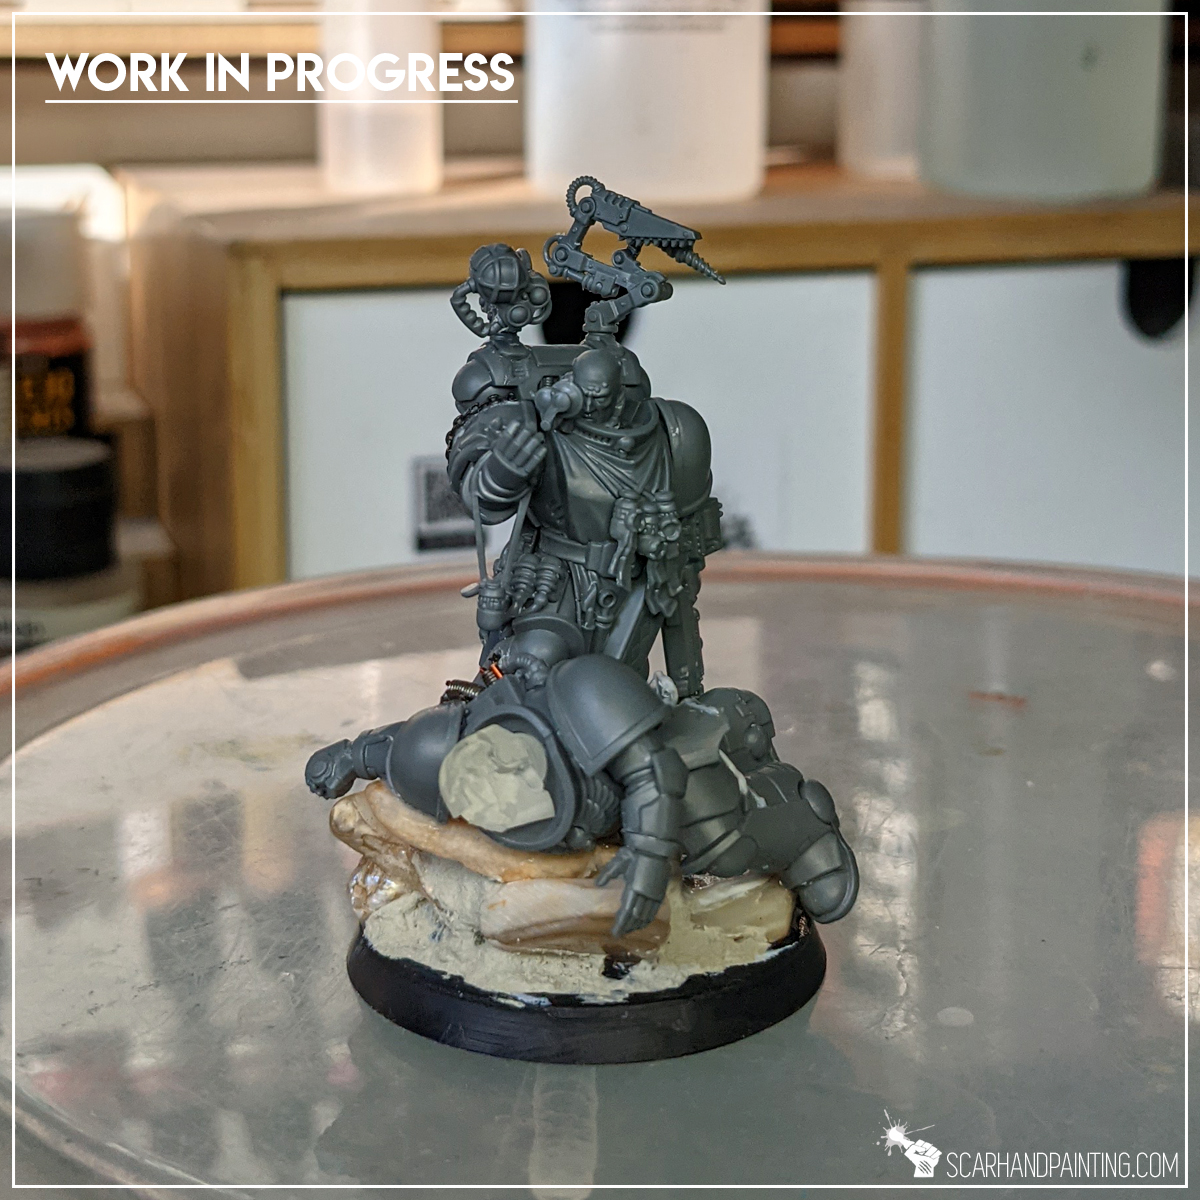
Composition:
Once I had a build miniature in hand I could finalize the pose on a base. For this purpose I cut off the excess Bolter and a part of a backpack with plastic cutters. Looking back I wish I cut a piece of the left heel as well, thus leaving the intact leg less exposed compared to main body. Sadly I rushed through the process in order to drop the Tutorial as soon as possible.
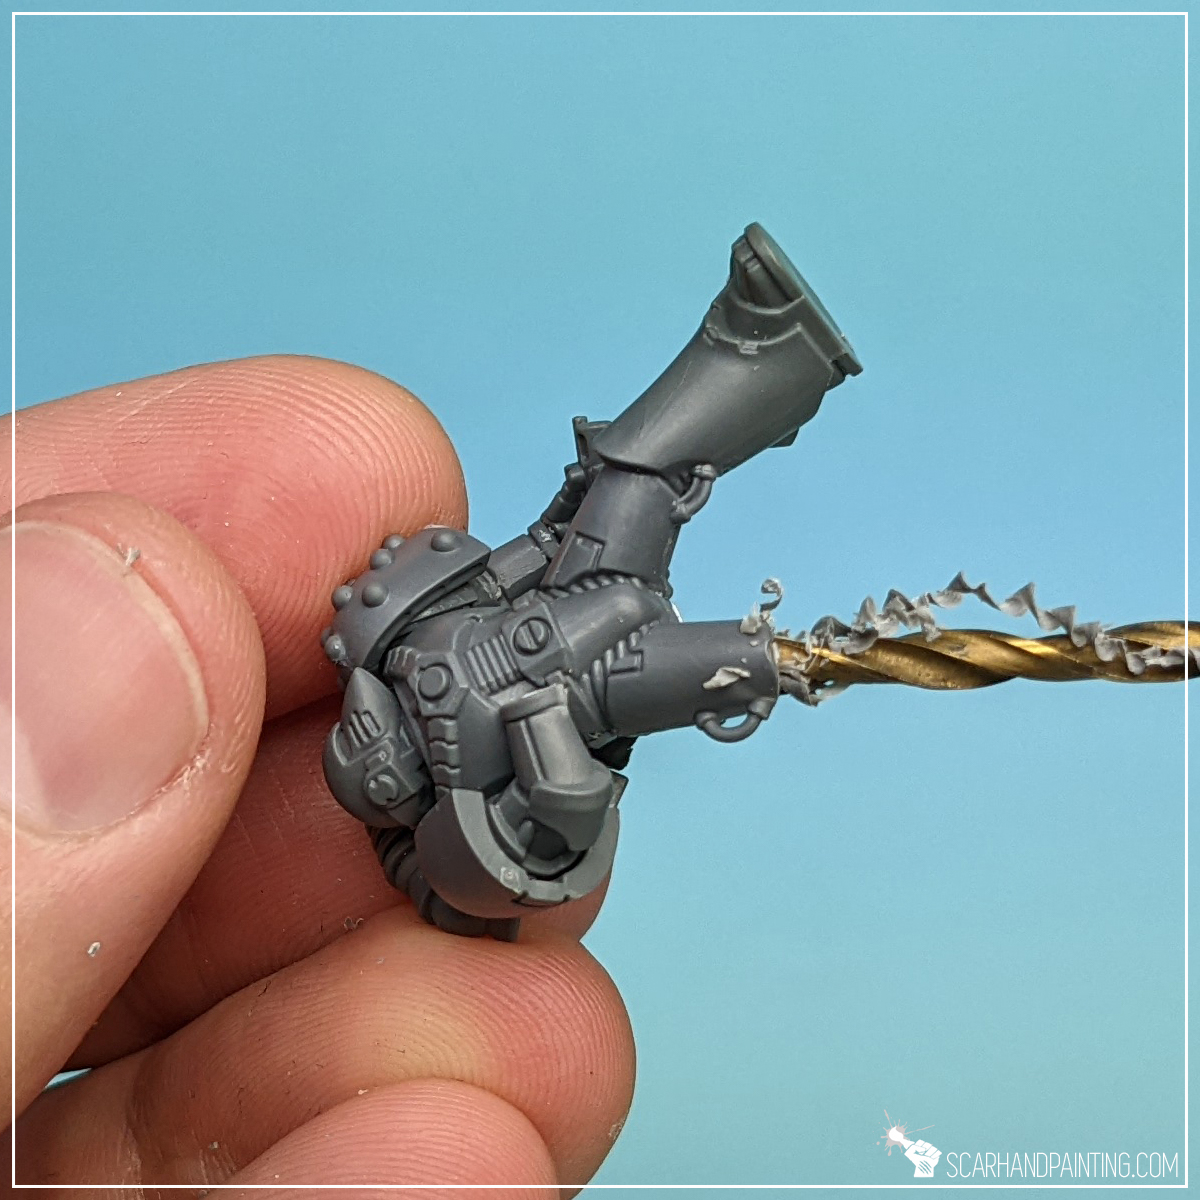


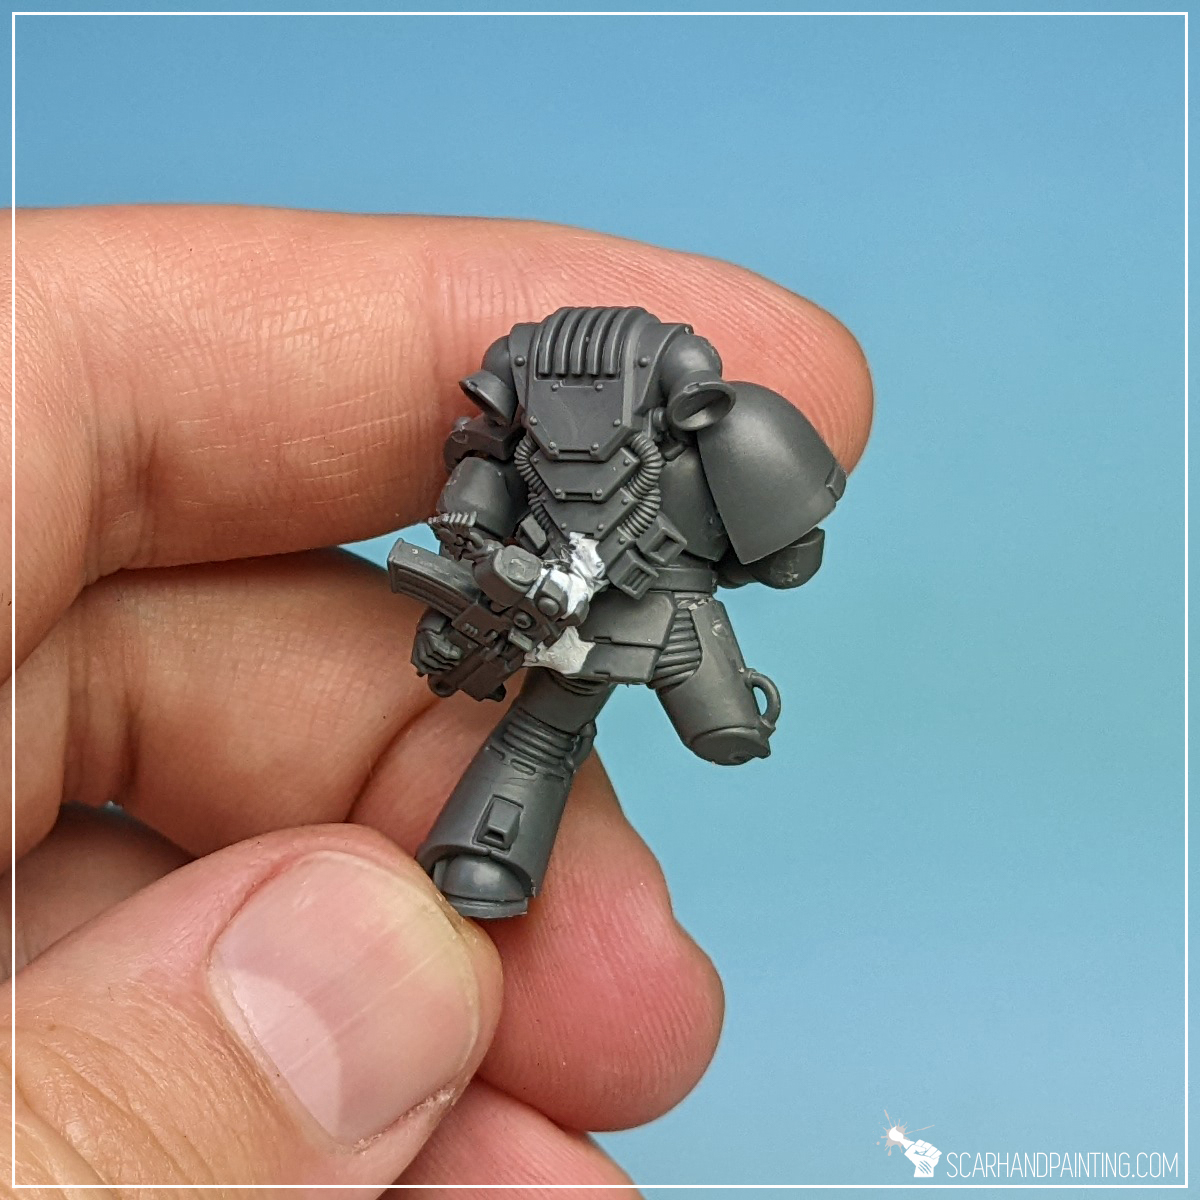
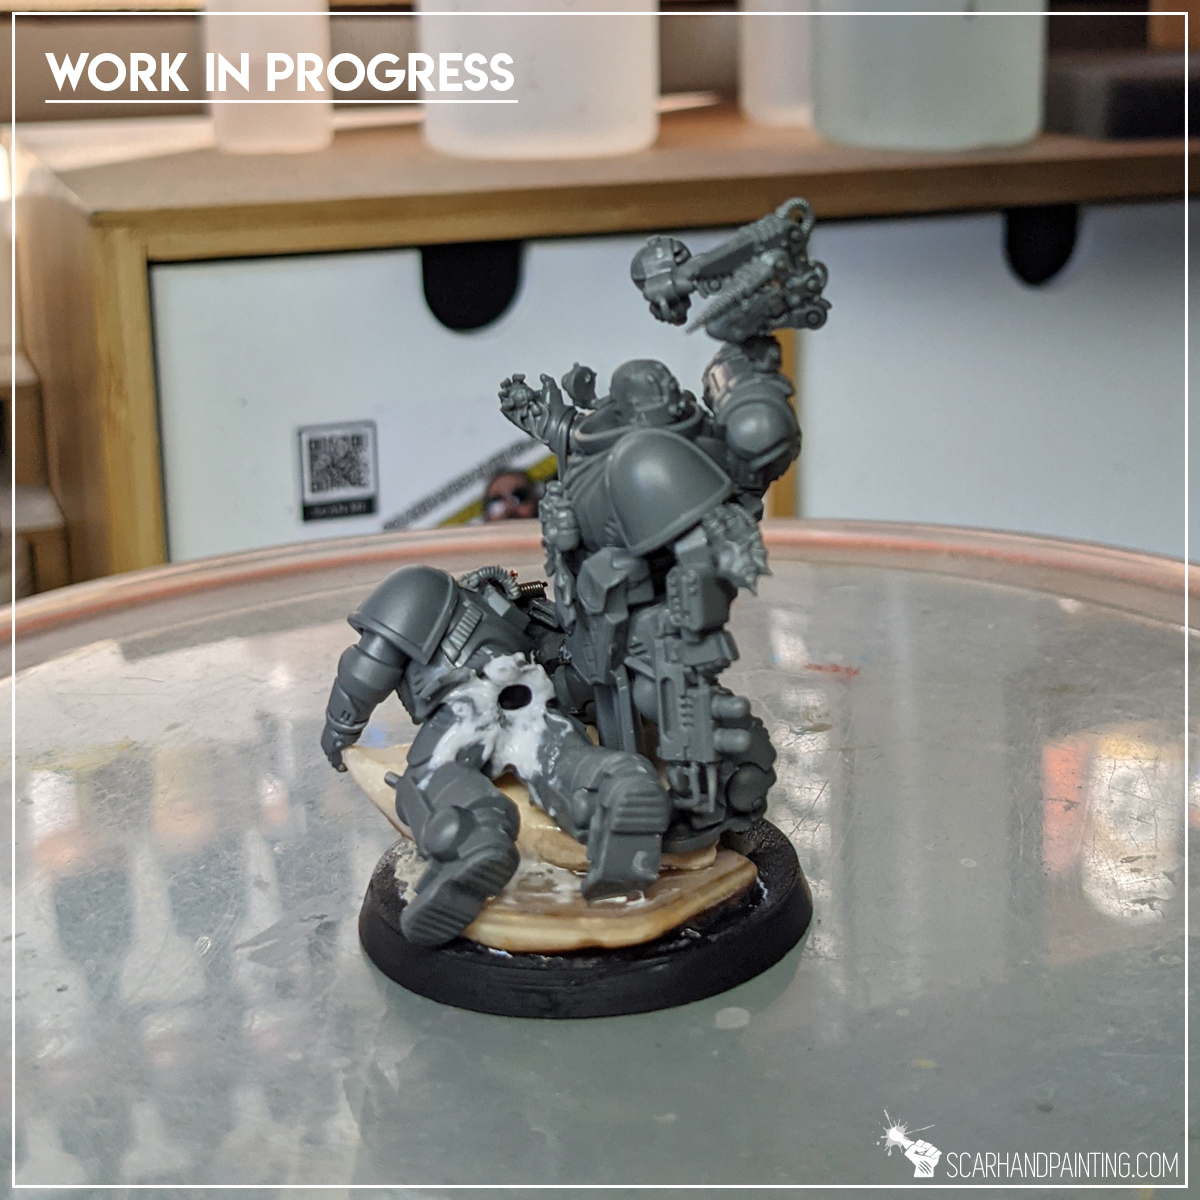
Severed limbs:
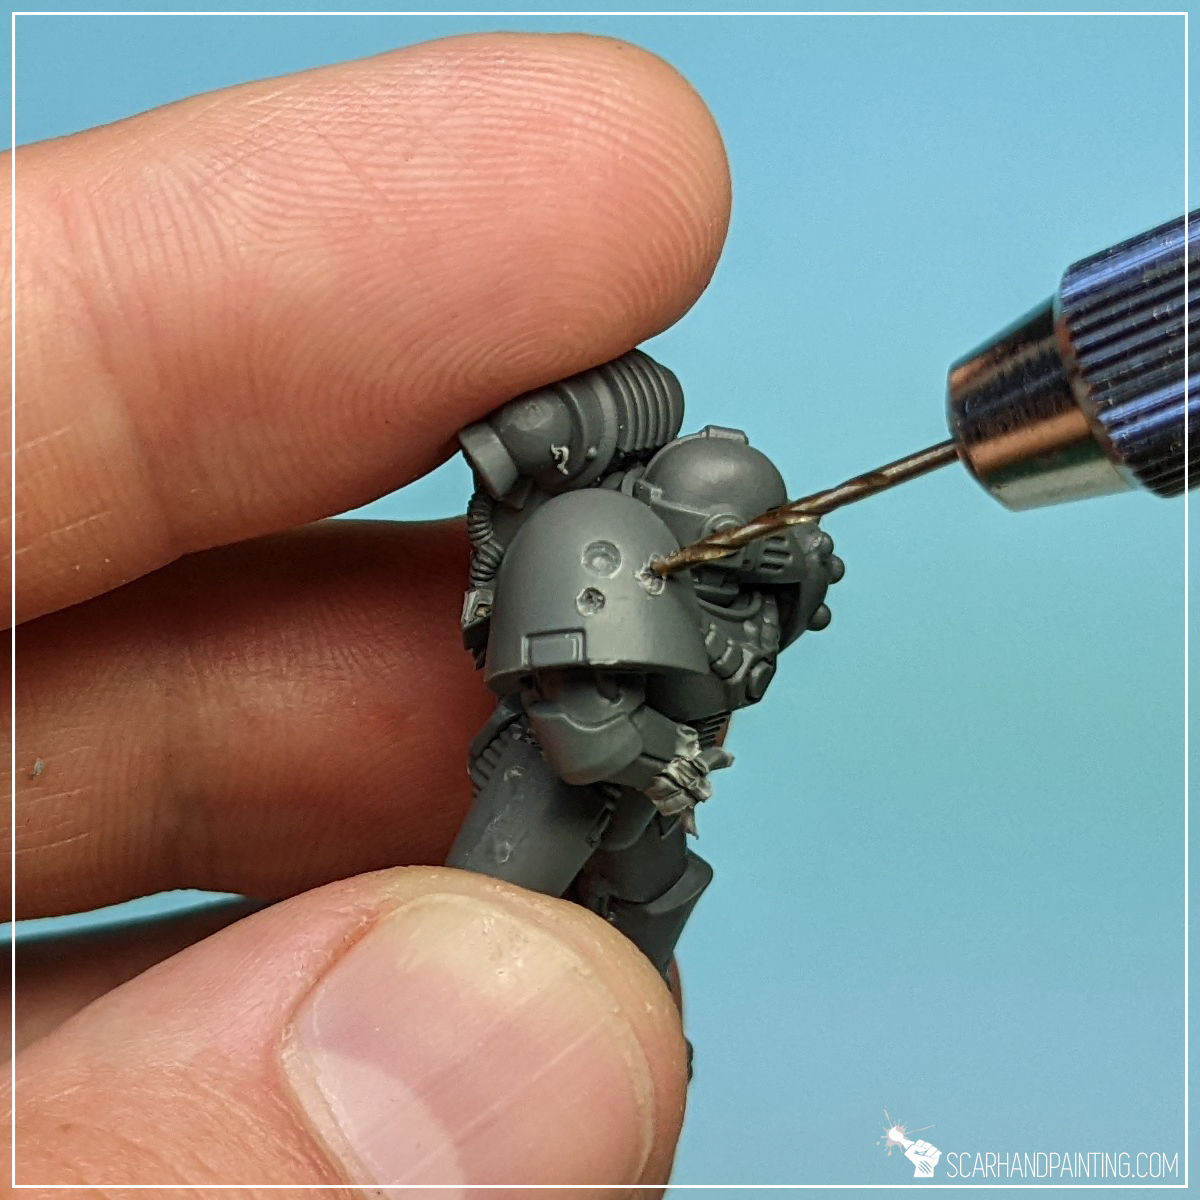
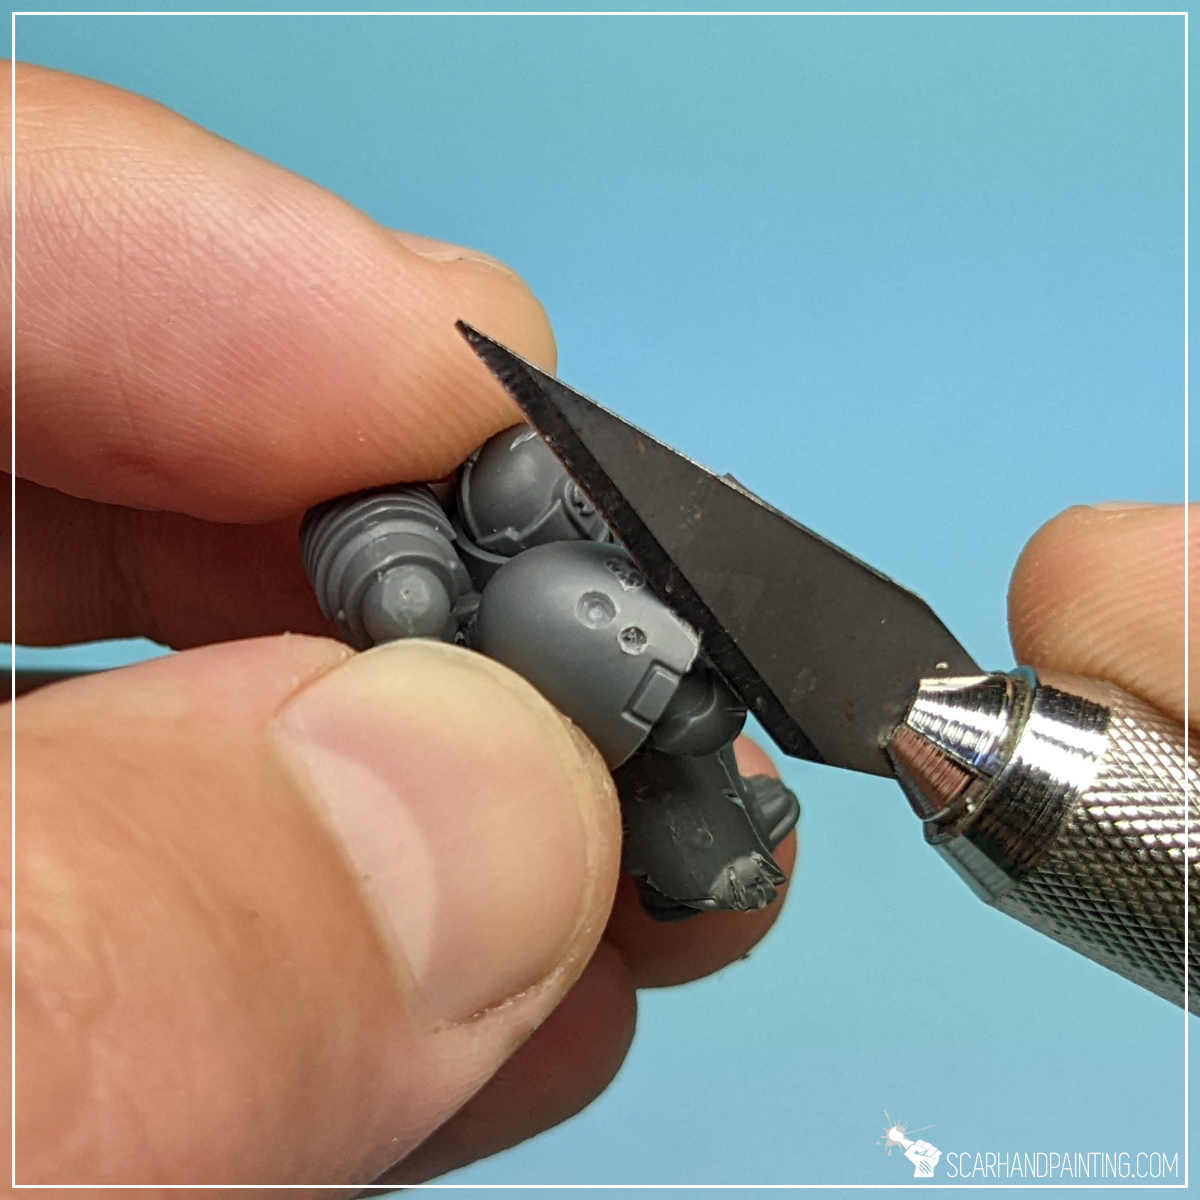
Severed limbs are a good way to show large amount of damage done to a power armored fighter. I started during building phase by skipping on two limbs, but this can also be done later on by simply cutting the limbs off. Next I drilled holes into the the stumps. This was done to add depth but also ease the next step, which was cutting the edges with a pair of plastic cutters.

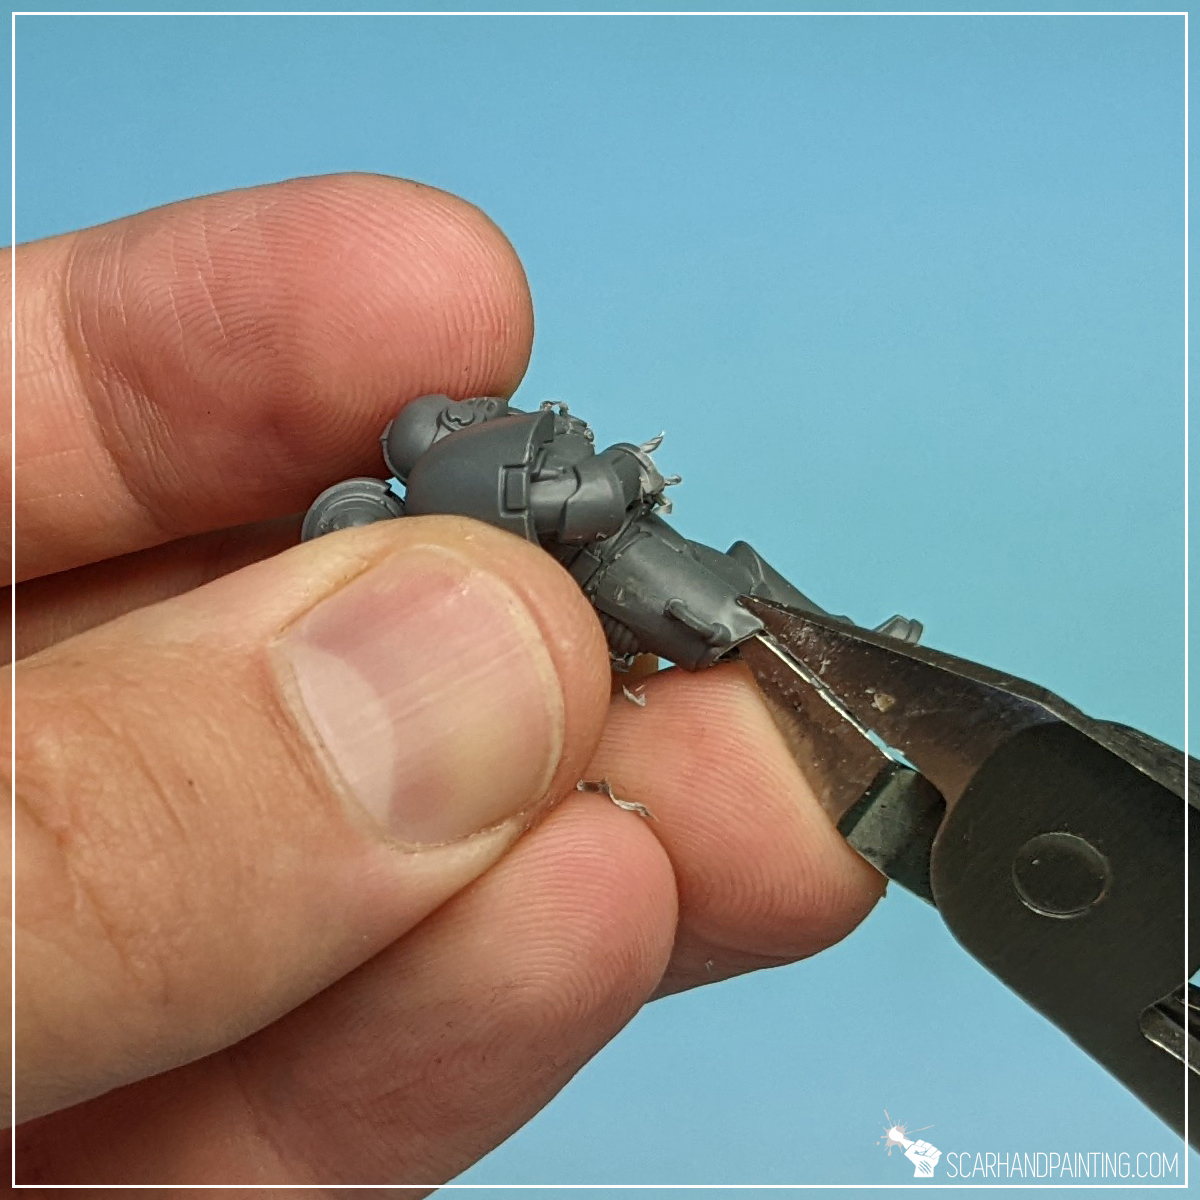
Battle damage:
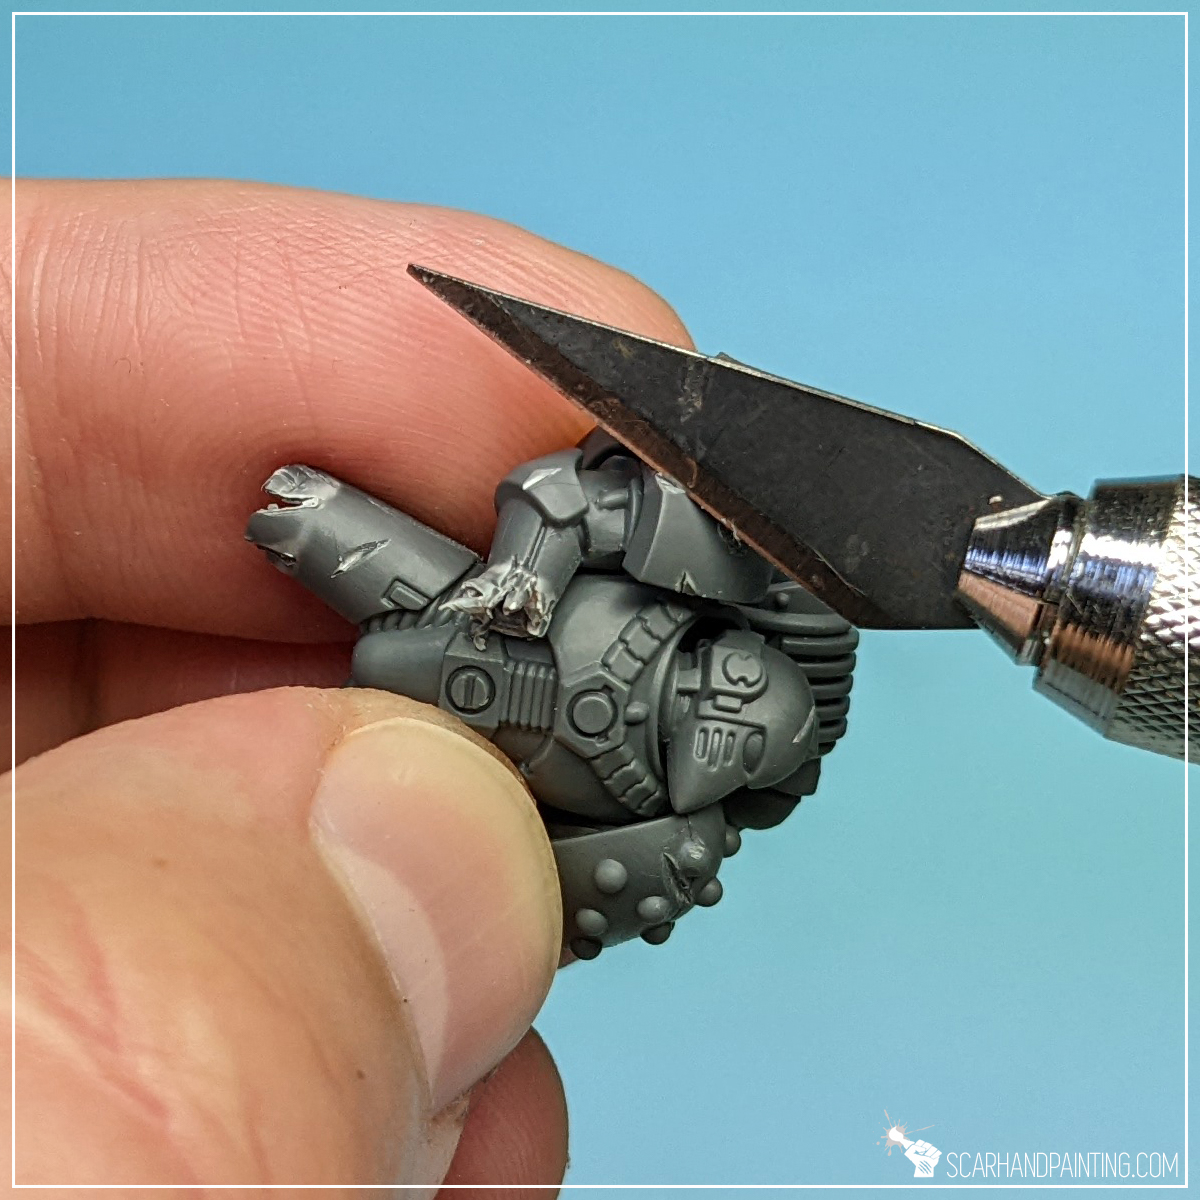
This step can be done in a lot of ways including bones and cables sticking out of severely damaged Power Armor. I really wanted to keep the tutorial basic, thus concentrated on cuts and bullet chipping instead. I begun by drilling shallow holes, grouped together on one shoulder guard and one leg. Connecting few large and small holes adds additional realism. Next, using a hobby knife, I made some cuts on exposed areas and armor edges. The marine started looking like after a really rough day at work.


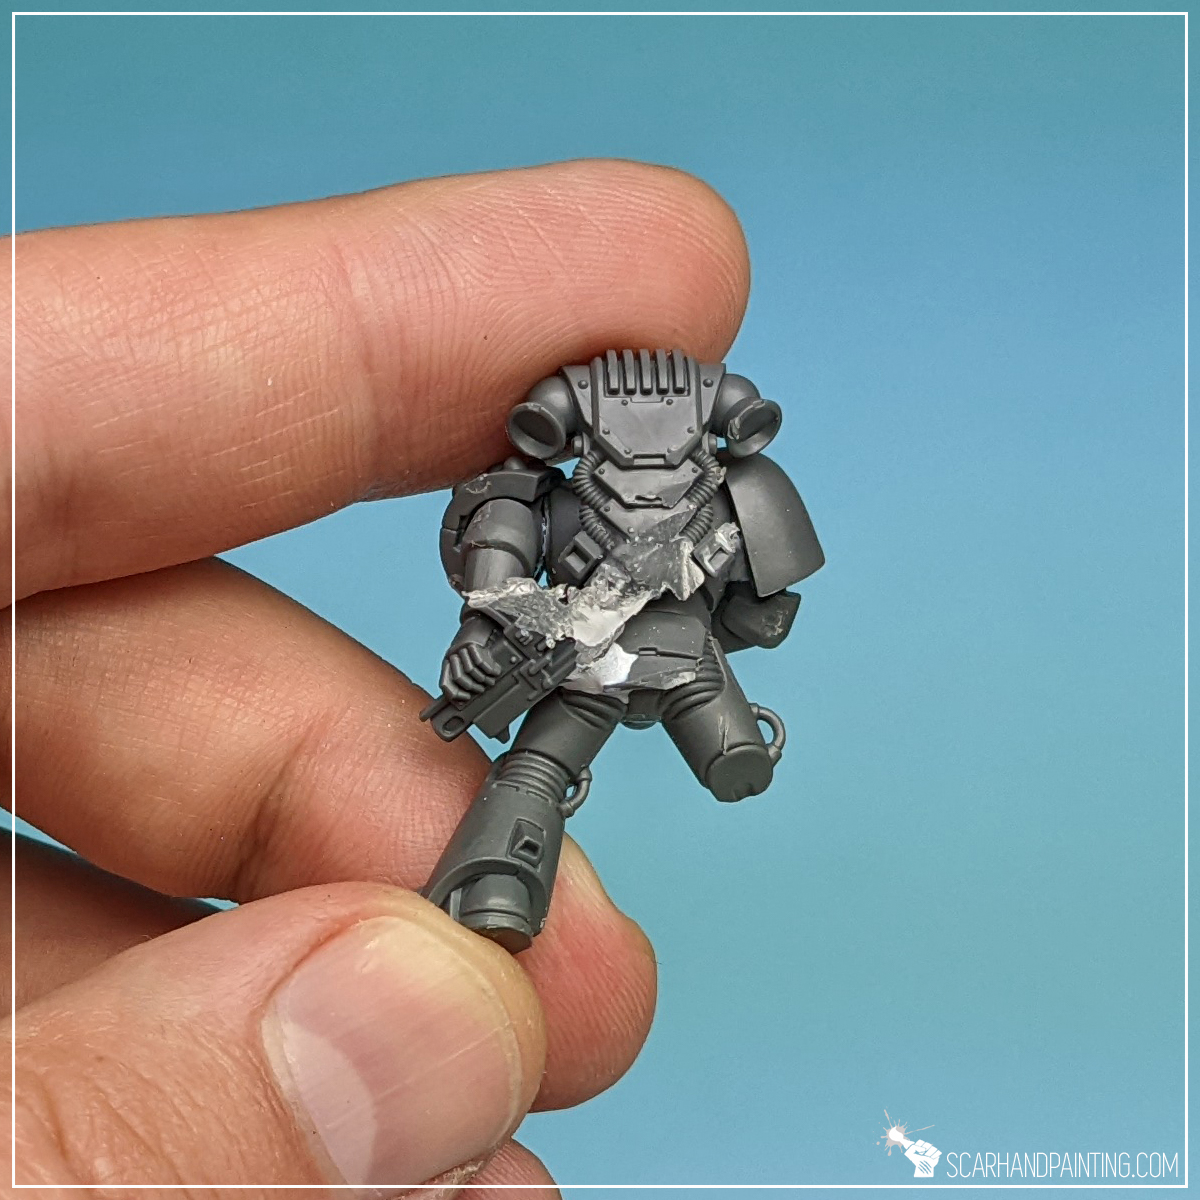
Blood and guts:
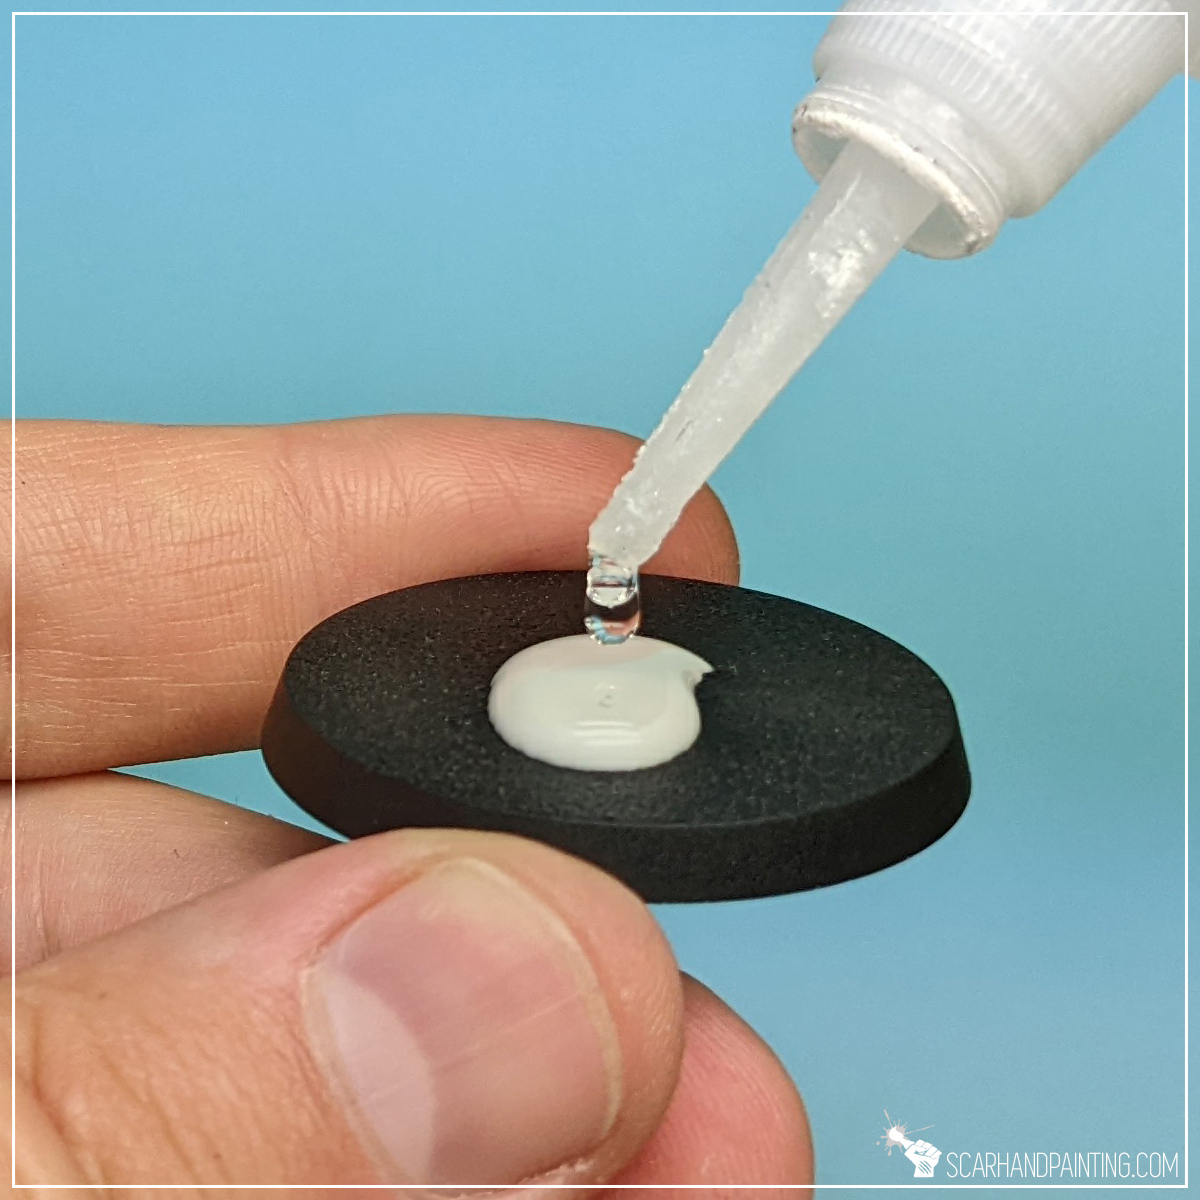
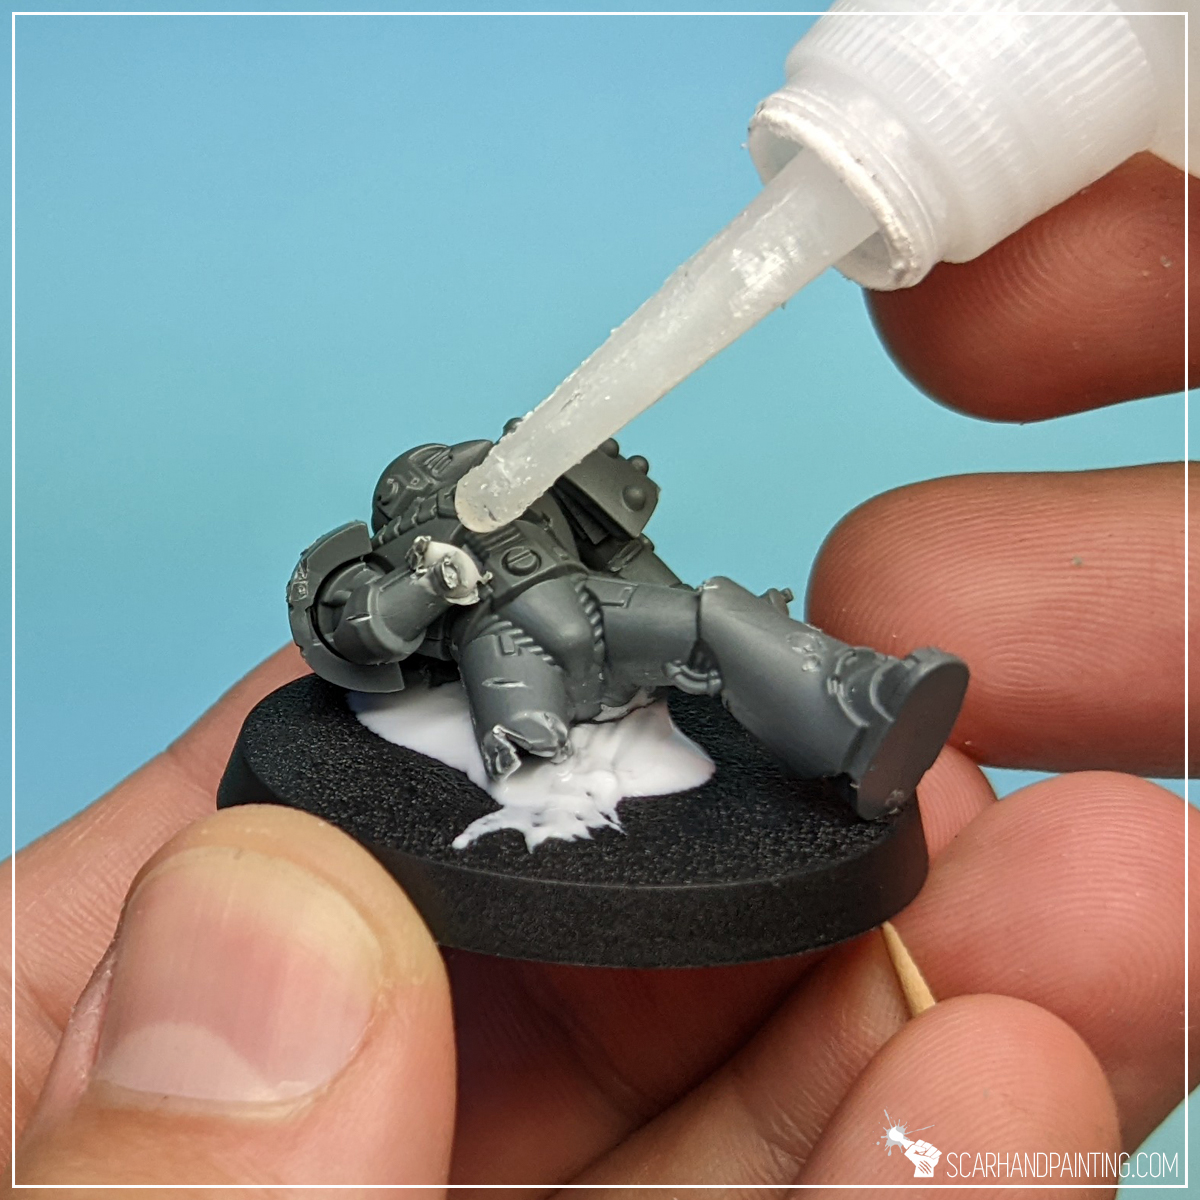
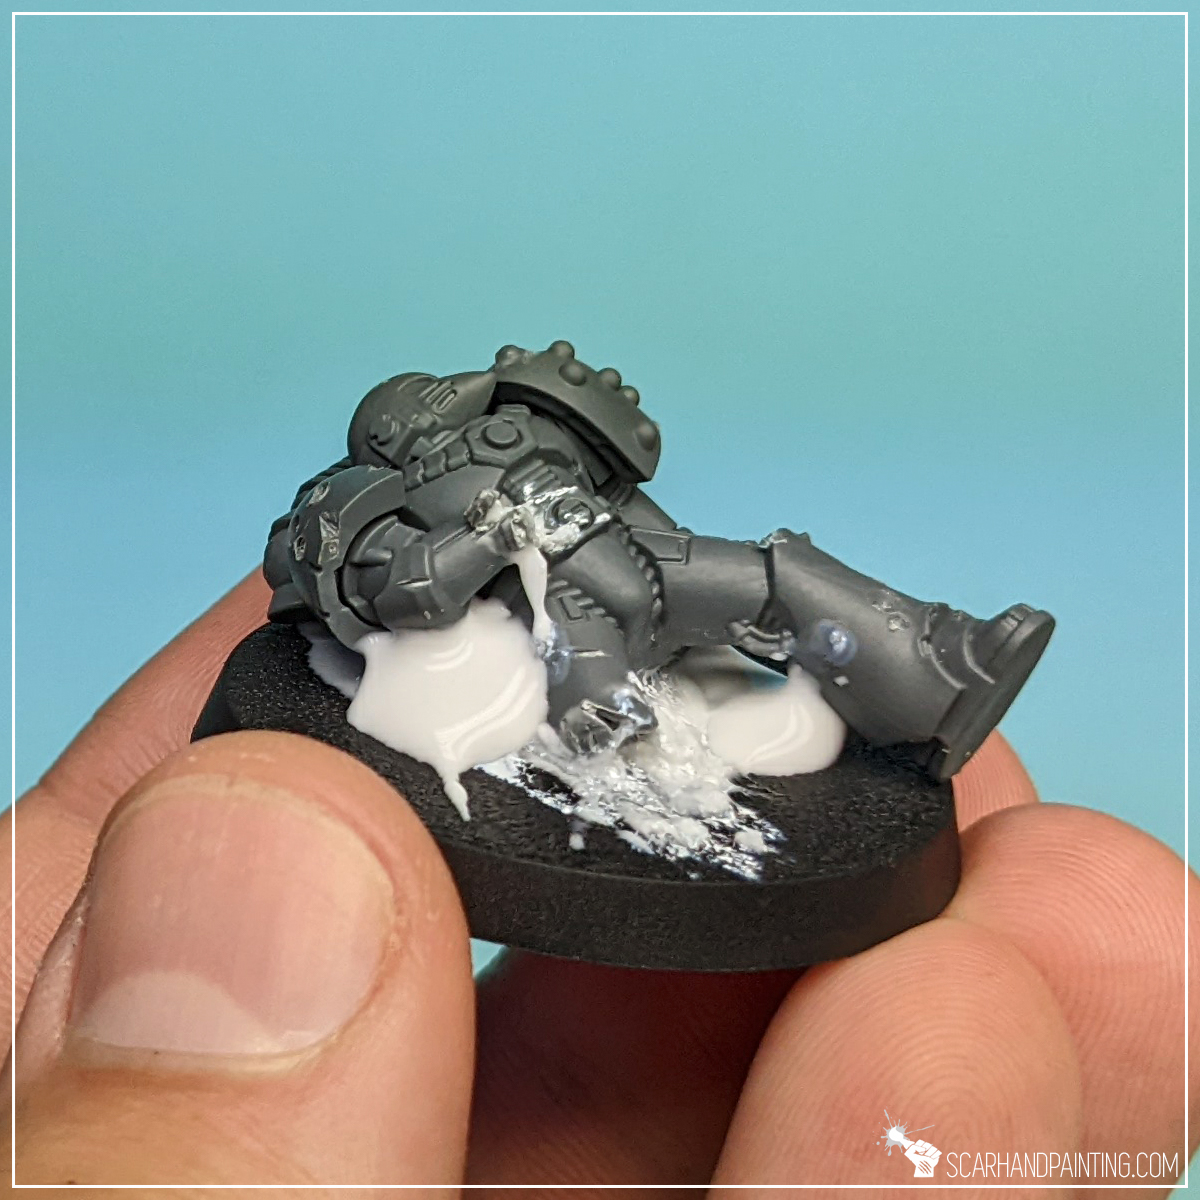
Next on the menu was the actual basing and the bloodied flesh sticking out of the armor. I used a mix of PVA and cyanoacrylate glue to mount the corpse on a base, then added just a drop of both glues into each wound to then rough it up with a tip of a toothpick. This created a nice wet wound effect, that can be further enhanced with a proper paint job later on.
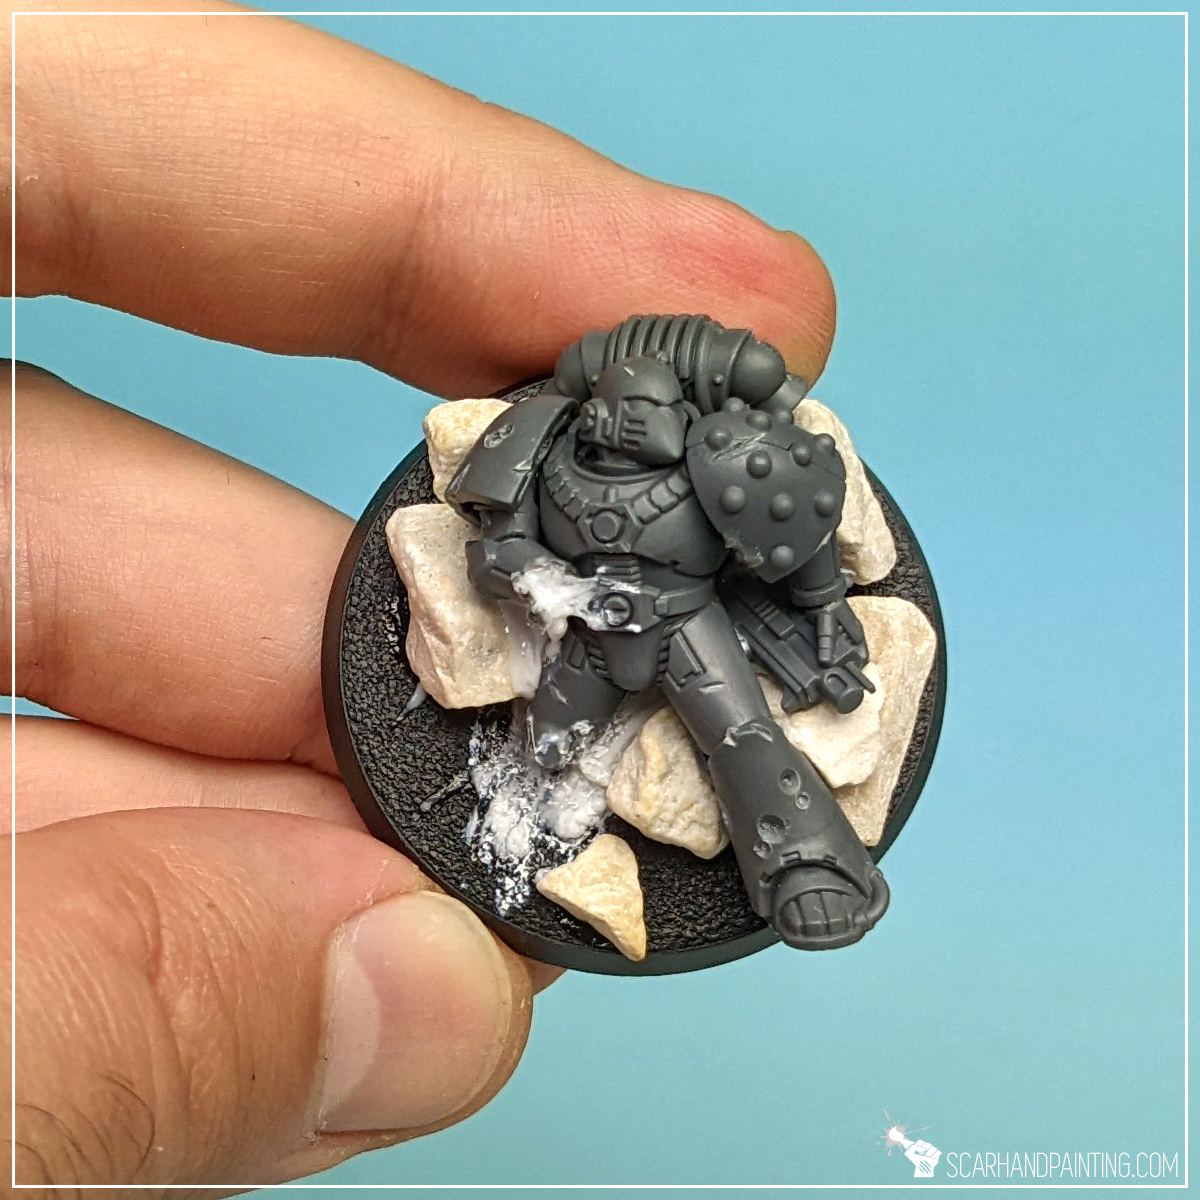

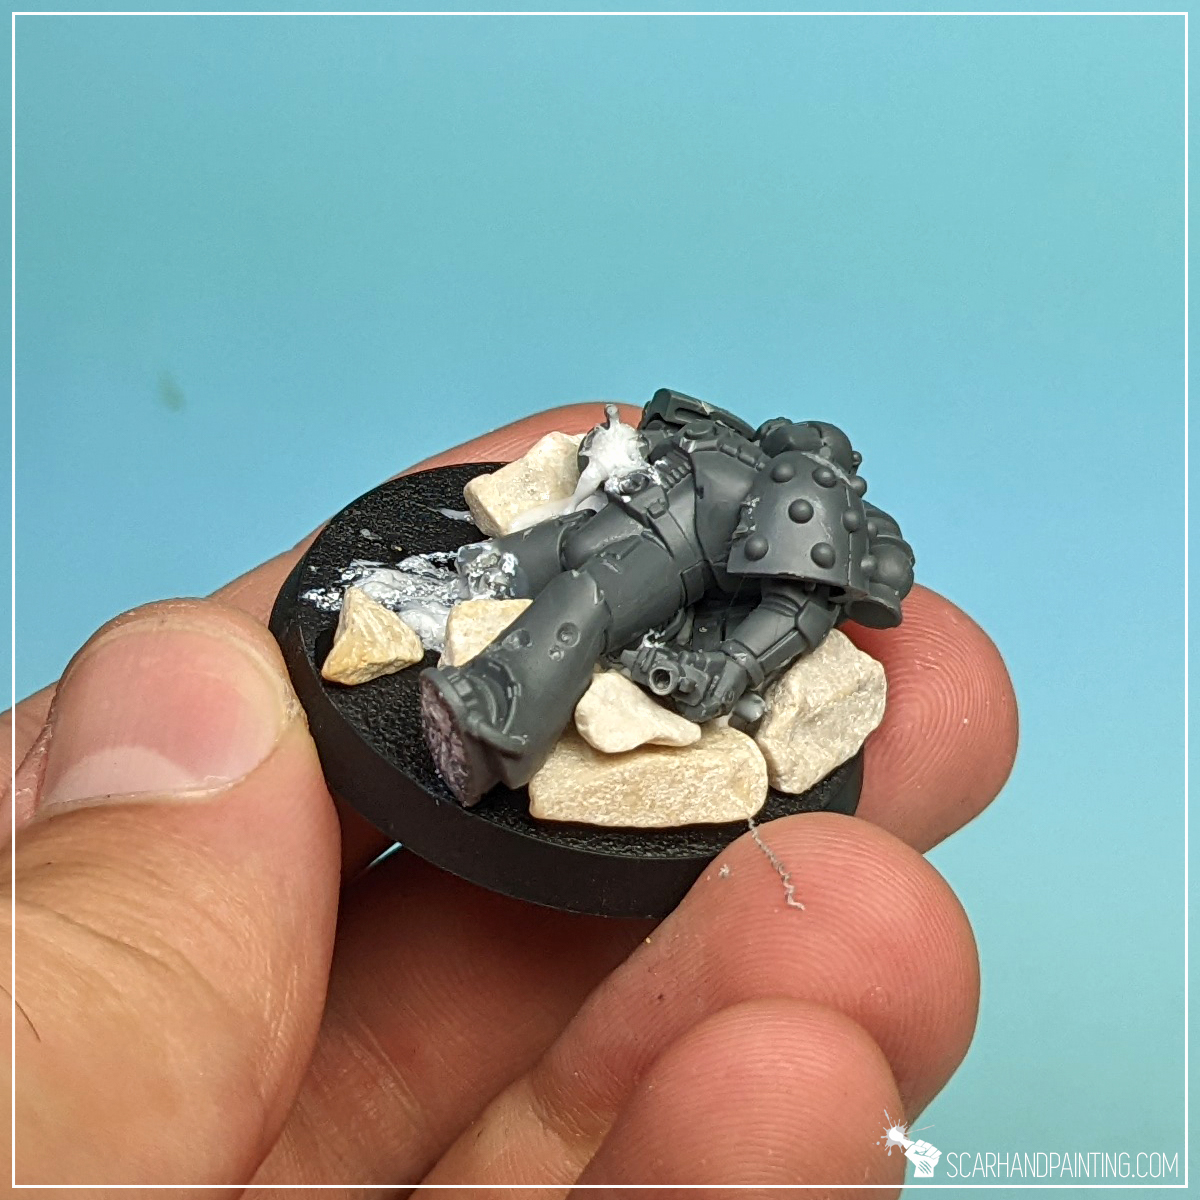
Rubble:
I great way to fill empty space and set the corpse within a certain scene is to add rubble around and underneath it. For this purpose I used some decorative gravel obtained in a local house & garden store. Once again I applied a mix of PVA and cyanoacrylate, then slid few stones in place. The addition of cyanoacrylate makes the mixture harden rather fast, ensuring all stones stay in place without issues.
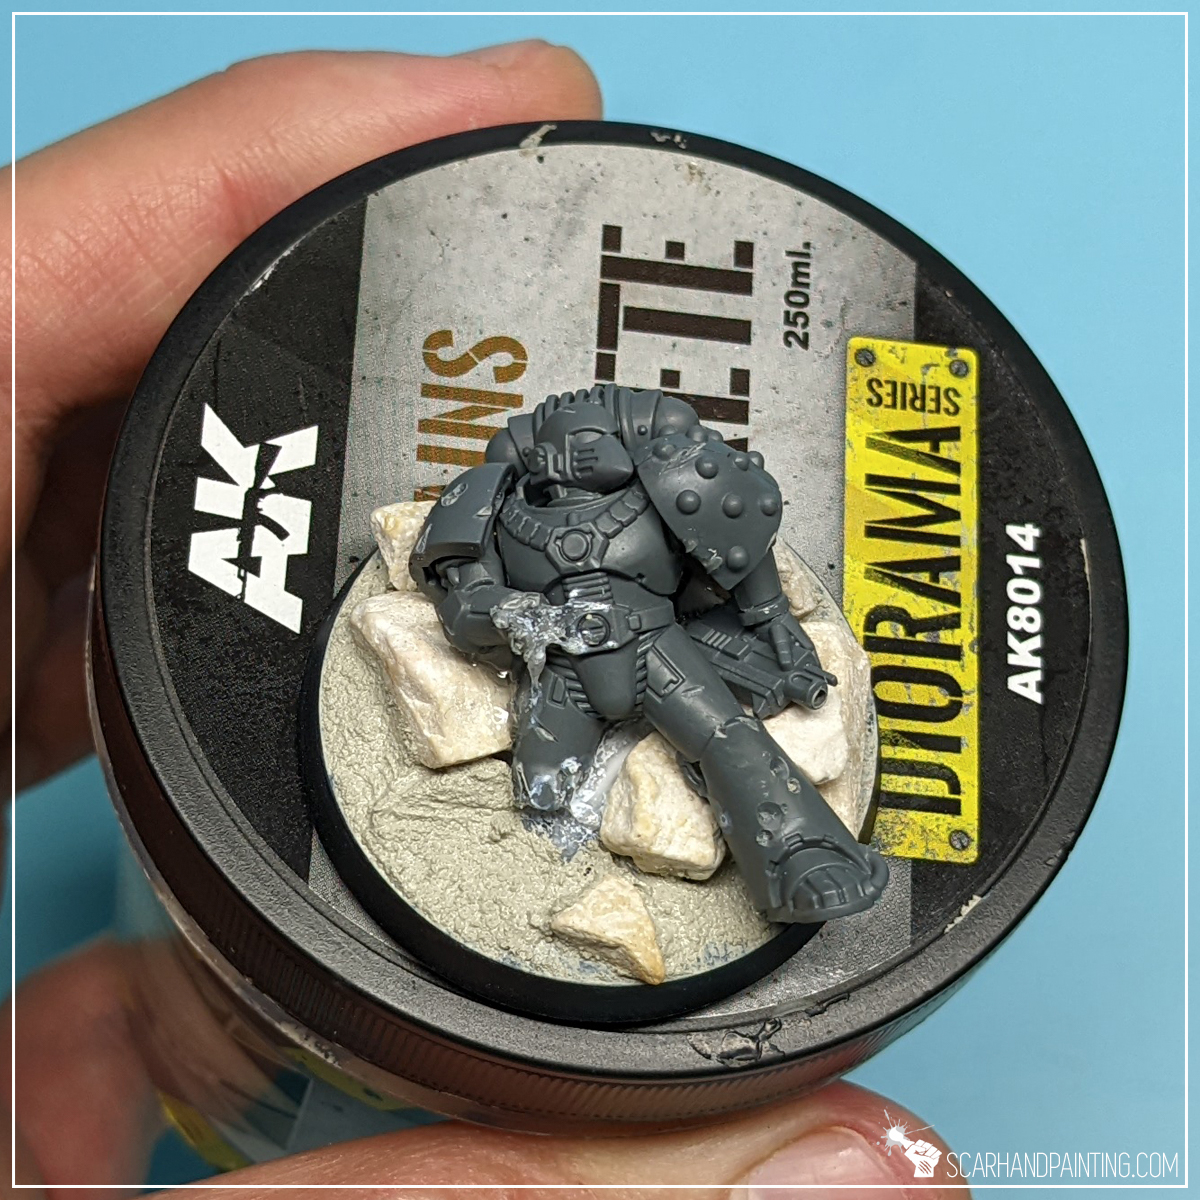

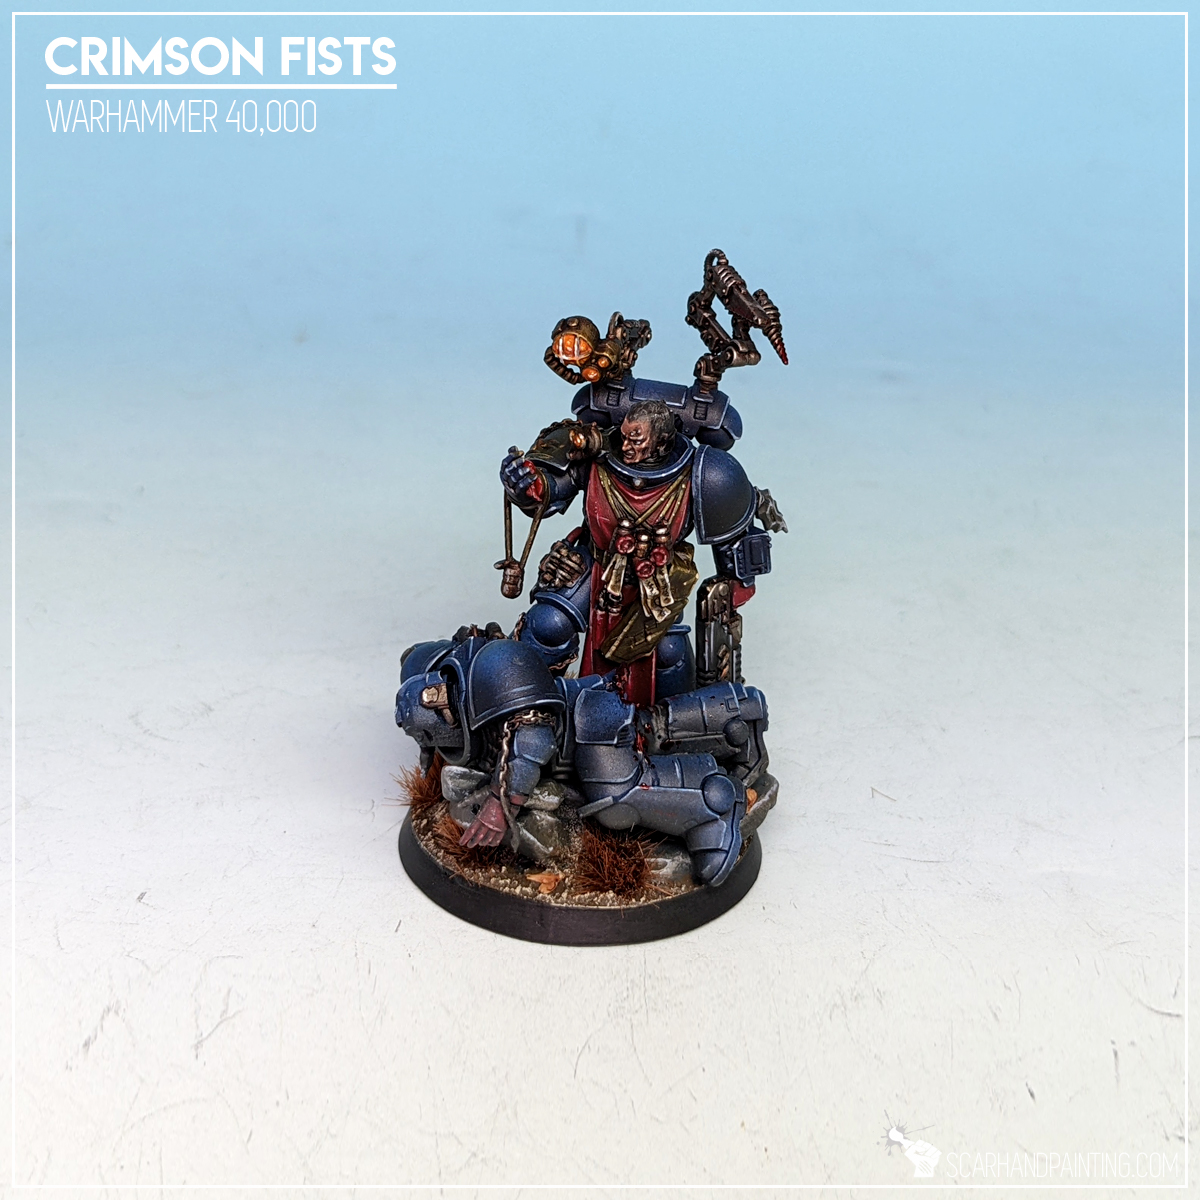
Finally I added a basic texture by applying AK Interactive Concrete. This is my go to when I want to build a volume of texture around a base. It can be further built upon with colored textures or simply painted for a great effect later on. Anyhow the miniature is now laying there, bleeding, power armor ravaged by enemy shots. Surrounded by rubble and own guts the Space Marine is ready to give his life for the Emperor and serve as a nice scenic base. Just like the one below…
Imagination is the only limit when it comes to modeling miniatures. On that note I would like to end this tutorial. Until next time friends!

I hope you find this tutorial interesting. Be sure to let me know your thoughts in the comments below or via Facebook or Instagram. I would also appreciate if you considered sharing this content with your friends, who might find it useful. Finally if you are looking for a professional warhammer 40k miniatures painting service, be sure to contact me with this contact form. I always reply within 24 hours, after which please check out your spam folder.