- contact@scarhandpainting.com


Welcome to another entry in the ‘Painting Philosophy’ series, where I let you in on ‘how’ and especially ‘why’ I do some things in a certain way. In my opinion a proper approach to painting is crucial to maintain a healthy, rewarding experience and to produce satisfactory results. Today I will focus on brush handling and hand support during painting.
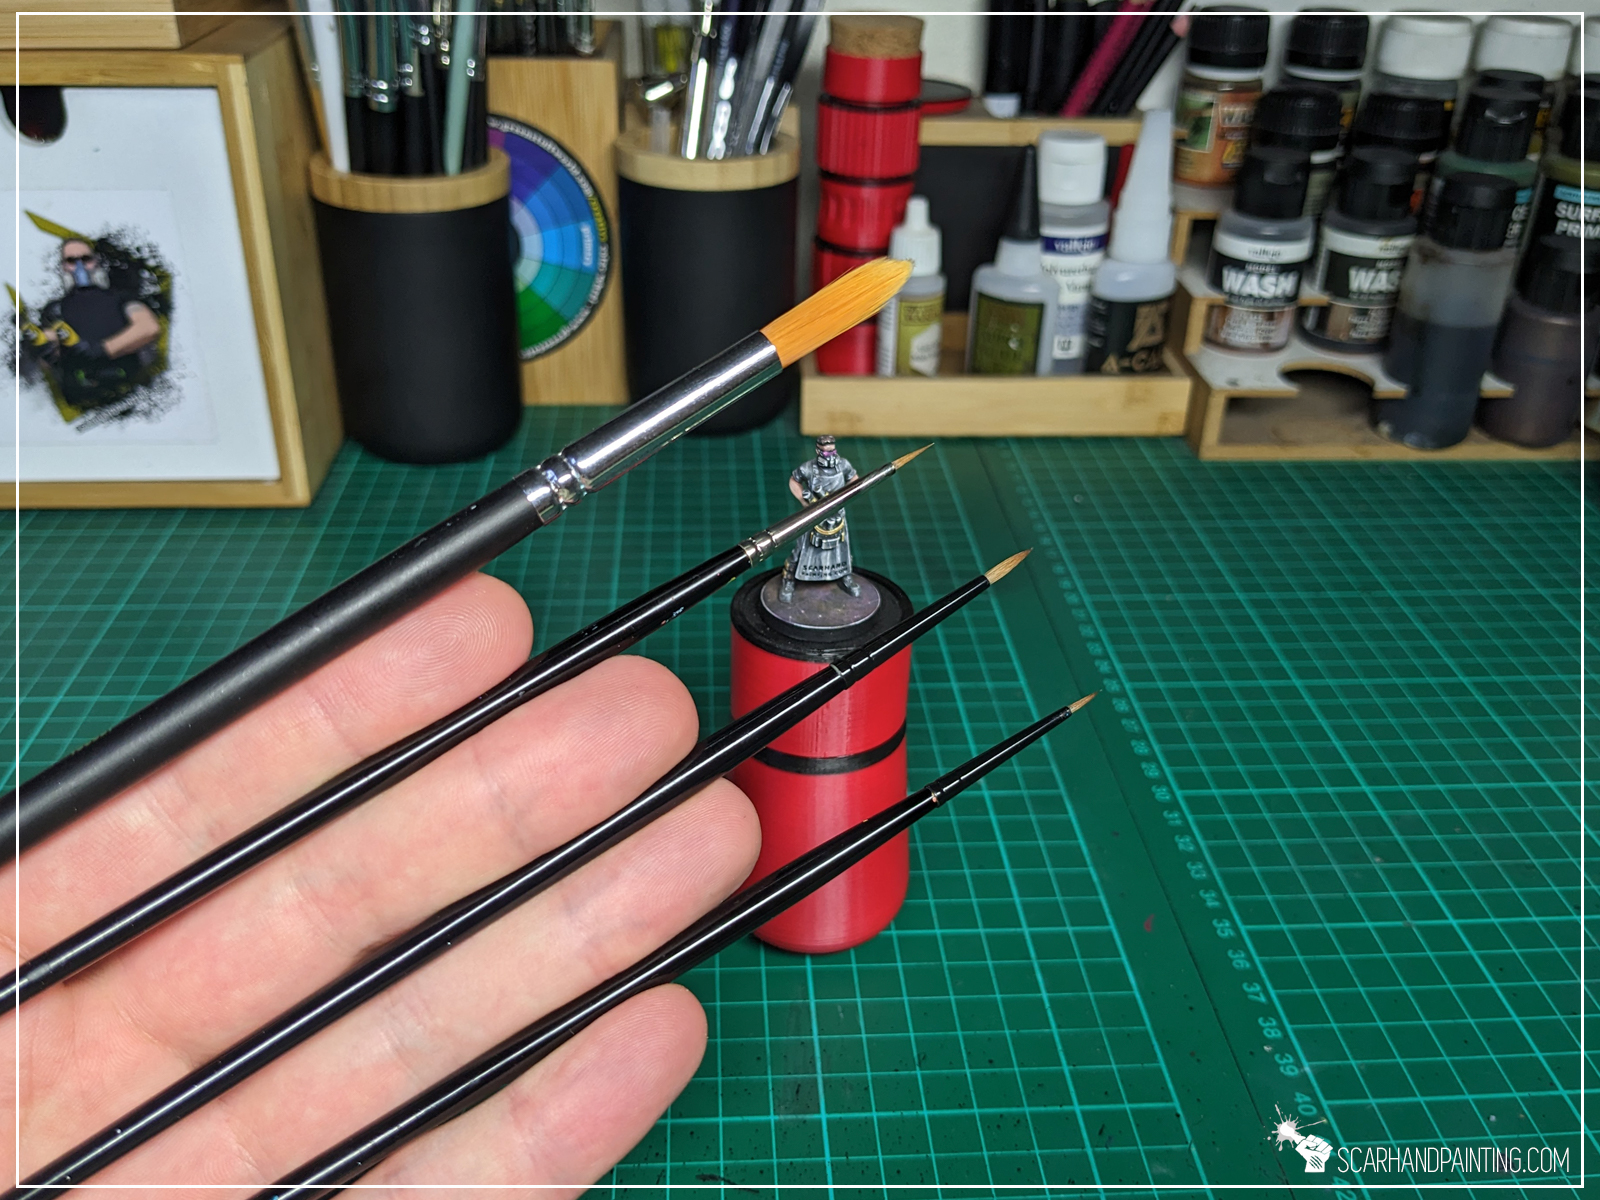
Handling a brush is a personal thing. It depends mostly on your experience, preferences and muscle memory. It would be inappropriate for me as a painter to tell you how to handle your brush, but I can definitely share some of my own habits. For starters, brush control and hand support, both heavily impact precision of the painting process. I found these skills worth practicing early on.

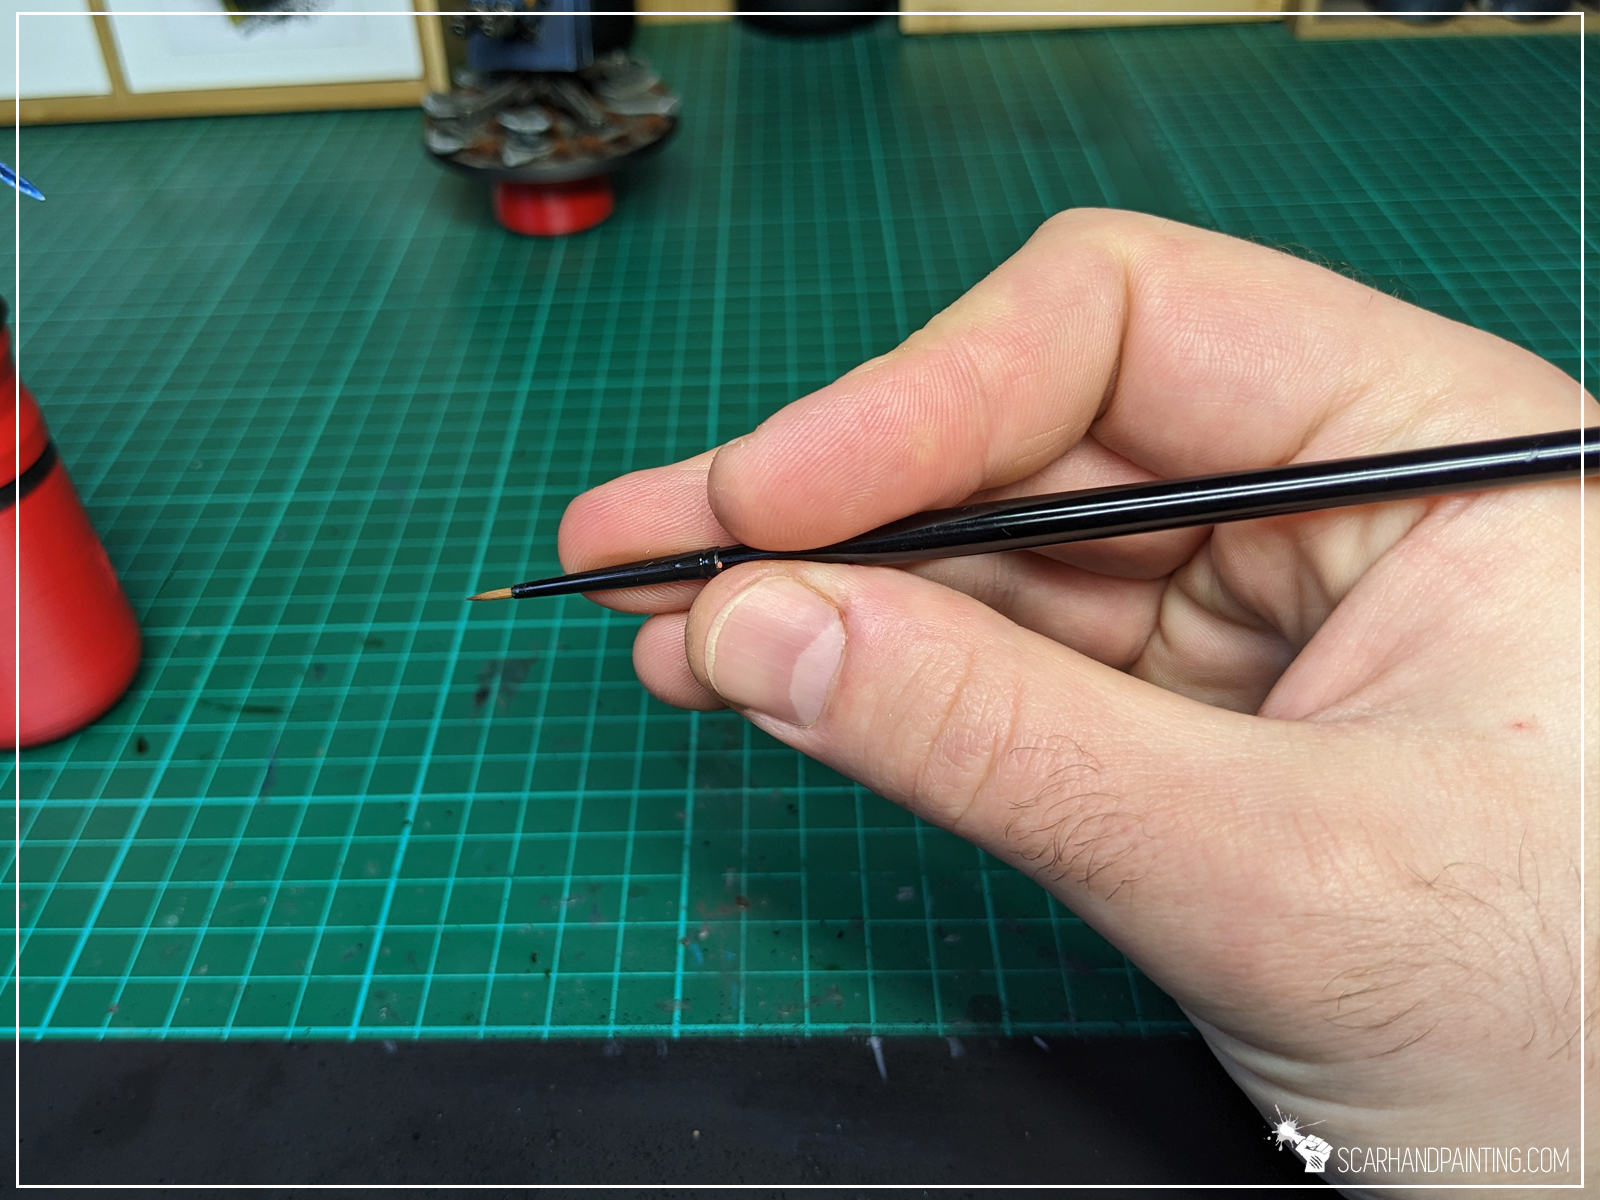

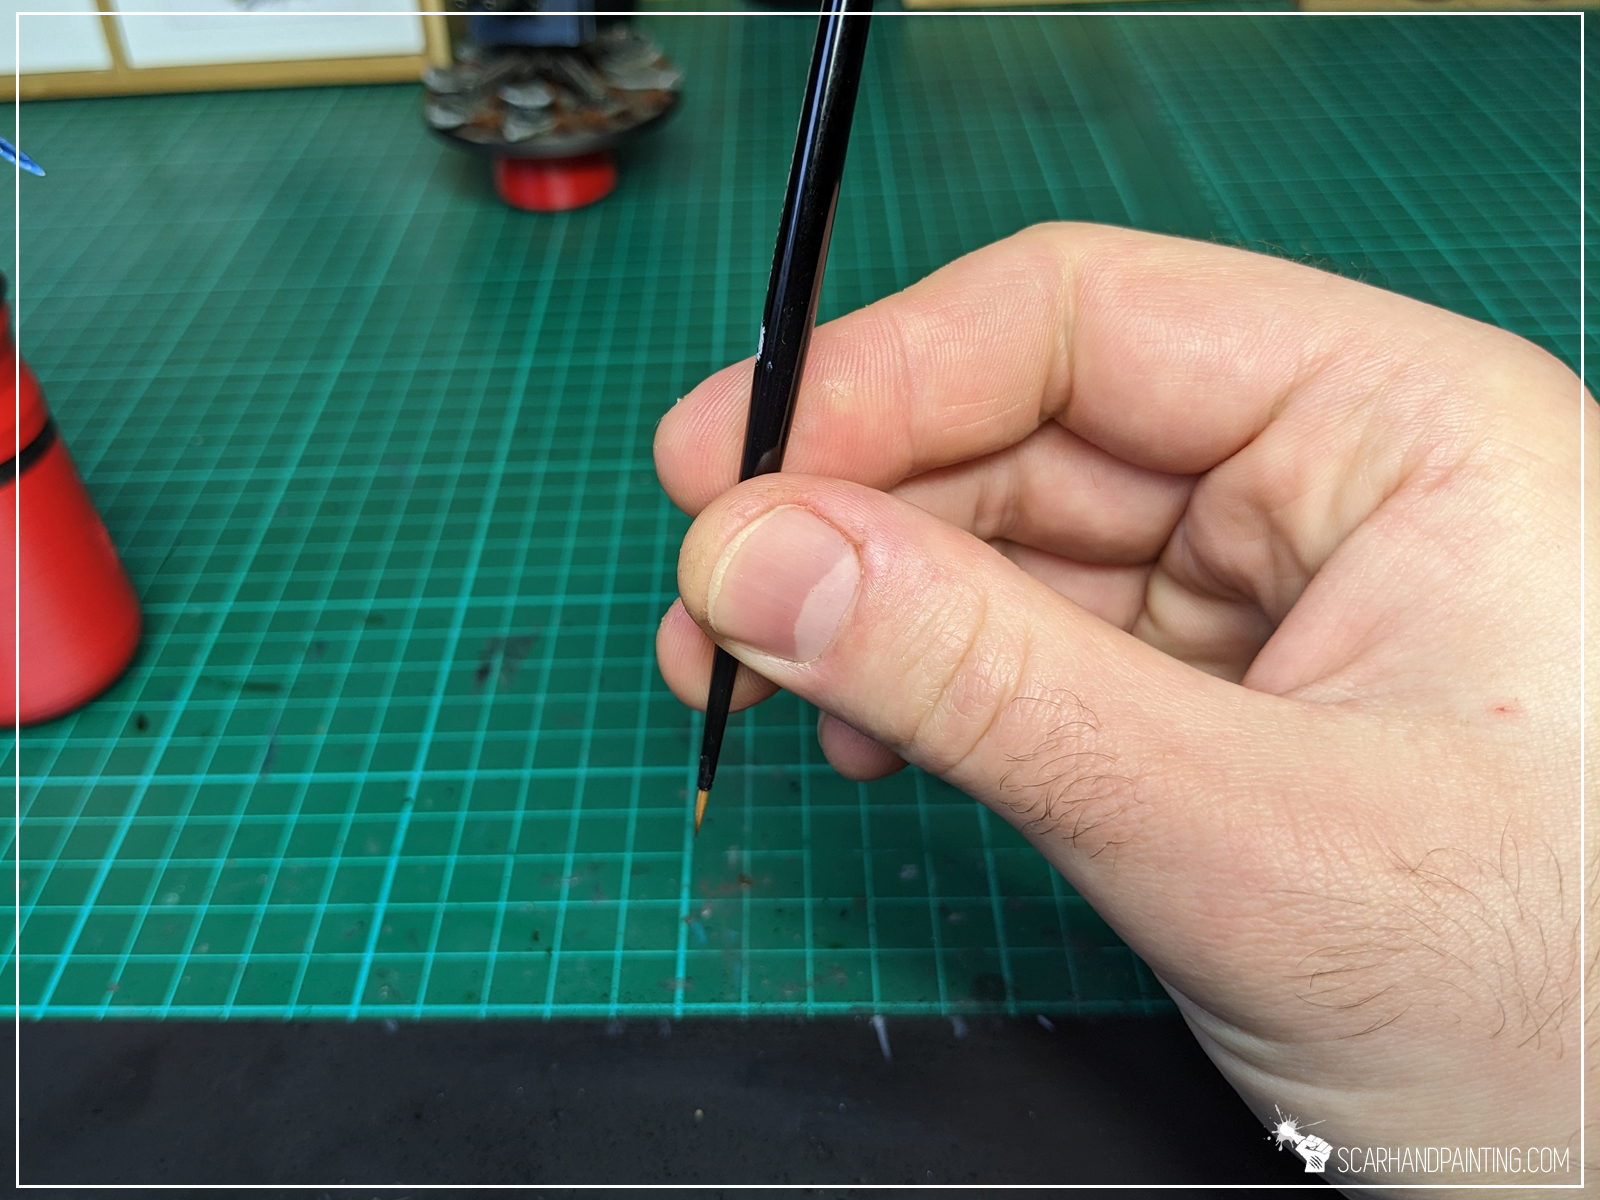
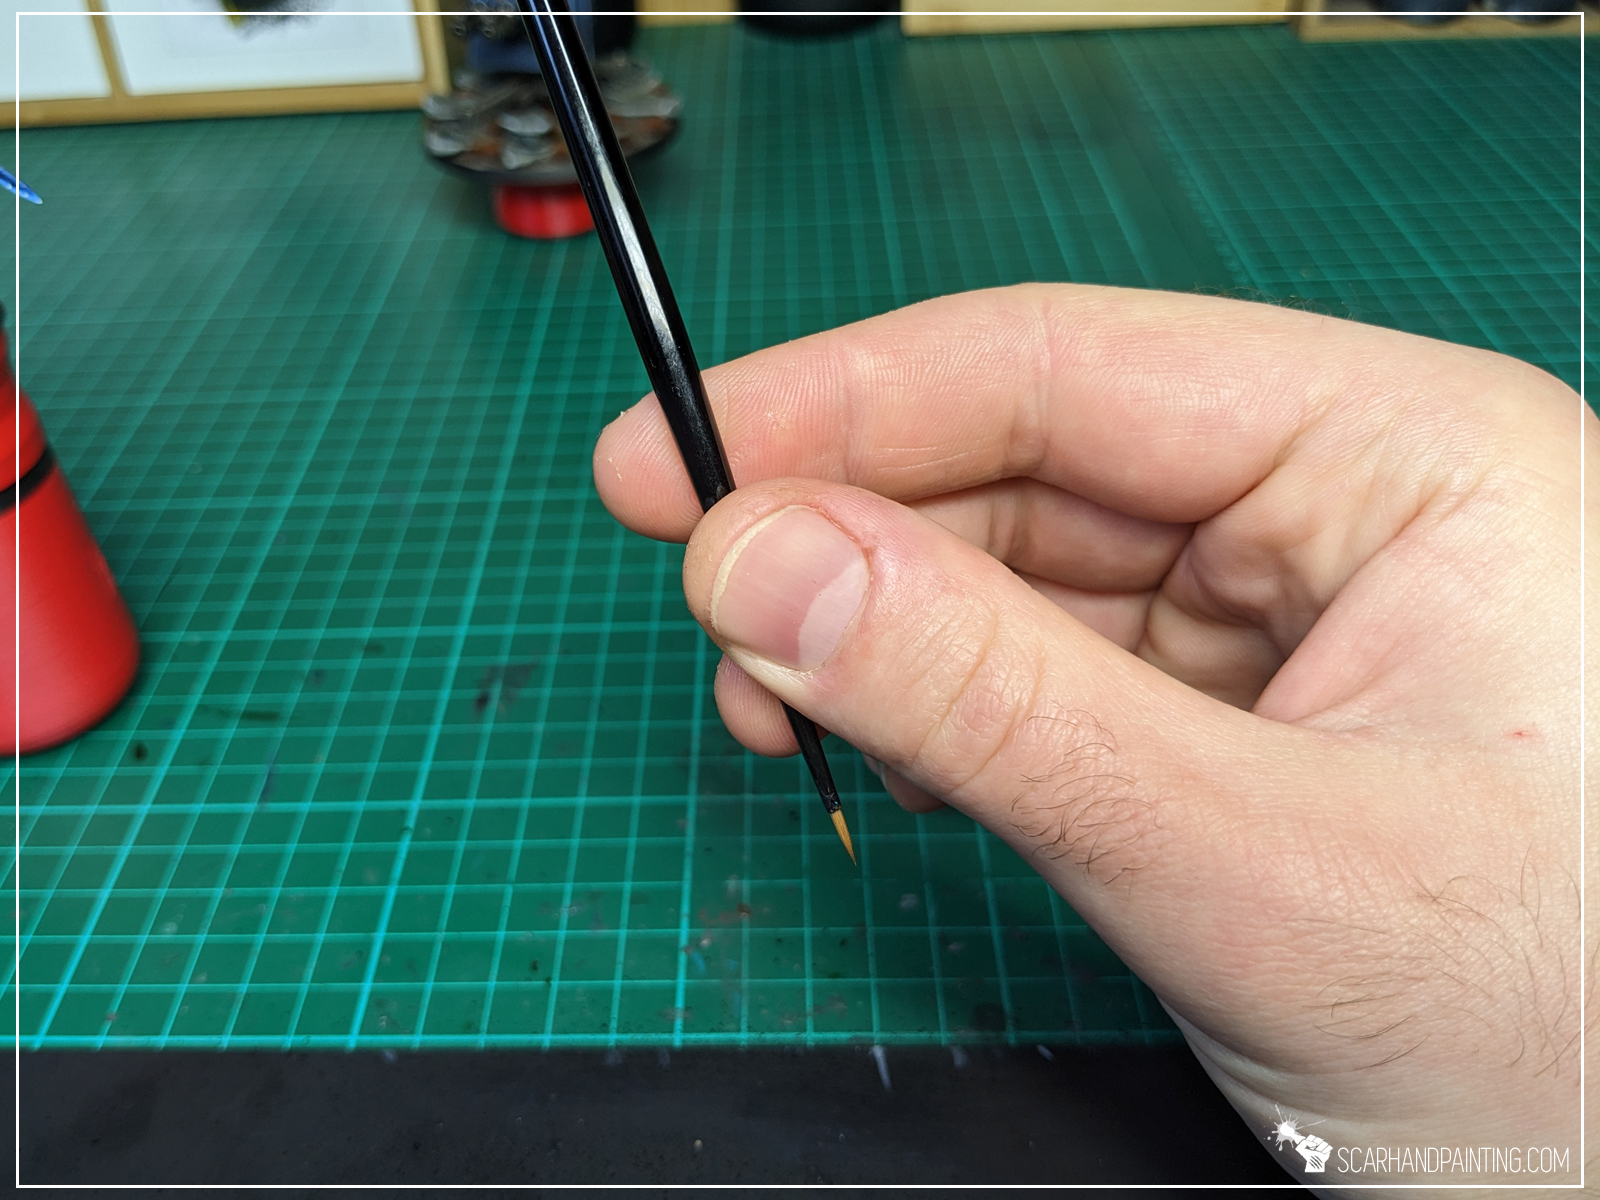
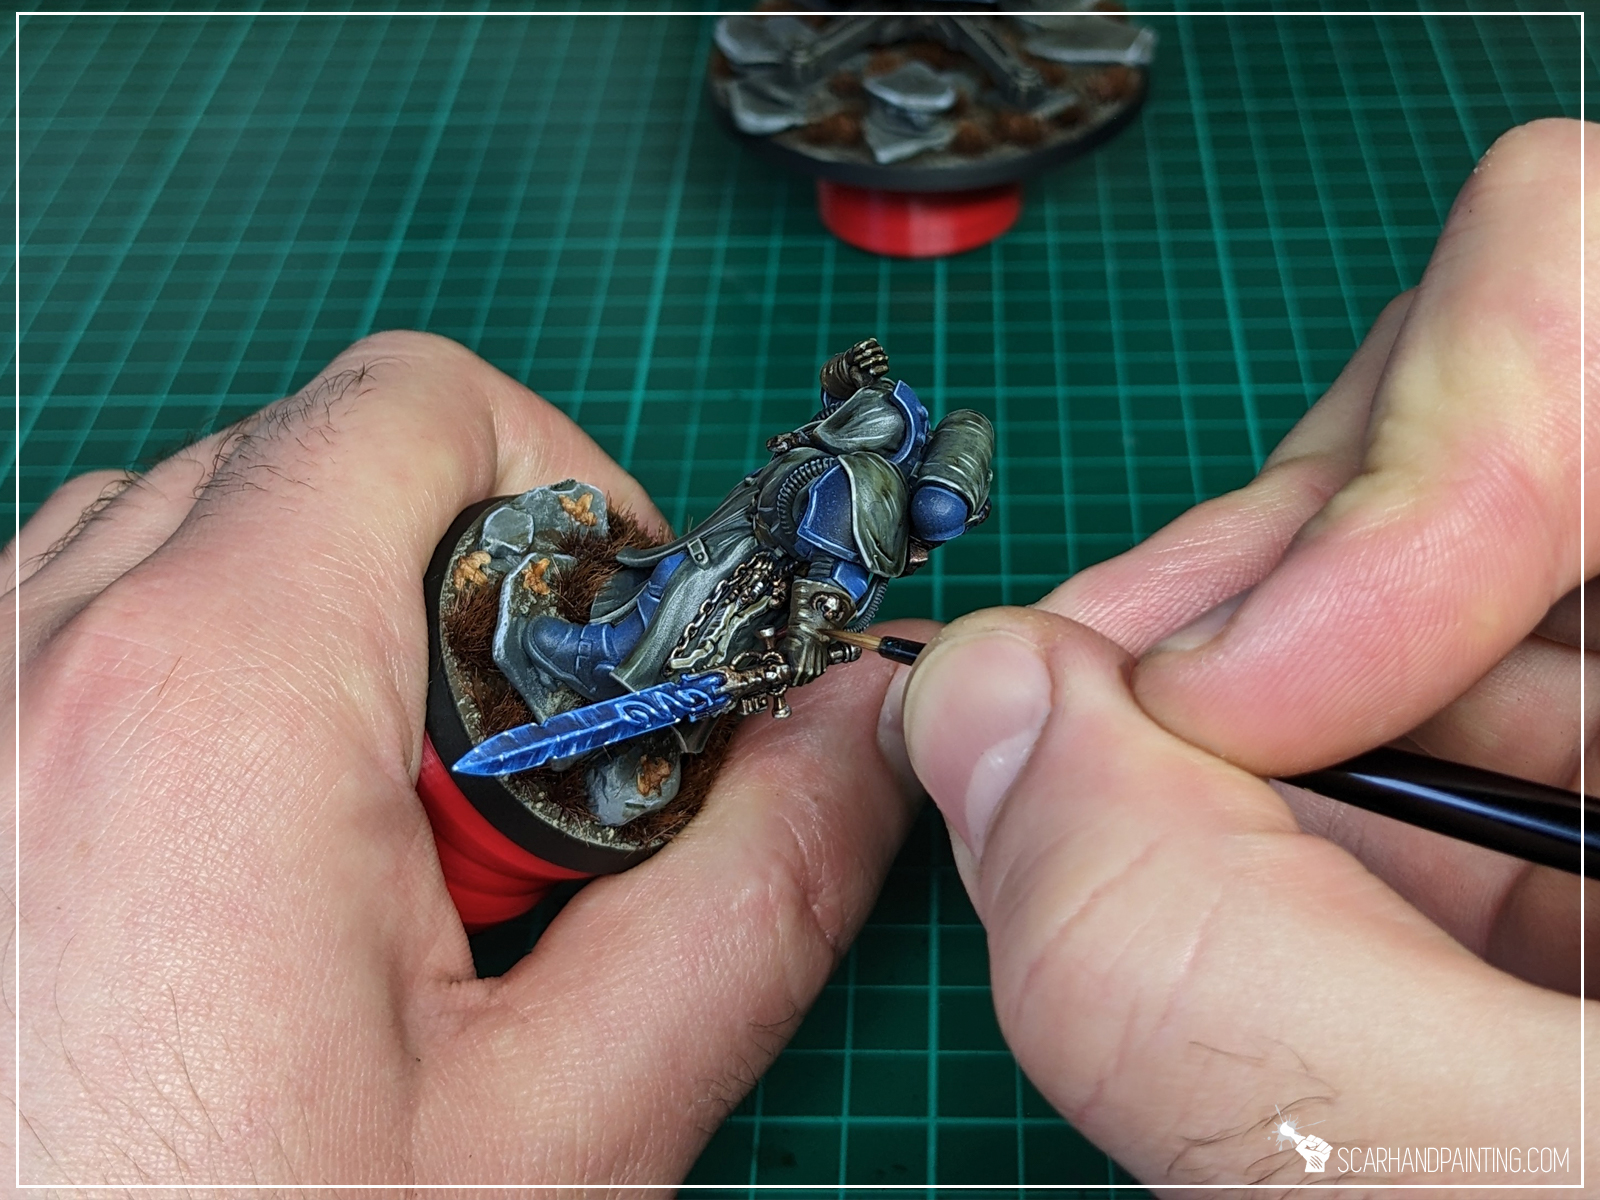
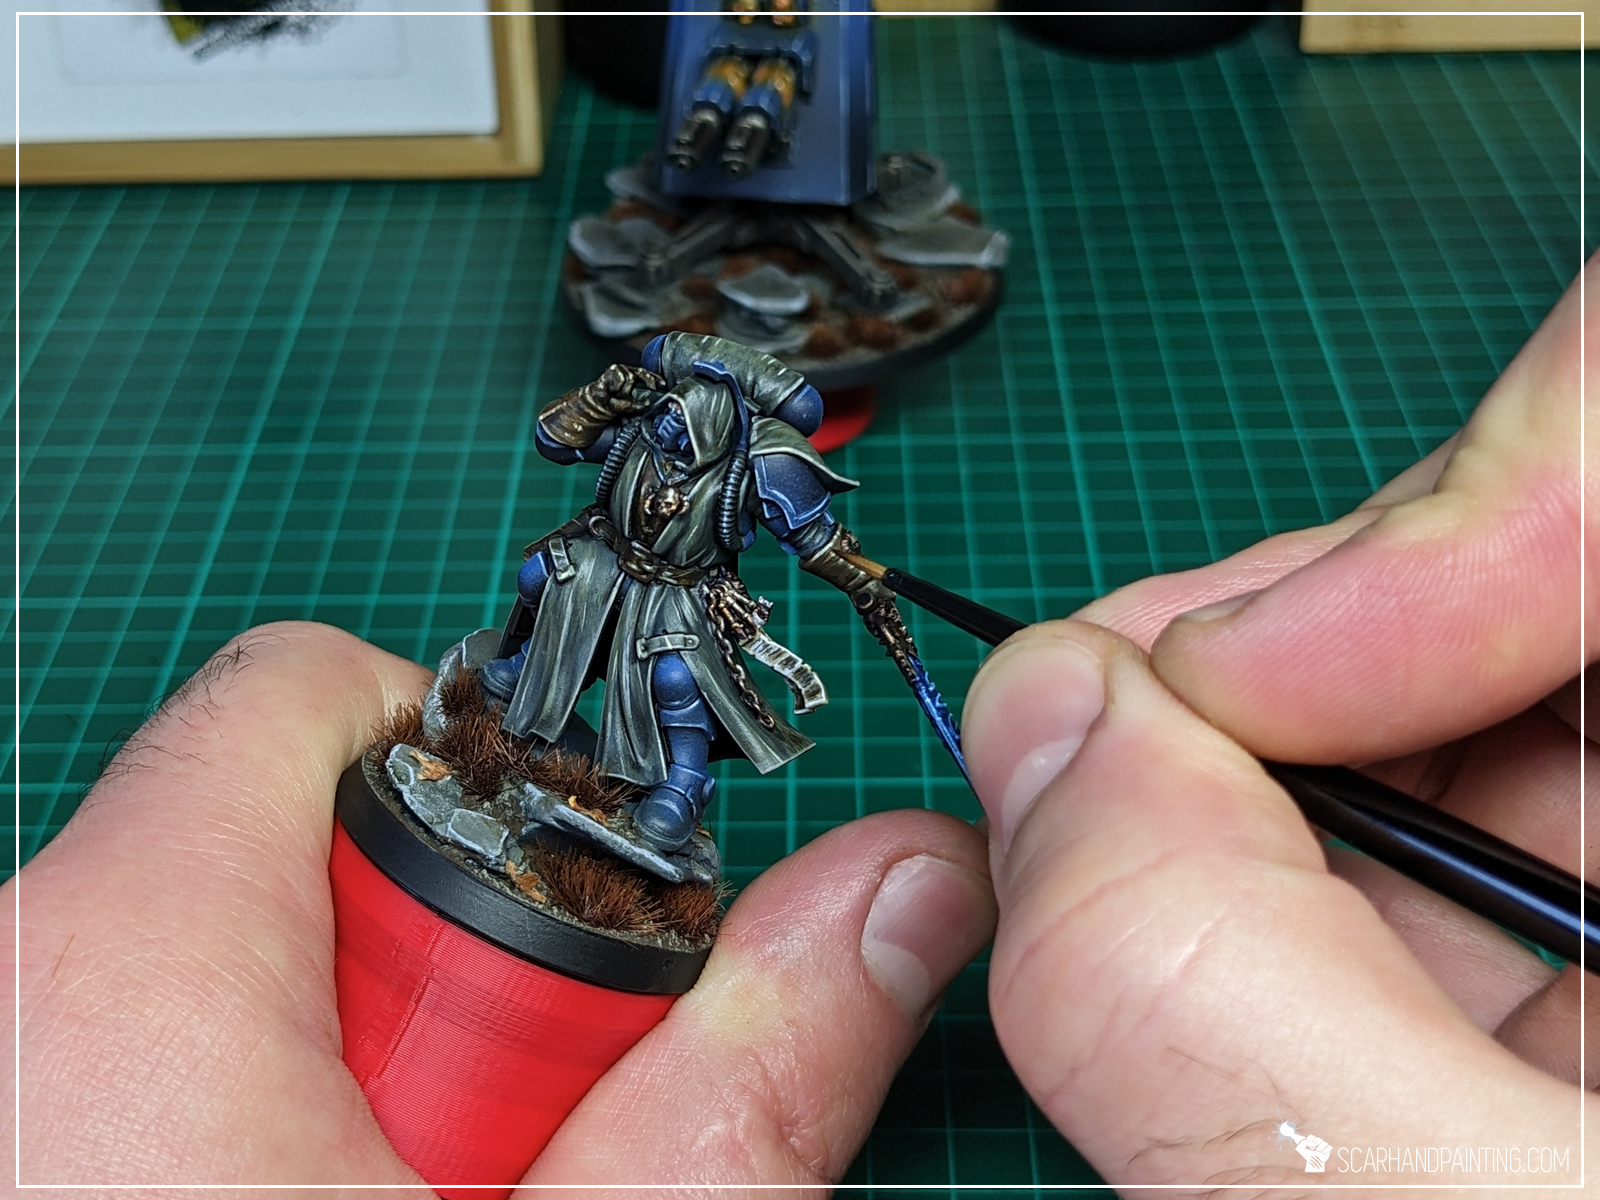
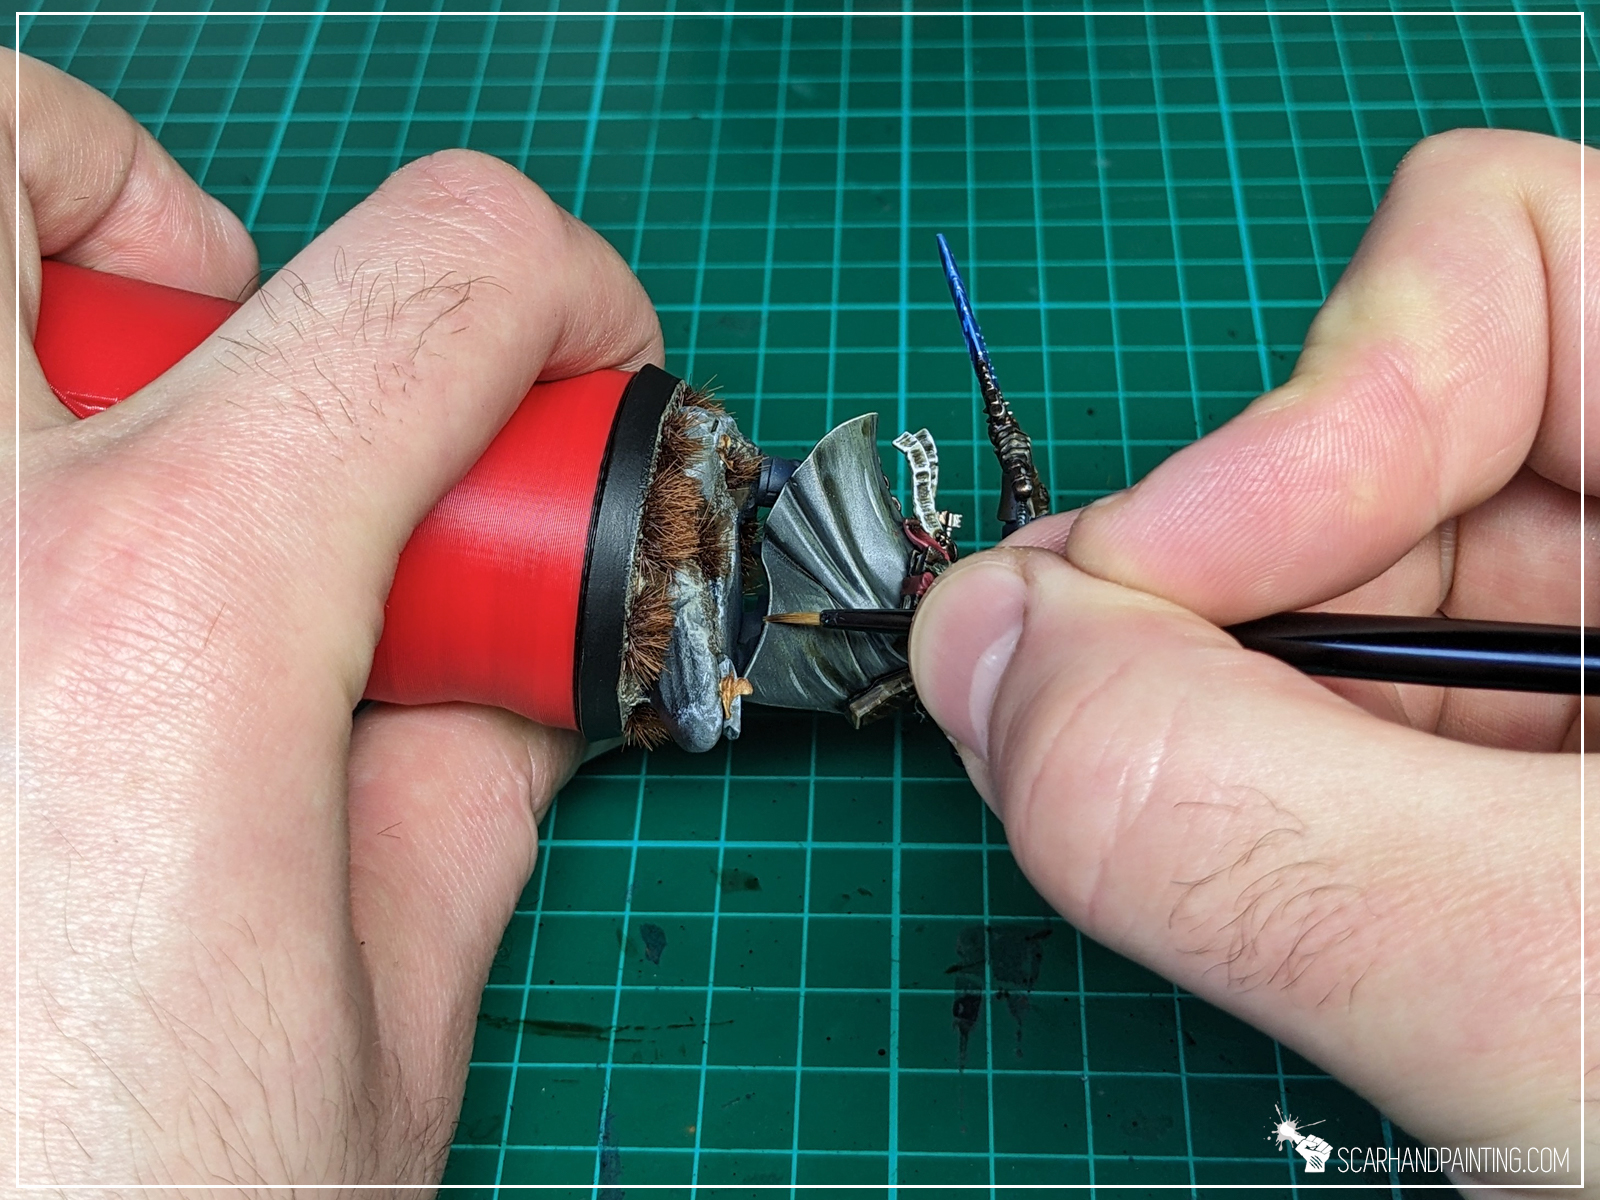
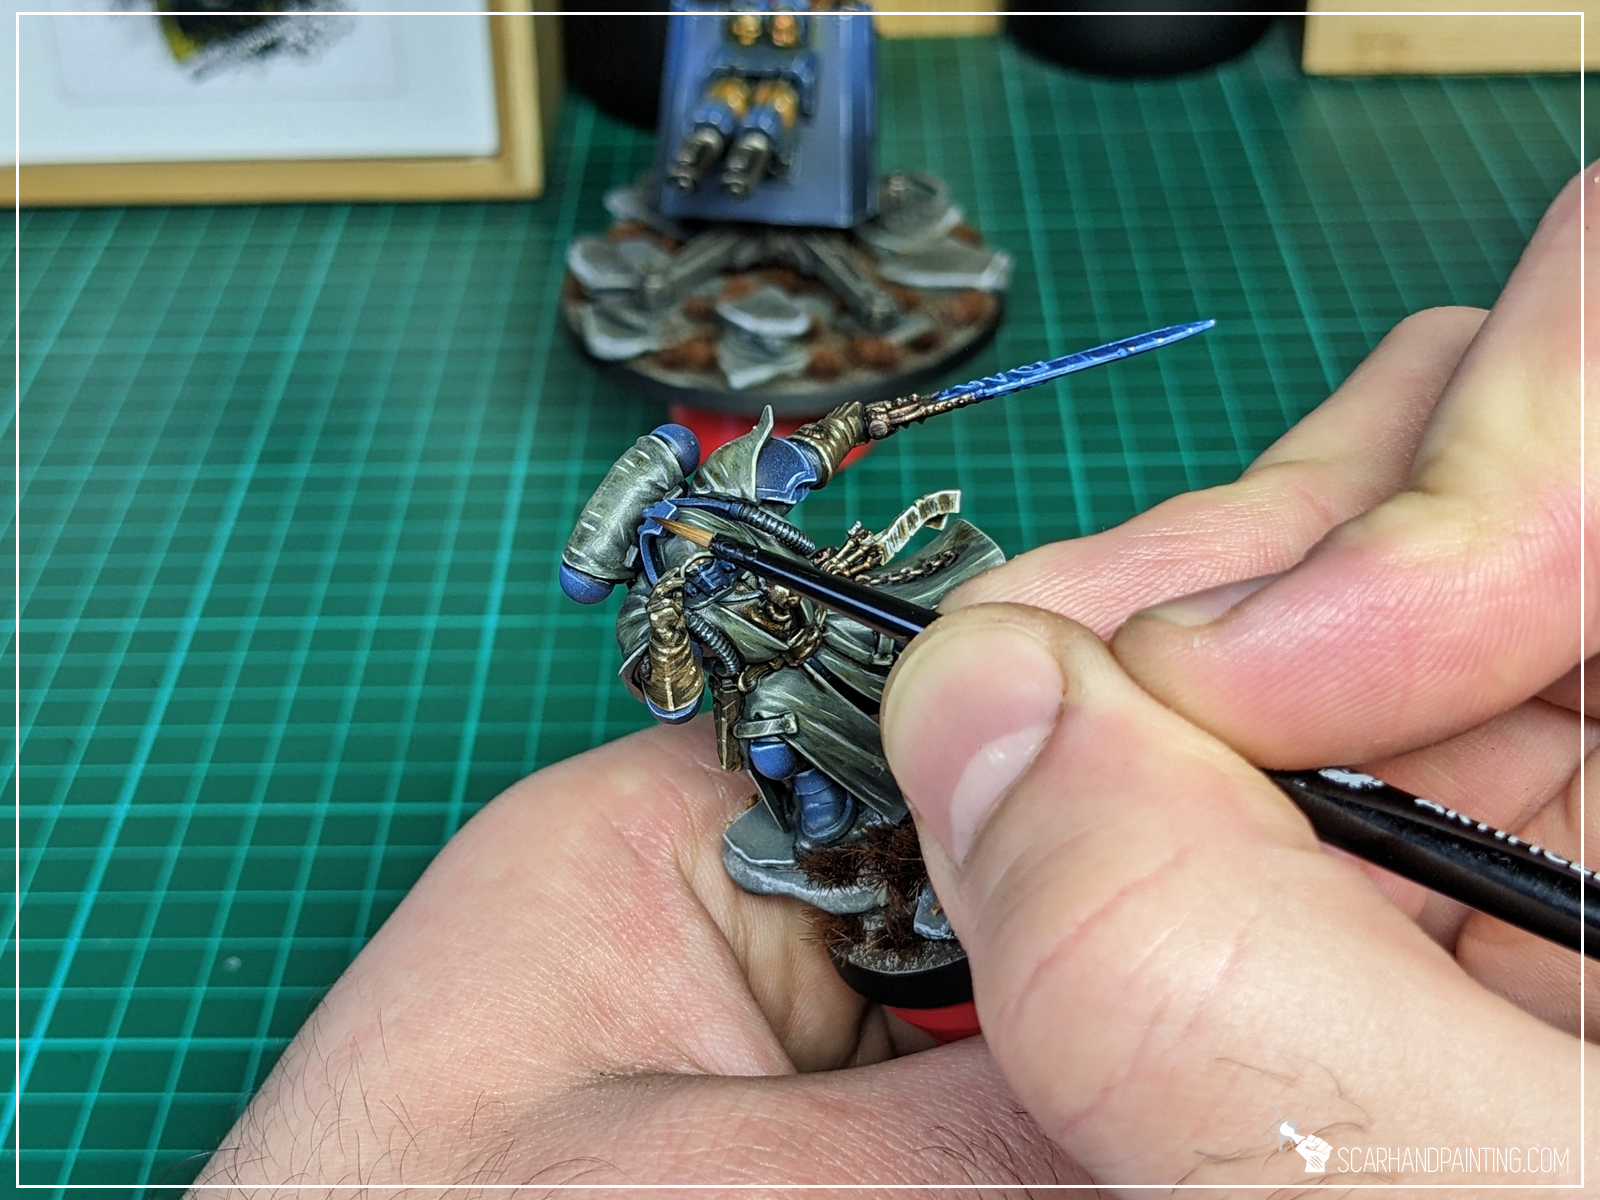
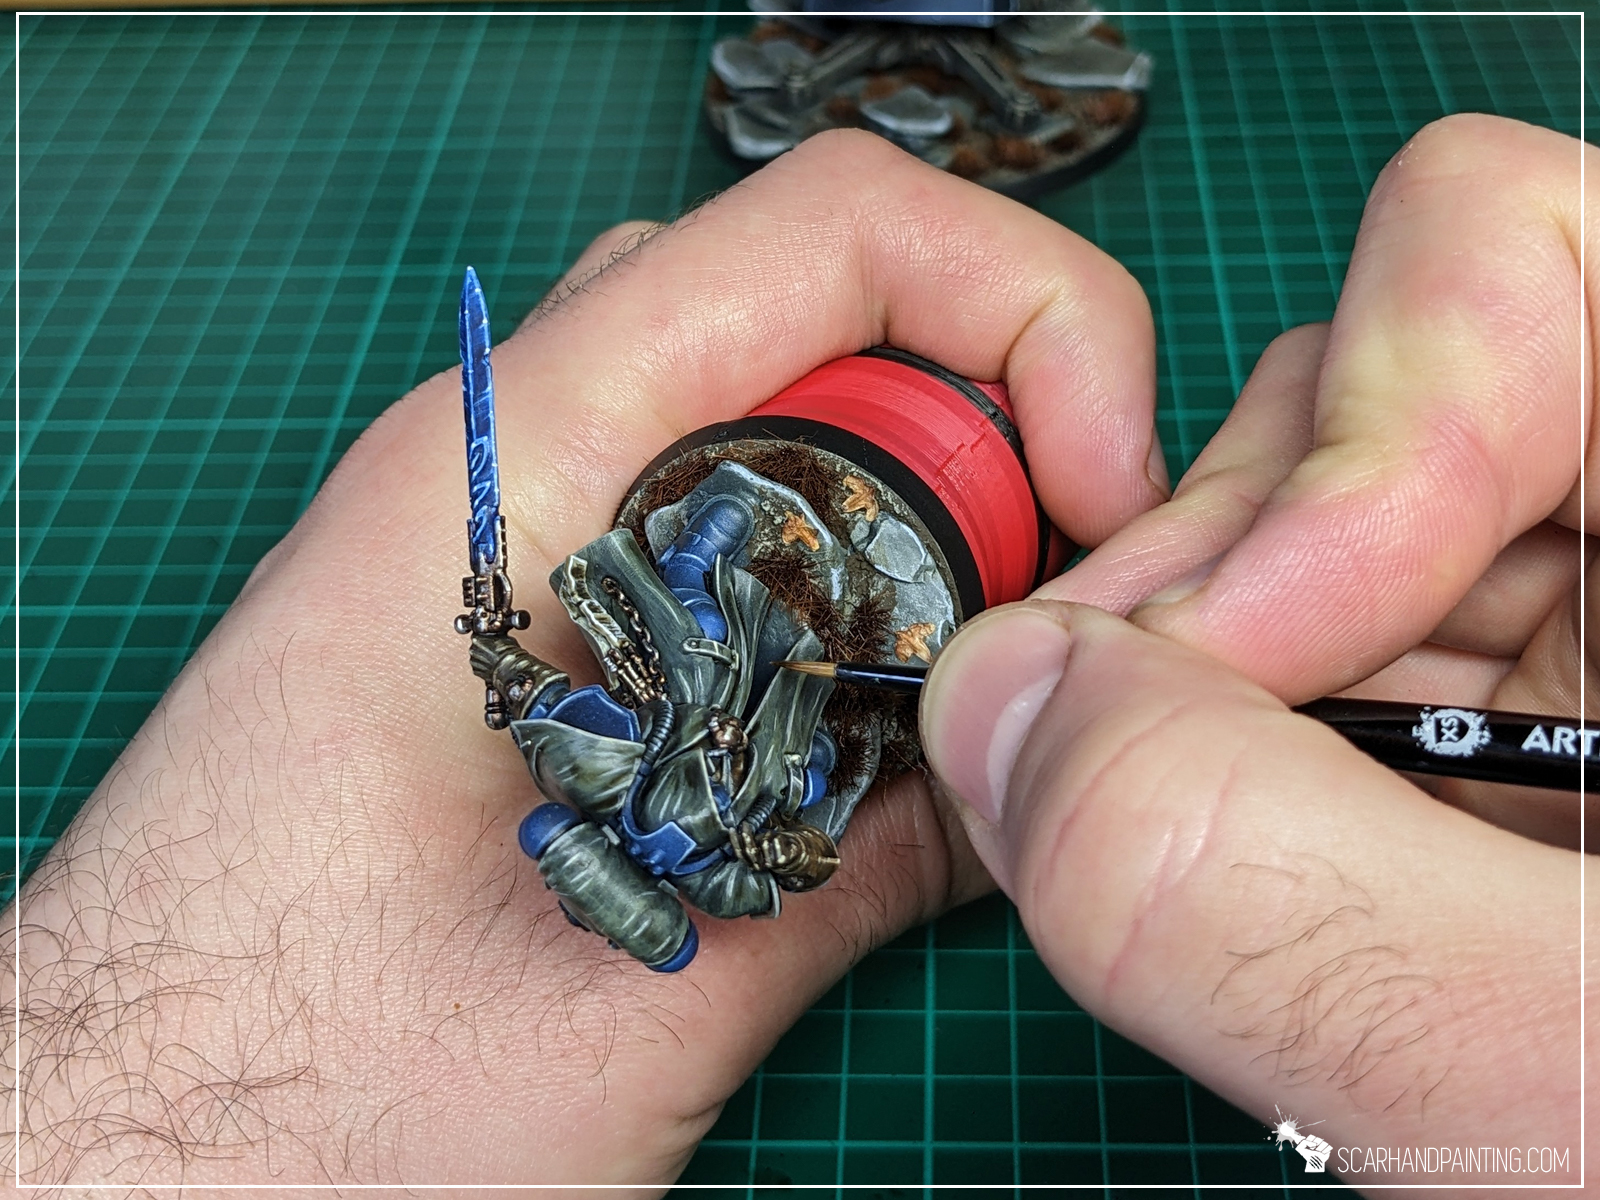
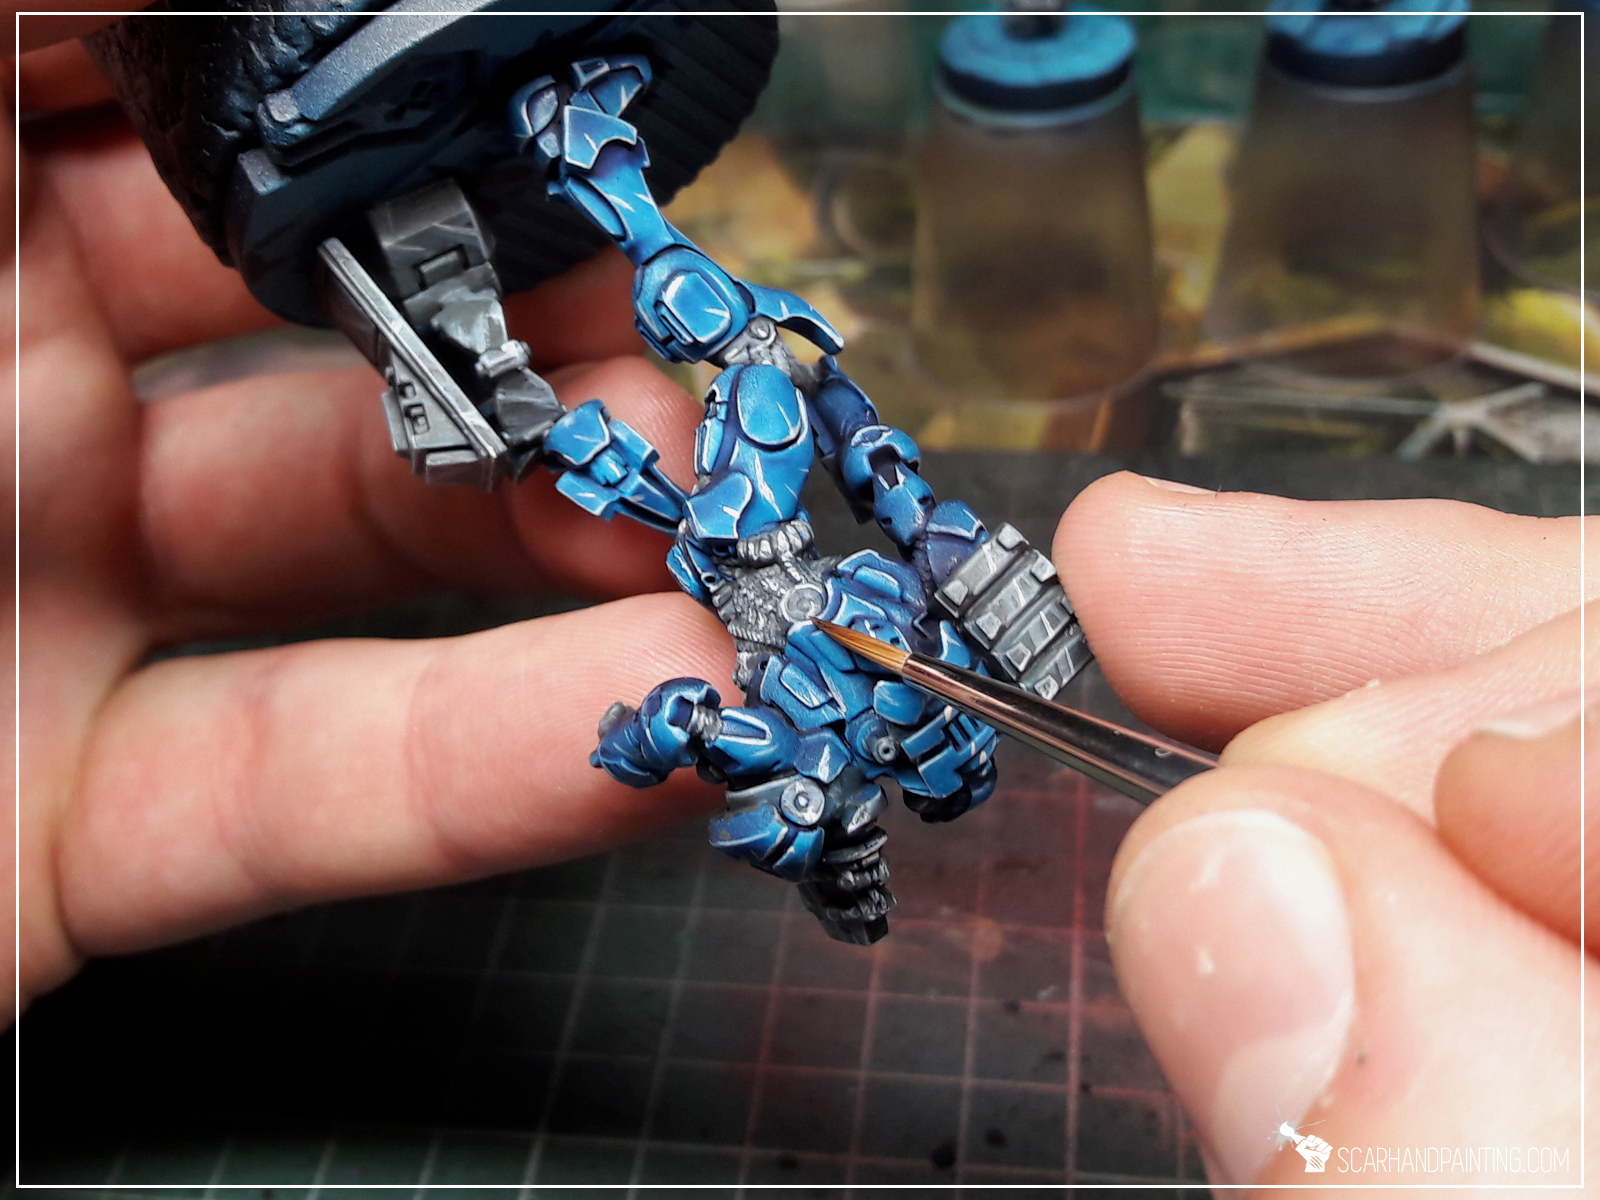
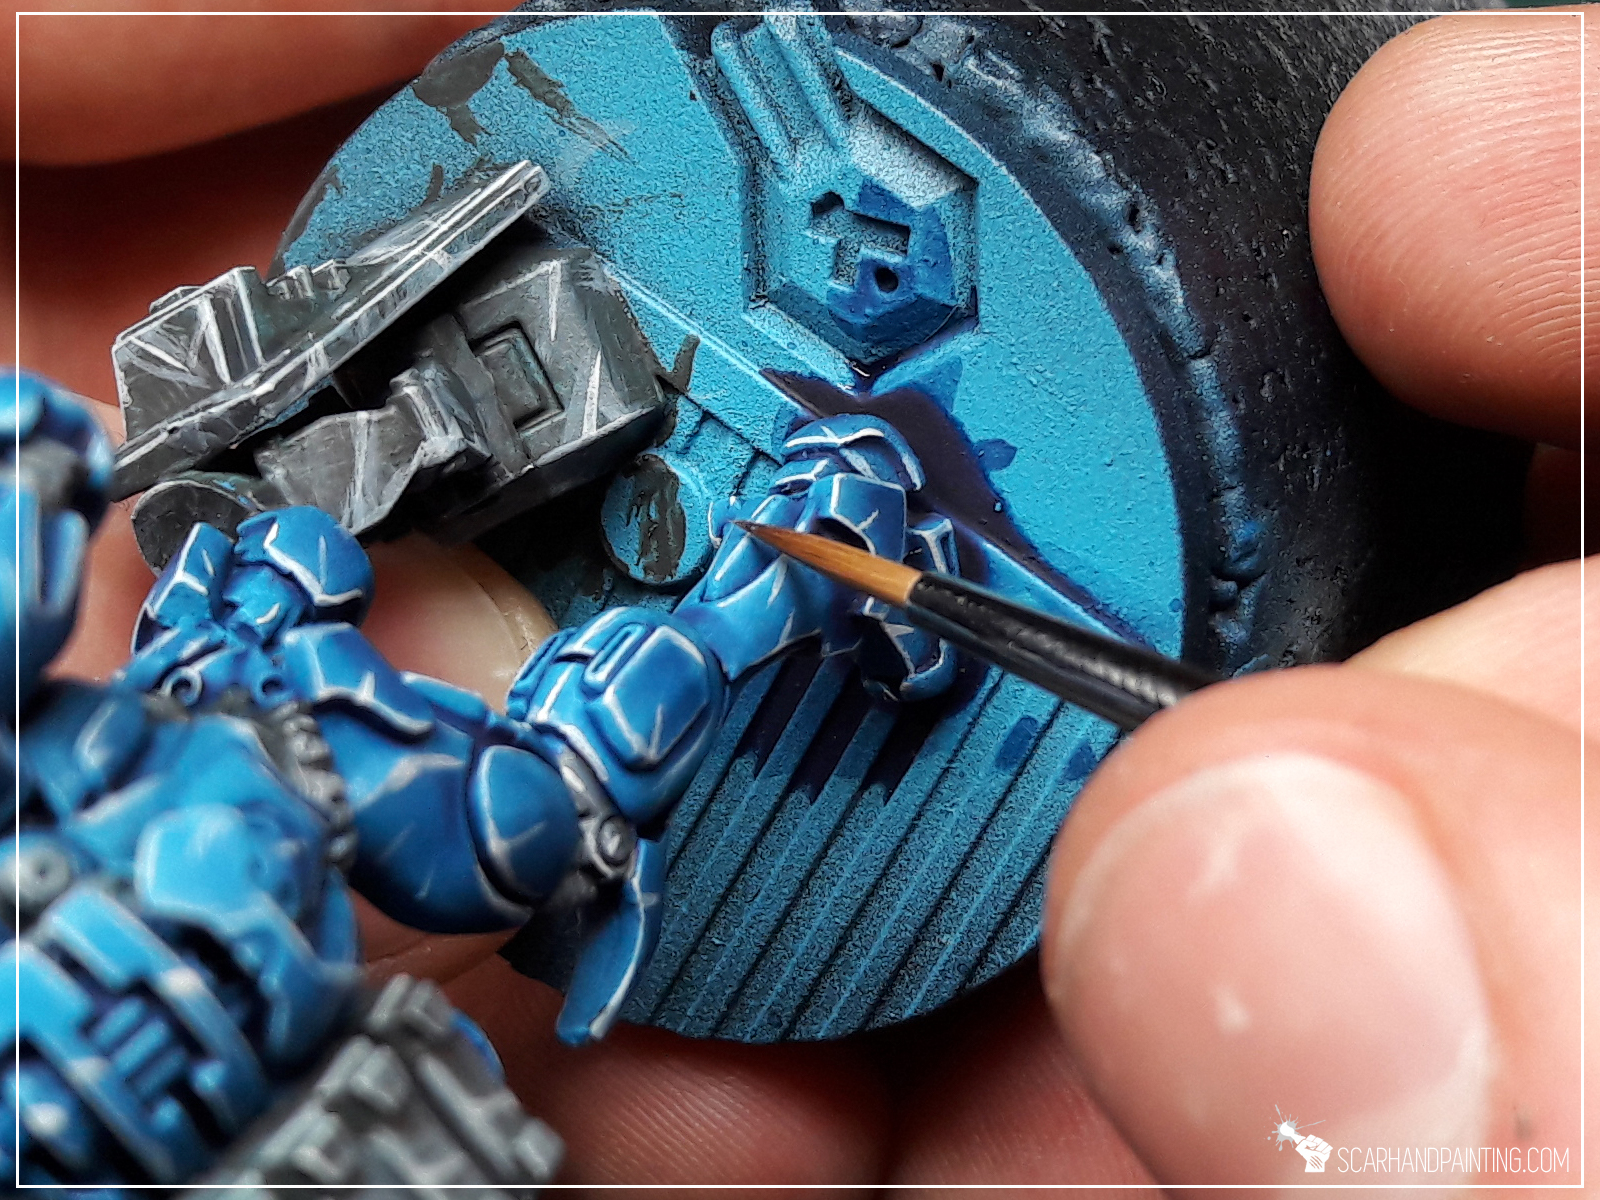
When painting, I usually hold a brush with three fingers (see pics) and control it with small movements of my fingers and wrist. This is where most of the brush movement originates from, regardless of inclination. I tend to hold brushes close to the “crimp” on the ferrule, which gives me better control over the tip. Most of the time I loosely support the handle of the brush on my hand, between the pointing finger and thumb. This decreases brush vibrations and makes it follow the movement of the hand much smoother. On occasion, in the midst of painting, I might raise the handle off of my hand to gain access to a spot that is otherwise difficult to reach (such as painting obscured eyes), but most of the time it stays in the resting position. All of this combined allows for a wide range of smooth, precise movements with which to work with.
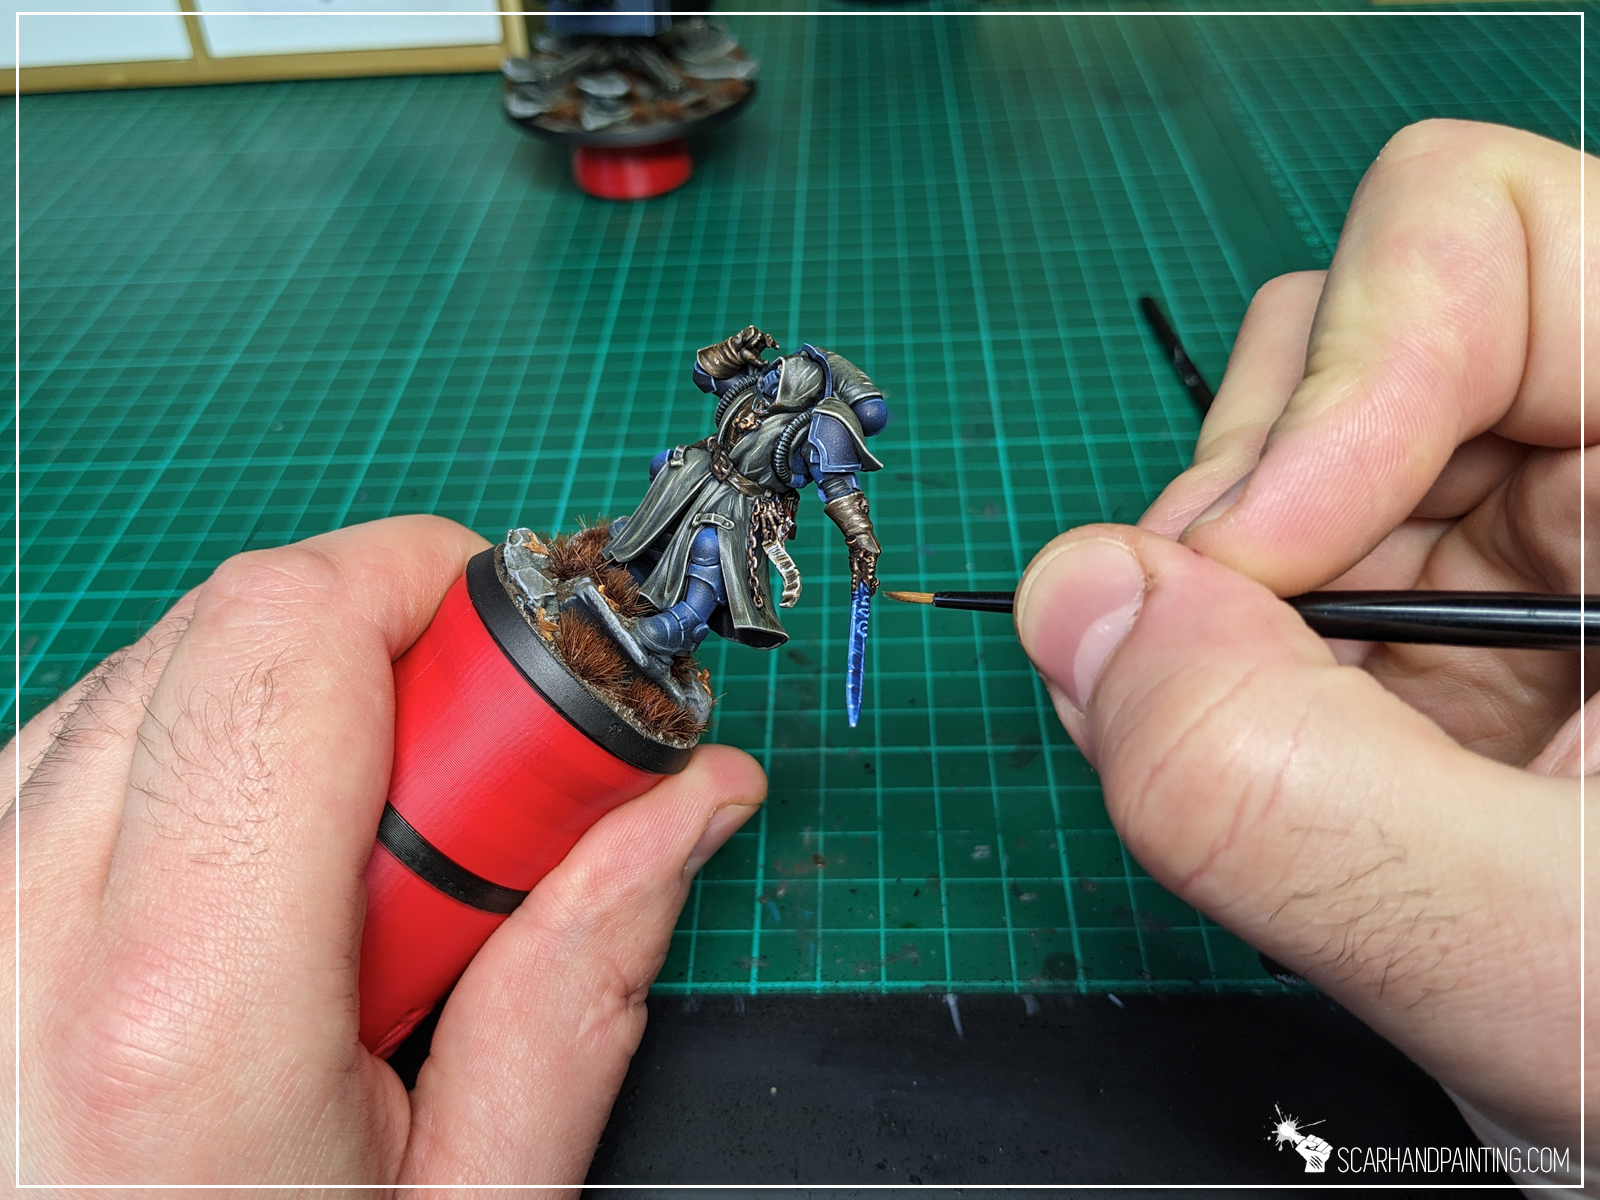
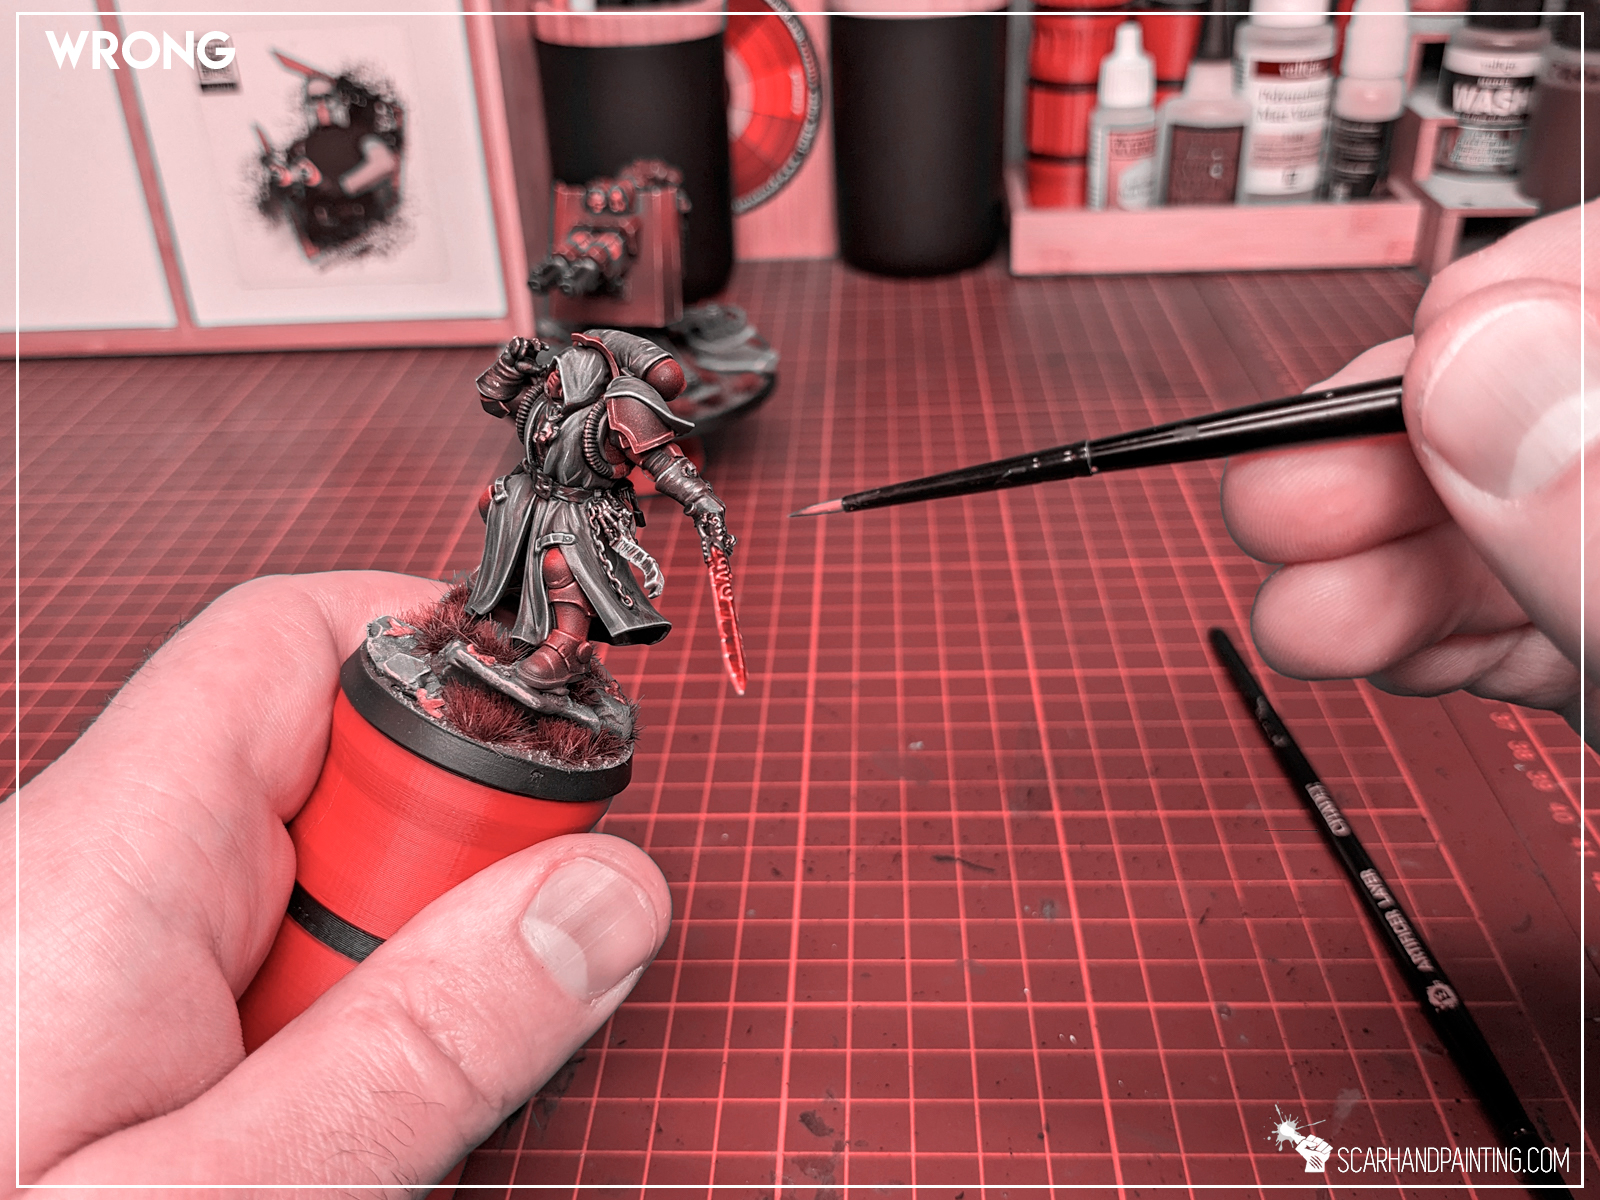

Shaky hands or just unnecessary movement might render even the most professional brush handling ineffective. I always keep my wrists supported on the edge of a painting desk. This is to properly immobilize the miniature but also reduce any macro movement (breathing, elbows etc.) translating onto the brush. To make this a bit less uncomfortable for my wrists I use smooth edge covers for furniture permanently glued onto a working desk (you can learn more about this life hack here).
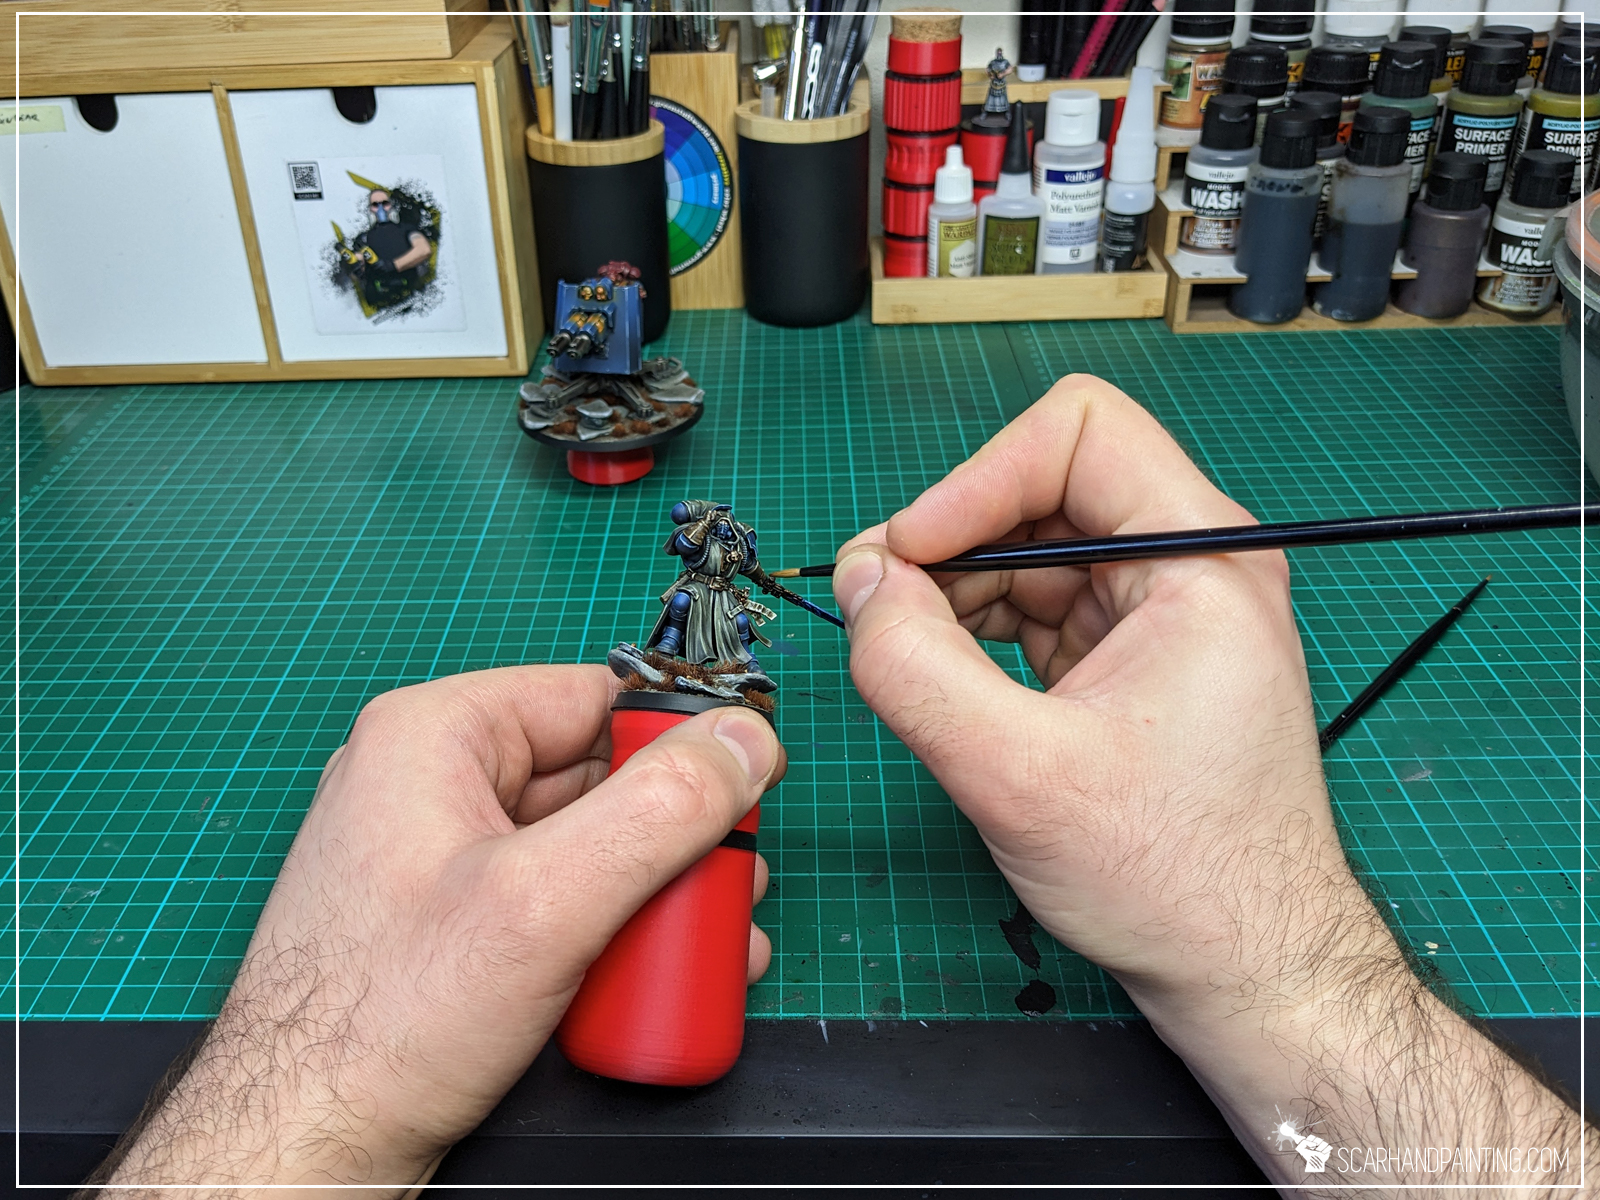
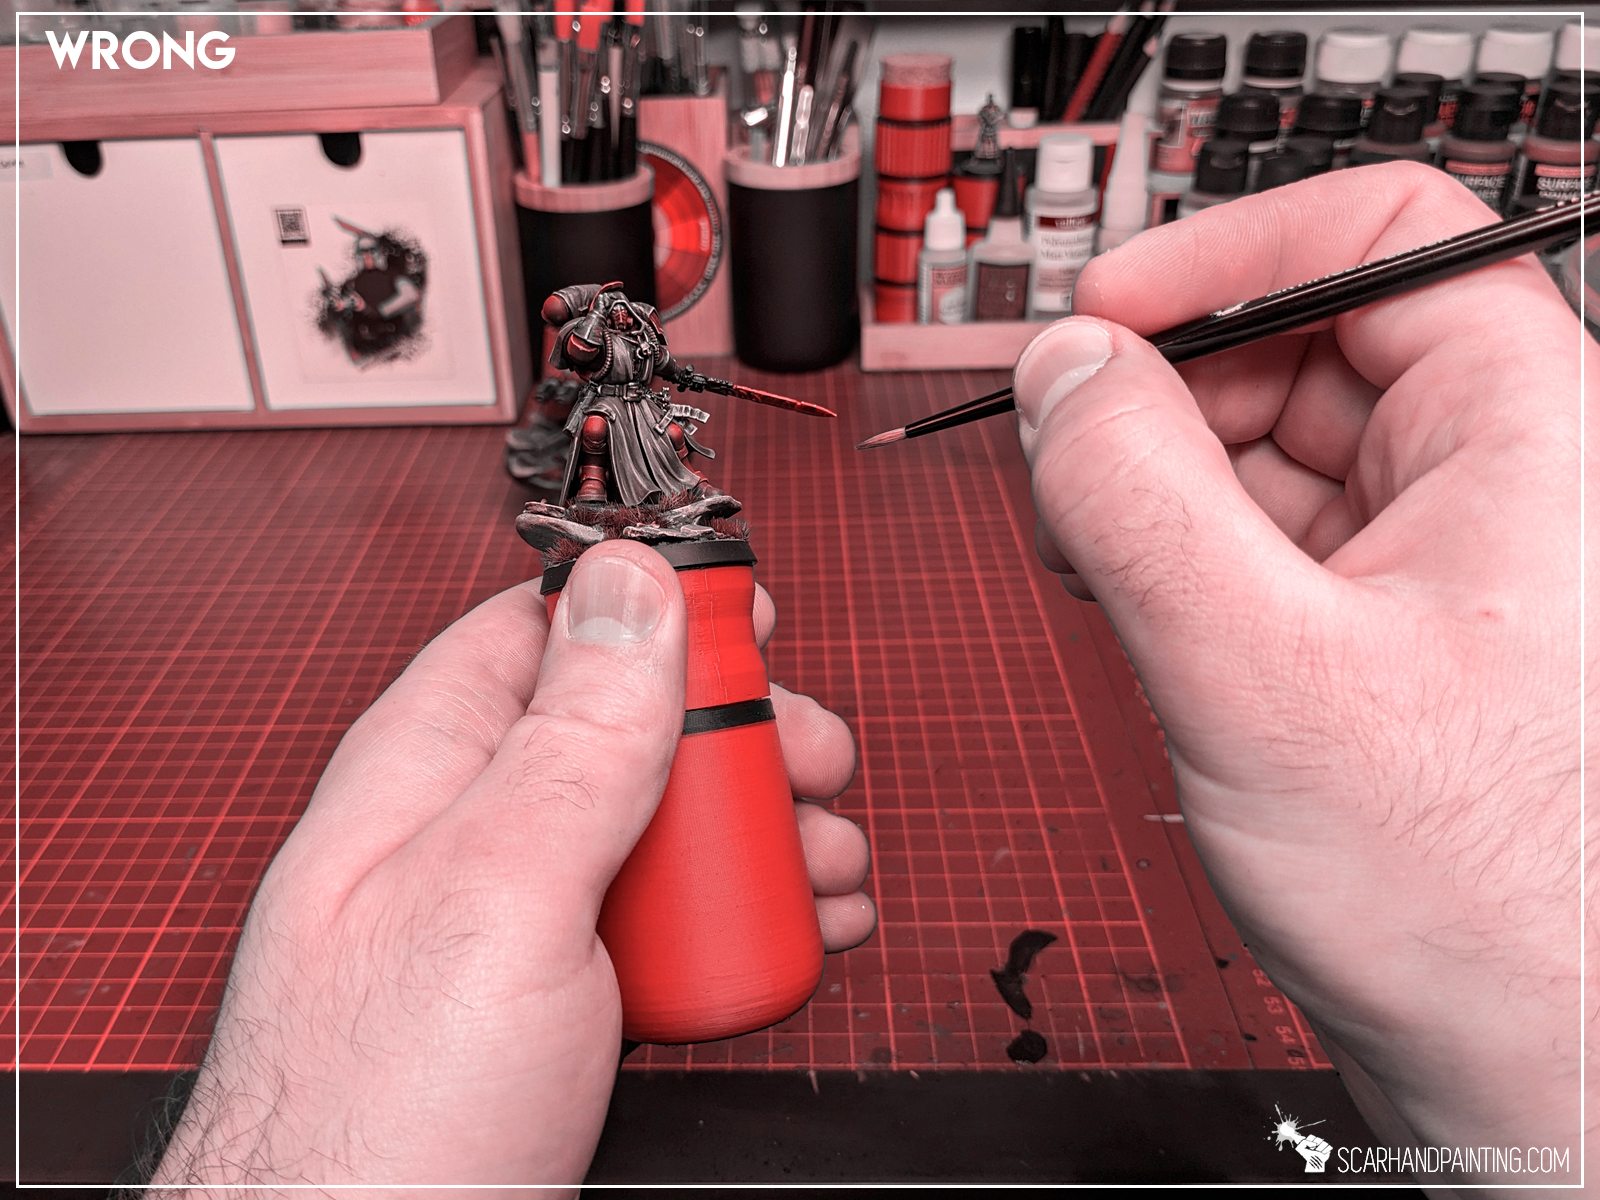

When in need of increasing precision even further, I like to ‘link’ my hands, supporting brush hands pinky on the hand that I hold the miniature with. Both hands micro movements synchronize and I get more control over the tip as a result.
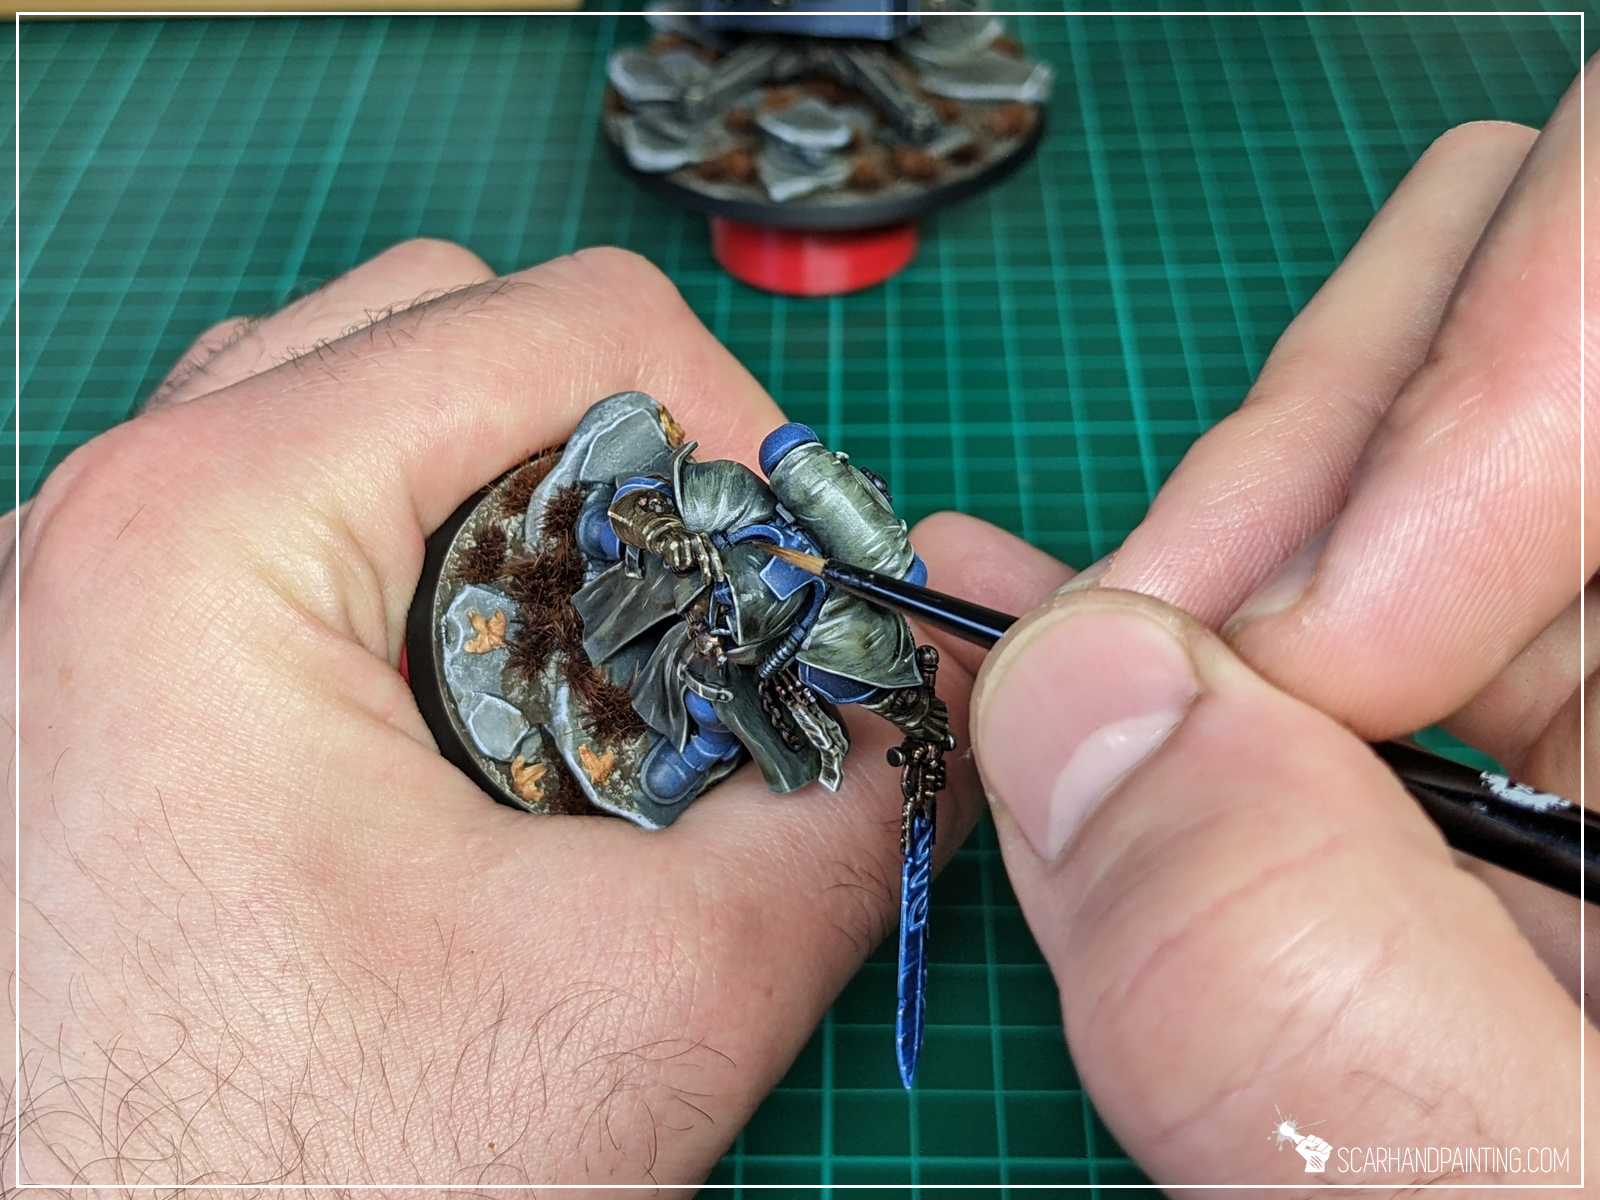

Frankly speaking, the aforementioned methodology does not work the same for every painting technique. Depending on the size and type of the miniature I sometimes deviate from the norm. Some techniques, such as drybrushing or washing, might not require much precision, whereas detail heavy techniques will definitely benefit from proper brush handling and hand support.


I hope you found this tutorial interesting. Be sure to let me know your thoughts in the comments below or via Facebook or Instagram. I would also appreciate if you’d consider sharing my content with your friends, who might find it useful. Finally, if you are looking for a professional Warhammer miniatures painting service, be sure to contact me via this contact form. I always reply within 24 hours. If you don’t see anything from me by then, please check your spam folder.

Third time’s a charm thus welcome to the third ‘Painting Philosophy’ article, where I let you in on ‘how’ and especially ‘why’ I do some things in a certain way. In my opinion a proper approach to painting is crucial to maintain healthy and rewarding experience. Final result depends on it in the same way as on techniques, know-how and tools being used. Nowadays internet is full of painting tutorials yet it takes some inner understanding of our own capabilities to find what suits us best and fully benefit from all acquired knowledge. That being said – In this series I will reveal what works best for me as a painter. I hope you will find some wisdom in it…
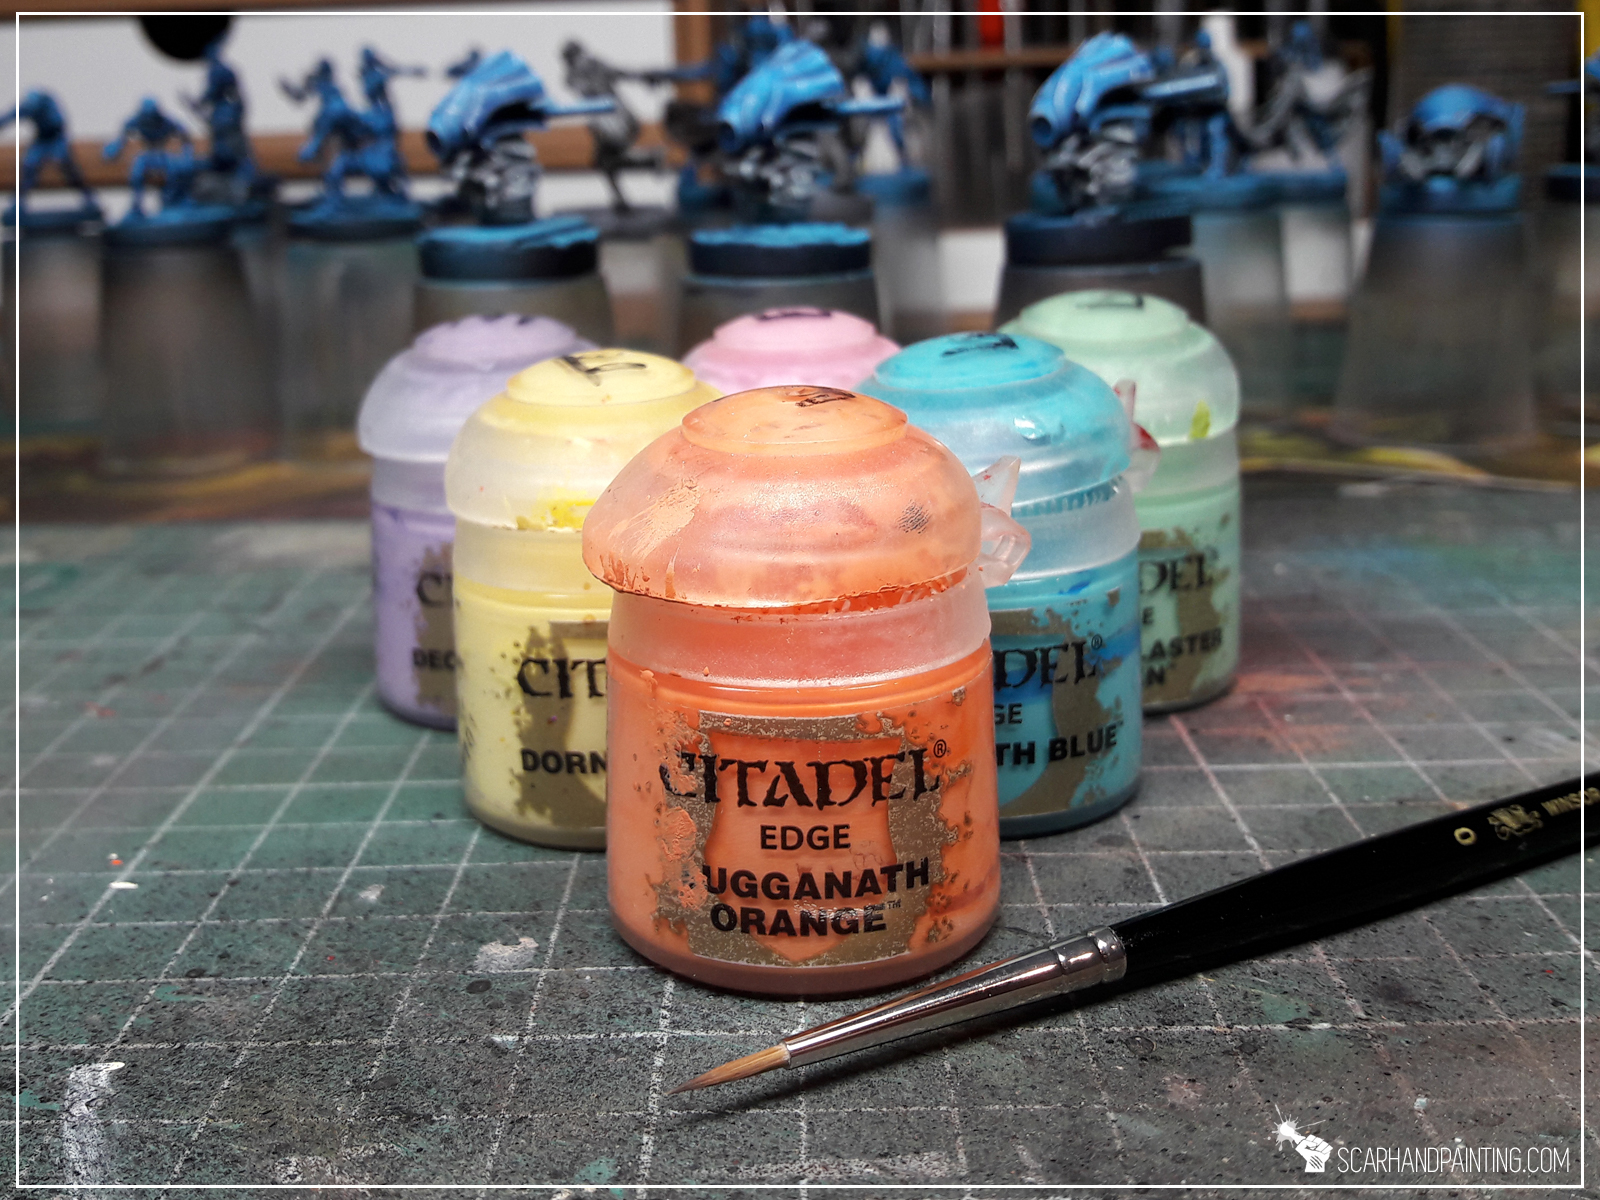
In last article I wrote a lot about the edge of a base and what it represents. Do not let yourself be fooled by a similar title, as today we’re talking a completely different topic. I introduce to you the ‘Edge highlight technique’. Something that I used to avoid, but at some point got lured by Games Workshop to try out. Before that I struggled to keep colors juicy and interesting, preferred dark, murky color schemes and avoided any type of lining, including edges. I was a bit disappointed with my own work as a result – so a not very healthy relationship with paints and miniatures. It all changed once I got my hands on GW’s Edge paints, which was the first step to realize how important strong edges, combined with proper lining, are.
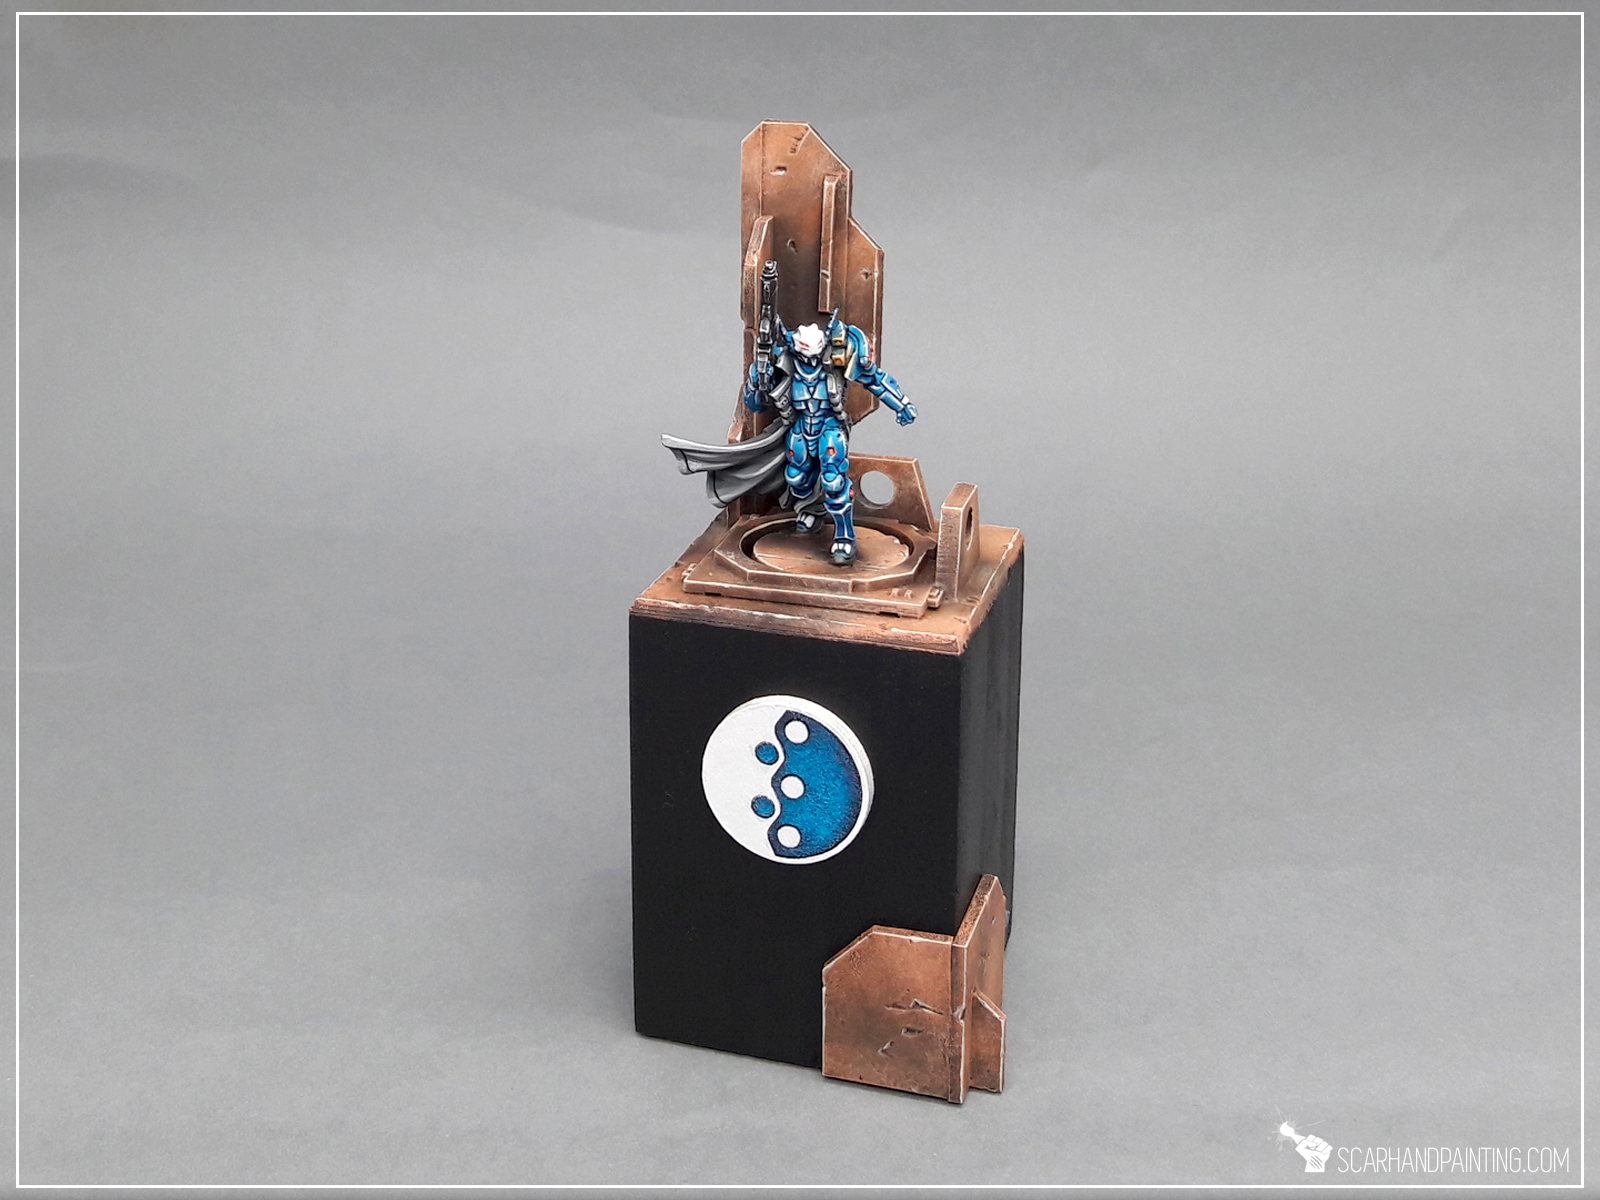
Edge highlights is a technique of applying paint to the natural edges of a surface, resulting in strong contrast and nice surface outlining. I find edge highlighting, combined with lining, to be a great way to make a color pop and literally change how an eye can perceive it. It works especially well with multi-layered surfaces of detailed miniatures but should work for you regardless of what miniatures you paint. Here’s an example of edge highlights in action – two sets of miniatures painted the same, except one set was then edge highlighted (with barely few extras):
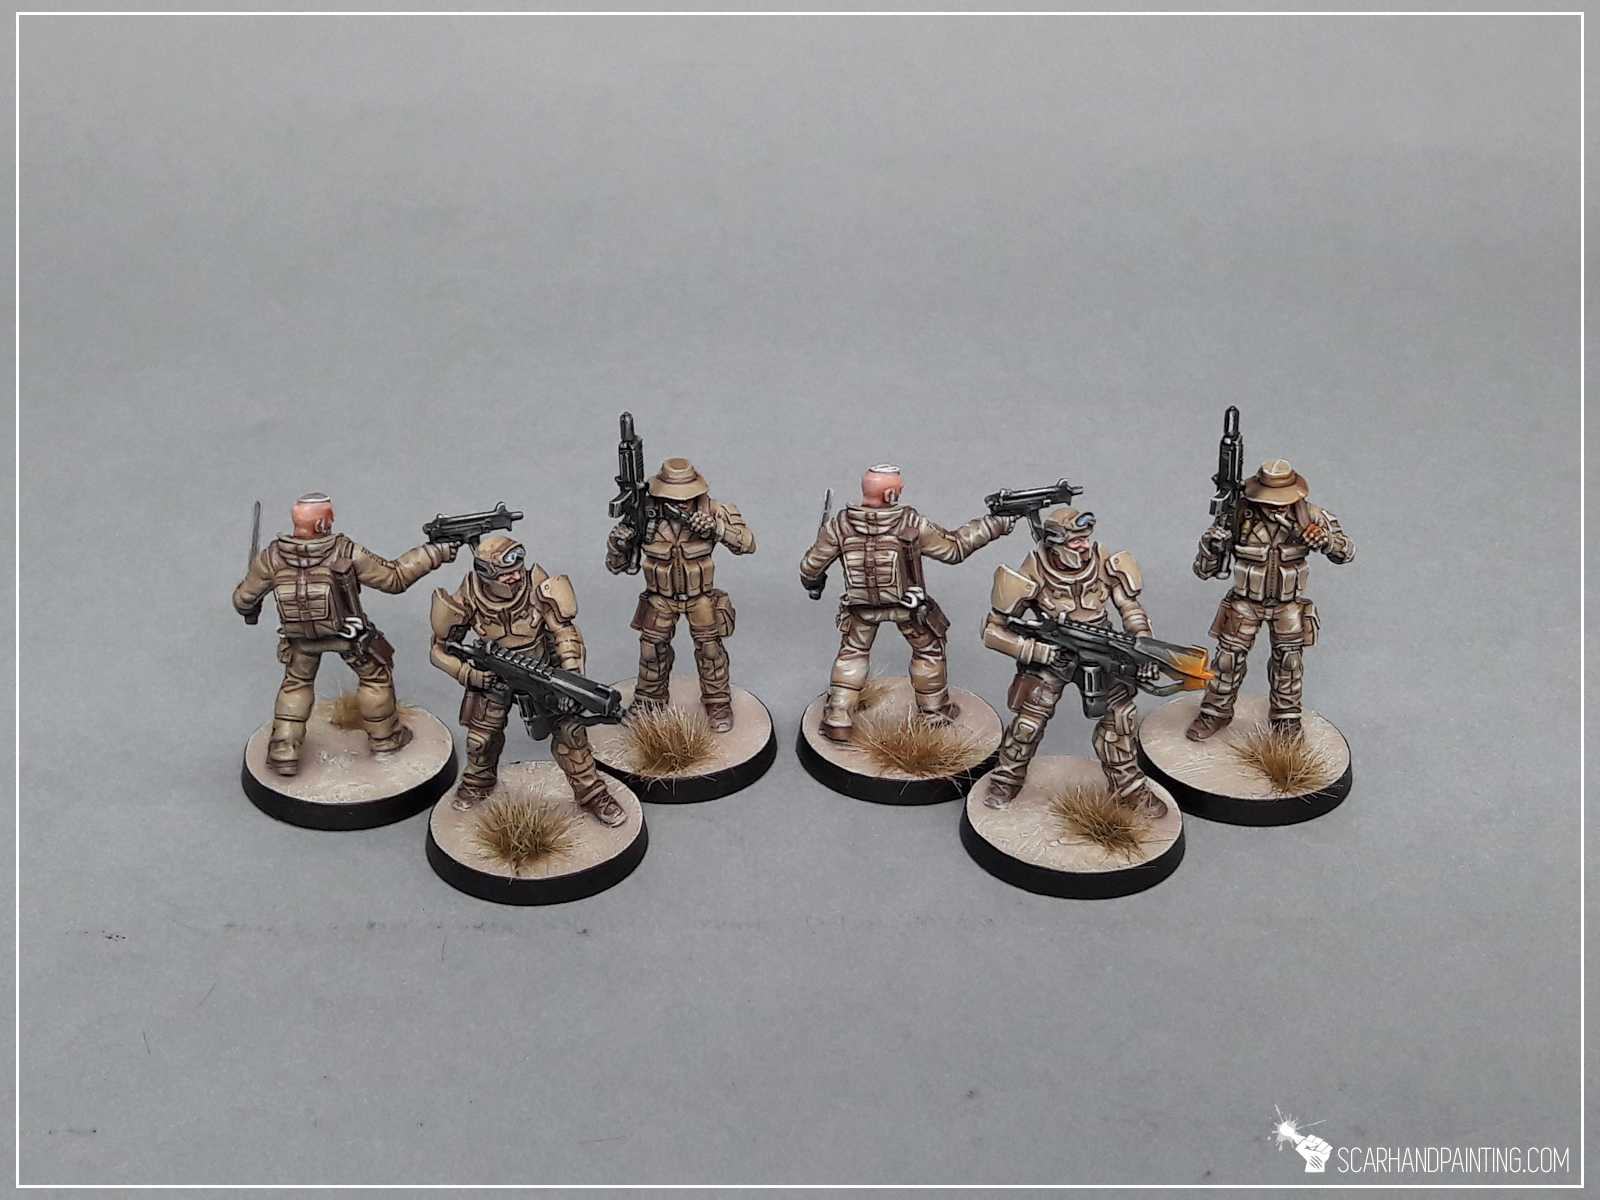
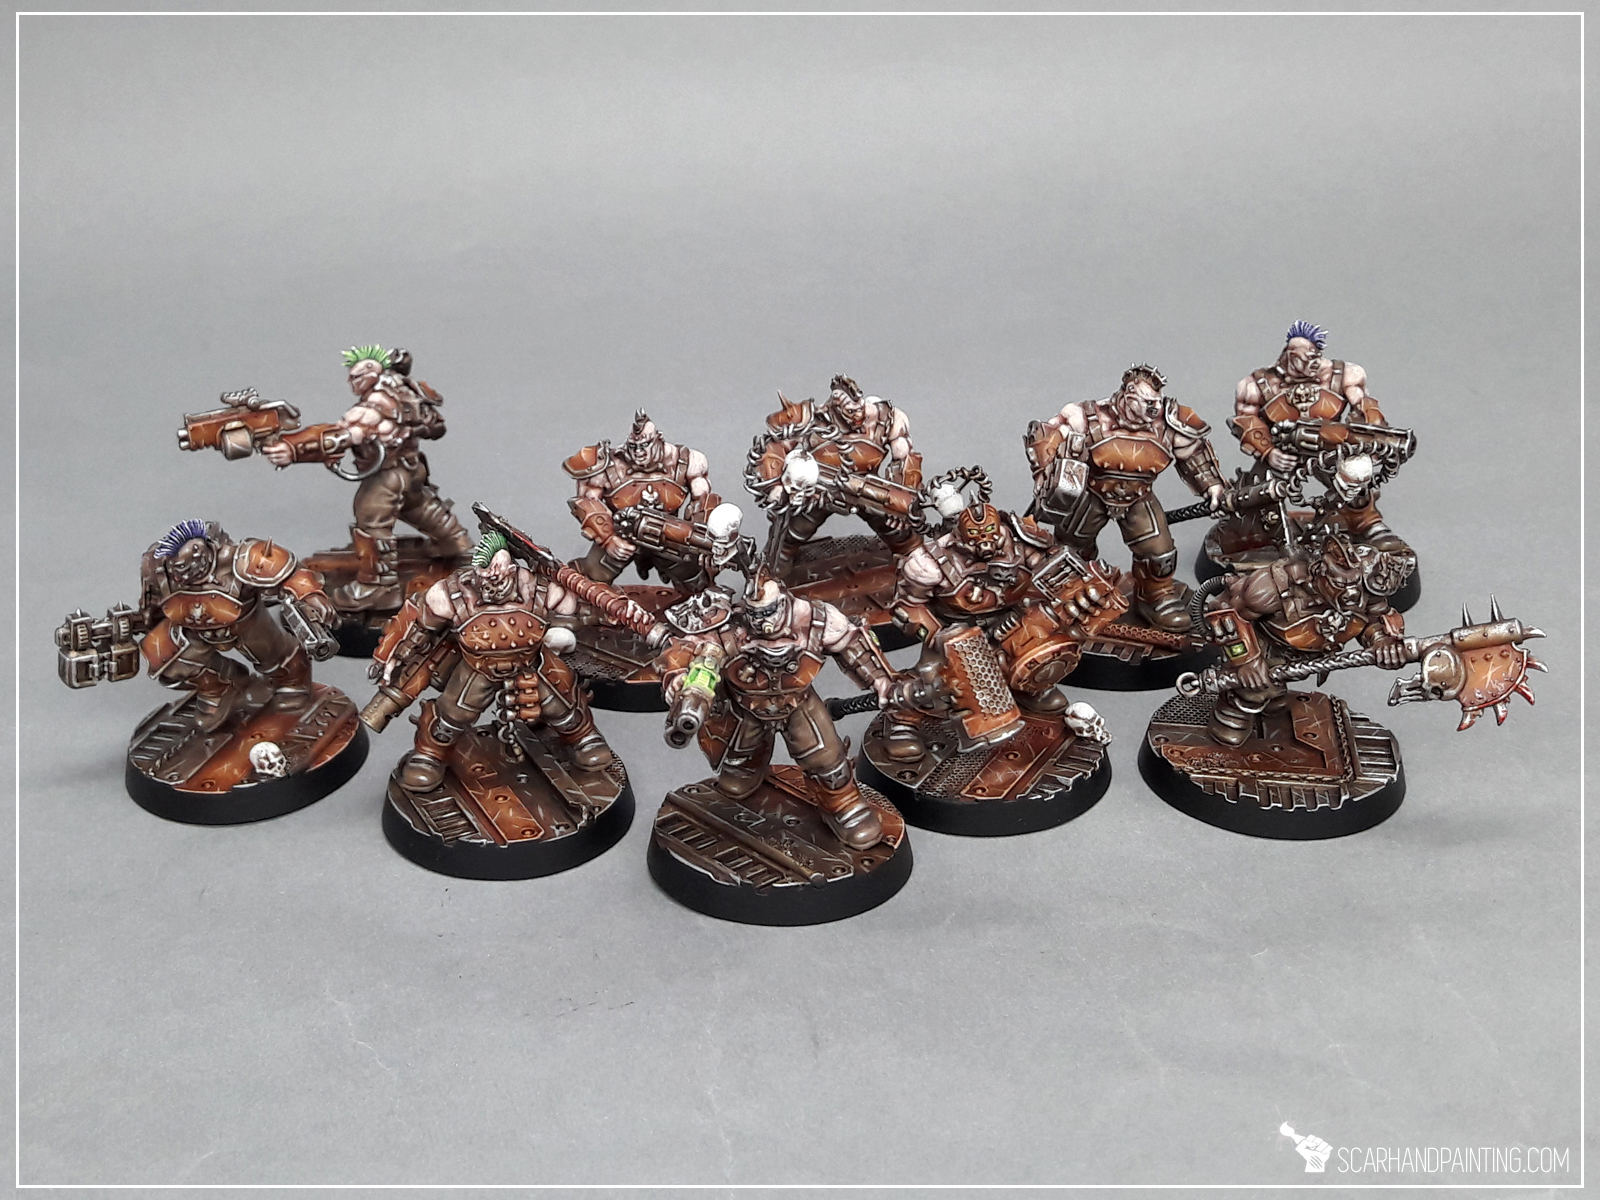
I’m not a guy that looks at miniatures through magnifying glass. Being a commission painter I paint projects related to gaming and this kind of miniatures should be able to catch an eye while being used on the gaming board. I like my miniatures to pop, to be sharp and ‘edgy’, to have personality and coherent color scheme. For me edge highlights provide all that and more.
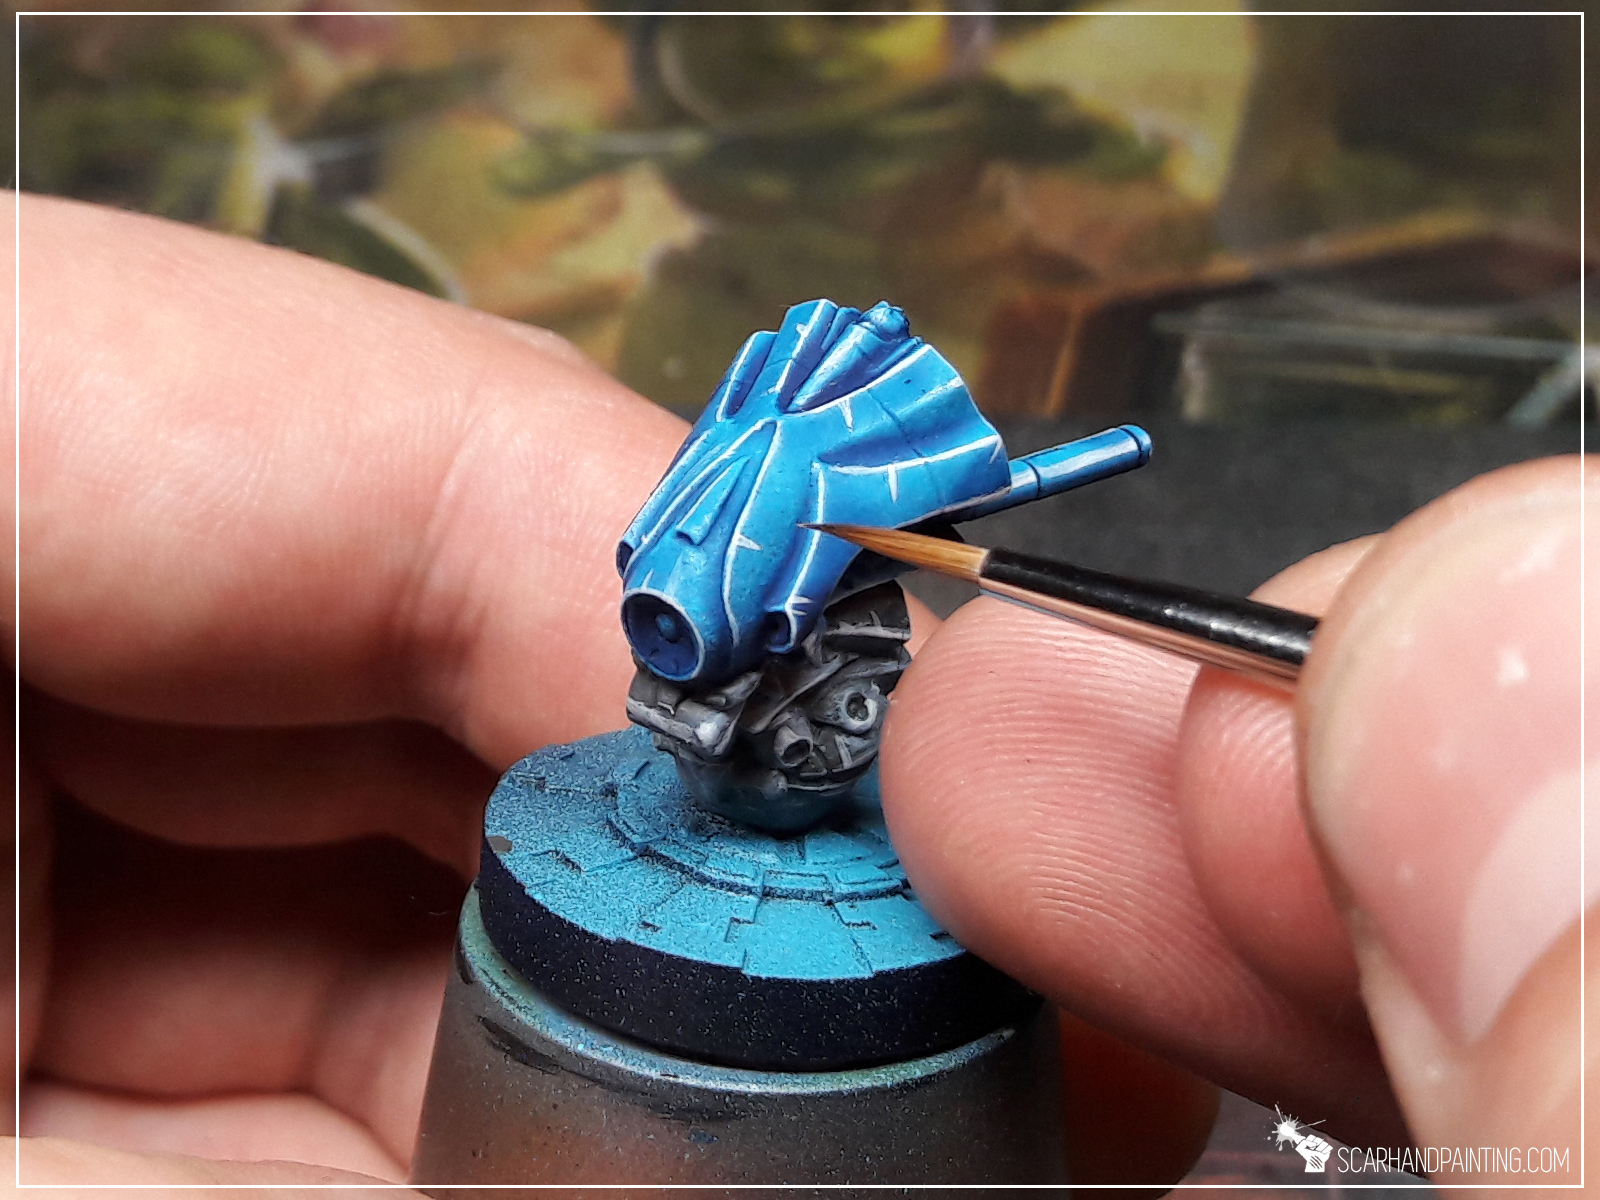
First of all, like with most painting methods, I avoid overloading my brush with too much paint. This is very important as too much paint would run down and ruin a crisp, sharp edge. Other than that I try to:
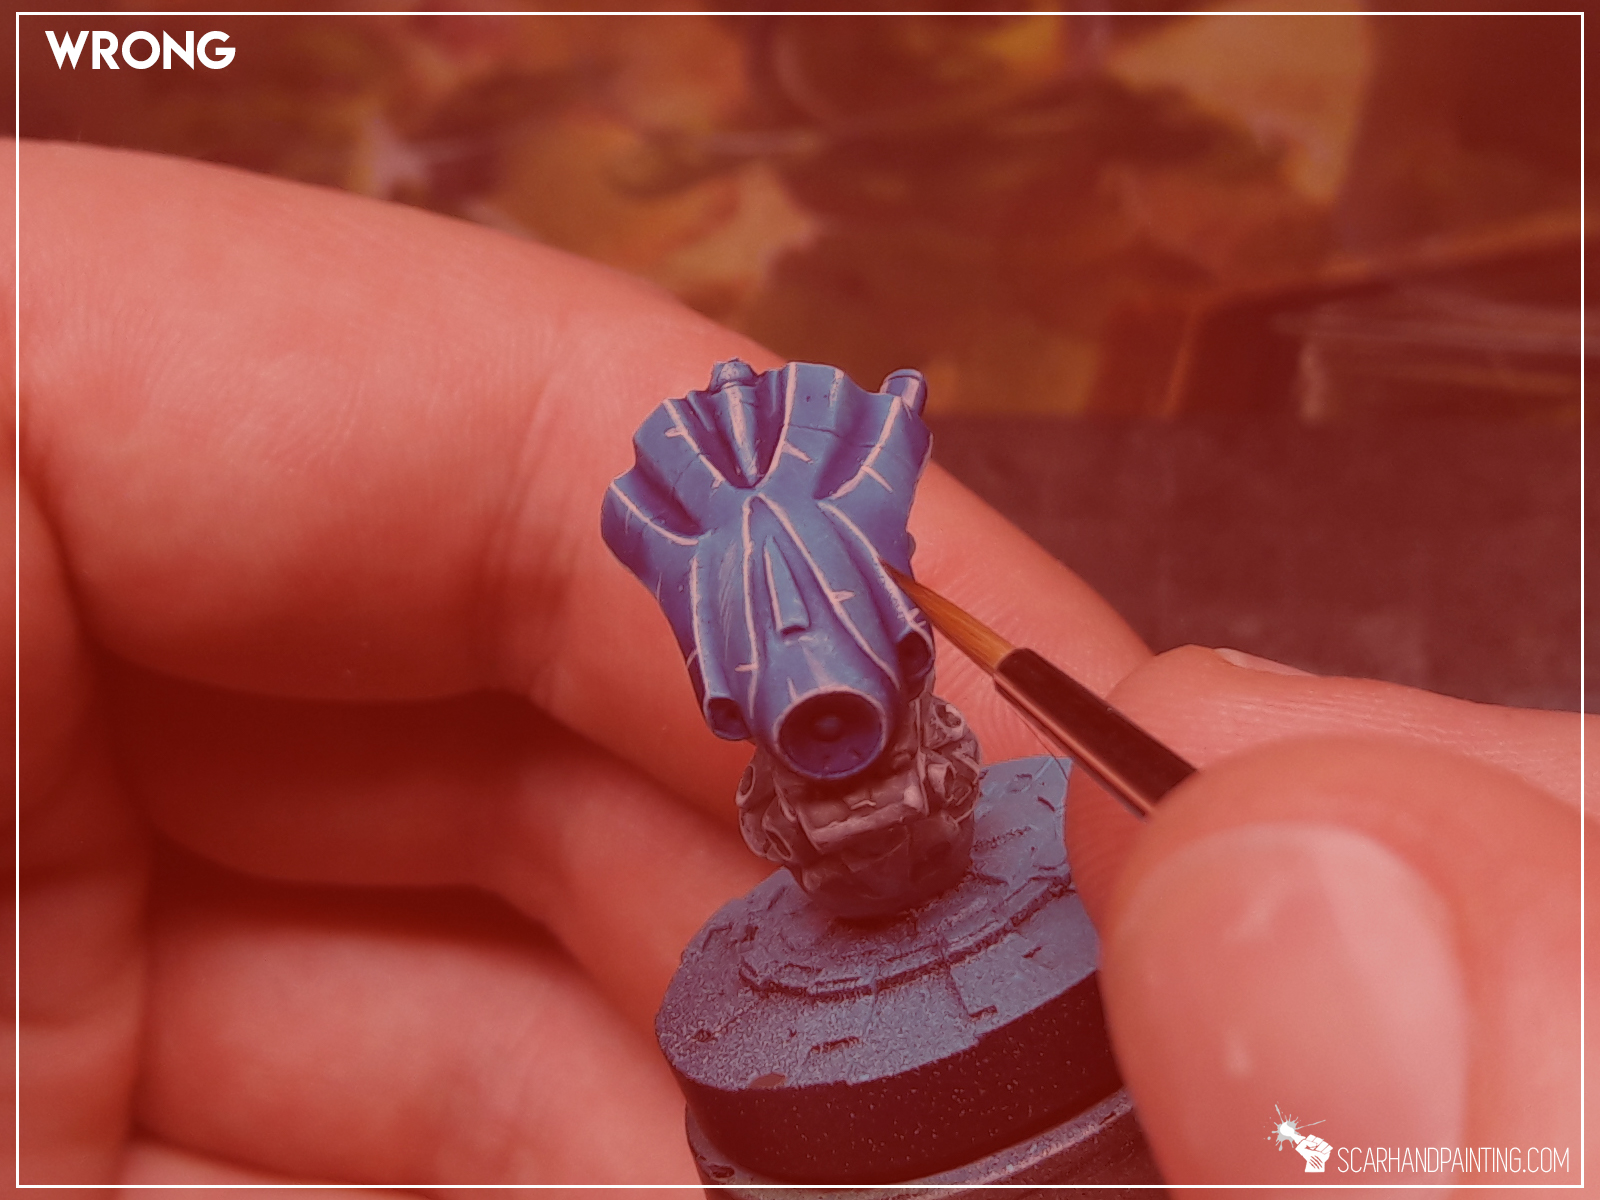
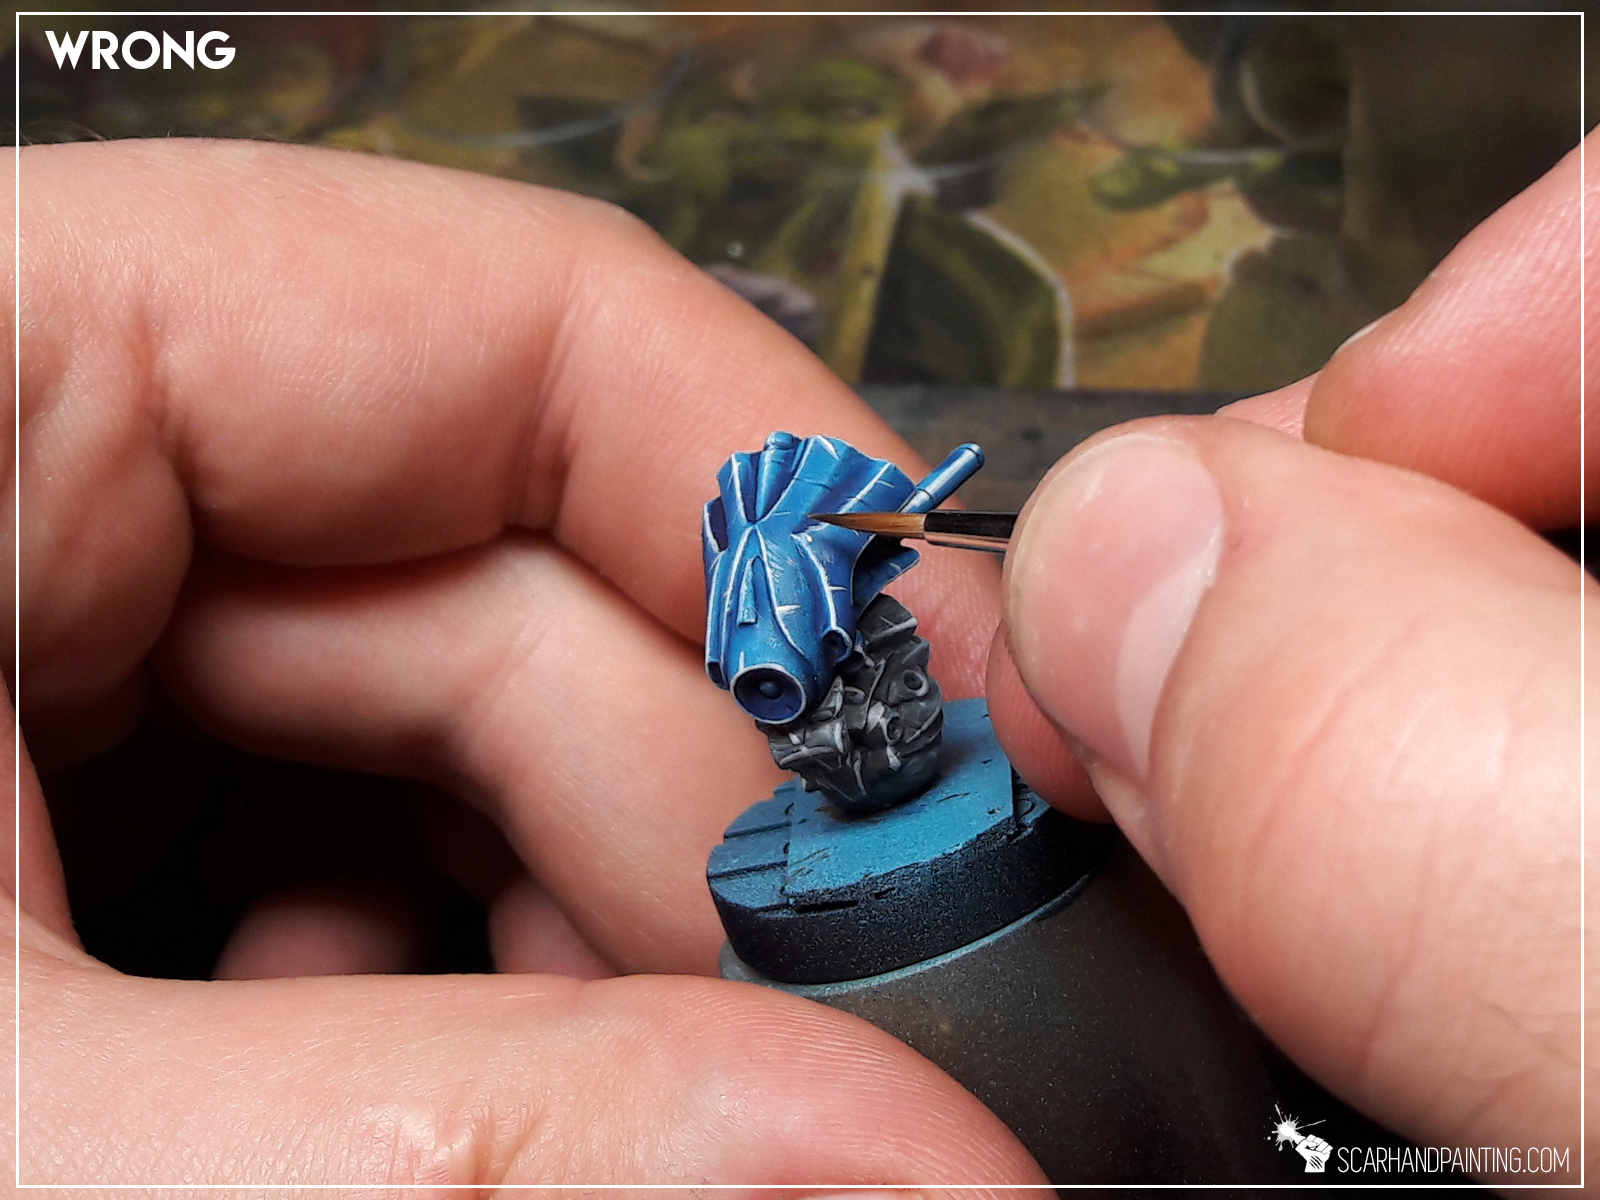
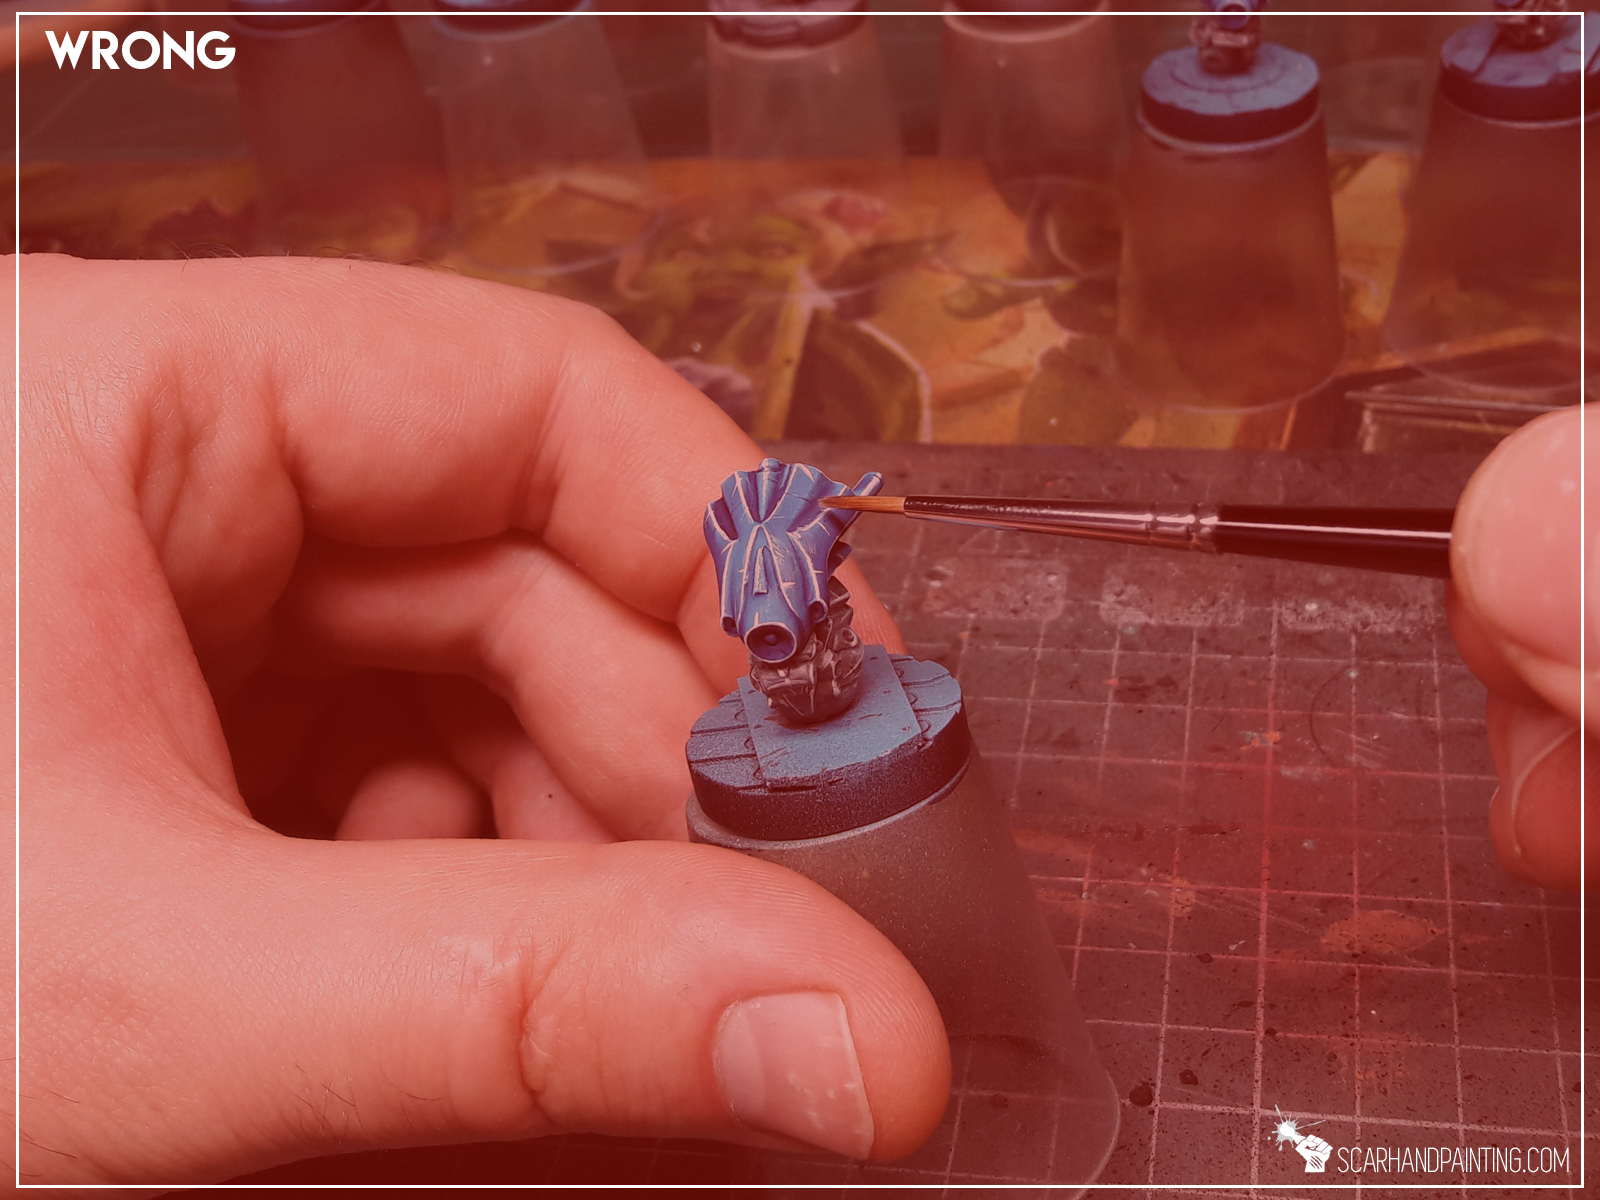
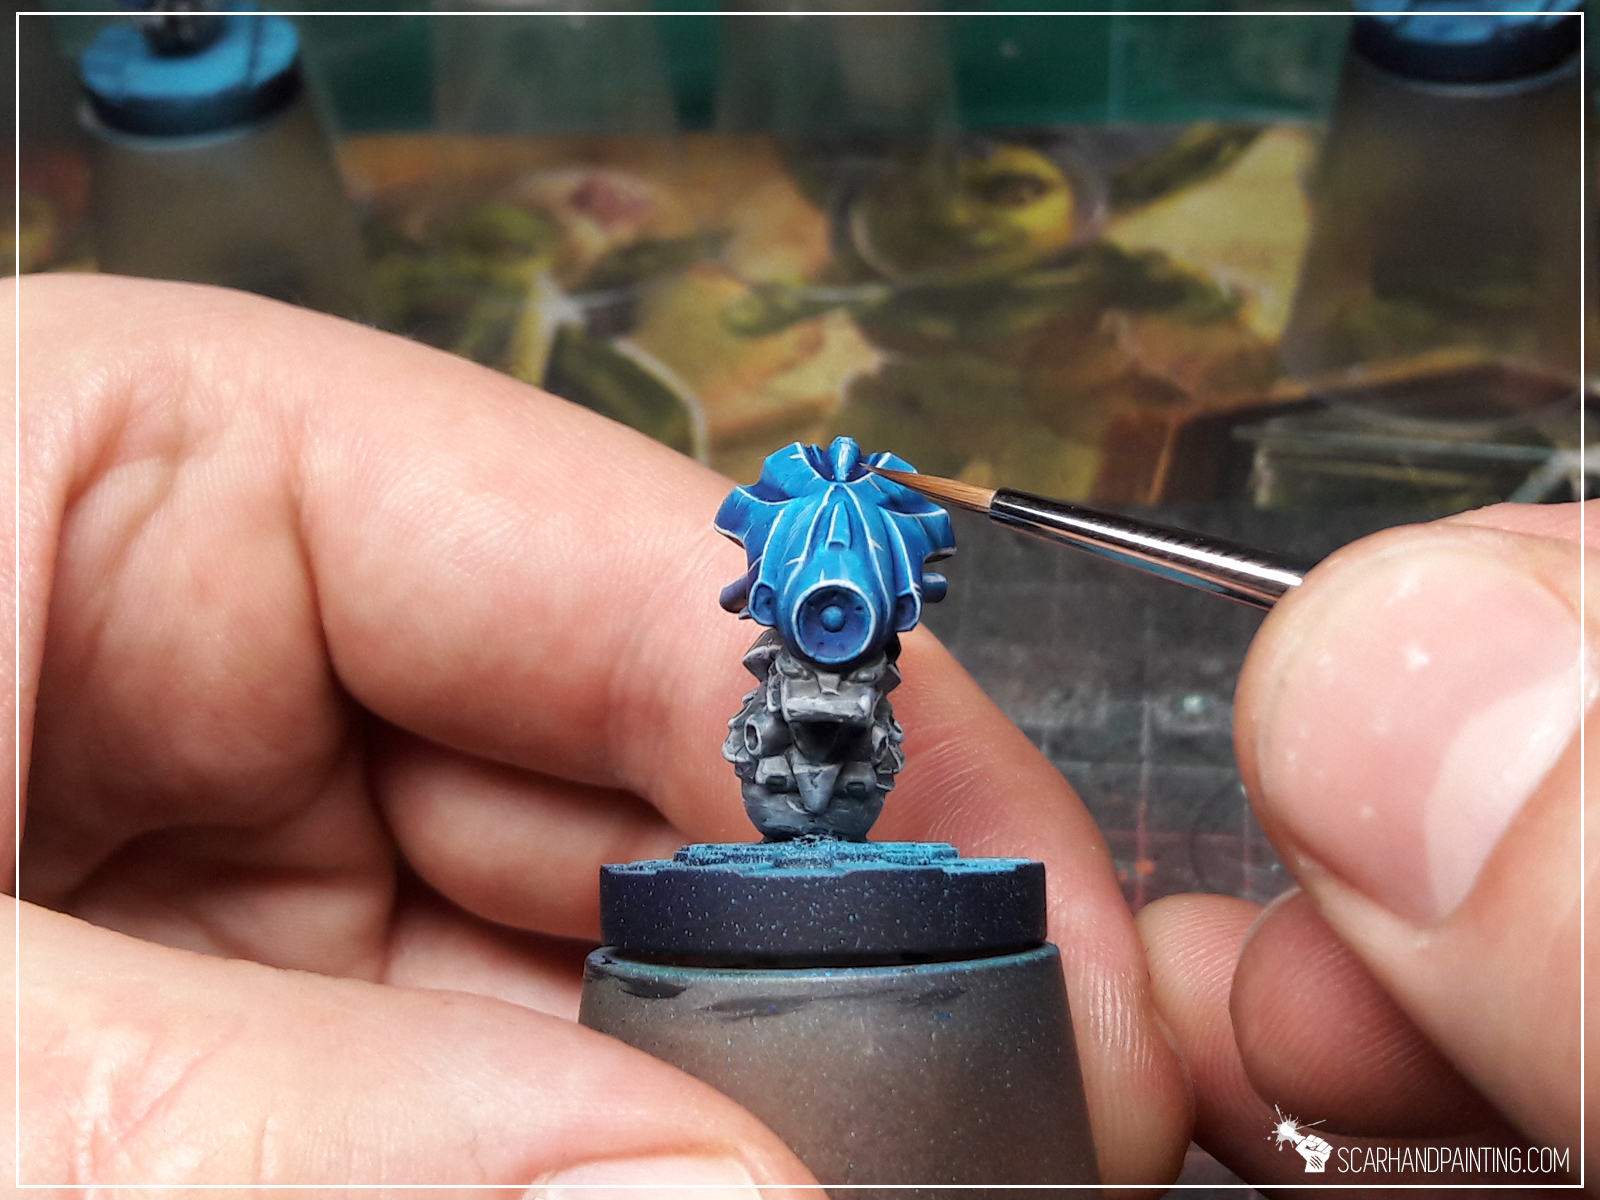
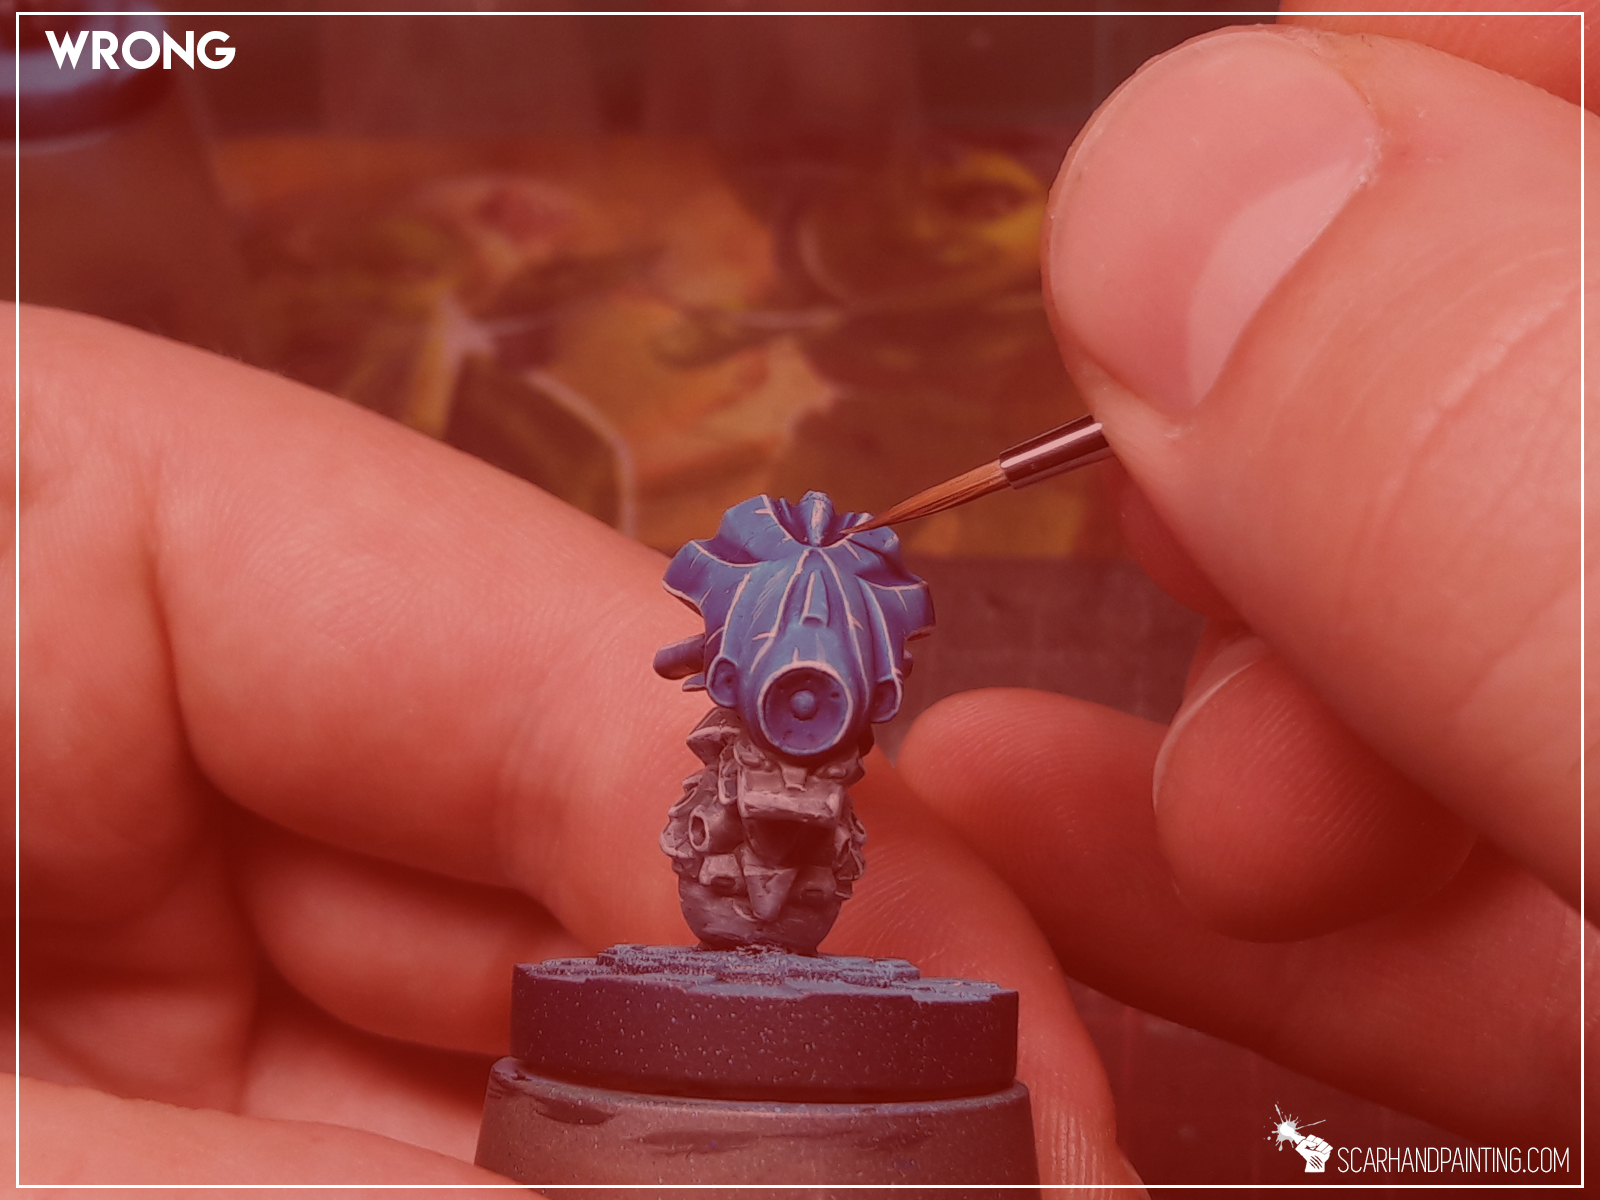
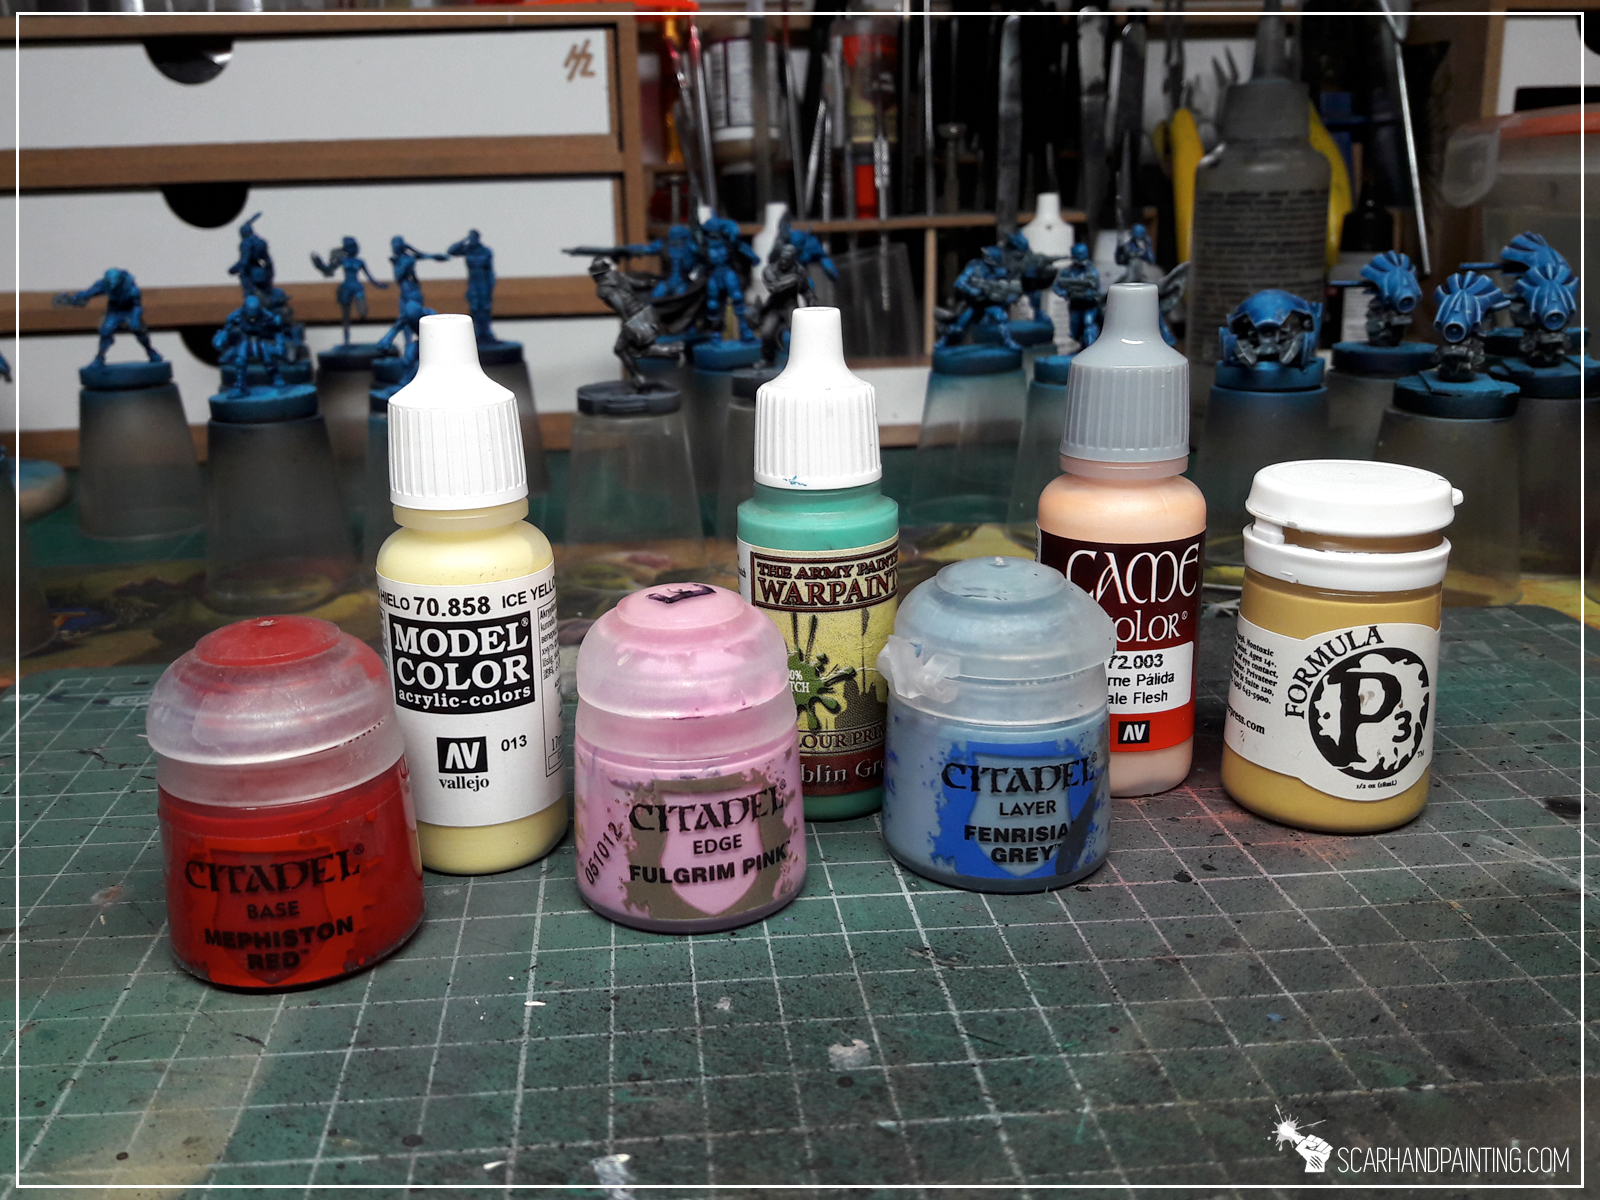
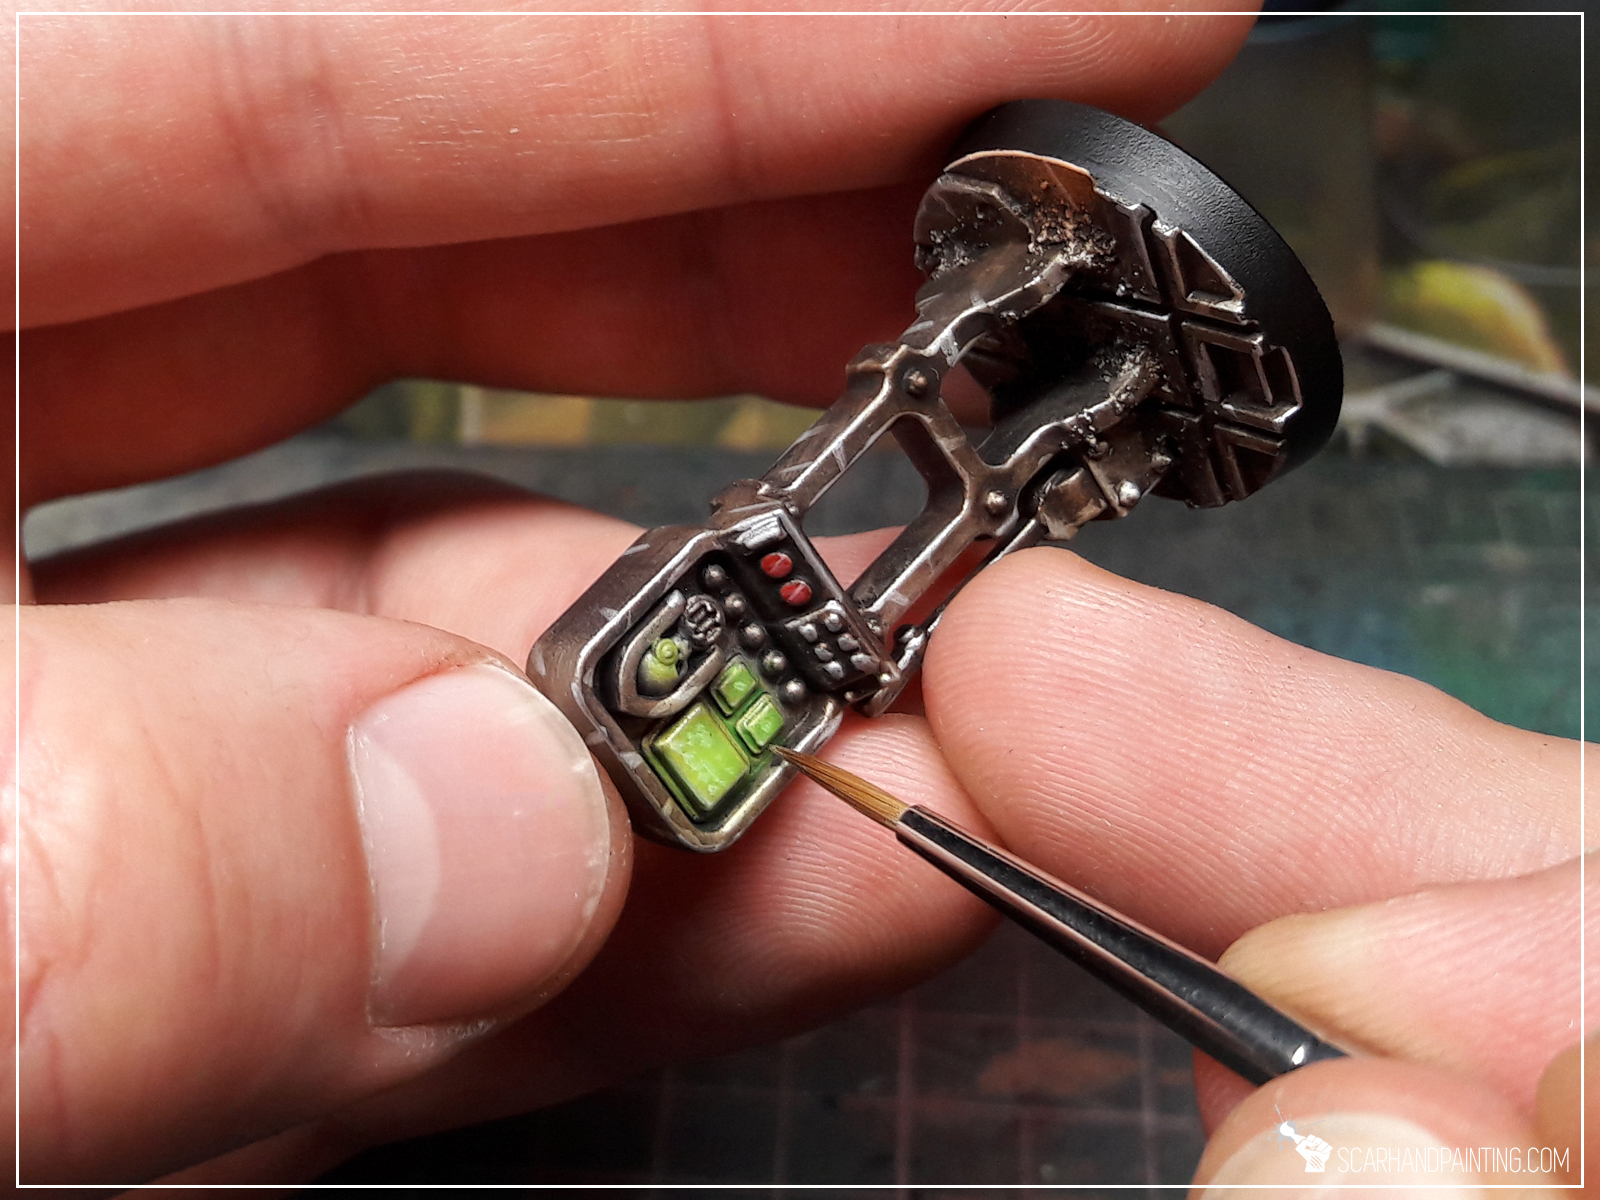
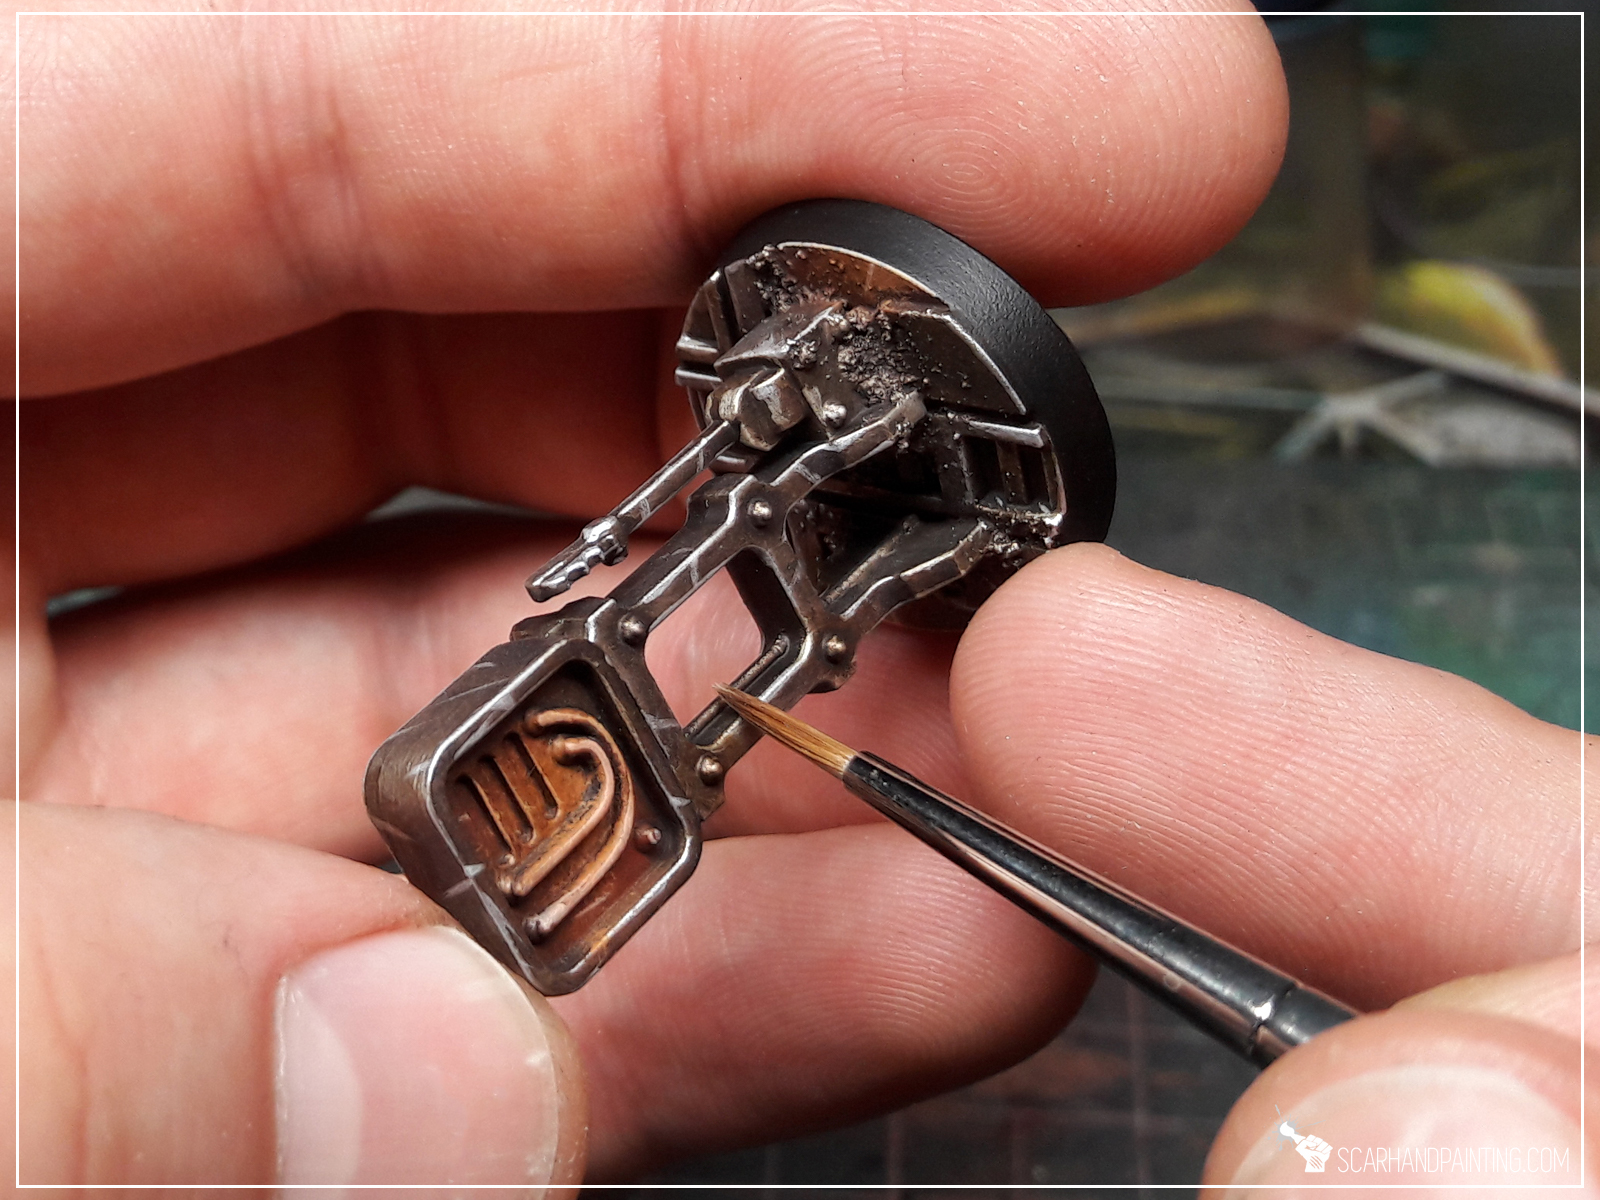




Now you know how I approach edge highlighting and with that I would like to close third the Painting Philosophy article. Please take note that what works for me, might not necessarily work for you – still there are many ways to accomplish certain things – mine is just one of them. I encourage you to try and experiment with this technique. As usual I put a lot of effort into preparing this article, but if it helps at least one painter out there – I consider it a time well spent.

I hope you found this tutorial interesting. Be sure to let me know your thoughts in the comments below or via Facebook or Instagram. I would also appreciate if you’d consider sharing my content with your friends, who might find it useful. Finally, if you are looking for a professional Warhammer miniatures painting service, be sure to contact me via this contact form. I always reply within 24 hours. If you don’t see anything from me by then, please check your spam folder.

Back in the days I decided to start the ‘Painting Philosophy’ series to let you in on ‘how’ and especially ‘why’ I do some things in a certain way. In my opinion a proper approach to painting is crucial to maintain healthy and rewarding experience. Final result depends on it in the same way as on techniques, know-how and tools used. Nowadays internet is full of painting tutorials yet it takes some inner understanding of our own capabilities to find what suits us best and fully benefit from all acquired knowledge. That being said – In this series I will reveal what works best for me as a painter. I hope you will find some wisdom in it…
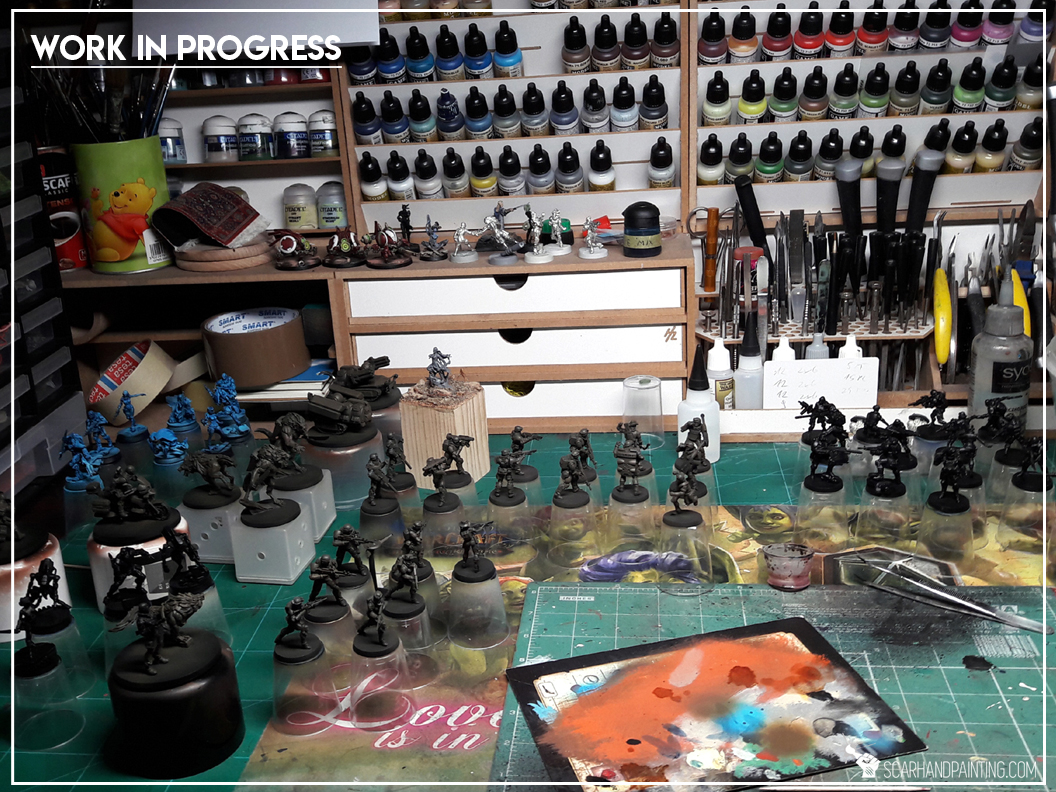
Painting in groups is a term that I use to describe painting entire groups of miniatures, usually one layer at a time. There are many different approaches to painting miniatures. Some painters prefer to paint a single miniature from start to finish, one layer at a time. Others avoid painting by layers and instead paint a single piece of a miniature, applying all the colors, before proceeding to next part. I on the other hand, feel most comfortable when painting groups of miniatures. The size of such groups might vary between six to about a hundred pieces at a time. They don’t even need to follow the exact same colour scheme as long as they share majority of layers. Off course this method is reserved for armies and collections and would not benefit a single miniature project.
After years of practice this method triggered somehow on itself. I love painting miniatures but get really excited once projects enter final stages. I’m really hooked up on that feeling of accomplishment. That’s why I like to plan projects so that by not undertaking unnecessary actions I save time. If I have a bunch of miniatures to get painted I’d rather prepare and undercoat them all in one go, instead of repeating this for every single miniature, one at a time. It not only quickens the process but also leaves a ‘not entirely fun’ part, of a project, behind at some point. It is not limited to undercoat only and instead translates to all the layers. Every accomplished layer brings me a bit closer to the final steps of a project – the place where ‘choirs’ are left behind, most stuff looks pretty cool already and there’s most fun for me to have.
I maintain my motivation by taking small, but important steps. My main goal is to accomplish a project, but there are many small targets to achieve between the start and the finish line. I set obtainable targets, then once accomplished I check if I have energy for another round. Never force myself to take more than one step at a time – this one step is important, but all the rest is just a bonus, and as mentioned before – each step brings me closer to project’s completion. In practice it might look more or less like this:
START
step: Black Undercoat,
MAIN STEP COMPLETE
DESERT Armour & Uniforms:
step: Airbrushed layers (main colour), Dark Earth (Vallejo),
step: Airbrushed layers (main colour), Light Brown (Vallejo),
step: Highlights on the main colour, Light Brown (Vallejo),
step: Wash, Mix Strong Tone Ink (AP) 1:1 Soft Tone Ink (AP),
MAIN STEP COMPLETE
step: Edges on the main colour, Flayed One Flesh (GW),
step: Edges on the main colour, Pallid Wych Flesh (GW),
MAIN STEP COMPLETE
BROWN elements:
step: Secondary colour layer, Olive Drab (Vallejo),
step: Secondary colour layer, Gorthor Brown (GW),
step: Secondary colour layer, Gorthor Brown (GW) + Pallid Wych Flesh (GW),
step: Secondary colour Wash, Mix Strong Tone Ink (AP) 1:1 Soft Tone Ink (AP),
MAIN STEP COMPLETE
step: Edges on the secondary colour, Karak Stone (GW),
MAIN STEP COMPLETE
BLACK/GREY outfits & weapons:
step: Secondary colour layer, Skavenblight Dinge (GW),
step: Secondary colour layer, Fenrisian Grey (GW),
step: Secondary colour layer, Pallid Wych Flesh (GW),
step: Secondary colour Wash, Dark Tone Ink (AP),
MAIN STEP COMPLETE
step: Edges on the secondary colour, Pallid Wych Flesh (GW),
step: Edges on the secondary colour, White,
MAIN STEP COMPLETE
SKIN:
step: Secondary colour layer, Bugmans Glow (GW),
step: Secondary colour layer, Dwarf Flesh (GW),
step: Secondary colour layer, Dwarf Flesh (GW) + Pale Flesh (Vallejo),
step: Secondary colour layer, Pale Flesh (Vallejo),
step: Secondary colour Wash, Mix Strong Tone Ink (AP) 1:1 Soft Tone Ink (AP),
MAIN STEP COMPLETE
step: Edges on the secondary colour, Pale Flesh (Vallejo) + Pallid Wych Flesh (GW),
MAIN STEP COMPLETE
OTHER COLOURS…
step: Tetriary colours…
etc…
MAIN STEP COMPLETE
VARNISH:
step: Applying Varnihs,
MAIN STEP COMPLETE
BASES:
step: Modelling bases,
step: Painting bases,
step: Painting base edges,
MAIN STEP COMPLETE
step: Applying tufts and additional elements to the bases…
COMPLETION
As you can see there are approximately thirty steps required to accomplish this project so if I manage to take one step every day I will finish the project in about a month. Let’s say there are just six miniatures in the entire project. Would it be so difficult to accomplish one step with six miniatures in one day? How long can it actually take? It is not some extremely difficult, time consuming task. Easy to motivate myself to do that. Now let’s say I had a free weekend and managed to accomplish a MAIN STEP instead. This is worth between two to five regular steps. Let’s say I took out five. I just moved five days ahead of schedule. Can spend that time being lazy or move to another step… and there’s that – this is how the process works for me.

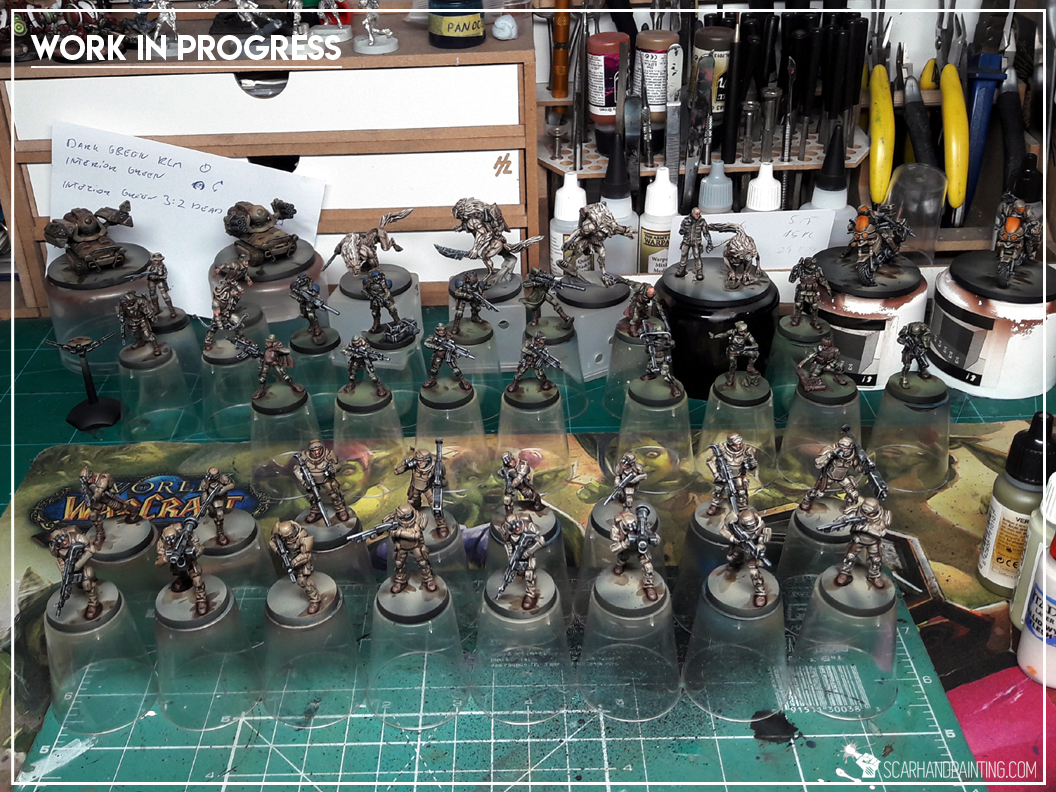

Coherent Colour Scheme – Painting in groups, one layer at a time, translates to a more coherent colour scheme. No need to mix paints between miniatures and try to achieve same exact tones – paint is prepared for entire group and will look exactly the same between first and last miniature. In the end this will provide a nice, coherent look of the entire project.
Understanding Through Repetition – After few miniatures of the same kind muscles get used to the detail naturally. Instead of interpretting every miniature I can follow a sort of ‘programmed muscle memory’ to paint much more efficiently, and thus faster. Quality also benefits from this, as there are no ‘uncertain’ brush strokes.
Reaching Ultimate Concentration – Repetition allows me to find myself in a state of utter concentration that won’t get disturbed by music or audio book, still lets me appreciate and take in anything that plays in the background, including videos. I know it’s not a super-power level state of mind and it is common among painters, still not being forced to reset every time and then to mix paints or plan the paint job helps to lenghten the ‘in the mood’ periods.
Purity of Purpose – With clear, obtainable targets in reach and a plan layed down before me it is easier for me to move forward, each step taken being deduced from the list. This makes my motivation thrive.
If you read through all of this banter – I hereby deem you worthy! With wisdom I bestowed, You now possess knowledge necessary to use the Multi-Miniature Ninja Painter technique. Use it wisely and with good intent and it will benefit you greatly. Do not fear to step in and teach other ‘Muggles’ some of that magic.
I have put a lot of effort into preparing this article, yet I am sure I missed something important. If you happen to have any questions related to it – feel free to hit me with them either at my Facebook profile, or via e-mail. Also take note that what works for me, might not necessarily work for you – still there are many ways to accomplish certain things – mine is just one of them.

In this easy, step-by-step tutorial I’m going to show you how to create a Seed-Embryo marker, same as from Infinity SHASVASTII lvl 5 ‘Witness Me!’ gallery.
* I started by straightening two office clips, leaving both ends curved.
* I then wraped them around one another and once done, cut a piece with hobby cutters.
* Next I applied a drop of basing glue, followed by a drop of super glue onto a base.
* Then I glued wraped up office clip piece on top of the super glue spot.
* Airsoft gun ammo ball followed, on top of the office clip piece. First a drop of super glue, then basing glue, then I slightly dipped the ball in super glue and glued it on.
* Lastly I modelled three growth pieces on top of the ball, applying a small dose of basing glue with a tootpick, then covering it with super glue.
And that’s it! The Seed-Embryo markers ready in few minutes. Just make sure you let them dry before painting – I recommend about 4 hours for super glue – basing glue mix to fully dry out and produce awesome texture.

Do you like this tutorial? Have you made your own Seed-Embryo markers? Be sure to let me know in the commets below!

How about I show you a technique to paint brown military coats like a pro in a way so simple that it’ll make you wander why haven’t you painted like that before? Below is a simple Step-by-step tutorial on how to achieve awesome tattered and used up leather brown coat effect in just few simple steps.
First some home brewed theory.
Stippling: A technique of creating texture out of dozens of tiny dots of paint. Easiest way to achieve this is to use a Stippling Brush (round head, tip cut off – flat surface instead, resilient hair).
Blending: A technique of gently intermingling two or more colors to create a gradual transition or to soften lines. Below I will demonstrate a rather crude version of it.
* Stippling Brush (GW),
* Regular Brush,
* Olive Drab (Vallejo AIR),
* Pallid Wych Flesh (GW),
* Strong Tone Ink (AP),
1 You can start painting this on any dark surface, but for good result I recommend to prepare the surface, by following steps 1 to 3 of Painting 'Infinity' Black Tutorial. This will transition into a complex and interresting surface to work on. On a bright side neither these nor following layers require precision and are really fast to paint.
TUTORIAL: PAINTING ‘INFINITY’ BLACK
2 Time to stipple. I used a Stippling brush and Pallid Wych Flesh paint. I left the excess paint on the palette and randomly applied some dots onto the coat.
3 Next I mixed Olive Drab 1:1 with Strong Tone Ink and applied it all over the coat. This is the crude version of blending I mentioned earlier. It has not much to do with actual blending technique, except it changes the color and actually 'blends'.
4 Wash comes last. I applied a strong, wet layer of Strong Tone Ink all over the coat. Once dry - paint job is done.
! This might be the end to it, but if you preffer to take your paint job to a higher level you can for example 'edge' the coat with a brighter brown/leathery colour. From now on you have a great looking base to add detail to and it was achieved in no time.

Ever wandered how a brush graveyard looks like? Some of us seen this wast field of broken, damaged brushes – left aside without purpose. A truly sad sight to behold. Now you’re probably looking at the sharp tip of your favorite brush thinking “It won’t happen to you my dear friend. This doesn’t concern you.” Sorry to be a bringer of bad news, but brushes come and go – no way around it. The only thing we can do is to preserve their longevity as much as possible. How to it? The sole purpose of this article is to share some tips that might help you enjoy your brush till it’s late veteranship and avoid this:
On top of thorough cleaning after each use, the proper care is the key to preserve brush’s shape and thus function. It’s not something to repeat at daily basis, still every now and then a “brush spa”should be performed. Here’s how I do it:
1 First I poured Airbrush Cleaner into a small cup. Next I dipped a tip of the brush, tapping it against a bottom of the cup. The purpose of this step is to ensure that any dried out paint leftovers would get removed from the brush's tip. Once done I cleaned up the tip and metal part of the brush's handle with a paper towel soaked in Airbrush Cleaner. I did this by slowly pulling the brush through the towel, forming it's tip.
2 Step two was to gently clean the tip with soaped fingers and wash it with water.
3 Then I moved to step three, covering the tip with a hair repair conditioner. Then I left the brush to soak with conditioner for about 20 minutes.
4 The final step was to once again clean the brush with water and form the tip, using a paper towel.
Now my brushes rest happily in a brush cup, smiling to me in wait for next project…
Ok, so you can take care of your brushes to keep them healthy, but what if they’re already ‘on the other side’? Untill recently I was sure that there’s no comming back from the brush’s afterlife, but I was prooven wrong by a friend who linked me a crazy awesome tutorial – and now I will share it with you.
1 I dipped the brush in water...
2 I touched a wet tip of the brush to the hot iron, then started moving it backwards, gently turning it in one direction.
Well – that’s it! Sounds easy? It actually is XD Just take a look at this video…

It has been six months of peace for The Colony Special Project. I’ve mentioned before that such grand projects are never fully complete – so here I am, adding even more stuff to the already vast collection of scenery. The reason for this is obviously the restless muse, but also I grew up to a decision to expand my scenery collection. On top of more variety I will be able to cover two gaming boards and that might come in handy from time to time…
Not so long ago I have attended a big Infinity the Game event. About 40 participating players, including some of my friends. As a co-organizer I took The Colony with me, so that along with Micro Art Studio, Zen Terrain and After Hours Workshop, there were more fully painted tables at the event. I even streched my terrain set to cover two gaming tables, thus was hyped by the vision of creeping onto another 48×48″ board. At that point I already had some new stuff purchased at Antenocitis, so it’s not like I was ever going to stop anyway 😛
Still, once the dust settled and I had a moment to thik about it, I realized that more terrain was inevitable if I was to do it again in the future…
The idea was to build more interresting stuff to fill all the empty spaces between buildings. At that point more buildings were rather out of question as I’d rather produced terrain pieces to improove single gaming table, with an option to allow me to eliminate vast empty spaces if I went double…
The obvious choice was to produce more sculptures, as these look nice, are awesome LOF blockers and work pretty well with the theme of The Colony.
For this purpose I used a hard box and some random leftovers provided by friendly Terrain making companies and my wife.
This one was a totally new approach to the ‘sculpture’ idea. The exclusive Winsor & Newton brush box was an inspiration on it’s own and summed with my newly acquired experience in using clear resin – a fountain or a pond was a must go. I decided to use wooden balls as a sculpture to compliment the water theme with their smooth oval shapes. Now I feel like a second Winsor & Newton box is soon to follow…
Plant compartments from THE COLONY – part seven: BEYOND are by far one of the best Infinity scenery pieces I have created. They have the looks but are also very playable, providing a lot of cover and breaking long shooting corridors. Yves Saint Laurent cosmetics plug and couple more drill covers, that I received from a friend, and an I was ready to build another Plant compartment. This time tho I lacked some of the MDF pieces, necessary to build an exact copy of the previous template. I decided to do some magic and tinker a bit with the design – using materials I actually had.
I also redesigned the plant to add variety on the table. These were made using a method from THIS TUTORIAL. It is simple and very effective and can be used to create many awesome shapes and textures. It took me around ten minutes to prepare three of these, so if you ever wandered if you should try the tutorial out – just go for it 😉
These three were inspired by boredom and awesome looking Orbit Gum pendants. Upon seeing the pendants I grabbed a bunch of them, knowing well that they will come in handy in the future. Did not took much time to try and use them for Infinity scenery and a set of Food Mashines (closed and secured cause ‘Nomads are in town’) are now complete. On top of three Orbit pendants I mostly used trash and leftovers, but there also are some special MDF pieces which you probably reckognize by now.
Another weekend well spent. Now I can’t stop to think about other ways of using clear resin, wooden balls, basing-super glue made plants and all the new stuff. Might also want to shift my attention to designing the actual MDF scenery as recently I’ve entered into an arrangement with Every Little War which will tweak some of my stuff, including Objective Room and provide it in the online offer. A lot of stuff to wait for XD

Today I’m going to reveal one of my dearest secrets: how Super Glue and Basing Glue can be used to make some fantastic, crazy, awesome stuff! I have invented it by accident when I was a kid, used it since and love it for both simplicity and awesome texture effect. In this easy, step-by-step tutorial I will show you how to produce your own Overgrown Bases!
*I purchased a huge pack of these for approximately 1€,
**Once you eat up all the goodie goodie grapes, you have like a bunch of wooden leftovers. Once dried out these are awesome bor basing miniatures.
***I use either Air Soft Gun ammuniton, or for smaller calliber moist absorber balls obtainable with every new pair of shoes. Just ask your gf to dig out one of her shoeboxes, there should be a small paper bag filled with tiny, translucent balls in it.
1 I started by applying basing glue all over the base. No need to make it smooth, just enough not to leave any empty spaces.
2 I then dropped some of the tiny balls and Birch-tree seeds over the wet glue.
3 Here's where MAGIC begun. I covered entire base with Super Glue and watched as it was warped before my eyes in a matter of merely seconds.
4 Before it dried out I added some pieces of dry grape vines to make it look like some strange, alien mushrooms, or plants. I then covered additional stuff with more Super Glue to harden it.
5 Last step was to leave entire thing to dry out. Usually it takes around five minutes for a base to get dry, but it might take a bit longer, depending on how much basing glue is used.
6 The final step was to undercoat dried out base with Chaos Black spray... then do a quick paint job with random colours.
Now seriously – tell my that’s not an awesome texture effect XD This is like ultra-fast, mega-cool way of using two glues to create utter chaos on any surface. Chaos mutations, warped stuff, Zerg creep, alien planet foliage, jungle floor, faerie glade, name it – then glue+glue it 😉
Do not hesitate to let me know and send some pictures via FACEBOOK if you ever use the tutorial. I will be happy to see how it turned out 😉