- contact@scarhandpainting.com


Converting miniatures, am I right? There’s probably nothing more satisfying for Armada hobbyists, other than tinkering with their tiny resin ships. Adding bits and relocating parts to add more personality to one’s miniatures has always been an important part of the hobby, but with Armada it really takes a collection to the next level. This is doubly true for Ghost Fleets, that does not have dedicated miniatures. Still not everyone enjoys converting miniatures. There are many reasons for it, not having enough skill or idea to name some.
What if I told you converting ghost ships is far more easy than you might think? What if I showed you…
Before we start, some notes:
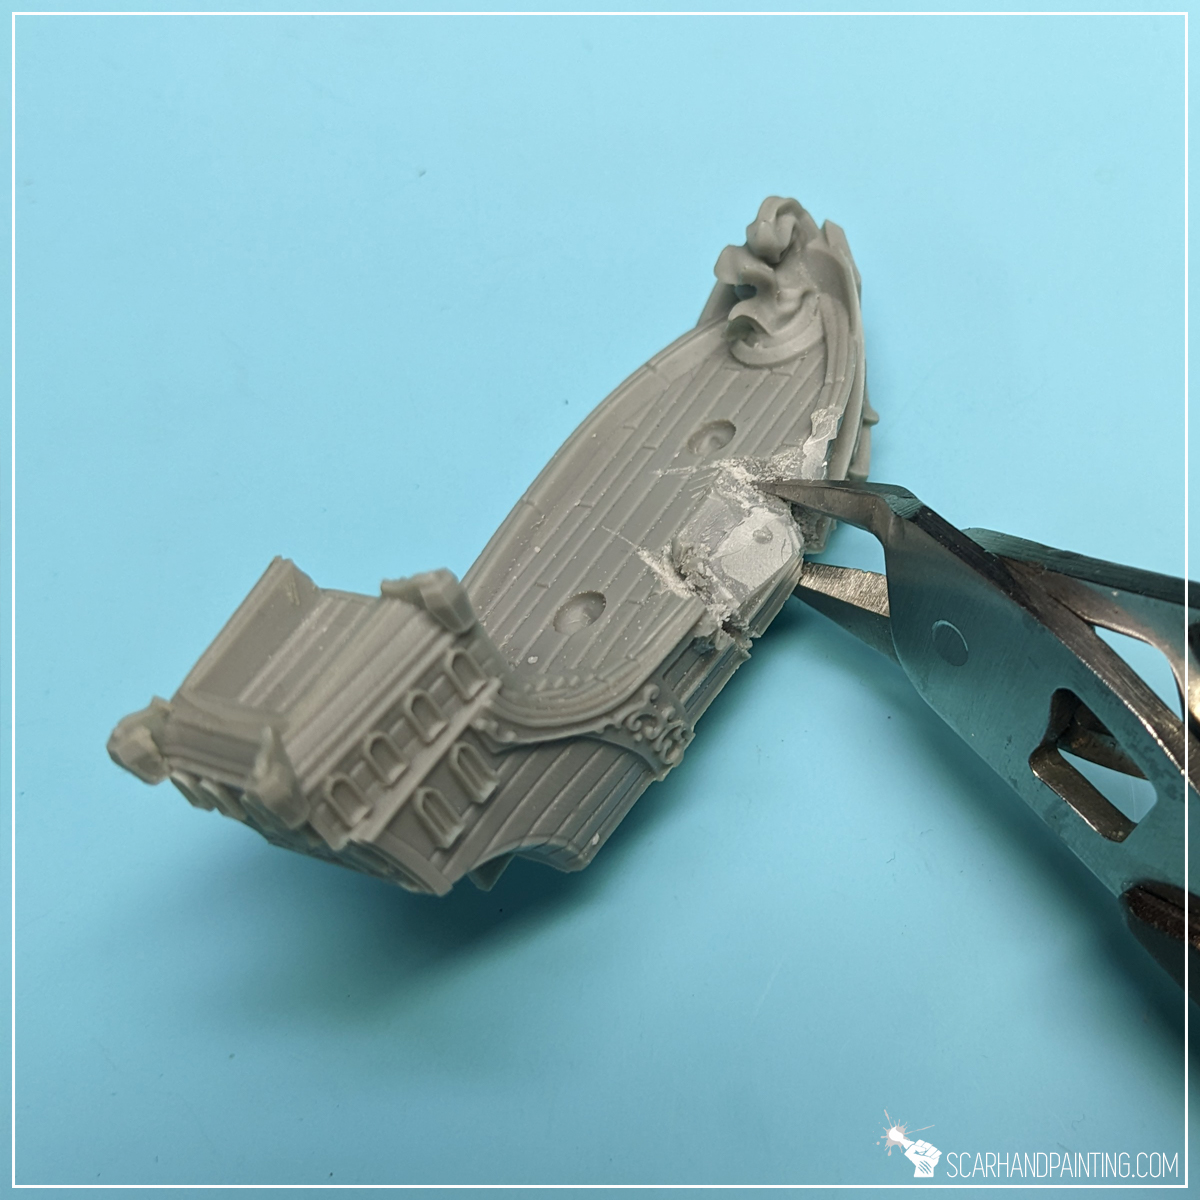
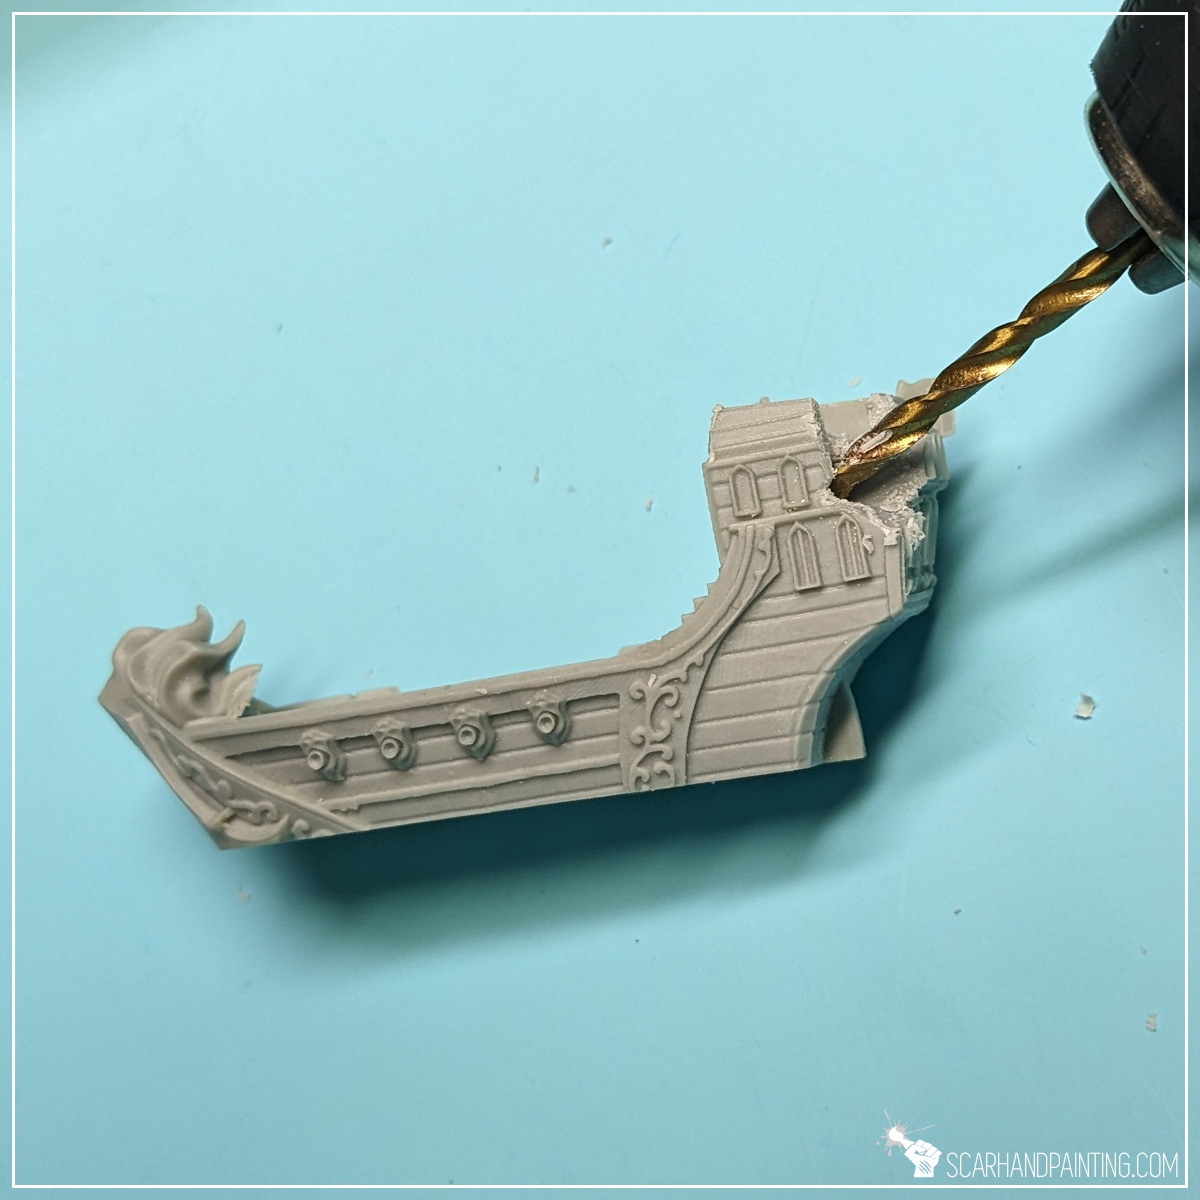
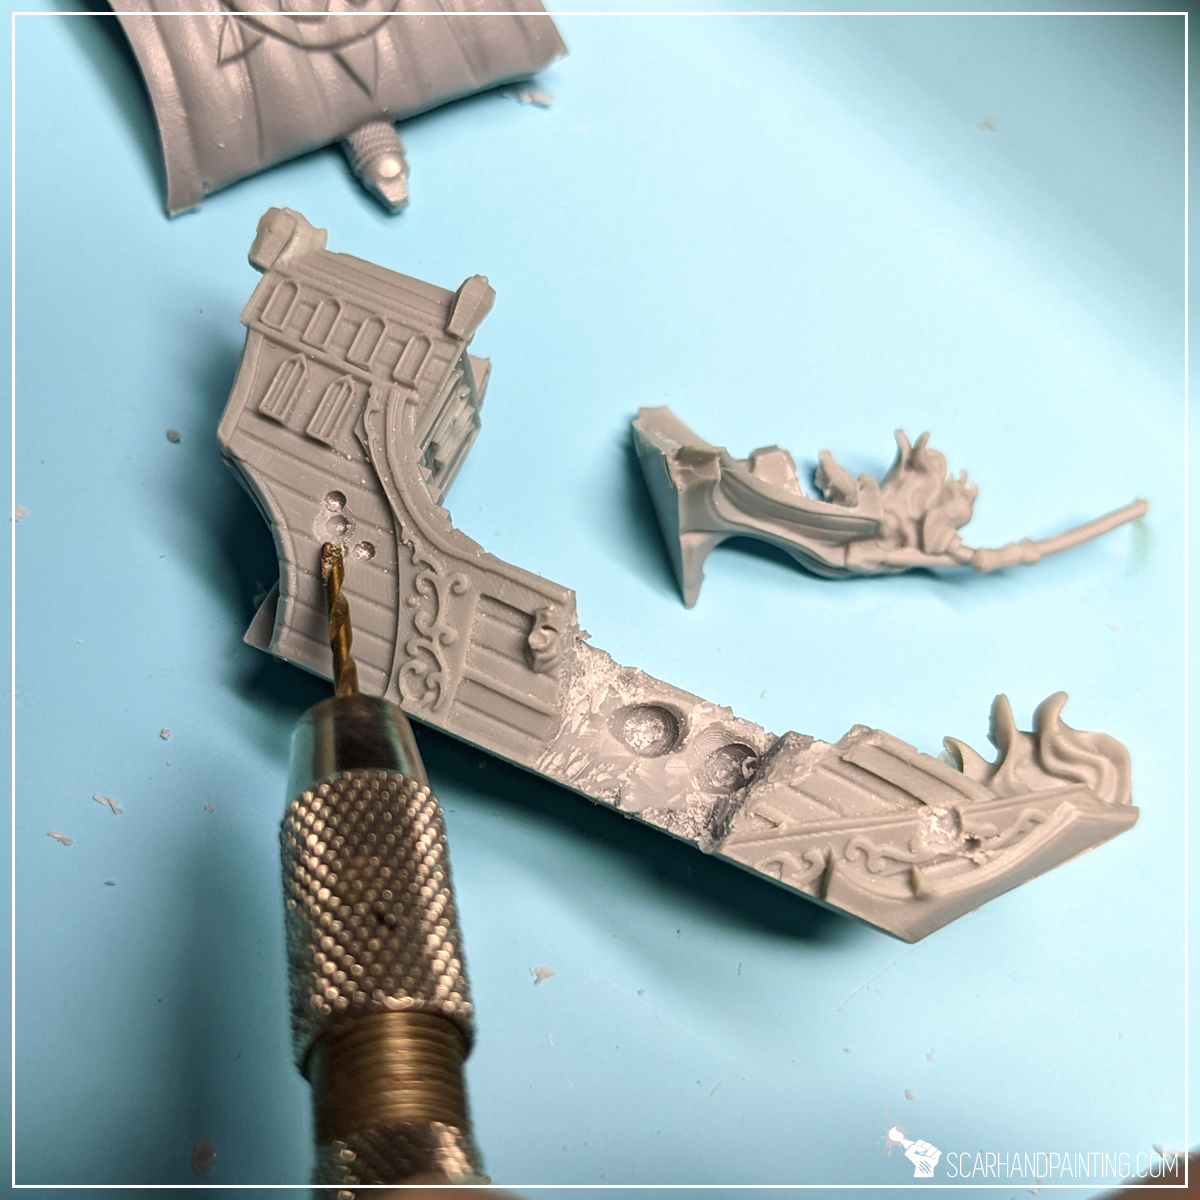
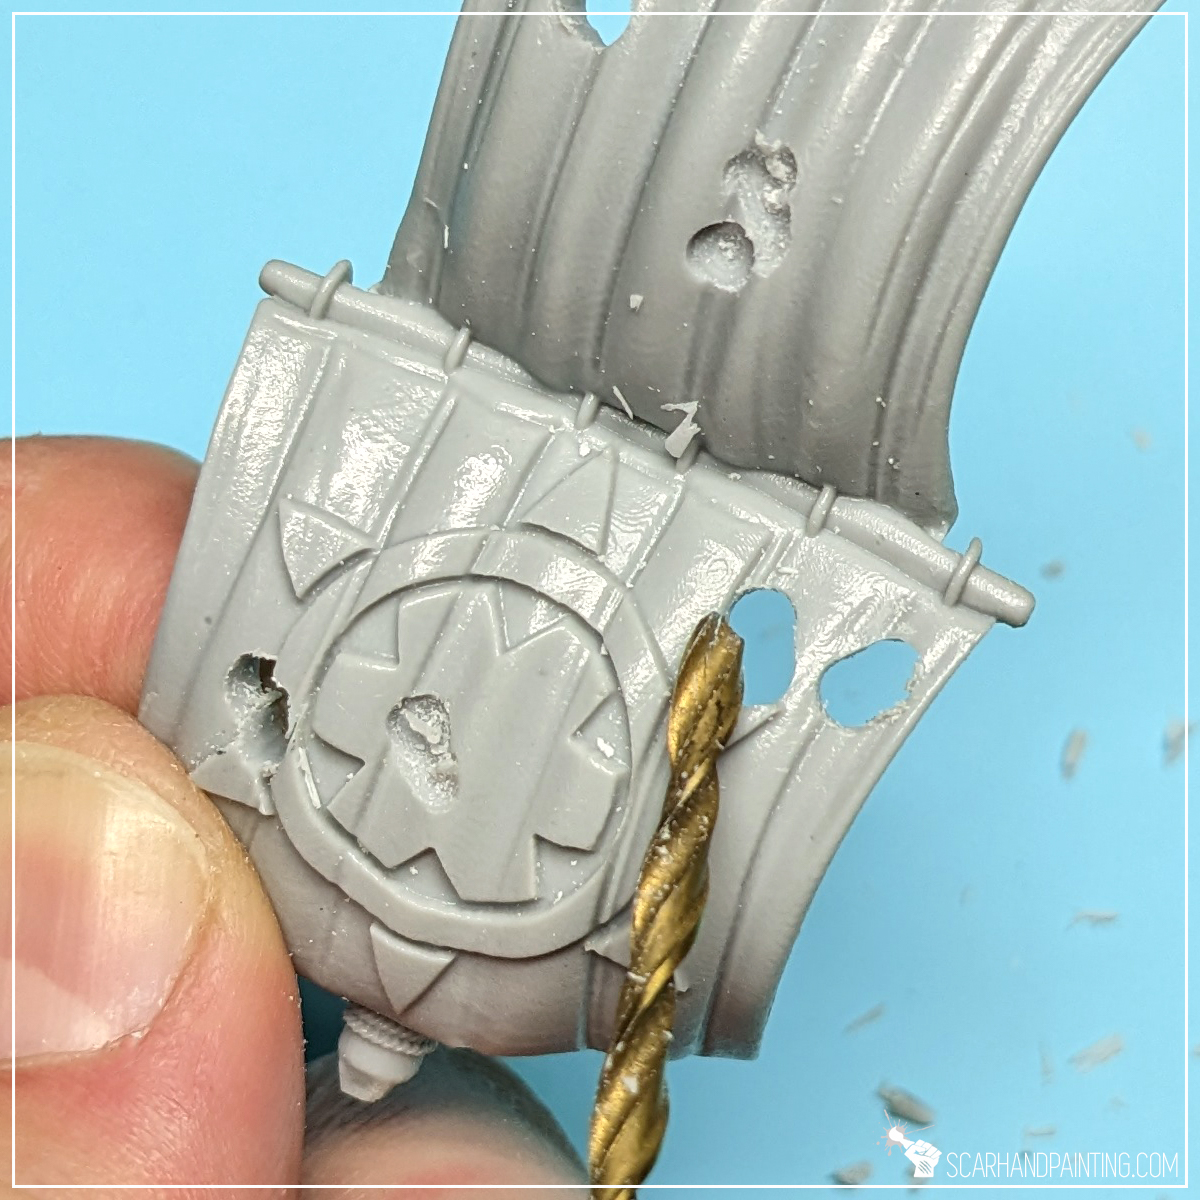
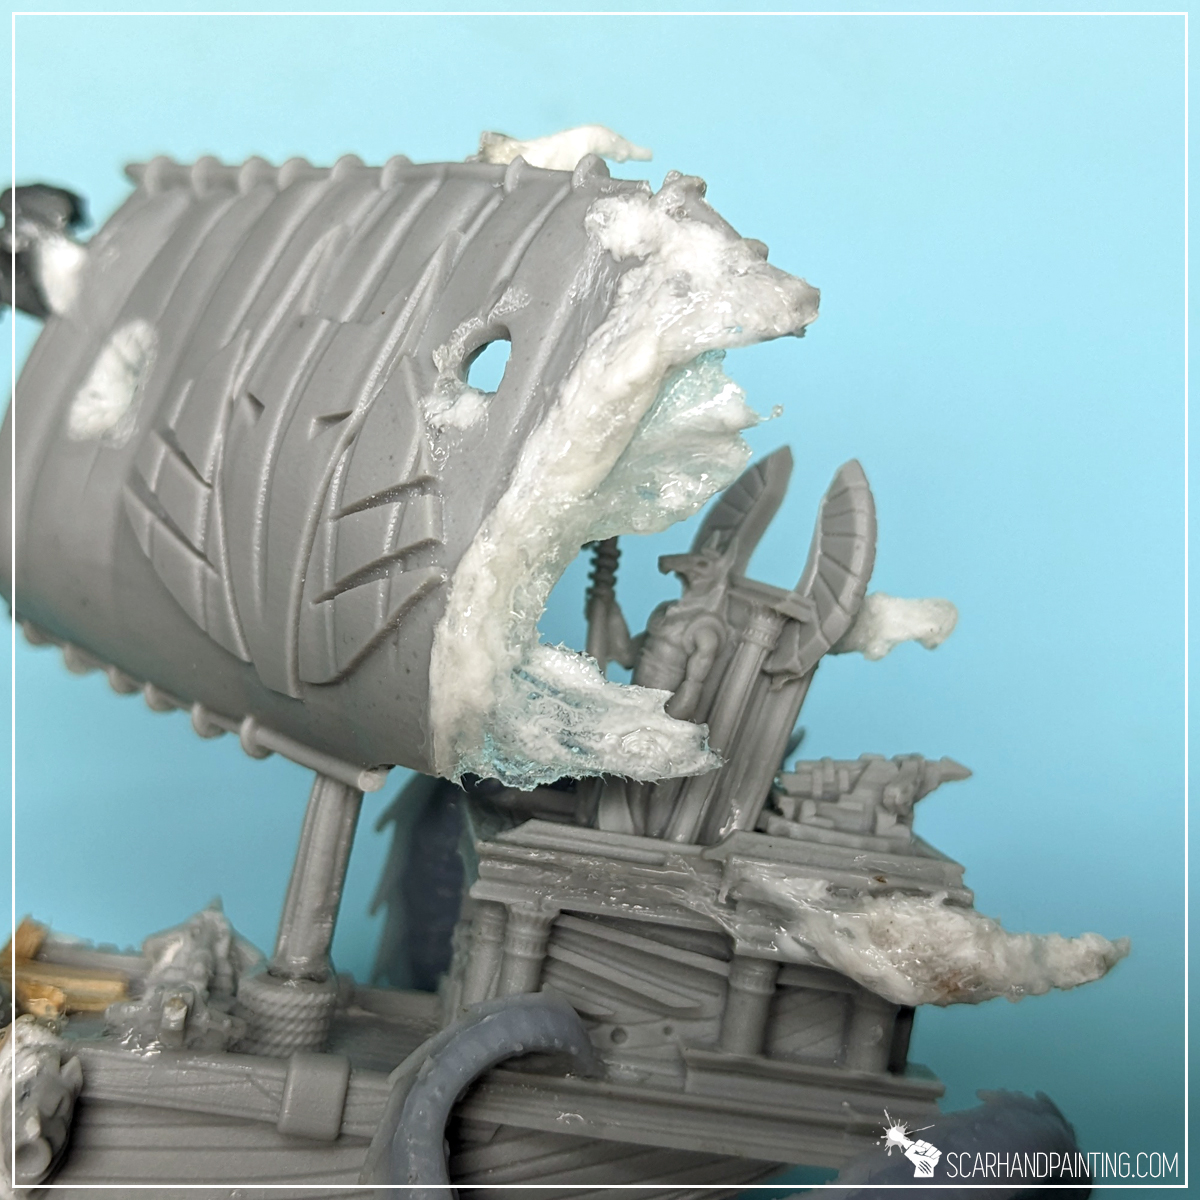
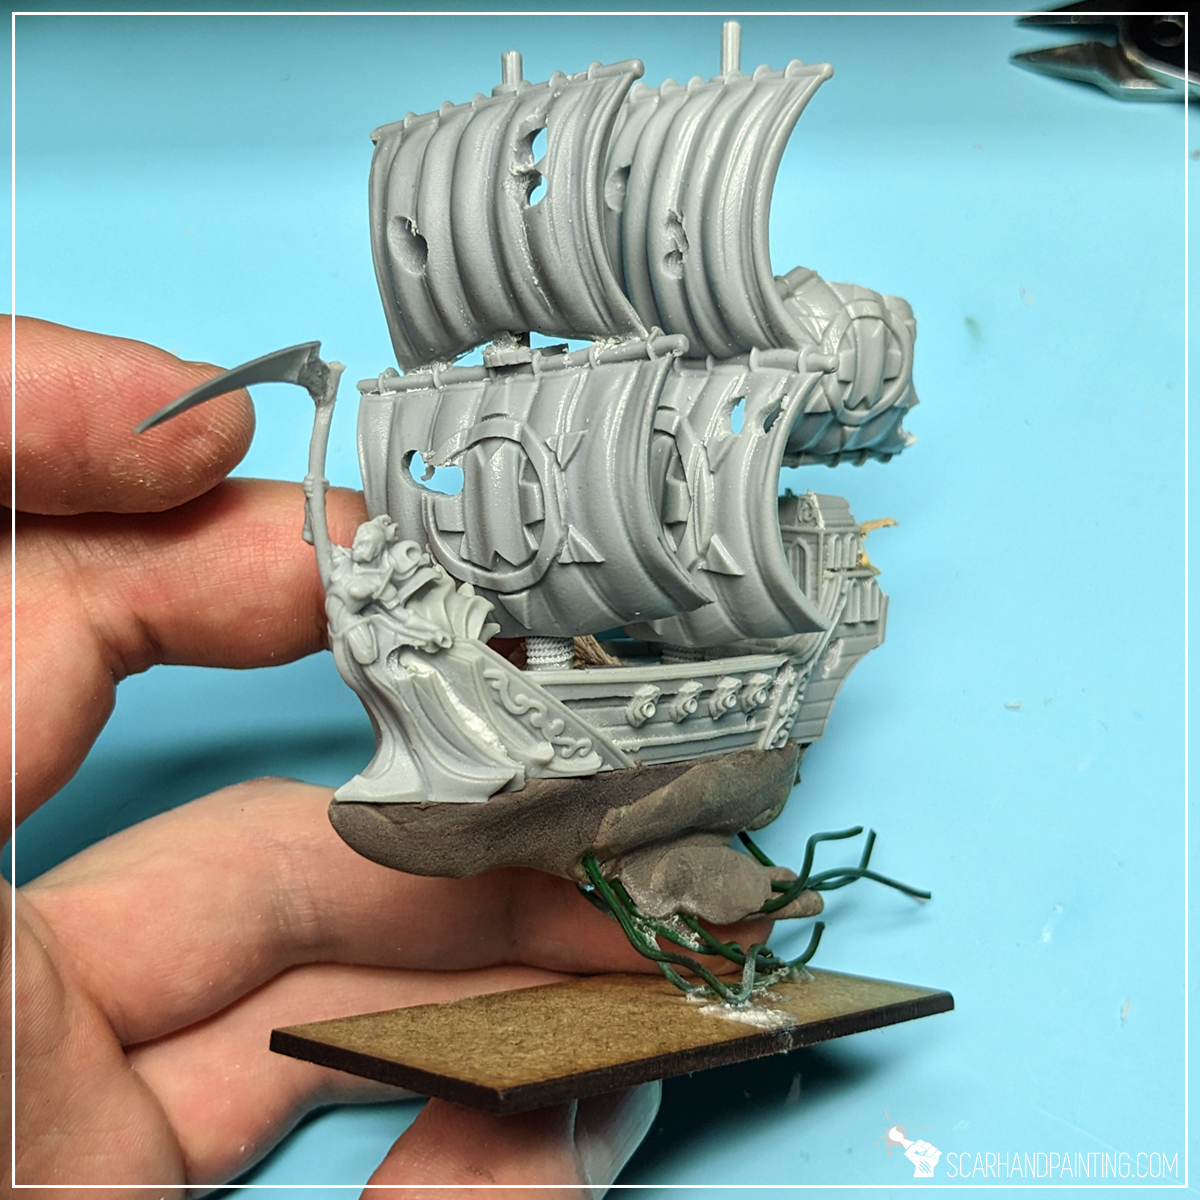
A good way to distinguish ghost ships amongst other fleets is to add significant hull damage. This can be done easily by cutting a chunk of hull with a pair of piers and/or drilling holes with a hand drill. The latter is perfect for damaging sails. For a natural damage look I drilled some holes then moved the drill bit up and down to produce a slightly more irregular shape.
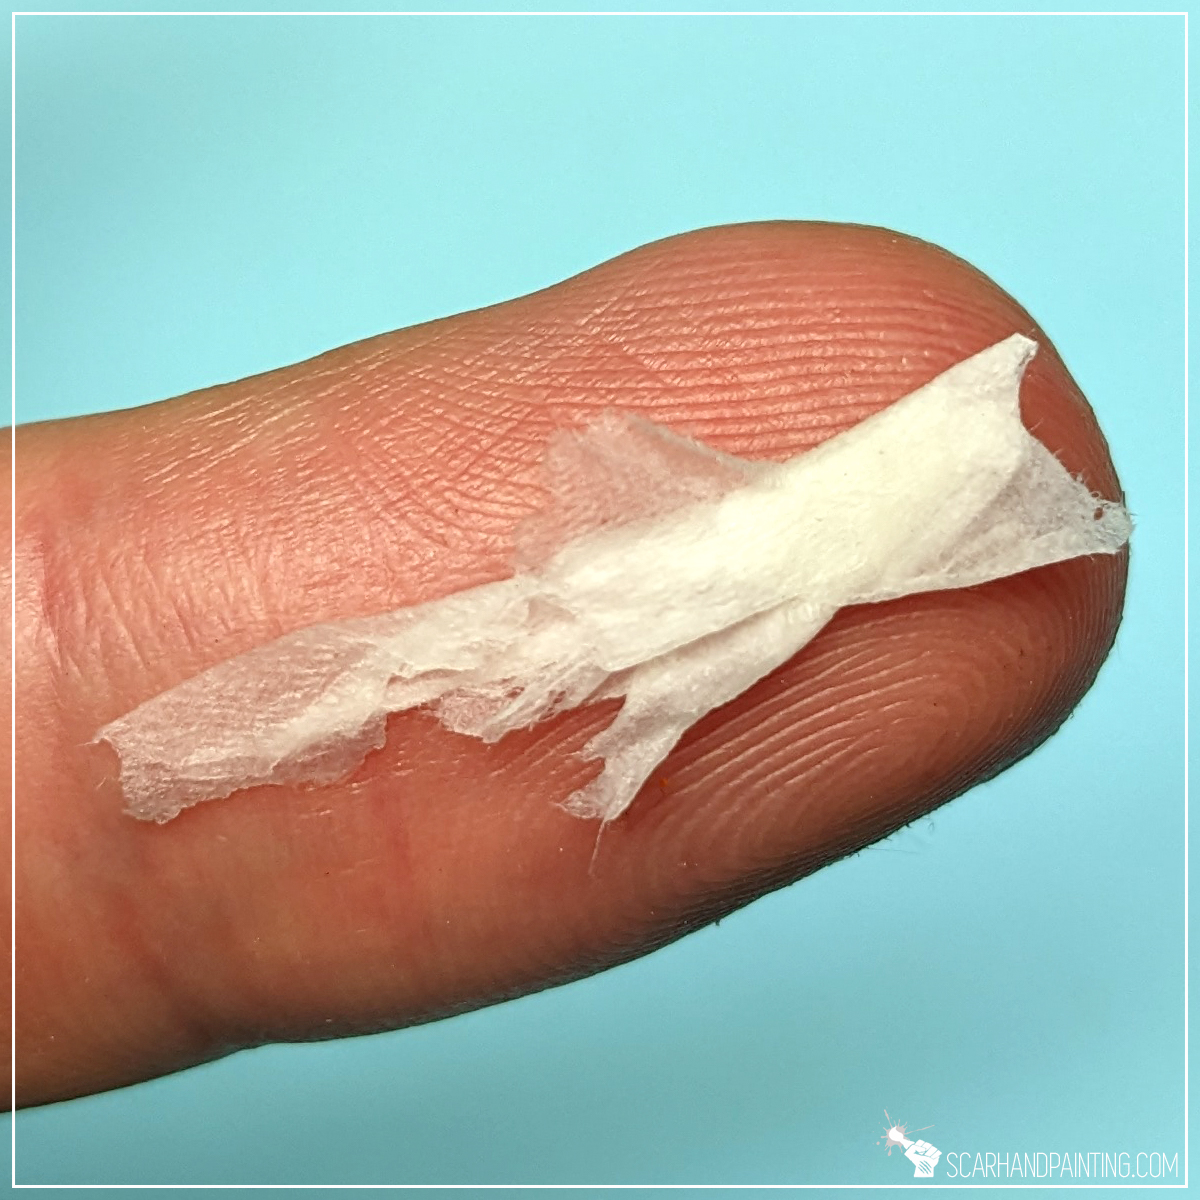
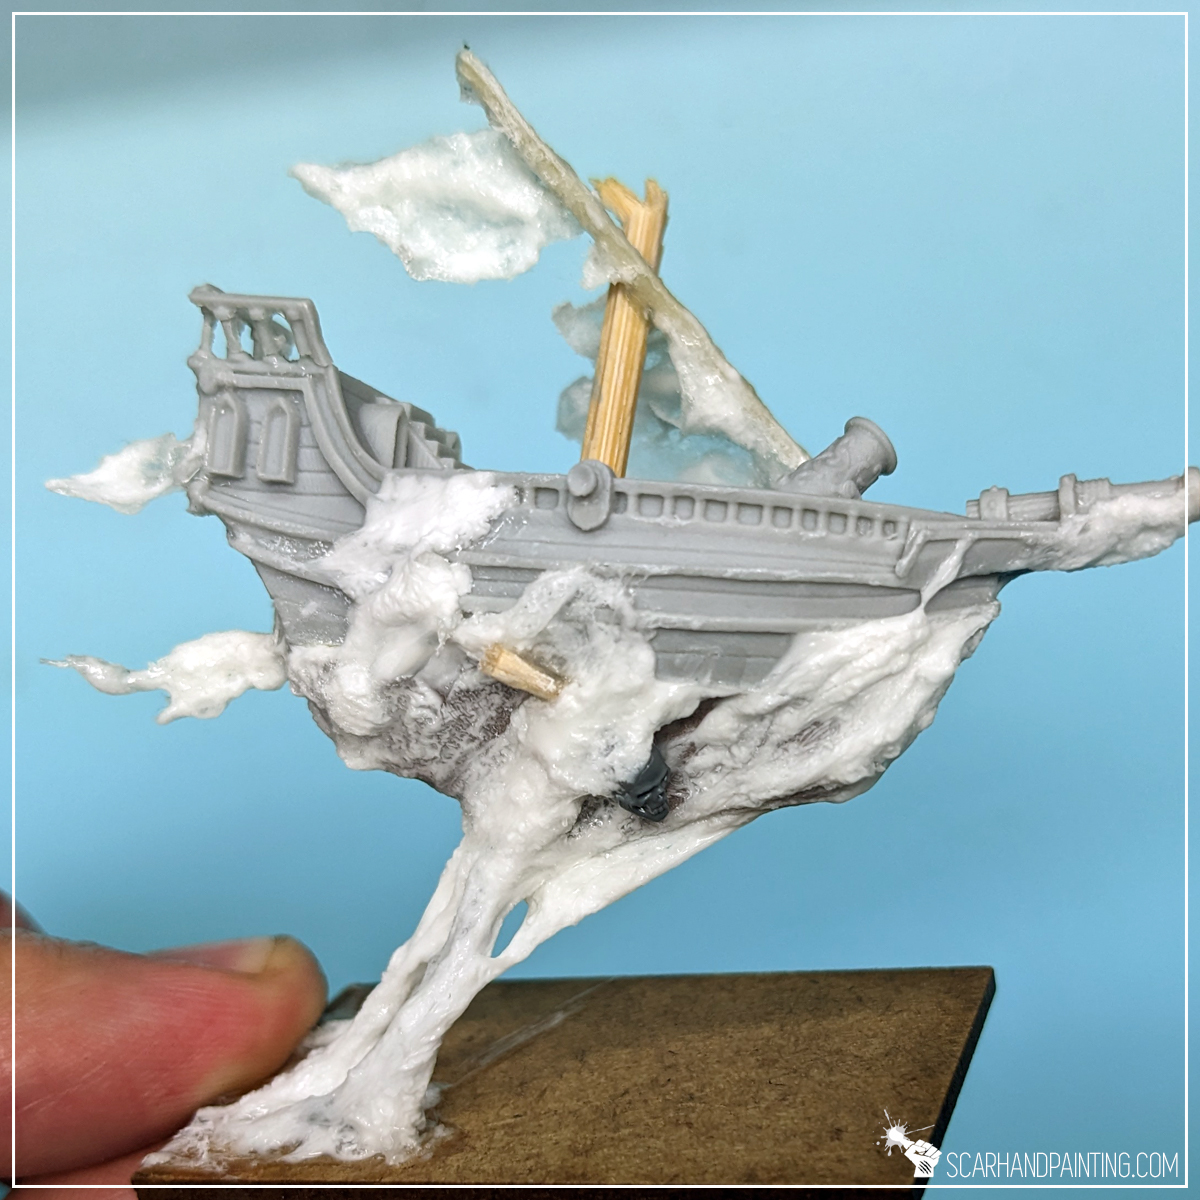
To add more dynamism to the sails and some key features I used a tissue trick. First I moisten a piece of tissue and form a basic shape. I then glued the shape to the ship with Super Glue. I followed by smearing more Super Glue on top of the tissue with a tip of a toothpick. Once hardened the shape made a solid foundation for some more advanced techniques.
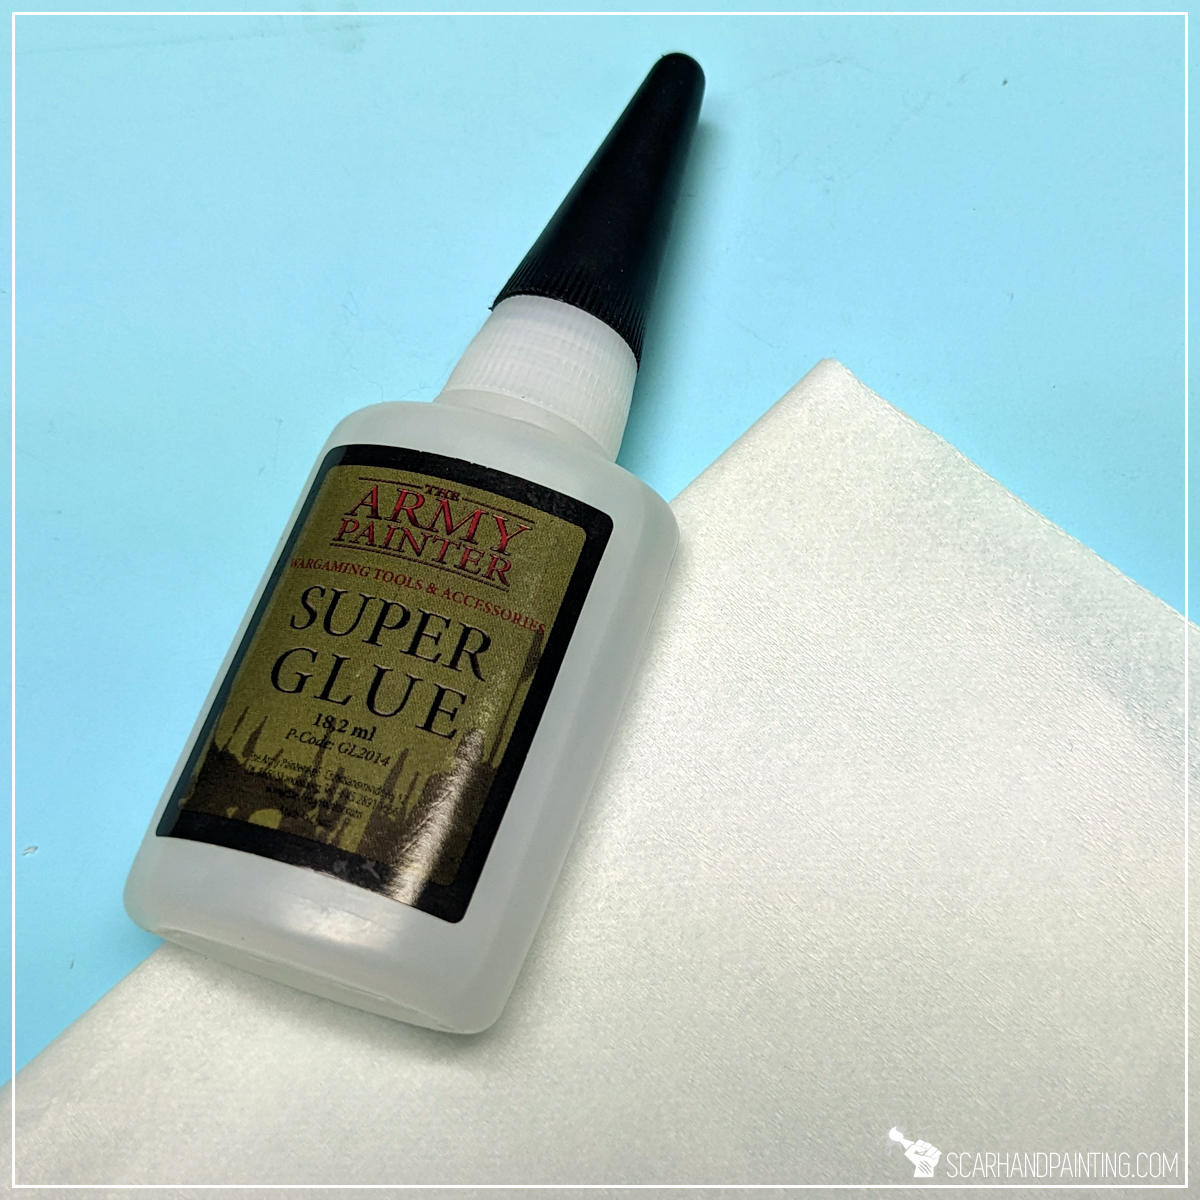
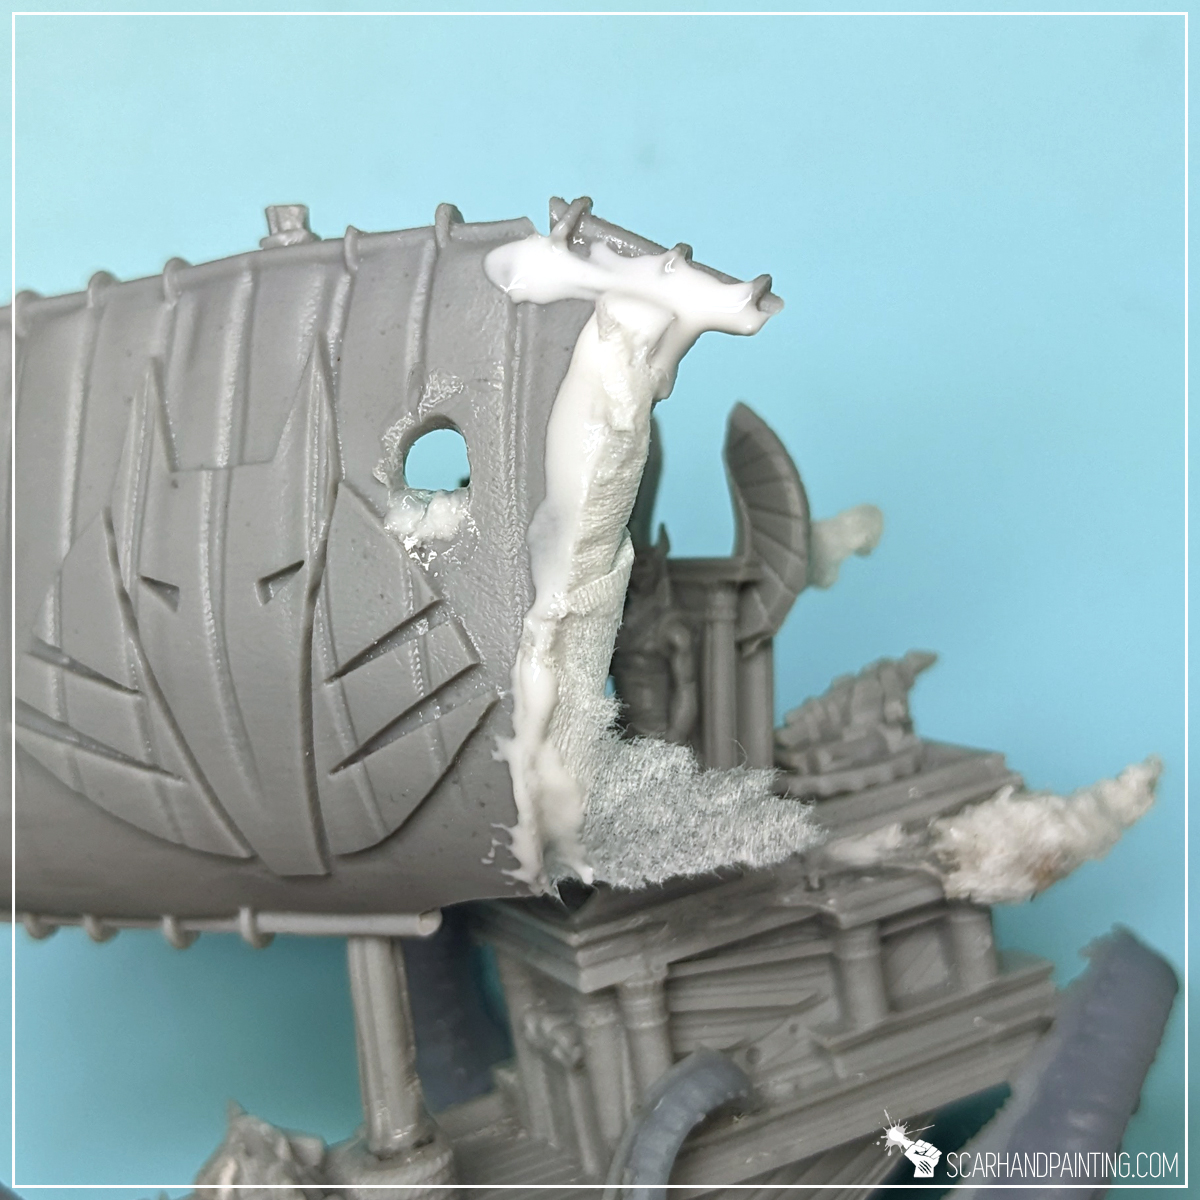
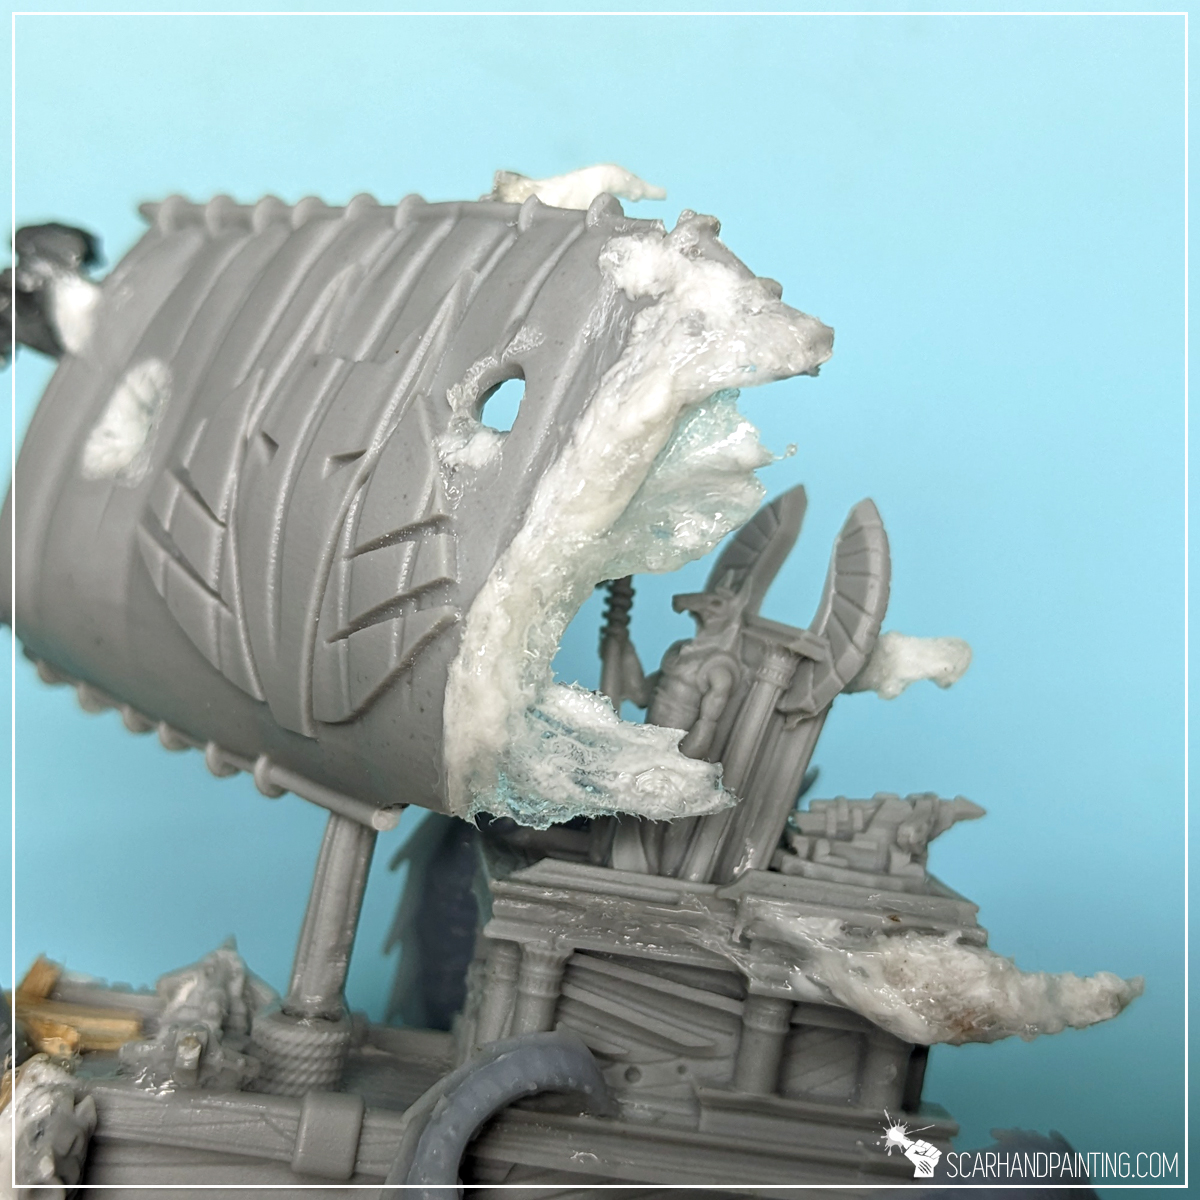
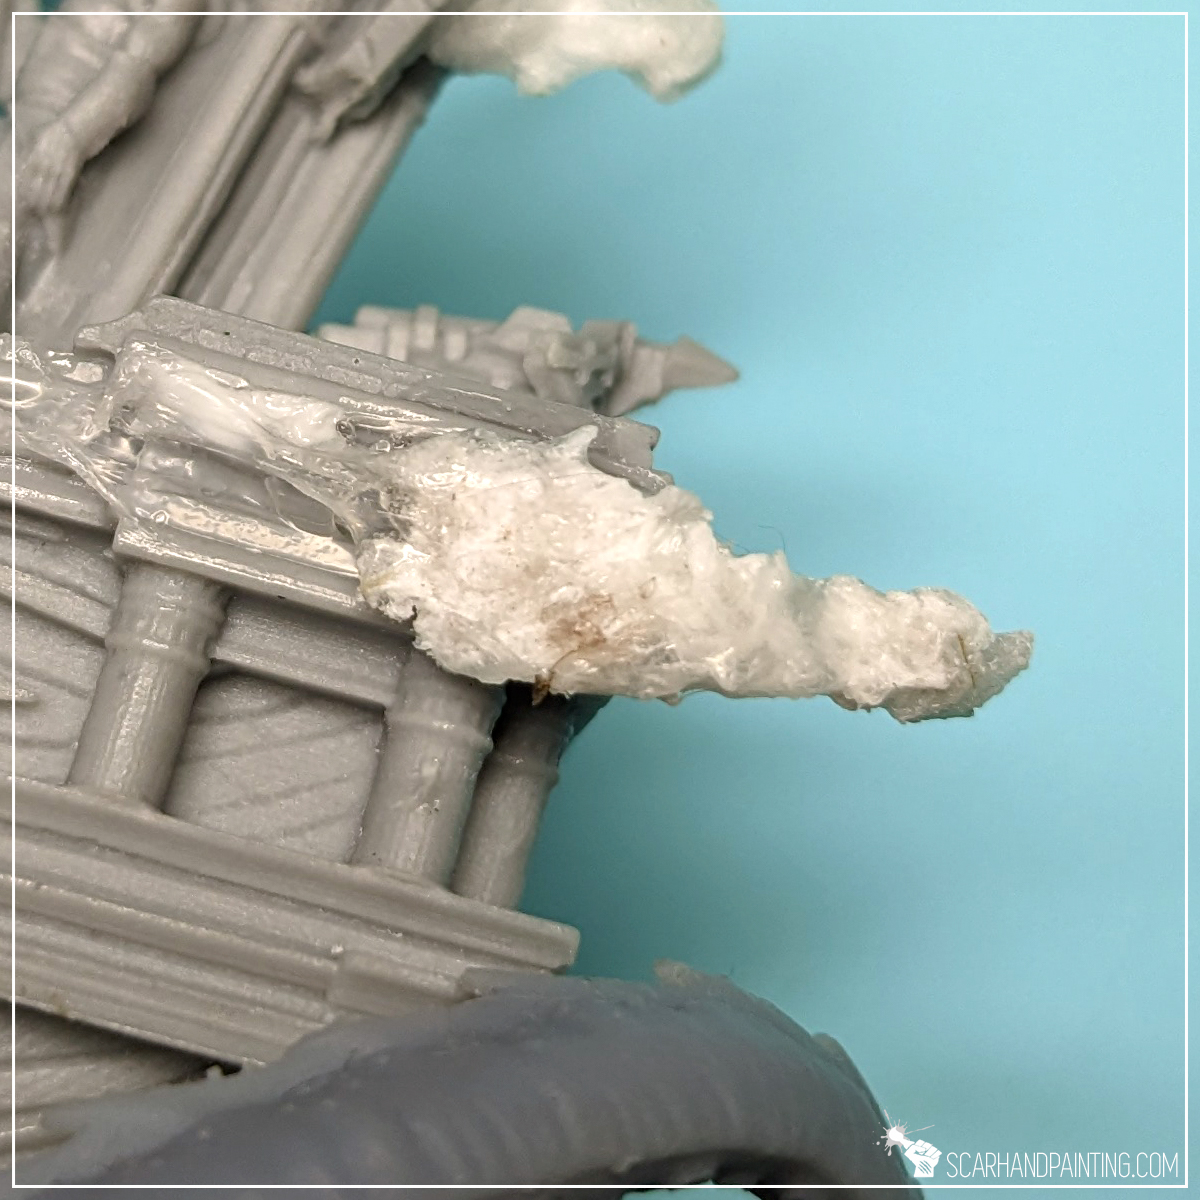
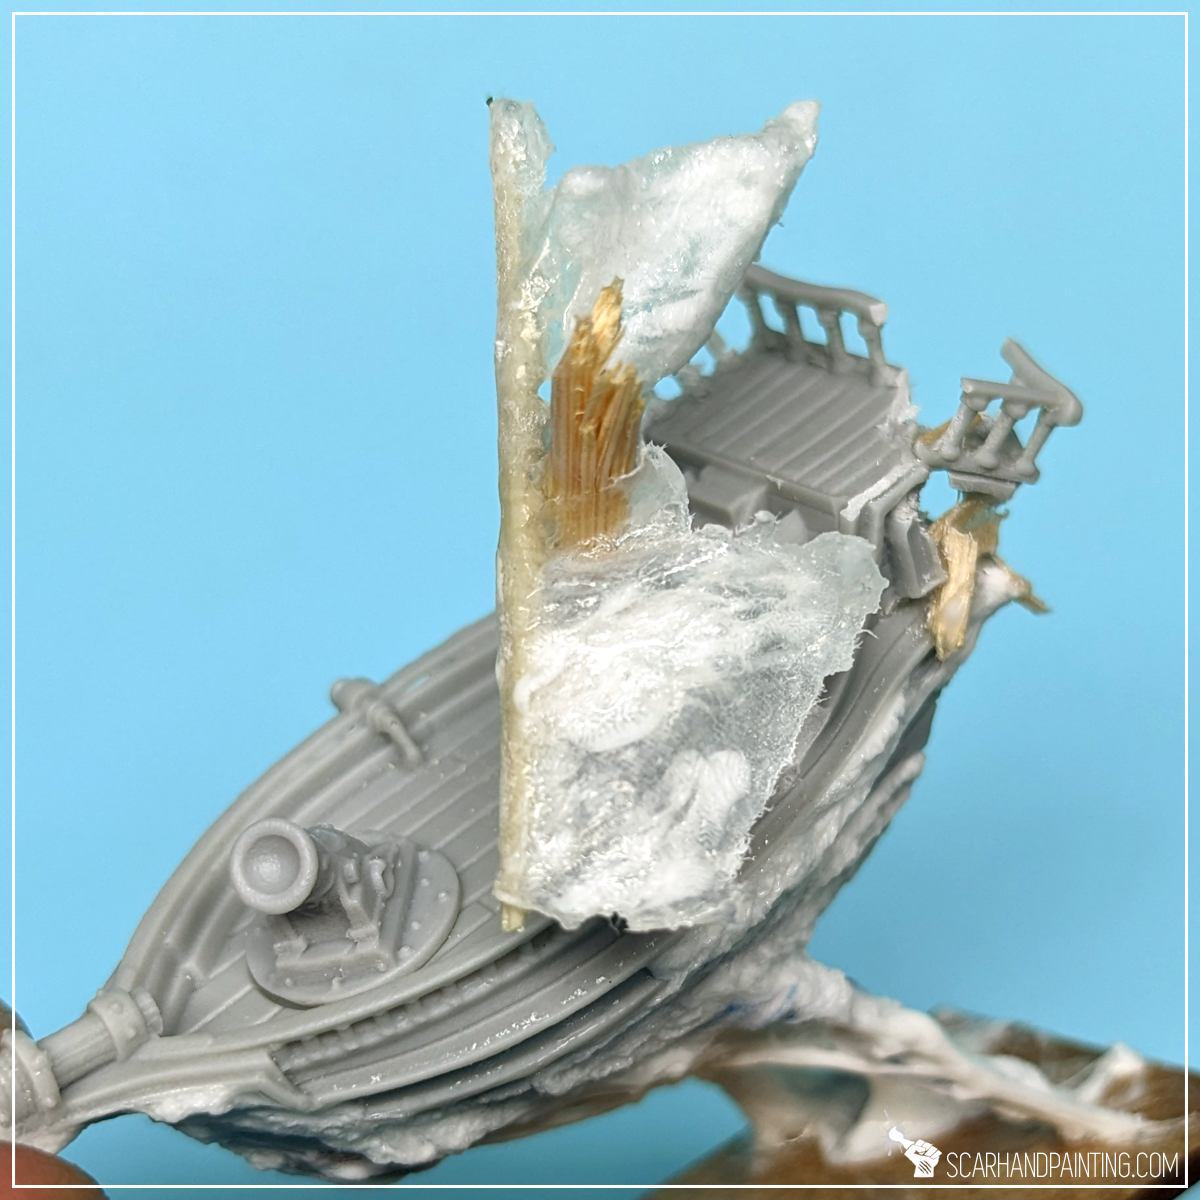
One of the most recognisable ghostly features is the body/hull distortion dragged by the etheric winds. A good way to represent this is by mixing PVA and Super Glue (cyanoacrylate) then smearing and dragging the resulting goo on top of ship features. The way I usually go about it is to apply some PVA glue on the surface, then apply Super glue on top and start smearing with the tip of a toothpick. I always try to smear the ‘glue goo’ in one direction to form dynamic shapes and interesting texture. Once the base shape is formed I let it dry and just let the goo do its thing.
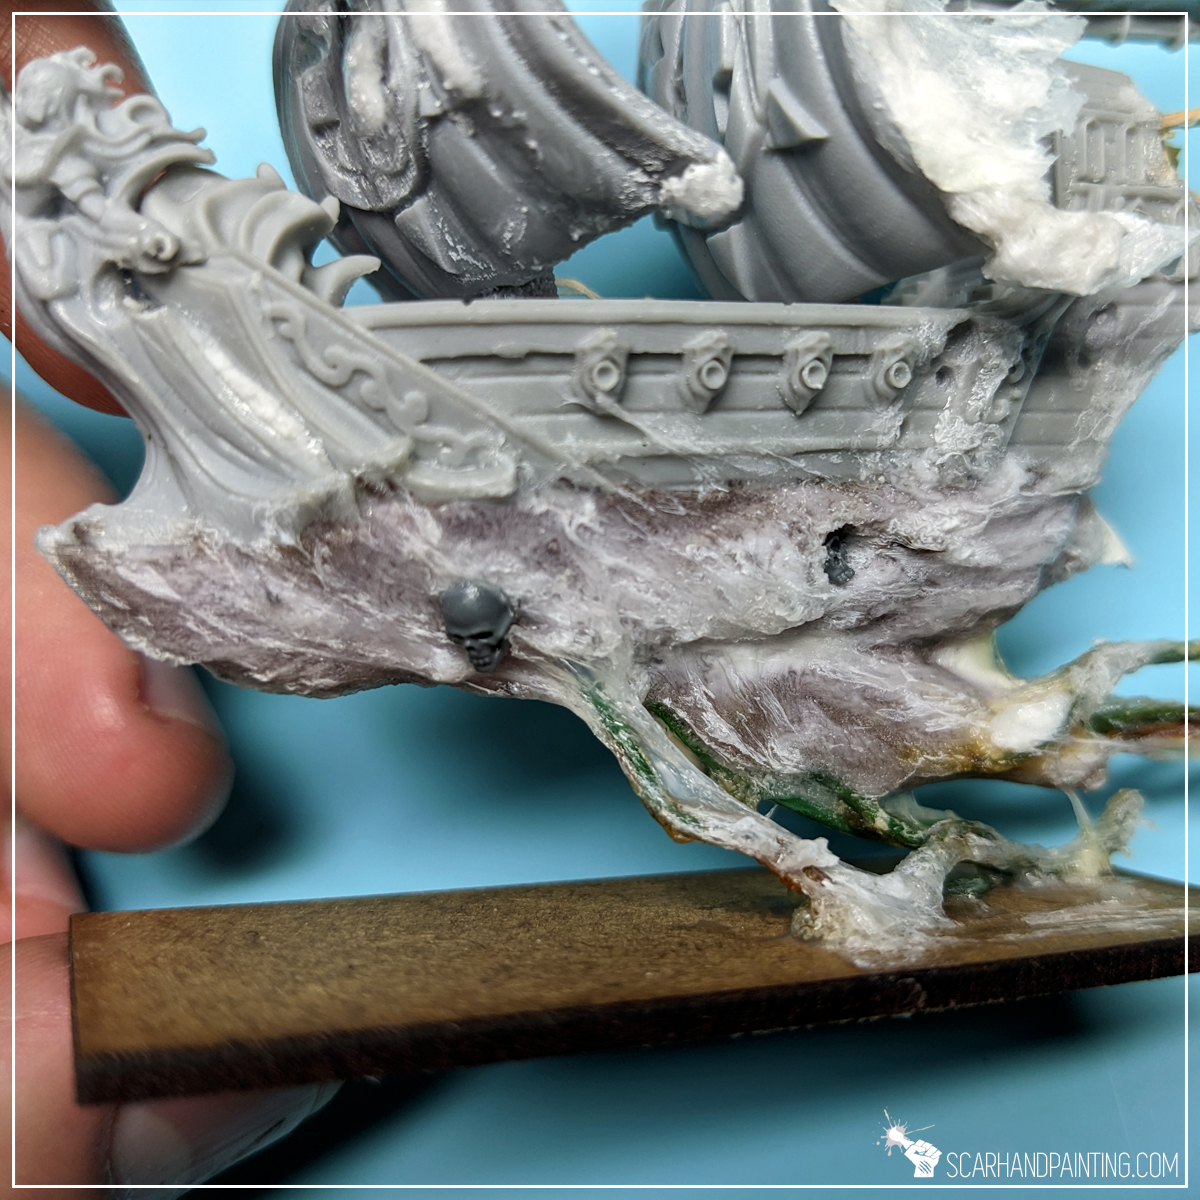
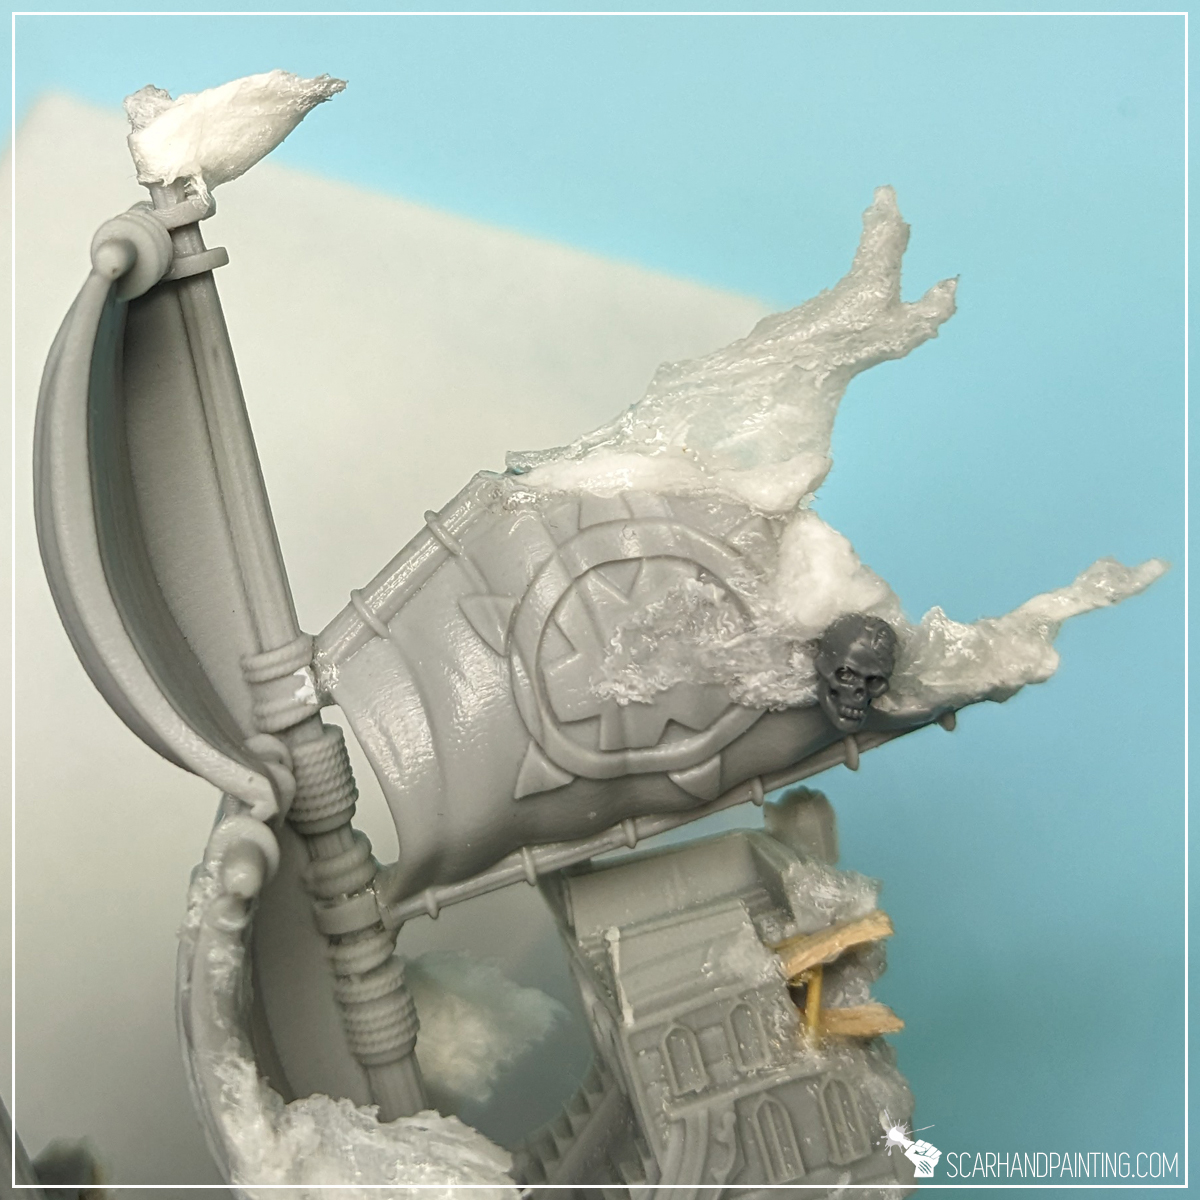
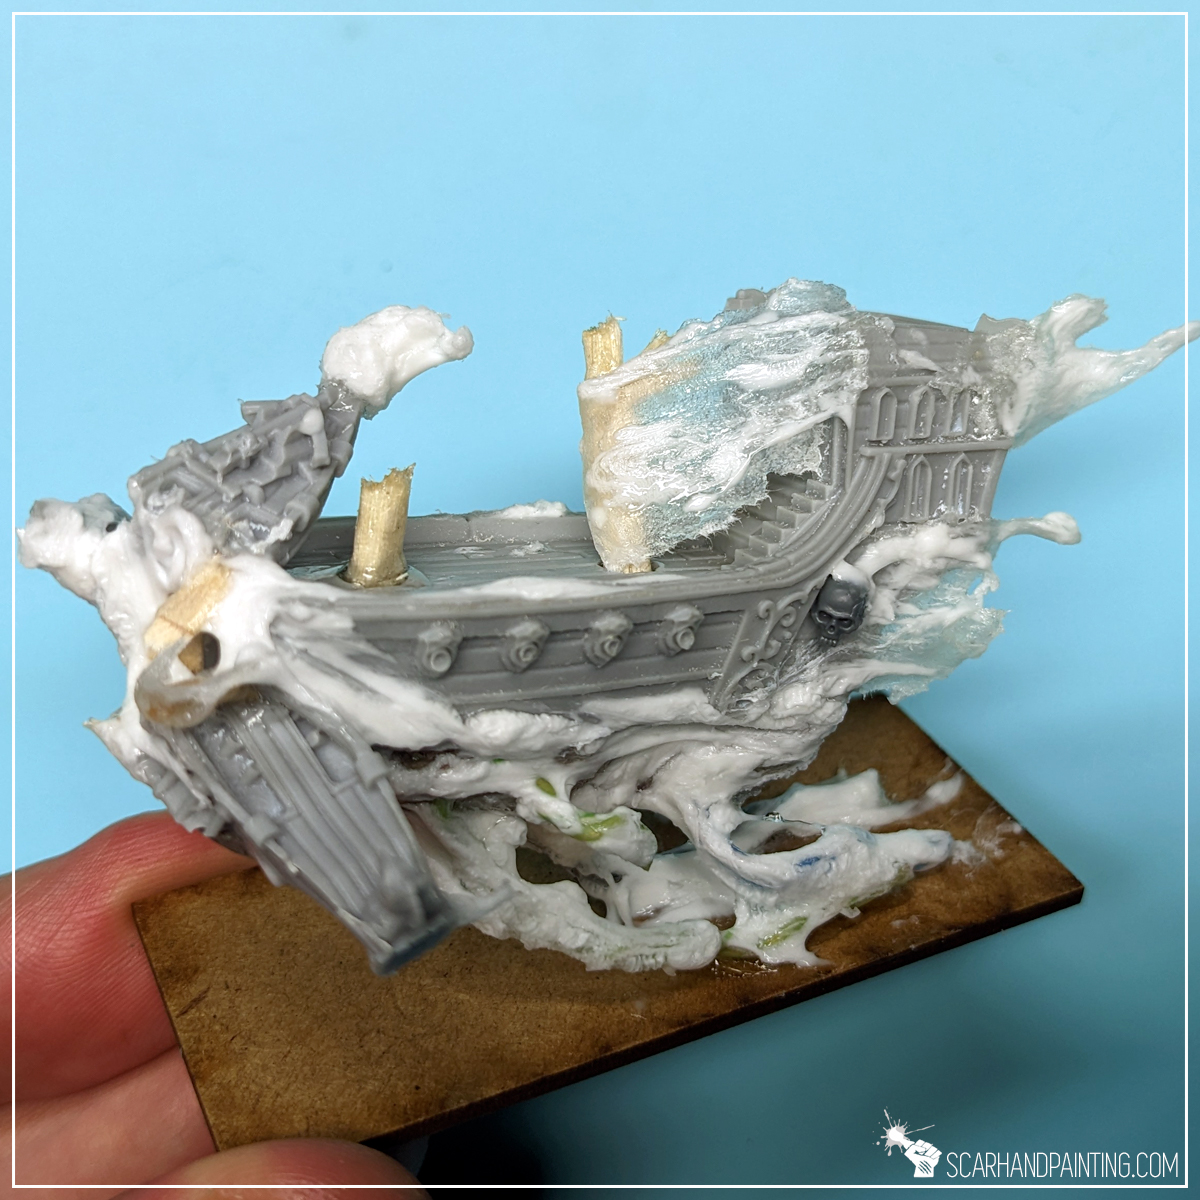
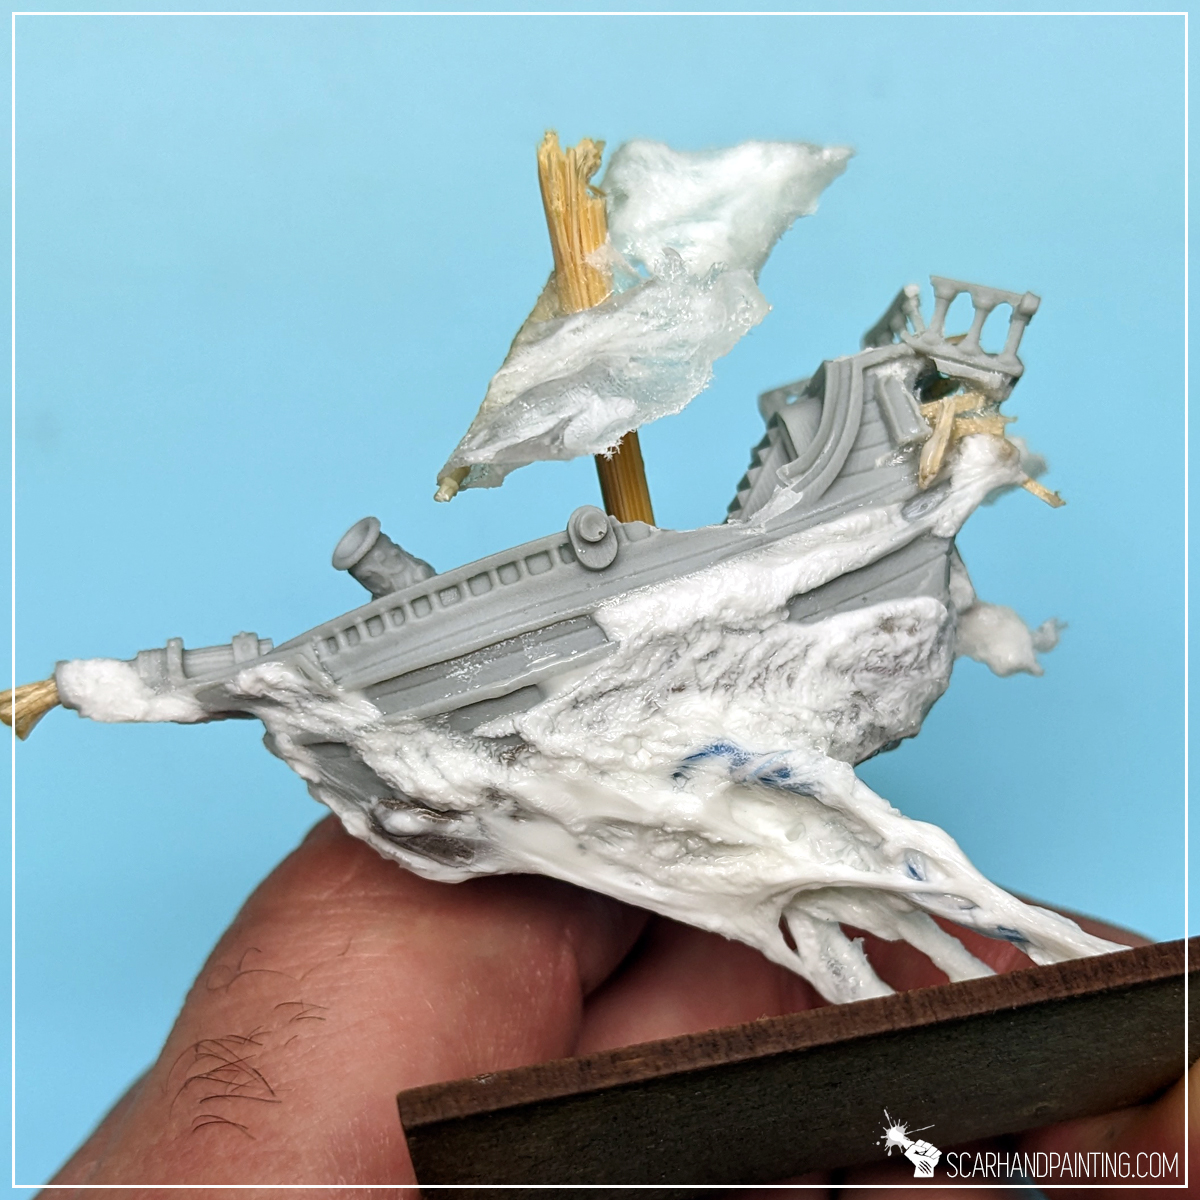
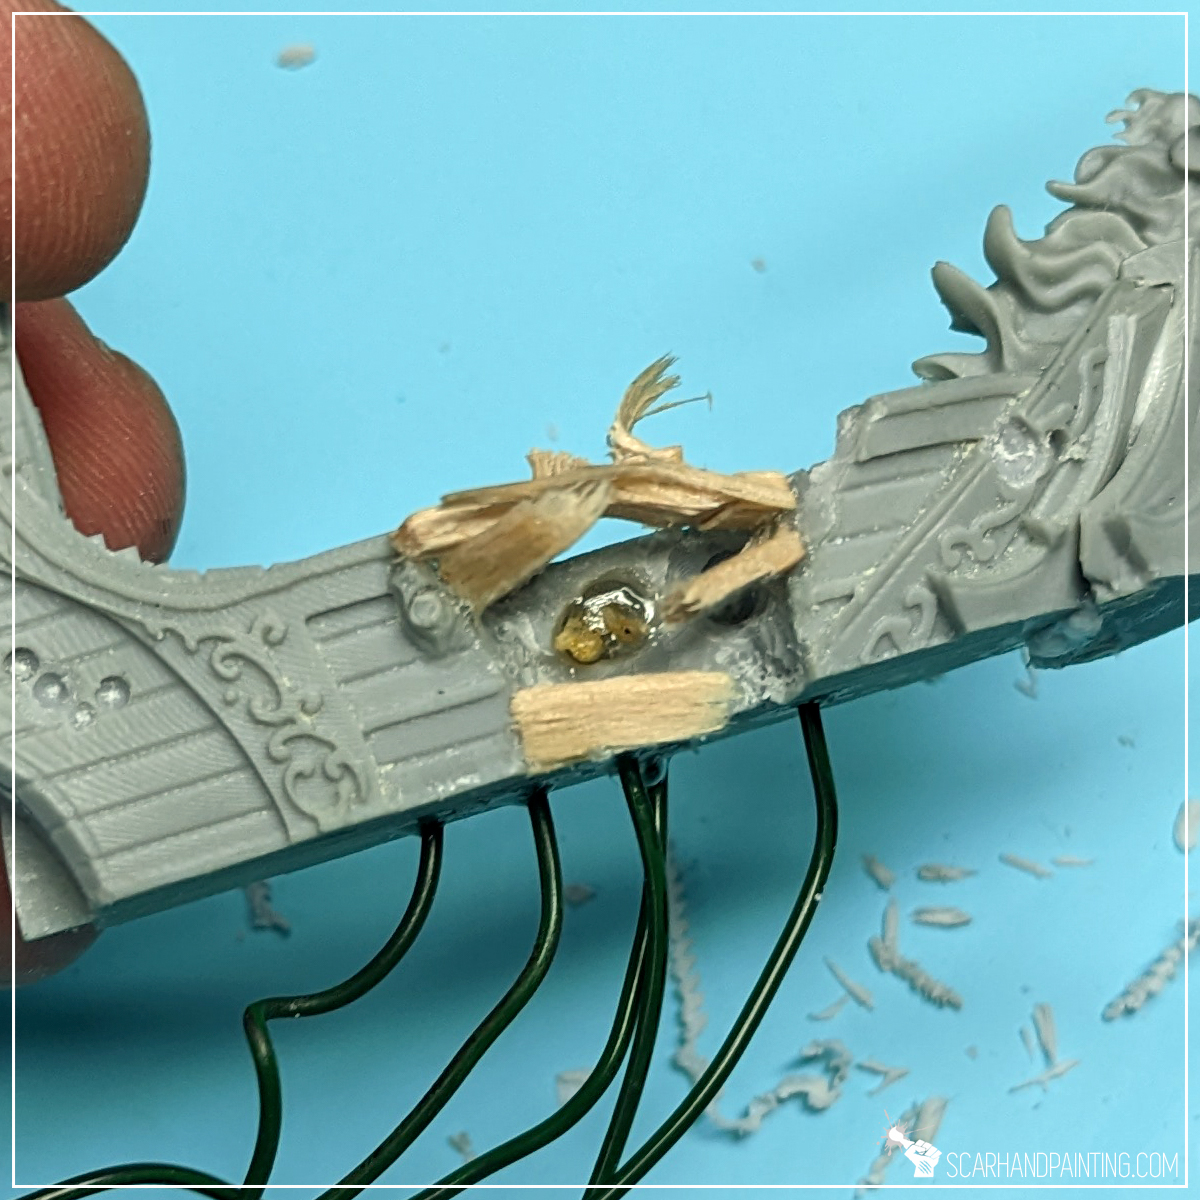
An interesting way of presenting a ghost ship is to take it out of the water. A ship drifting in the air has a truly menacing feel to it. The way I did it was to drill small holes in the underside of the ship, then glue metal wires into them. Once glued firmly I then bent the wires to look like floating under the ship.
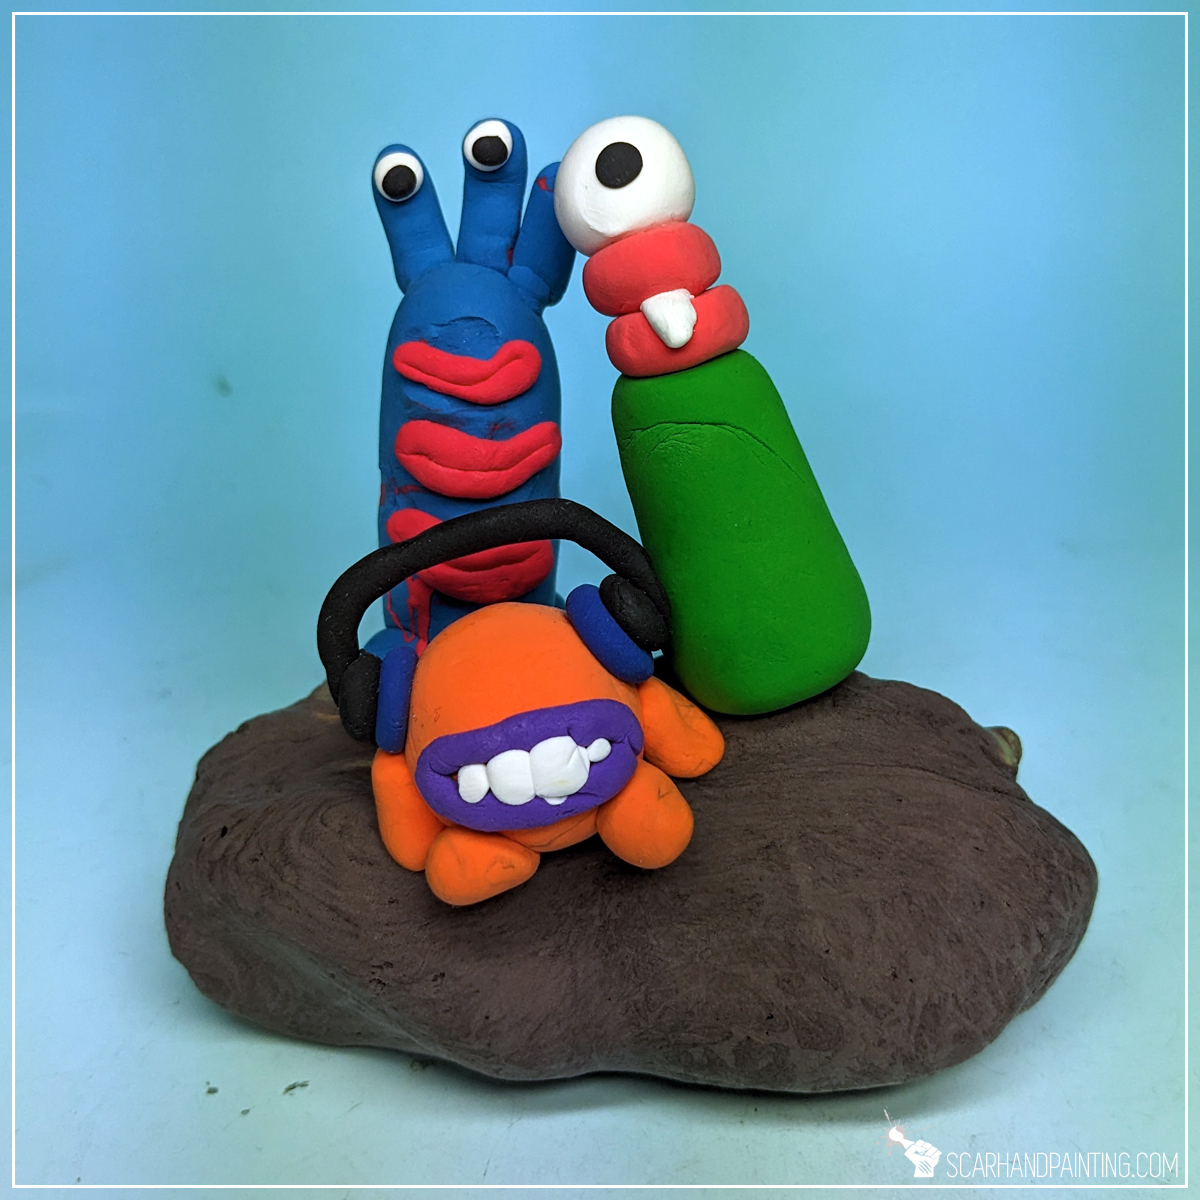
Next I modeled an underside of the hull using a Hey Clay, which is a plasticine-like toy for kids. It dries firmly pretty fast, becoming semi hard and very lightweight afterwards. Perfect for this kind of work, with glue goo to further improve its durability and texture.
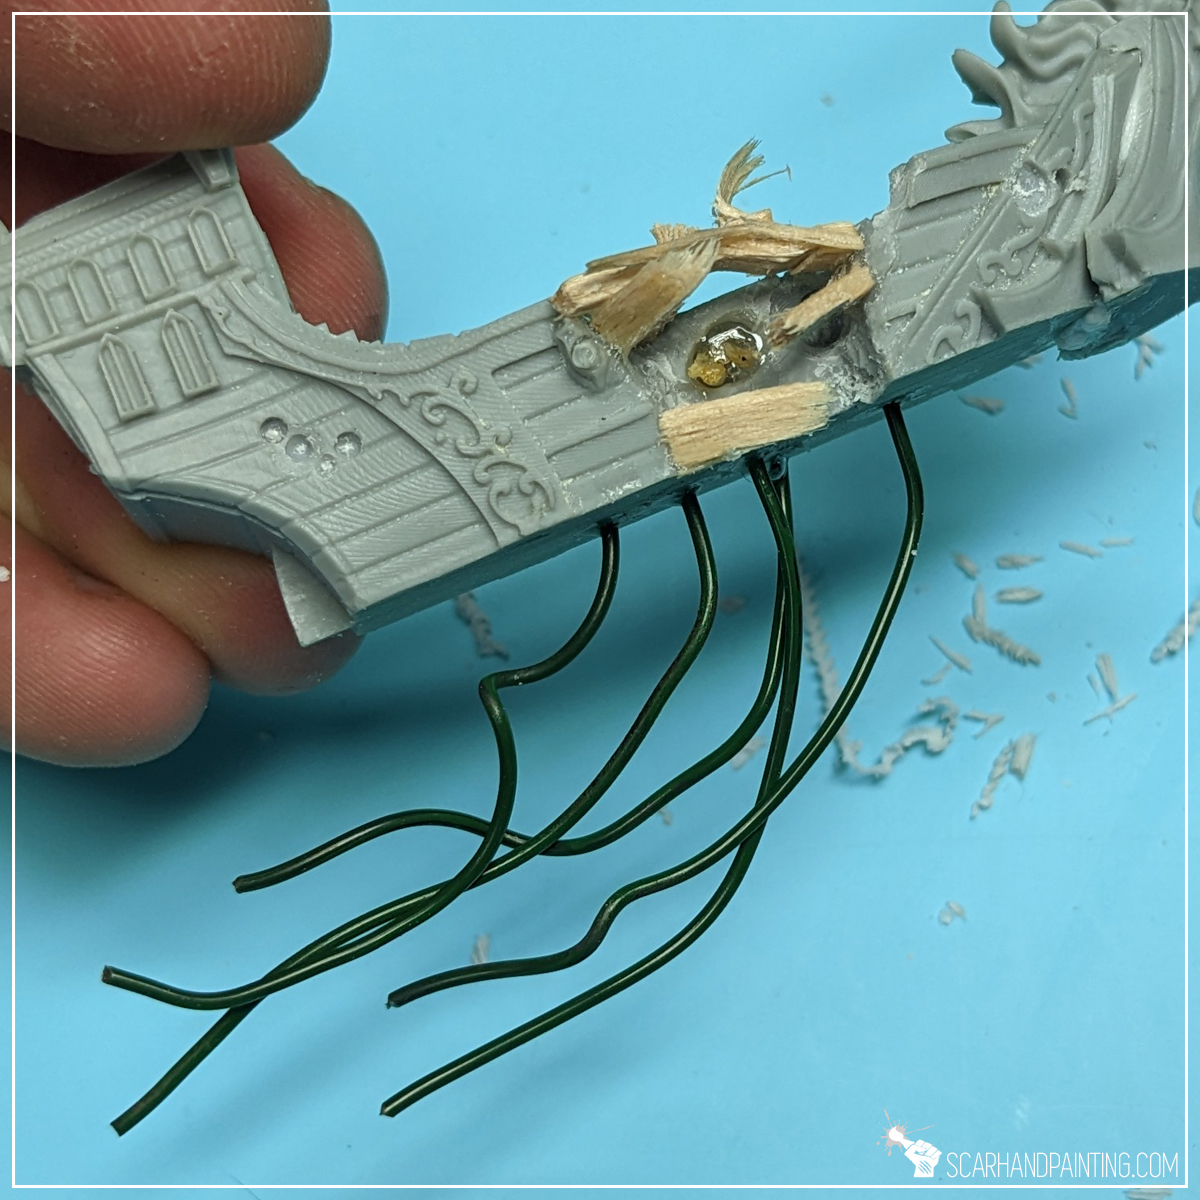
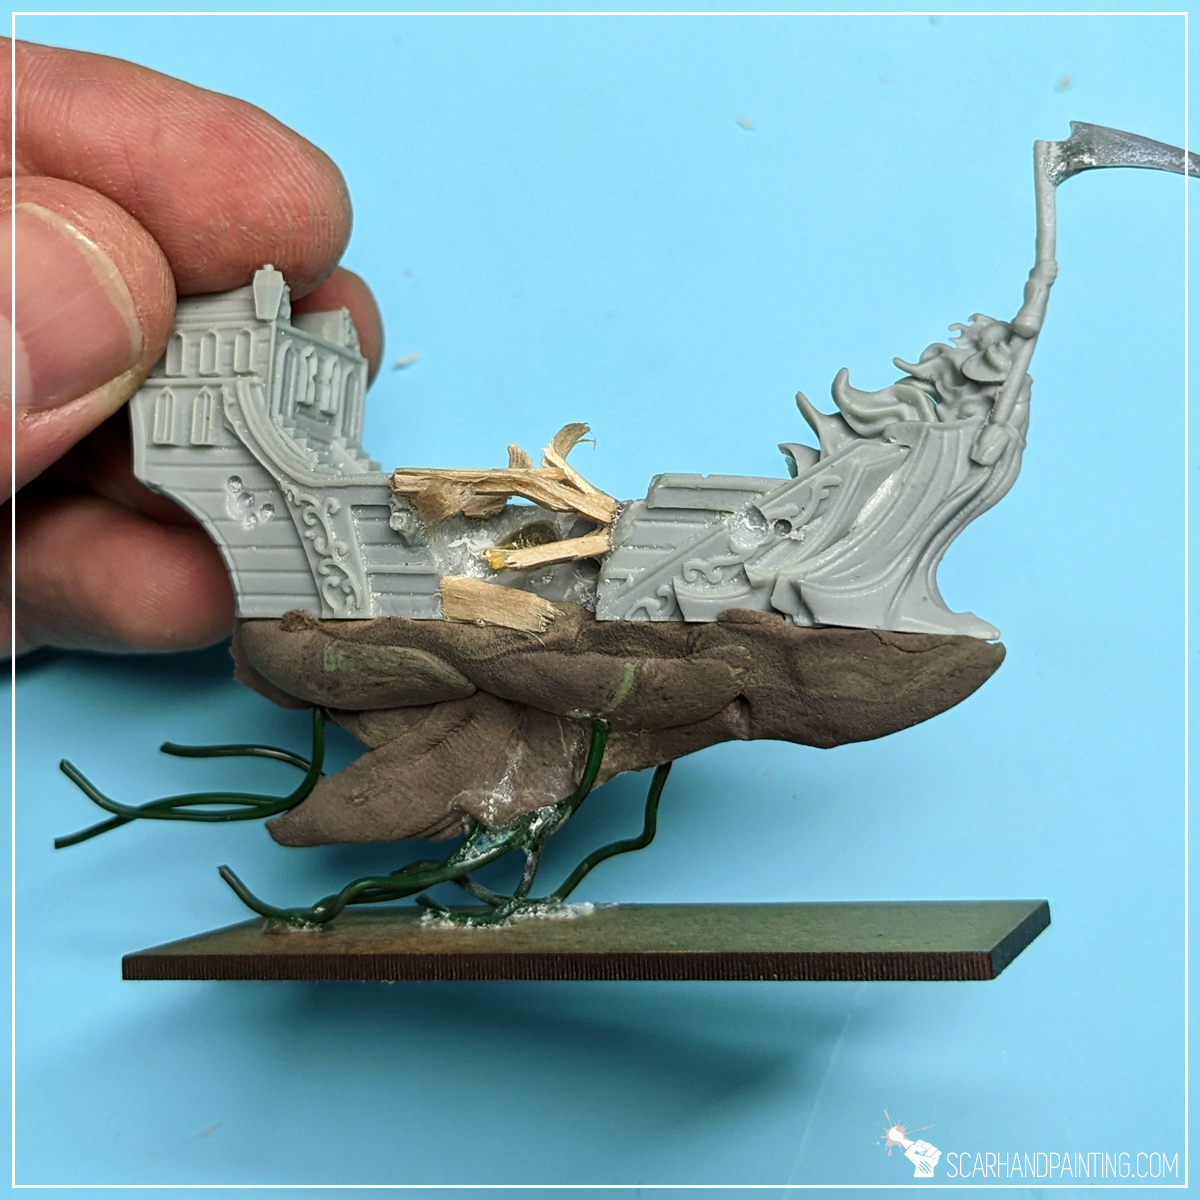
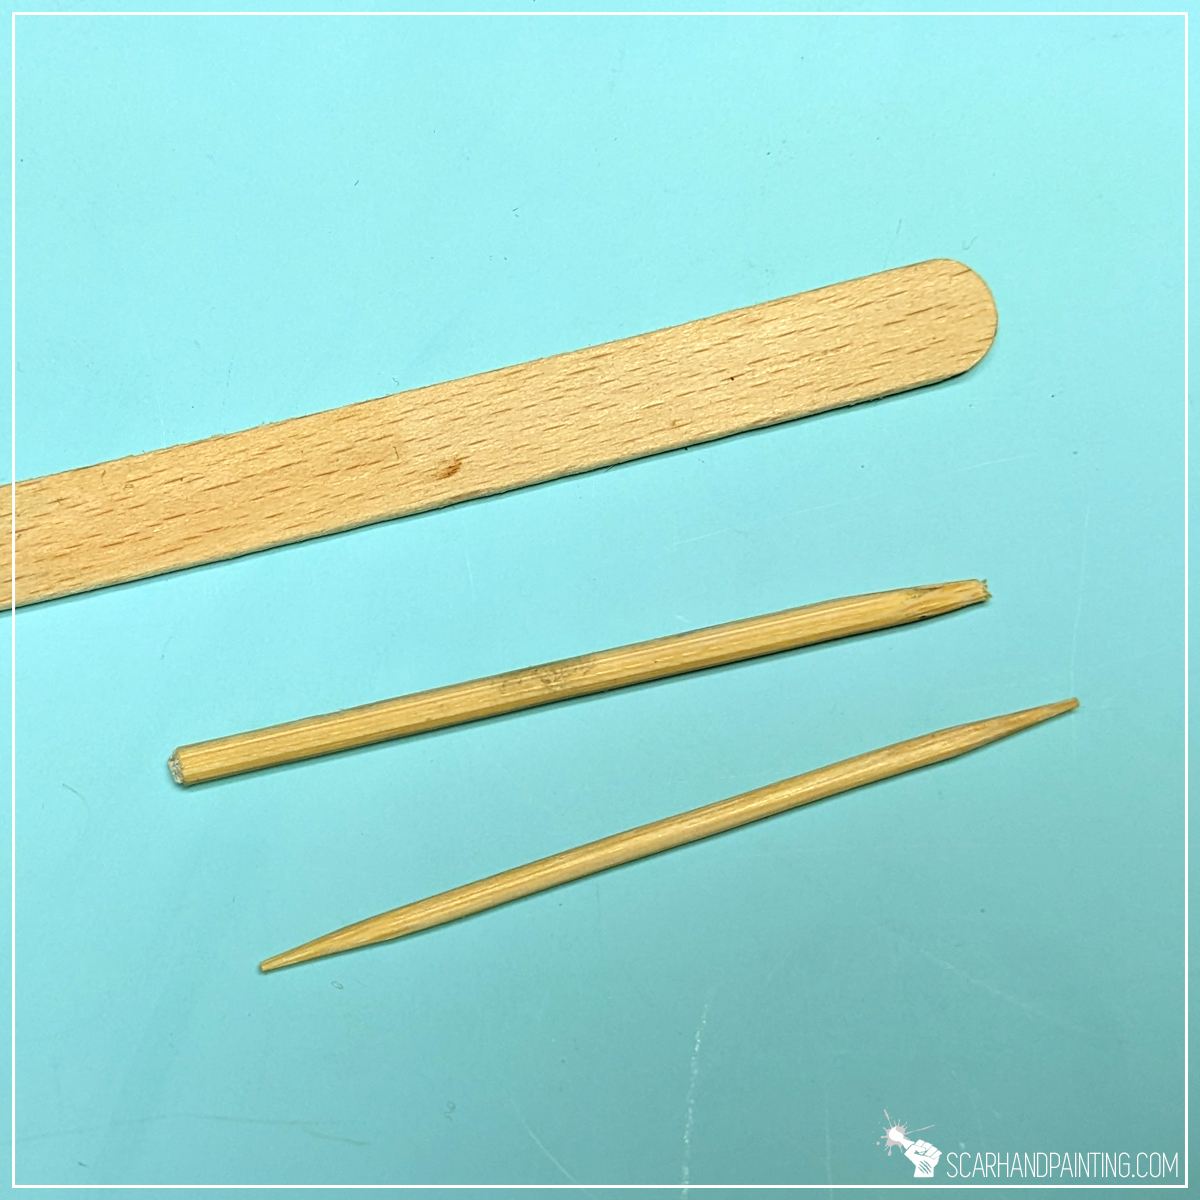
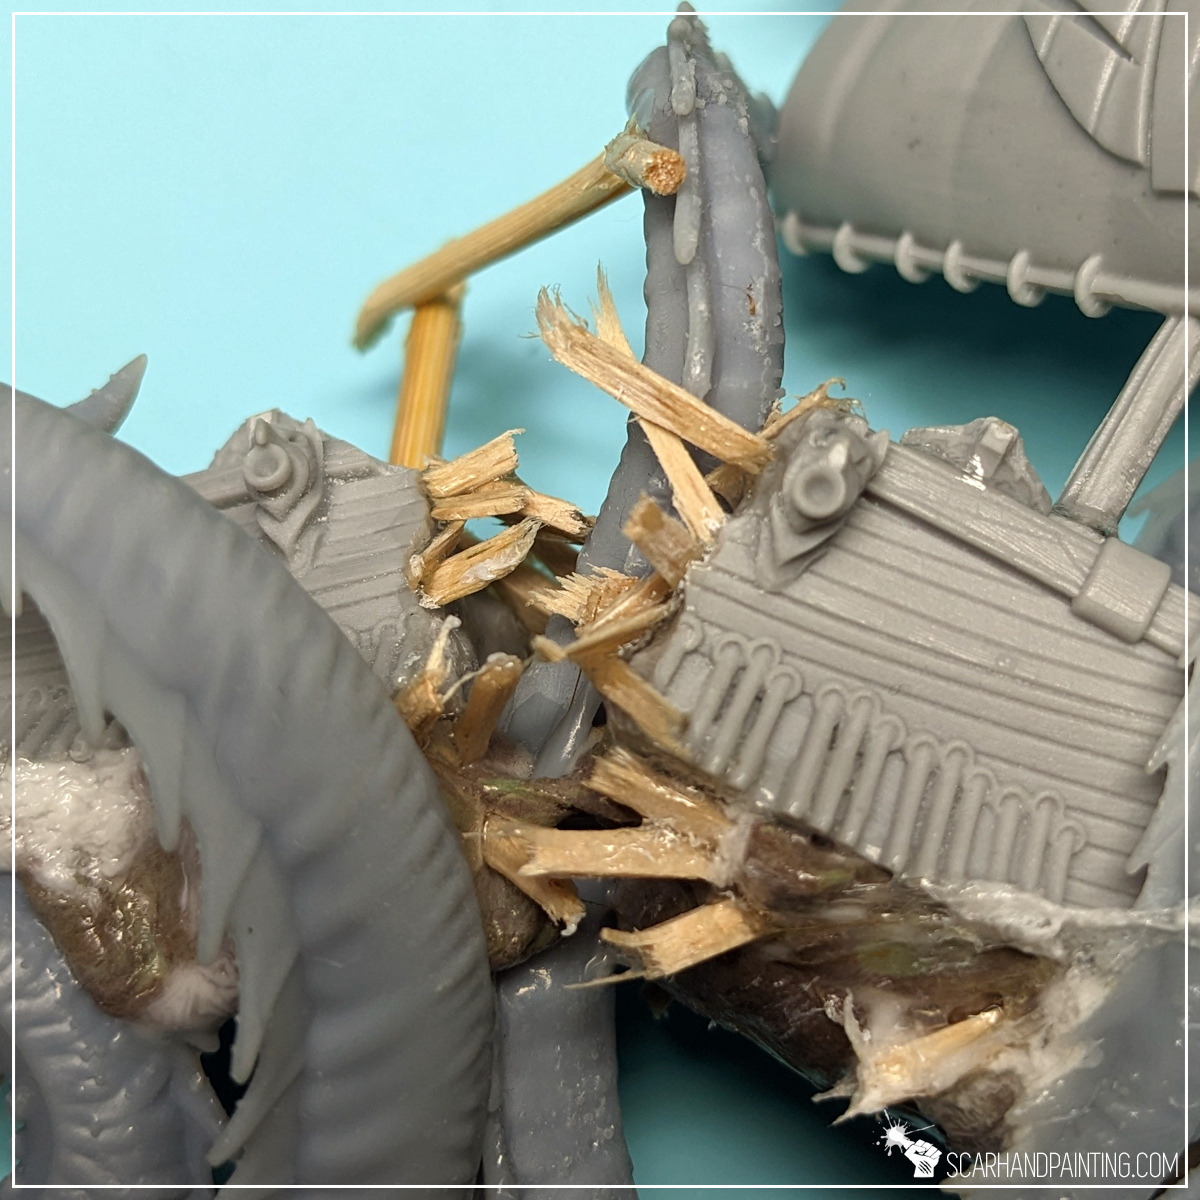
To greatly enhance the theme of battle damage I have added some damaged woodwork. Ice cream sticks, toothpicks and skewer sticks are all a good source of properly shaped wood. First I cut them into small planks and mast elements, then broken each in half to get that extra feel of splintered wood. Once glued onto the ship it was all covered with thin Super Glue. This increased durability, which is pretty important when considering gaming with such stuff in the future.

Either 3d printed or pieces of other sets, a few extra bits to add character. I fancied myself an anchor dragged on a chain behind one ship – simple stuff once special chains for miniatures are around. Same for any ghostly visages coming out of hulls and sails. Nothing that a bunch of 28mm scale skulls can’t handle.
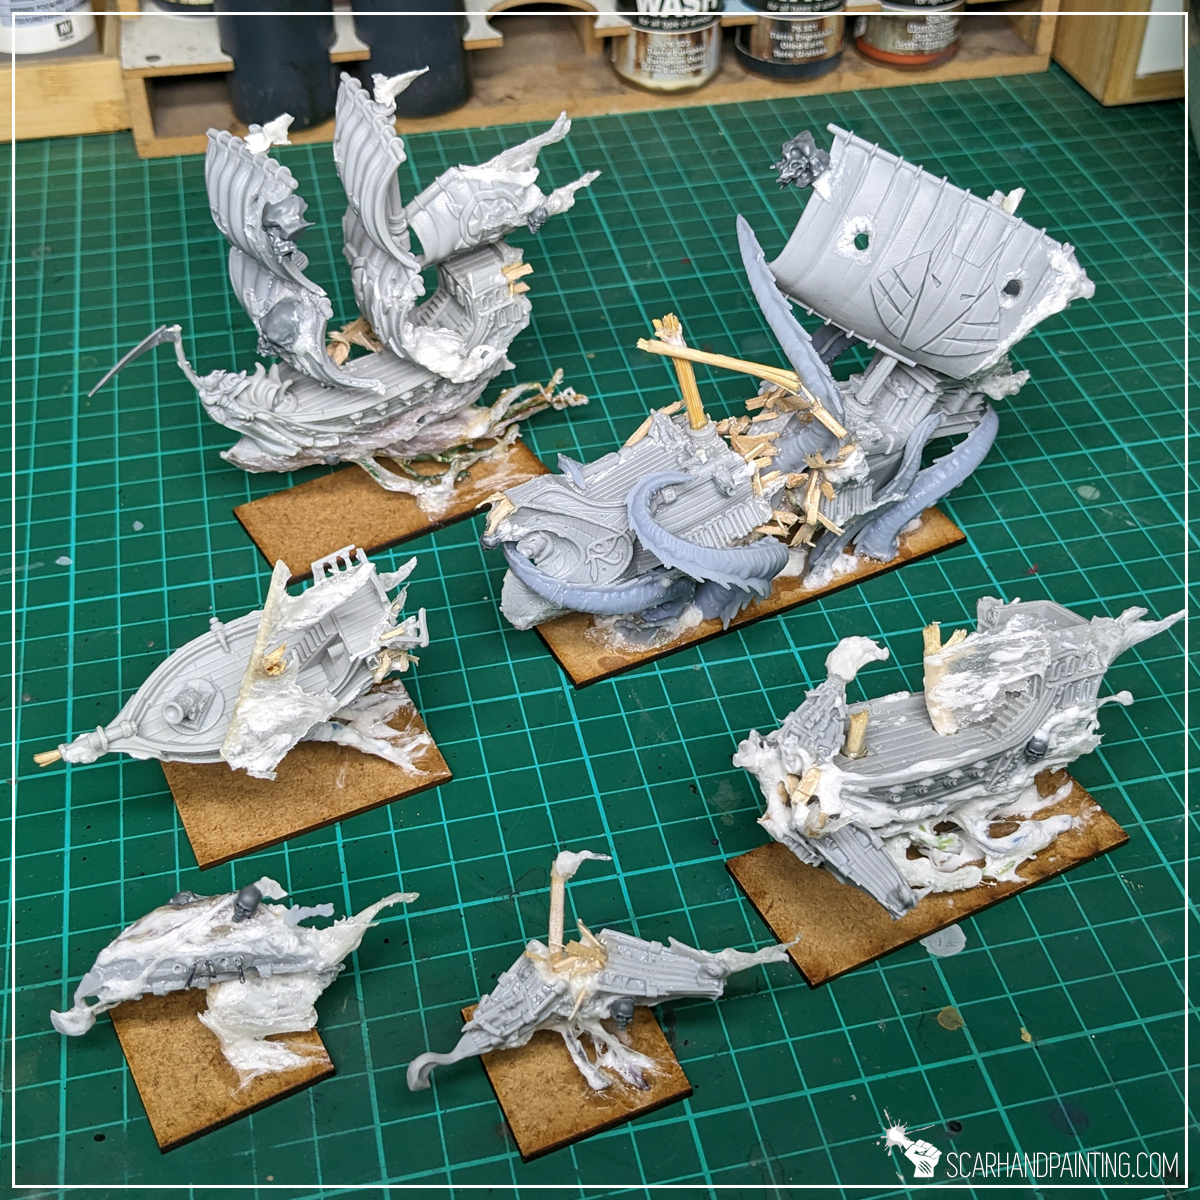
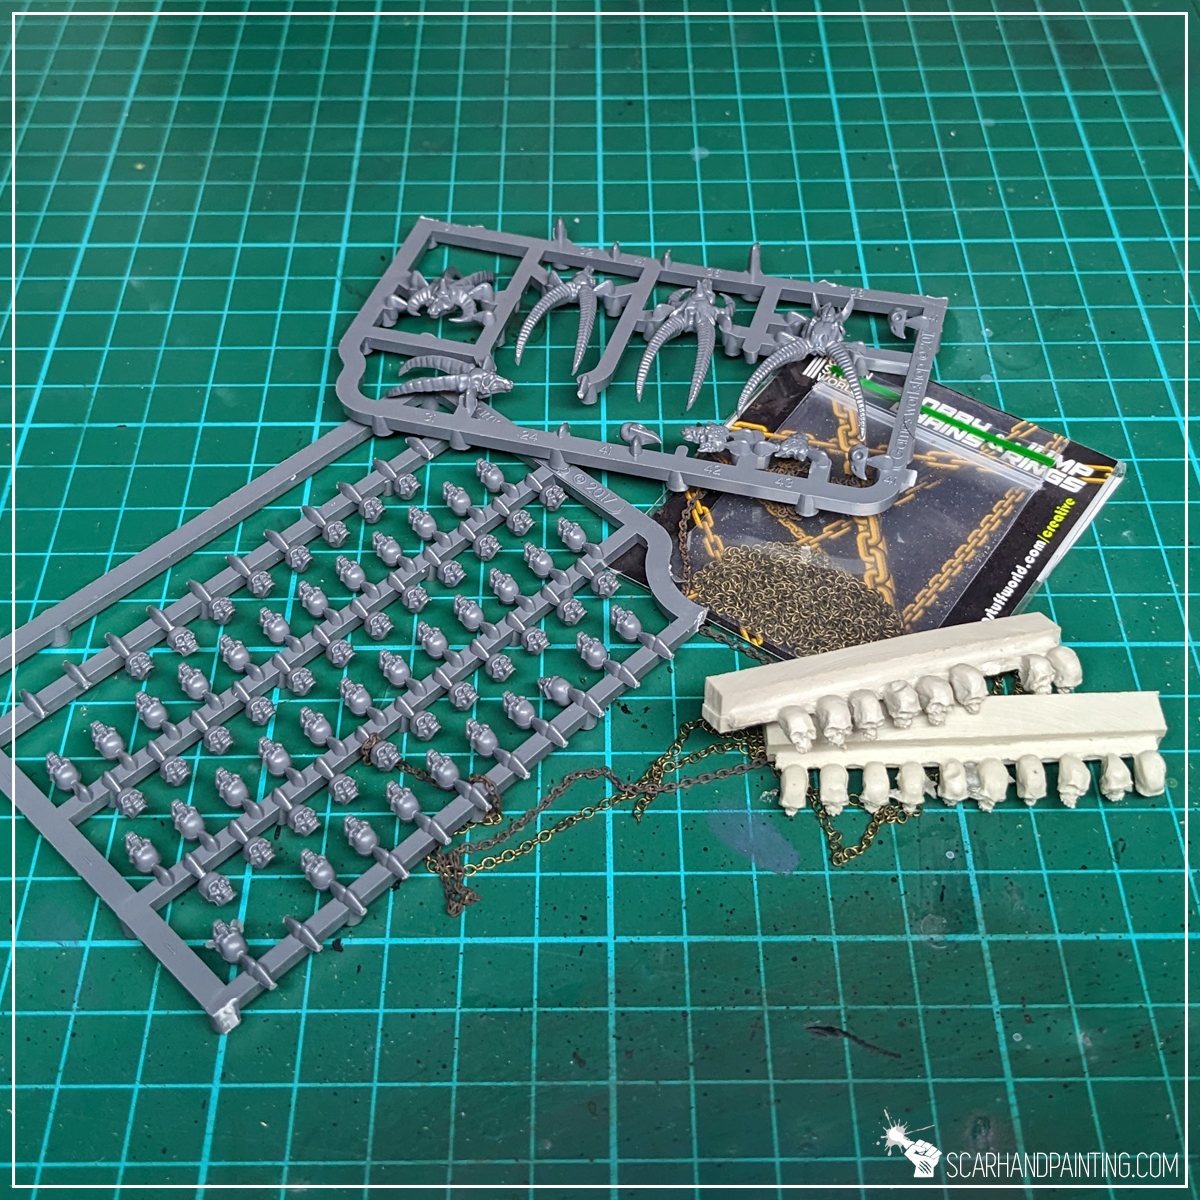
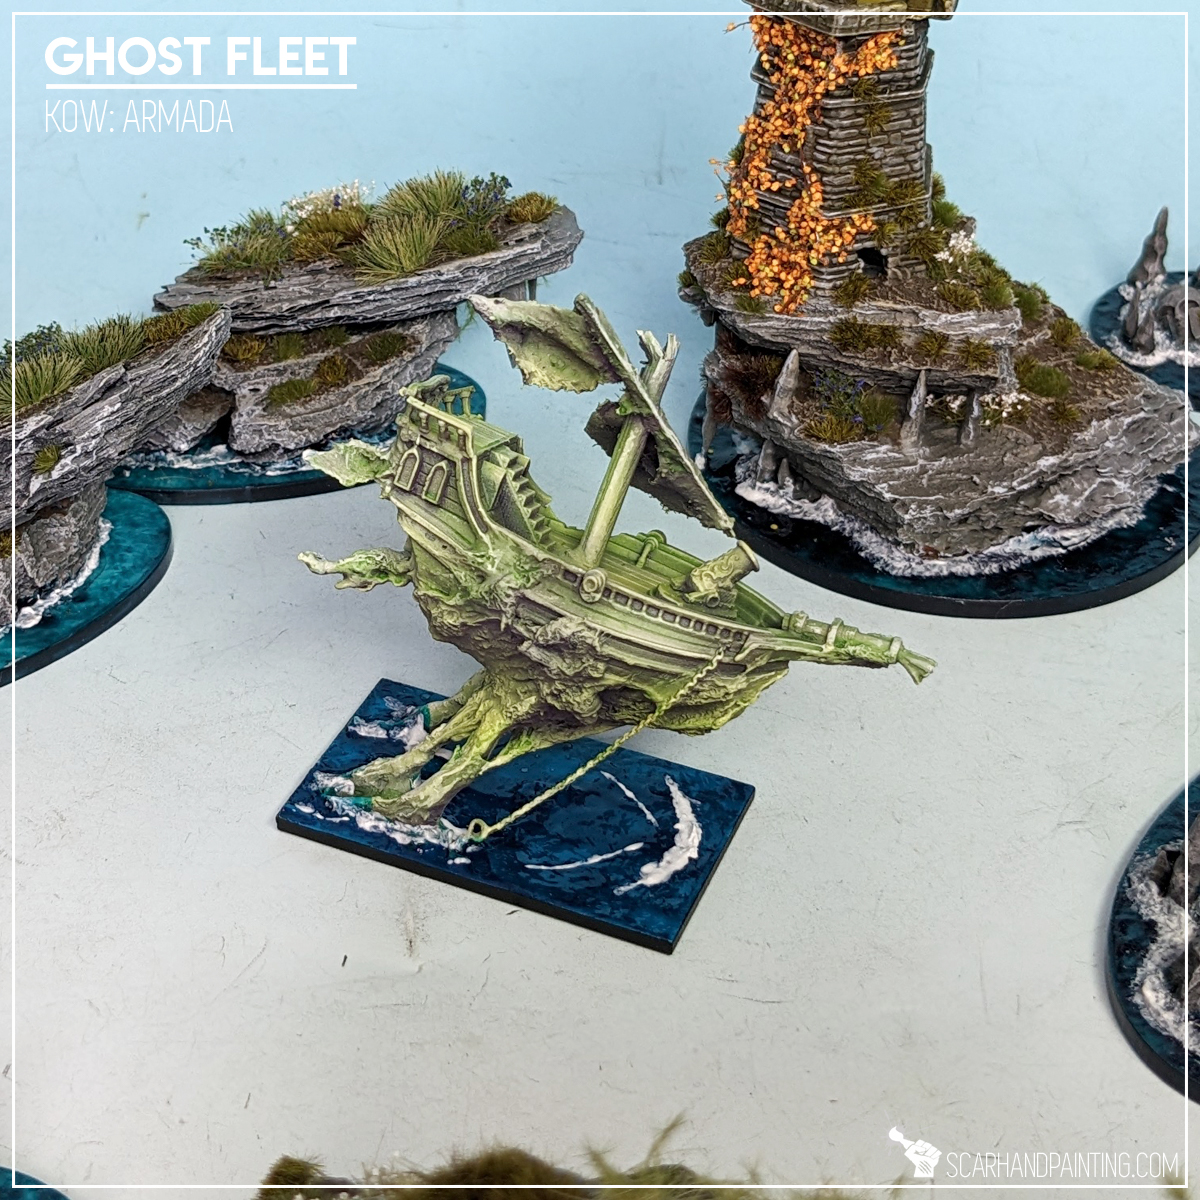
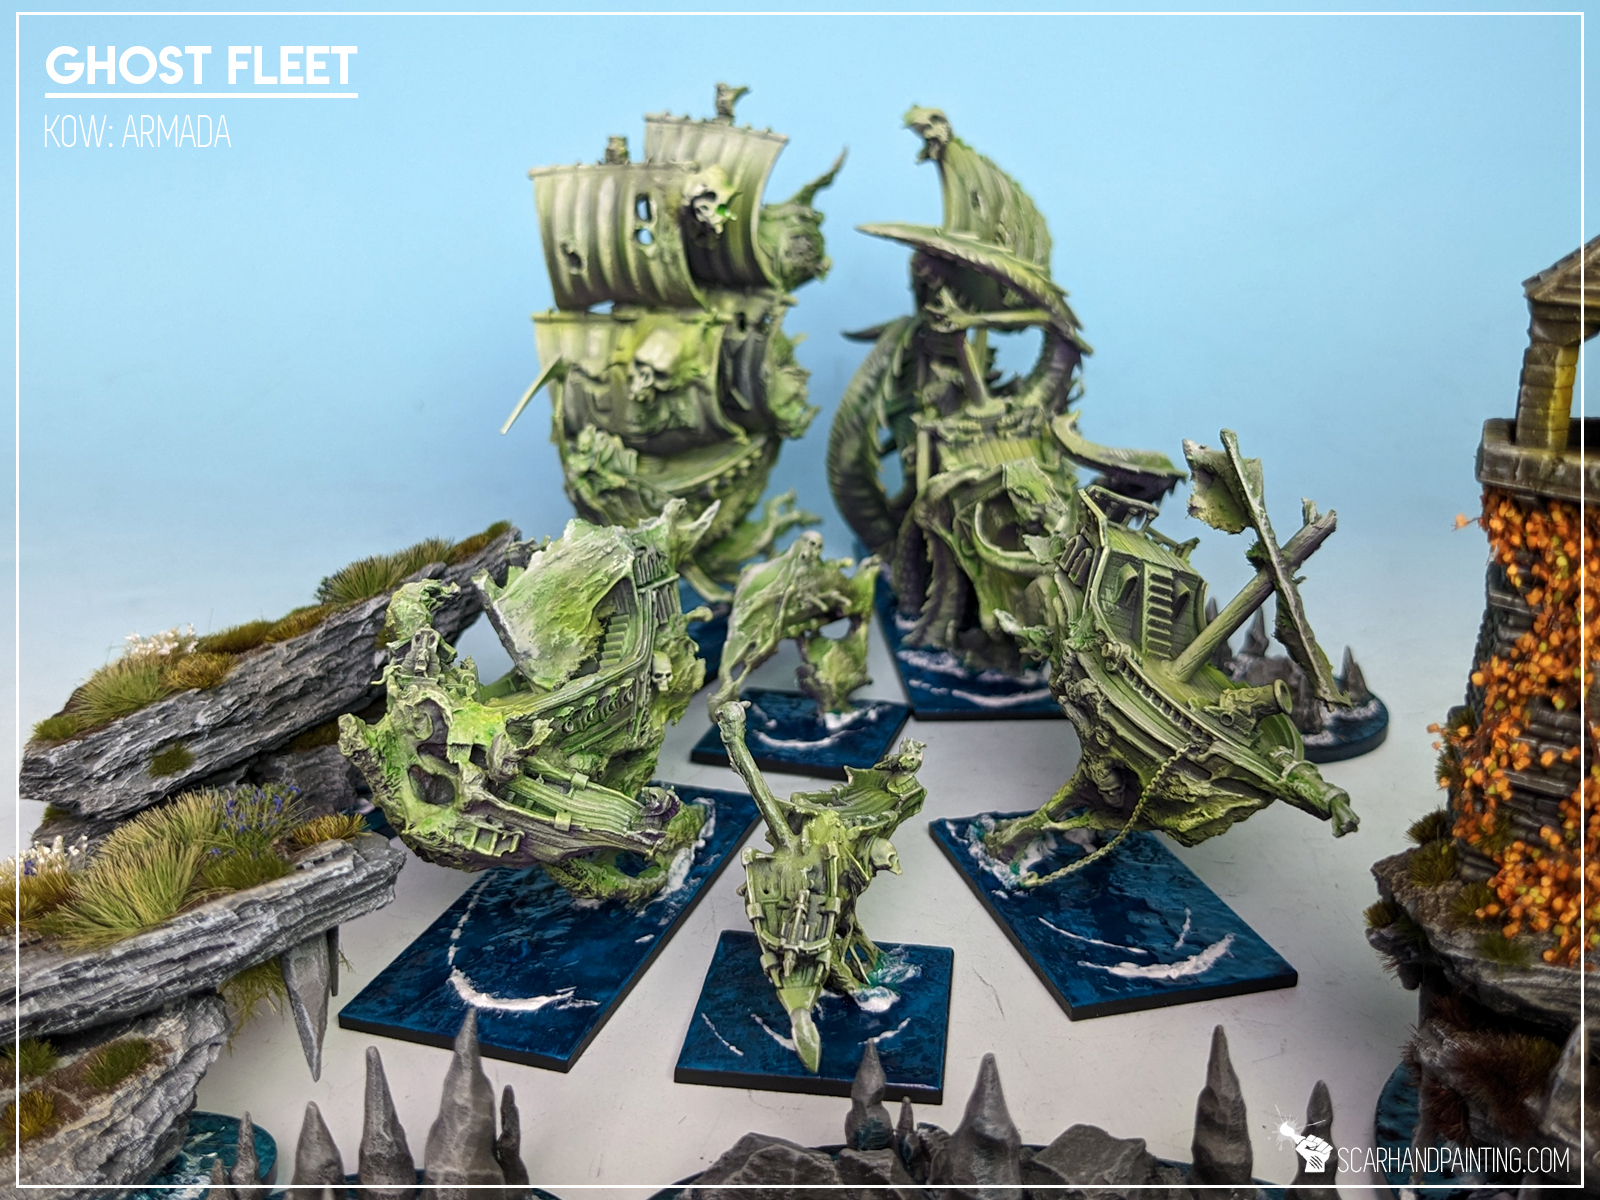
These are basically all the tricks I used while converting Ghost Fleet ships. The end result can be seen below and in Armada: Ghost Fleets gallery.
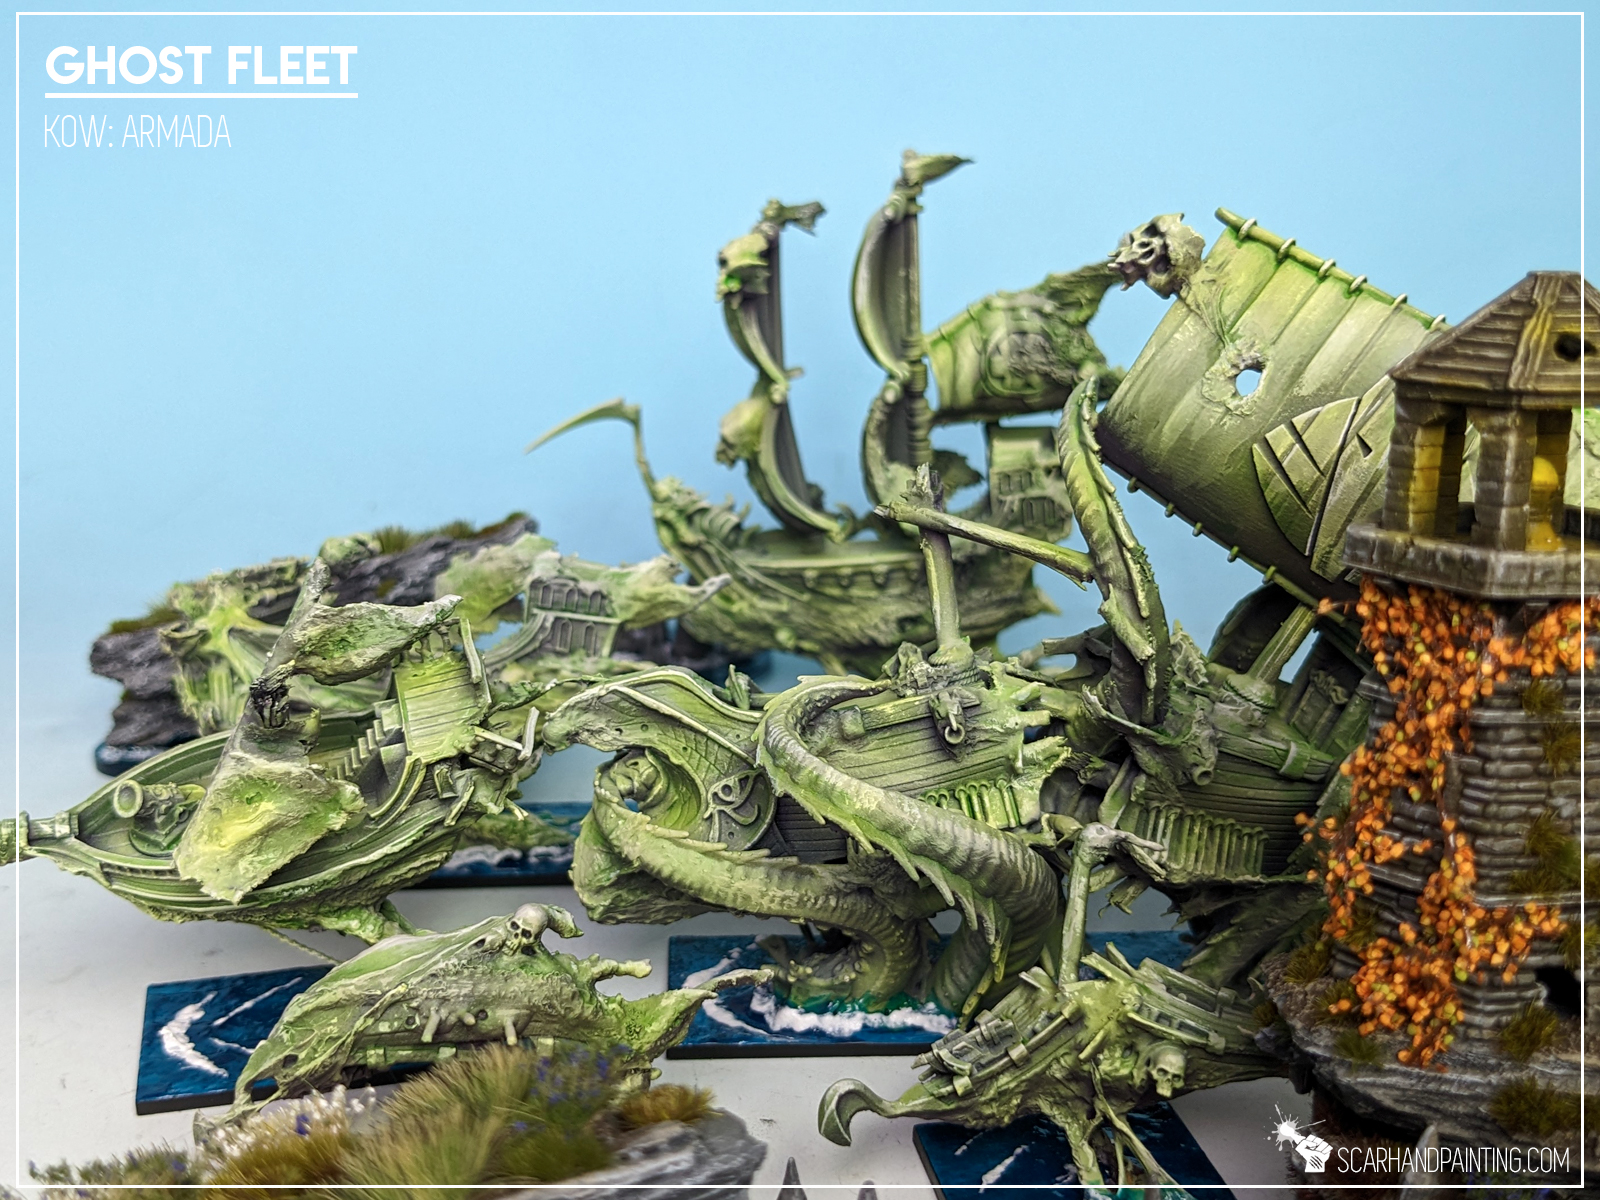
I hope you find this tutorial interesting. Be sure to let me know your thoughts in the comments below, or at Facebook or Instagram. I would also appreciate it if you considered sharing this content with your friends, who might find it useful. Finally if you are looking for a professional miniatures painting service, be sure to contact me with this contact form. I always reply within 24 hours, after which please check out your spam folder.