- contact@scarhandpainting.com


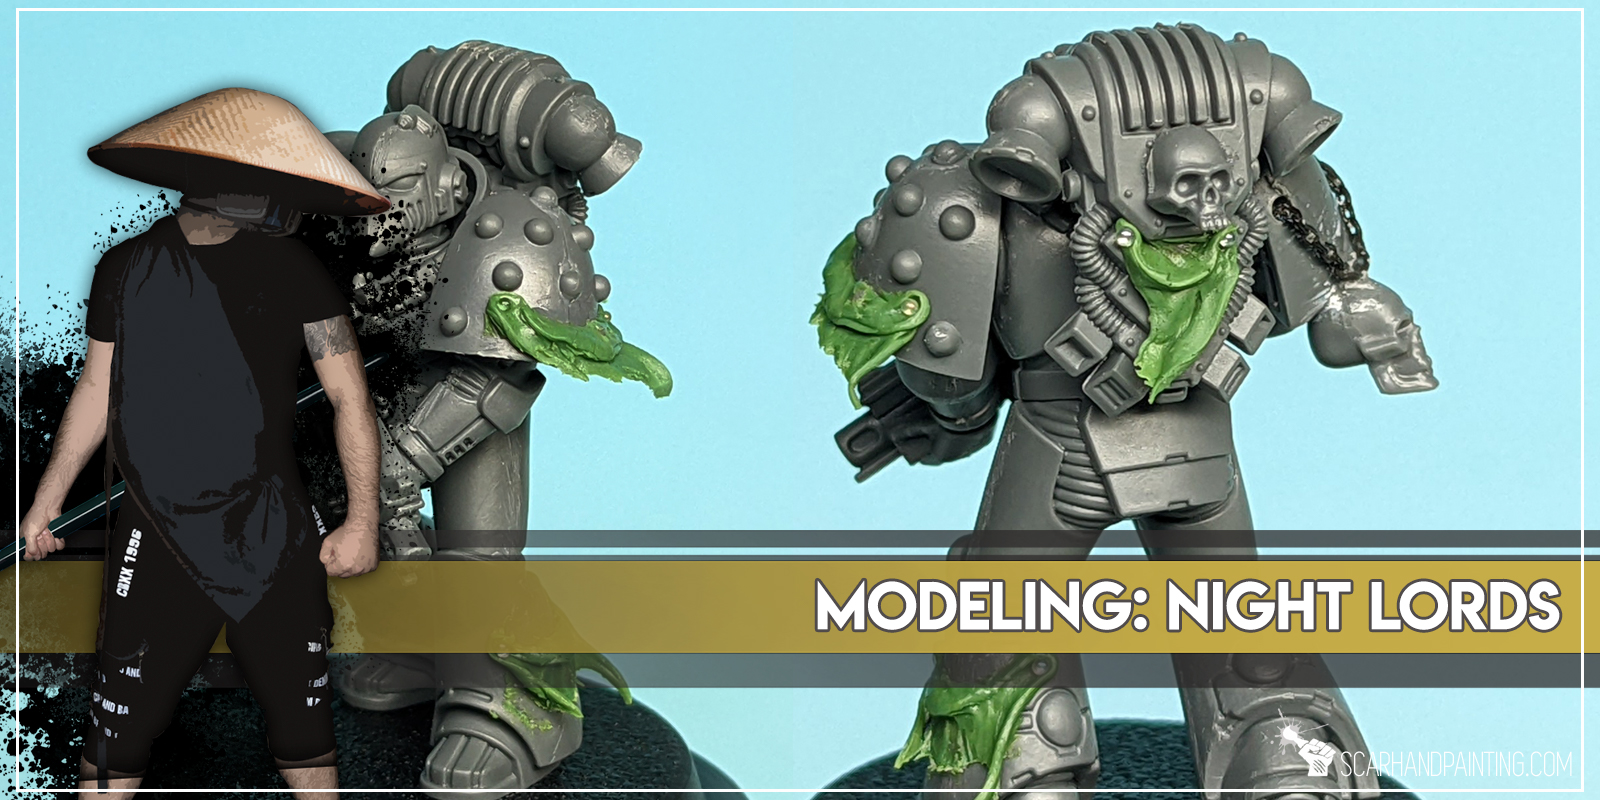
It is middle of the night. You and the boys just engaged Prey Sight and head out in search for the guilty. “In Midnight Clad”, but not without some fancy ‘fleshy’ adornments. Time to pimp that Night Lords armor.
If this sounds like something that tickles your fancy, or if you just want to make your Horus Heresy Night Lords feel like the real Eight Legion, then this tutorial is for you. Ave Dominus Nox!
Before we start, some notes:

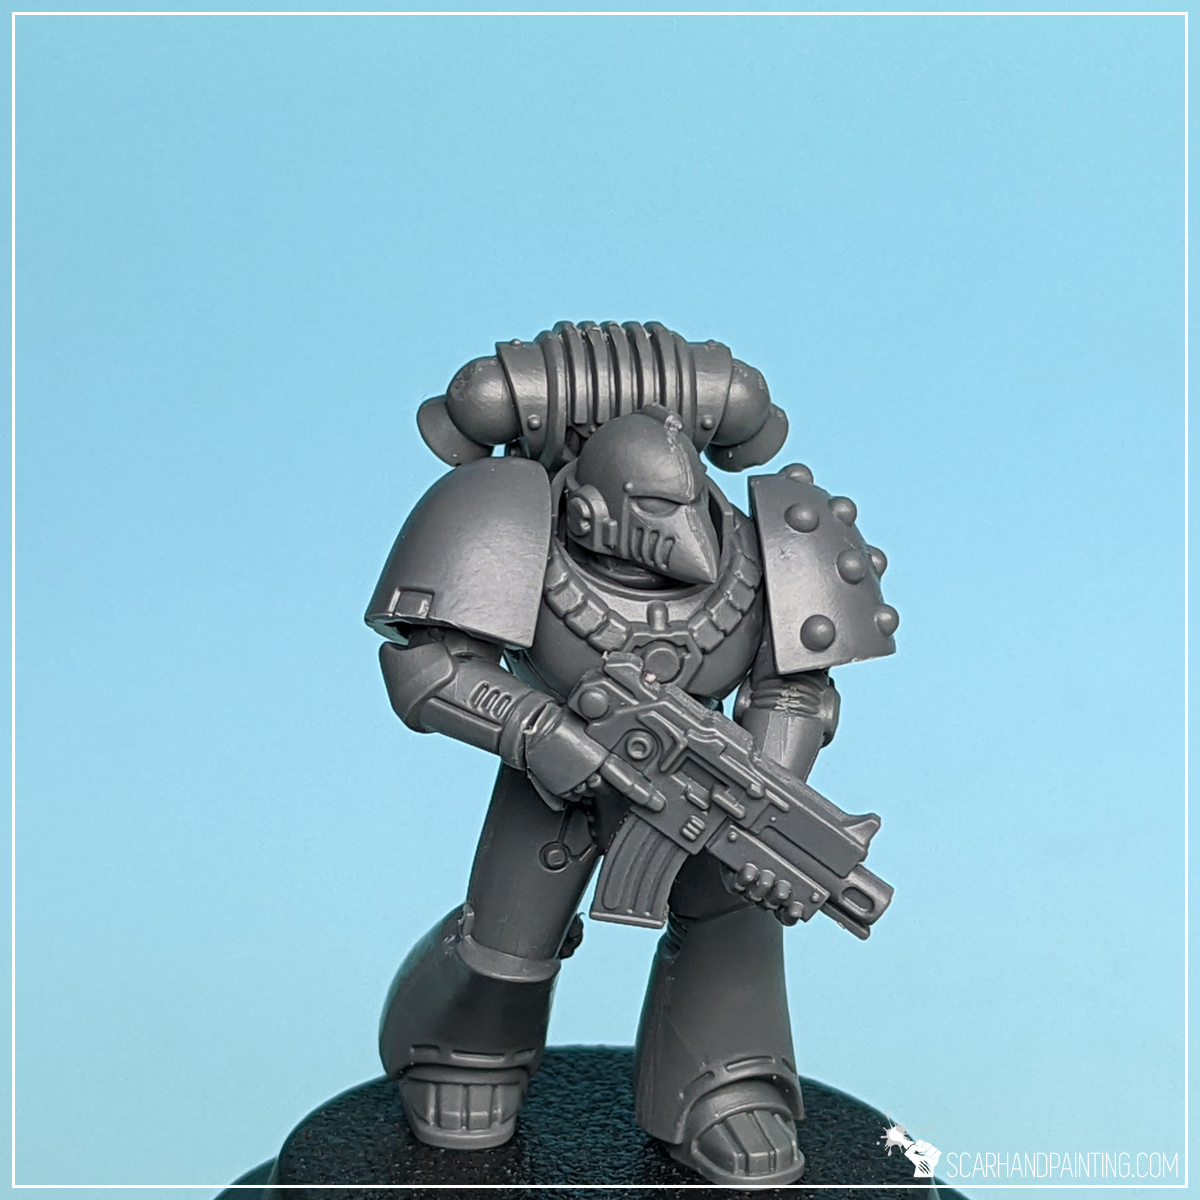

The Basics:
Before we head into the night to wreak sculpting havoc, let’s go through some basics. Night Lords are all about skulls, chains, flapping coats of tanned flesh, hooks, bones and bat wings. Some of these are easier to get than others. Skulls come in a phenomenal package straight from GW. Bones and hooks are plenty amongst Games Workshop boxes, be it Drukhari, Savage Urruks, Kroot, Skeletons and more. Getting these is usually as simple as asking around friends who might have a pile of leftovers. Bat Winged Helmets are really something that you’d rather get 3d printed as the effort and time required to sculpt these greatly exceeds the value. As for all the rest, here’s where I come in, to help out my VIII Legion brothers.
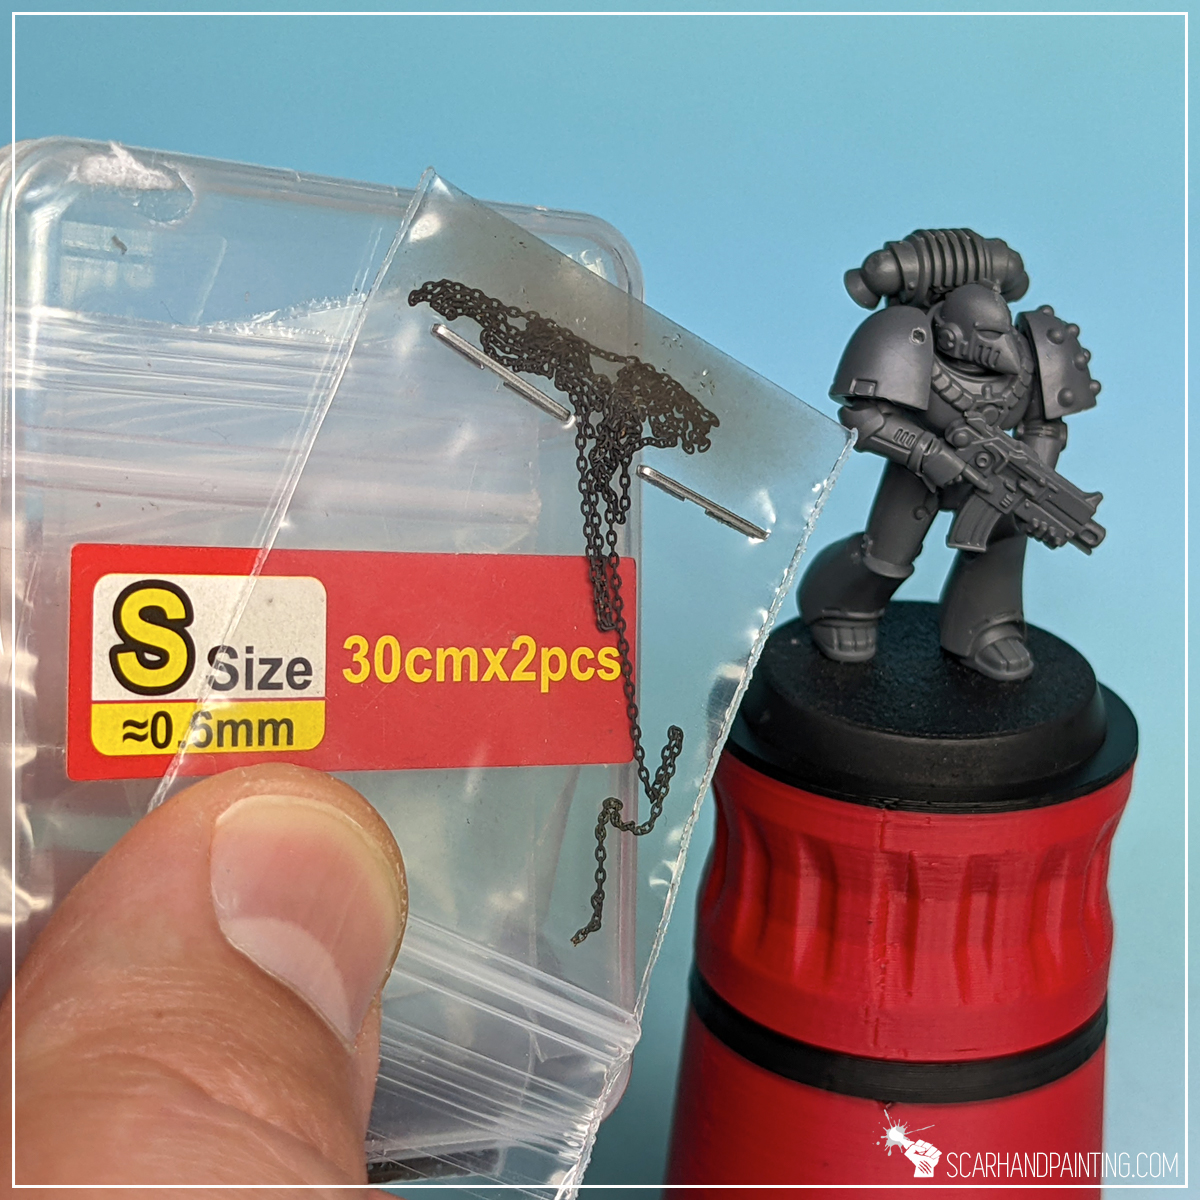
Chains:
I’ve been searching for a cheap source of miniatures-compatible chains for a long time. Went through some of the classic wargaming related products, like Green Stuff World, but without good results. Most chains were just too big to fit the theme. Finally after a thorough research I found Trumpeter Universal Fine Chains and for the love of the Long War, my hobbying changed instantly. These come in three different sizes, are relatively affordable and are great to work with. They tend to come a bit rusted, but it is all the better as paint and glue stick stronger this way.
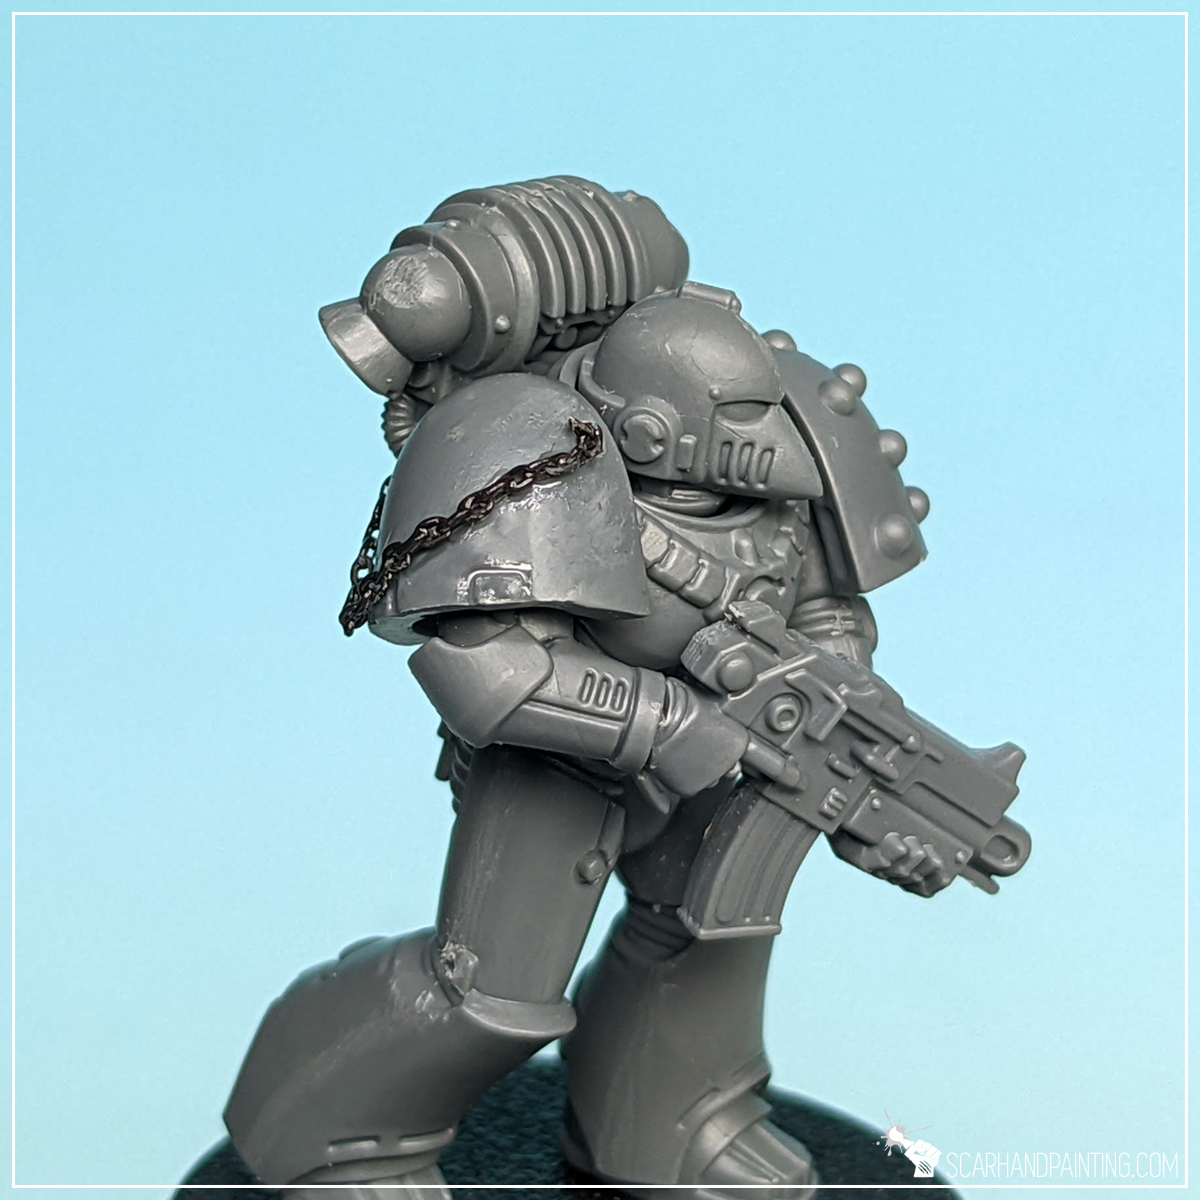
Ok, so we have them chains. This is how I go about mounting them on miniatures.

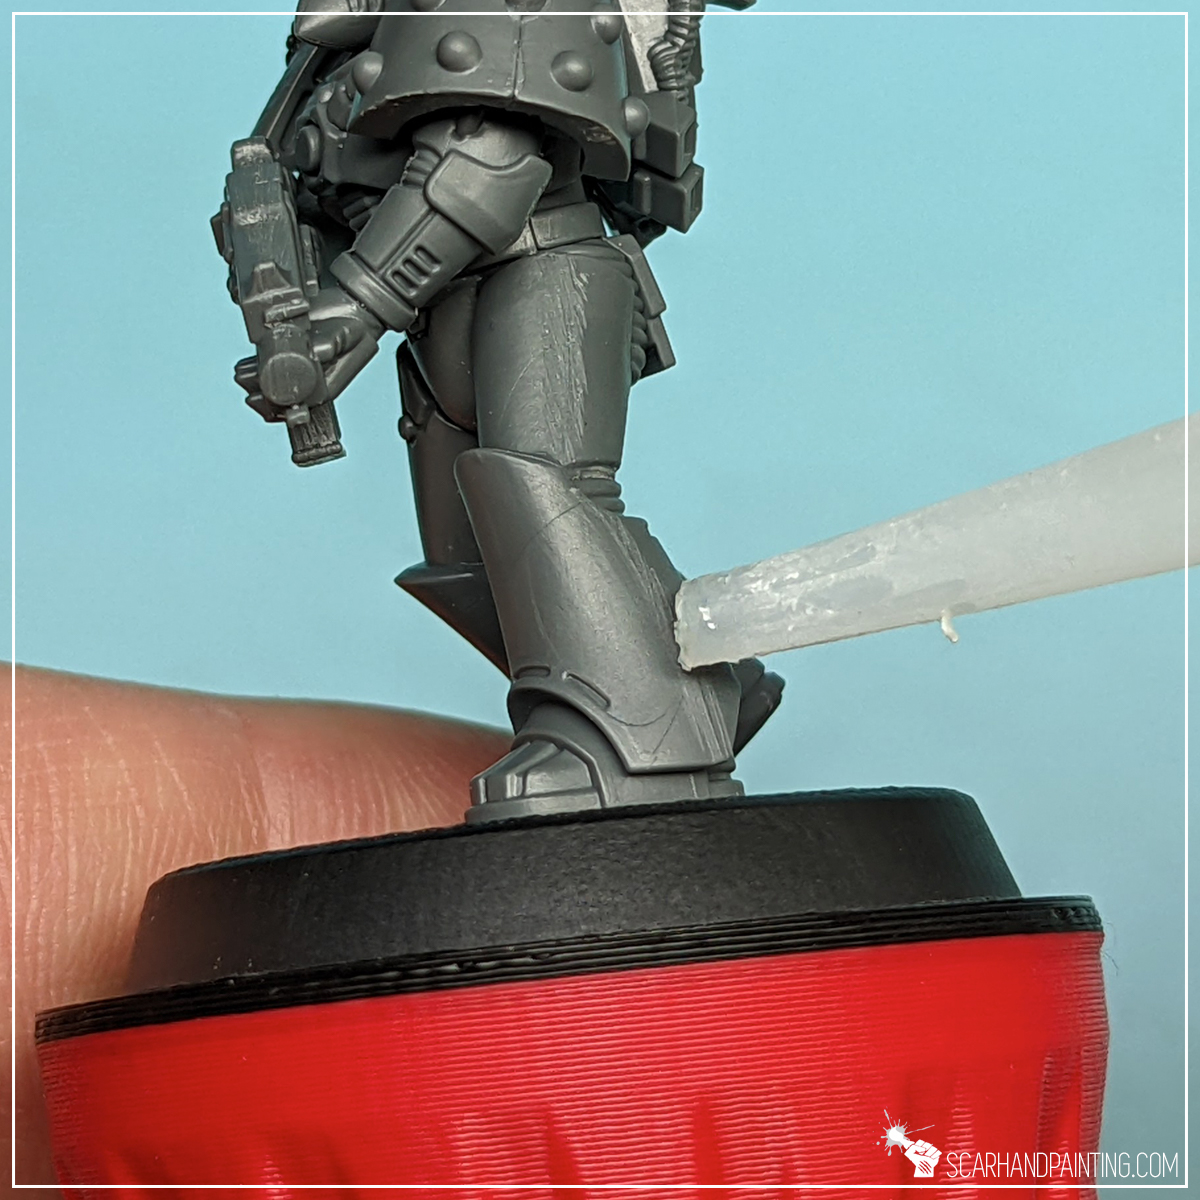
Step one: Drill
First I pick spots where I want to mount the chain and drill small holes with a hand drill. At times I skip this part and hide ends of the chain behind pauldrons, or in recesses, but most of the time I like to have a clear spot where a chain is mounted at.

Step two: Glue
Next I apply a small drop of Cyanoacrylate glue (Super Glue) on the hole and use tweezers to insert the end of the chain inside. This way I have a chain mounted strongly onto the miniature and doesn’t have to worry about keeping it in place myself.
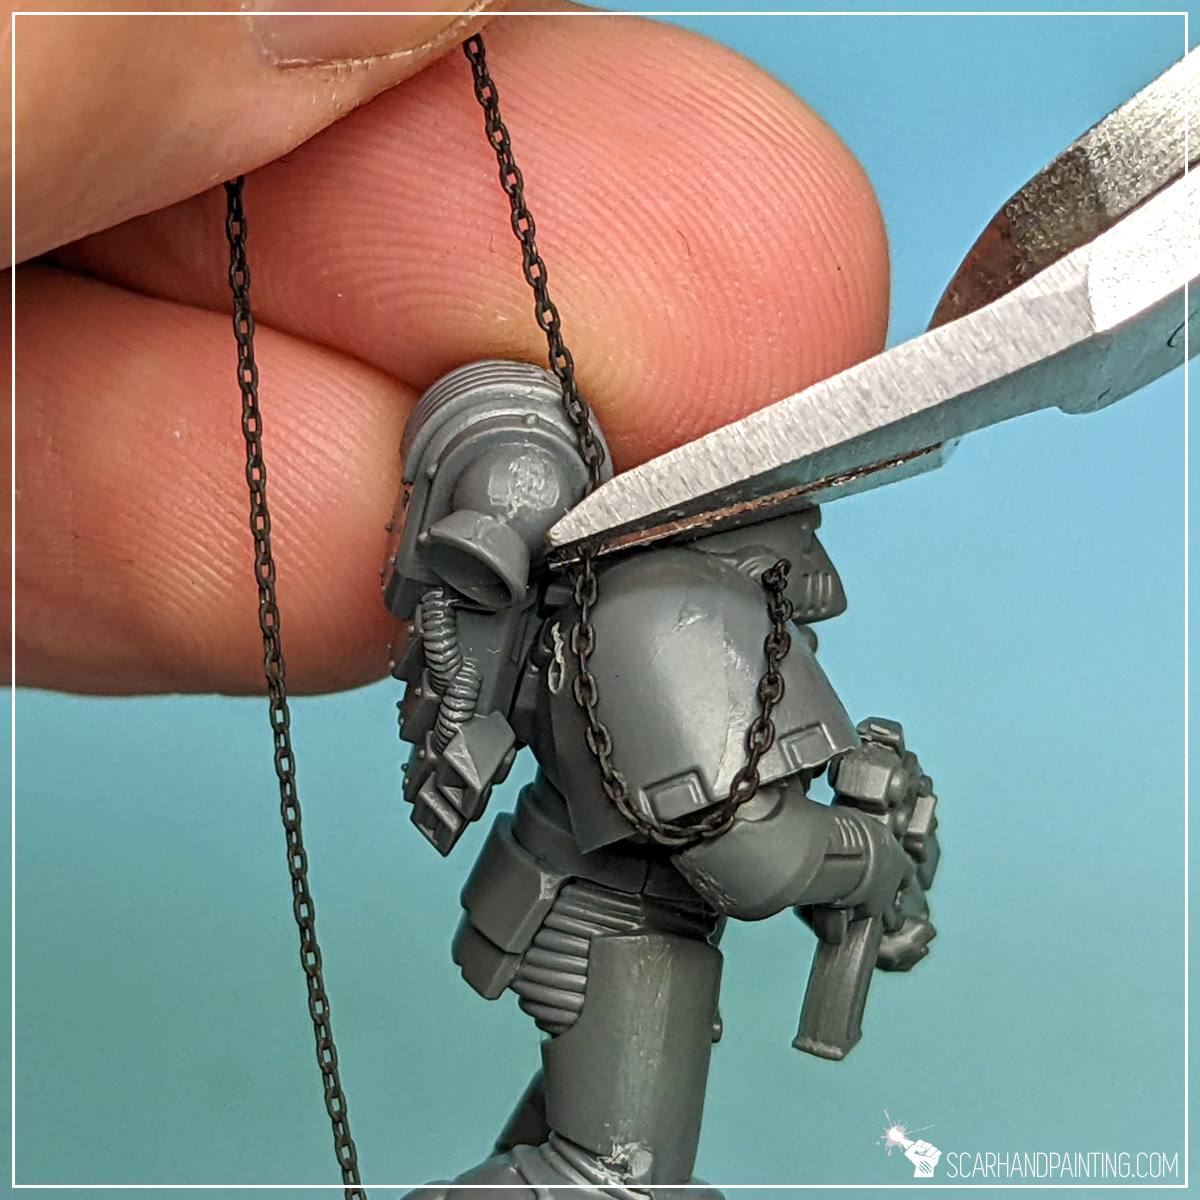

Step three: Other end
I then fit the chain on the surface and between the holes. Once I am satisfied with how it looks I cut a proper length and glue the other end inside another hole.


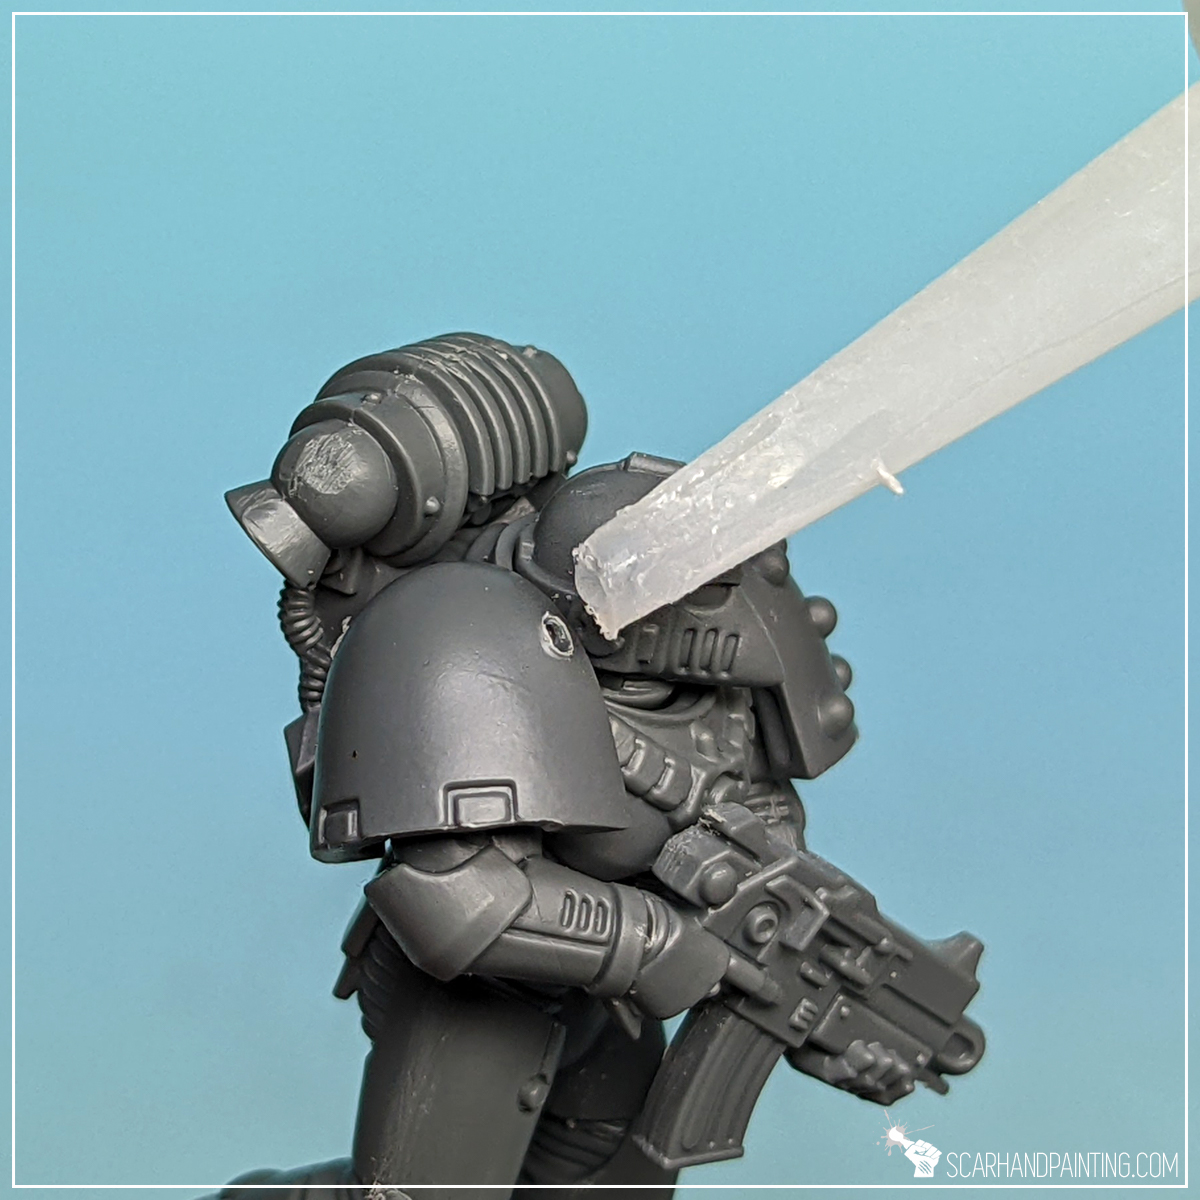
Step four: Seal it
With everything dangling around it’s time to seal the chain in place. To do this I apply a drop of Super Glue onto a toothpick and slide the tip around the chain. This is also the last moment to add some shape corrections before it’s finalized.

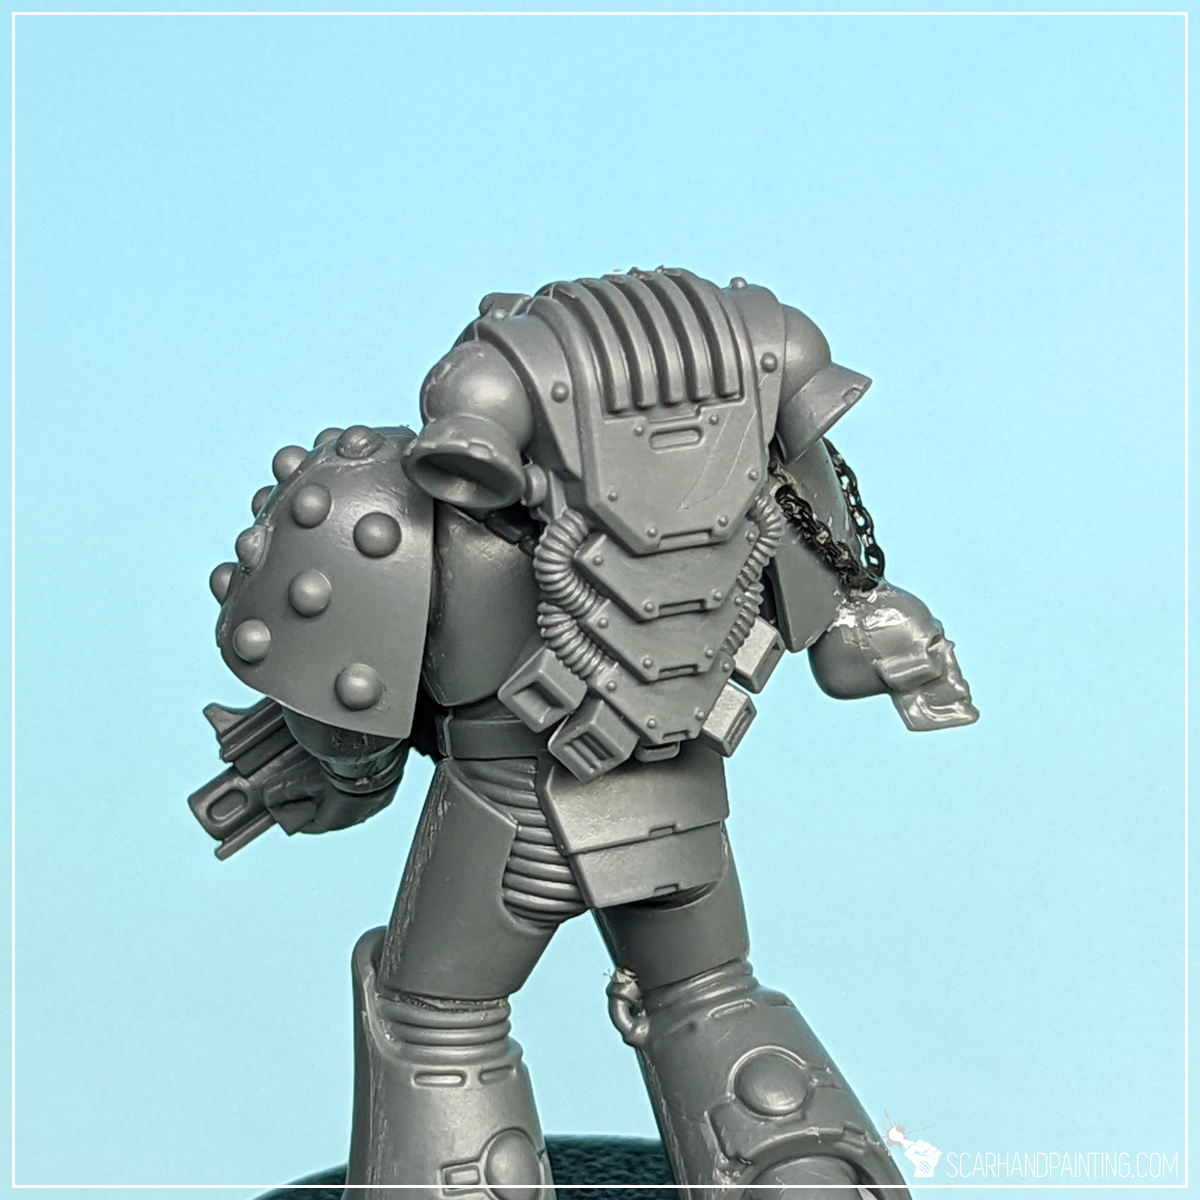
Skulls:
Skulls are perfect to add a bit of character to your miniatures. They’re positive, always grinning and just funny to have around. Fortunately for us, the hobbyists, Games Workshop put out the best possible source of Skulls in the history of wargaming – the Citadel Skulls! Now what’s left is to siimply mount them onto our miniatures. Here’s how I go about it.
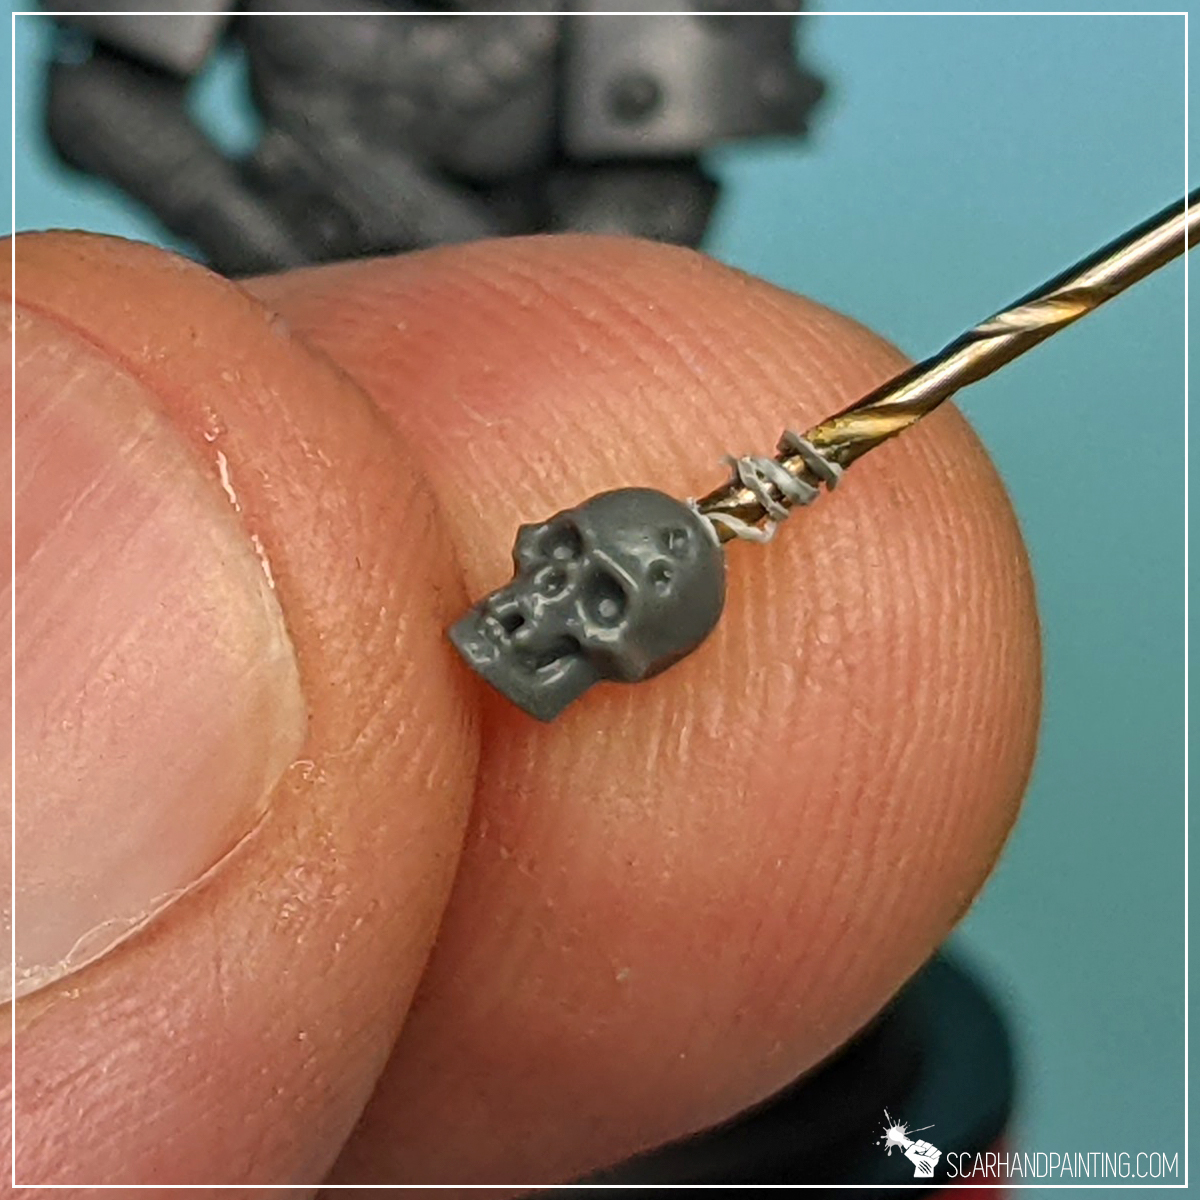
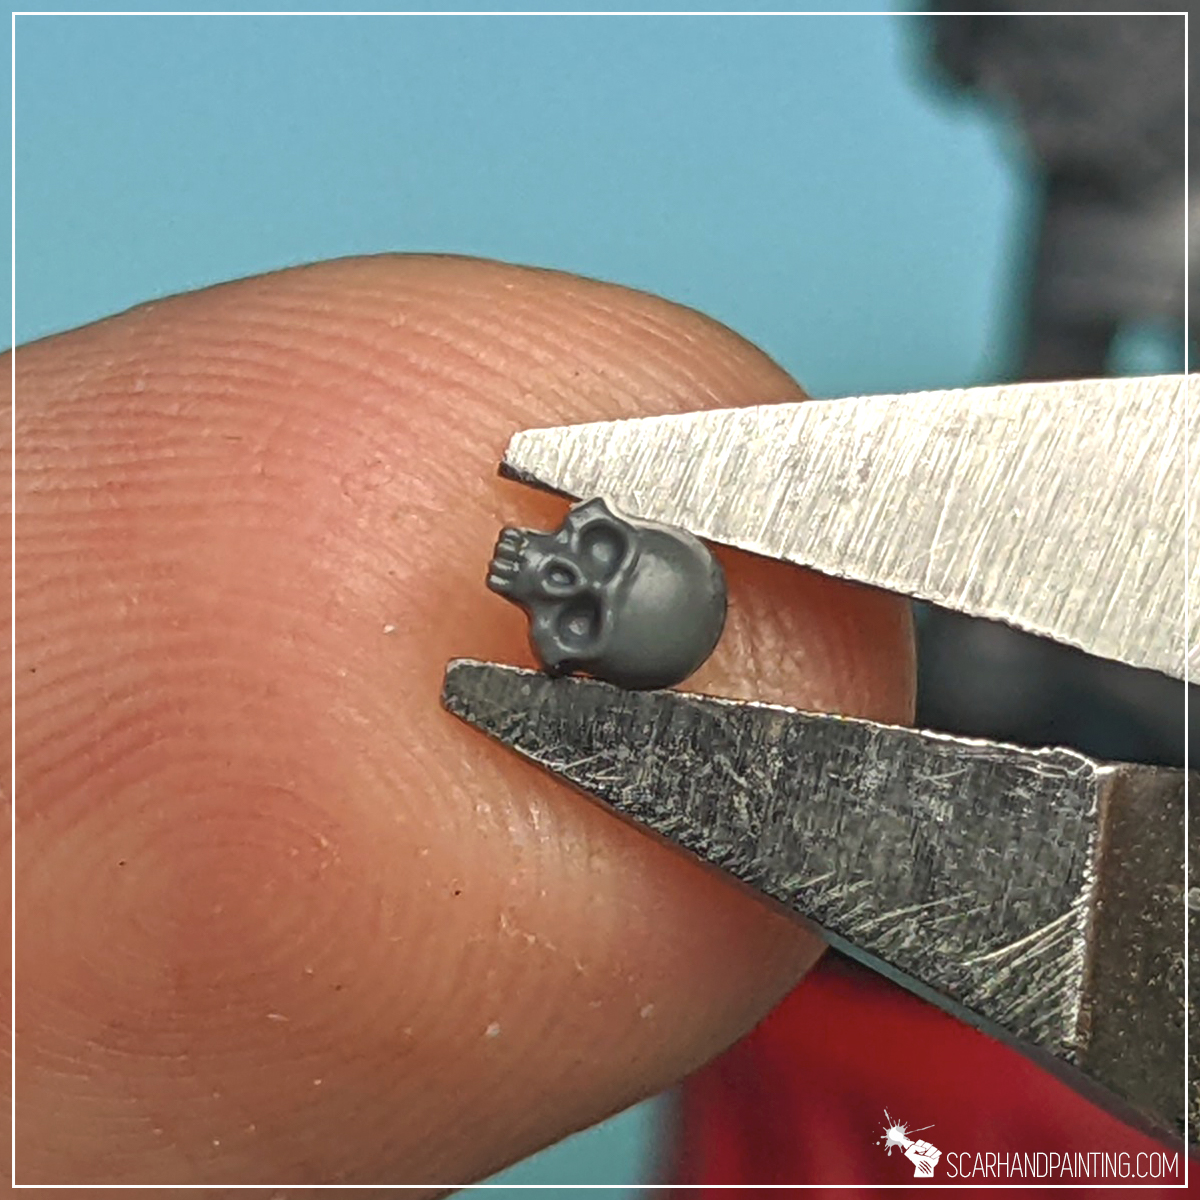
Option A:
I drill a small hole in the upper part of a skull to then mount it on a chain, partially supported by a piece of plastic in close vicinity to the point of contact. I use Super Glue to bind it in place.

Option B:
I mount a piece or an entire skull in place with Super Glue. This works very well as a piece of ornamentation.
Flesh:
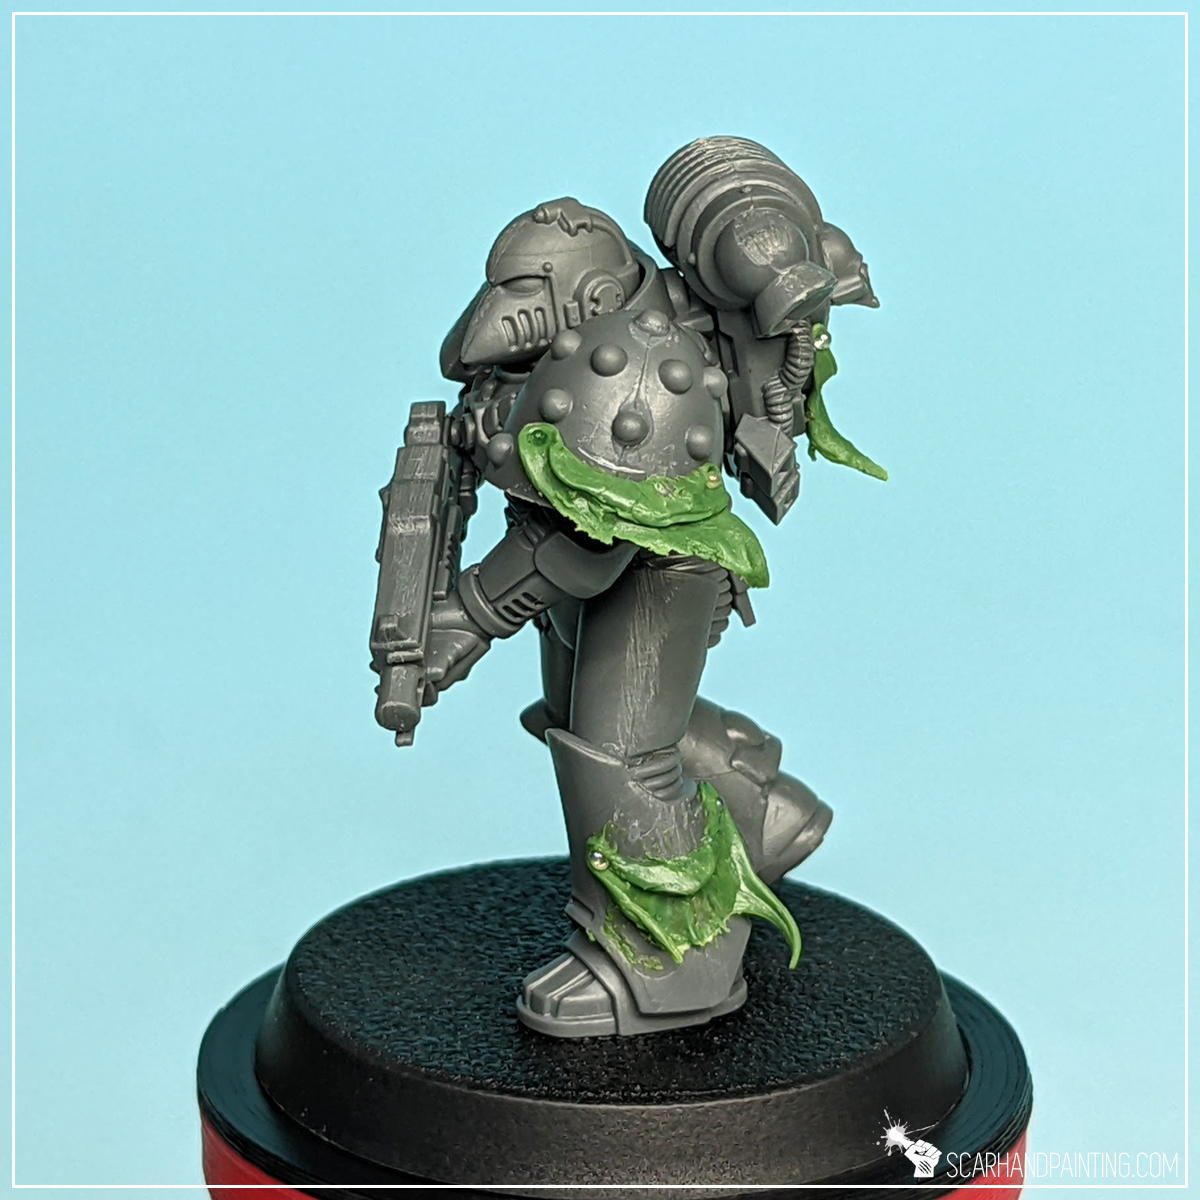
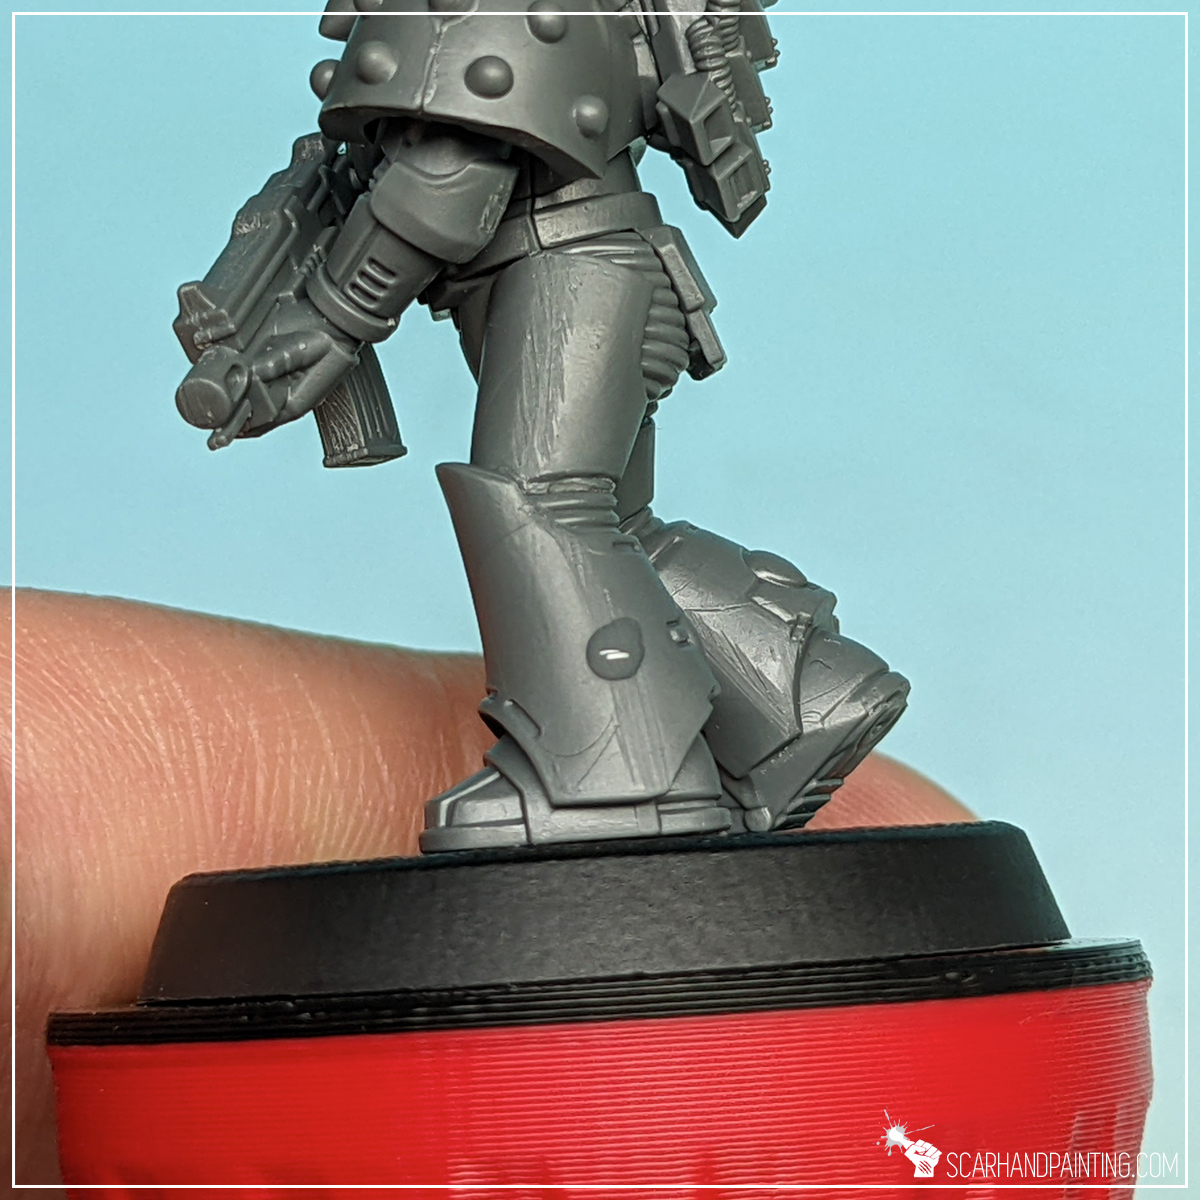
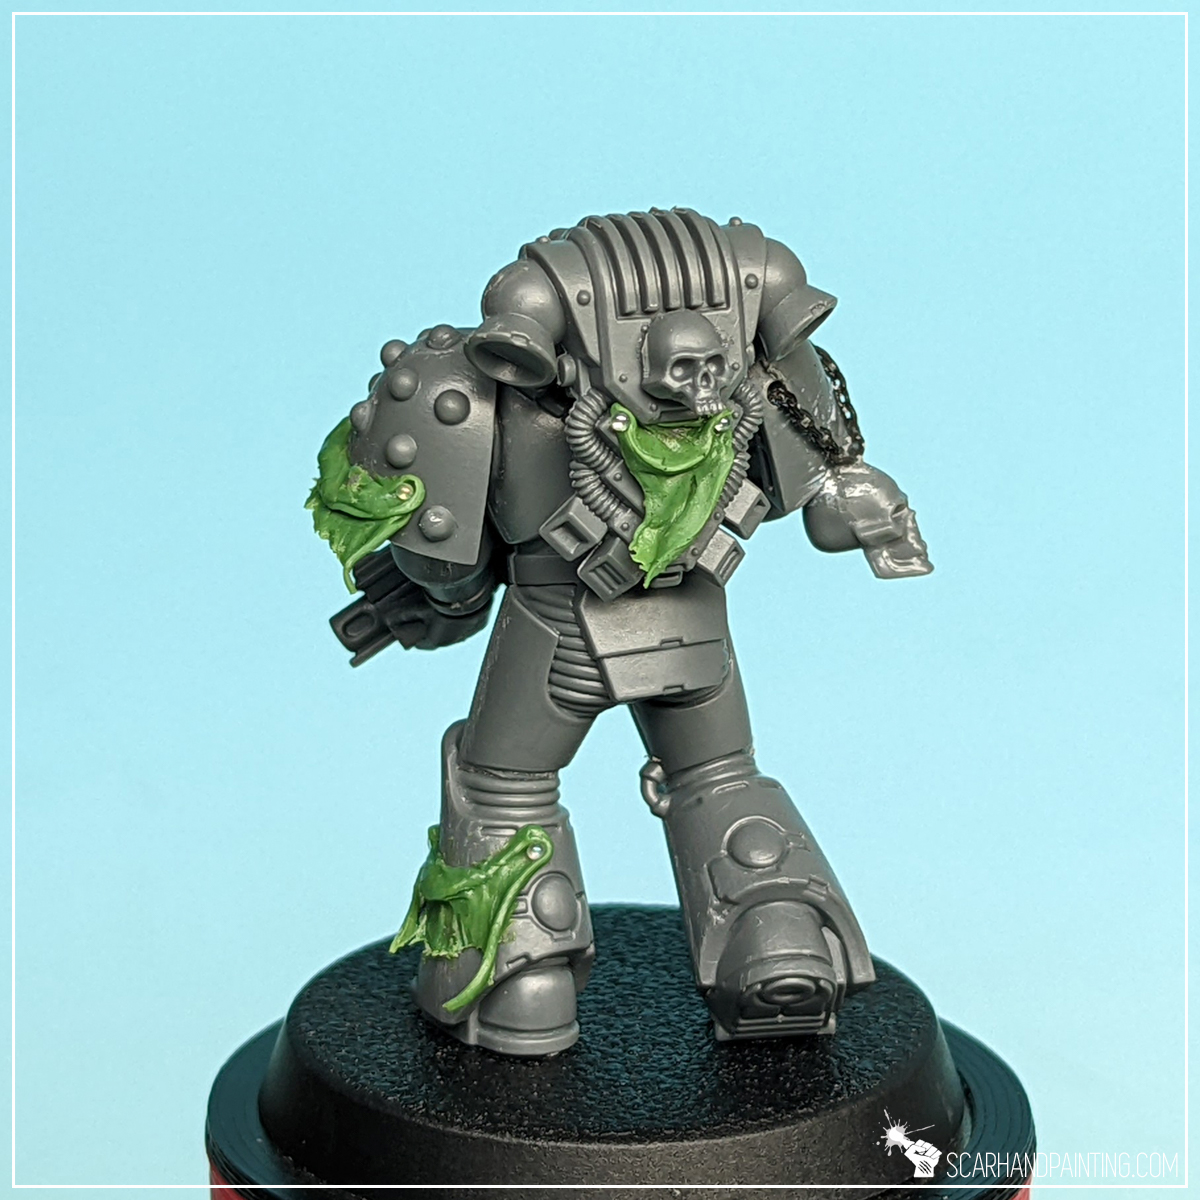
Alright, here’s what most of you really came here for. Sculpting tanned flesh.
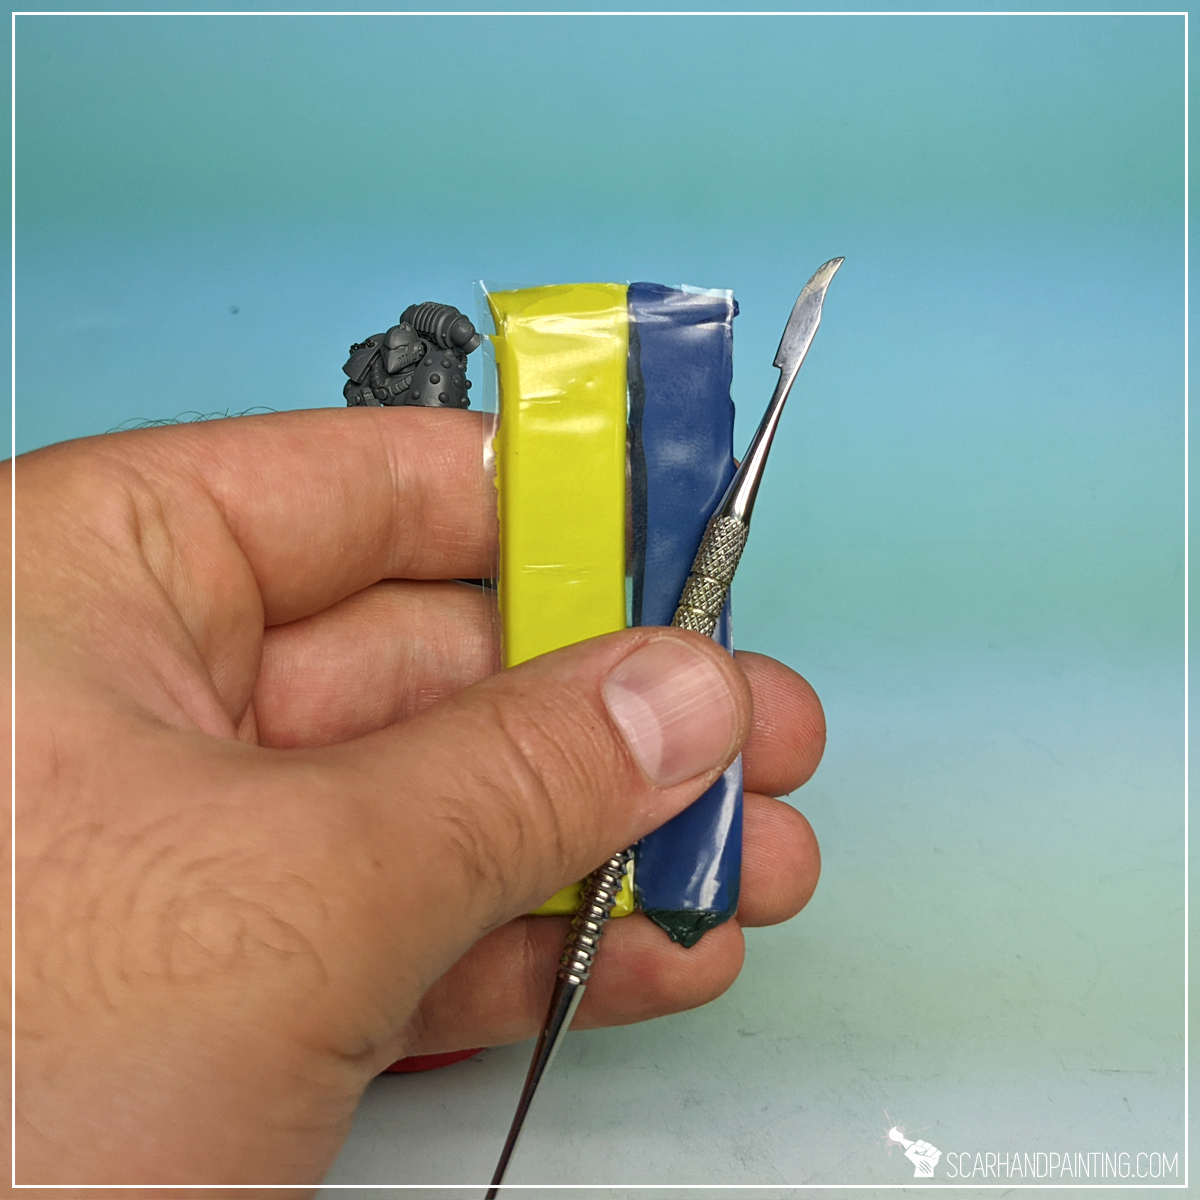
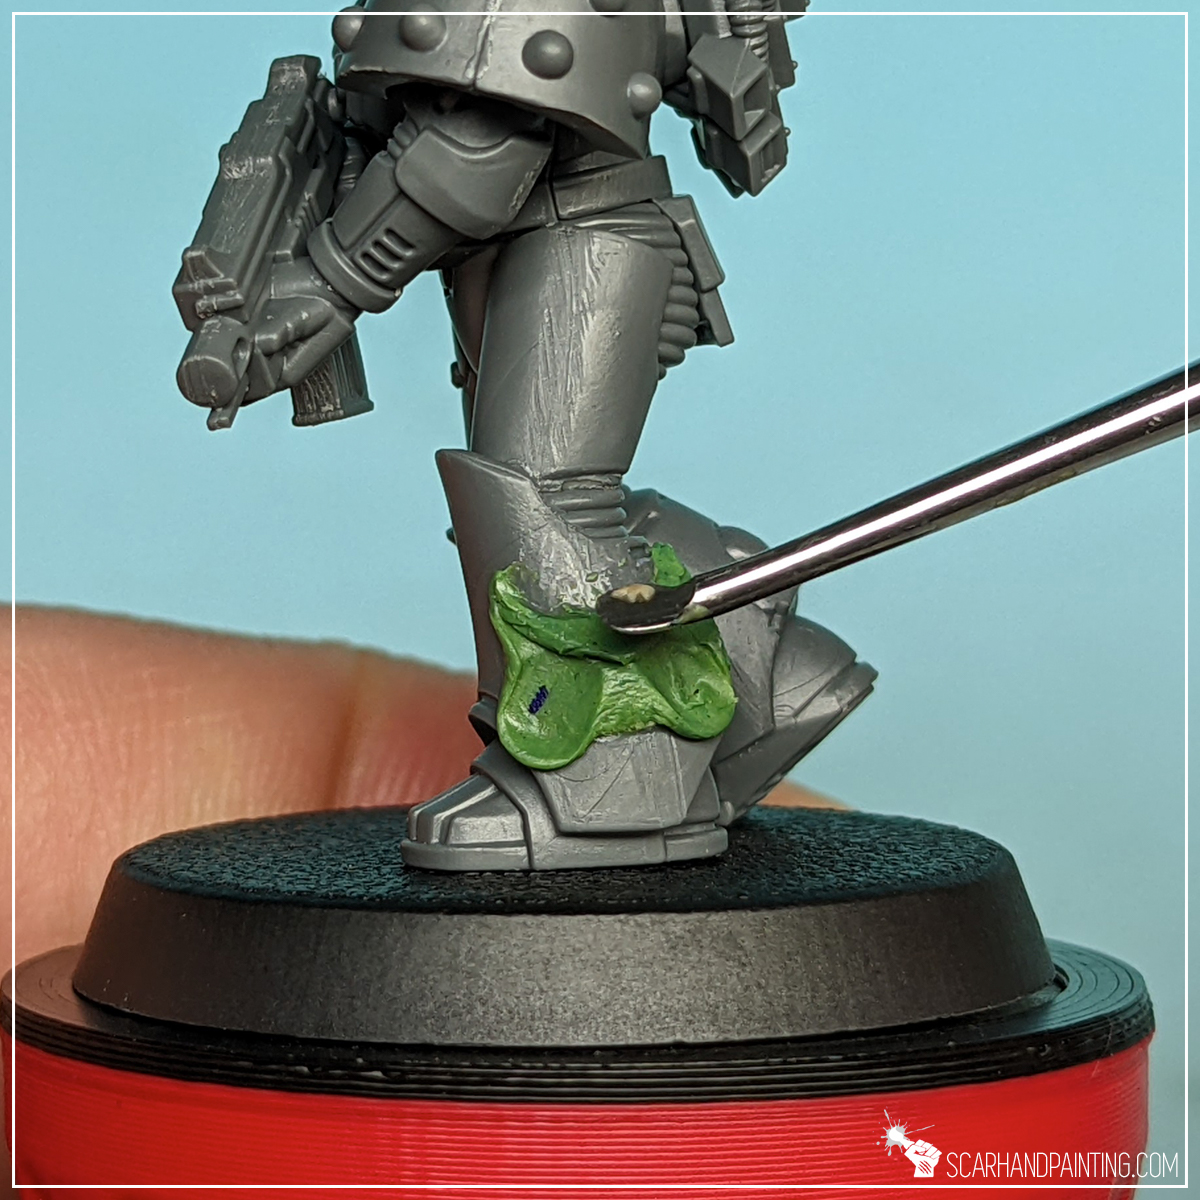
The process itself is rather easy and does not require sculpting skills. I started by mixing Green Stuff into an evenly colored green mass, then divided it into few small balls.
Step one: Glue
Similarly to other sculpting tutorials I begun ‘sculpting’ by applying a small drop of Super Glue into a chosen surface. This is to keep Green Stuff from coming off and sliding left and right during work.
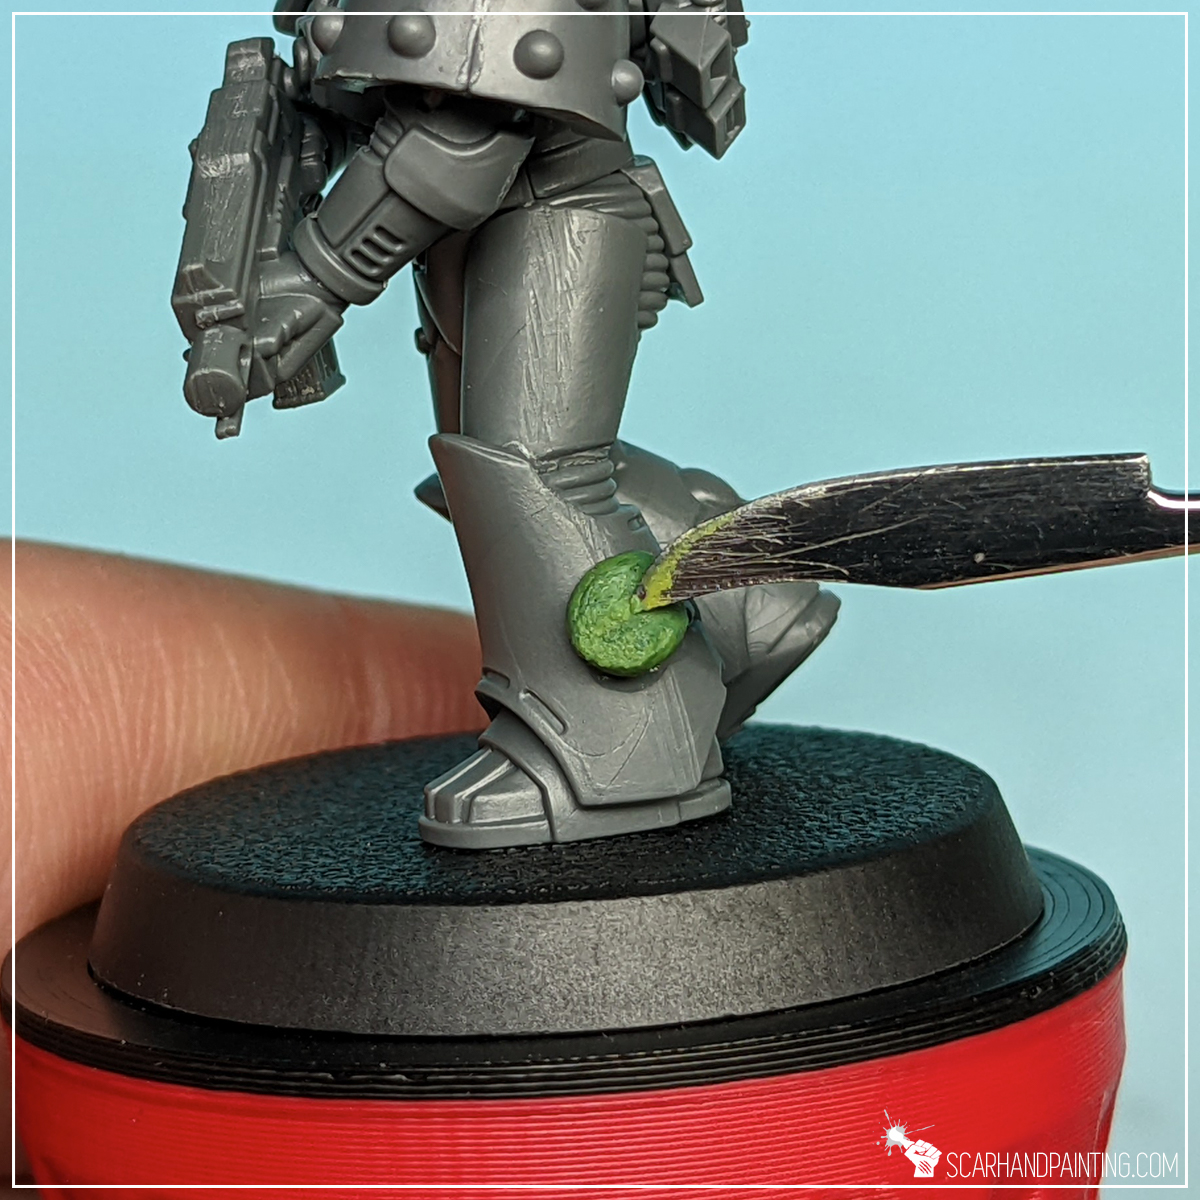

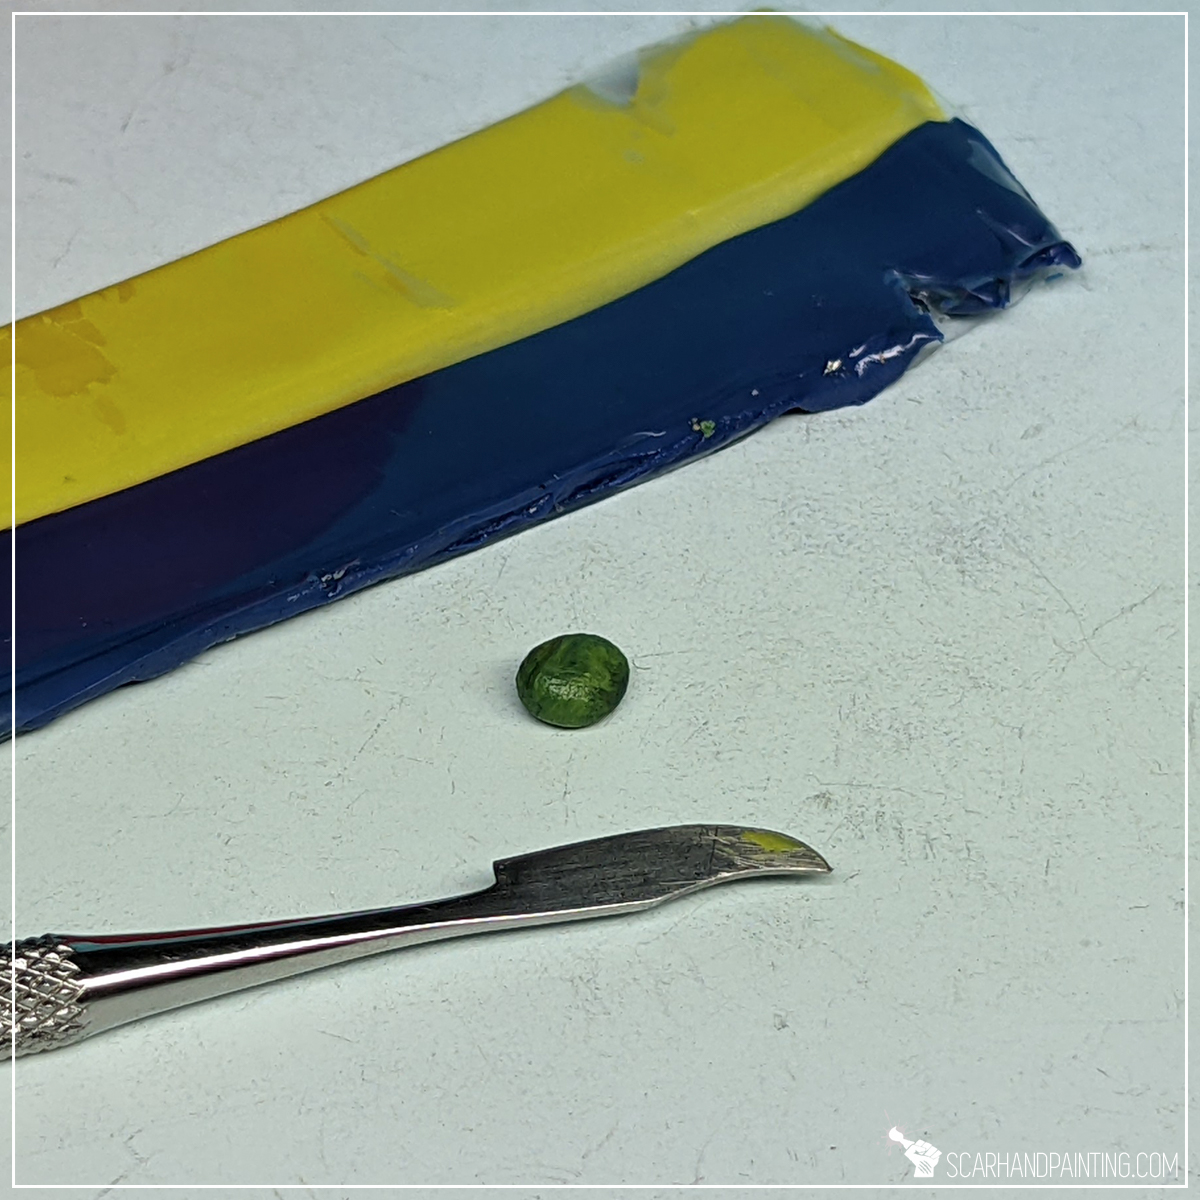
Step two: Green Stuff
Next I glued a small ball of Green Stuff on top, flattening it with a wet finger. Keeping your tools (and fingertips) wet makes Green Stuff less sticky.
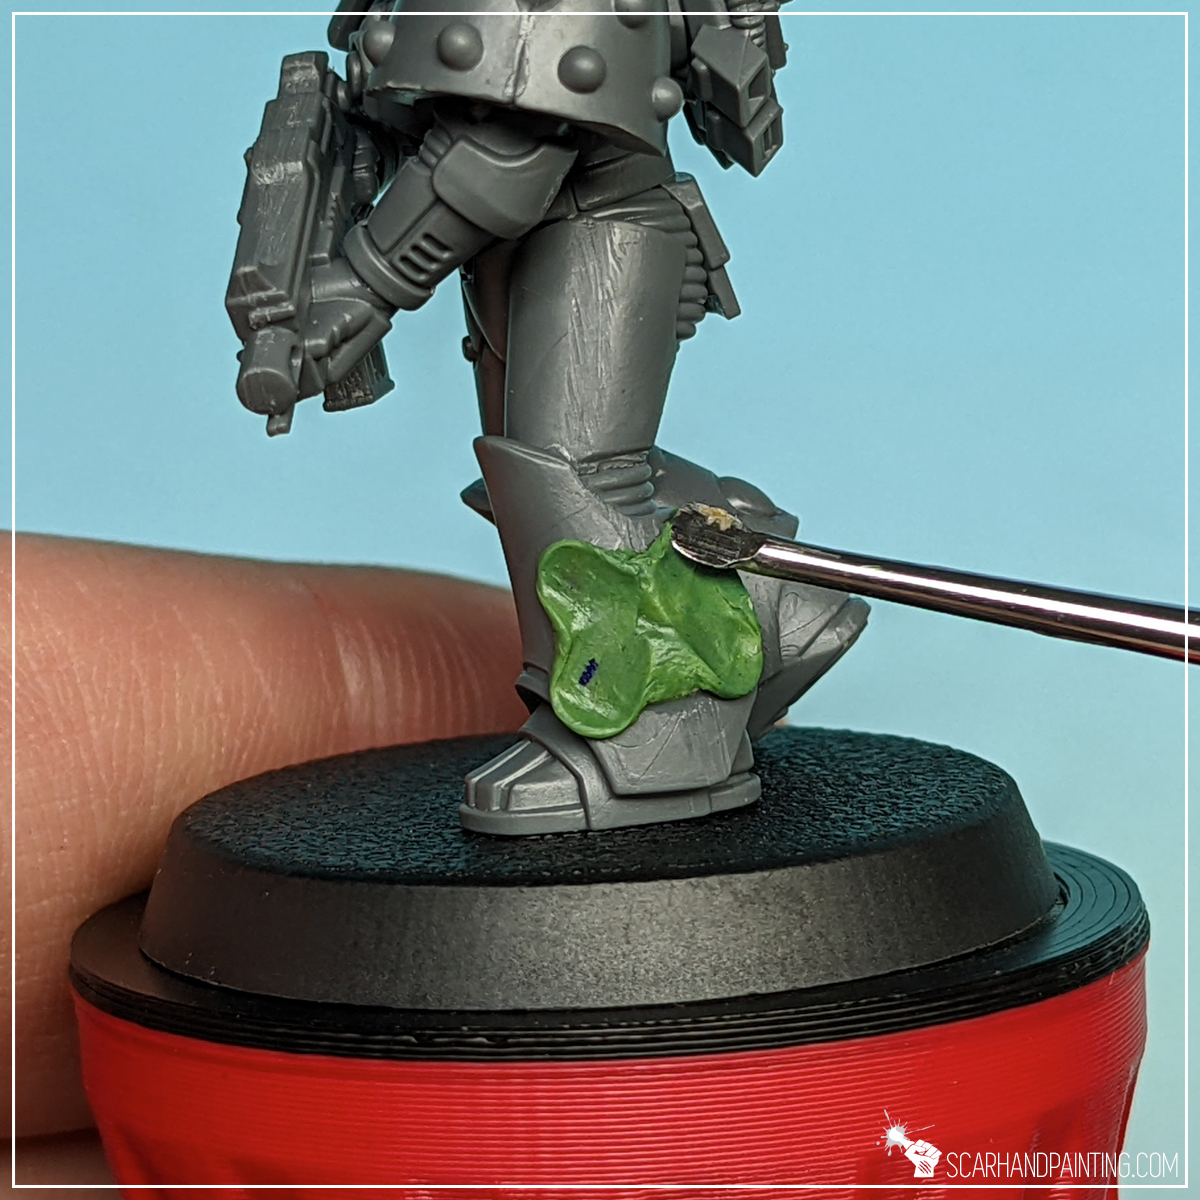

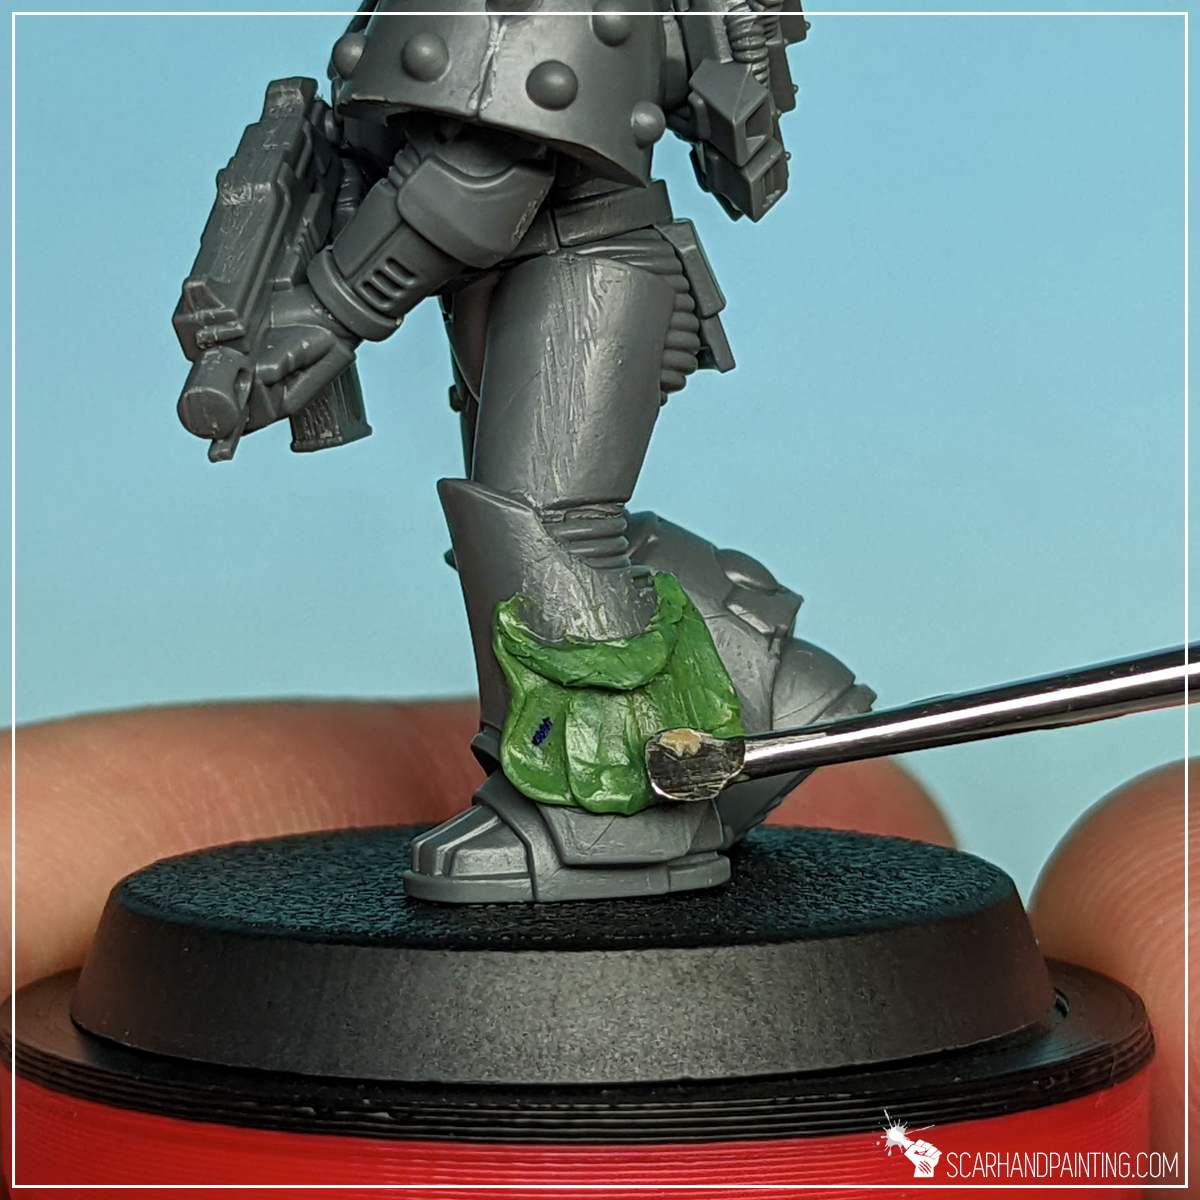
Step three: Basic shape
I then used the rounded tip of a sculpting tool to shape the ‘flattened ball’ into something resembling a butterfly. Four diagonal moves in total.

Step four: Upper edge
Next, using the same rounded tip of the sculpting tool I flattened the upper edge of the ‘batterfly’, resembling a flapping piece of skin. The more rough it is, the more texture it will retain later on so there’s no need to smoother it to perfection.
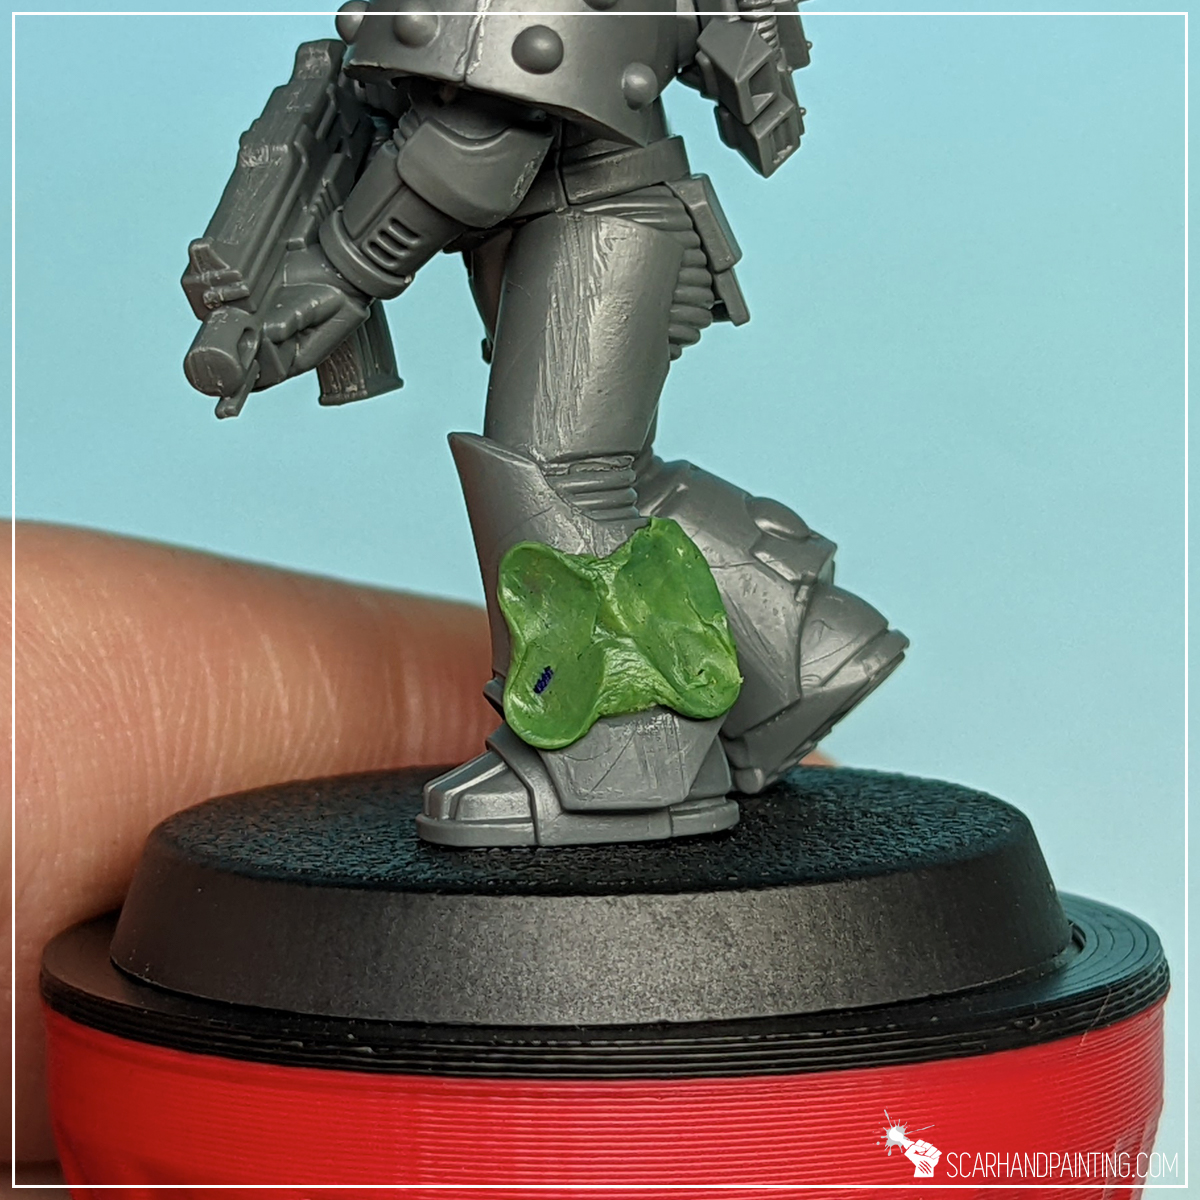
Step five: Lower edge
Finally I flattened the lower edge of the ‘batterfly’ just a bit, so there was a line of overhang below where glue kept Green Stuff in place.
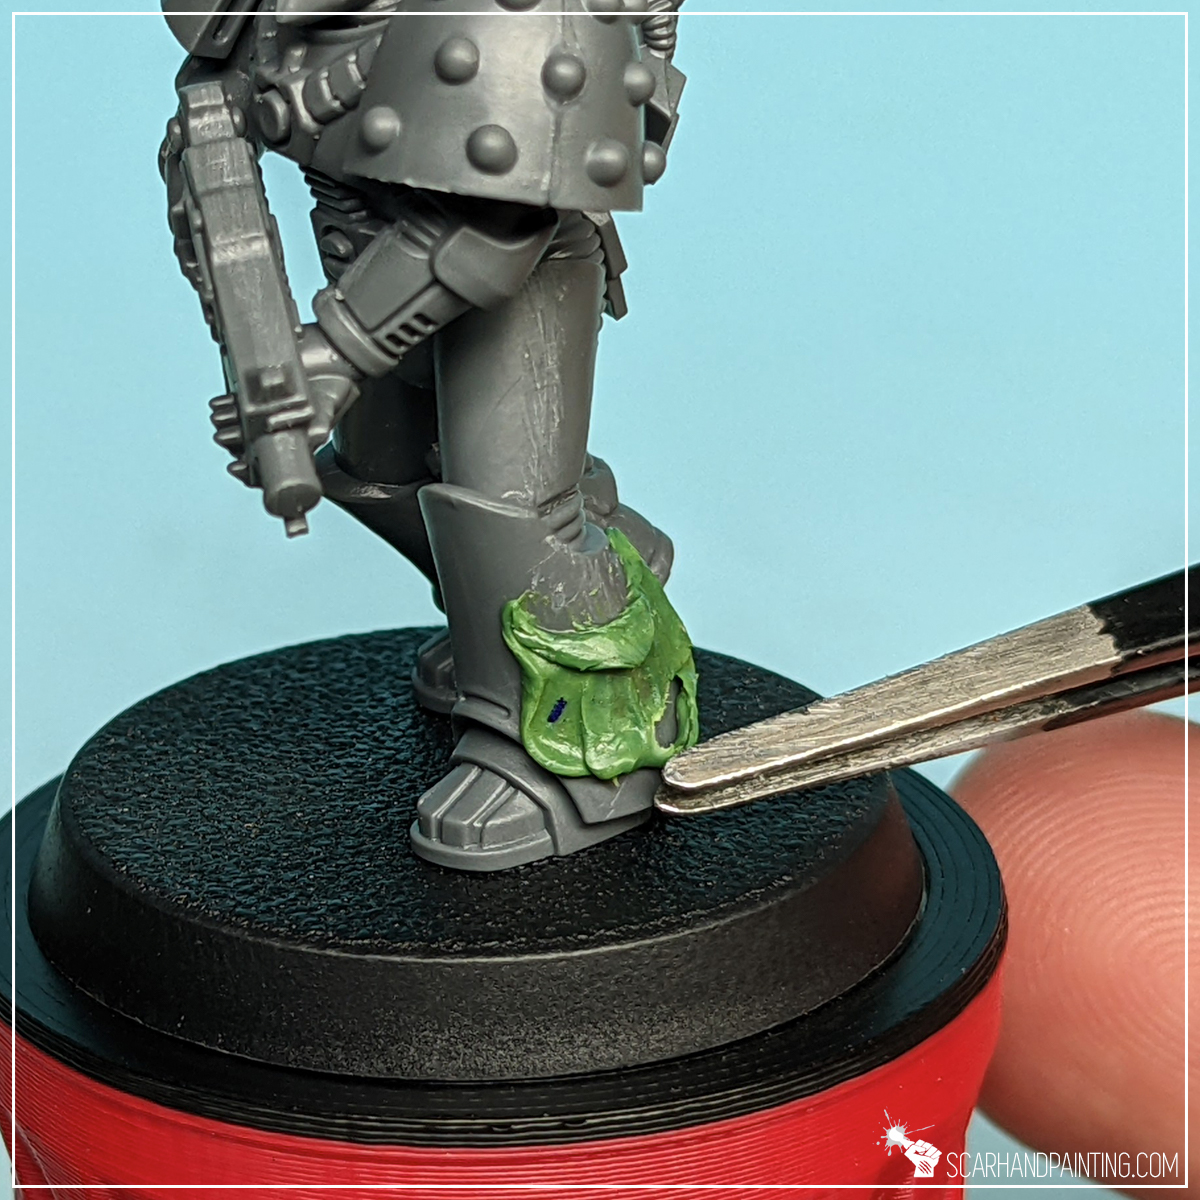

Step six: Shaping
Using a pair of tweezers I then grabbed, teared and shaped the lower part of the sculpt to add an impression of movement. Job well done… although something still seemed missing.

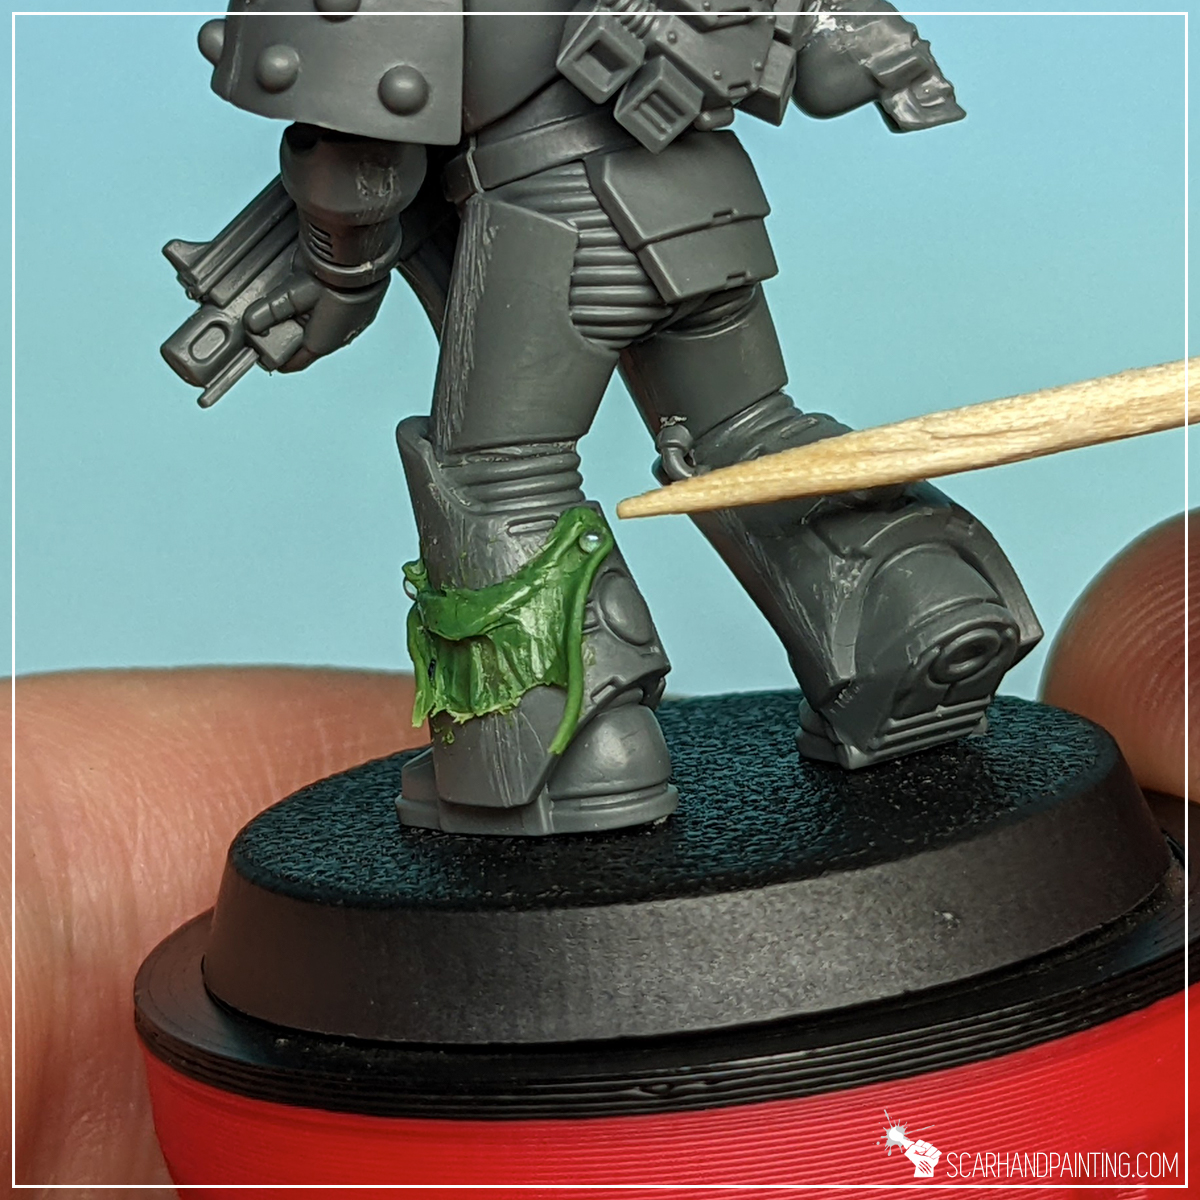
Step seven: Studs
That’s what I’m talking about! A pair of studs to bolt a piece of flapping skin to the armor.
These can be made of anything really, starting with a tiny piece of a toothpick, or some sort of plastic leftovers. Personally I like to use nail cosmetic glass balls. You can read more about them in Unlimited Tiny Balls for Miniatures article.


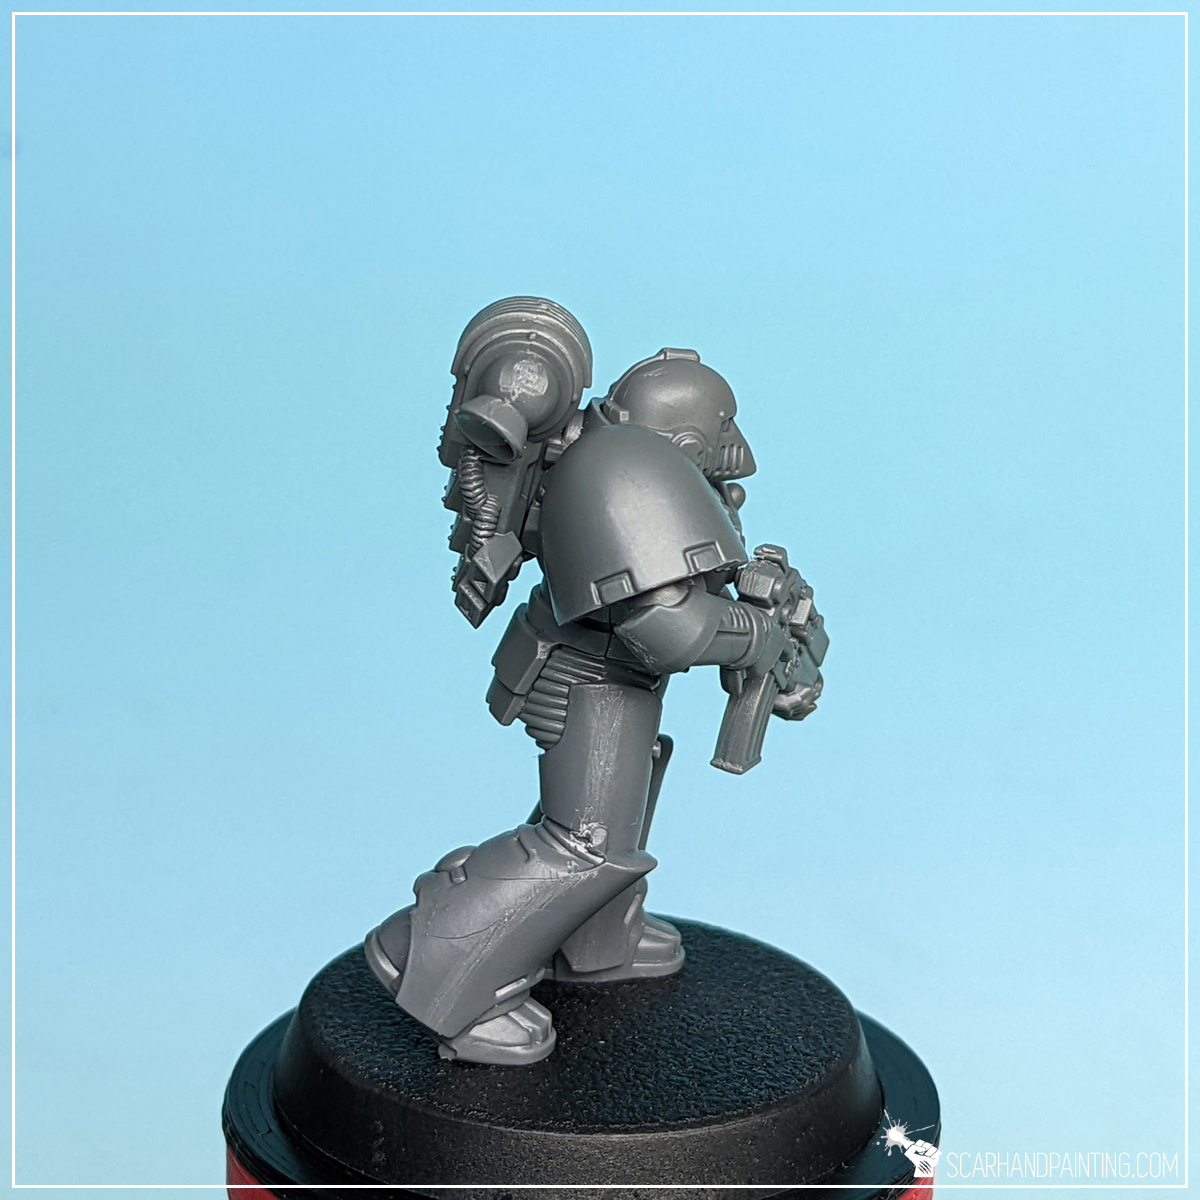
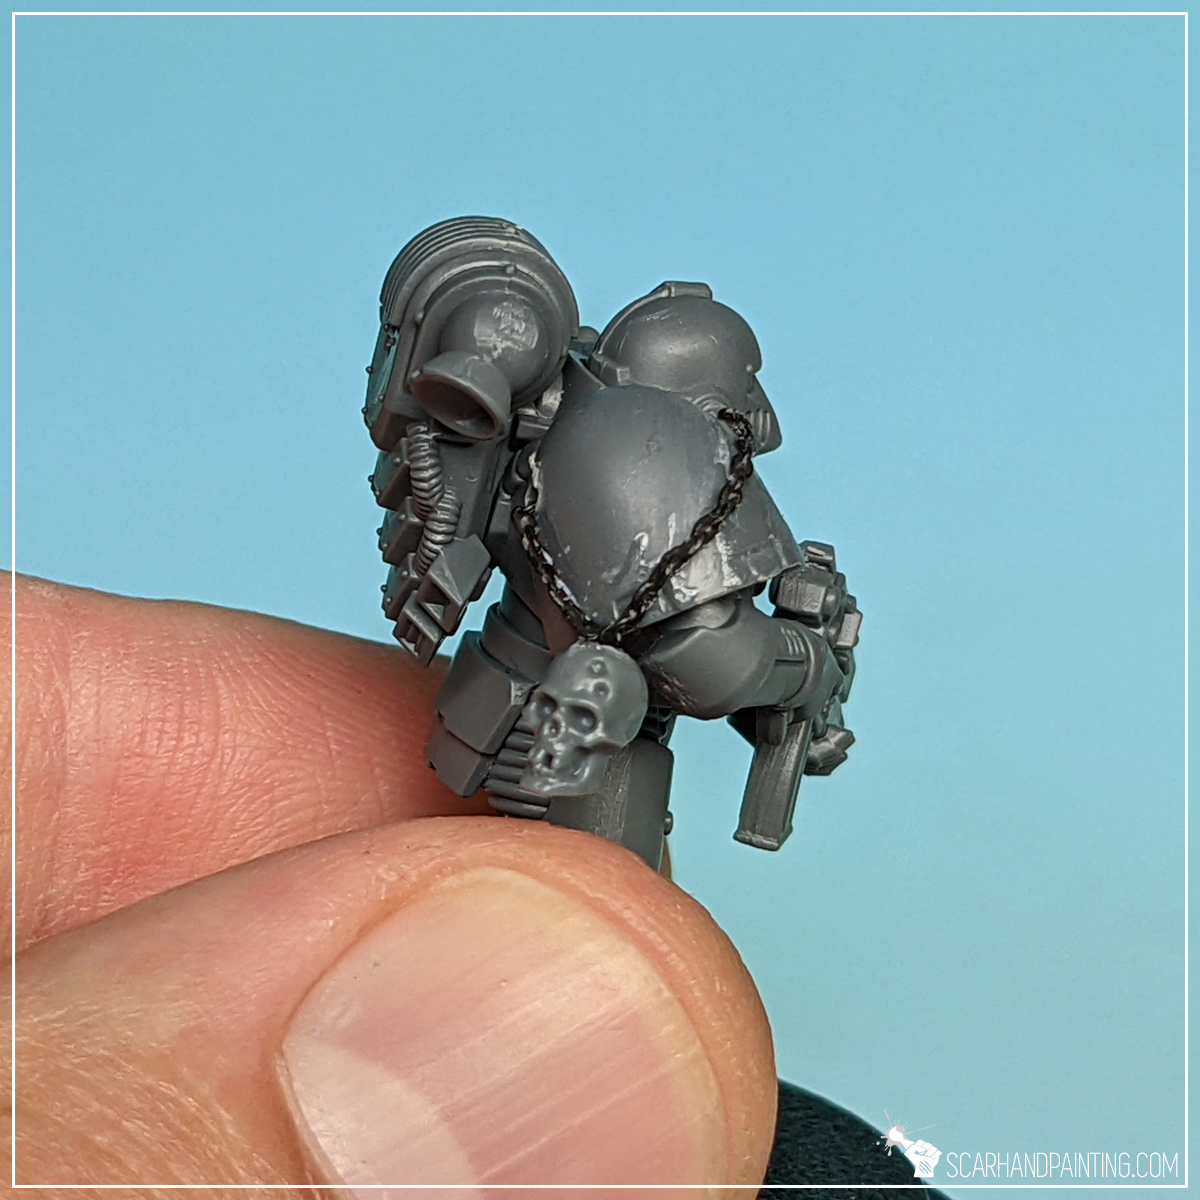
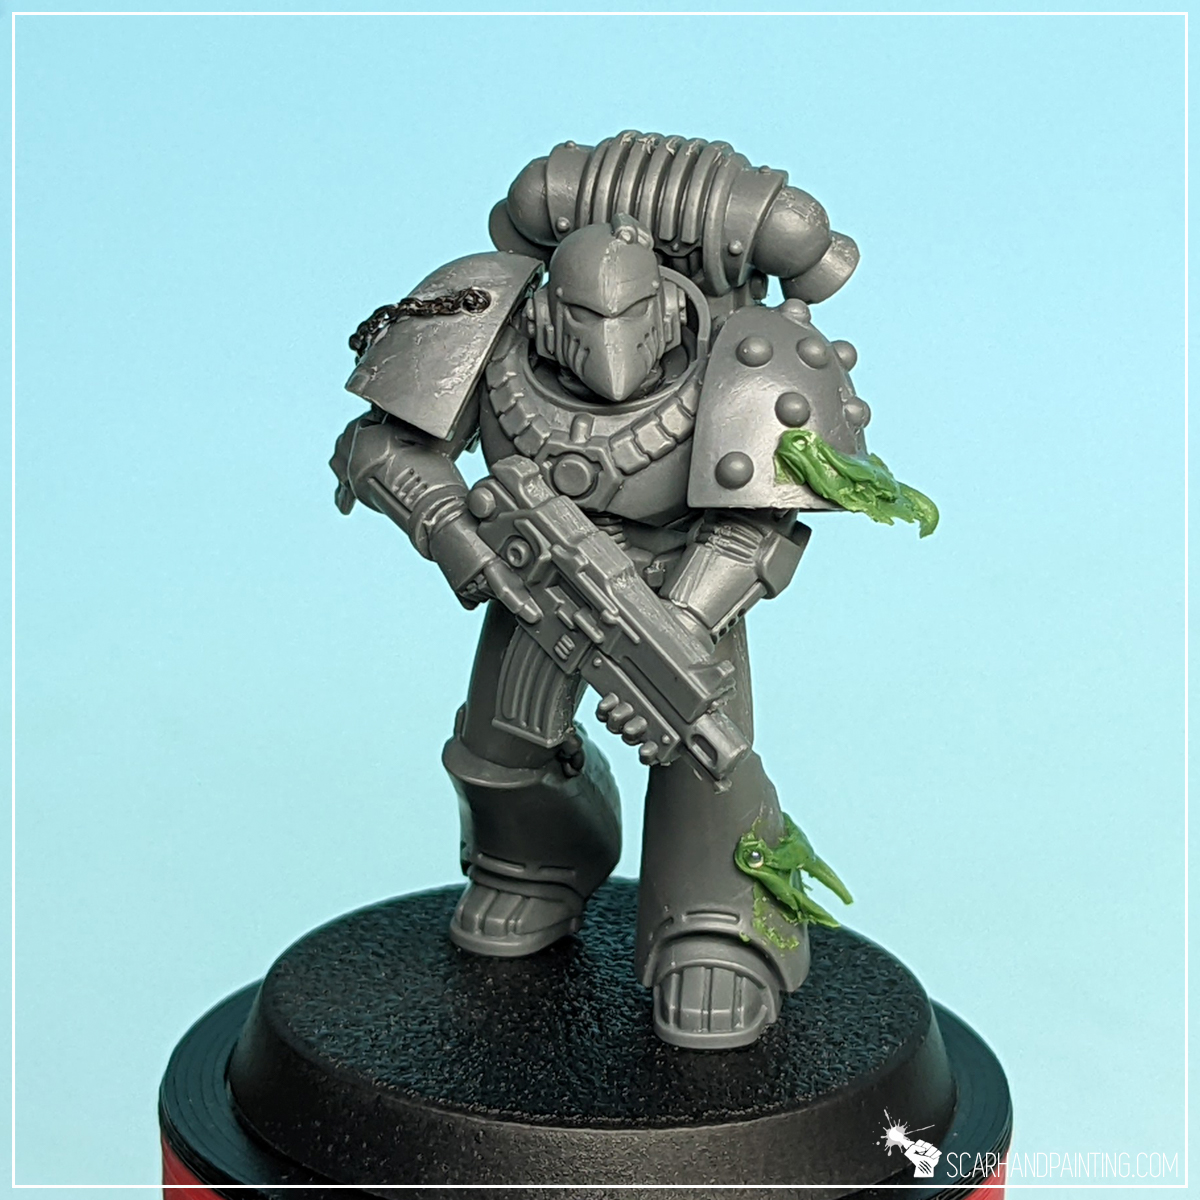
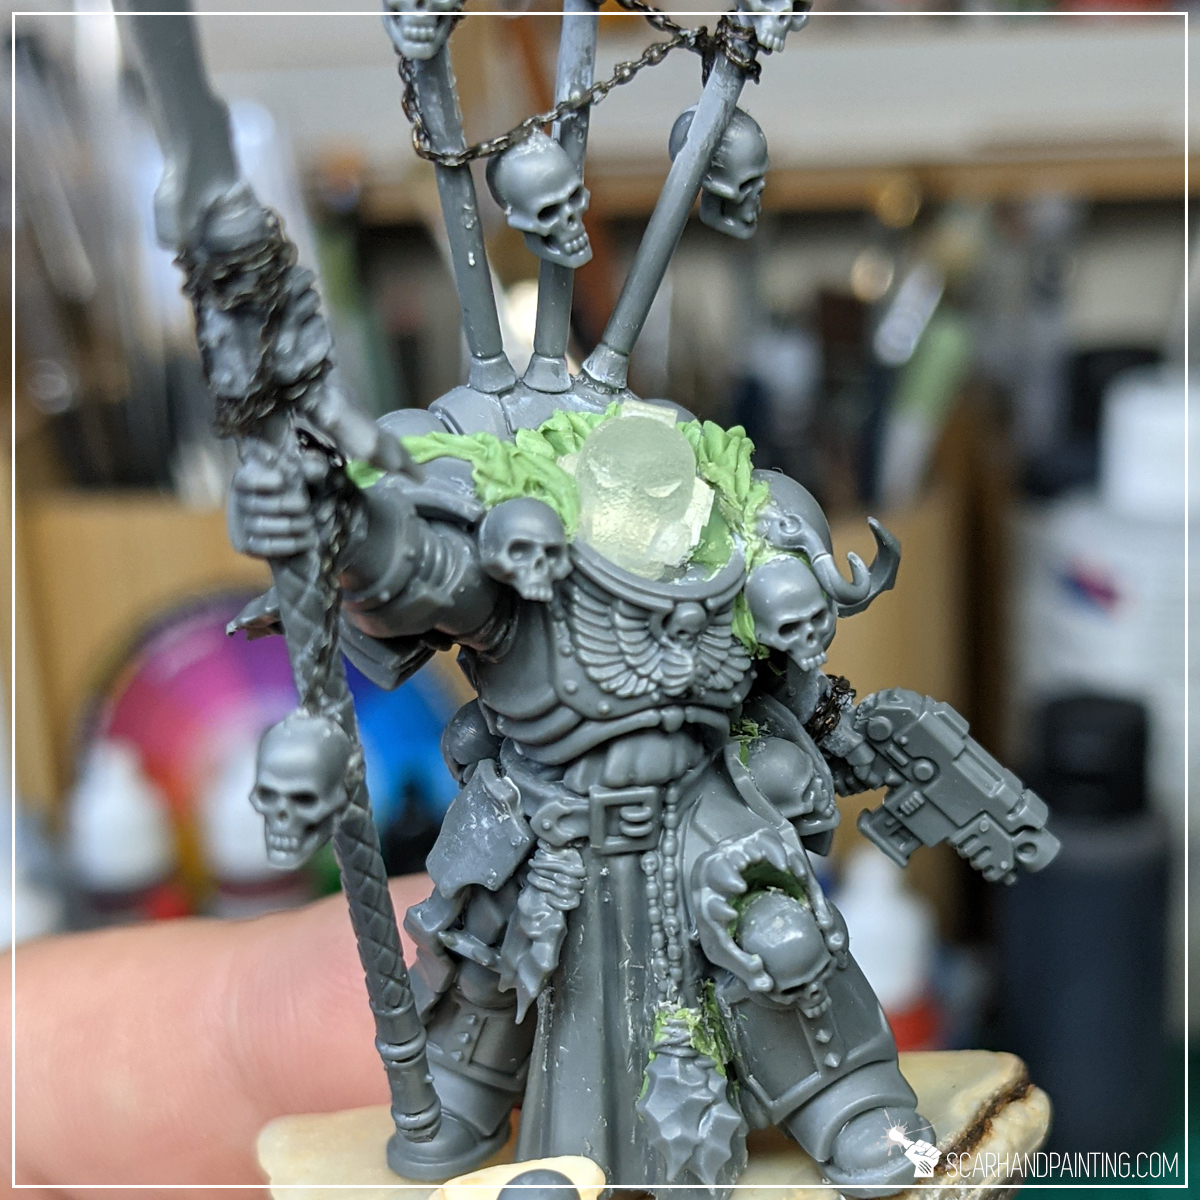
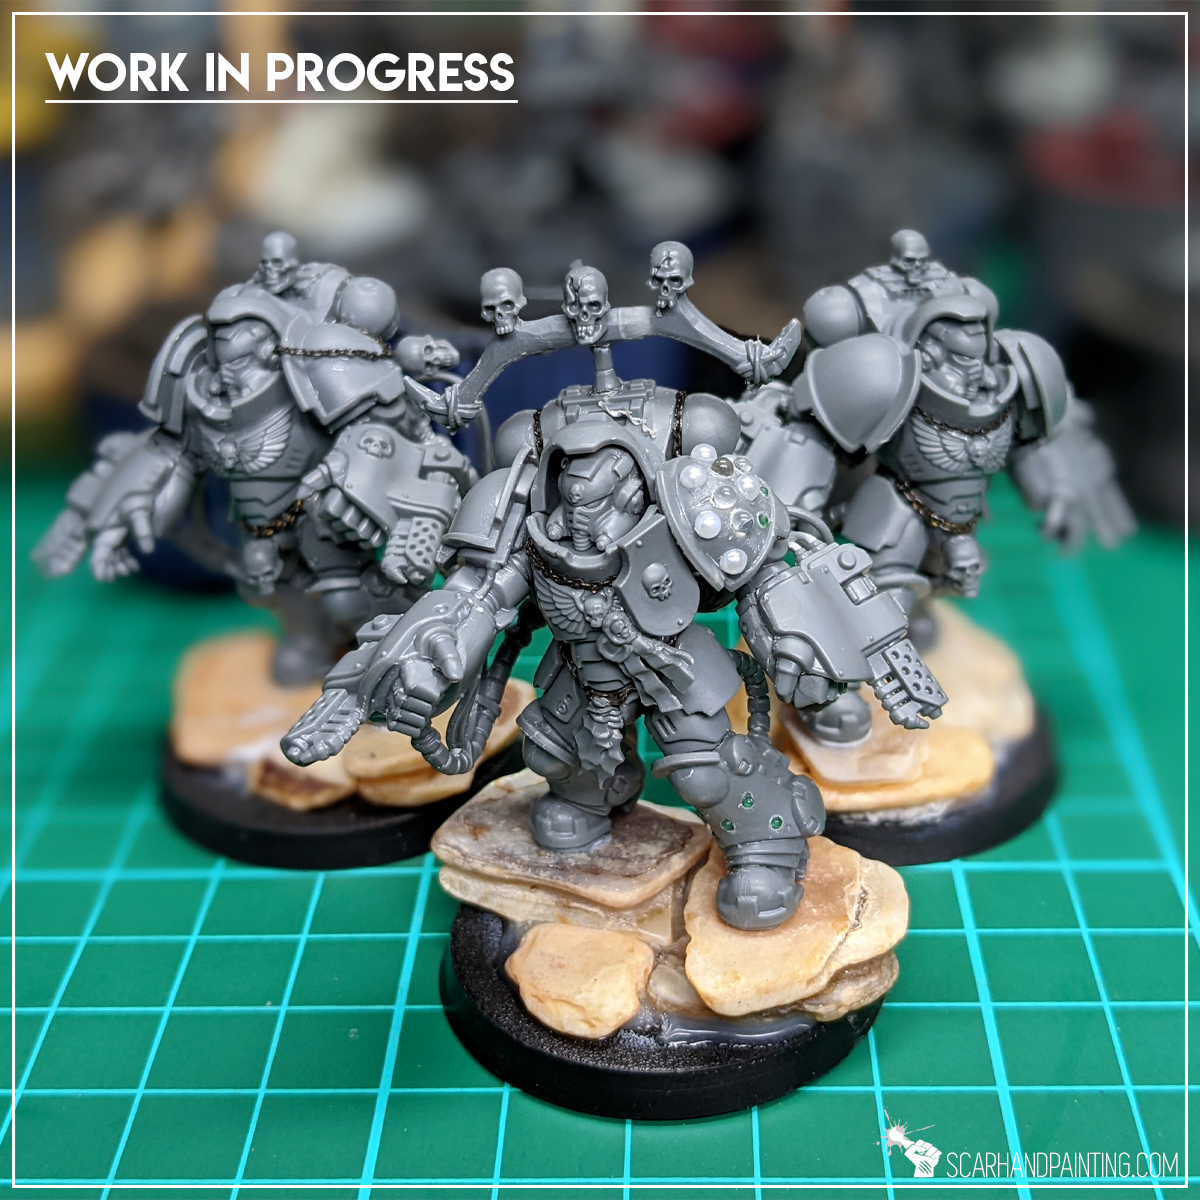
Now look at this serious lad. All the skulls, a chains and some fancy fleshy souvenirs from previous raids. I bet no one will joke around this guy!
Below are some pictures of how I went about skulls and chains on my personal collection:

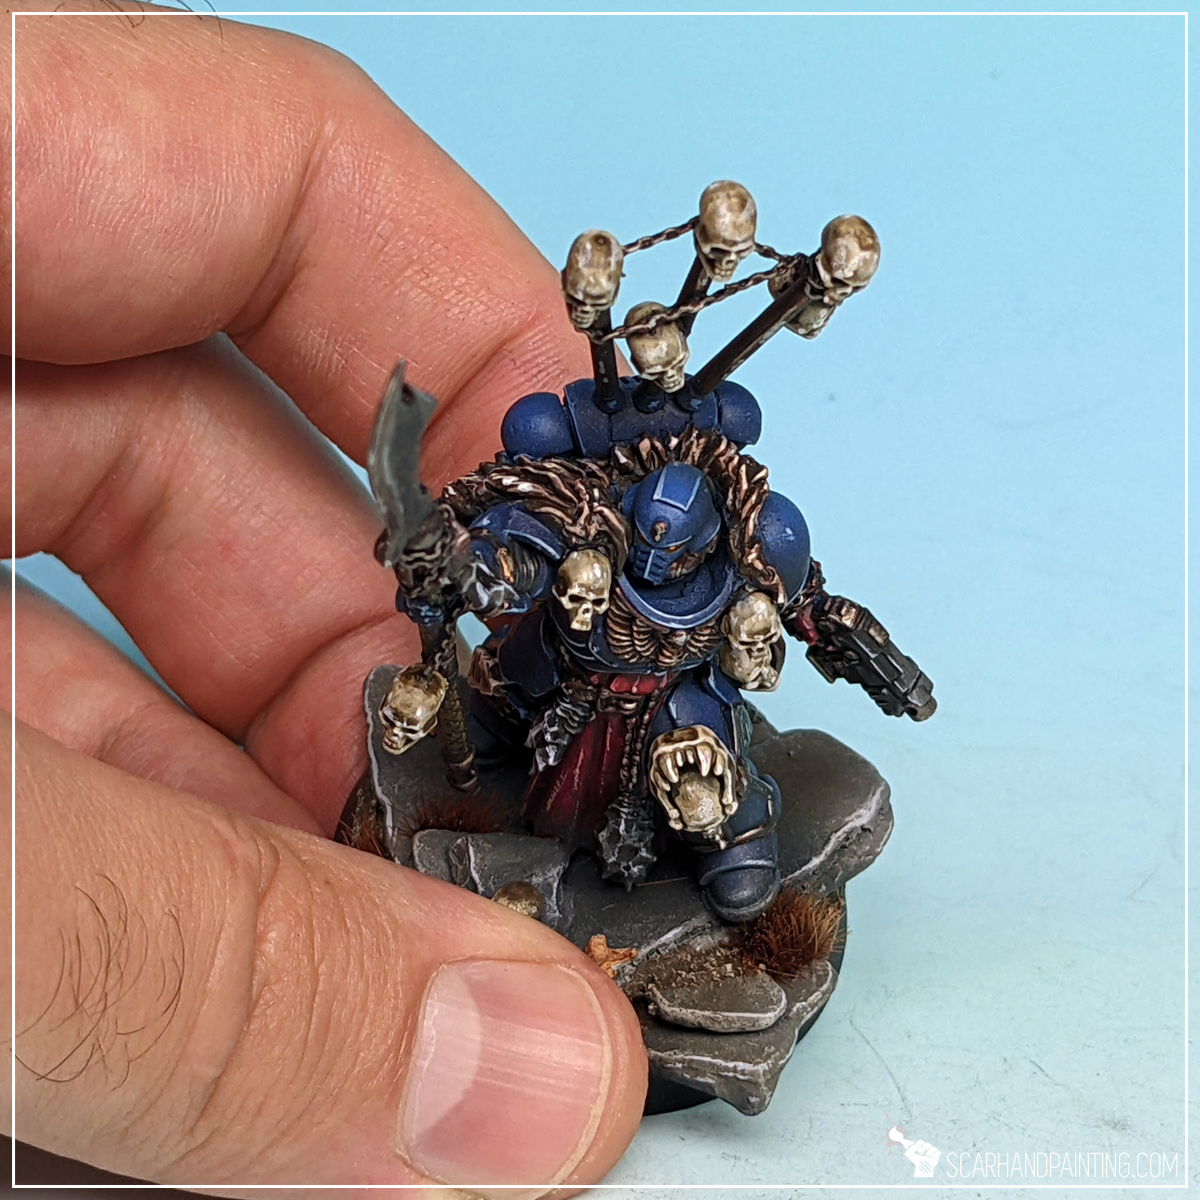
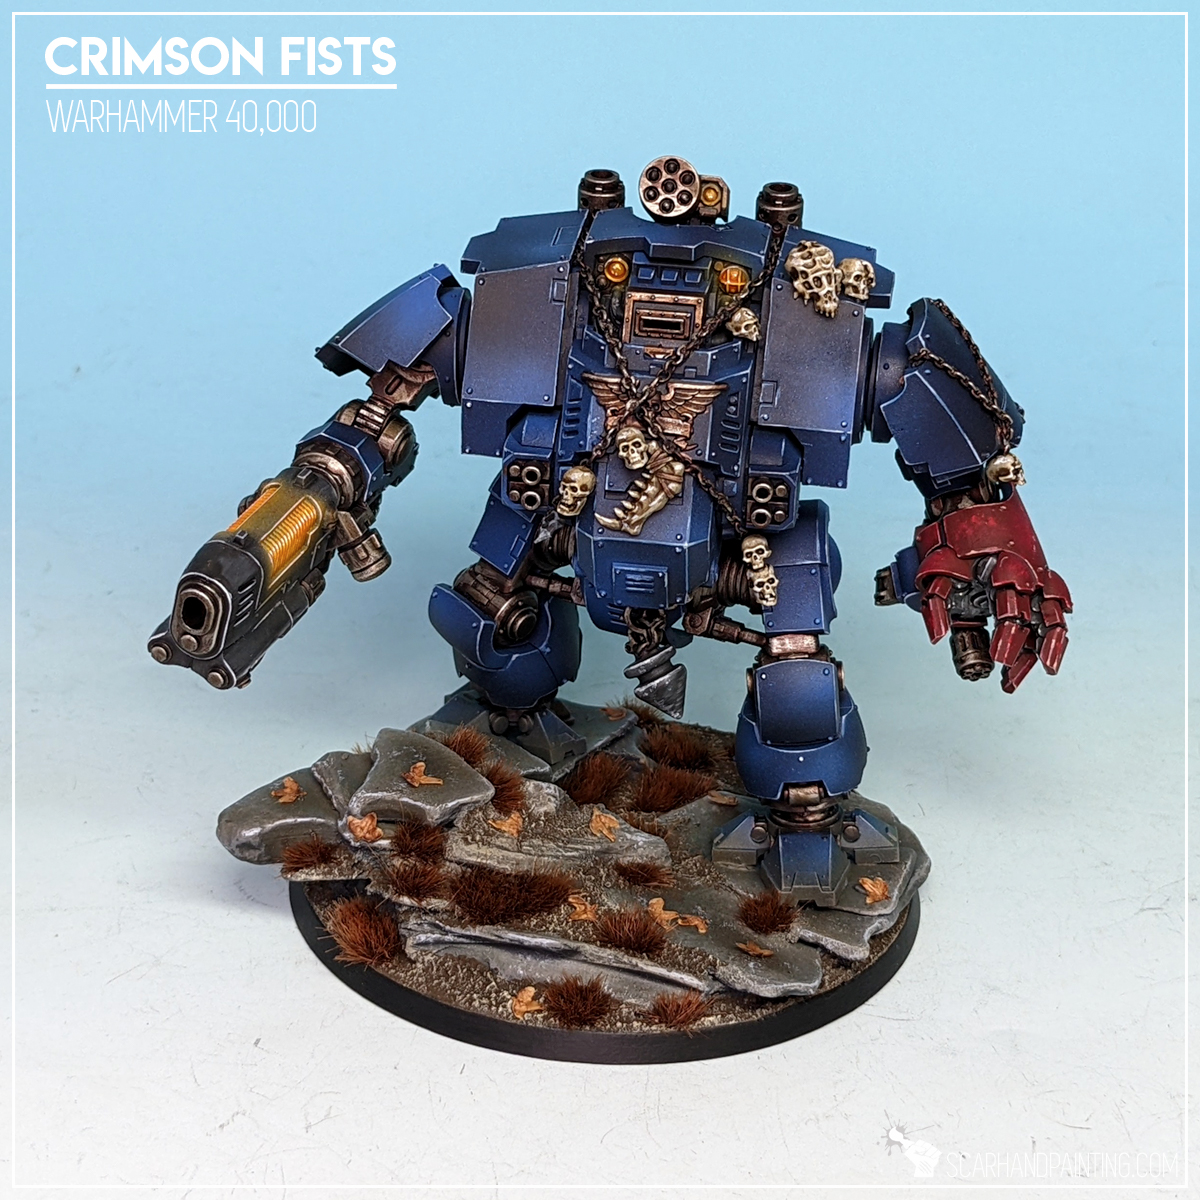


And if you require even more inspiration, why not check Gallery: Crimson Fists, for plenty more pictures of my heavily Night Lords themed 40k army. Ave Dominus Nox!

I hope you find this tutorial interesting. Be sure to let me know your thoughts in the comments below or via Facebook or Instagram. I would also appreciate if you considered sharing this content with your friends, who might find it useful. Finally if you are looking for a professional warhammer 40k miniatures painting service, be sure to contact me with this contact form. I always reply within 24 hours, after which please check out your spam folder.