- contact@scarhandpainting.com


What if I told you it is possible to turn almost any old, damaged, badly painted Space Marine model into an Obliterator using trash and a bit of modeling magic? Sounds good? How about I just show you!
Before we start, some notes:
I have been playing Warhammer for over two decades now. Throughout that time I had multiple armies that I built, then painted, then sold out to get dough for another dose of ‘plastic crack’. At times I had to get rid of some really badly painted, out of date sculpts. Easy to say, I came up with a variety of ideas on how to make such miniatures more desirable in the eyes of potential buyers, one of which was turning old minis into Chaos Obliterators and Spawns. The key was to use an old miniature and as little extra bitz as possible to up the value on the gaming board. Nowadays Obliterators come in plastic and look cool, but I believe there is still value in recycling old minis, especially if you’re short on cash and would like to play CSM proper by spamming these bad boys all over the place. The method shown below can be used for anything, including turning Marines/Vehicles Death Guard, making Possessed or Mutants and more. I deliberately chose to make an Obliterator, but stay open minded and let me know in the comments if you would like to see some kind of dedicated Nurge’esque magic in the future.
Now buckle up and let’s jump straight into it!

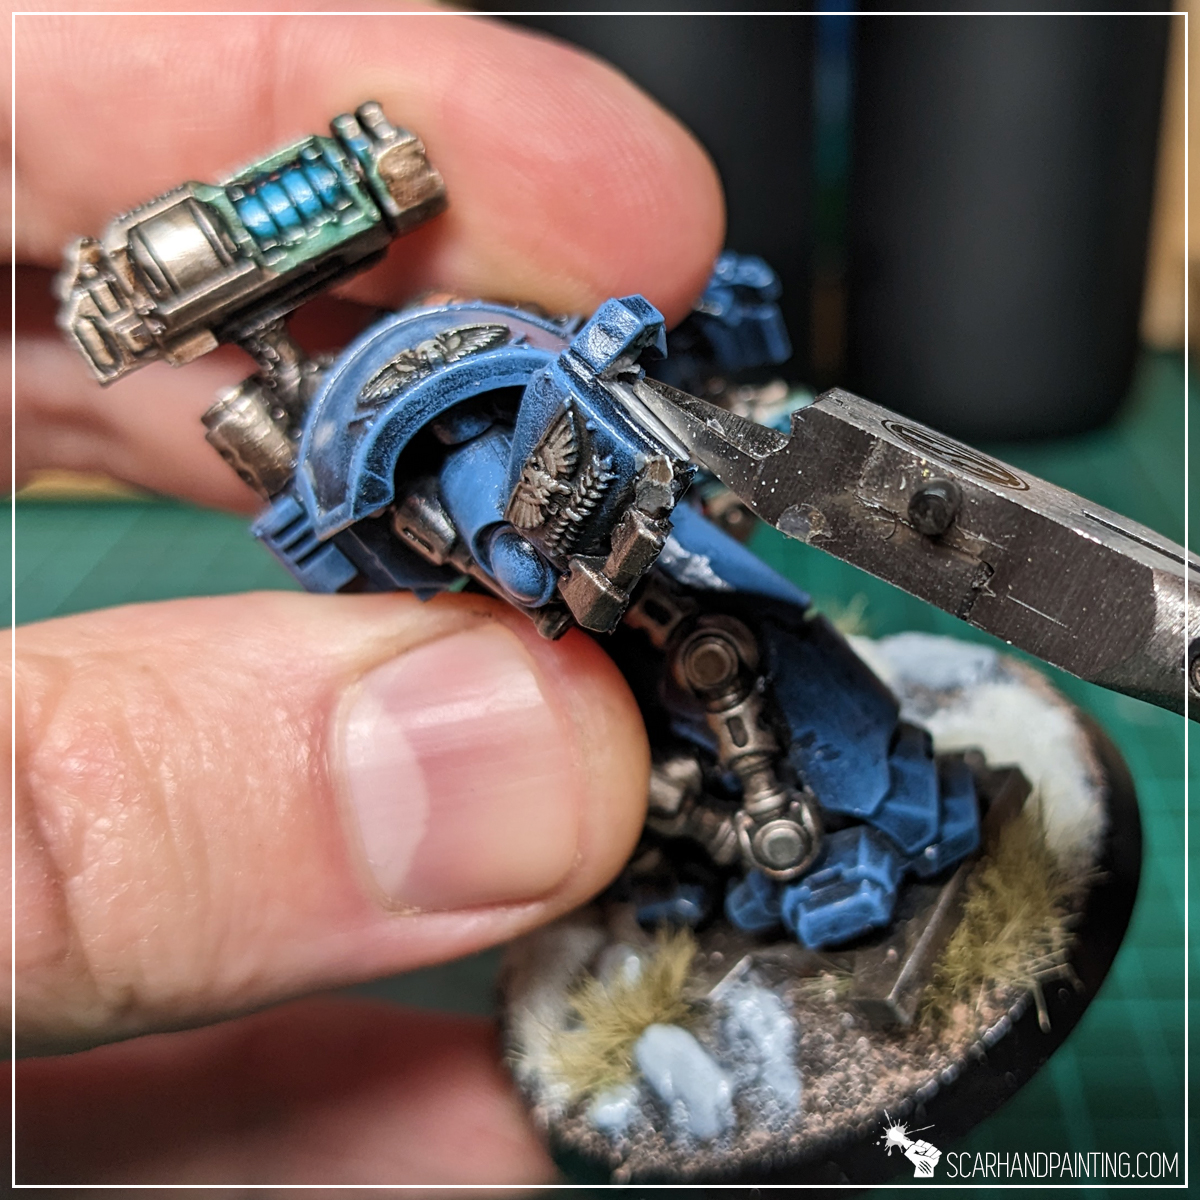
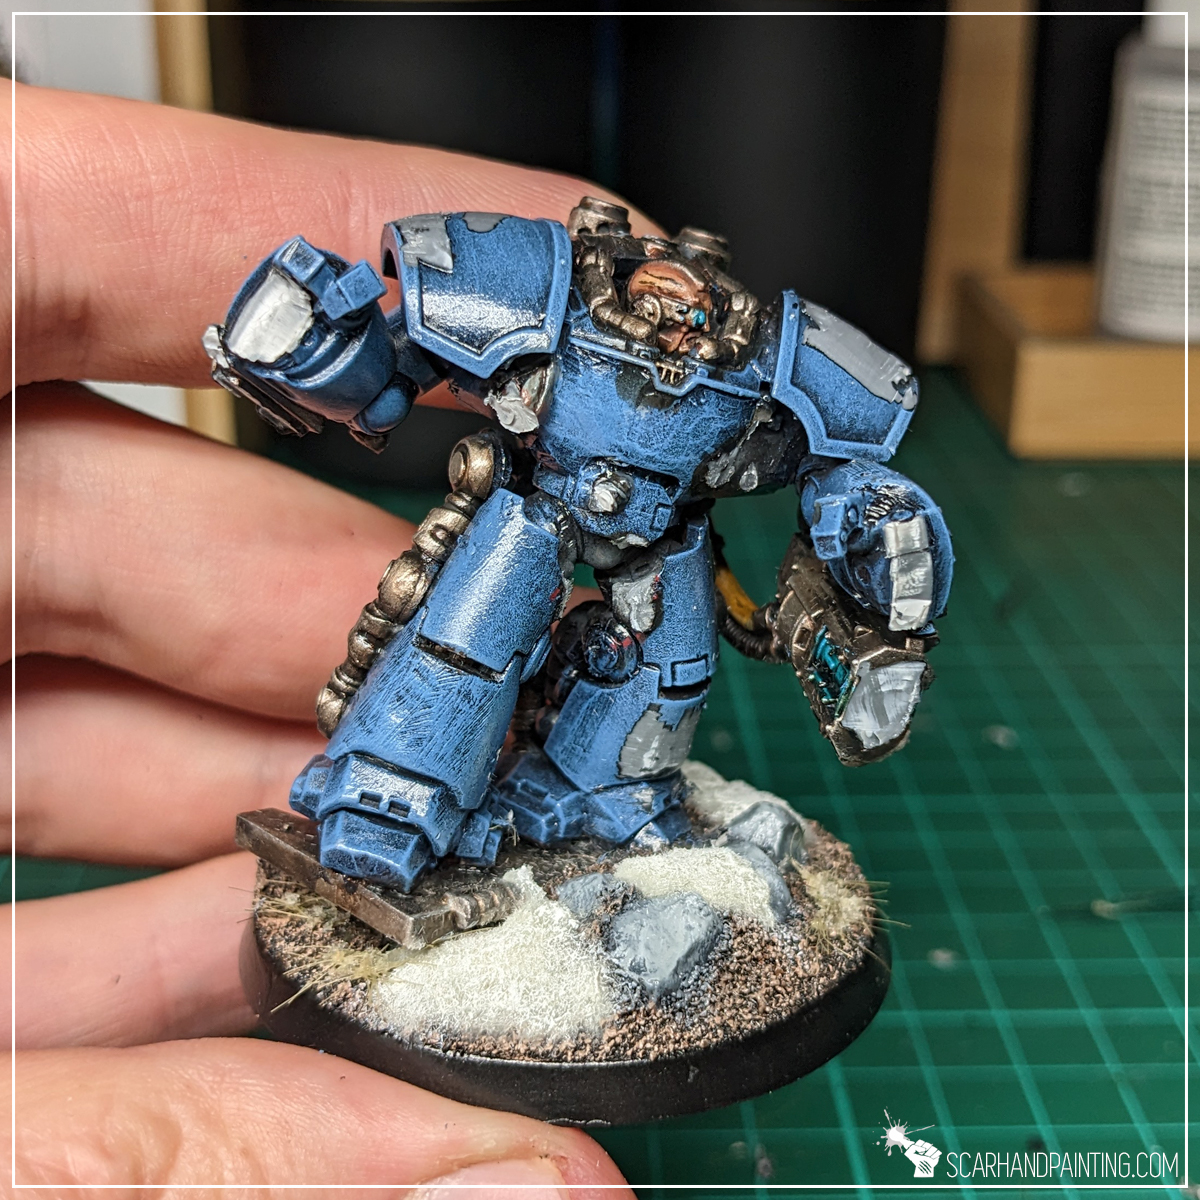
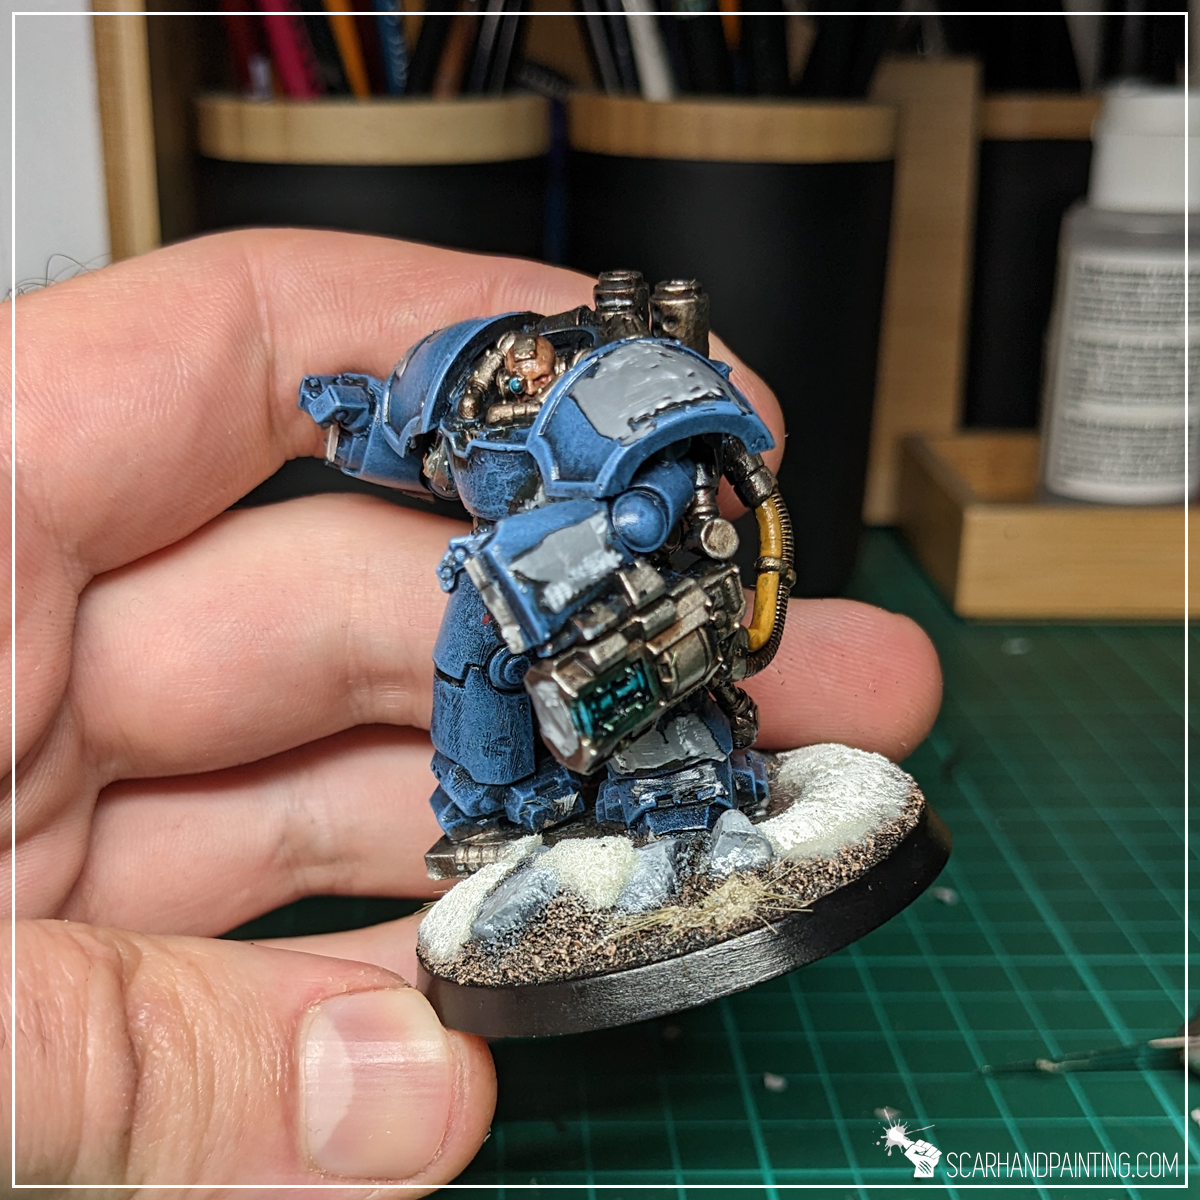
Step One: Preparing the Miniature
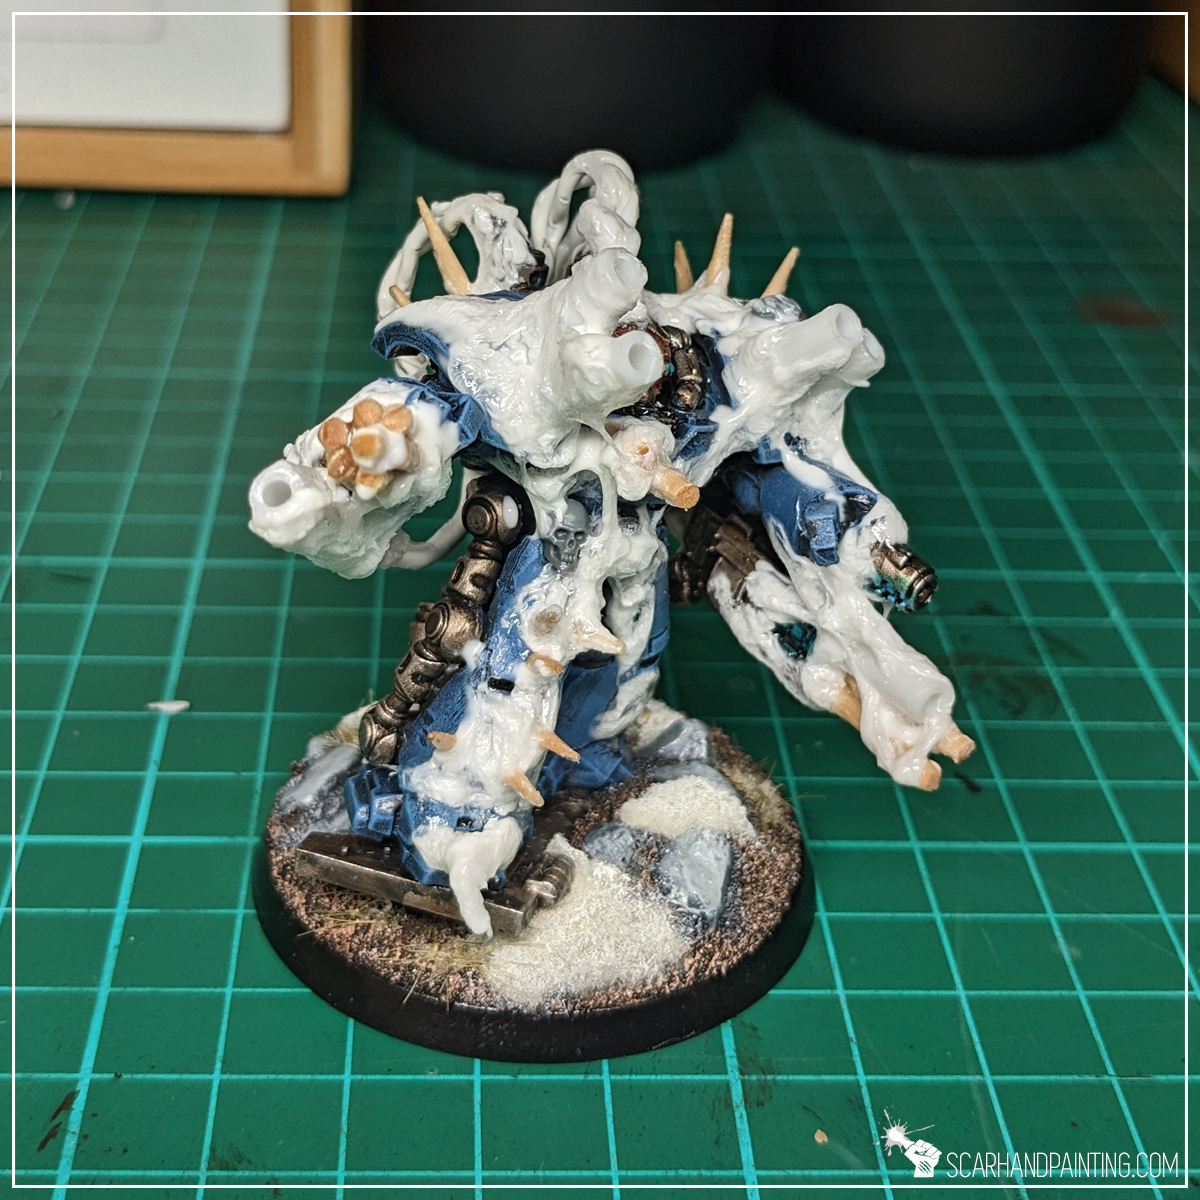
Using Hobby Cutters and a Hobby Knife I removed front parts of the miniature’s arms to make space for the upcoming weapon extensions. I also removed any Imperium related symbols.

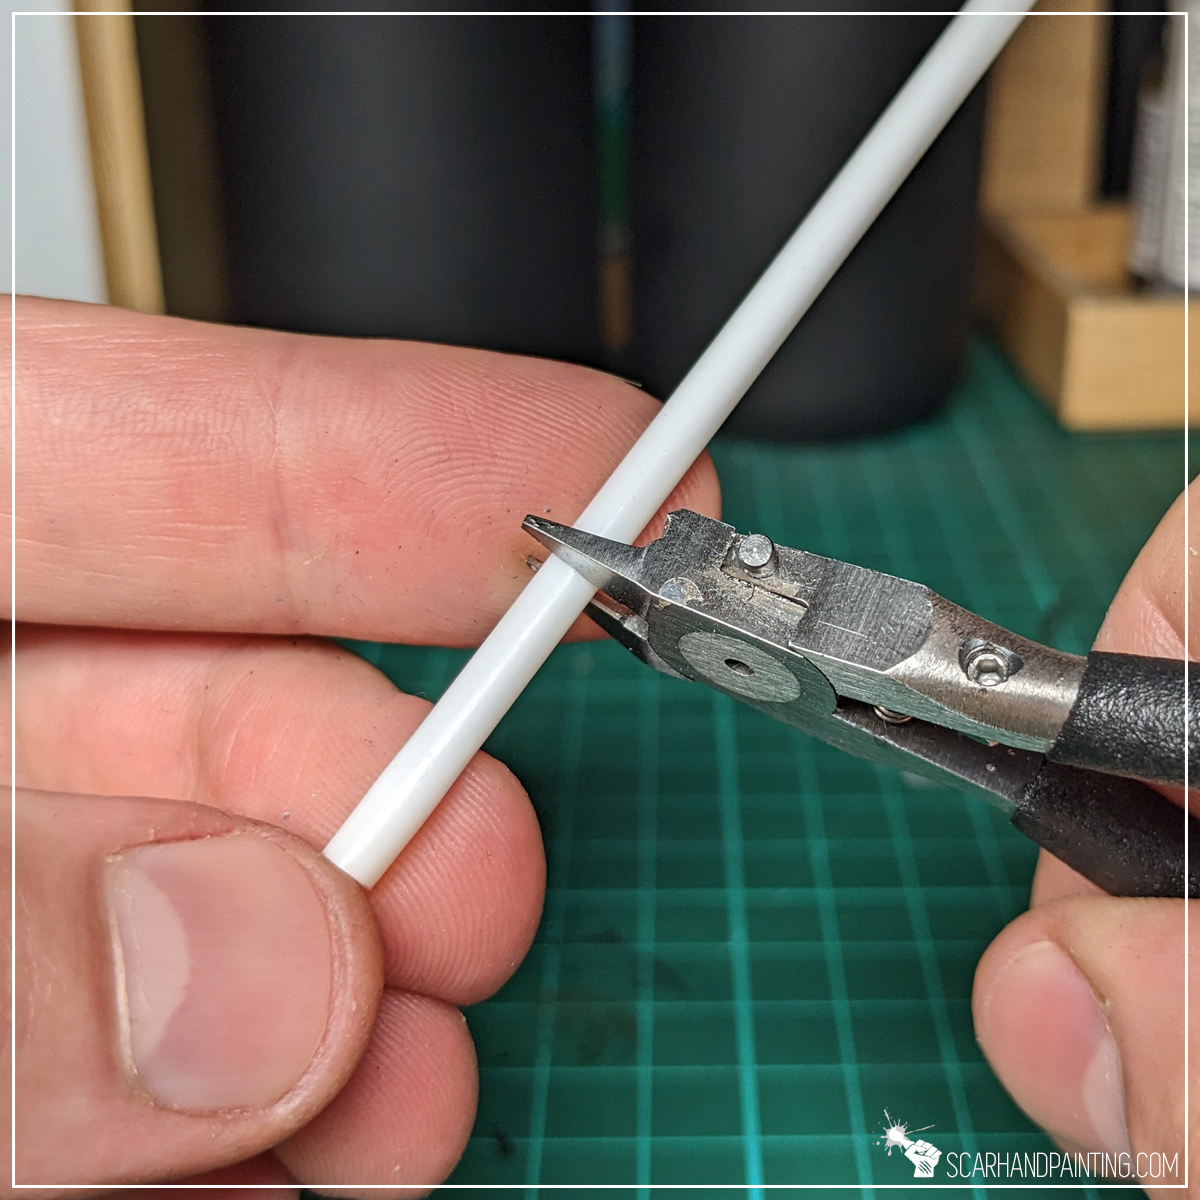
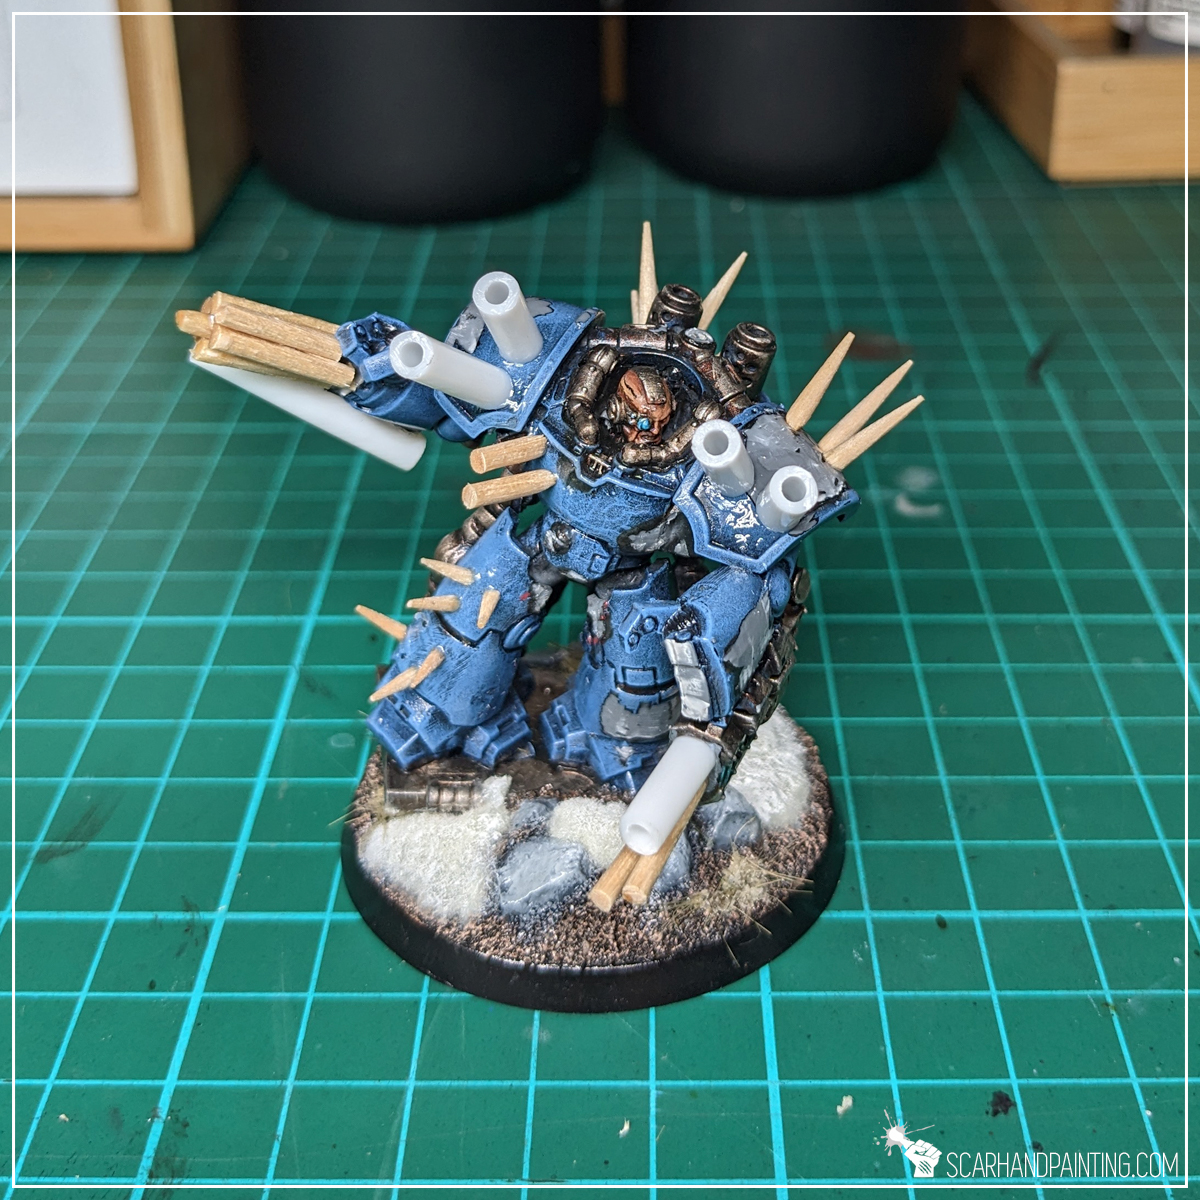
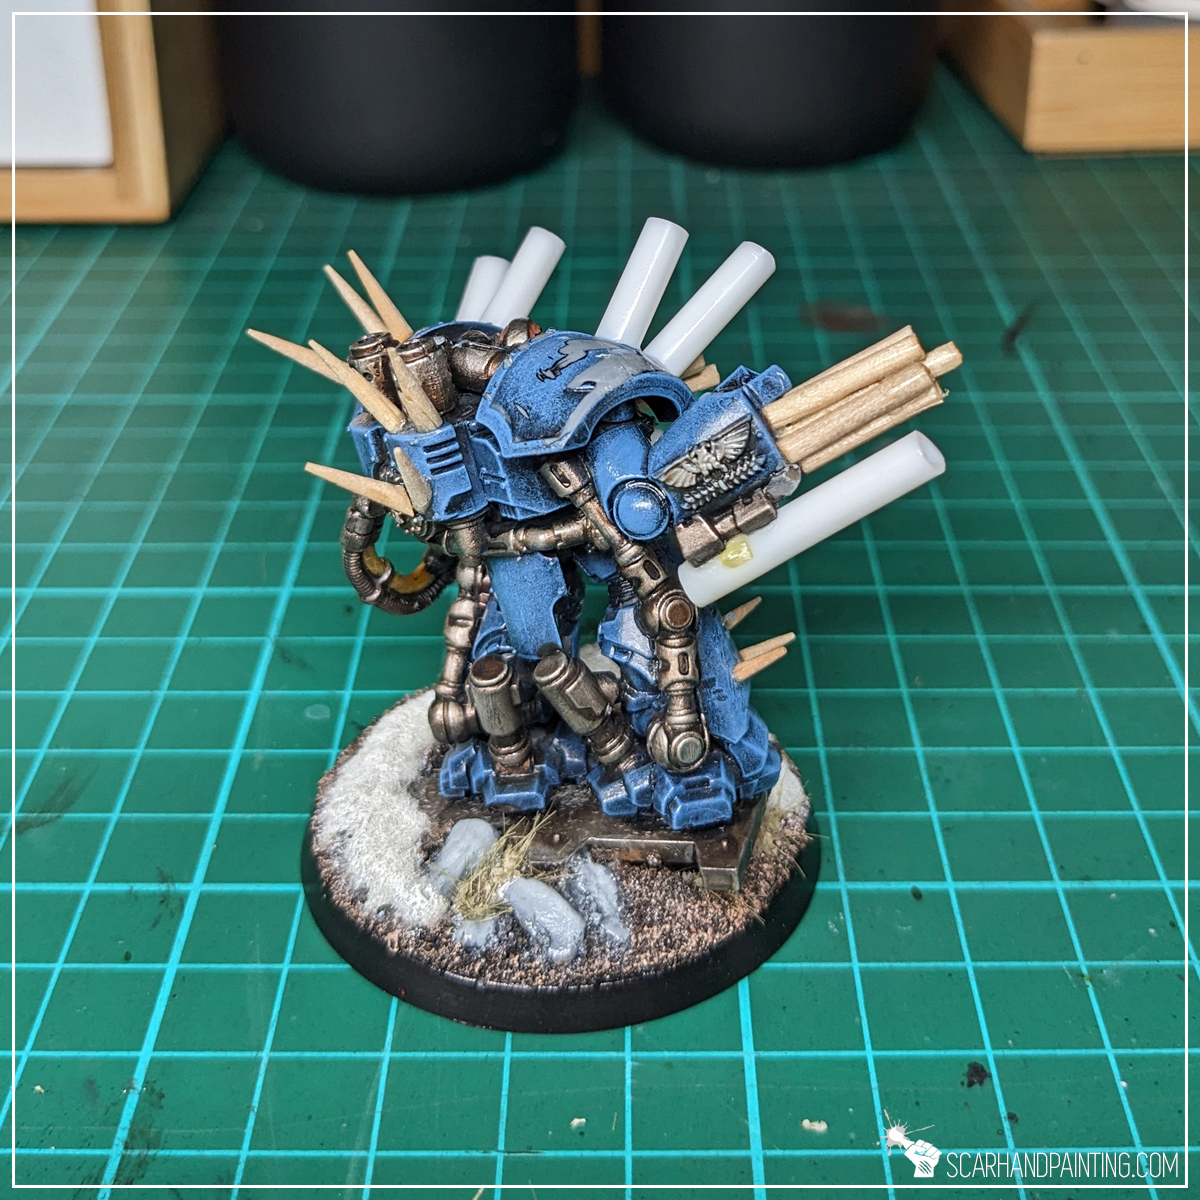
Step Two: Weapon Barrels
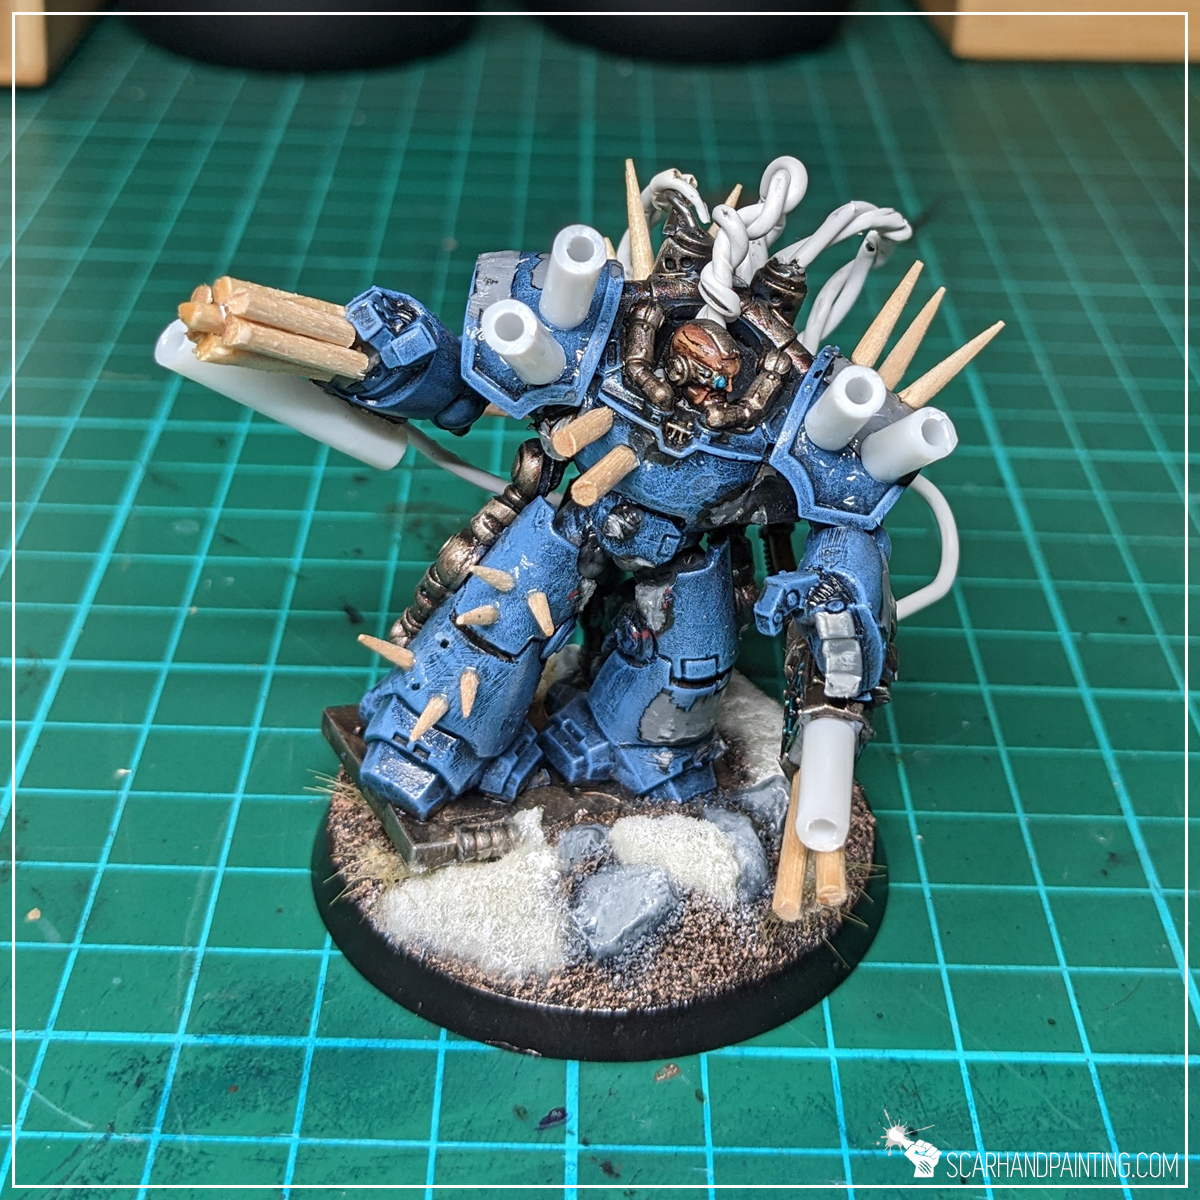
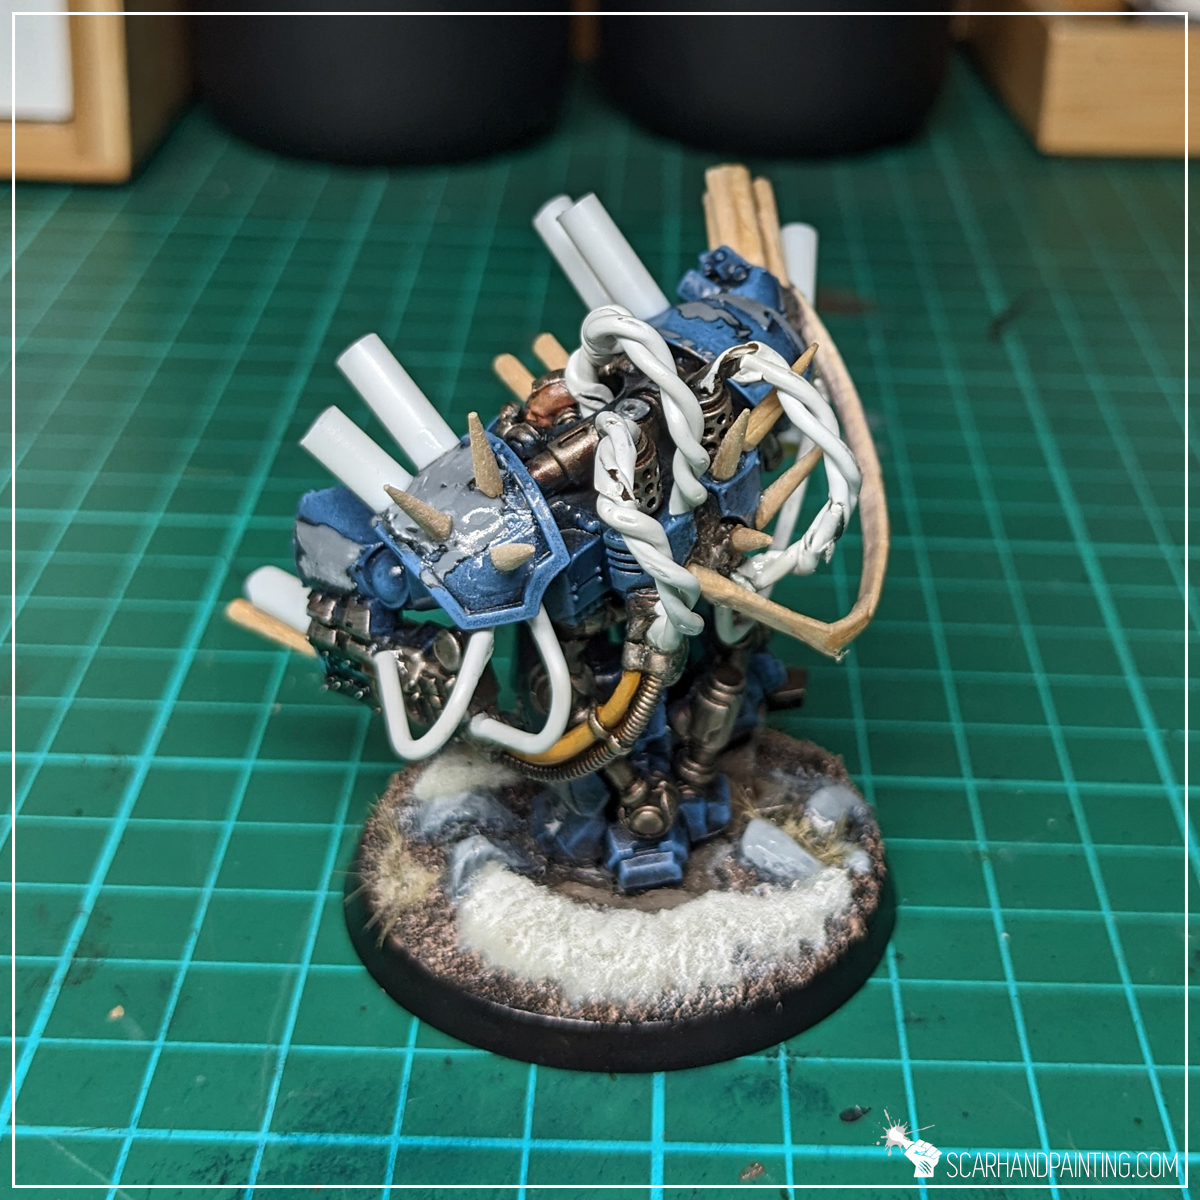
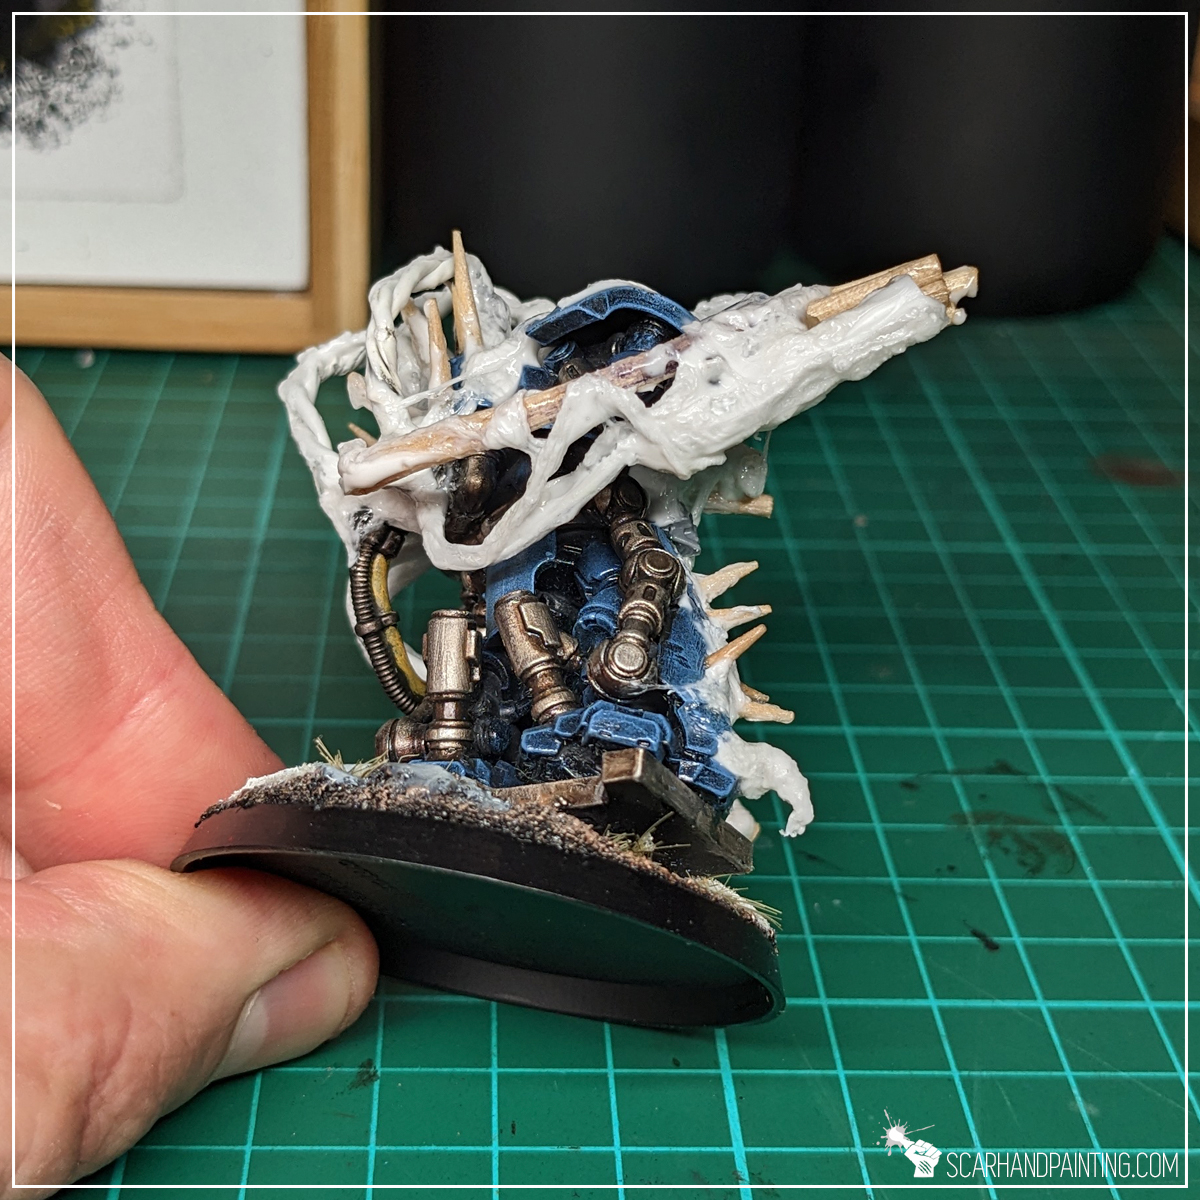
Next I cut an old lollipop stick and a few toothpicks into short pieces, then glued them onto the shoulder guards and arms of the miniature with Super Glue. I used remaining sharp toothpick ends to form spikes on one leg and the back of the miniature.

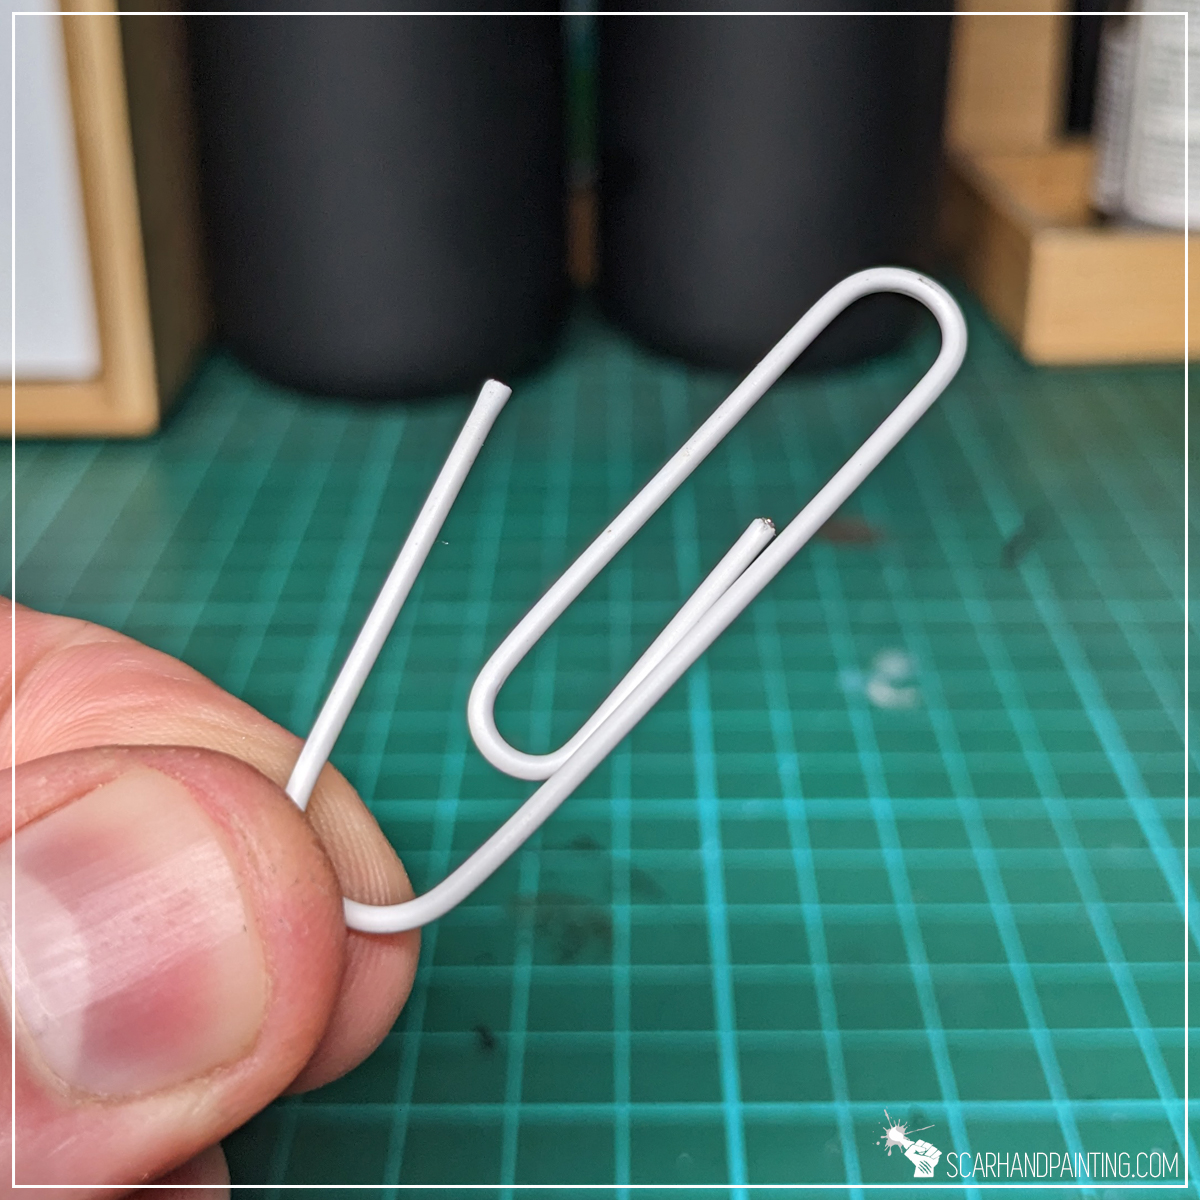
Step Three: Veins and Cables
I then added another thematic detail by cutting paper clips into small pieces, then bending them to form swathes of cabling. I also twisted a few to form double cabling/veins then glued all of them onto the miniature. Again with Super Glue.

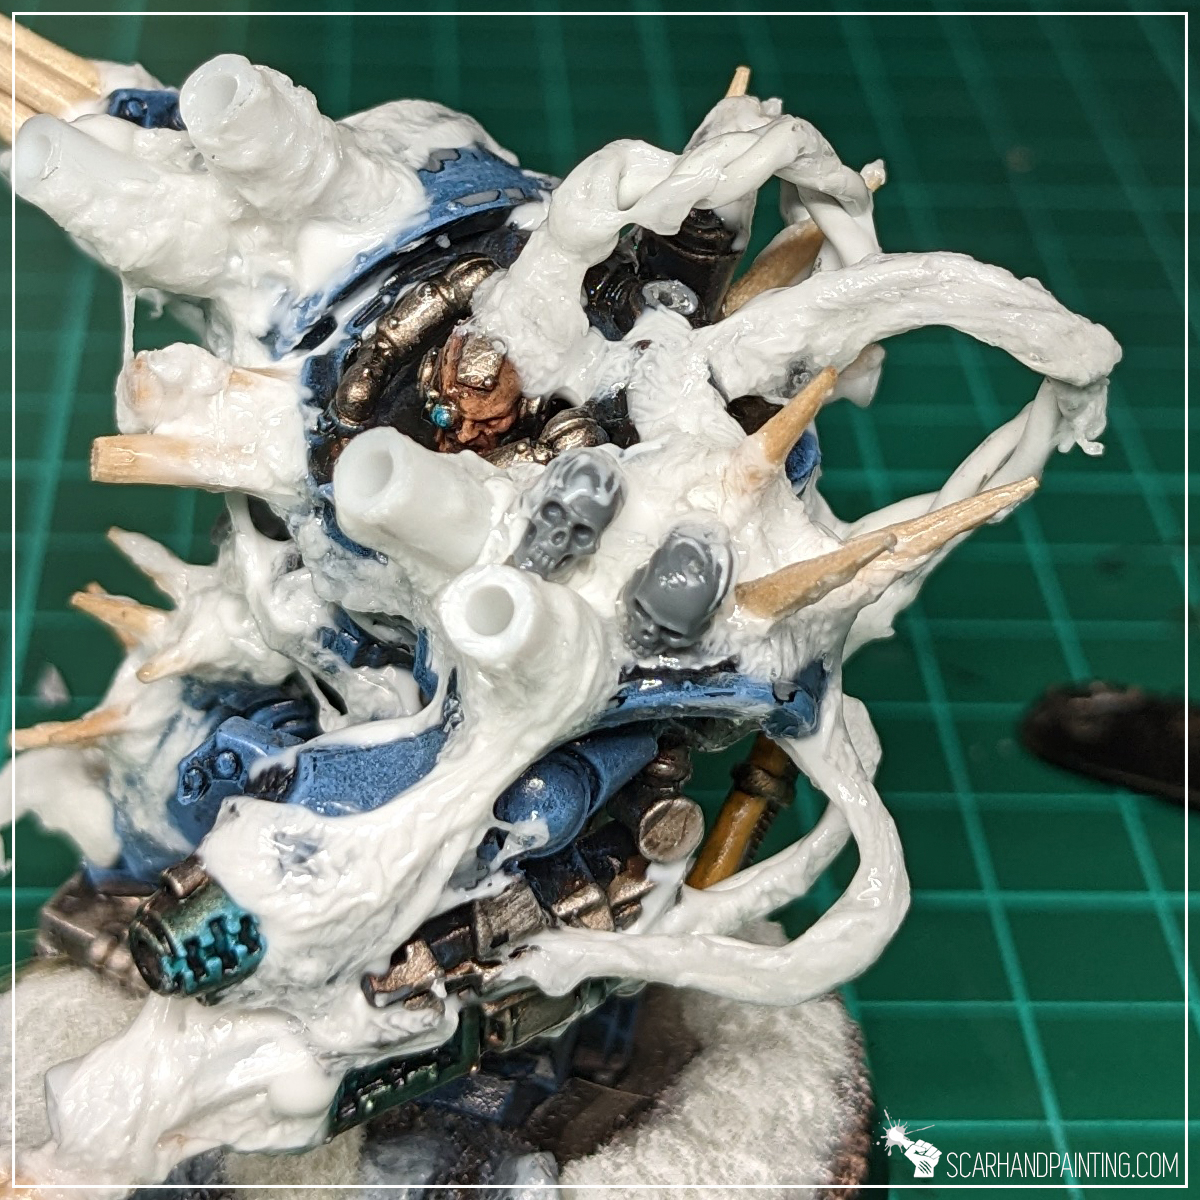
Step Four: Glue Goo Magic
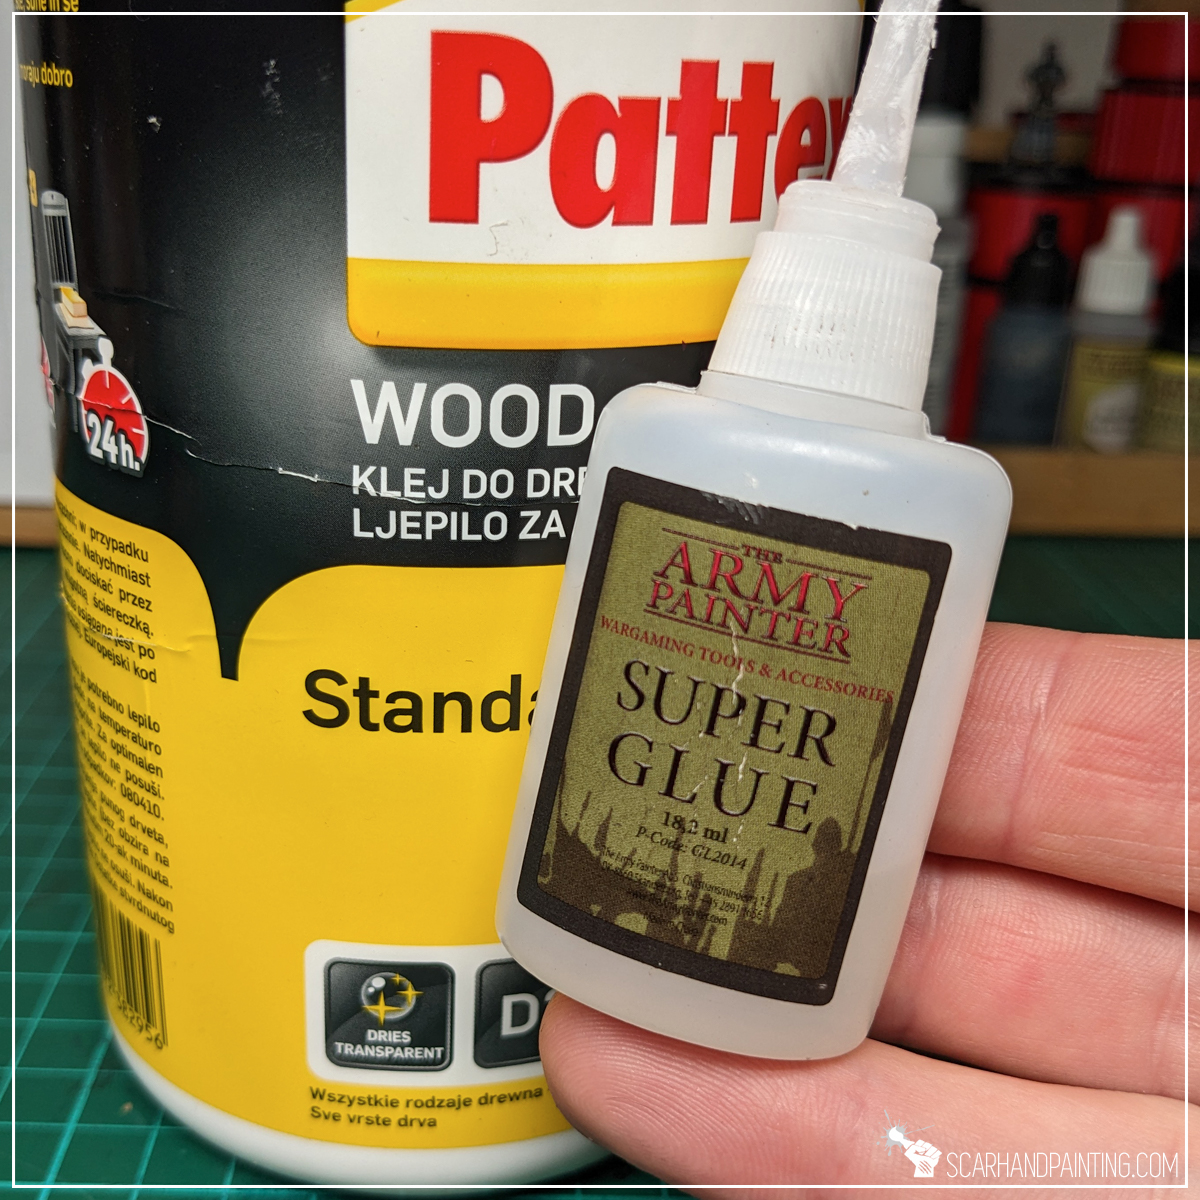
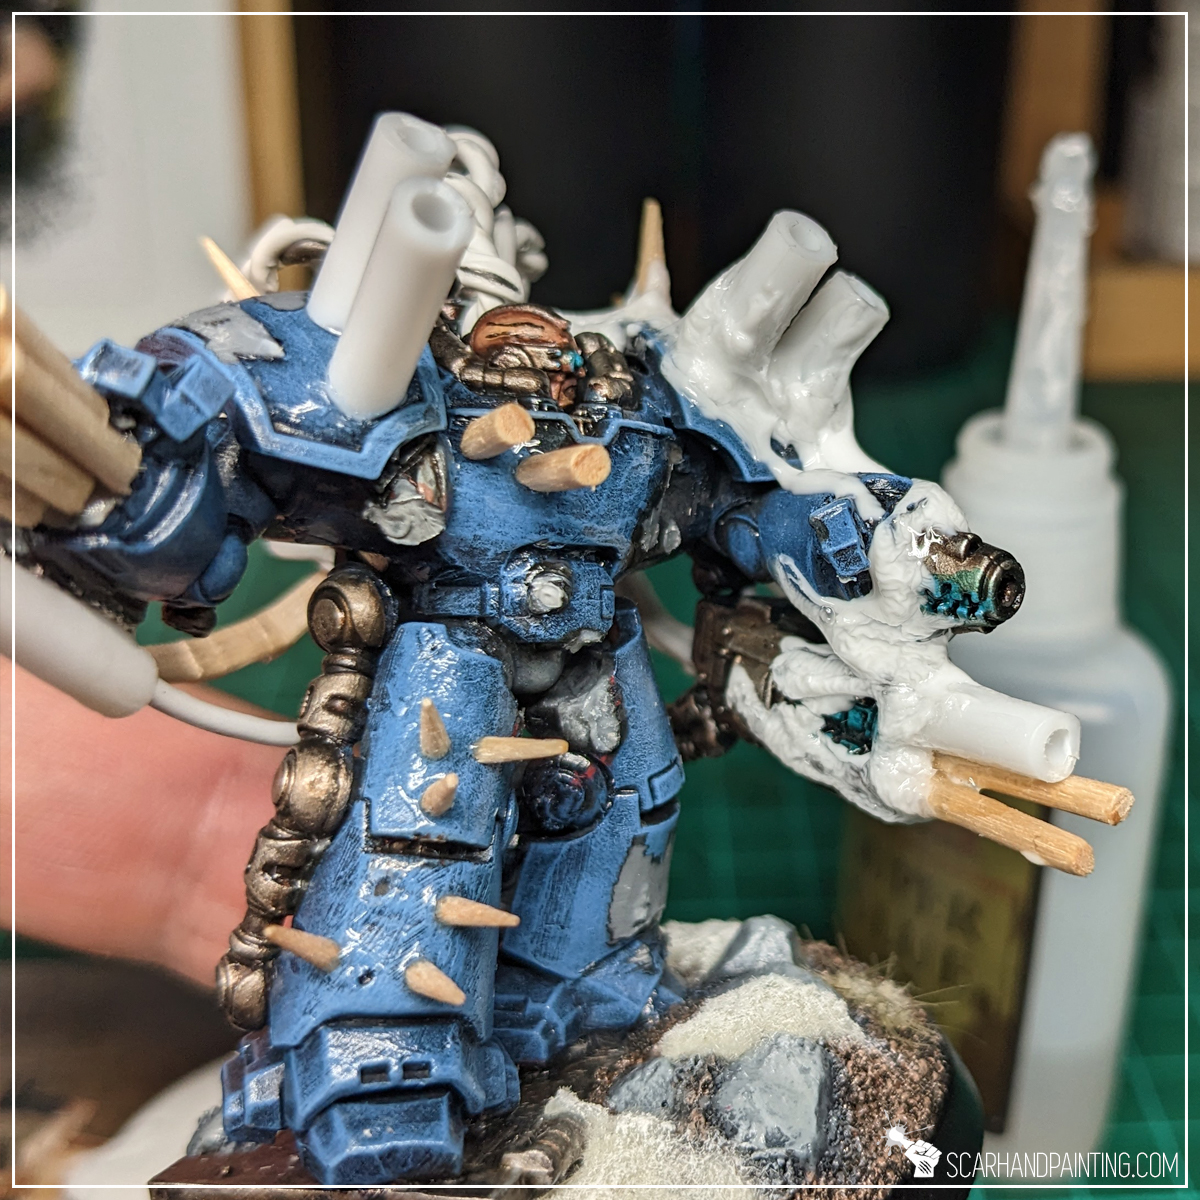
I followed up with the favorite trick amongst my arsenal – a mix of PVA glue and Super Glue. First I applied some PVA onto the miniature, then right after, I applied Super Glue on top. I then started ‘dragging’ the goo around with a tip of a toothpick to form veins and some sort of meat chunks. The curing Super Glue twisted and hardened the PVA glue underneath – MAGIC!

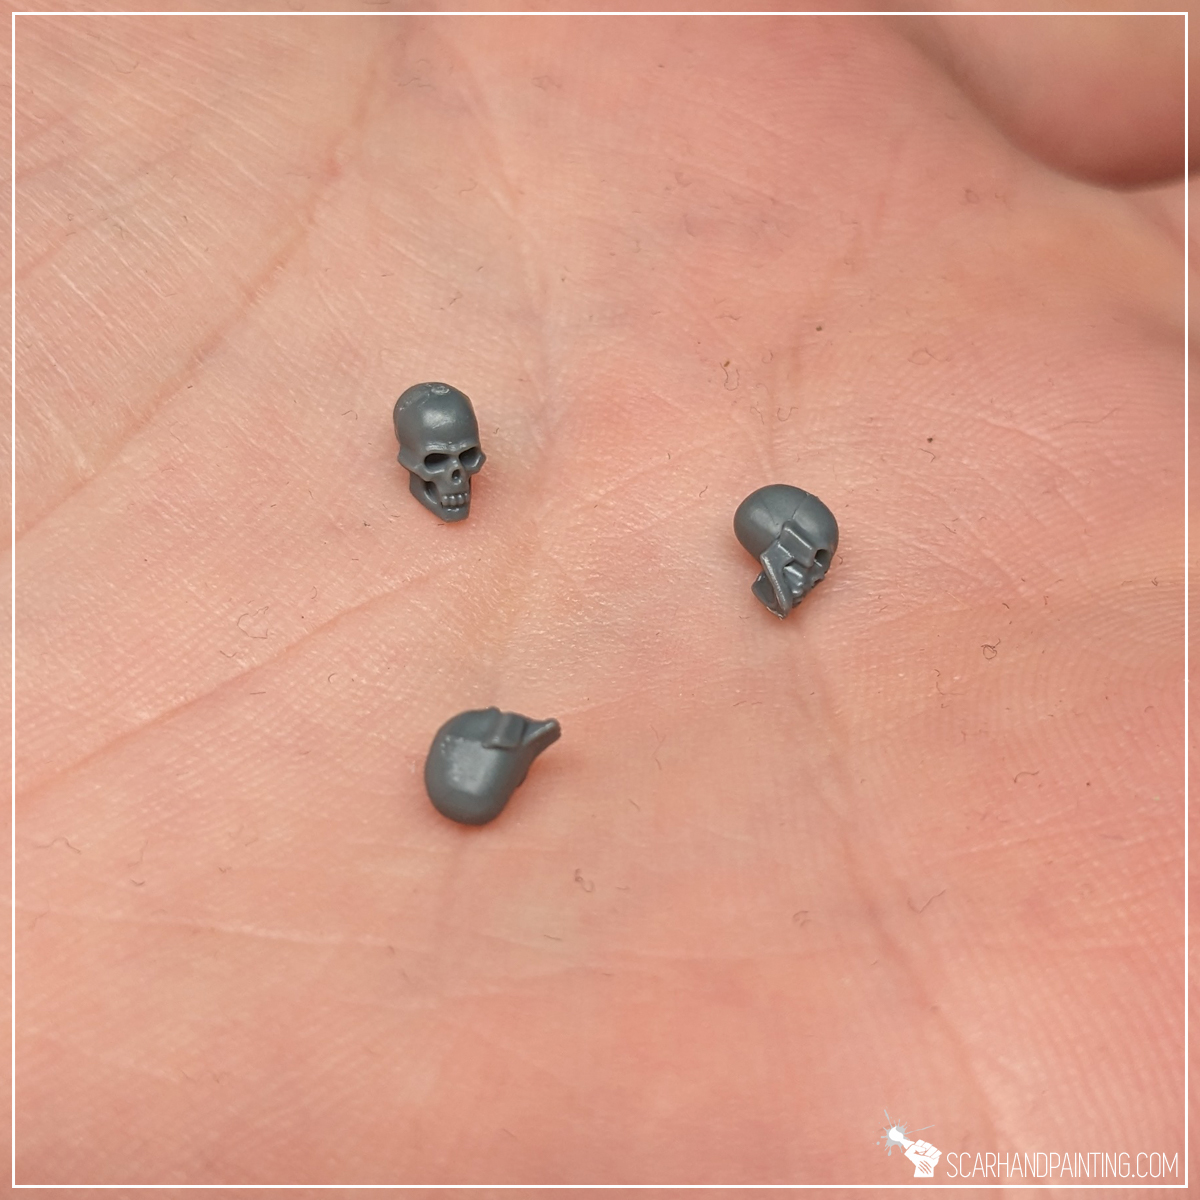
Step Five: Additional Detail
Here’s where I would usually add some leftover bitz. For this particular miniature I glued three skulls here and there to better represent the theme of ‘big bad Chaos thing’, but I invite you to experiment with stuff. I just wanted to keep things simple.
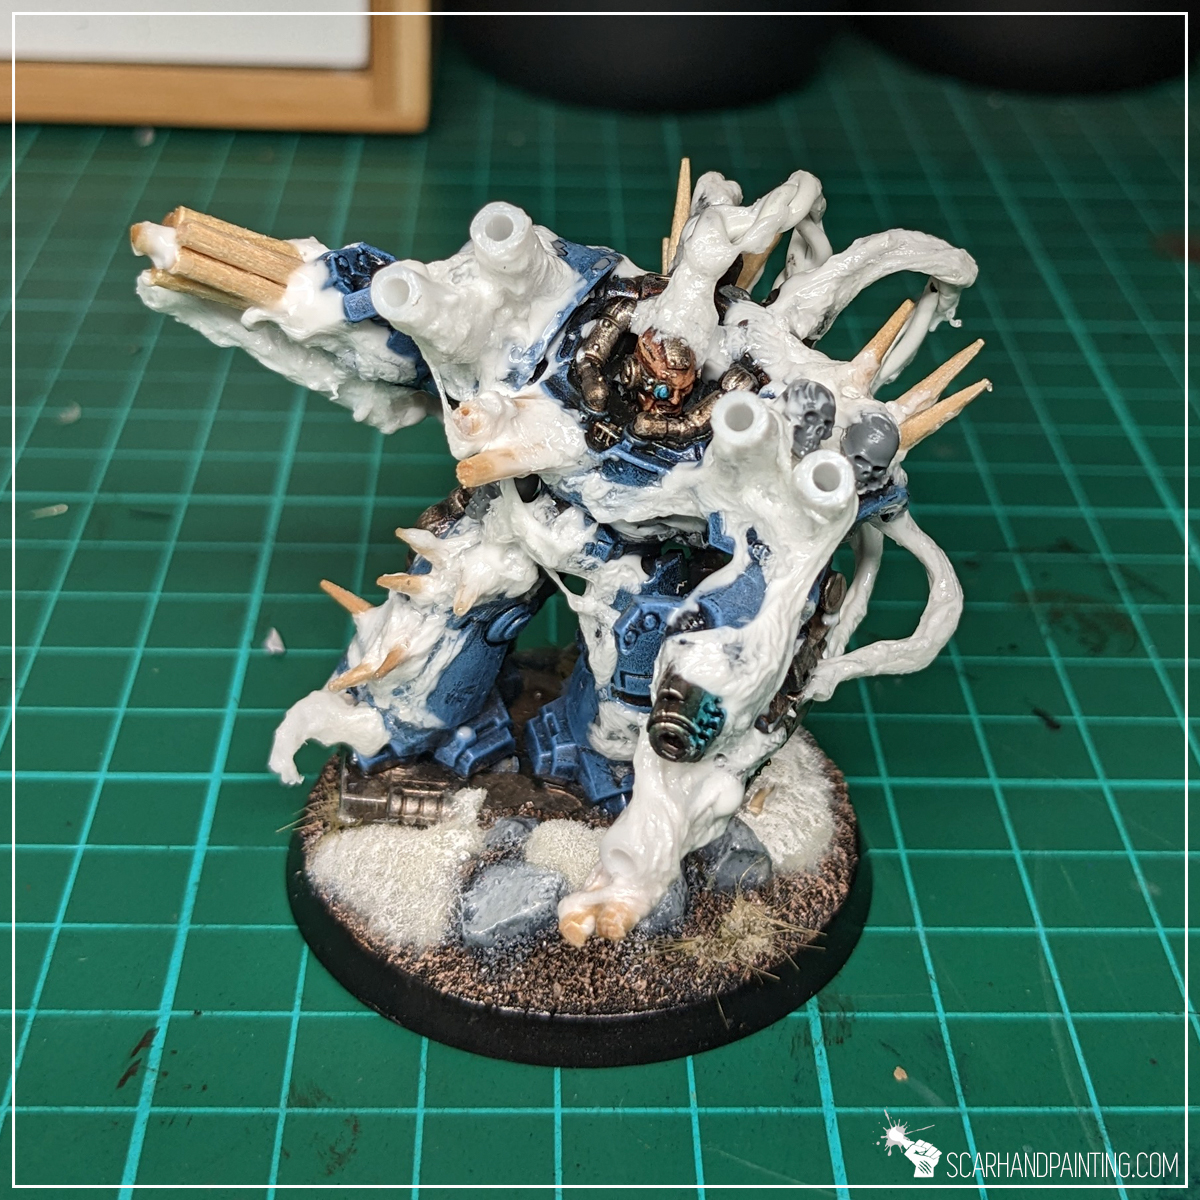
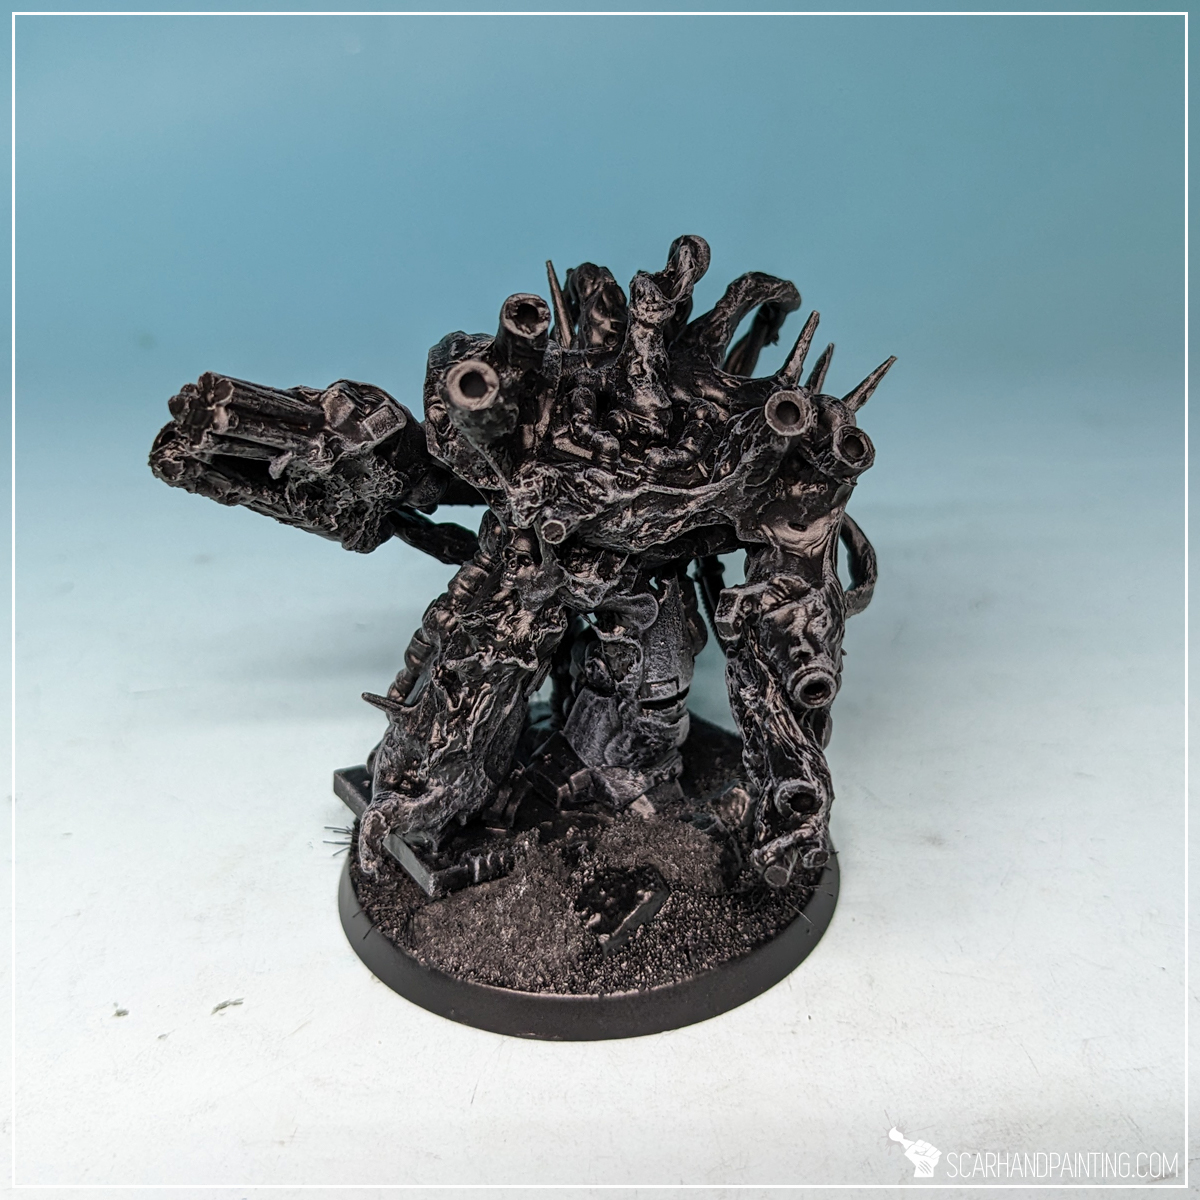
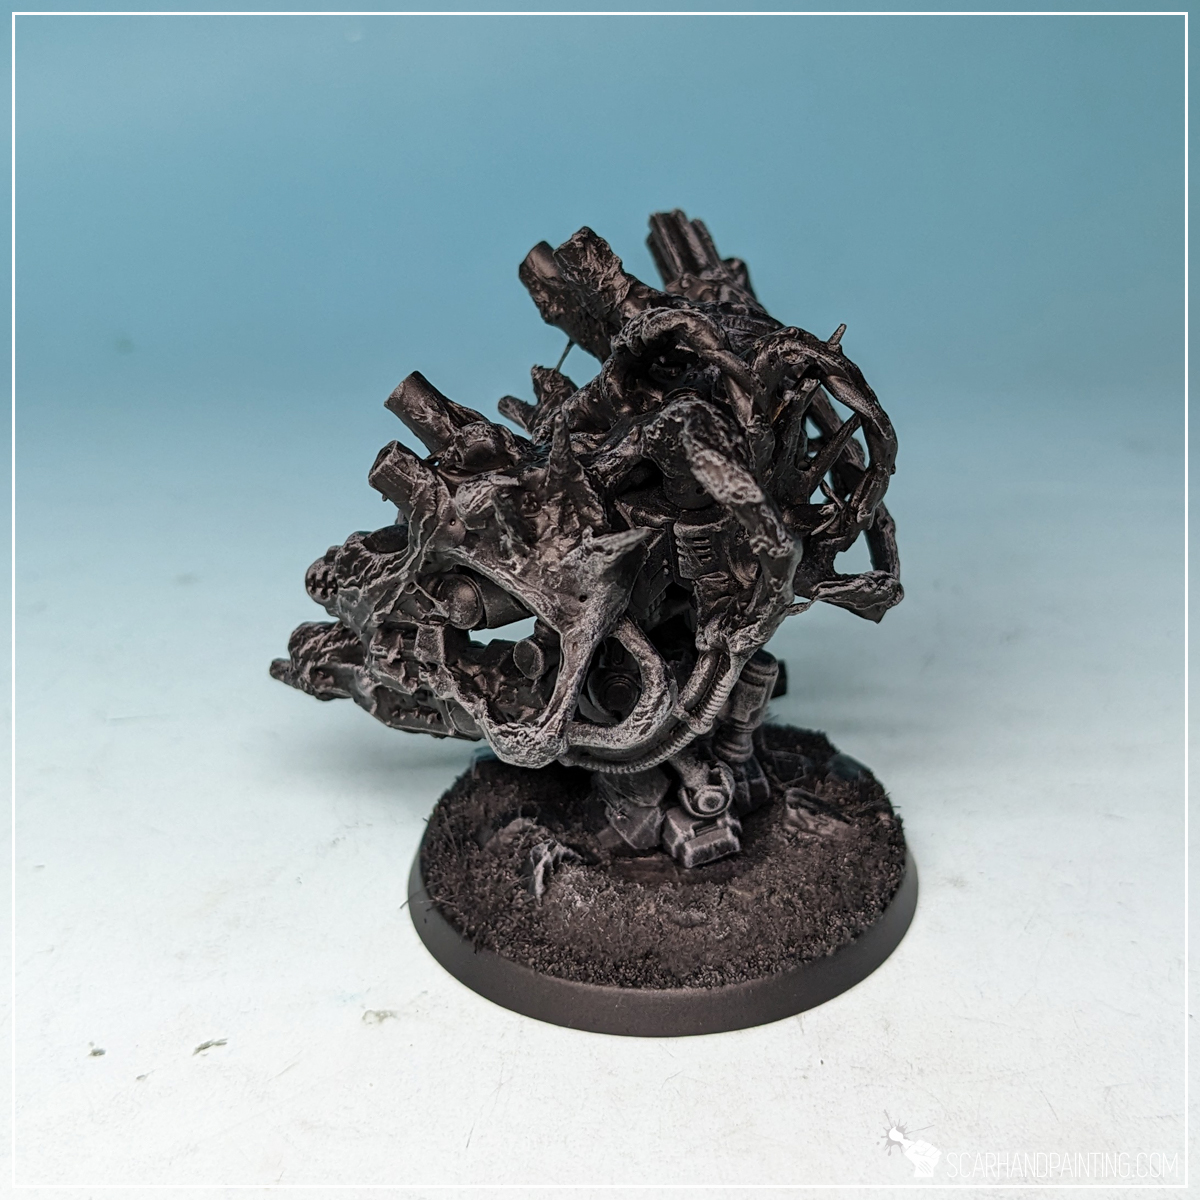
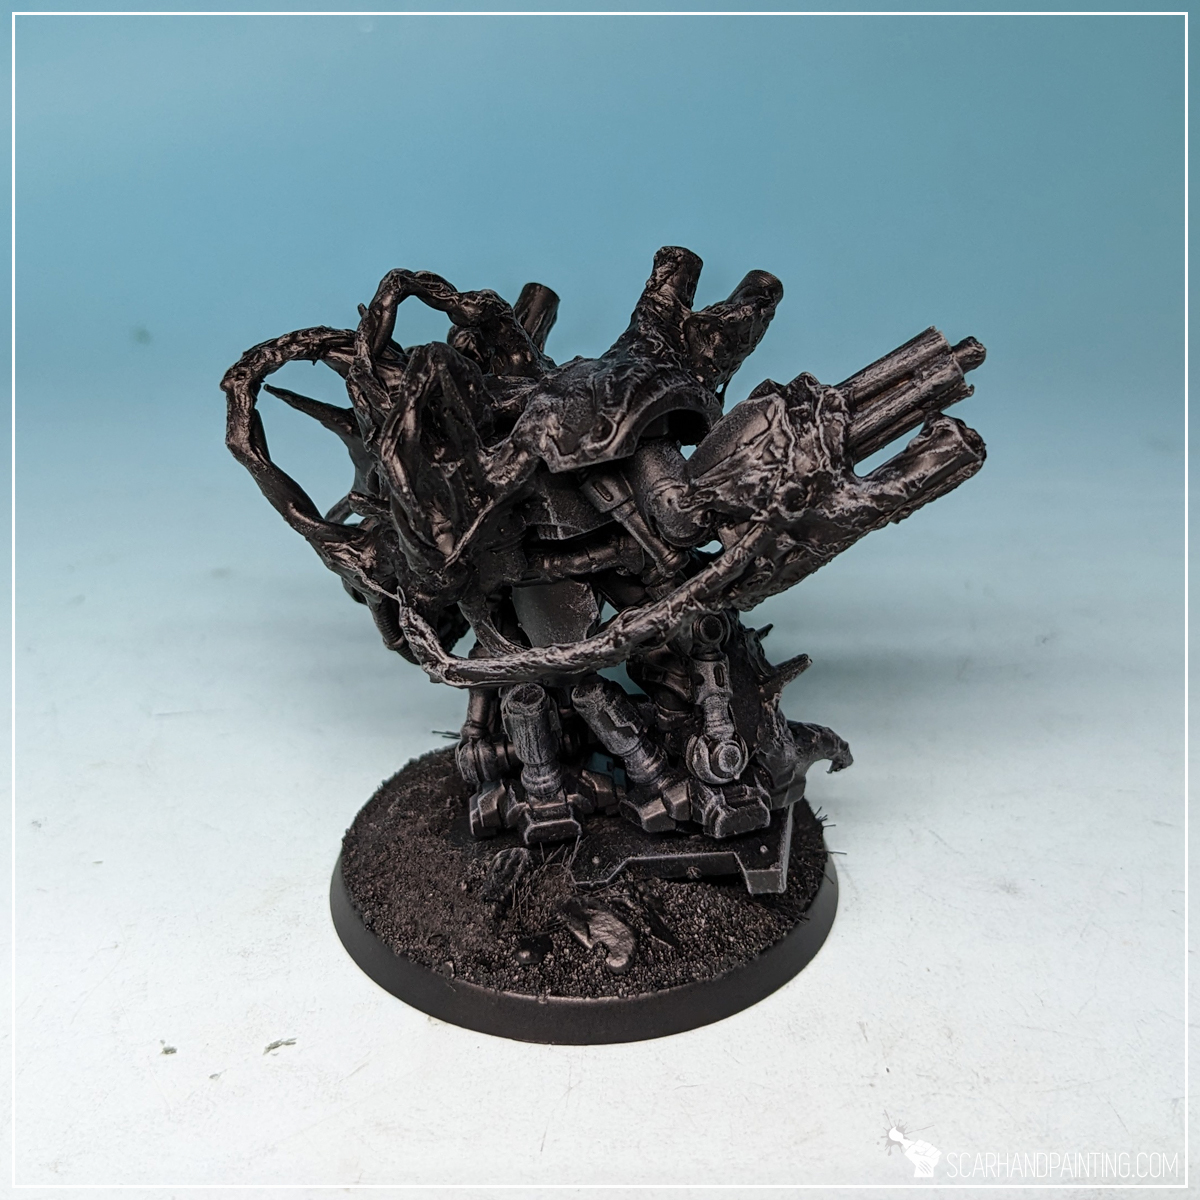
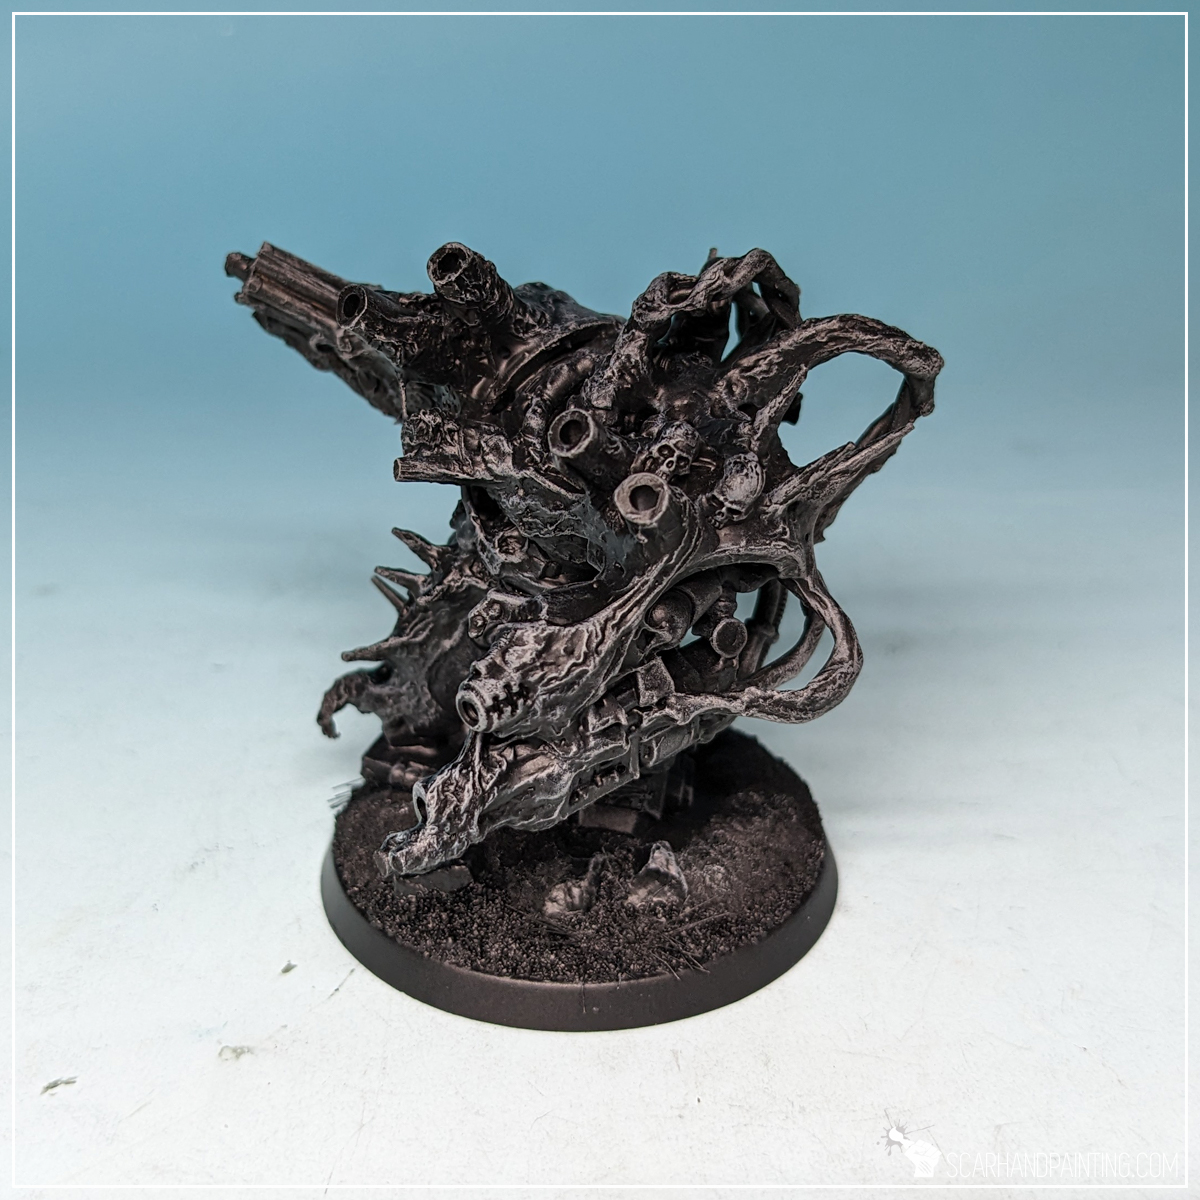
Job done – seriously. I know the miniature above looks like crap, but just take a look at this undercoated, drybrushed Chaos Obliterator below. It took me less than ten minutes to make and cost as much as an old mini that hadn’t seen action in a decade!
I hope you’ve enjoyed this article. Be sure to let me know your thoughts in the comments below or via Facebook or Instagram. I would also appreciate it if you considered sharing this content with your friends, who might find it interesting. Finally if you are looking for a professional miniatures painting service, be sure to contact me with this contact form. I always reply within 24 hours, after which please check out your spam folder.