- contact@scarhandpainting.com


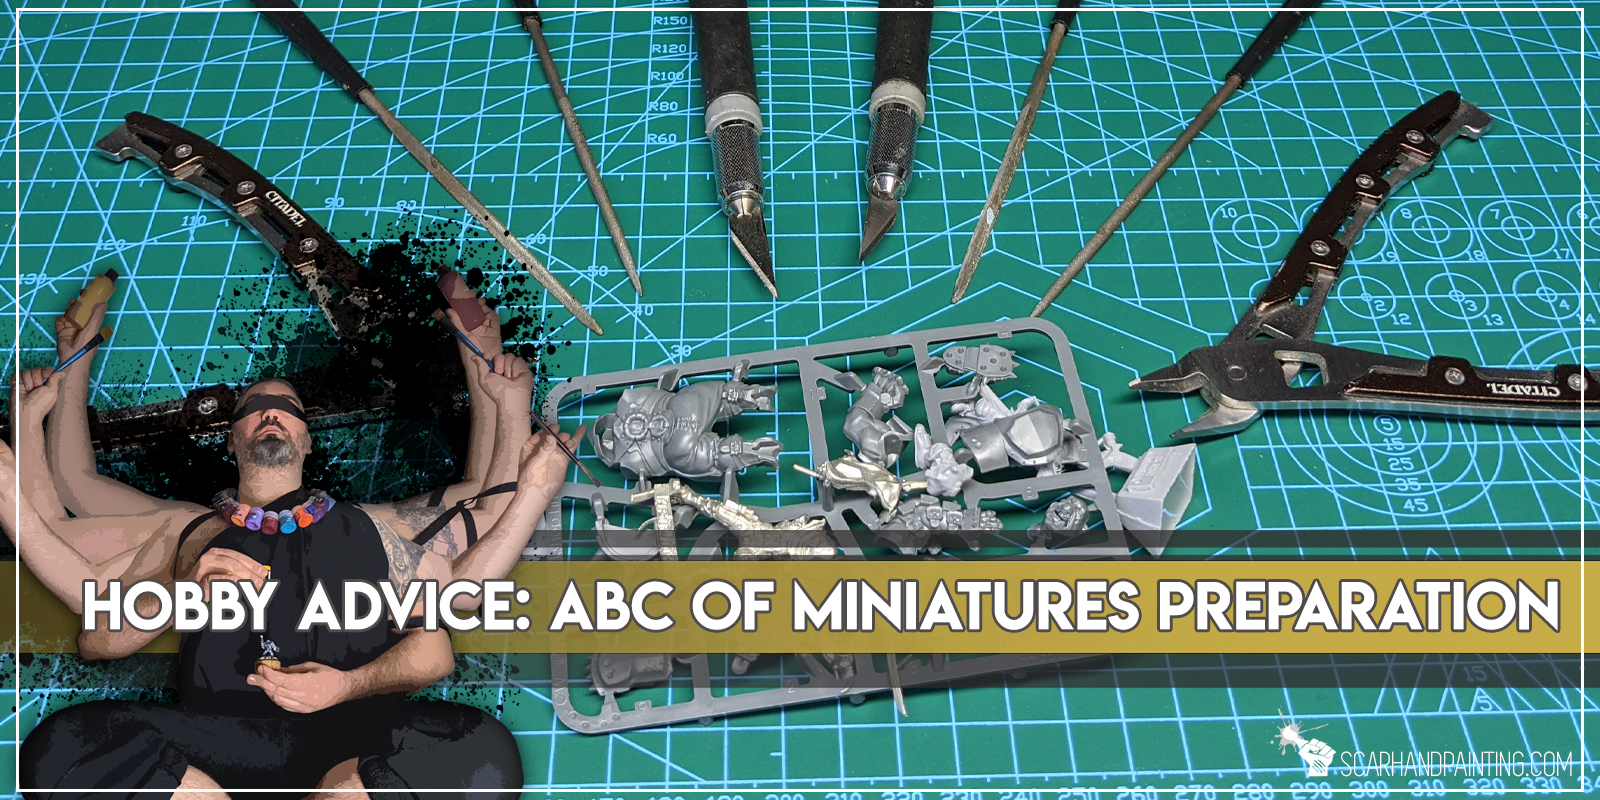
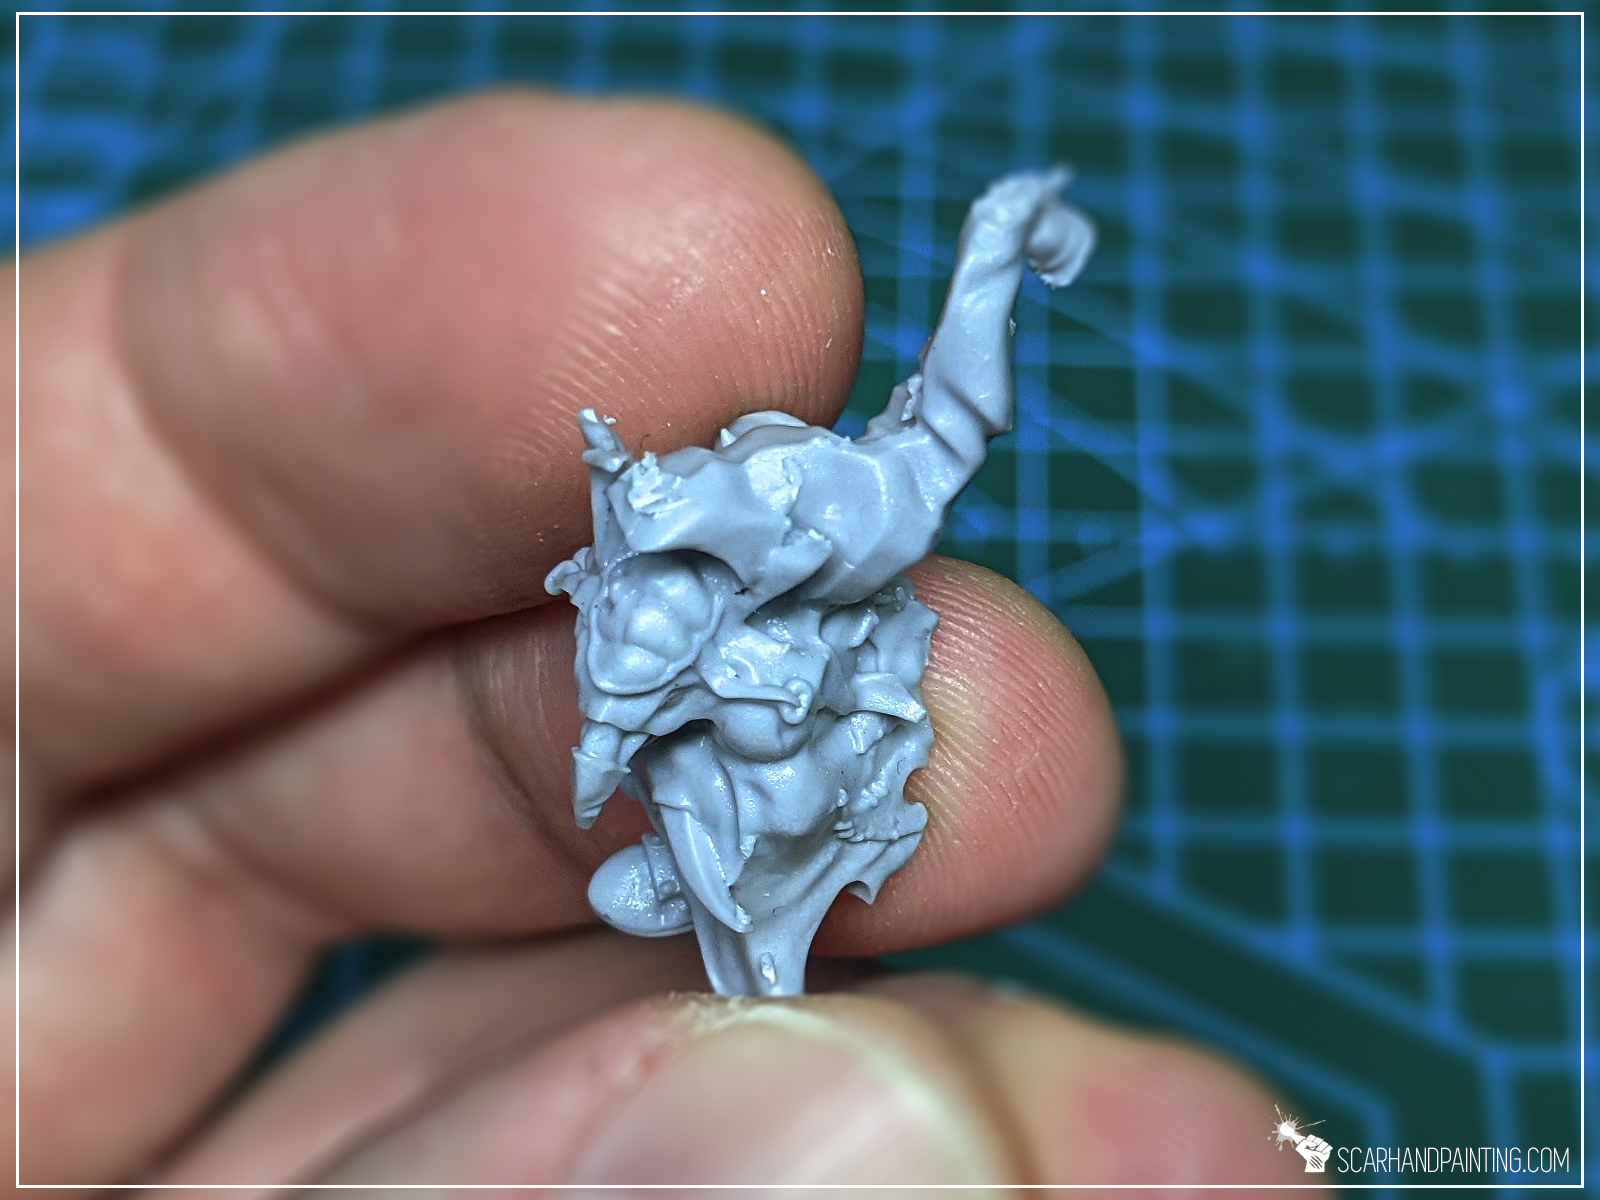
Removing Flash and Seam Lines – a pain of a task, yet such important one. You can be a painting god, but all your fancy brush work will be ruined if miniature wasn’t prepared properly. Running a miniatures painting service I have prepared thousands of miniatures. Below I will share with you some tricks I learned along the way.
Before we start, the usual note

I know, I know – theory is such a pain – “where are real life examples?!”. I will keep this short and easy.
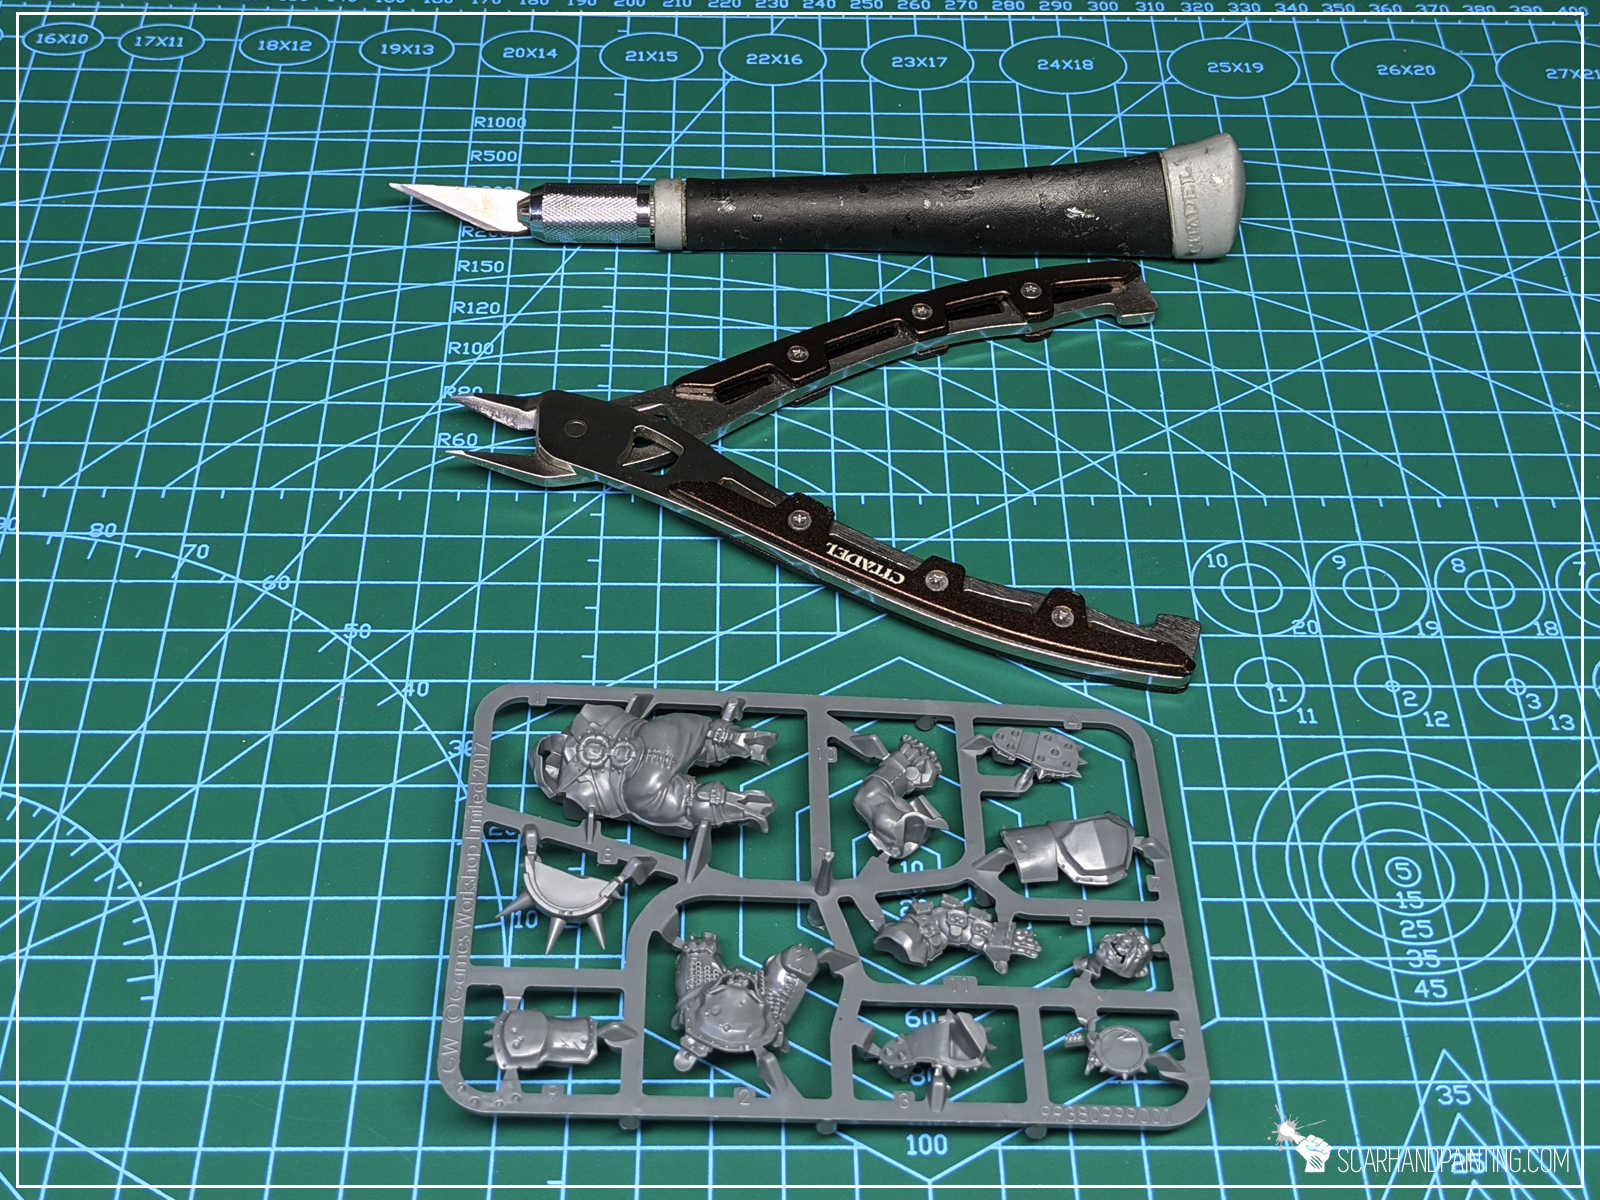
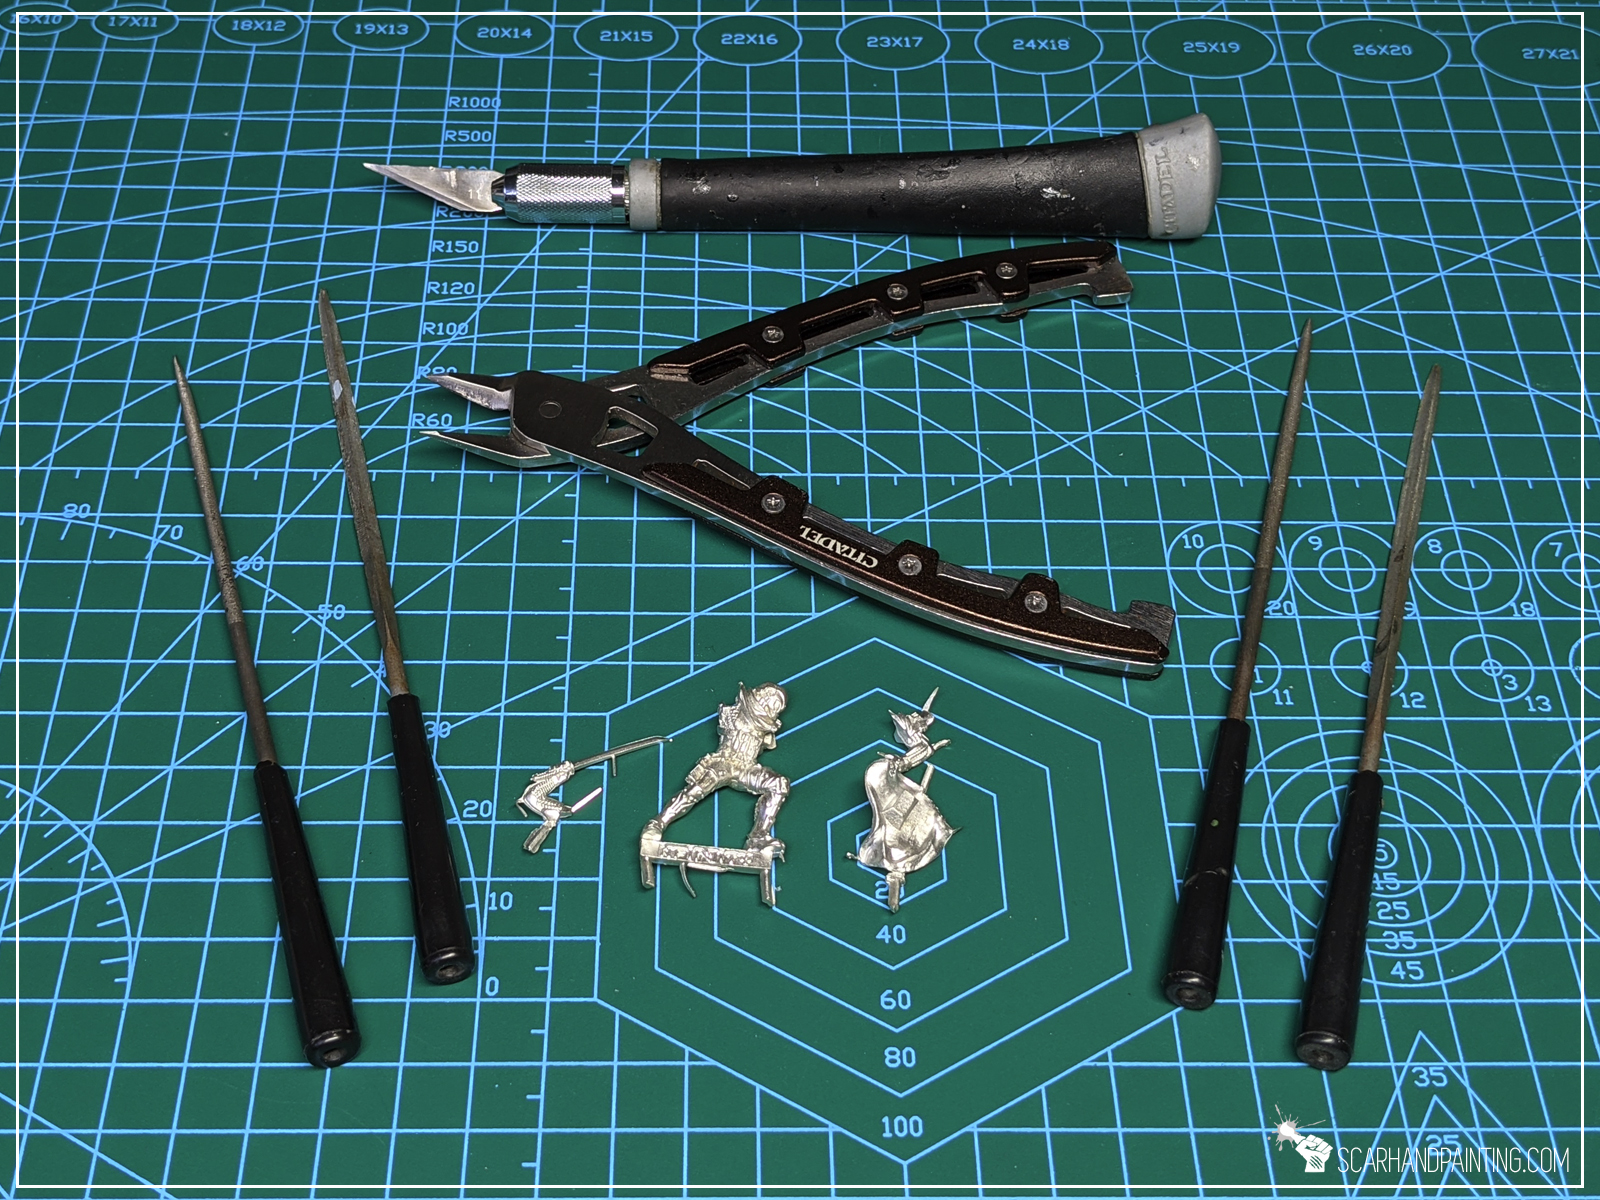
Hobby Knife:

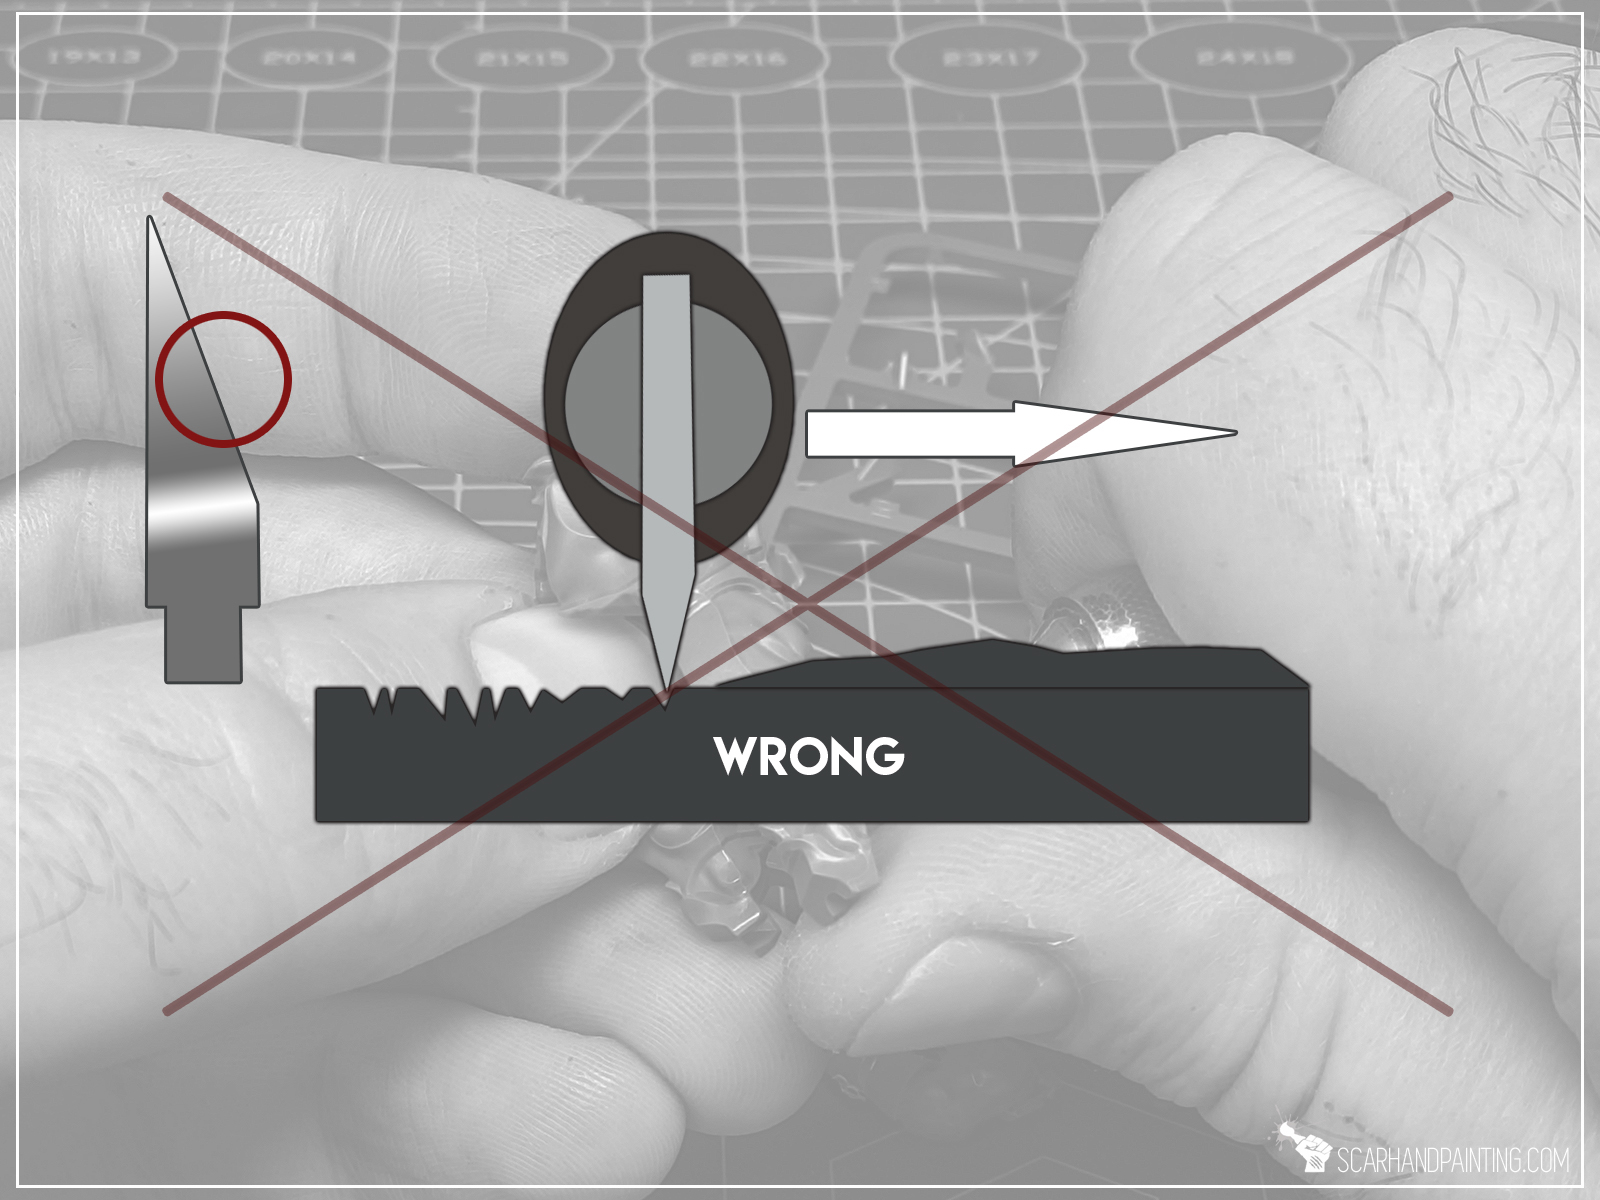
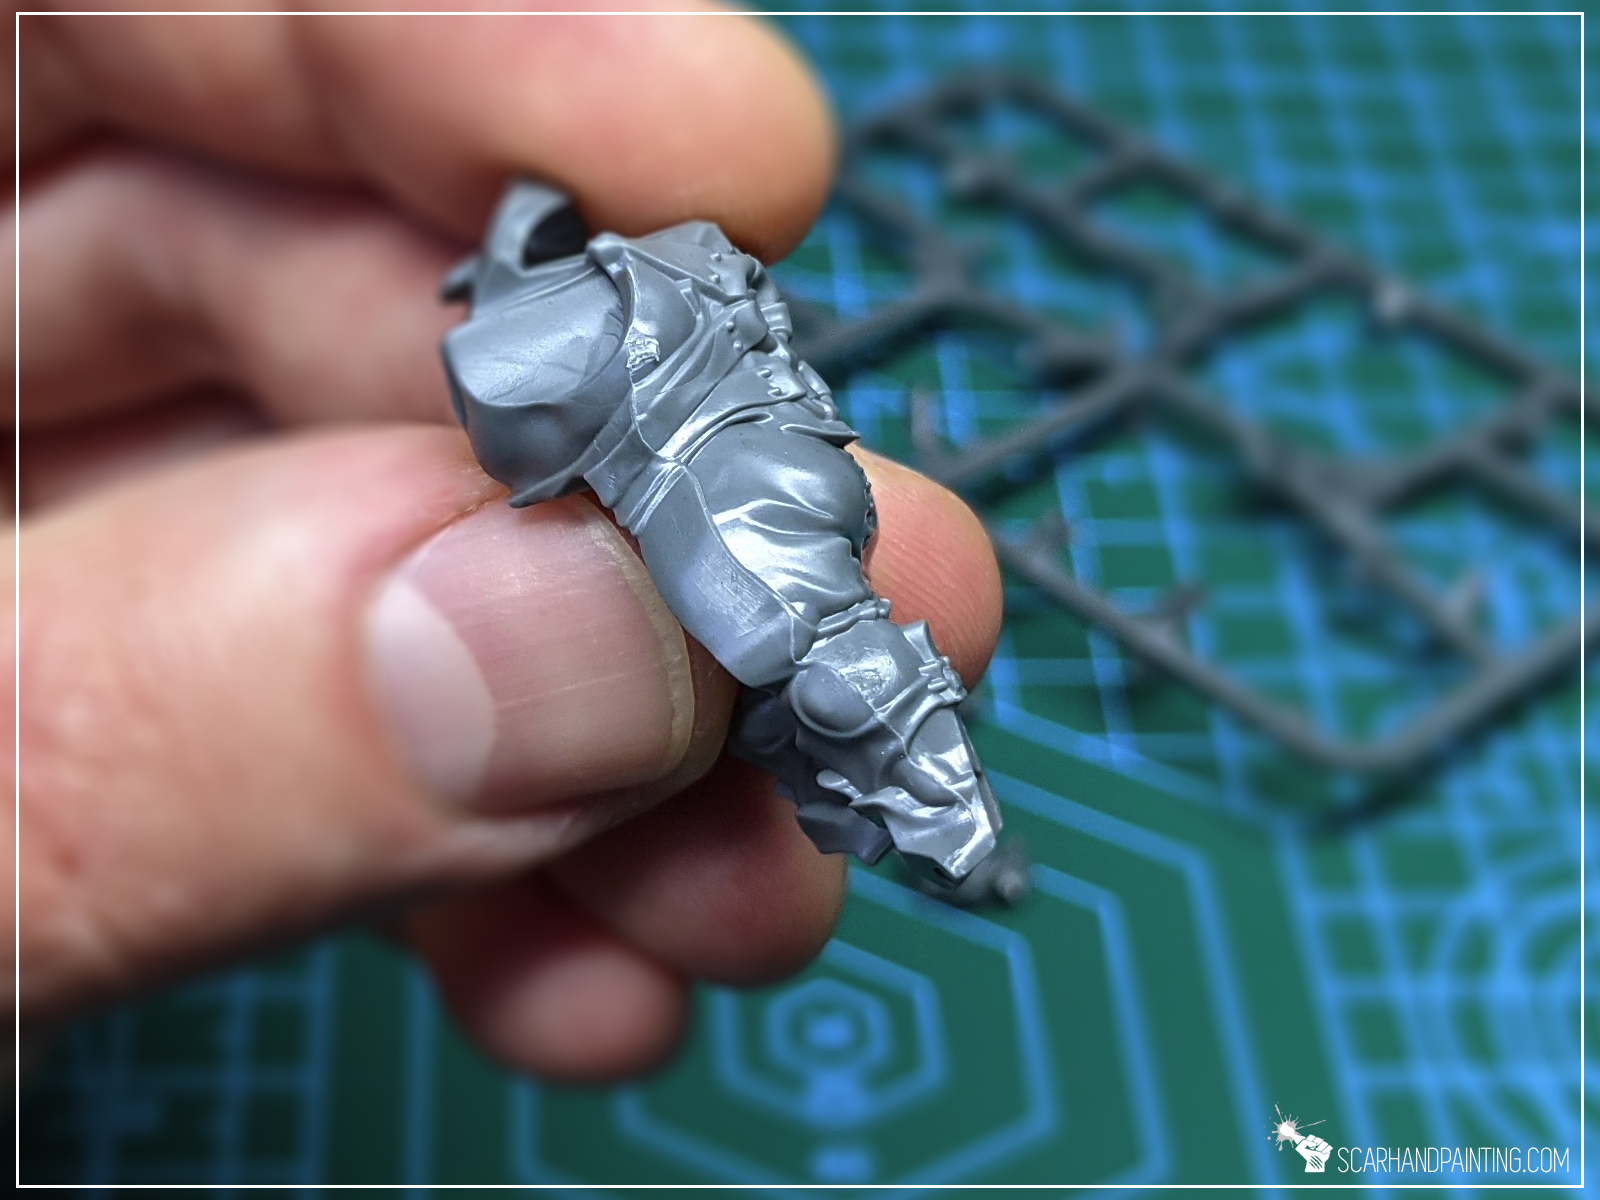
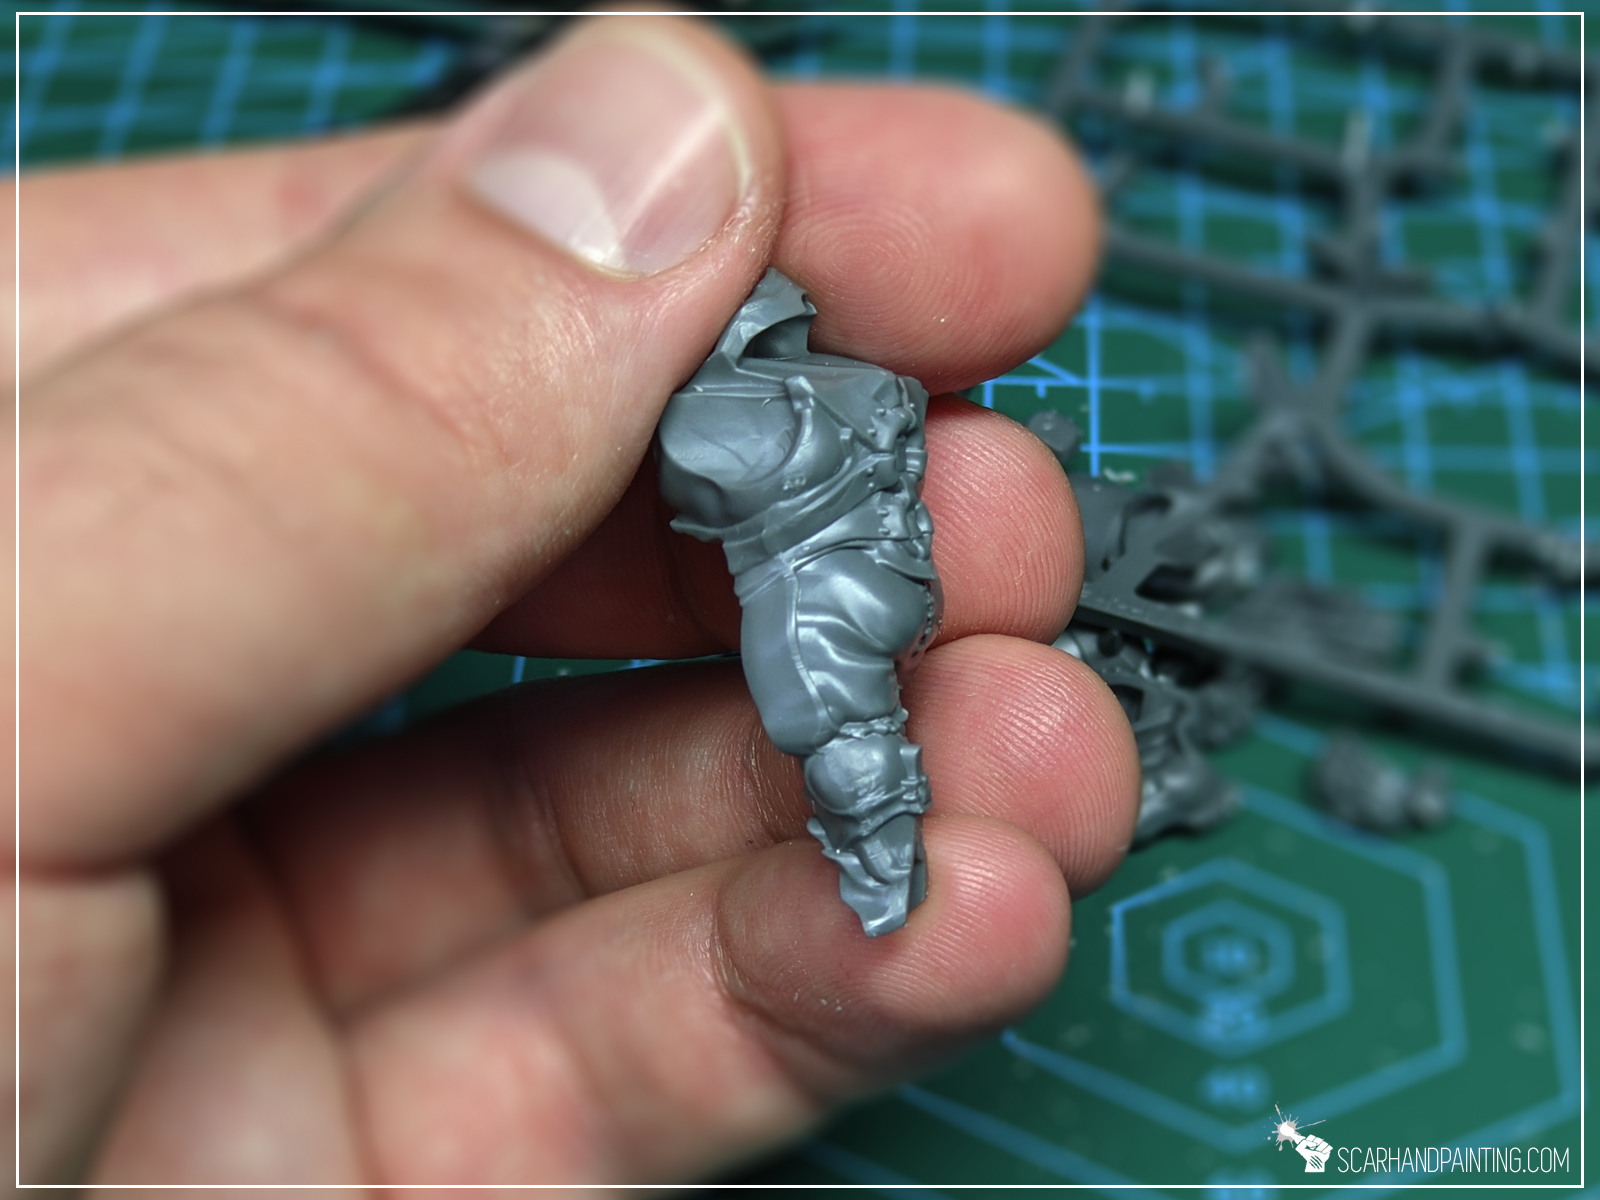
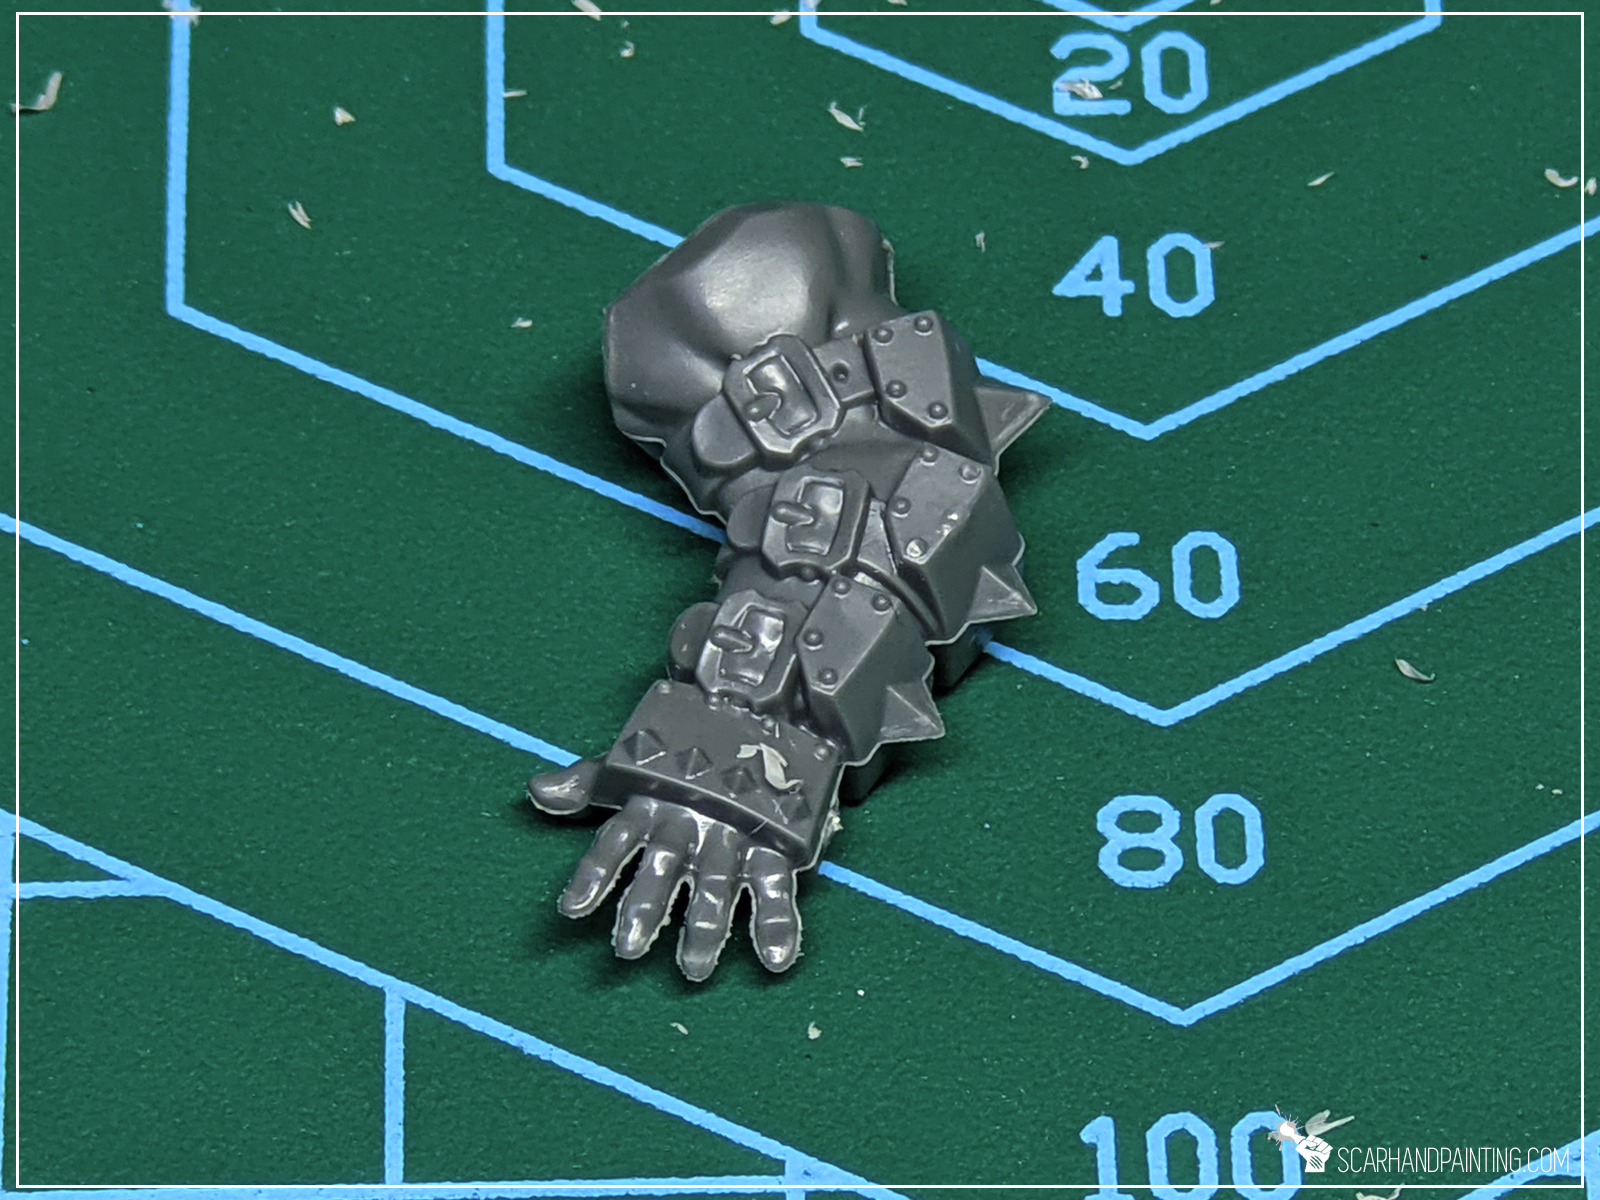
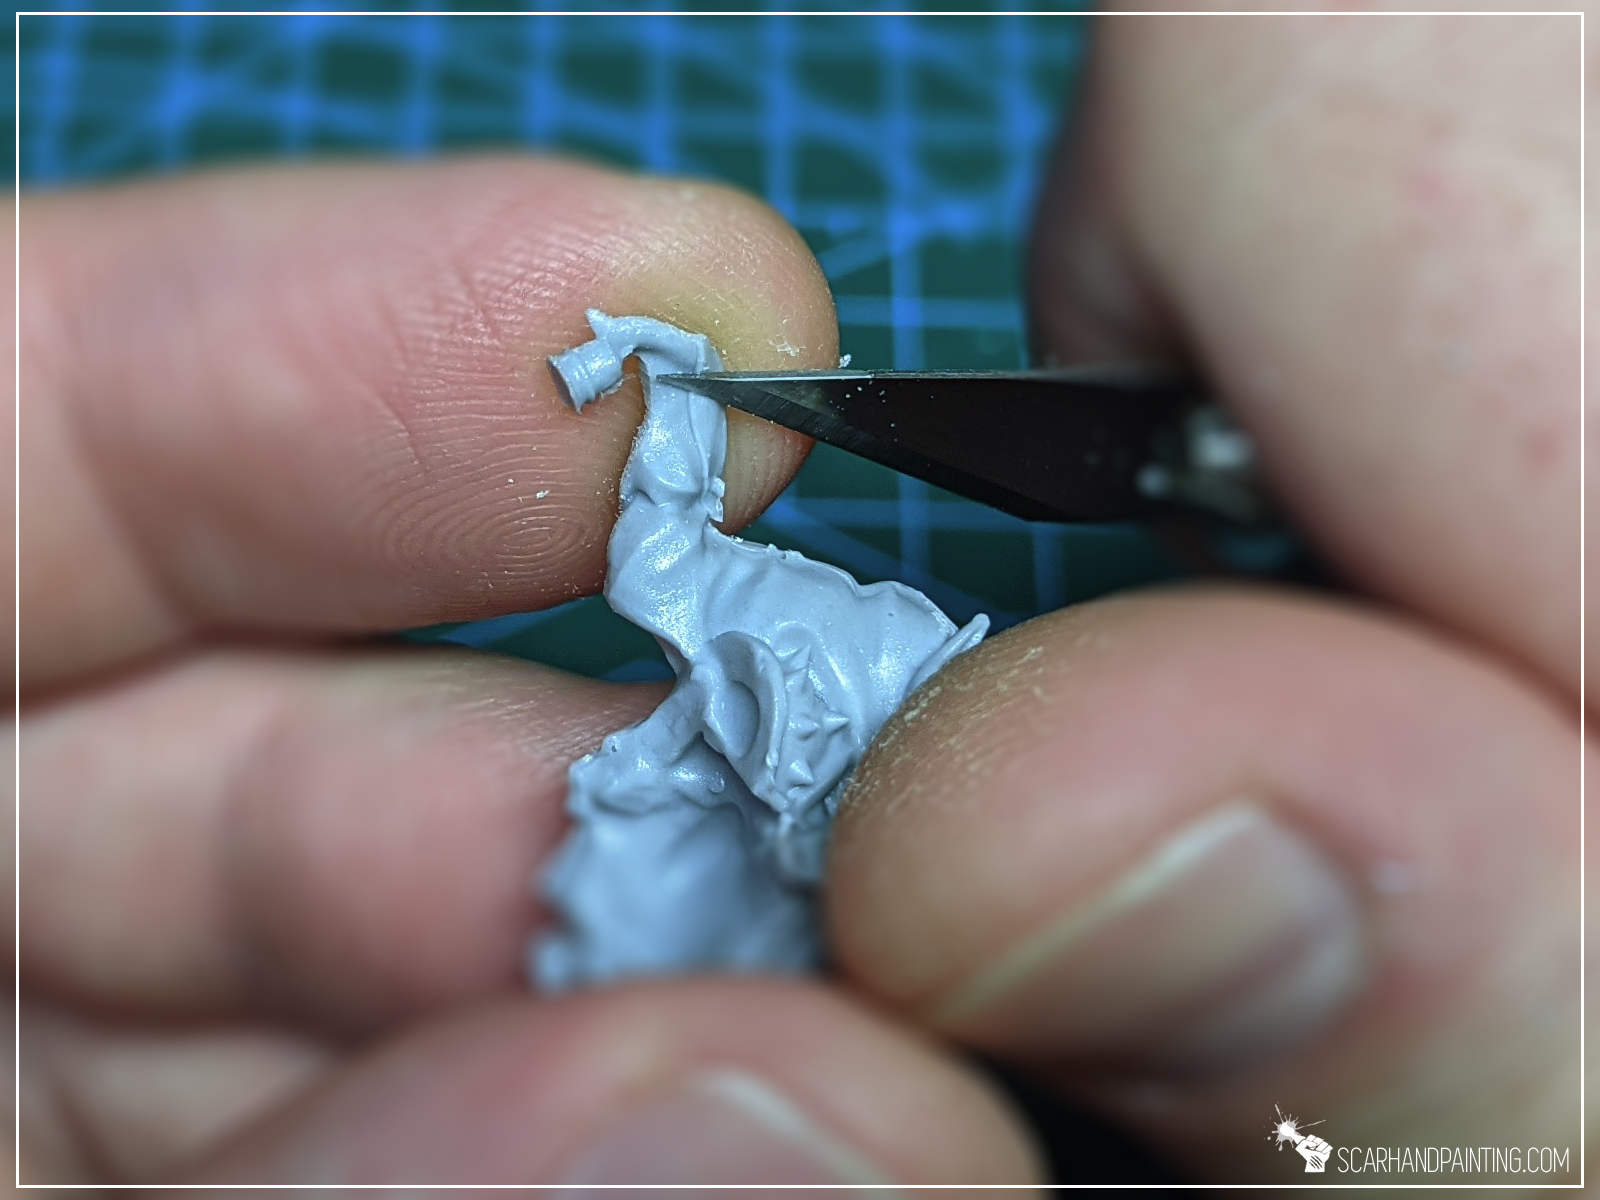
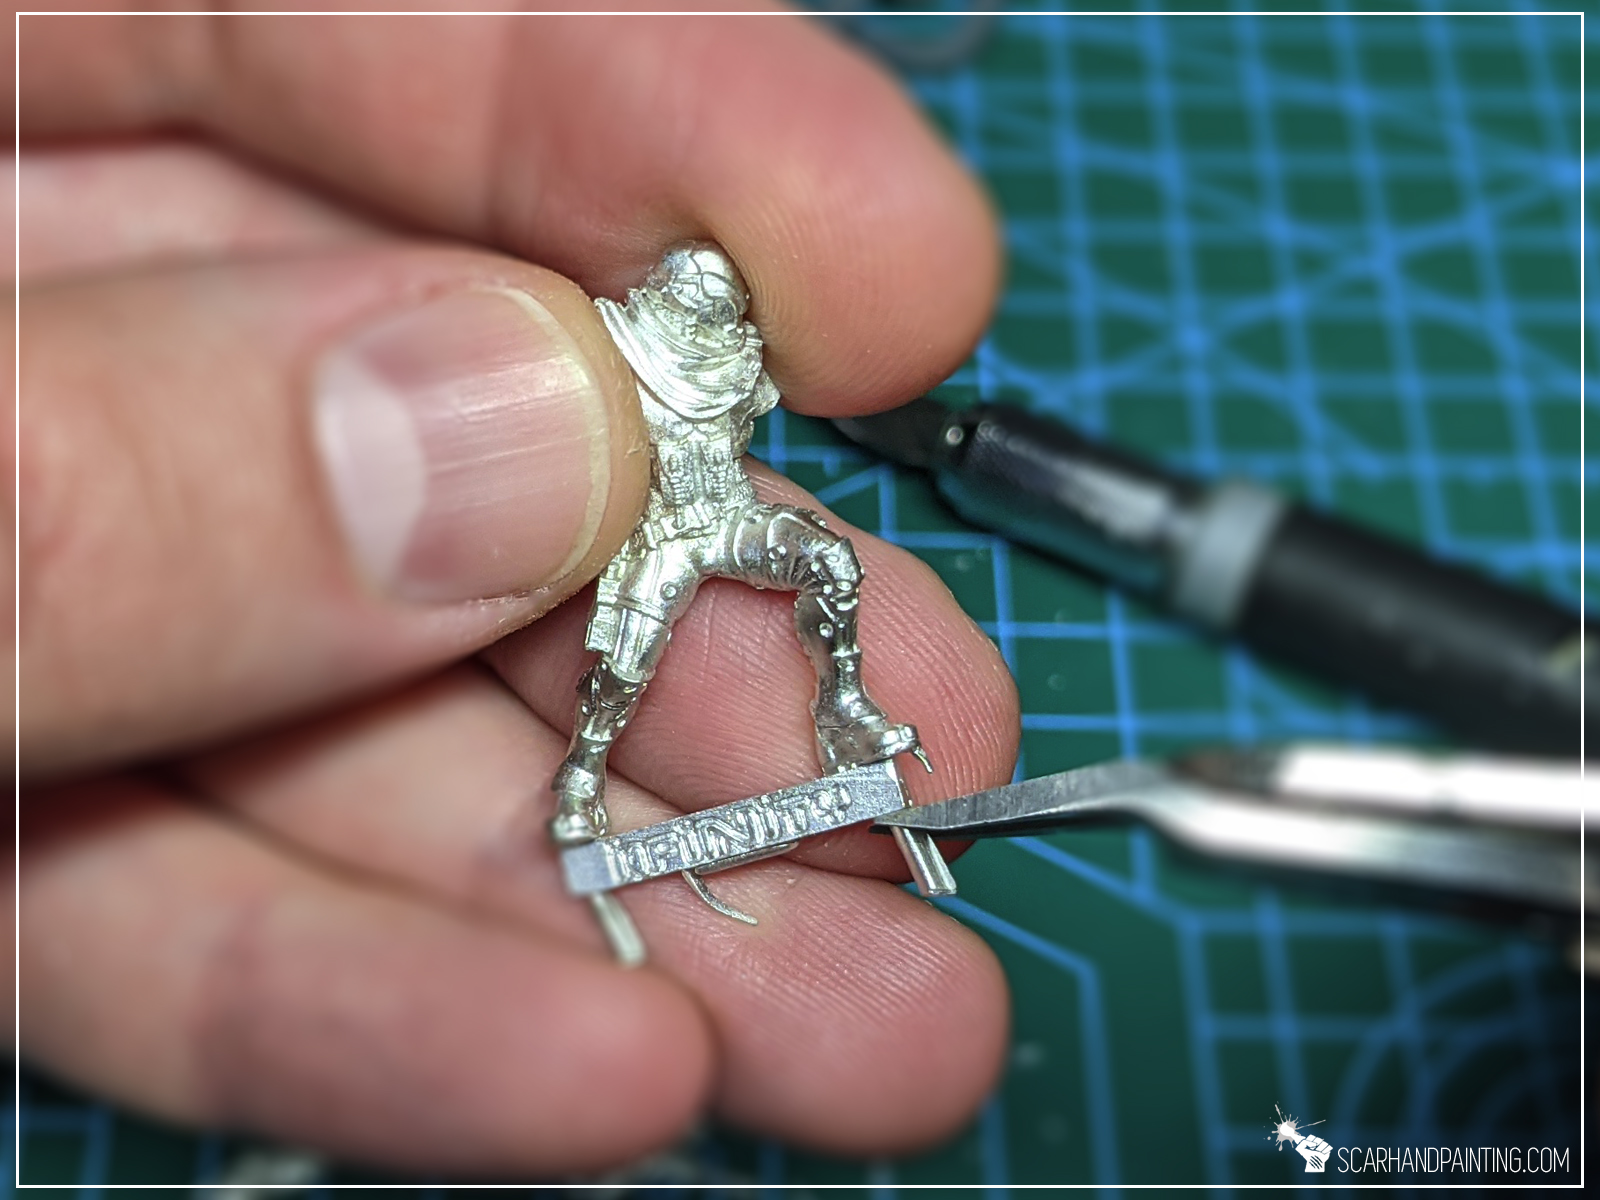
A Hobby Knife is my go to, when it comes to Seam Lines removal. When using a Hobby Knife I hold it in the fold of all fingers, except for thumb, which will be used to support a miniature and allows me for better control over the knife itself. I don’t want to cut myself so I tilt the blade about 45 degrees outwards from the thumb. This also prevents smooth surface from being scrapped (and roughed) by the sharp edge. Tiny consecutive movements are better than one smooth movement, unless I deal with long smooth areas. Somewhere in the middle of the blade is my sweet spot for cleaning accessible Seam Lines.
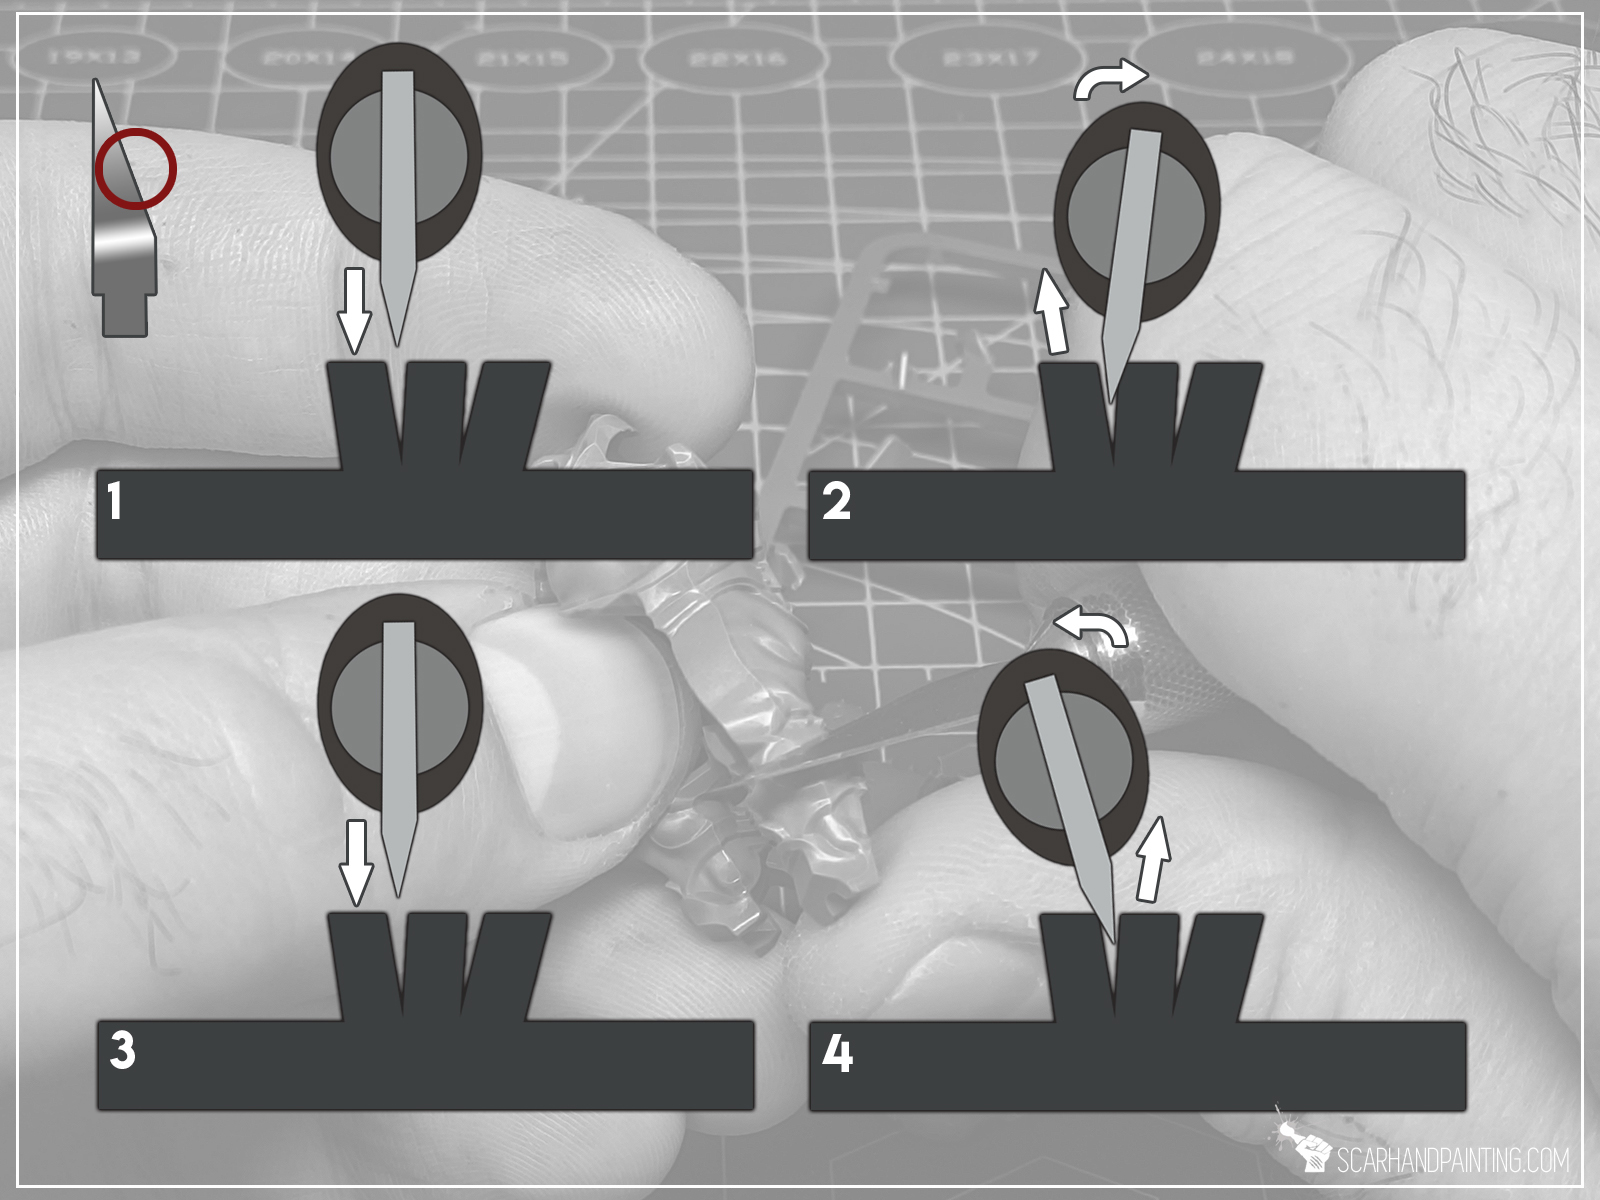
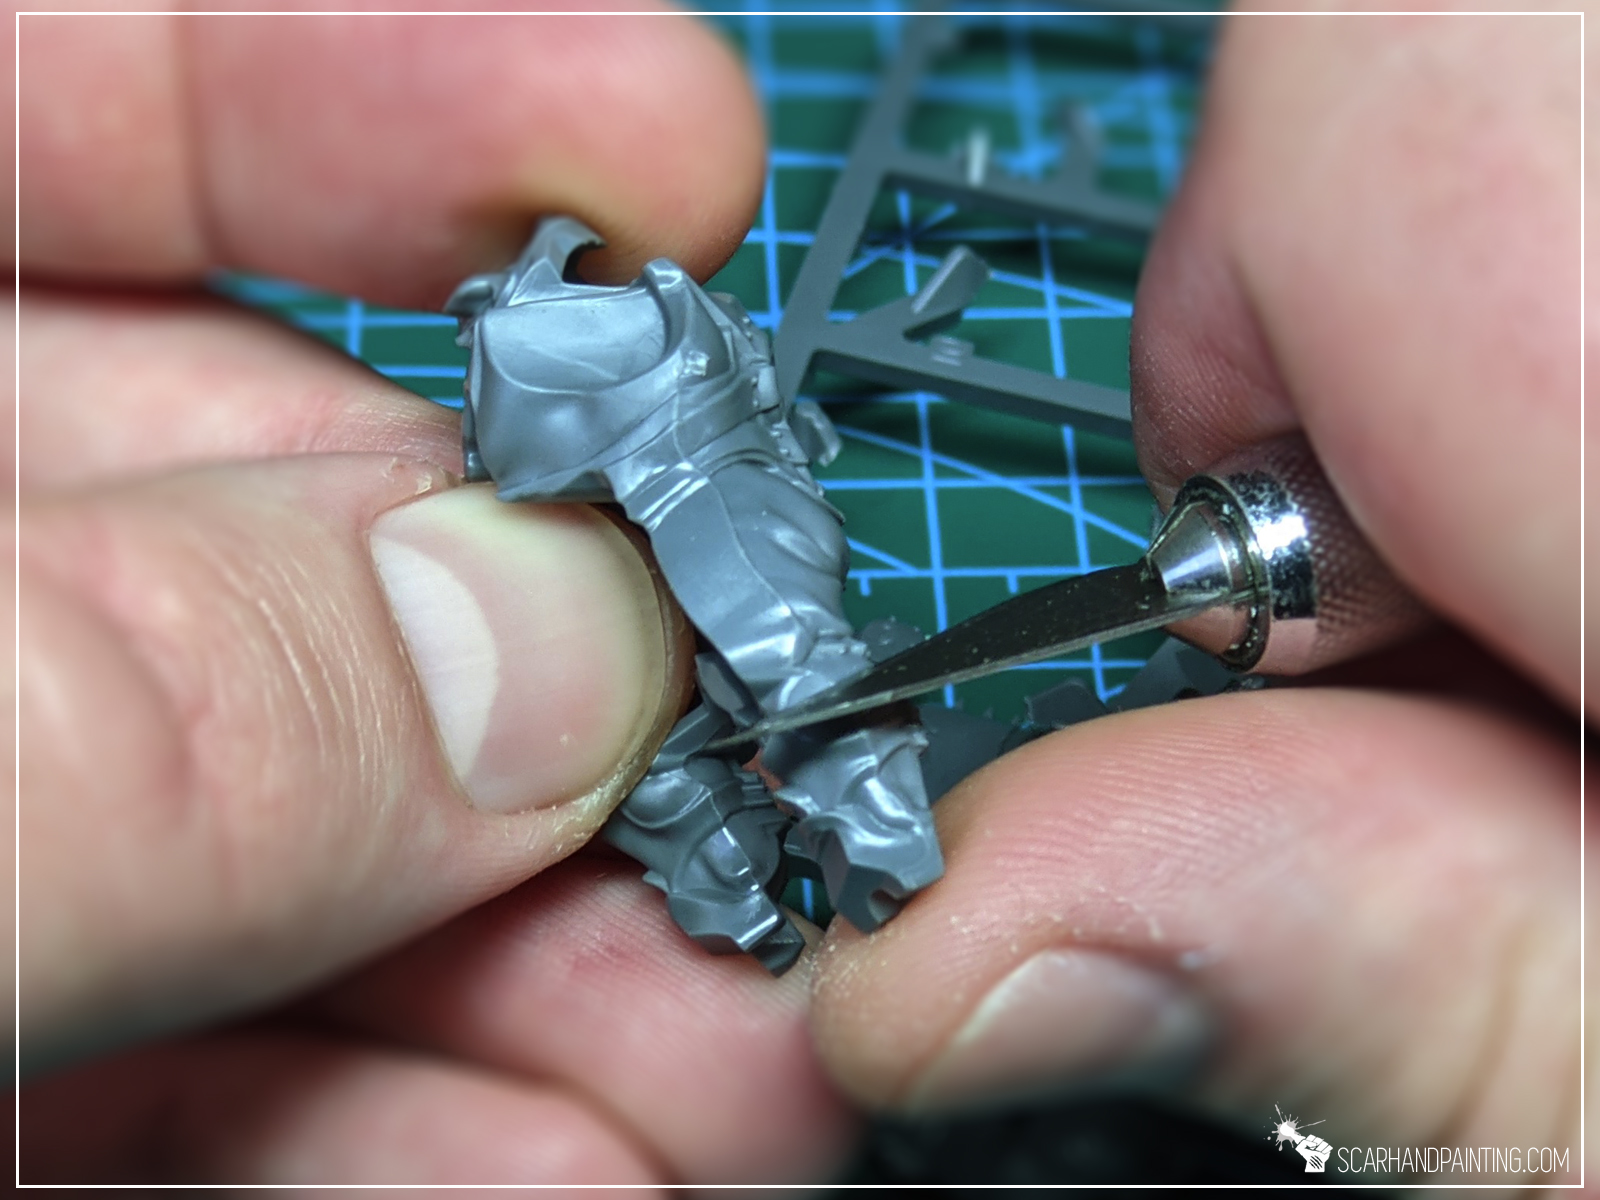
When dealing with sharp recesses, I put the edge inside, tilt it and go back along one edge, then do the same for the other side. Again I use the middle of the blade (if possible) to do this.
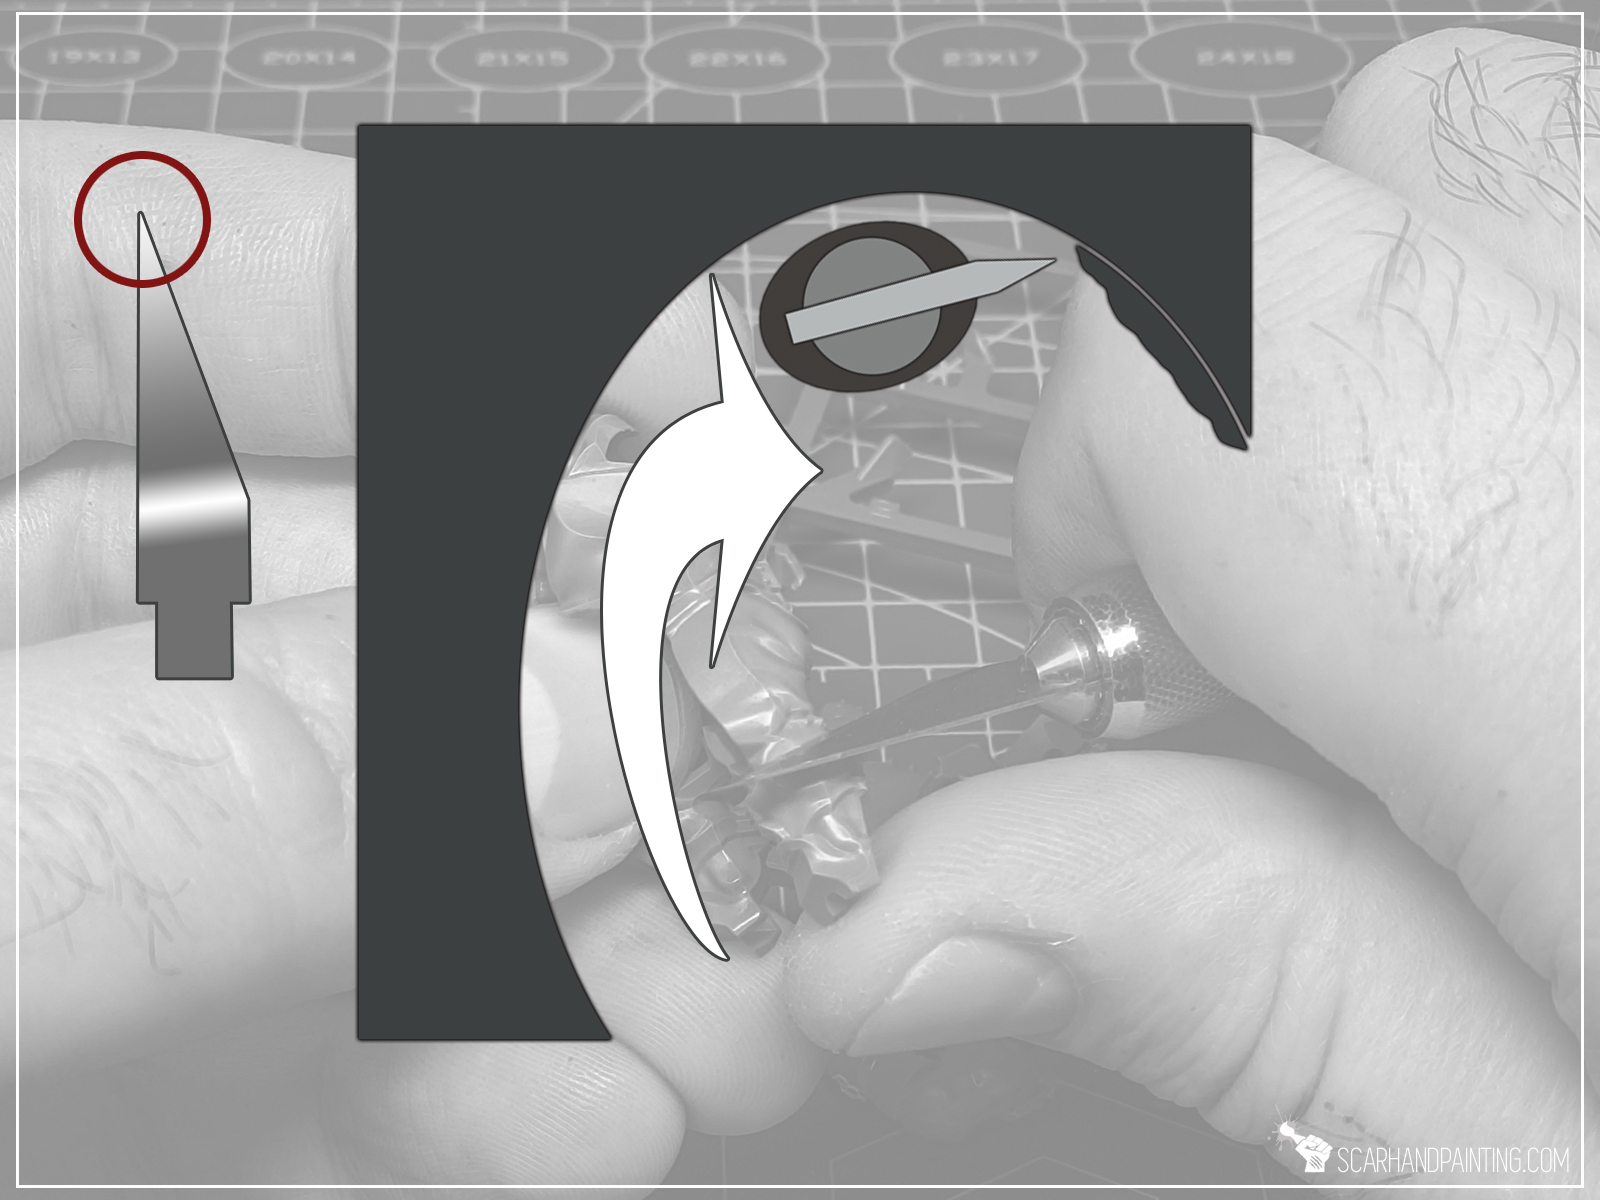
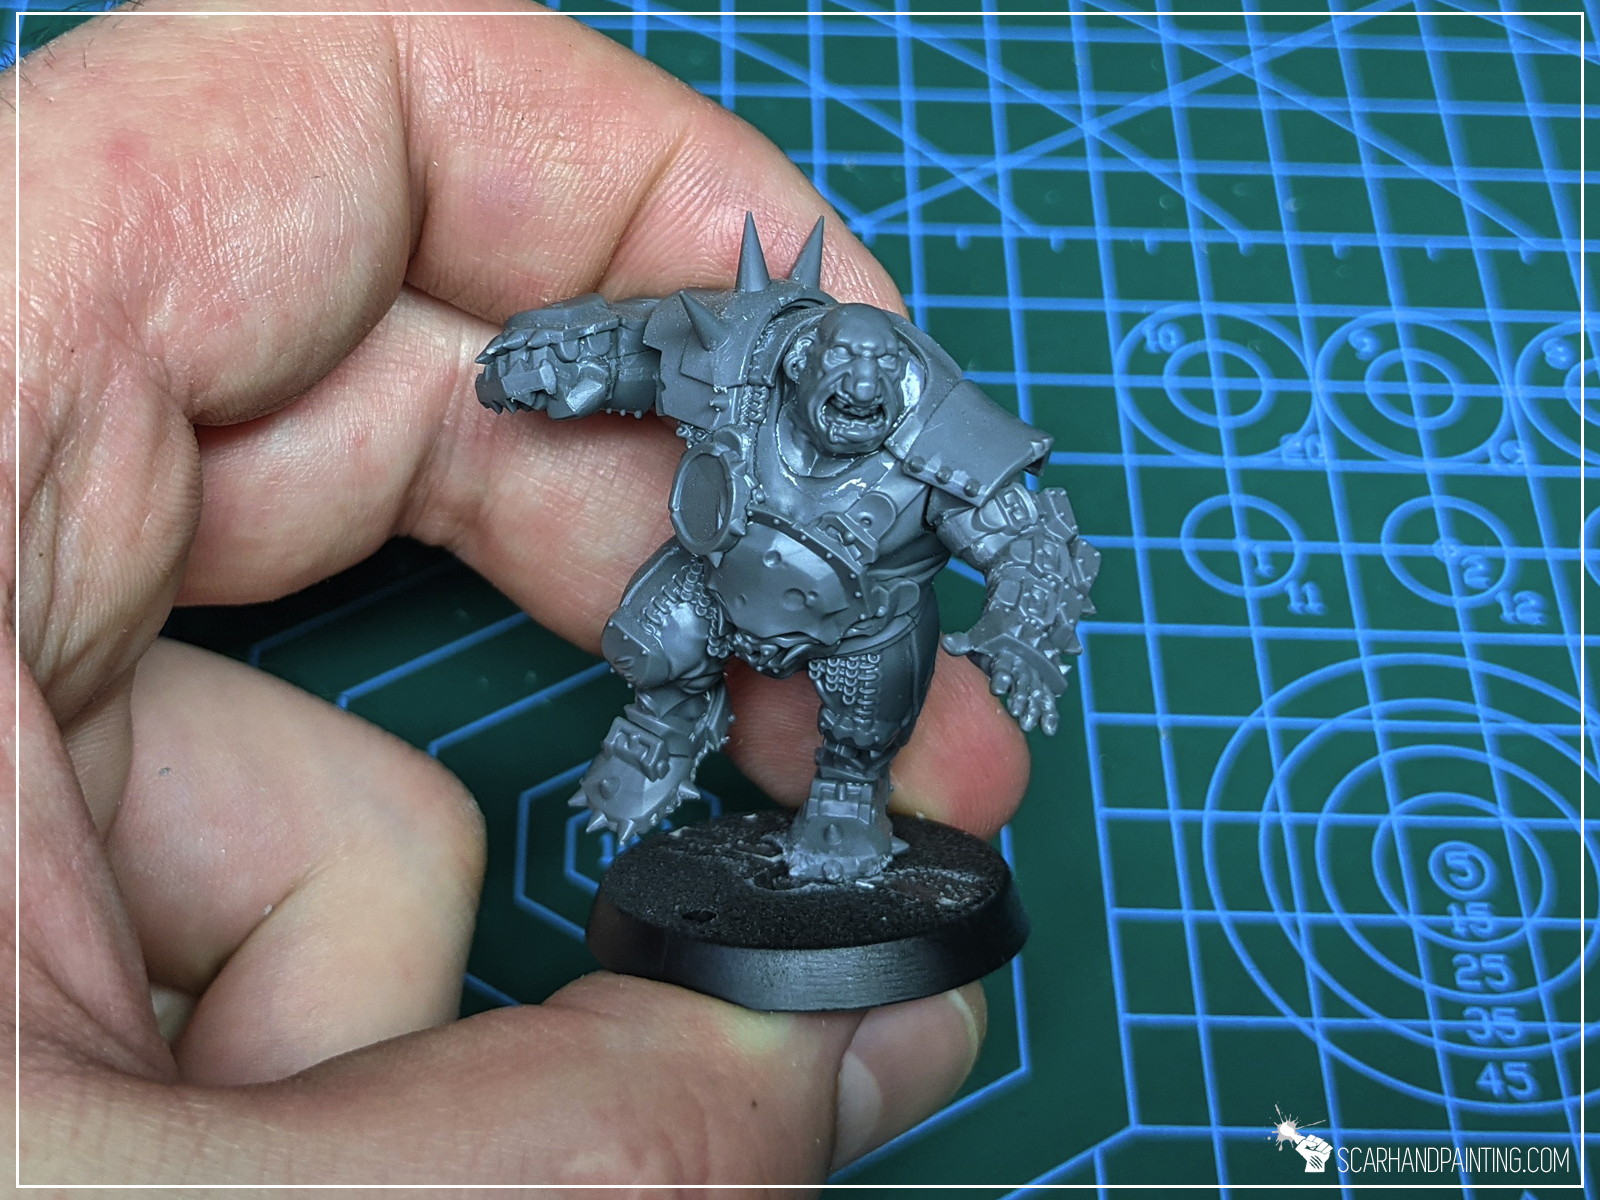
When dealing with rounded elements like inside of a wheel, or in a fold of a cloak, I switch the angle so that the blade faces direction of movement. I then make sure to hide my thumb behind the miniature and use the very tip of the blade to peel off the excess material. I do this with a single rounded movement of the blade.
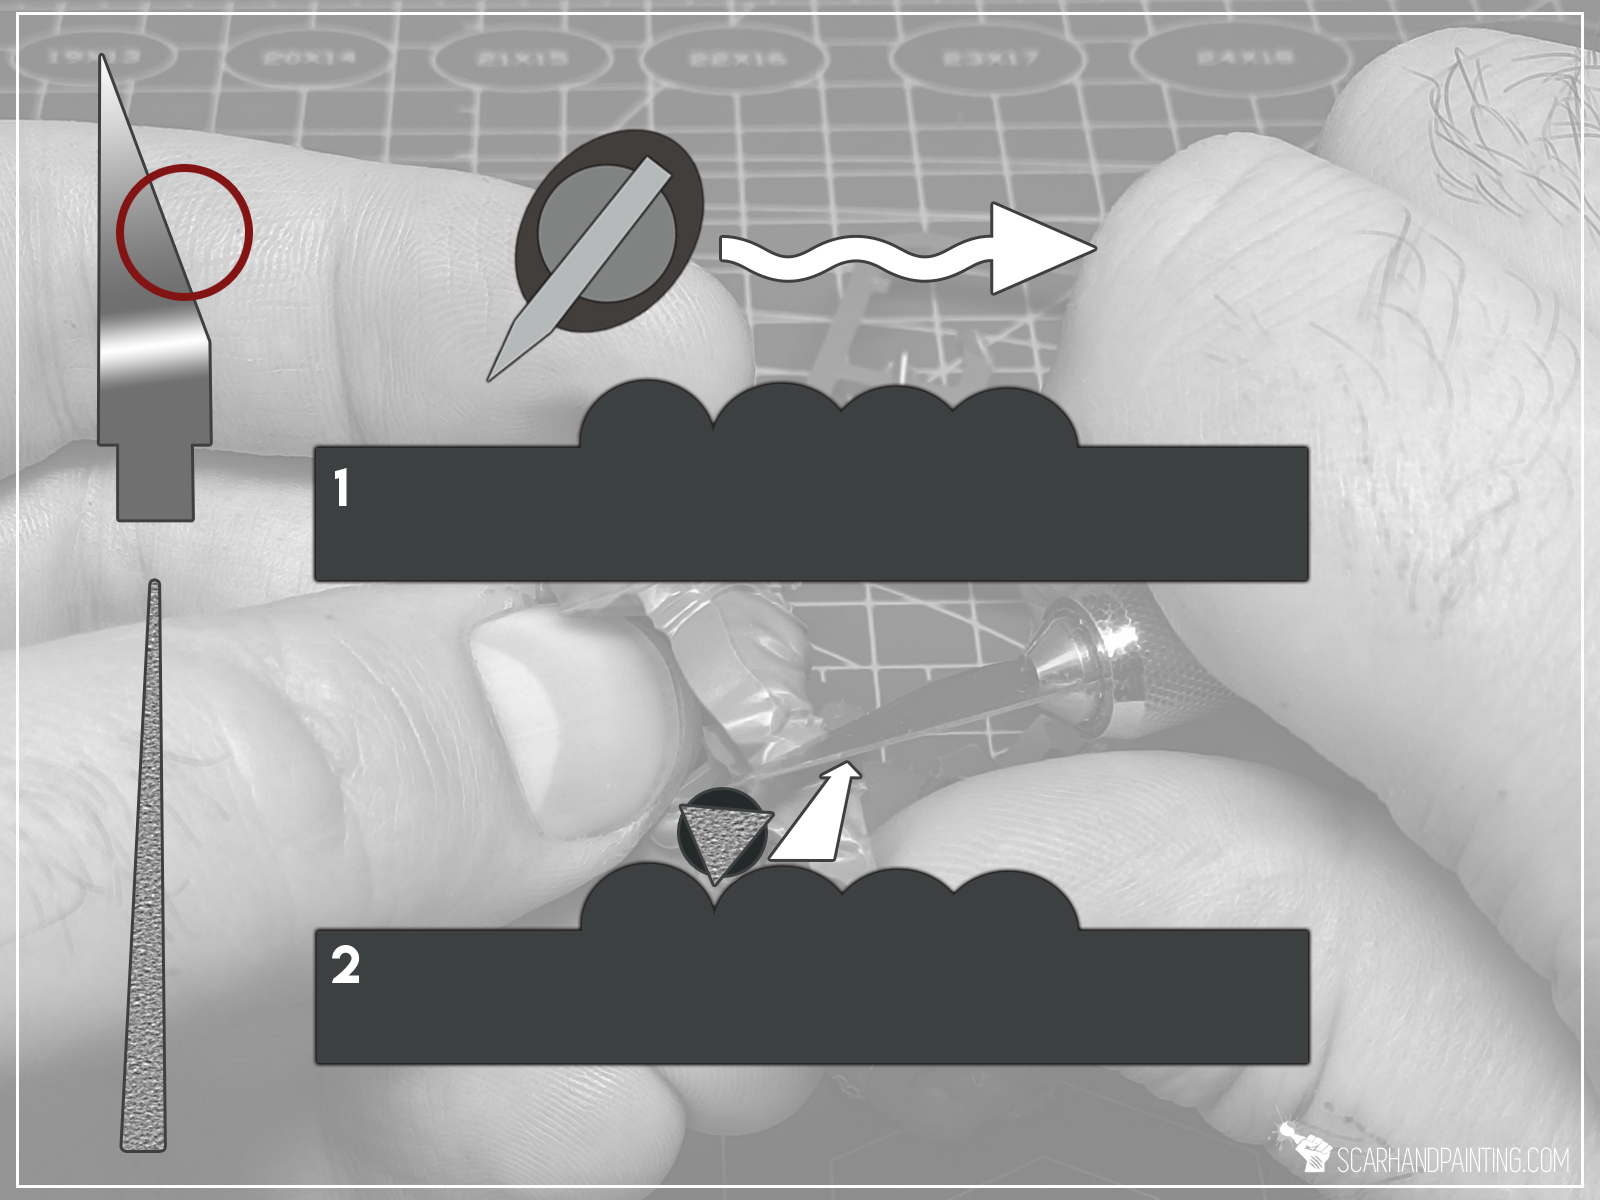
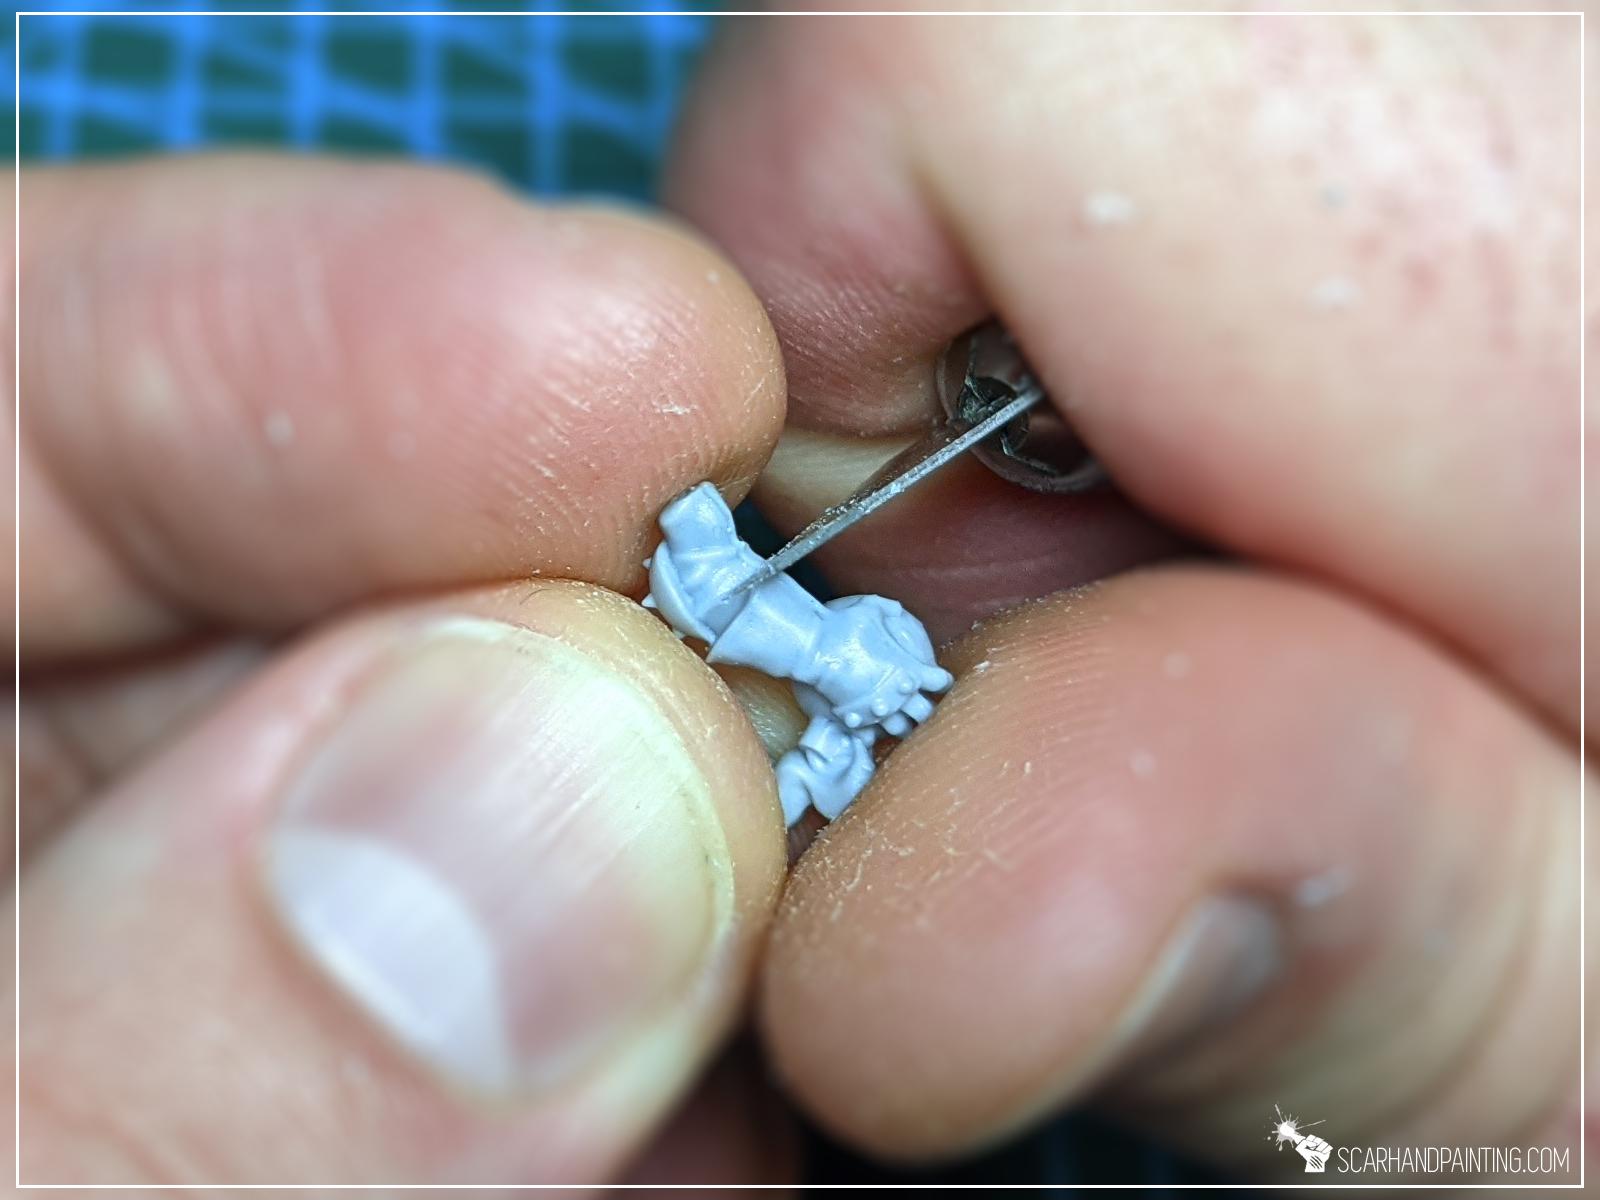
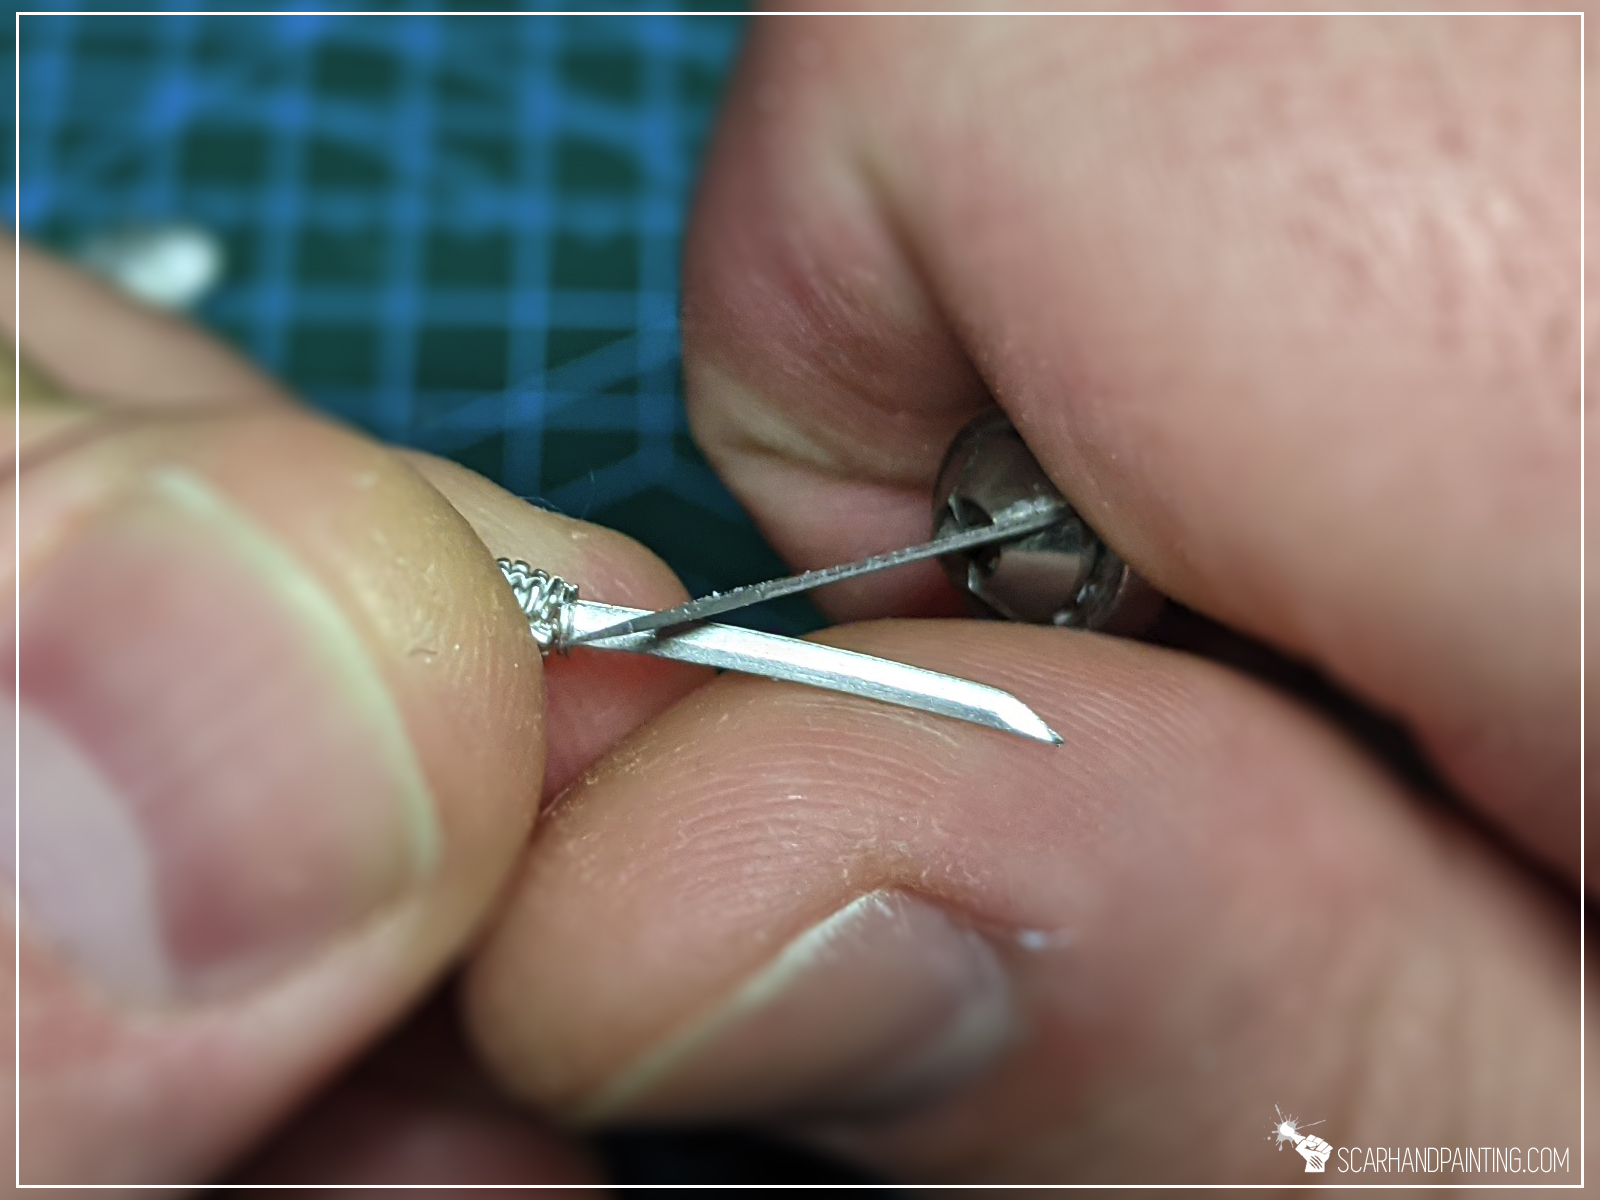
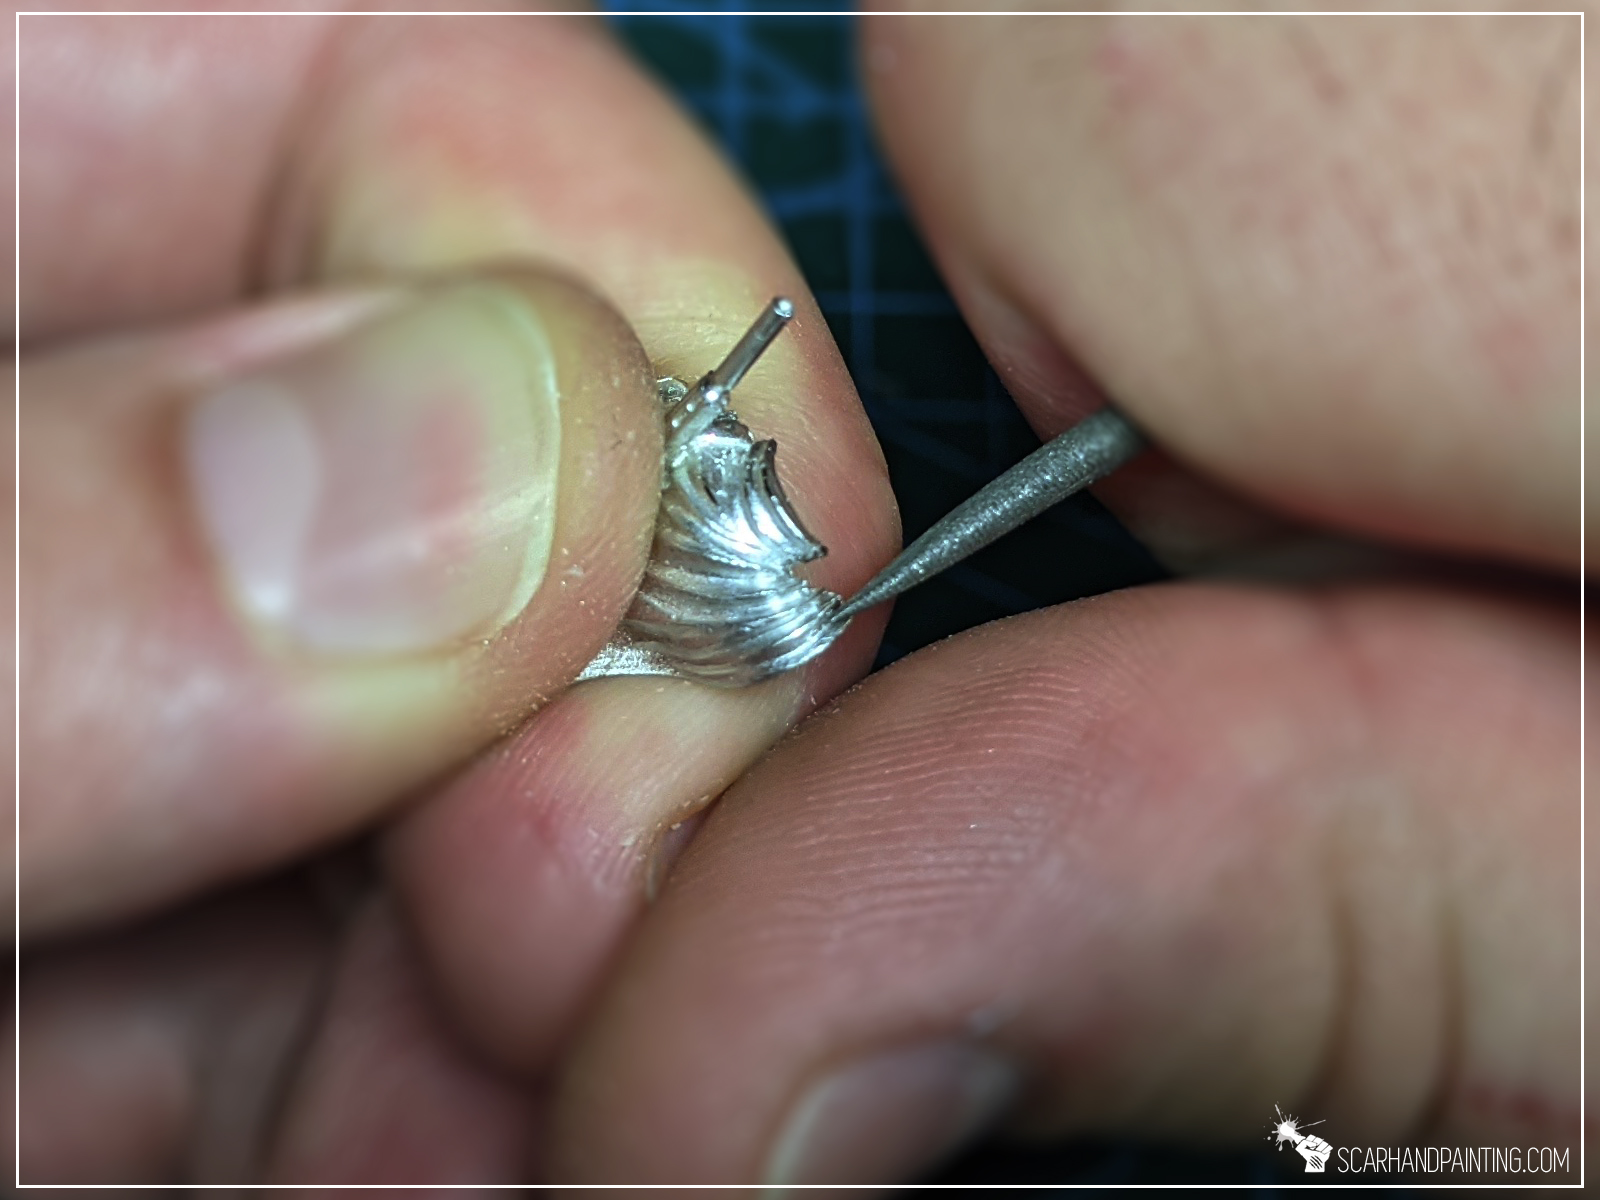
Finally, when dealing with tiny rounded bumps (like fingers of a fist for example) I start with a single, light movement of a blade, then switch to a sharp edge file…

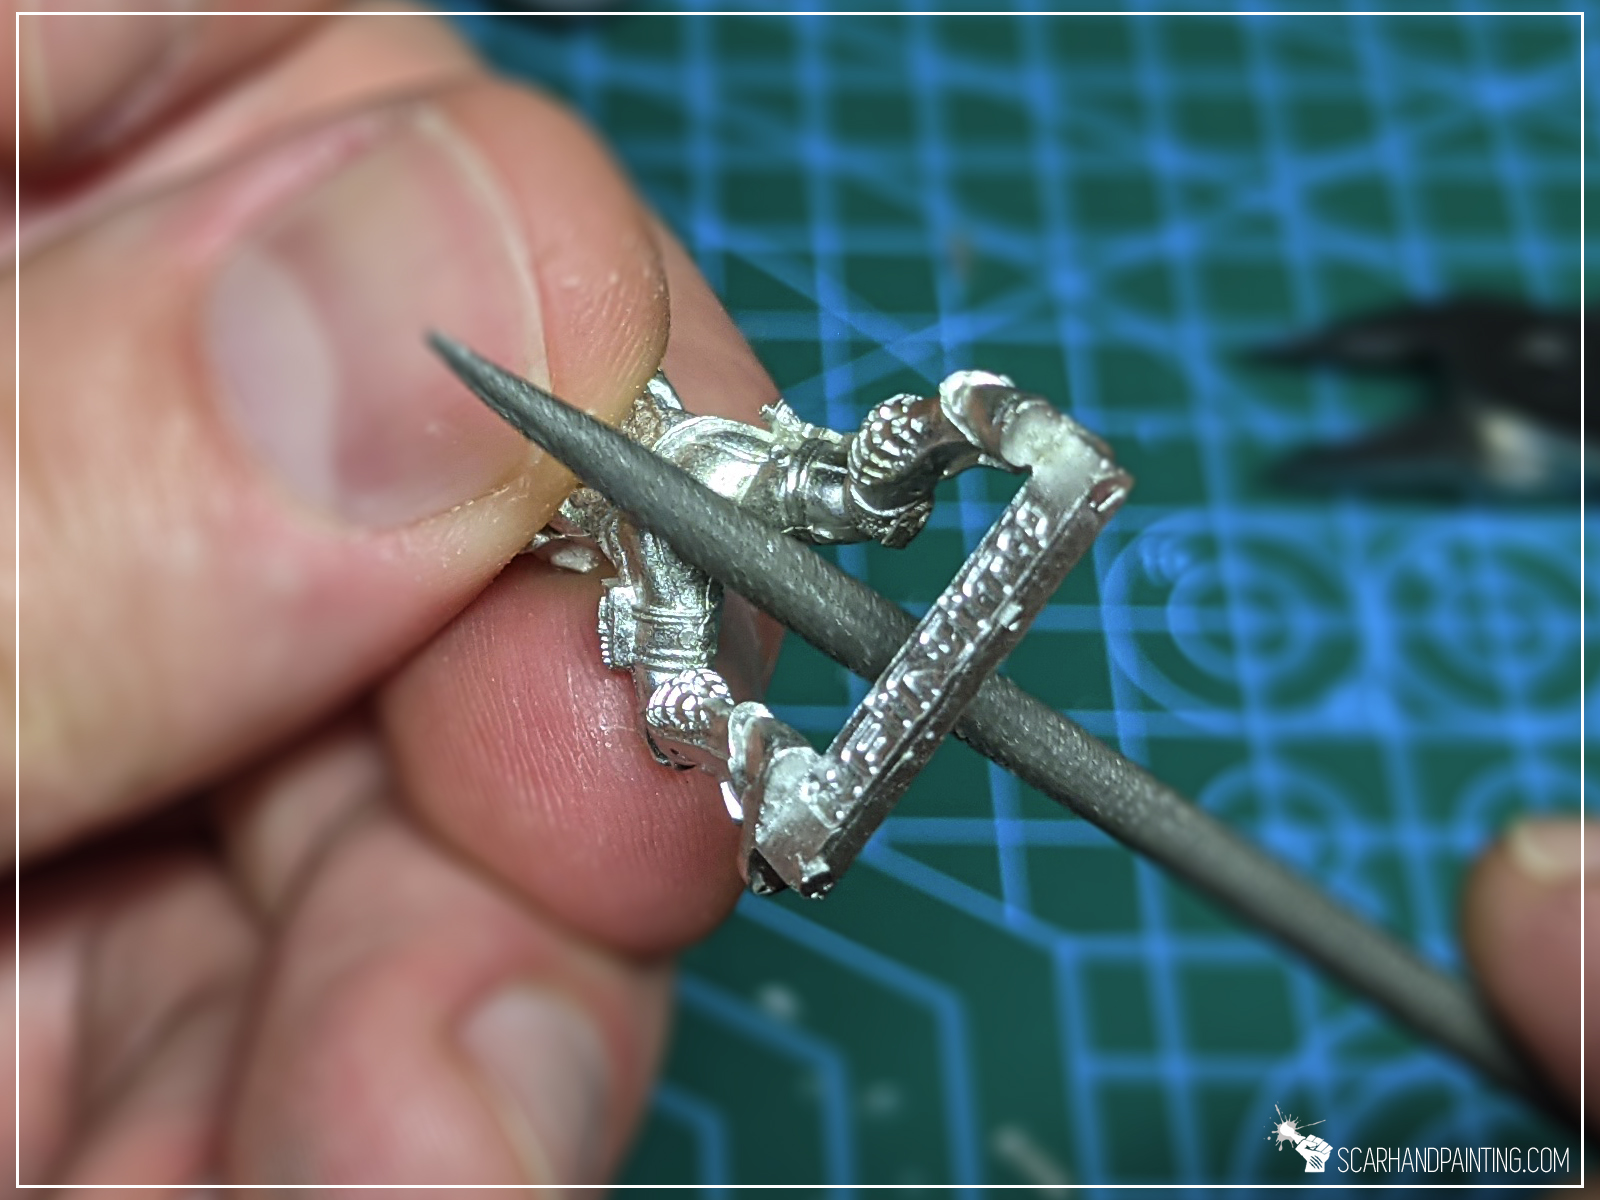
Hobby File:
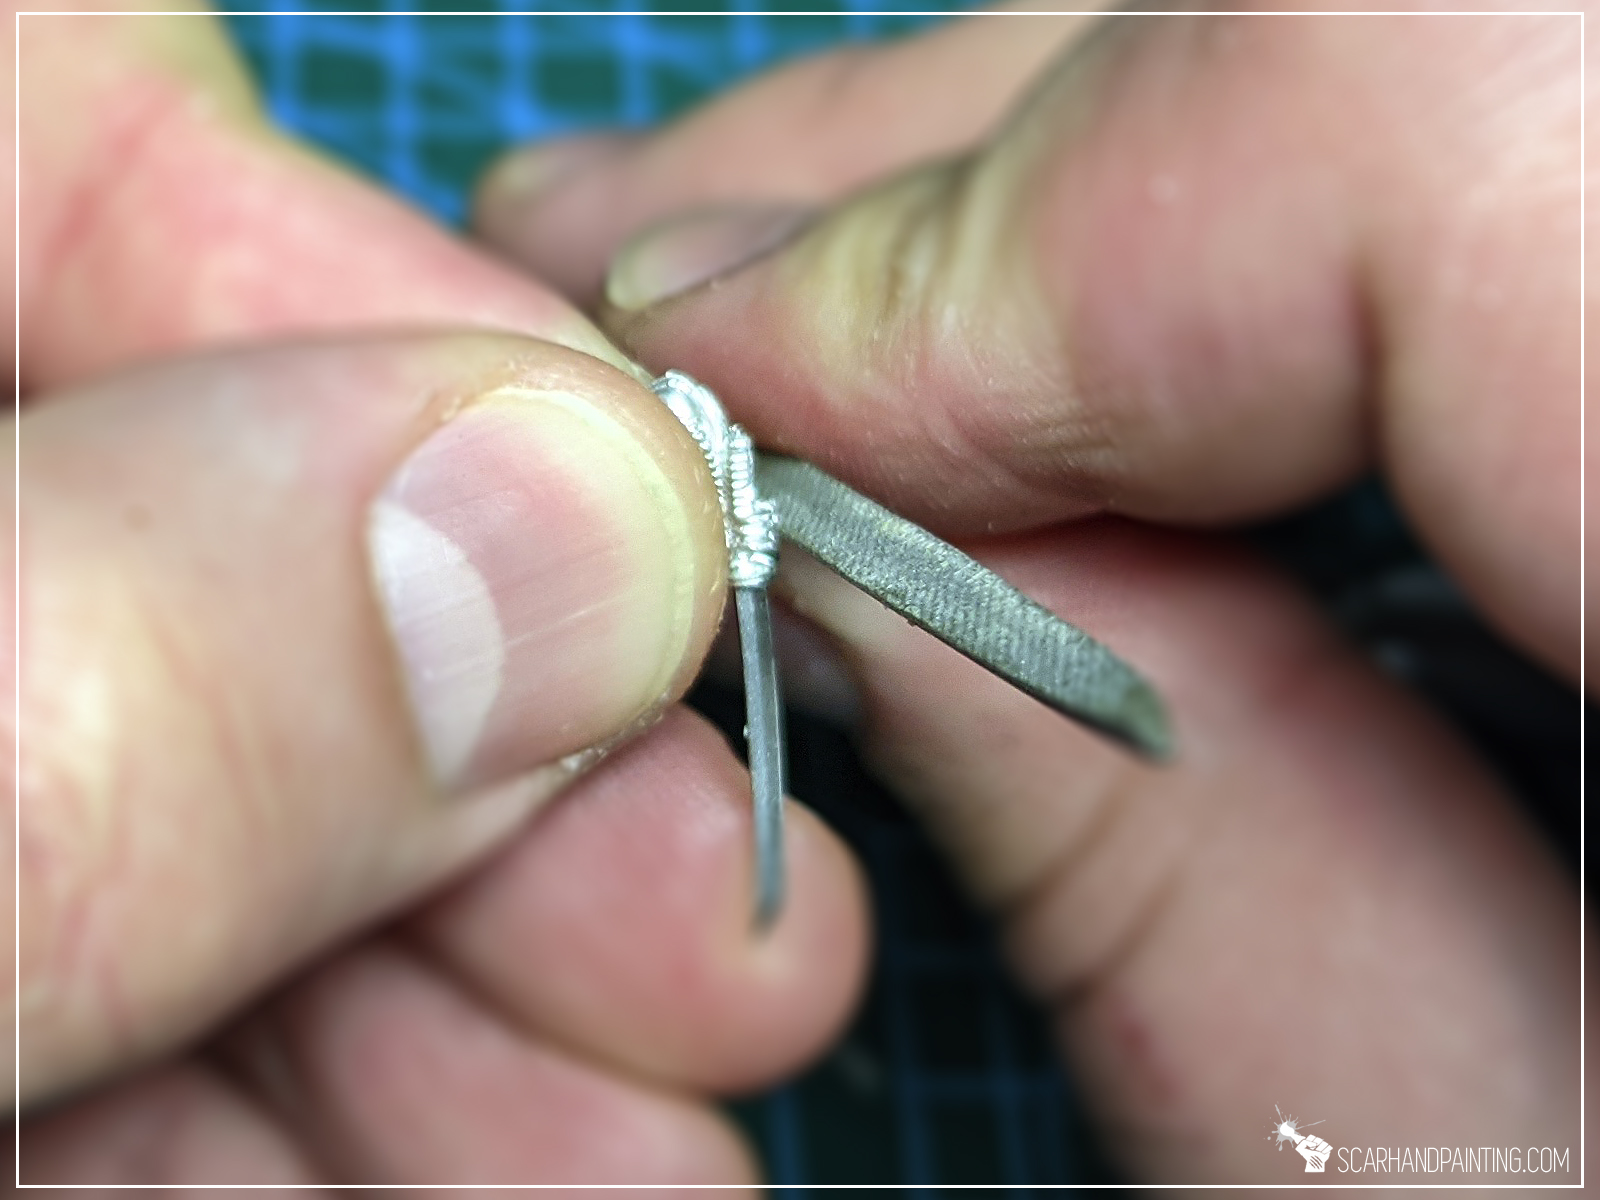
I have a lot of Hobby Files, but when I think of it – only two of them are what matters. Fully Rounded and Triangle Sharp Edged.
Back to the example picture above, I use Triangle Sharp Edged file to make a single, long, smooth movement between each bump.
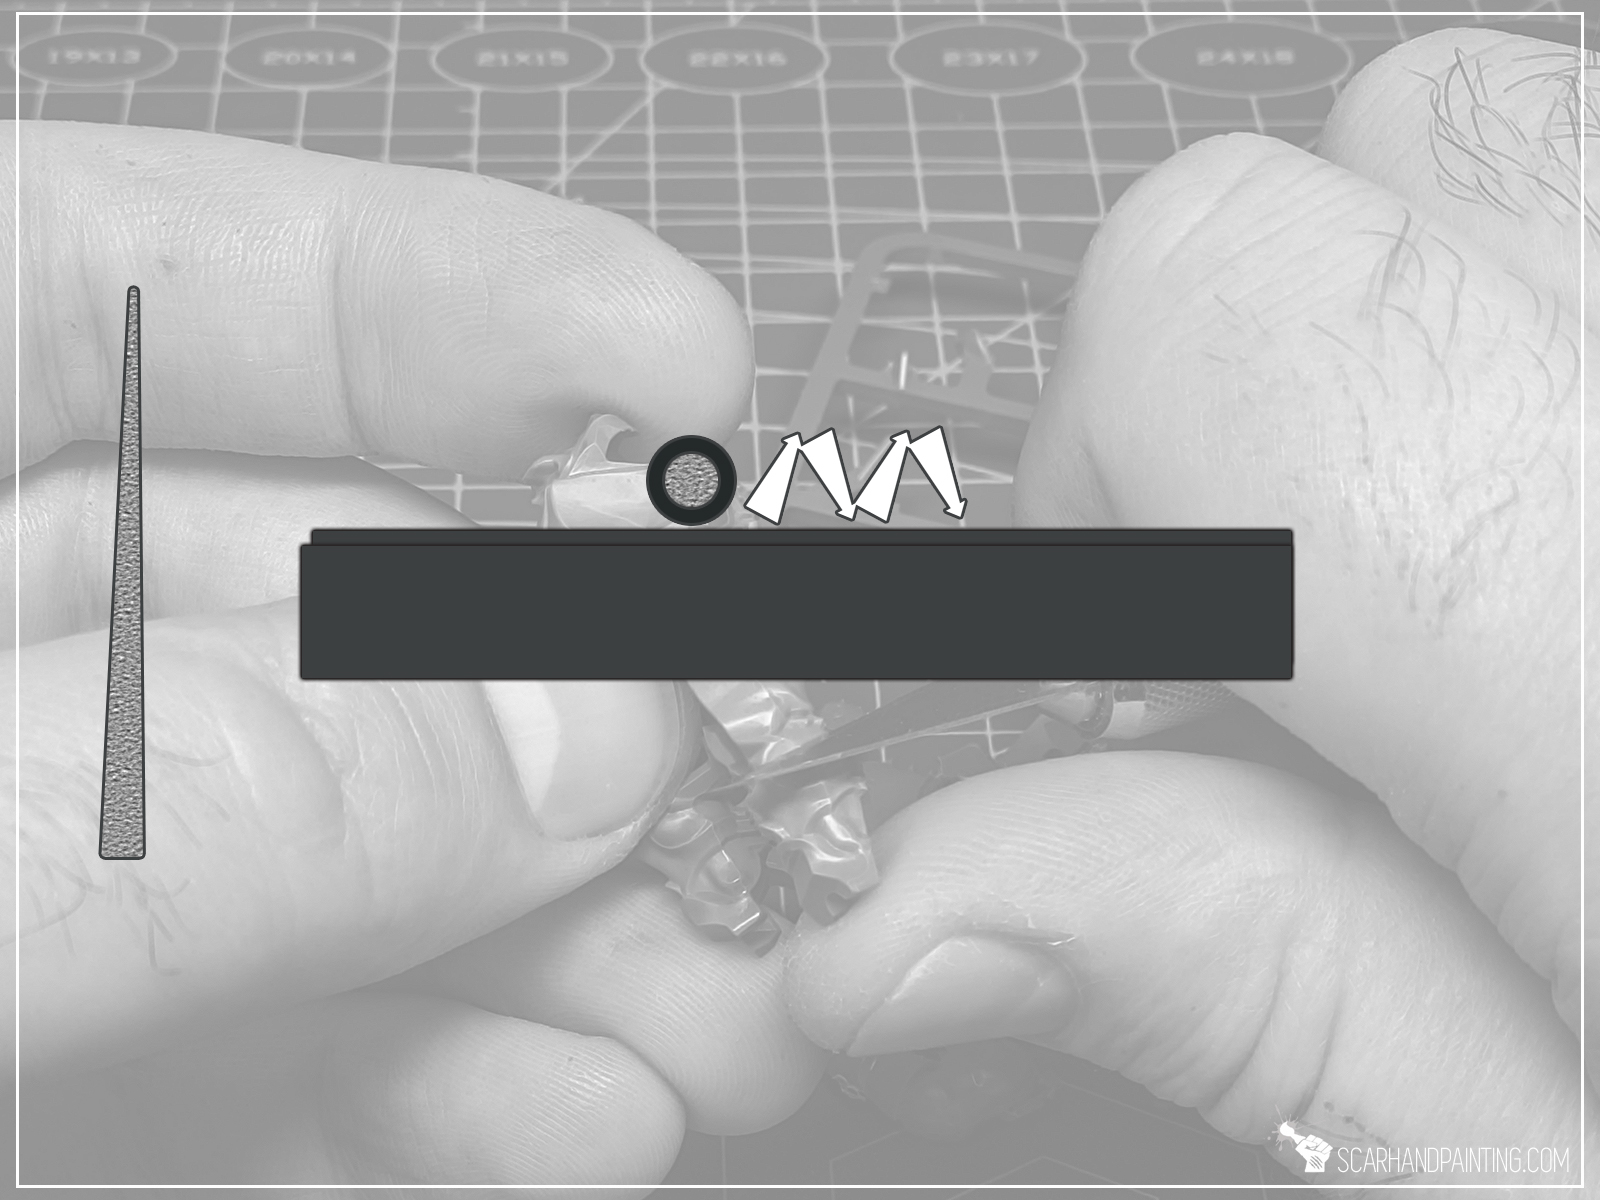
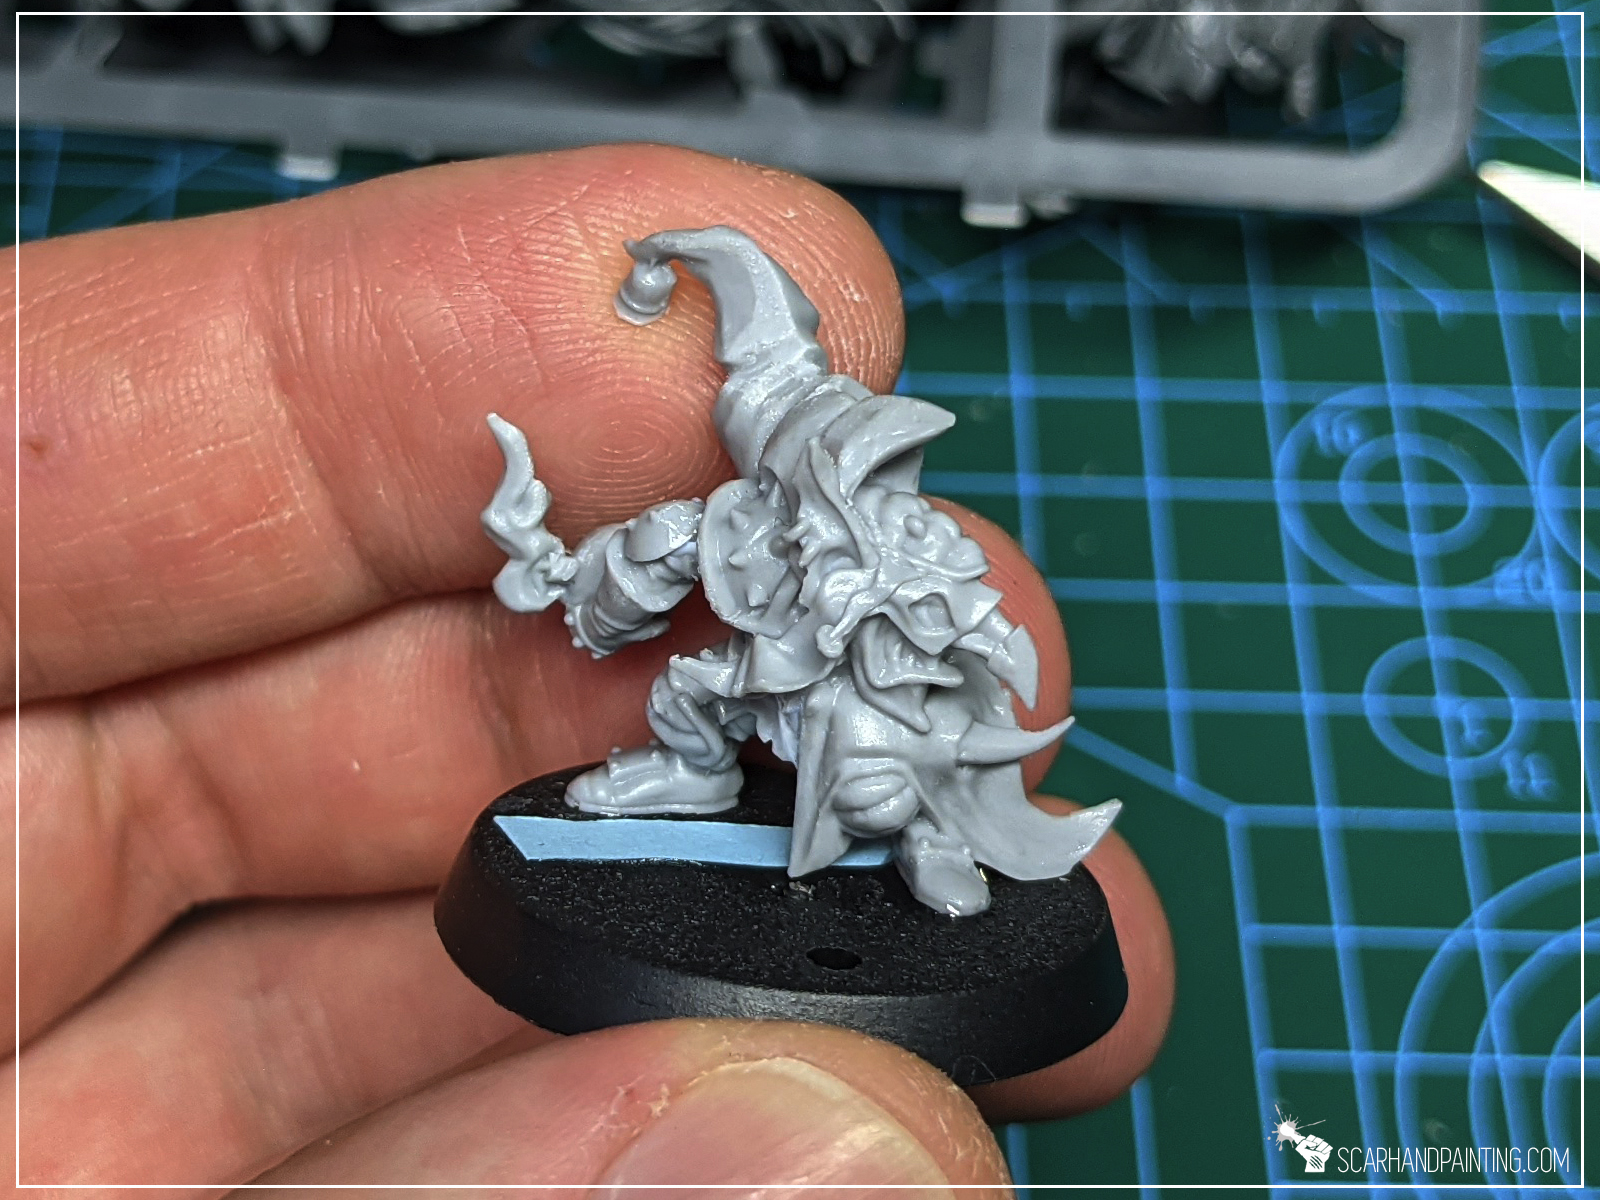
Finally Fully Rounded file is being used to smooth up any Mold Lines irregularities (when two halves of a miniature does not align properly).

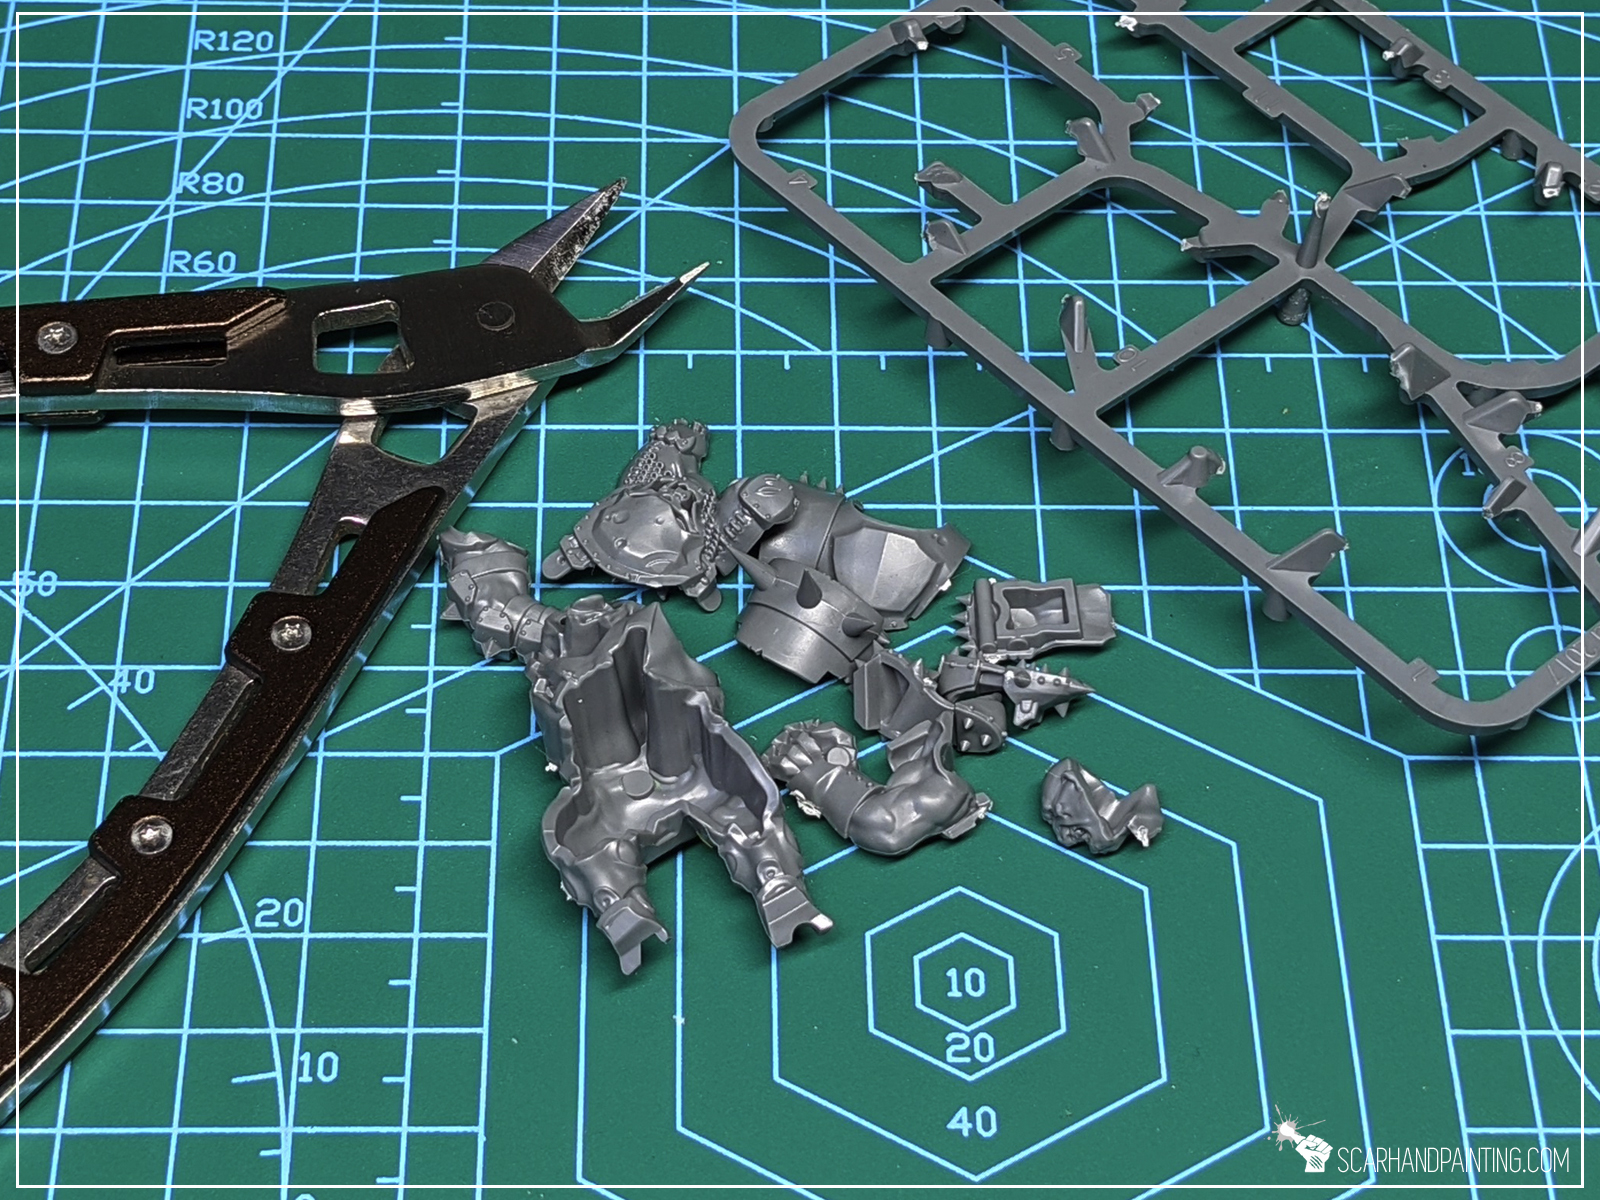
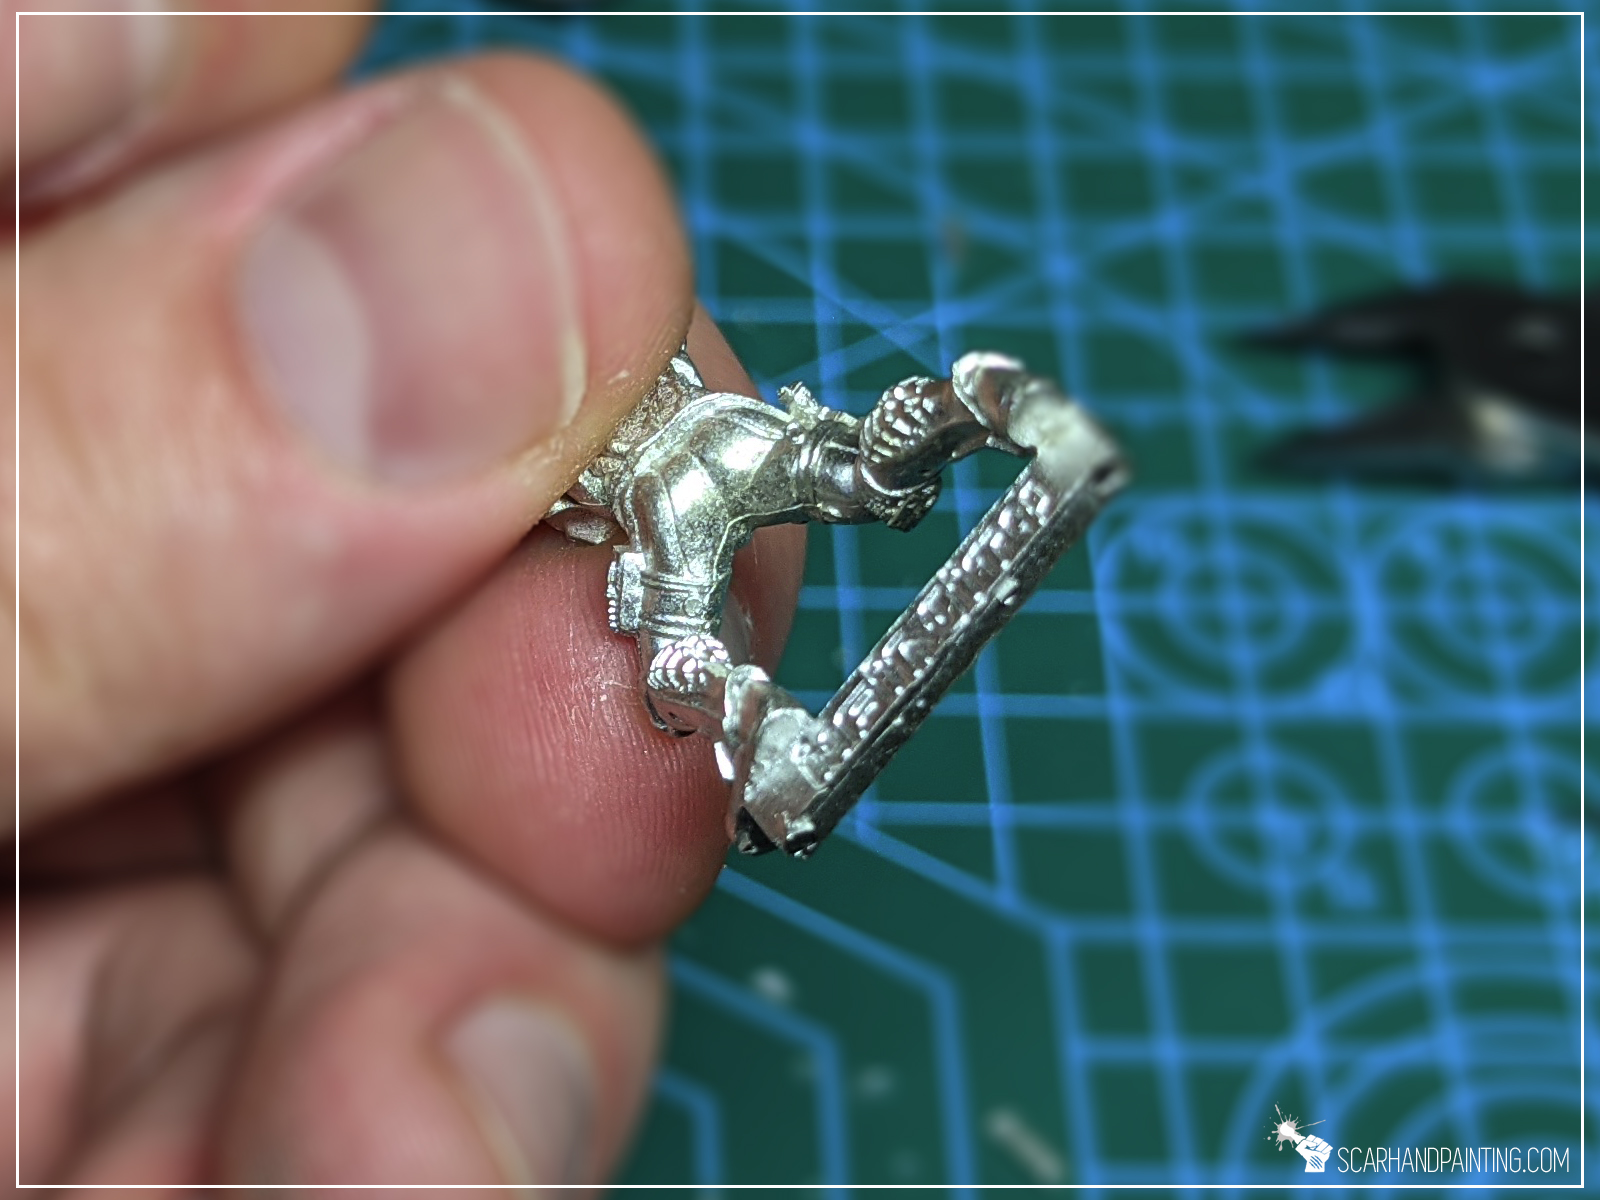
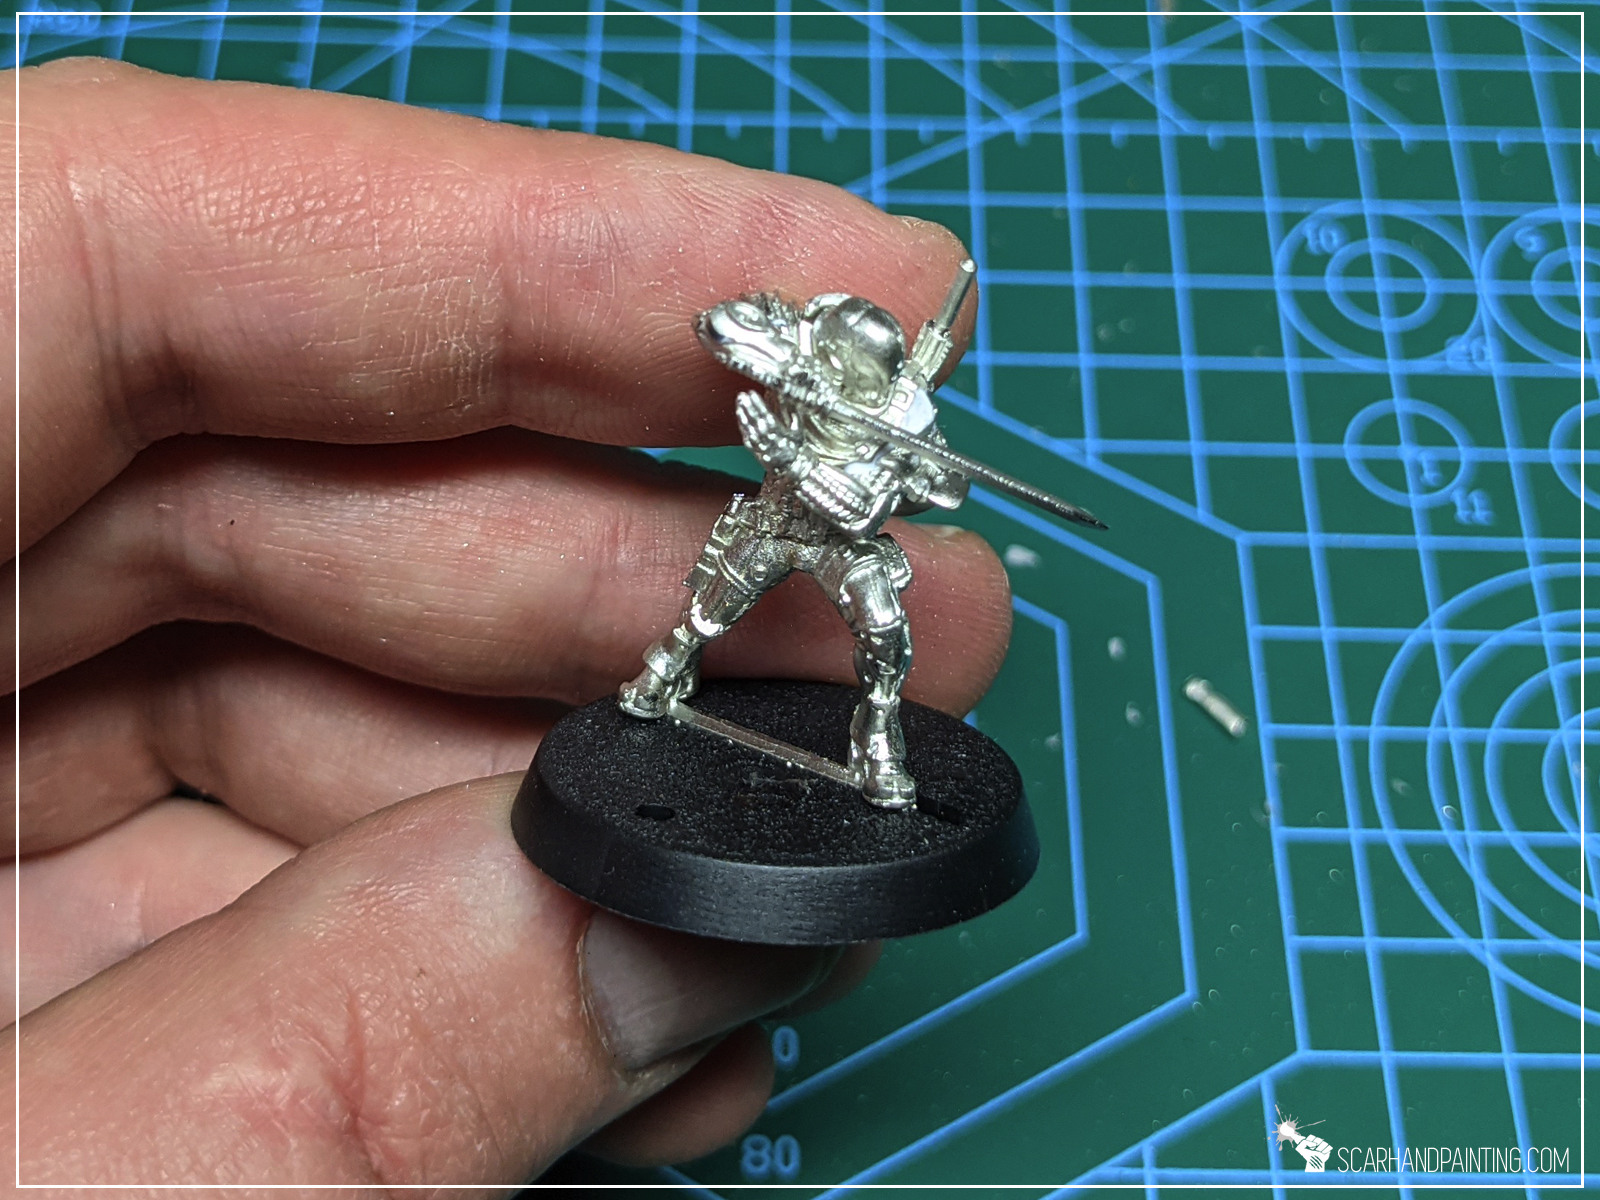
Hobby Cutters:

These are pretty straightforward. I use them to cut pieces of miniatures off the sprues and to cut off any large chunks of excess material. One thing to remember is to align a flat side of the cutting edge with the area you want to cut stuff off from. This will keep the surface smooth.
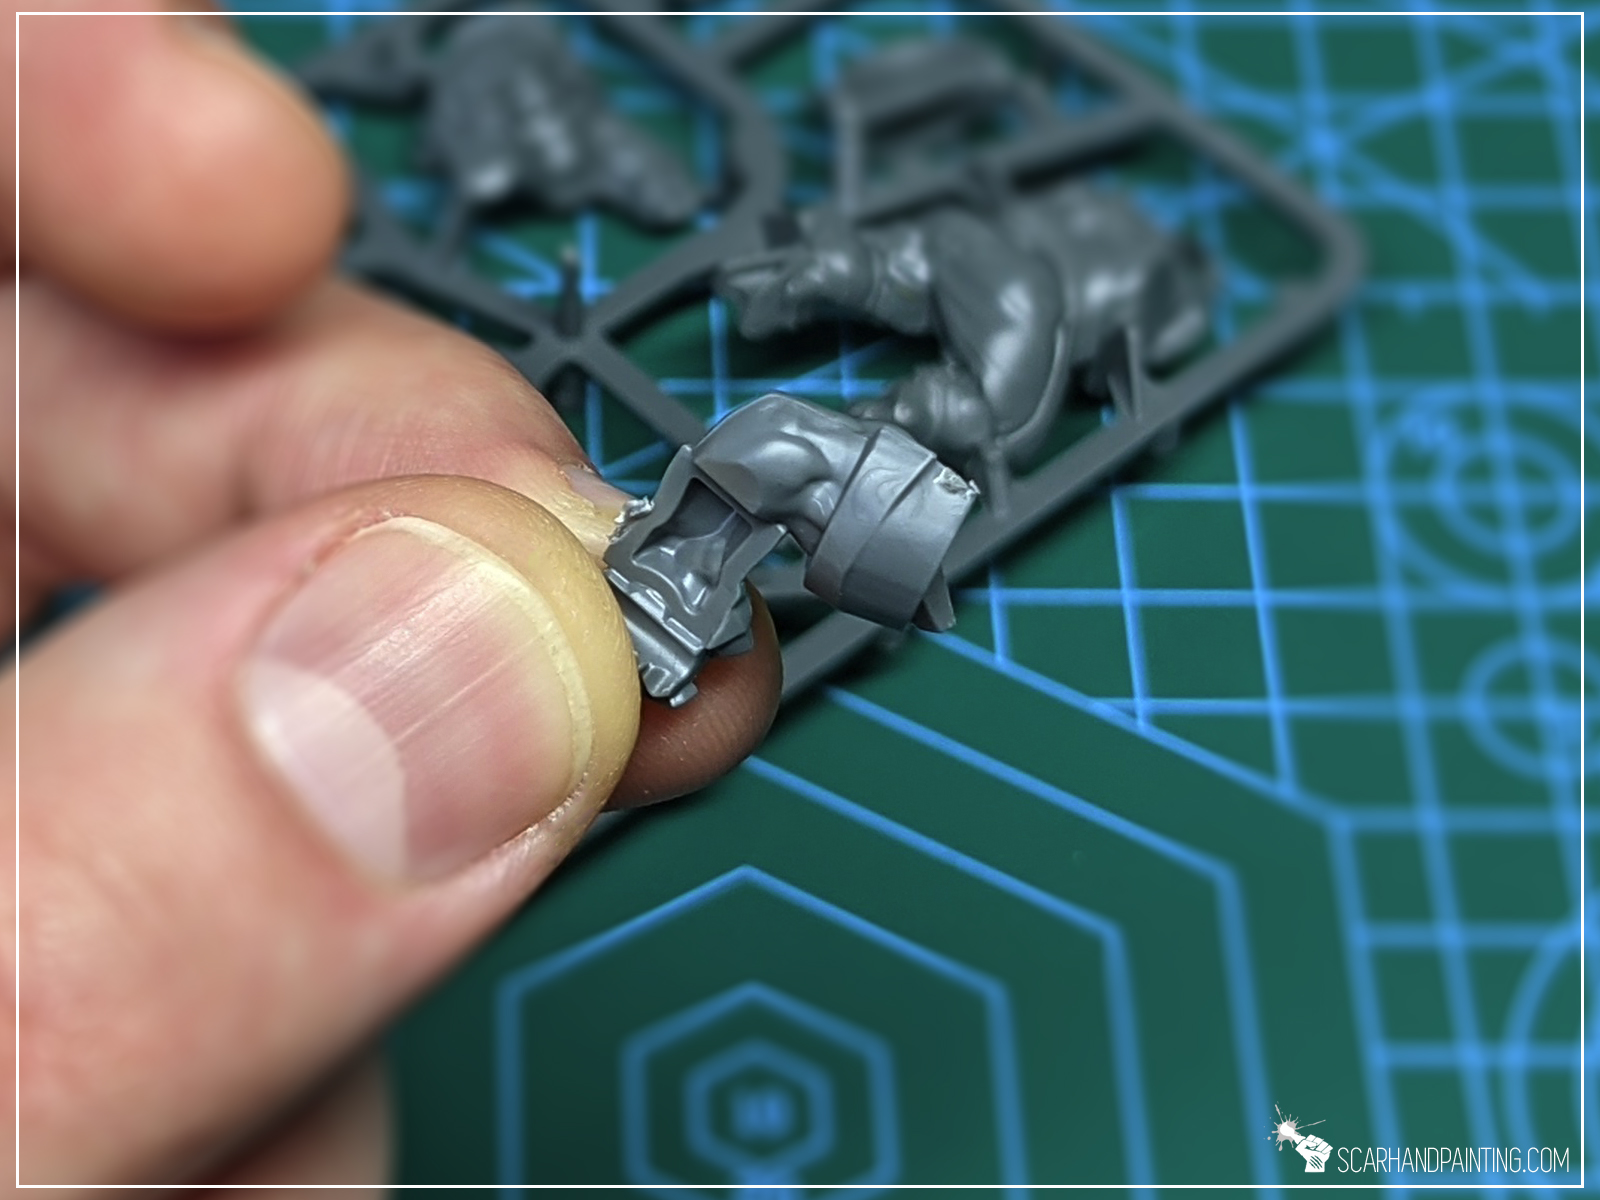
Plastic: is the most common material one might face while toying with miniatures, so let’s start with this one. There are two main kinds of plastic. Standard Plastic, which can be colored, is a high quality durable and elastic material with crisp detail and no bubbles. Worst issues are mold halves not aligned properly, but this can usually be dealt with by applying more force to a hobby knife. I rarely use files to deal with plastic and prefer to work with Hobby Cutters ands Knife instead.
Board Game Plastic, which is a total gummy disaster and cannot be filed (leaves tiny strains) unless put to a refrigerator for couple of hours. My personal rule is to leave it be, bad material and I just do not prep it at all.


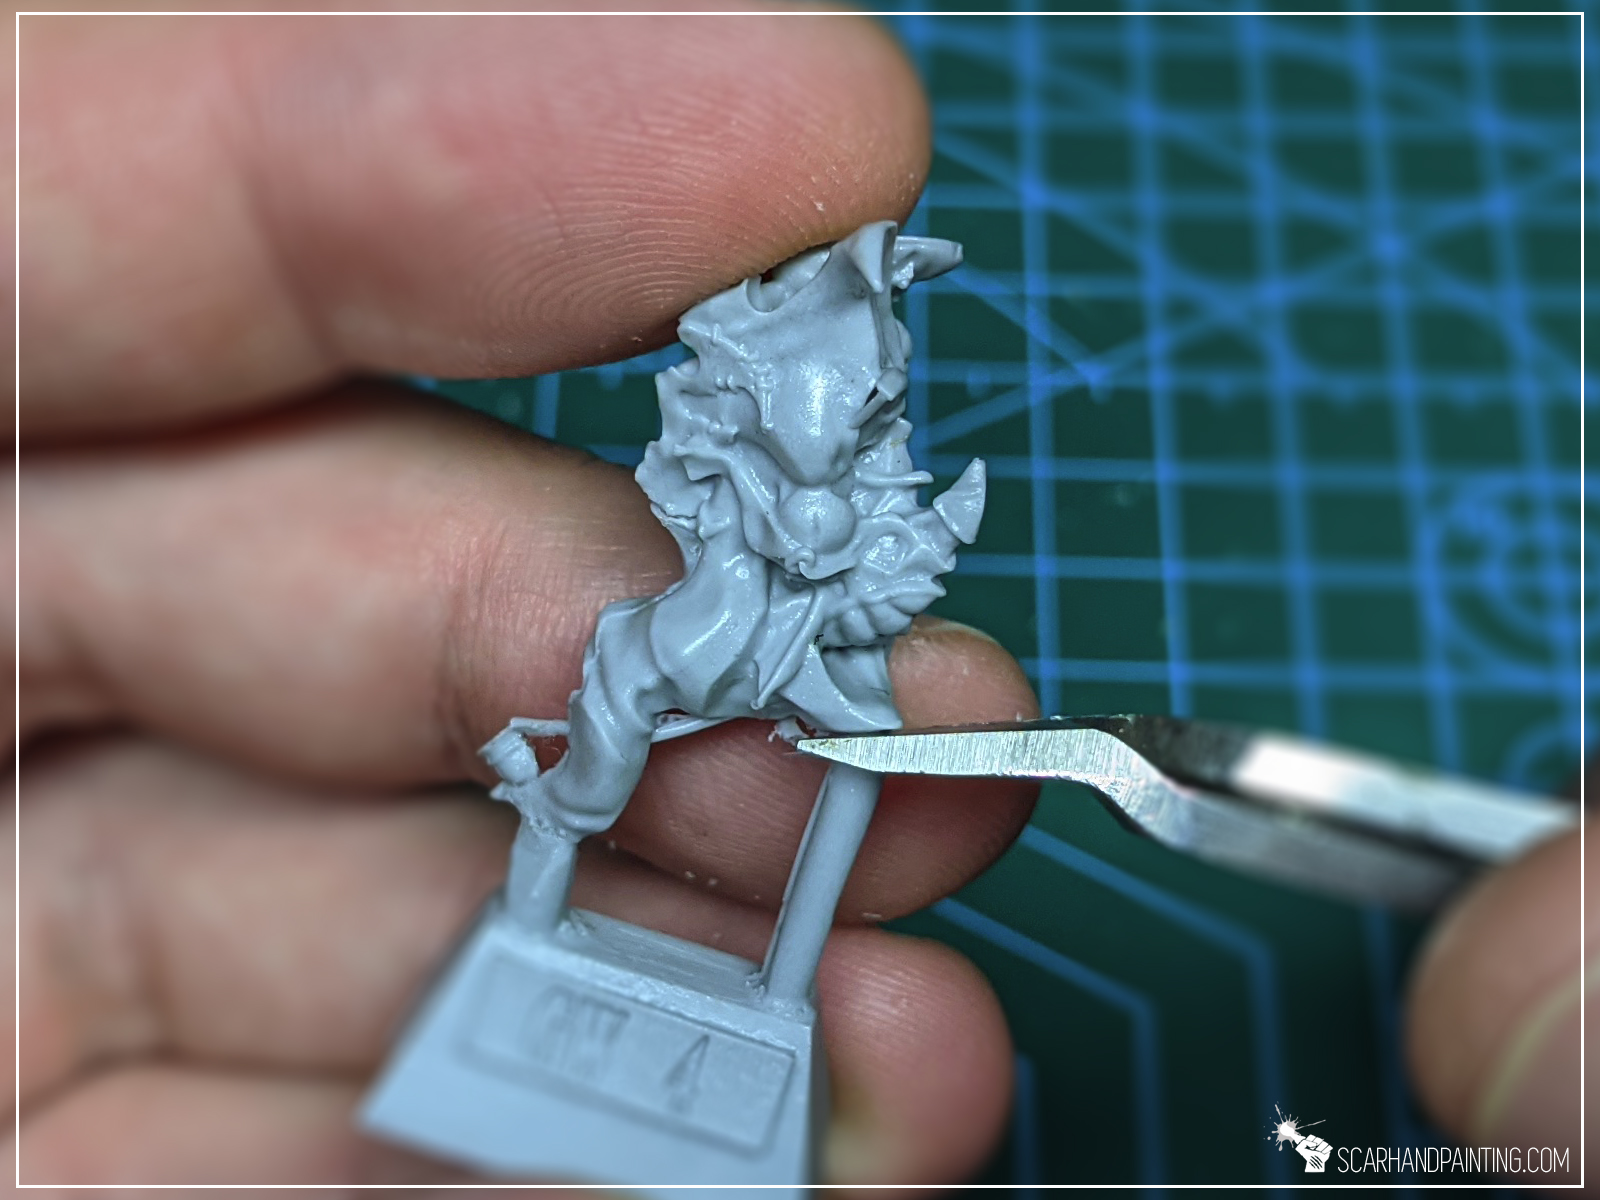
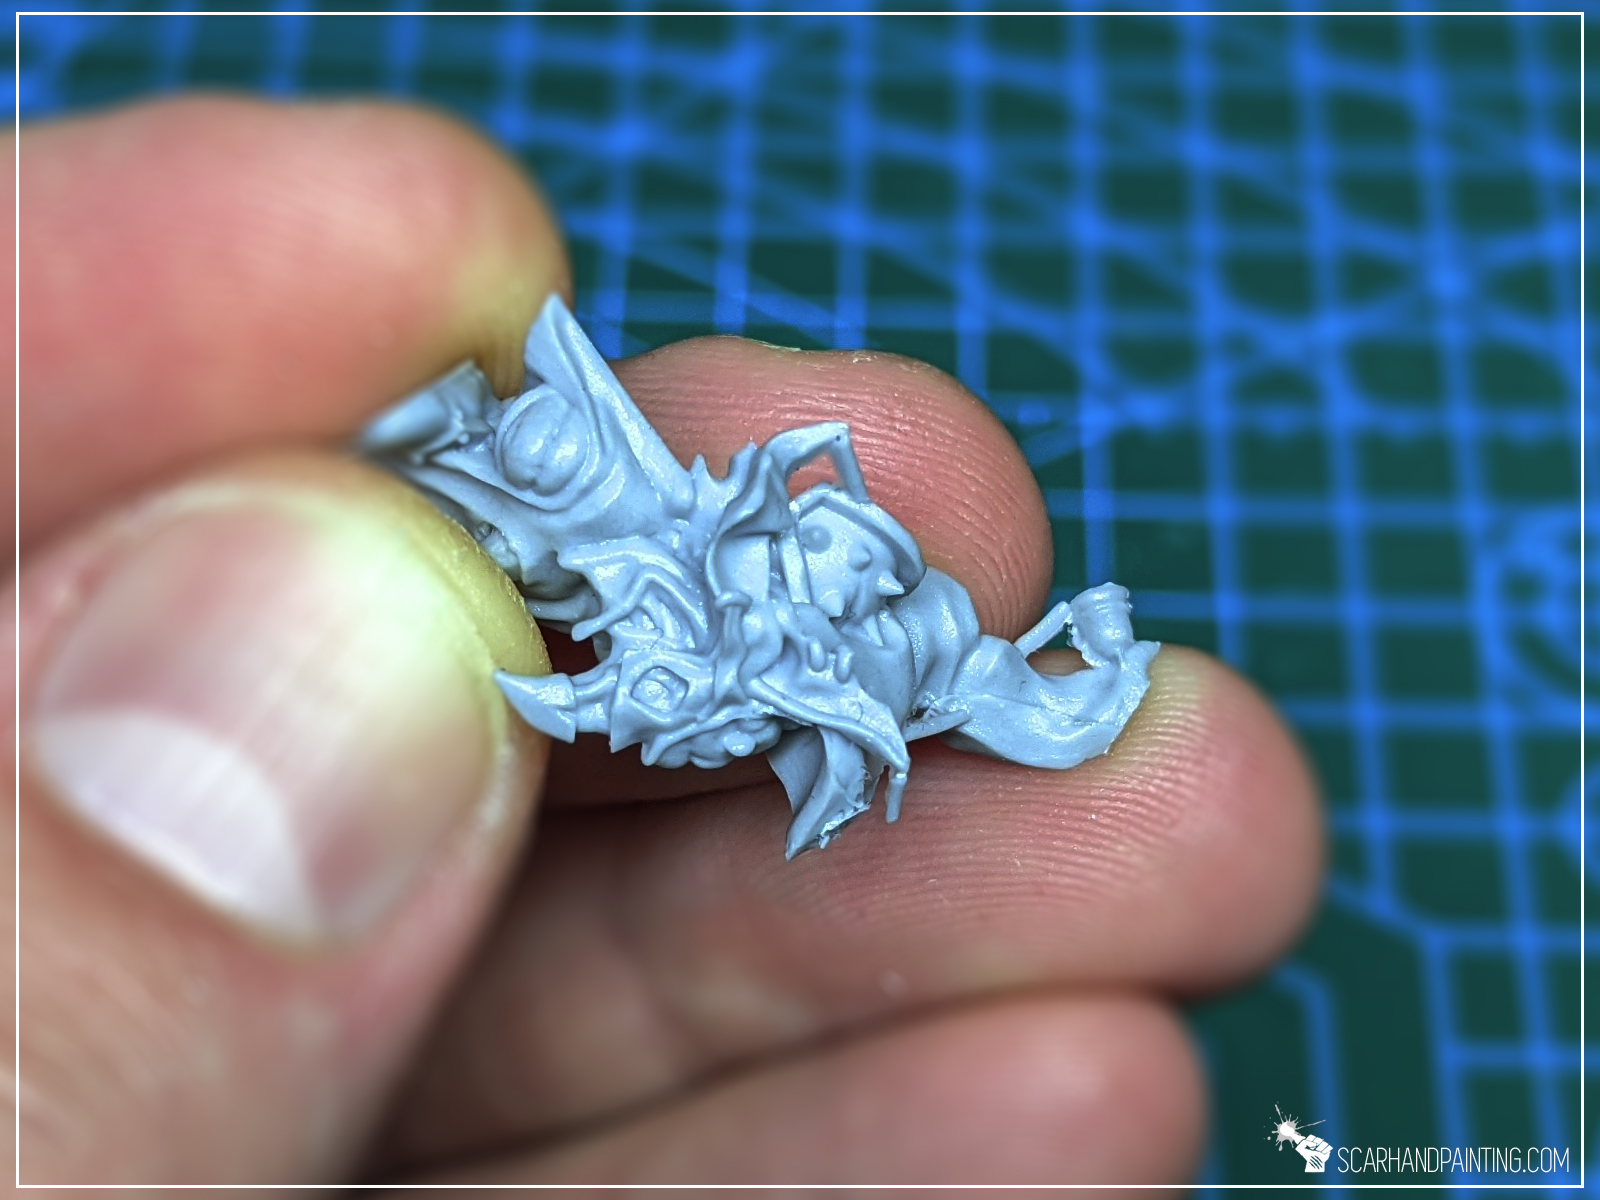
Resin: is the most problematic of the three main materials I have worked with. Resin is fragile, easy to break, tends to have hidden air bubbles plus it is common for mold halves to not be aligned properly. On top of that resin miniatures are sparkled with a lot of supports (tiny excess elements). On a bright side, a properly casted resin has a very sharp detail and texture, is easy to glue together if broken and can be modelled easy with a knife.
When dealing with resin I prefer Hobby Cutters and Knife over files, using the latter only in case of emergency.
Important note: wear a face mask when filing resin. You don’t want to breathe it in.
Metal: is pretty easy to work with. It is usually the softest of all three, can be bent easily, is very easy to file. I do prioritize Files over Knife when working with this material, except for long flat areas and fragile elements (swords etc.). Whereas scratches on plastic and resin are prominent, metal can be intentionally scratched with a tip of a File to remove Seam Lines from detailed surfaces like between hair and on a face.
Apart from pics, you can see me in action in this Youtube video:
Thanks for reading. If this tutorial helped you, be sure to let me know either in the comments below or at my facebook profile.
Please link this tutorial to anyone who likes to learn new hobby tricks.
Lastly I also invite you to follow me at Instagram, where I drop some nice pictures from time to time.