- contact@scarhandpainting.com


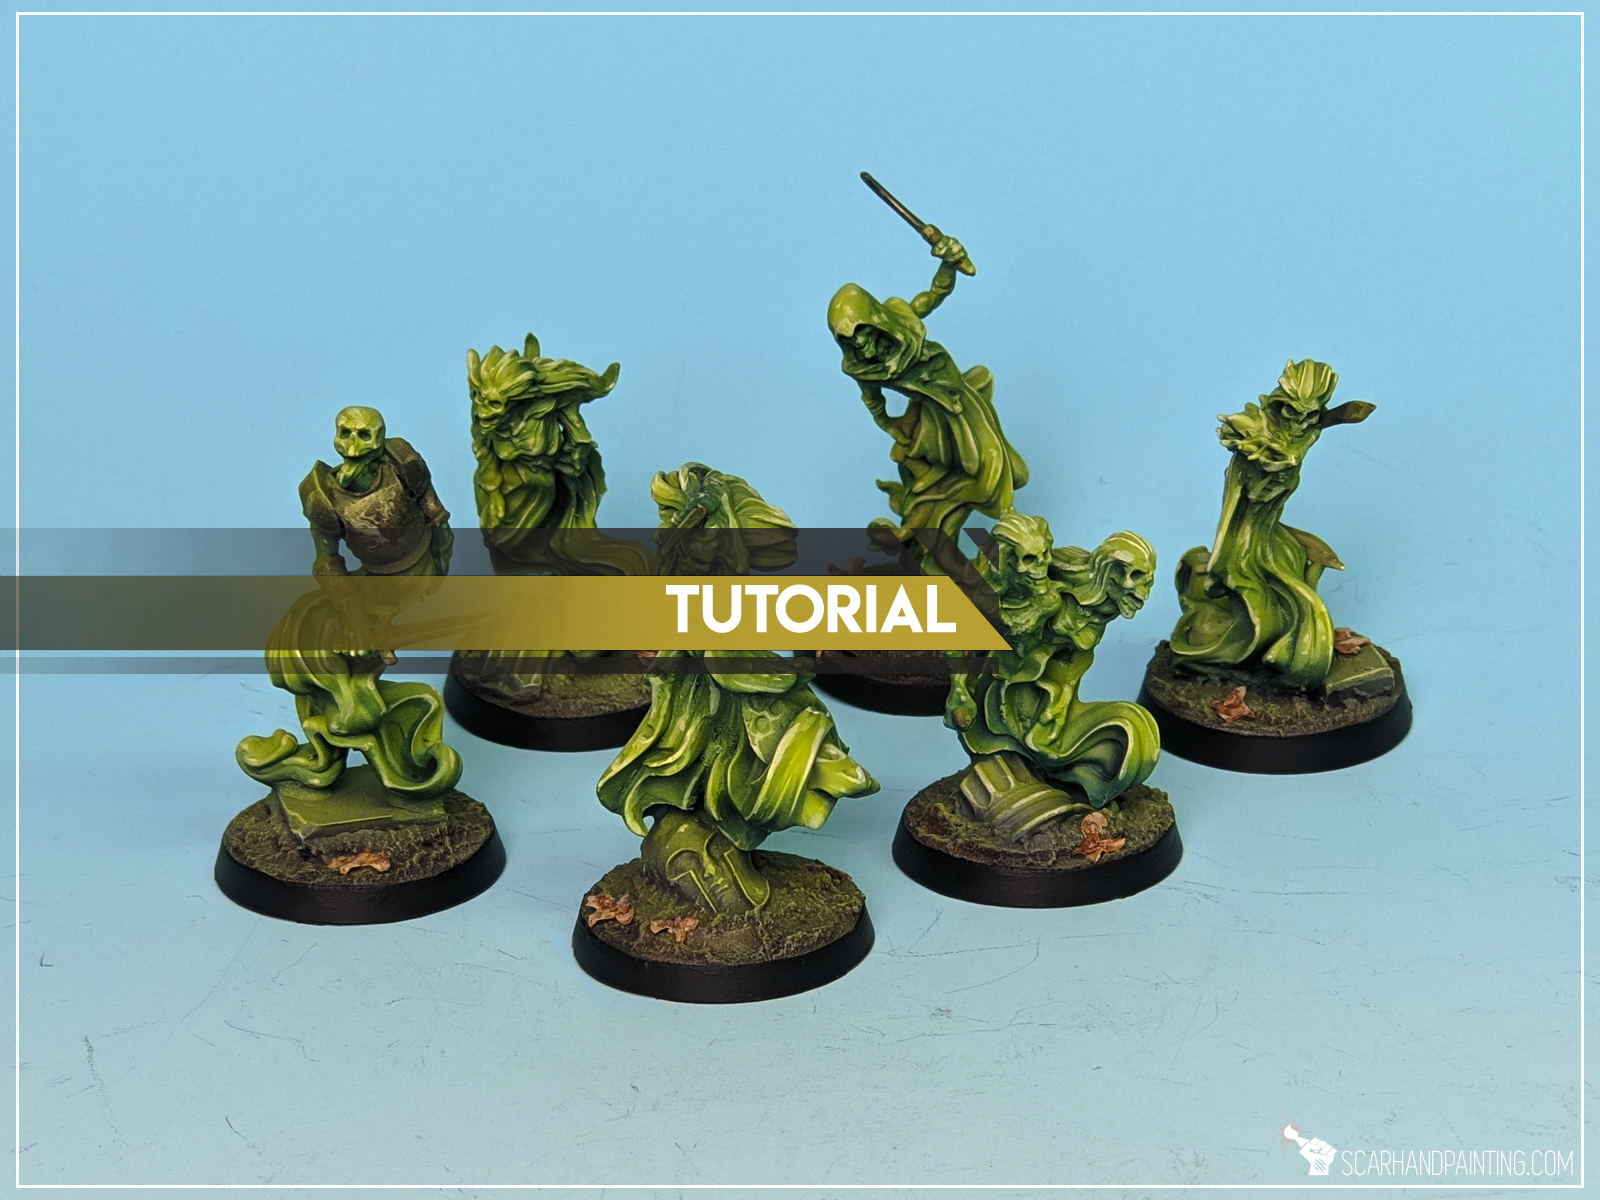
Welcome to Painting Ghosts tutorial. Here I will present to you a Step-by-step of fast and easy painting Ghosts process.
Before we start, some notes:

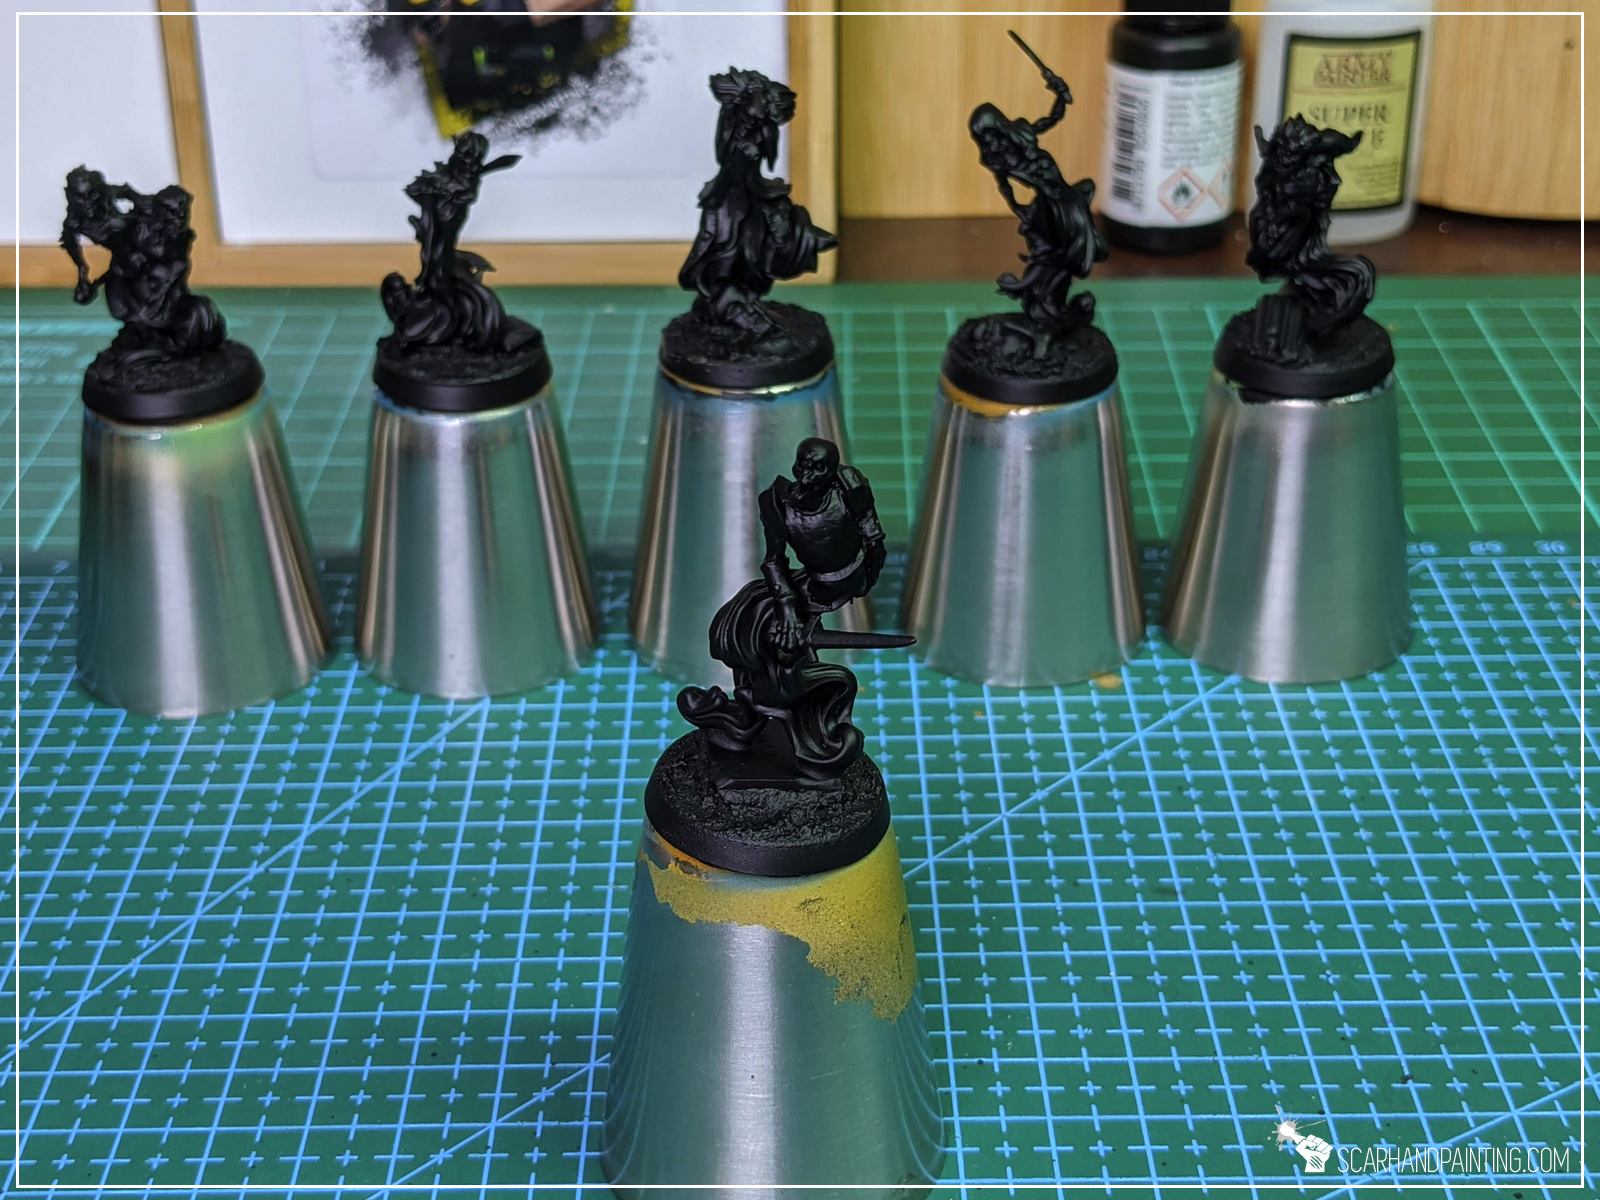
Step one: Undercoat
I started with an airbrushed layer of Black.
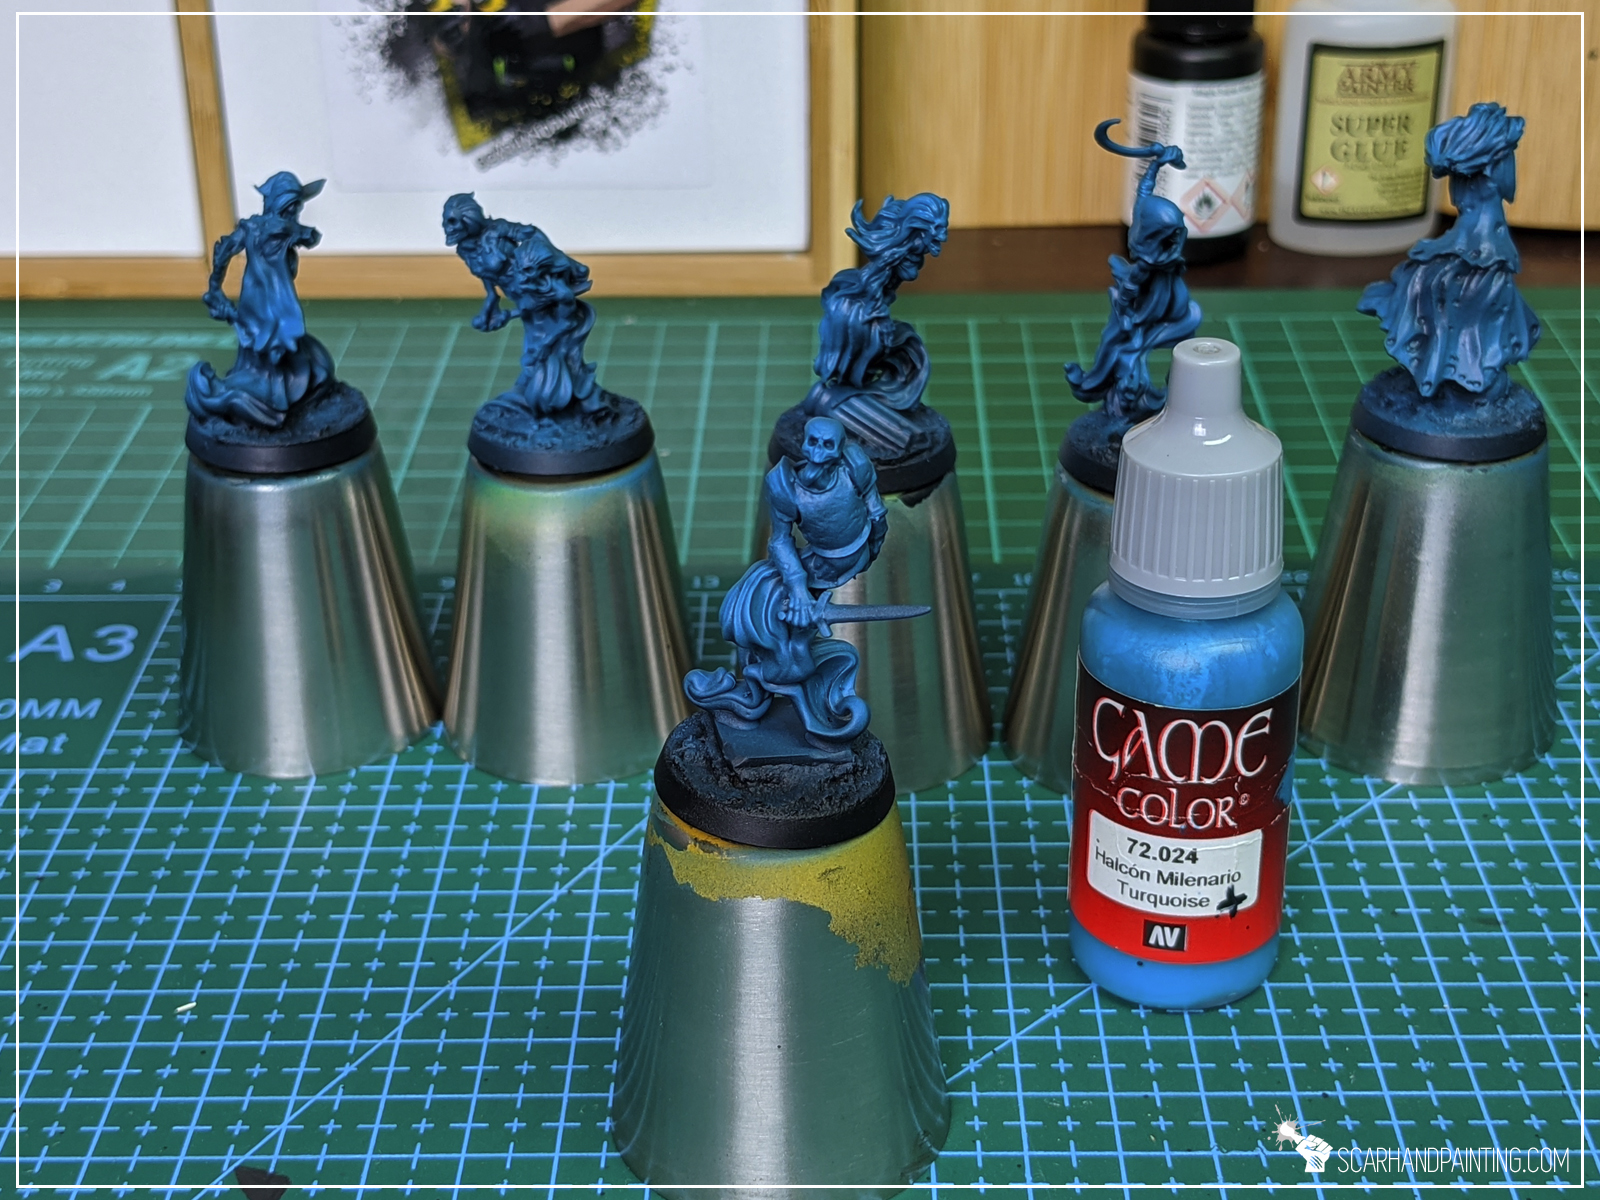
Step two: Vallejo Turquoise, airbrushed
I airbrushed thinned Vallejo Turquoise all over the miniatures.

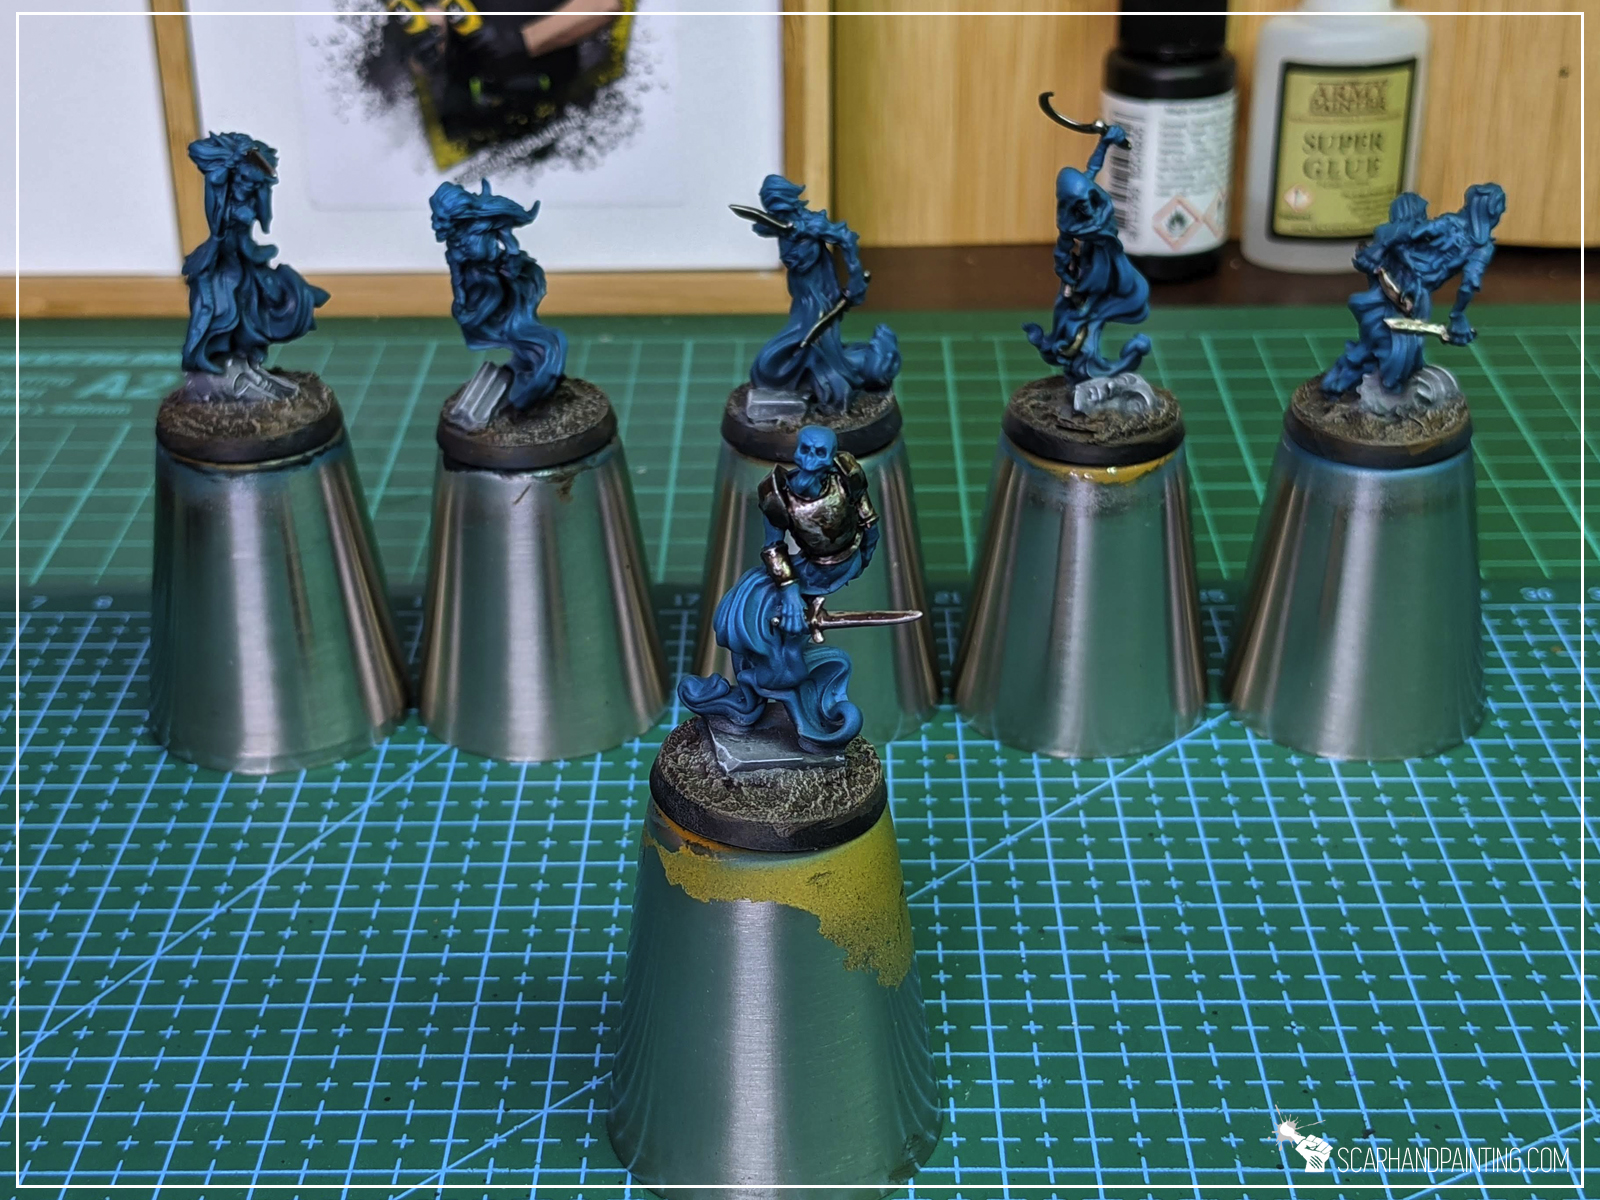
Insert: Additional detail
At that point I have painted all the none-ghost detail, following these two recipes: Painting Metal , Painting Bases. This tutorial is about painting ghostly elements so I leave this step to you. I have painted these elements now to build up ghostly light on top of them alongside layers to come next.

Step three: Vallejo Duck Egg Green, airbrushed
Next I airbrushed Vallejo Duck Egg Green air over ghostly elements, focusing on the most exposed areas. I have thinned this paint just a bit to mitigate speckling.

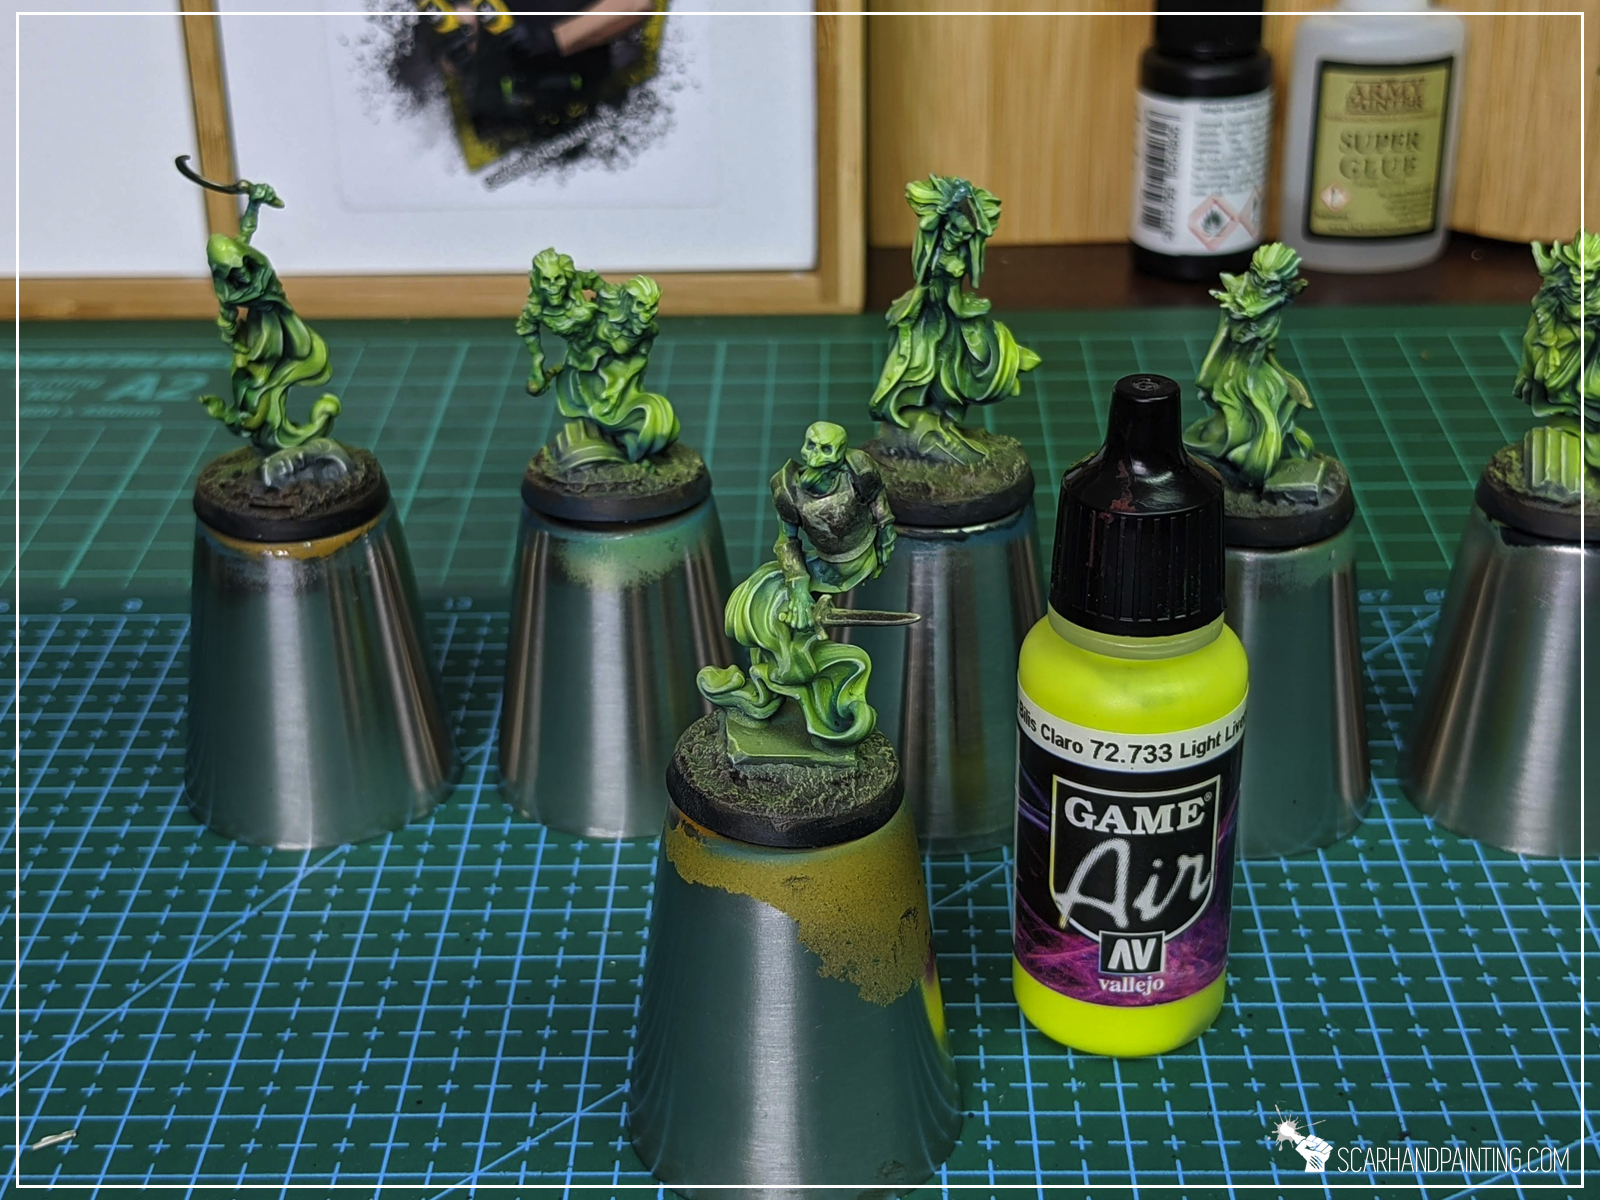
Step four: Vallejo Light Livery Green, airbrushed
I then airbrushed Vallejo Light Livery Green air over previous layer.

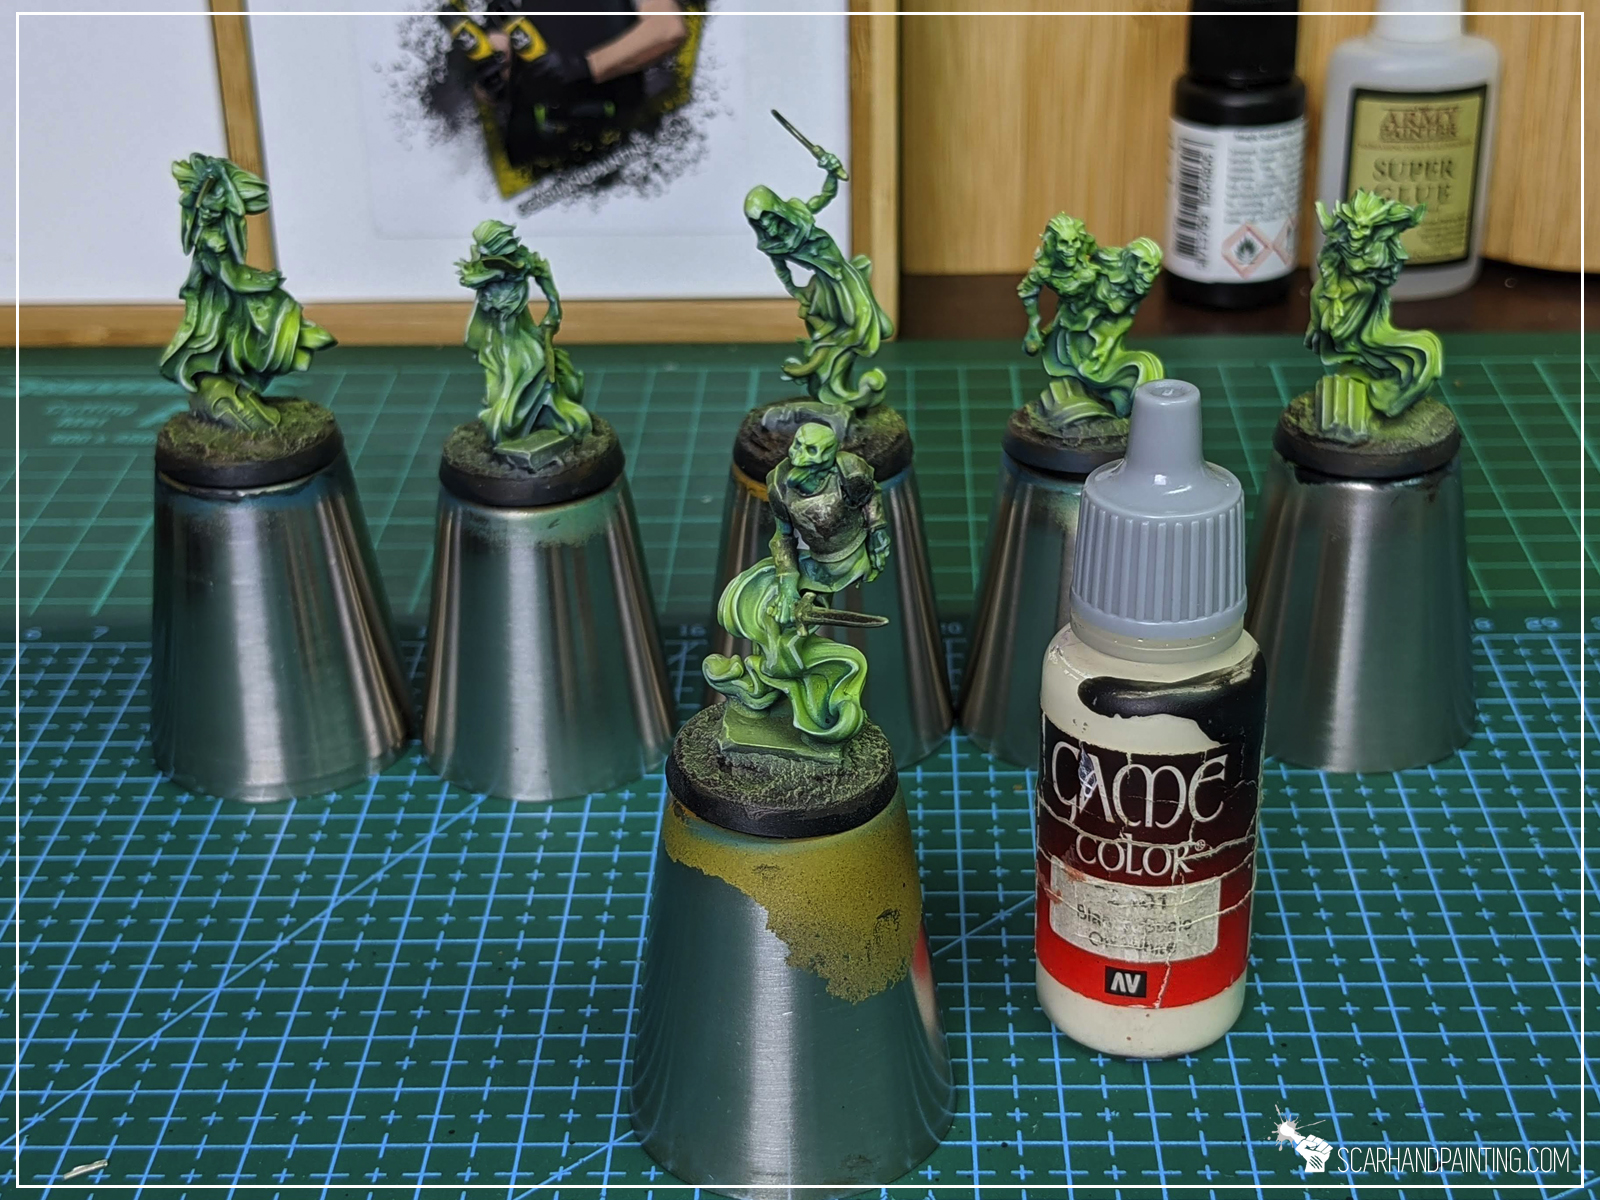
Step four: Vallejo Off White, highlights
I manually painted edge highlights with Vallejo Off White.
Step five: Vallejo Light Livery Green, juice up
I manually blended highly thinned Vallejo Light Livery Green air on top of previous highlights.
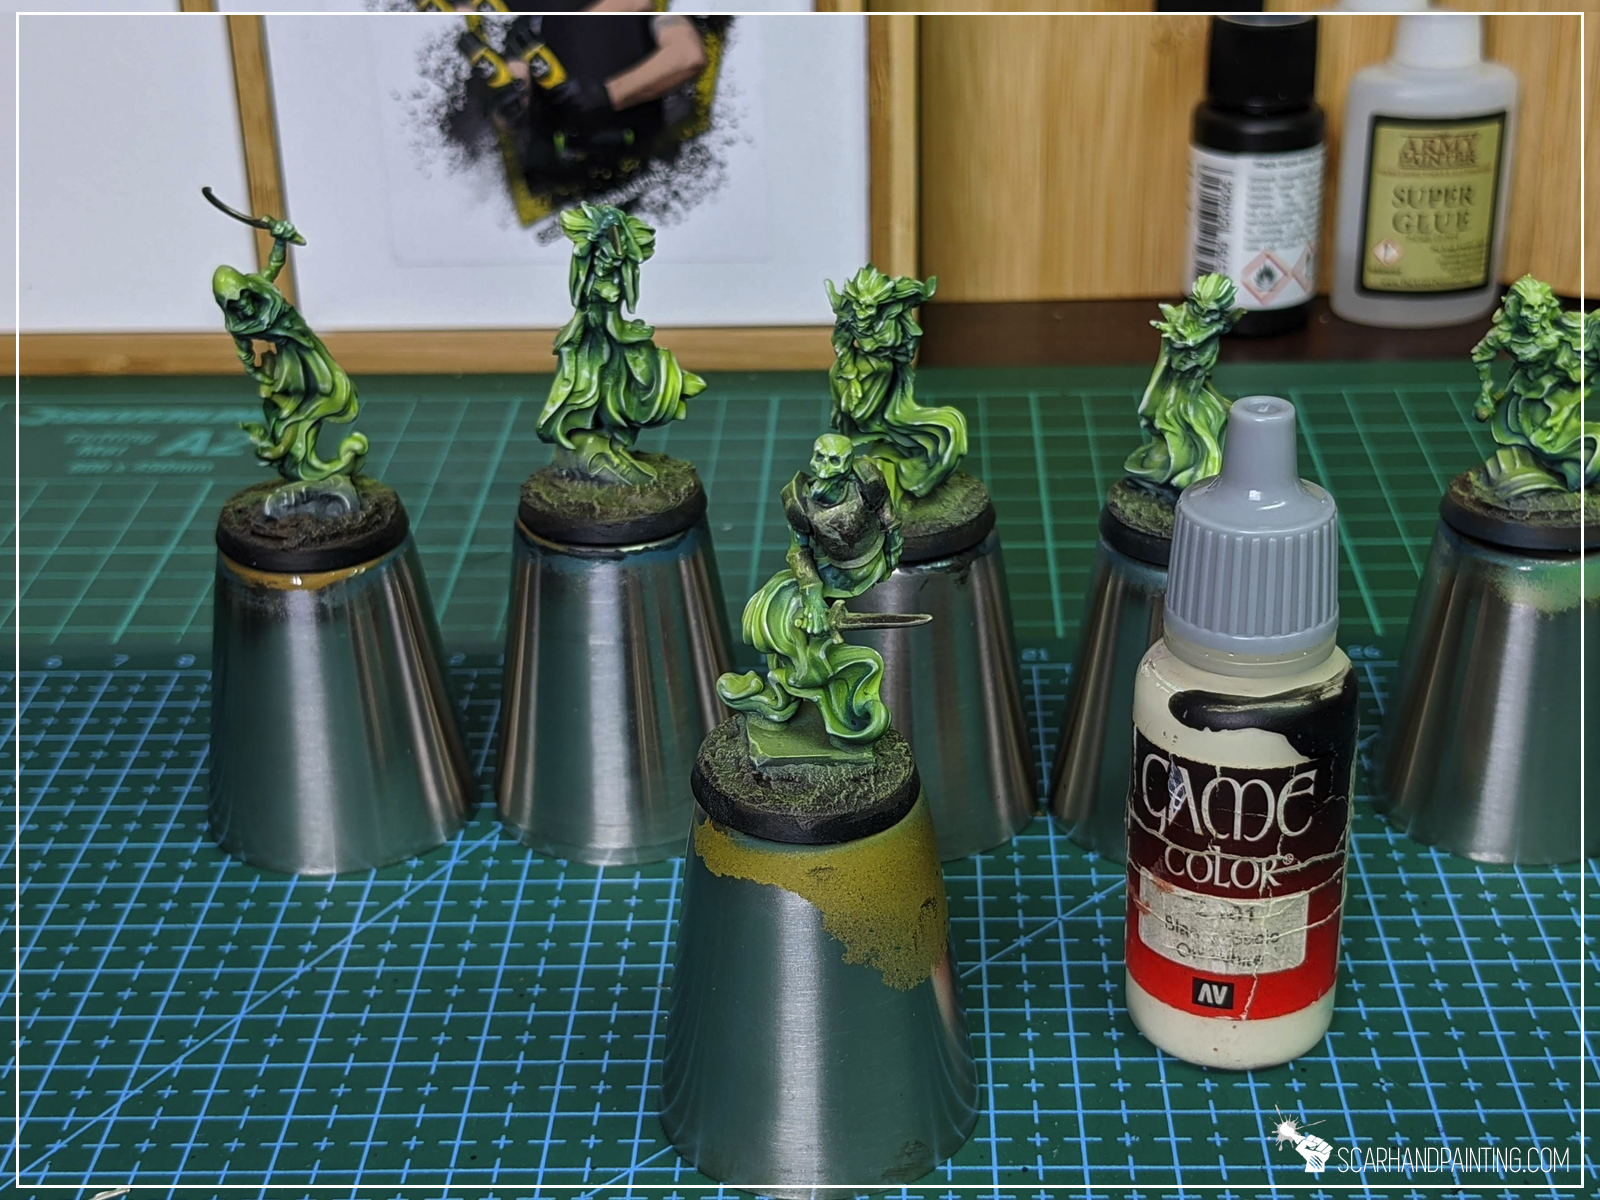
Step six: Vallejo Off White, highlights
I manually painted edge highlights with Vallejo Off White, but this time contained to dots and points of focus.
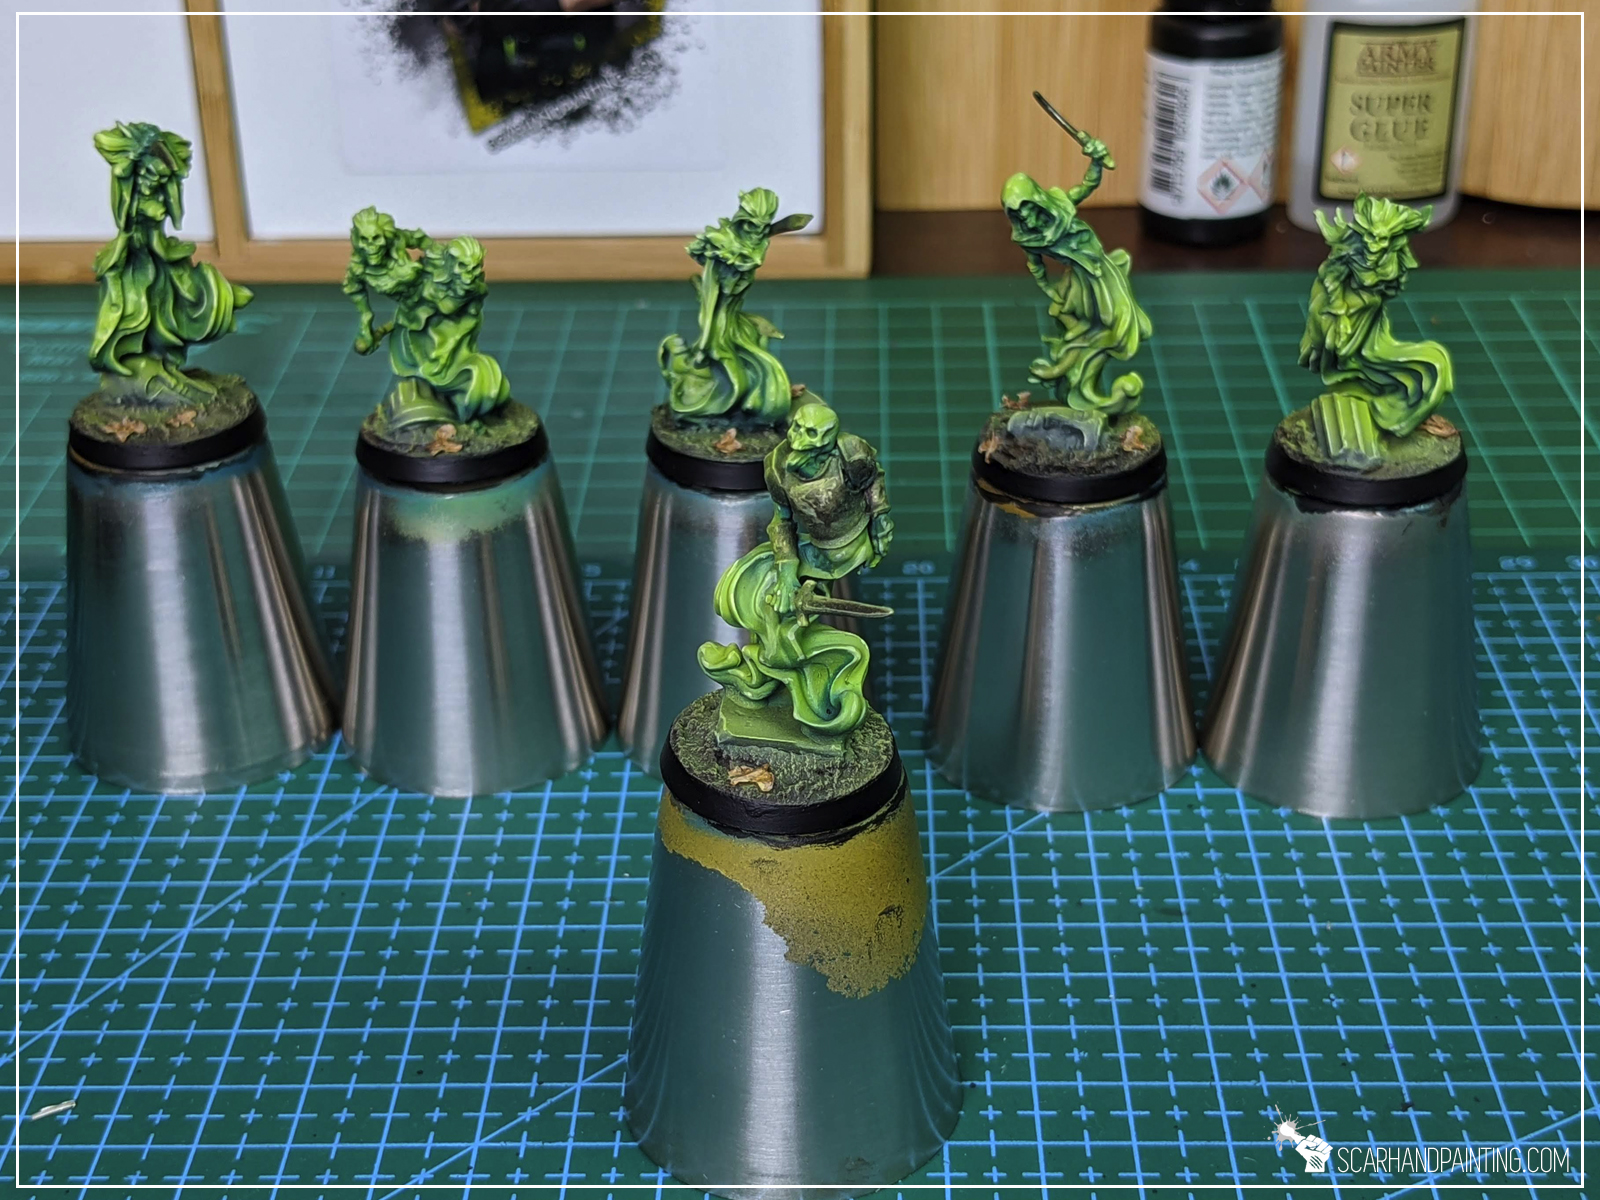
Step seven: Vallejo Light Livery Green, blend
I airbrushed thinned Vallejo Light Livery Green air all over the miniatures, after which I sealed it with Vallejo Polyurethane Matt Varnish and painted the base’s edge black, as it should be. Added few Birch Tree seeds as a final touch.
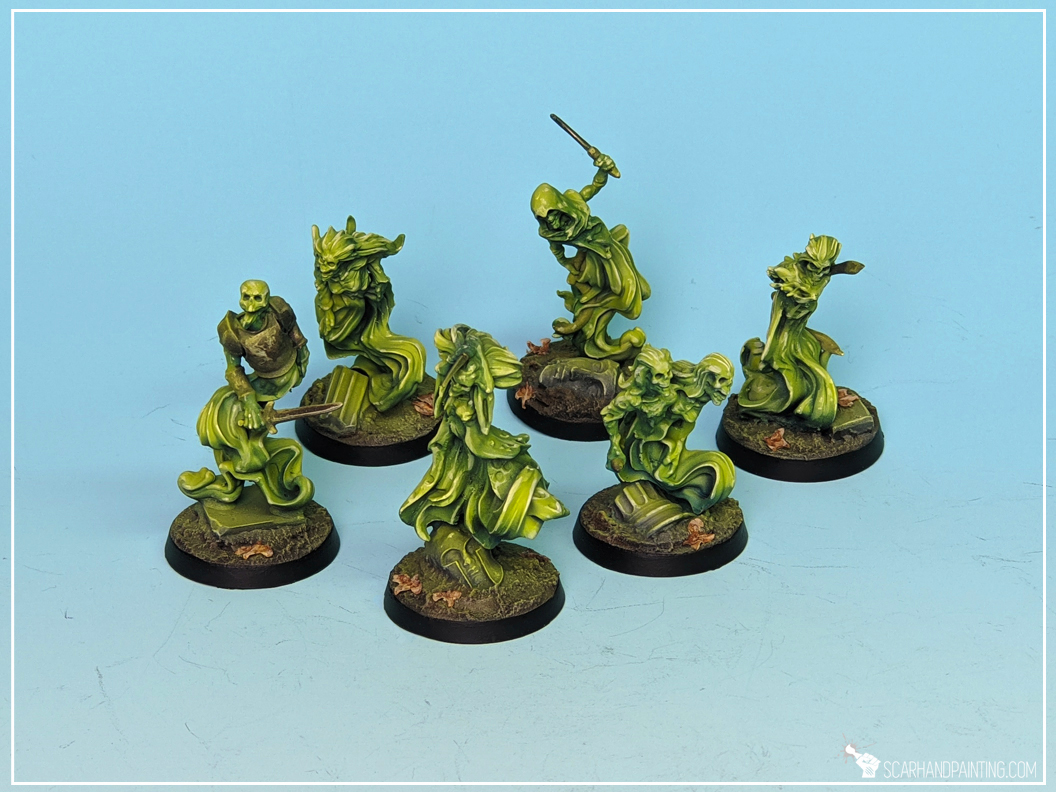
Note from the author: I hope you enjoyed this article. Be sure to let me know what you think in the comments or at my facebook. If you ever use the tutorial – please tag me at facebook or send pics to my e-mail, so I can enjoy your work 😉