- contact@scarhandpainting.com


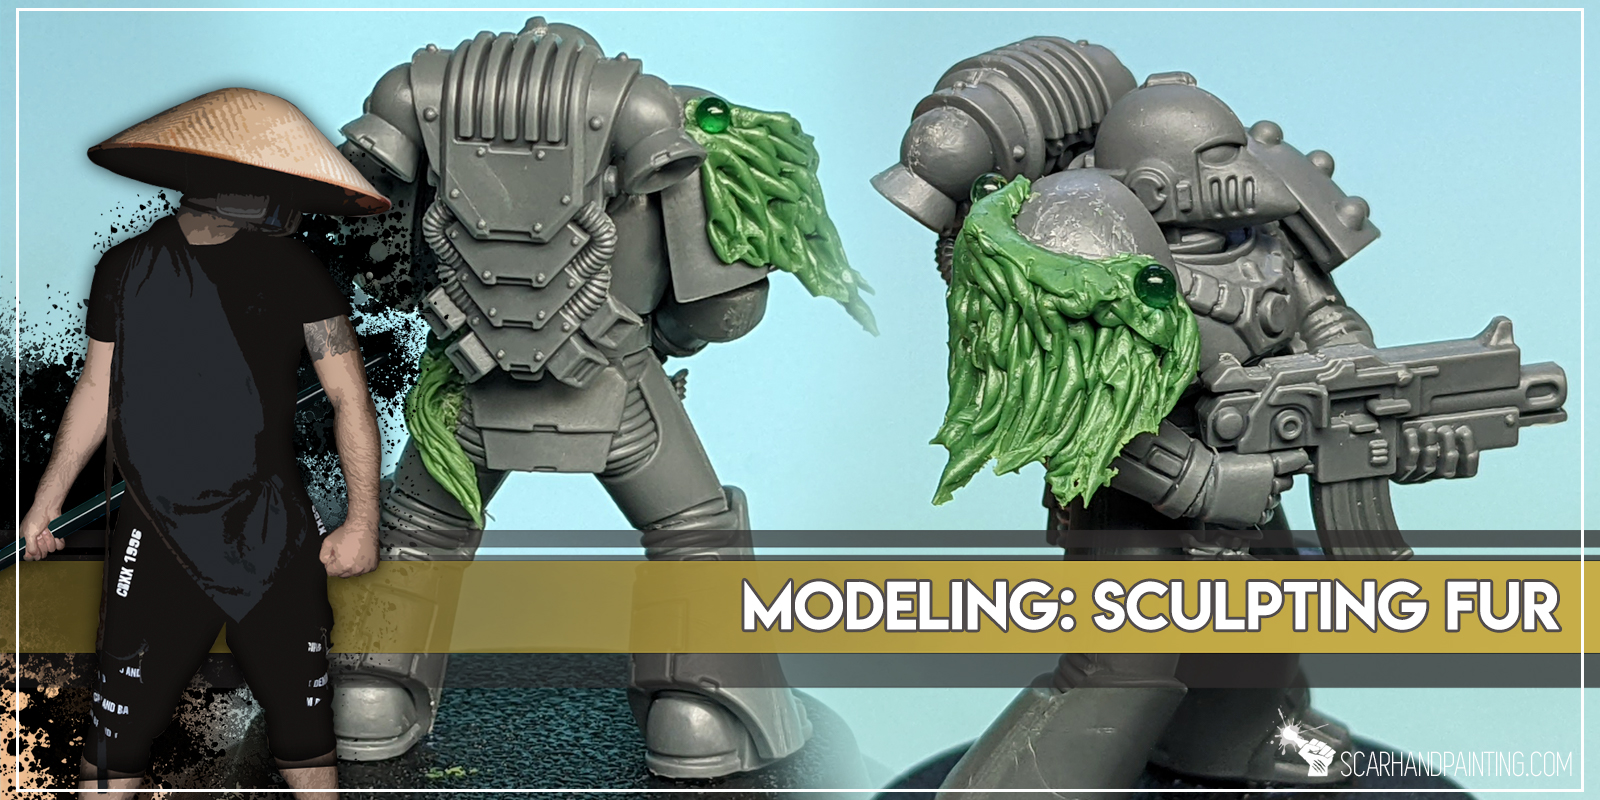
Sculpting fur on miniatures might seem a bit difficult. Still with new Codes: Chaos Space Marines hitting the stores, 2nd edition of Horus Heresy ravaging countless battlefields, Warcry: Heart of Ghur at the horizon and oldies such as Mordheim living the life as never before (not to mention furry going mainstream) – I’d imagine a lot of miniatures hobbyists wouldn’t mind a simple yet effective fur sculpting tutorial. I actually managed to post one many years ago, sadly it’s not up to nowadays standards. This is why I decided to completely revamp the article. If you’re one of the hobbyists aiming to adorn some of them Horus Heresy Space Wolves, or dig the furry style of Mordheim Kislevites – buckle up and enjoy, as this tutorial is for you!
Before we start, some notes:


The Basics:
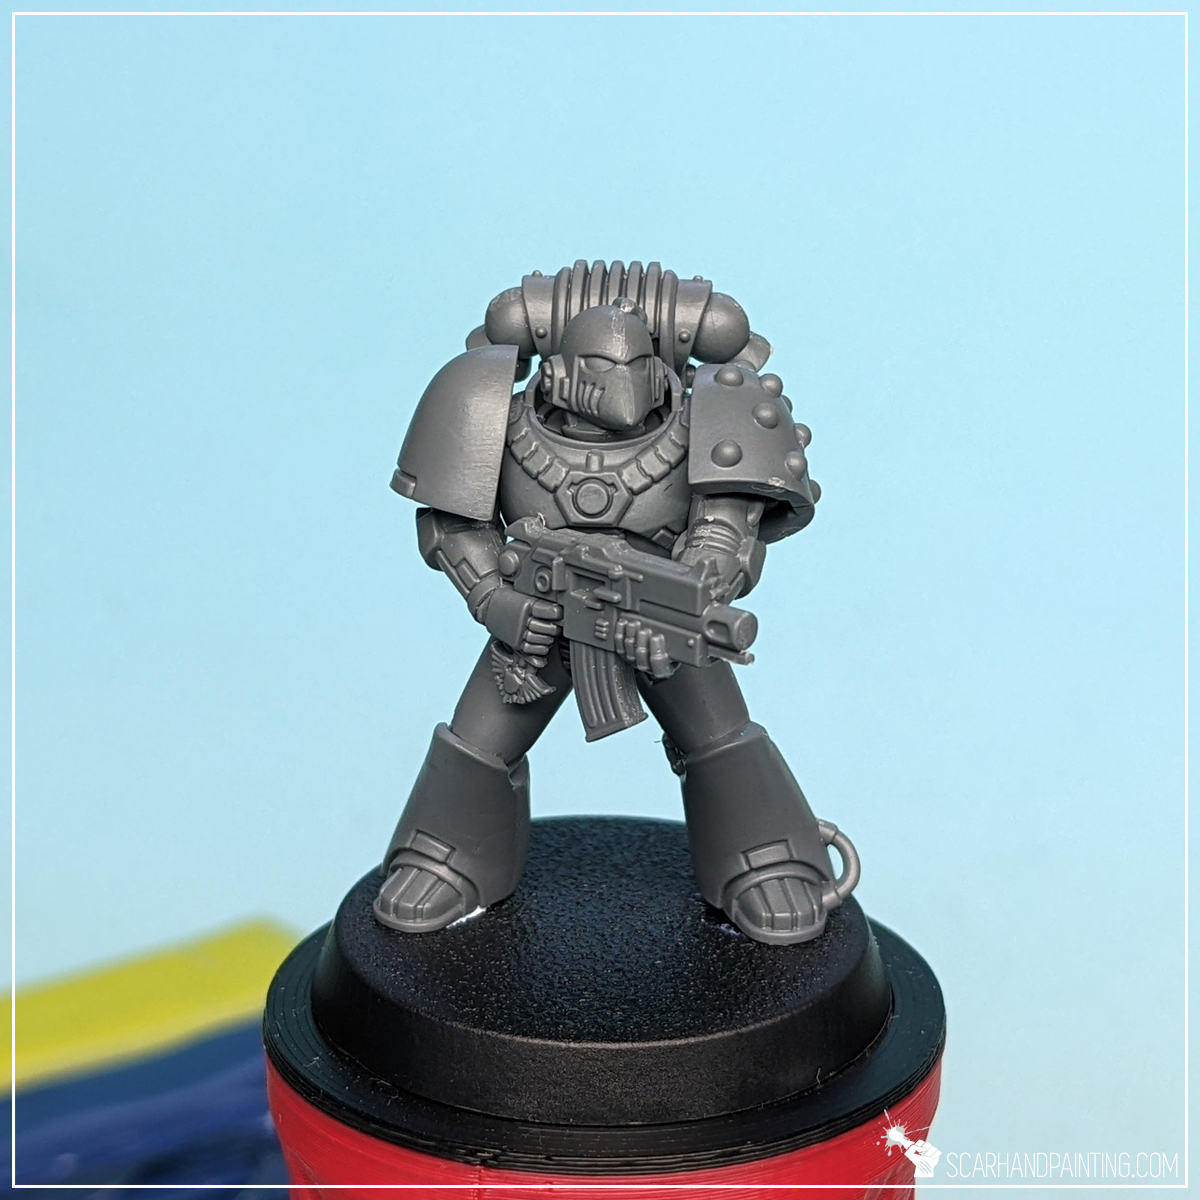
Before we go on a sculpting rampage, let’s talk some basics. The entire process is rather simple and consists of preparation and few main steps, after which you repeat the steps until satisfied. I assume standard Green Stuff is the most popular and available sculpting material out there thus I chose to use it for this tutorial. Apart from Green Stuff you will also need a proper sculpting tool, some cyanoacrylate glue and a miniature to work on.
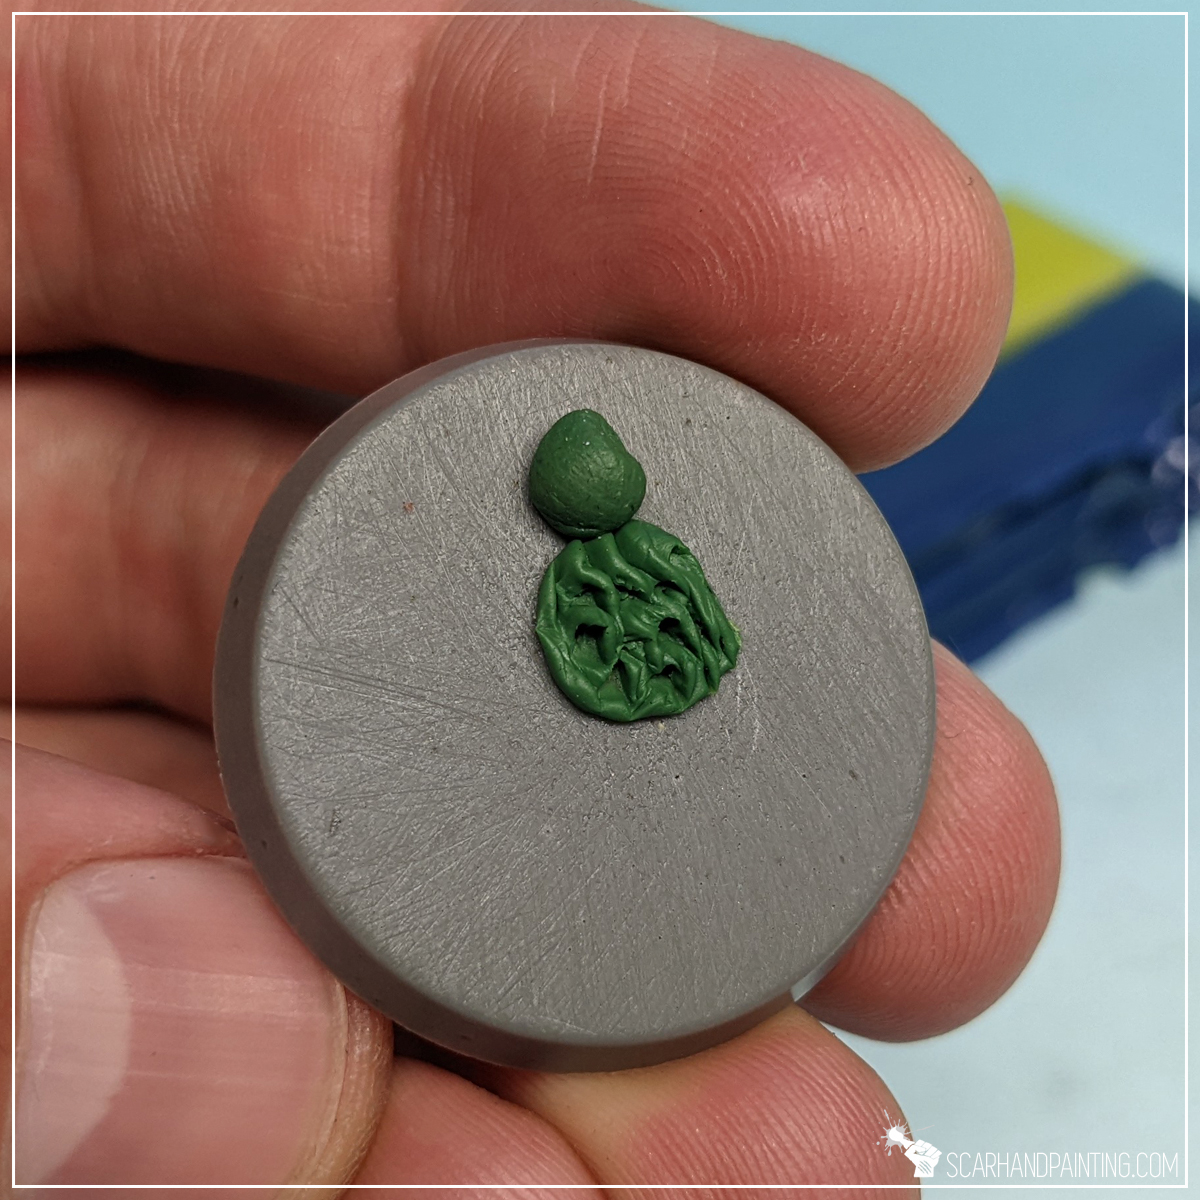
Mix a piece of Green Stuff until it’s ready and make small balls out of it. Once done, we are ready to begin fur sculpting.
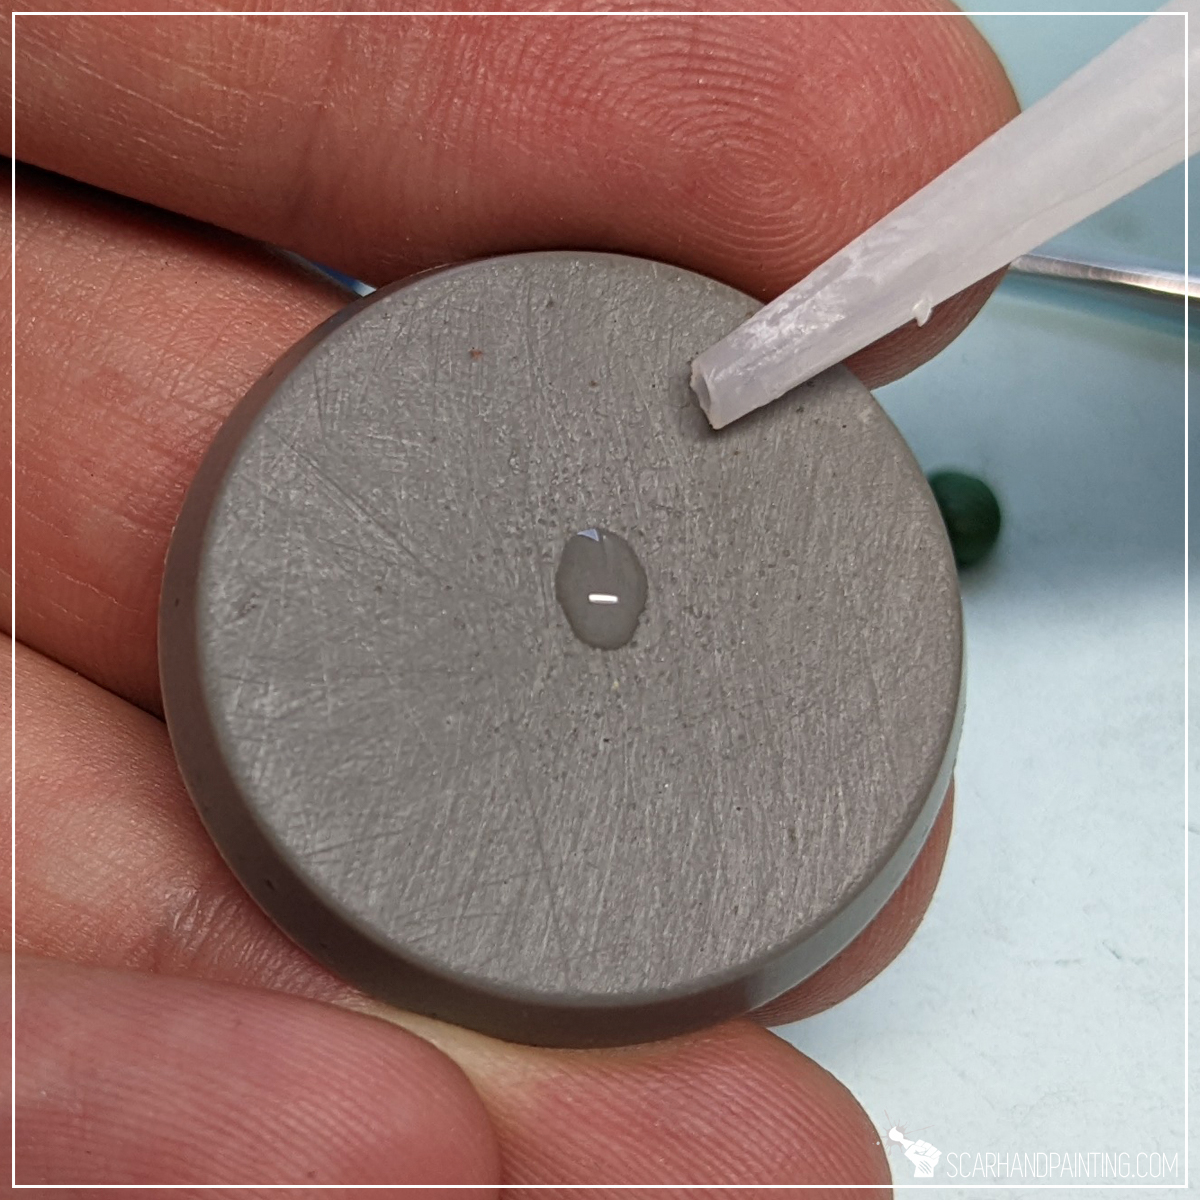

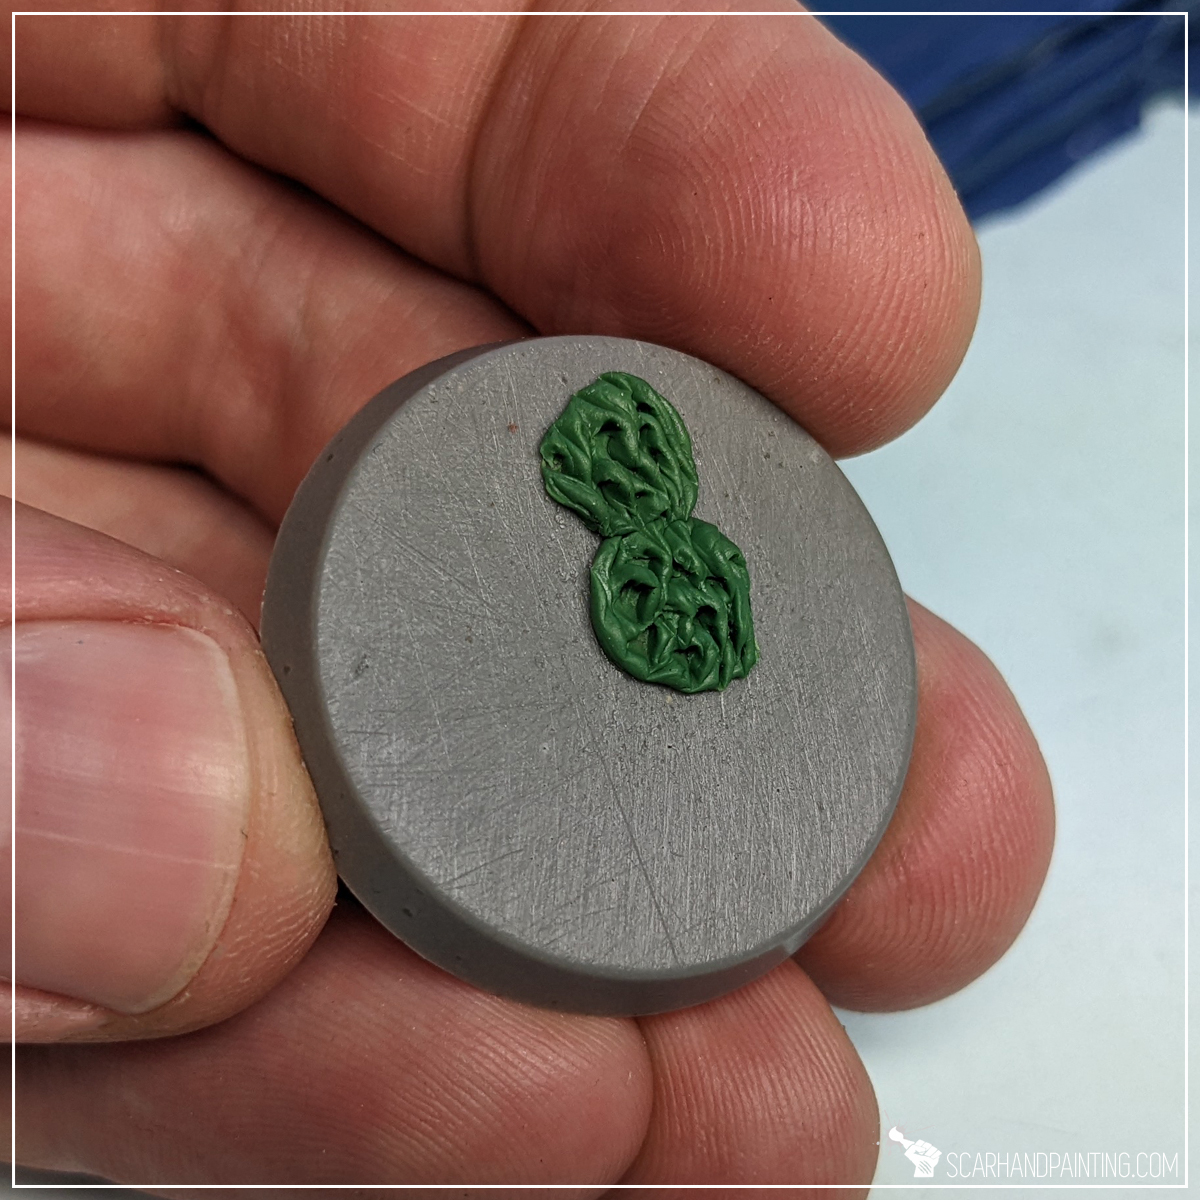
Step one: Glue
I started by applying a small drop of cyanoacrylate glue (Super Glue) onto the surface. This is to ensure instant binding between Green Stuff and the miniature, thus making the sculpting process so much easier.


Step two: Apply Green Stuff
Next I applied a small ball of Green Stuff on top of the glue and flattened it slightly with a fingertip.

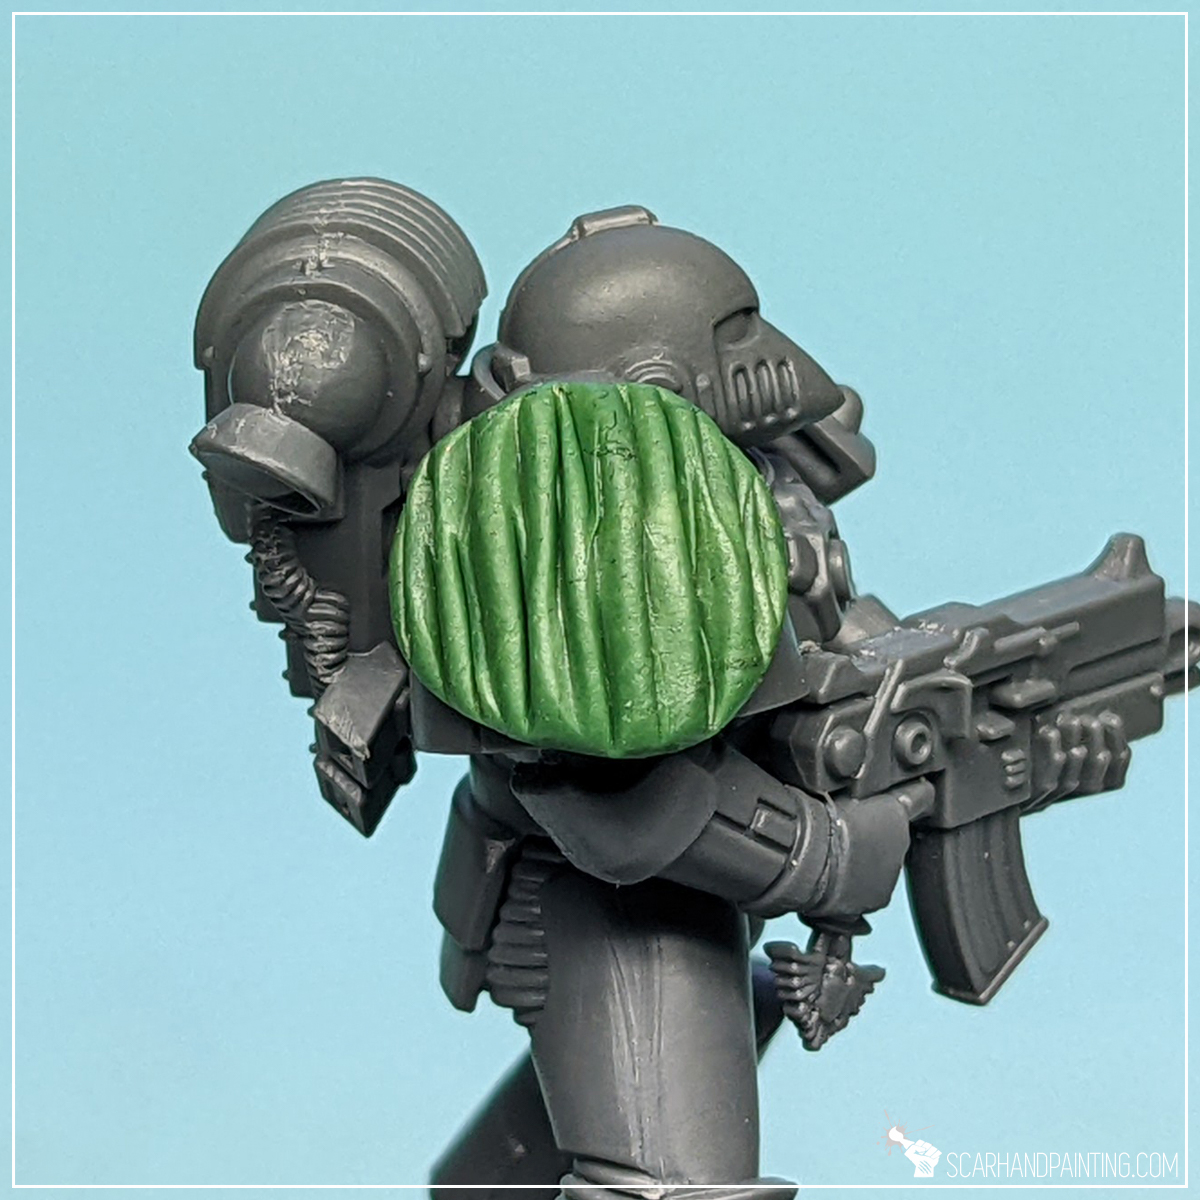
Step three: Straight lines
Using an edge of a sculpting tool, I then sculpted a series of relatively straight vertical lines. These doesn’t have to be perfect or even. Just a bunch of lines from top to bottom as can be seen in the pictures above.
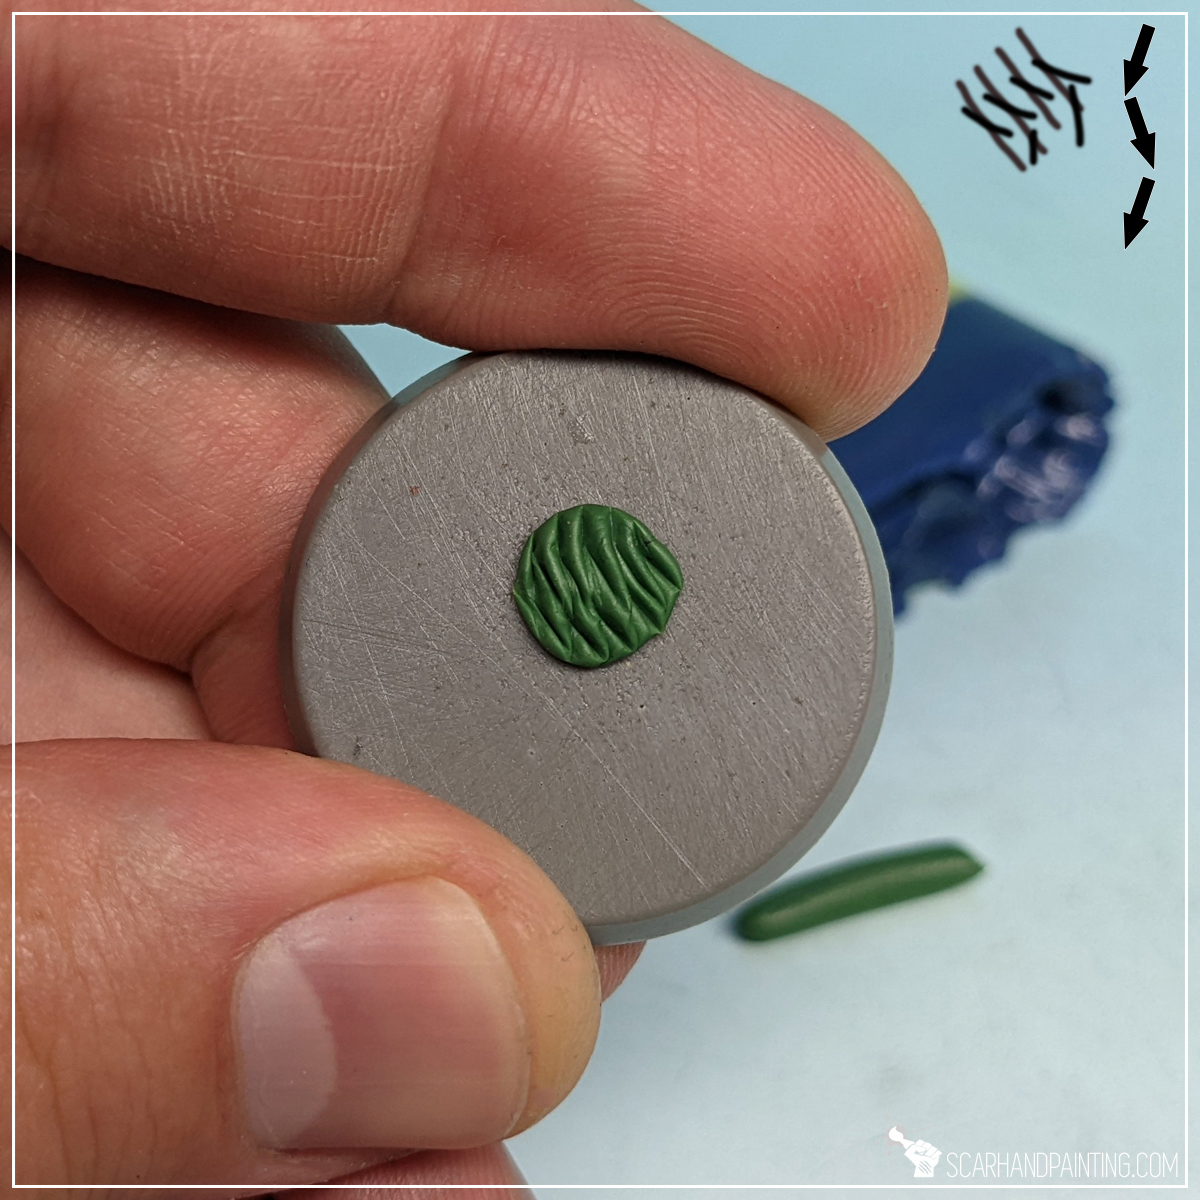
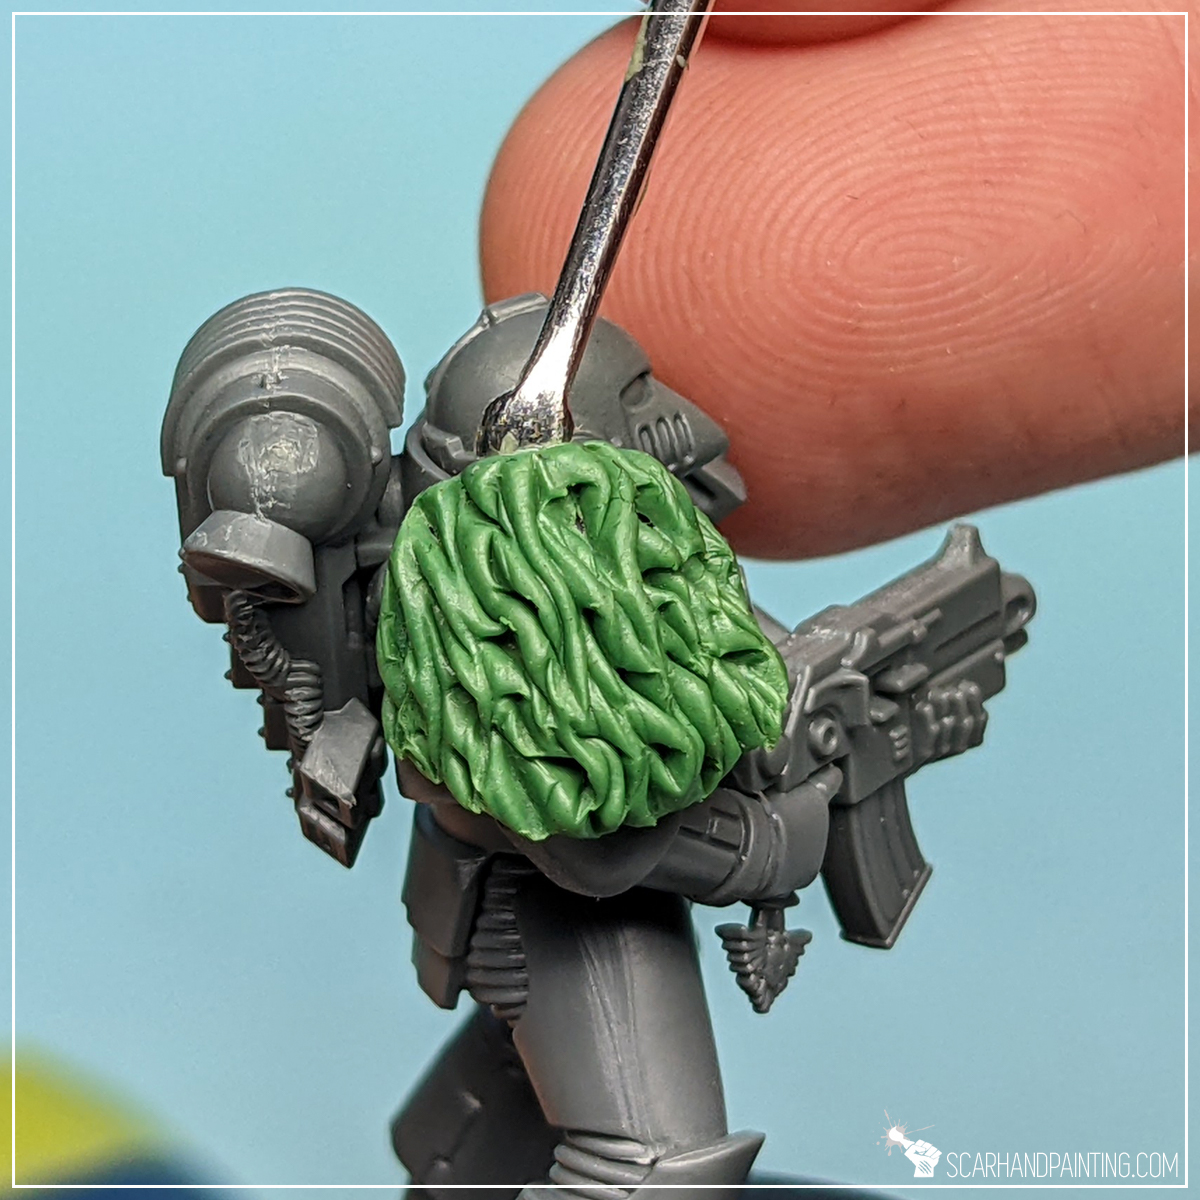
Step four: Diagonal texture
I then cut and pushed with a tip of a sculpting tool to add some diagonal lines, shortening and sharpening the lines from previous step.

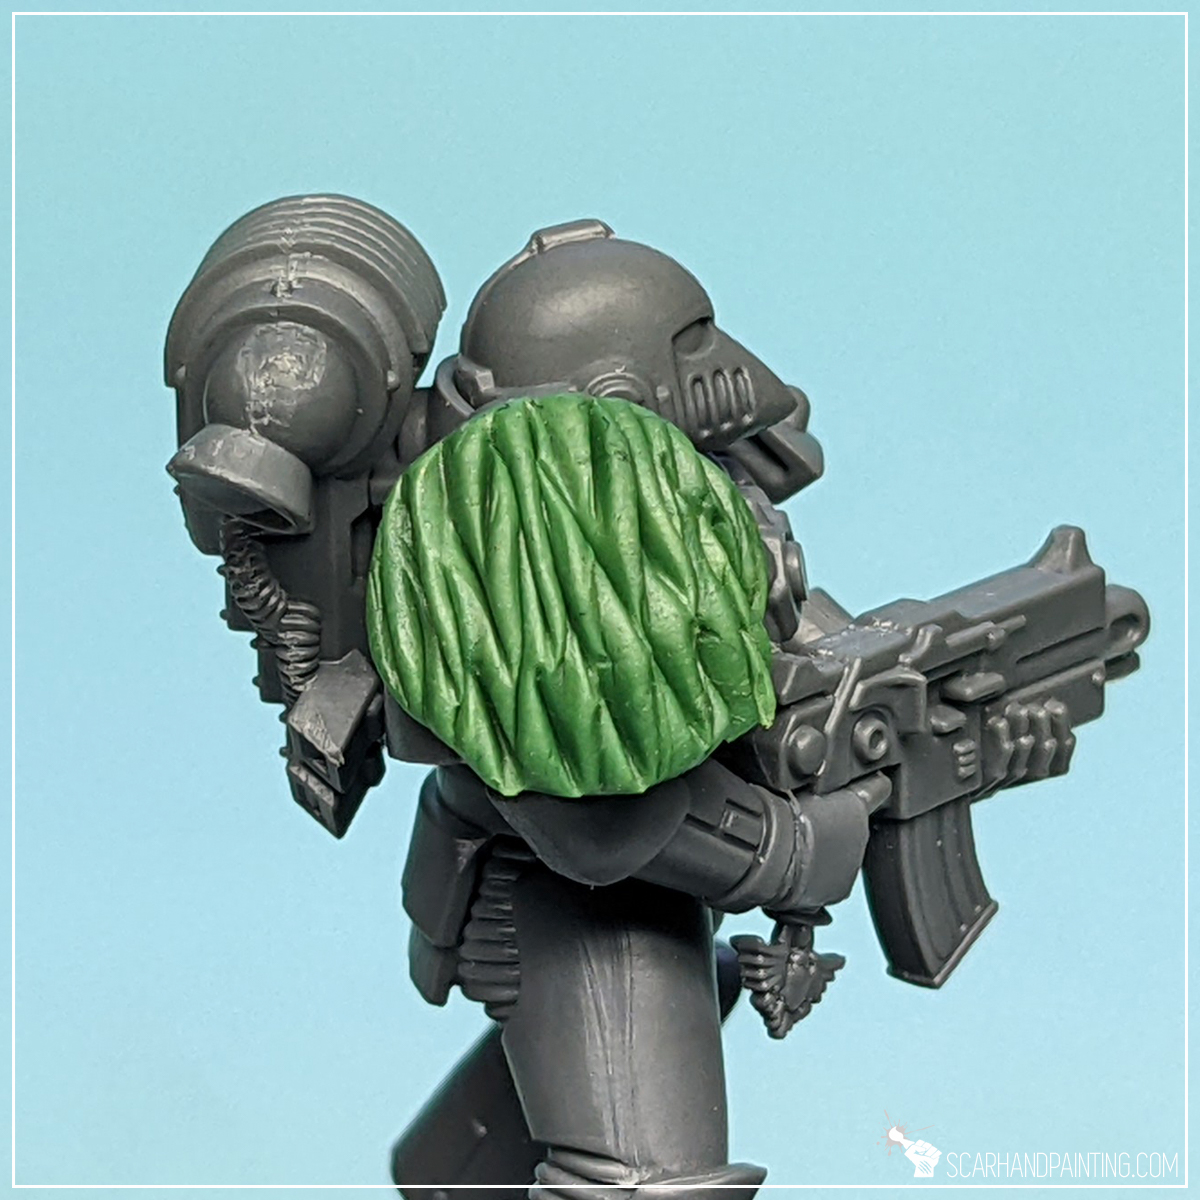
Step five: Messy texture
Finally I used the very tip of the sculpting tool, gently pushing it in and leveraging, pushing particular strains of fur up and to the side, so they became rounded and a bit shaggy. This is basically how I sculpt fur on different surfaces.
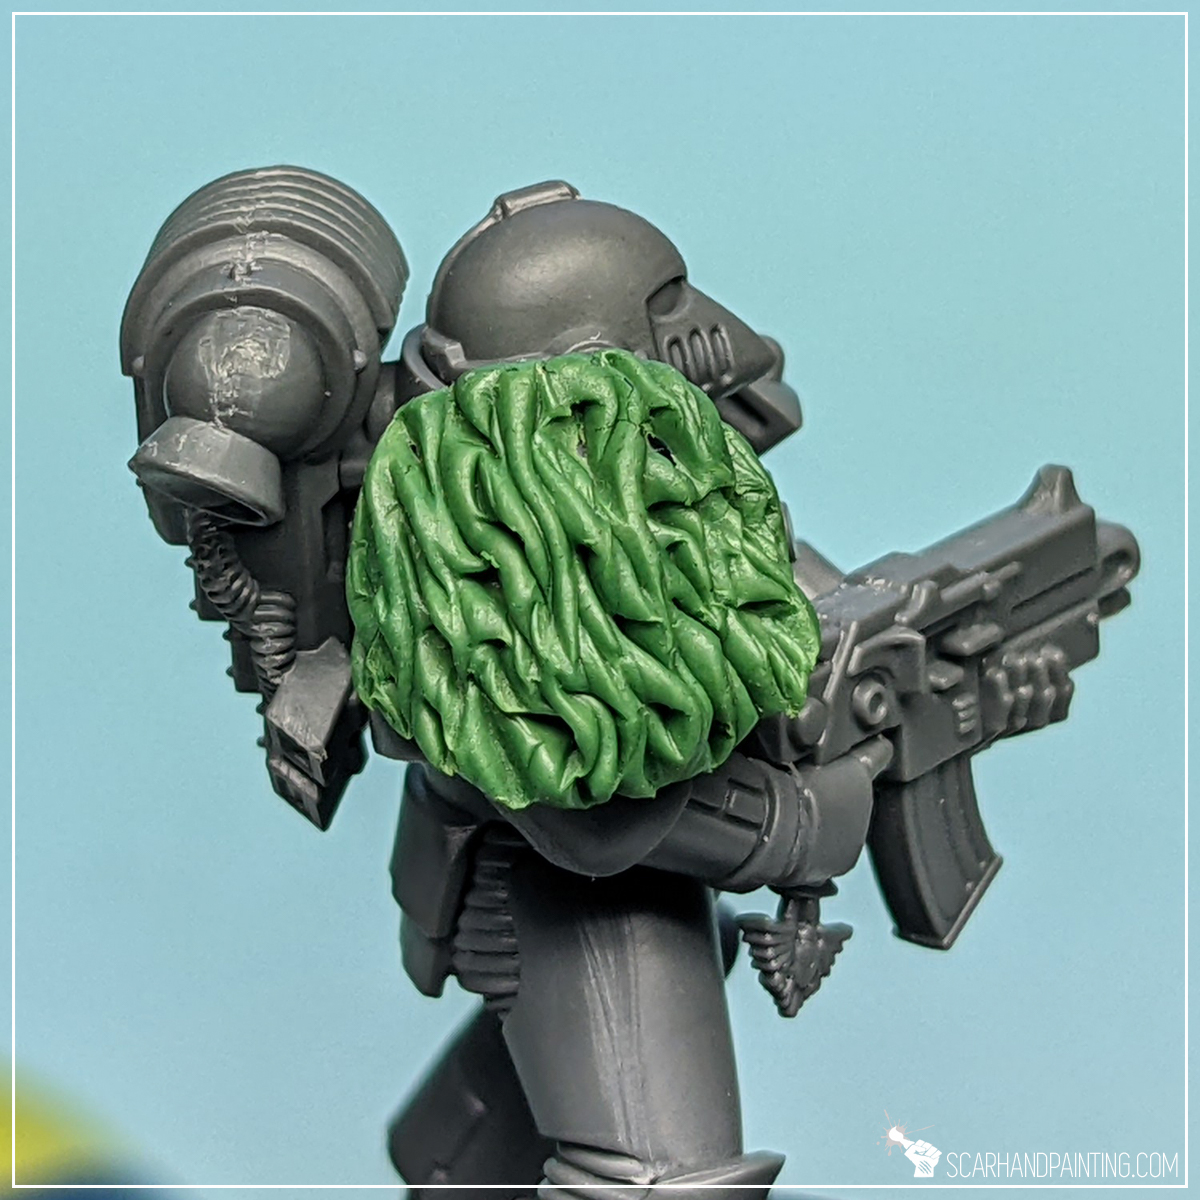
TIP:
You can repeat this step multiple times, by adding more balls of Green Stuff and sculpting intertwined layers on a larger surface, or to add volume.
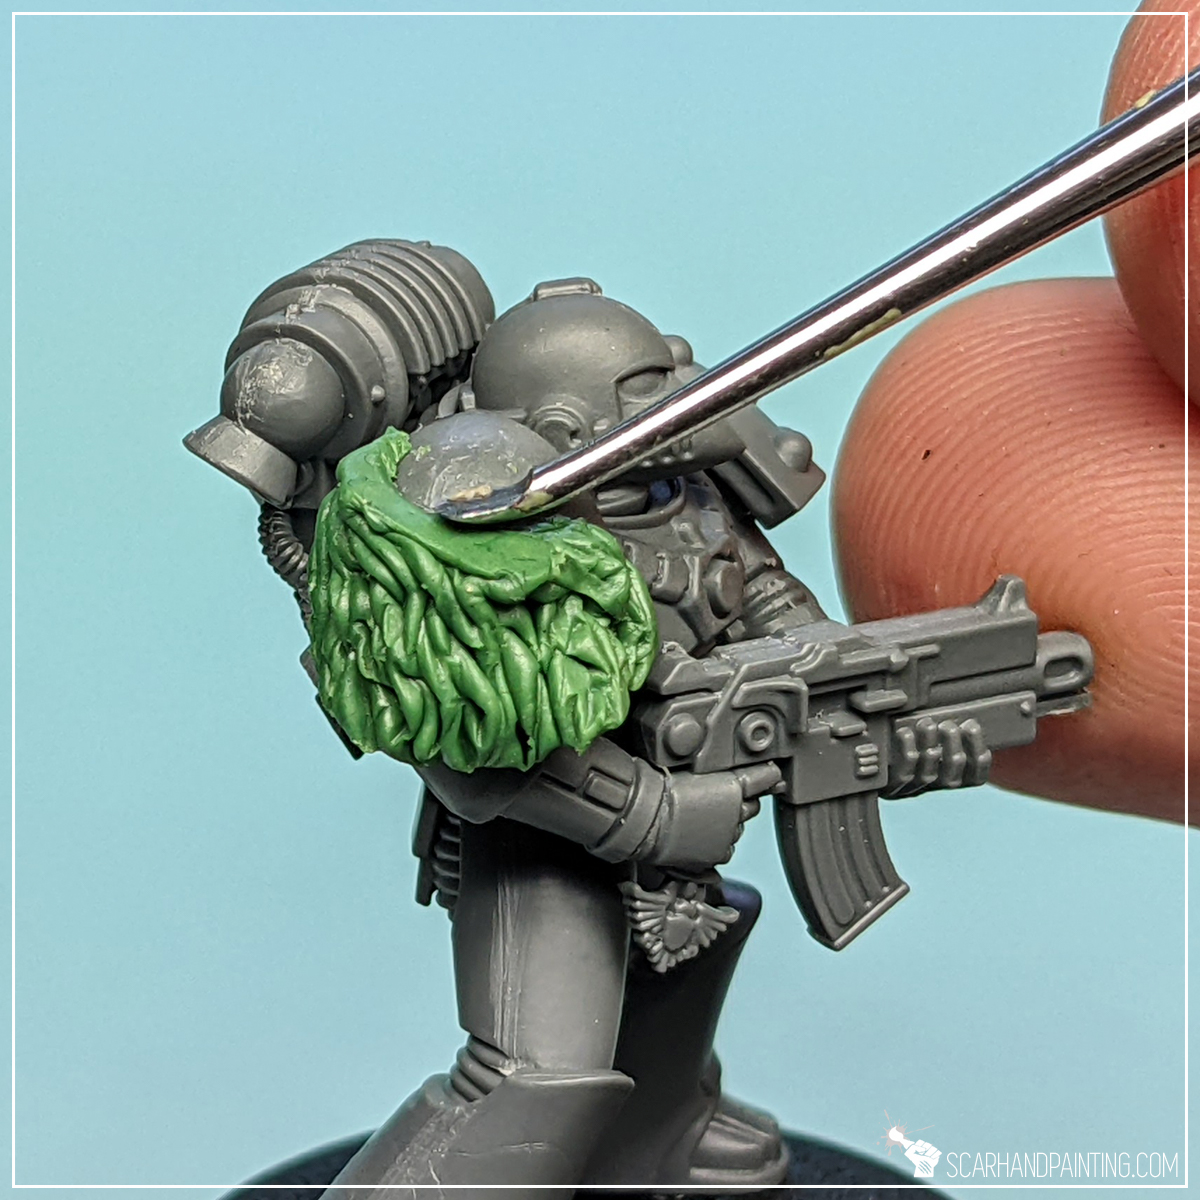
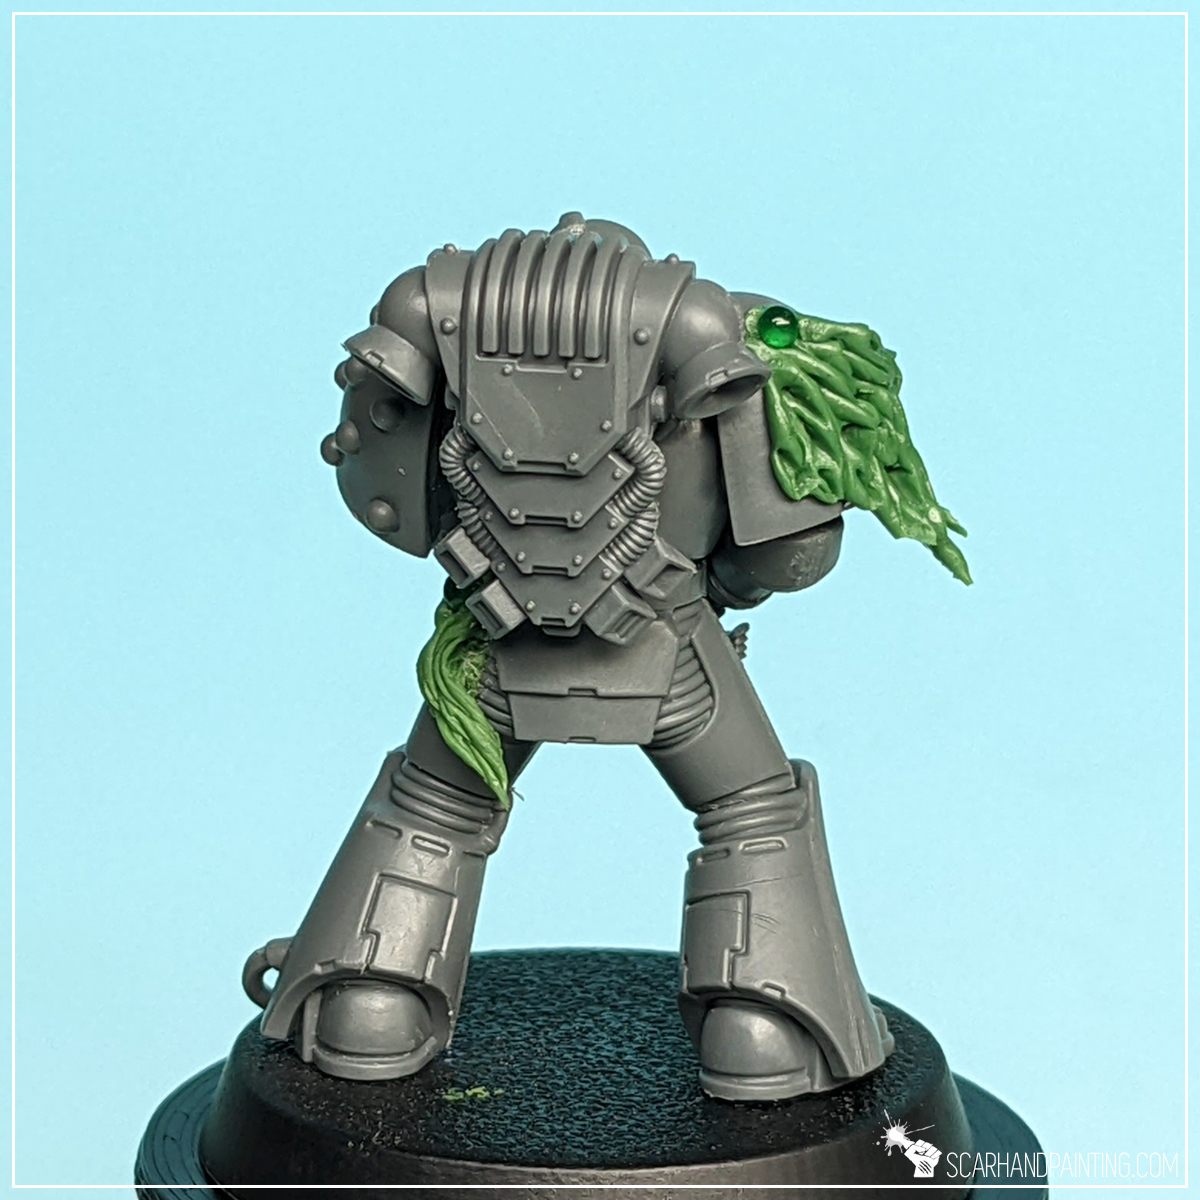
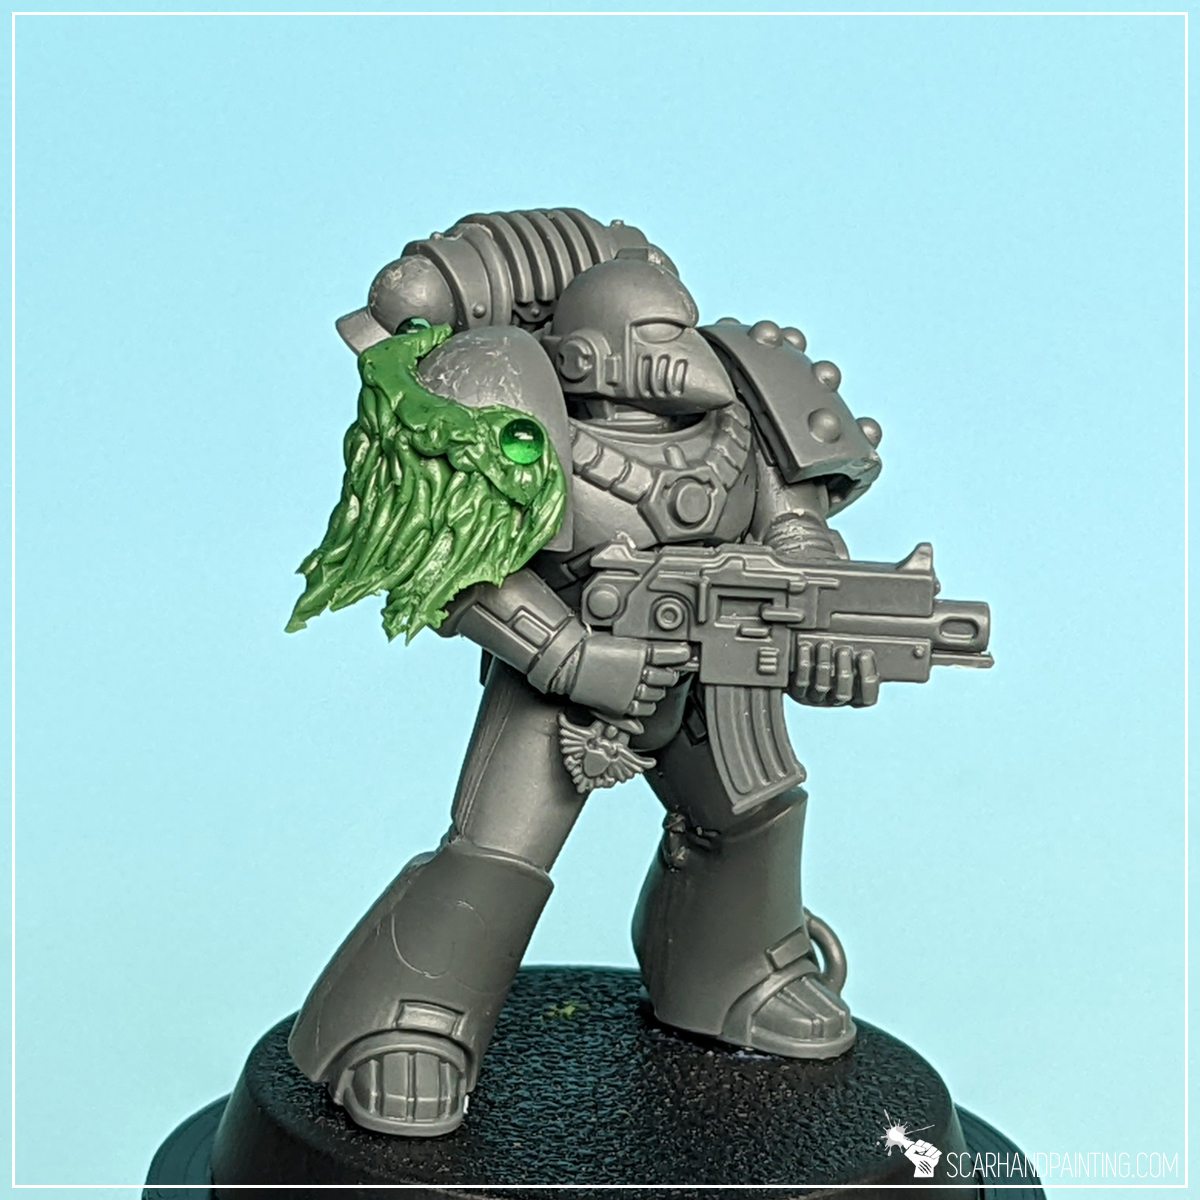
Step six: Shaping
Having a fur covered coat or a piece of gear is great, but to really make it feel at place, I recommend shaping it’s upper part to resemble a piece of tanned leather. It is quite simple. First I pushed a rounded tip of the sculpting tool between excess fur on top and plastic surface. I then pulled down gently, to squeeze the upper fur. I’ve done this multiple times to get a nice smooth line, then smoothed if further. Depending on how much fur gets underneath the flat area it can either rest on top, or be squeezed further to look like flapping around. It’s all up to your personal tastes.
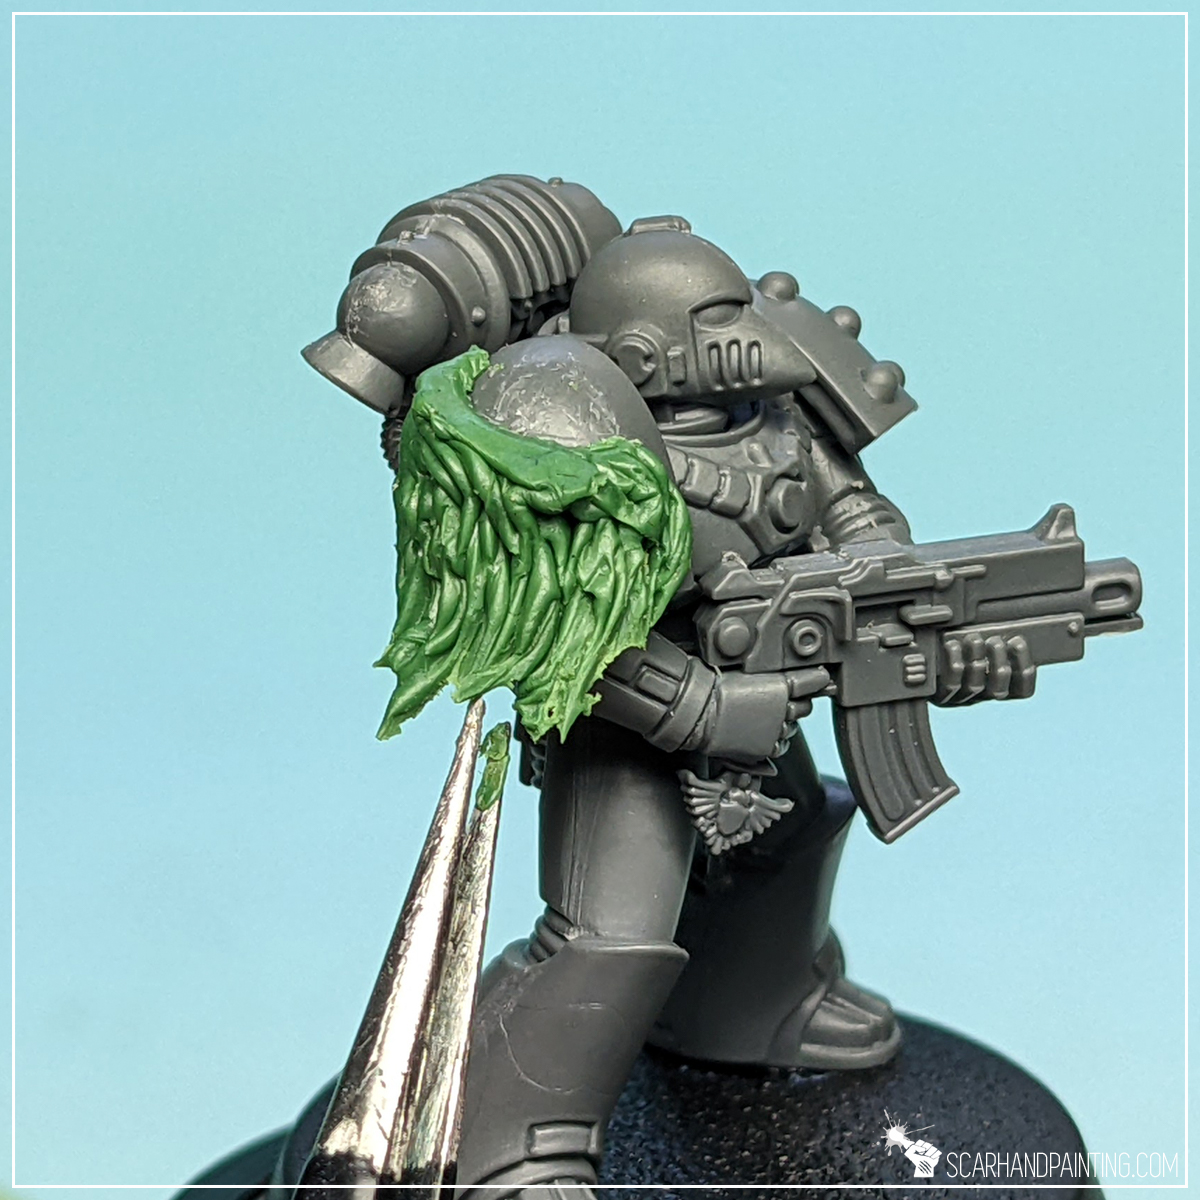
Step seven: Ragged edges
Very last step was to add motion and rough up the lower edge. I used pliers to gently grab and pull the lower part in the direction of where I felt the strains would lean. This technique allows for a really good control of the final shape.
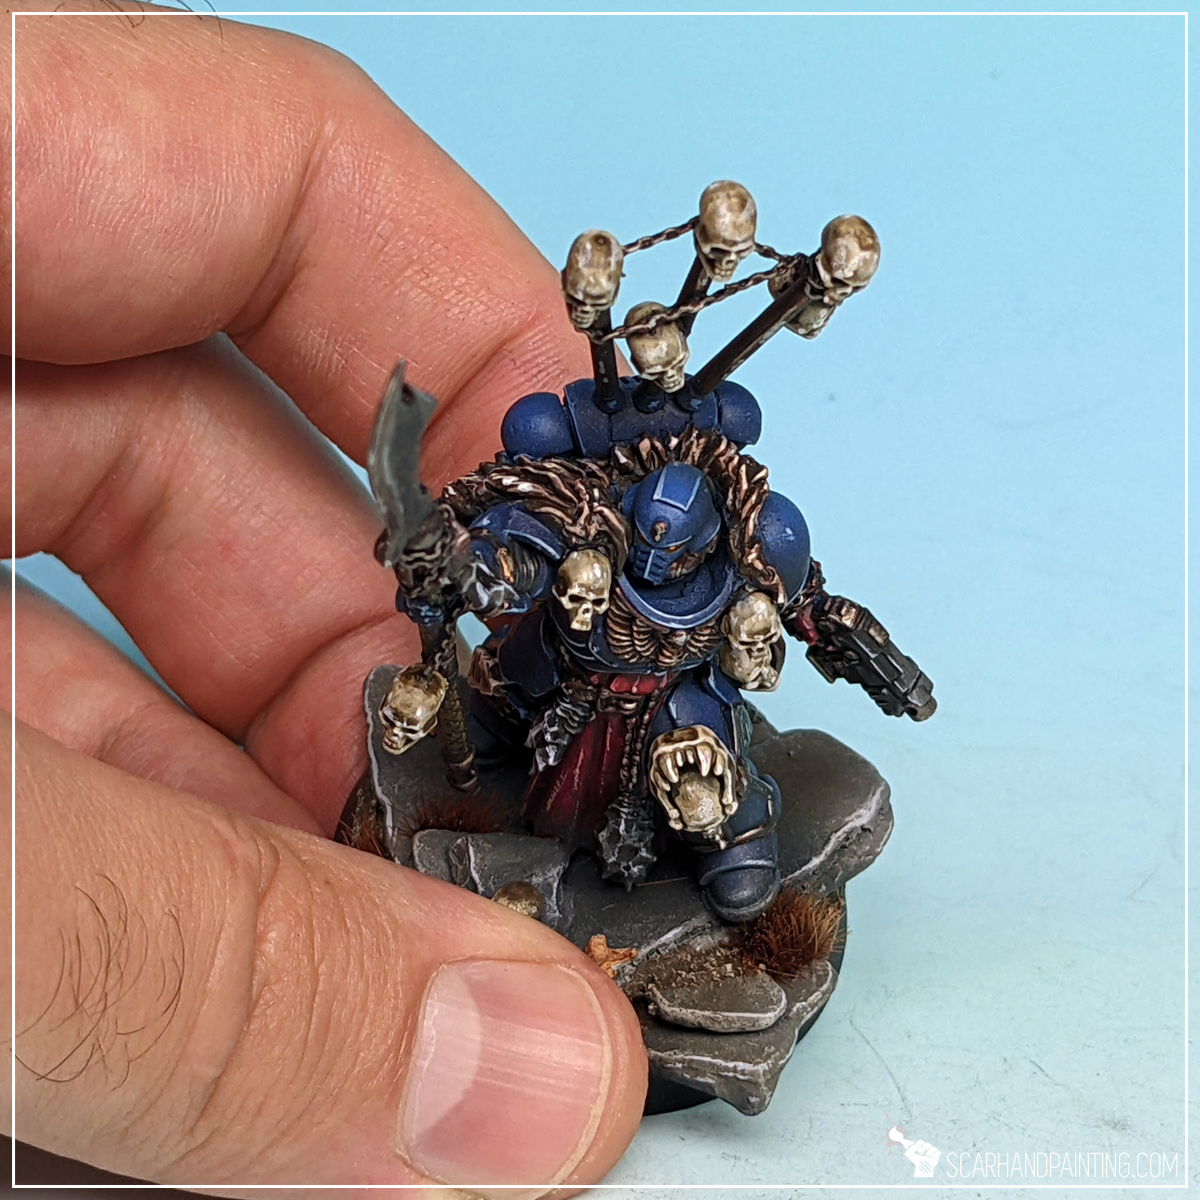
That’s it. Job done. Few bolts, skulls or other adornments here and there to give an impression of fur being bolted to the armor and the sculpting process is complete. Nothing special, just a piece of leather with fur dangling around to buff that Space Wolf theme.
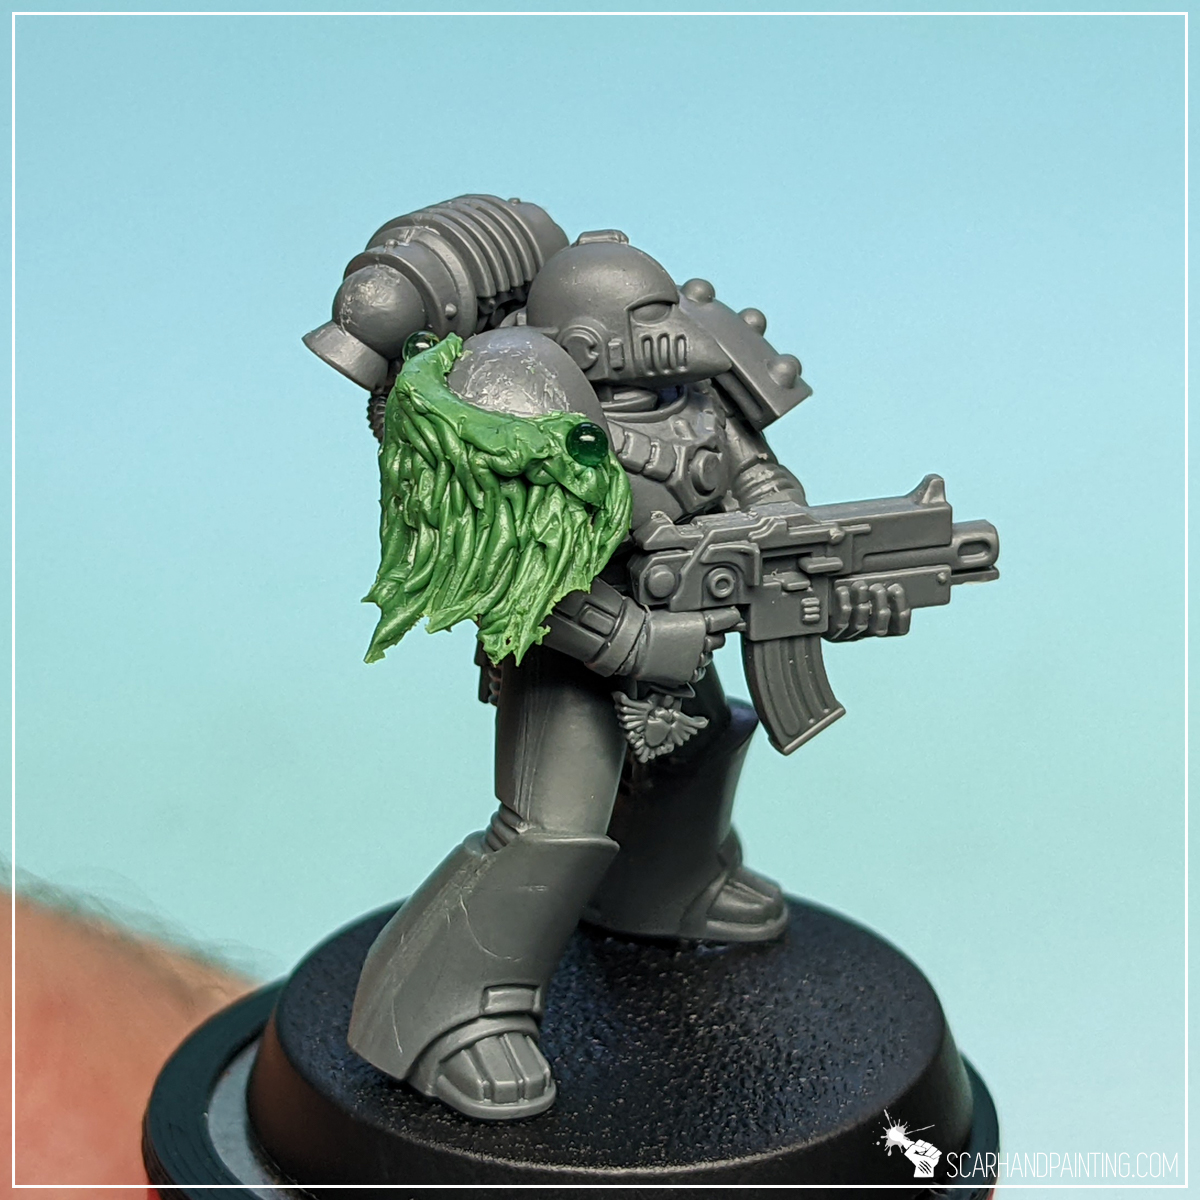
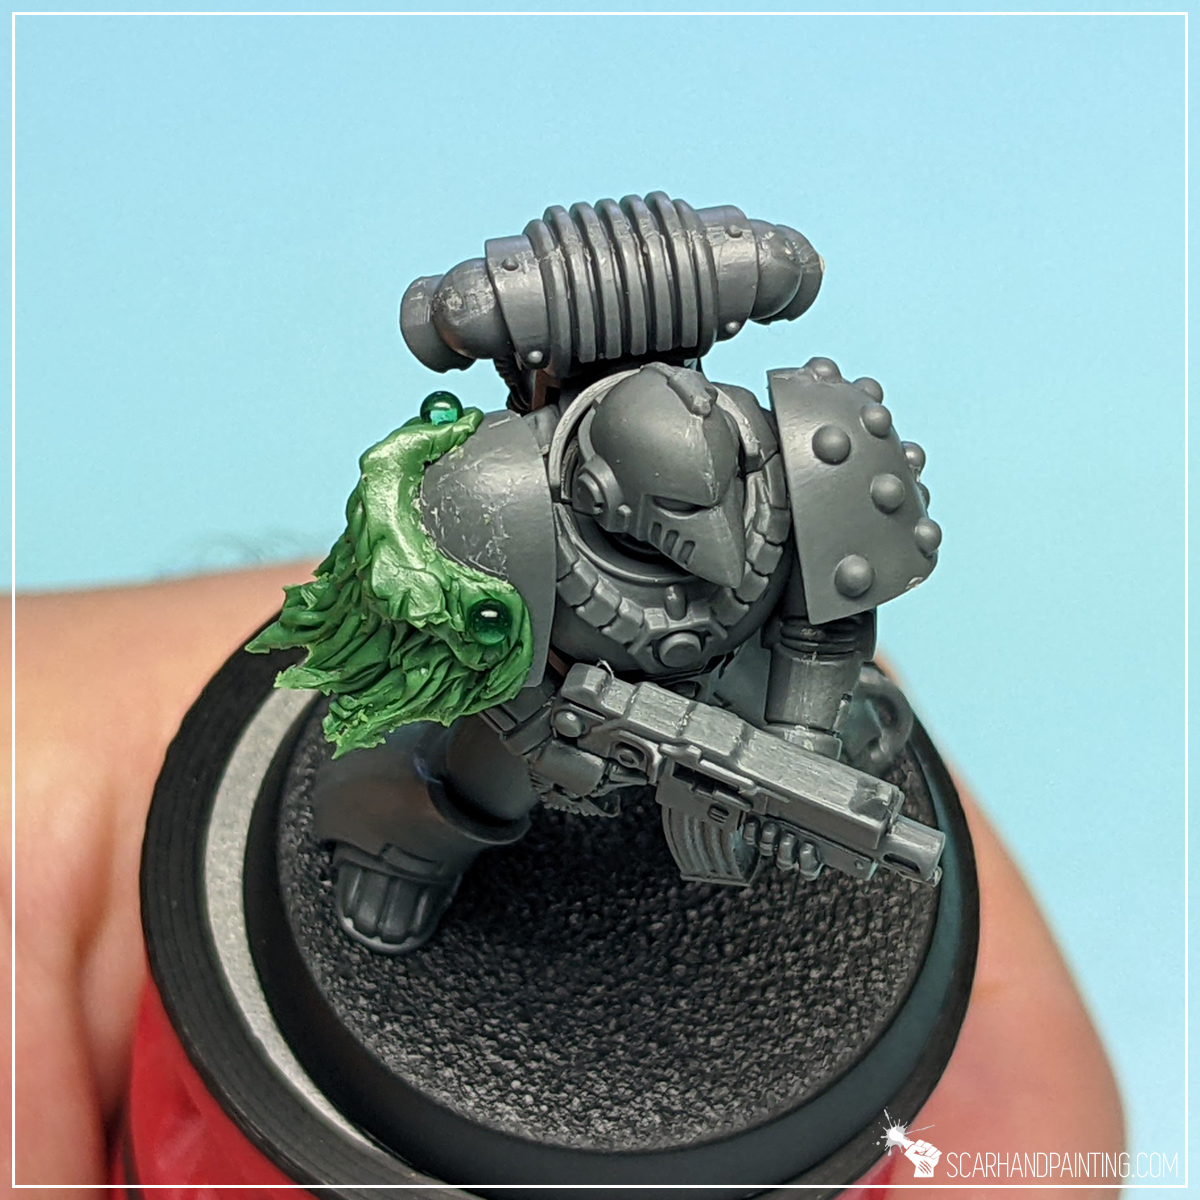
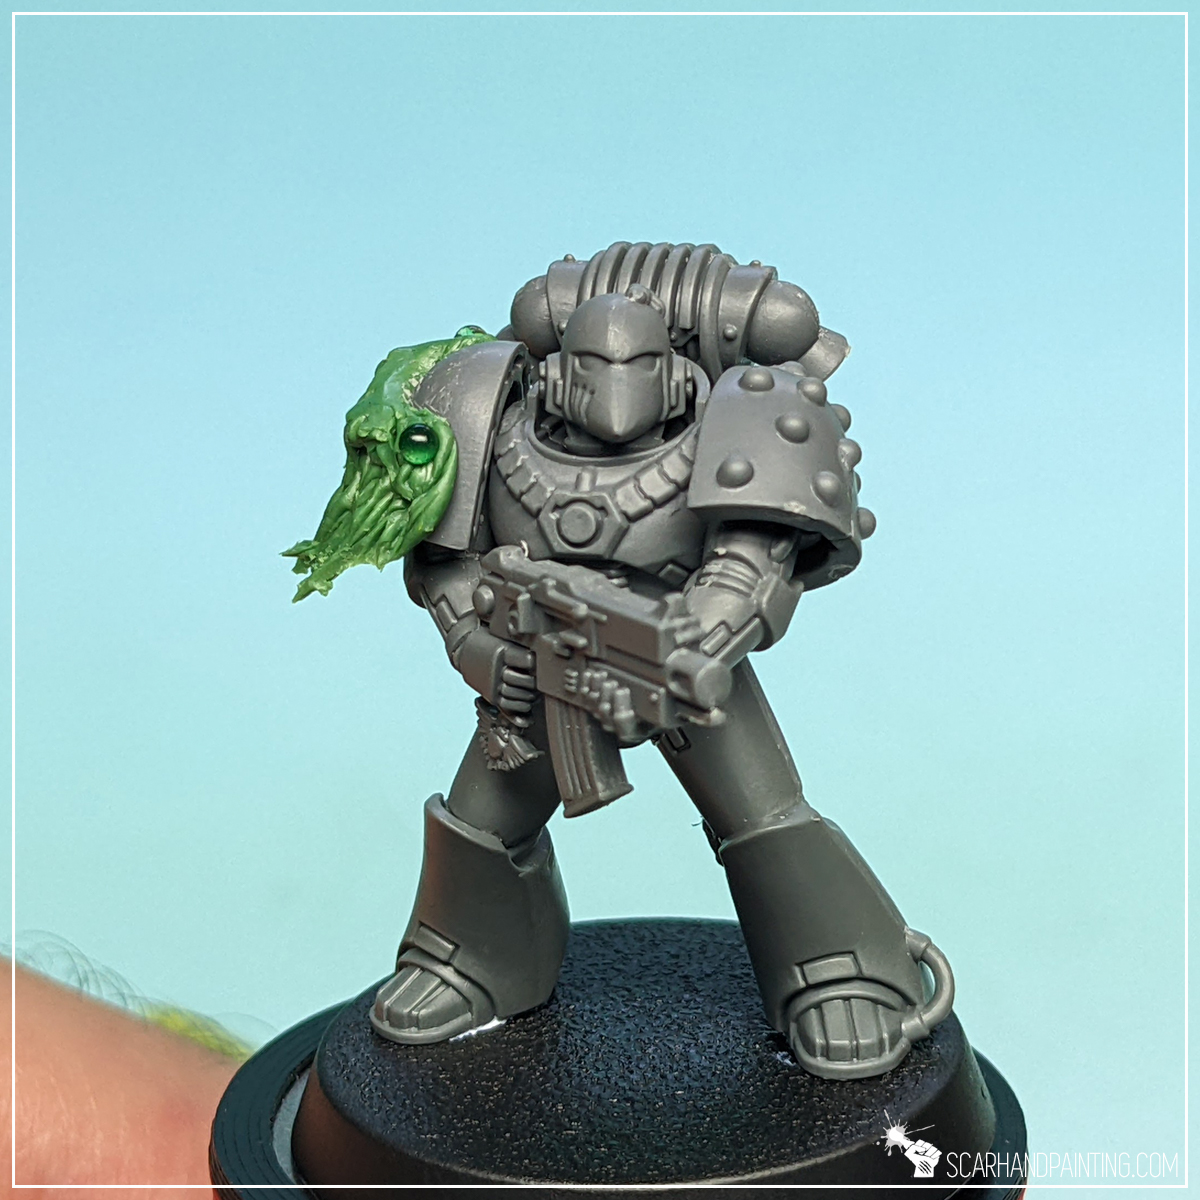
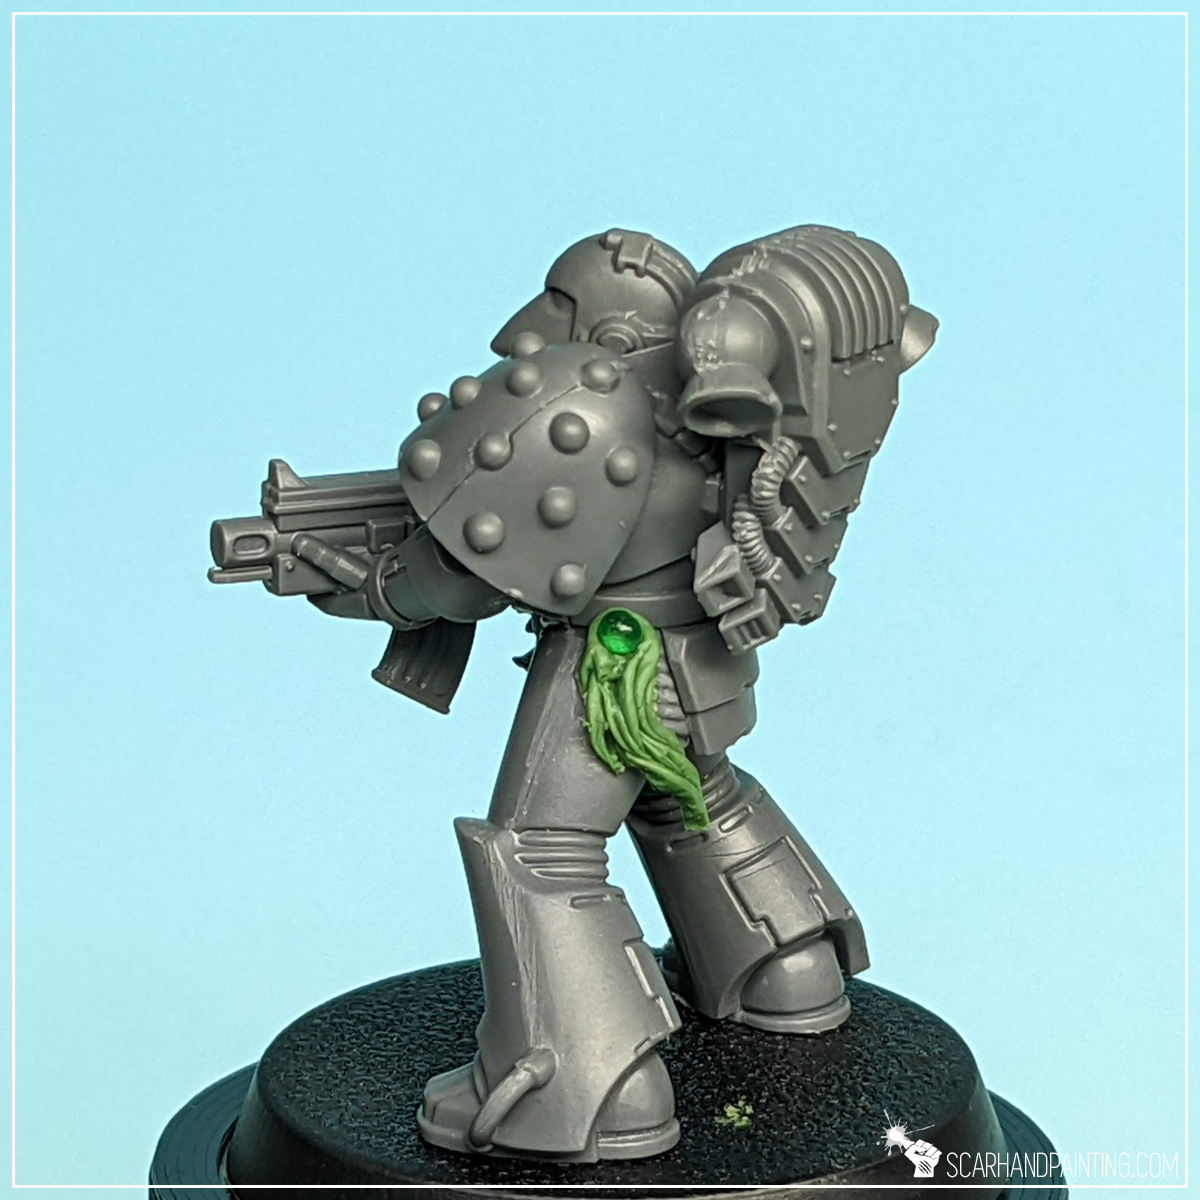
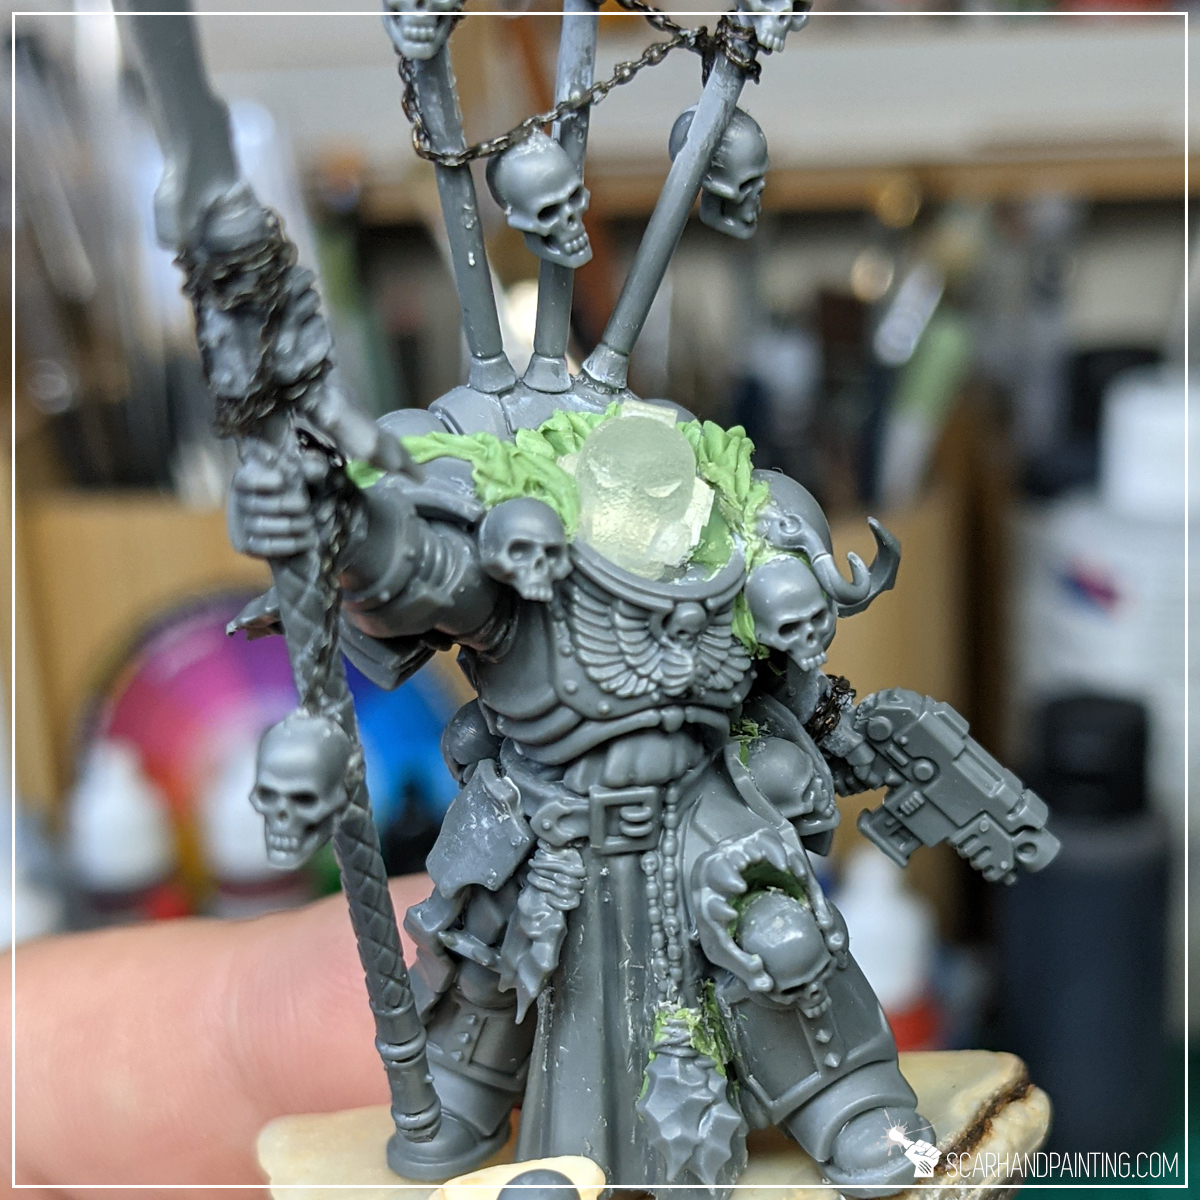
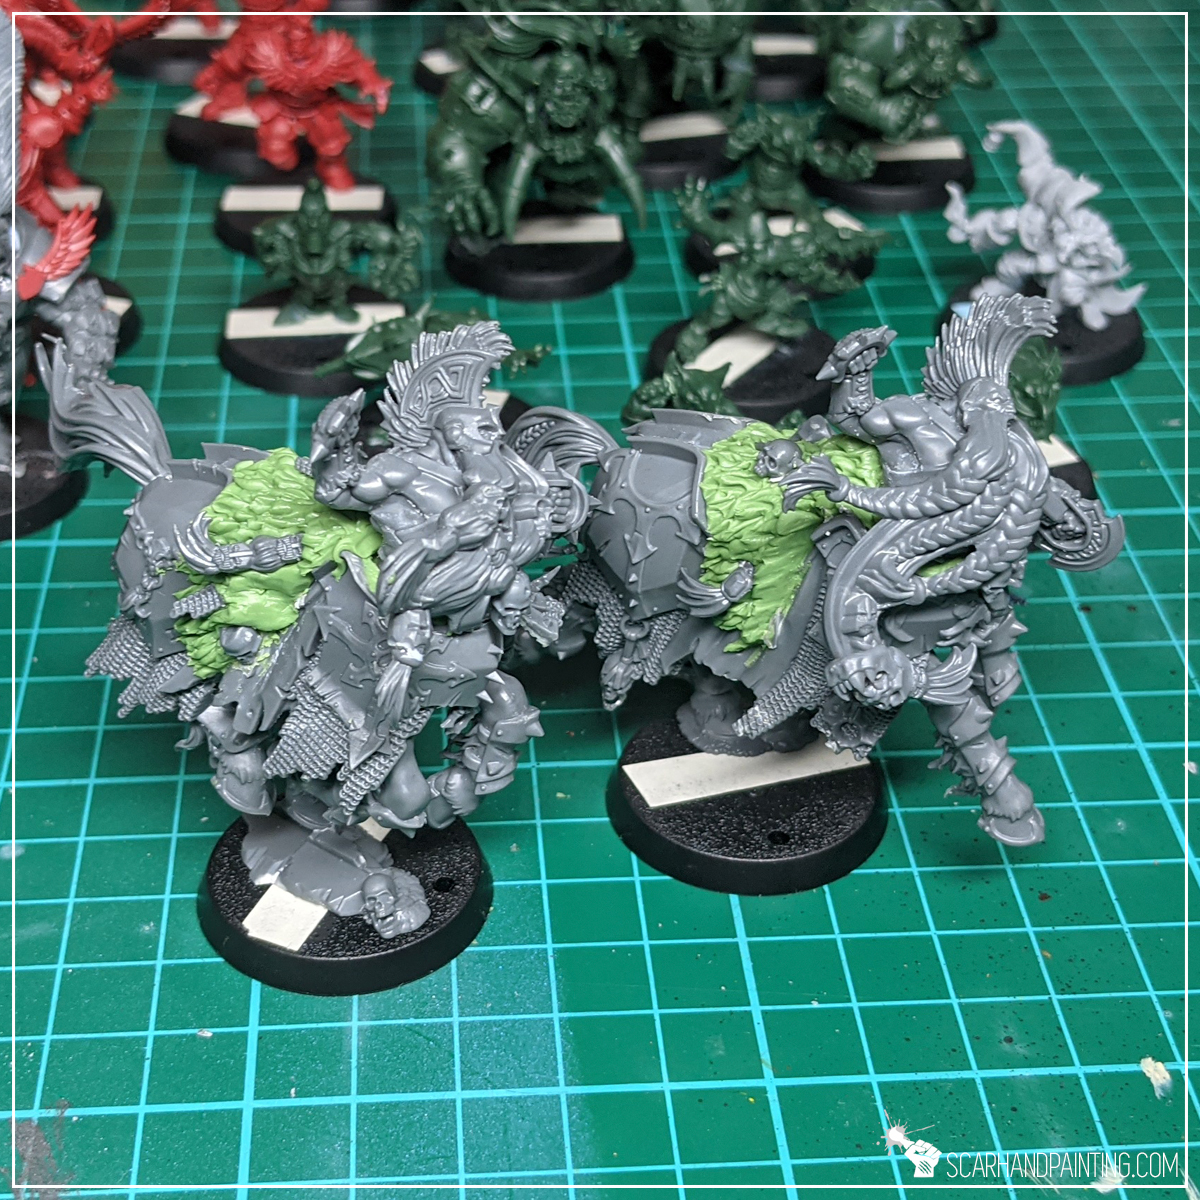
Below are some other examples of this tutorial being used in practice.


I hope you find this tutorial interesting. Be sure to let me know your thoughts in the comments below or via Facebook or Instagram. I would also appreciate if you considered sharing this content with your friends, who might find it useful. Finally if you are looking for a professional warhammer 40k miniatures painting service, be sure to contact me with this contact form. I always reply within 24 hours, after which please check out your spam folder.