- contact@scarhandpainting.com


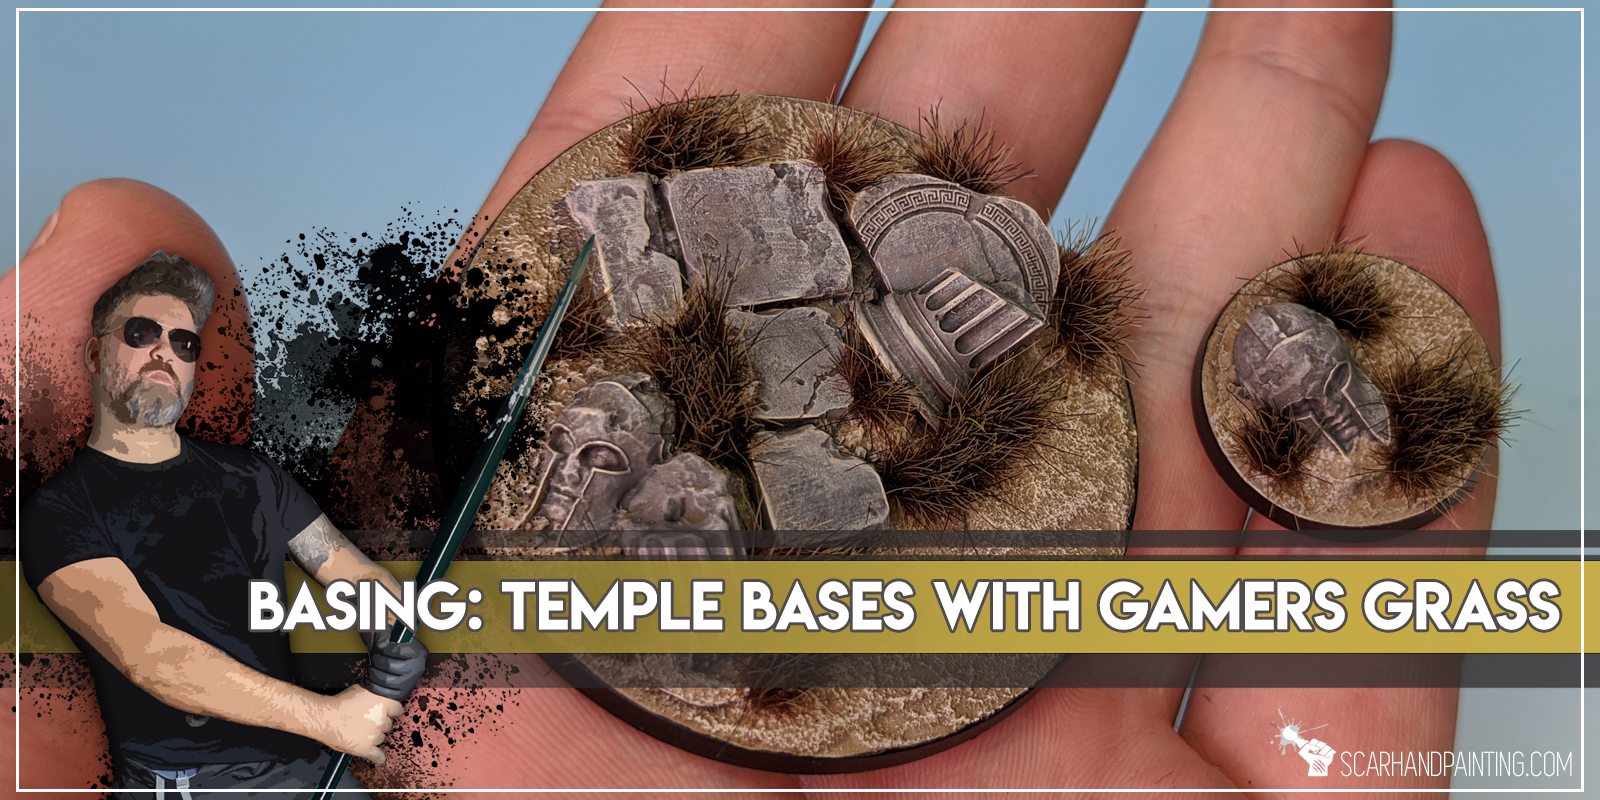
Welcome to Temple Bases tutorial. Here I will take you on a Step-by-step trip through the process of creating and painting Temple Bases as presented in the picture below. This adventure is possible thanks to generosity of Gamers Grass and their easy to use, fantastic products.
Before we start, some notes:

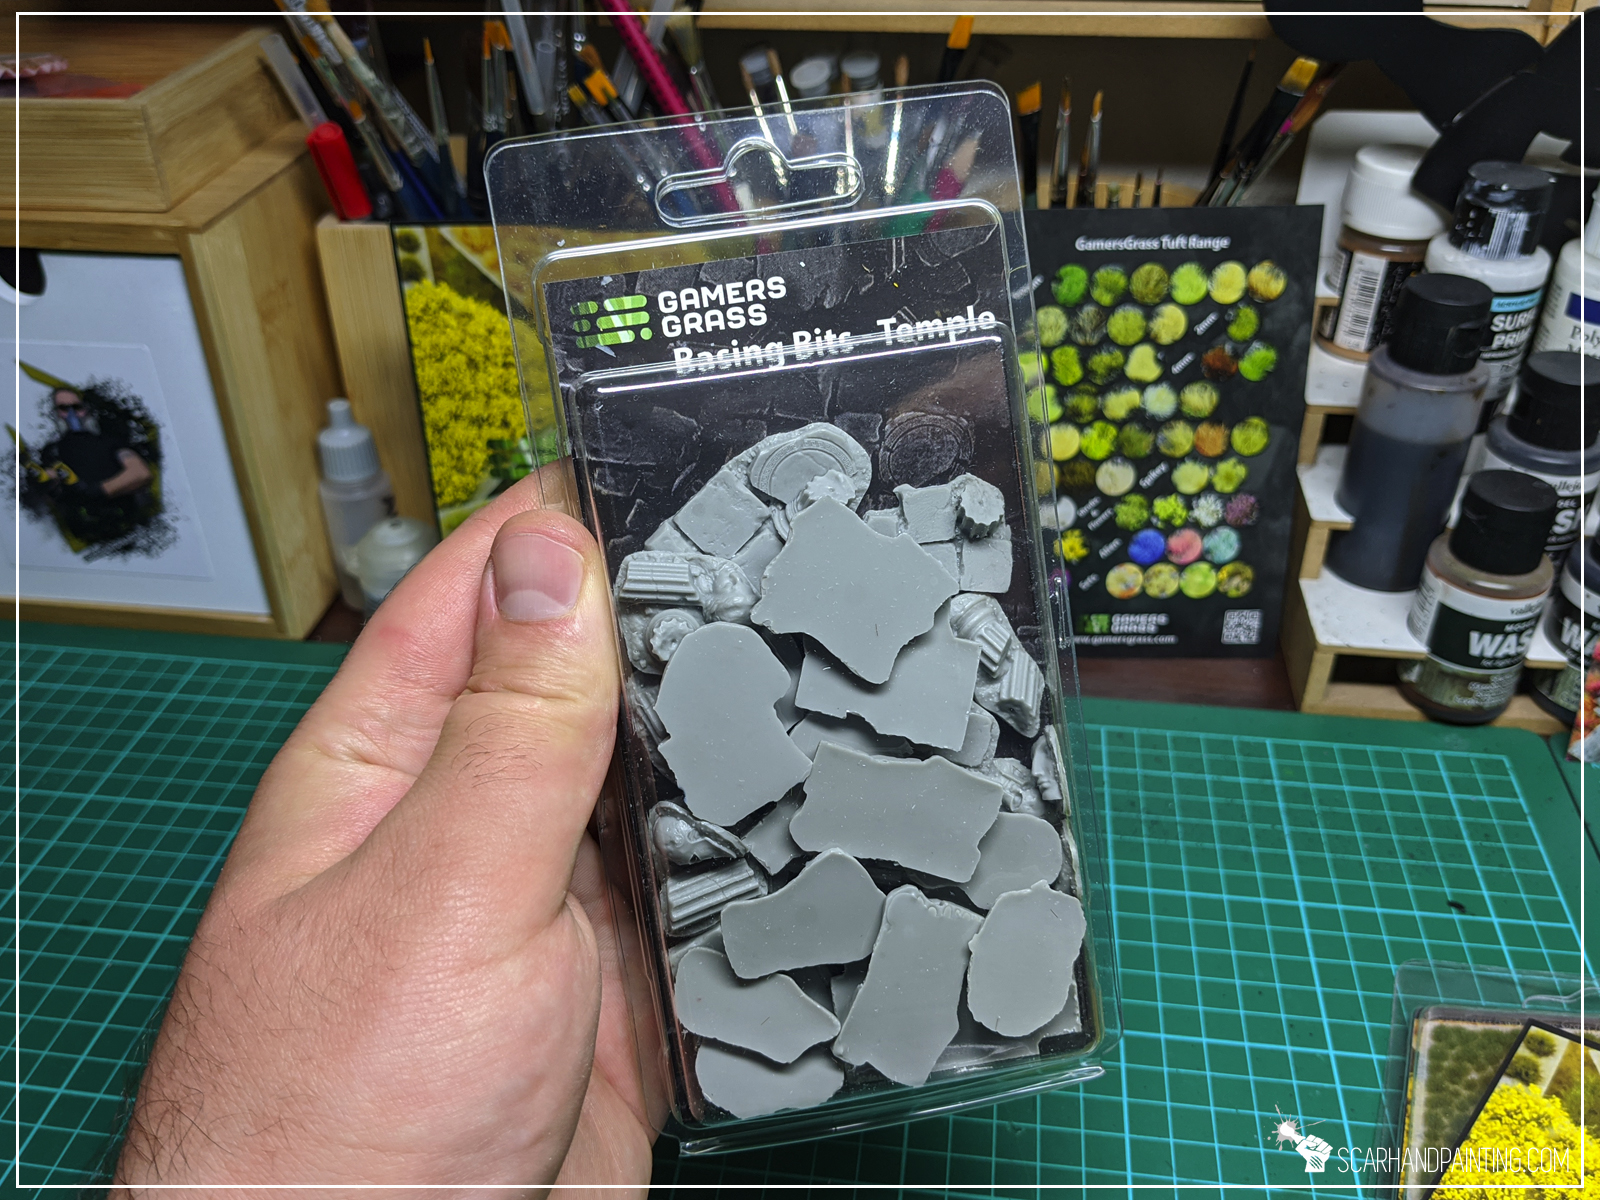
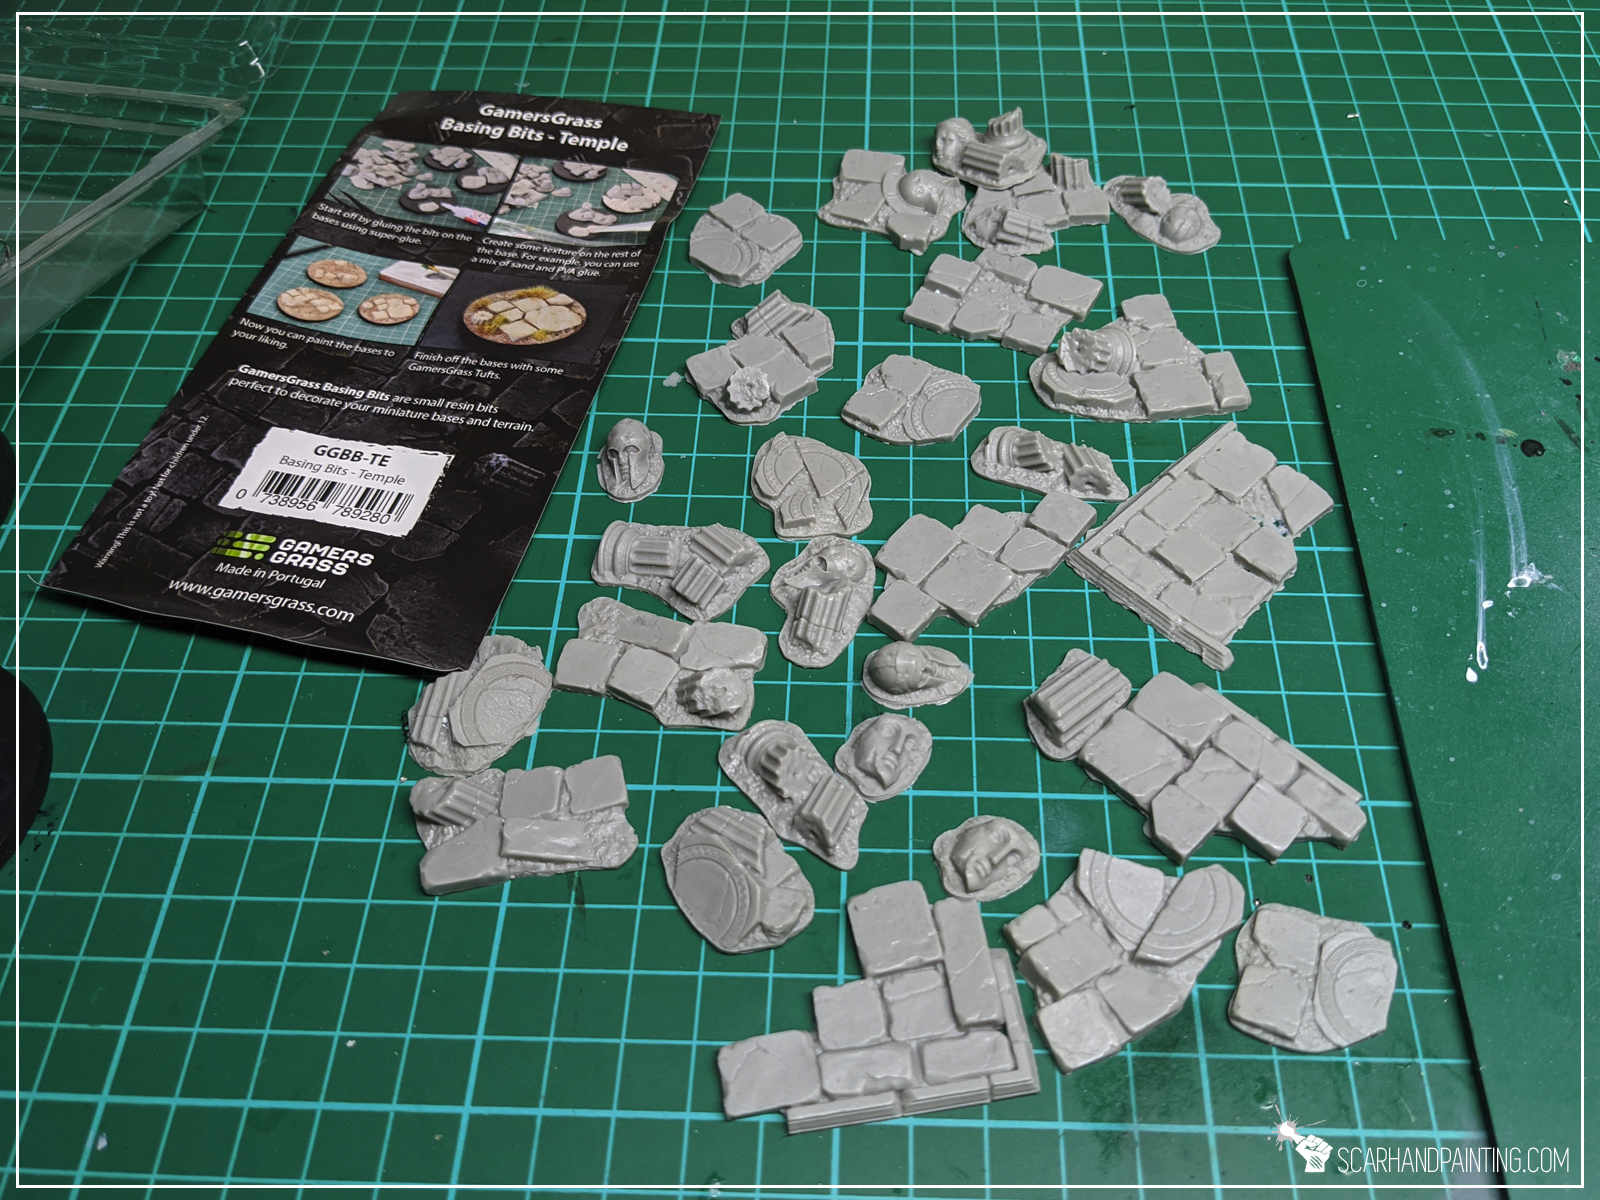
In my opinion base is supposed to complement a miniature, not steal the spotlight. For this reason, when making bases, I usually aim for fast, simple, yet effective solutions. Important thing to note when deciding on what to use for your bases is to pick a method that is easy to copy. This is why I consider Gamers Grass Basing Bits a perfect solution. Nicely textured, ready to use straight out of the box – glue them on, add some texture around – you’re ready to paint. All that being said – for this particular base type I choose Gamers Grass “Temple” basing bits.
Step one: Applying basing bits
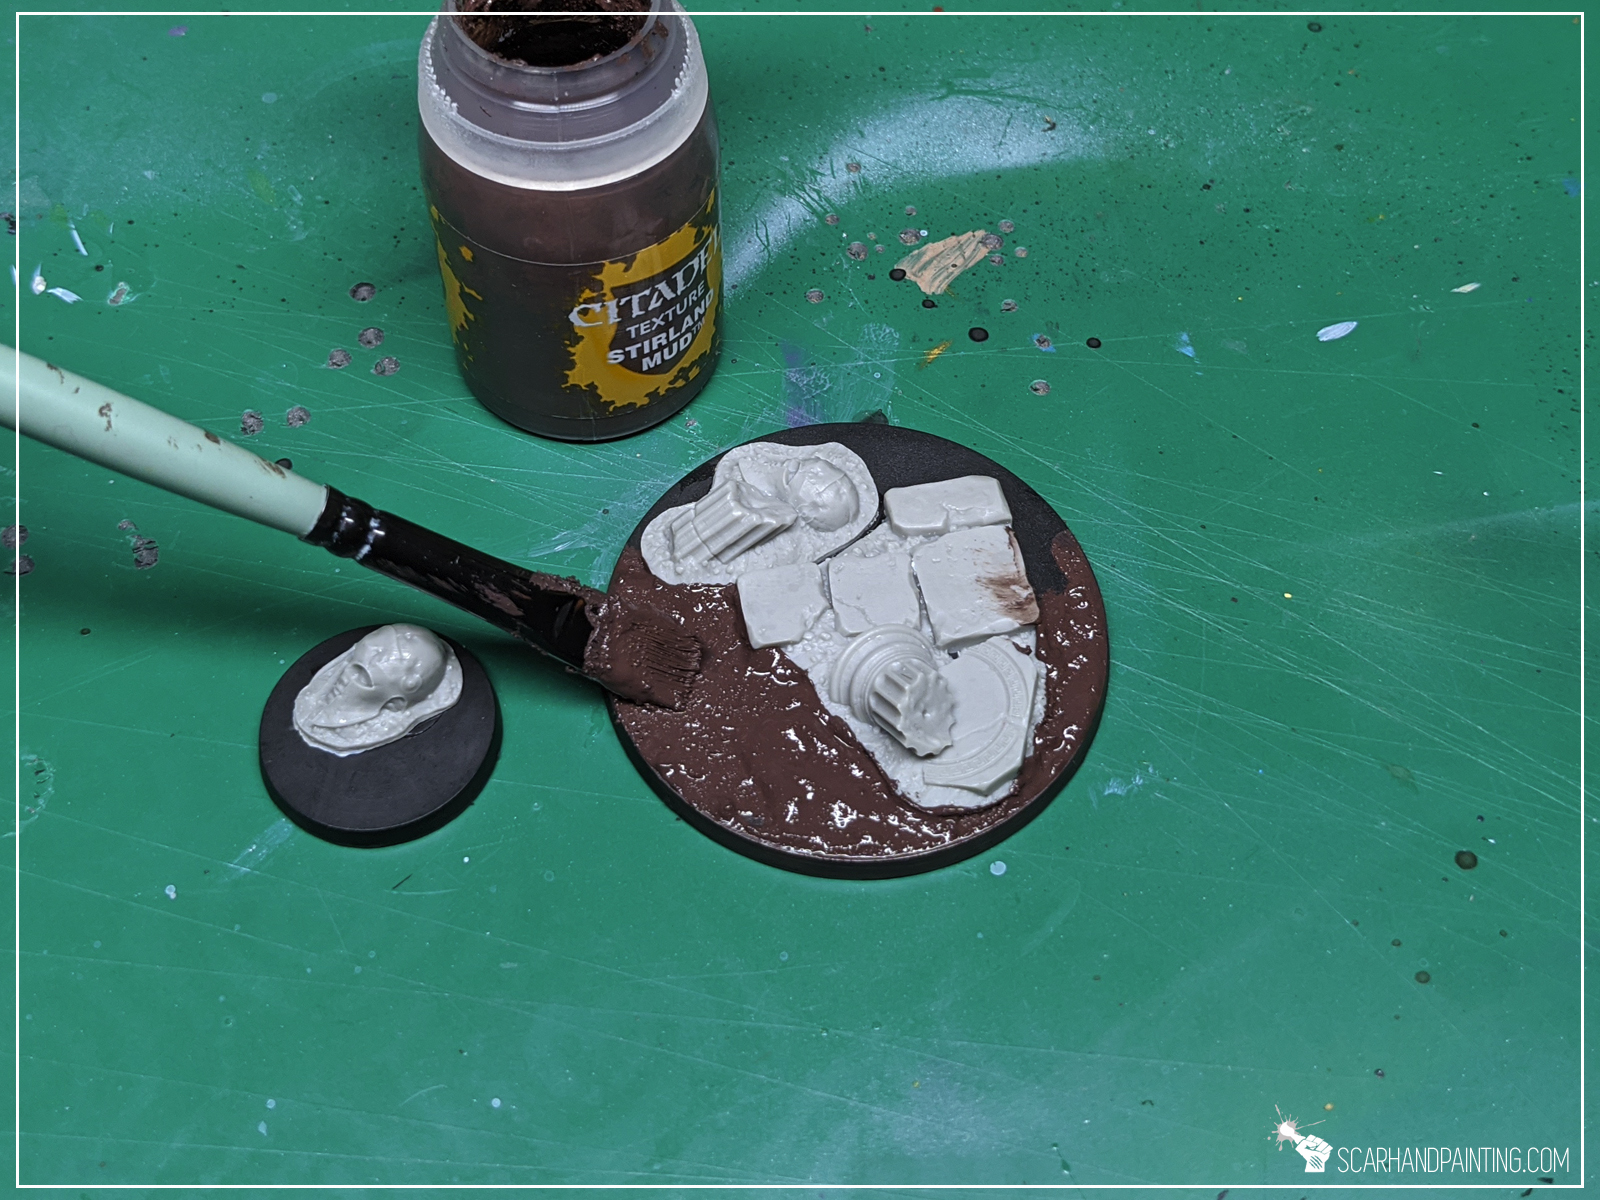
I started by applying glue onto the base and gluing few basing bits on top.


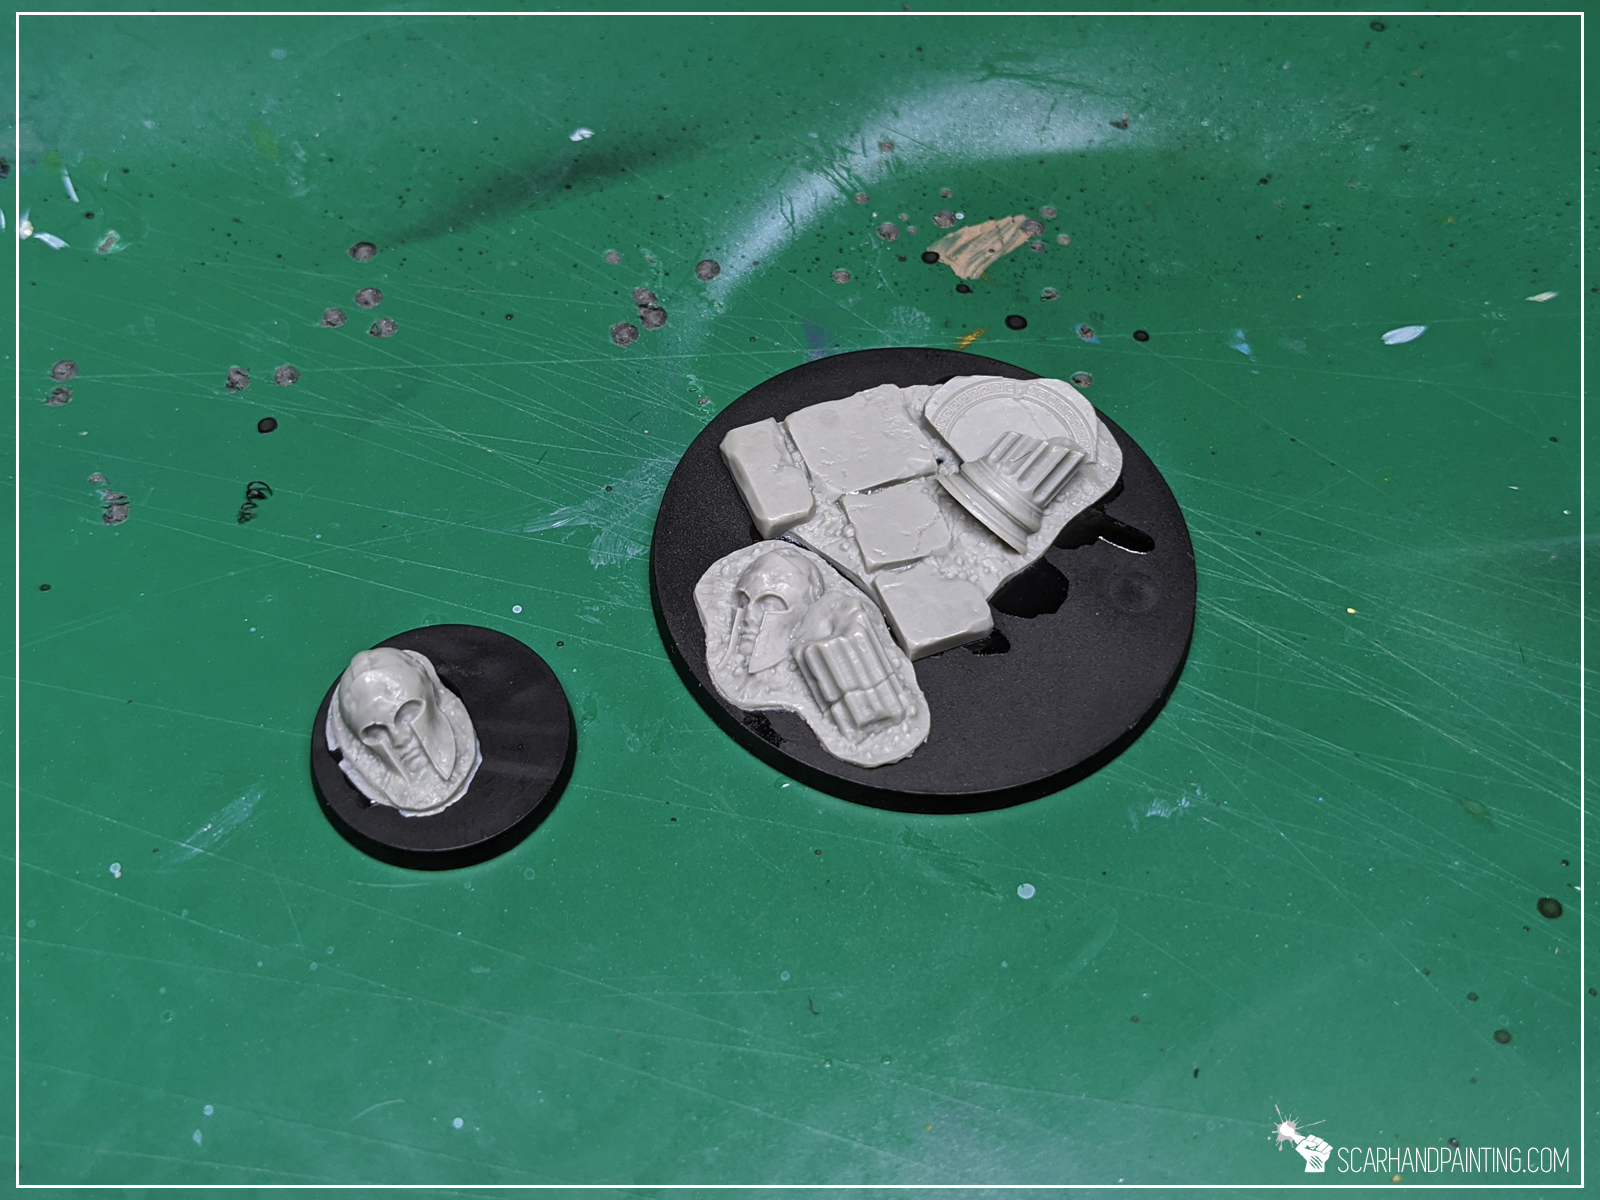
Step two: Applying texture
I then applied texture with Games Workshop Stirland Mud.
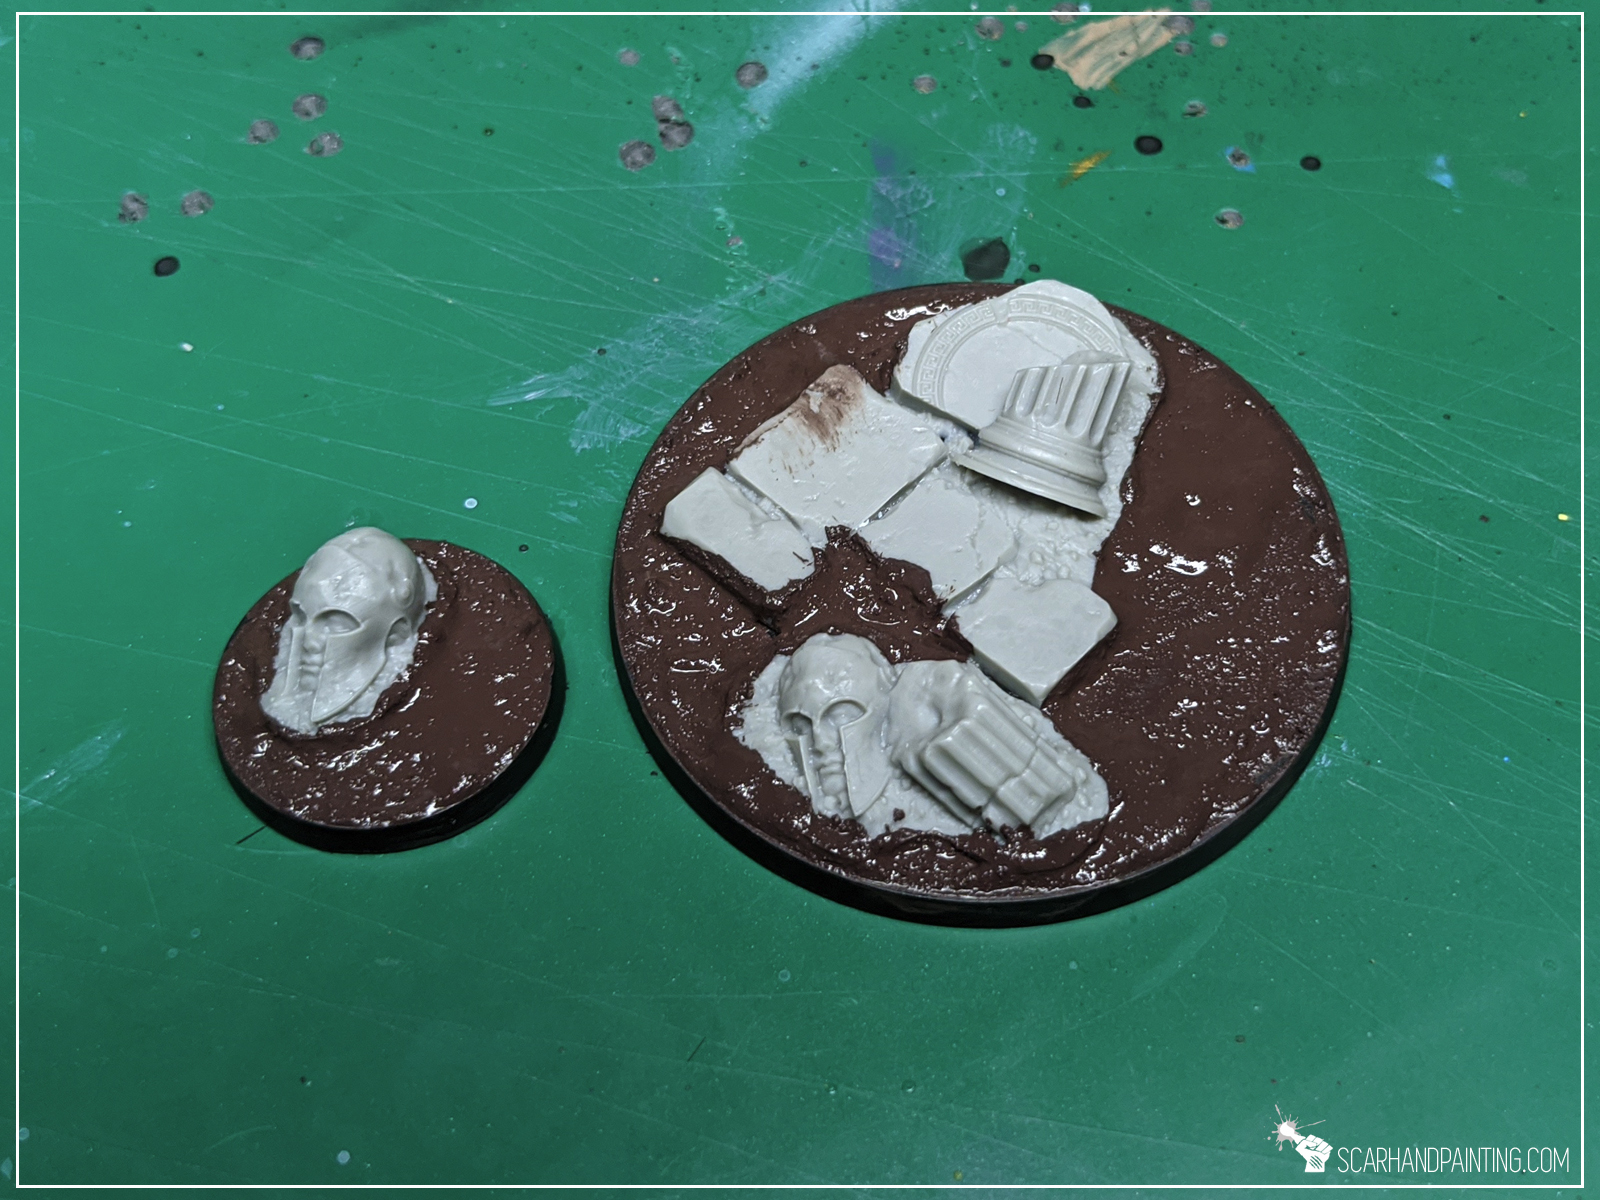
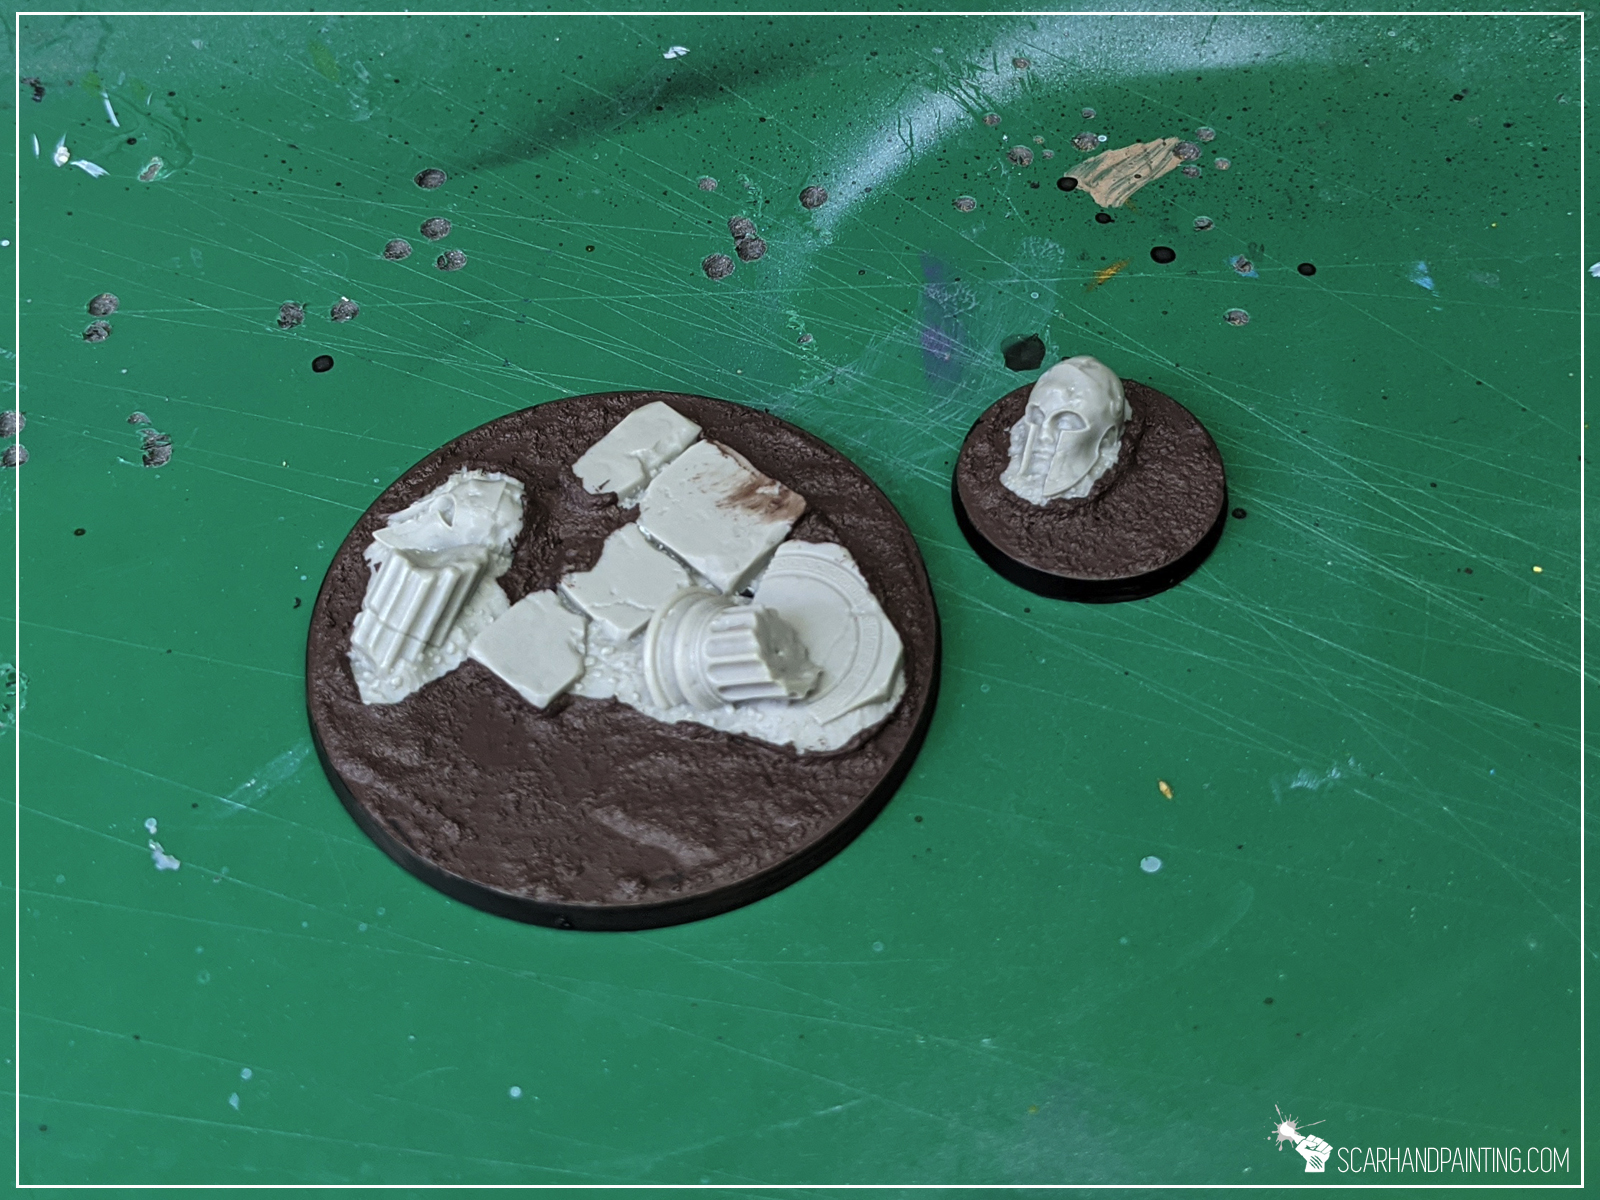
At this point entire “Modelling” part is done. If it seem fast it’s because it really is. Just two steps and you’re ready to paint!

I choose to paint these Temple bases in a bit of a Desert’ish style. Let’s say these are meant to be used for a large army. I want to keep things simple, best if within three layers per color, crowned with a single type of tufts. Nothing fancy, just nice looking, coherent bases. Here’s how I went about it…
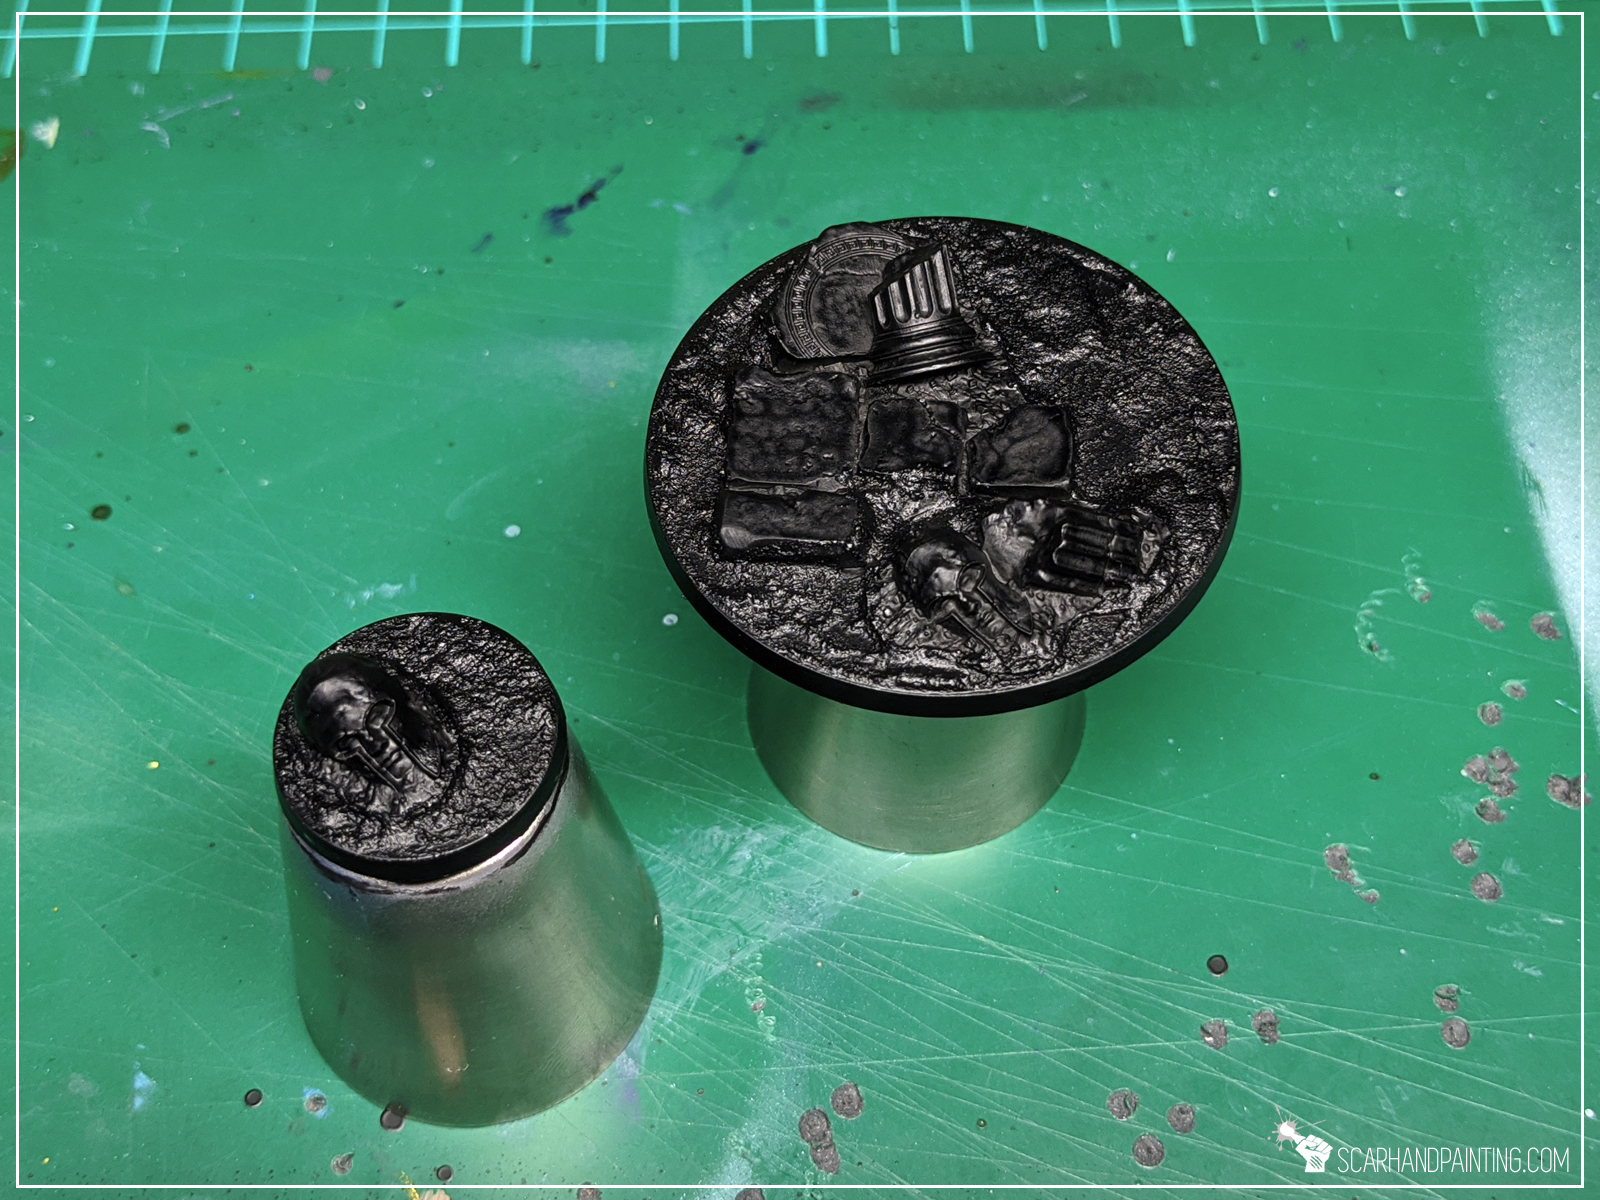
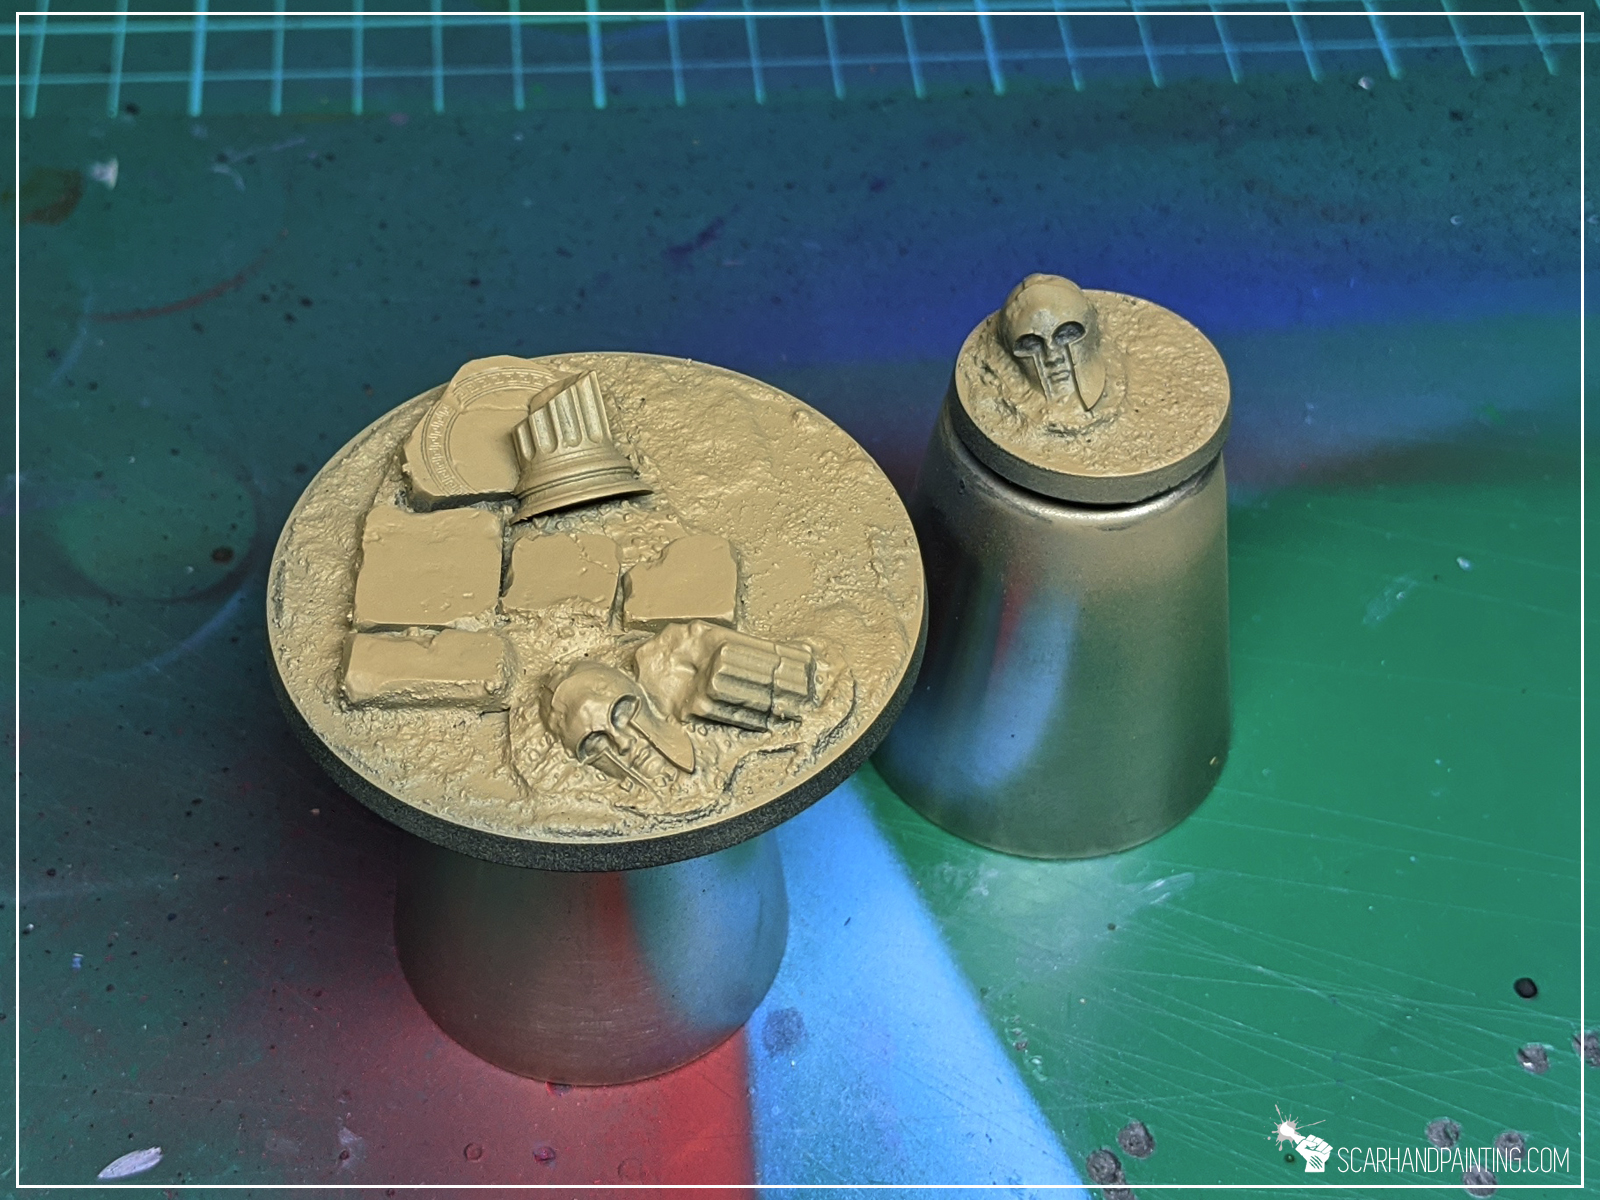
Step one: Undercoat
I applied a black undercoat. This is my usual start for everything 😛
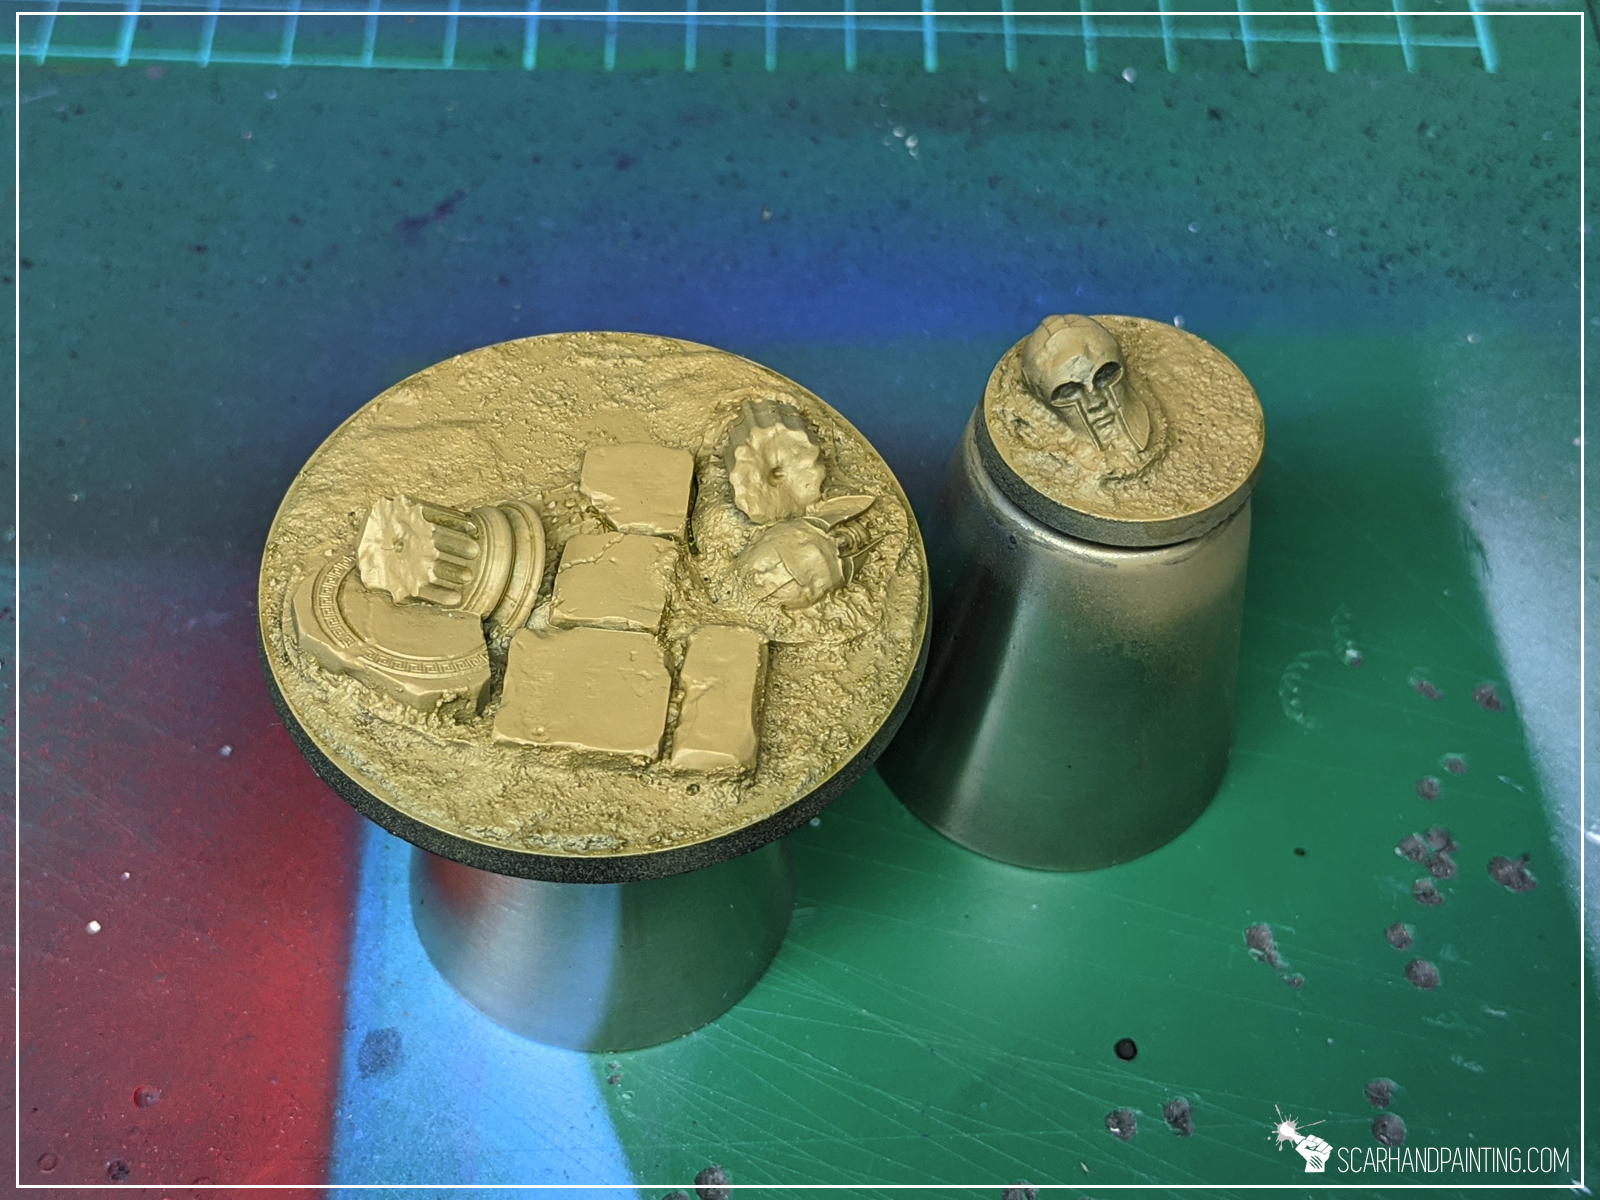
Step two: Main color
I then airbrushed Vallejo Desert Yellow over entire base. Once dry I applied Vallejo European Dust Wash.
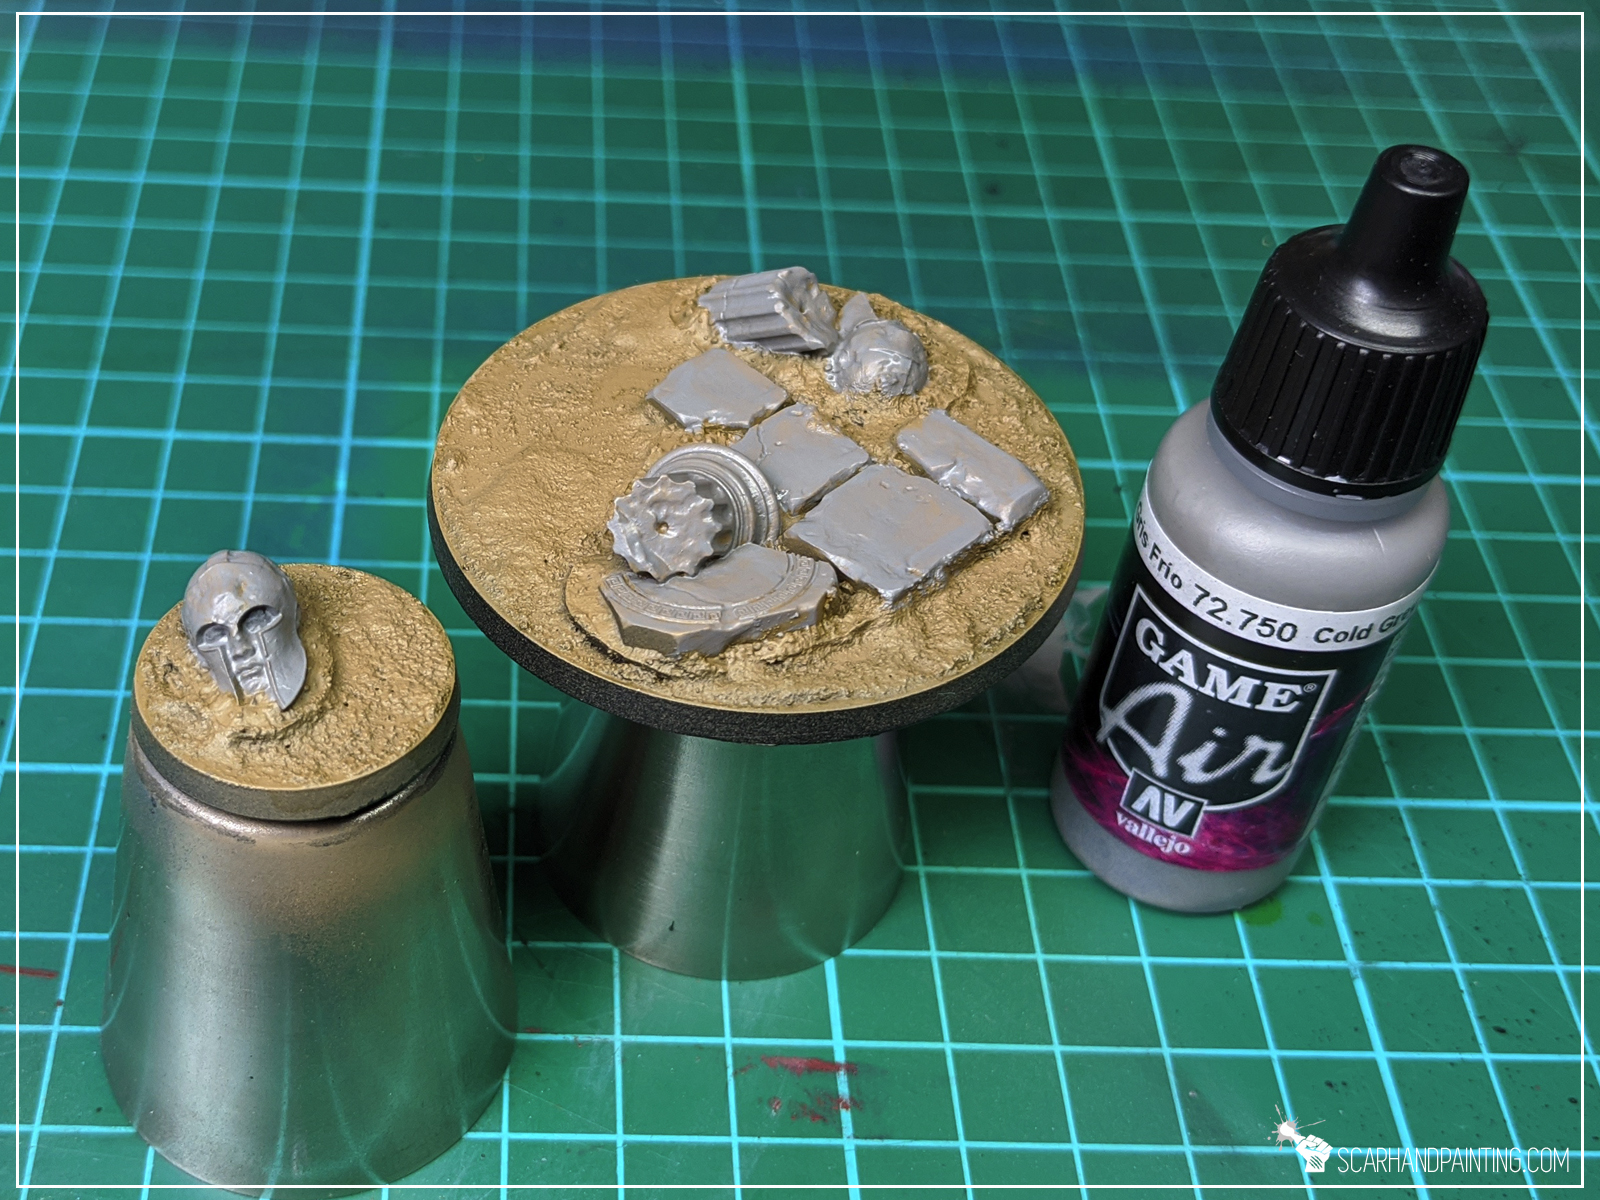
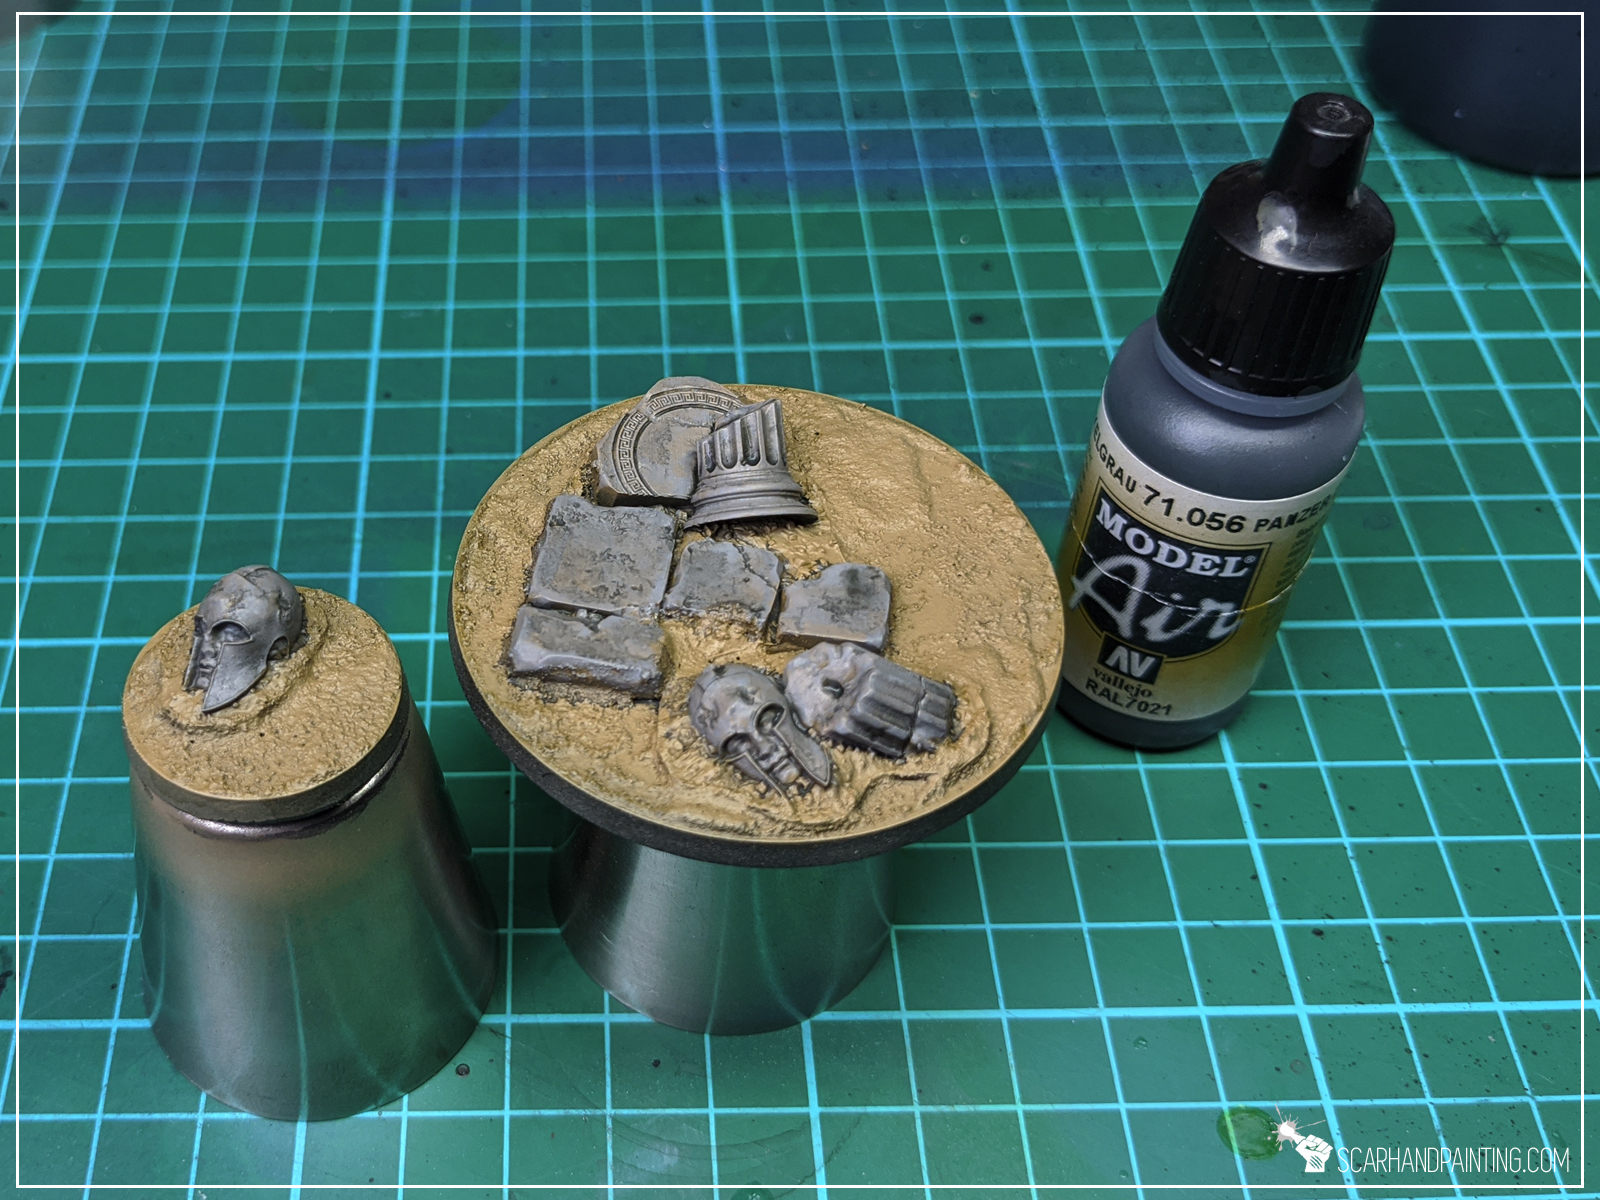
Step two: Secondary color
For ruins I choose Vallejo Cold Grey, followed by a wash of water thinned Vallejo Dark Panzer Grey.
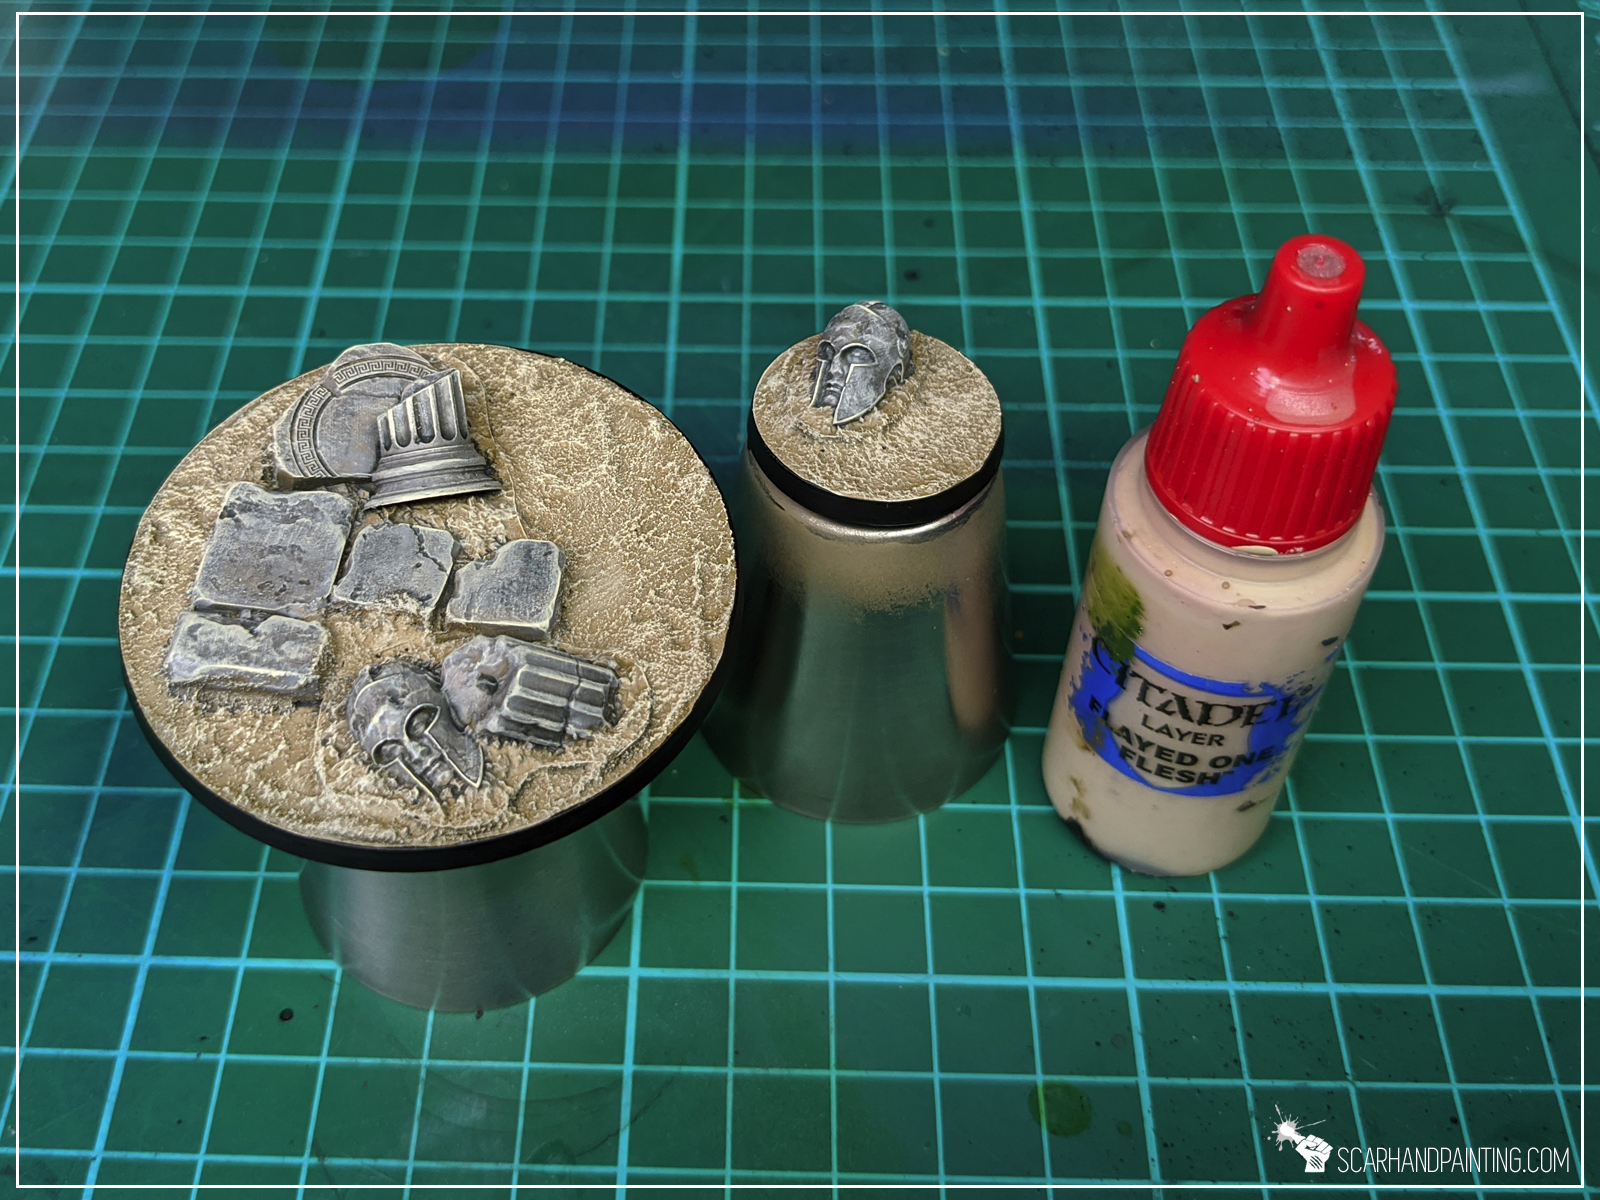
Step tree: Highlights
I then highlighted both colors with a soft drybrush of Games Workshop Flayed One Flesh. I also applied some highlights with the same color on the edges of ruins – just a bit to make them pop.

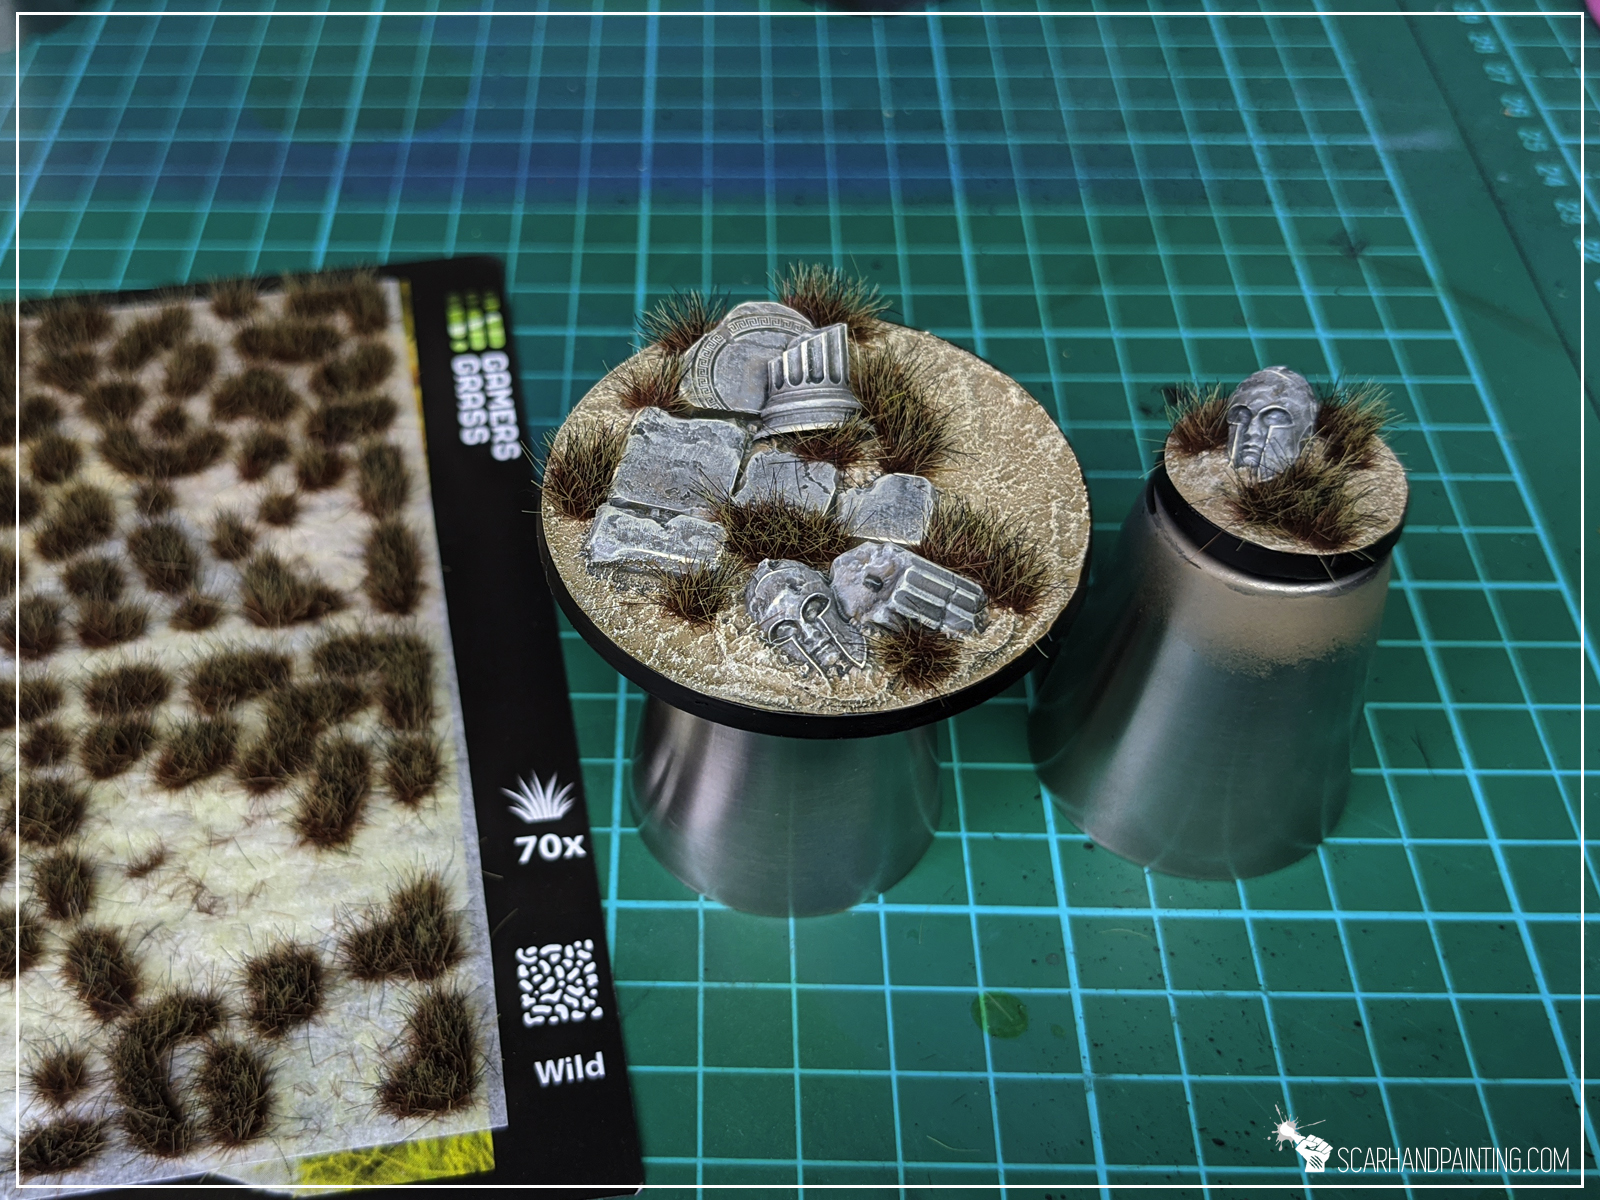
Step tree: Tufts
Finally I applied Gamers Grass Burned Wild Tufts.

Job done! There’s some poetry in both starting and finishing a base using products from the same company 😛 Either way – I hope this was a pleasant tutorial and that you saw how simple the process is. If you want to learn more about Gamers Grass products – here’s my review:
1 comment so far
AlexPosted on2:58 pm - May 21, 2020
Nice and simple tutorial. Thanks!