- contact@scarhandpainting.com


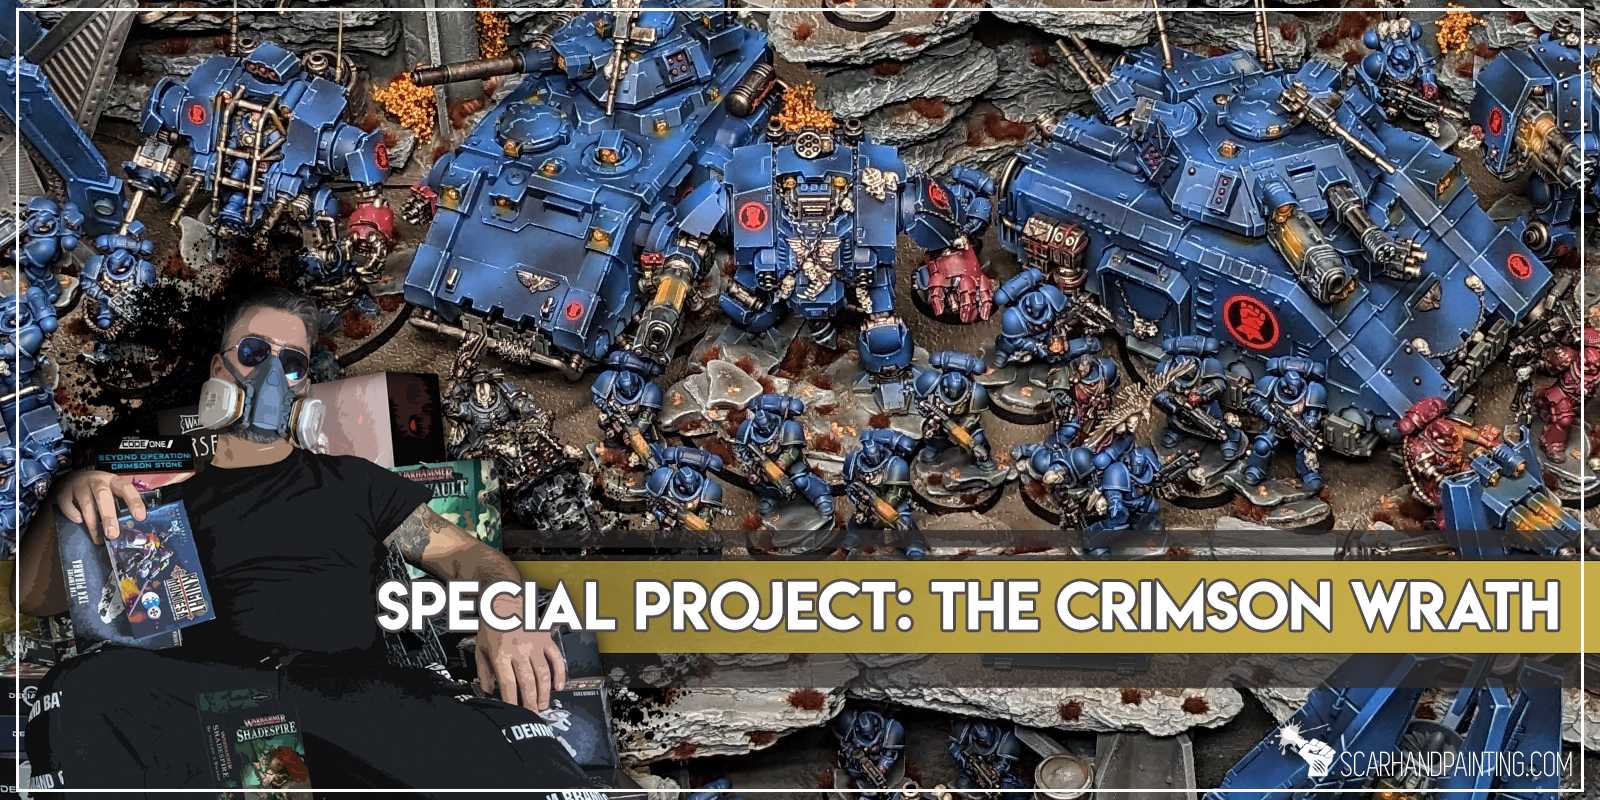
Armies On Parade – a yearly contest held by Games Workshop, pitting lovingly crafted Warhammer armies from across the globe against each other. I always admired all the stunningly painted pieces of art presented in the content with a mix of awe and jealousy. Deep down I felt (and still feel) the ceiling is just too high for me to reach. Then again the entire theme of this competition seems to be fun and participation, sharing our hobby joy, rather than trying to win against the very pinnacle of talented people out there. This year, seven days before the very deadline, I have decided to unleash my Crimson Fists and join the challenge!
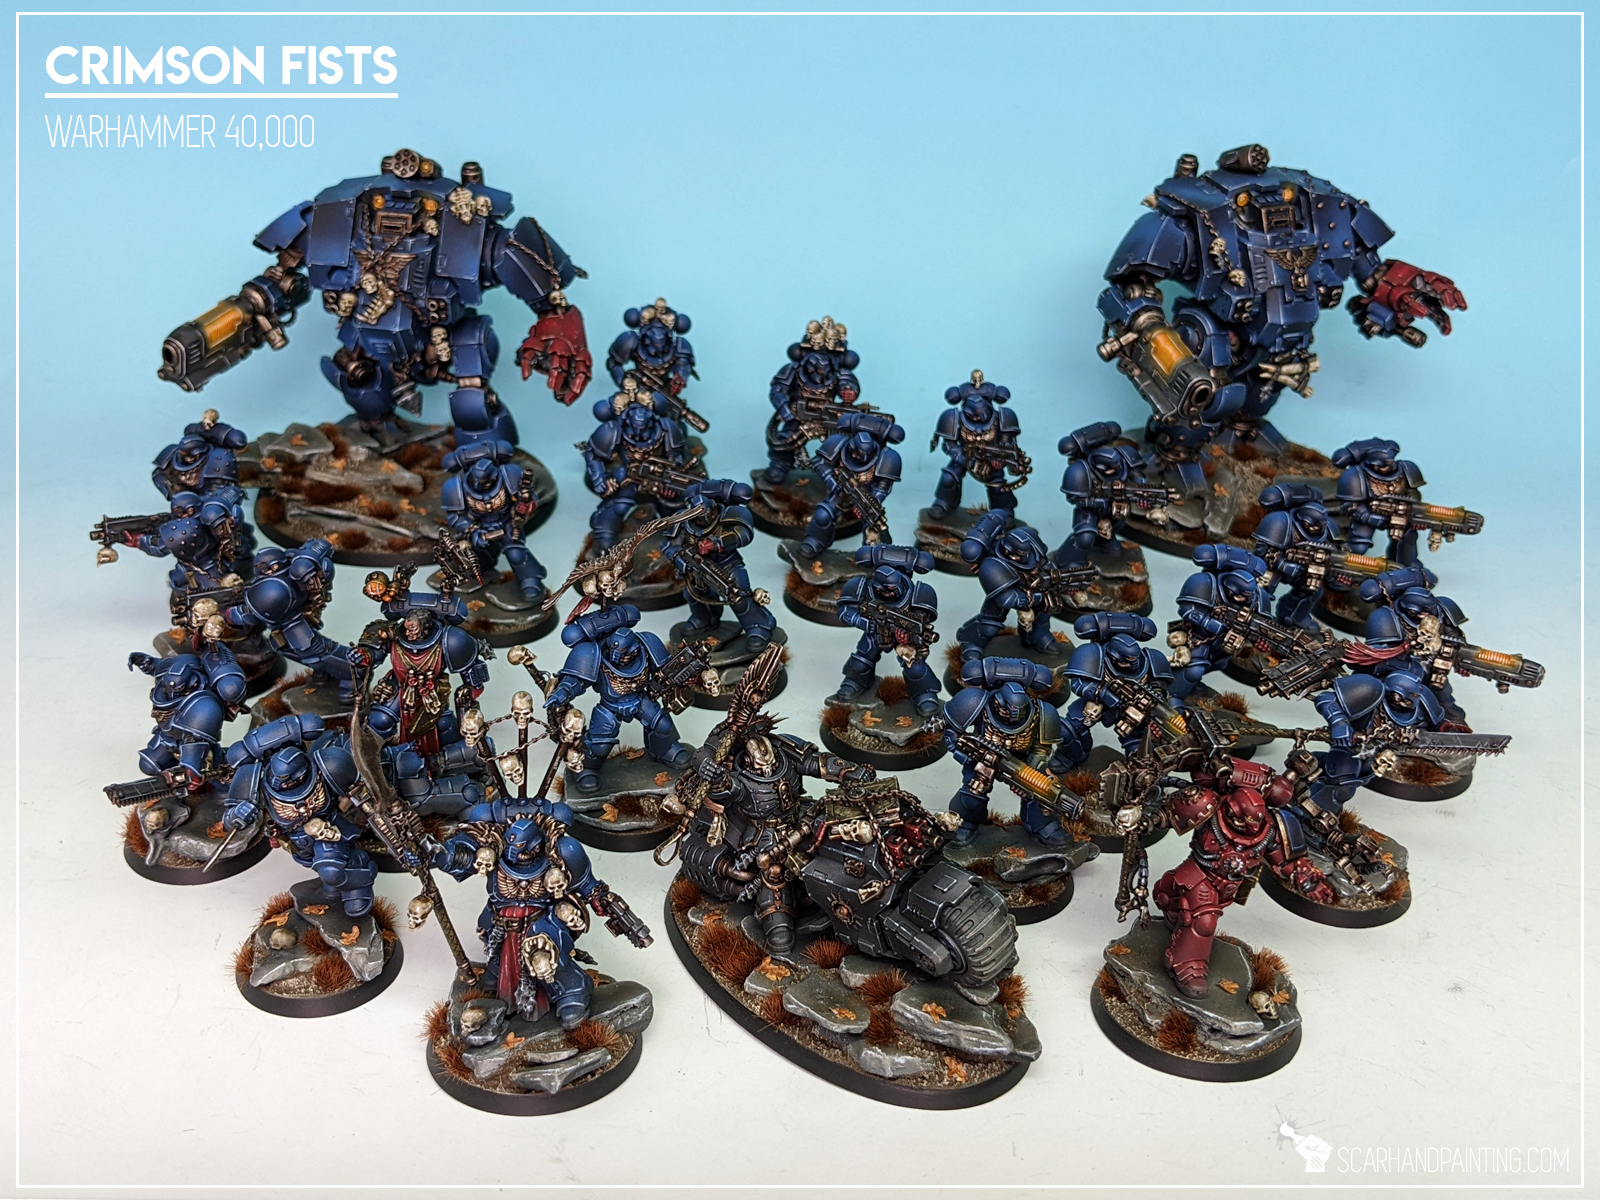
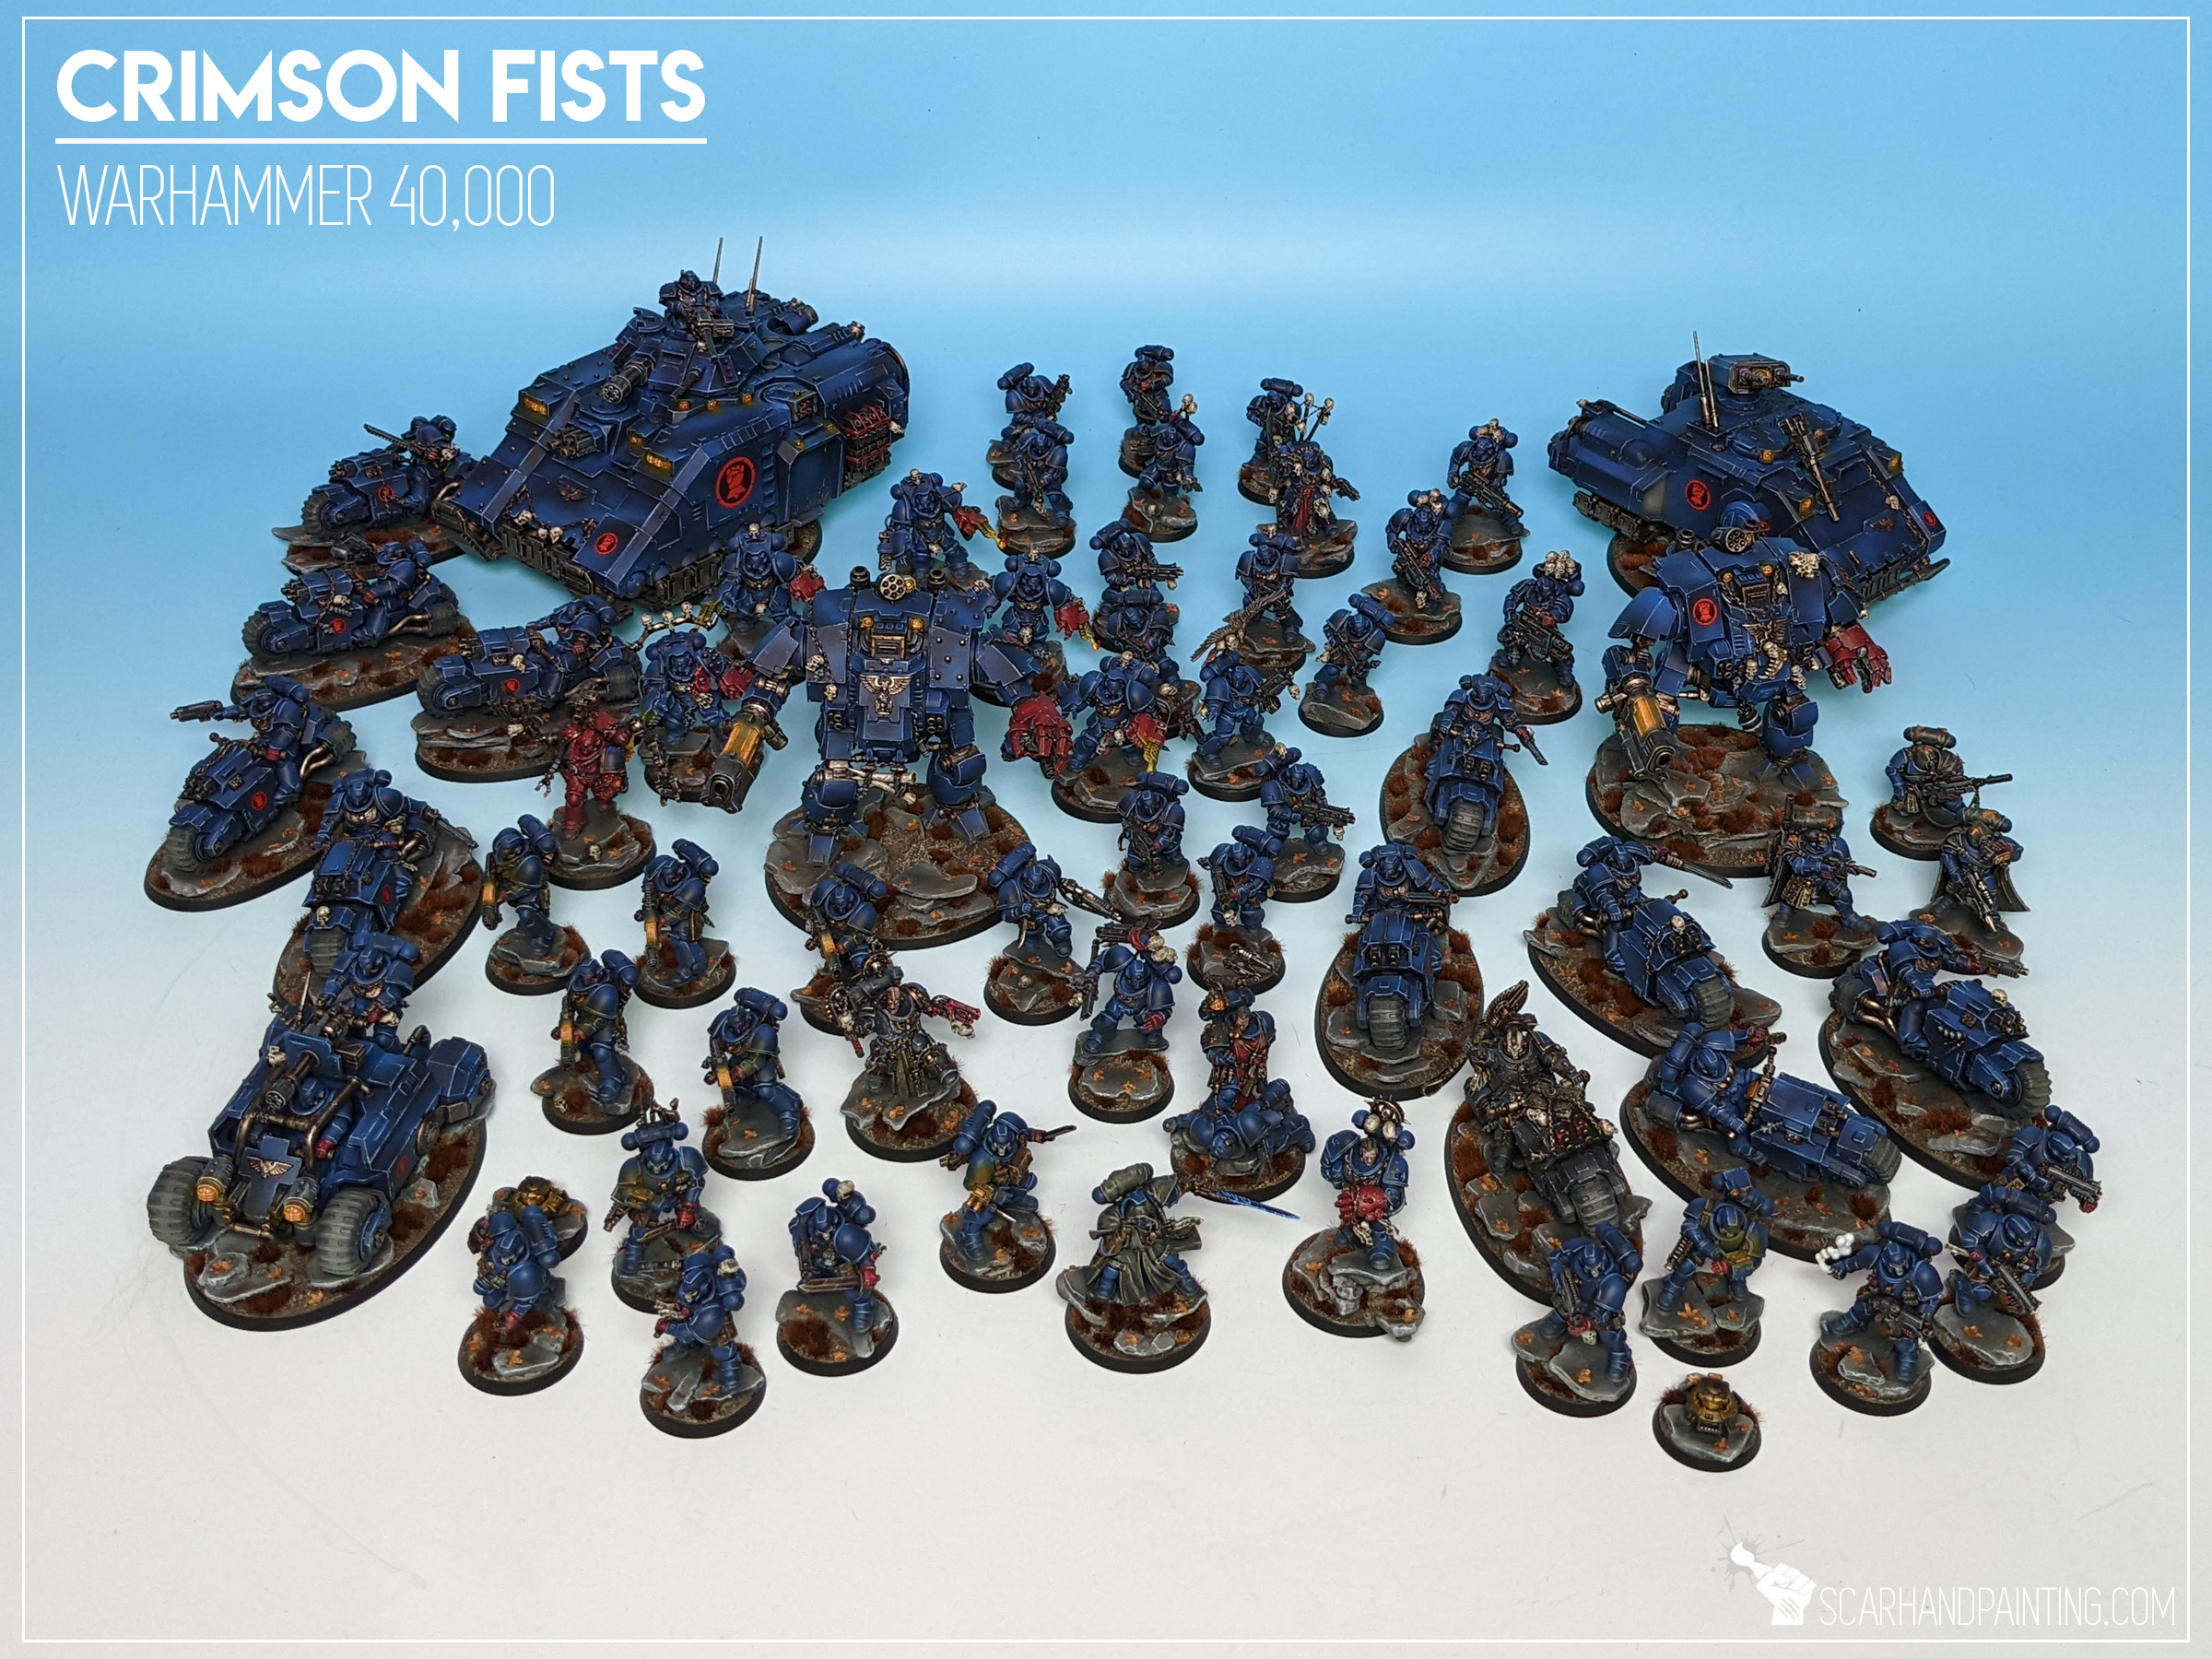

Like all of my hobby projects, the Crimson Fists collection started out of nowhere. I was ‘divorced’ with Warhammer 40,000 for about ten years, after abandoning a huge Space Marines army back at the down of the sixth edition. The new Primaris Marines grew on me and for a long time I felt like it’ll be fun to start a new army. One day something broke and I went for it, getting just enough carefully selected boxes to build a solid 2000 points list. I had many ideas on where to take my miniatures, including multiple made up Chapters and color schemes. In the end, remembering the wrathful charge of the Crimson Fists from the “Crimson Tears” Soul Drinkers novel, I decided to follow up on a youthful dream of a Crimson Fists collection. Contrary to my usual practices of fast bulk painting to play, I focused on small numbers, cherishing the process and pouring my heart and soul into each and every miniature. I steadily grew the collection, adding a few units at a time, prioritizing unit diversity rather than chasing the meta. As it happens, expanding a collection by adding one or two units every month, allows for some awesome hobby experience – but also expands the available toolset to breathe fresh air into the gaming experience. With a lively, positive local community around the corner, I’m having the time of my life with miniatures games right now and am speaking from over 25 years of wargaming experience behind my belt.
Easy to say that having a main, living project – a growing collection to add to and have fun with, might have saved me as a hobbyist. I love my Crimson Fists army and it is for this reason that I chose to honor it by preparing a special diorama.

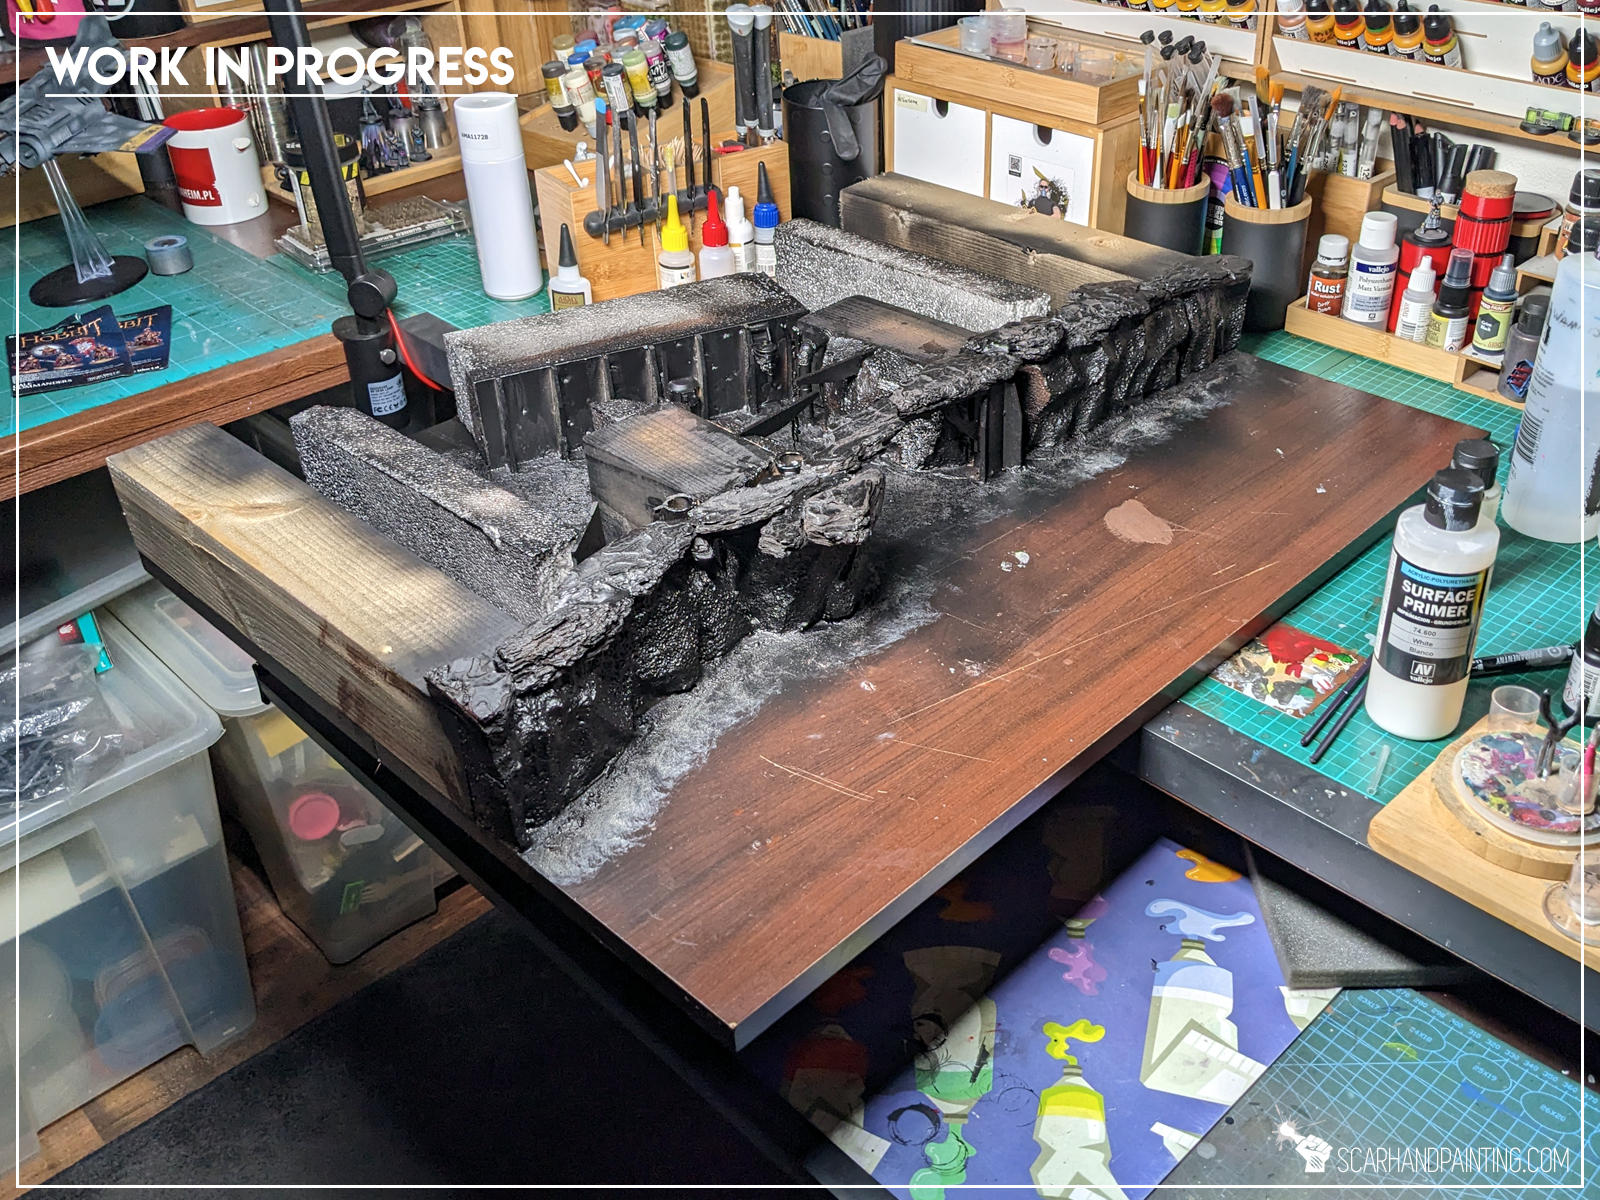
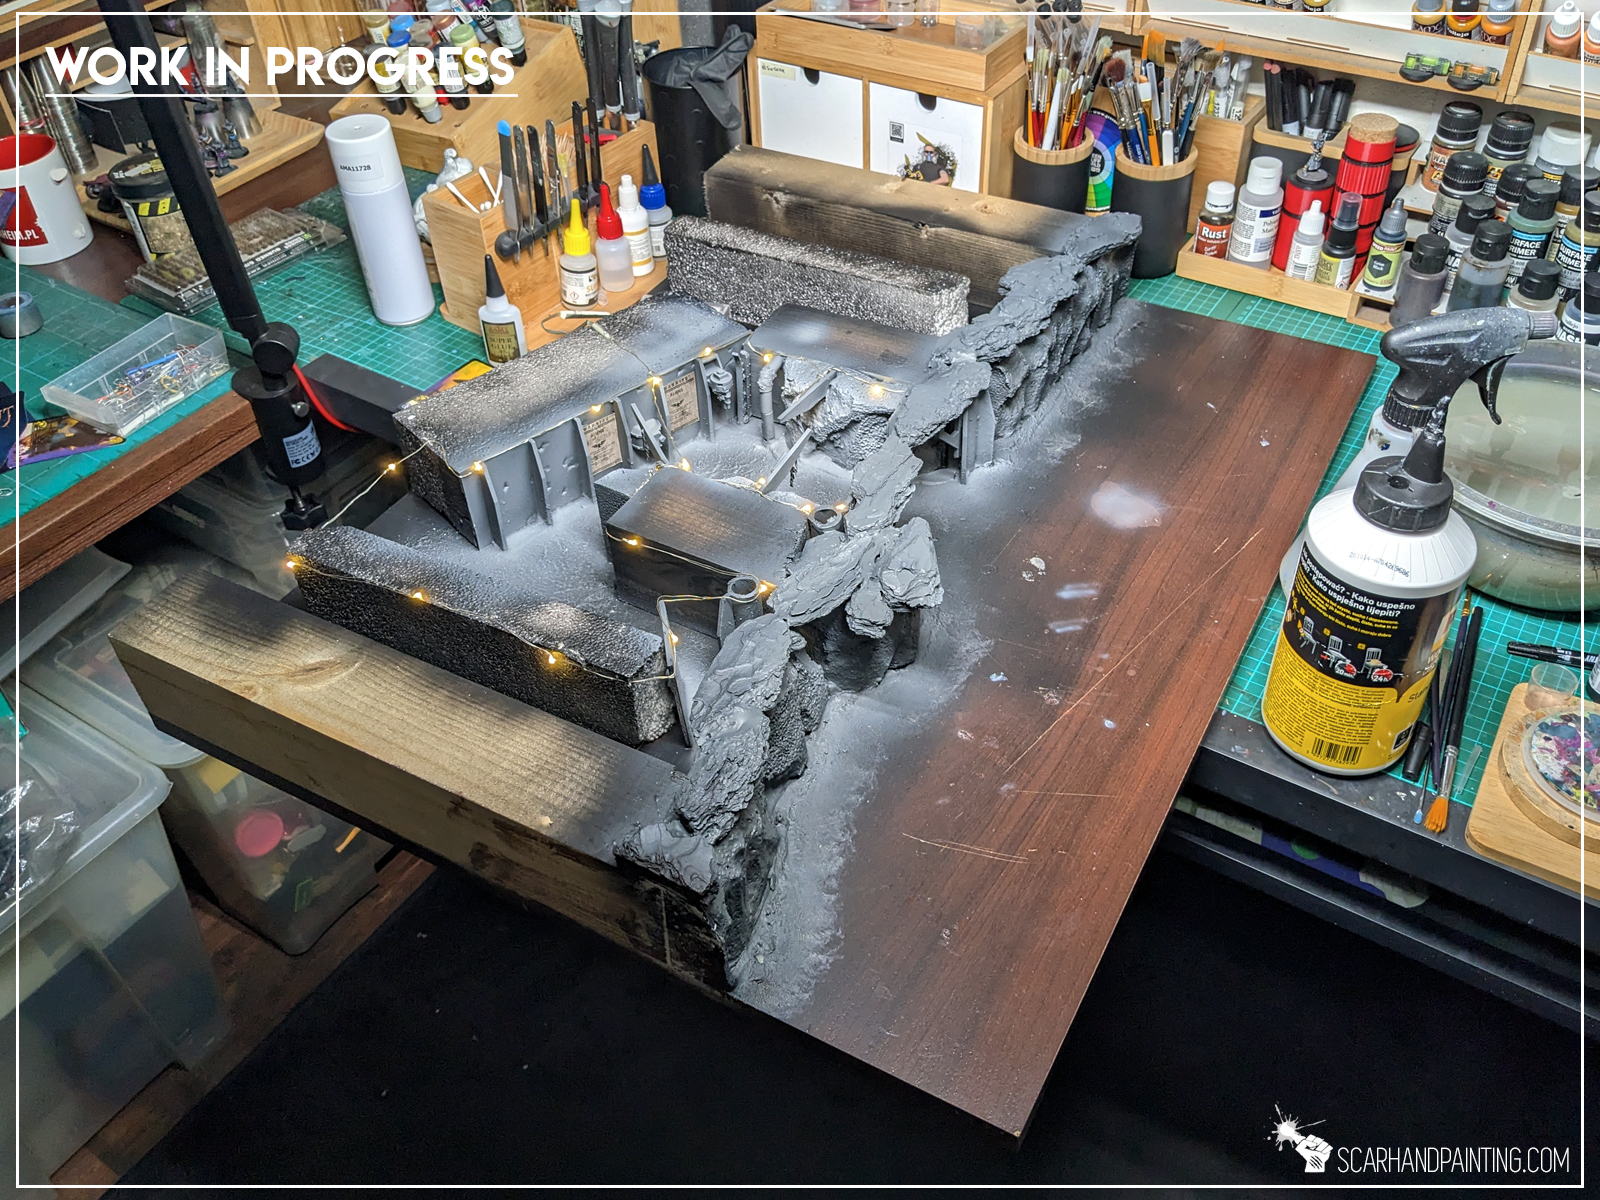
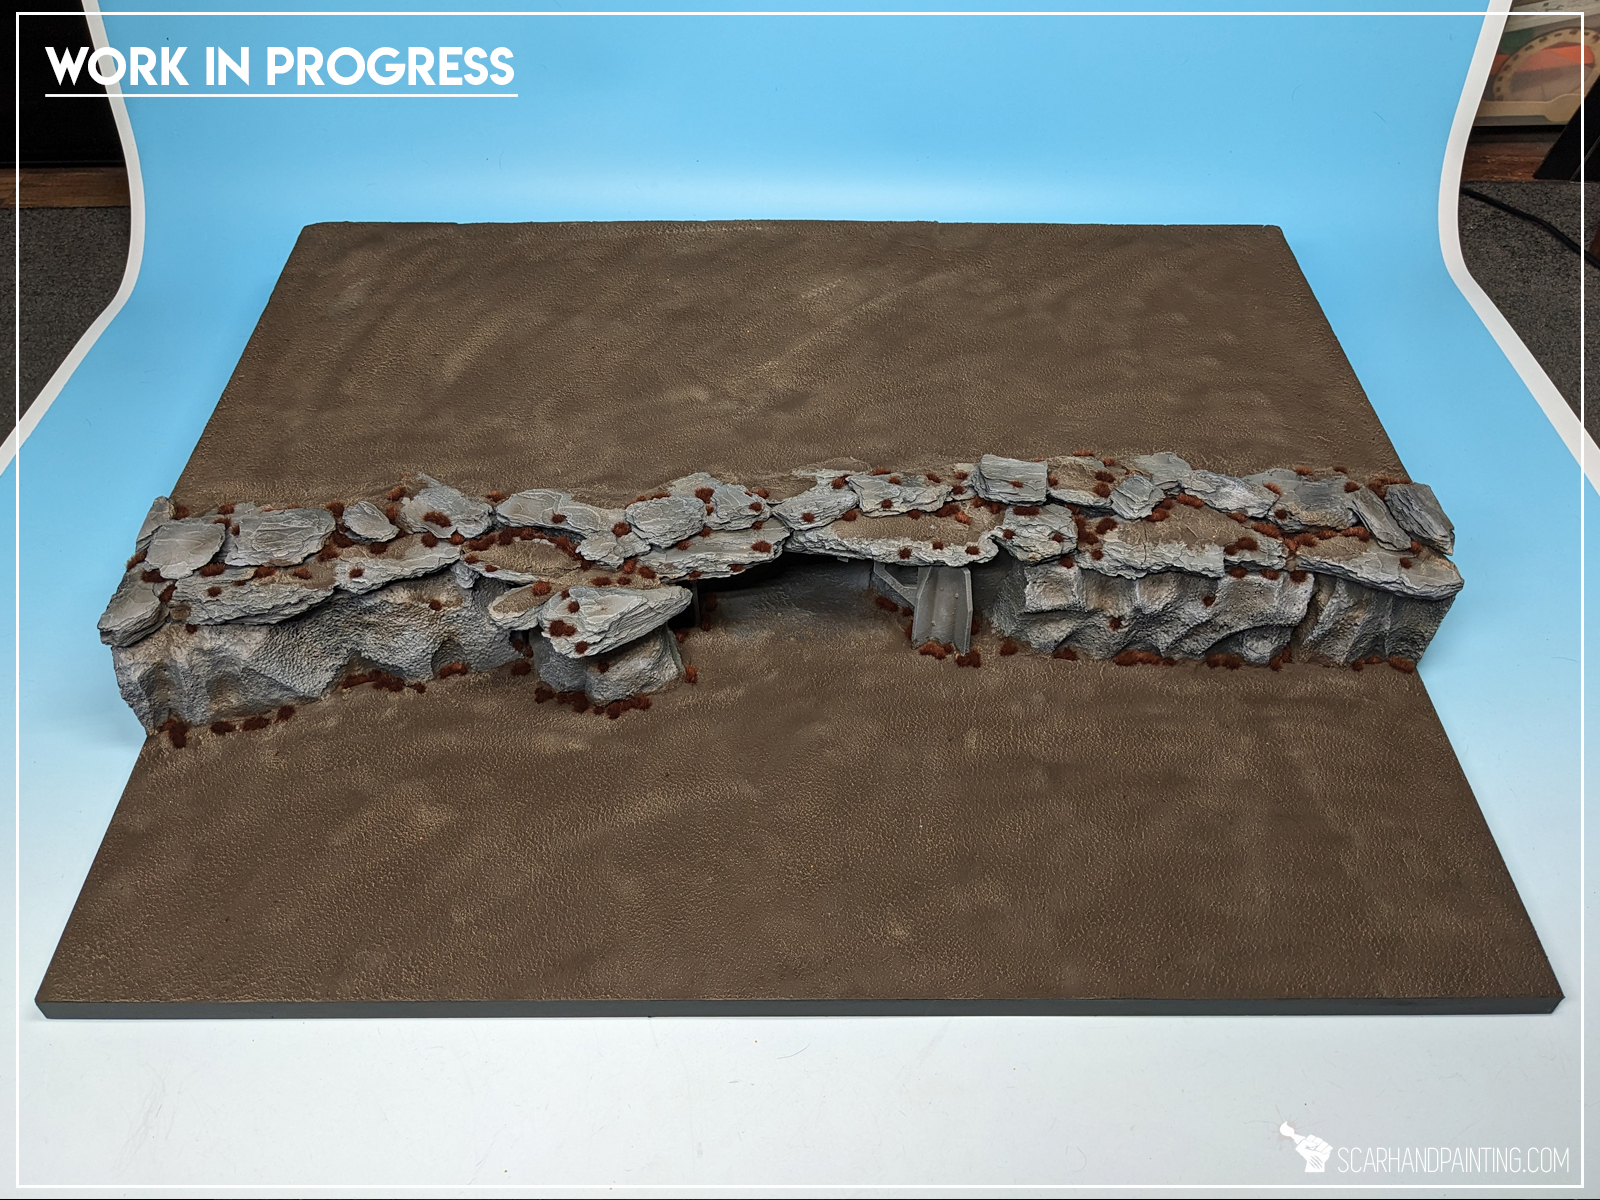
Once I’ve committed I had a really bad time sleeping – multiple ideas ferociously fighting with one another inside my head. I spent almost four hours laying in bed, trying to fall asleep, grinding thoughts on how to better present the army. In the end I chose to focus on a two level base with a part of an exposed ground level and a large vantage point. I have been building advanced Crimson Fists themed scenery for the last year and figured a relatively simple base would allow me to use everything I have to build an interesting background and add detail.
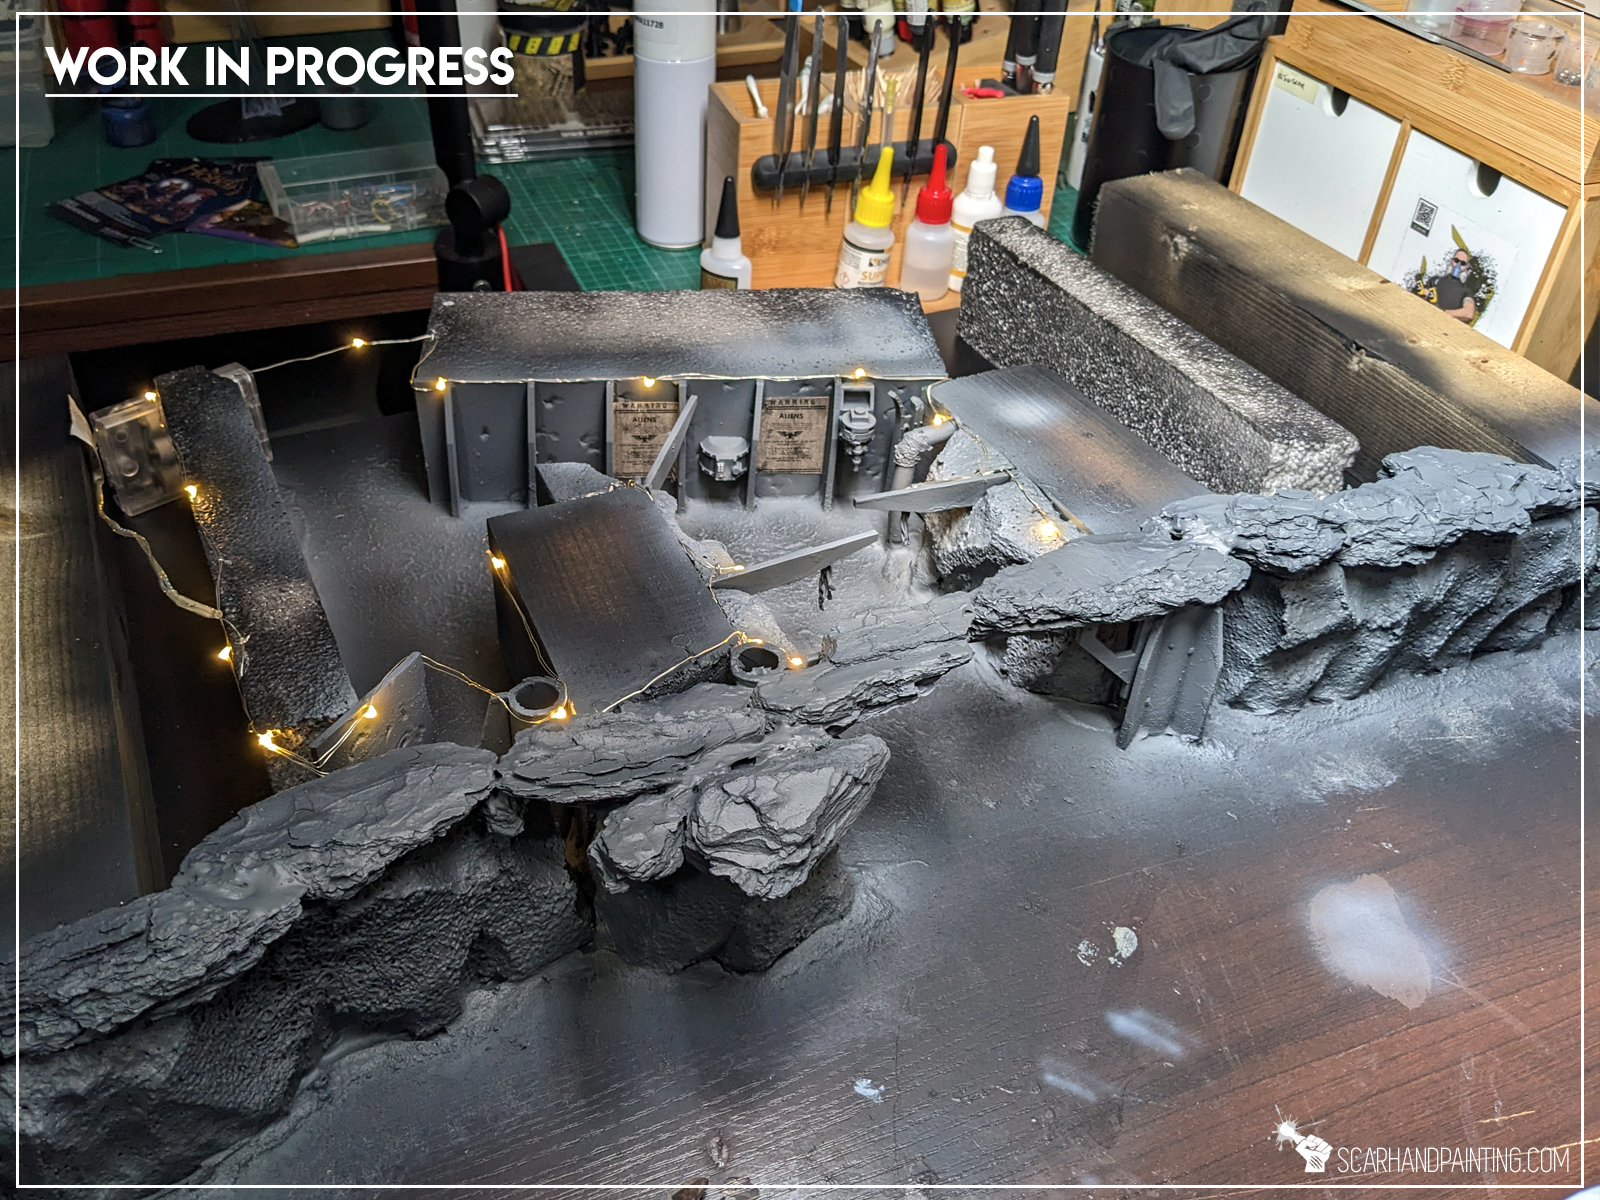
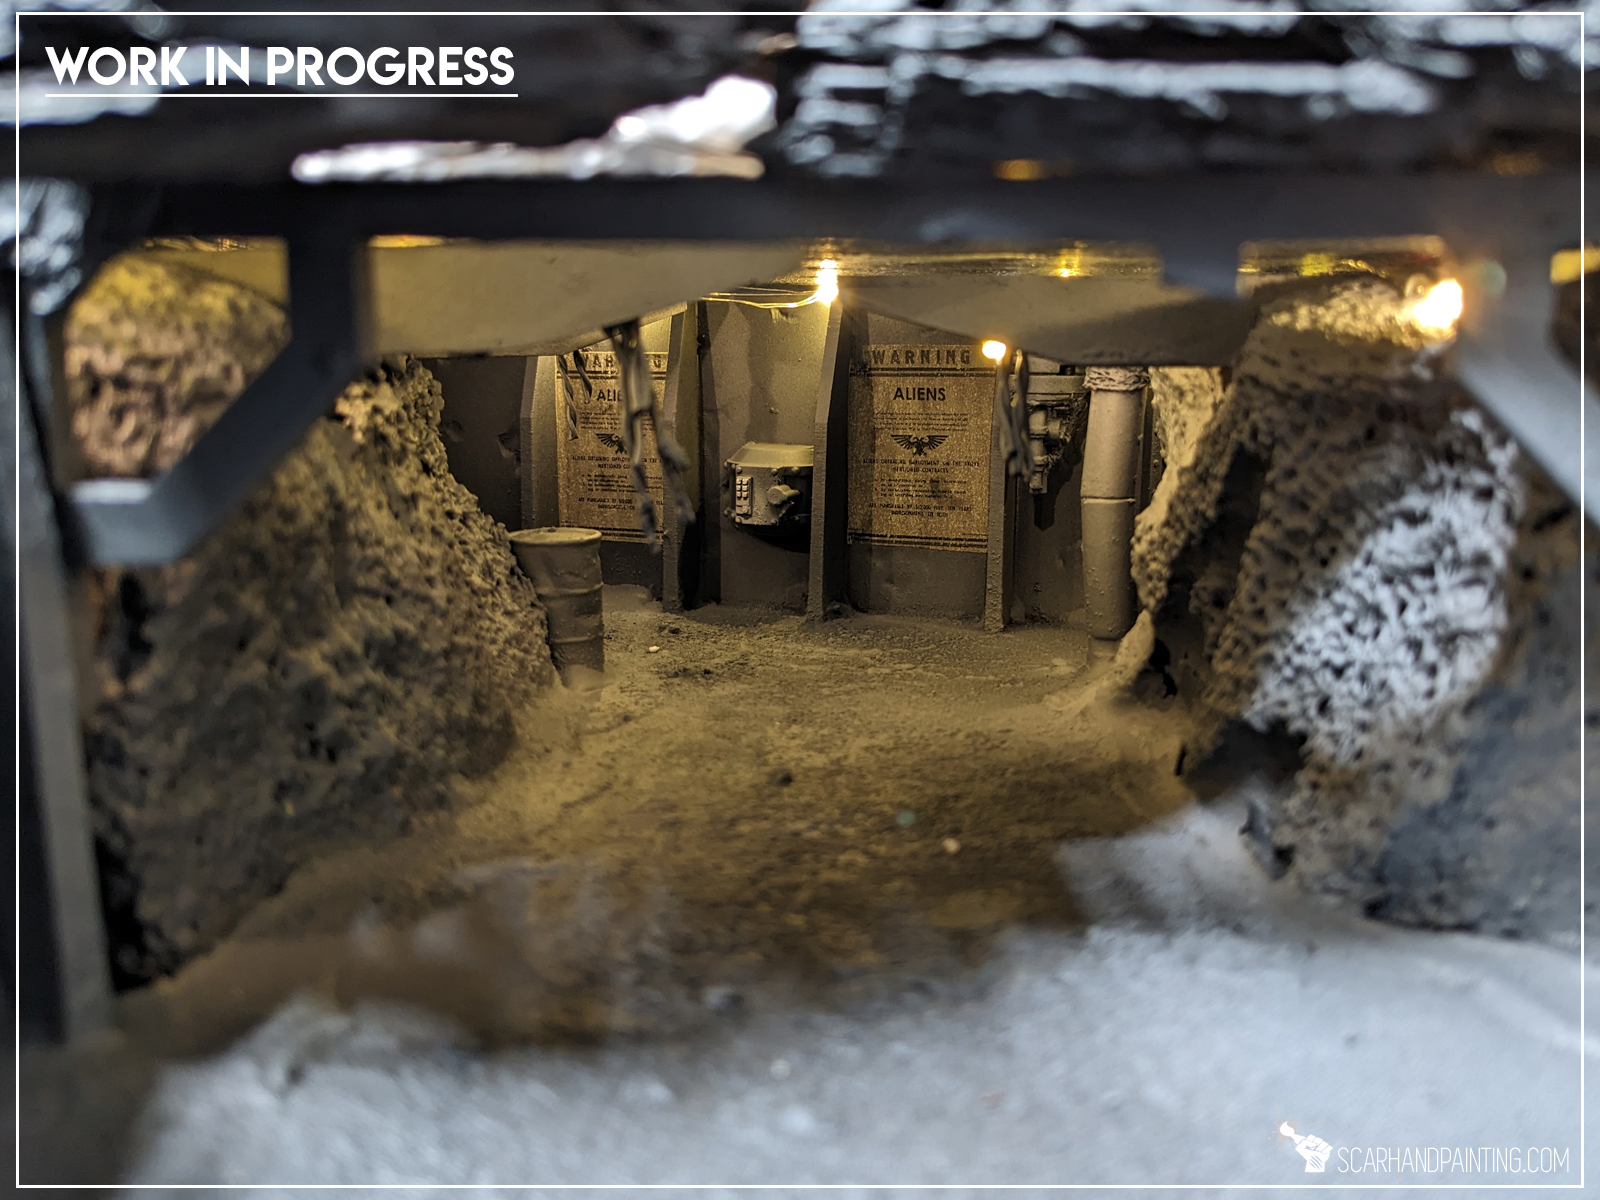
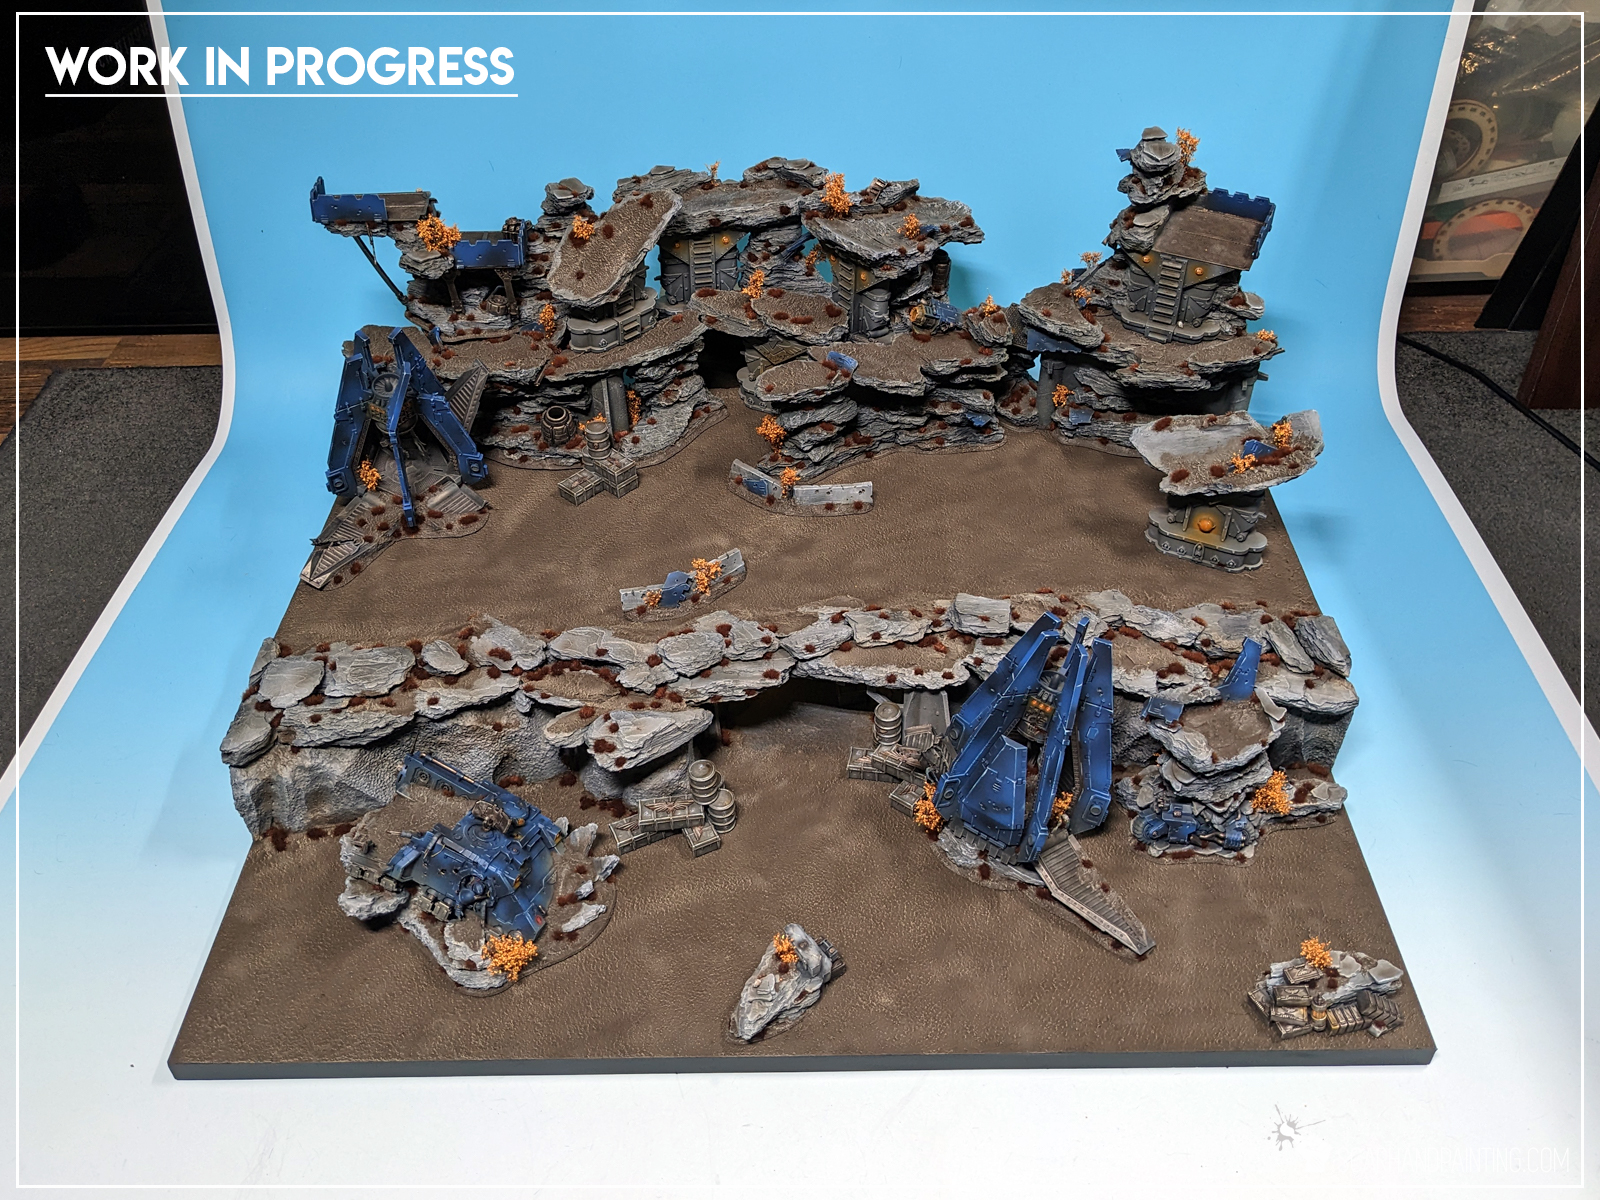
To spice things up I have added a decrepit bunker complex entry tunnel and taken it a little bit further with a set of small lights spread across its length. Because there was an entire vantage level coming in on top – I had to finish painting the tunnel before starting to work on the exterior area.
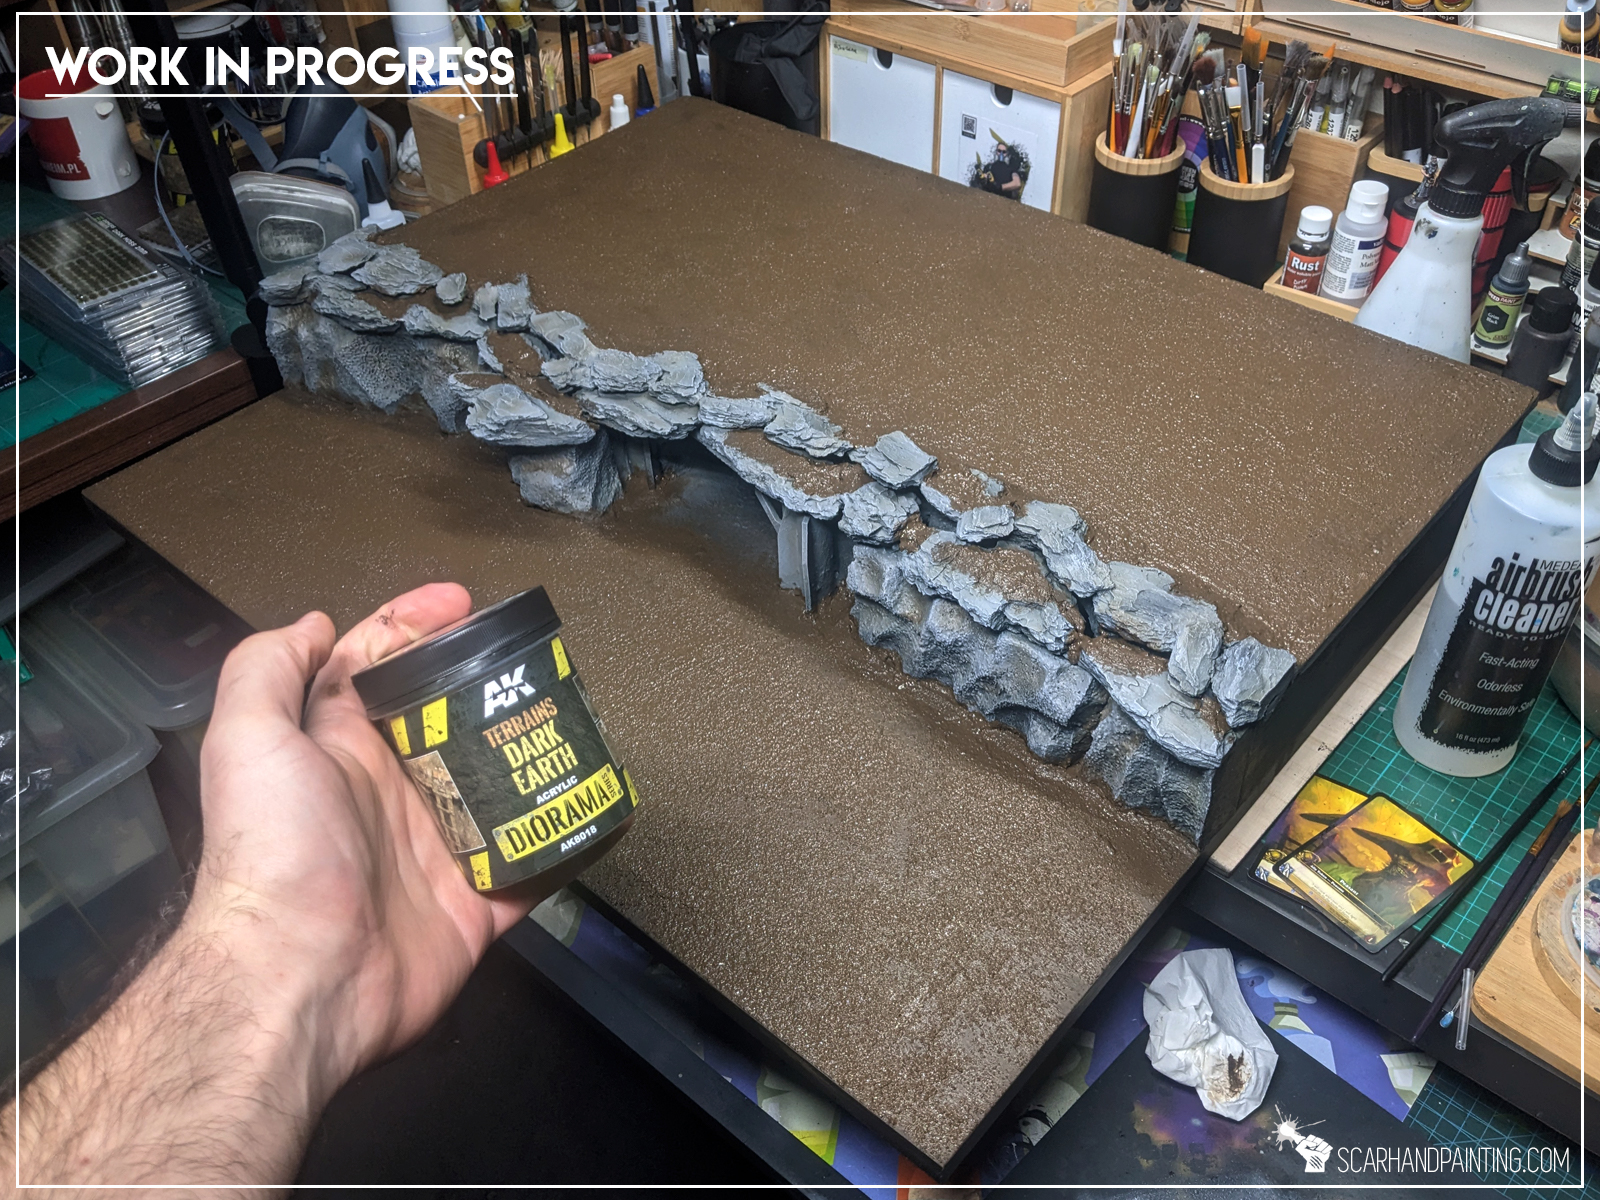
It took me about four hours from laying a wooden worktop on the ground to sealing the vantage floor on top of the finished tunnel. What was left was the exterior and this part was rather easy in comparison. It took less than two hours of the actual work (and a lot of AK Interactive’s Dark Ground texture paint apart from other hobby materials) to see the thing completed.
Once the painting process was finished, I was left with the tedious and challenging process of setting up the background, planning the scene and breathing some life into it. I always admired cinematic shots from White Dwarf magazines – never would I ever dared to imagine I would be taking one myself 🙂
It took a lot of time and hard decision making on which units to include and which ones had to be cut, but in the end I finally had my epic, cinematic shot. Or at least a test shot to be precise.
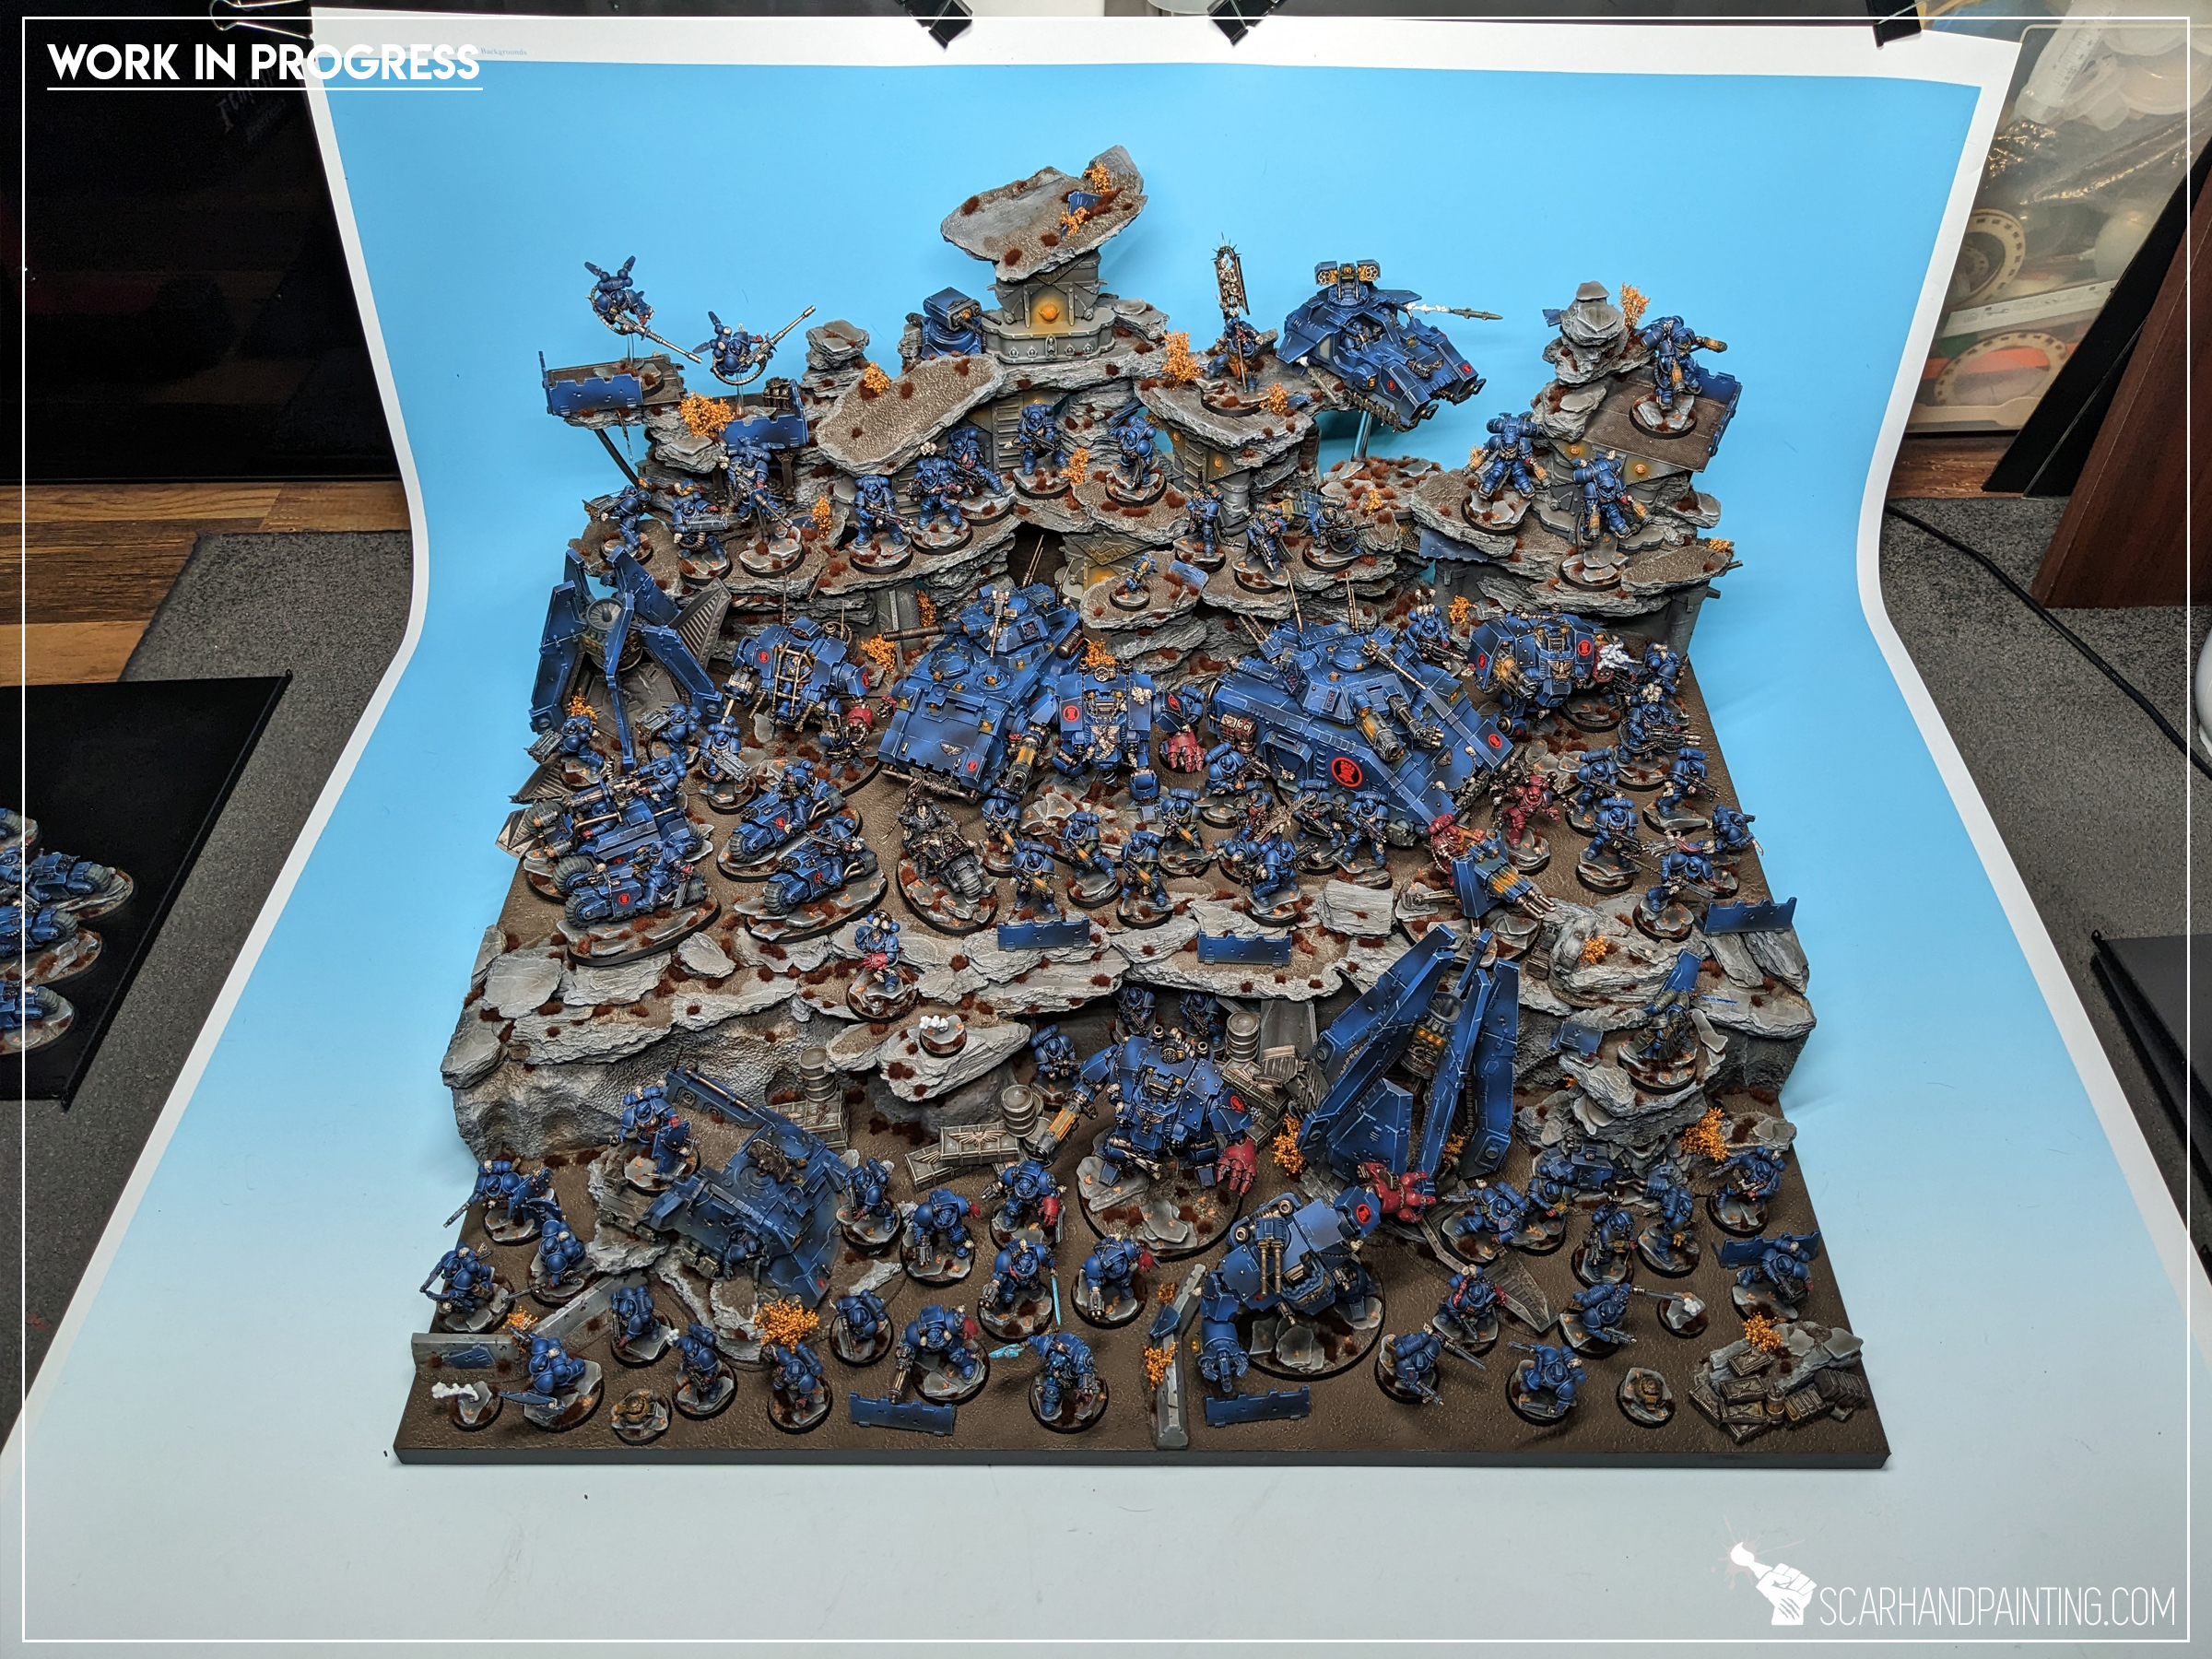
Now all is in the hands of Games Workshop’s team. Let’s see if I can get as much as a shout out from them. Keep your fingers crossed for me mates!
I hope you’ve enjoyed this article. Be sure to let me know your thoughts in the comments below or via Facebook or Instagram. I would also appreciate it if you considered sharing this content with your friends, who might find it interesting. Finally if you are looking for a professional warhammer 40k miniatures painting service, be sure to contact me with this contact form. I always reply within 24 hours, after which please check out your spam folder.

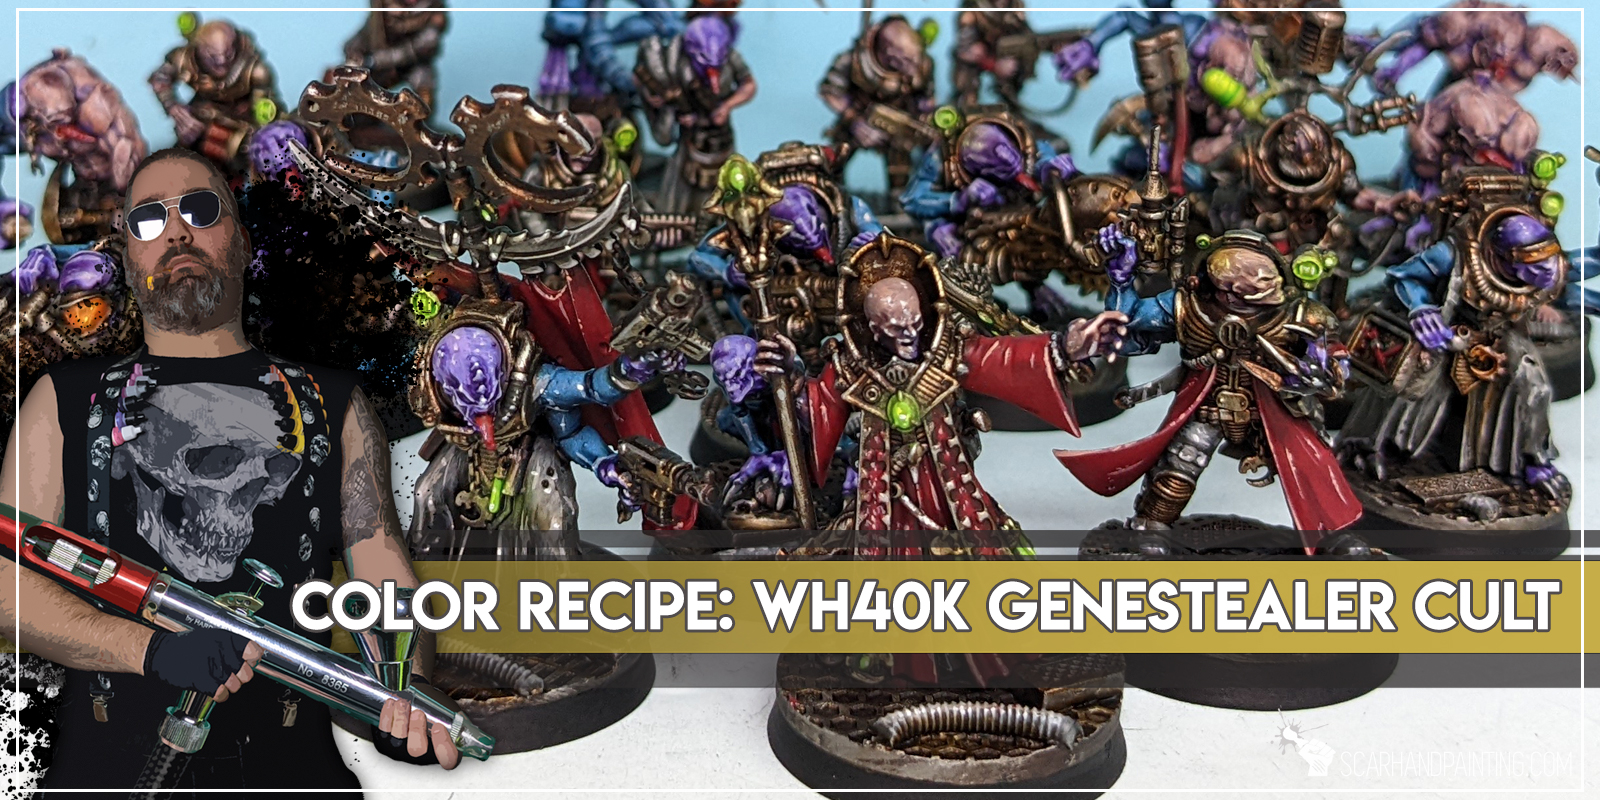
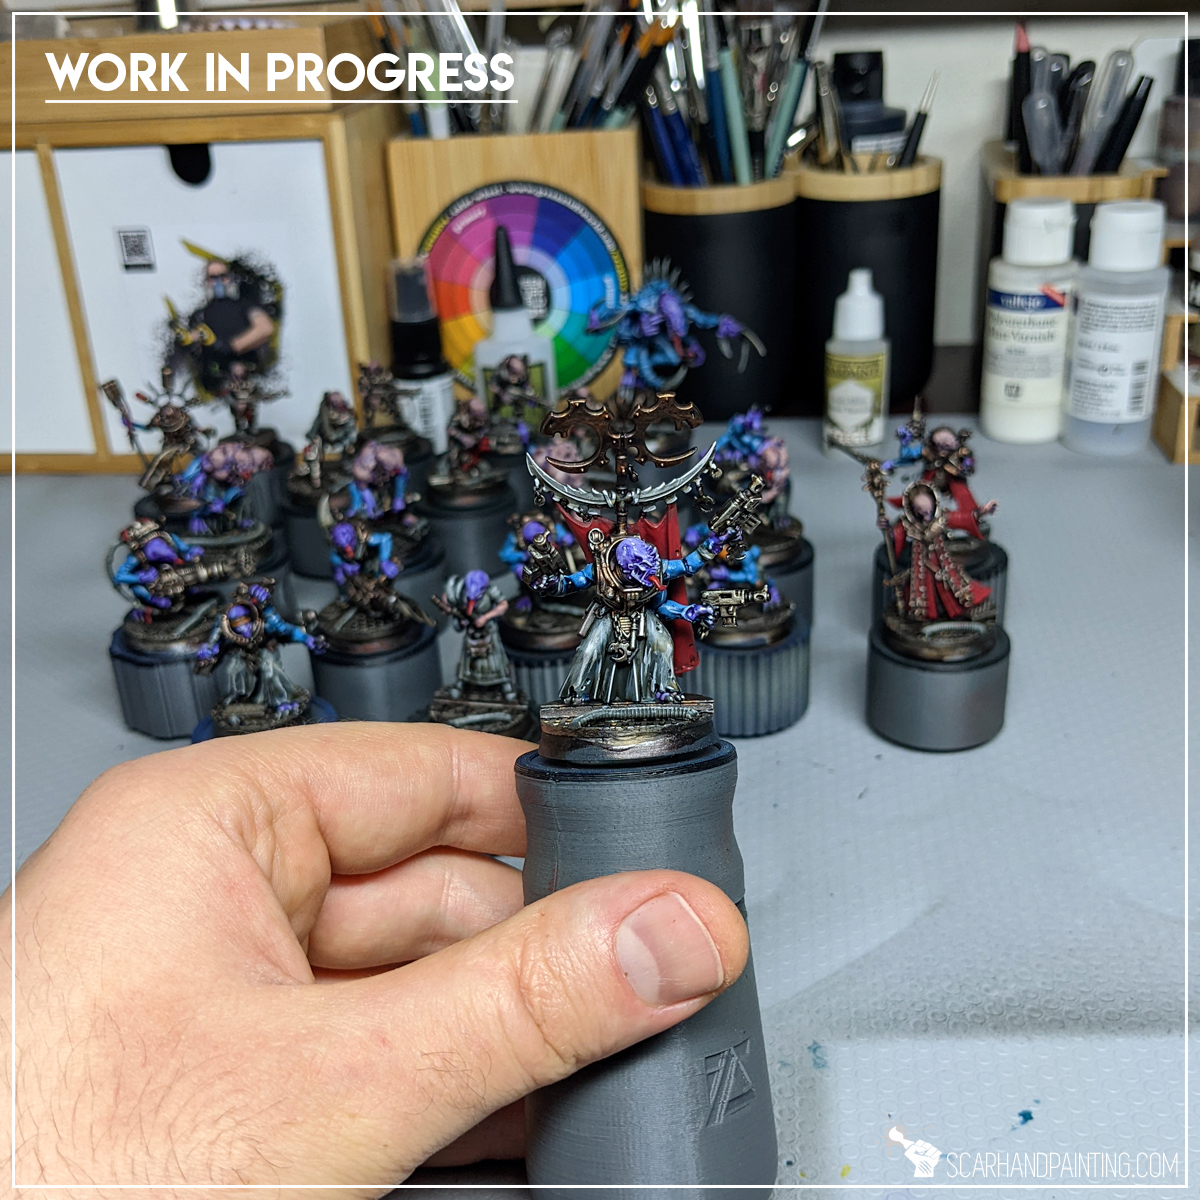
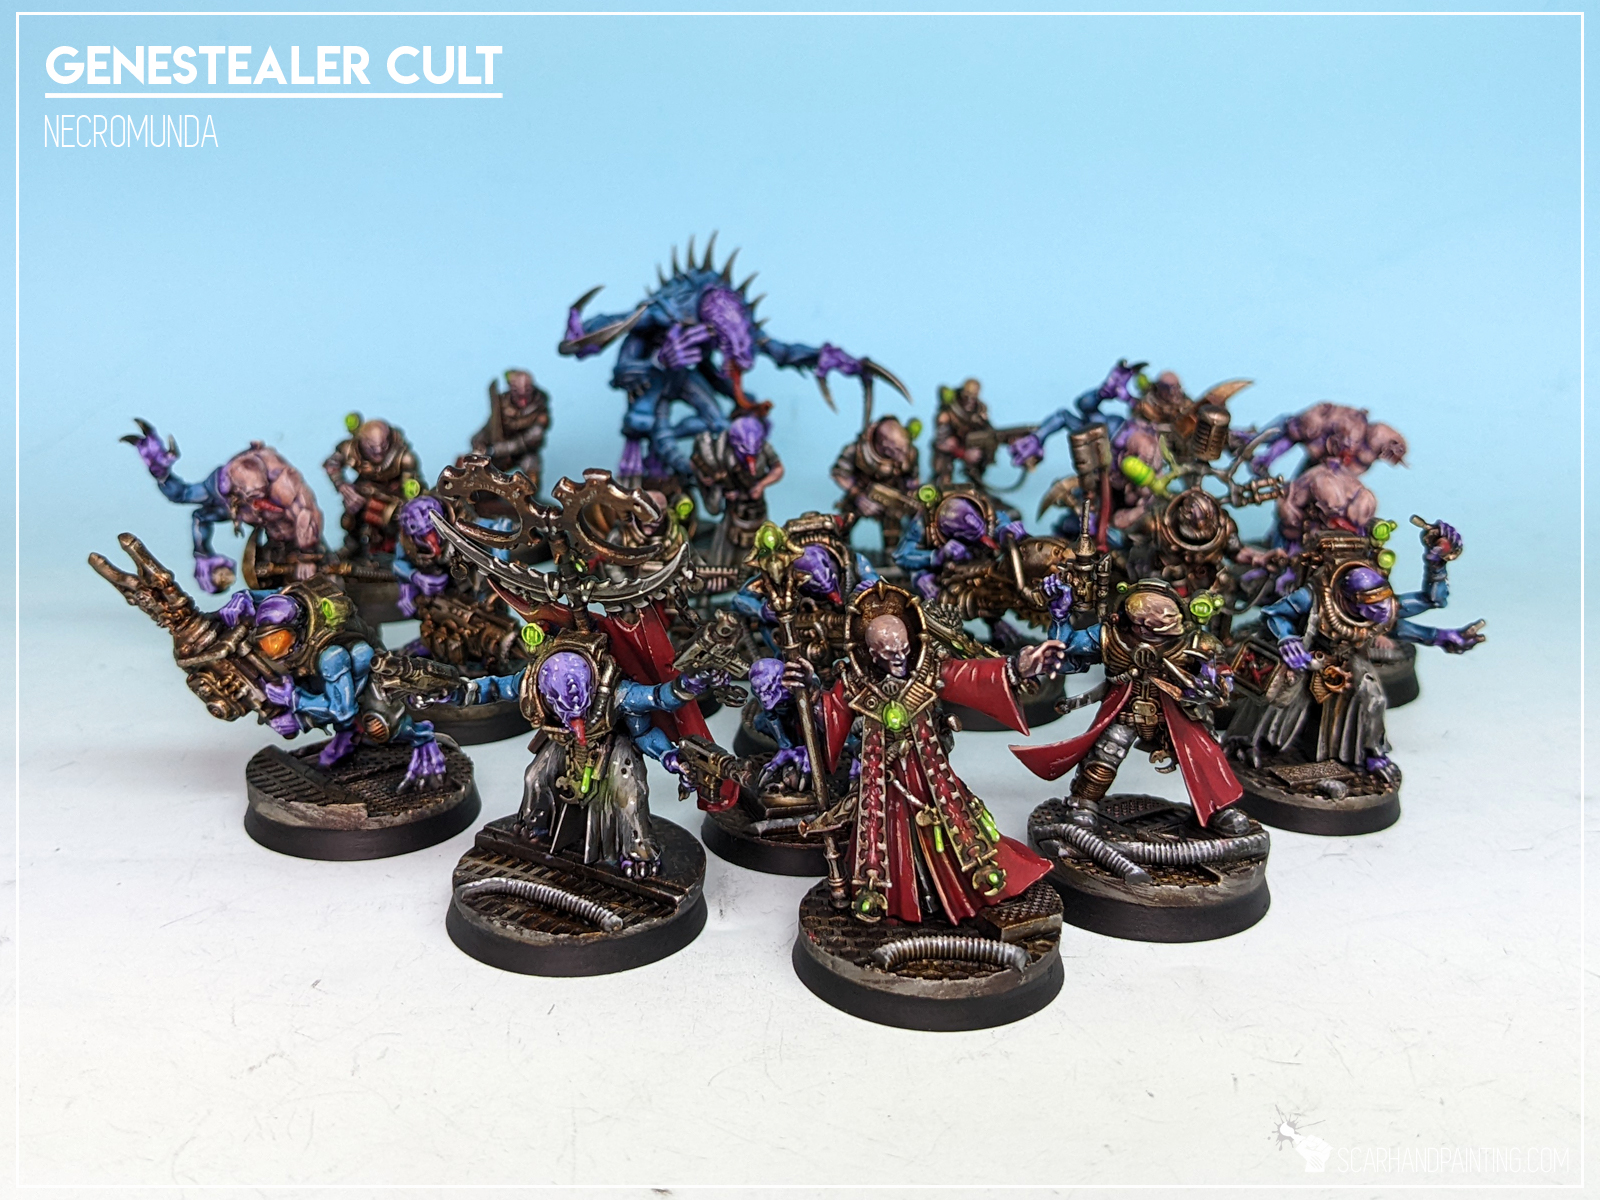
Here are some Colour Recipes for Infinity Haqqislam from GALLERY: GENESTEALER CULTS. Please take note that this is a simple colour scheme, not covering multiple overlapping layers and blends in between, that lead to the final product. It is supposed to be used as guideline not a step-by-step.
BLUE armor:
Black Undercoat,
Imperial Blue (val),*
Mix: Imperial Blue (val) 4:1 Electric Blue (val),*
Electric Blue (val),*
Mix: Electric Blue (val) 1:3 White,*
Blue Tone Ink (ap),
Pallid Wych Flesh (gw), l&p
Off White (val), l&p
METAL:
Warplock Bronze (gw),
Gun Metal (ap), / True Copper (ap), flbr
Shining Silver (ap), l&p
Mix: Strong Tone Ink (ap) 1:1 Soft Tone Ink (ap),
Streaking Grime (ak int),

PURPLE skin:
Black Undercoat,
Alien Purple (val),
Mix: Alien Purple (val) 2:1 Squid Pink (val), flbr
Mix: Alien Purple (val) 1:1:1 Squid Pink (val), Pale Flesh (val), flbr
Purple Tone Ink (ap),
Pallid Wych Flesh (gw), l&p
Off White (val), l&p
SKIN:
Alien Purple (val a),
Dwarf Skin (val a), flbr
Flesh (val a), flbr
Mix: Purple Tone Ink (ap) 1:1:1:1, Strong Tone Ink (ap), Soft Tone Ink (ap), Medium,
BLACK/GREY outfits:
Black Undercoat,
Panzer Dark Grey (val),
Cold Grey (val), flbr
Fenrisian Grey (gw), flbr
Pallid Wych Flesh (gw), l&p
Mix Strong Tone Ink (ap) 1:1 Soft Tone Ink (ap),
Pallid Wych Flesh (GW), l&p
Off White (Val), l&p
BROWN clothes:
Grey Outfits base,
Dark Brown RLM61 (val), bl
Mix Strong Tone Ink (ap) 1:1 Soft Tone Ink (ap),
Karak Stone (gw), l&p
Flayed One Flesh (gw), l&p
GREEN light:
Duck Egg Green (val a),
Off White (val), l&p
Light Livery Green (val a),*
Waywatcher Green (gw), wash
Off White (val), l&p

l&p – lines and points,
p – points,
dl – deep lining,
bl – blend,
gl – glaze,
drbr – drybrush,
fltbr – flatbrush,
lobr – loaded brush,
stpl – stippling,
*Airbrushed (with multiple layers and mixes)
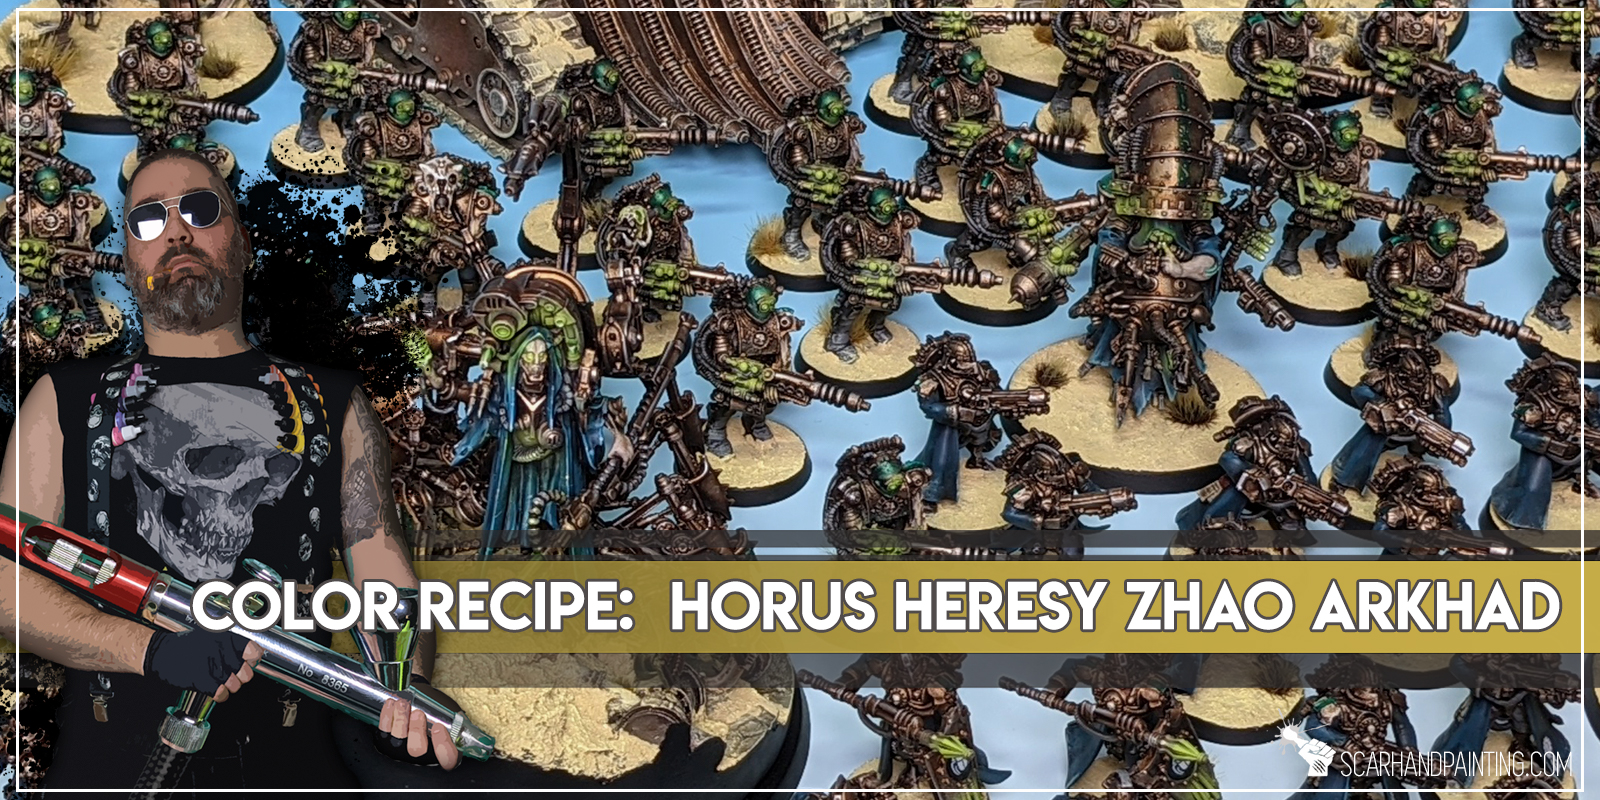
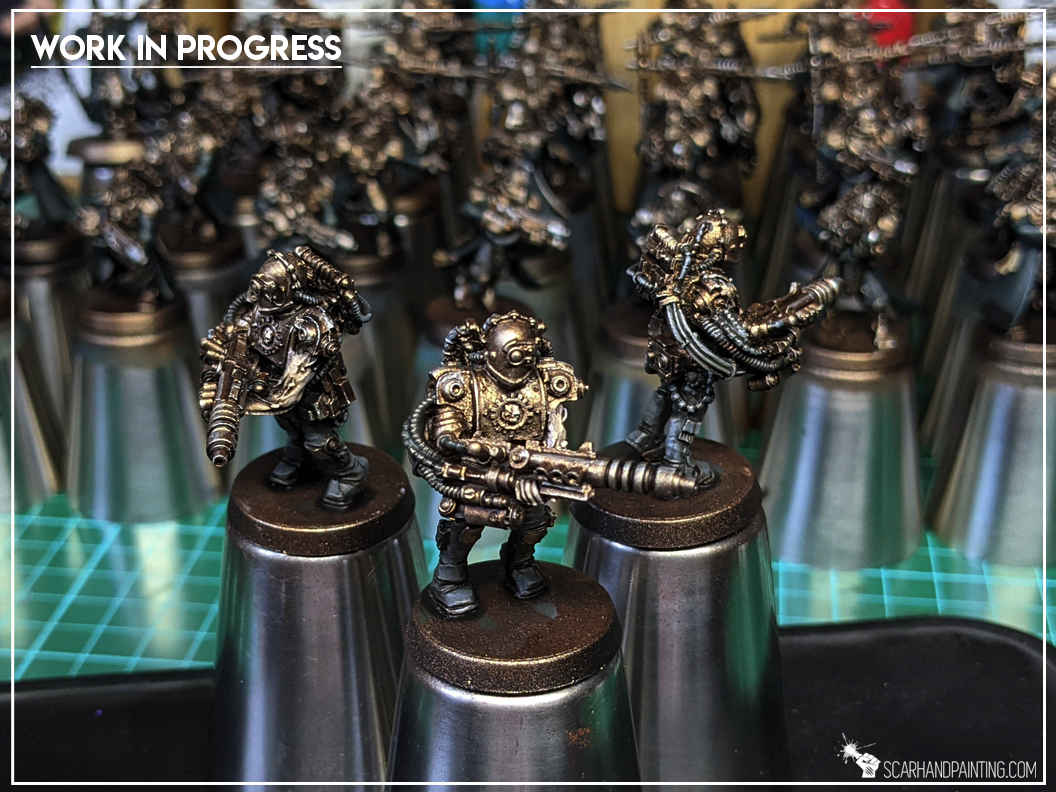
Here are some Colour Recipes for Horus Heresy Mechanicum from Gallery: Forge World Zhao Arkhad. Please take note that this is a simple colour scheme, not covering multiple overlapping layers and blends in between, that lead to the final product. It is supposed to be used as guideline not a step-by-step.
BRONZE armor:
Black Undercoat,
Mix Rust (val a) 1:1 Metallic Black (val a), *
Bright Bronze (val a), * zenithal
Shining Silver (ap), flbr
Strong Tone Ink (ap), wash / *
Shining Silver (ap), l&p
Soft Tone Ink (ap), wash dedicated
… GREEN metallic:
Jade Green (val), bl
TURQUOISE clothes:
Coal Black (p3),
Strong Tone Ink (ap), wash
Coal Black (p3),
Mix Coal Black (p3) 1:1 Turquoise (val), flbr
Mix Coal Black (p3) 1:2 Turquoise (val), bl
Turquoise (val), l&p
Ice Yellow (val), bottom drbr
SKIN:
Slaanesh Grey (gw),
Flesh (val a), flbr
Pale Flesh (val), l&p
Strong Tone Ink (ap), wash
Pale Flesh (val), l&p
BONES:
Flayed One Flesh (gw),
Ivory (val), flbr
Strong Tone Ink (ap), wash
Skeleton Bone (ap), l&p
Off White (val), l&p
GREEN osl:
Duck Egg Green (val a), *
Light Livery Green (val a), *
Off White (val), l*p
Waywatcher Green (gw), bl
DESERT bases:
Desert Sand (val texture), texture
Khaki (val a), * stones
Ice Yellow (val), drbr
Tufts:
Wasteland Tuft (ap),
Steppe Tuft 12mm (Paint Forge),
Steppe Tuft 6mm (Paint Forge),
l&p – lines and points,
p – points,
dl – deep lining,
bl – blend,
gl – glaze,
drbr – drybrush,
fltbr – flatbrush,
lobr – loaded brush,
stpl – stippling,
*Airbrushed (with multiple layers and mixes)

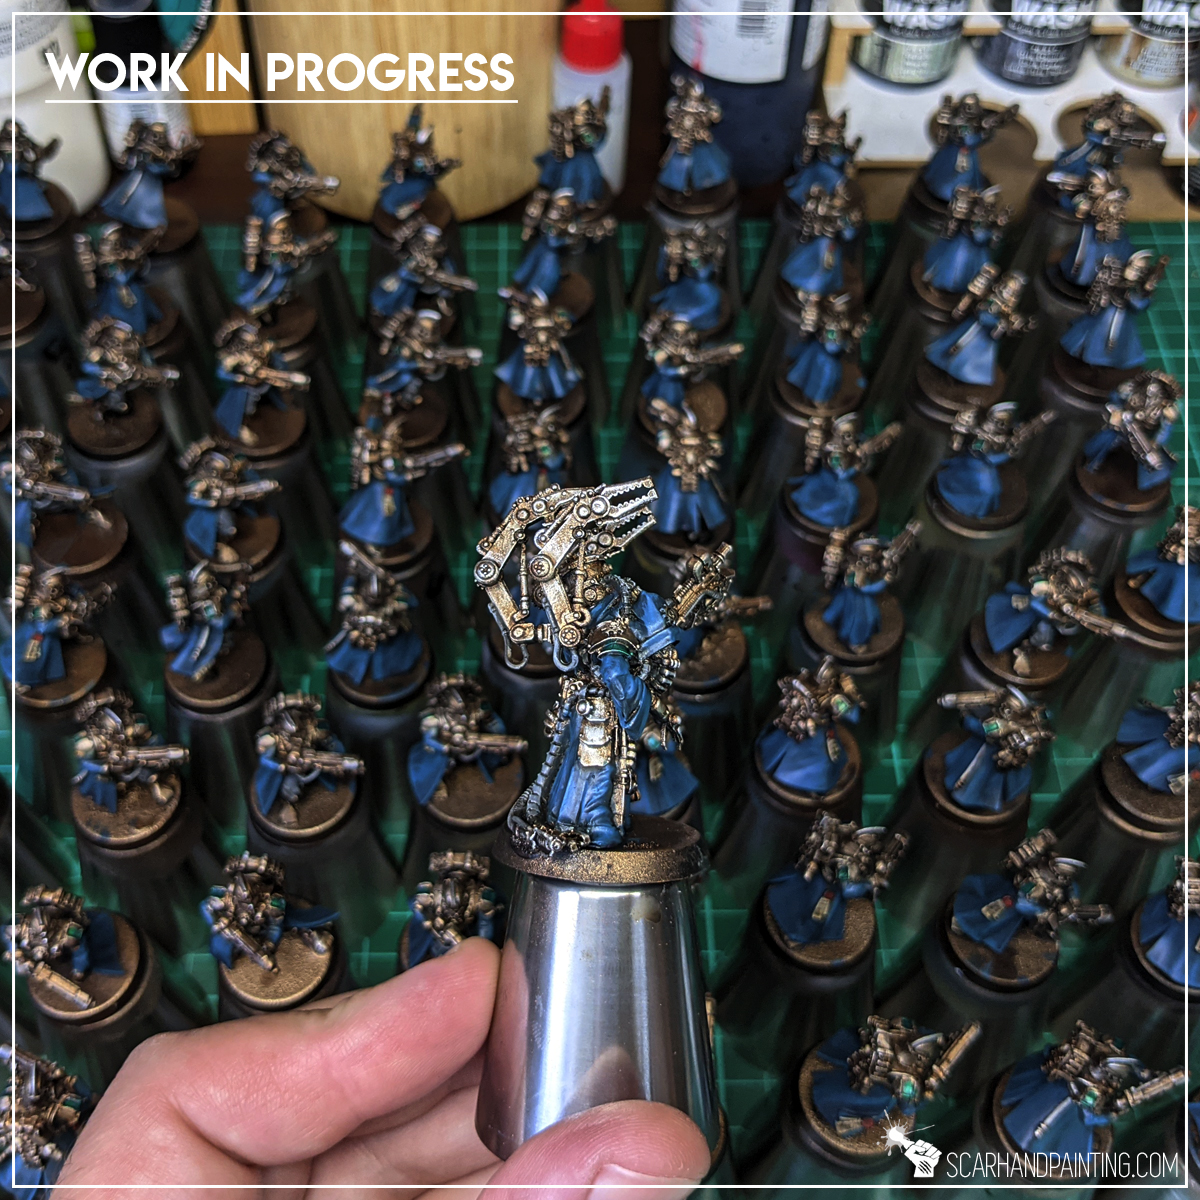
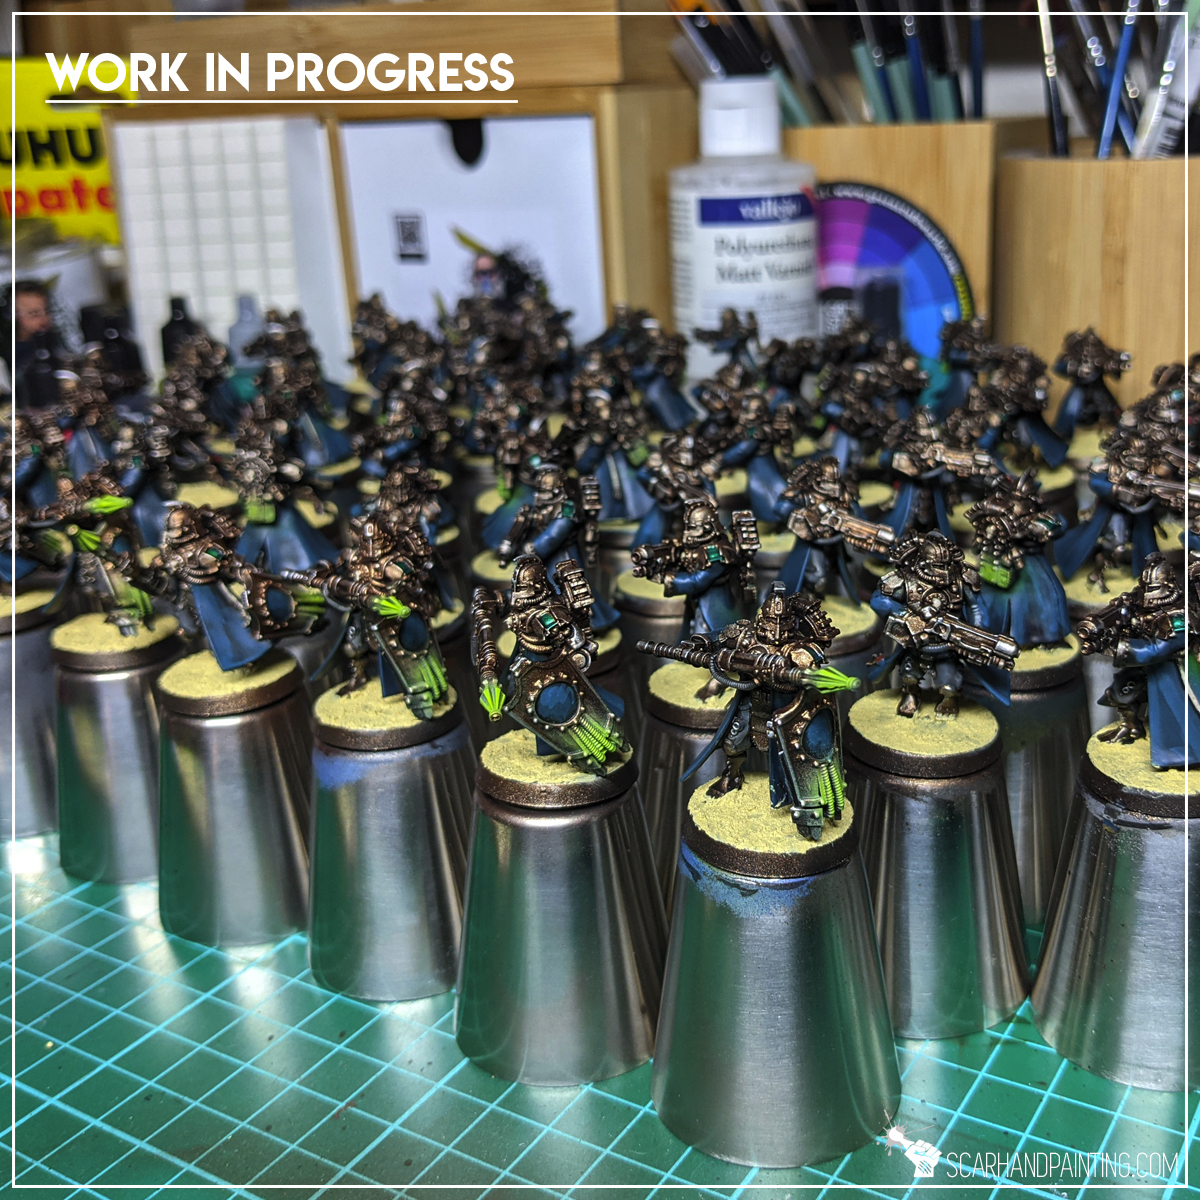
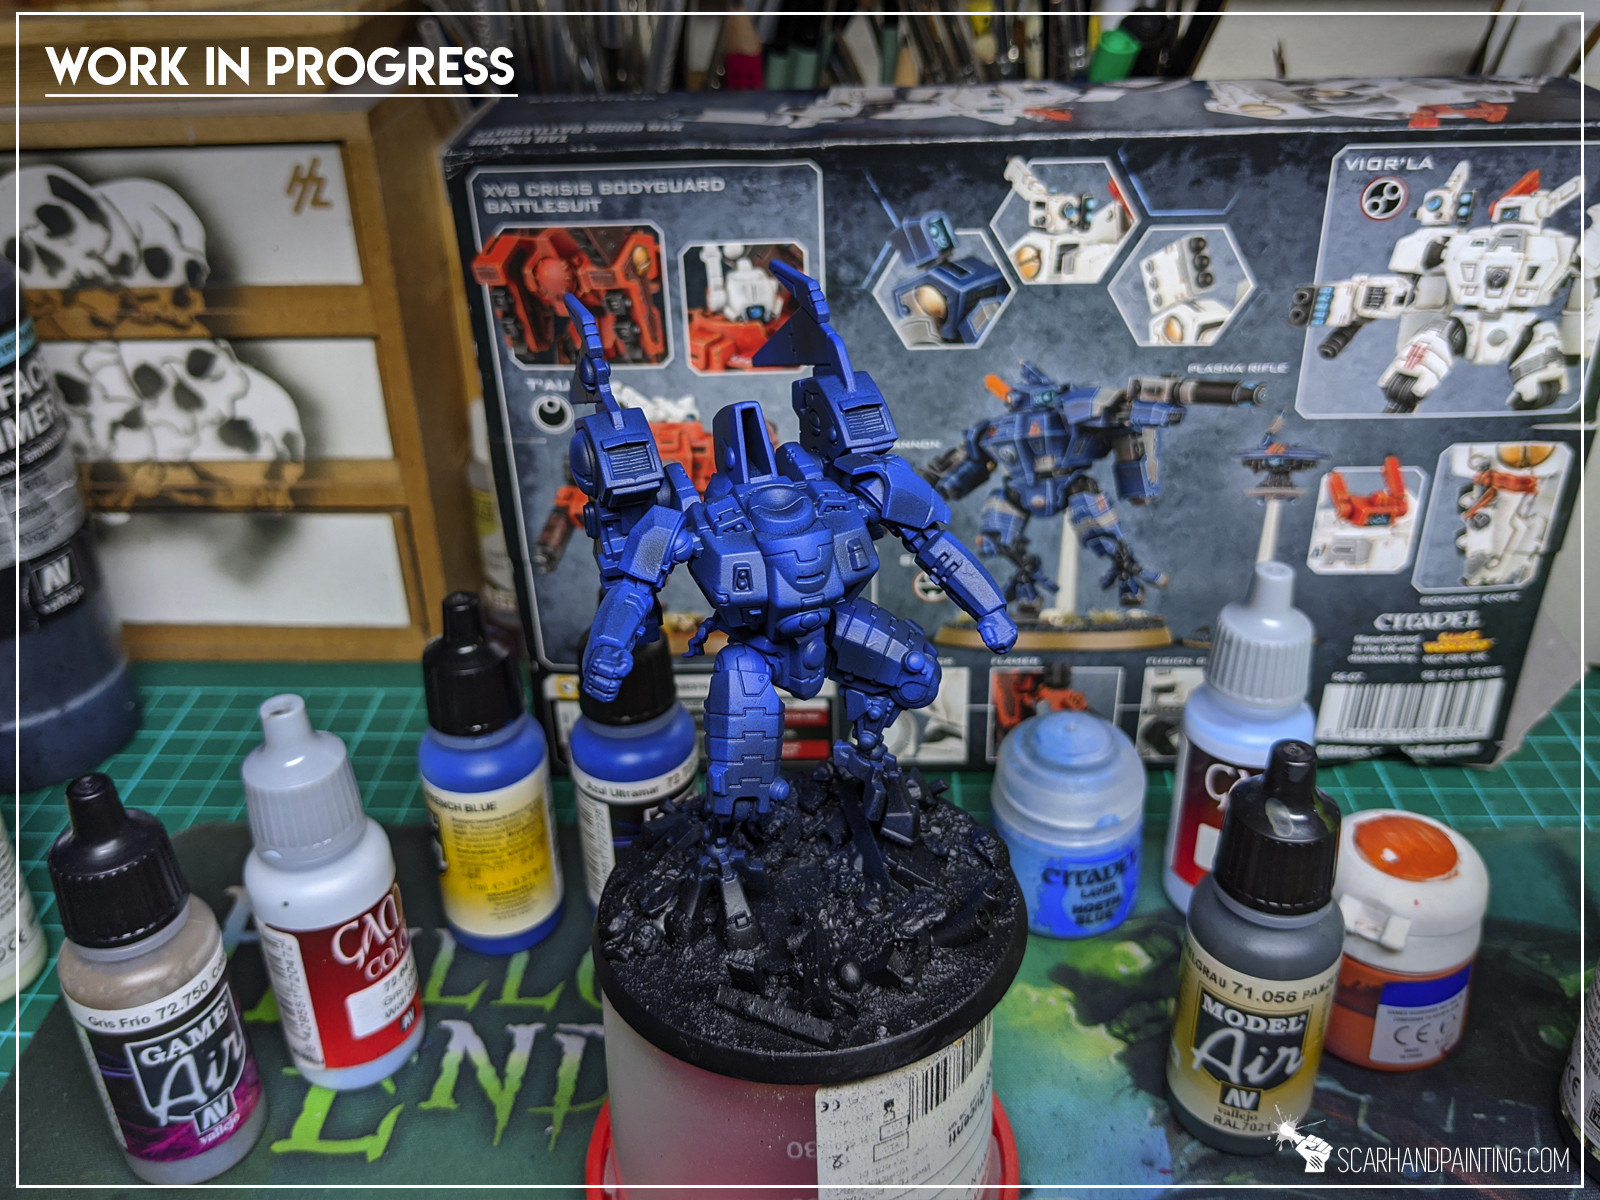
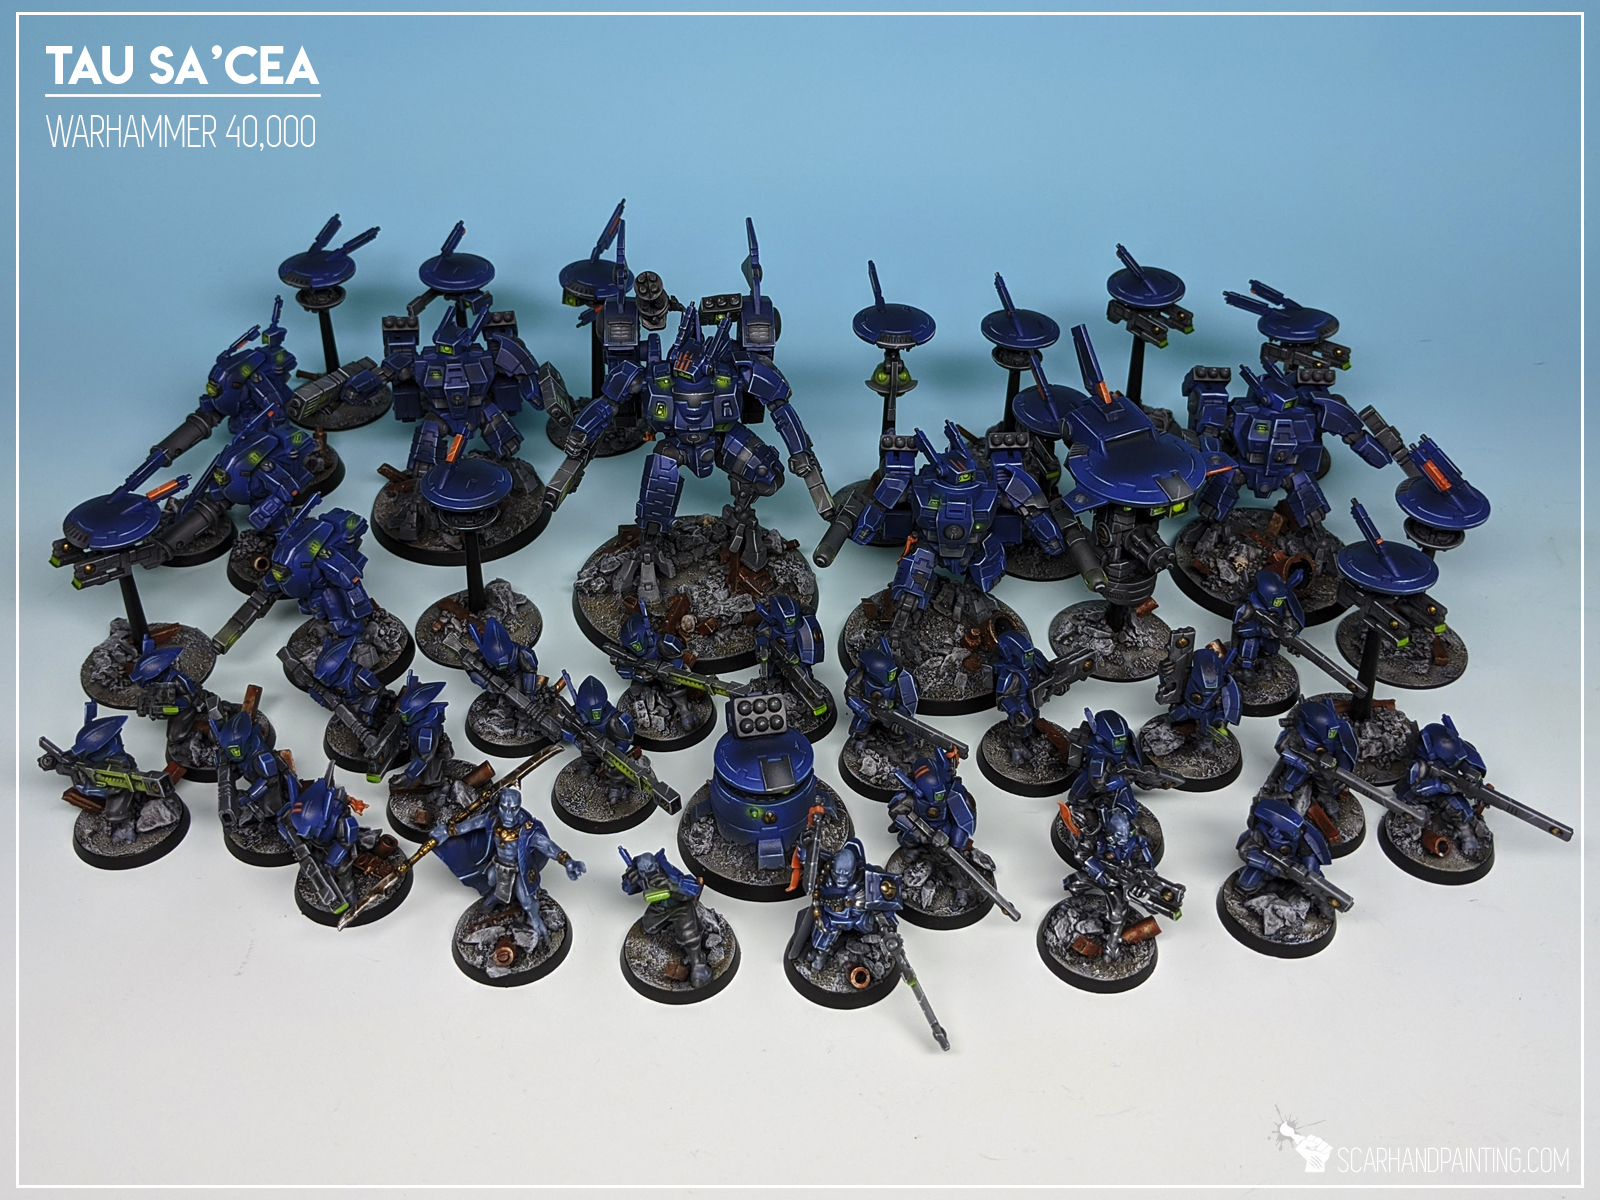
Here are some Colour Recipes for Sa’Cea Tau from Gallery: Tau Sa’Cea. Please take note that this is a simple colour scheme, not covering multiple overlapping layers and blends in between, that lead to the final product. It is supposed to be used as guideline not a step-by-step.

BLUE armour:
French Blue (Val), *
Ultramarine Blue (Val), *
Mix Ultramarine Blue (Val) 5:2 Light Sea Blue (Val), *
Black Wash For Dark Vehicles (Val), *
Hoeth Blue (GW), l&p
Glacier Blue (Val), l&p
GREY:
Dark Panzer Grey (Val), *
Cold Grey (Val), *
Wolf Grey (Val), l&p
Dark Tone Ink (AP), blend
ORANGE:
Macharius Solar Orange (GW),
Fire Dragon Bright (GW),
Elf Skintone (Val), l&p
GREEN OSL:
Duck Egg Green (Val), *
Light Livery Green (Val), *
Ivory (Val), l&p

SKIN:
Shadow Grey (GW),
Mix Shadow Grey (GW) 1:1 Frostbite (P3),
Mix Shadow Grey (GW) 1:2 Frostbite (P3), drbr
Frostbite (P3), Soft drbr
l&p – lines and points,
p – points,
bl – blend,
gl – glaze,
drbr – drybrush,
fltbr – flatbrush,
lobr – loaded brush,
stpl – stippling,
*Airbrushed (with multiple layers and mixes)
Third ‘Special Project’ and this time it is much different than the previous ones. It’s worth mentioning that I had this one in mind for more than five years. Actually since Dec 2011 when I made these True Scale Night Lords. The paint job with which I provided them was near to ugly and I sworn to redeem myself one day. That day came and ‘AVE DOMINUS NOX’ project was realised. Eight Legion’s Rhino transporter was born into the late night of Feb 8ght 2016.
It all started with an easy yet most important conversion.
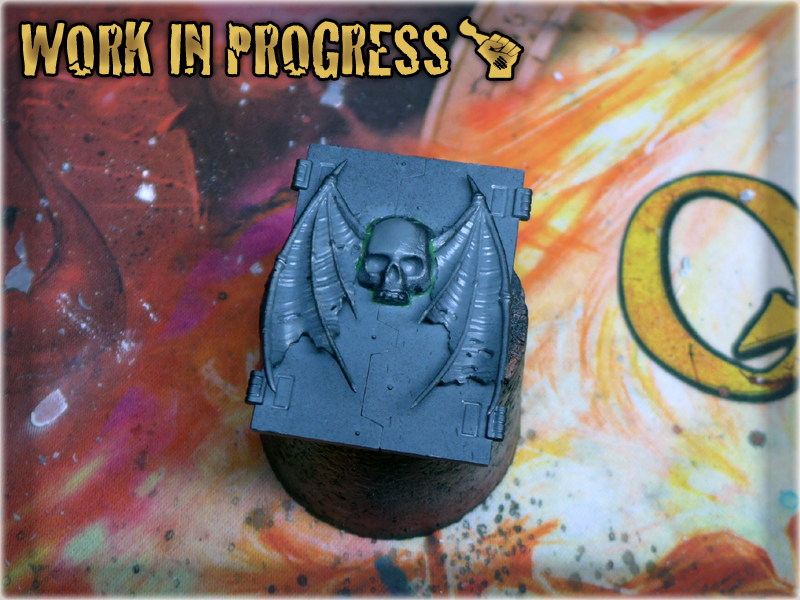
The soul of the project lies within the plastic bounds of this particular piece. Rest of the preparation went pretty easy. It was so fast that I forgot to take pictures throughout the process.
Inner Paintjob.
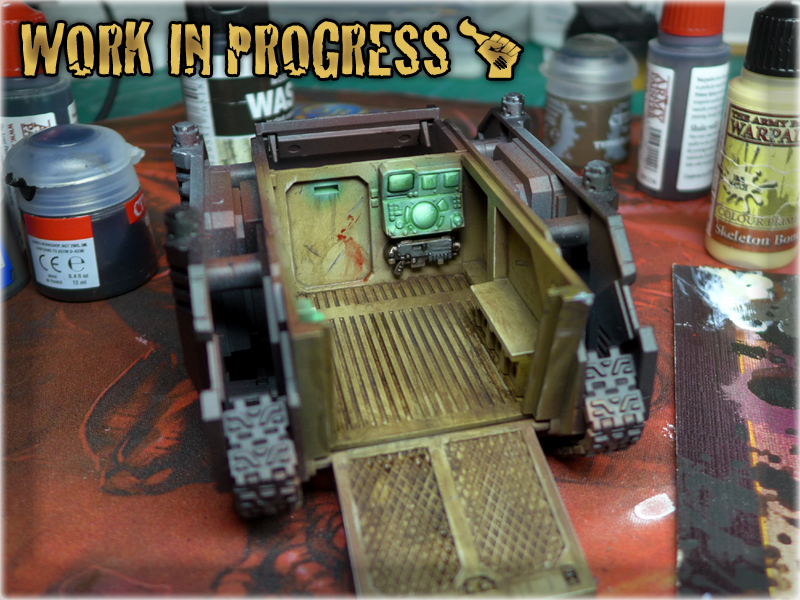
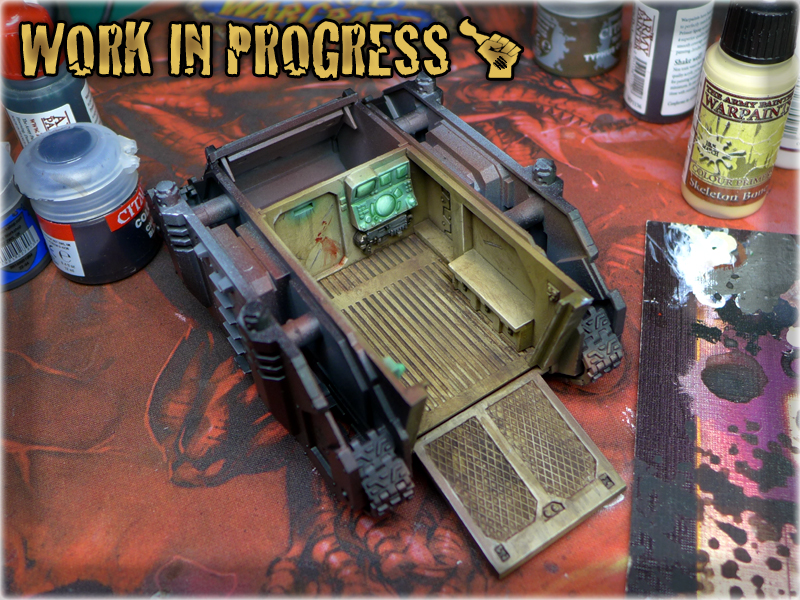
One of the reasons that makes this project ‘Special’ is that I actually painted the innards of a vehicle! I paint for more than 15 years now and I haven’t done this even once ever before. I used to pillage the innards of my vehicles, then fix a D6 dice with a ‘six’ on top into them to boost their survivability and glue all the doors shut forever.
Lightning Strike!
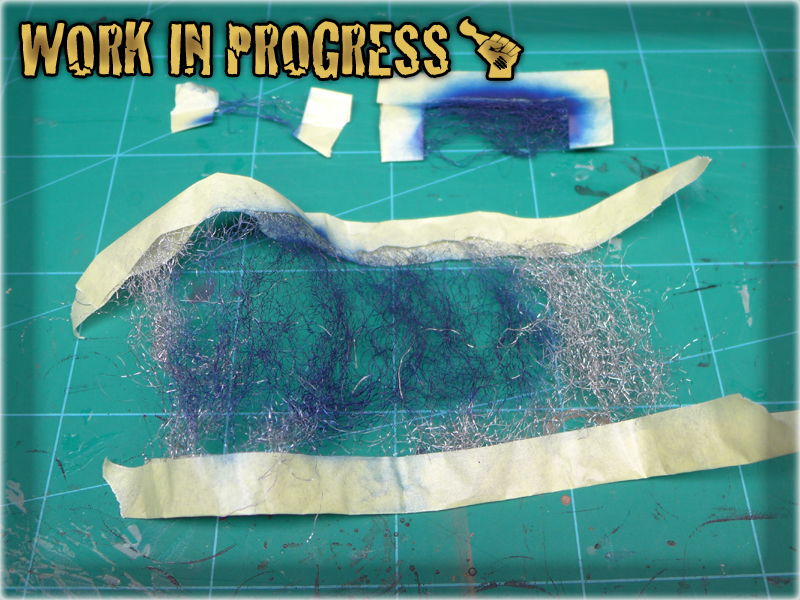
Lightning is the worst nightmare of paintjob. This is the true Terror that One must overcome so that One may stand In Midnight Clad. Fortunately I found a great tutorial of how to paint Lightning using Steel Whool. Must say that it did the job.
First night’s end result.
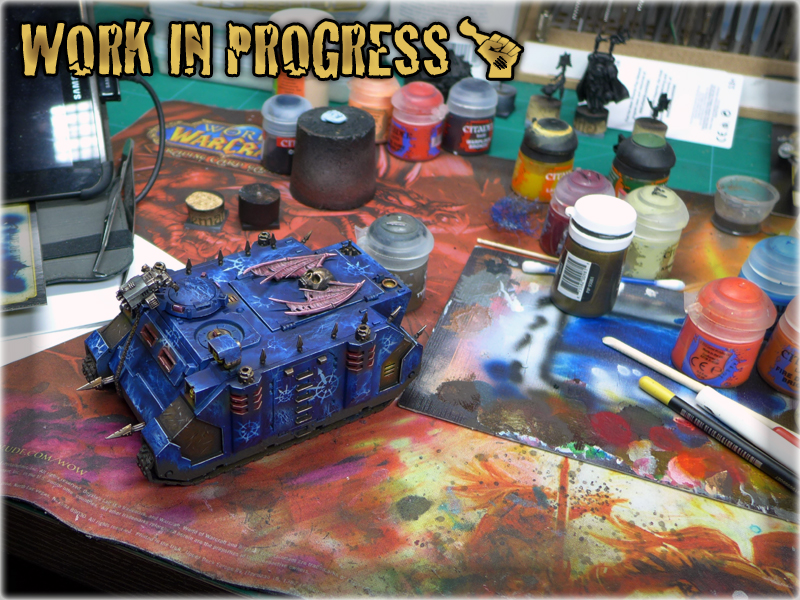
This is how it looked like when I decided to finally forfeit my task for the day and fell into slumber. Next day I was a bit dissapointed with my work. The colours seem to not go well with each other. Something was wrong. I decided to continue paintjob and blend all the Lightning and Chaos markings with blue. I also redone the upper Night Lords simbol, making it a bit more juicy with sharpened edges and key points. Small points of white/yellow were added to the main lights and white lining adorned the red ones. The Rhino finally looked like a whole.
Here’s the final piece: “AVE DOMINUS NOX”

