- contact@scarhandpainting.com


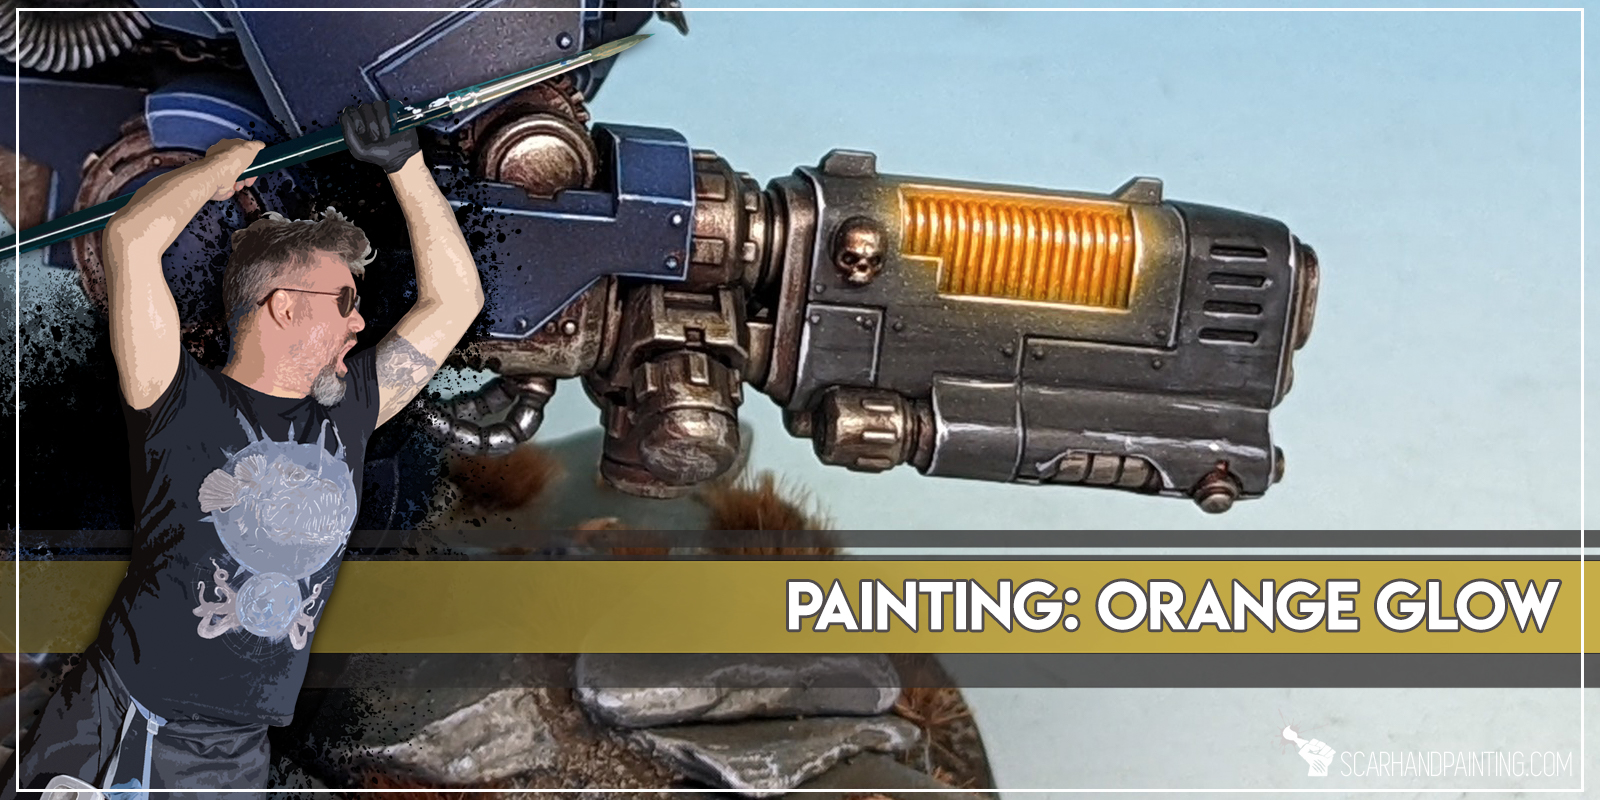
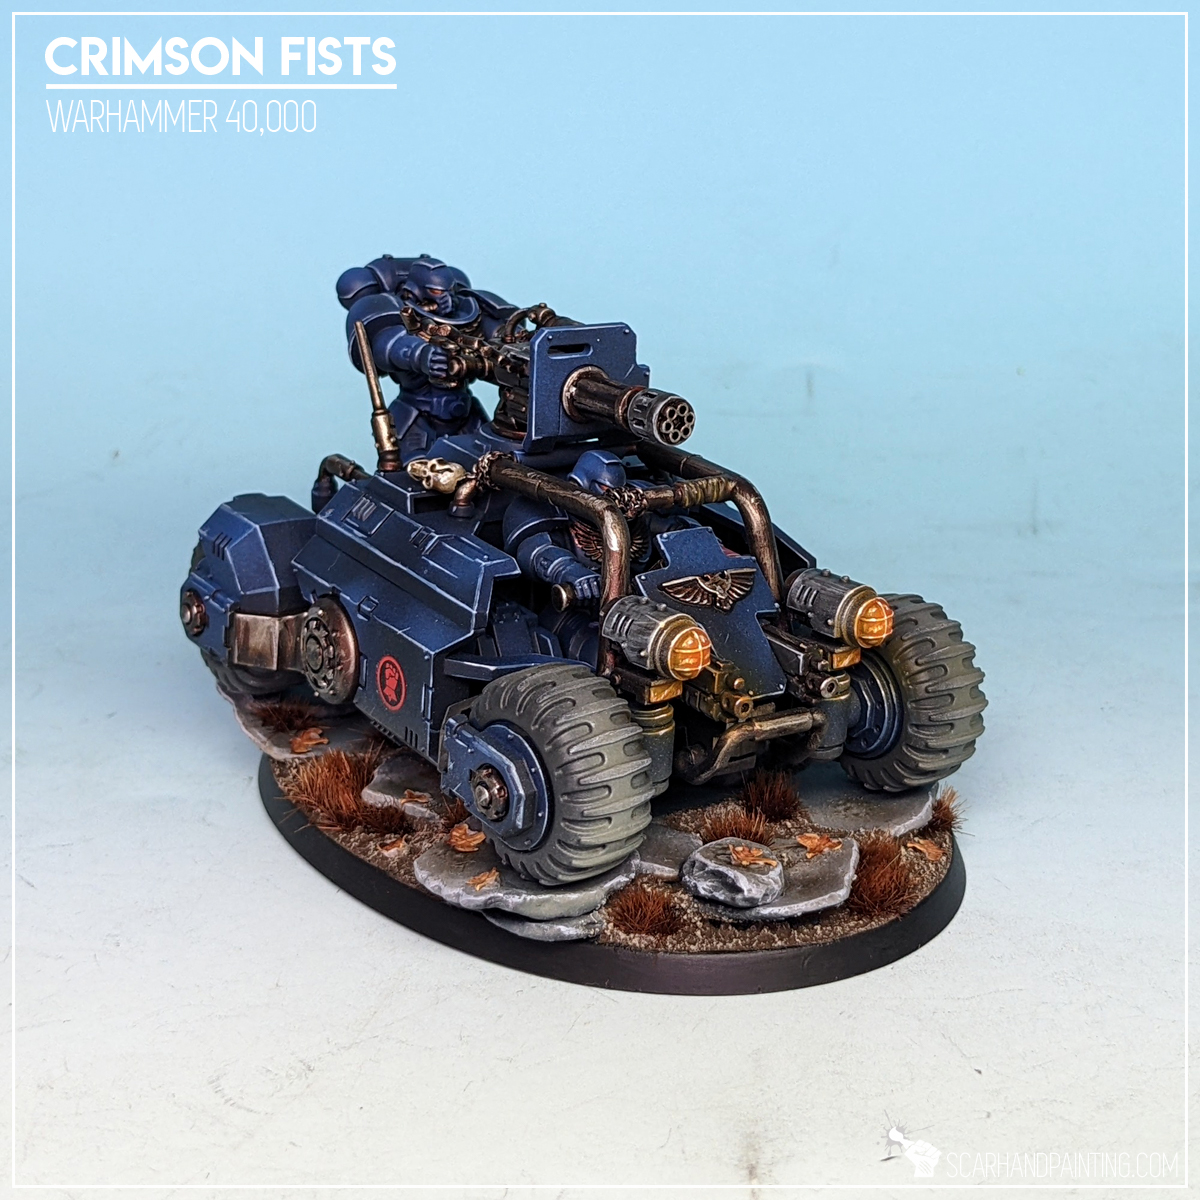
As a full time professional miniatures painter I strive to specialize in techniques that provide the maximum effect on the gaming board, while being relatively simple and easy to mass duplicate. Here I will present to you a Step-by-step guide to painting orange glow effect similar to that used on my Games Workshop Crimson Fists army as can be seen in Gallery: Crimson Fists.
Before we start, some notes:

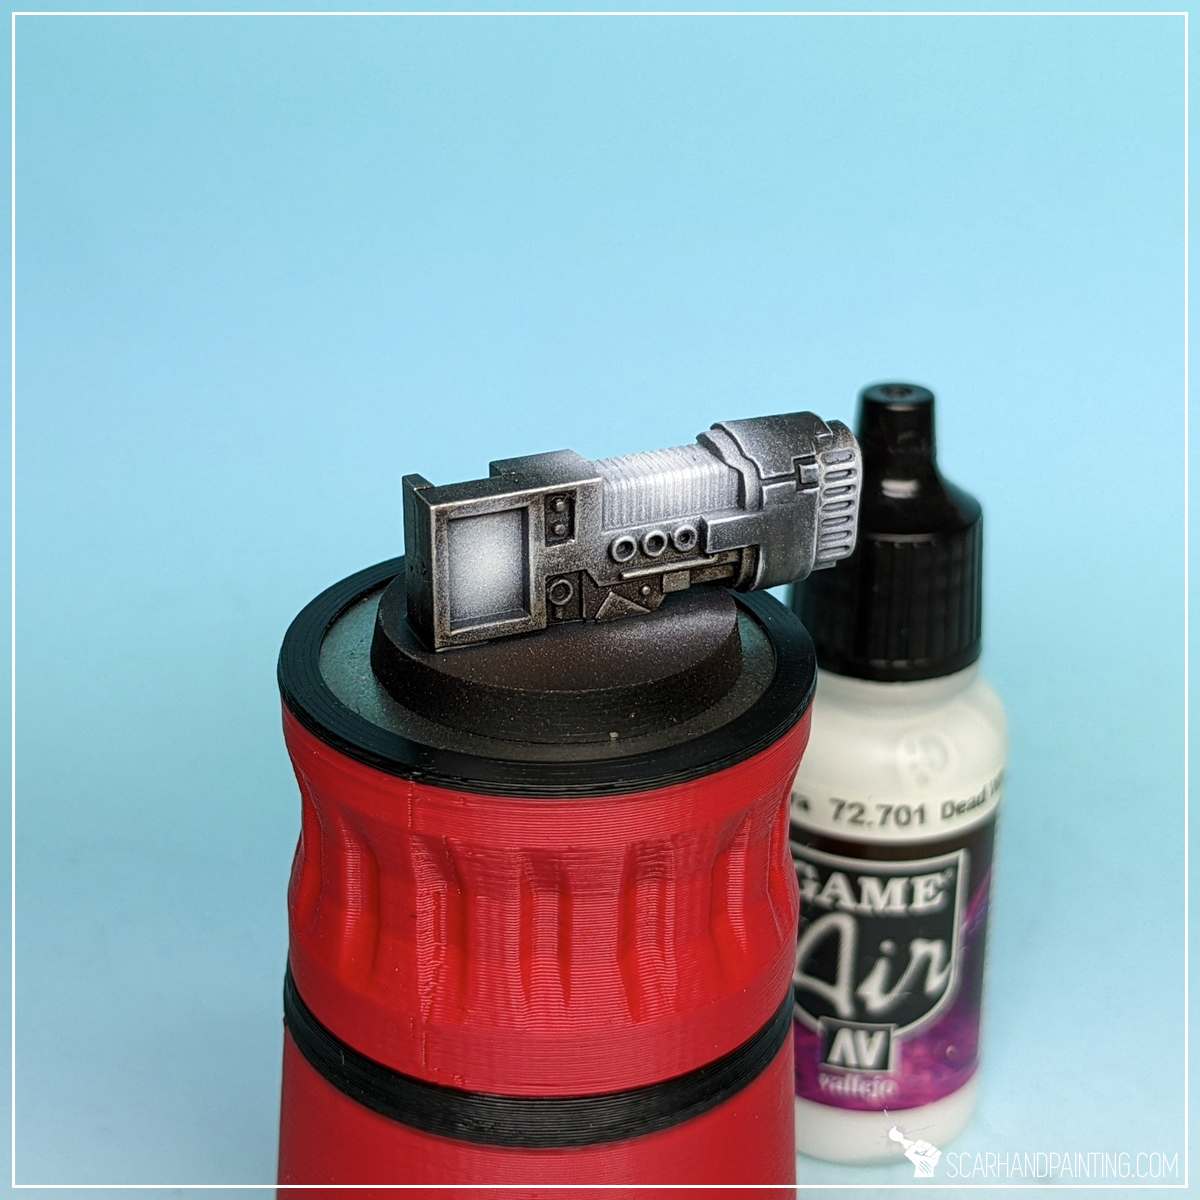
Step one: White preshade
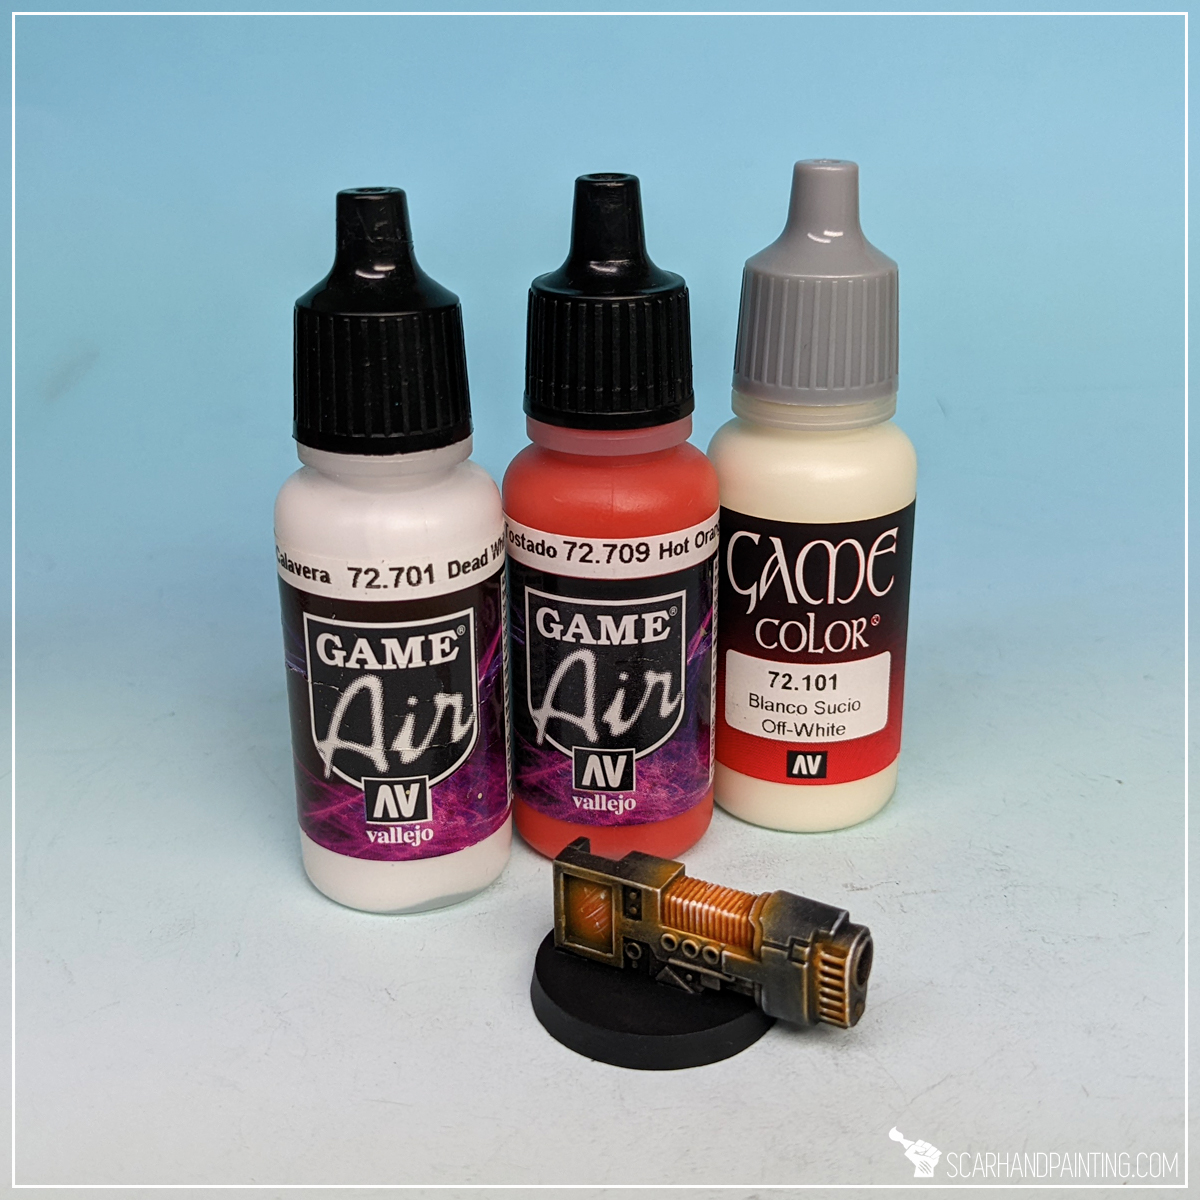
I started with a soft layer of airbrushed Vallejo 72.701 Dead White (air). For the purpose of this tutorial I went straight from the bottle, although usually I thin the paint down just a bit with a drop of Flow Improver and a drop of Airbrush Thinner, resulting in less speckling. While airbrushing I made sure to cover potential light source areas plus the surroundings.
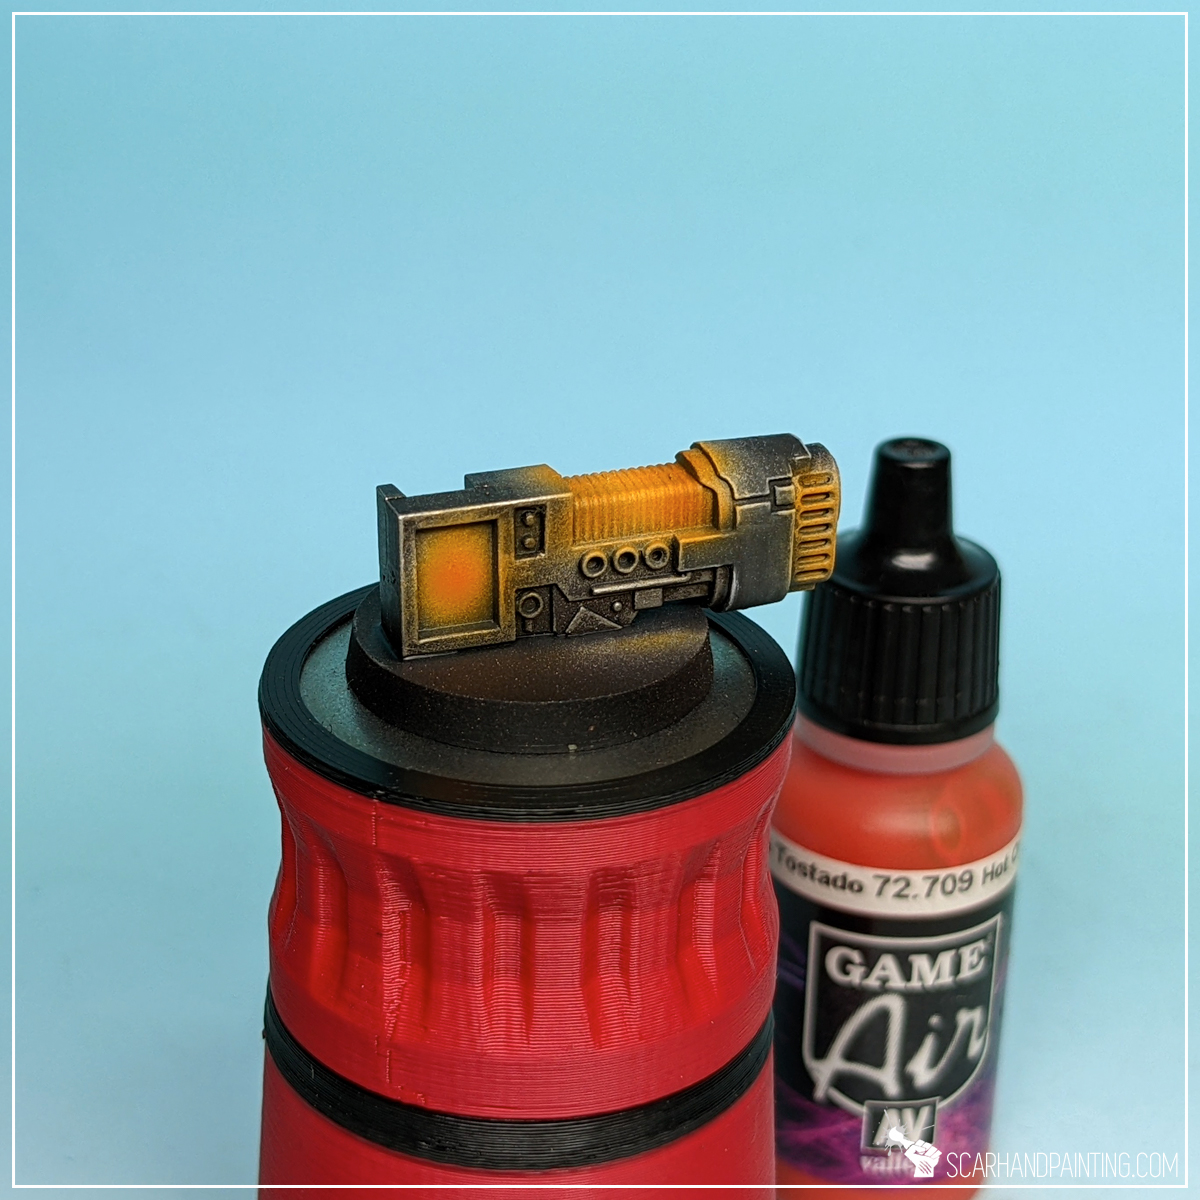
Step two: Orange base
Next I airbrushed a layer of Vallejo 72.709 Hot Orange (air) without thinning. This layer was applied on top of previously airbrushed Dead White.
Step three: highlight
I then highlighted orange with Vallejo 72.101 Off-White. Such a bright color might seem like an overkill, but this one is a bit cream’ish and can get juiced up to bright orange easily later on.

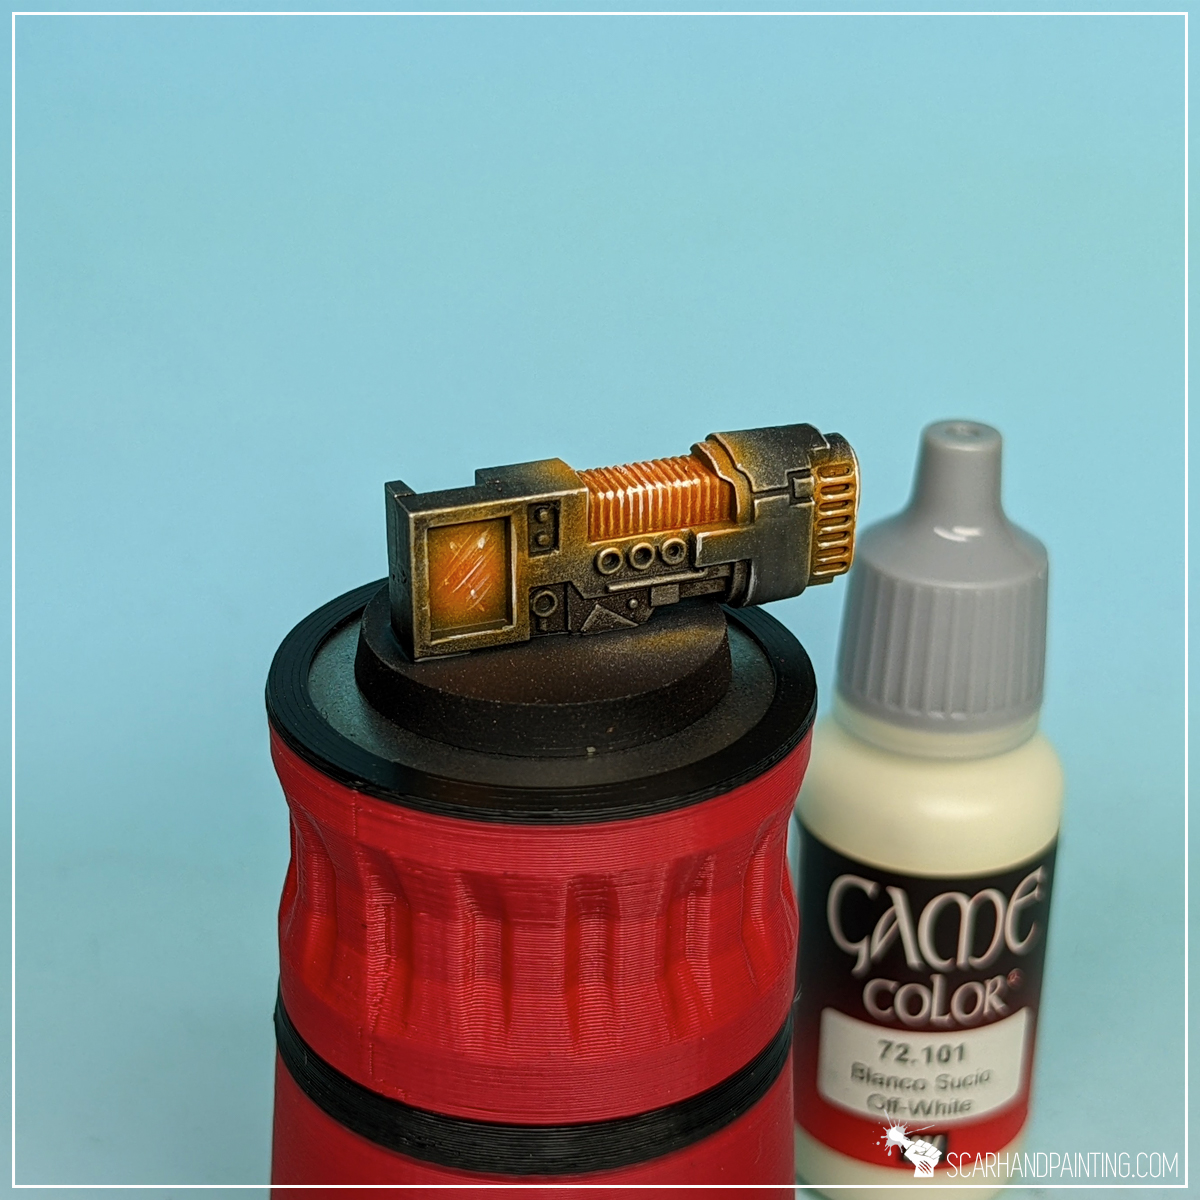
Step four: glaze
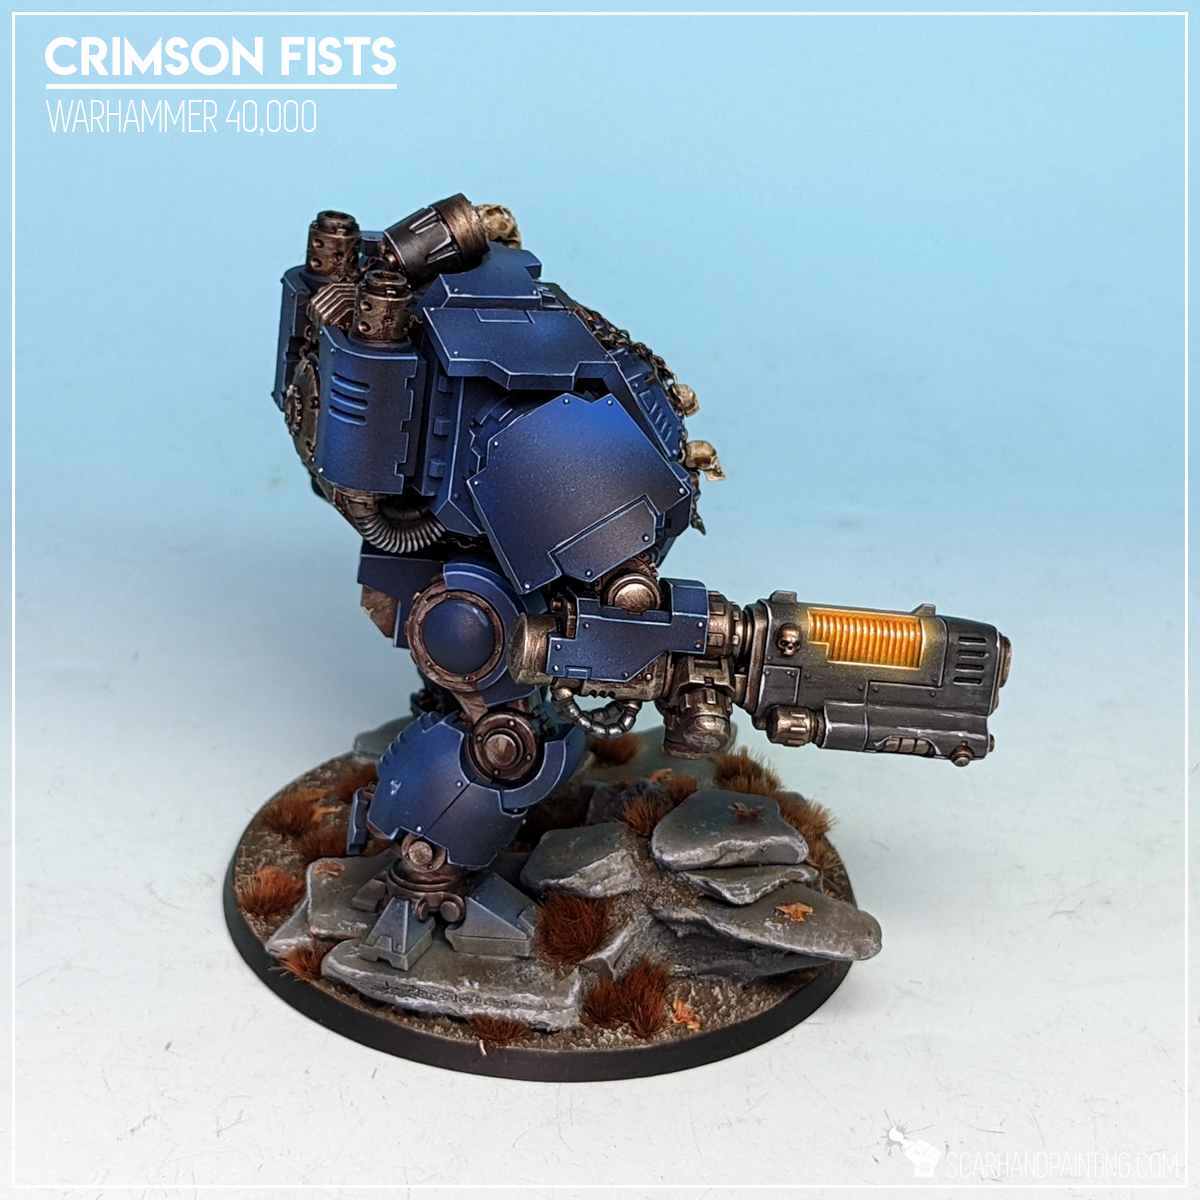
Here’s where real magic started. I thinned down Vallejo 72.709 Hot Orange (air) with a bit of water and manually glazed over the most intense orange parts of the miniature. This includes plasma coils, glow on the side of the barrel and large rectangle area at the back. Vallejo air series are perfect for hard glazing, retaining a lot of ‘juice’ even after thinning.

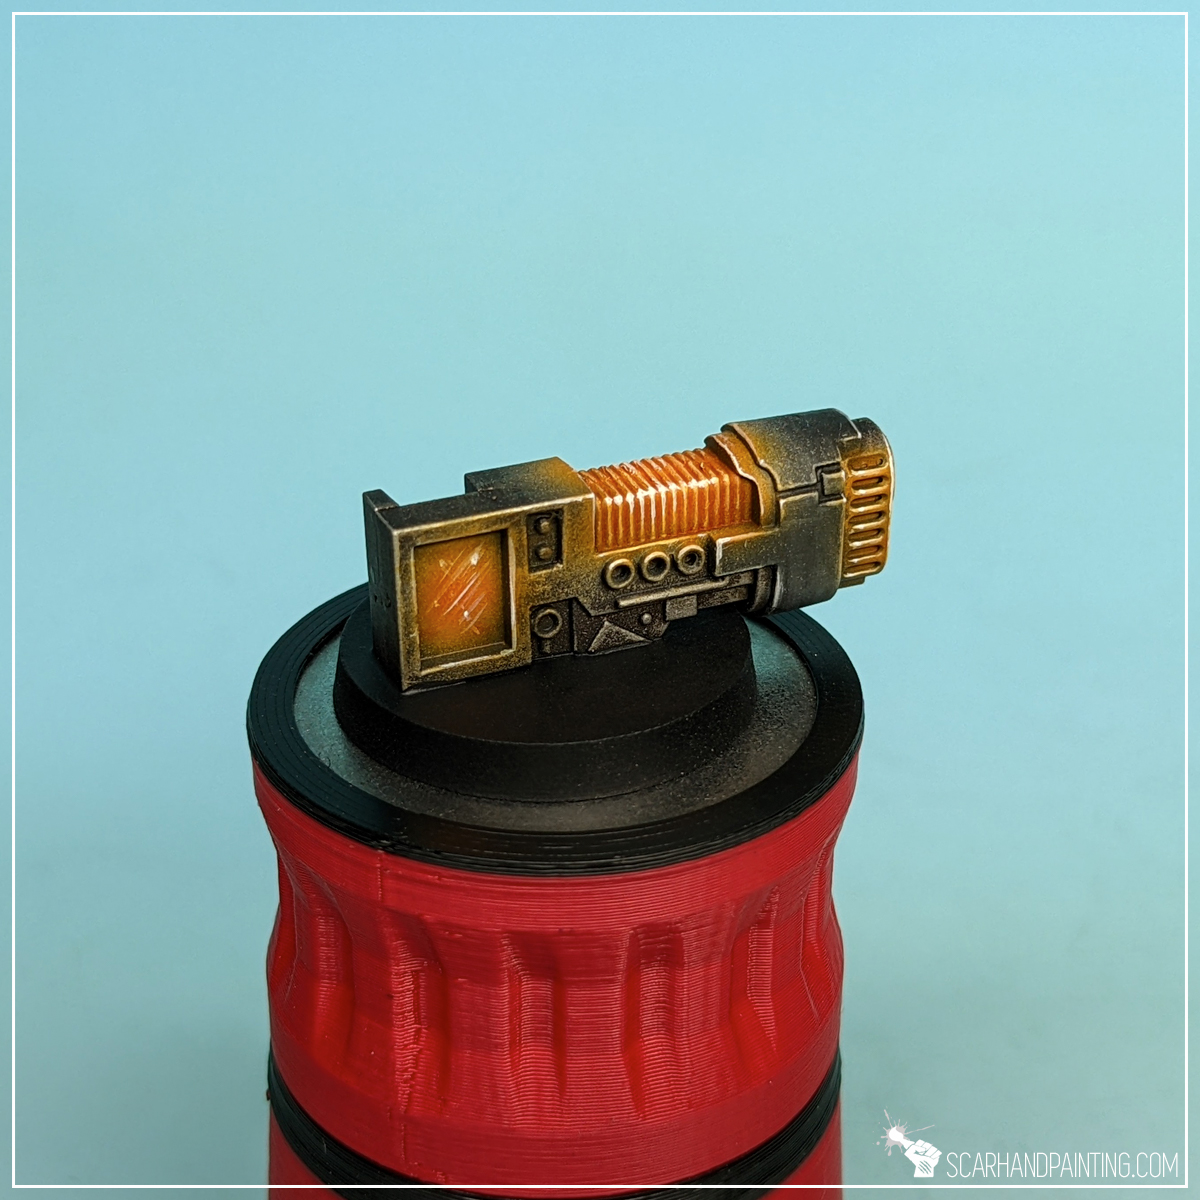
Step five: highlight
Finally I once again applied a highlight of Vallejo 72.101 Off-White, but this time limited to barely few dots and lines in the most exposed areas. This created focus points for the eye, while also providing better overall contrast on the piece.
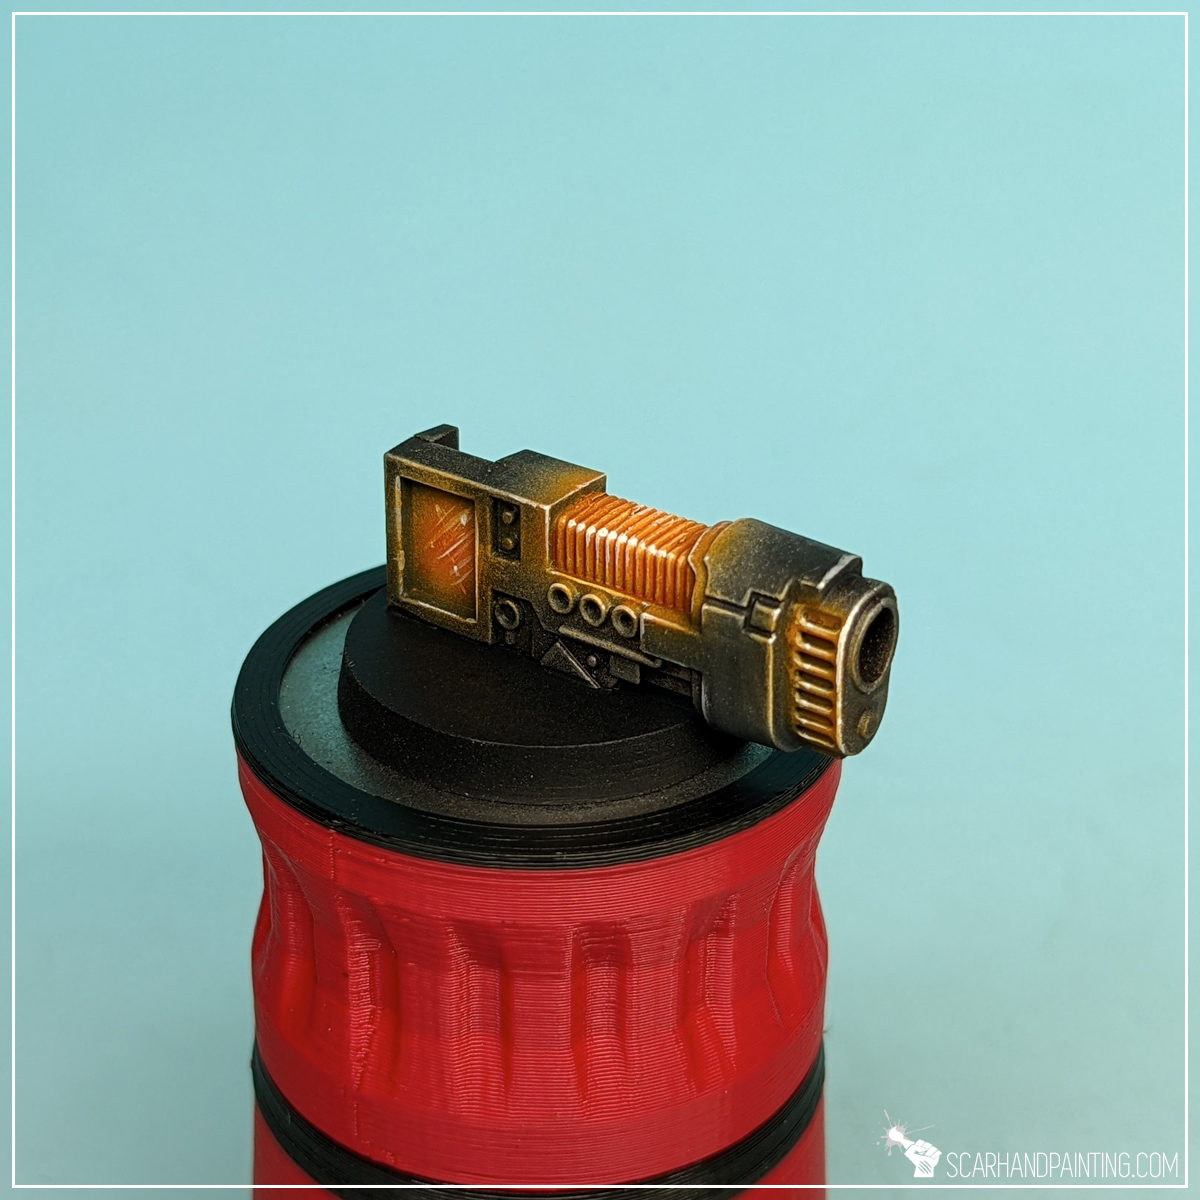
Job done. Three colors, five layers is all it takes to achieve an interesting effect that will steal a glance or two on the gaming board.


I hope you find this tutorial interesting. Be sure to let me know your thoughts in the comments below or via Facebook or Instagram. I would also appreciate if you considered sharing this content with your friends, who might find it useful. Finally if you are looking for a professional warhammer 40k miniatures painting service, be sure to contact me with this contact form. I always reply within 24 hours, after which please check out your spam folder.