- contact@scarhandpainting.com


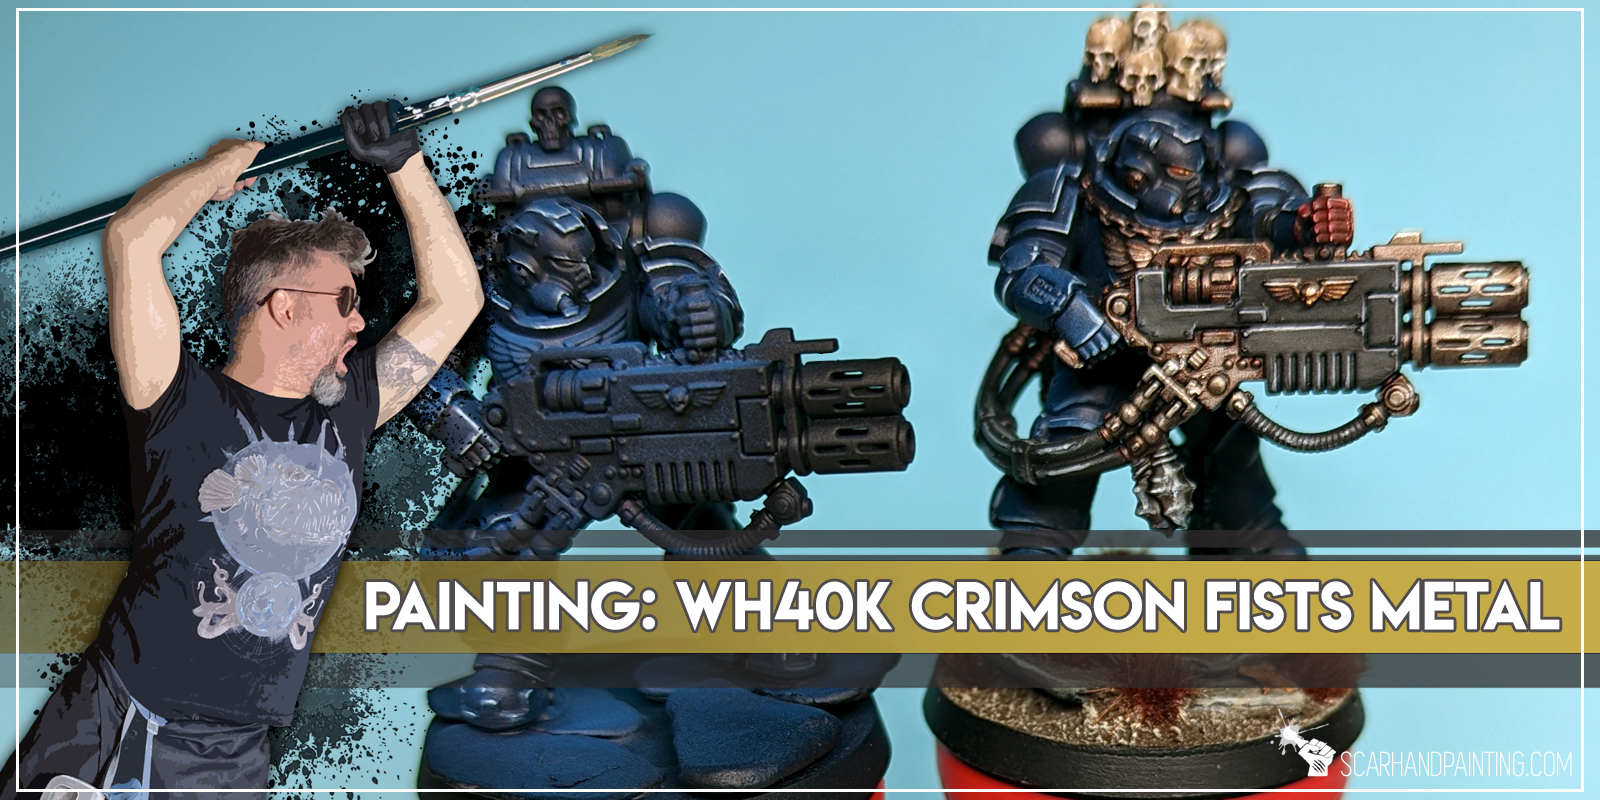
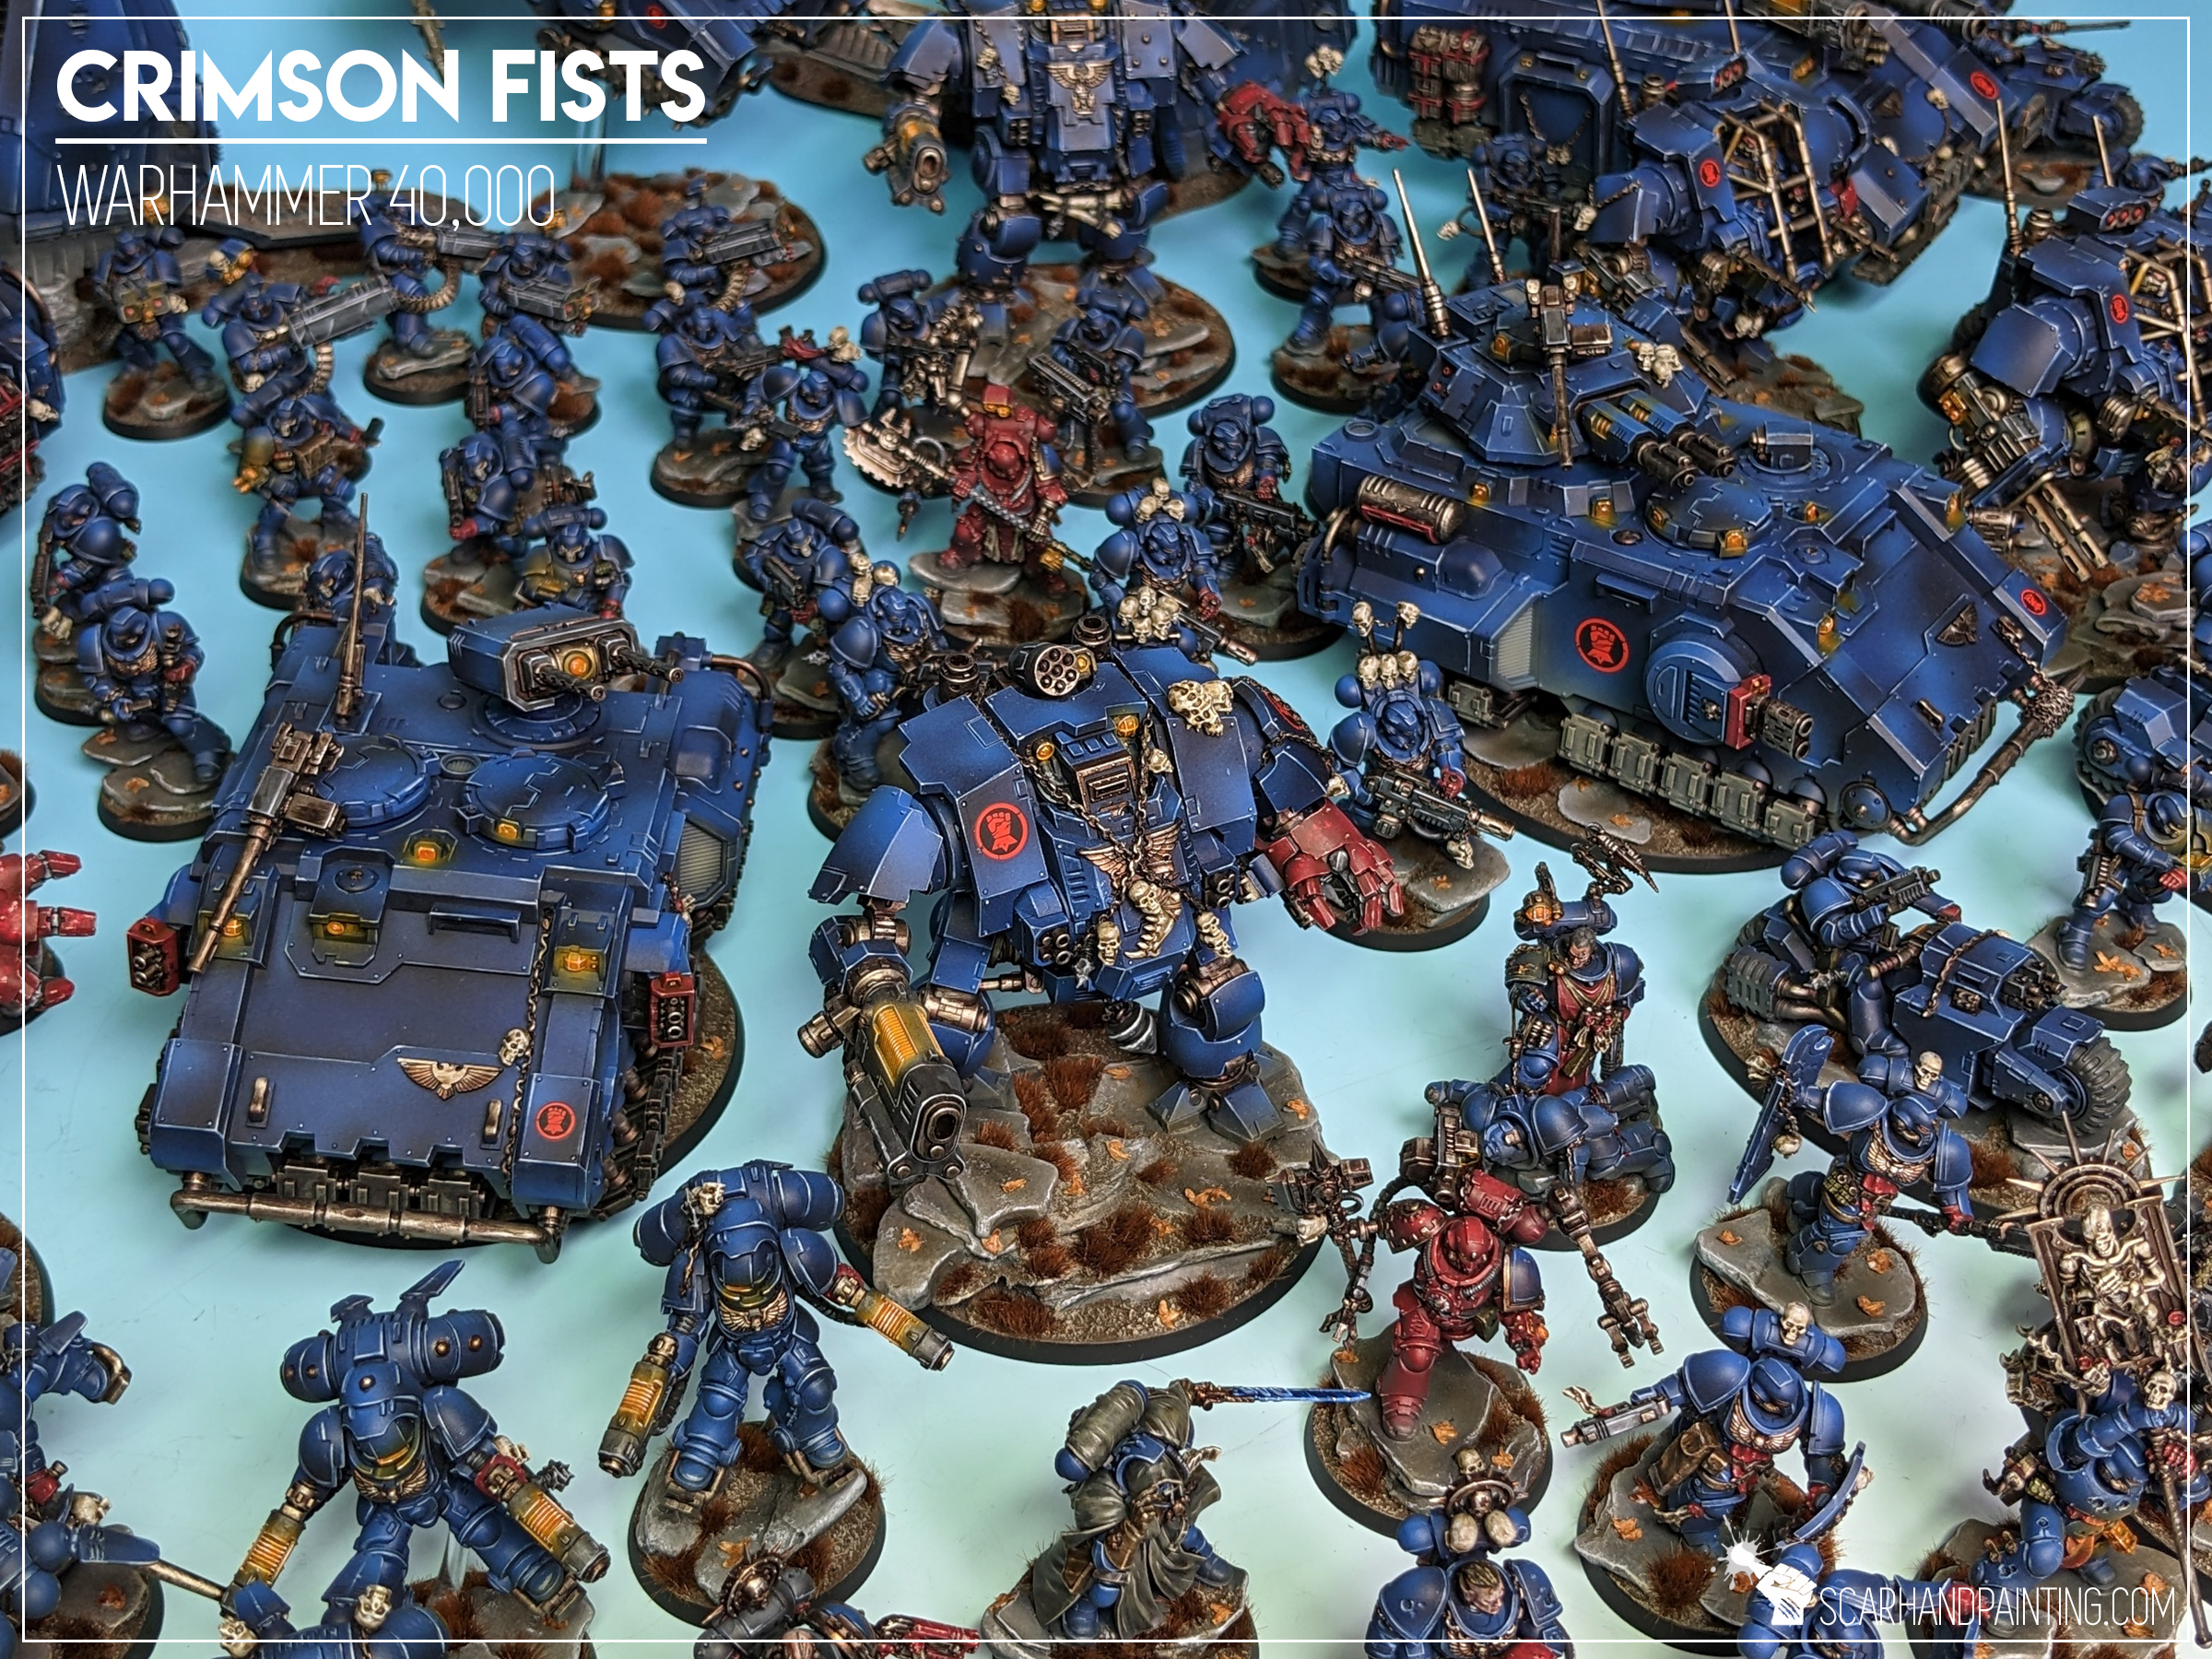
Welcome to Painting Warhammer 40,000 Crimson Fists tutorial. Here I will present to you a Step-by-step of an easy and fast painting process for Games Workshop Crimson Fists Primaris Marines metal as can be seen in Gallery: Crimson Fists.
Before we start, some notes:
Previous steps: Blue Armor
Although metal elements can be painted separately I strongly recommend following part one of the article before moving to this color. Visit Tutorial: Painting Warhammer 40,000 Crimson Fists part one Blue Armor for more information.
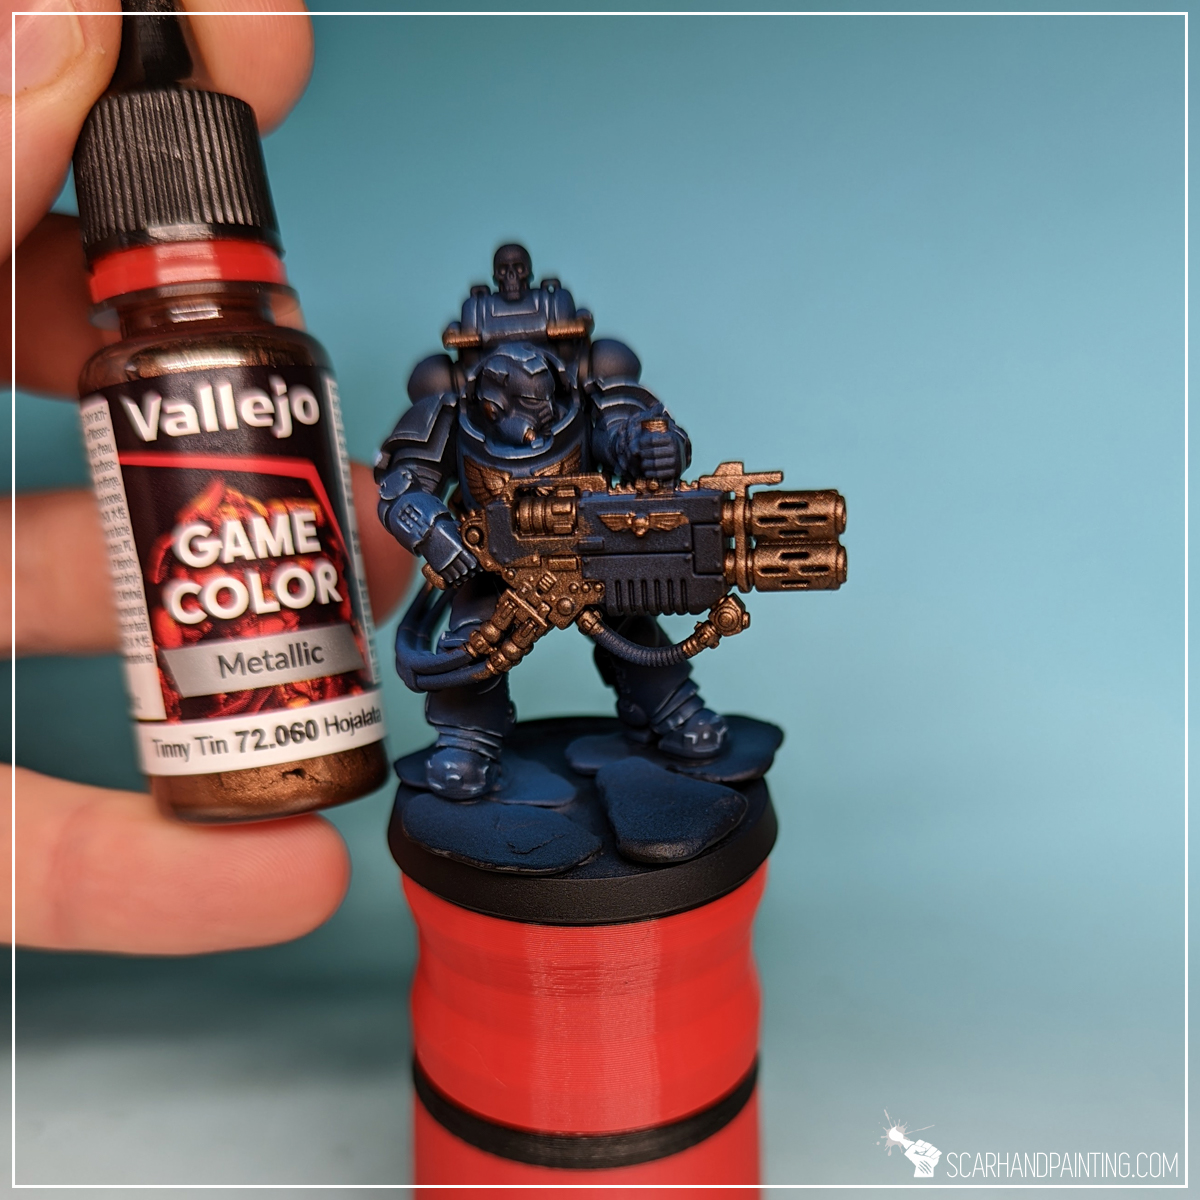
Step one: Base Color
The initial layer was painted manually (no airbrush) with Vallejo Game Color – Tinny Tin (72.060). The color is relatively thin making it easy to move into any recesses, but also maintains a strong coverage, which is good because covering the entire surface is imperative for this particular layer.
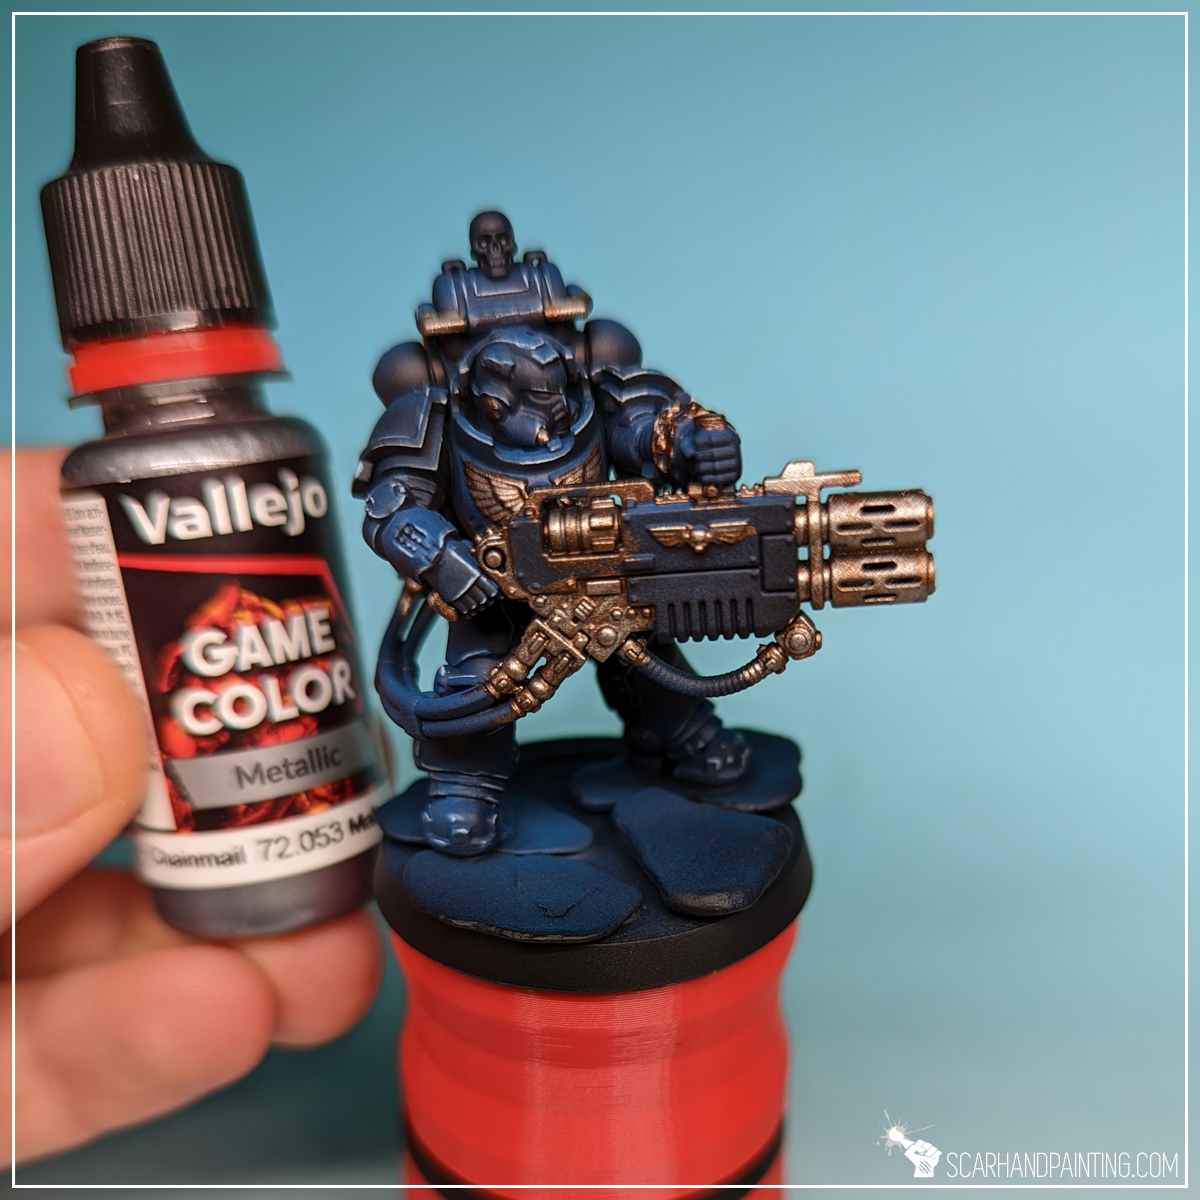
Step two: Highlight
Next I manually applied a large area (flatbrush) highlight of Vallejo Game Color – Chainmail (72.053). A much brighter steel color with strong pigmentation to cover most of the surface, except recesses.
Step three: Highlight
I then applied a more contained highlight of Vallejo Game Color – Silver (72.052), switching between edge highlight and flatbrush.
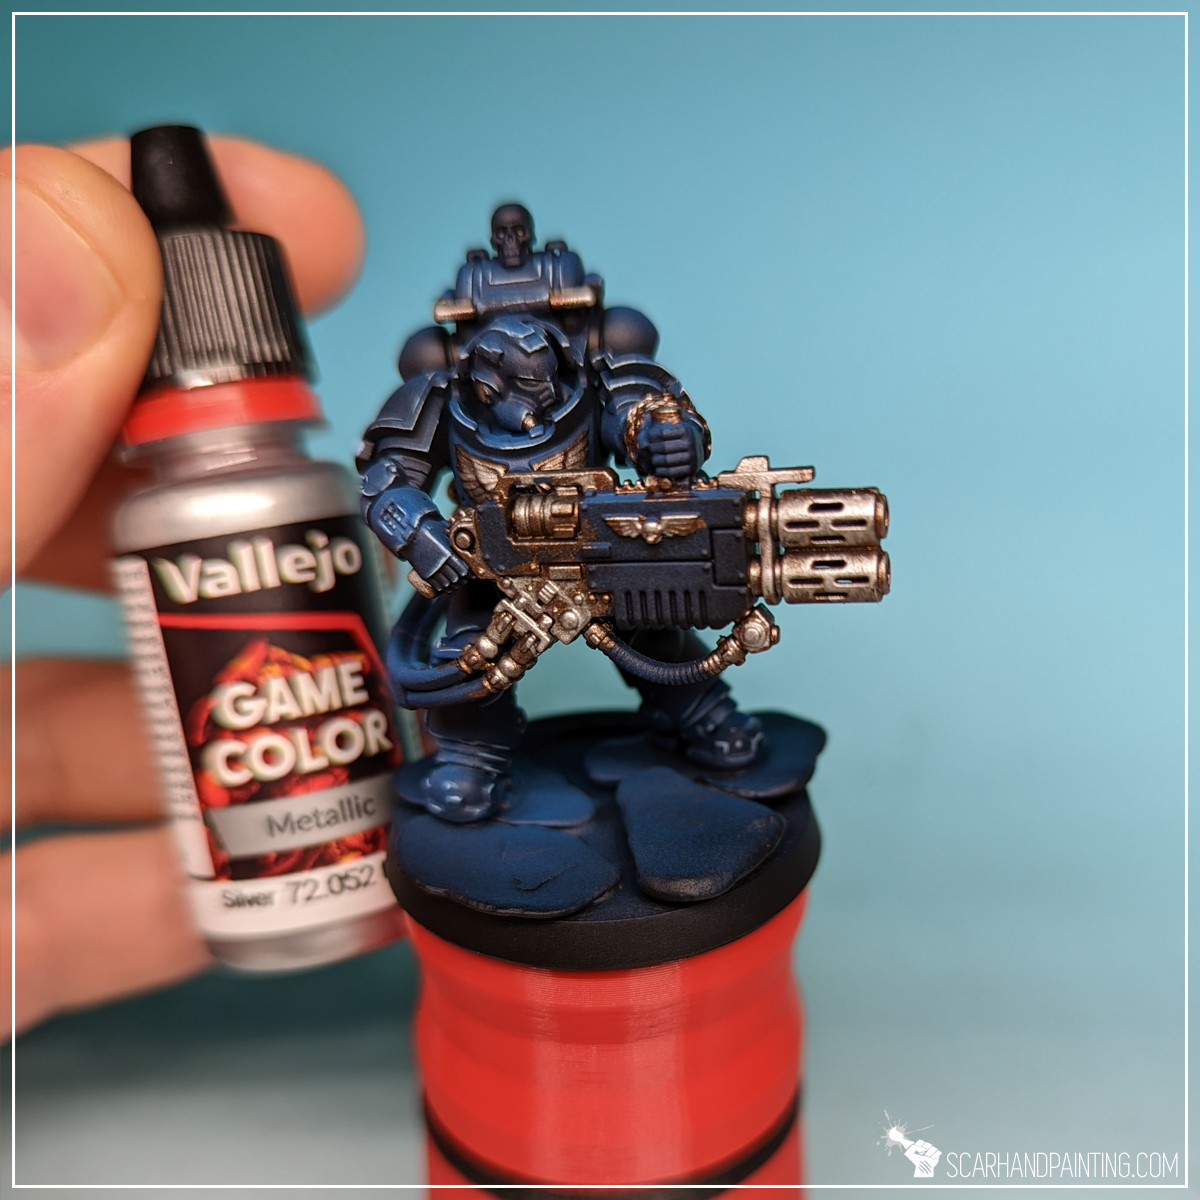
Step four: Wash
Lastly I applied a lot of The Army Painter – Strong Tone Wash. I like to go hard on washes, applying lots and lots of them to allow for pigmentation to do its thing.
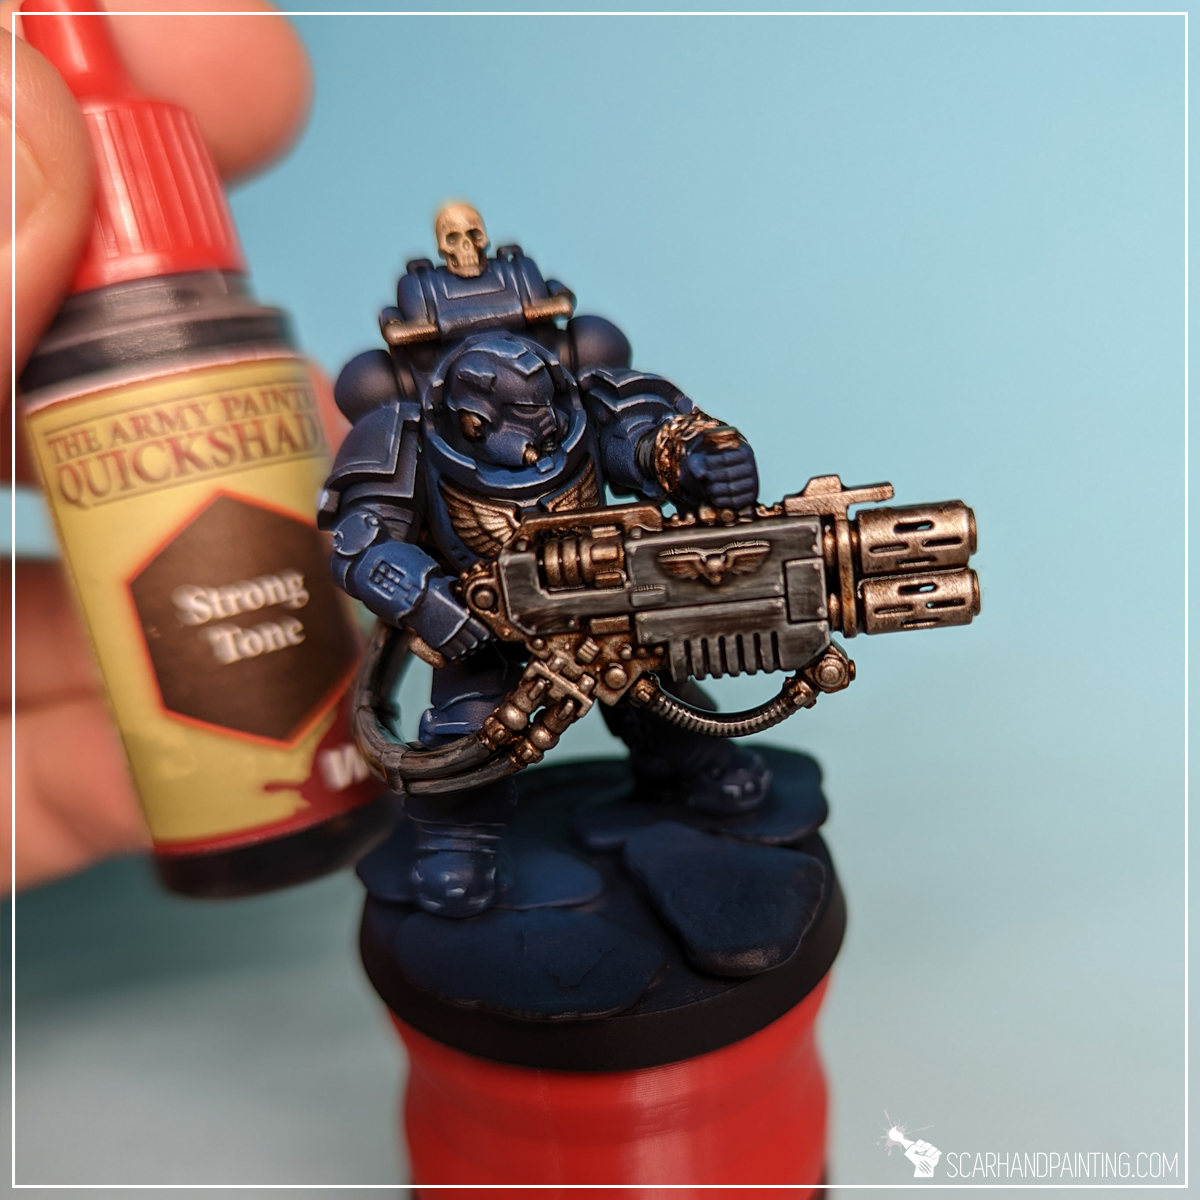
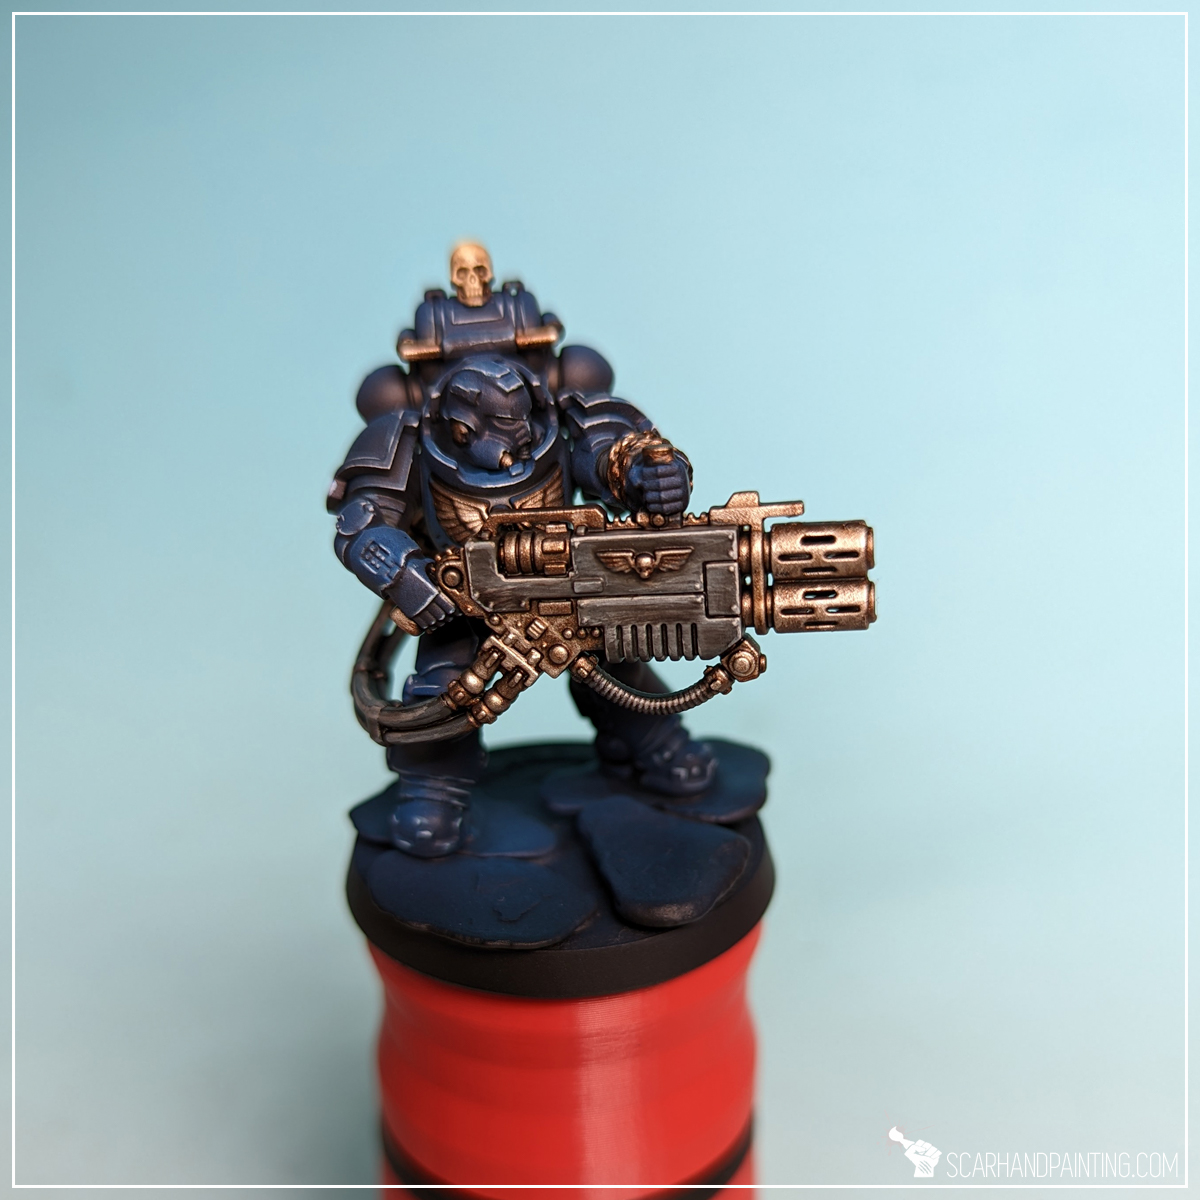
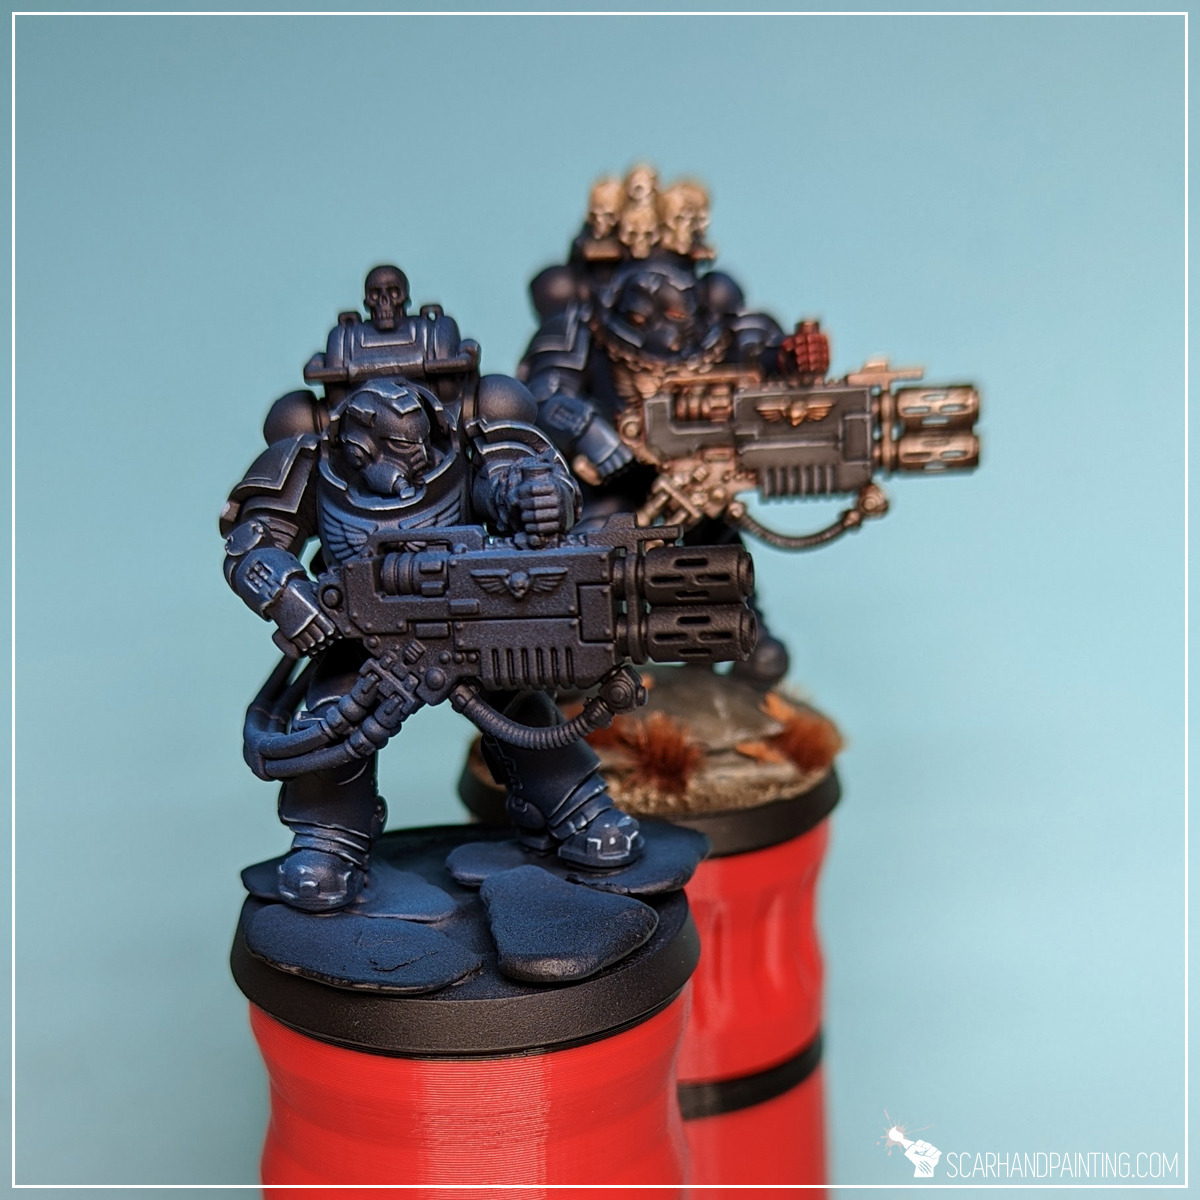
Extra Step: Final Highlight
Depending on the level of paint job I sometimes apply a final, soft highlight of Vallejo Game Color – Silver (72.052). This might work especially good for tiny detail such as chains, Imperial Aquila and similar, making steel look crisp and sharp. Unfortunately I skipped this part for the Eradicators so you’d have to take my word for how it works, or see other Crimson Fists miniatures for reference.
I hope you’ve enjoyed this article. Be sure to let me know your thoughts in the comments below or via Facebook or Instagram. I would also appreciate it if you considered sharing this content with your friends, who might find it interesting. Finally if you are looking for a professional miniatures painting service, be sure to contact me with this contact form. I always reply within 24 hours, after which please check out your spam folder.
2 comments so far
JoanPosted on11:29 pm - Jan 5, 2024
Great job! Definitely interested in the next steps guide for Crimson Fists.
Have you managed to convert a Pedro Kantor so far perhaps?
ScarhandpaintingPosted on9:05 am - Jan 6, 2024
Hey Joan, glad to know! There are currently five Crimson Fists related guides on my blog, being painting Blue Armor, Metal, Red, Orange Glow and Bases. Not much left to cover, especially because the rest of the colors is mostly covered already in other painting tutorials (Like Black to White mesh and stuff). You will find all of these here: https://scarhandpainting.com/tutorials/
As for Pedro – I did convert one, although in Gravis X armor. This is the guy: https://scarhandpainting.com/wp-content/uploads/2023/11/Scarhandpainting-2311-Crimson-Fists-Pedro-Kantor-1.jpg
Cheers!