- contact@scarhandpainting.com


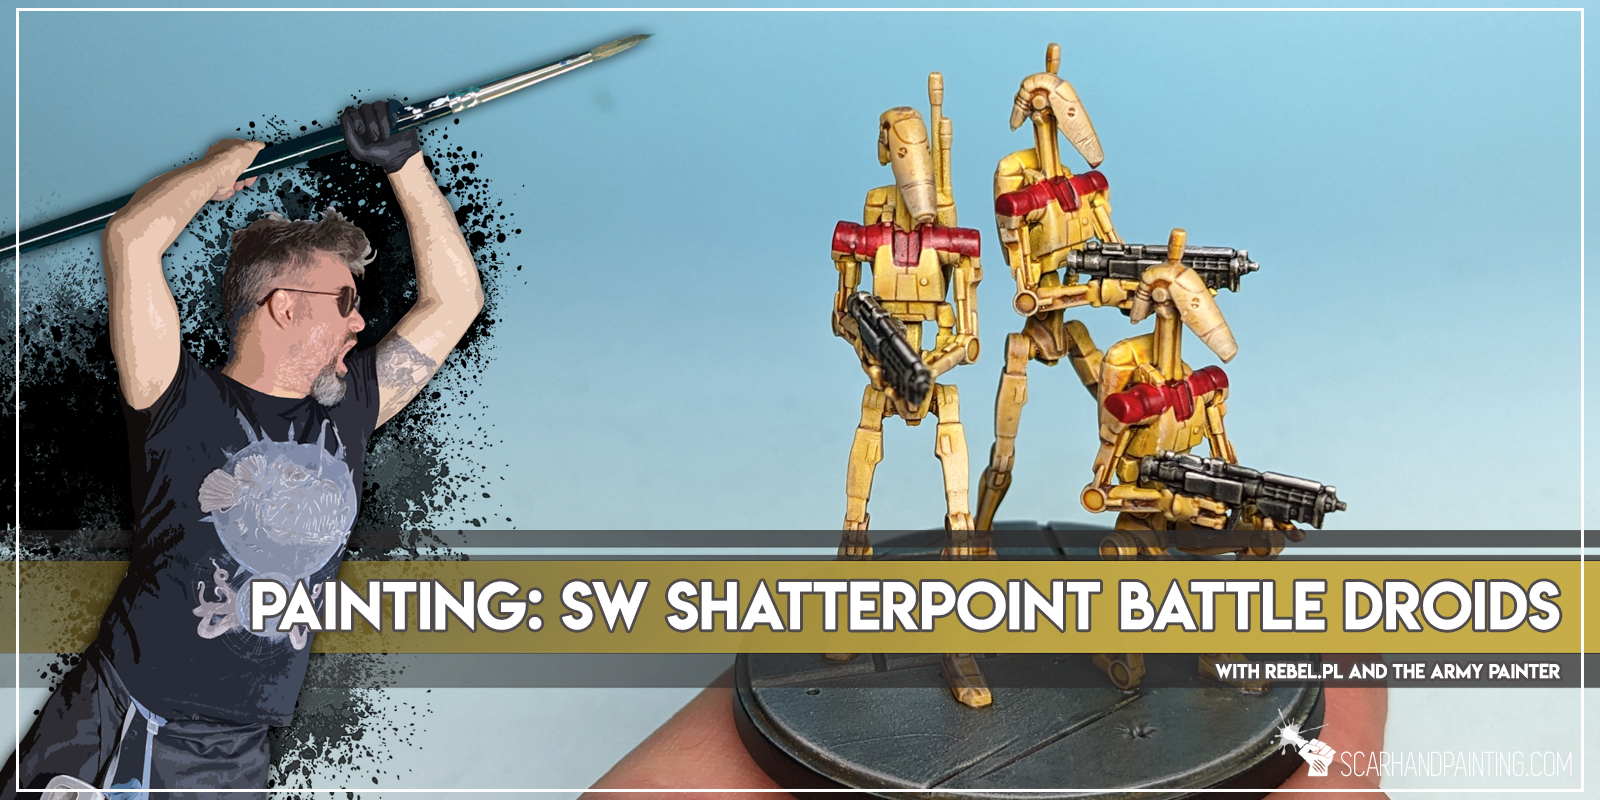
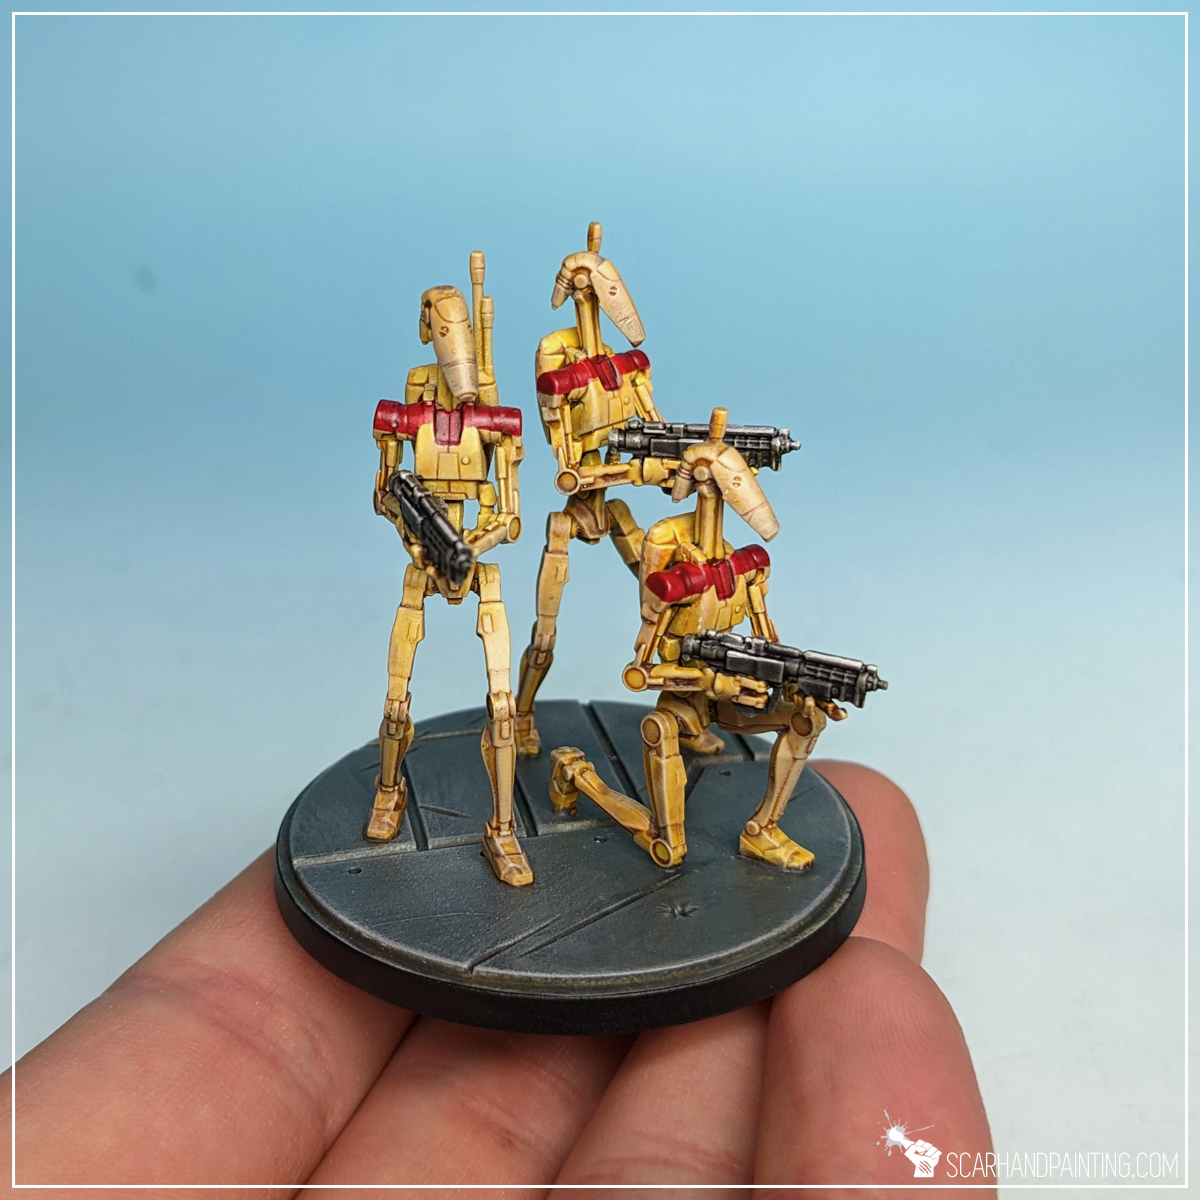
Welcome to Painting Star Wars: Shatterpoint Battle Droids tutorial. Here I will present to you a Step-by-step of a basic painting process for Battle Droids.
Before we start, some notes:
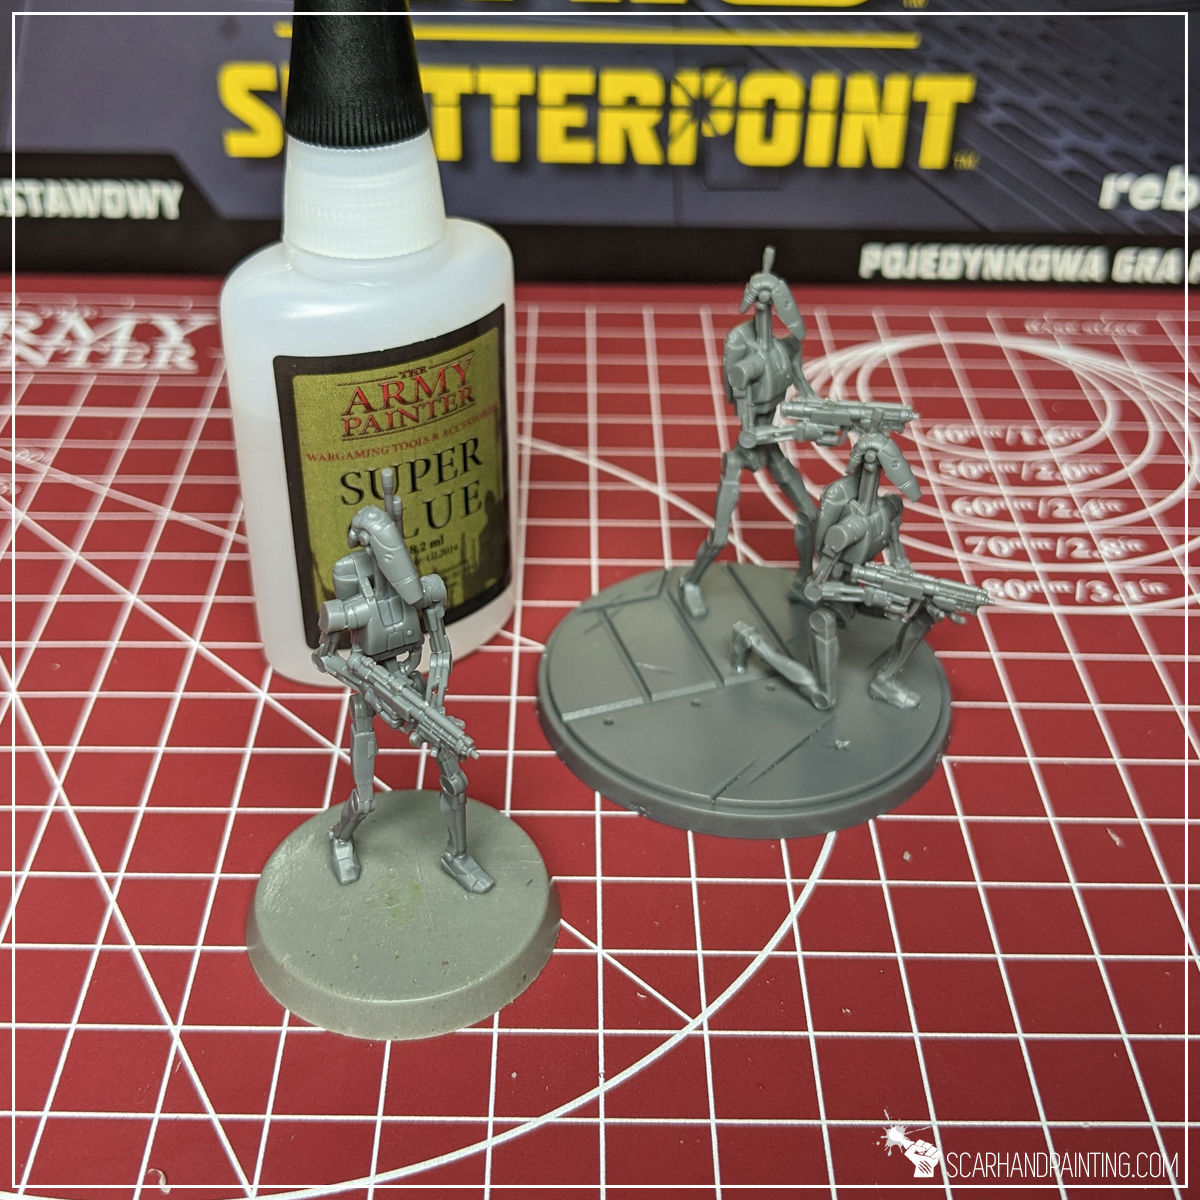
In case you are totally unfamiliar with the hobby, I have prepared a short guide on Shatterpoint miniatures preparation and assembly, including some in-depth notes regarding priming and particular painting techniques. You can find it in the previous article: Tutorial: Painting Star Wars Shatterpoint Clone Troopers.
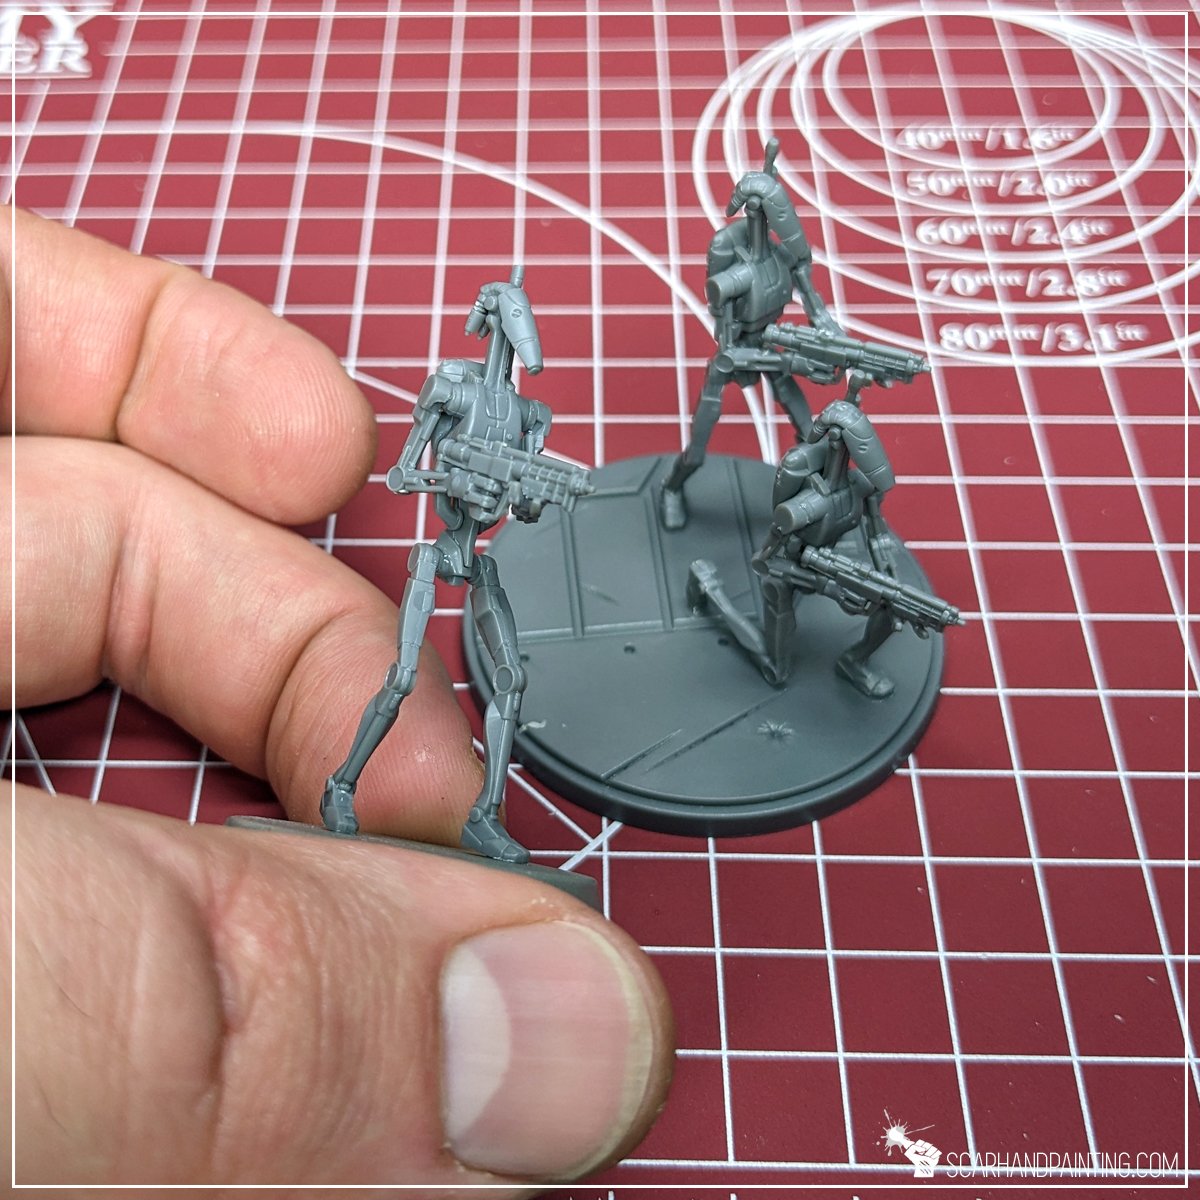
TIP: To better present the painting process I have kept one Droid on a separate base. If you feel it might be difficult to paint multiple miniatures glued to a single base, you can paint them separately, then glue together just before the Varnish step.
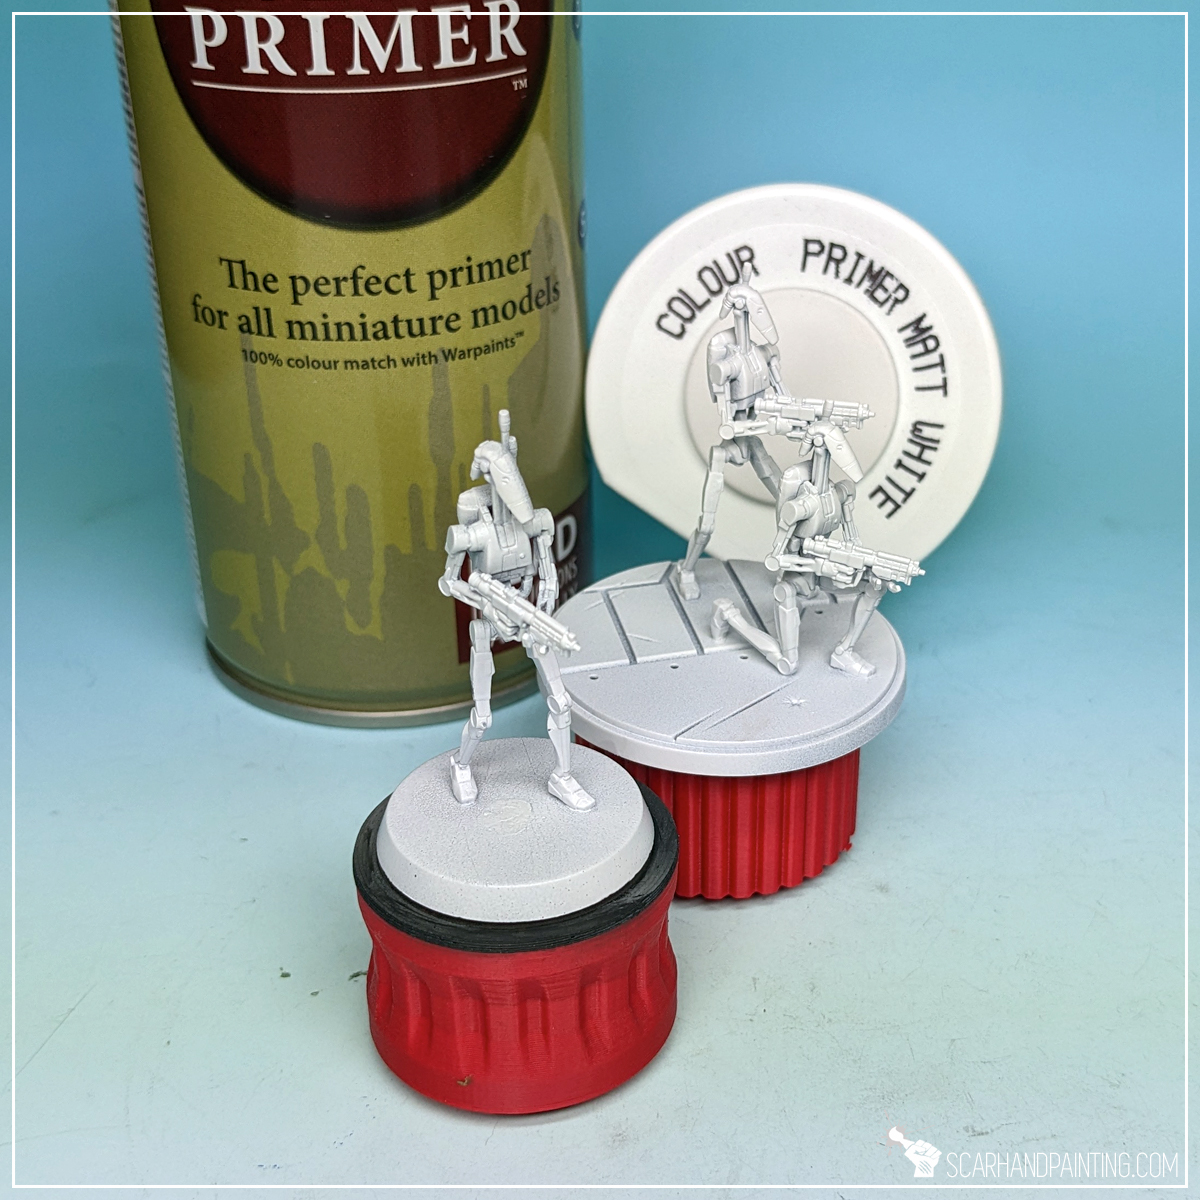
I mounted the miniatures on a stick with a piece of Blu-Tack, then undercoated them with The Army Painter White Matt Primer.

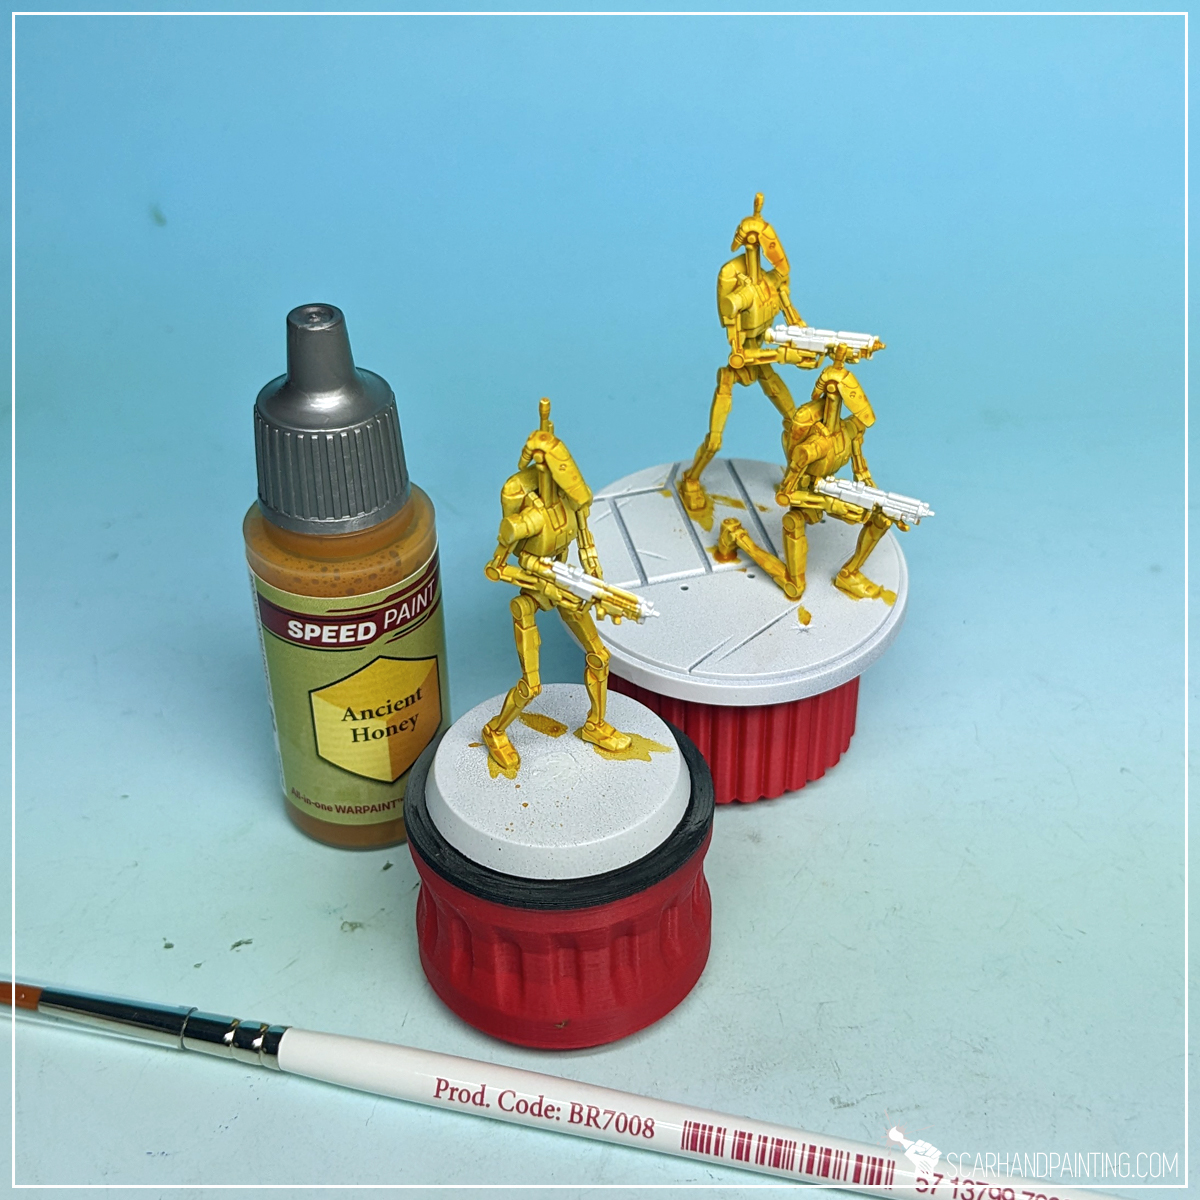
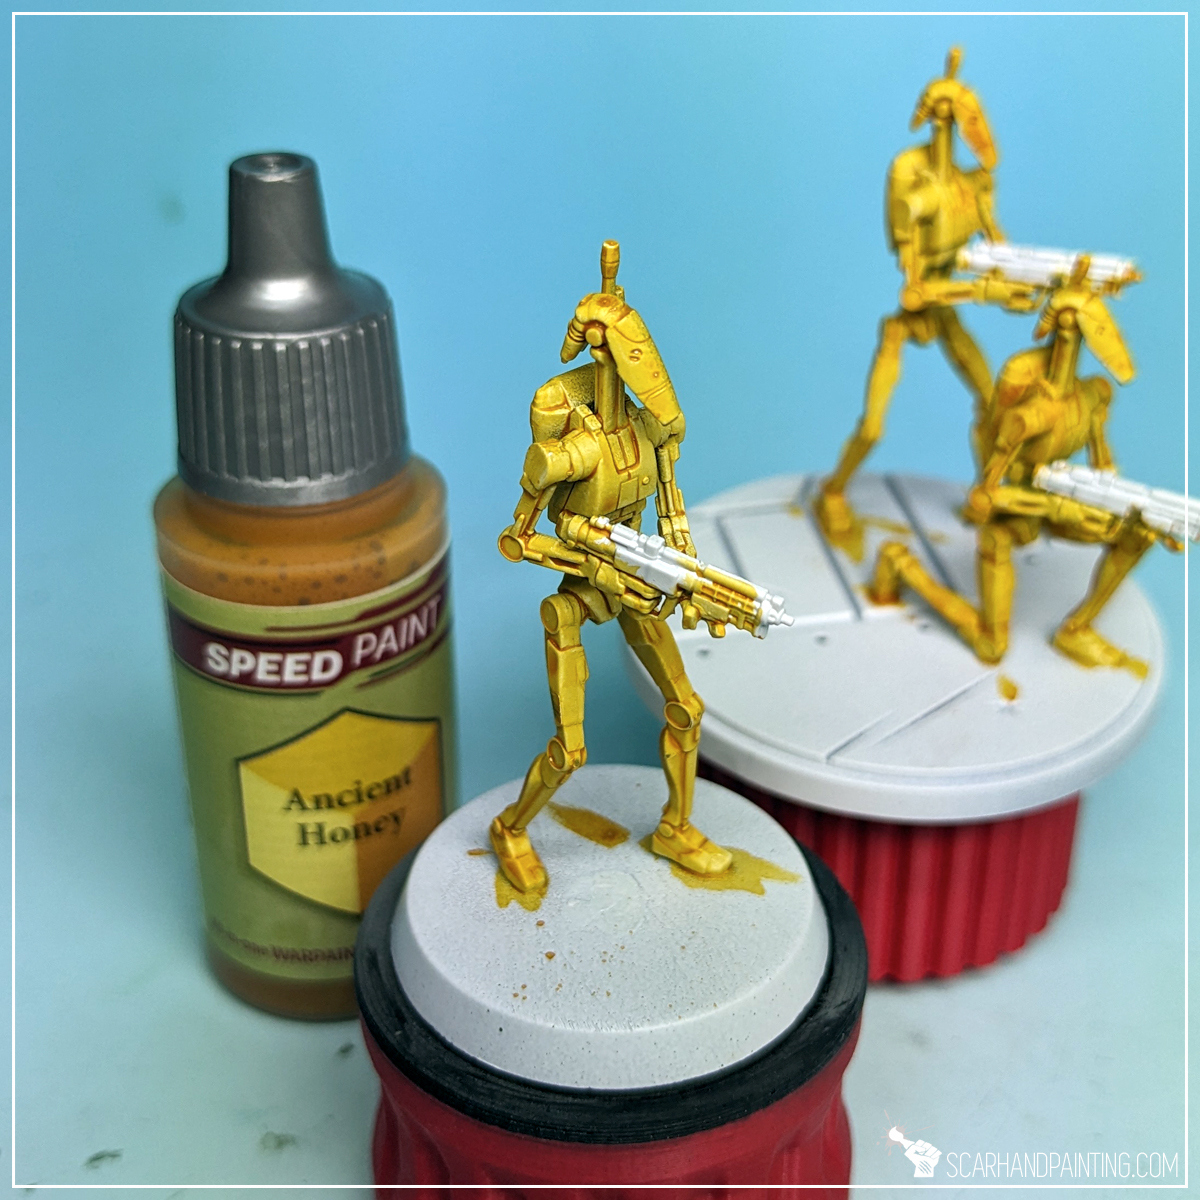
With Wargamer: Monster Brush I have applied a thick layer of Ancient Honey Speed Paint over the miniatures, except for weapons. This created a strong, bright base color.
TIP: No need to worry about the weapons too much. The painting process was designed to cover any mistakes made at this point.
Next, with a softer Wargamer: Regiment Brush, I applied a solid layer of Soft Tone all over the armor. Washes, such as Soft Tone, provide strong pigmentation in all recesses, adding color depth. They also tone down the entire color a bit, which in case of Battle Droids, works to our advantage.

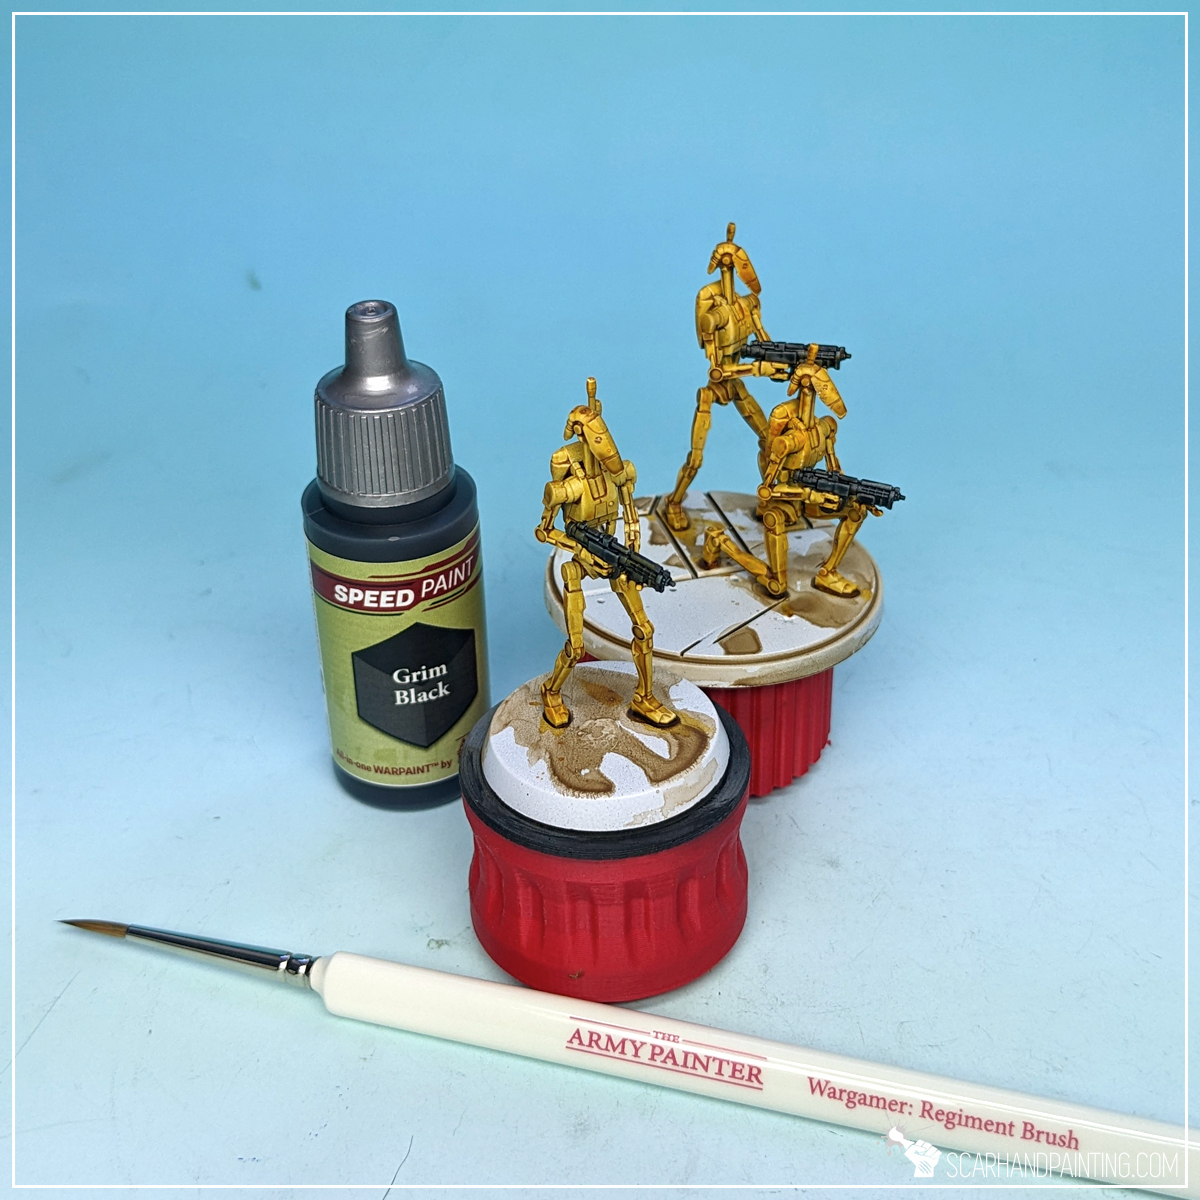
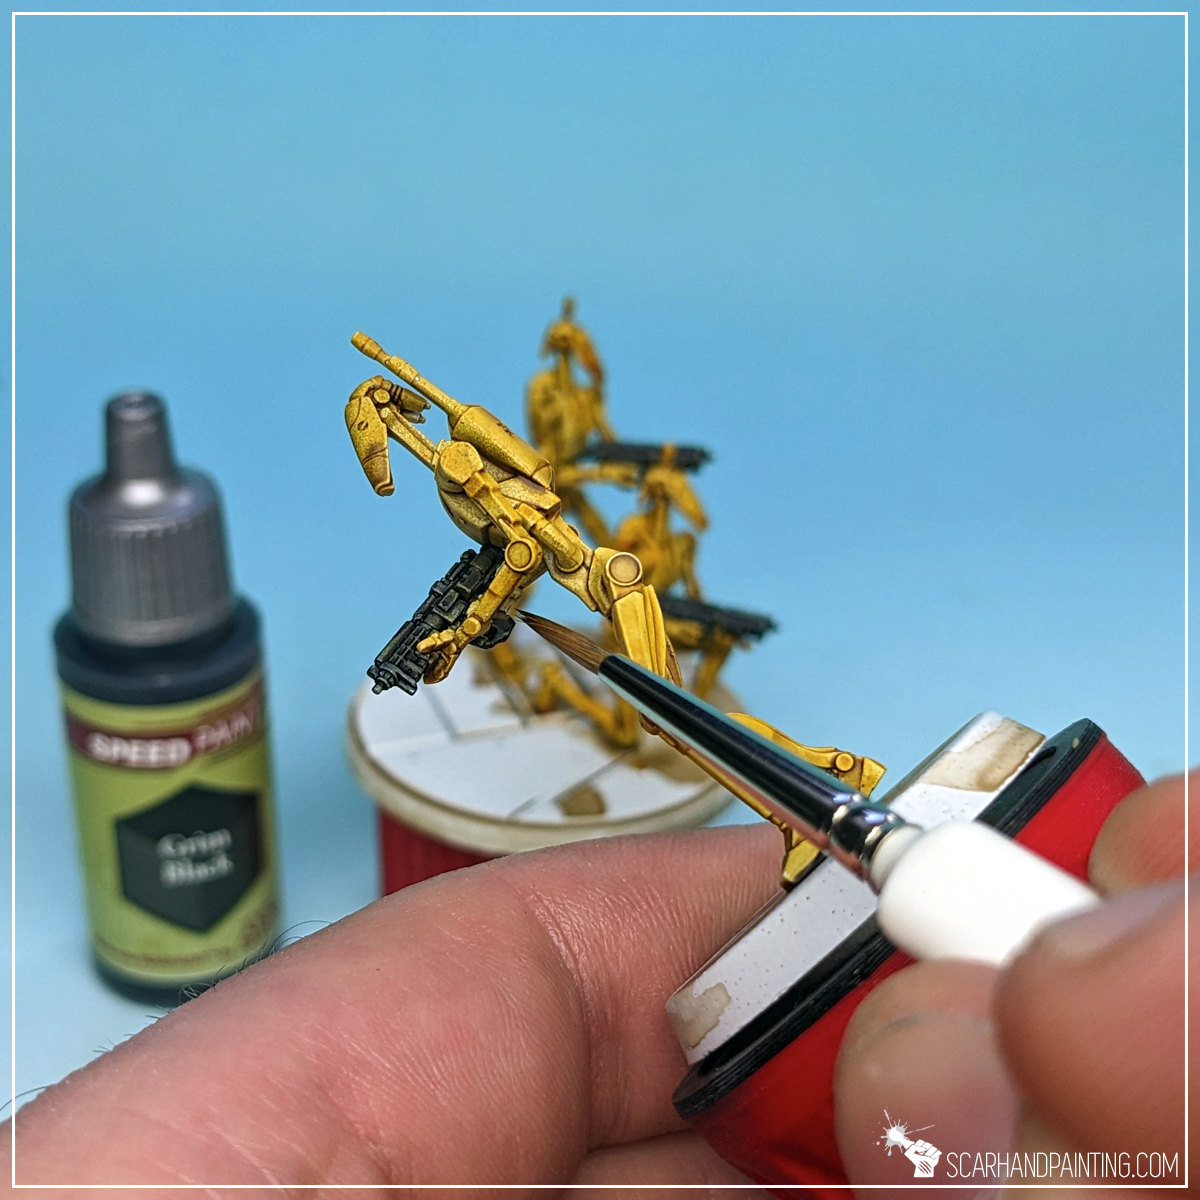
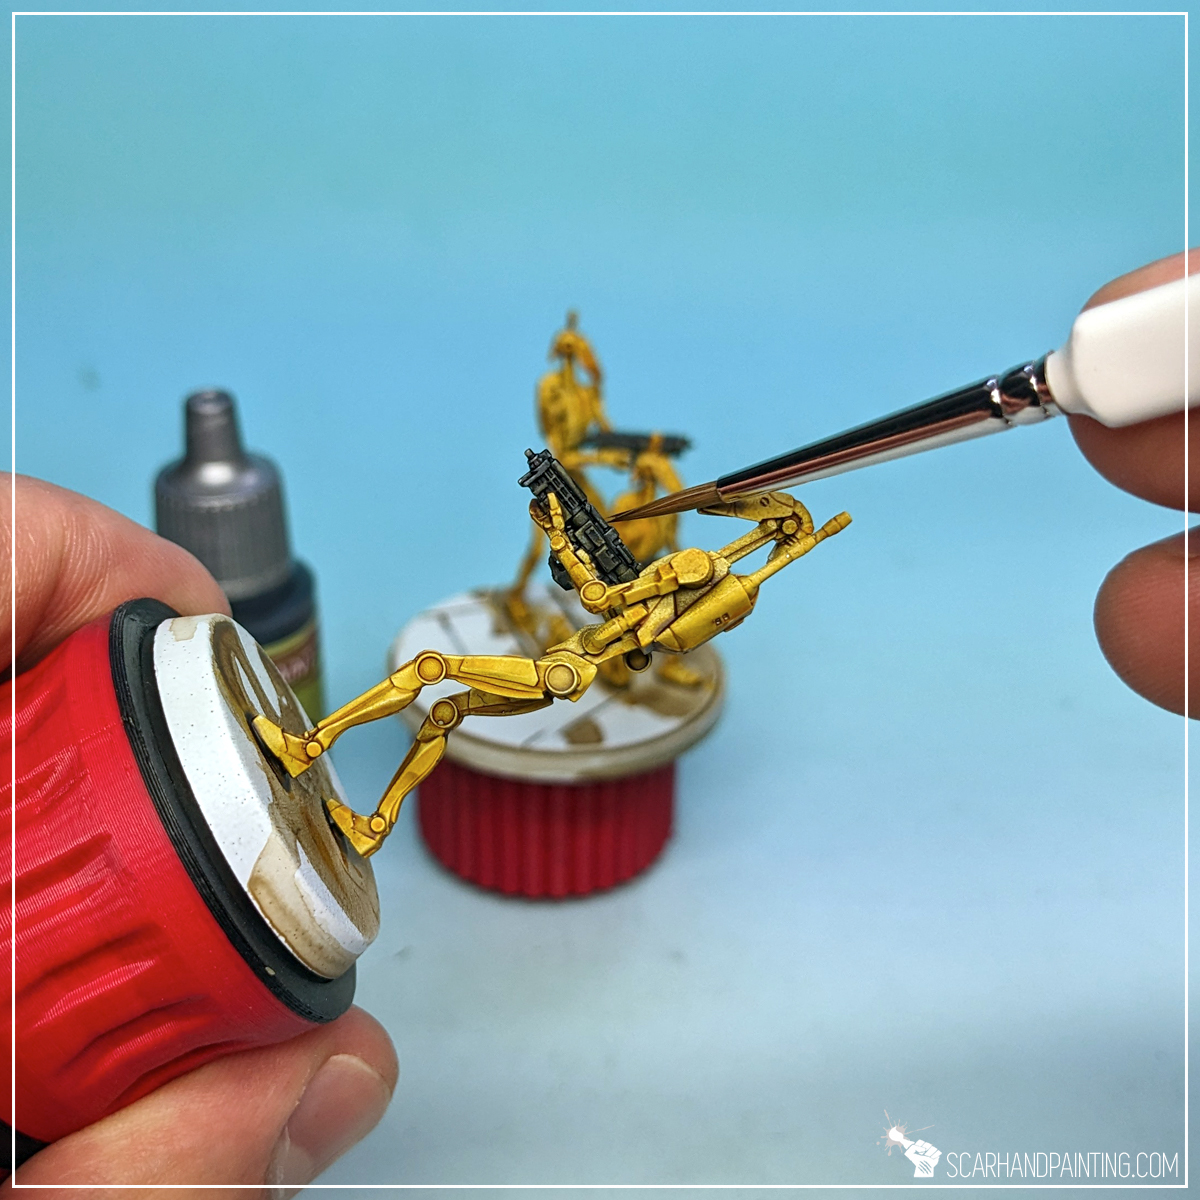
For weapons I went with the Grim Black. This Speed Paint was already tested during the Clone Troopers tutorial, so I knew it would cover any previous mistakes left on the painted areas. I used a Wargamer: Regiment Brush and did my best to avoid messing up the bright Droid armor.
TIP: This might be a difficult step for anyone not familiar with a brush. I recommend switching between different brush sizes and moving the miniature around for easier access. Speed Paints are thin, so you do not have to ‘lead’ the tip of the brush too much. Delicate touches will do.
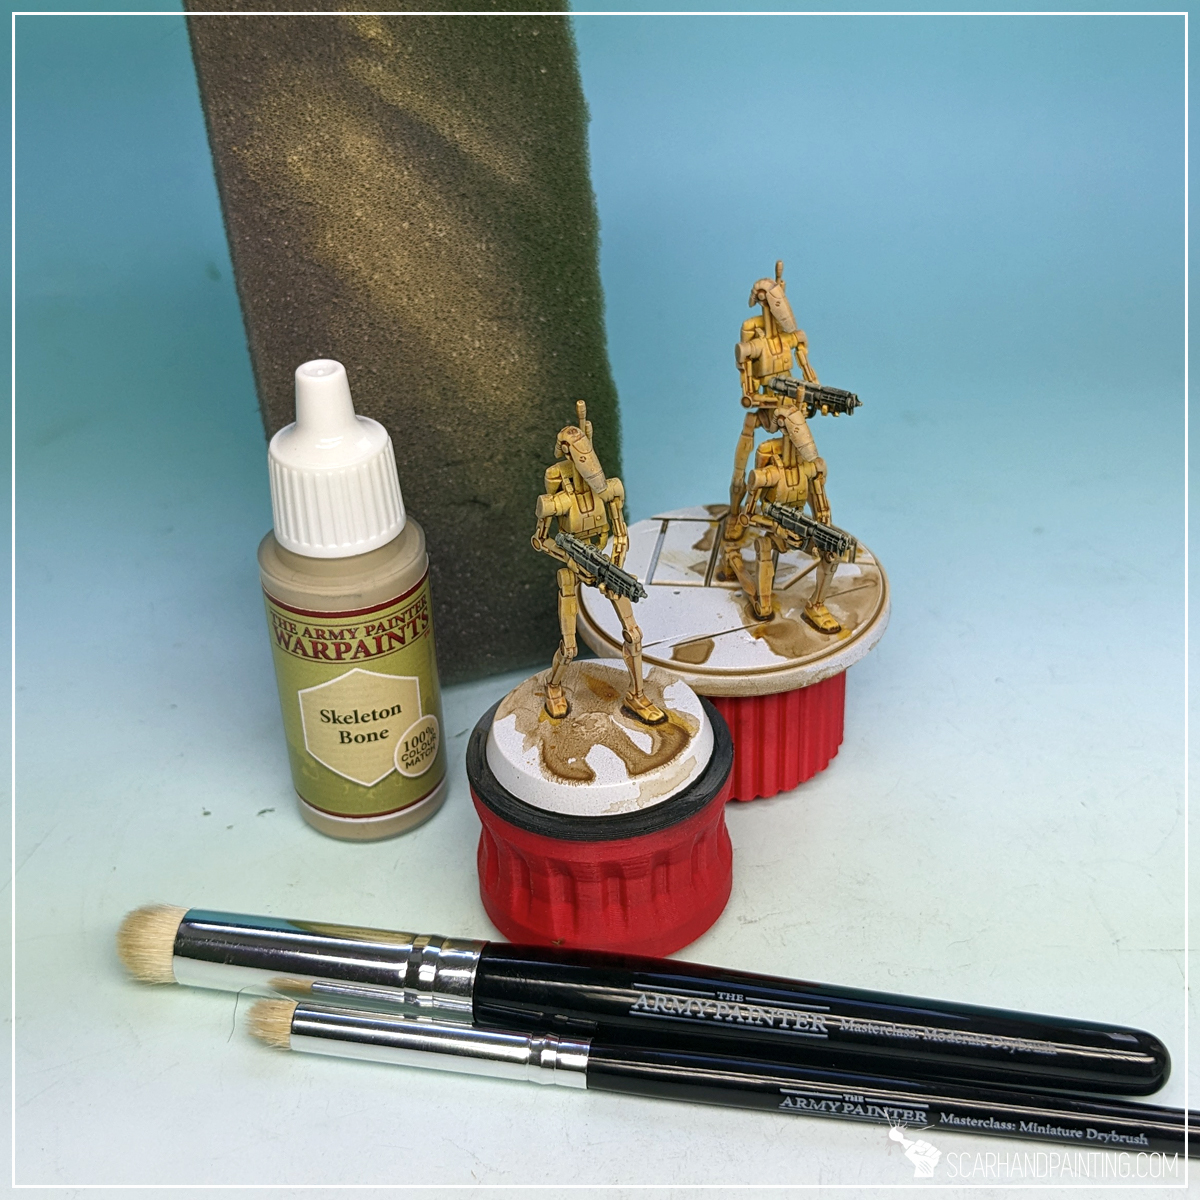
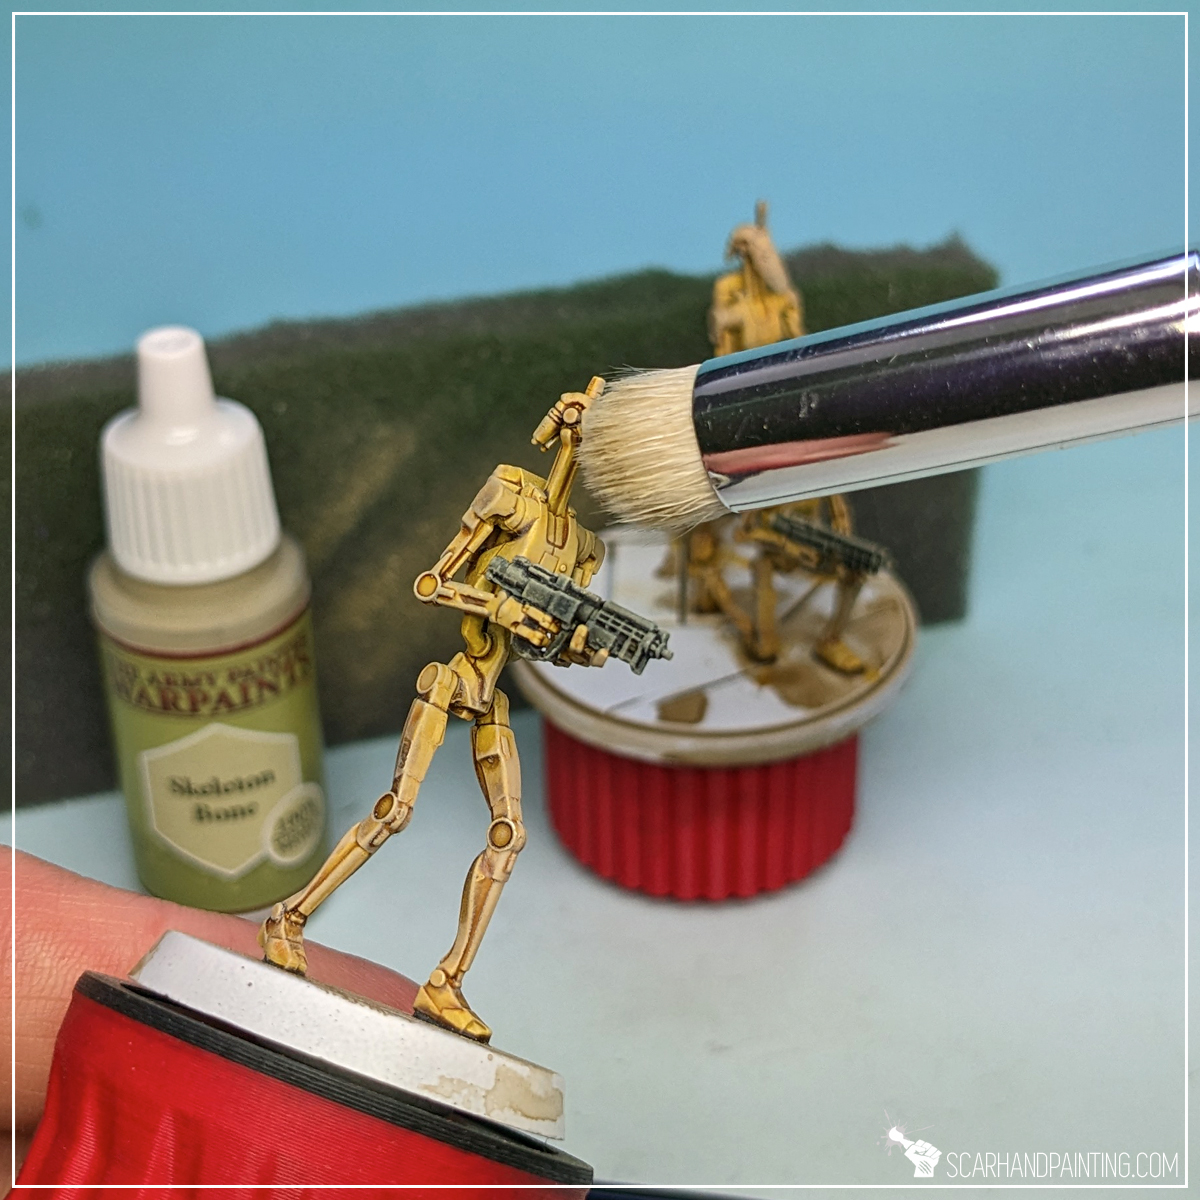
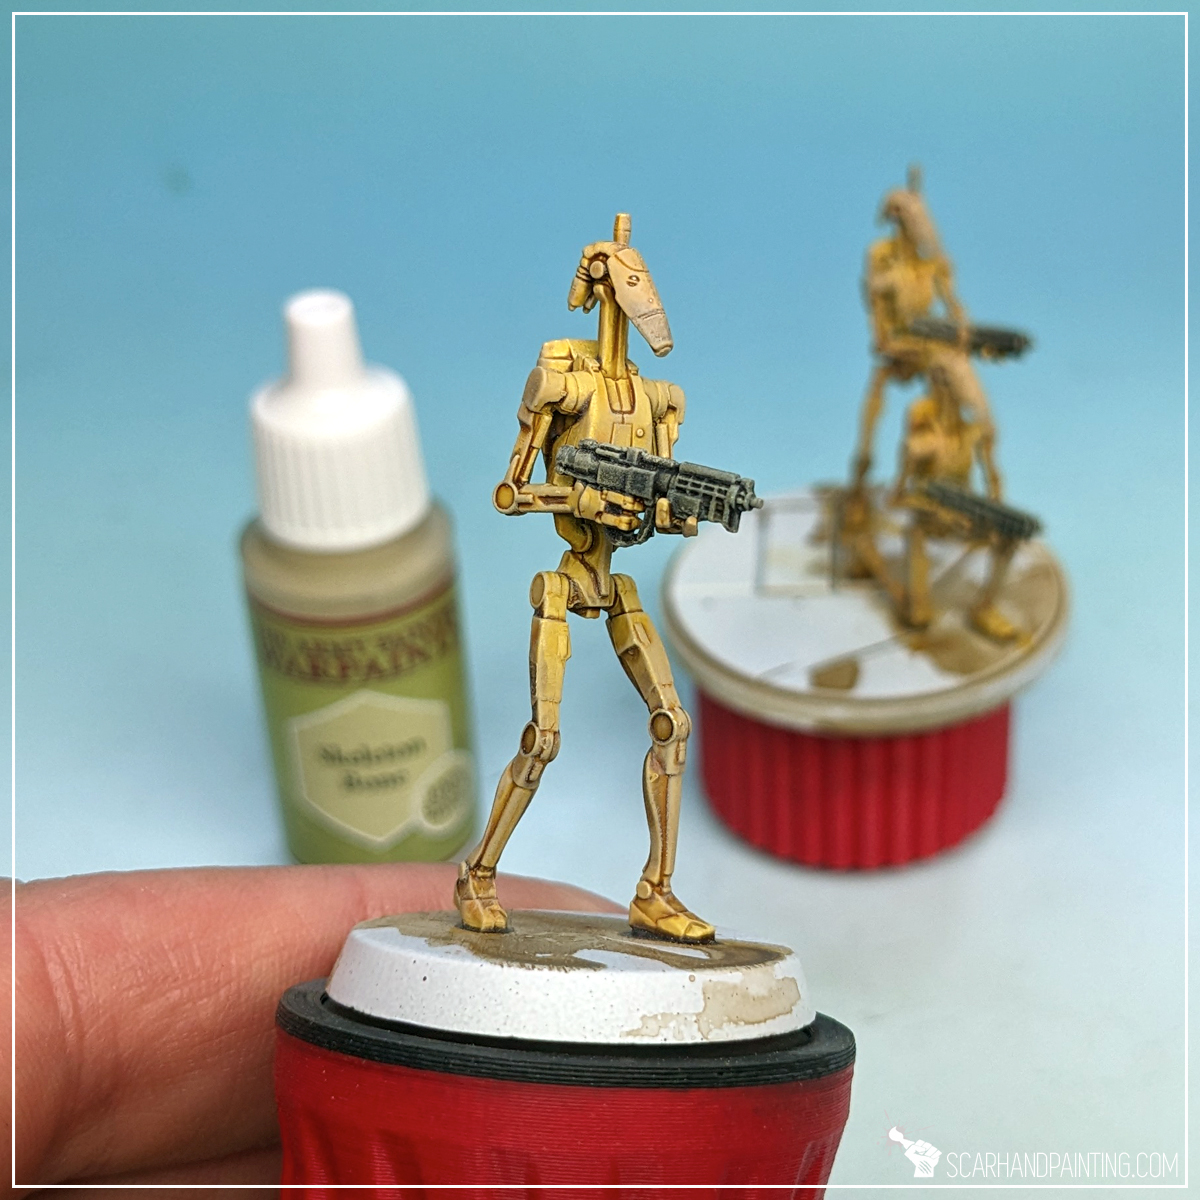
To apply an overall highlight I Drybrushed Skeleton Bone all over the miniature. I used Masterclass Mighty and Moderate Drybrush for this, but it can be done with Wargamer: Large Drybrush as well.
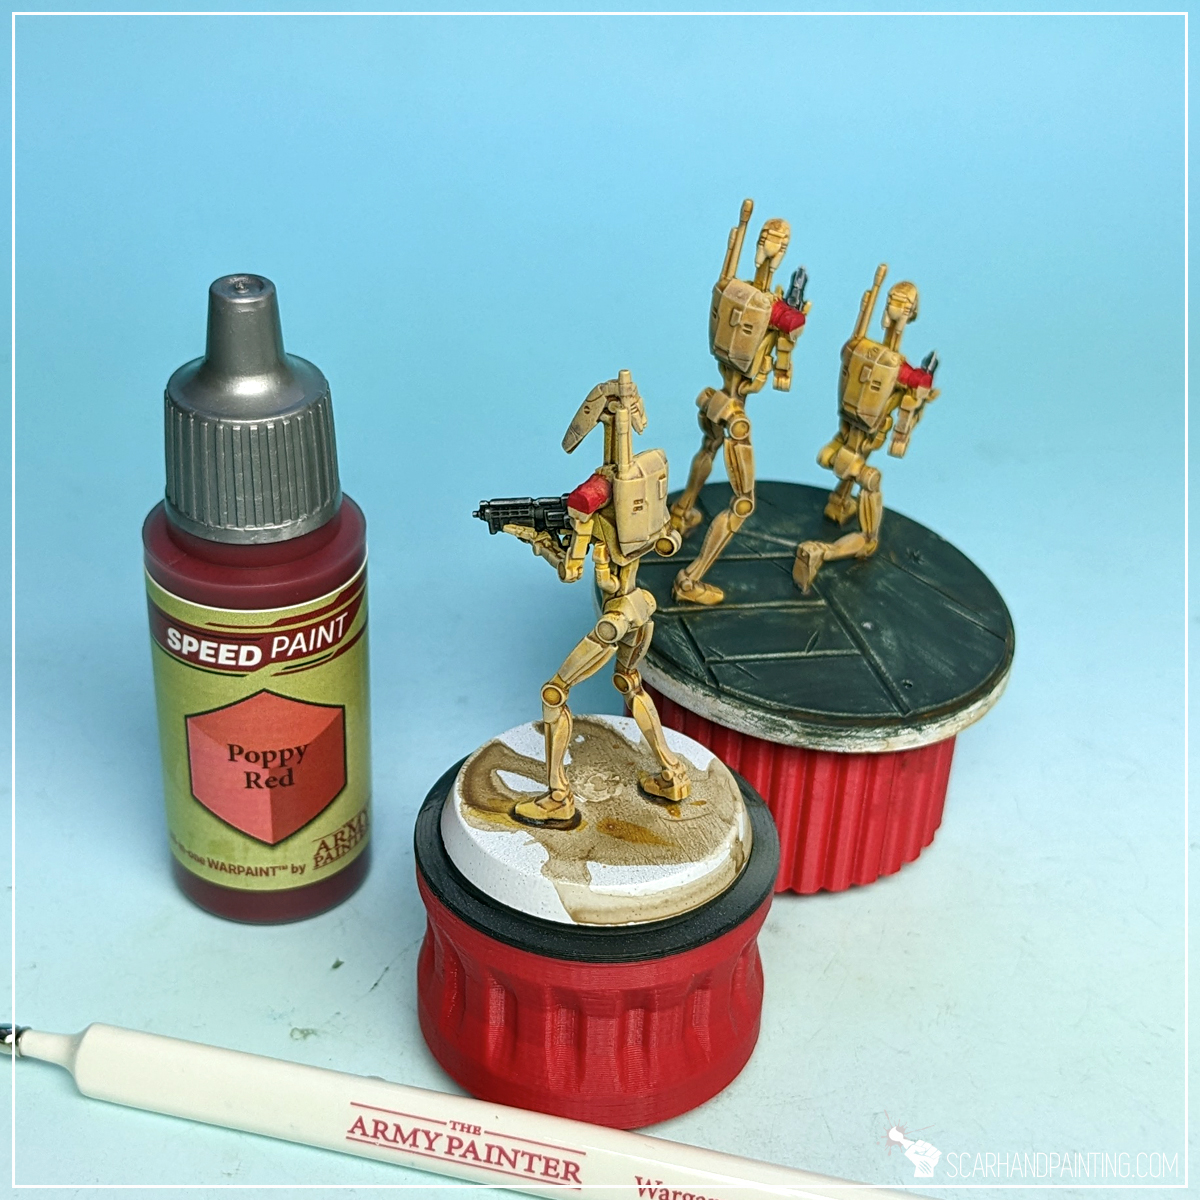
I used Poppy Red Speed Paint and applied it on top of chosen areas with Wargamer: Insane Detail Brush. As a Speed Paint the Poppy Red is perfect to cover bright paints underneath, including edges, previously highlighted with Skeleton Bone.

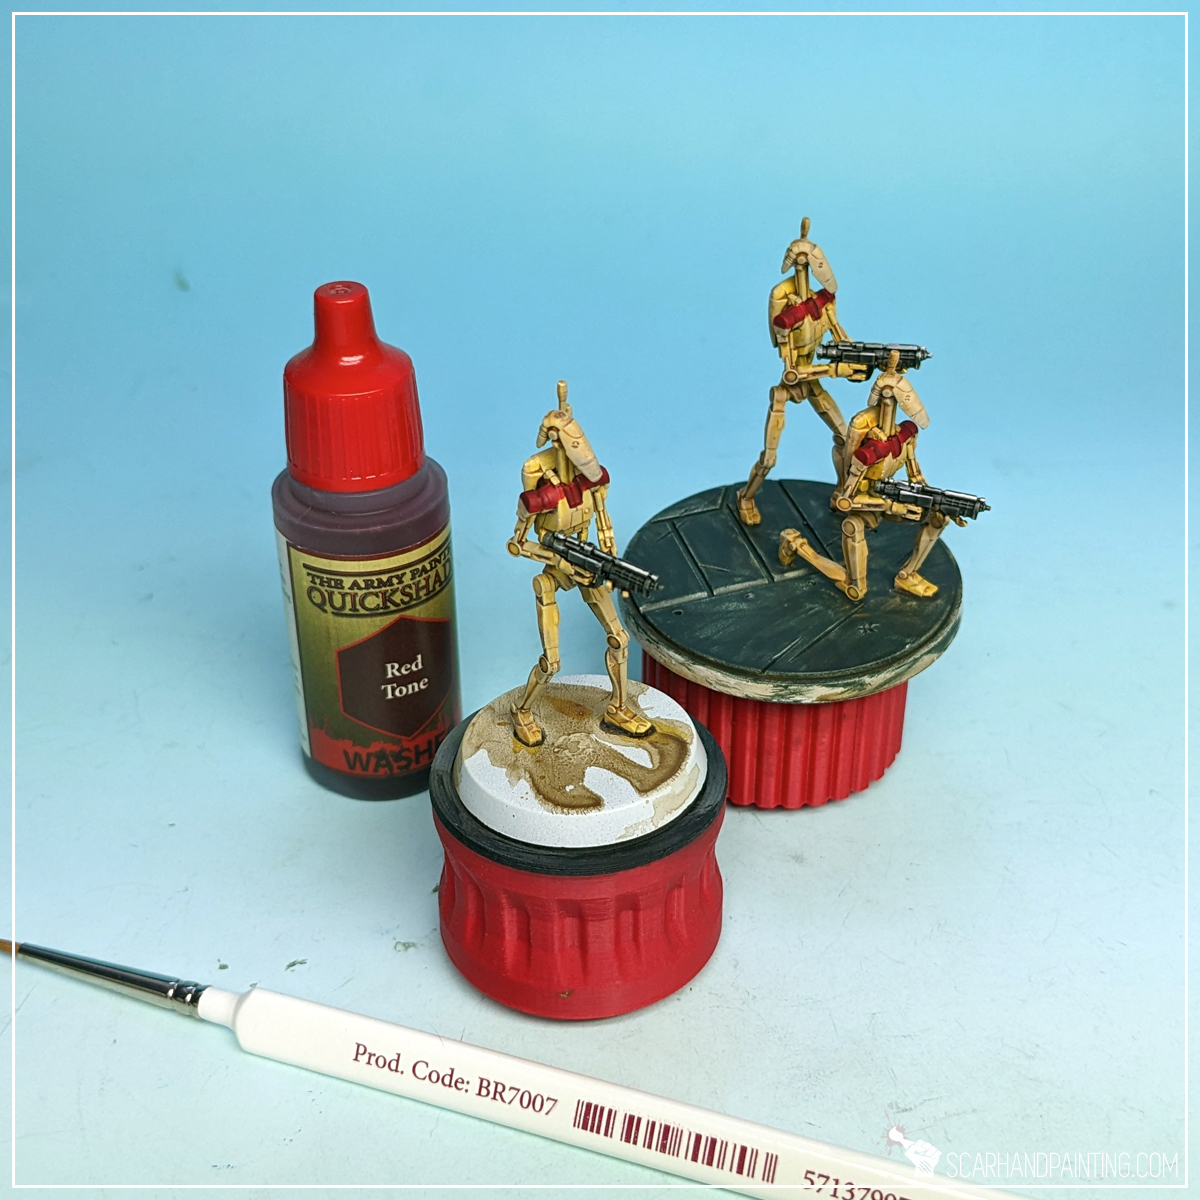
Next I applied a layer of Red Tone wash on top, to add depth and darken the color just a bit.
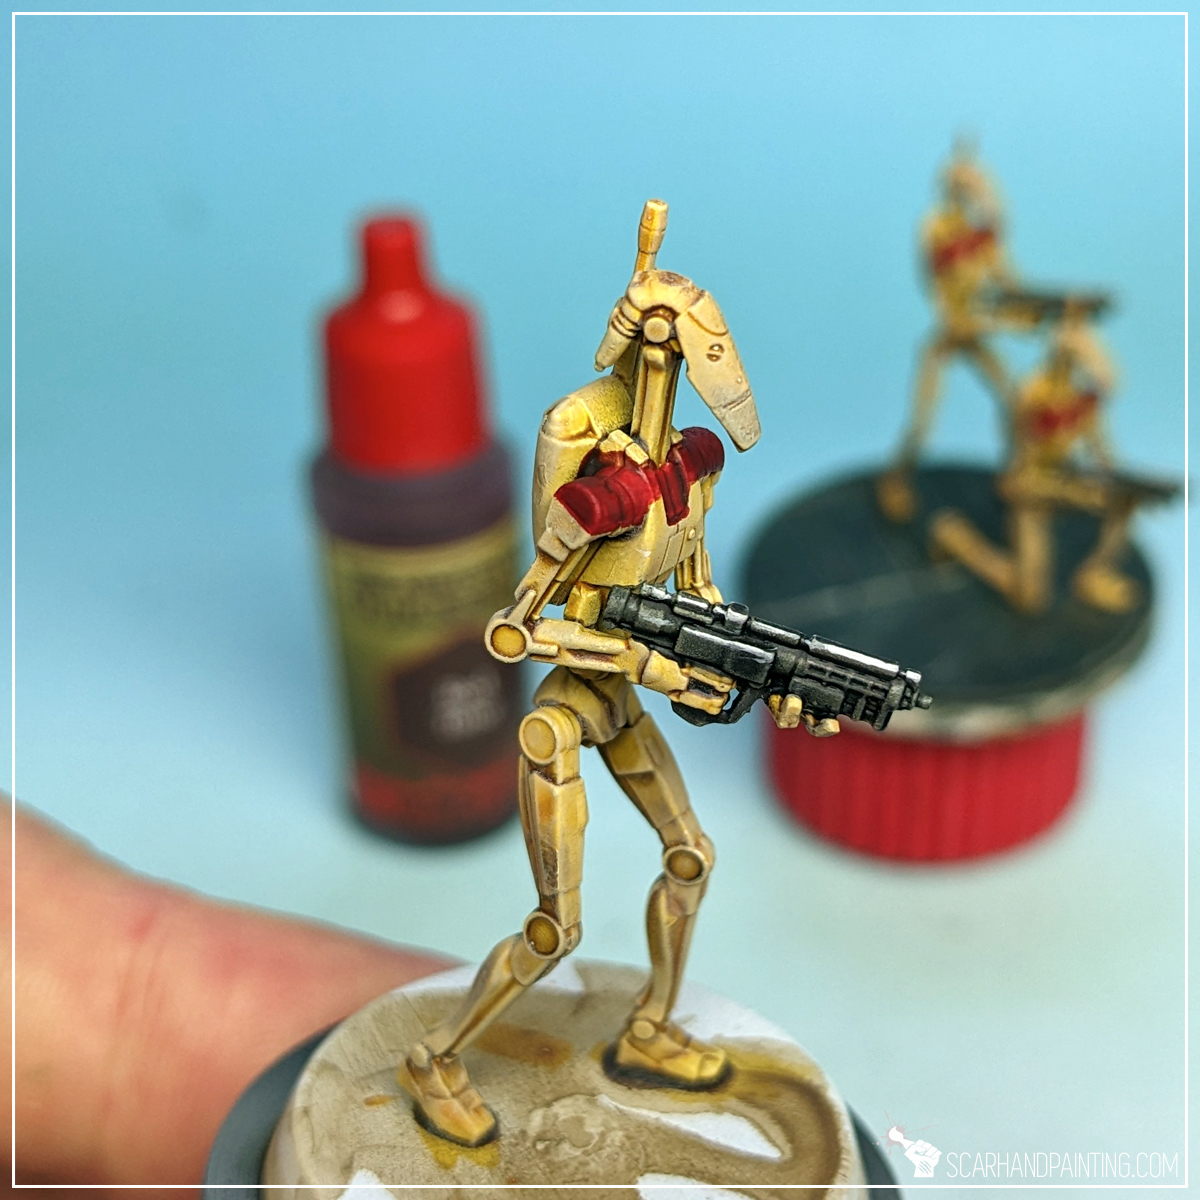
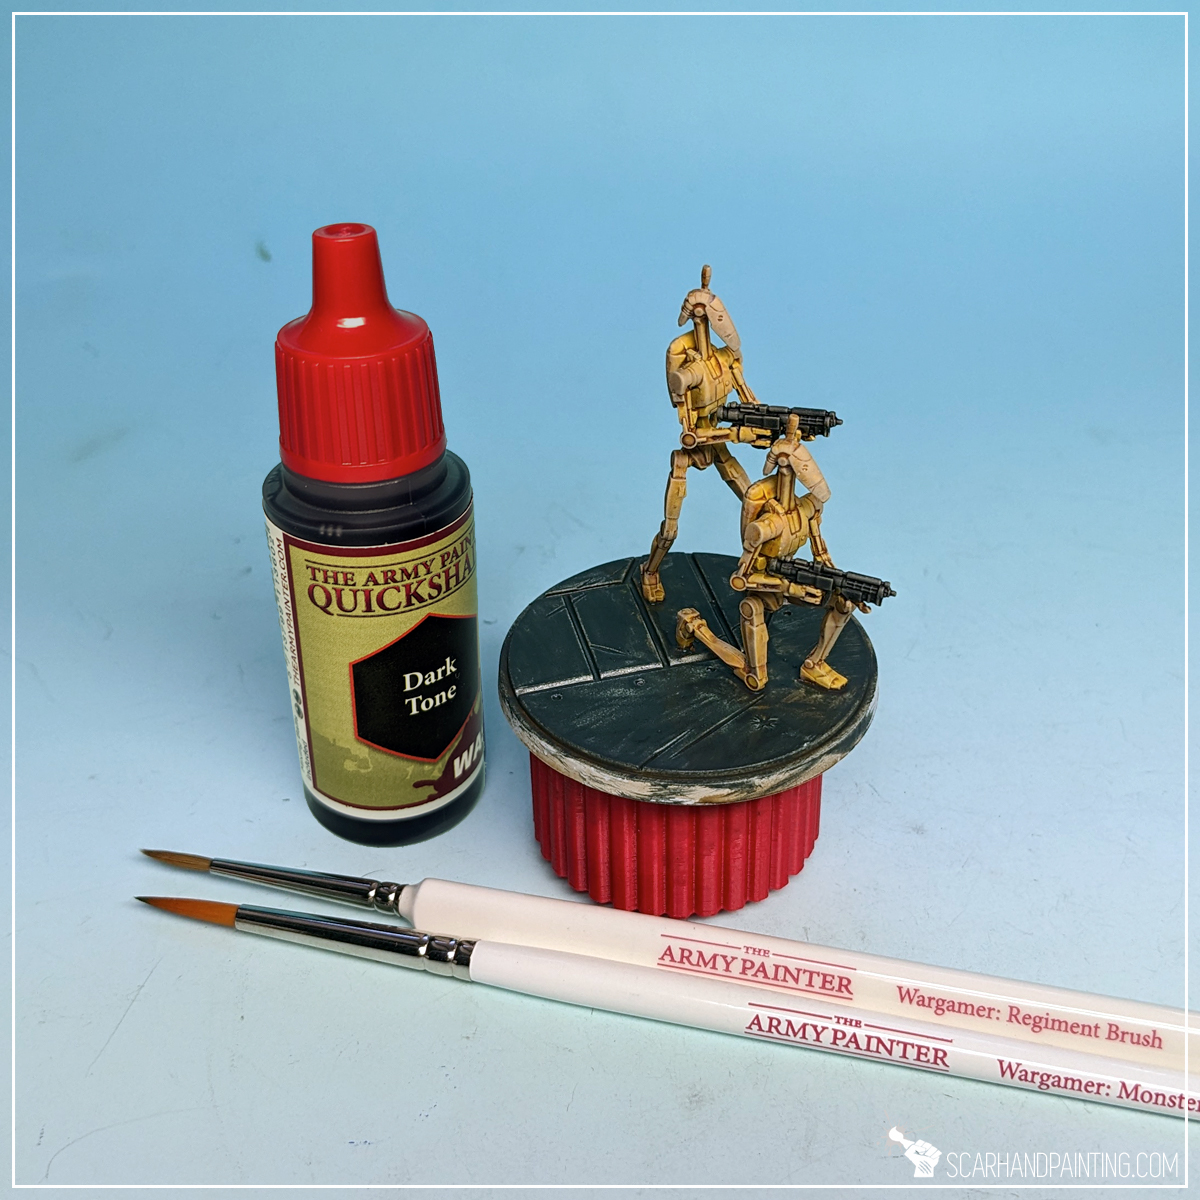
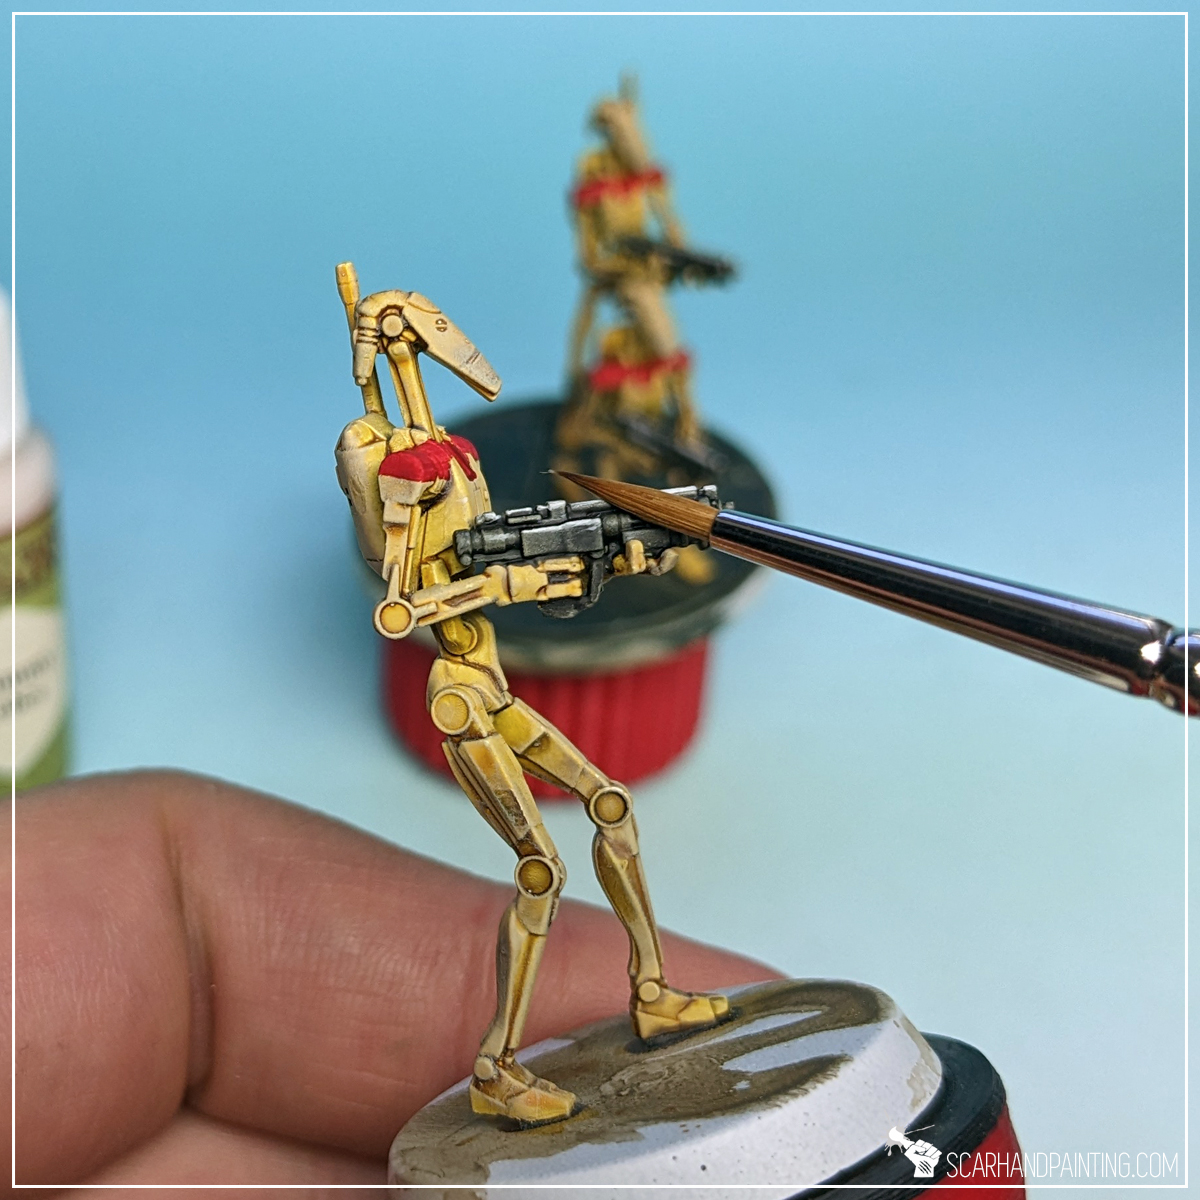
To make weapons pop, I used a Wargamer: Regiment Brush and applied a Dark Tone wash over them.
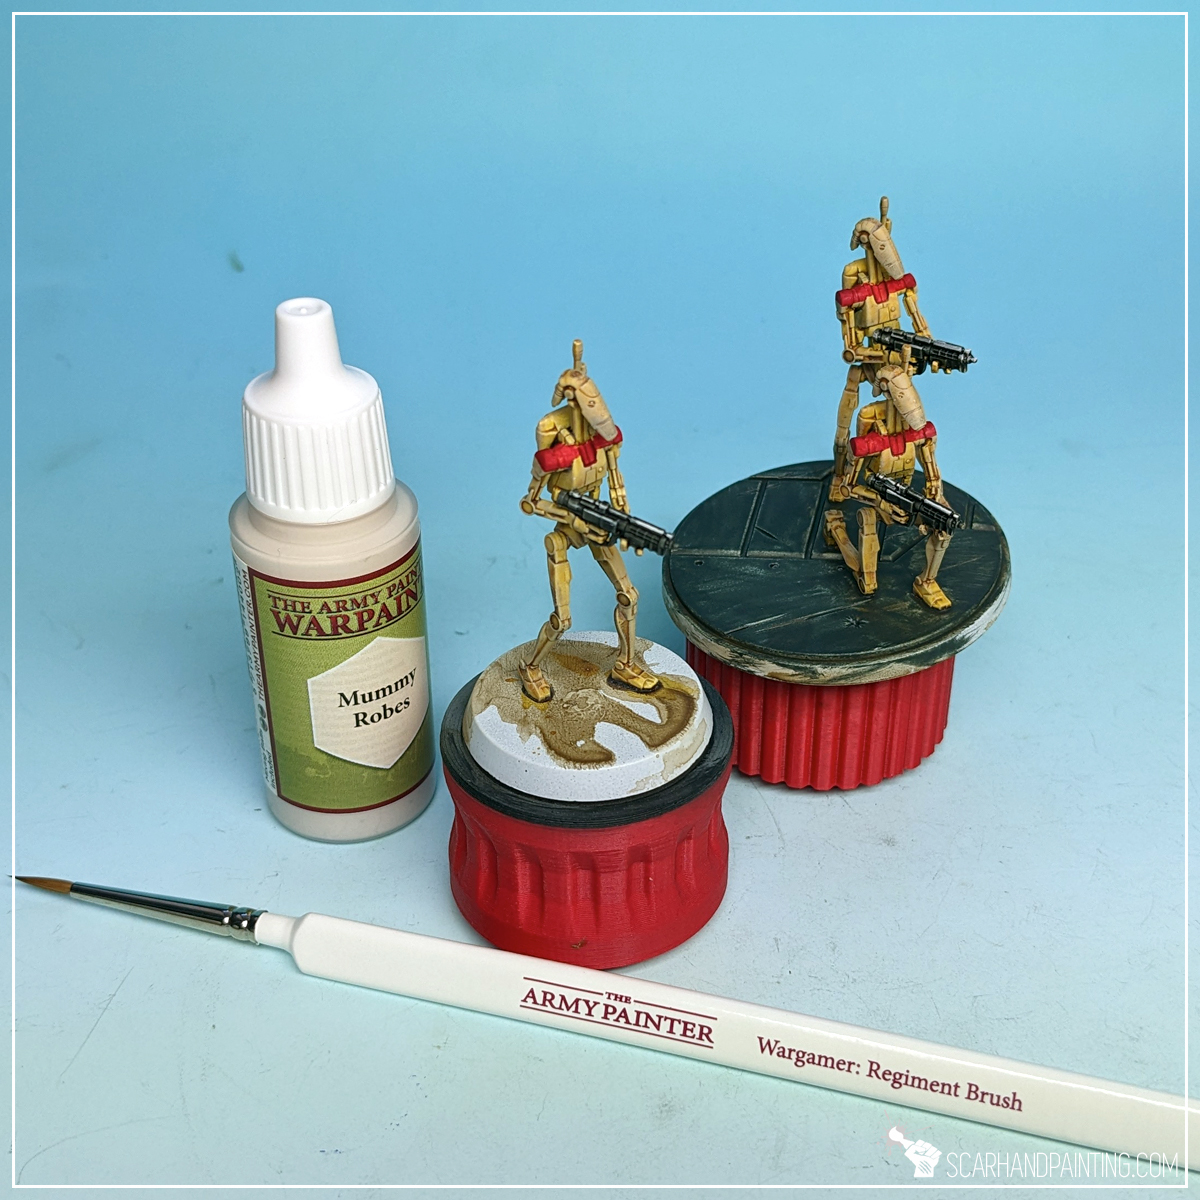
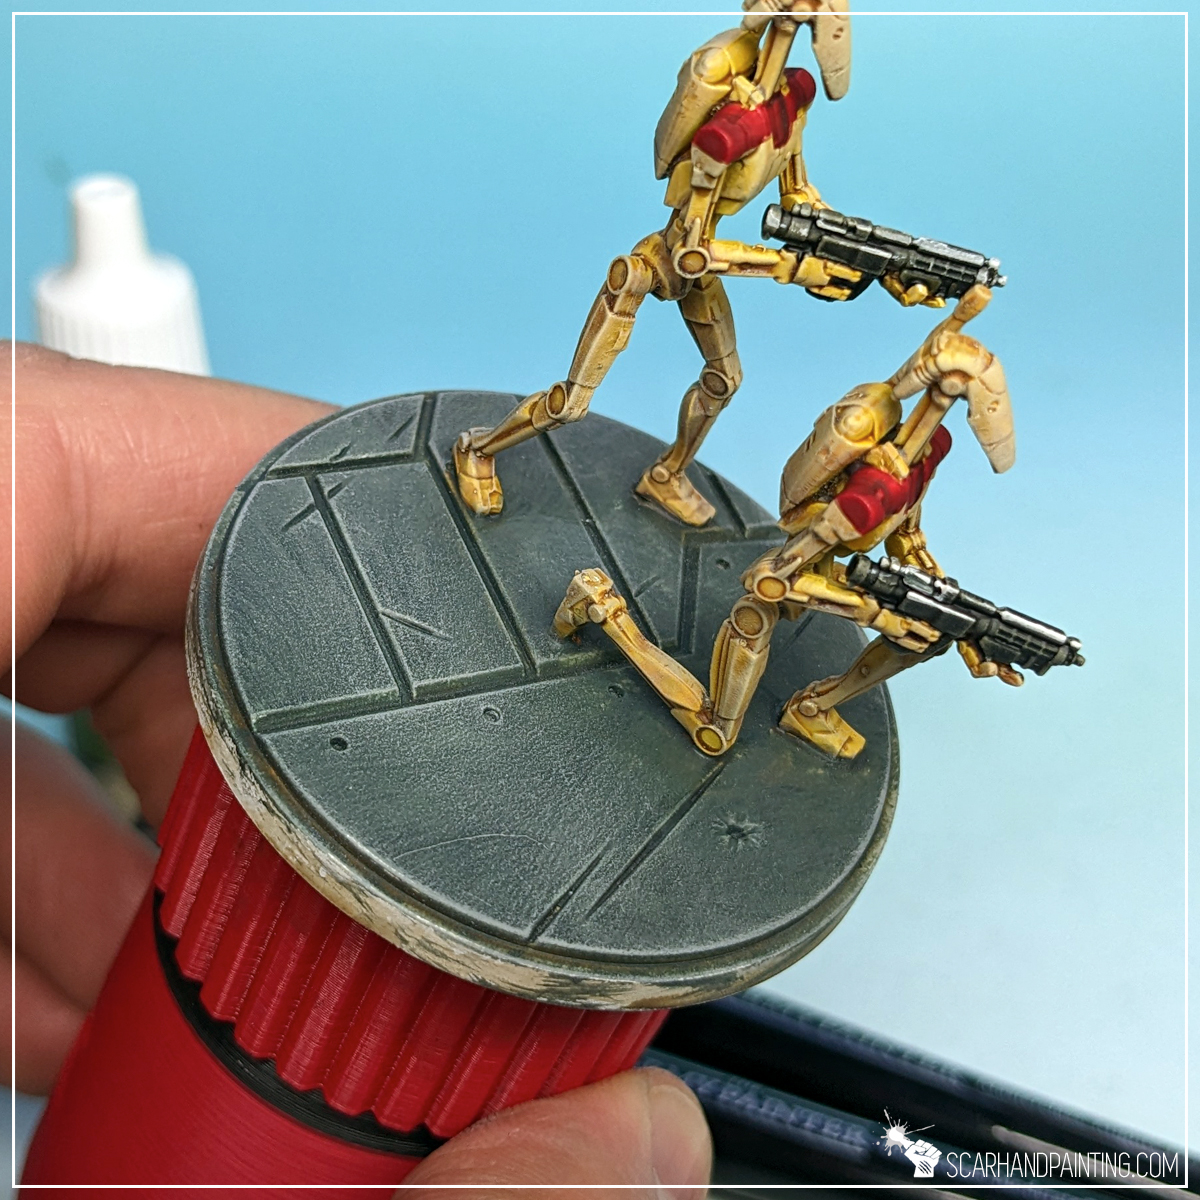
I then highlighted the edges with Mummy Robes, similar to how I did it in the Clone Troopers tutorial.
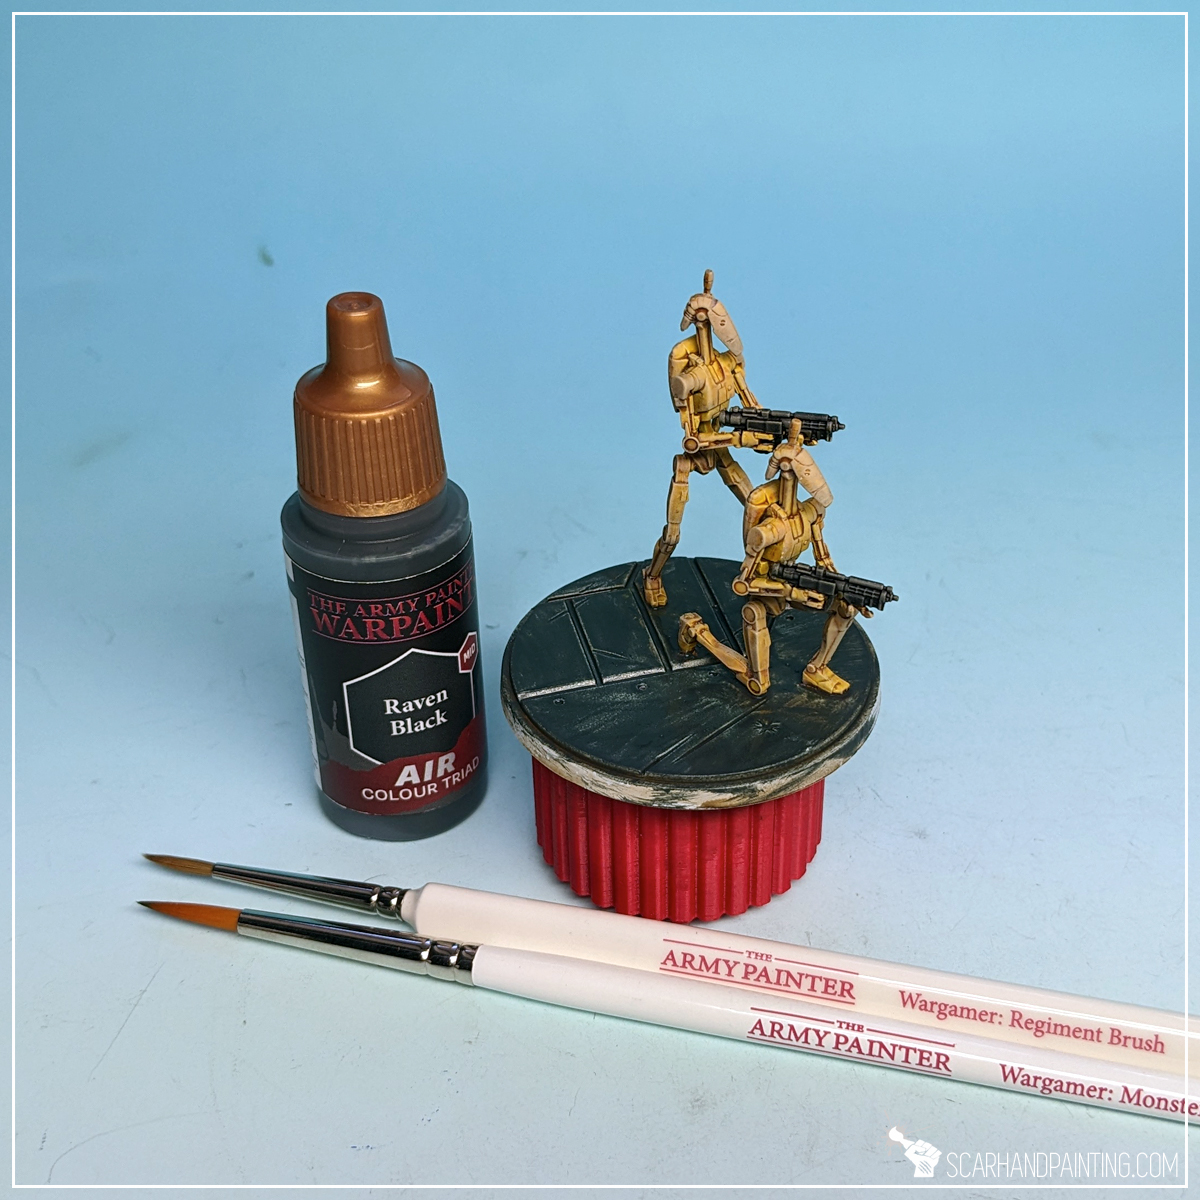
For bases I applied a layer of Raven Black (air) with a Wargamer: Regiment Brush. Just like with Clone Troopers, I deliberately used air series paint for an extra messy end result.
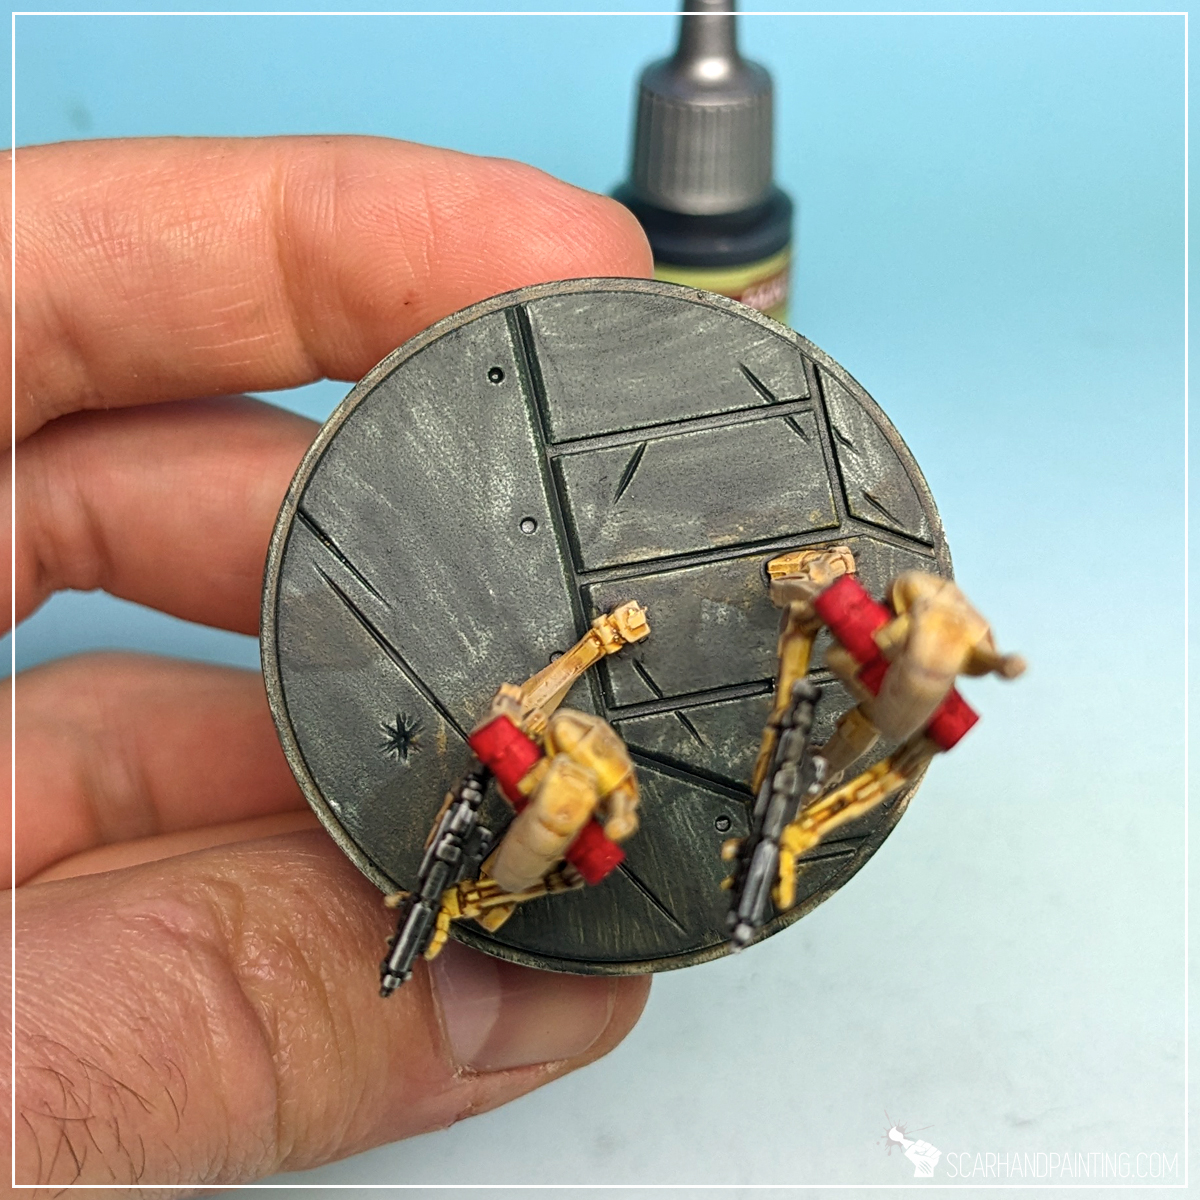
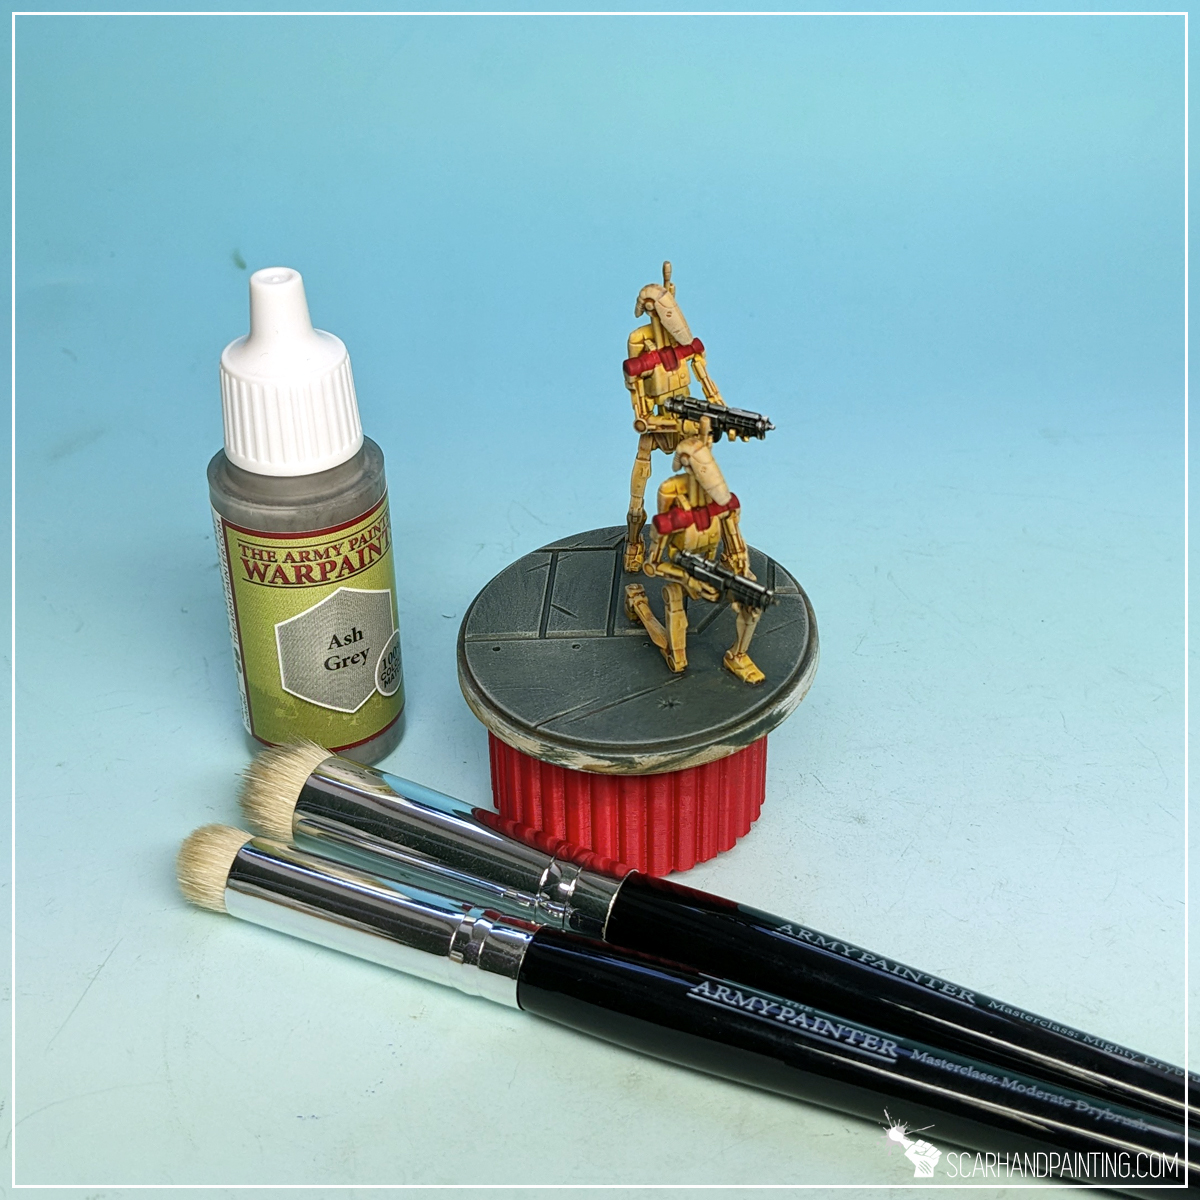
I then applied a strong drybrush of Ash Grey all over the bases and feet of the miniatures.
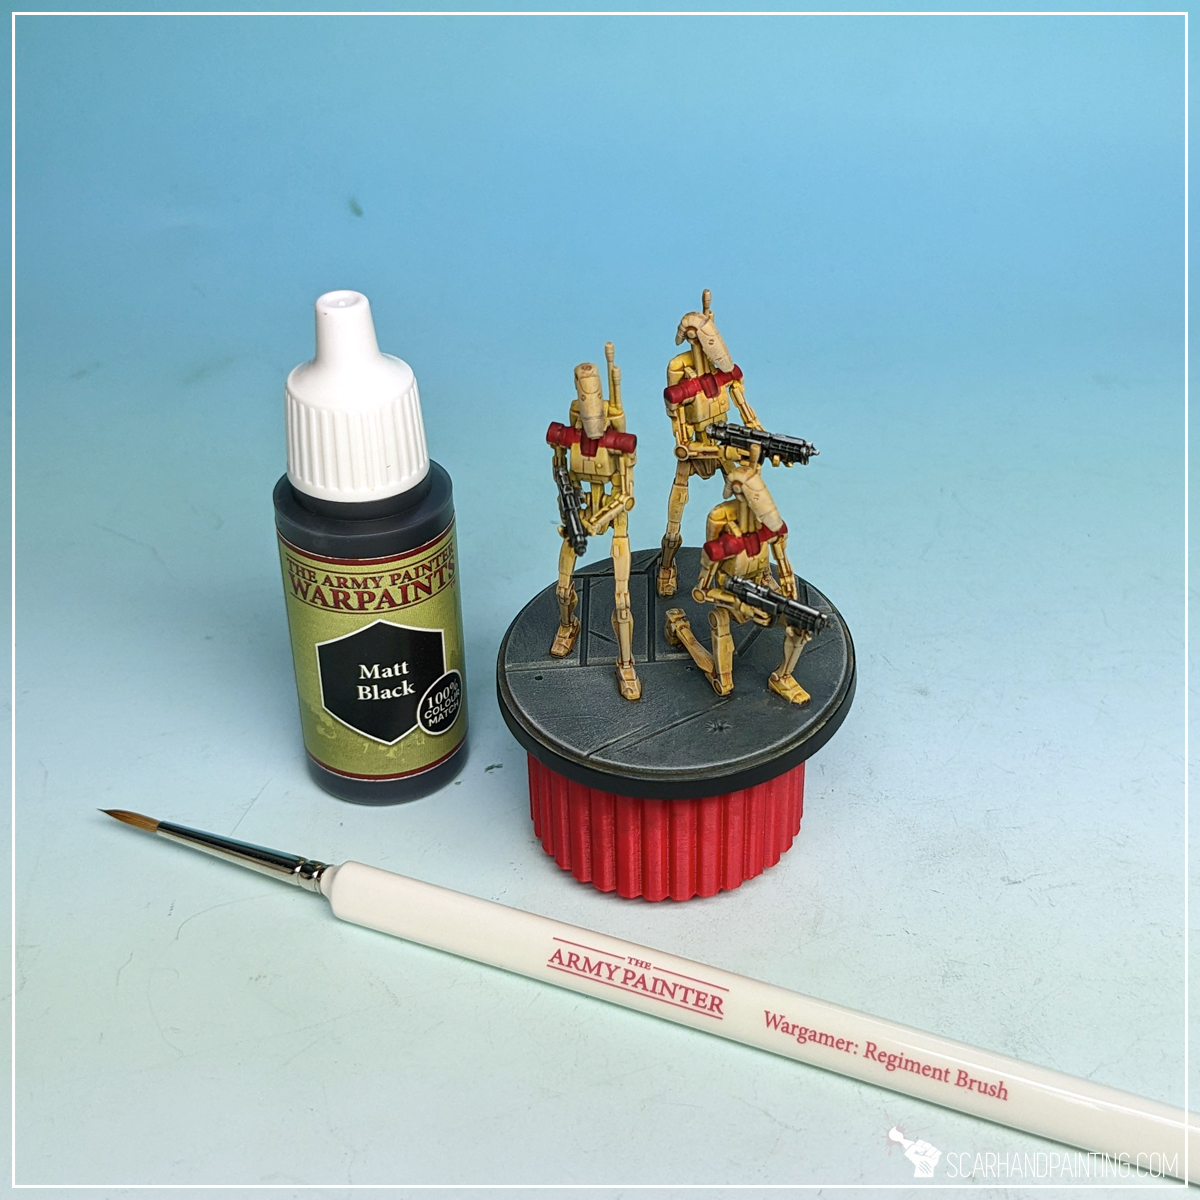
Finally I finished the bases with smooth, black edges. One layer of Matt Black, applied with Wargamer: Regiment Brush.
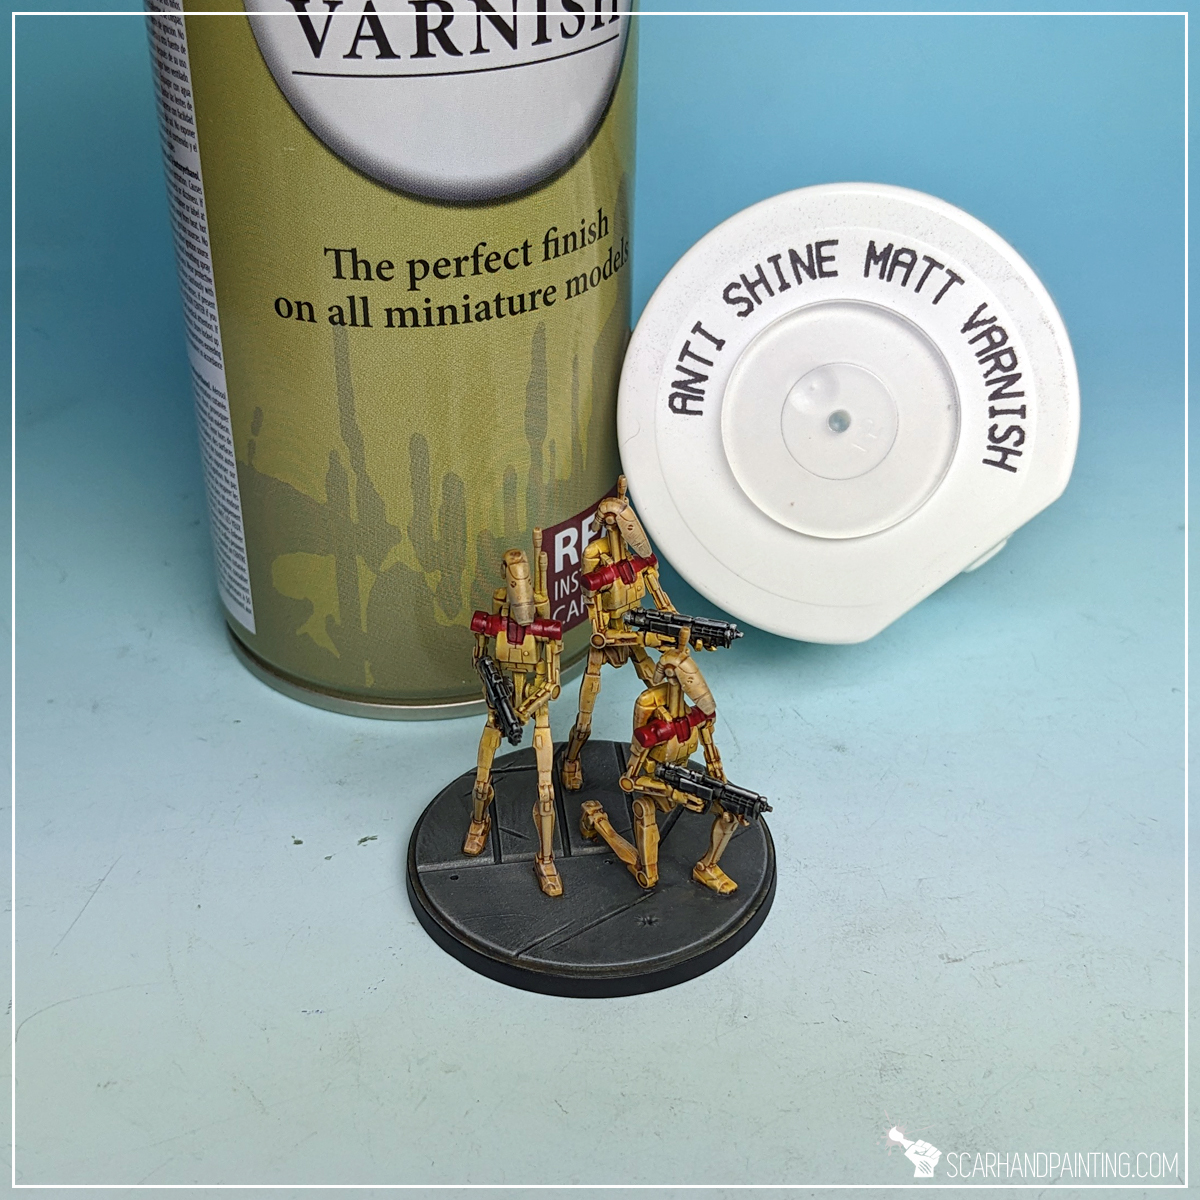
Lastly I sealed the paint job with Anti Shine Matt Varnish.

I hope you find this tutorial interesting. Be sure to let me know your thoughts in the comments below or via Facebook or Instagram. I would also appreciate it if you considered sharing this content with your friends, who might find it useful. Many thanks to Rebel.pl for sponsoring this content. Stay tuned for more Star Wars: Shatterpoint tutorials.