- contact@scarhandpainting.com


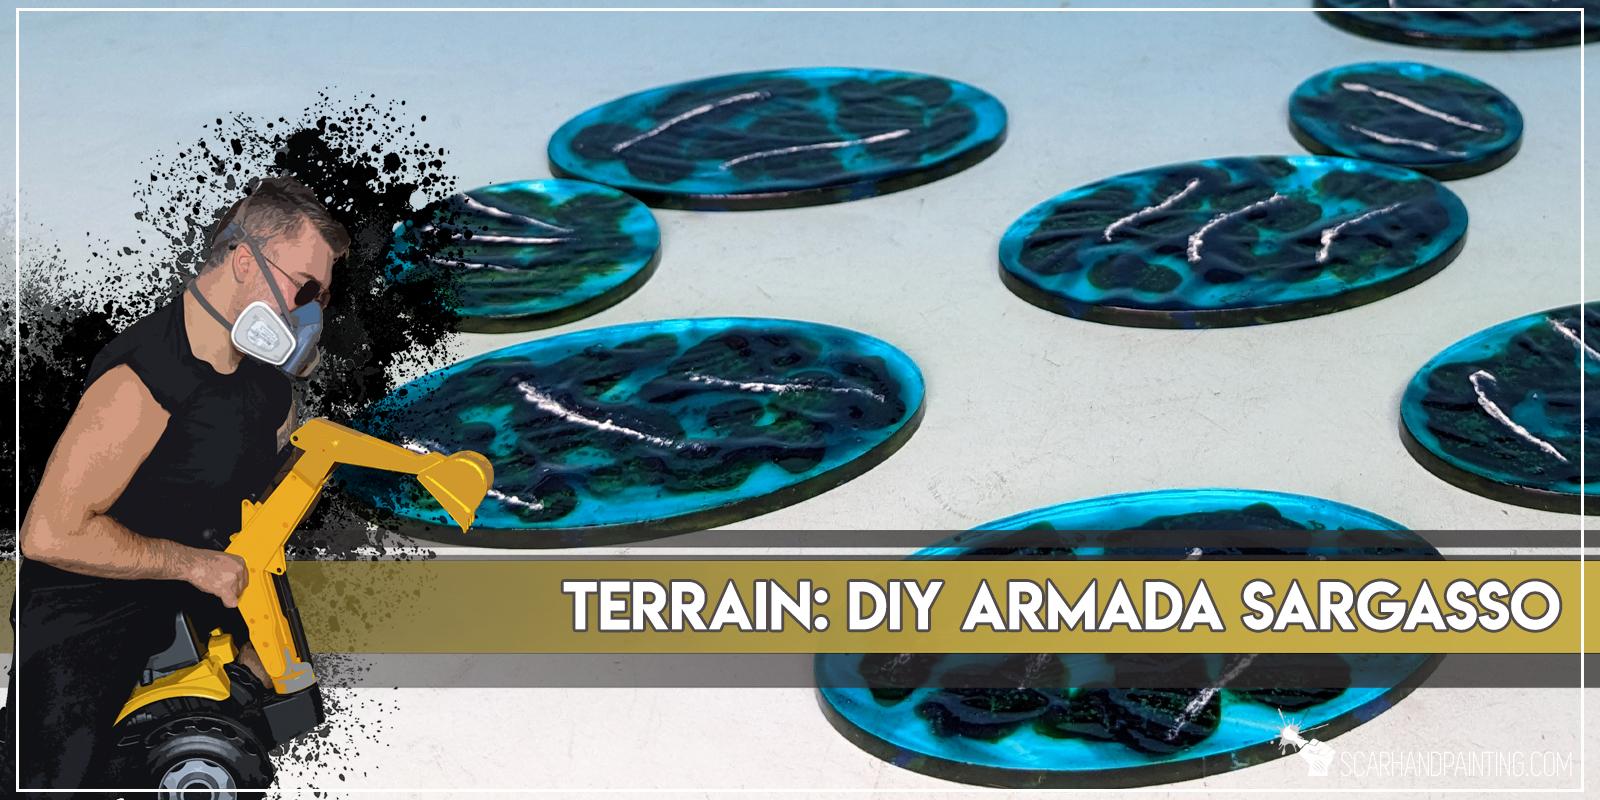
When it comes to spicing up your miniatures naval games, there’s nothing better than nice looking scenery. This is especially true for games full of finely detailed miniatures, such as Kings of War: Armada. Today I would like to take you on a Step-by-step trip through the process of creating and painting an alternative scenery for Armada – the Sargasso. These can be used as either Sandbanks proxy, or as something completely new, as you see fit.
Some notes:

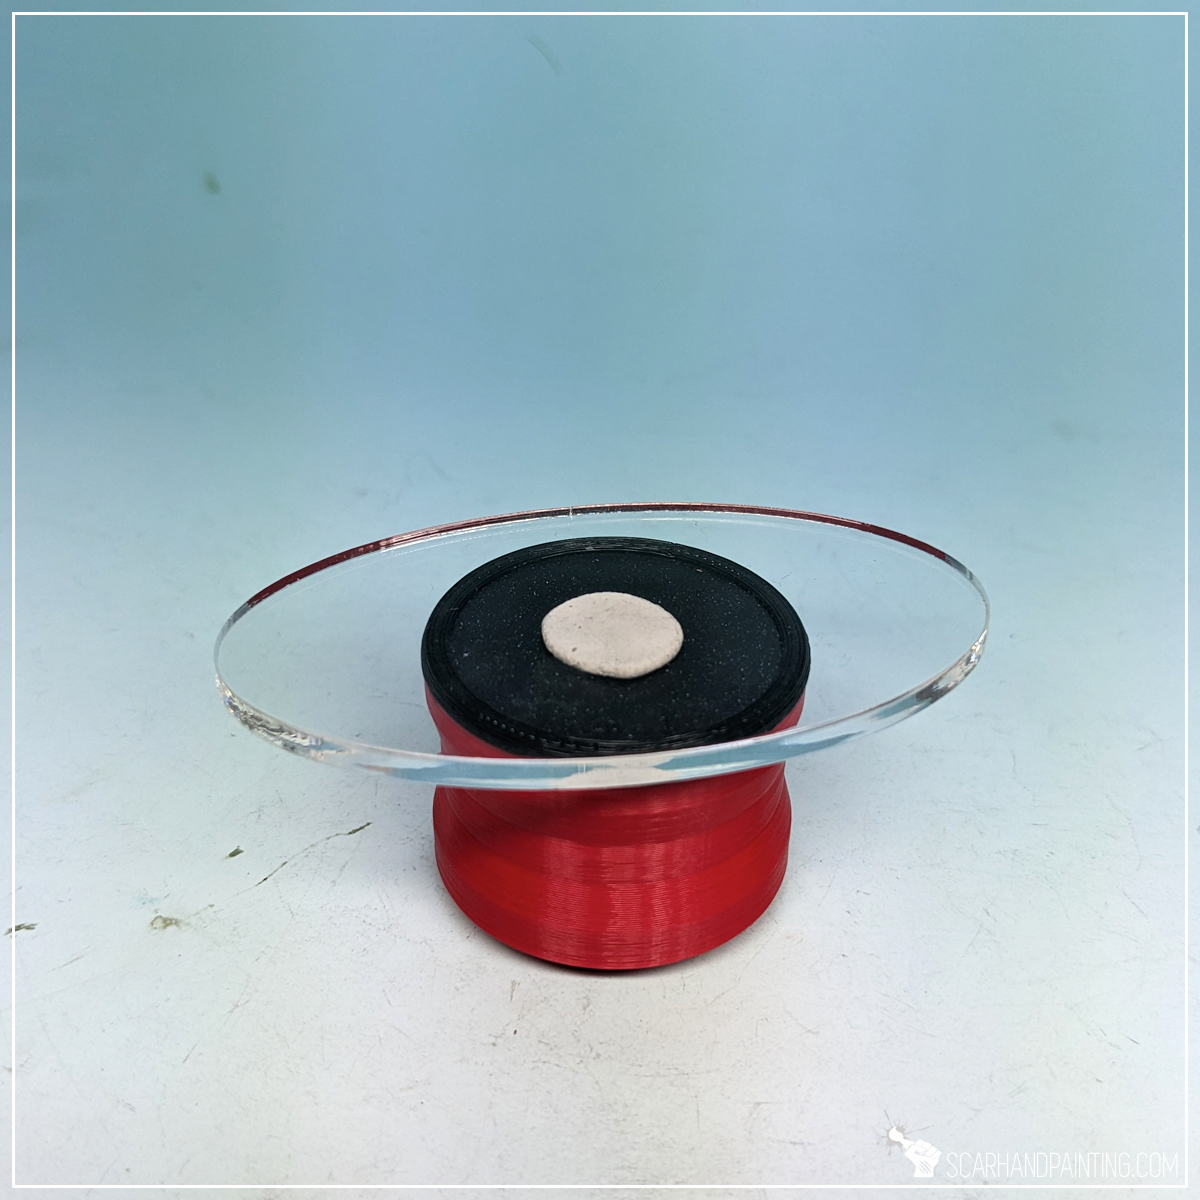
High end materials right from the get go. I do prefer my scenery to be durable and high quality, thus I went with laser cut translucent acrylics. That being said, there’s nothing preventing you from using a cheaper and more accessible material, such as clear plastic – maybe food packaging leftovers, or miniatures blister package? As long as it’s clear and sturdy enough you should be fine with any substitutes.
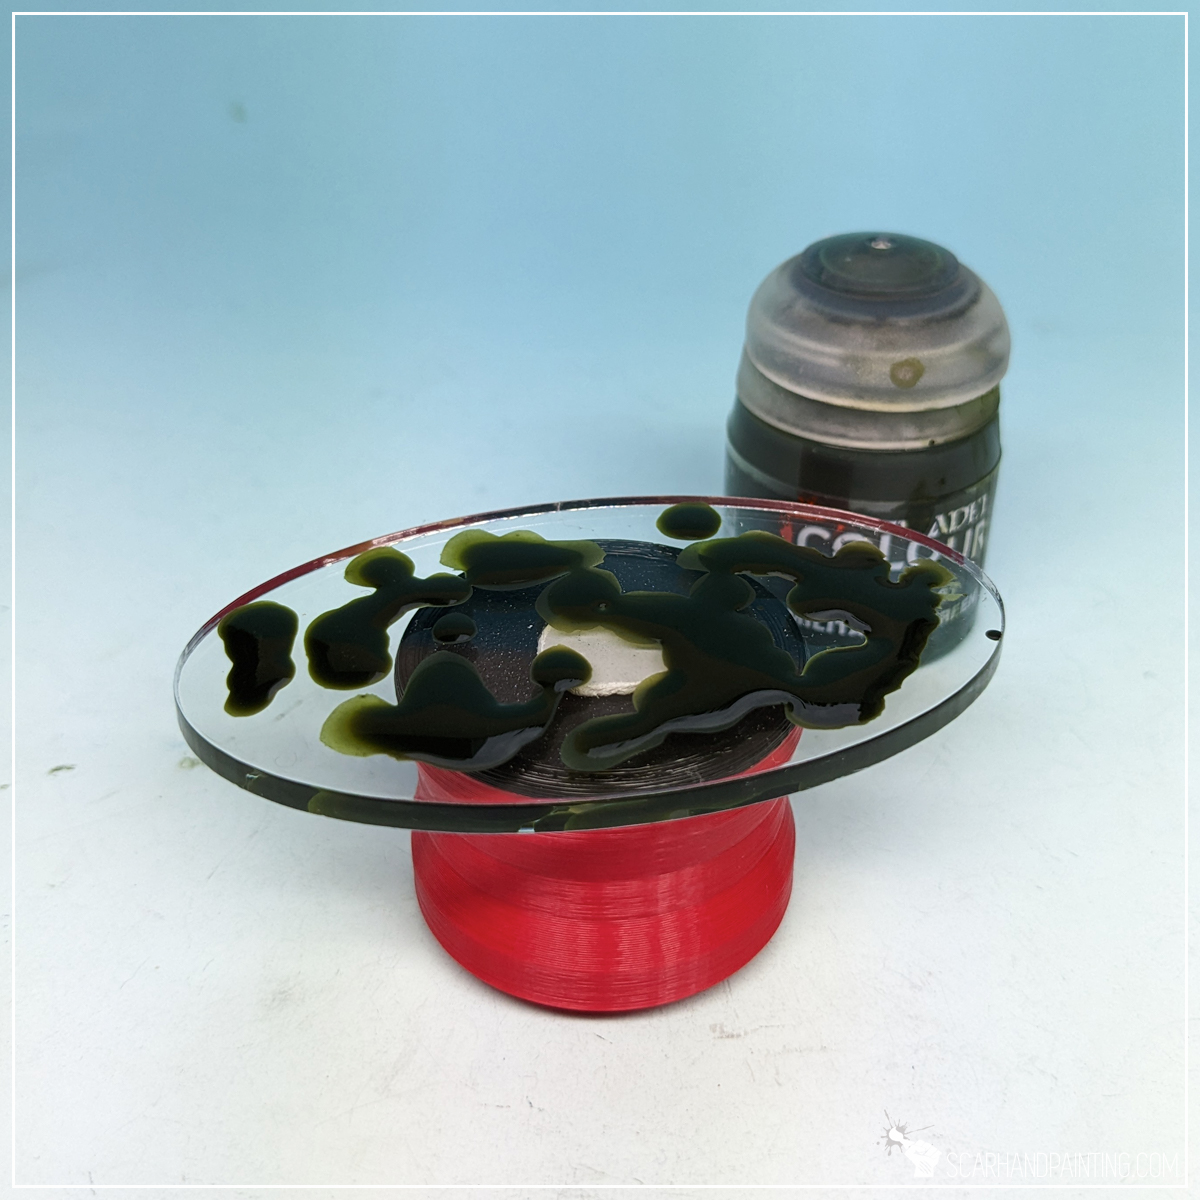
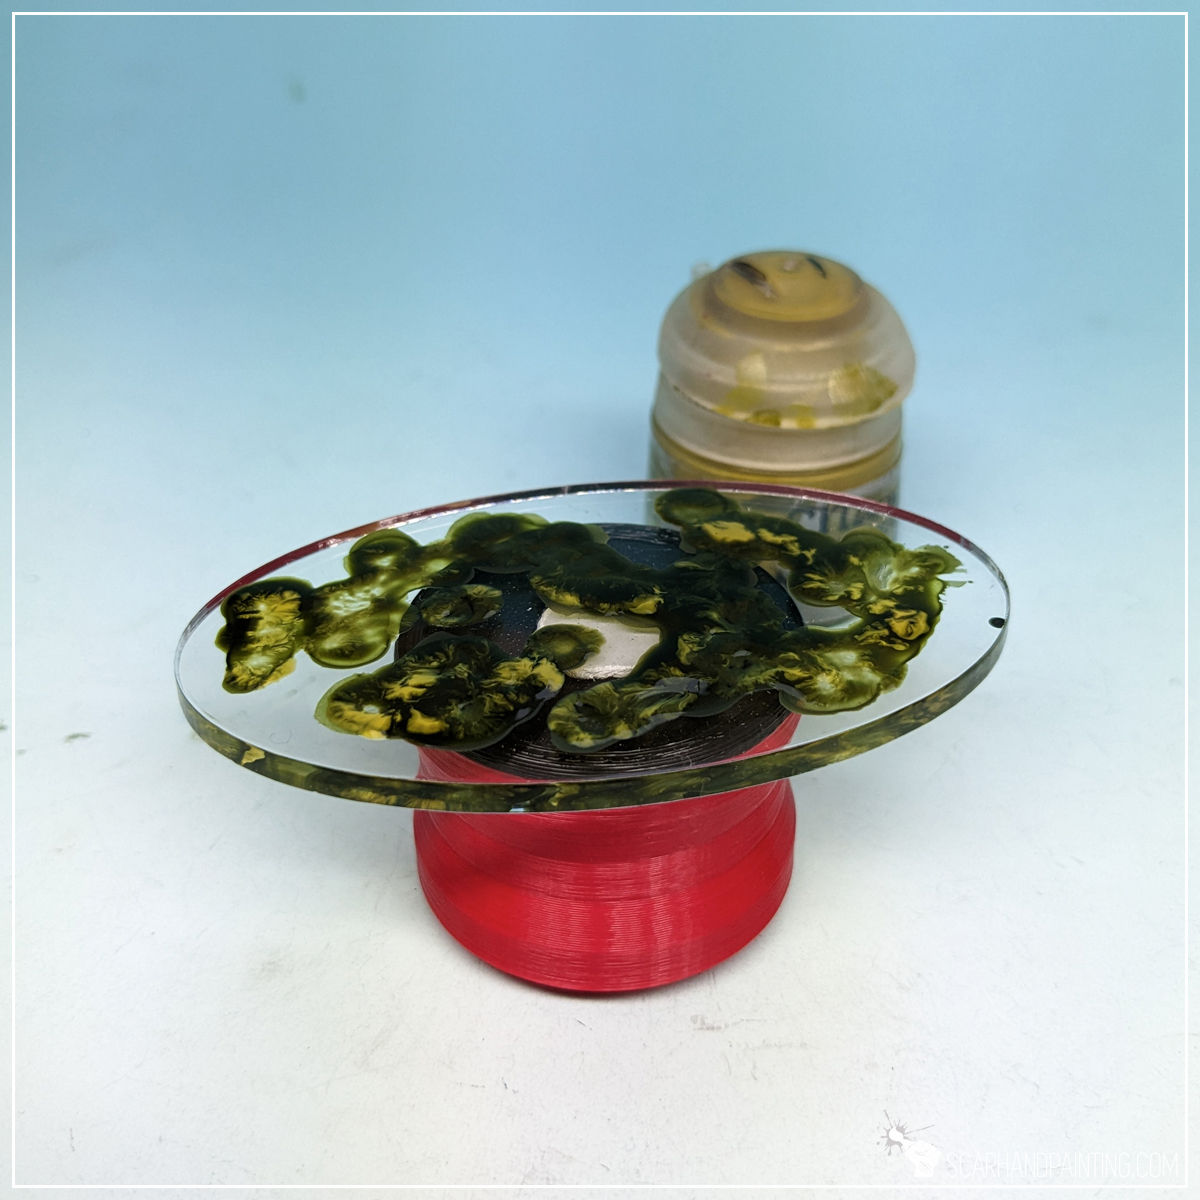
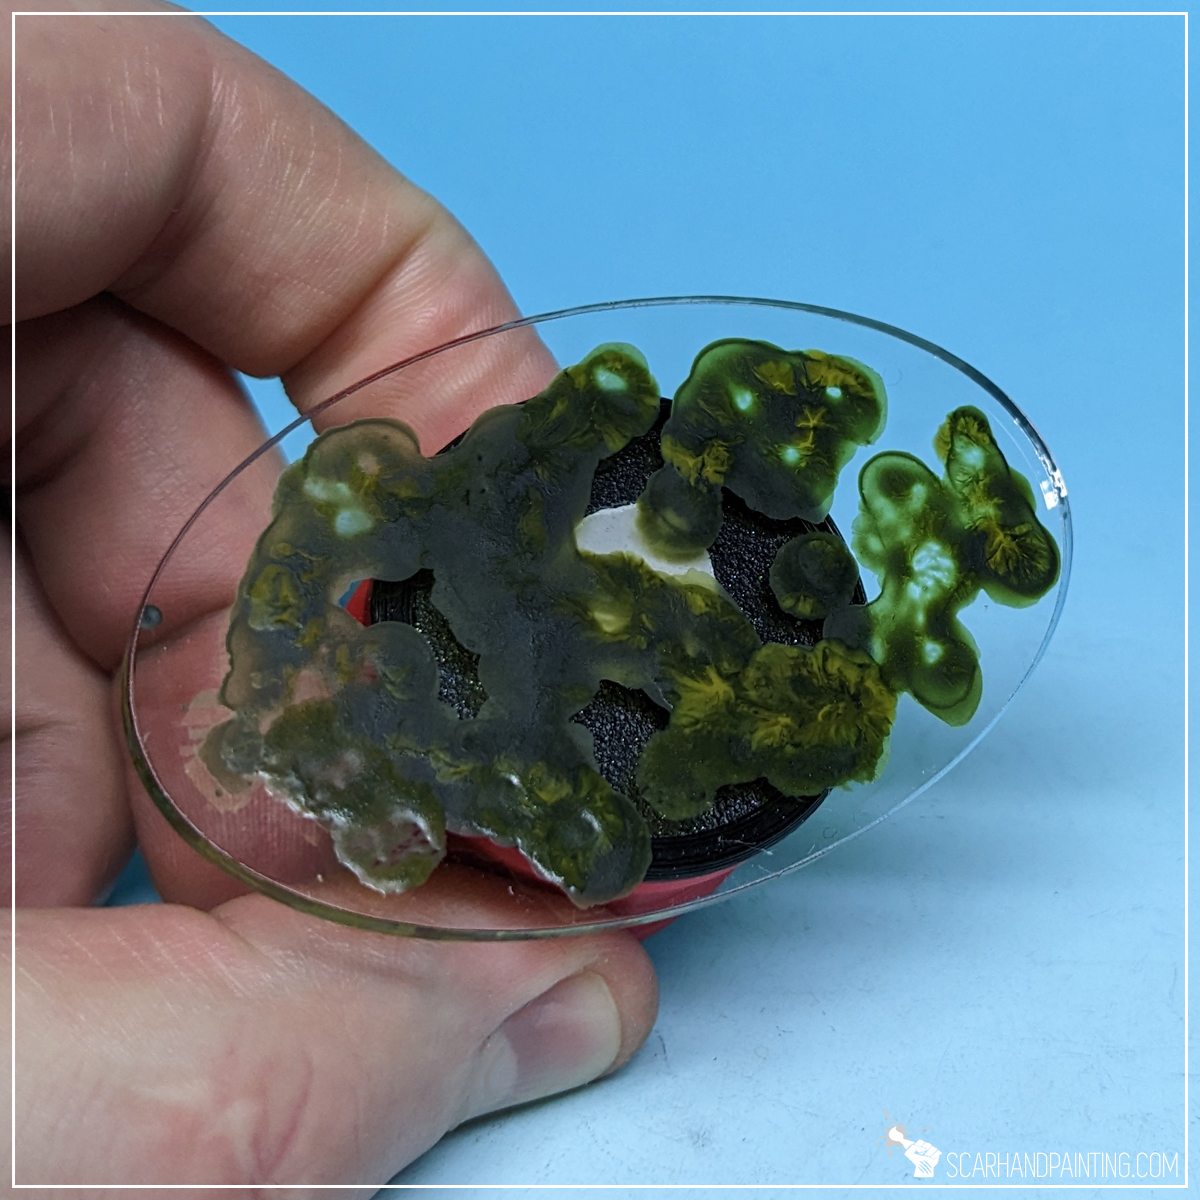
I started by applying some Citadel Militarum Green Contrast in a random pattern all over the base. I used a large, soft brush and applied few large drops of the paint, then added some more to link them.
Next I used a large, round brush to stipple Citadel Nurgle’s Rot paint on top of still wet Militarum Green. This was a bit tricky and I used a paper towel to clean the brush very often. The idea is to apply Nurgle’s Rot from the top by touching the previous layer, bot not smear nor mix the two paints too much.
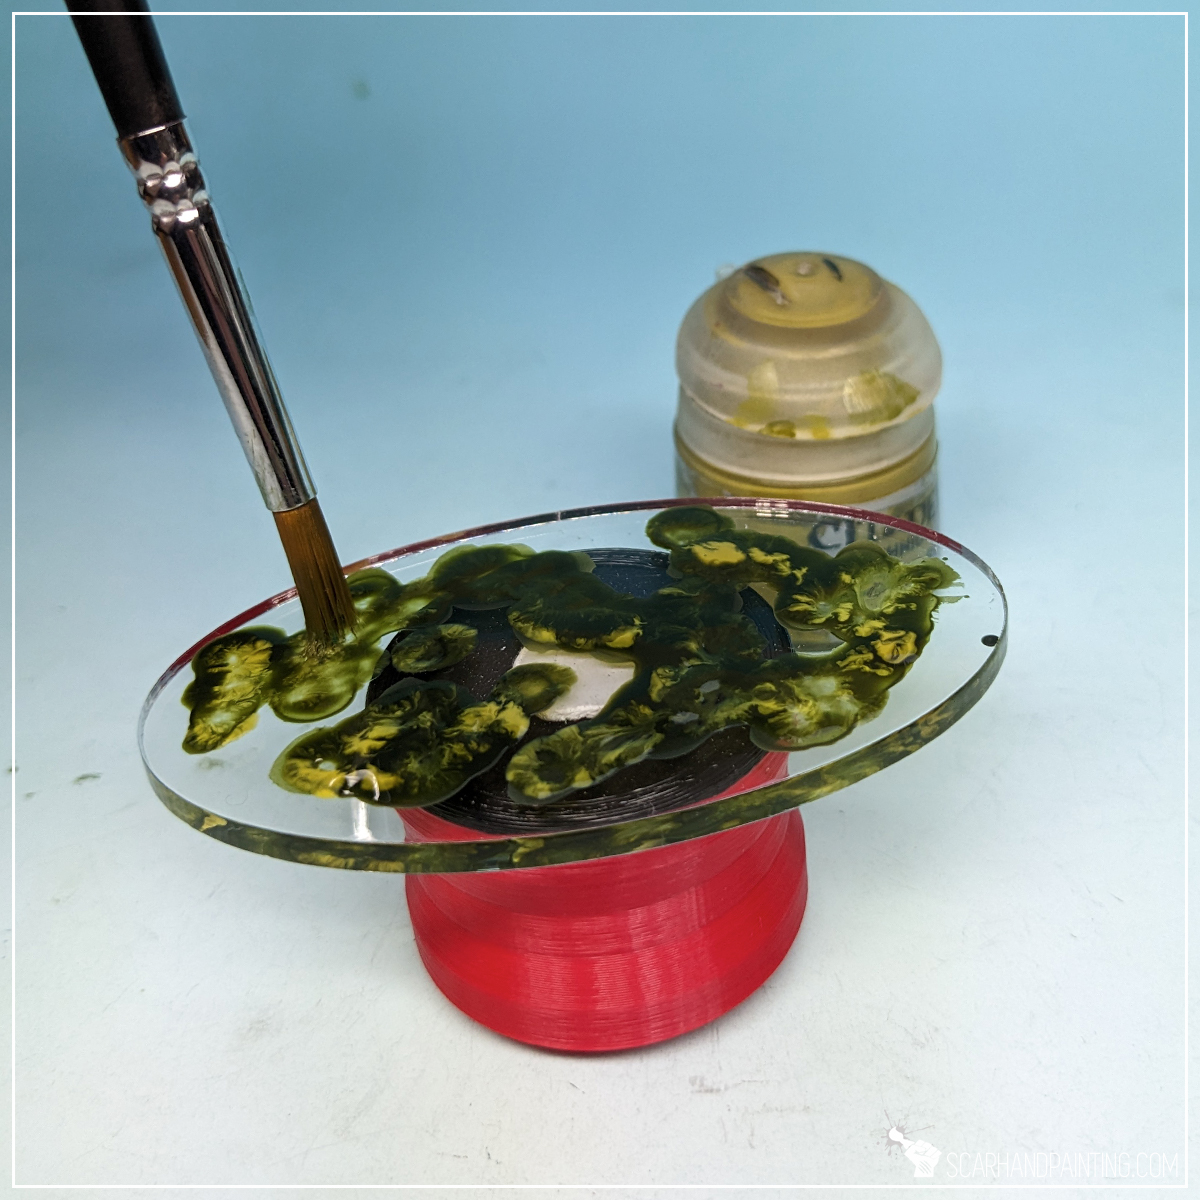

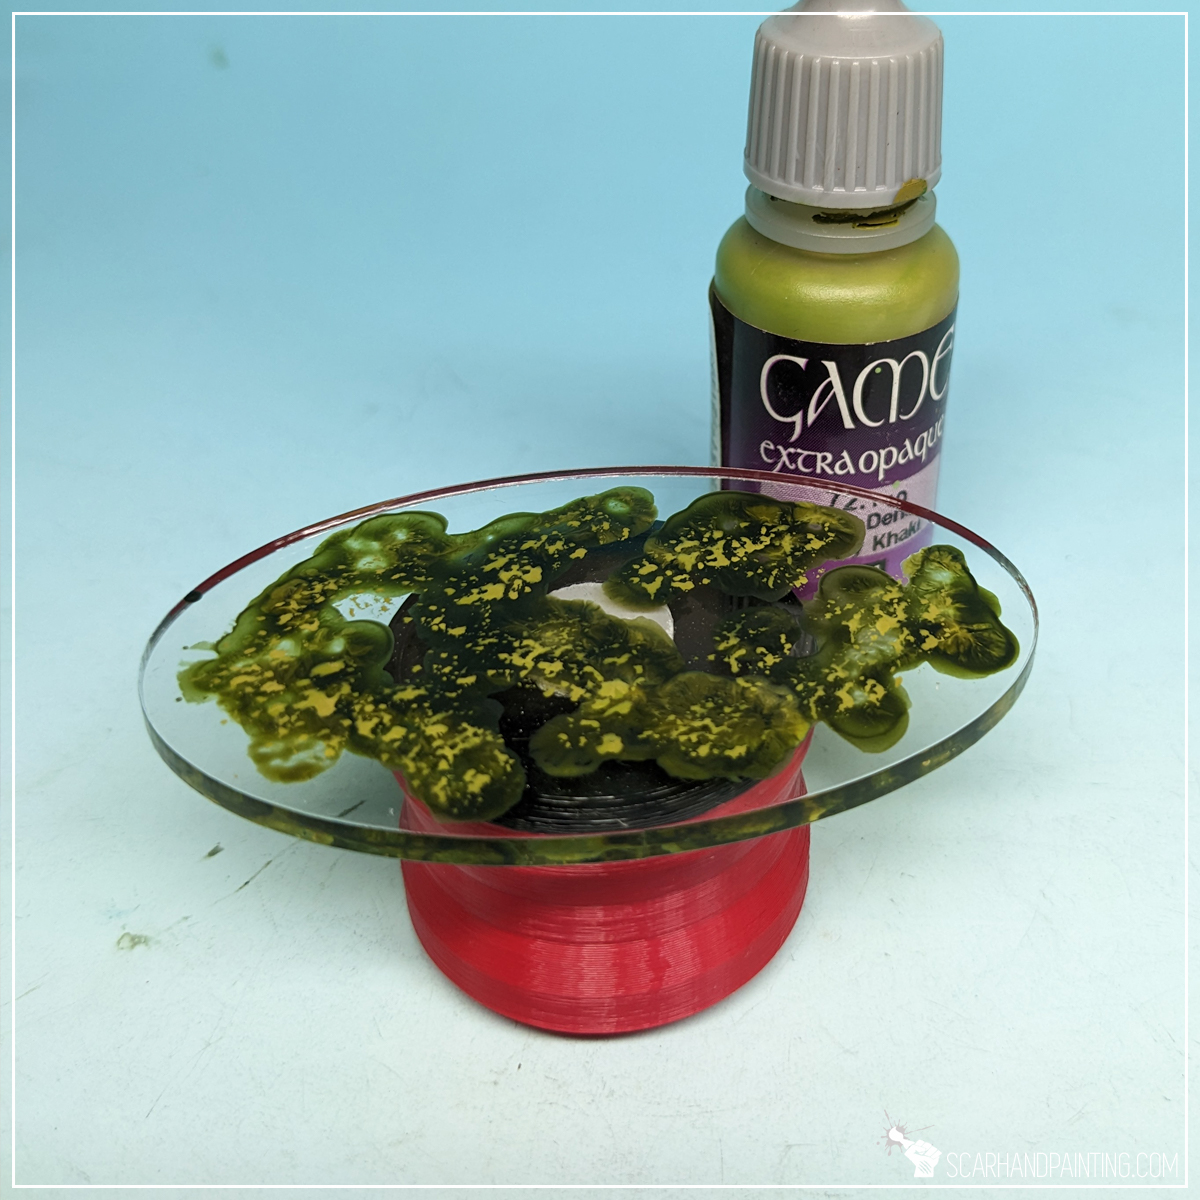
Once the paint dried I decided to add more live to the mix. Using a large, round synthetic brush with a flat tip I stippled wet Vallejo Heavy Khaki paint all over the previous layer.

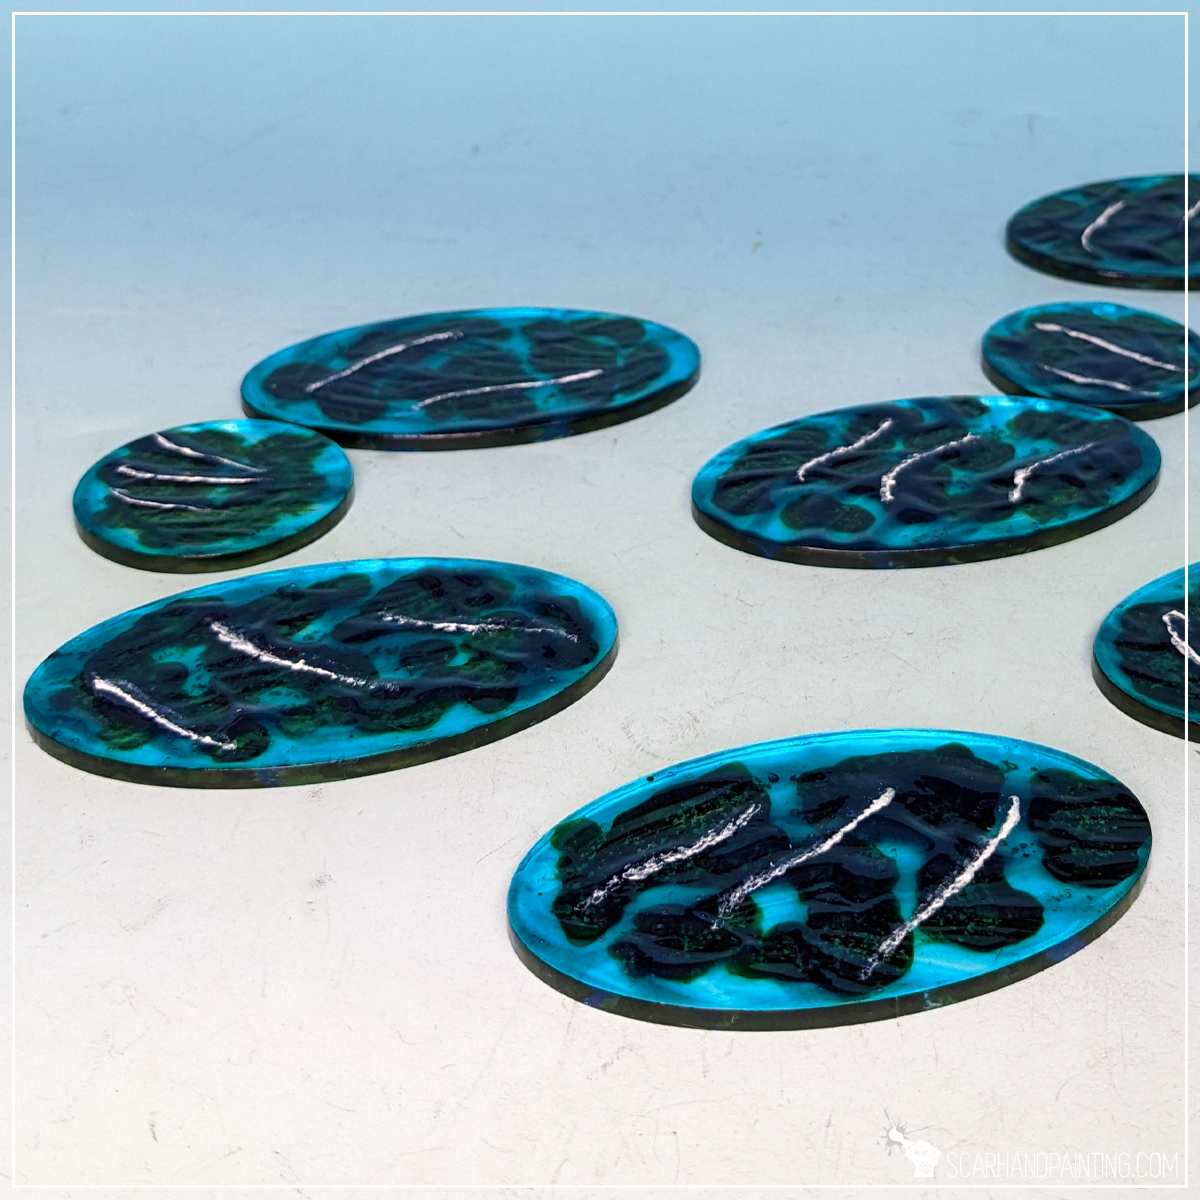
Next I applied a thick layer of AK Interactive Pacific Blue. I usually go with Atlantic Blue instead, but this time I aimed at a brighter, more translucent effect.

Finally I applied few lines of AK Interactive Water Foam texture. I then used a clean synthetic, flat tip brush to reduce volume and shape thin waves.


And that is basically all. Sargasso, Seaweed, alternative Sandbanks or some sort of awesome new Armada scenery is now complete.

I hope you find this tutorial interesting. Be sure to let me know your thoughts in the comments below or via Facebook or Instagram. I would also appreciate if you considered sharing this content with your friends, who might find it useful. Finally if you are looking for a professional miniatures painting service, be sure to contact me with this contact form. I always reply within 24 hours, after which please check out your spam folder.