- contact@scarhandpainting.com


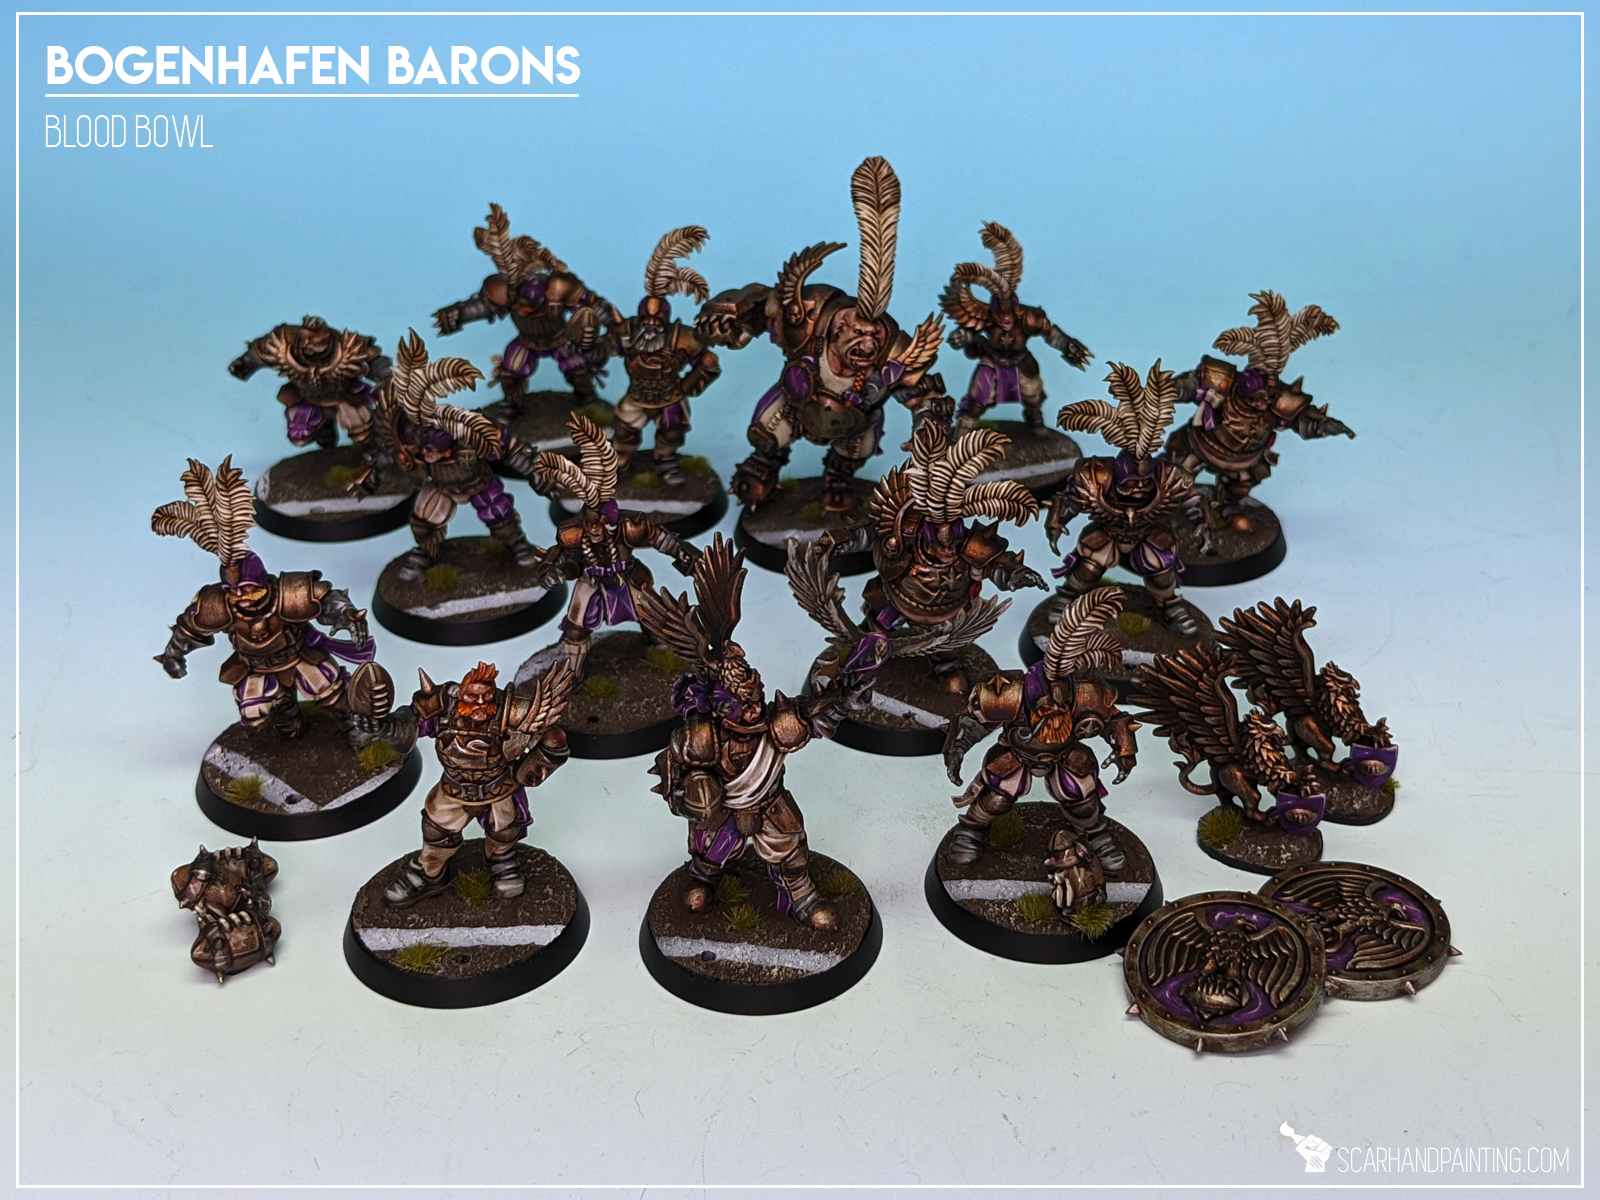
Welcome to Painting Blood Bowl Bogenhafen Barons tutorial. Here I will present to you a Step-by-step of an easy and fast painting process for Games Workshop Bogenhafen Barons as can be seen in Gallery: Bogenhafen Barons.
Before we start, some notes:

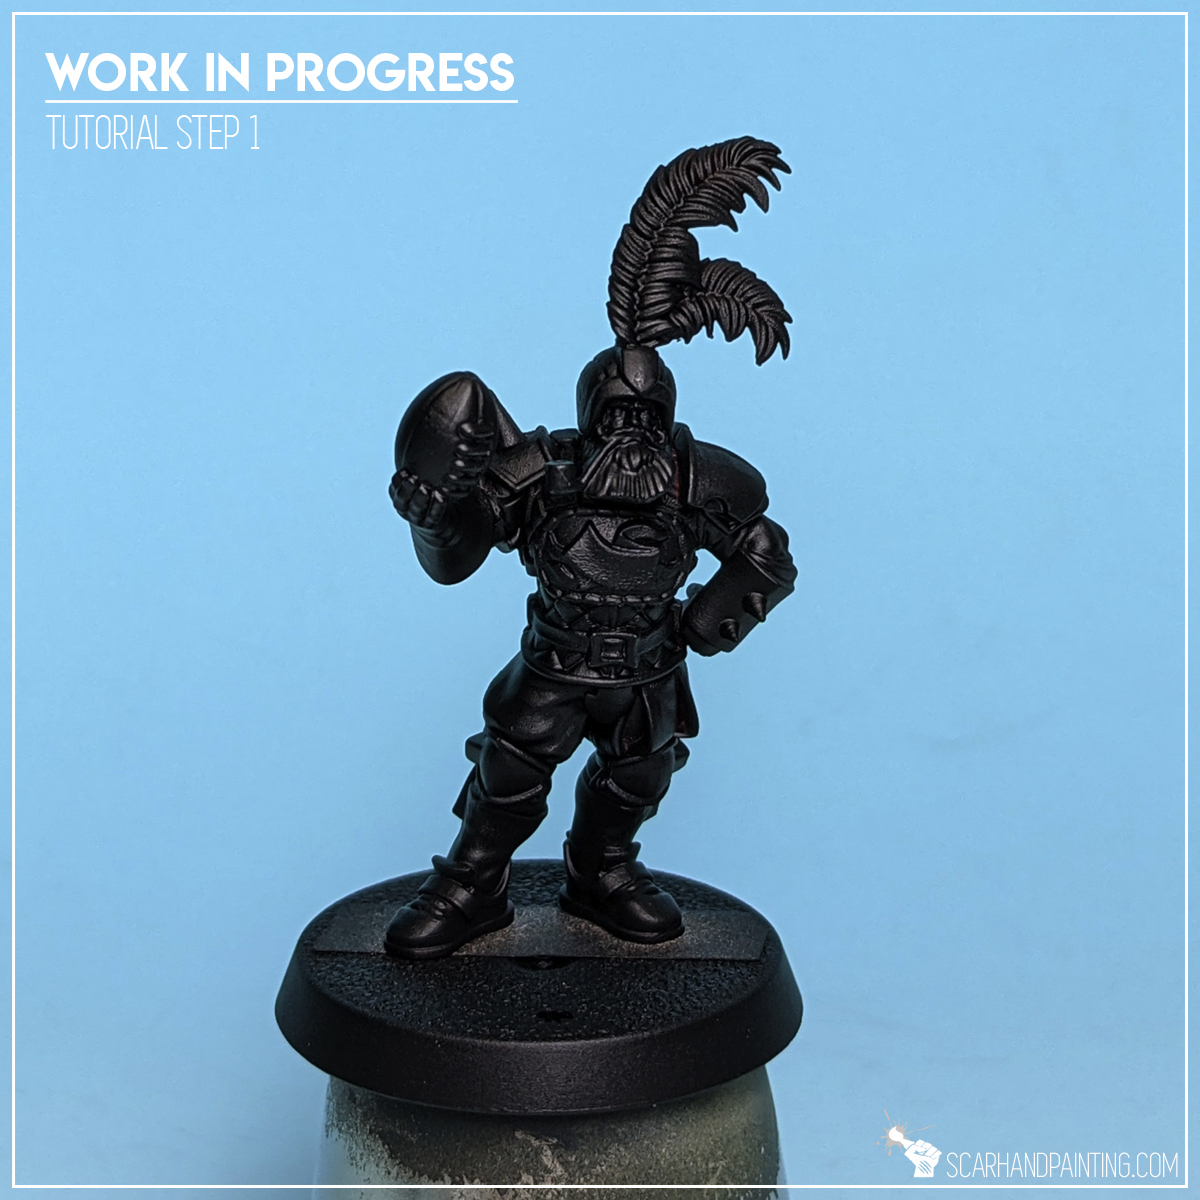
Step one: Undercoat
I started with a thorough layer of Games Workshop Chaos Black spray. This is a standard procedure for me. Chaos Black spray is my go to choice when it comes to undercoat.
Step two: Cream
I started by airbrushing Vallejo Bonewhite (air) all over feathers and clothes of the miniature, not caring if I mess up everything around. Paint was applied straight out of bottle, no dilution. I then moved to GW Pale Wych Flesh and
Flatbrushed it over previous layer. This layer was meant to build volume of paint and just a bit of highlight for the color, so that further ahead Wash could do a better job.

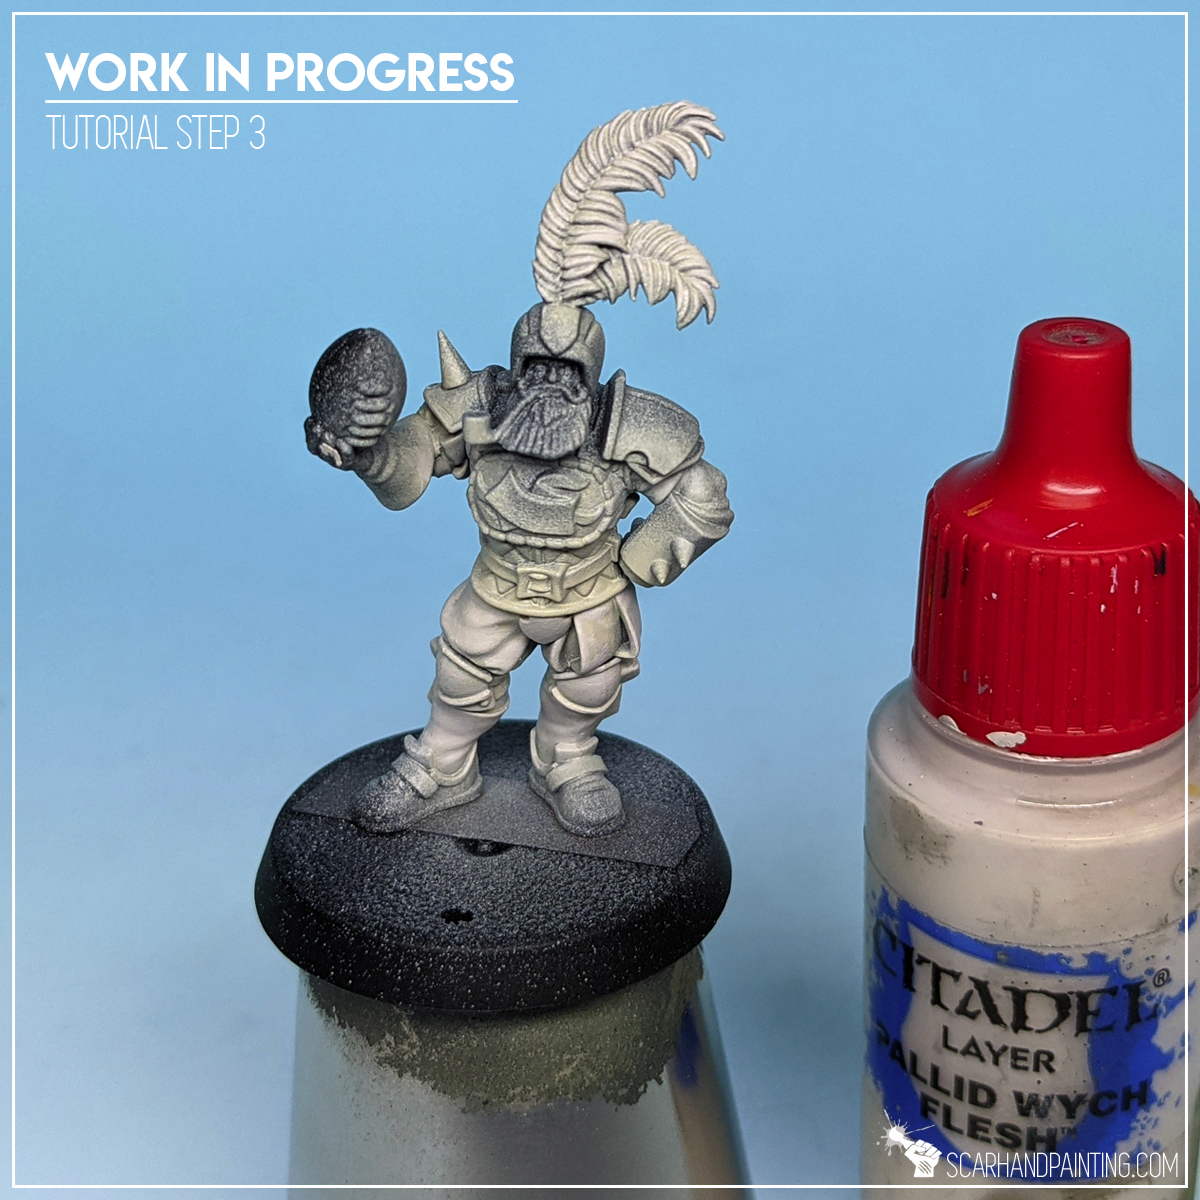
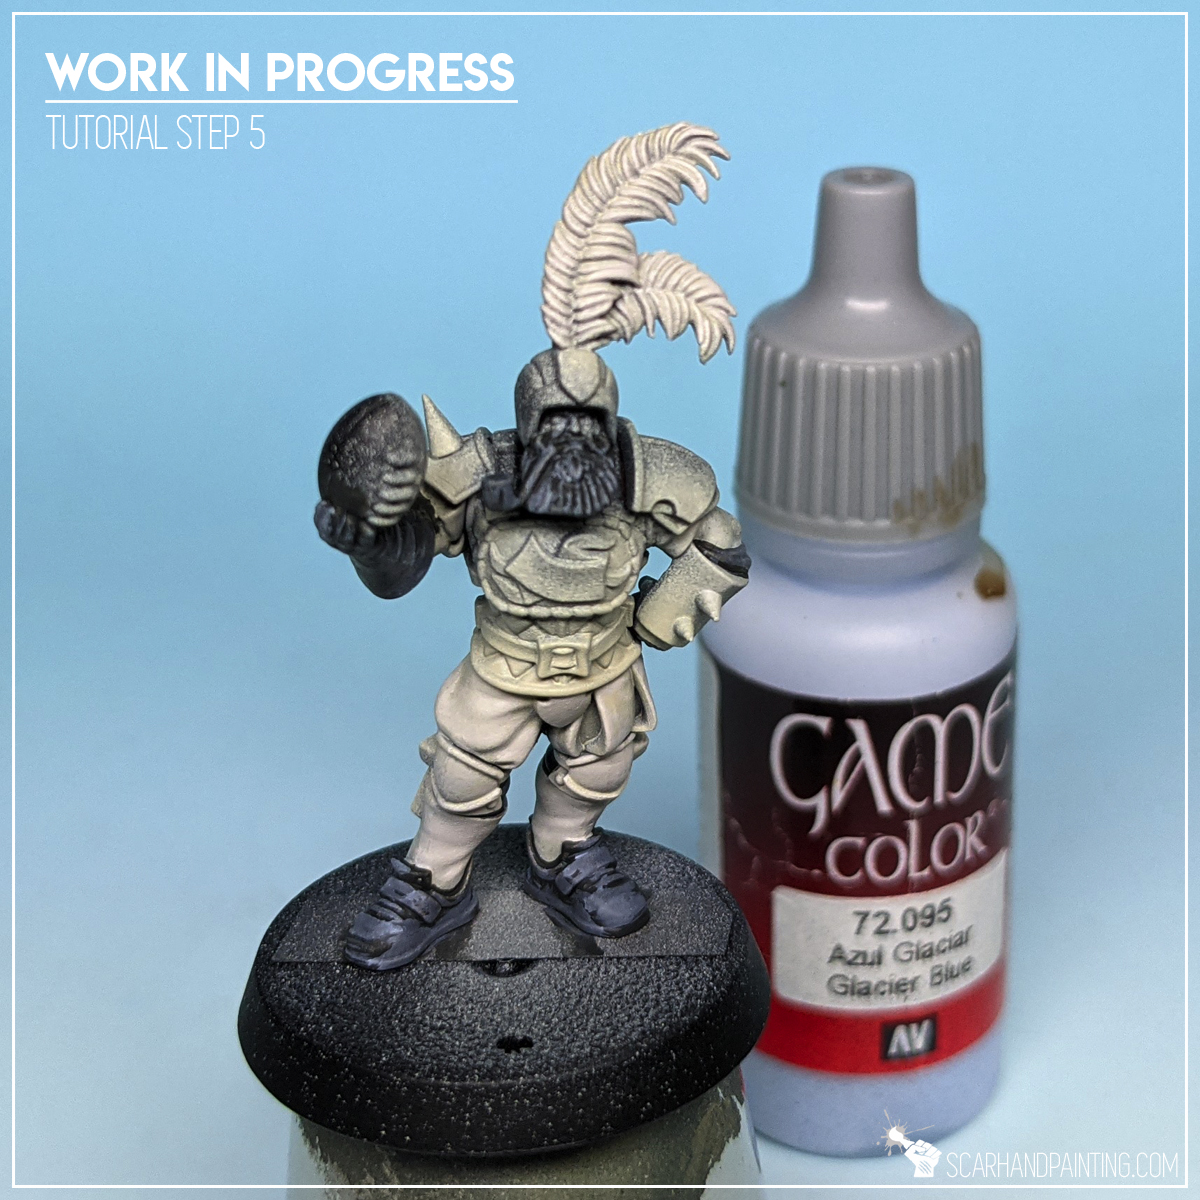
Step three: Grey
I applied Vallejo Air Panzer Dark Grey (air) manually, with natural dilution (air series). This paint is easy to control which helped me keep the layer precise. The color wasn’t strong but this layer didn’t had to. It was meant to prepare a background for future highlights of dark black-to-brown elements. Next I used slightly diluted Vallejo Glacier Blue and flatbrushed it over previous layer. Finally I applied few highlights with GW Pale Wych Flesh.
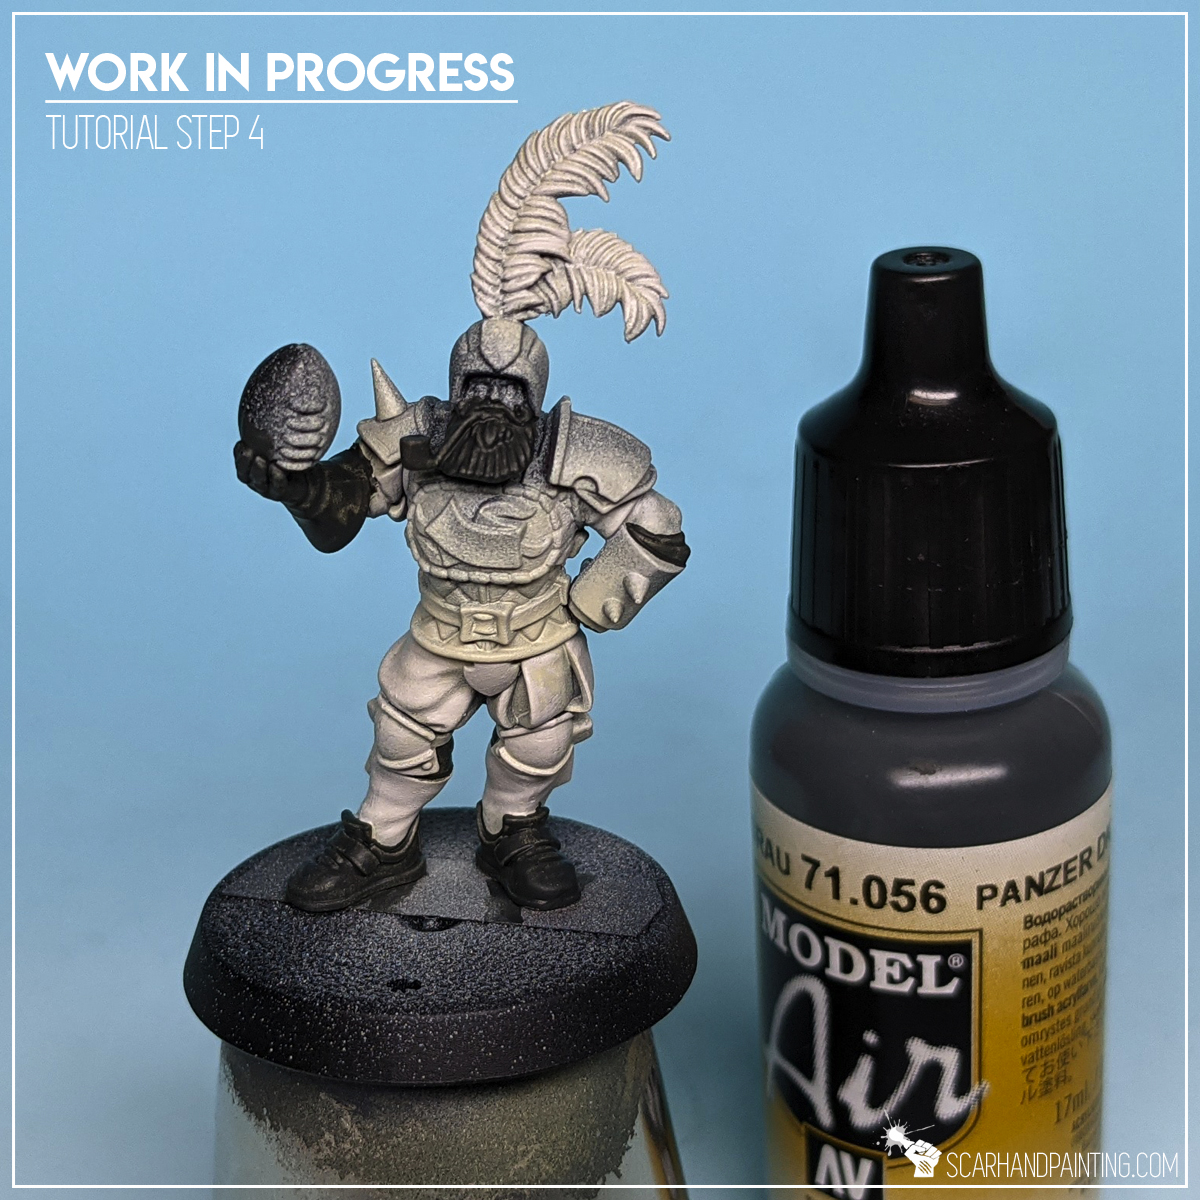

Step four: Skin
I begun painting skin with Vallejo Tan by applying a thin layer and concentrating on filling recesses. I added another thin layer on large flat areas to provide a solid color. Next I switched to GW Dwarf Flesh covered previous layer using flatbrush technique. Final highlights were made with Vallejo Flesh (air). I used the paint straight out of the bottle and applied it on the edges and on top of flat areas.

Step five: Browns
I took on Browns by manually applying Vallejo Dark Fleshtone (air) onto everything to-be-brown. Natural air series dilution allowed me to control the paint and avoid messing up other layers. I then switched to GW Karak Stone and Flayed One Flesh for classic highlights. Just few lines and dots on the edges and in center areas.


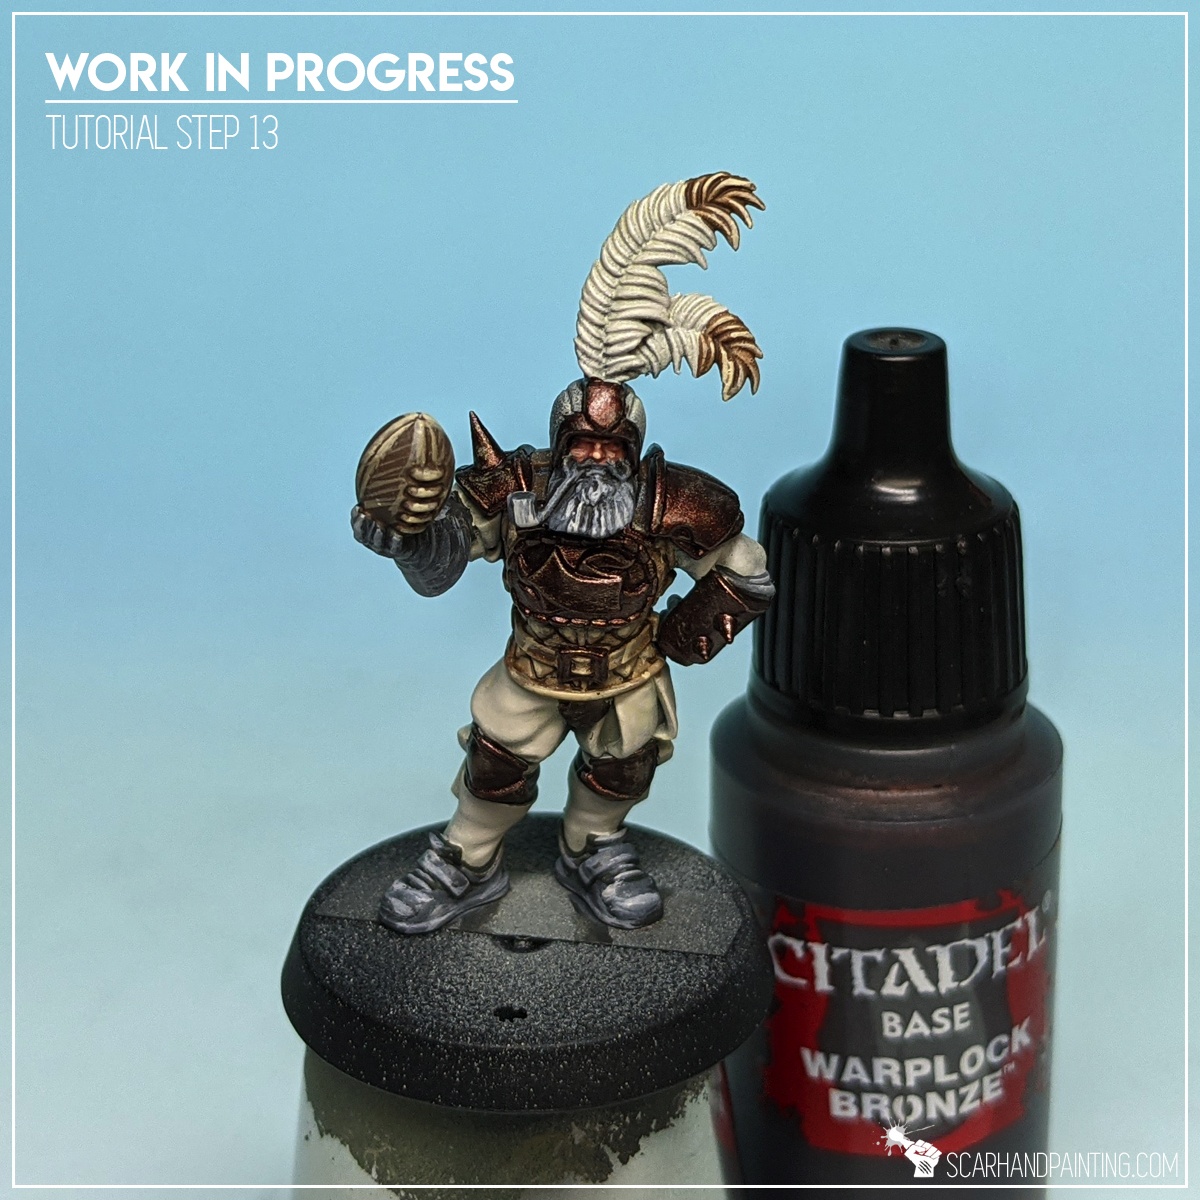
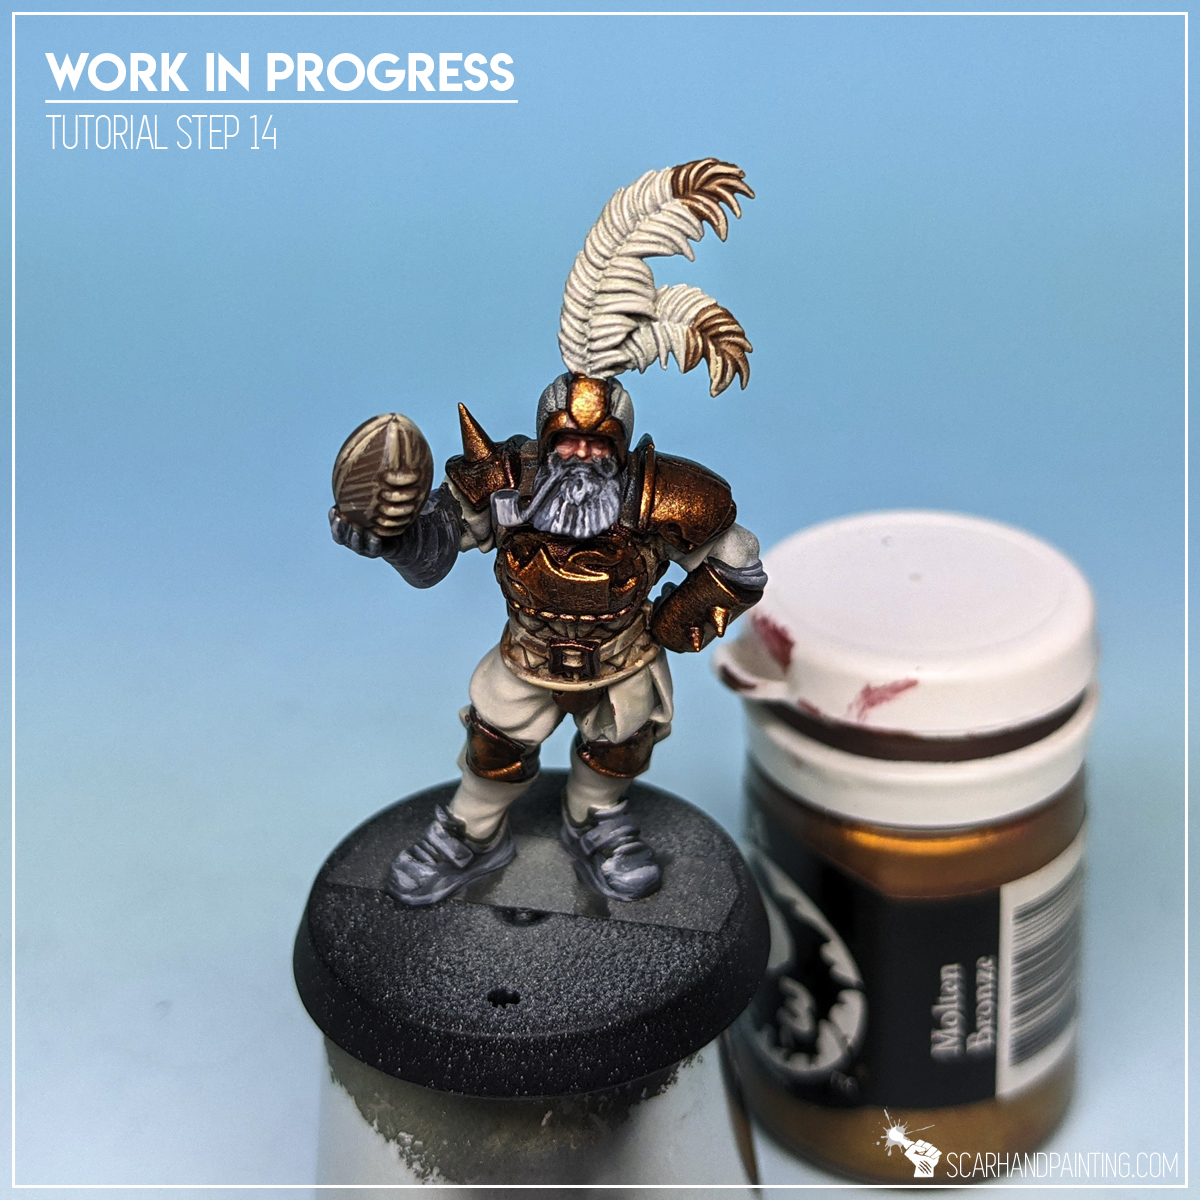
Step six: Metal
I started metal with GW Warplock Bronze, applying a thinned down layer on top of armor pieces. I then moved to P3 Molten Bronze for flatbrushed highlights. Finally I applied few highlights with AP Shining Silver.
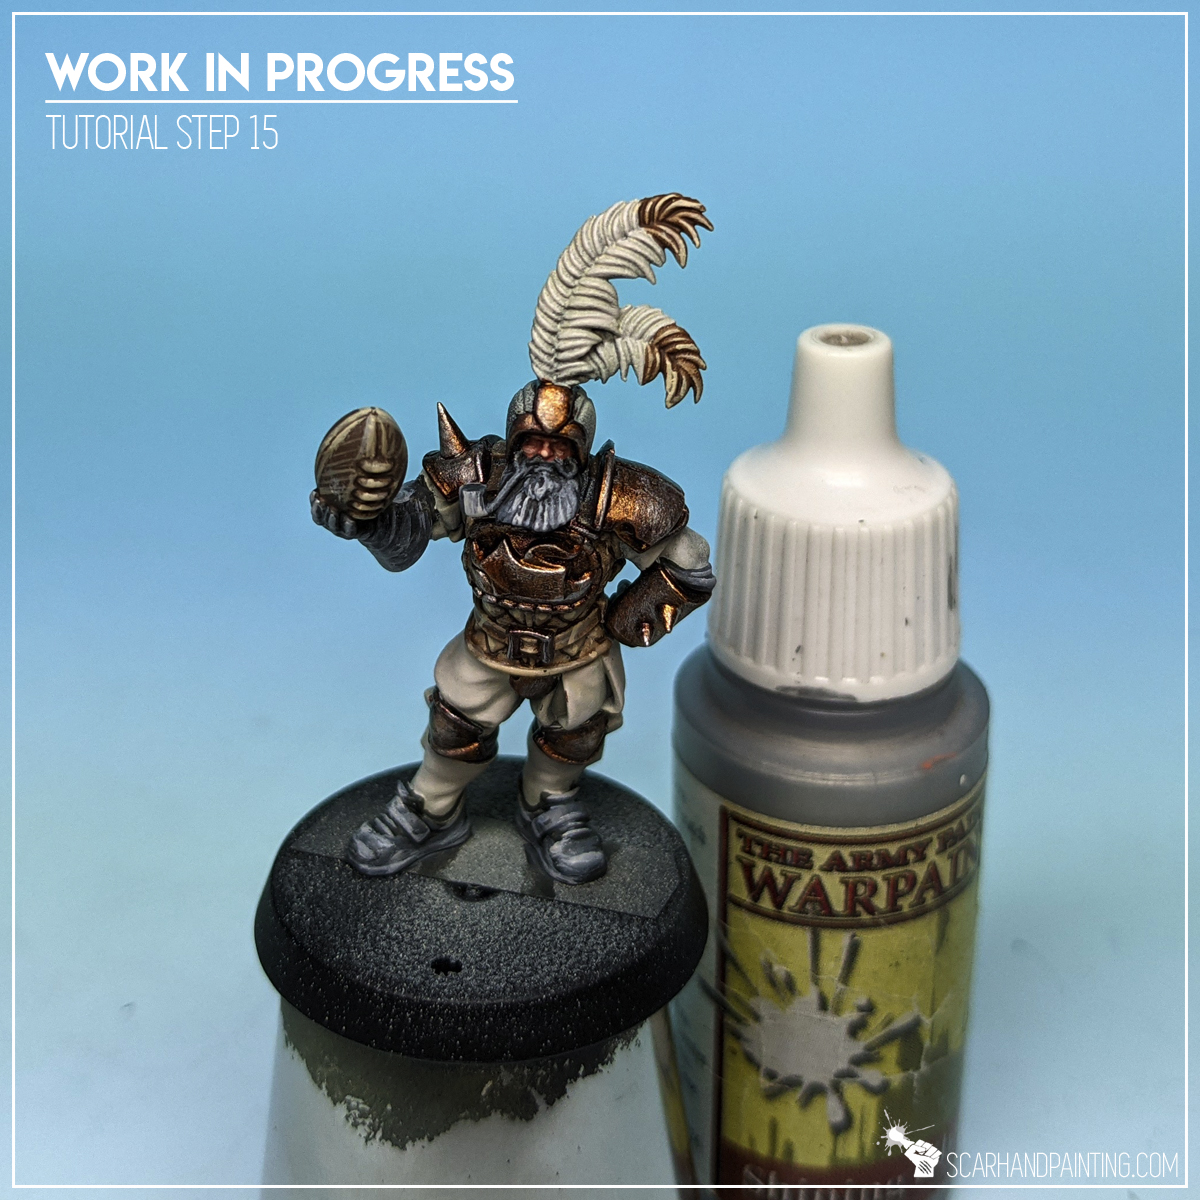
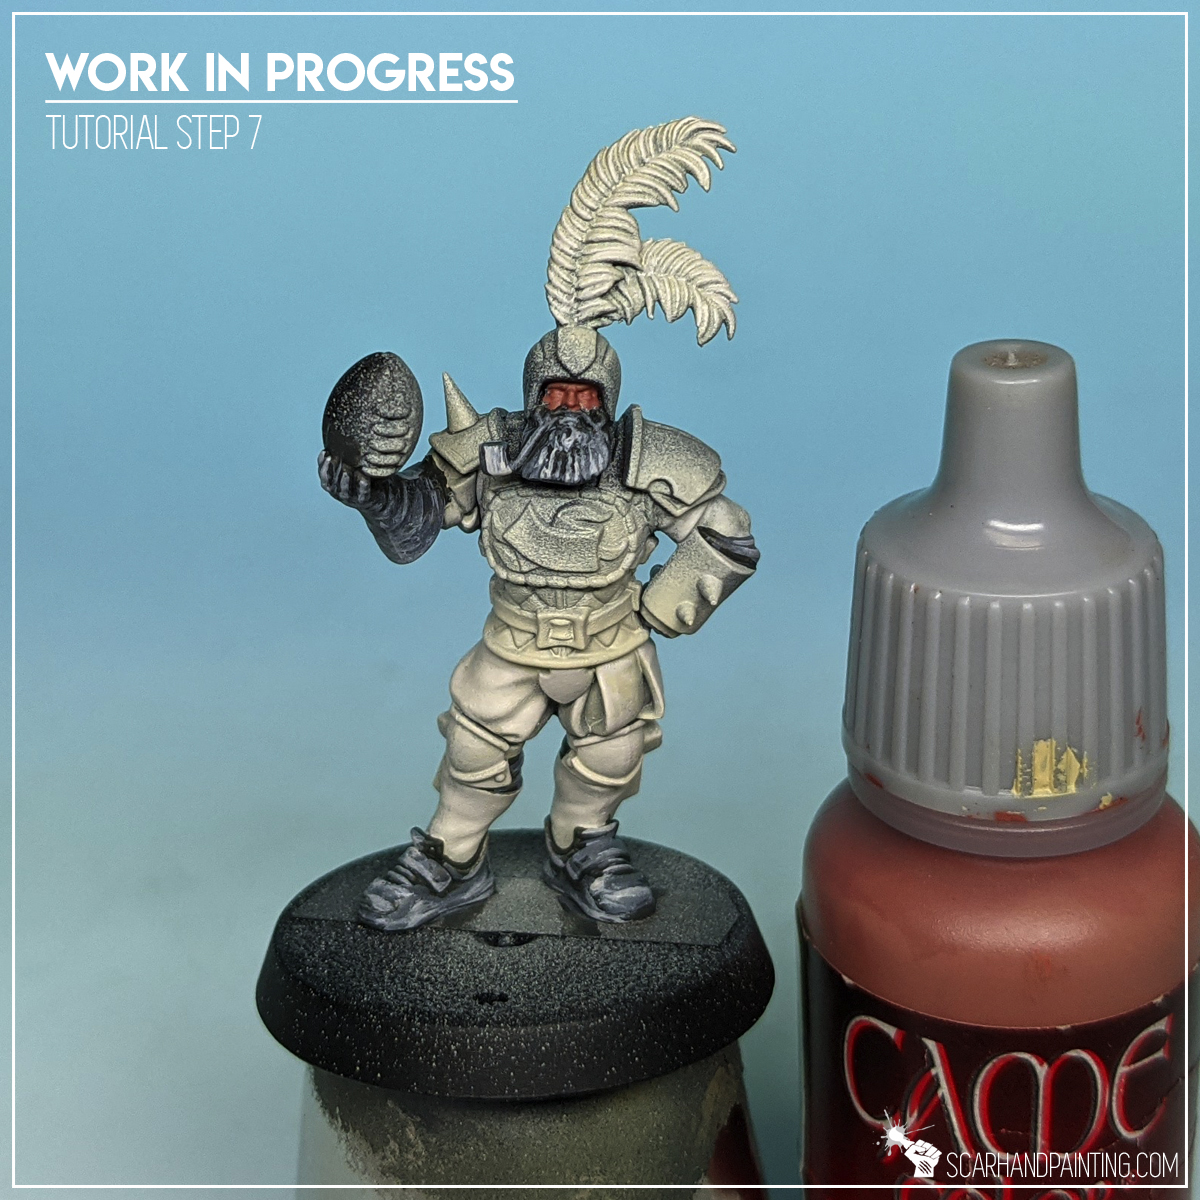
Step seven: Violet
I applied a layer of Vallejo Violet on chosen parts of clothes and decorations. This was the last layer before wash so I ensured it didn’t leave a mess on top of previous elements. At this point of the paint job, anything could still be corrected with minimum effort, and I done so accordingly.

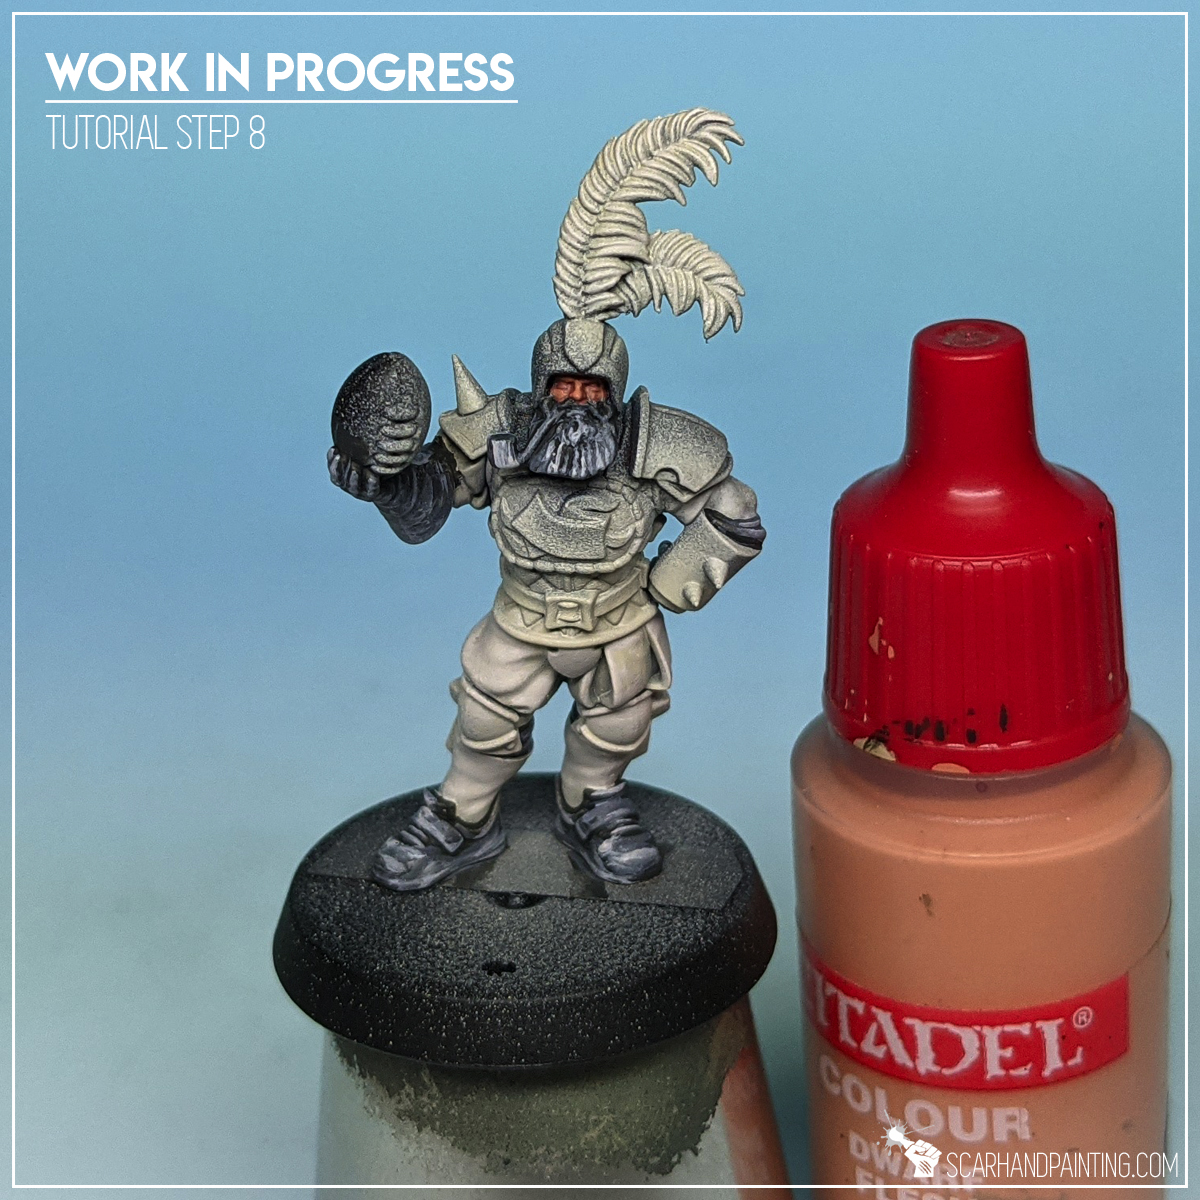
Step eight: Wash
This is where magic always happens. I applied a wet layer of AP Strong Tone Ink mixed with a tiny bit of Matt Varnish, onto entire miniature. I then ensured to remove any excess paint, from where detail got completely covered by pigmentation, with a clean brush.
Step nine: Highlights
Once wash dried up, I applied highlights of GW Pale Wych Flesh. Edge highlights, points of focus and lines in the middle areas for everything not metal or skin. I also applied a strongly thinned down layer of Pale Wych Flesh on top of Purple clothes creating a somehow mist-like effect.

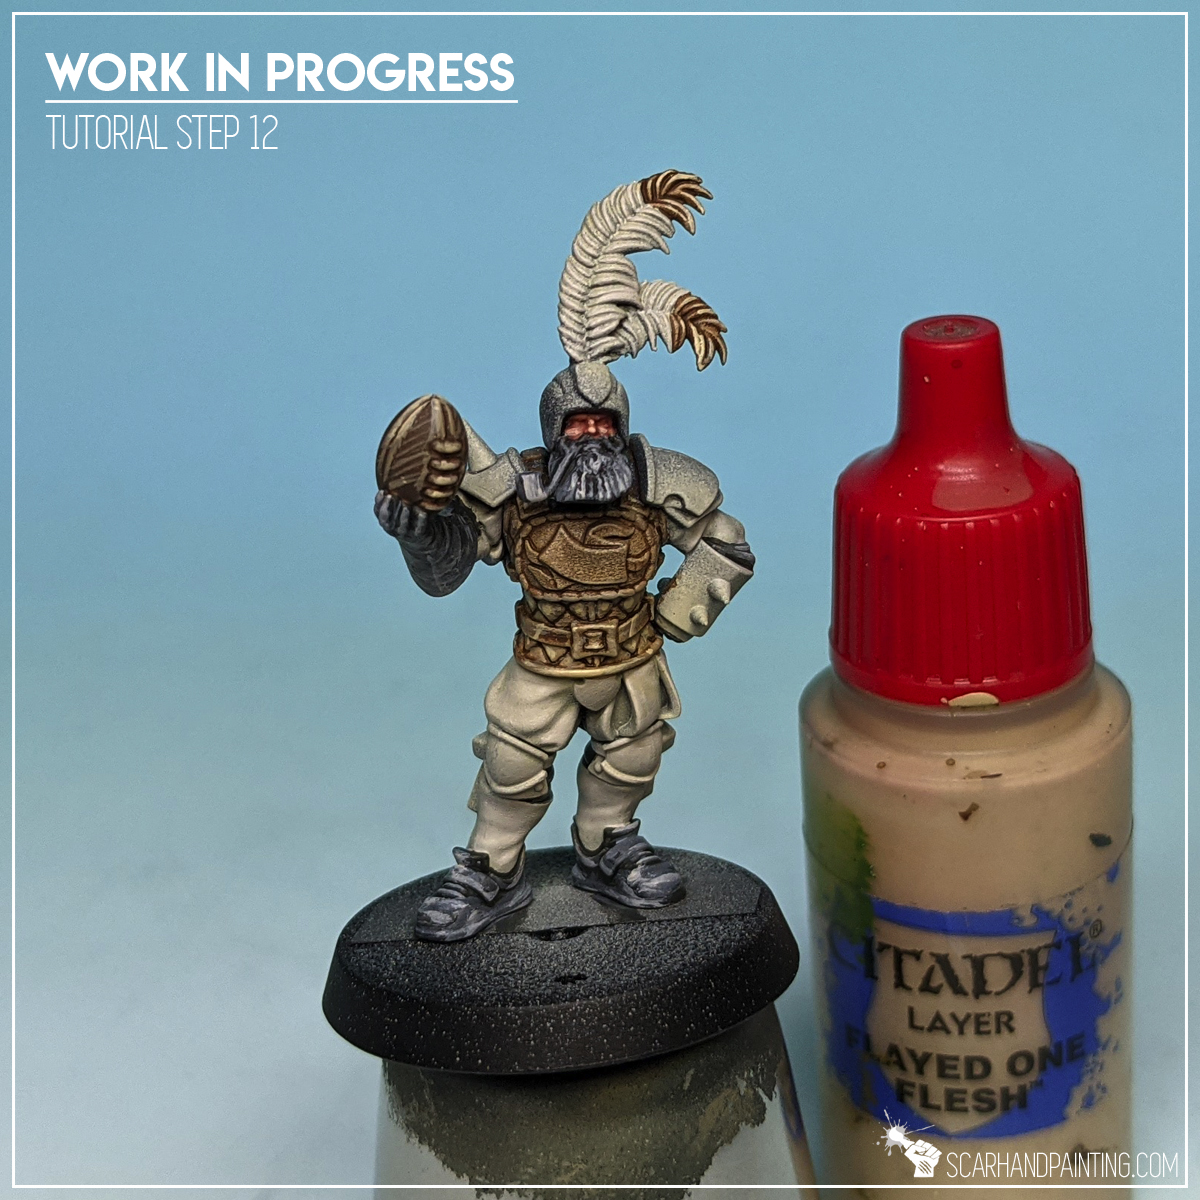
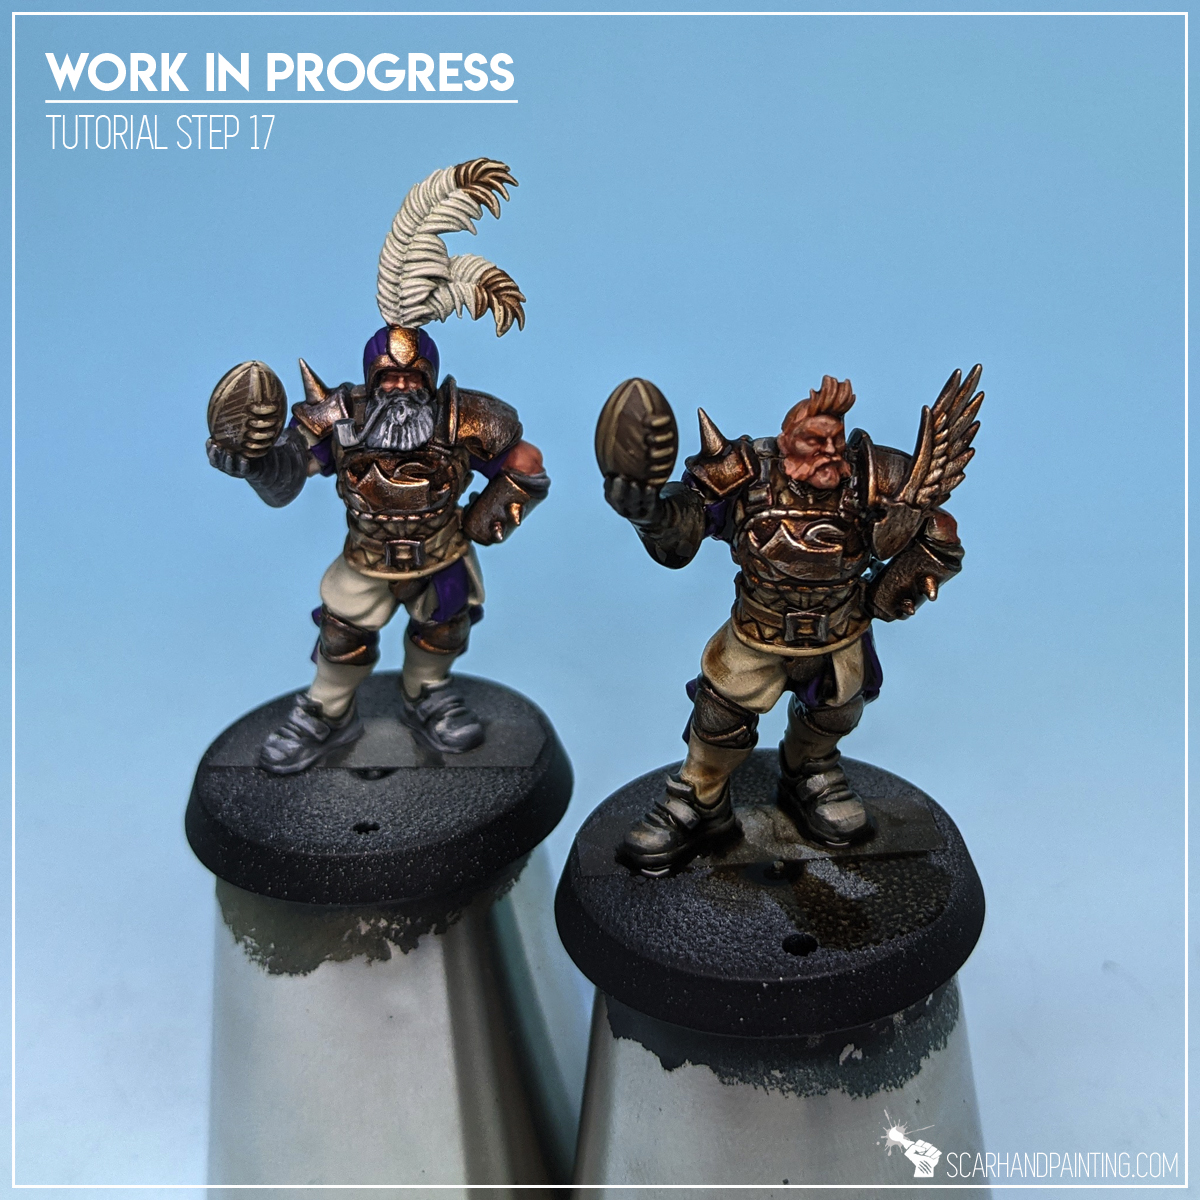
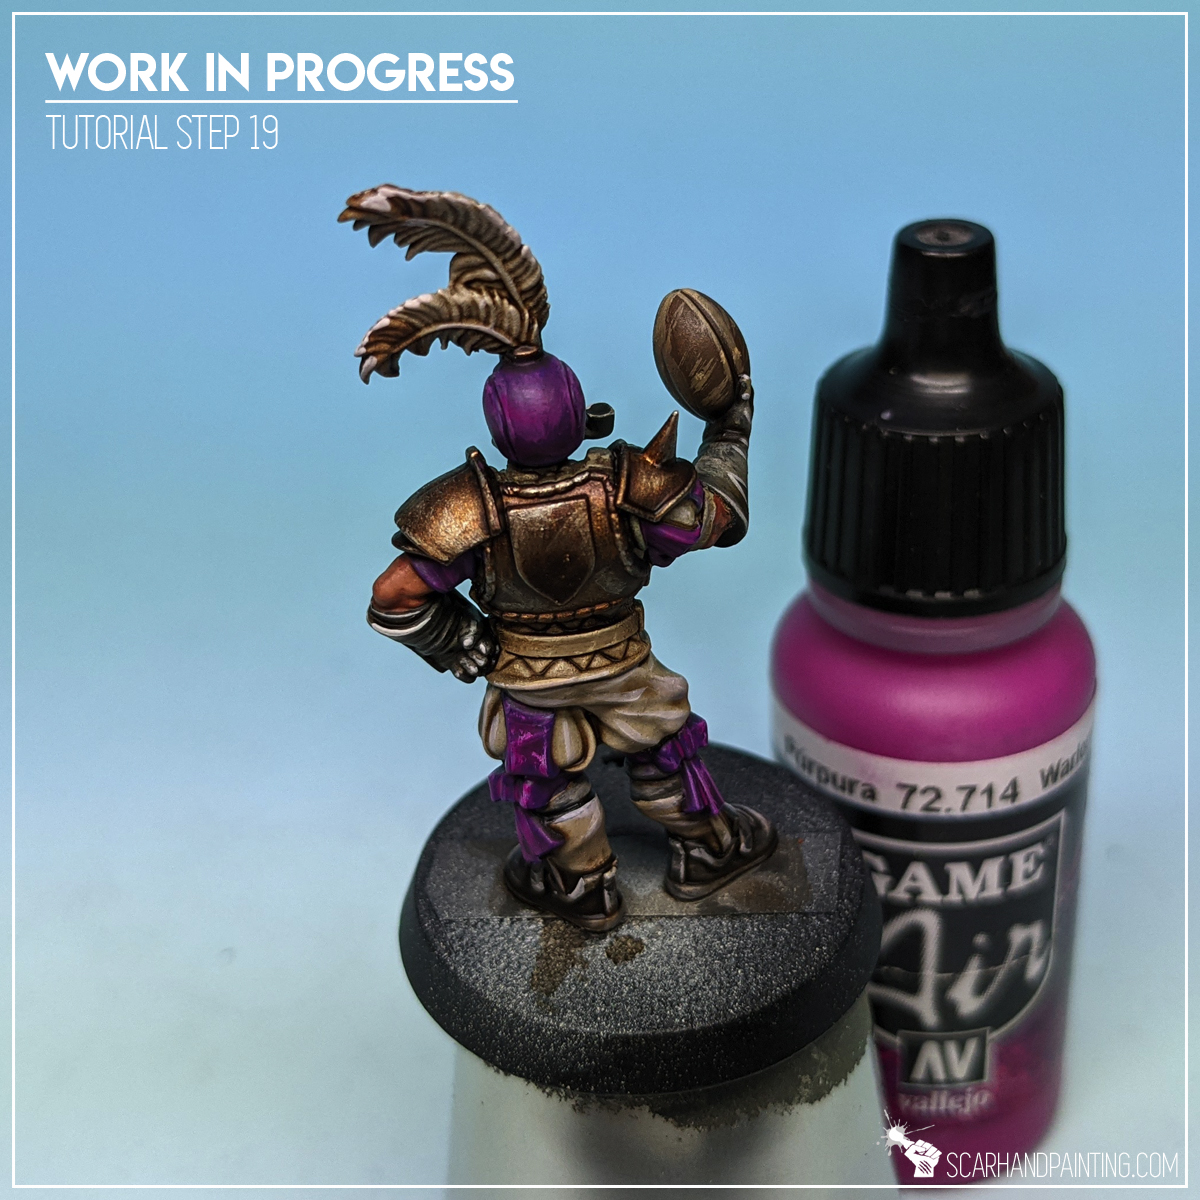
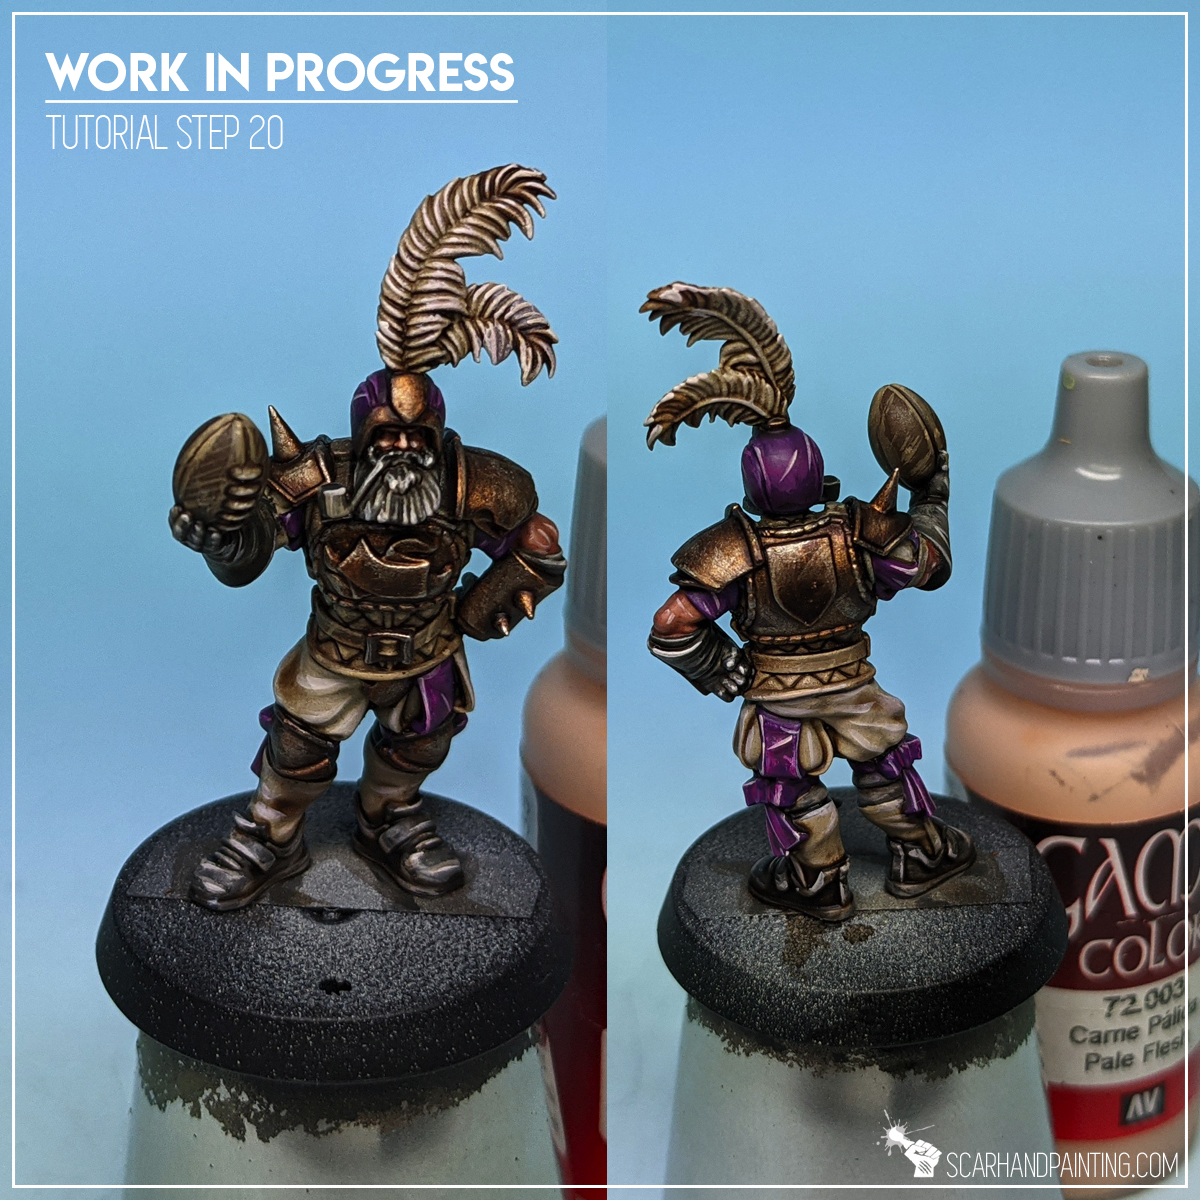
Step ten: Purple
I then got back to violet (now more of a purple) and blended a layer of Vallejo Warlord Purple (air) on top of it. Air series does not require any thinning, but I added a bit of medium to leave texture difference visible underneath. With a strong and vibrant color I moved to Vallejo Pale Flesh for both an edge highlight and some random lines. I used this opportunity to add few dots and lines on top of skin, thus providing a final highlight.
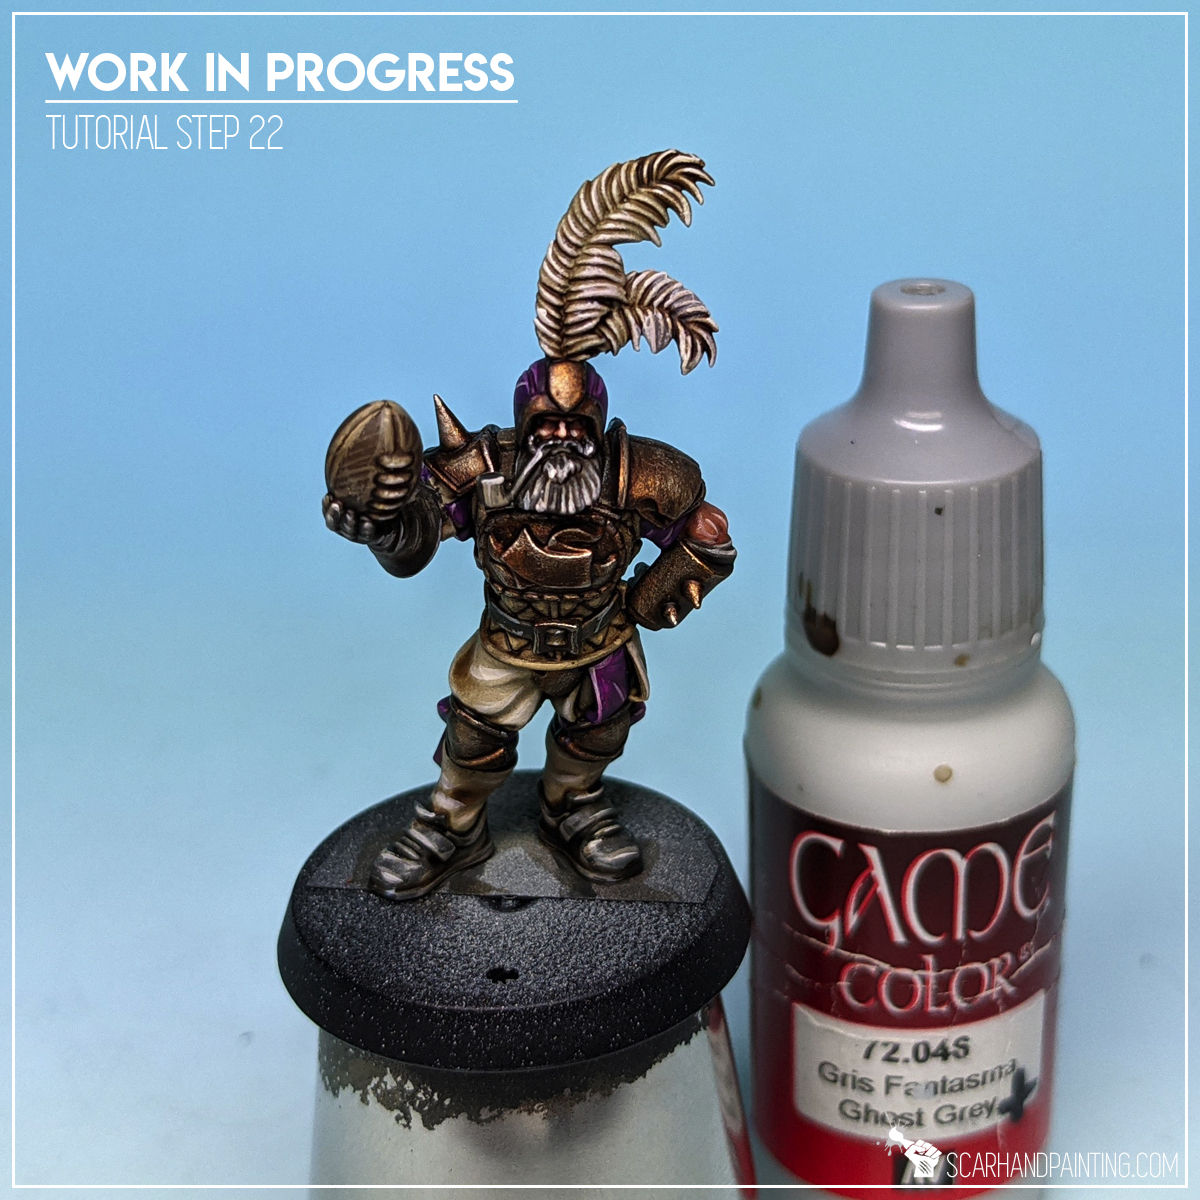
Step eleven: Grey
Finally I painted belts and straps with thinned Vallejo Panzer Dark Grey (air) with previous layers being barely visible from underneath. It was then highlighted with Vallejo Ghost Grey to add contrast and keep it in line with rest of greys on the miniature.

Step twelve: Basing
Basing was made using AK Interactive Dark Earth texture, followed with a single layer drybrush of Games Workshop Karak Stone. I then airbrushed a line of pure white using a masking tape to protect the rest of the base (and miniature). Few Gamers Grass tufts and pure black edge later the job was done.


I hope you find this tutorial interesting. Be sure to let me know your thoughts in the comments below or via Facebook.or Instagram. I would also appreciate if you considered sharing this content with your friends, who might find it useful. Finally if you are looking for a professional miniatures painting service be sure to contact me with this contact form. I always reply within 24 hours, after which please check out your spam folder.
2 comments so far
Alex FernandesPosted on9:27 am - May 24, 2021
Awesome!!
Keep it up, brilliant scheme and style!!
AlvPosted on2:12 pm - Jun 19, 2023
Just getting back into painting and this was an awesome tutorial!!