- contact@scarhandpainting.com


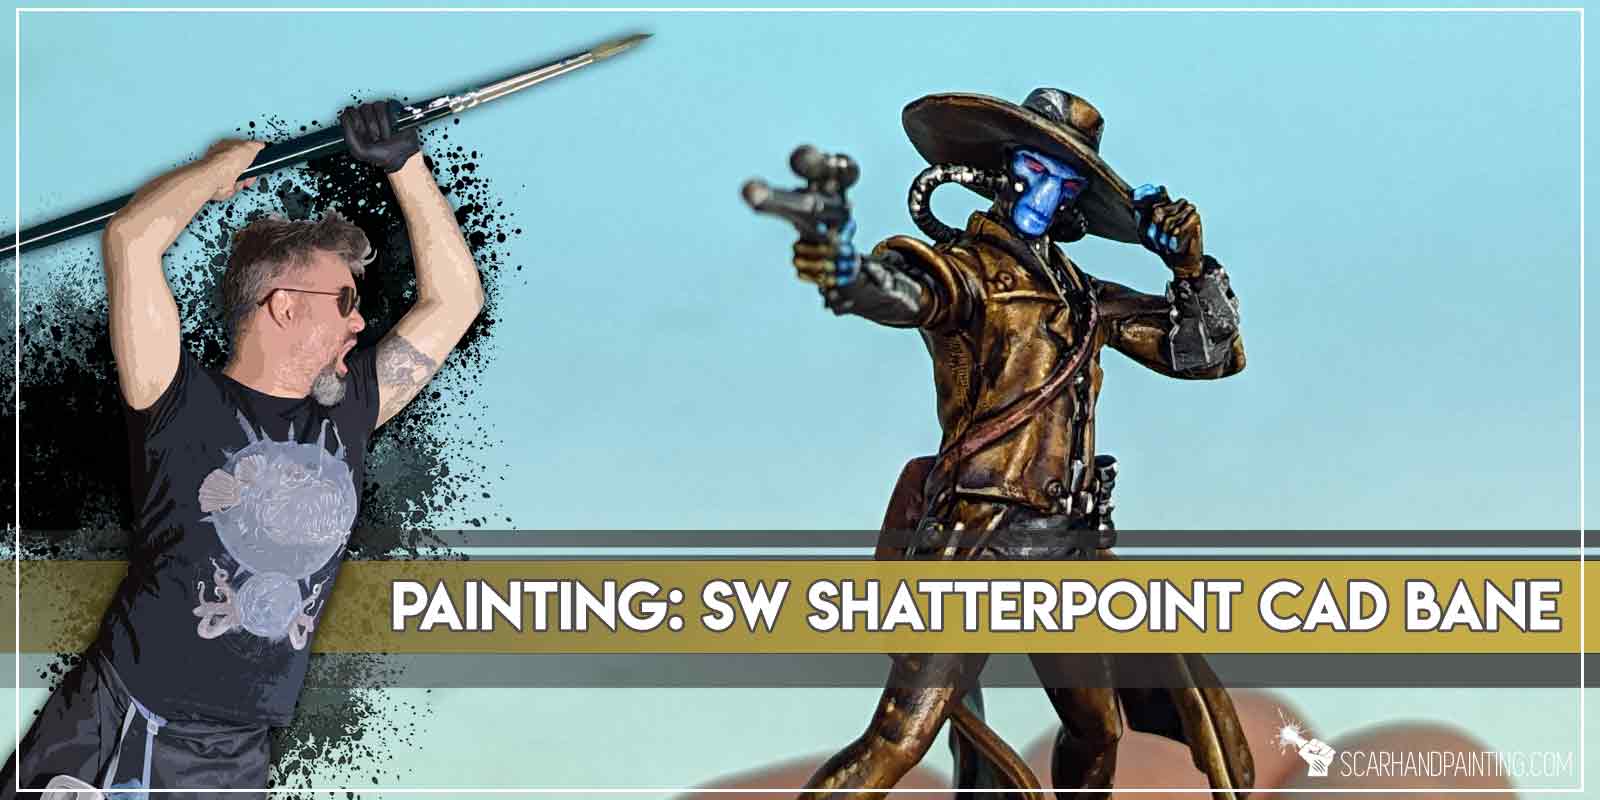
Welcome to Painting Star Wars: Shatterpoint Cad Bane tutorial. Here I will present to you a Step-by-step of a basic painting process for Fistful of Credits Cad Bane miniature and a few extras.
Before we start, some notes:
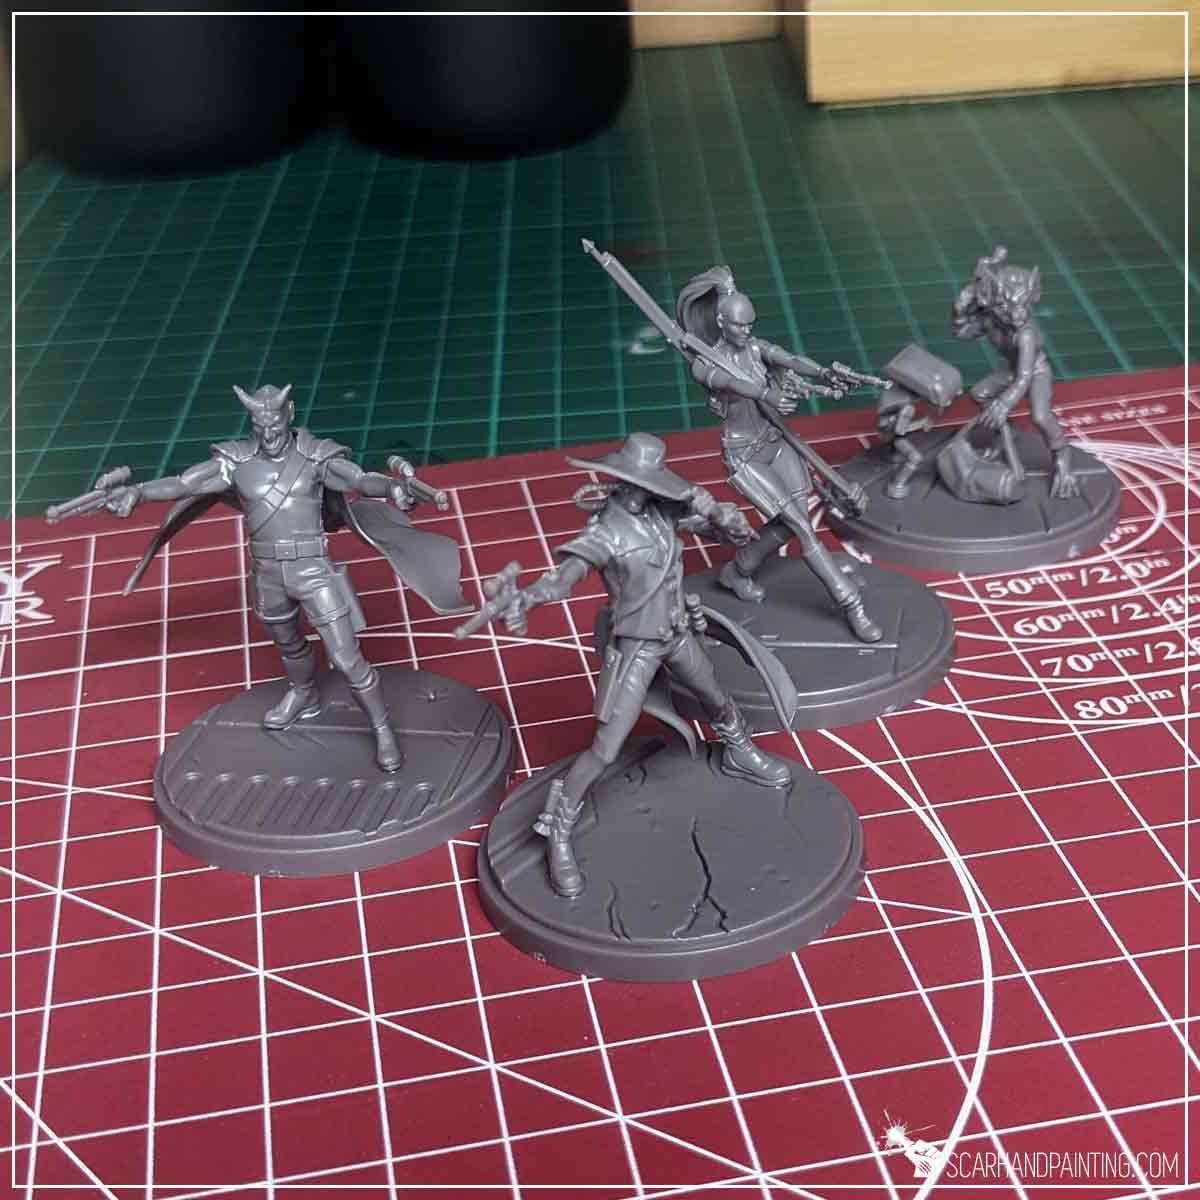
Both Mandalorian Super Commandos were prepared in the same way as previous Shatterpoint miniatures. Visit Tutorial: Painting Star Wars Shatterpoint Clone Troopers article for a detailed step-by-step guide.
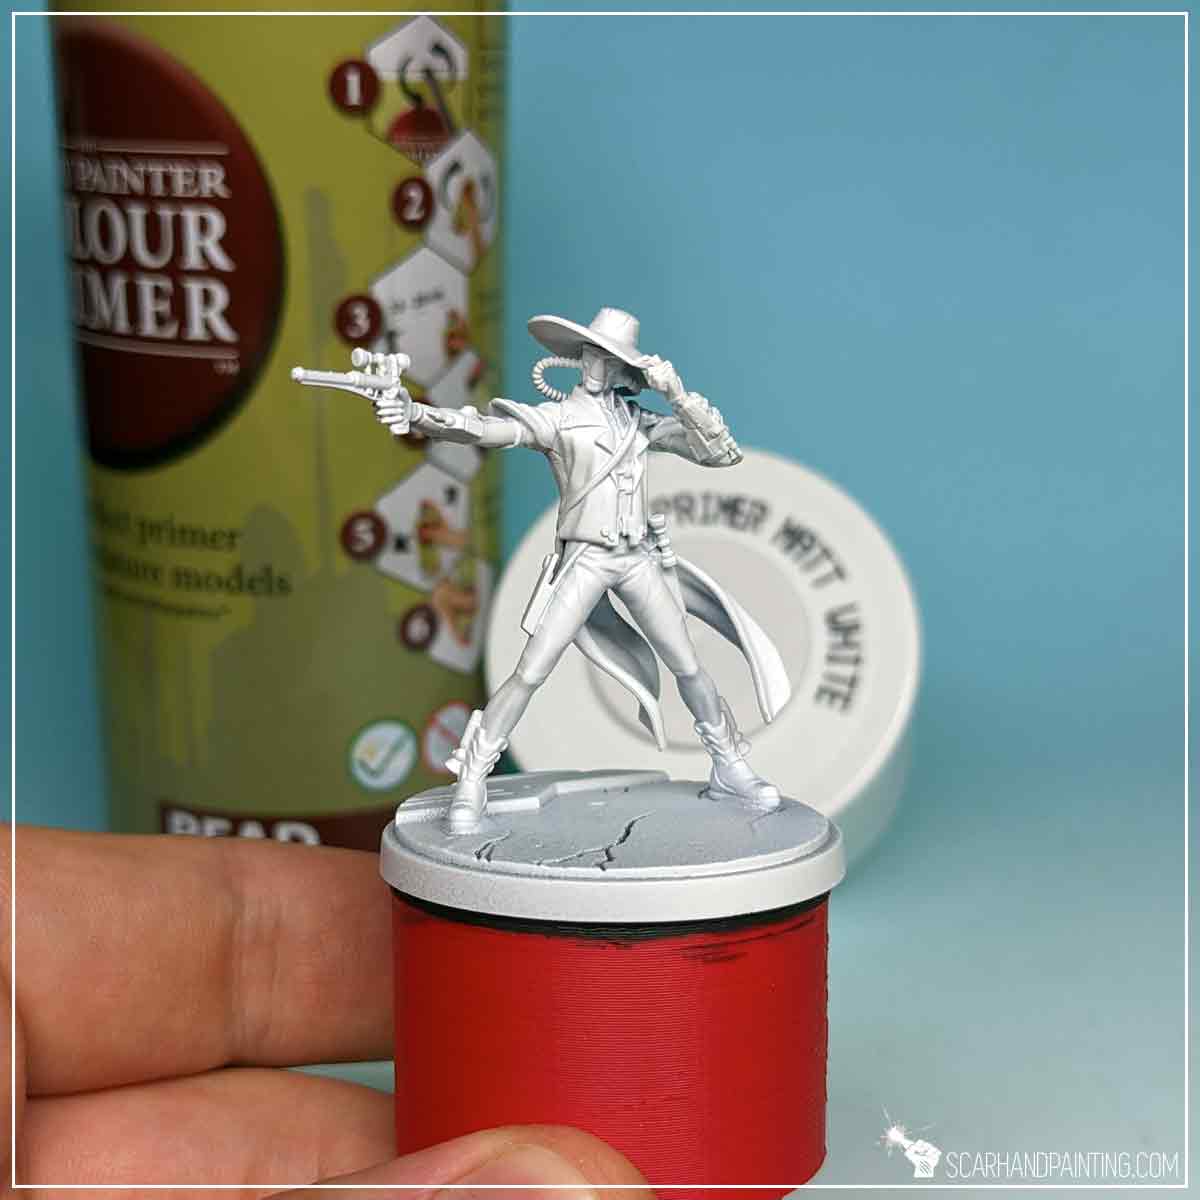
I mounted the miniatures on a stick with a piece of Blu-Tack, then undercoated them with The Army Painter White Matt Primer.
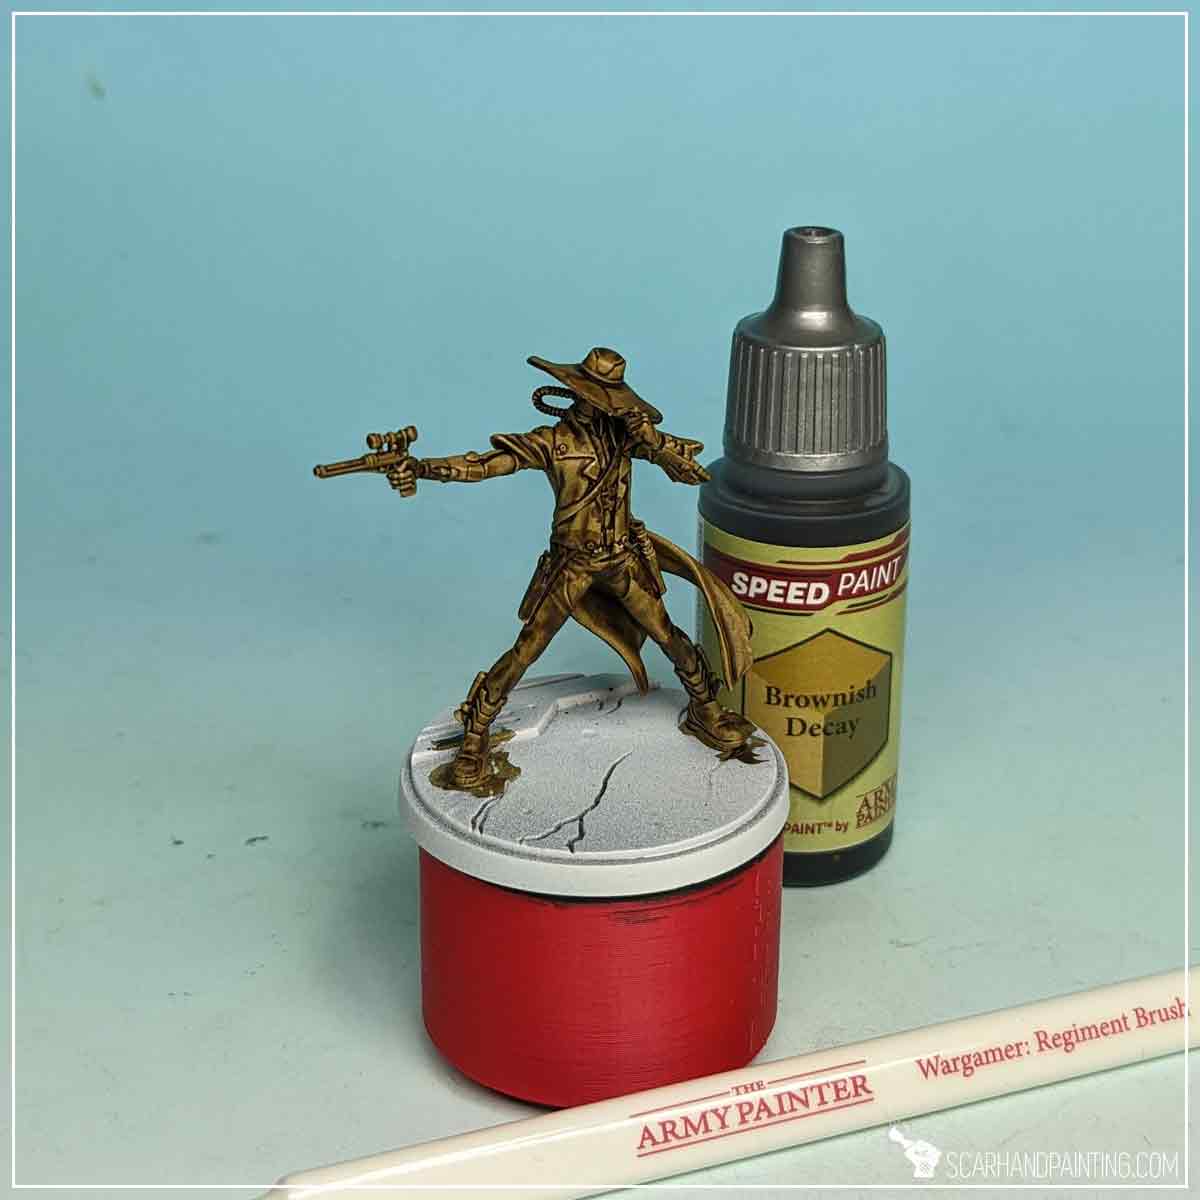
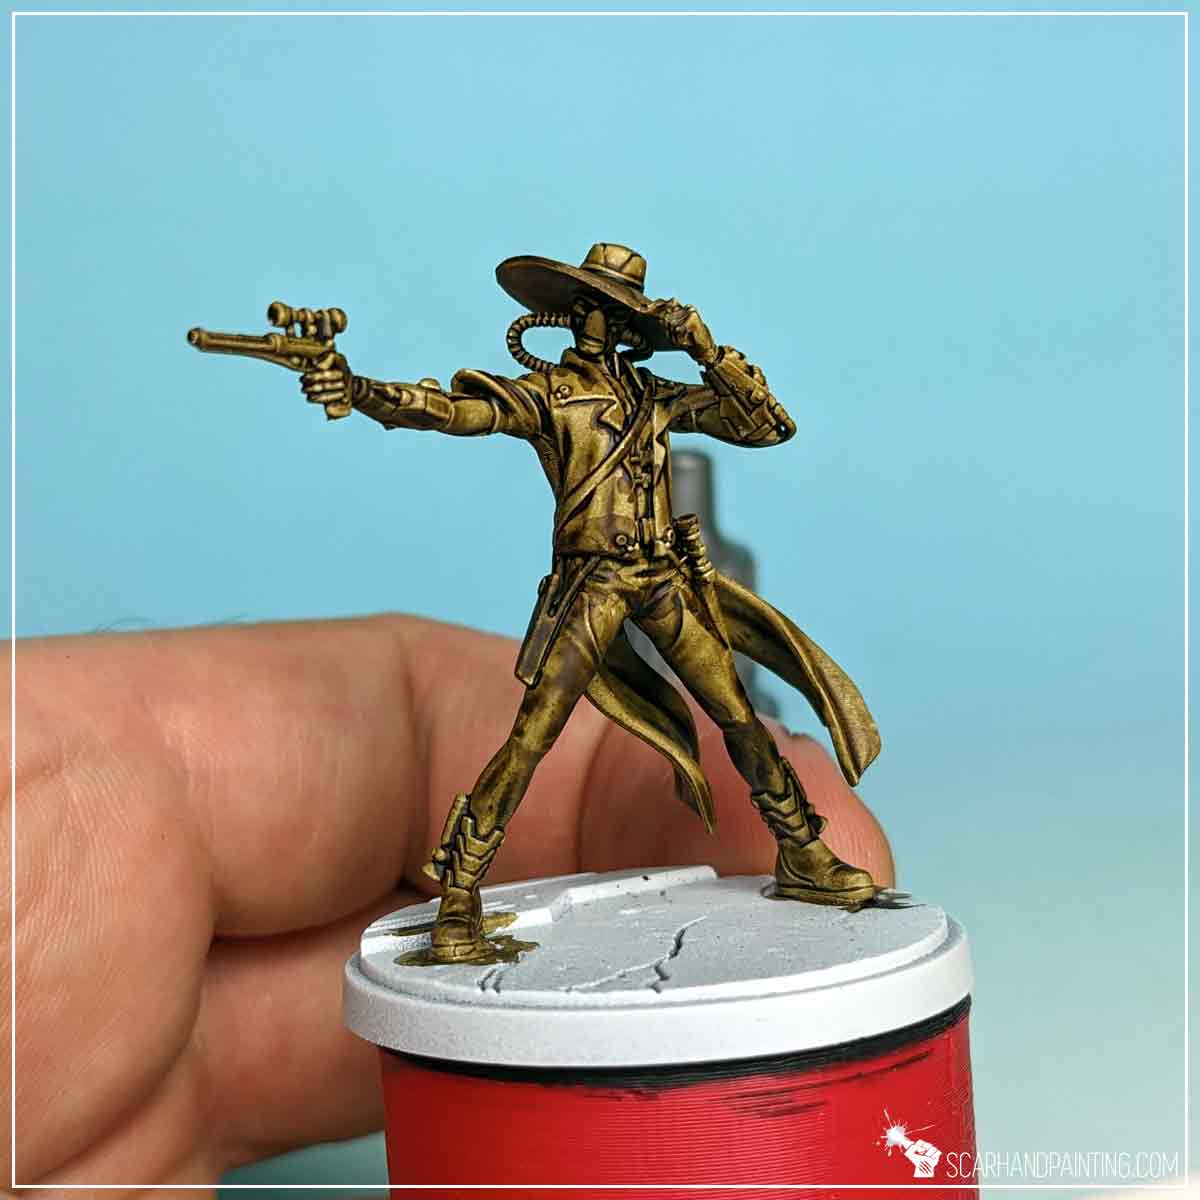
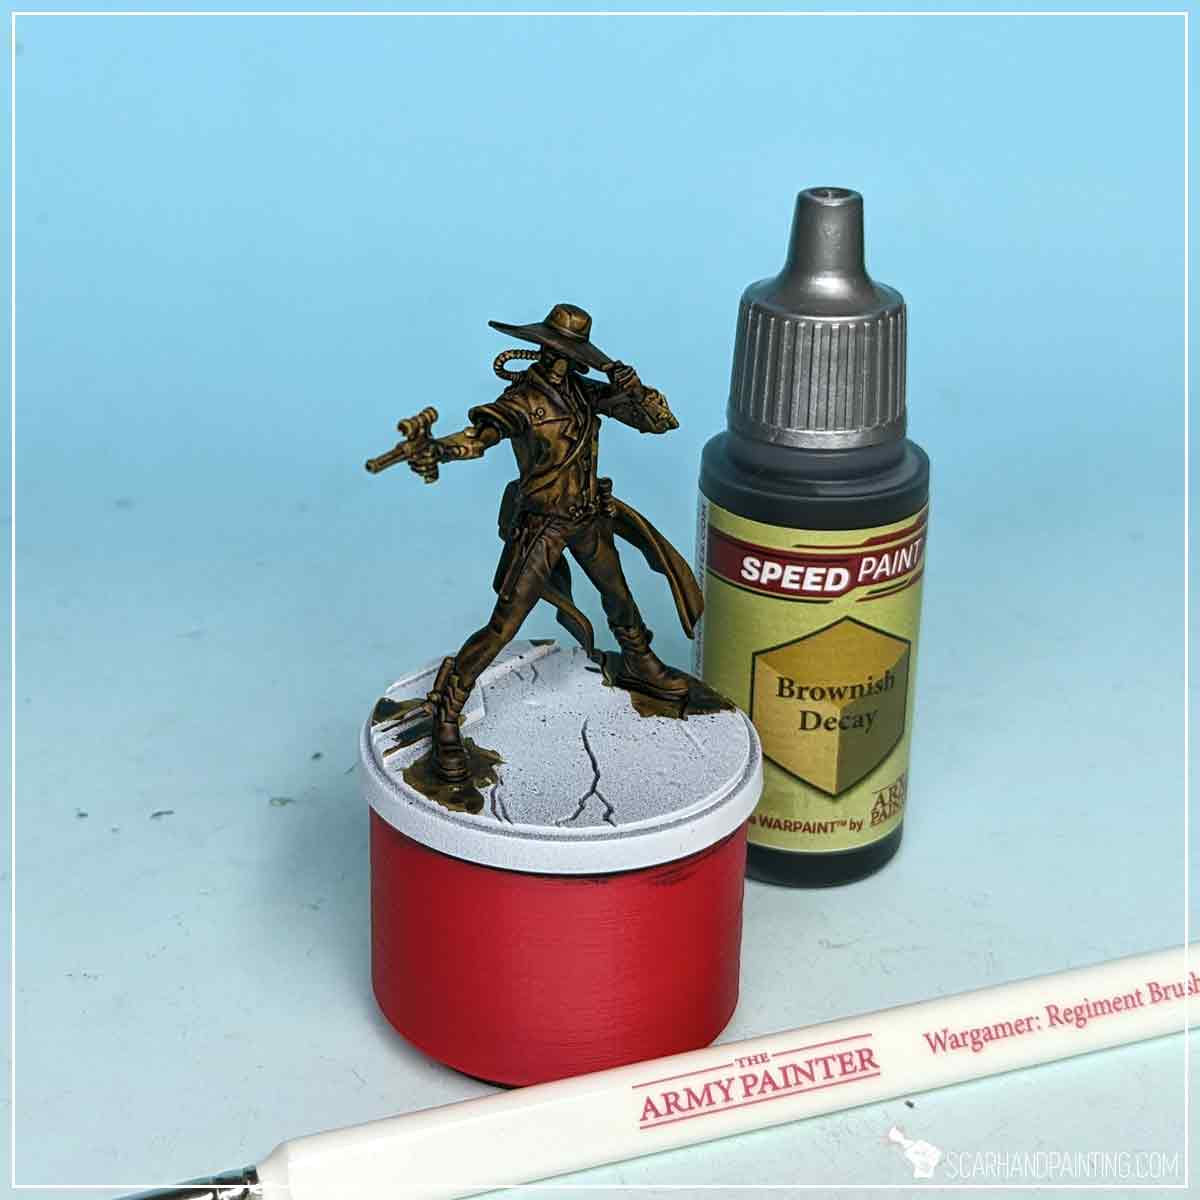
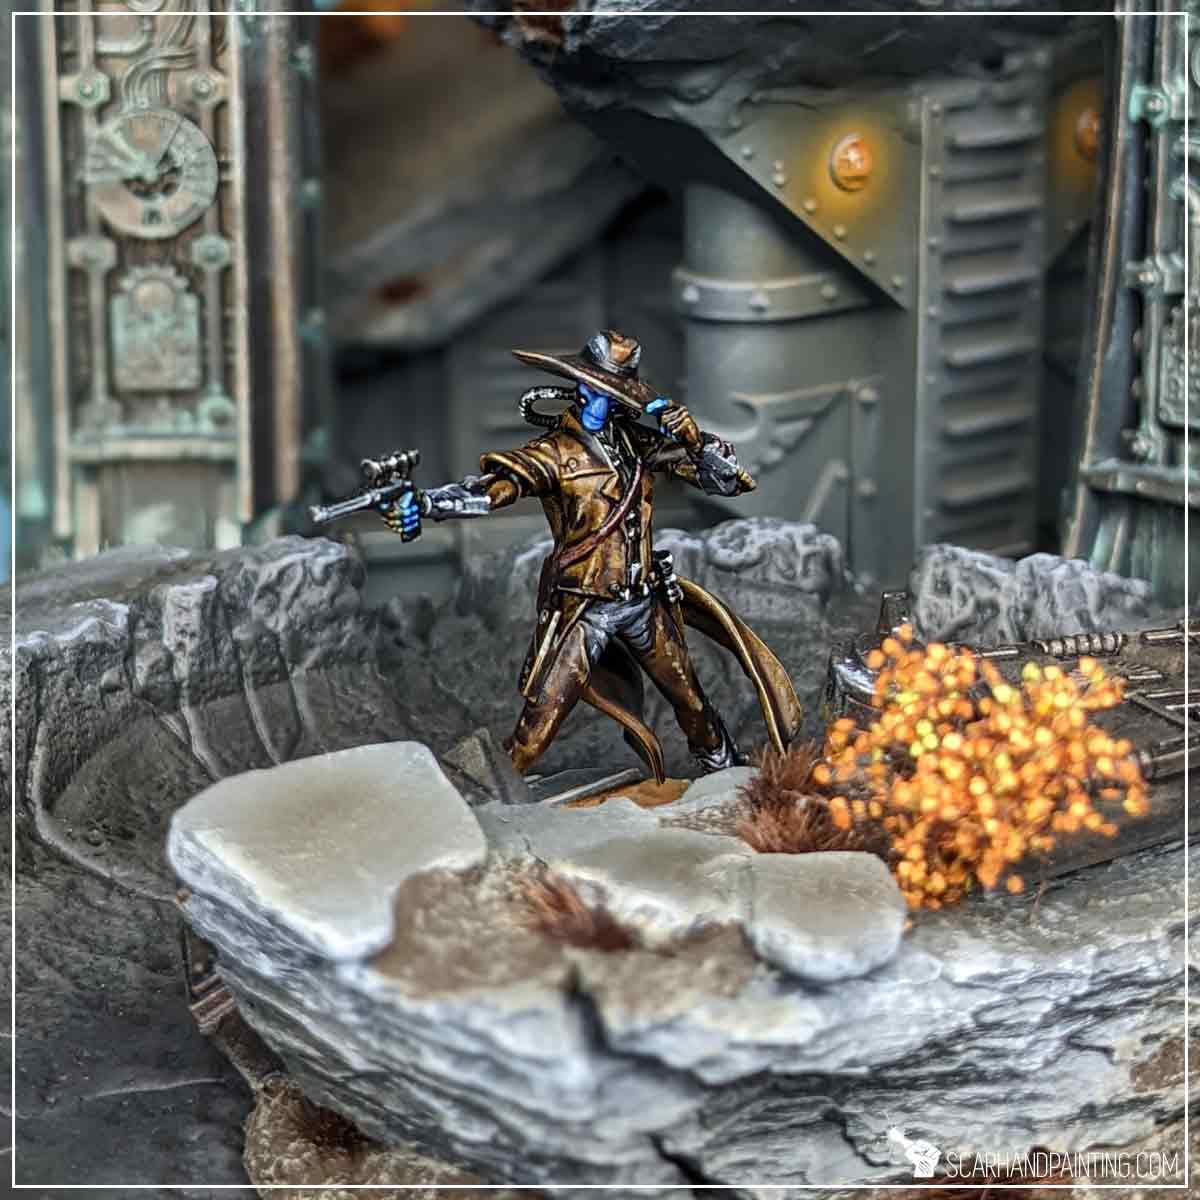
Mostly clothed in brown, the Cad Bane clearly favors comfort over style, or at least this is what I tell myself. The color is so prominent that I have decided to start with it and build from there. Using a Wargamer: Regiment Brush I have covered the entire miniature with Brownish Decay Speedpaint.
Then, once the first layer dried out completely, I repeated the process by applying another layer of Brownish Decay.
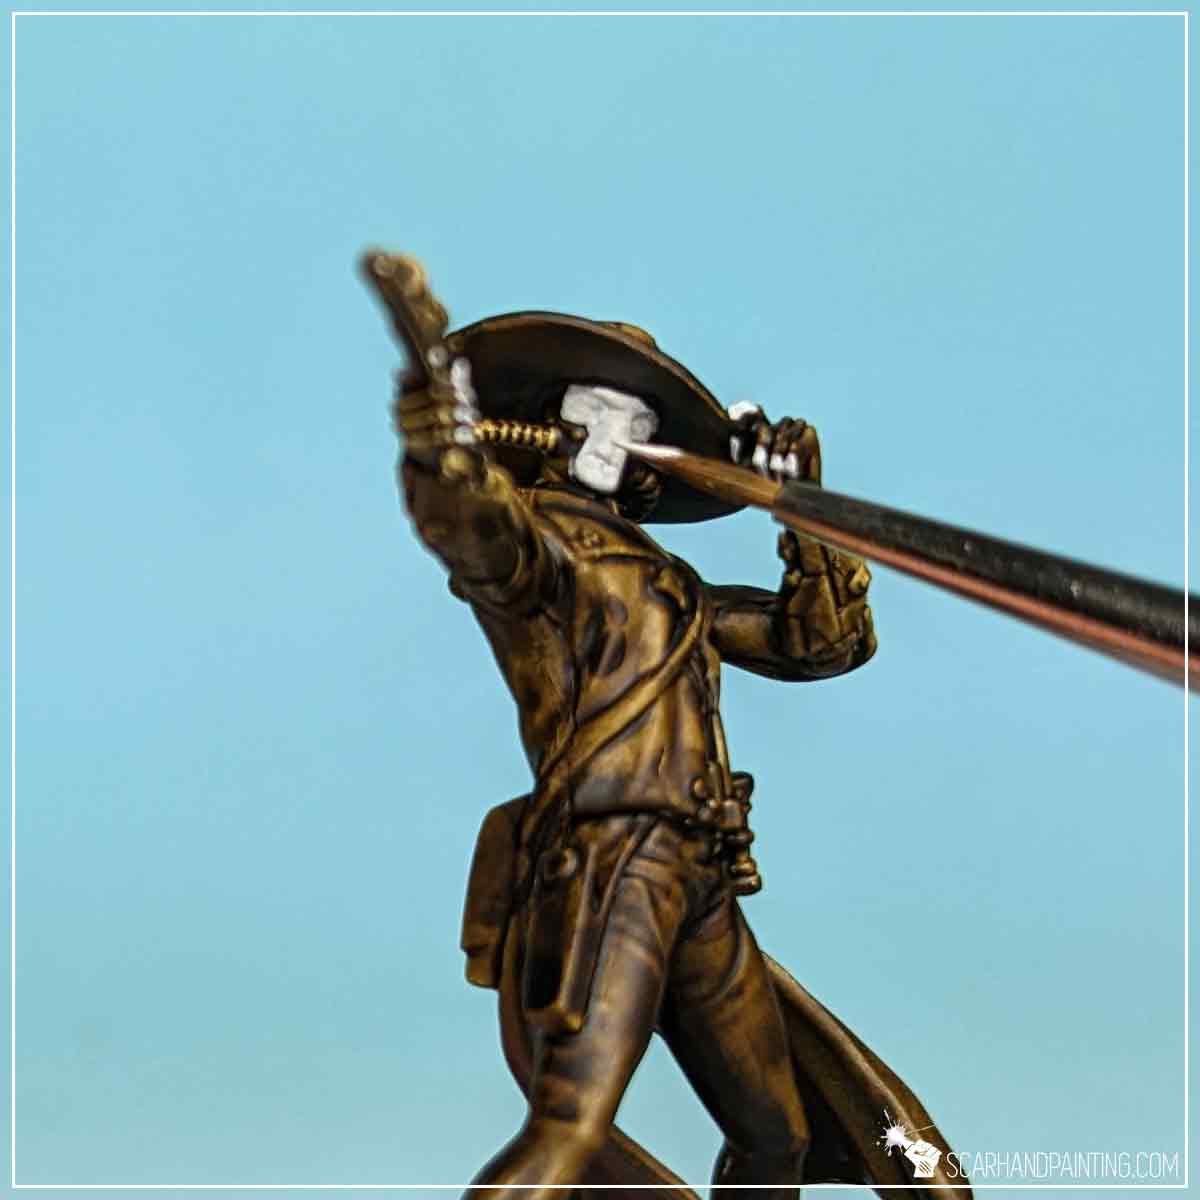
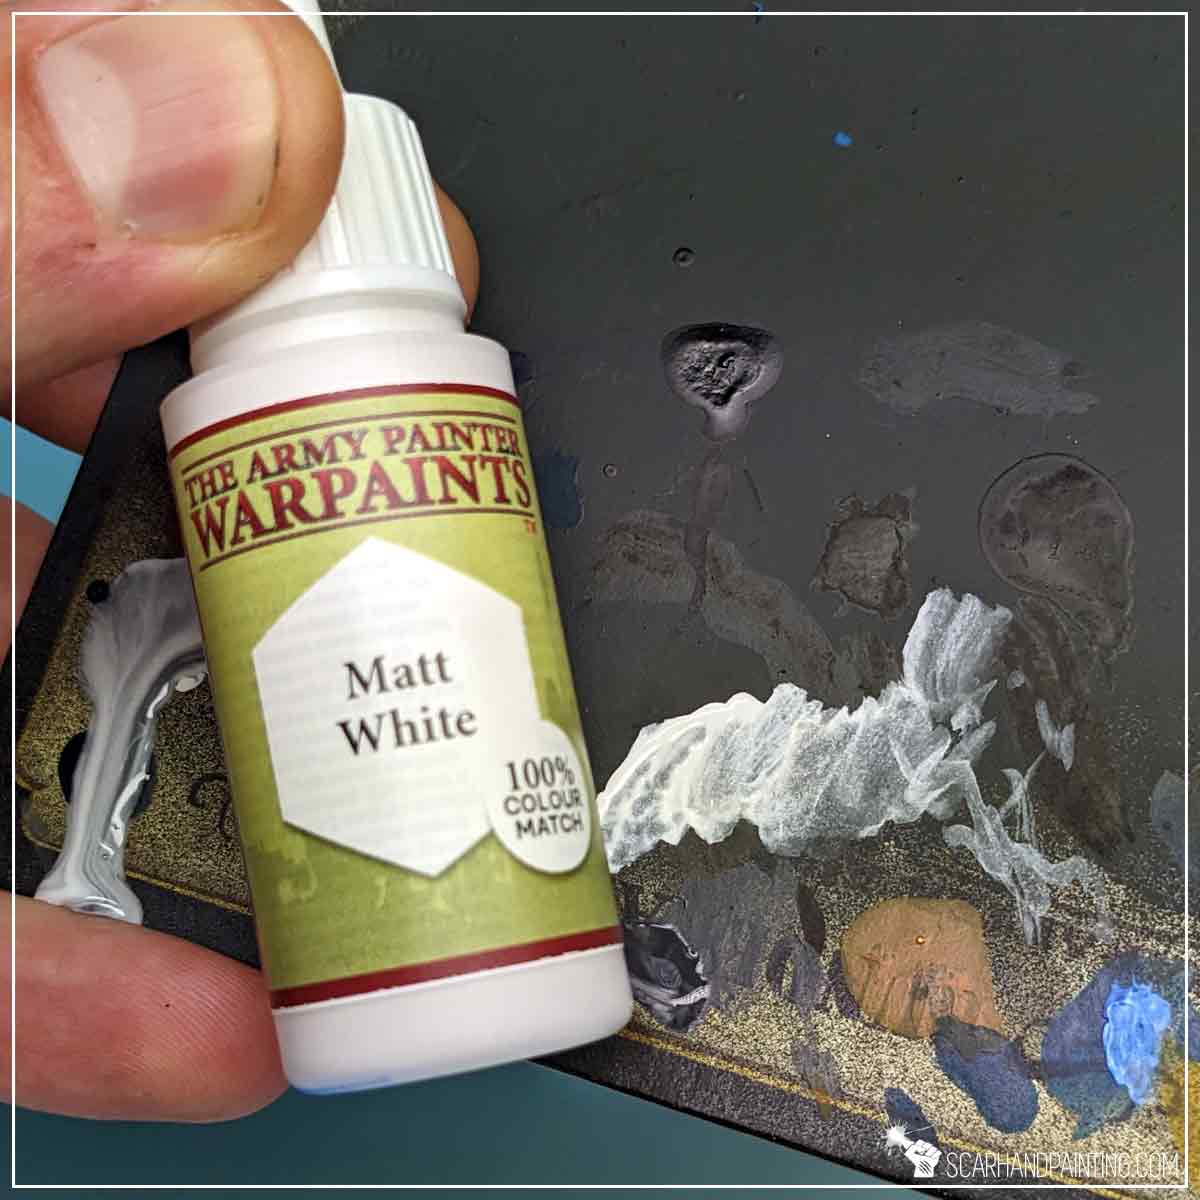
Usually I would have left some areas unpainted, but in this case painting around just a few spots (mainly face and fingers) was too much of a hassle, not worth the time investment. Instead I have repainted these areas with Matt White, thus creating a nice base for the upcoming Speedpaint coloration.
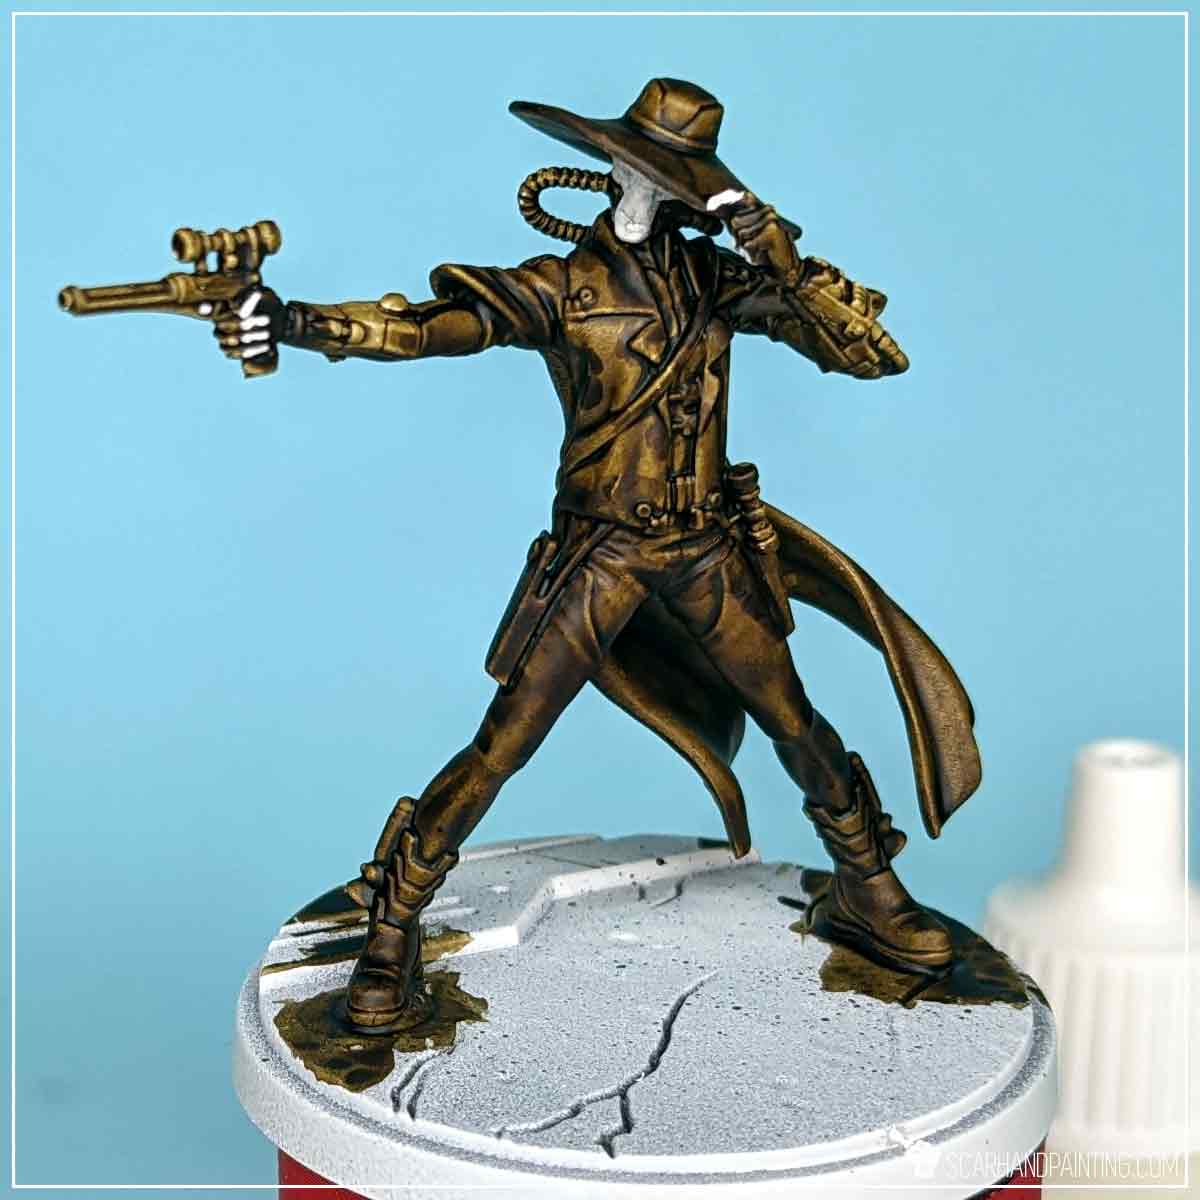
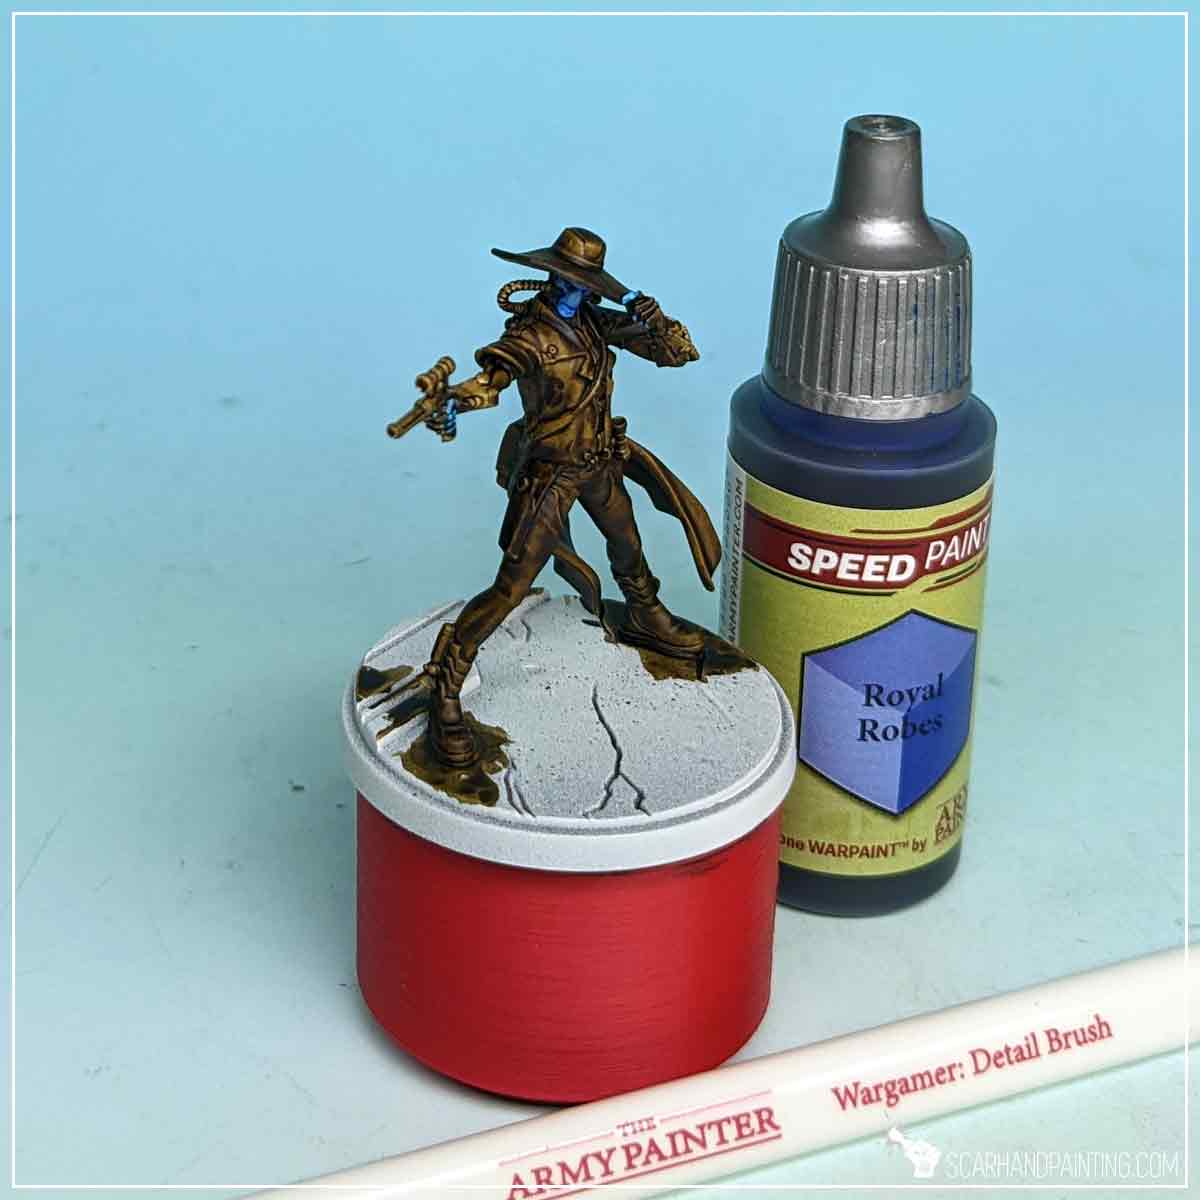
Next, with a Wargamer: Detail Brush, I applied Royal Blue Speedpaint to the face and the exposed fingers of the miniature.
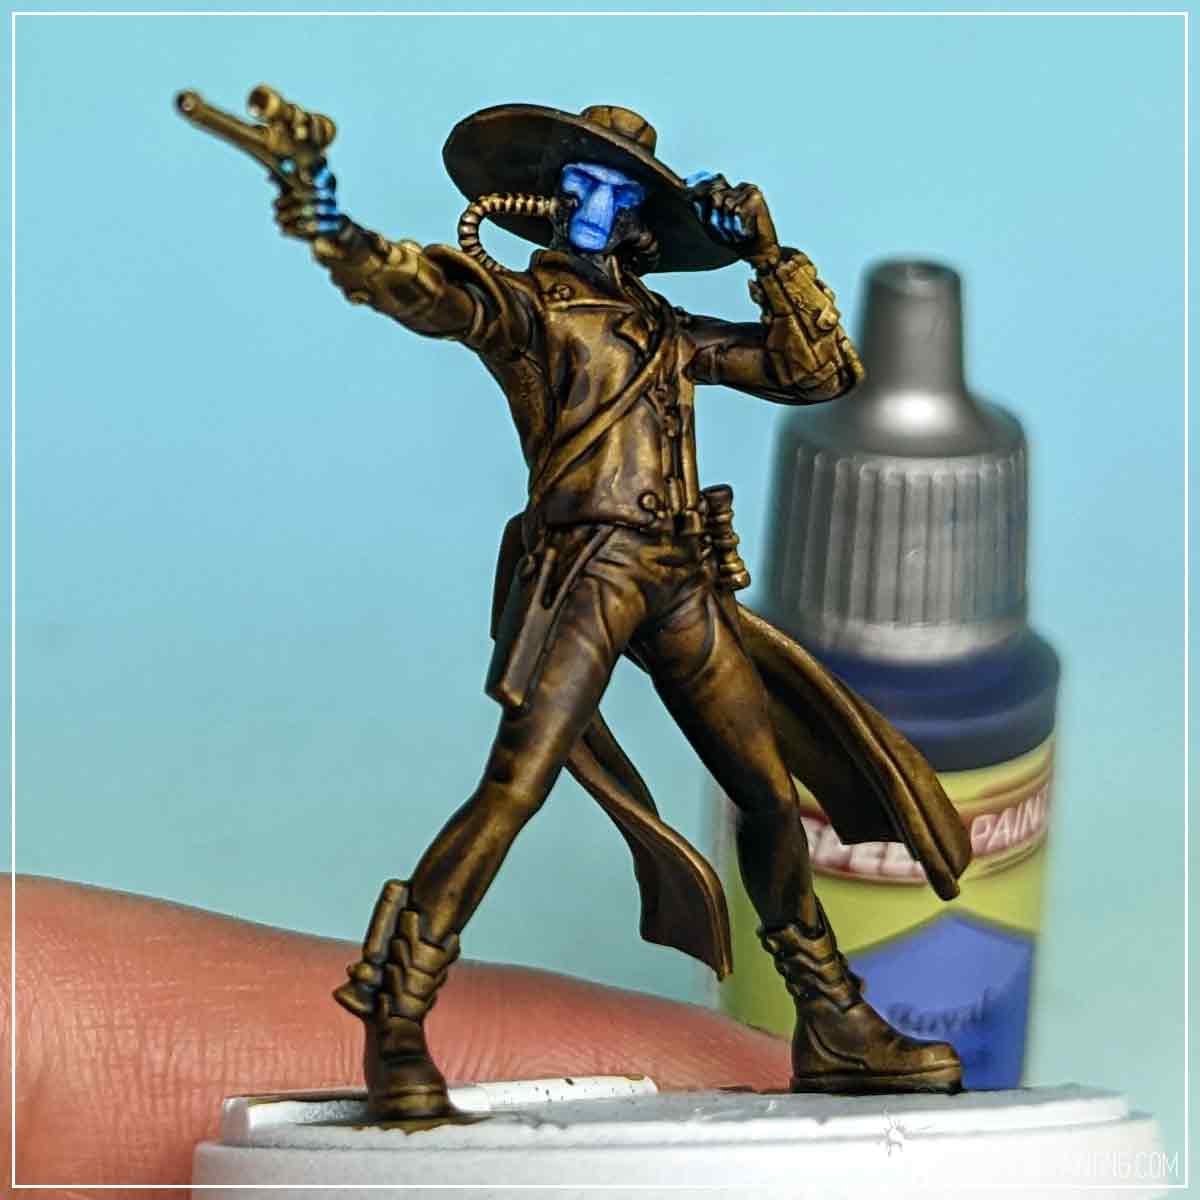
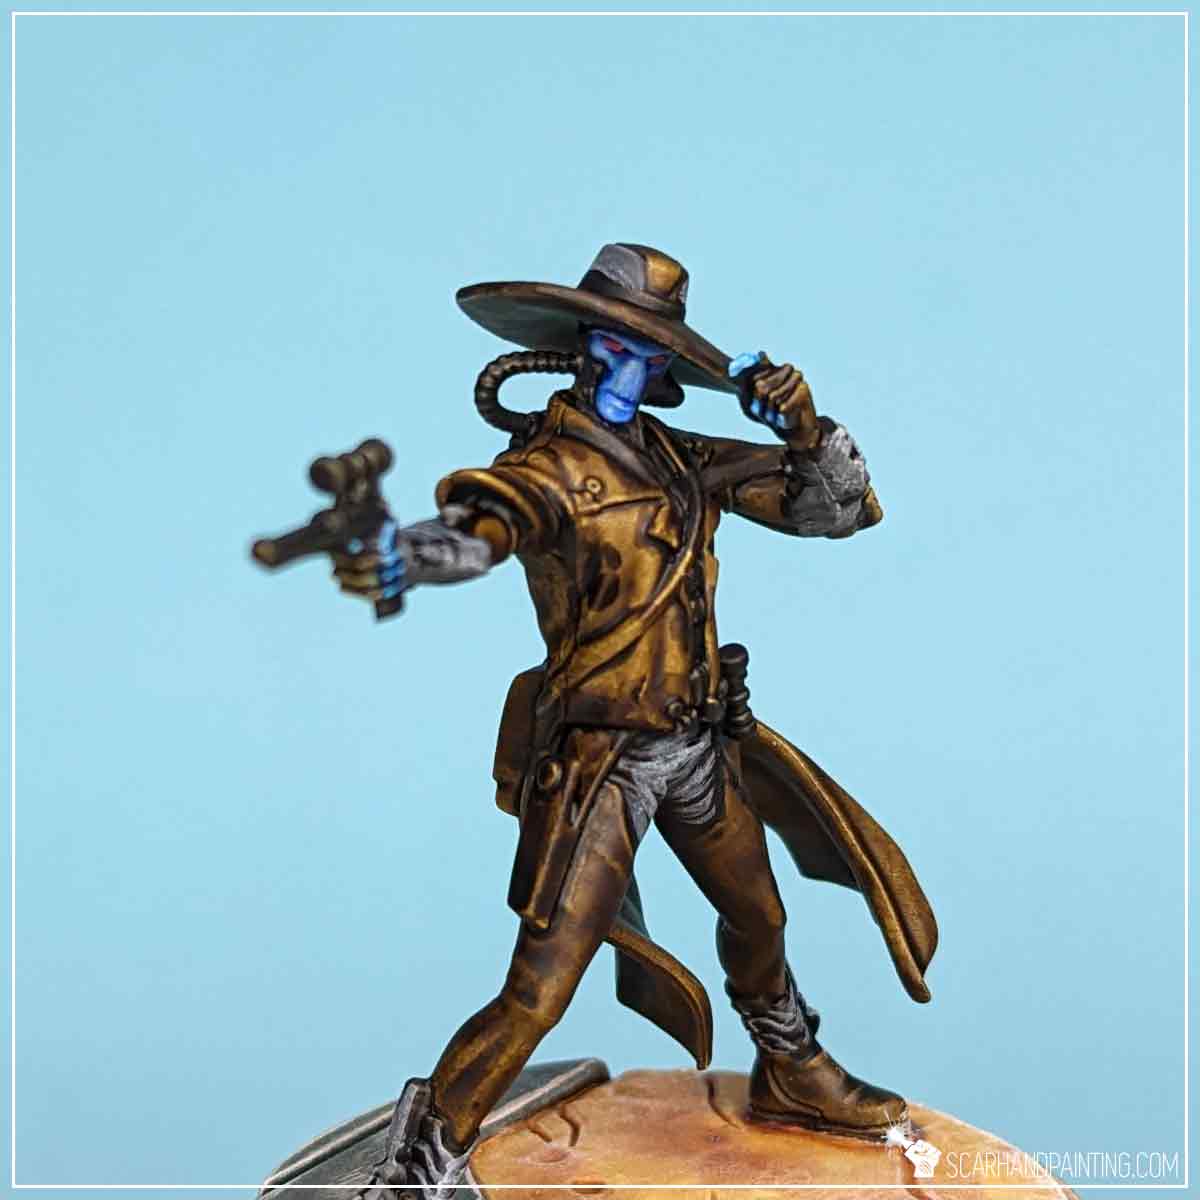
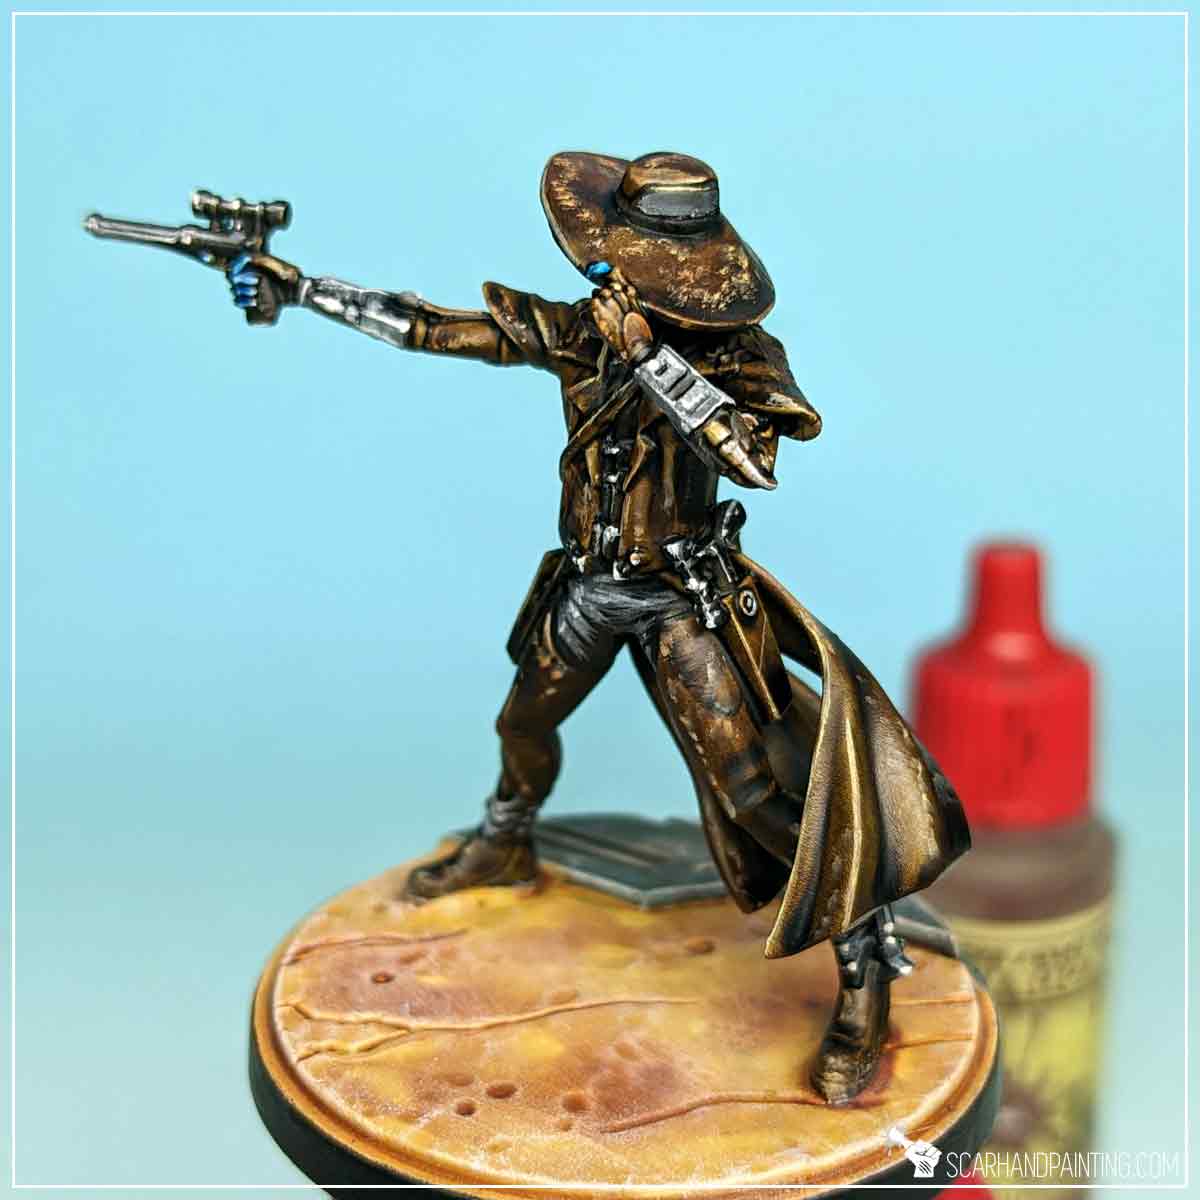
Weapons, breathing pipes, armor, had detail and the ‘under’ pants I have painted black with Grim Black Speedpaint, darkening them and creating a solid base for future highlights.
I then followed up with semi-highlights of flatbrushed Matt White. I tried to leave the excess of the paint on a dry palette and move the tip of the brush back and forth leaving blurred lines of paint on chosen surfaces. I deliberately skipped the pistols.
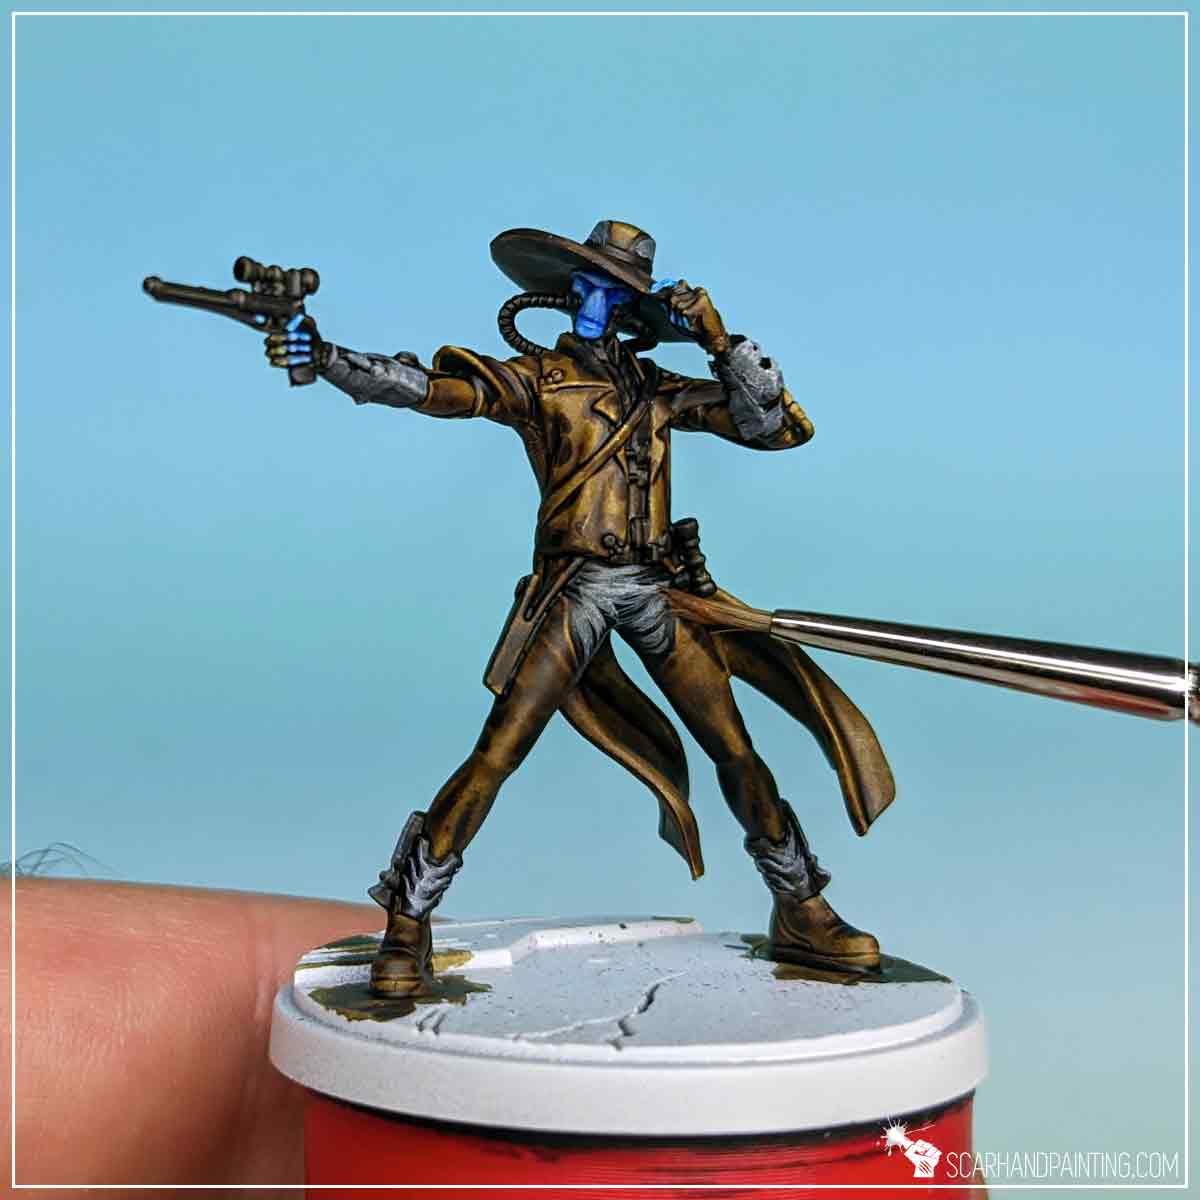
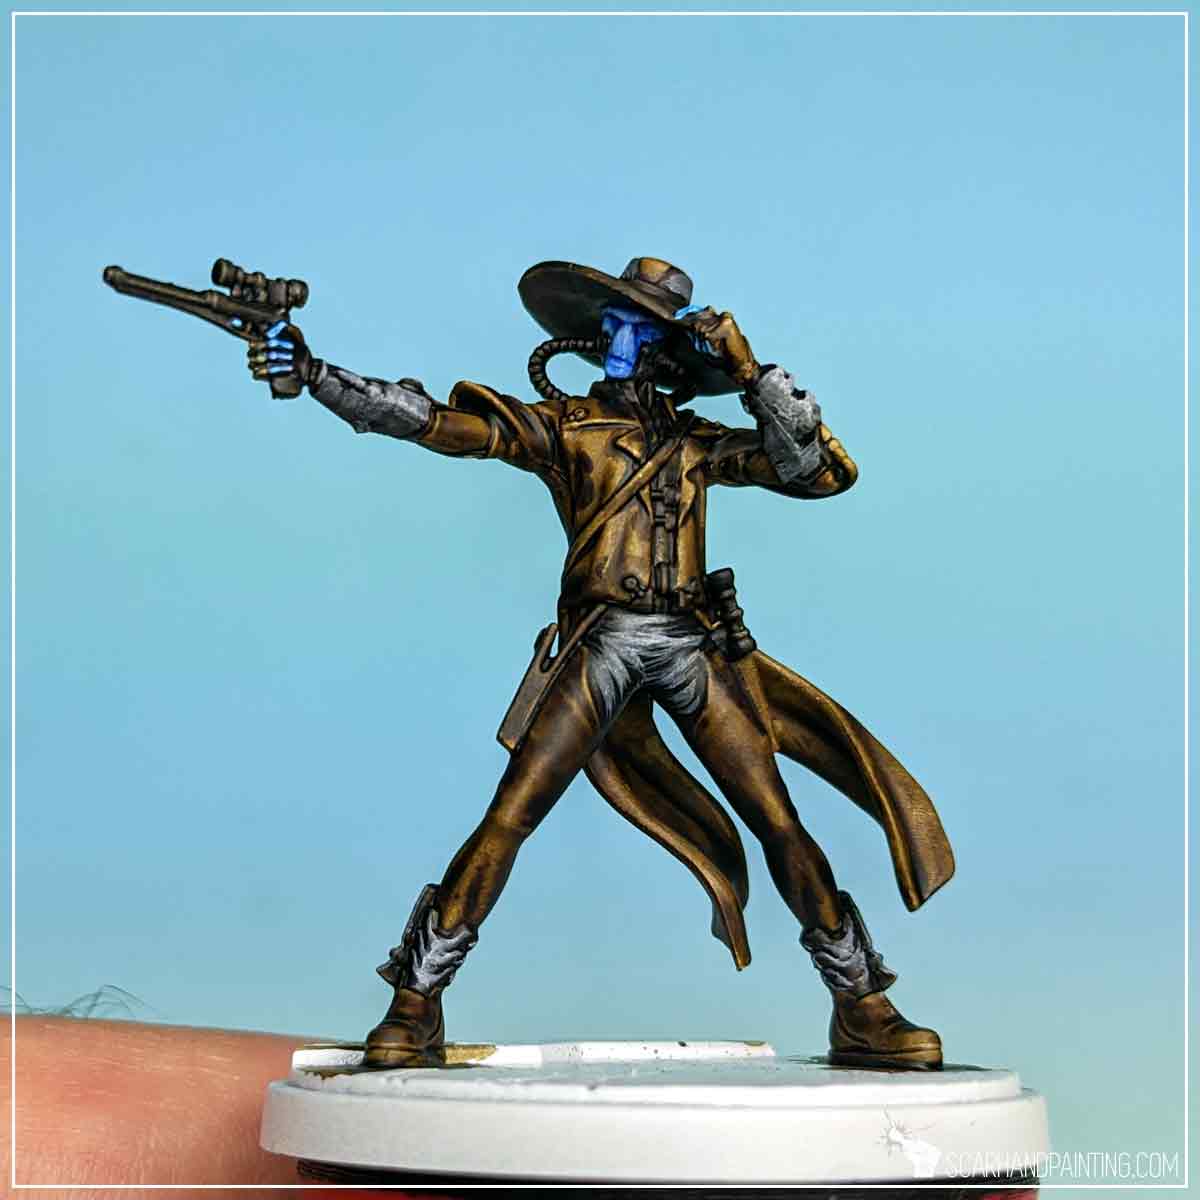
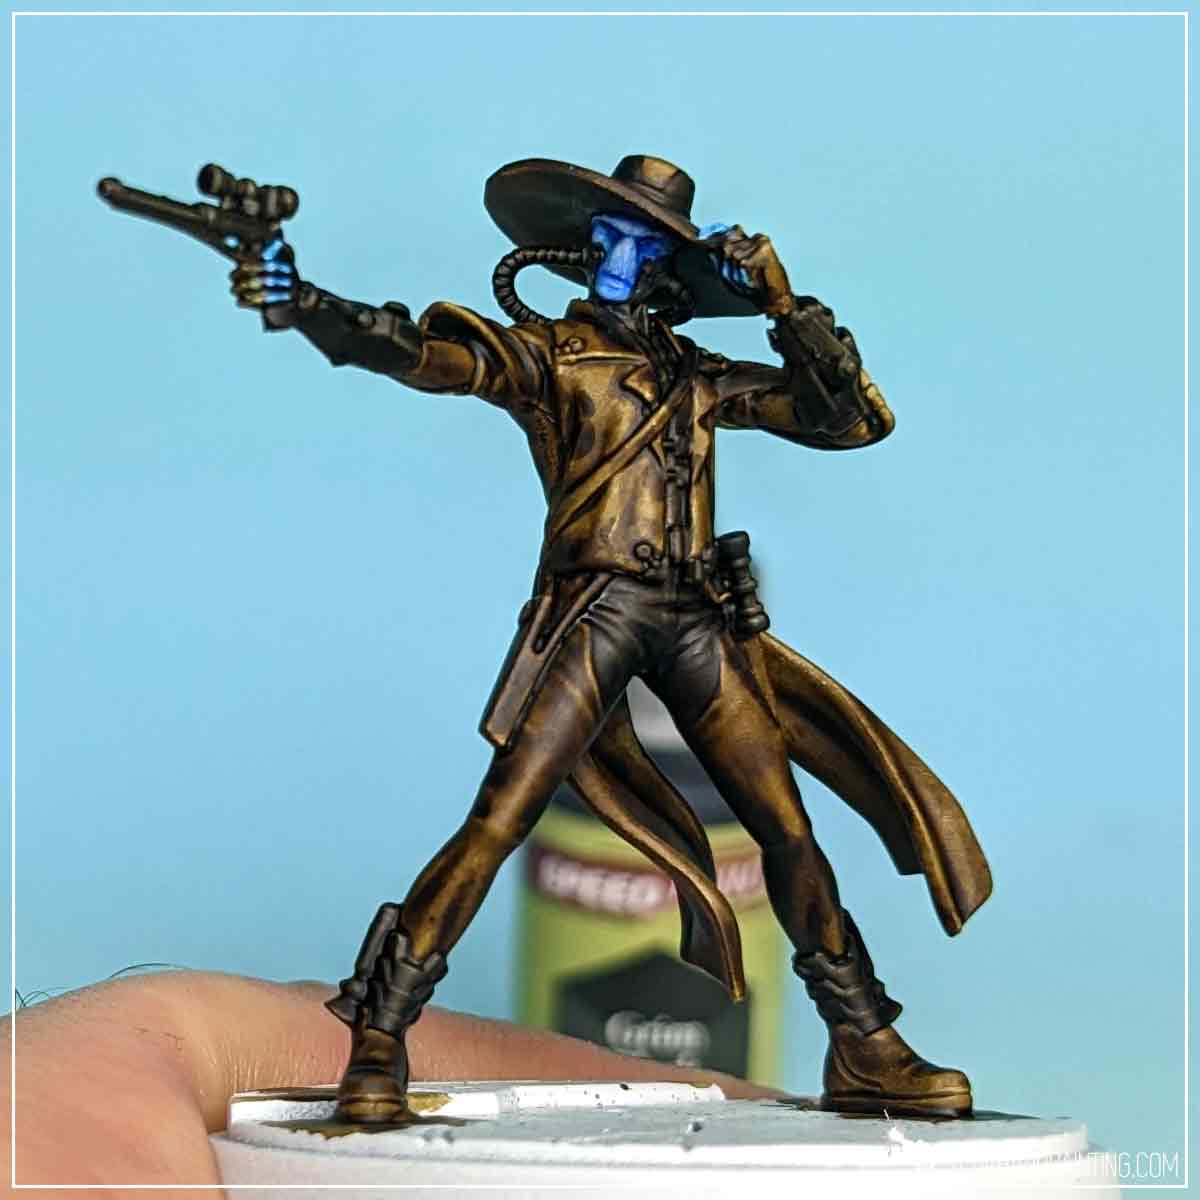
For eyes I used a Wargamer: Detail Brush, applying lines of Matt White, followed up by a touch of Poppy Red Speedpaint.
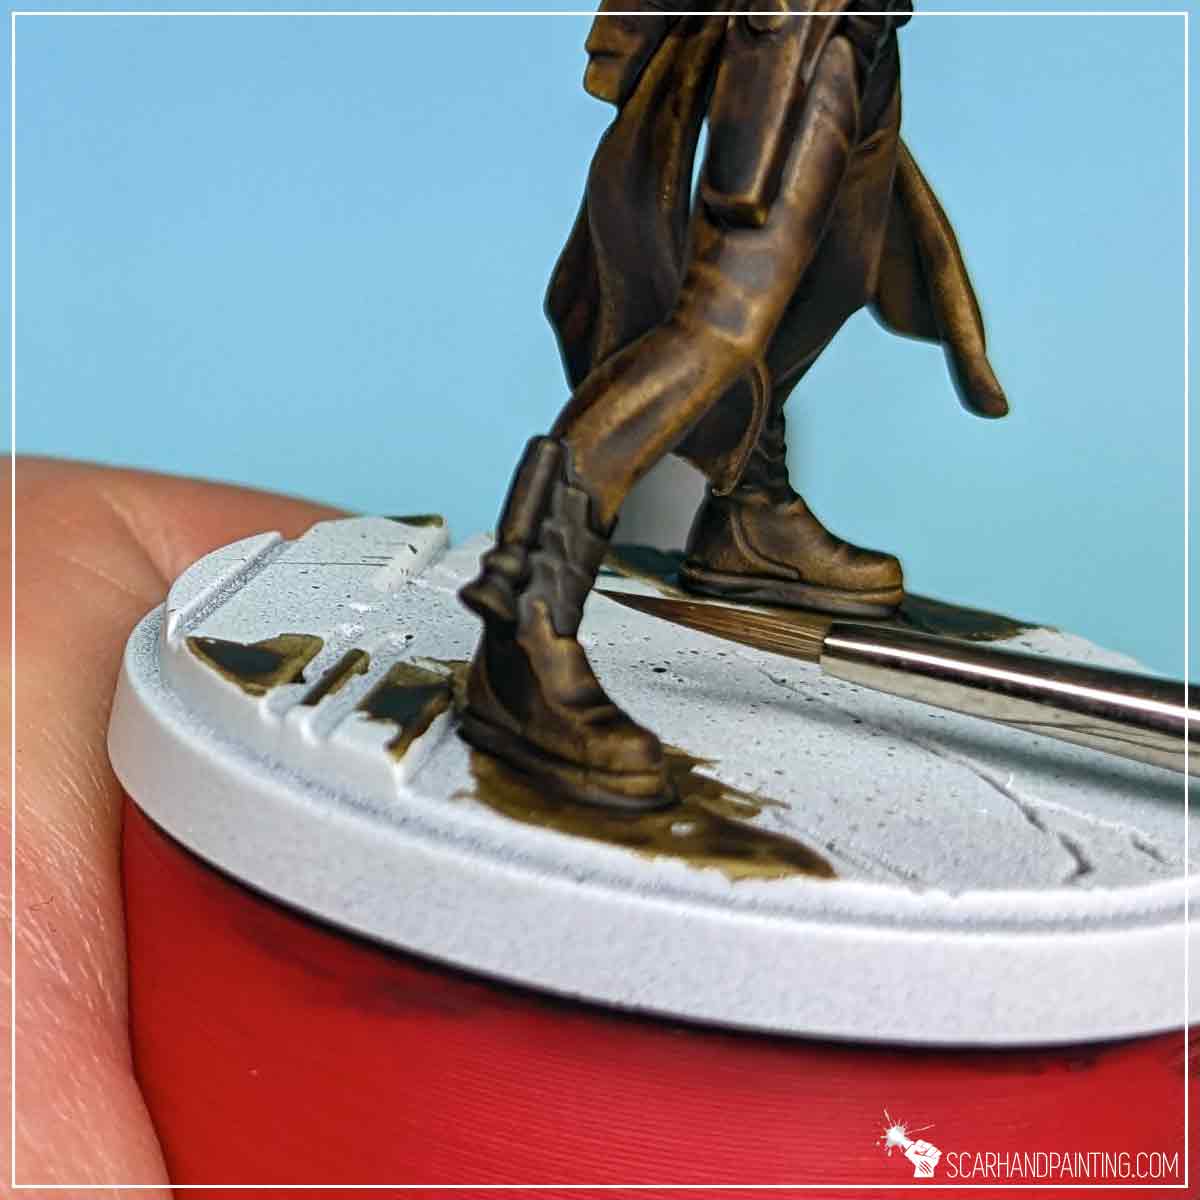
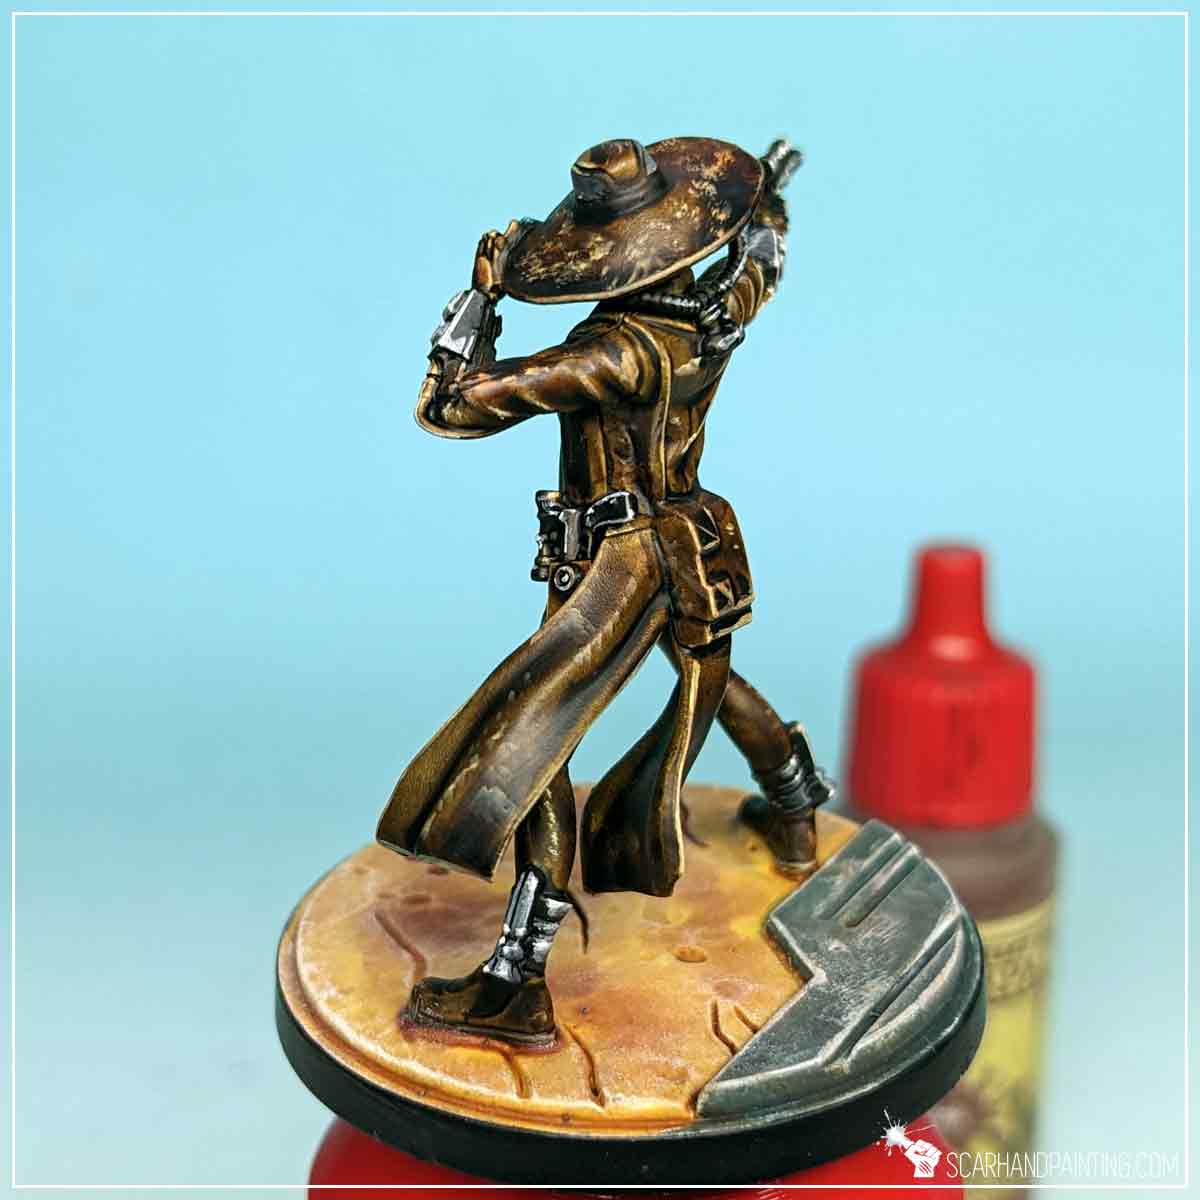
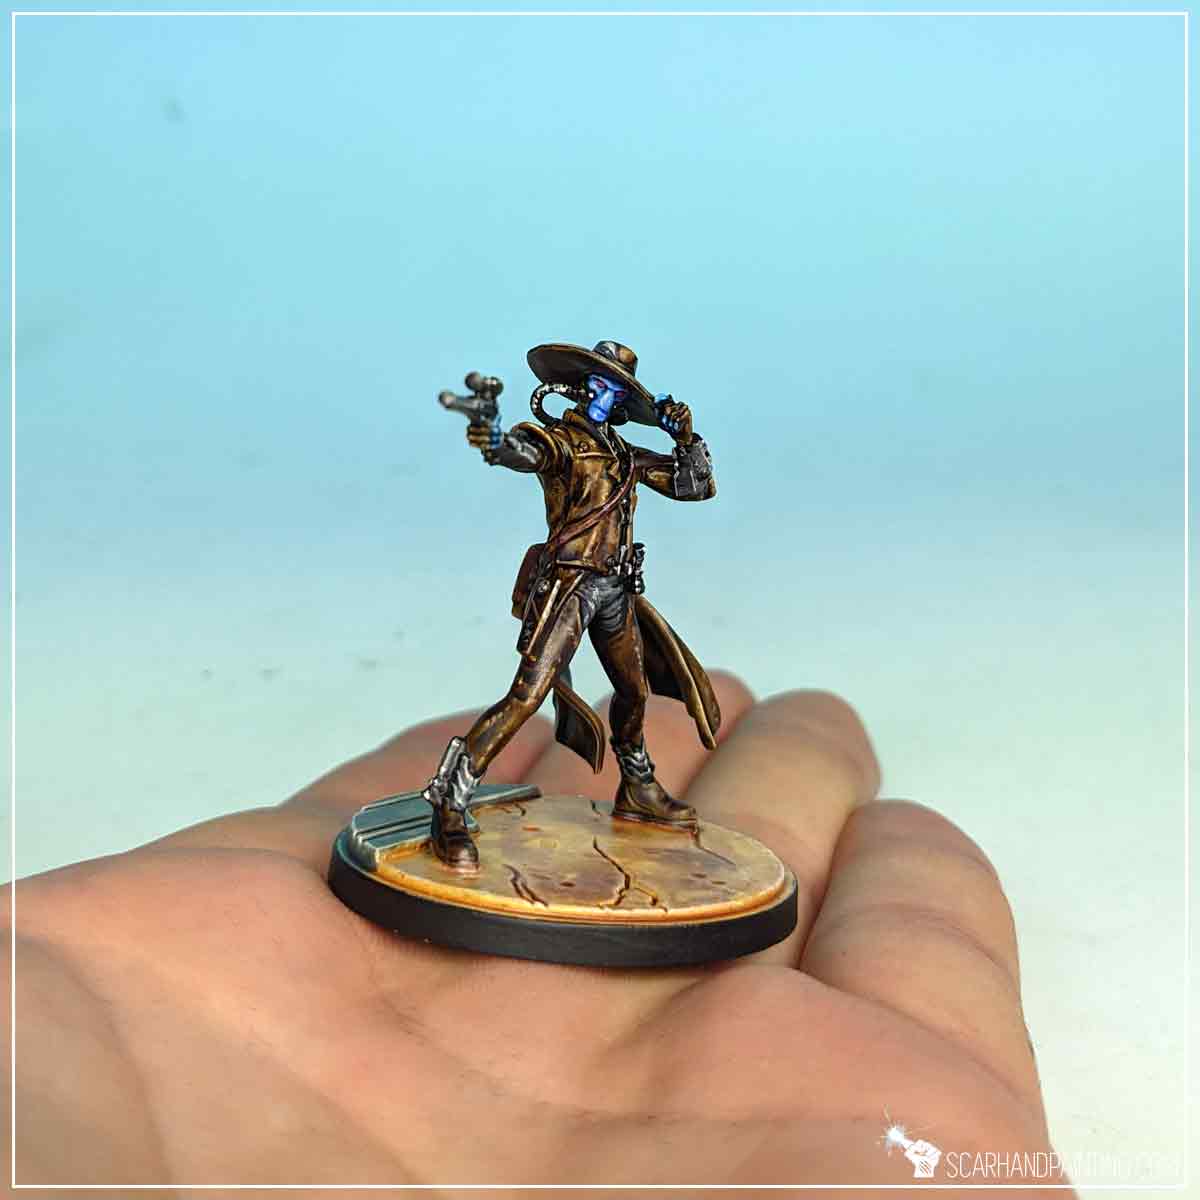
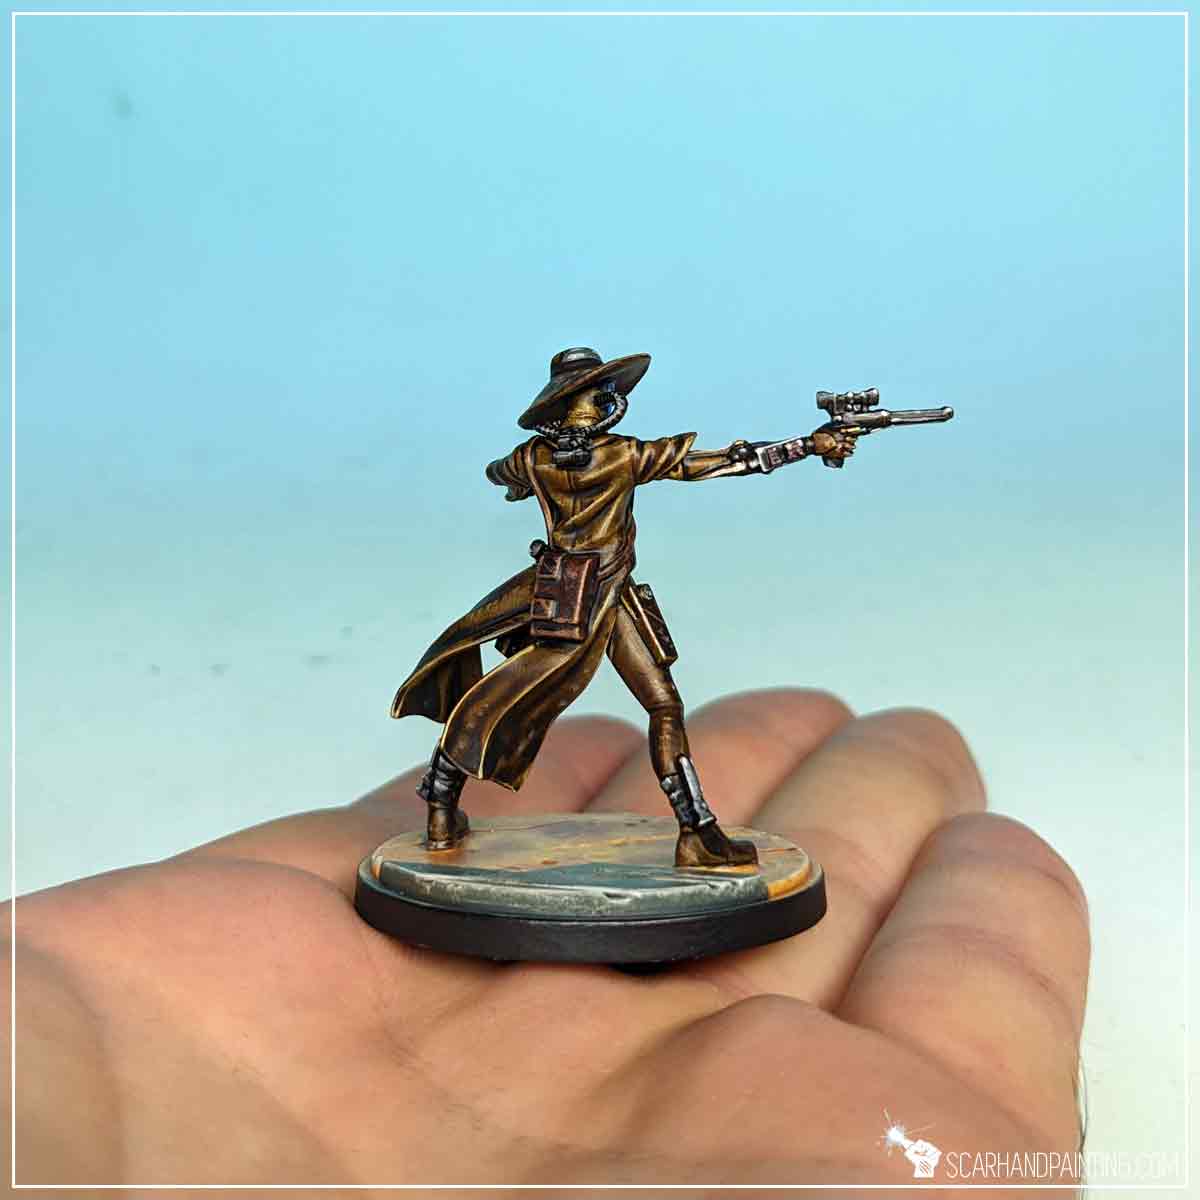
Finally I have painted the base following steps previously presented in the Tutorial: Painting Star Wars Shatterpoint Clone Troopers article, at which point the basic painting process was over and the miniature might have been considered done… but why not take it further?
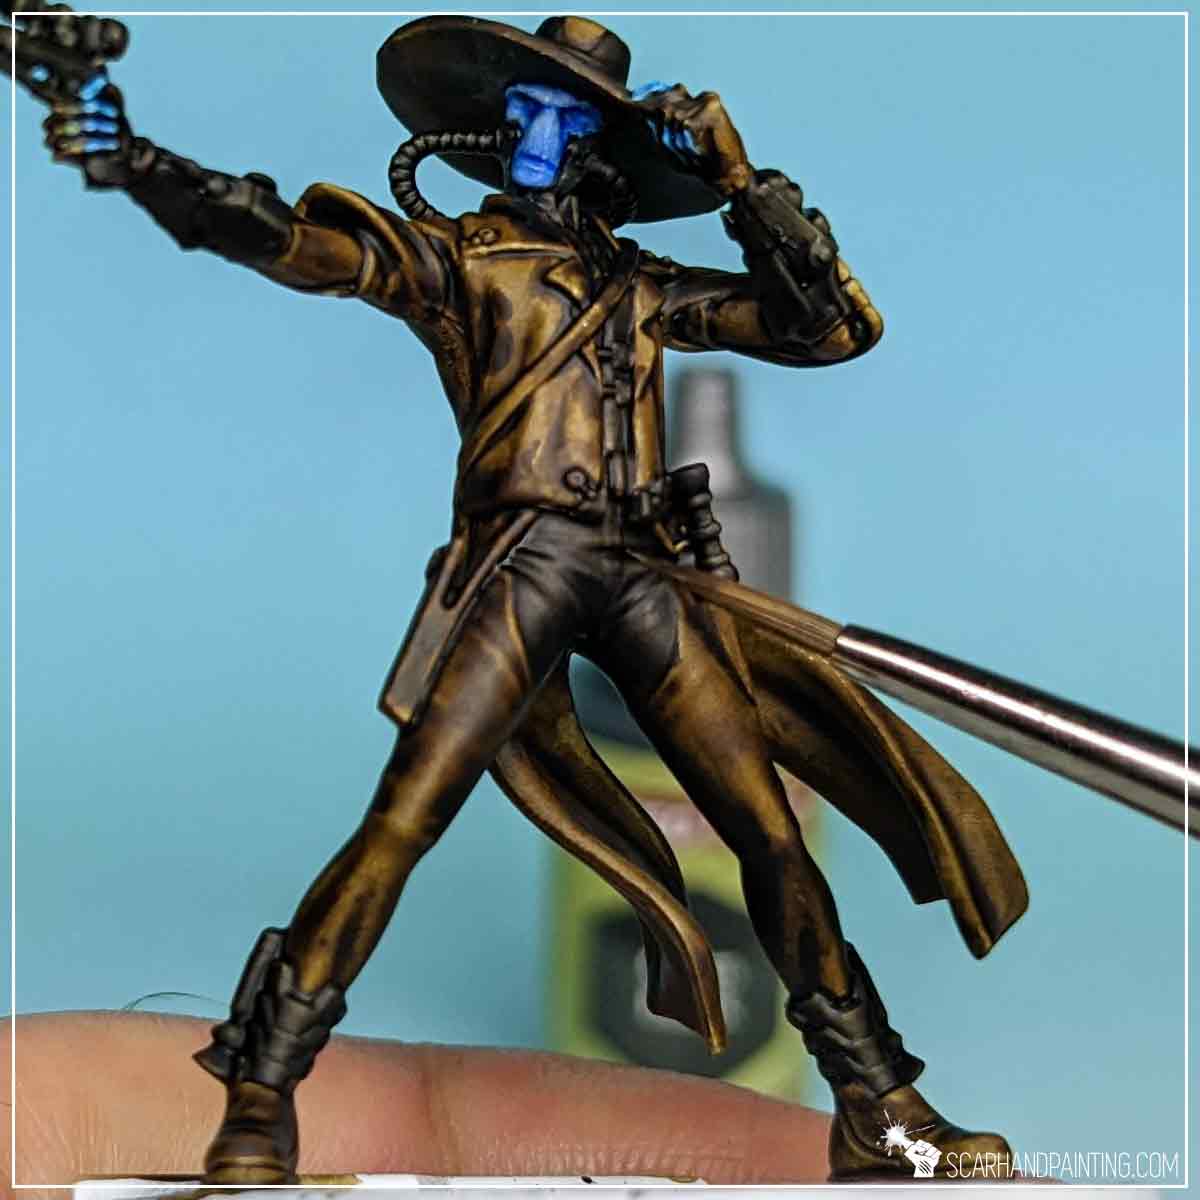
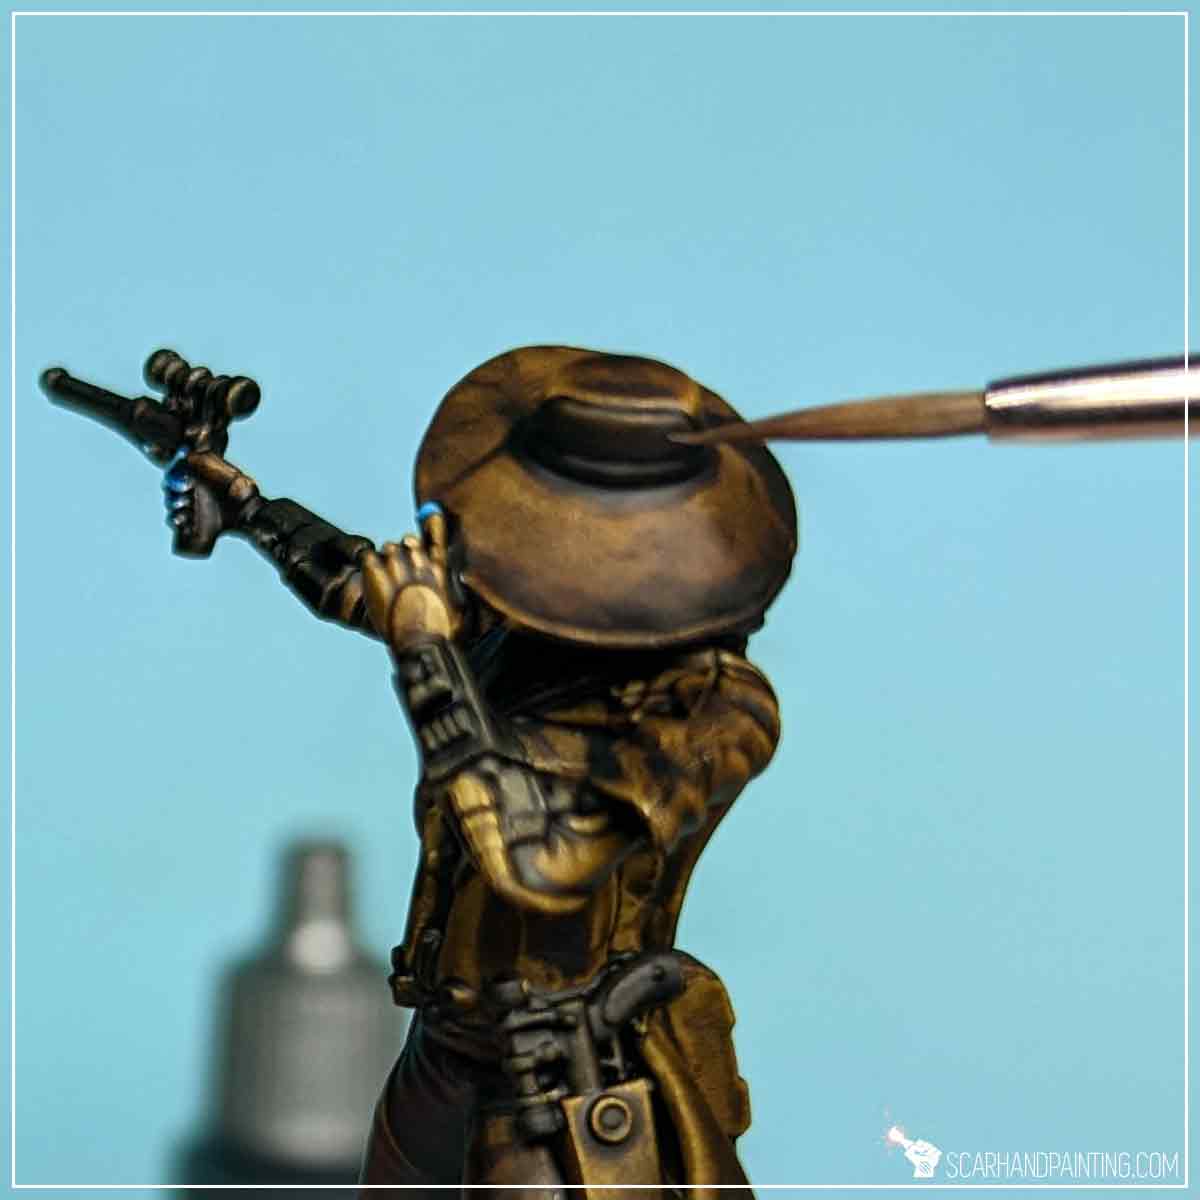
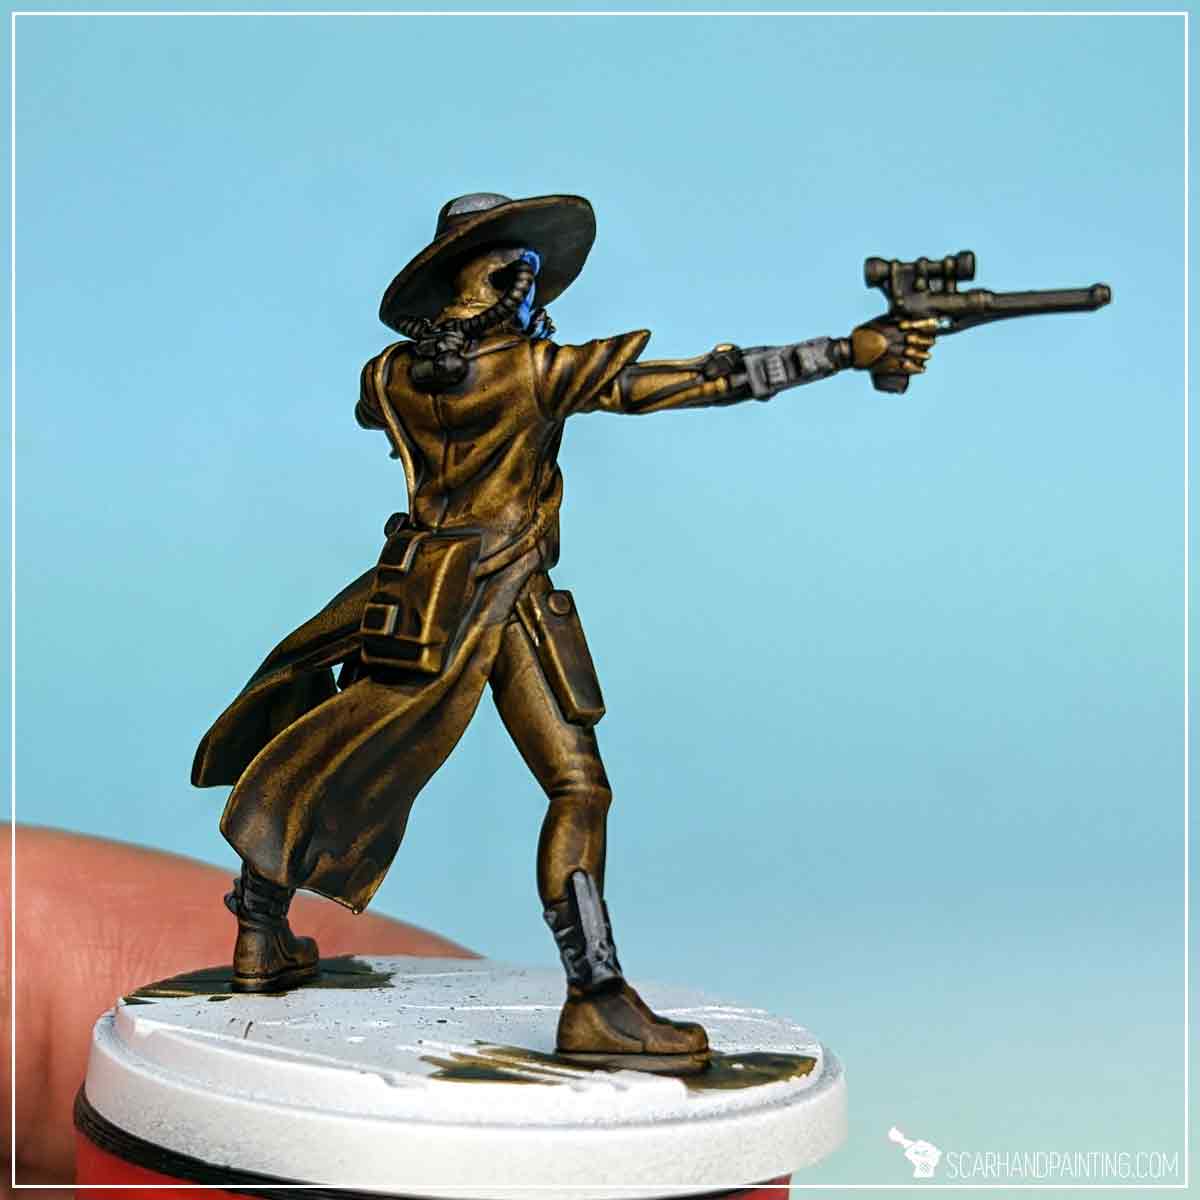
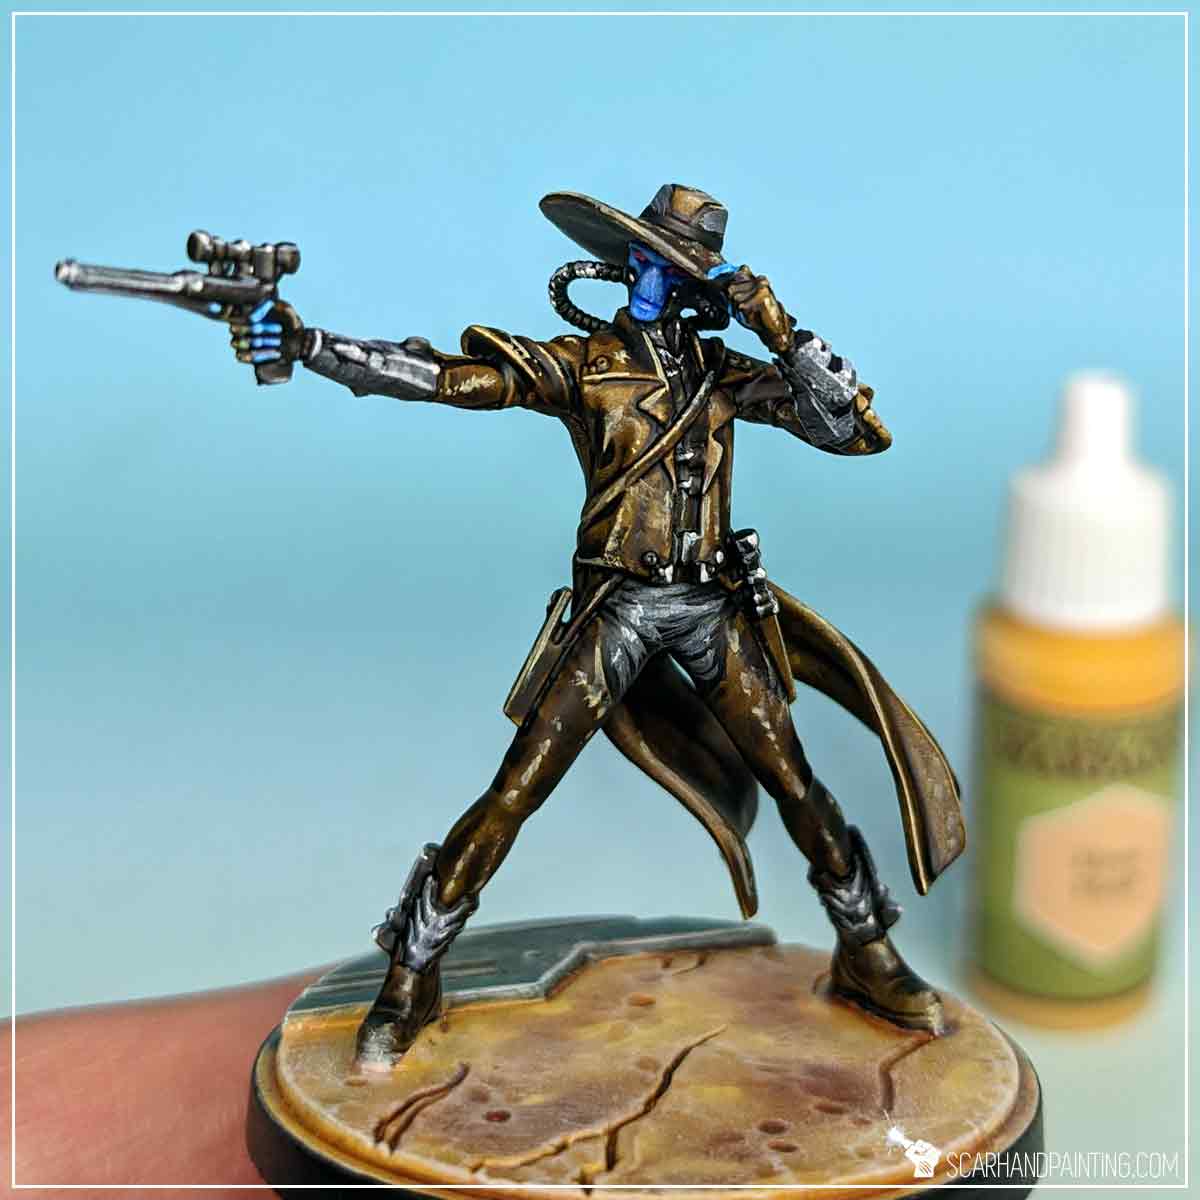
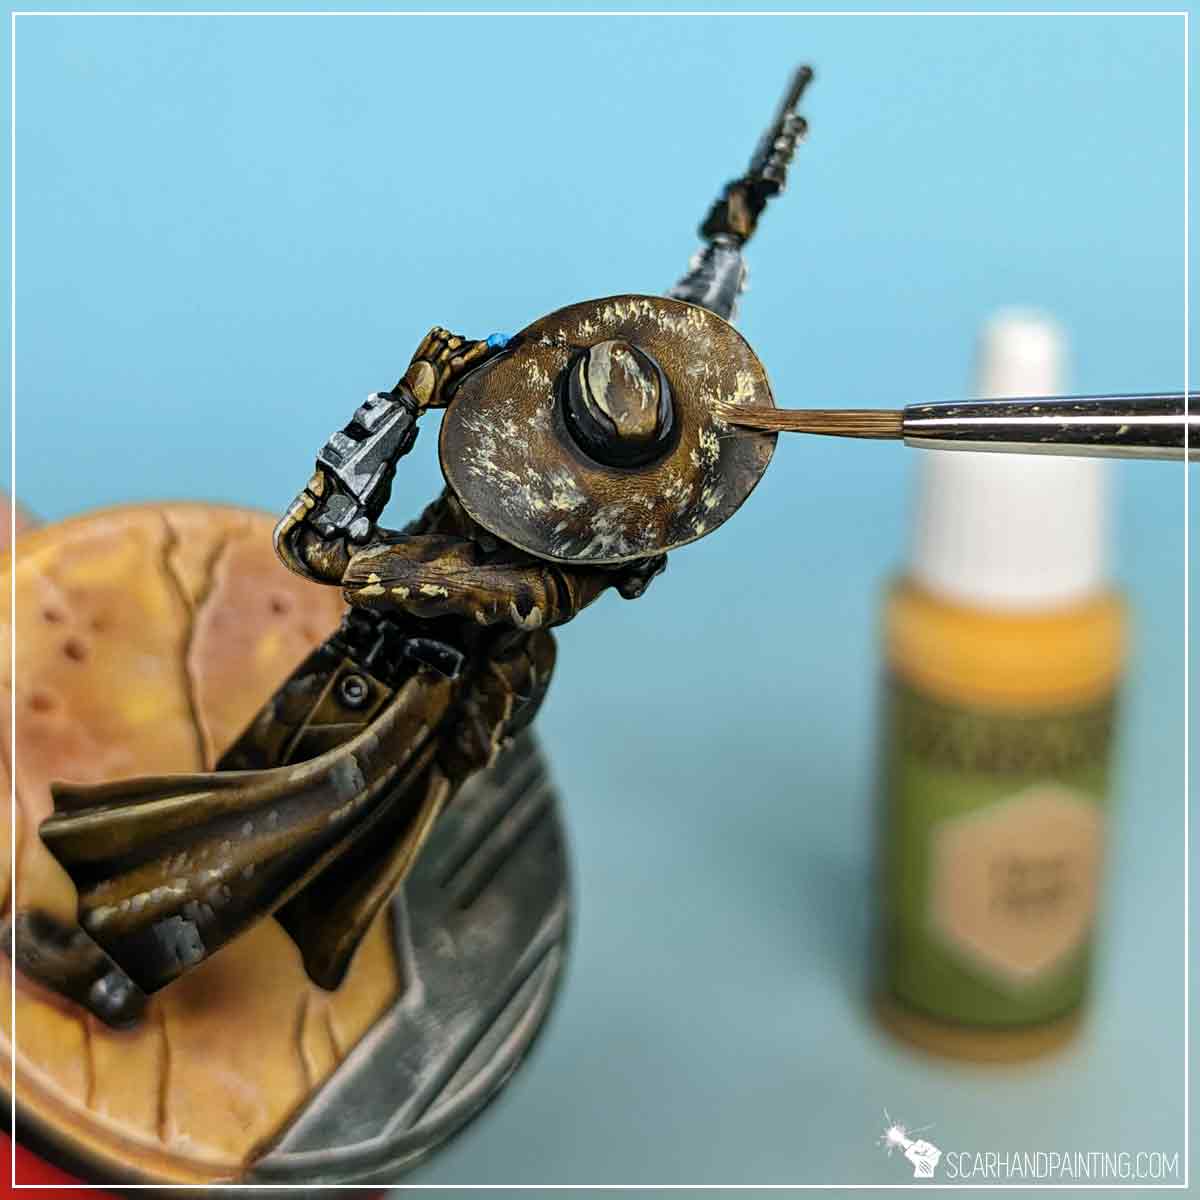
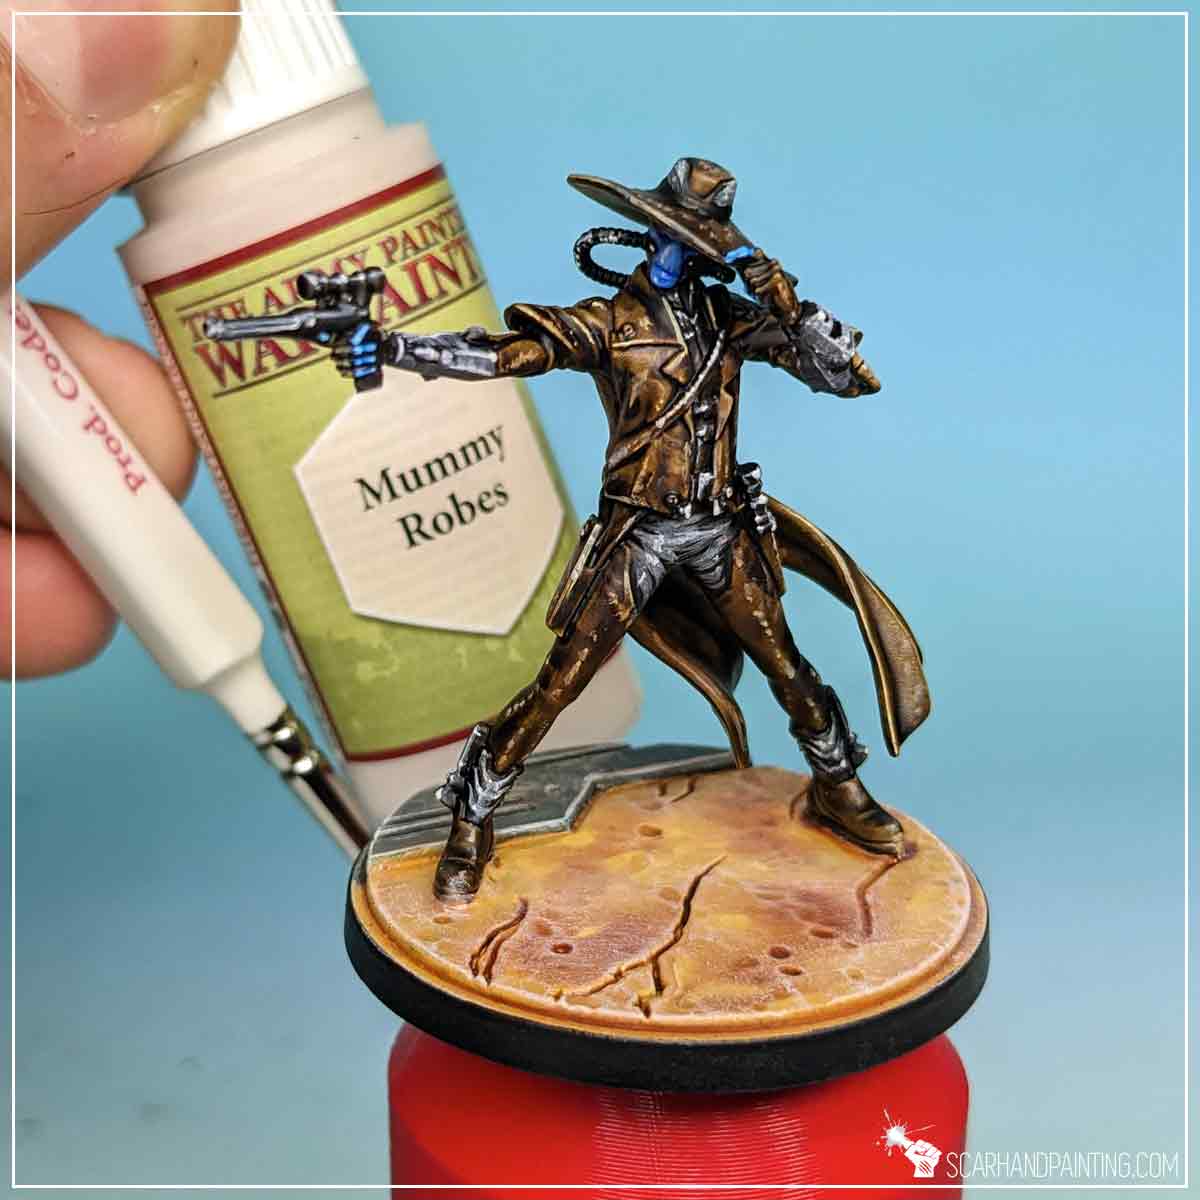
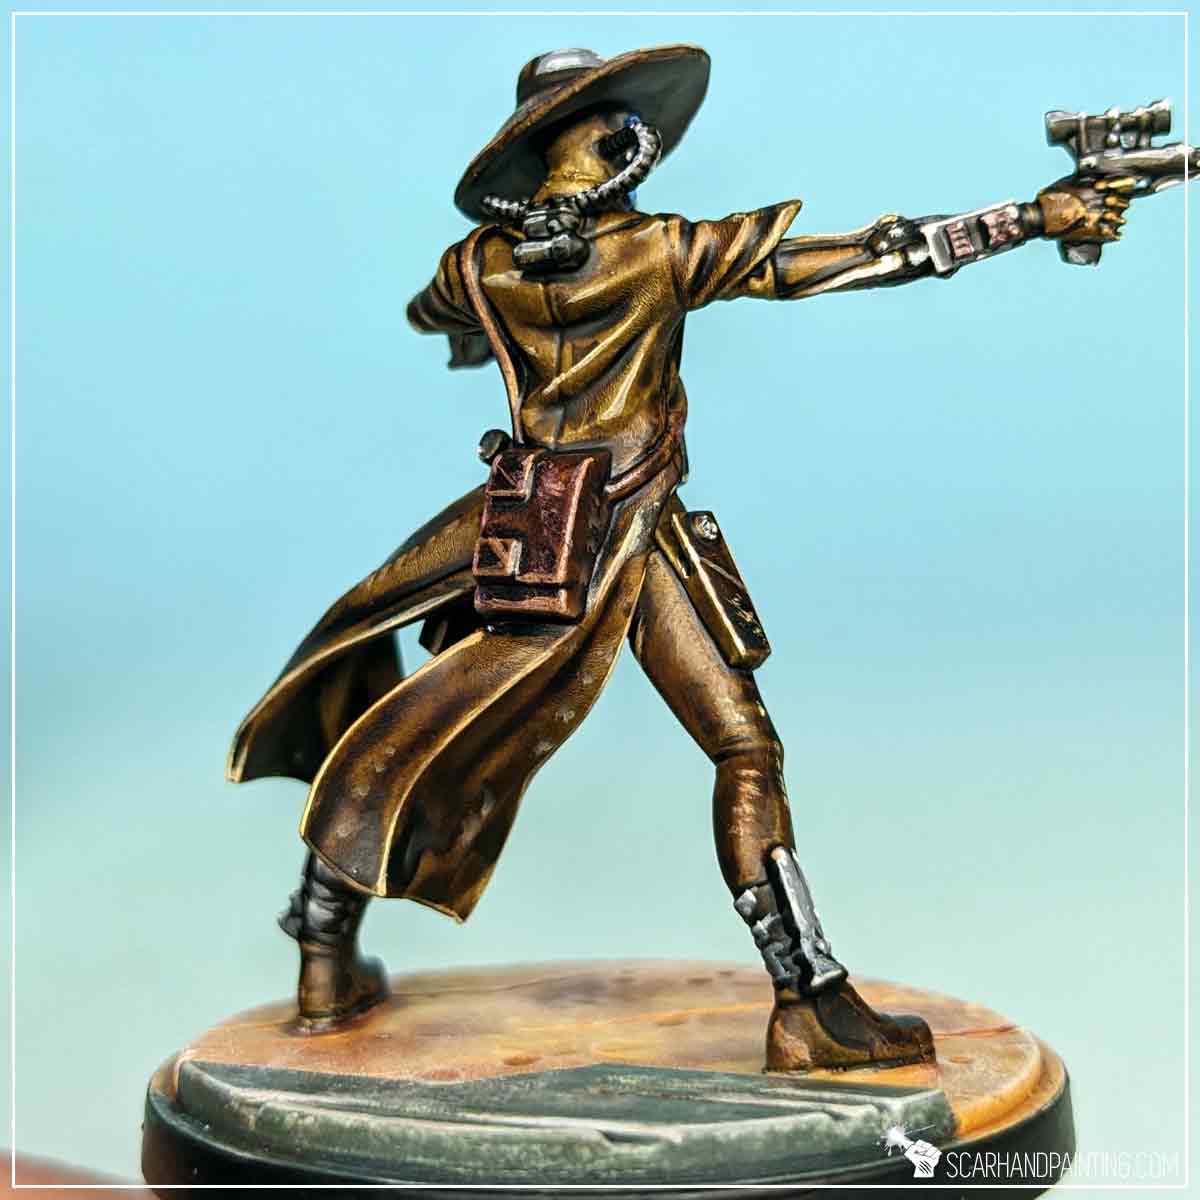
With Wargamer: Character Brush I applied thin lines and dots of Mummy Robes paint on the edges and in selected spots of weapons, breathing pipes, pants, armor and dark had elements. Dots of bright colors create focus points that result in more contrast within a particular color range.

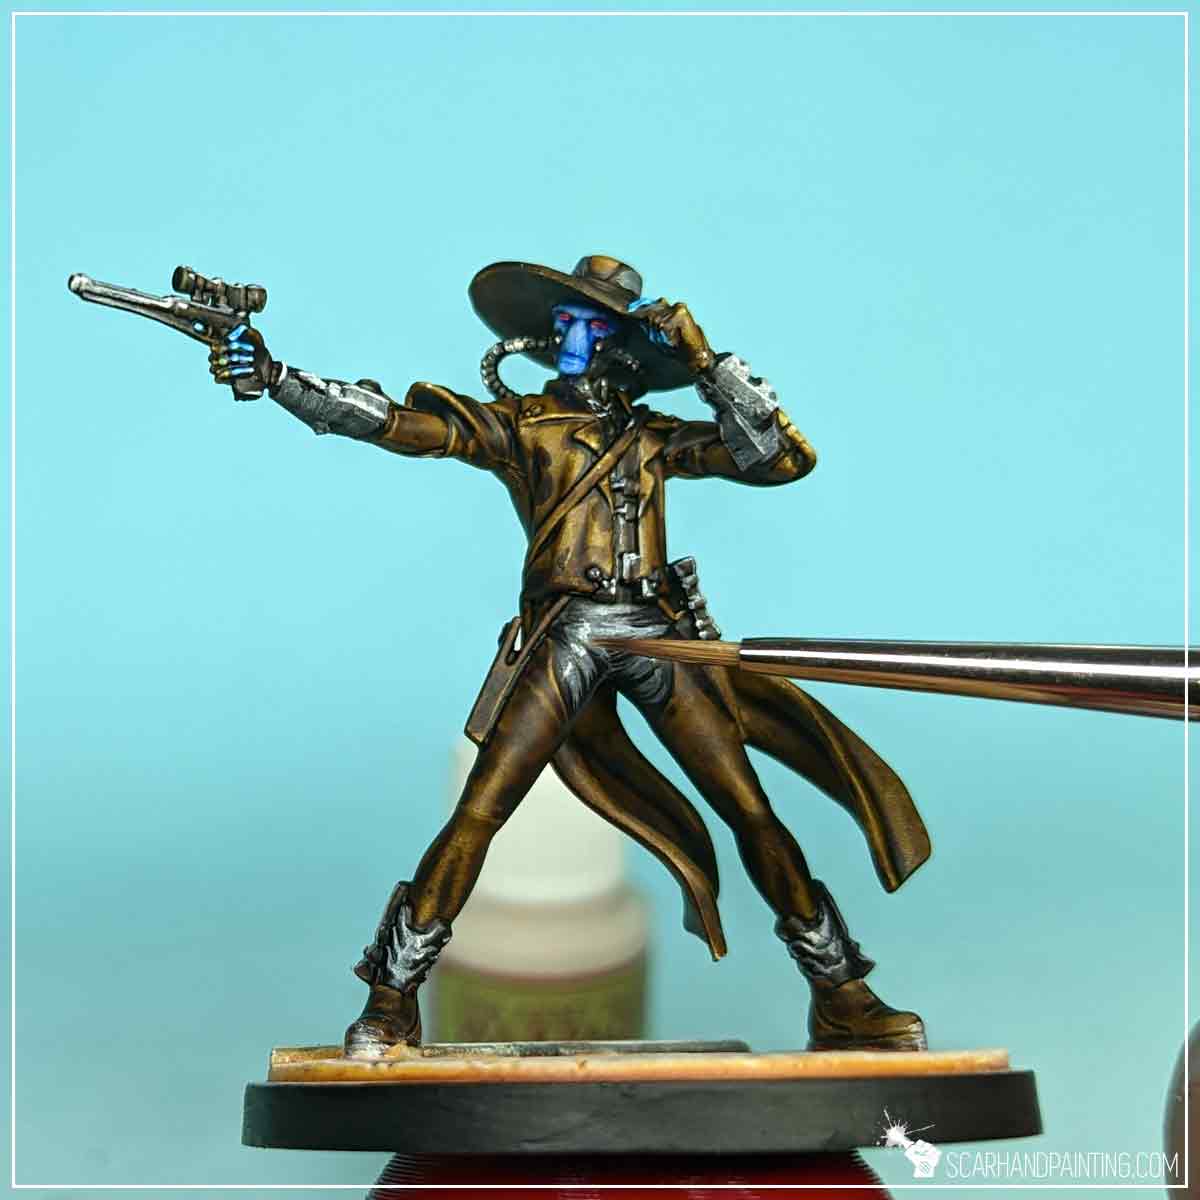
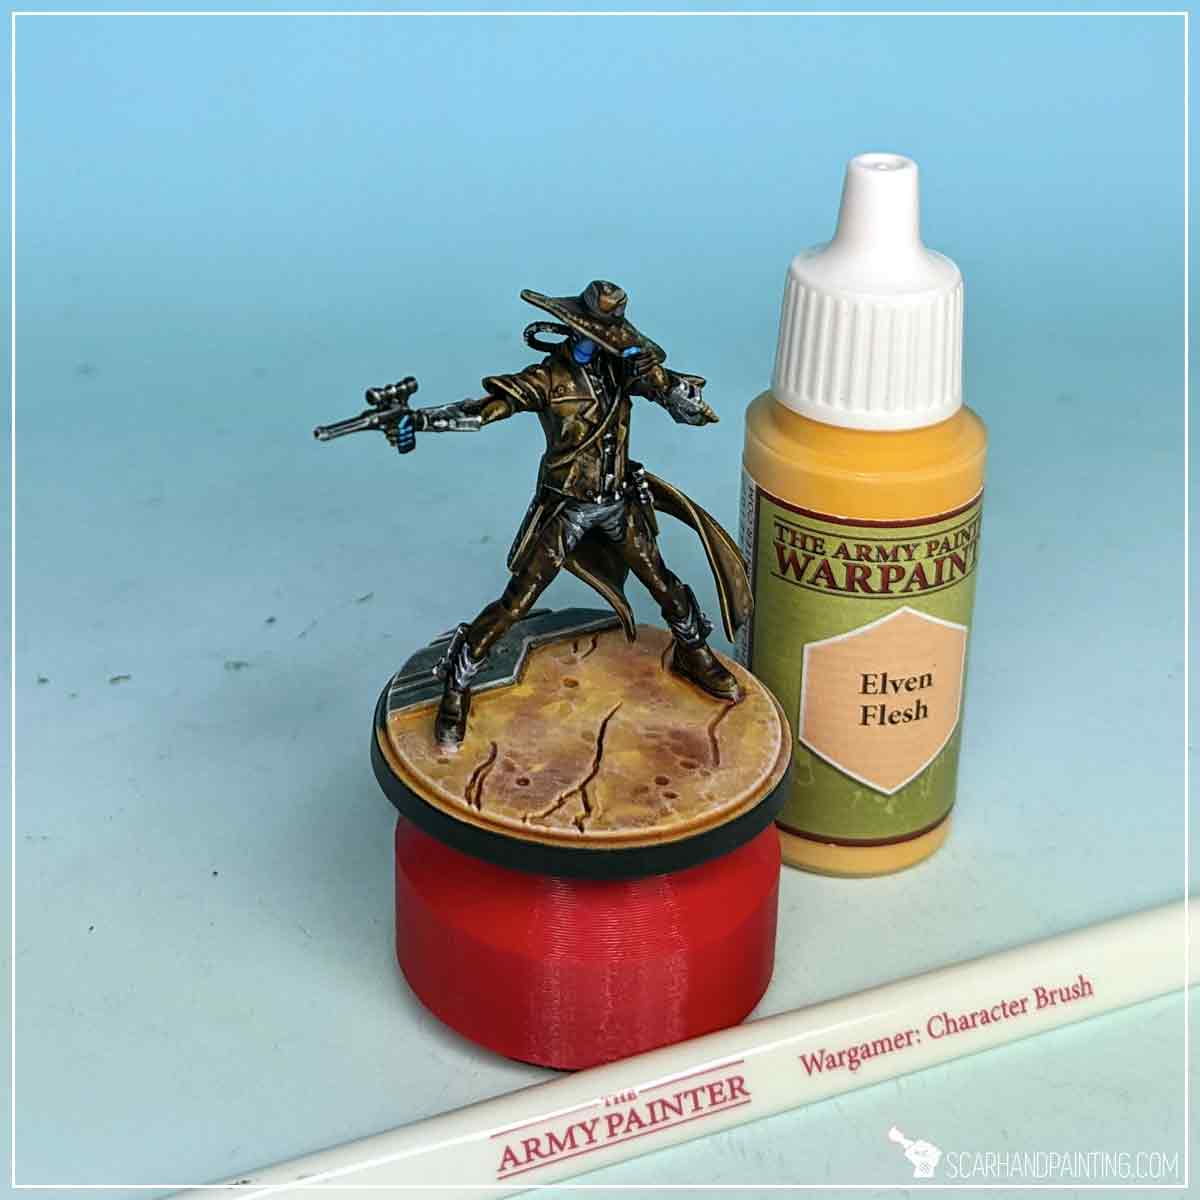
I then did the same for Browns, switching Mummy Robes for Elven Flesh which has a warmer feel to it, thus is more compatible with brow. For large, flat areas I applied small smudges and scratches of Elven Flesh with a tip of the brush, creating an interesting texture.
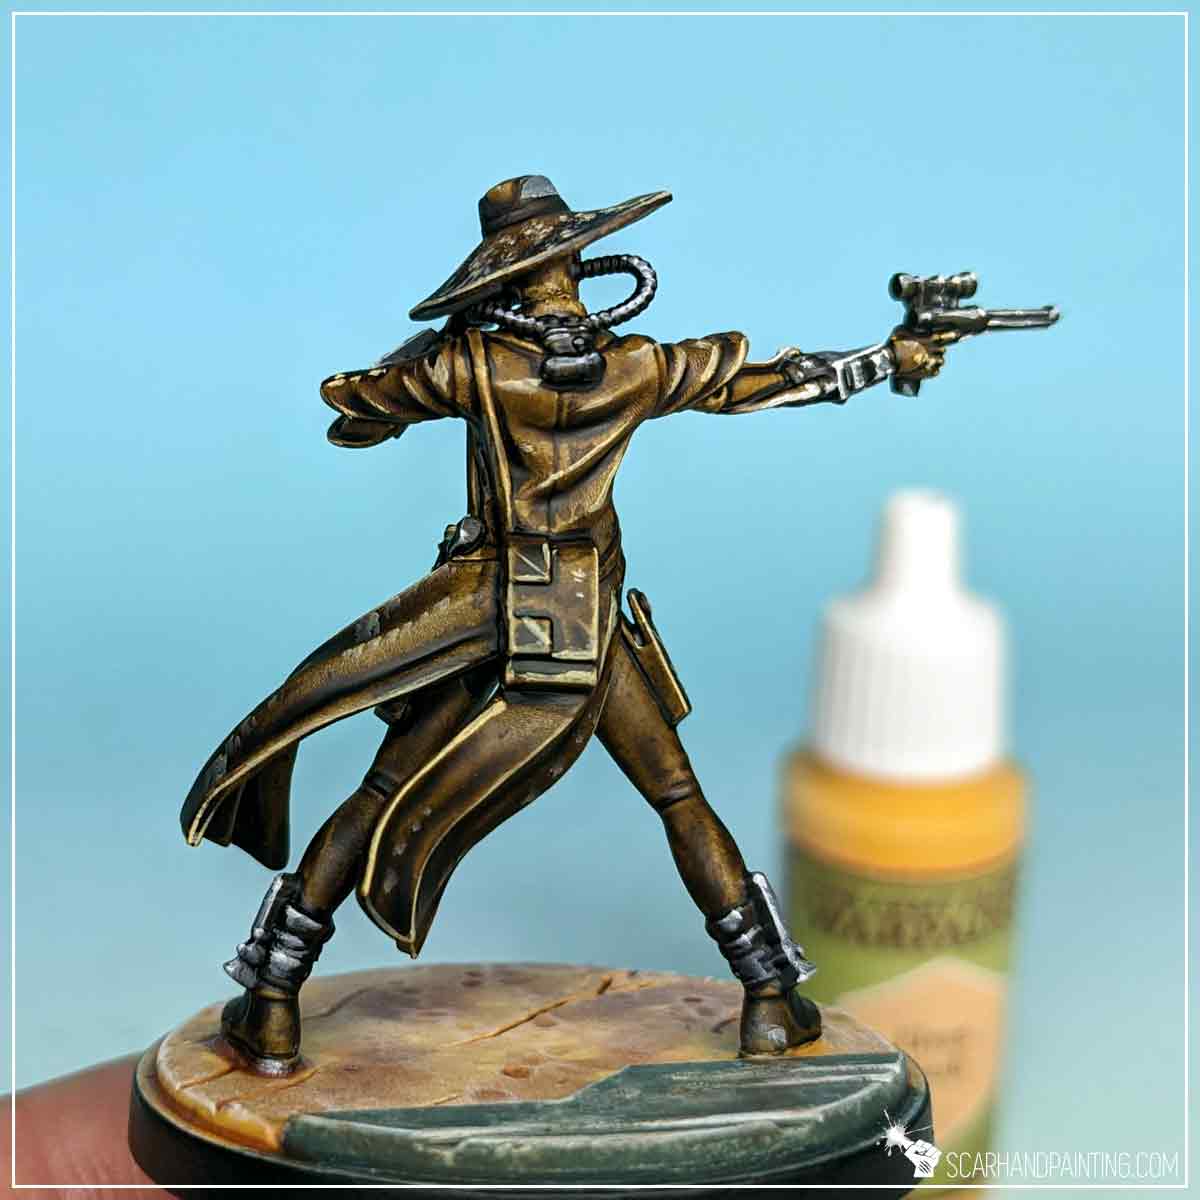
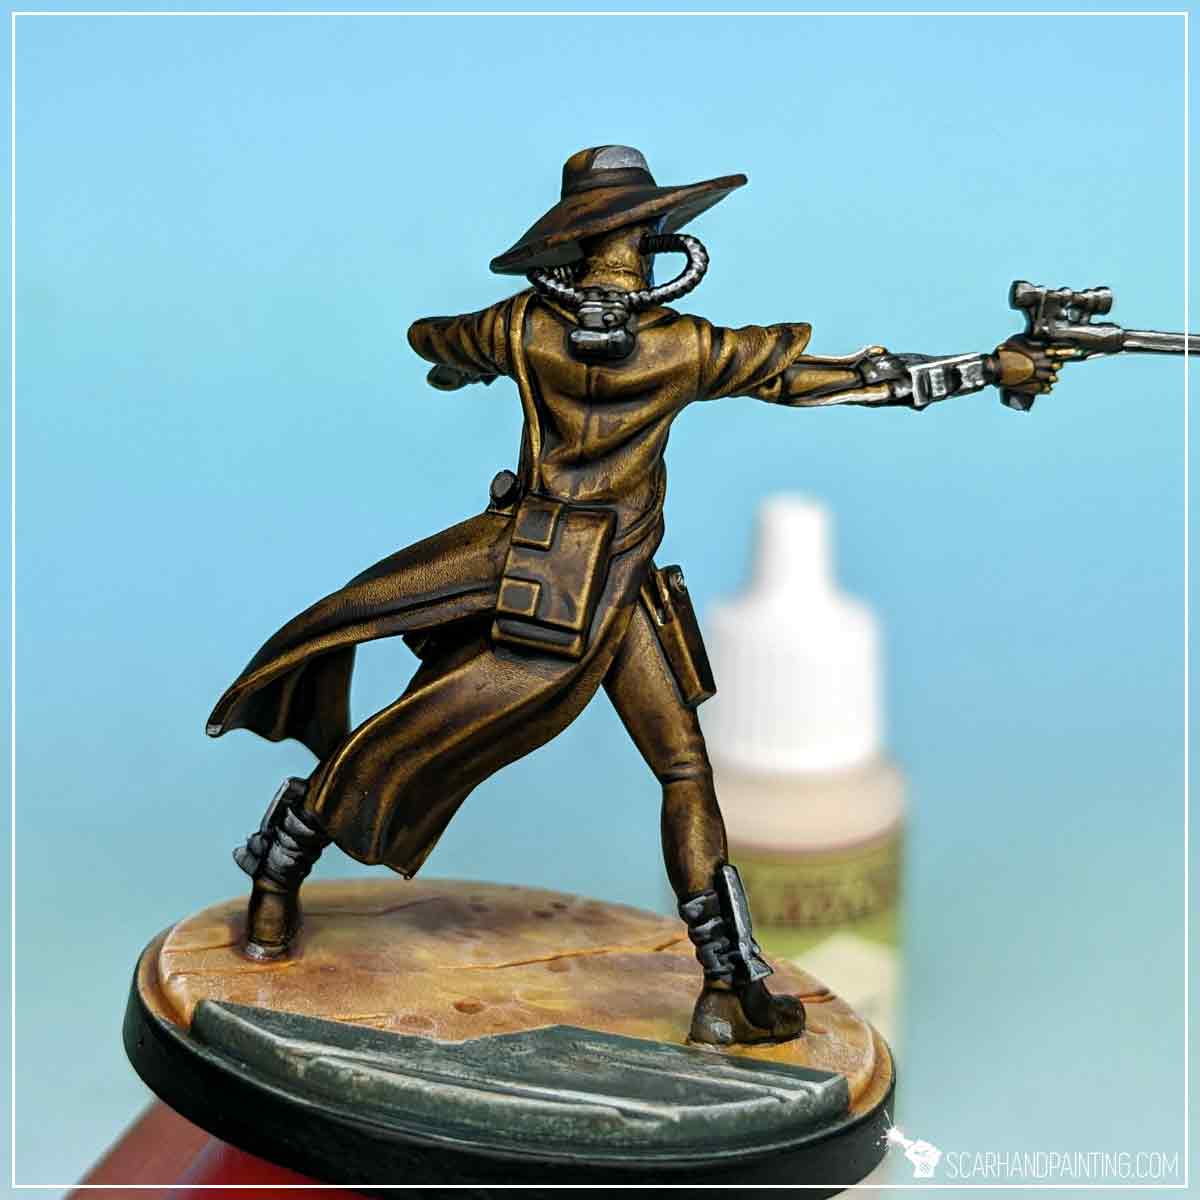
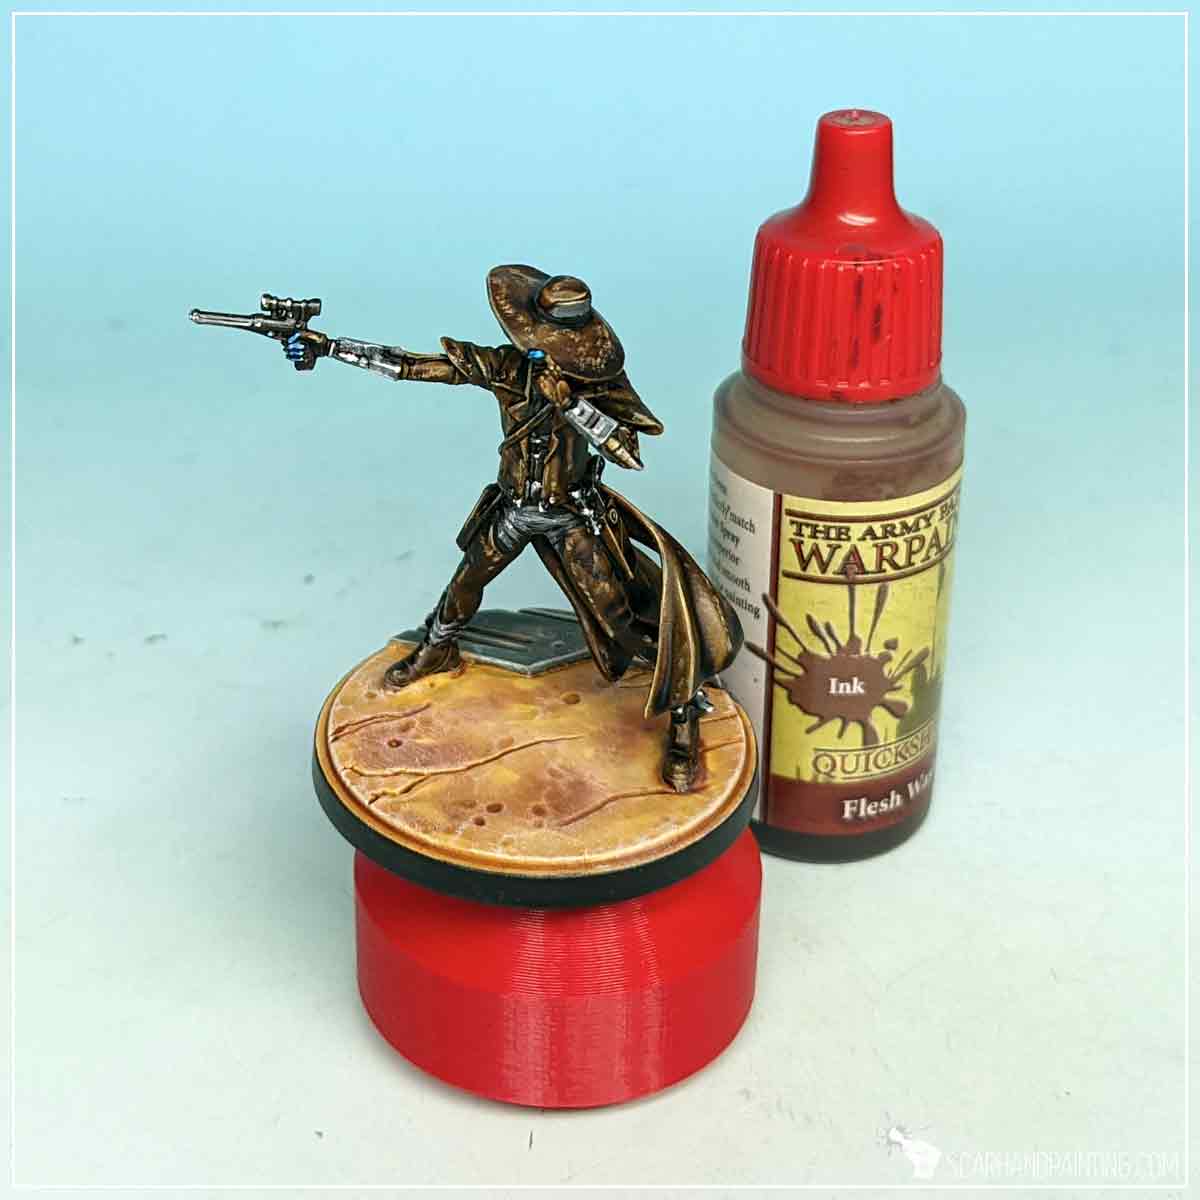
Next I applied a ‘filter’ of Flesh Wash all over browns, that toned down (and ‘browned down’) the excessive highlights.
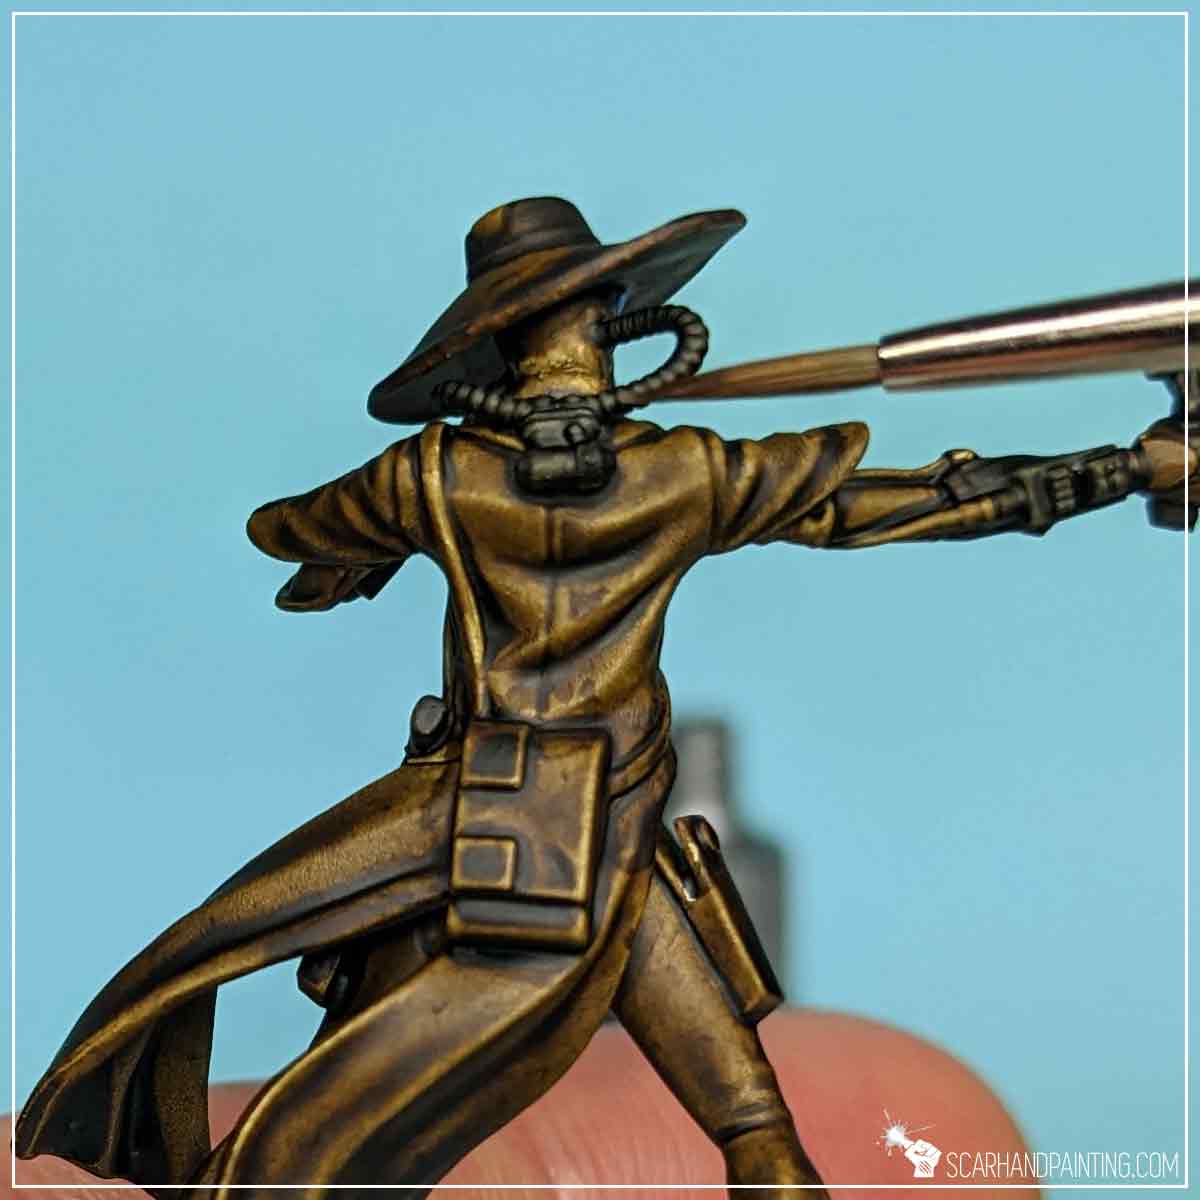
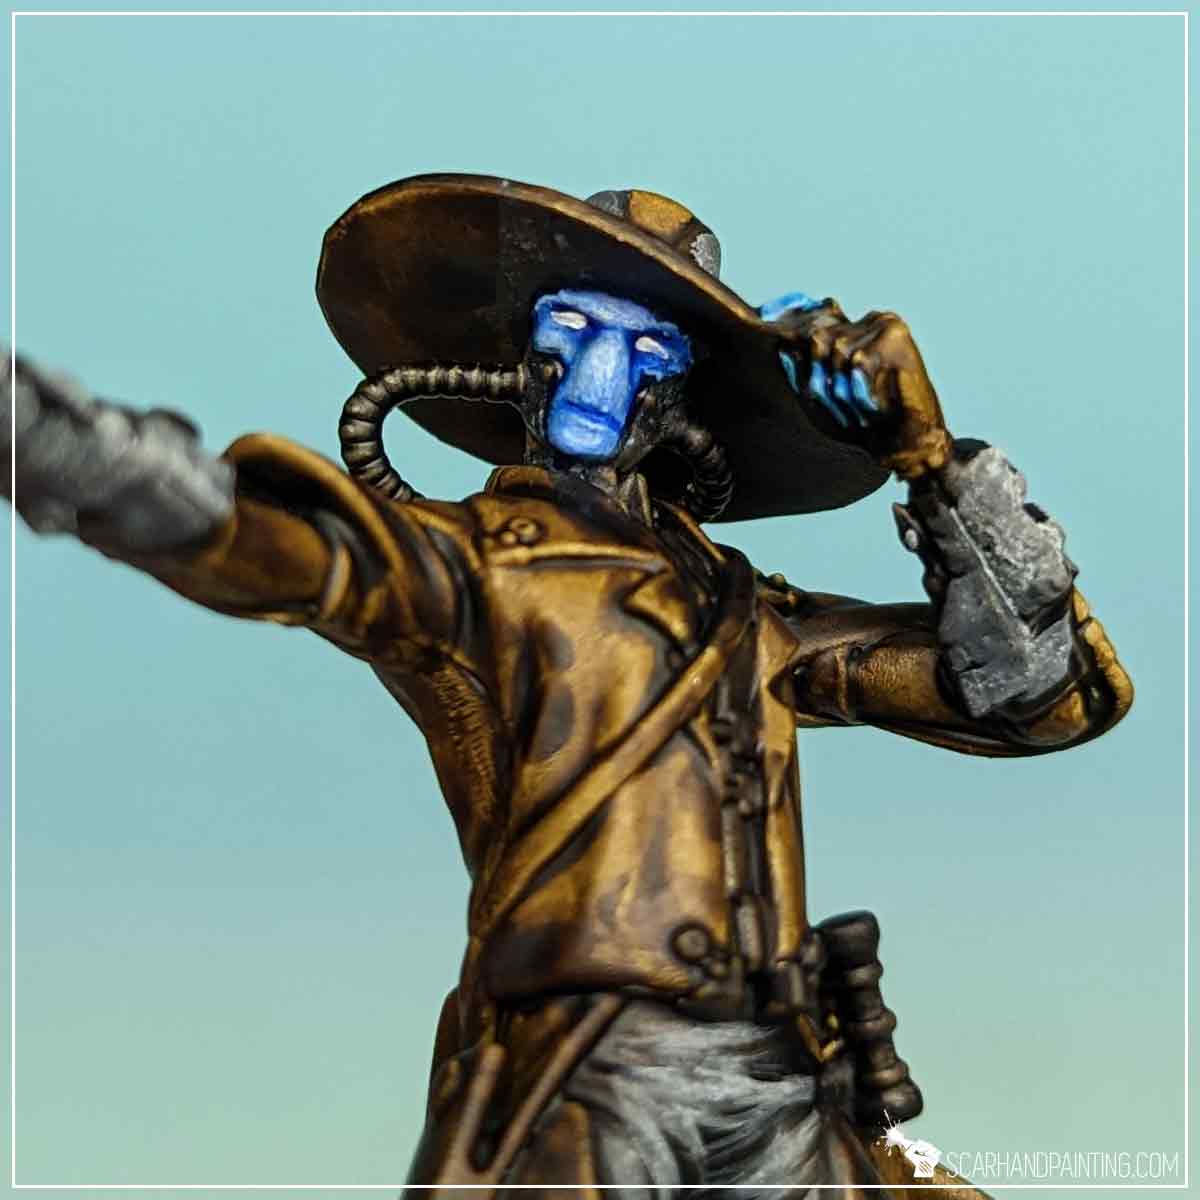
Following the box art I’ve decided to diversify browns a bit, by first applying lines and scratches of Mummy Robes on the edges alongside the satchel, gun holsters and the top of the boots. I used the opportunity to apply a few small dots of Mummy Robes to the face of the miniature as well, adding a nice highlight.
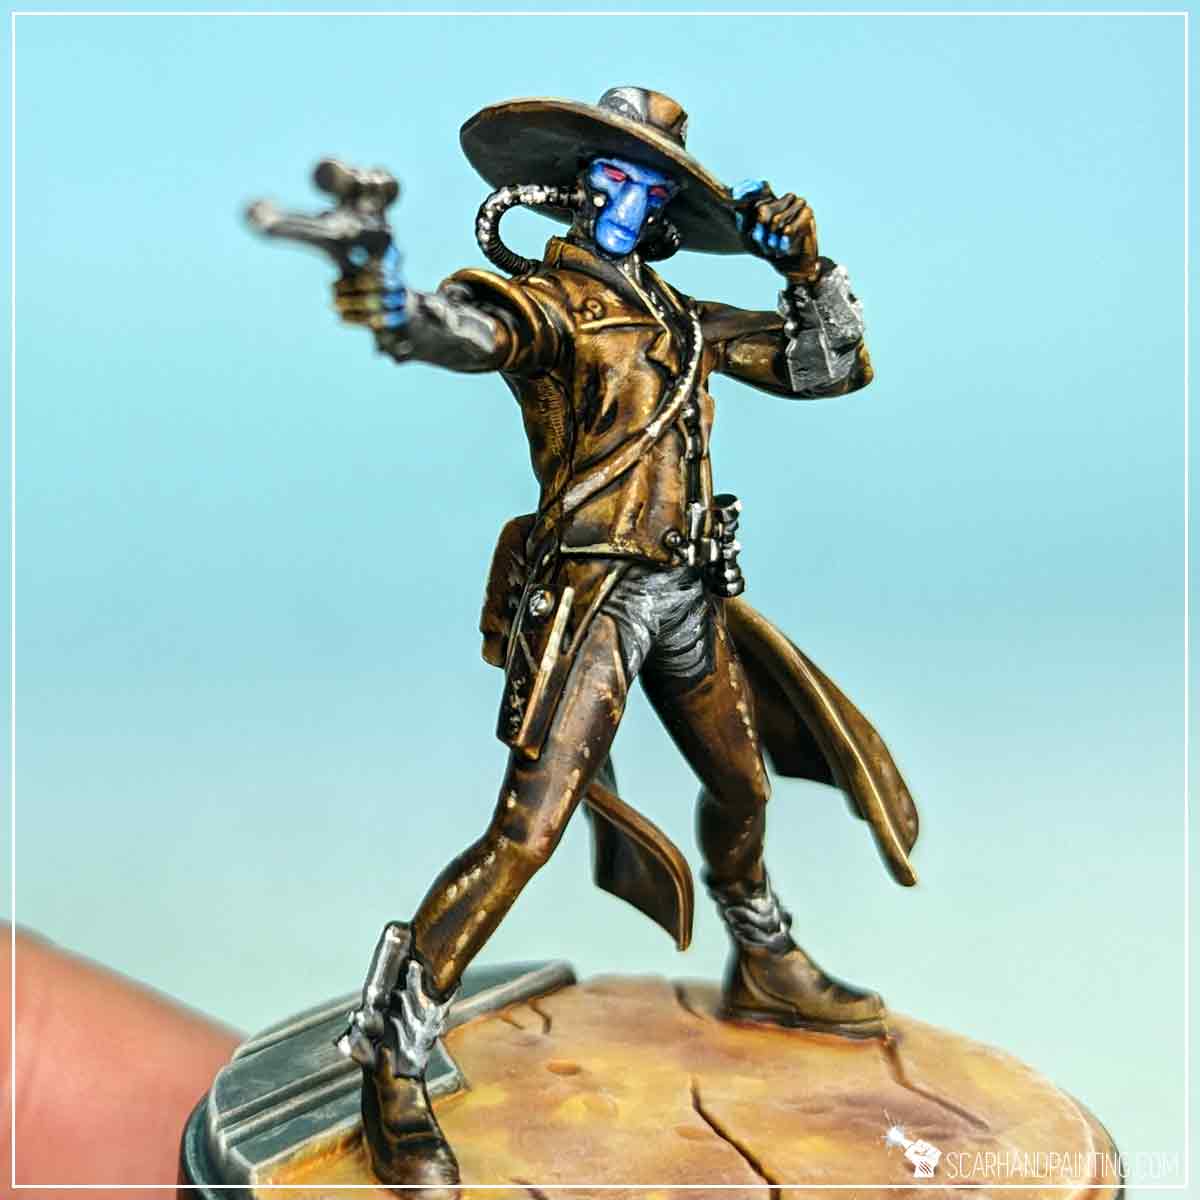
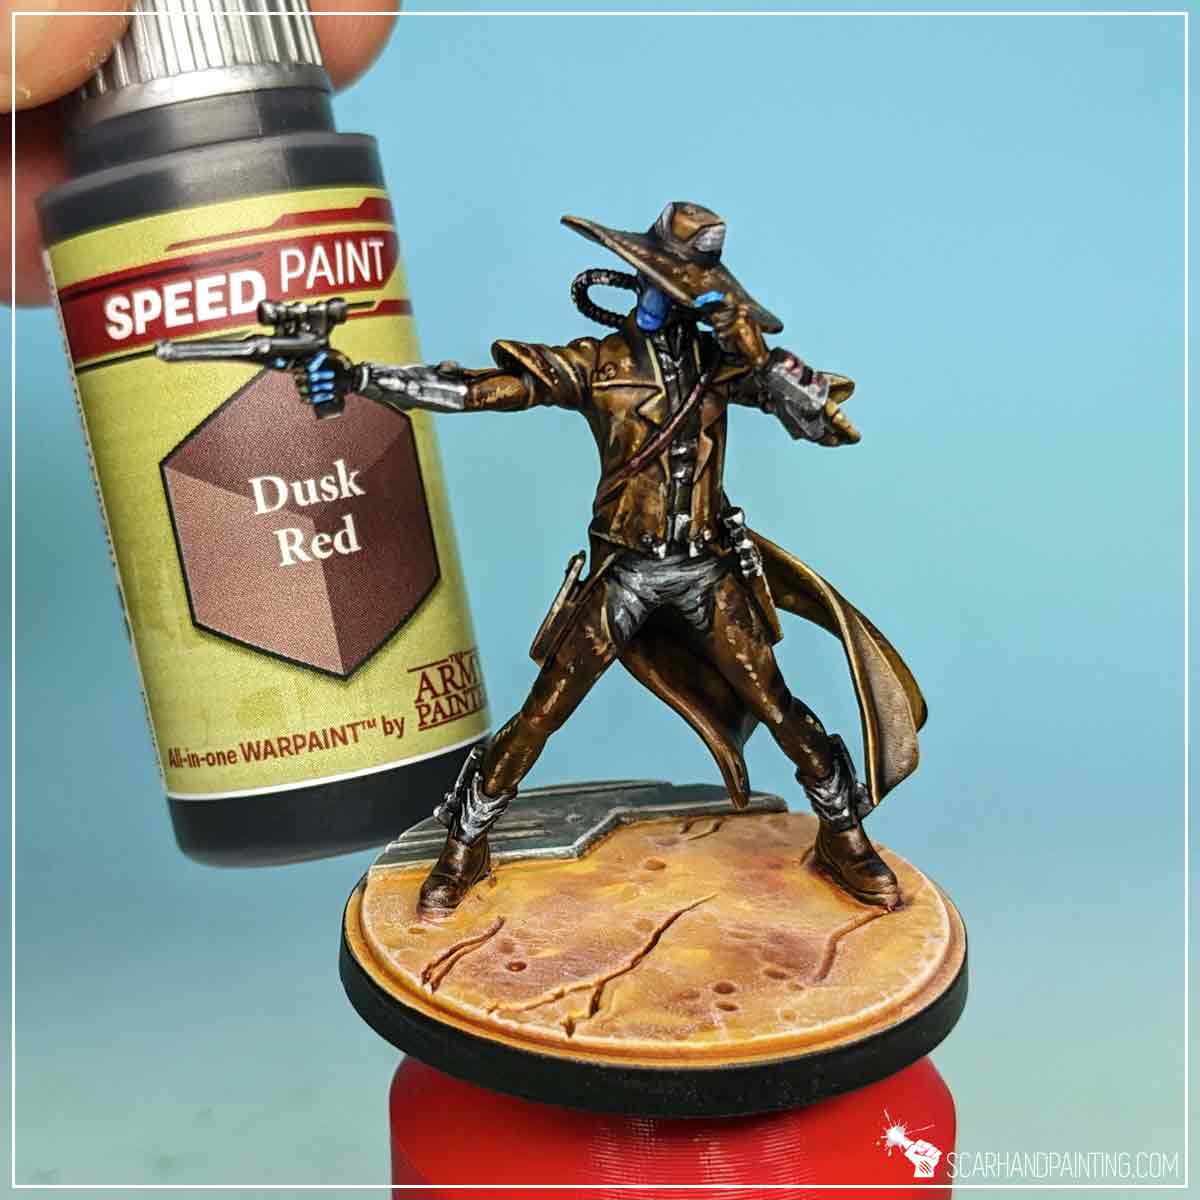
I then applied a ‘filter’ of slightly thinned down Rusk Red Speedpaint to the satchel, boots and holsters, adding a nice red’ish feel to them.
Finally I Varnished the miniature the same way as presented in the Tutorial: Painting Star Wars Shatterpoint Clone Troopers article.
I hope you find this tutorial interesting. Be sure to let me know your thoughts in the comments below or via Facebook or Instagram. I would also appreciate it if you considered sharing this content with your friends, who might find it useful. Many thanks to Rebel.pl for sponsoring this content. Stay tuned for more Star Wars: Shatterpoint tutorials.