- contact@scarhandpainting.com


Welcome to Painting Star Wars: Shatterpoint Super Commandos tutorial. Here I will present to you a Step-by-step of a basic painting process for Mandalorian Super Commandos and a few extras.
Before we start, some notes:
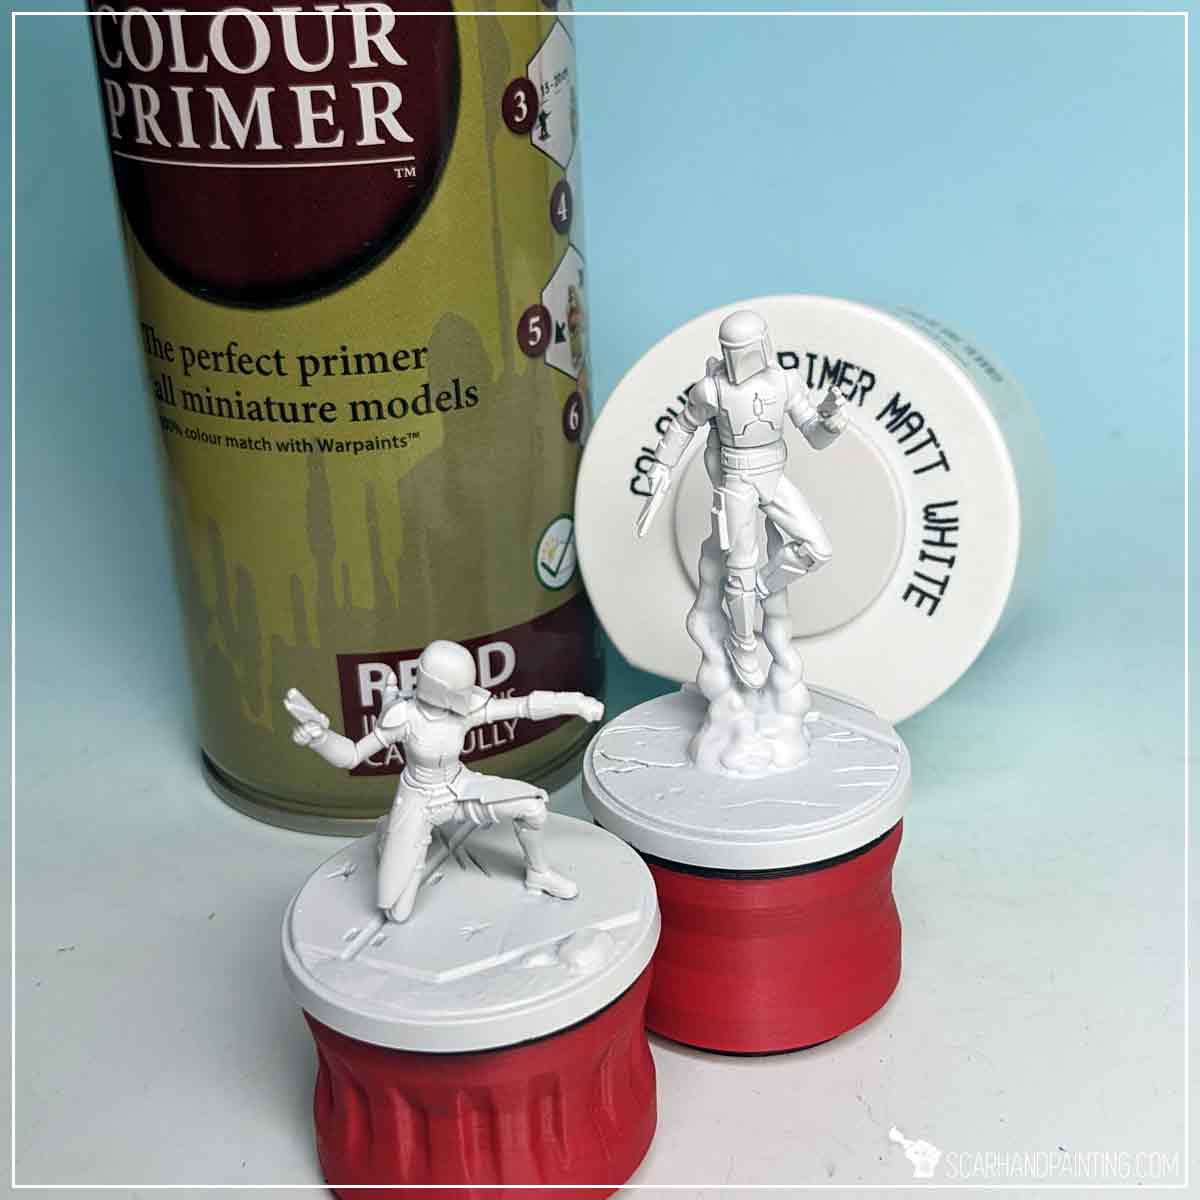
Both Mandalorian Super Commandos were prepared in the same way as previous Shatterpoint miniatures. Visit Tutorial: Painting Star Wars Shatterpoint Clone Troopers article for a detailed step-by-step guide.
I mounted the miniatures on a stick with a piece of Blu-Tack, then undercoated them with The Army Painter White Matt Primer.
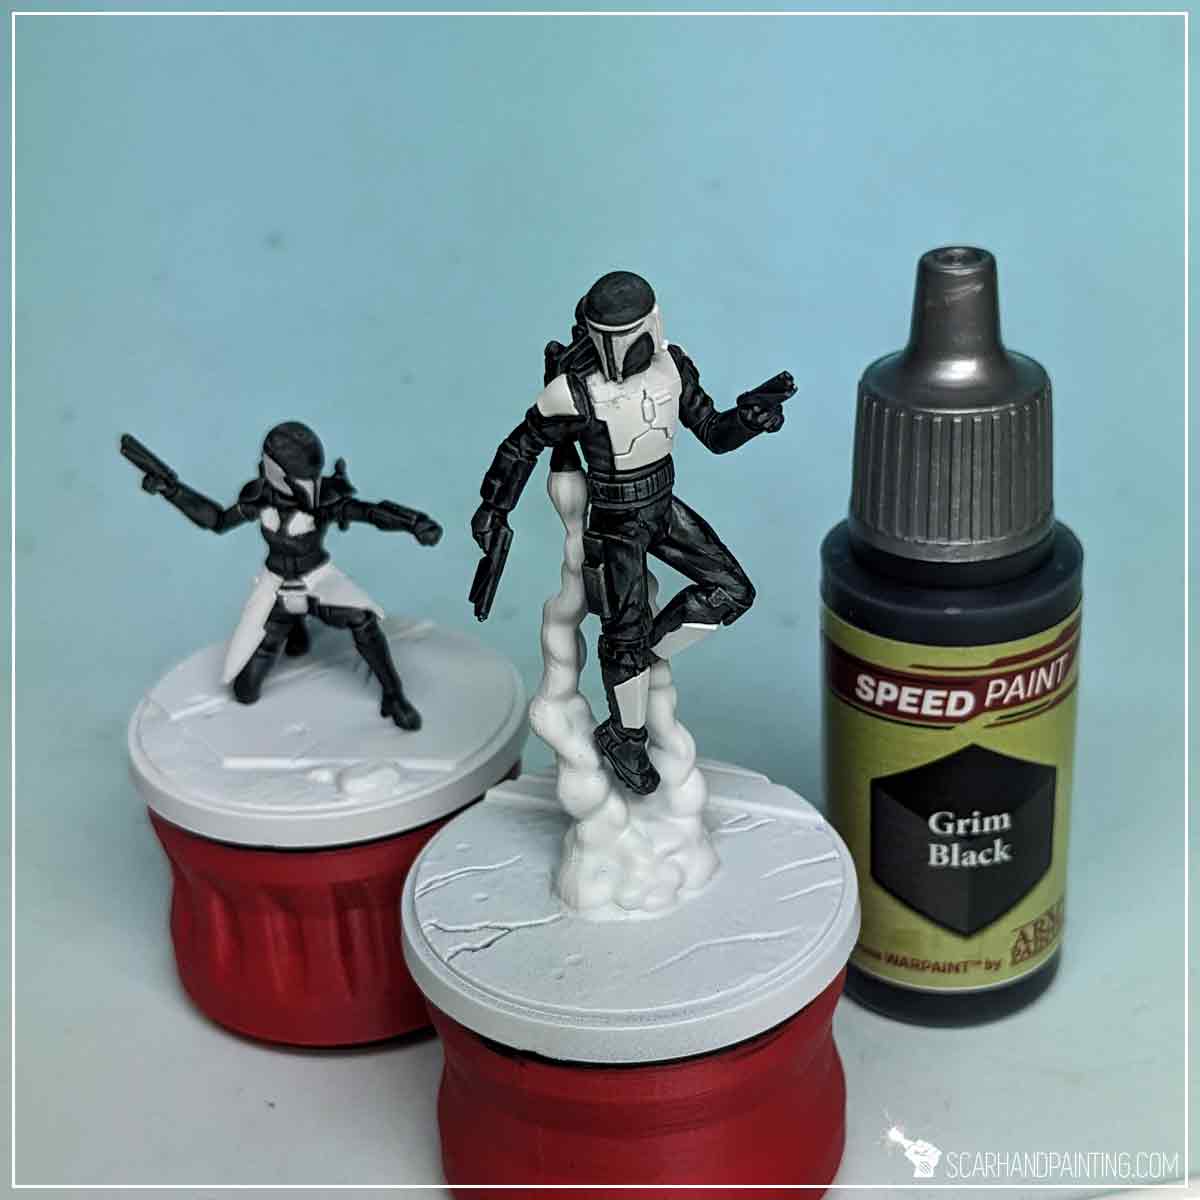
I started by applying Grim Black Speed Paint to most of the miniature, leaving out only a few selected armor elements and backpack exhaust fumes. My brushes of choice were Wargamer: Regiment Brush and Wargamer: Character Brush.
TIP: I then used a tip of a toothpick to softly scratch any mistakes of black paint getting where it wasn’t supposed to.
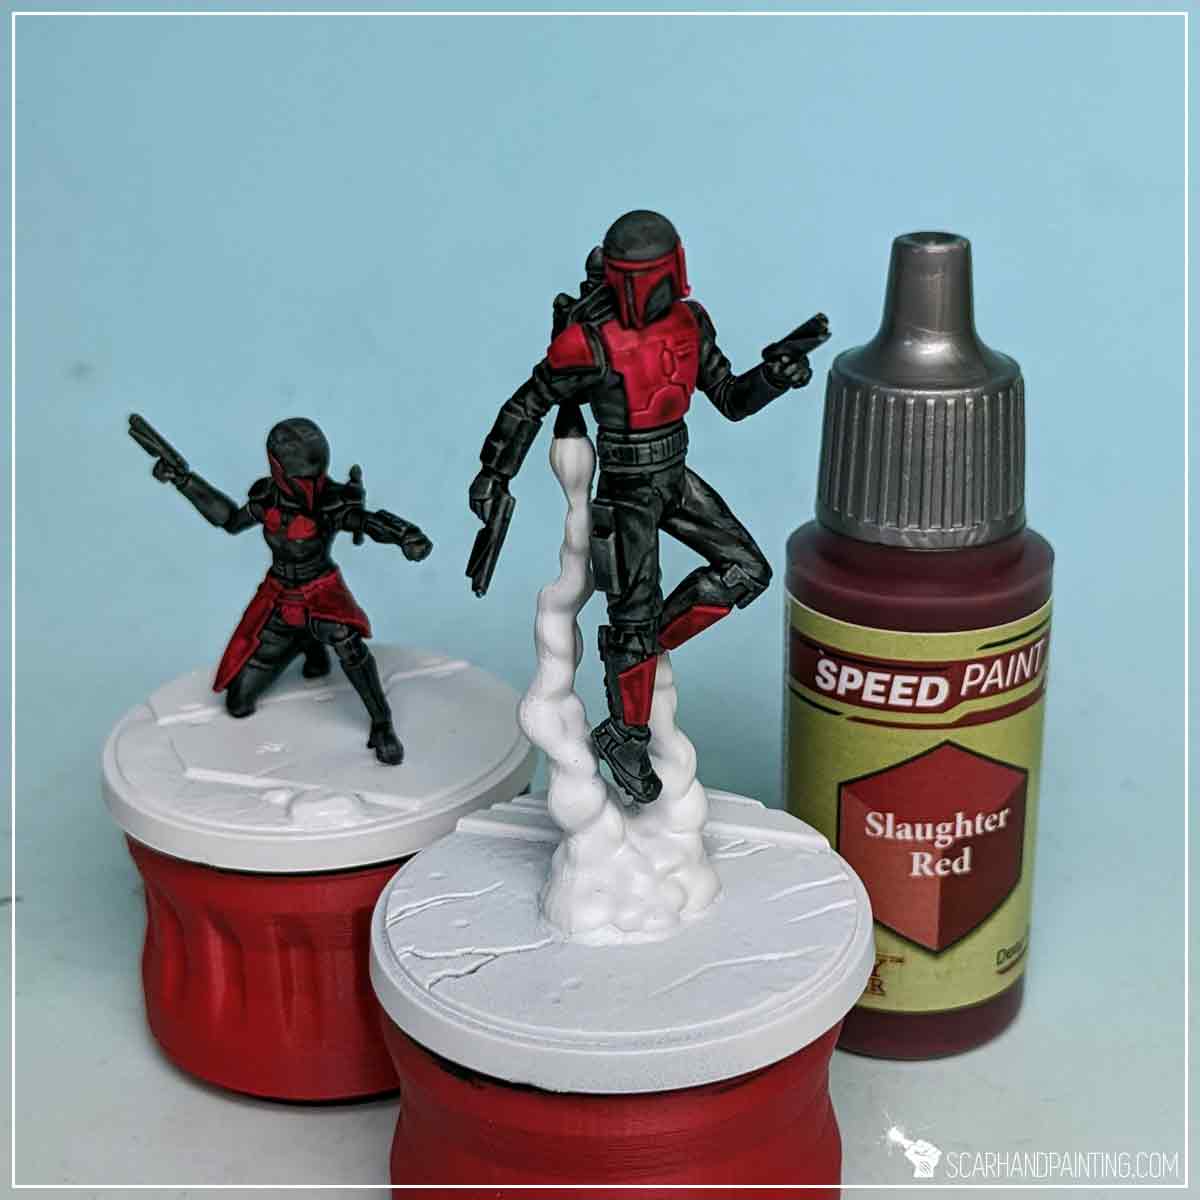
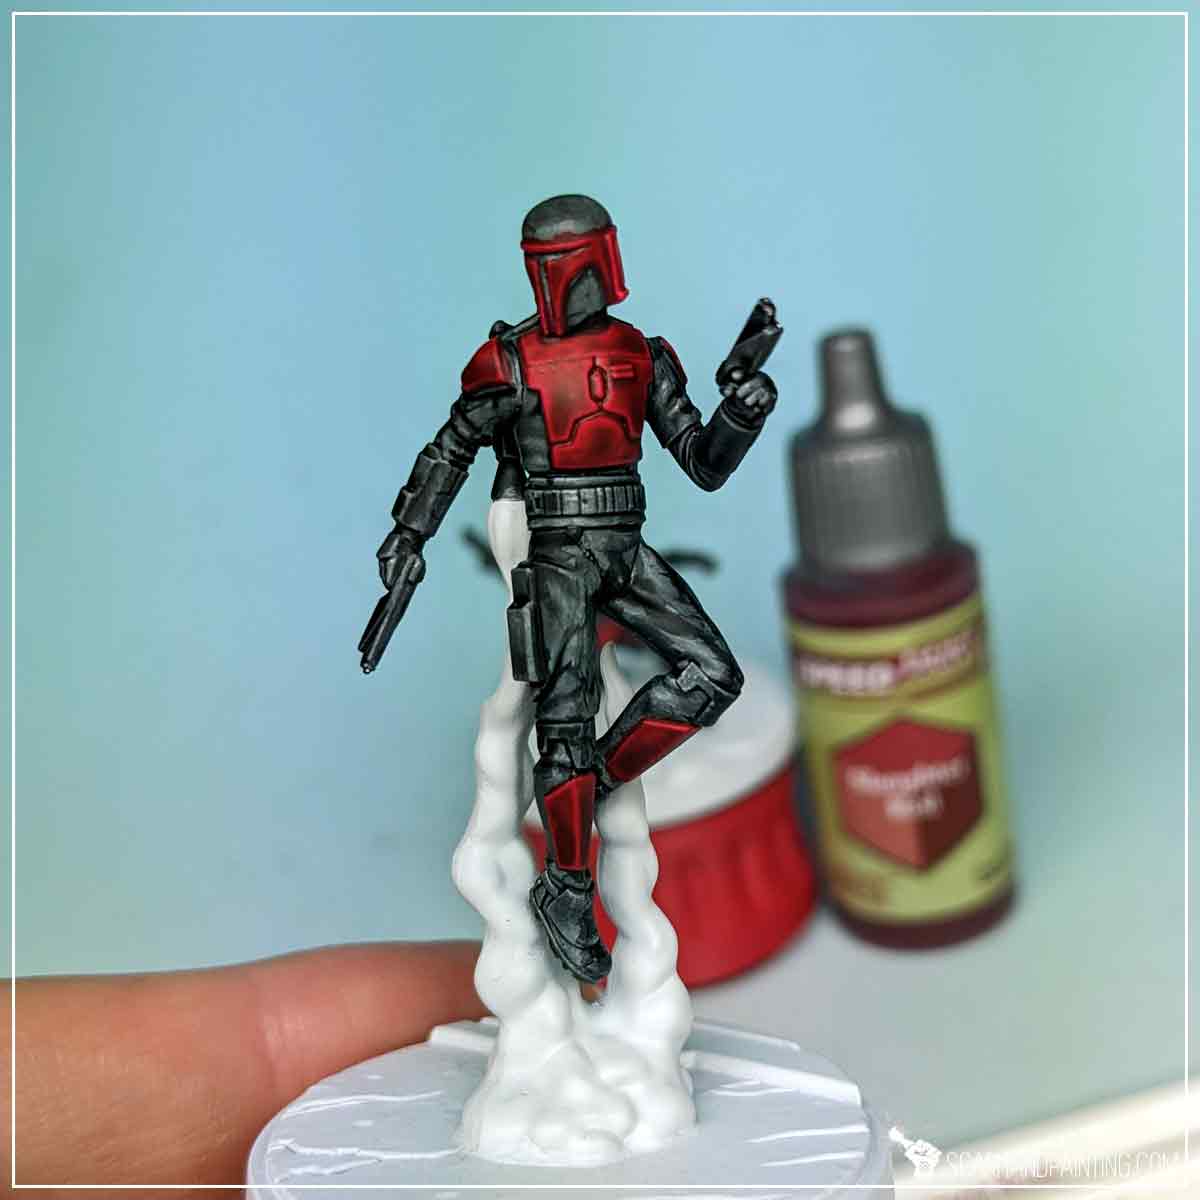
Next, using the same two brushes, I applied Slaughter Red Speed Paint onto white armor plates.
I then repeated the process, adding another layer of Slaughter Red to add warmth and deepen the red color.
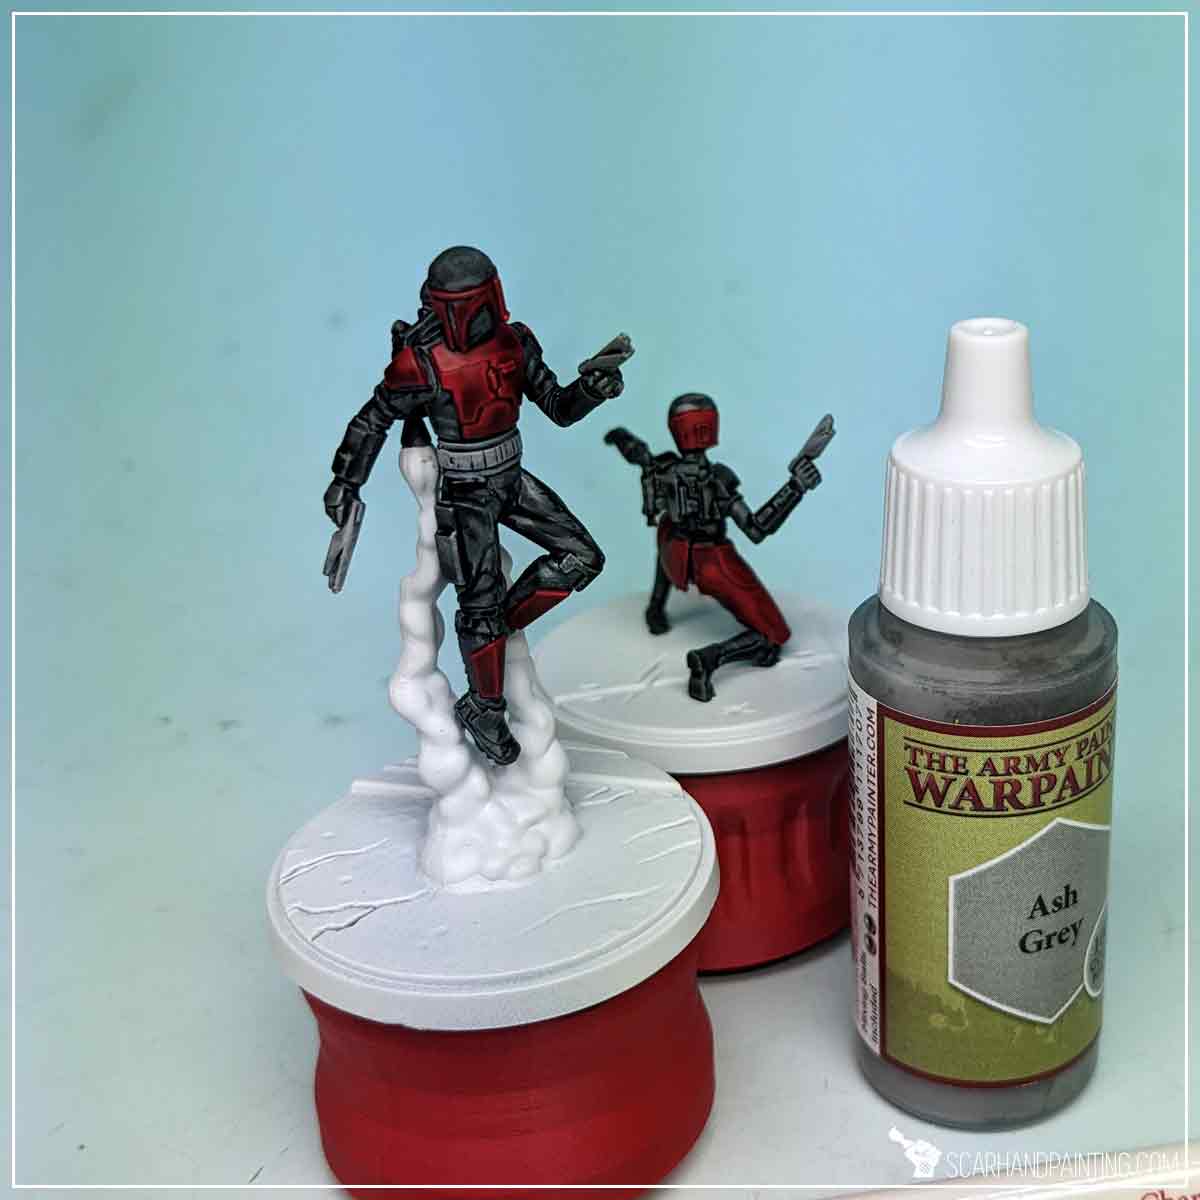
For Belts and Weapons I applied a layer of Ash Grey. I used the Wargamer: Character Brush and the Flatbrush technique to do this.
TIP: Flatbrushing is done by putting the tip of a brush in paint, then brushing the excess paint off onto a piece of paper or other smooth surface material, then brushing the remainder of the paint onto the chosen surface, in one direction and perpendicular to any edges. This technique works best with brushes equipped with a long “head” or synthetic brushes with a long “belly” part. You can learn more about the technique HERE.
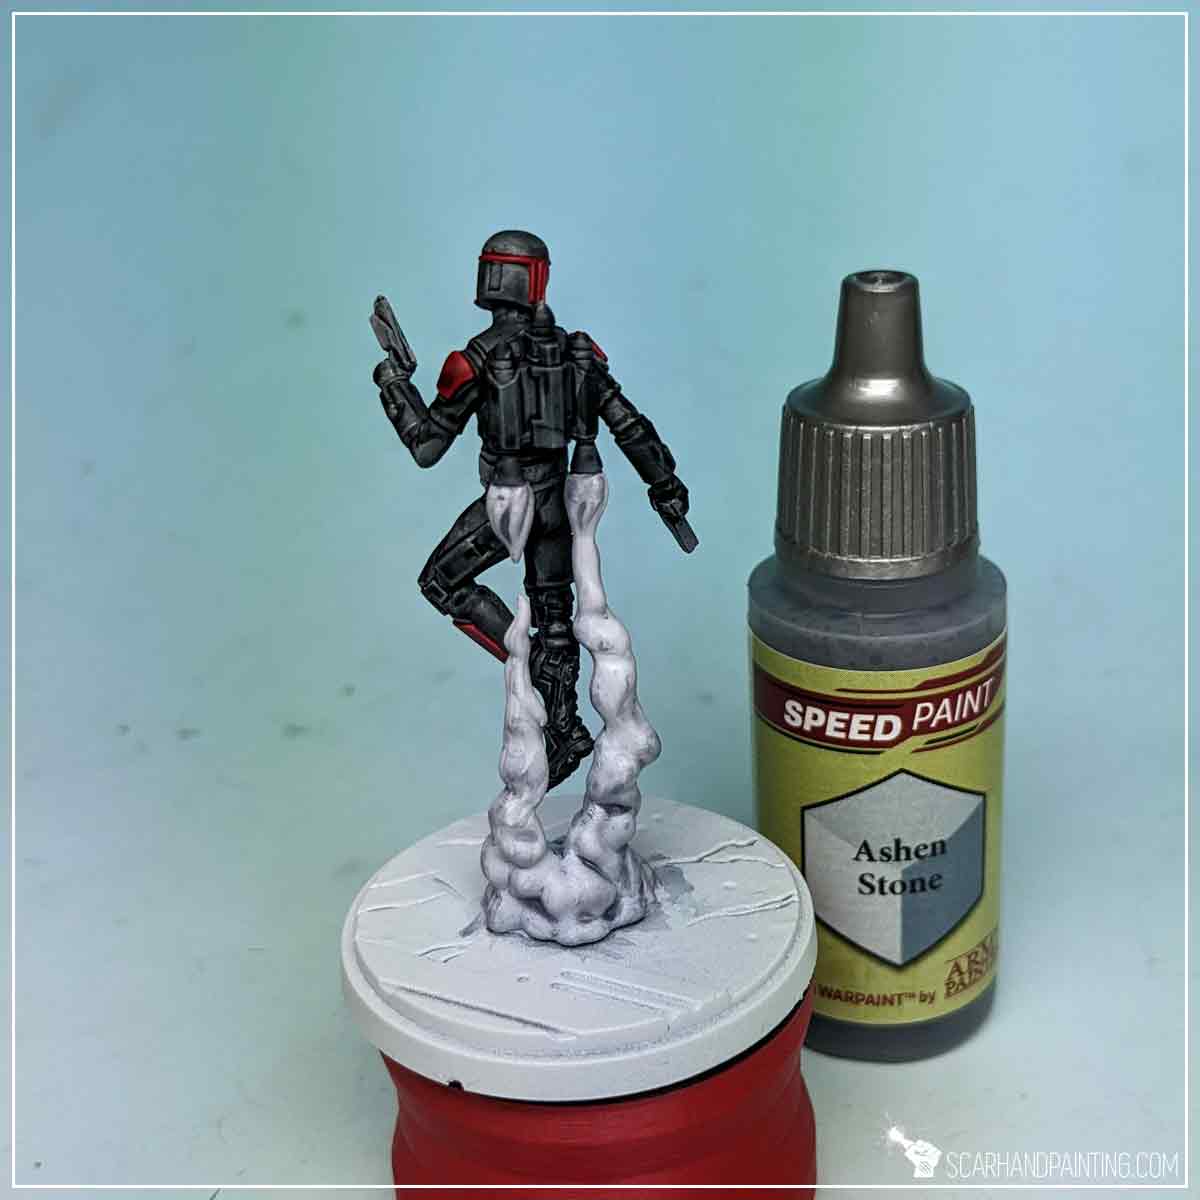
Focusing on easy methodology I built a volume of smoke like color by thinning Ashen Stone Speed Paint with water, and covering the entire surface with the resulting mix.
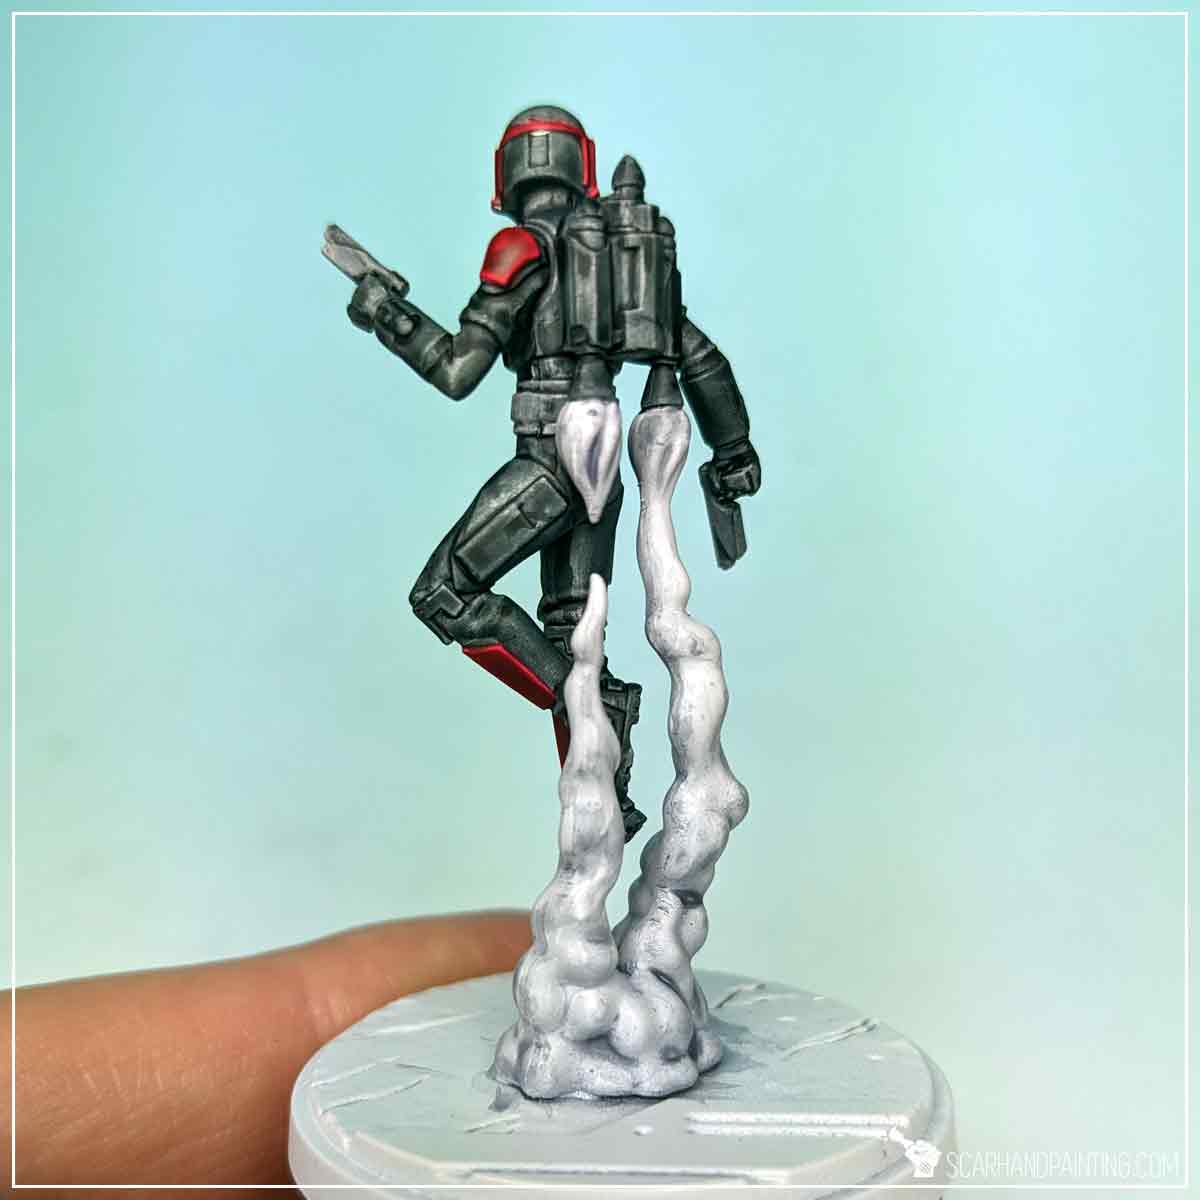
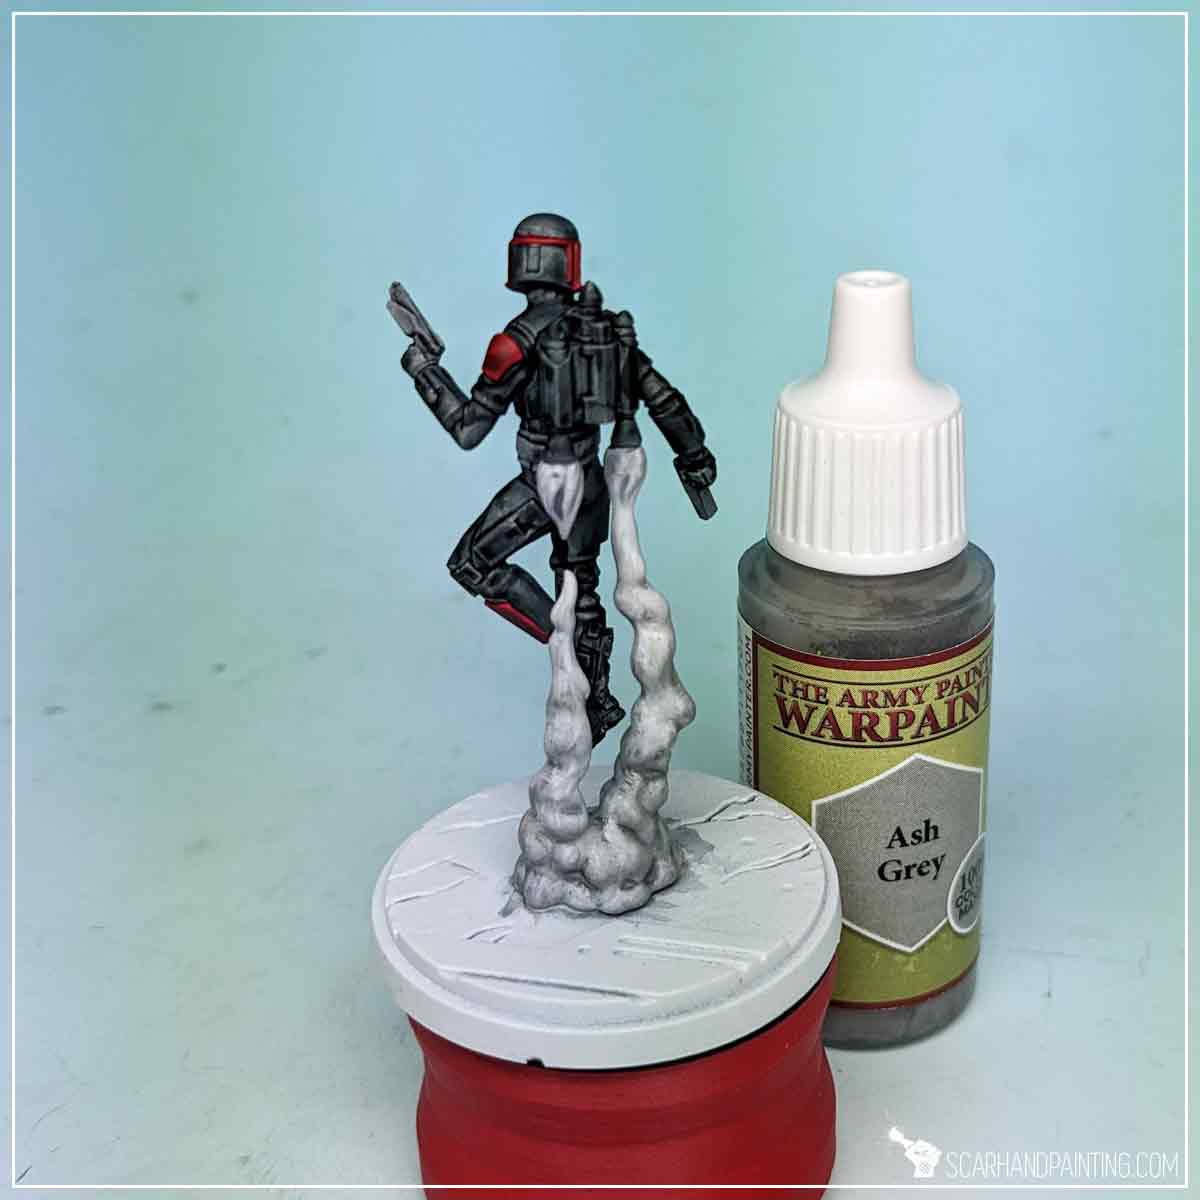
I then applied another mix. This time I used water to thin down Ash Grey in a 1:1 ratio.
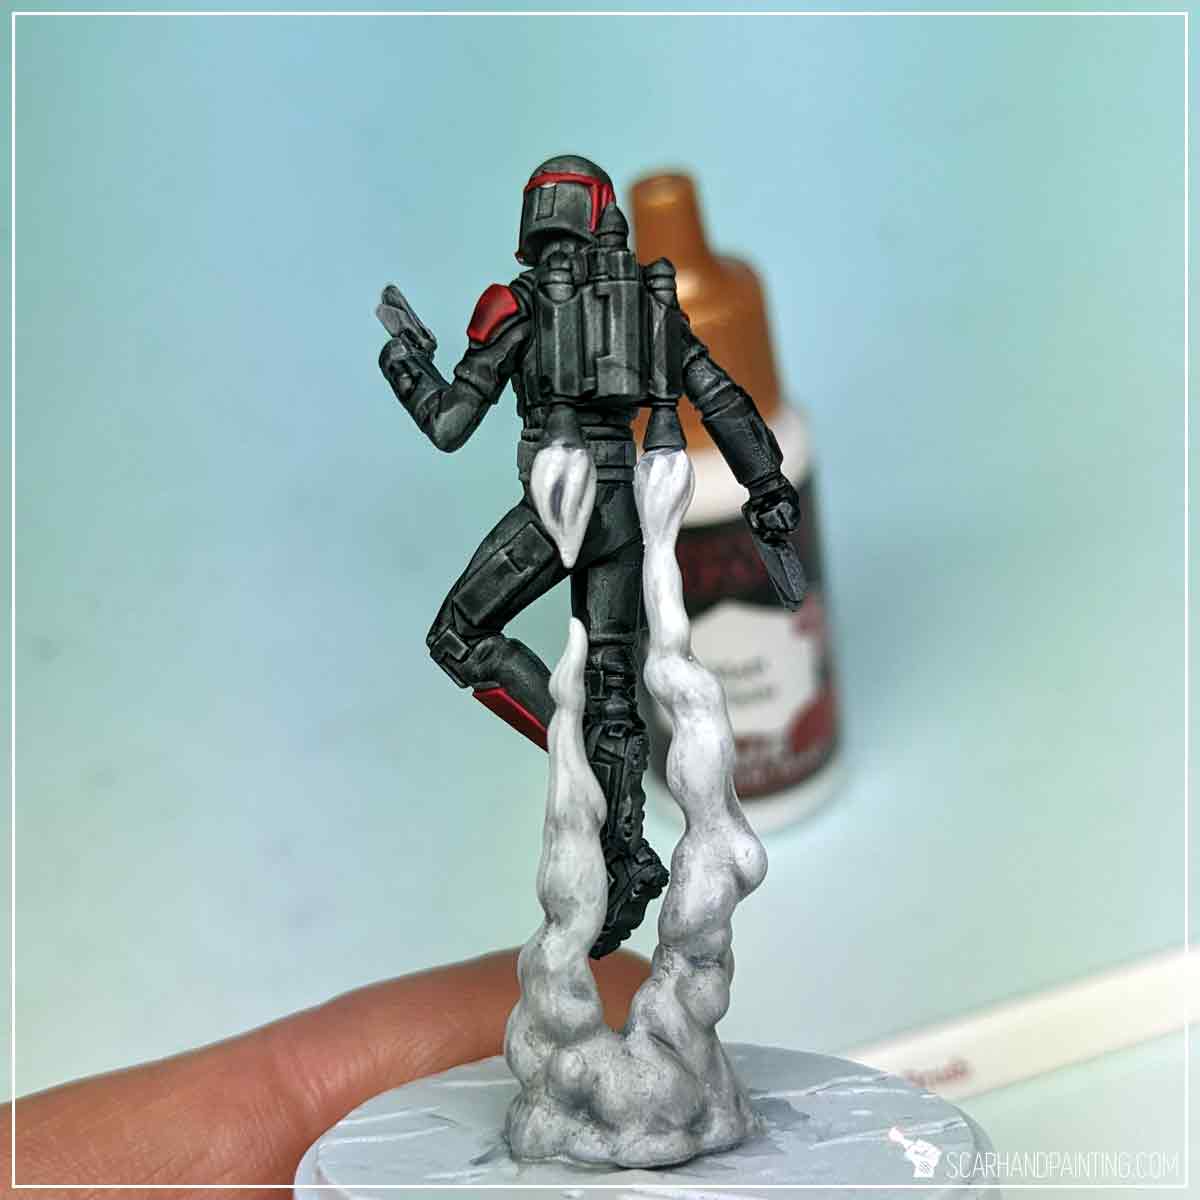
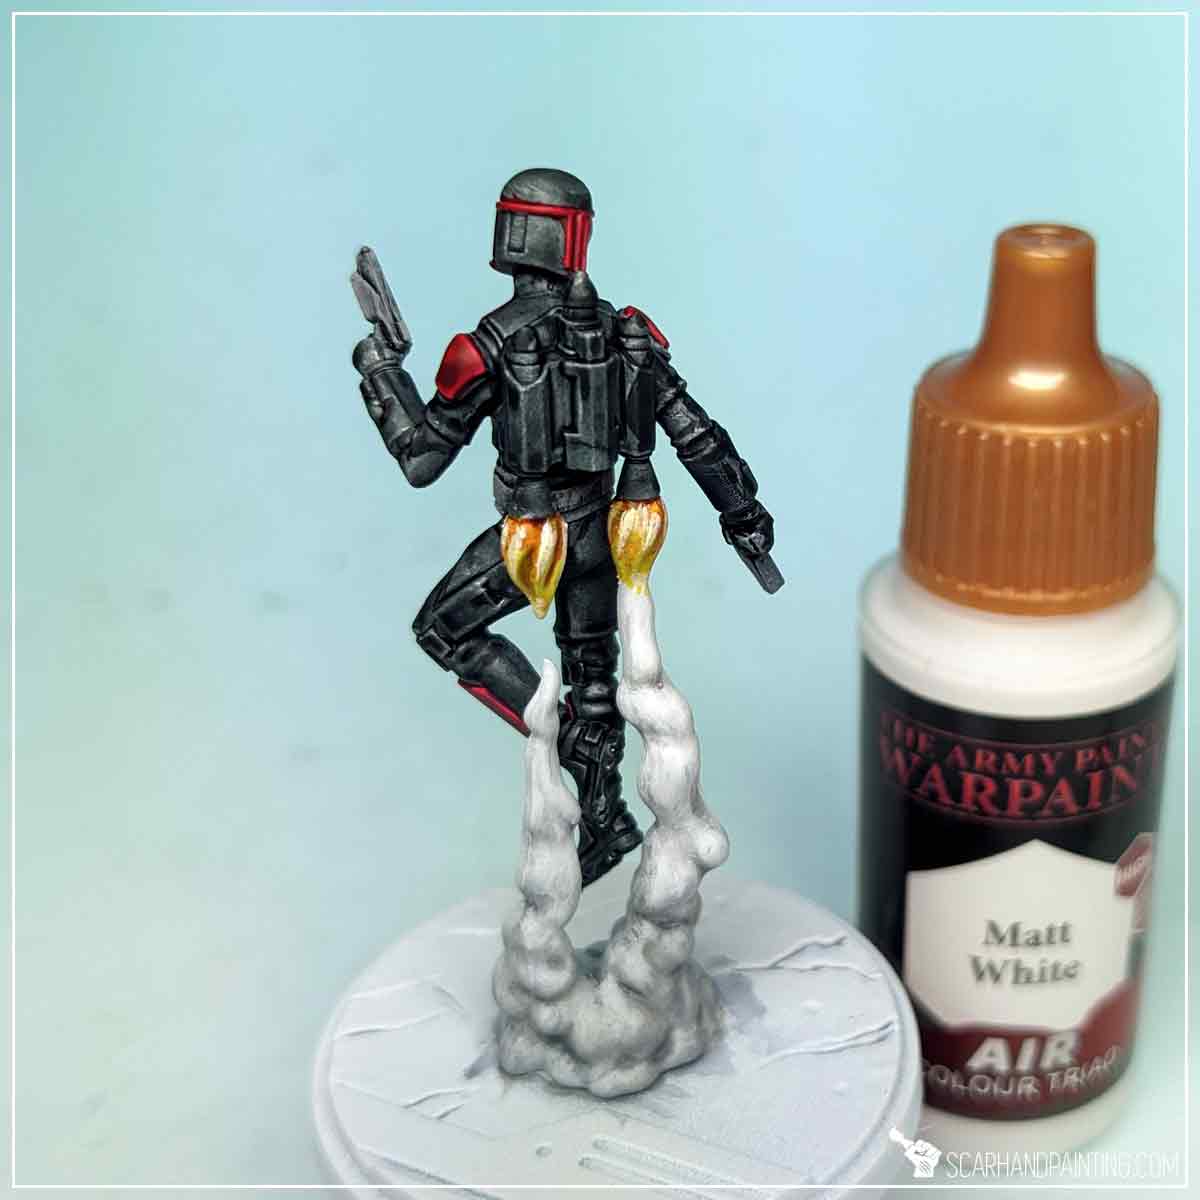
Next I manually applied some Matt White (Air) to the upper, most exposed parts. Air paints are thin by nature, which resulted in a nice color gradation between upper and lower areas of fumes.
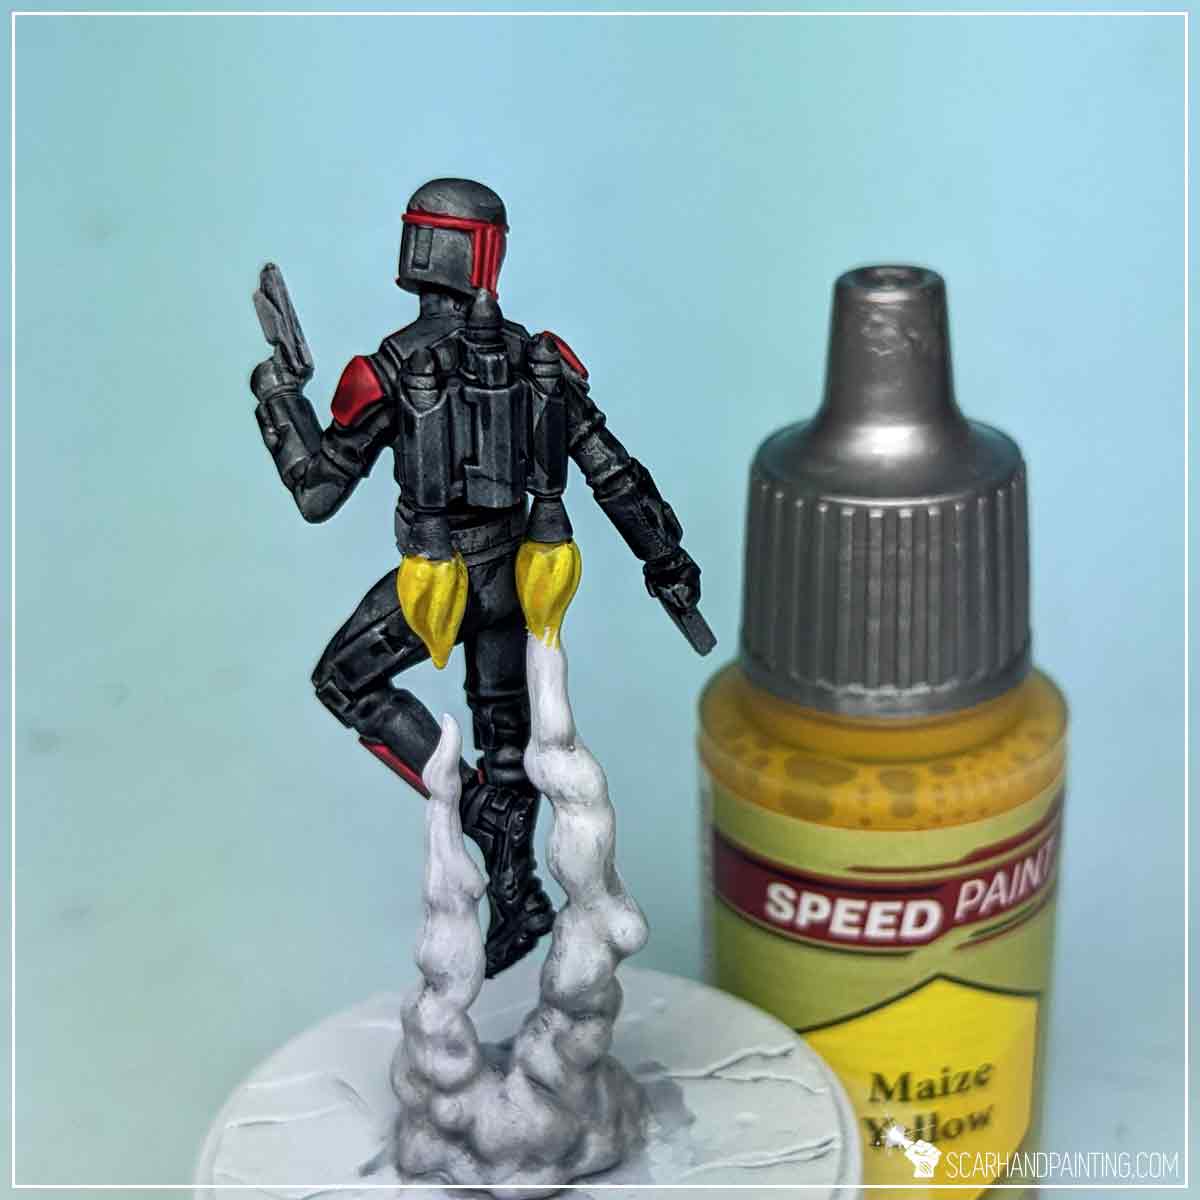
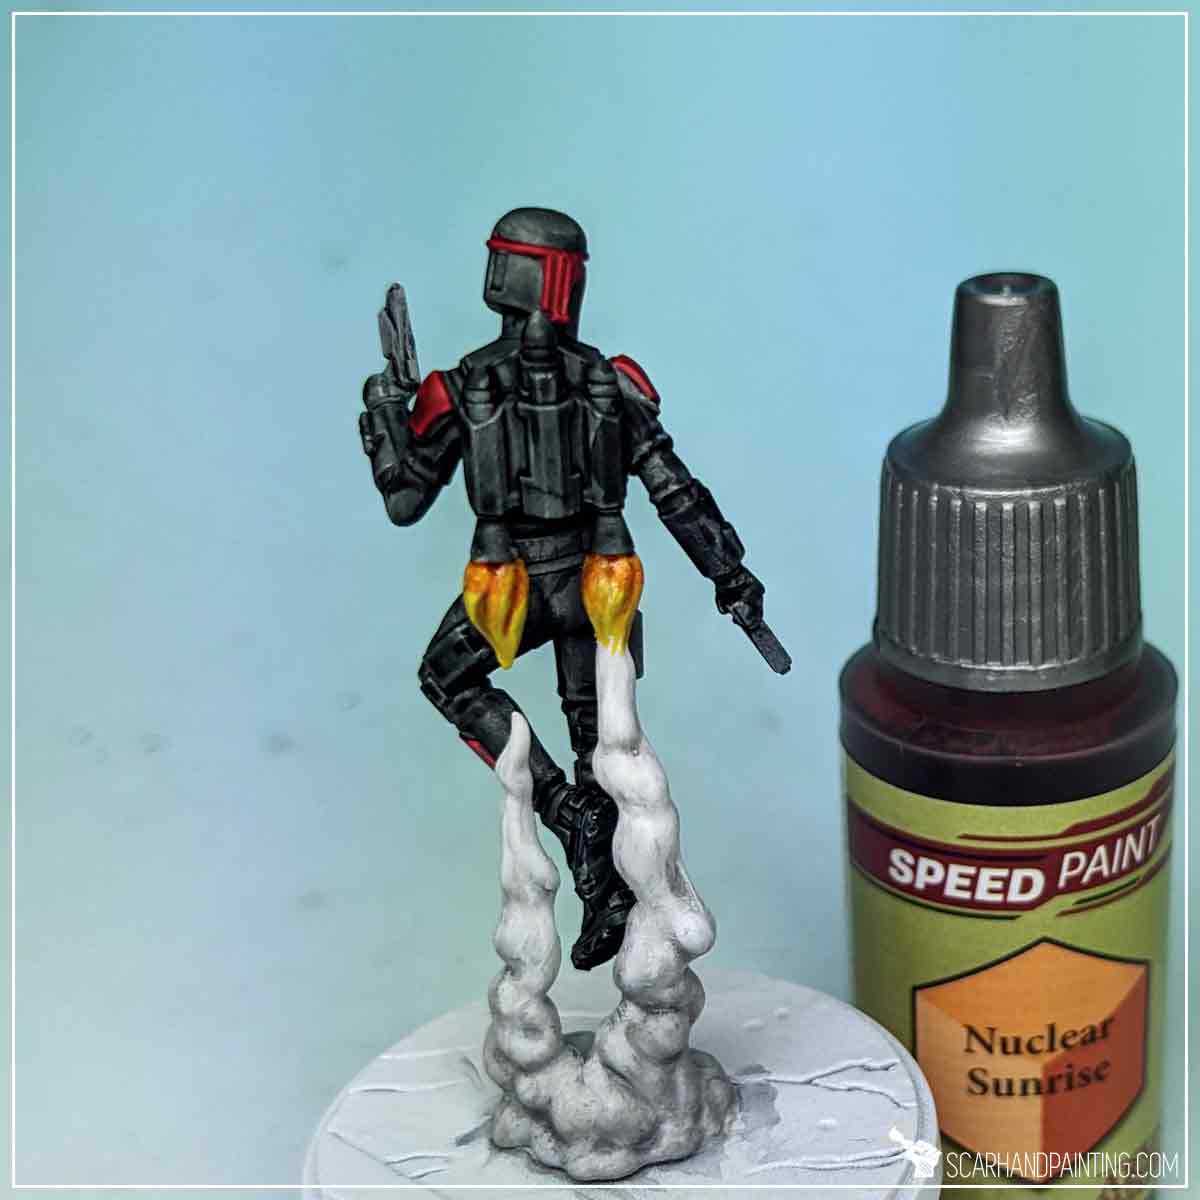
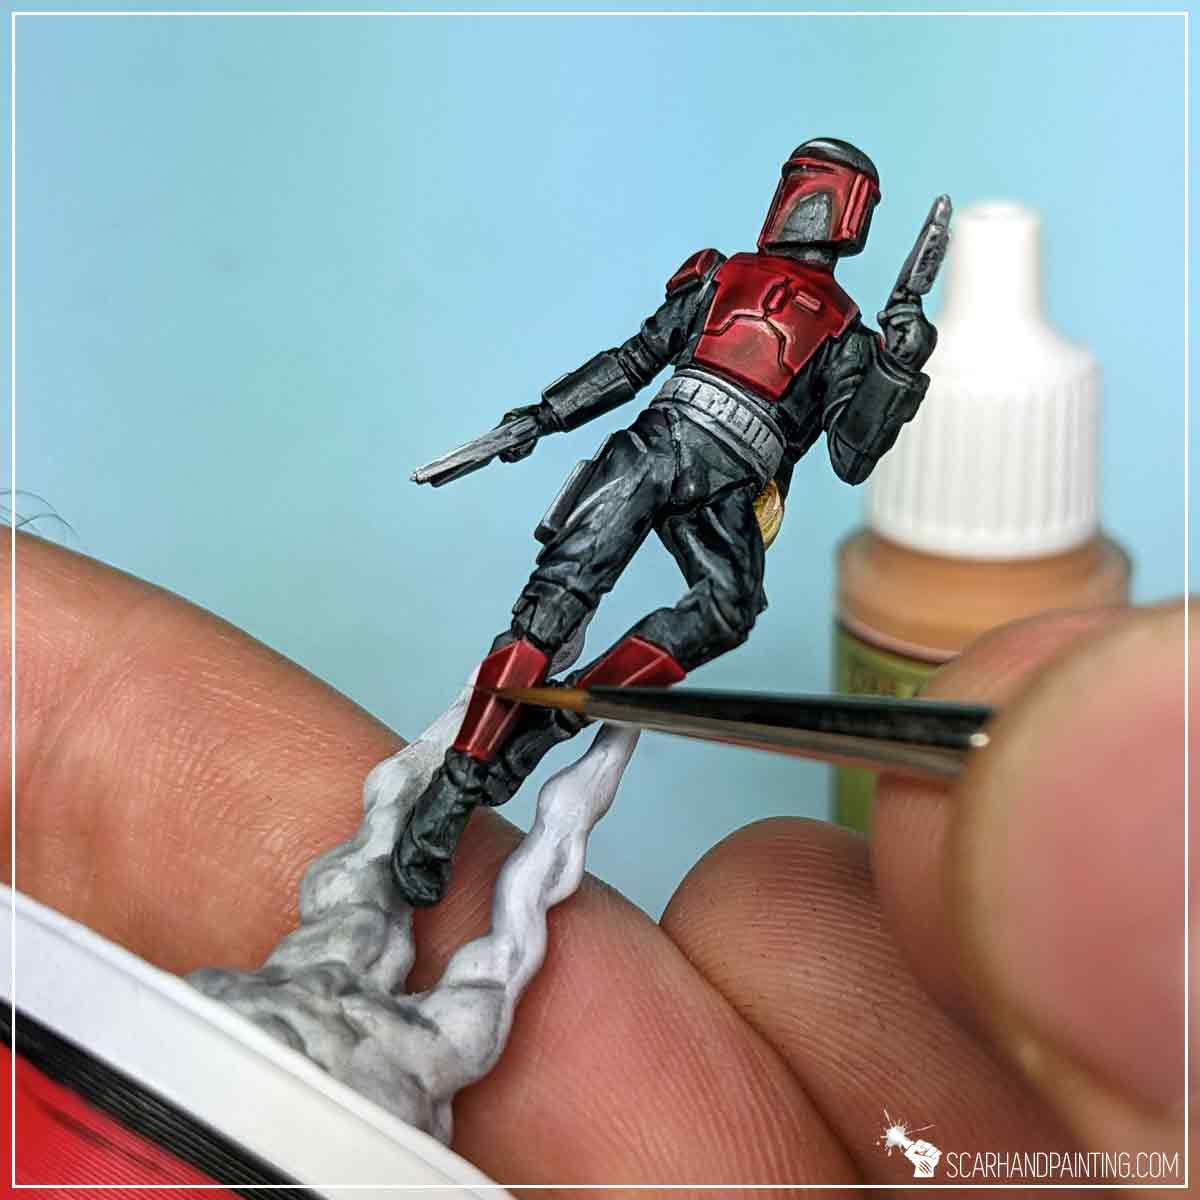
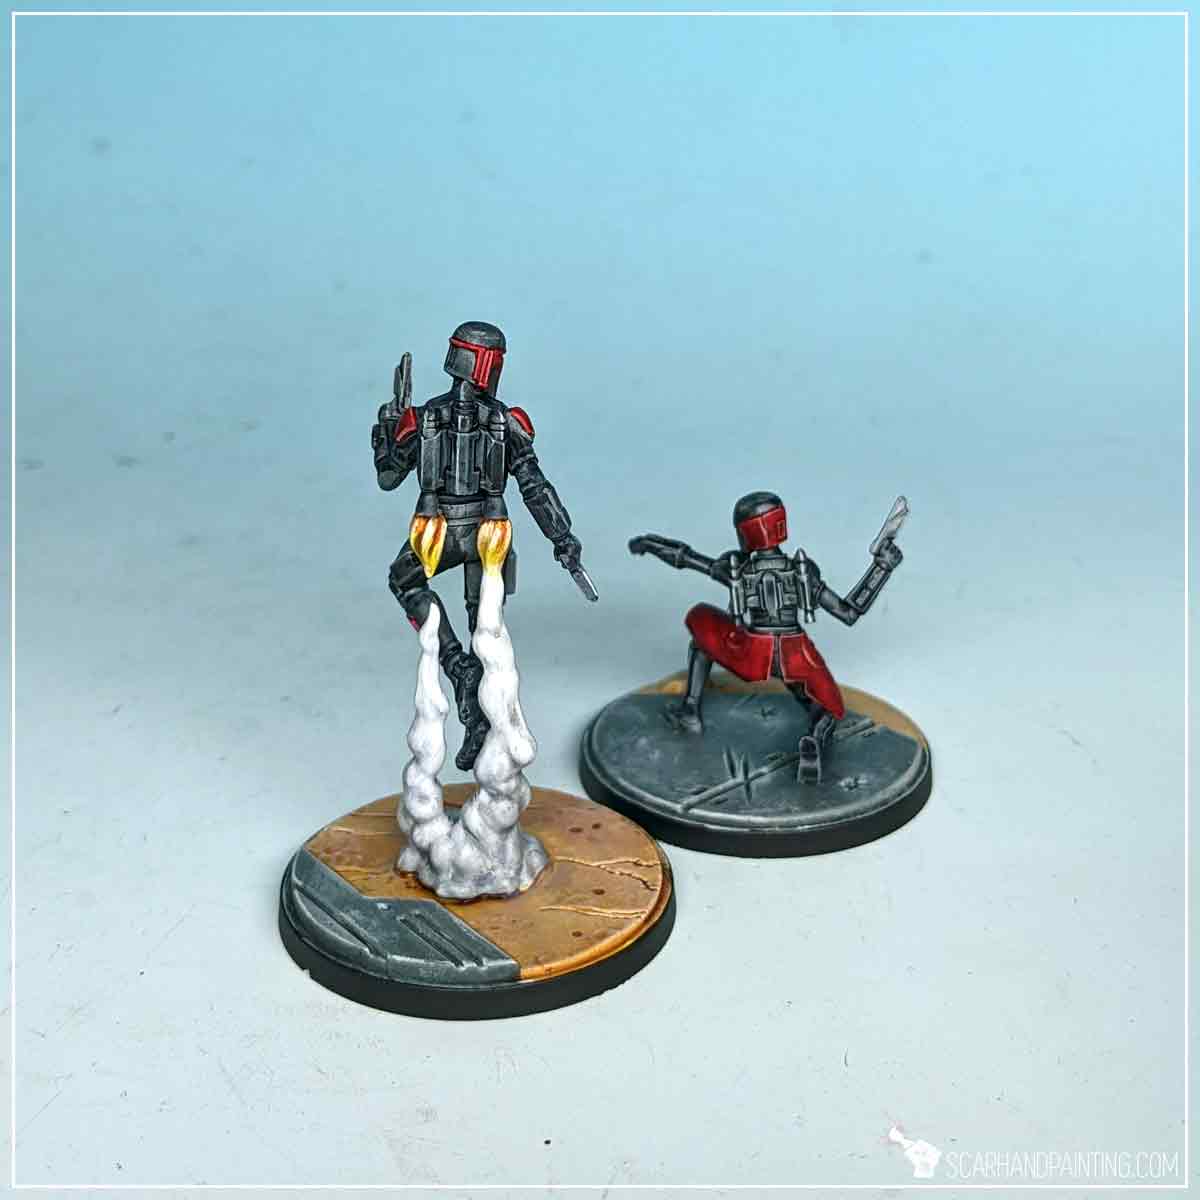
Finally I painted the top of the exhaust fumes with Maize Yellow Speed Paint, followed short by Nuclear Sunset Speed Paint at the very top.
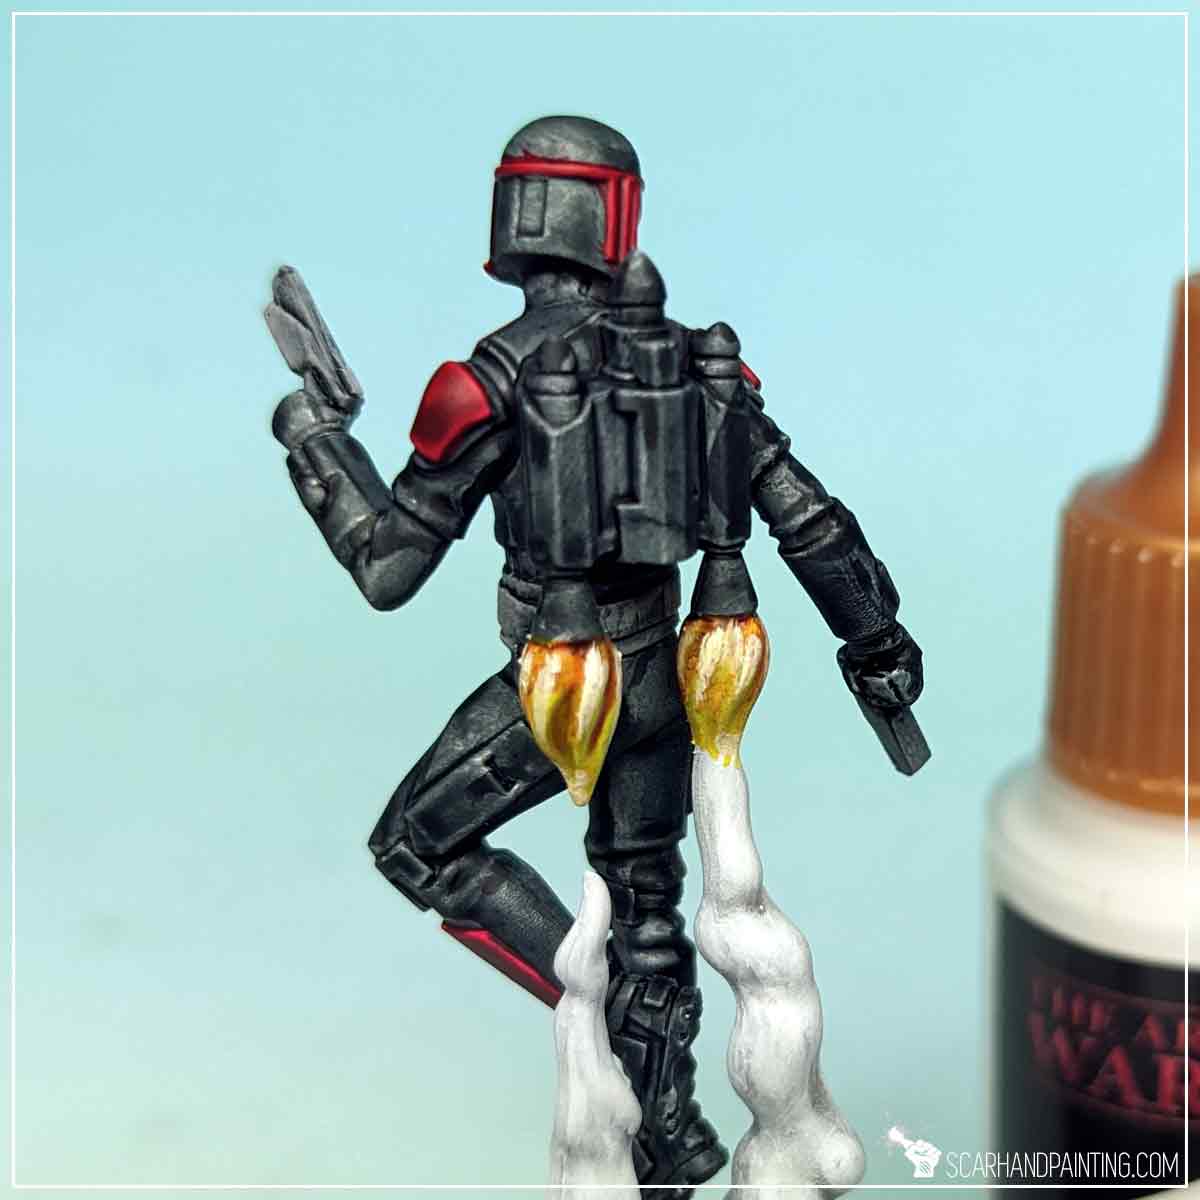
To make the colors pop I drew a few lines of Matt White along the most exposed areas.
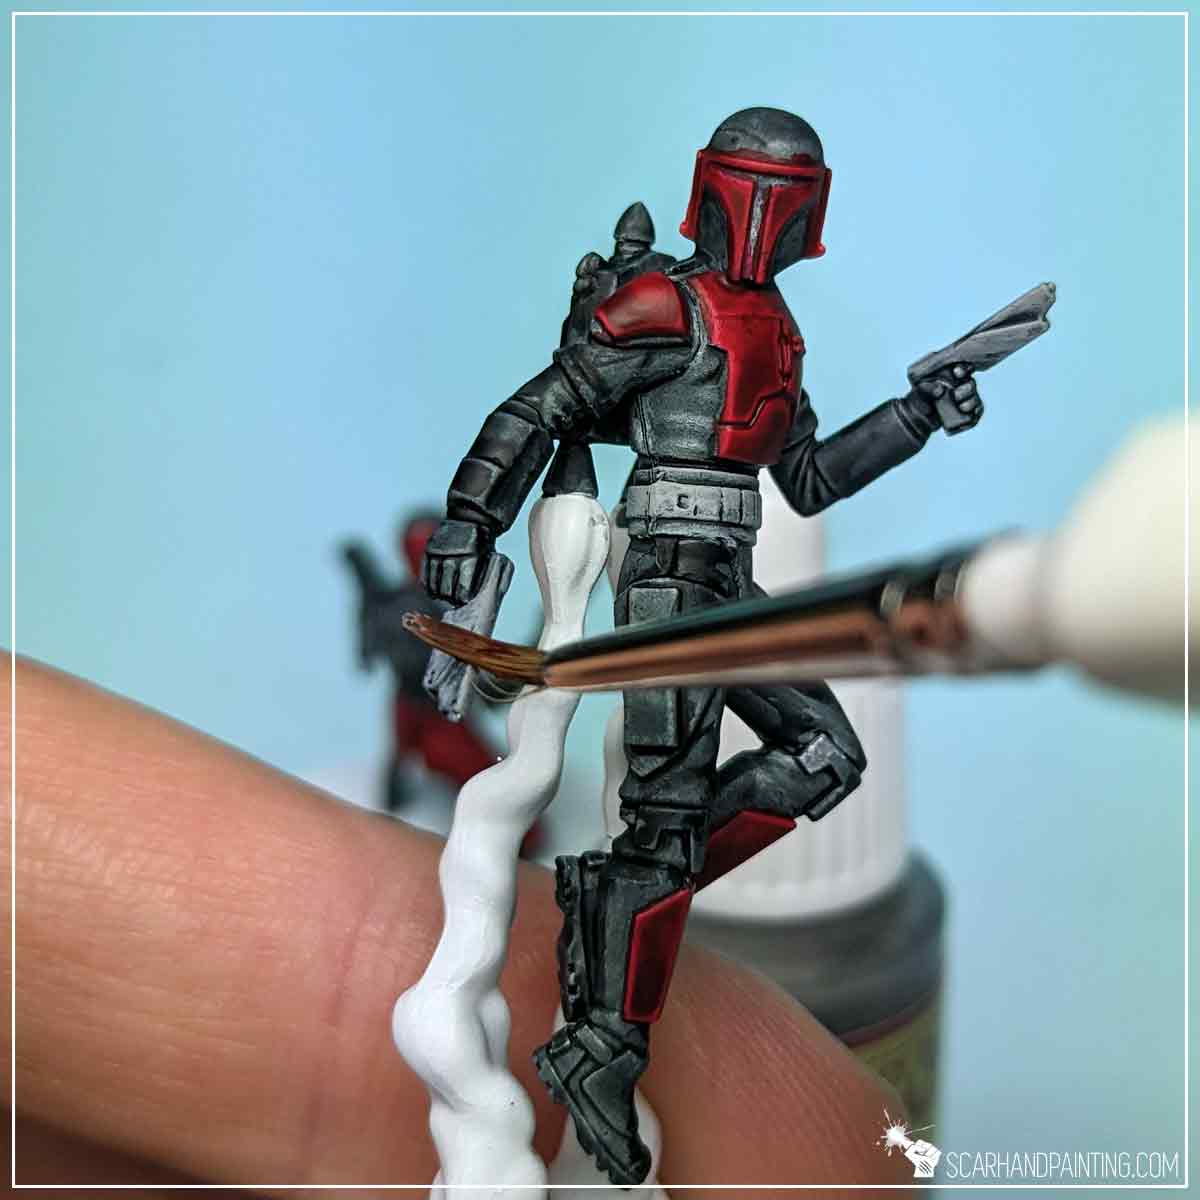
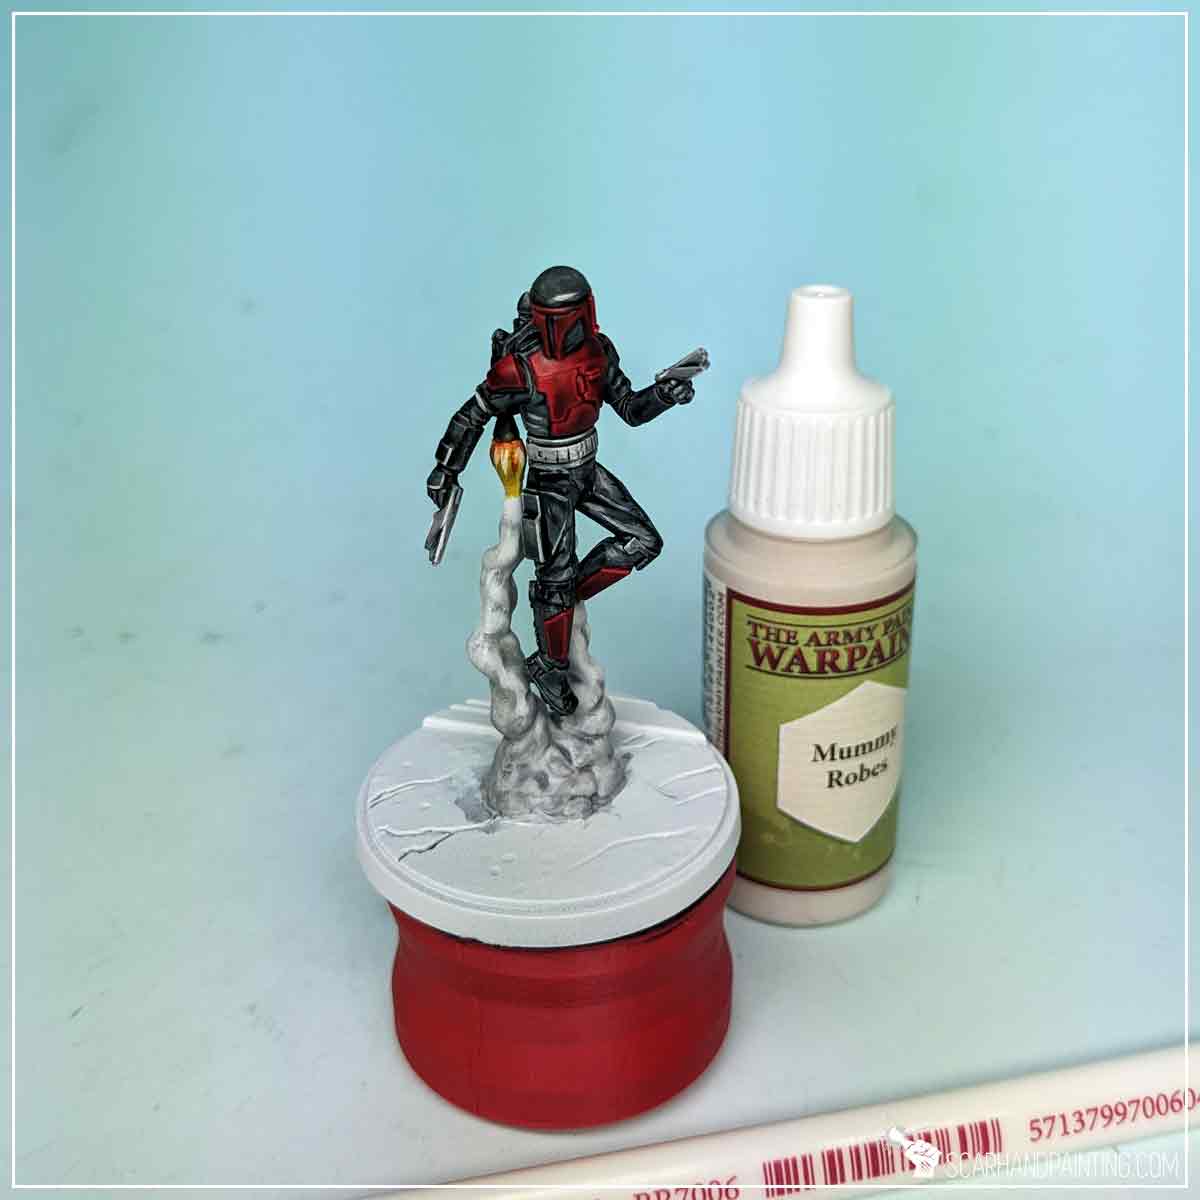
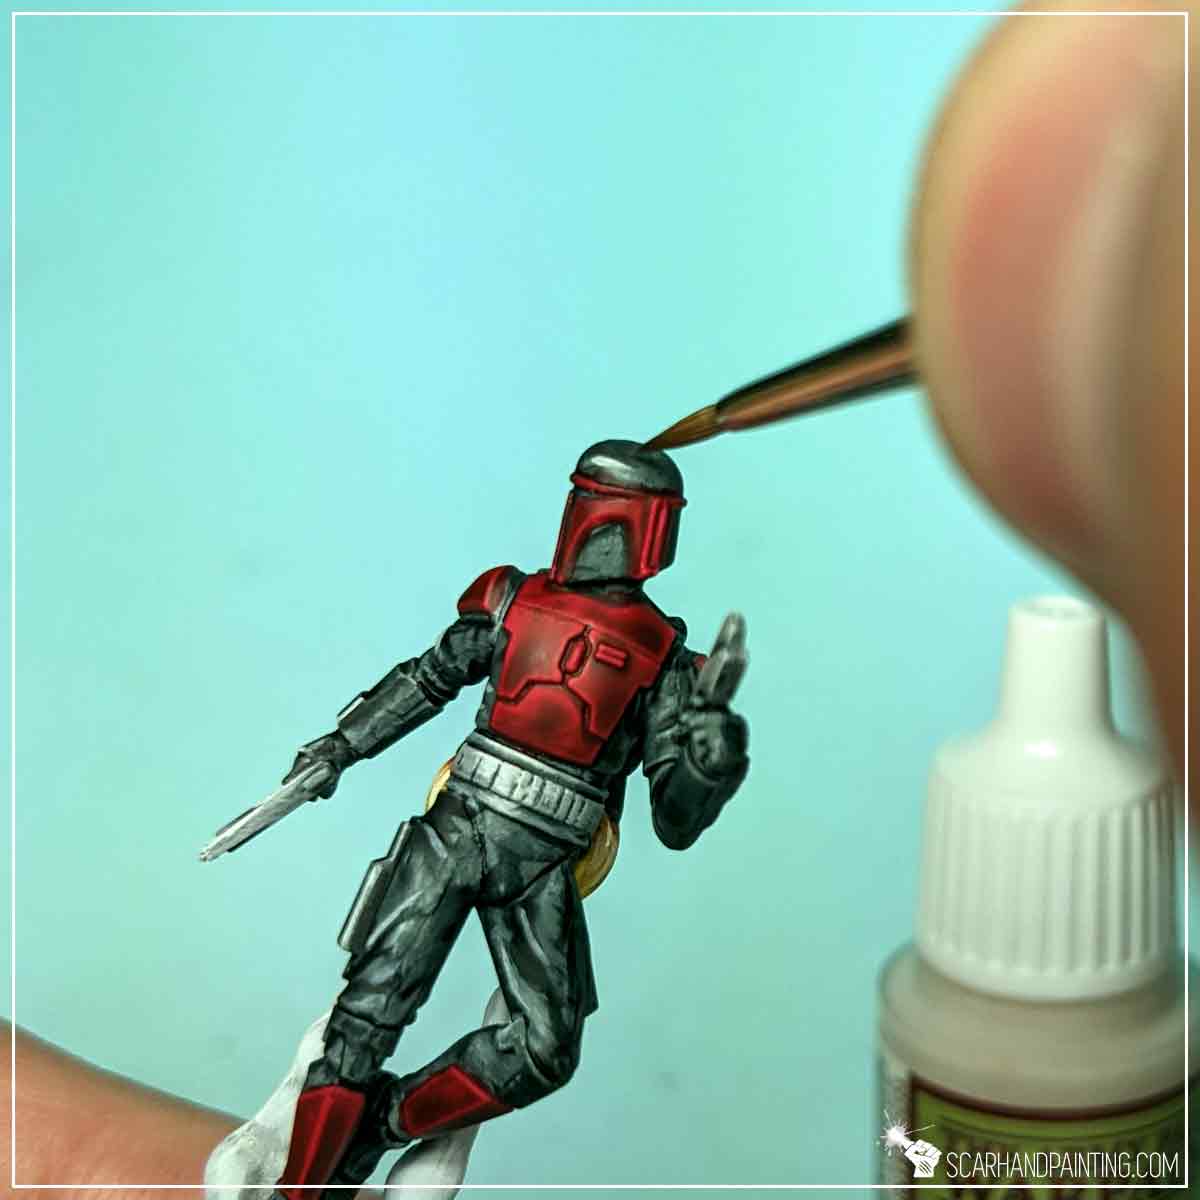
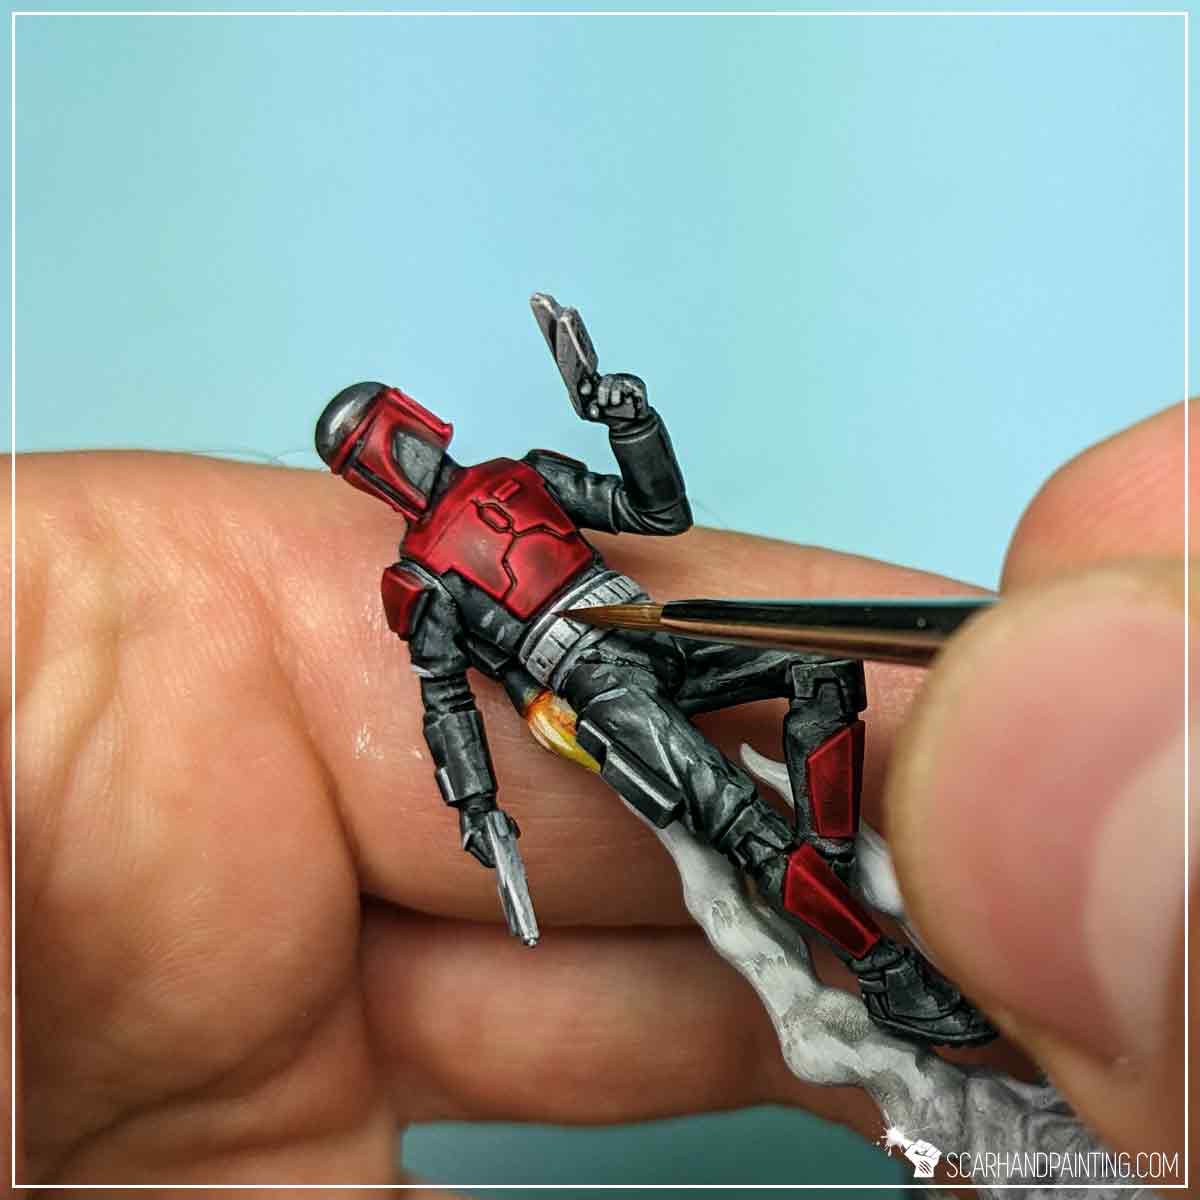
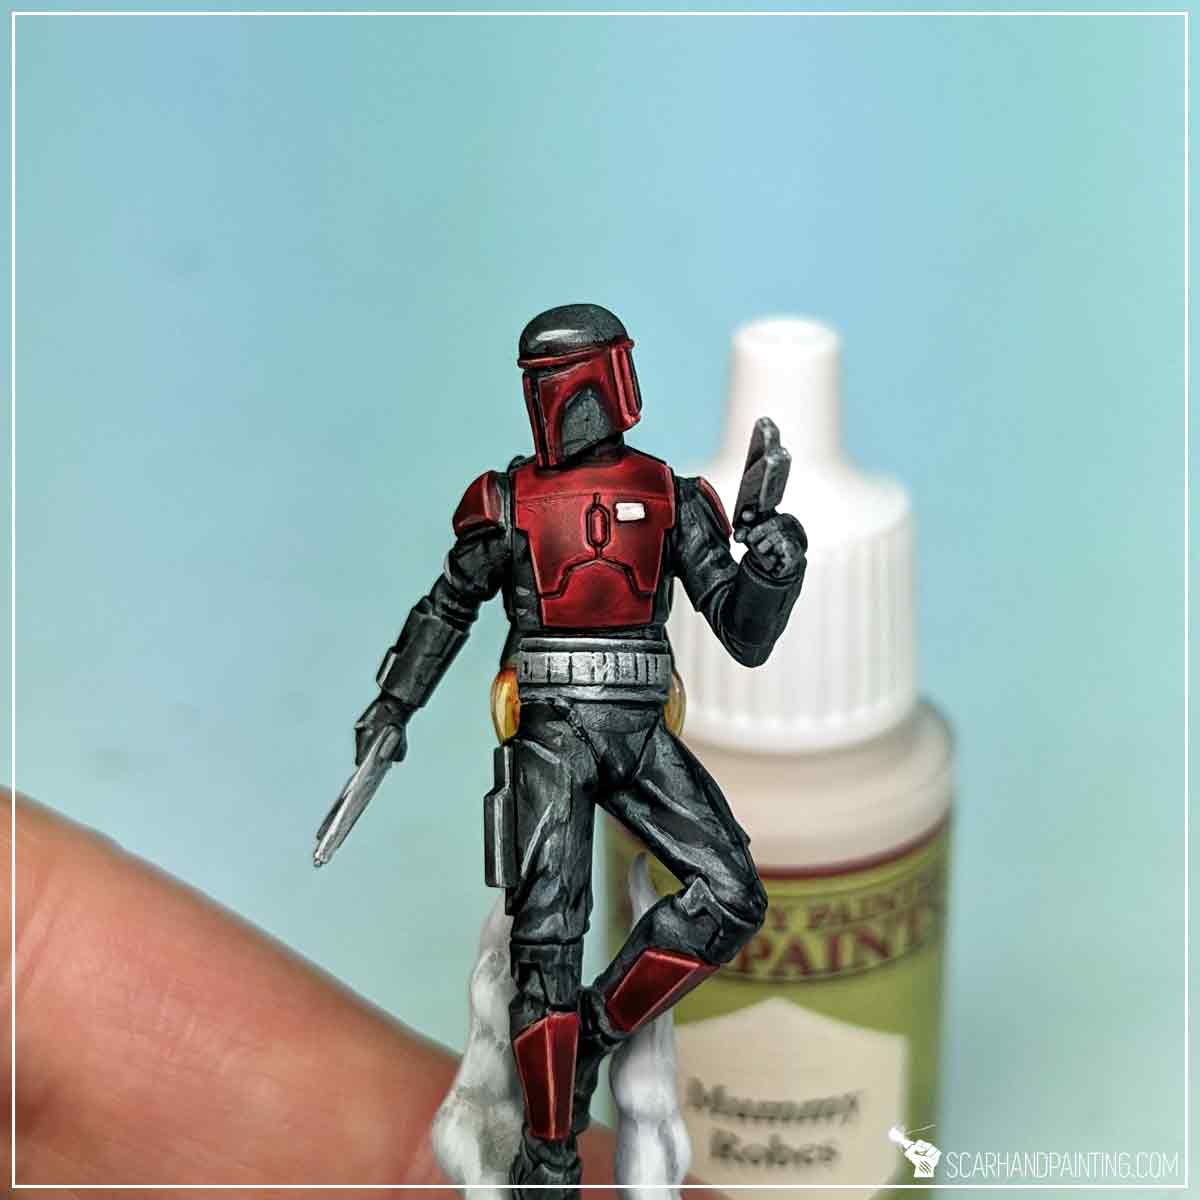
To make dark clothes, armor, belt and weapons pop I applied a simple, selective highlight of Mummy Robes. I focused on the most exposed, easy to access edges, painting thin lines with a side of Wargamer: Detail Brush.
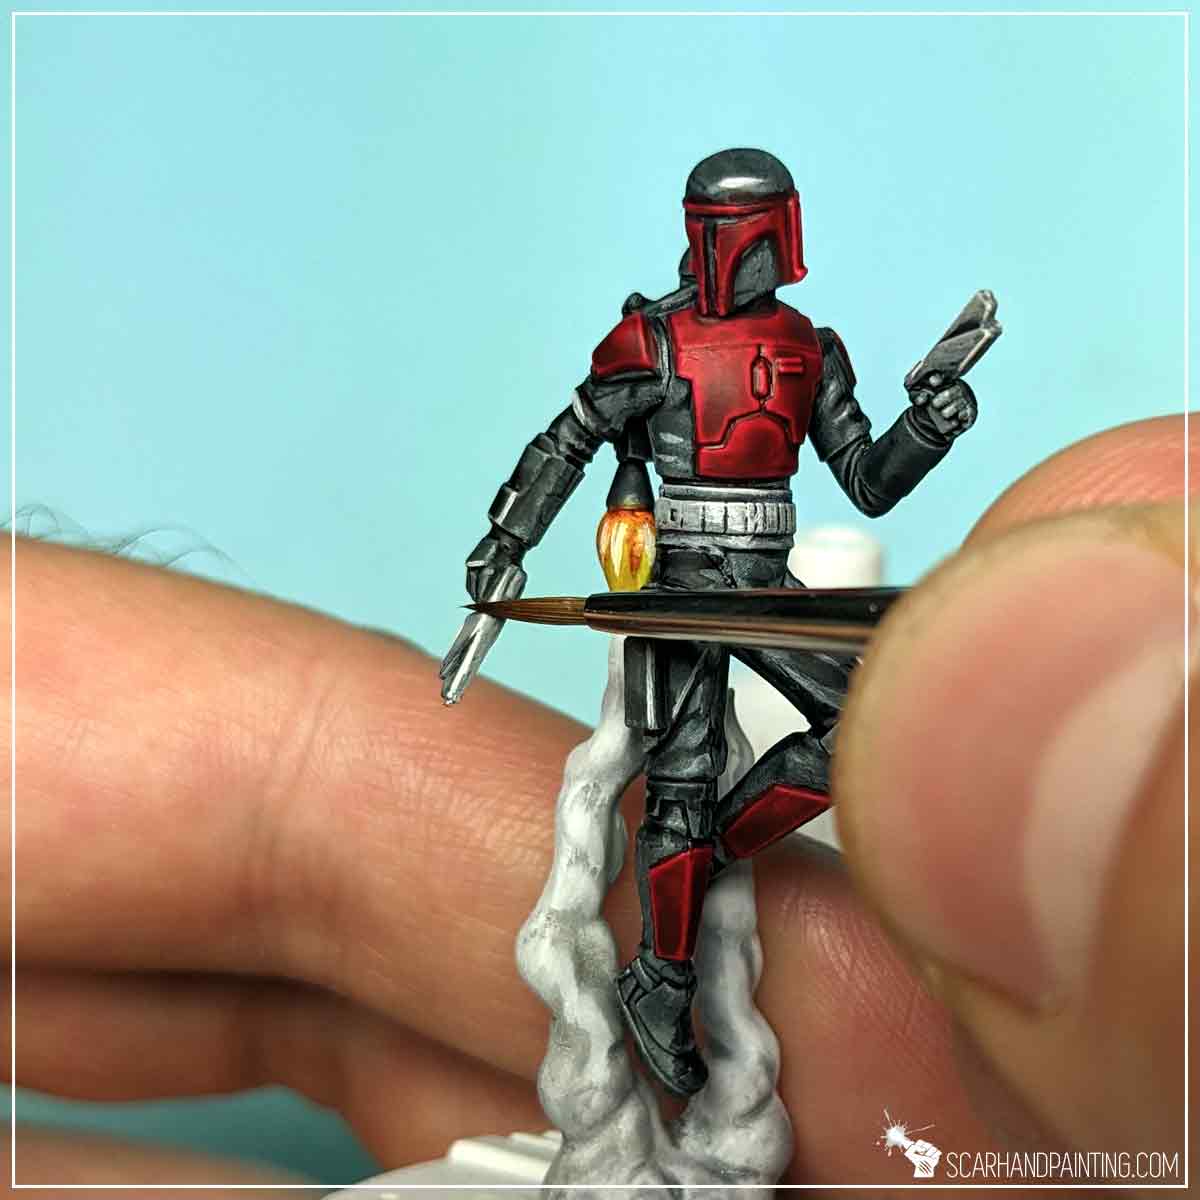
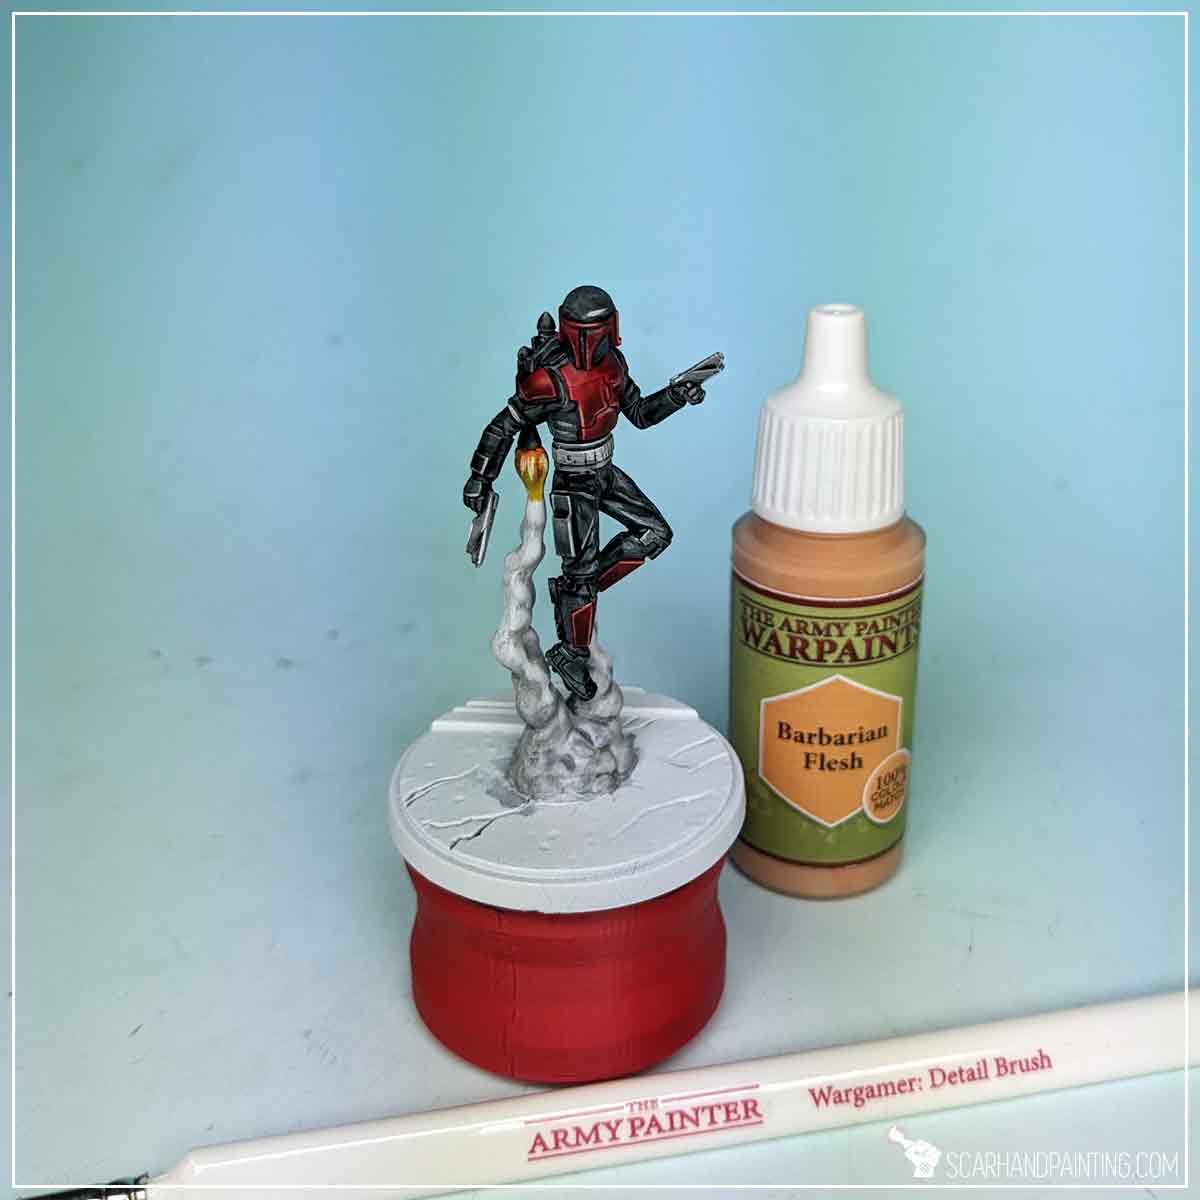
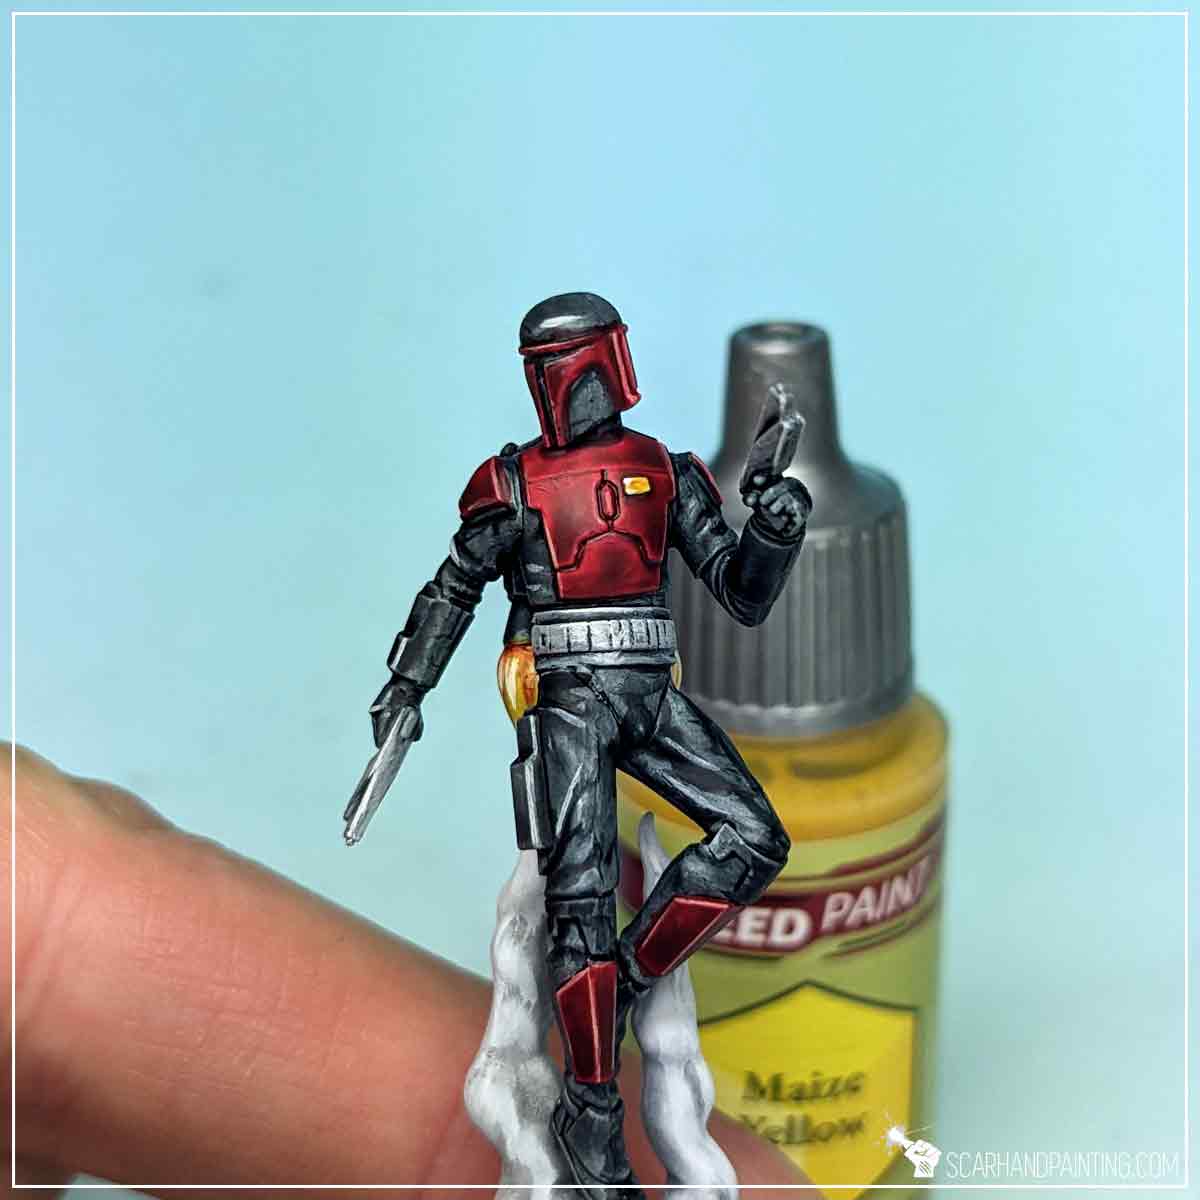
I have switched paint to Barbarian Flesh and repeated the process for Red armor.
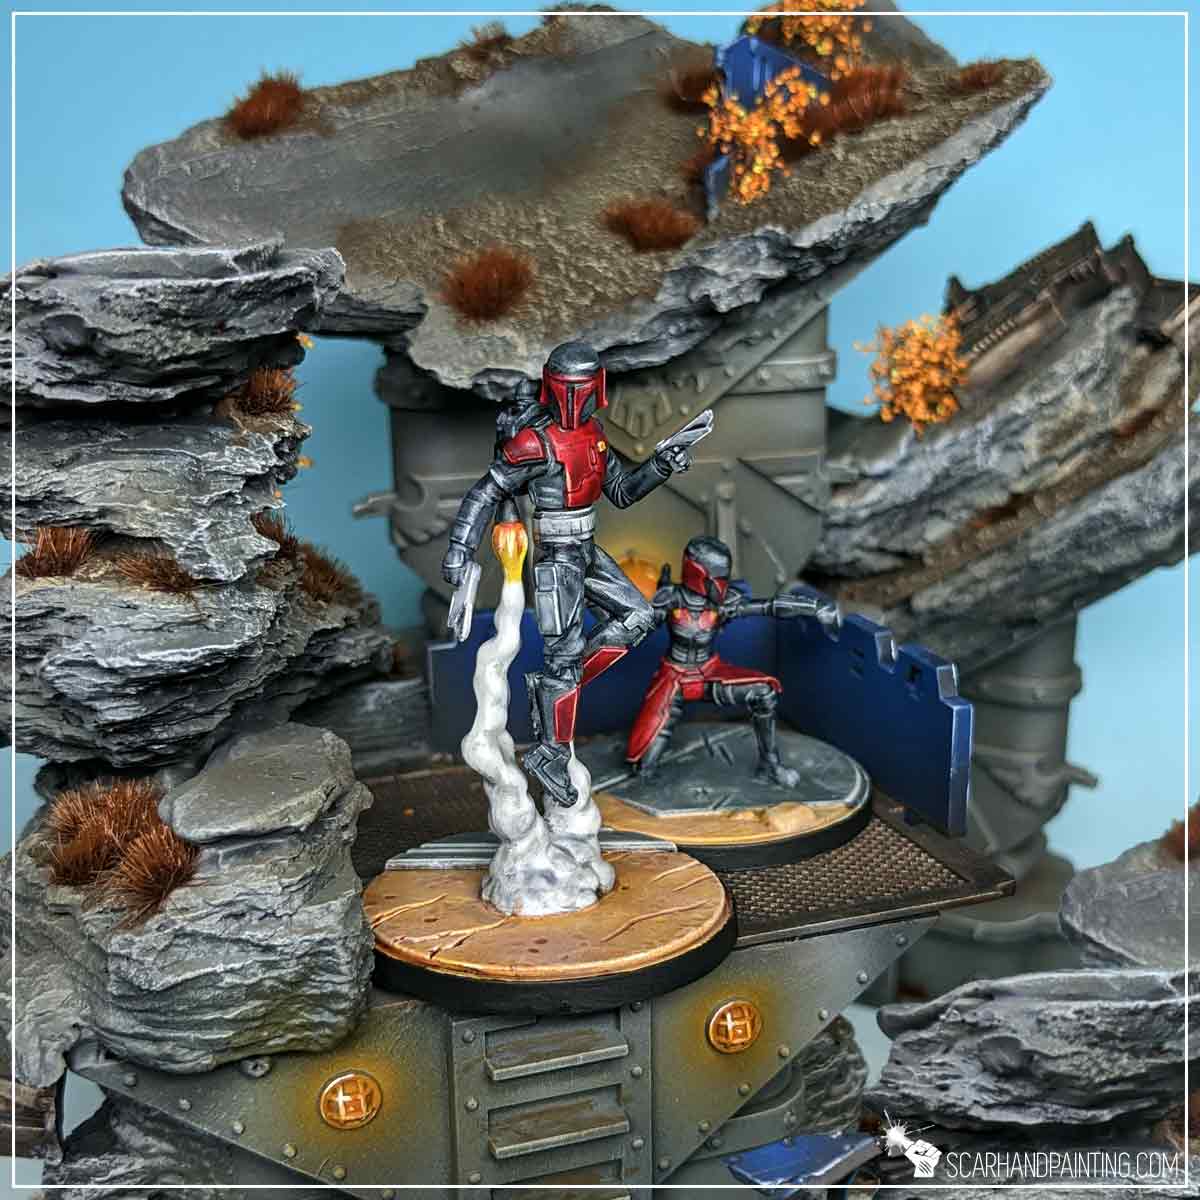
To add a final touch I have painted the chest armor pin Matt White, followed short with Maize Yellow Speed Paint.
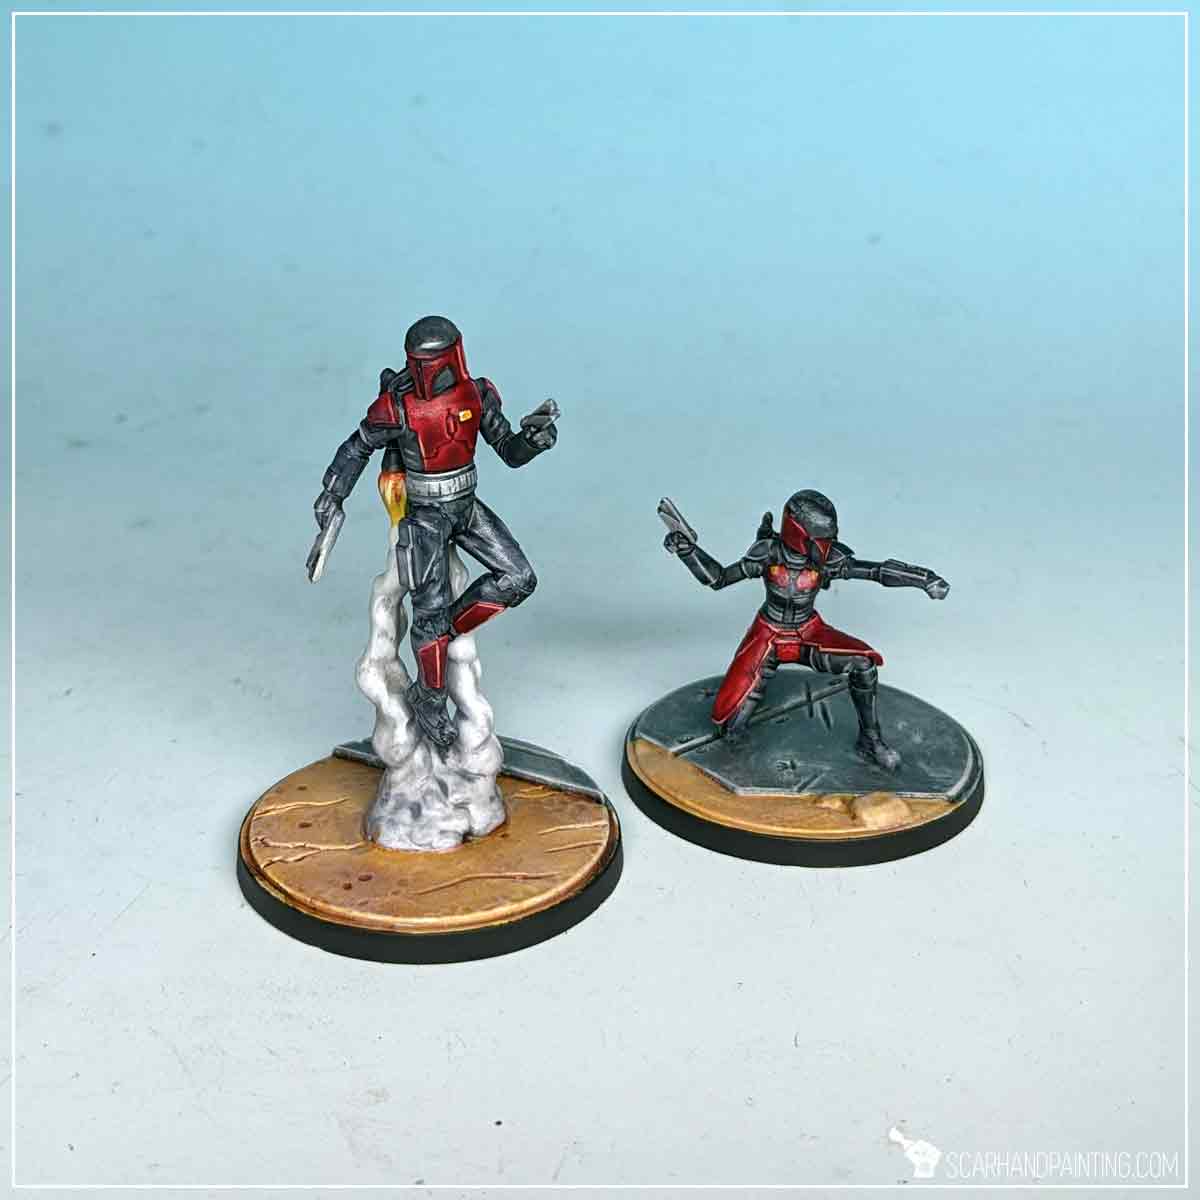
Finally I have painted bases and Varnished both miniatures following steps previously presented in the Tutorial: Painting Star Wars Shatterpoint Clone Troopers article.
I hope you find this tutorial interesting. Be sure to let me know your thoughts in the comments below or via Facebook or Instagram. I would also appreciate it if you considered sharing this content with your friends, who might find it useful. Many thanks to Rebel.pl for sponsoring this content. Stay tuned for more Star Wars: Shatterpoint tutorials.