- contact@scarhandpainting.com


Welcome to Painting Five Layers Technique – Metal tutorial. Here I will present to you a Step-by-step of an easy and fast painting process for metal, that I myself use in most of my projects.

Before we start, some notes:

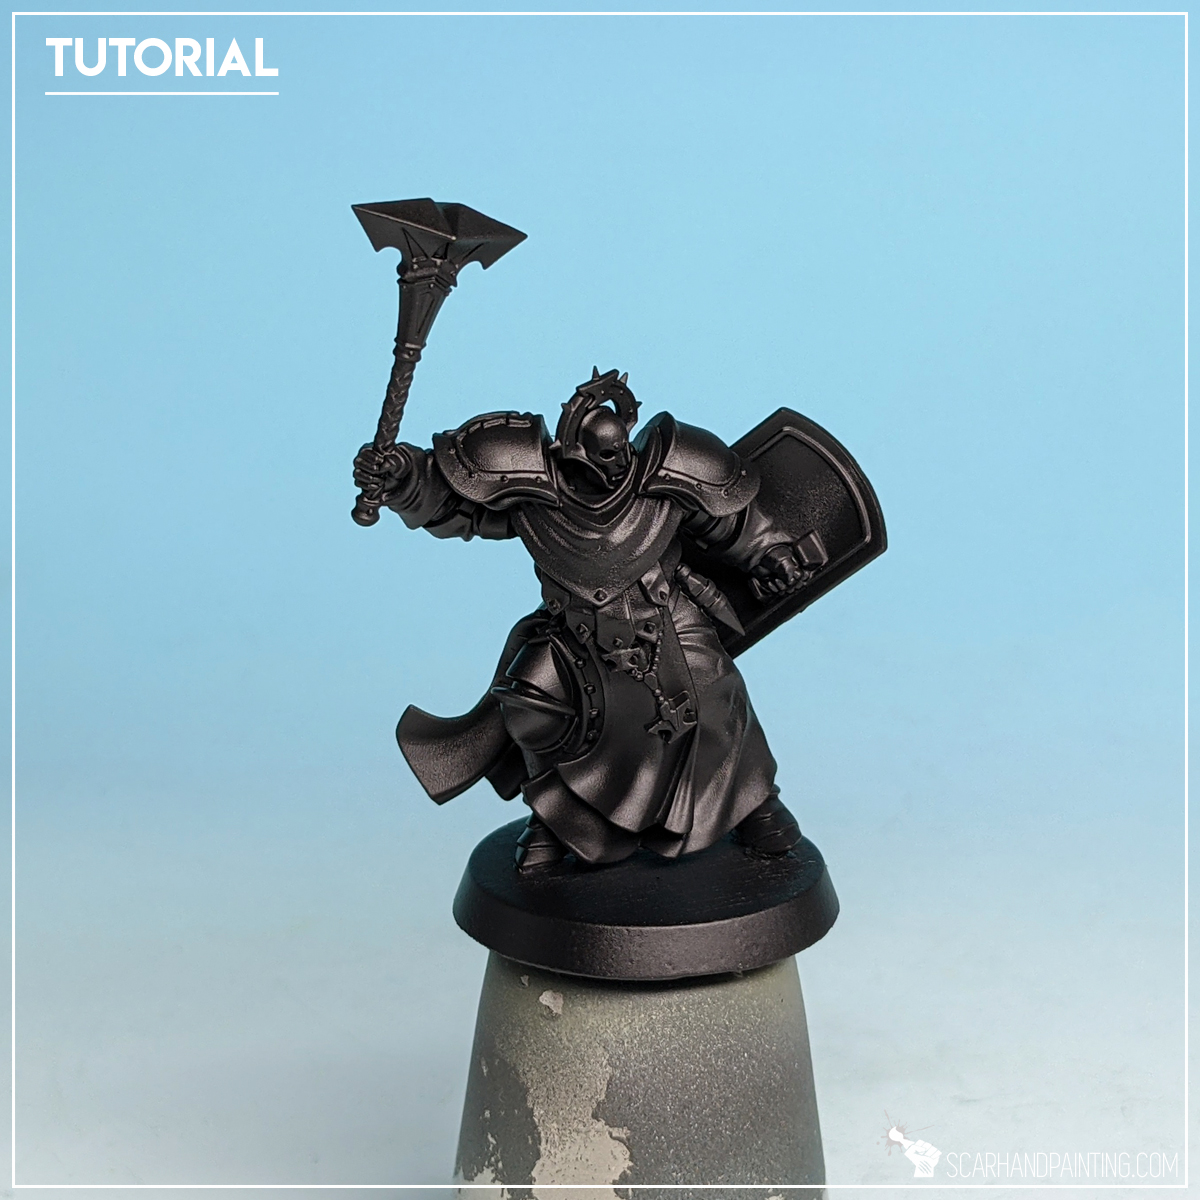
Prep: Undercoat
I started with a thorough layer of Games Workshop Chaos Black spray.
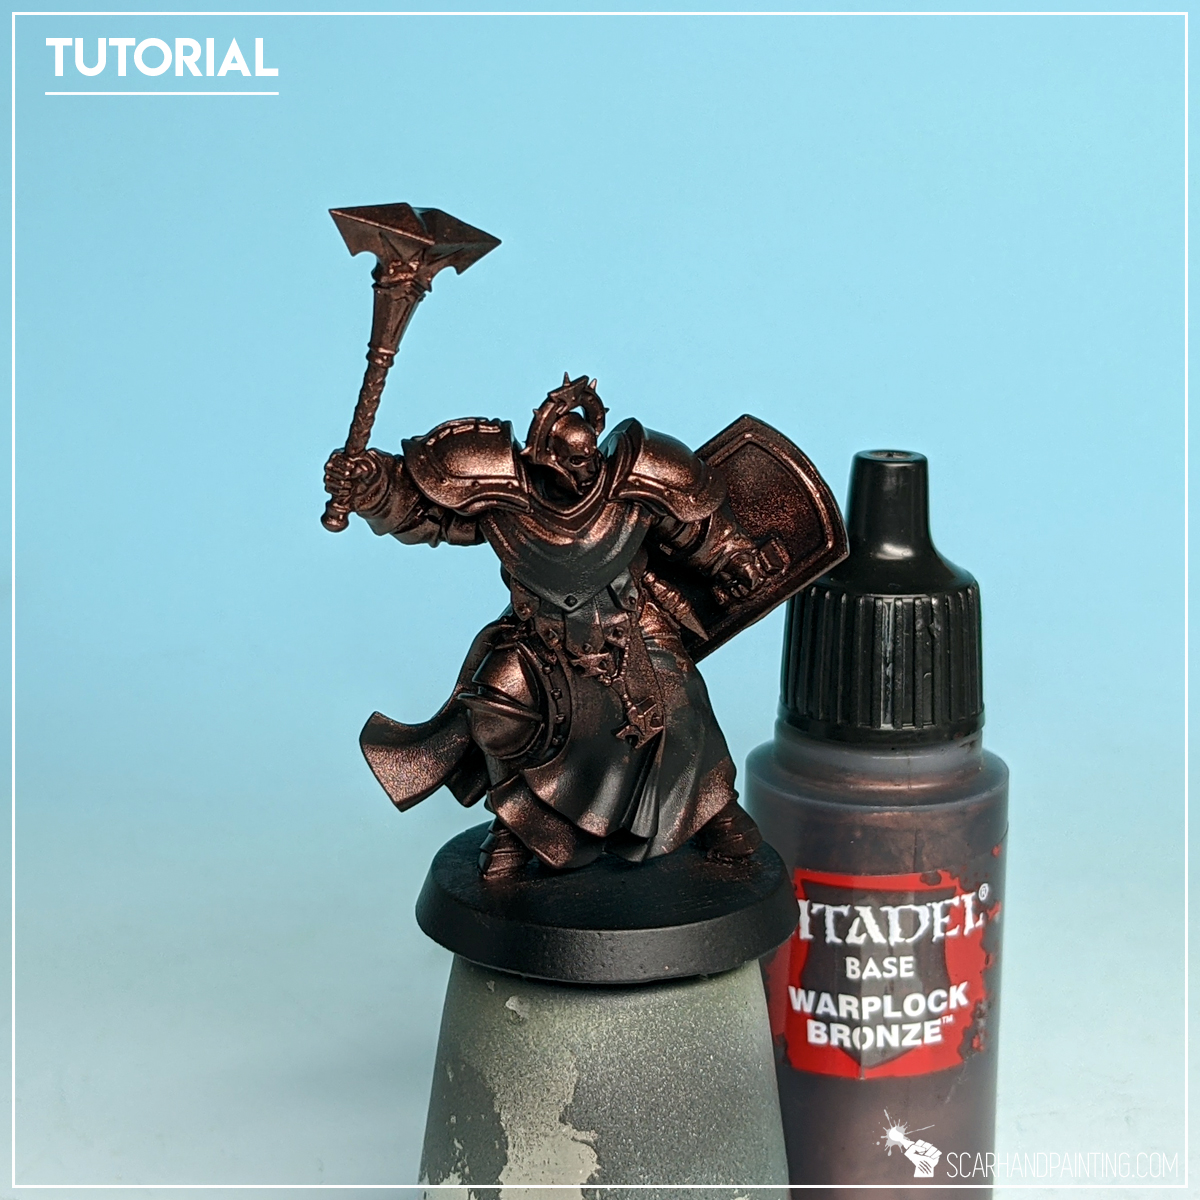
Step one: Base layer
I then applied first layer (base) with GW Warplock Bronze. Thinning the paint down a notch might help leading the paint to recesses and speed up the process.
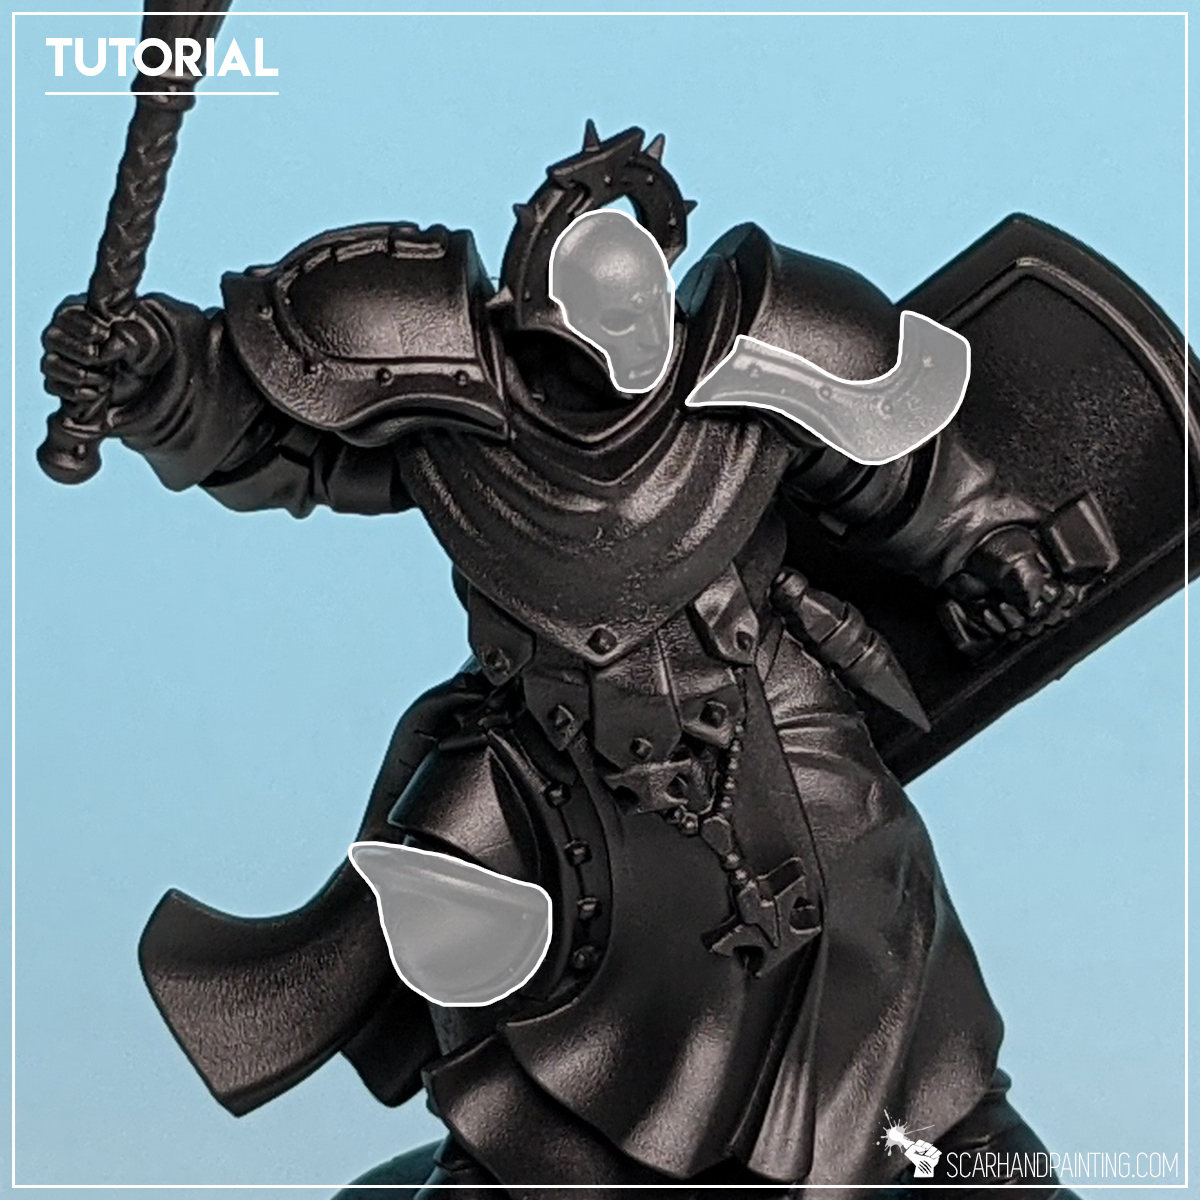
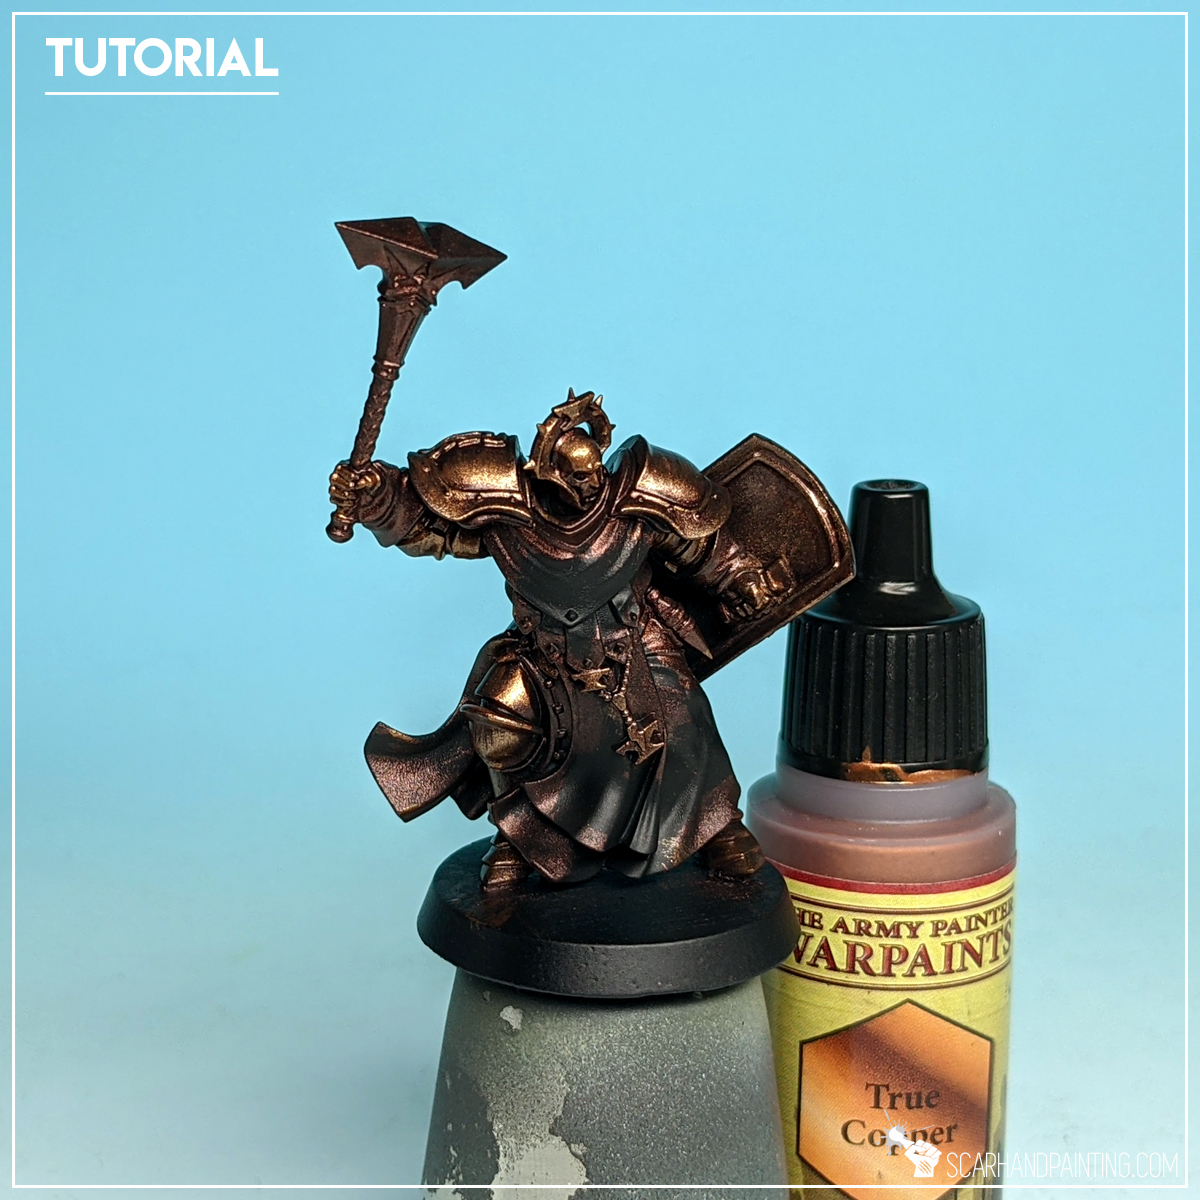
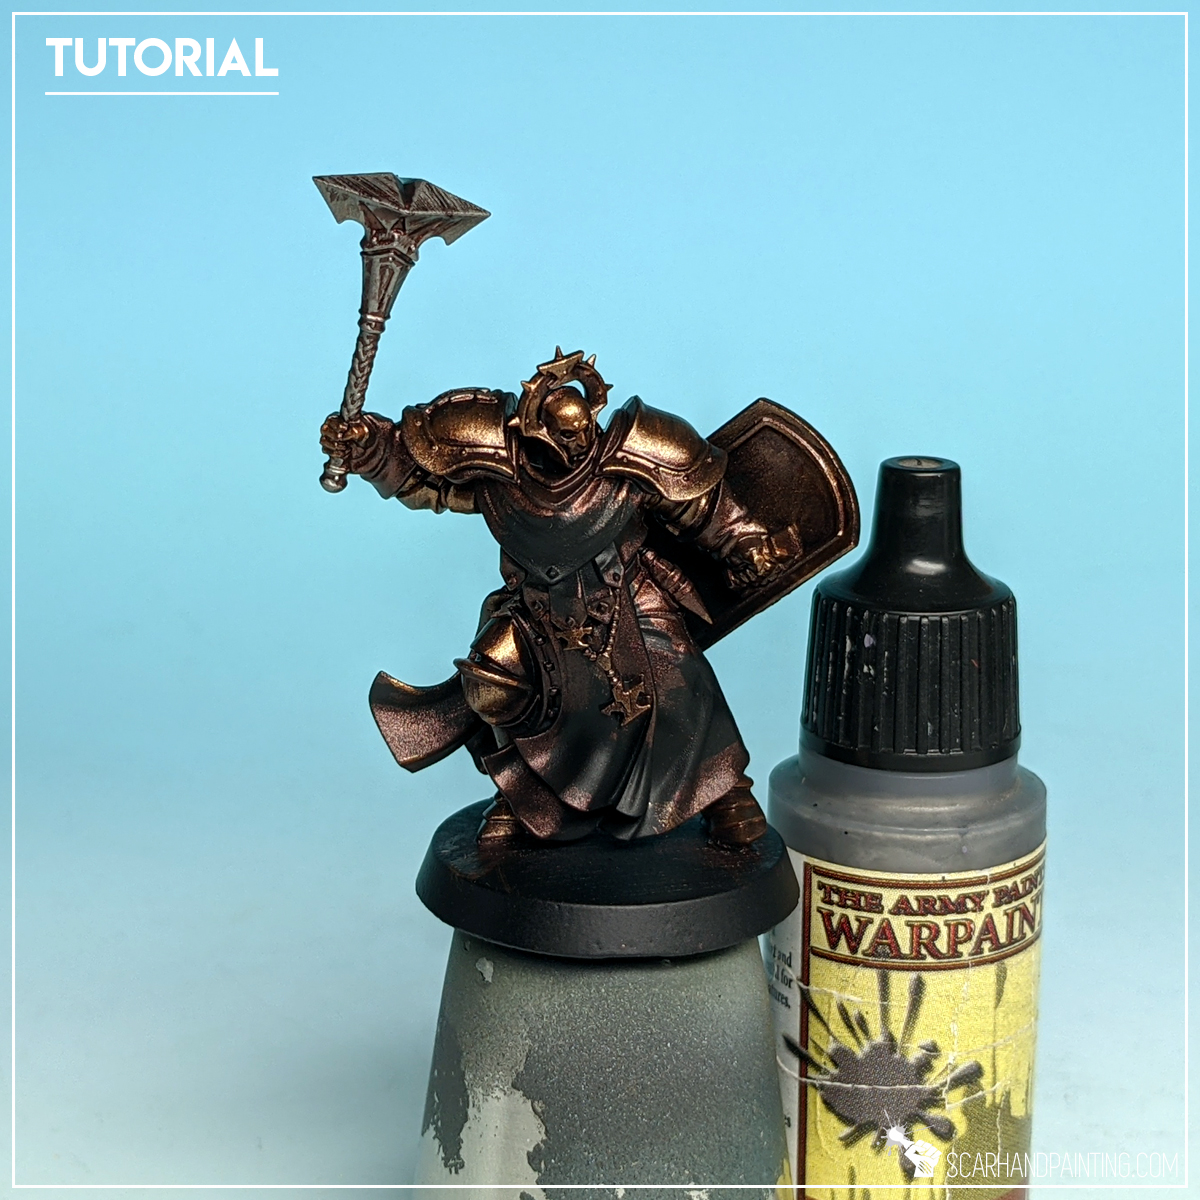
Step two: Bronze Highlight
Next, with a side of a large brush tip, I applied a layer of Army Painter True Copper. The movement and technique behind this layer was similar to flatbrushing. The key was to leave some of the previous layer visible in recesses, all the while applying new color to everything beyond.

Step two alt: Metal Highlight
I did the same for weapon, except I switched to Army Painter Gun Metal, instead of True Copper.
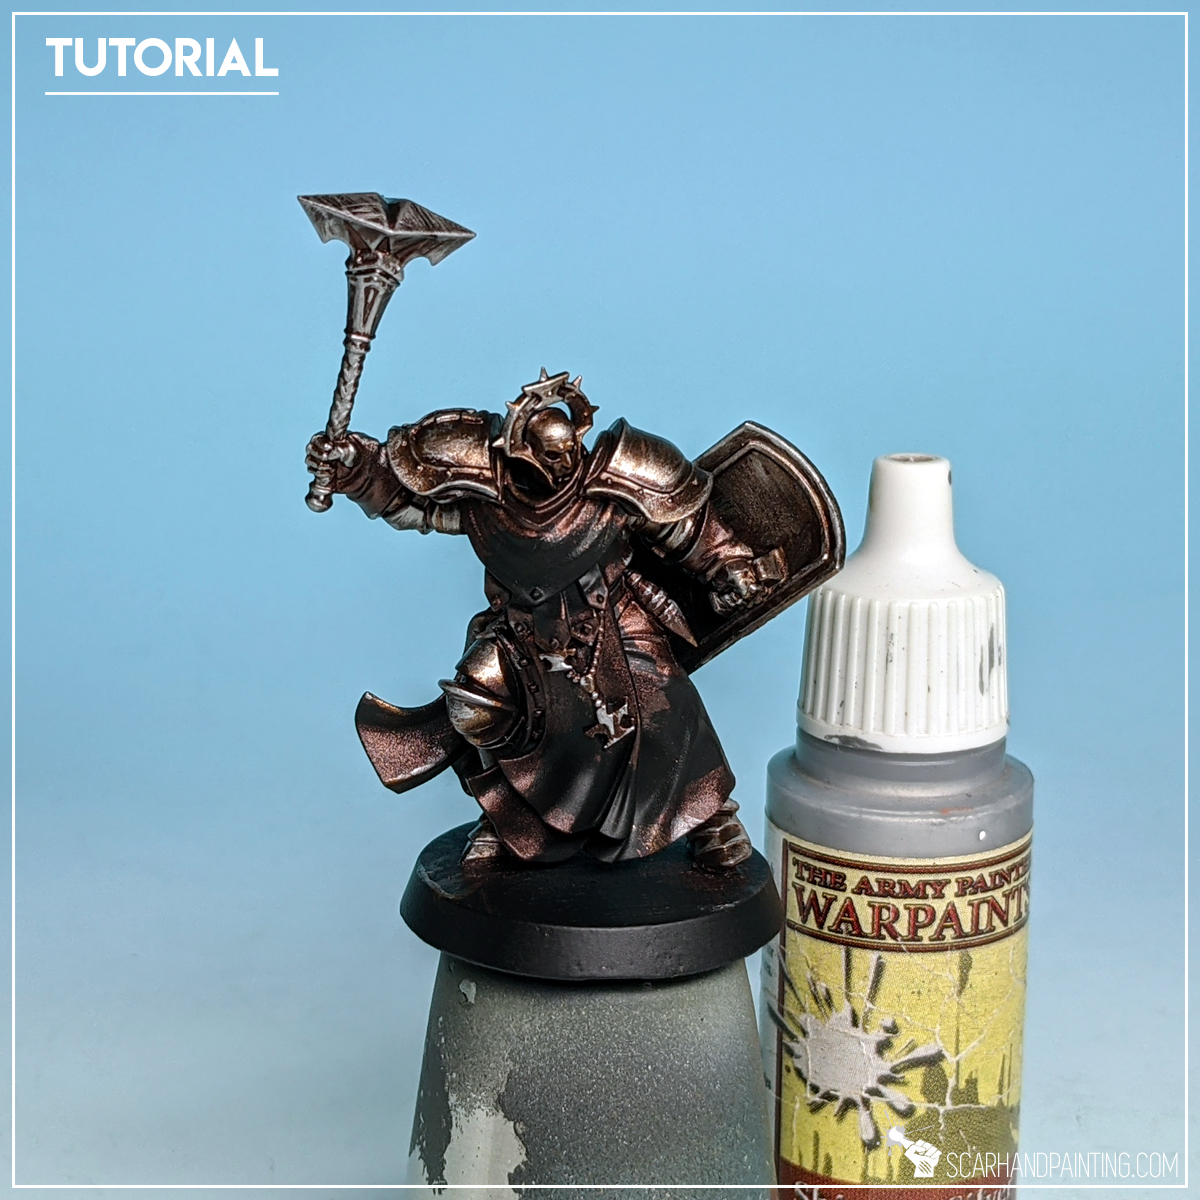
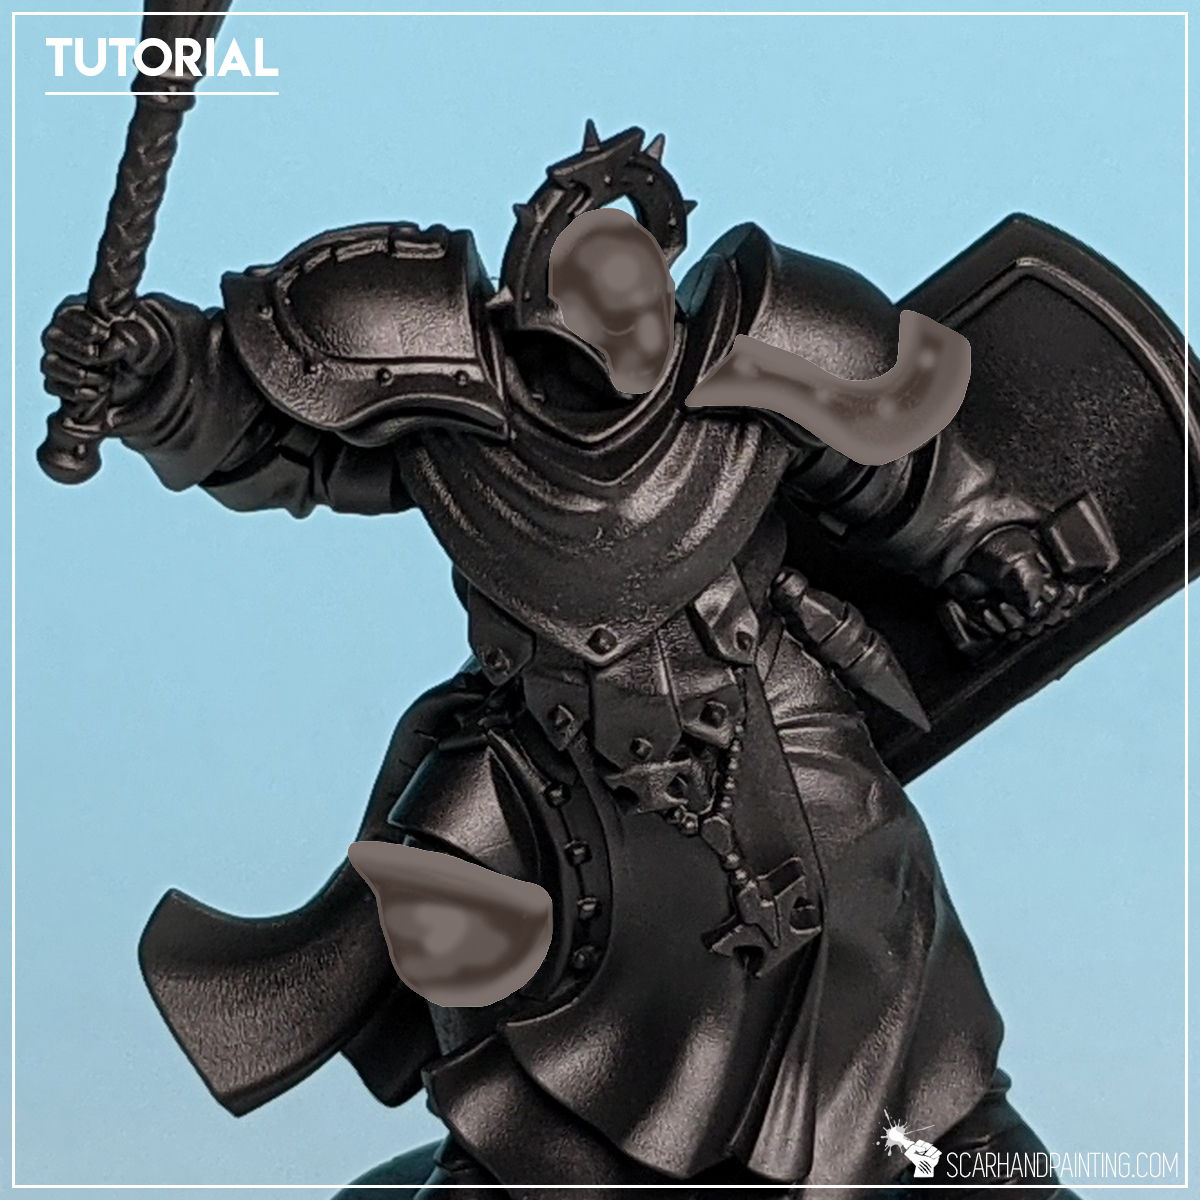
Step three: Edge highlight
Next I edge highlighted all areas with Army Painter Shining Silver. This one does not have to be precise and might get a bit messy. Any additional scratches or lines painted on the armor will benefit the final result.
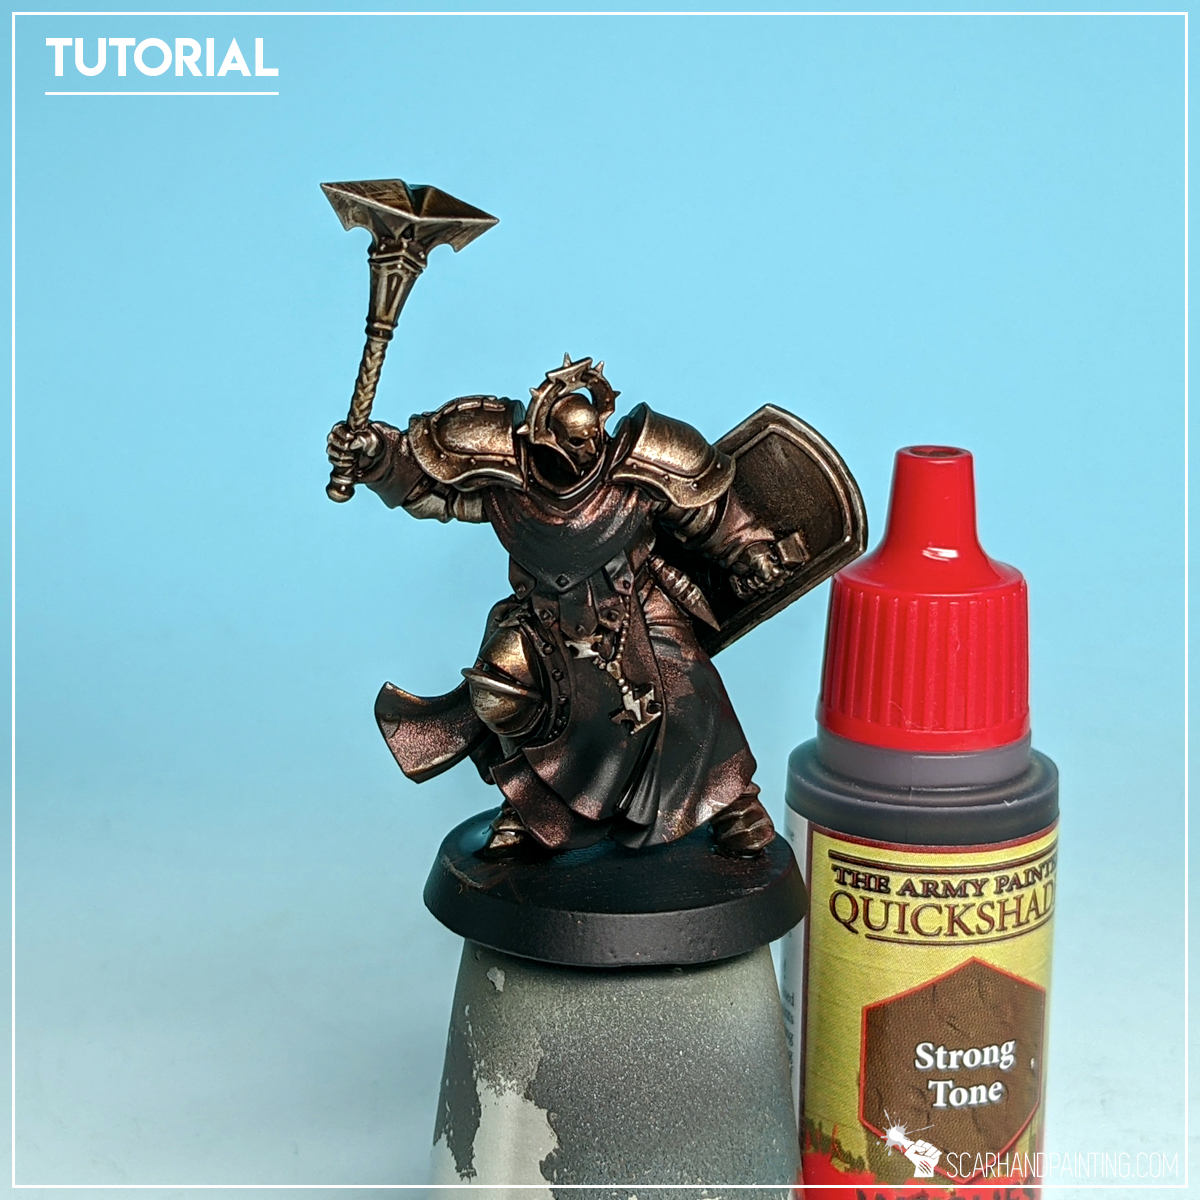
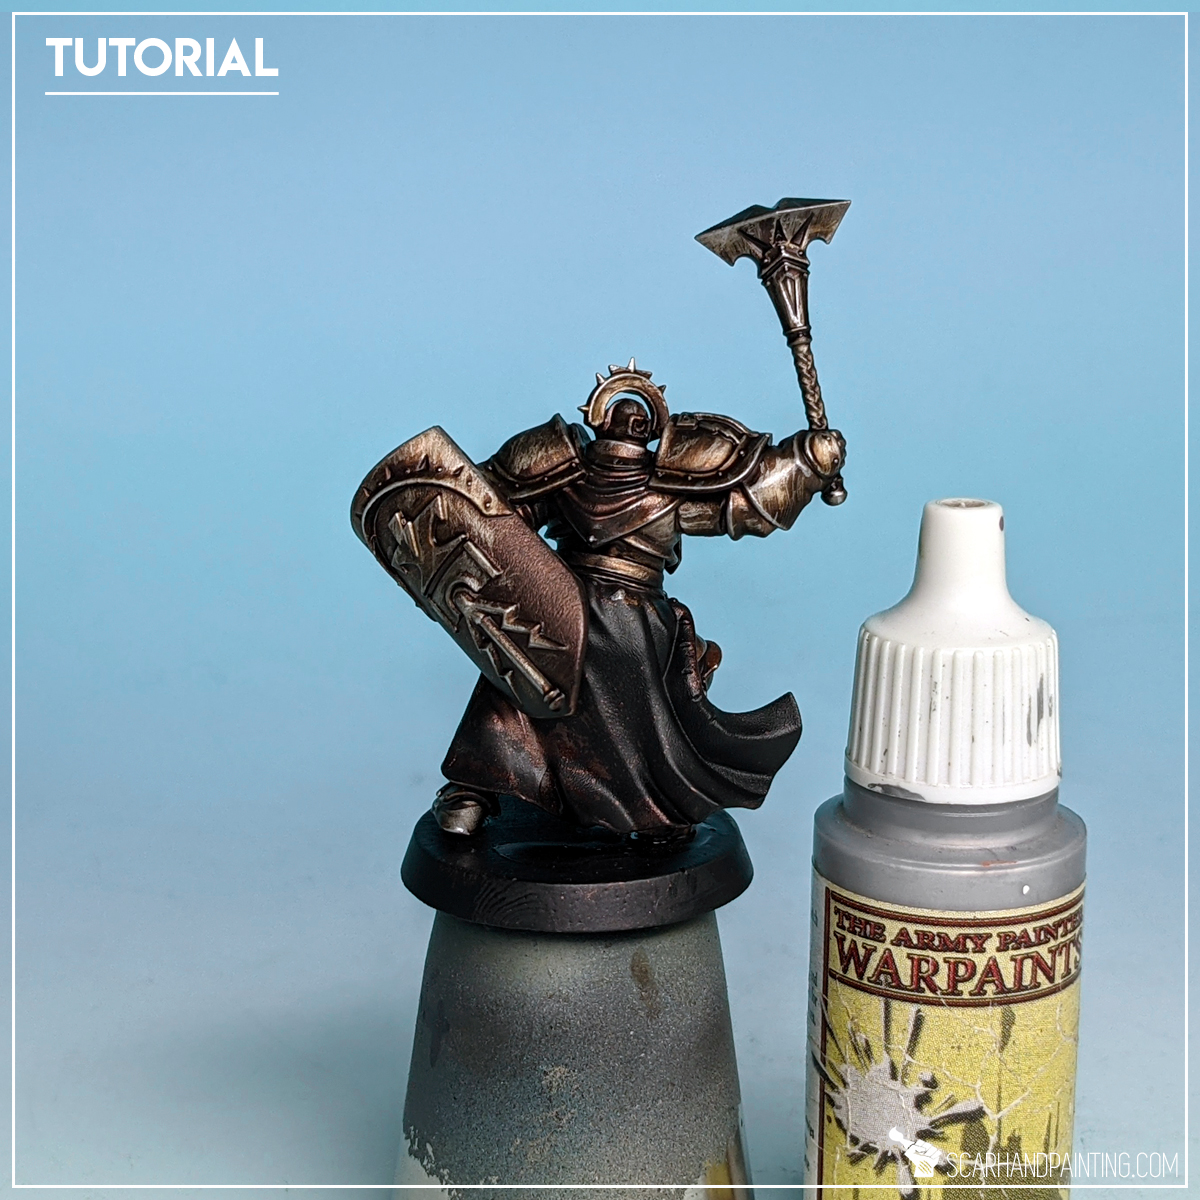
Step four: Wash
The Army Painter Strong Tone was next. I applied a rich layer of wash all over the miniature.
NOTE: I recommend applying and highlighting any colors compatible with Strong Tone before commencing this step. Proper layer planning is key to achieving fast painting time. For this tutorial I left the rest of the miniature as is.
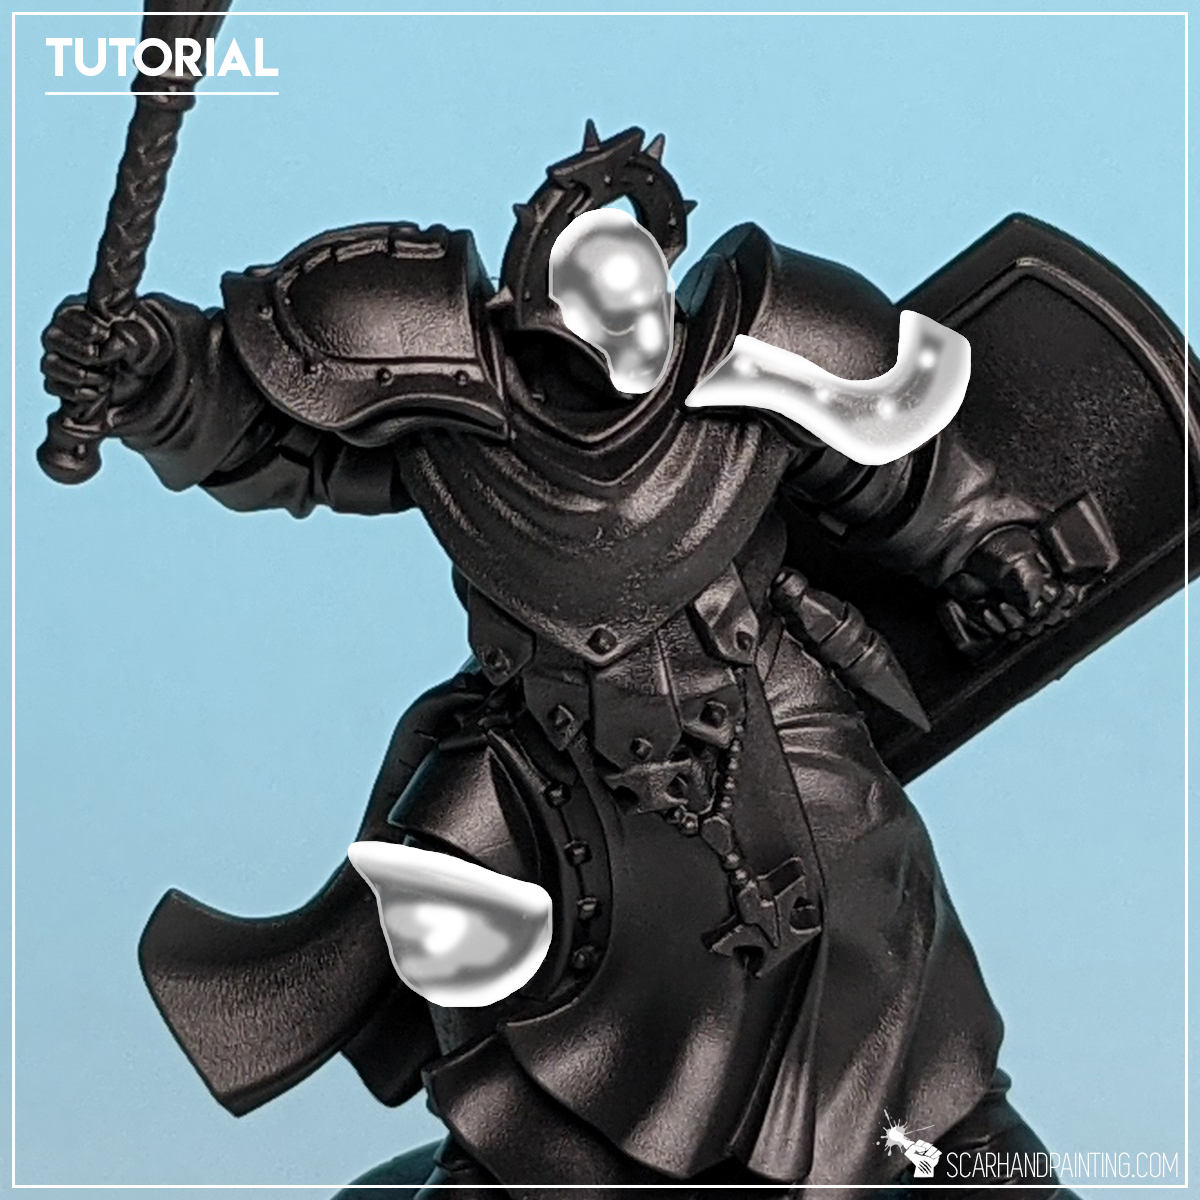
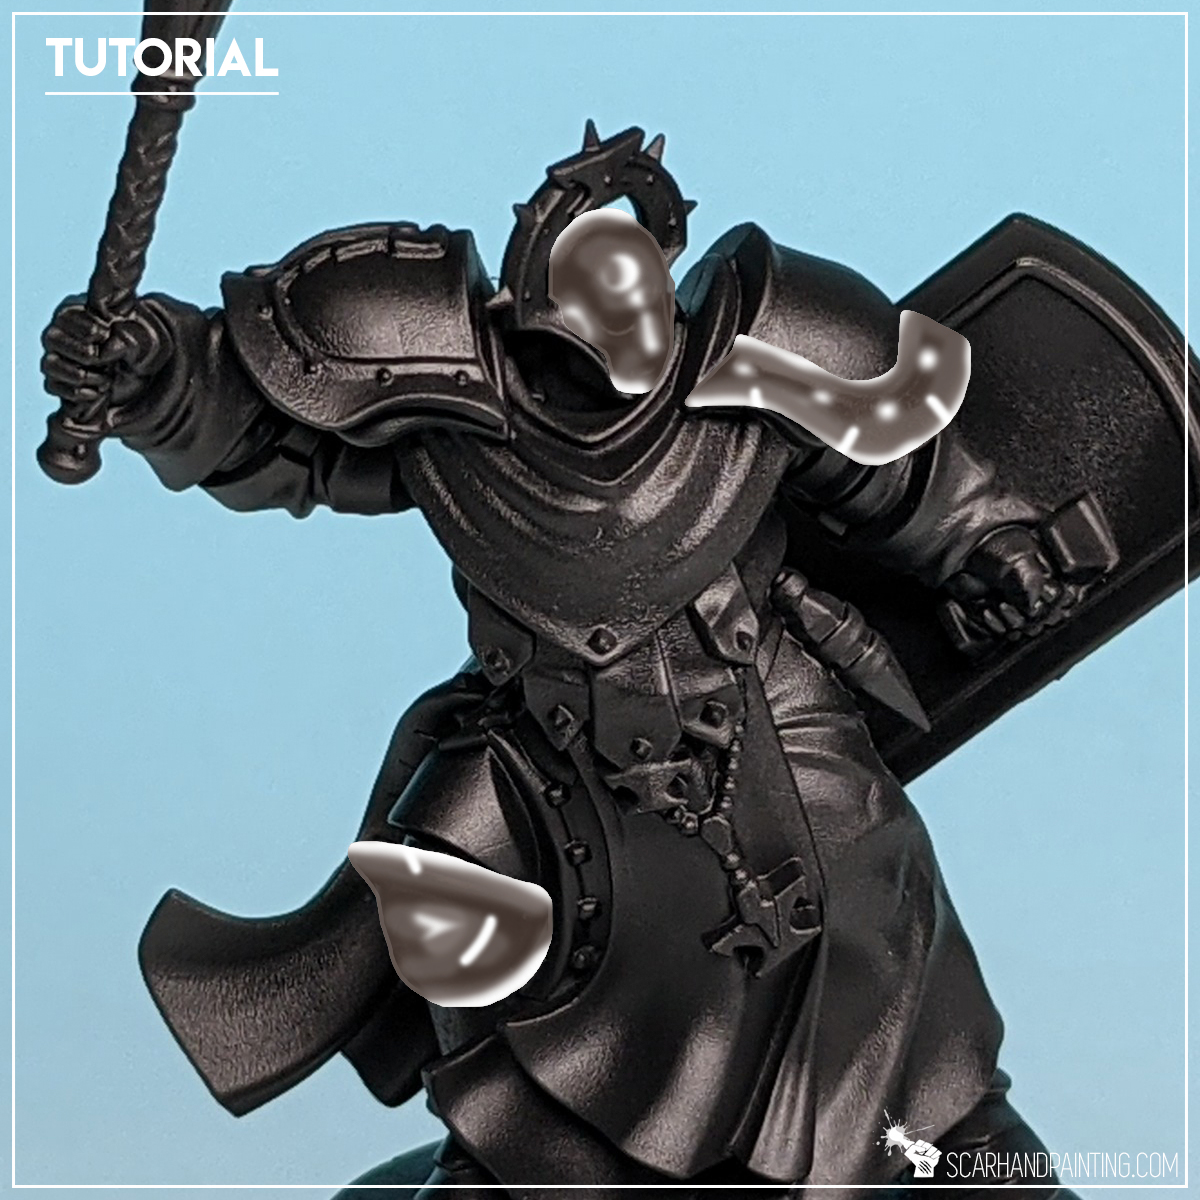
Step five: Highlight
Finally I edge highlighted with Army Painter Shining Silver. I also painted few additional scratches and lines to add diversity to some areas.

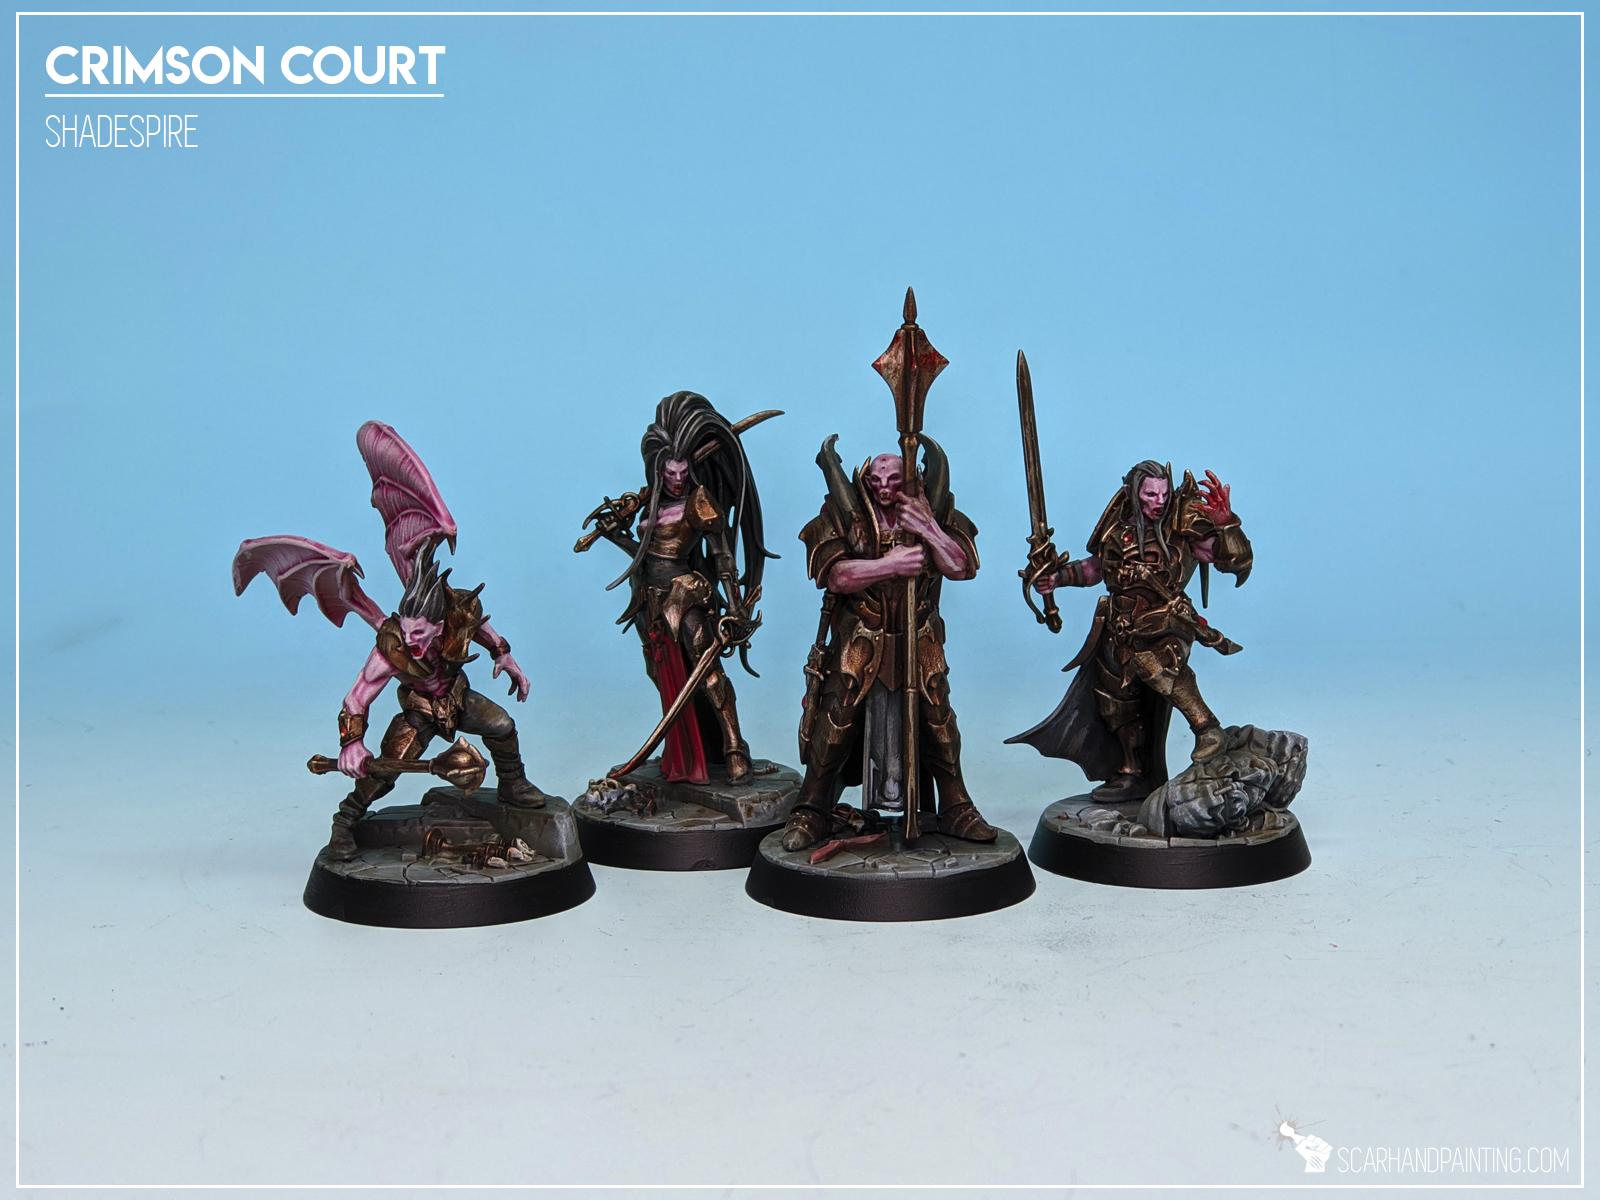
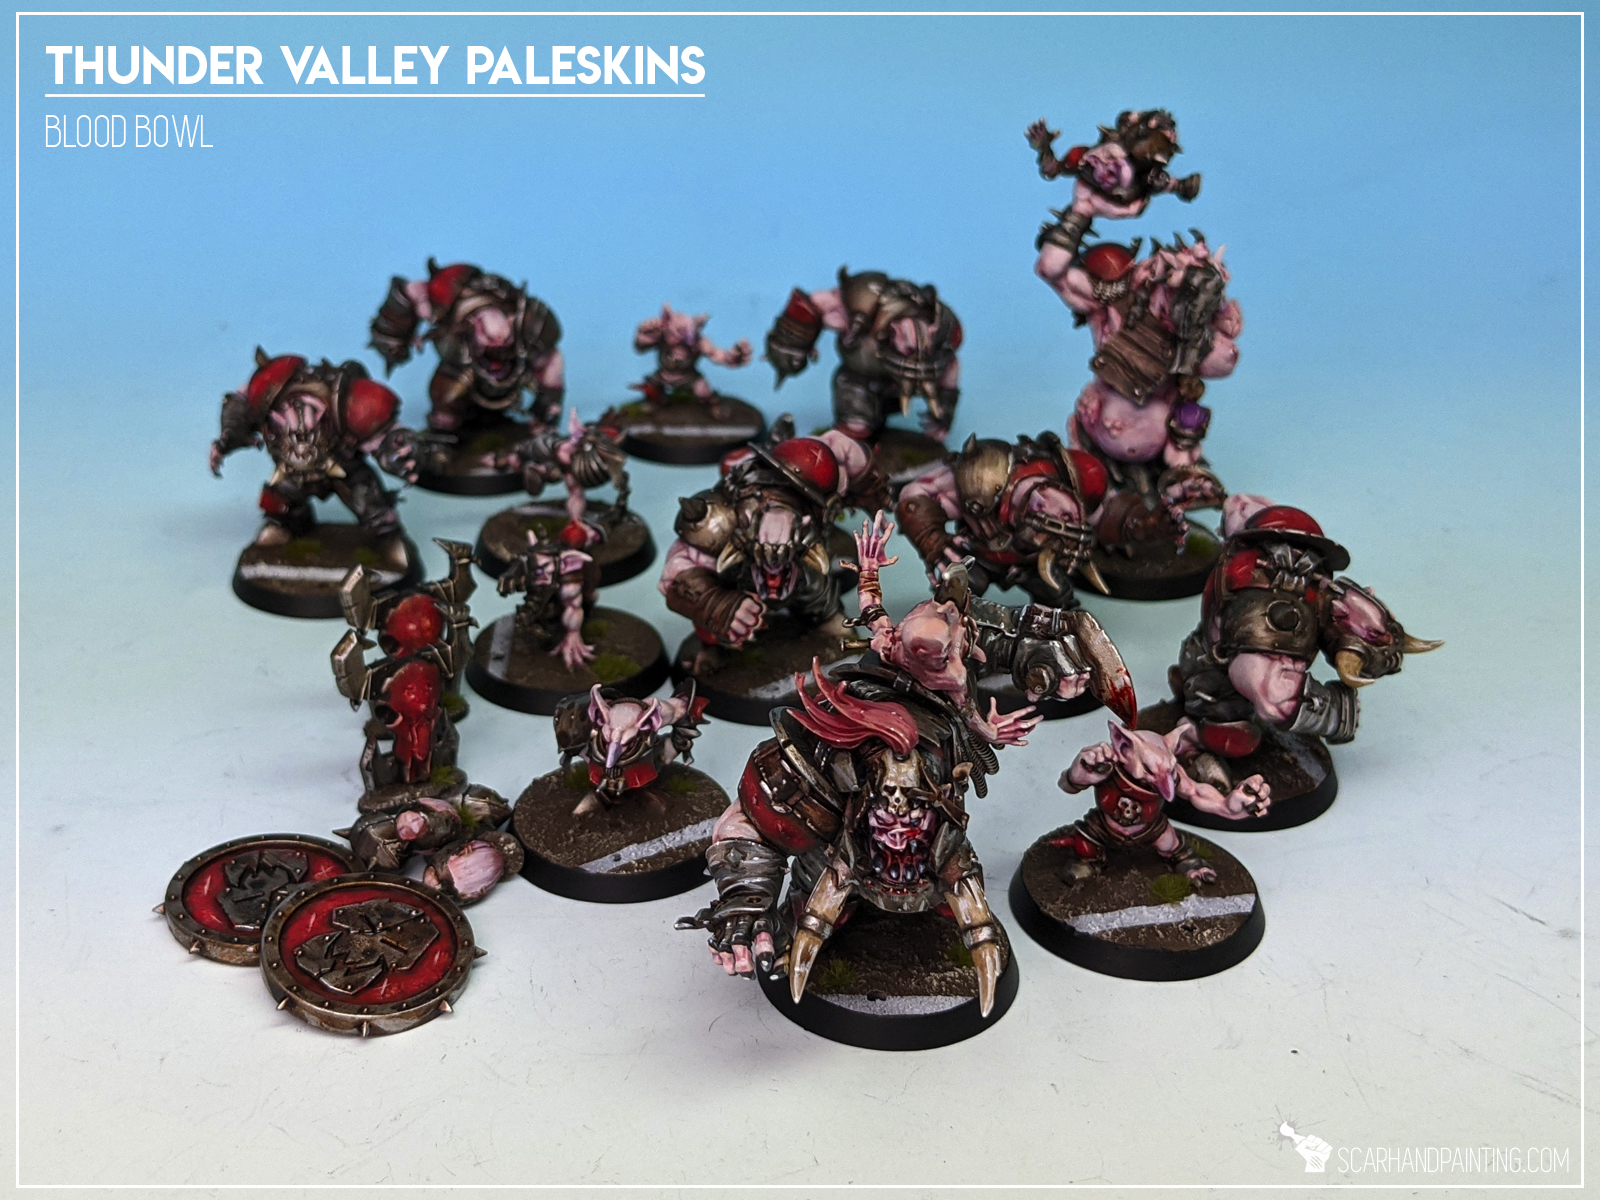
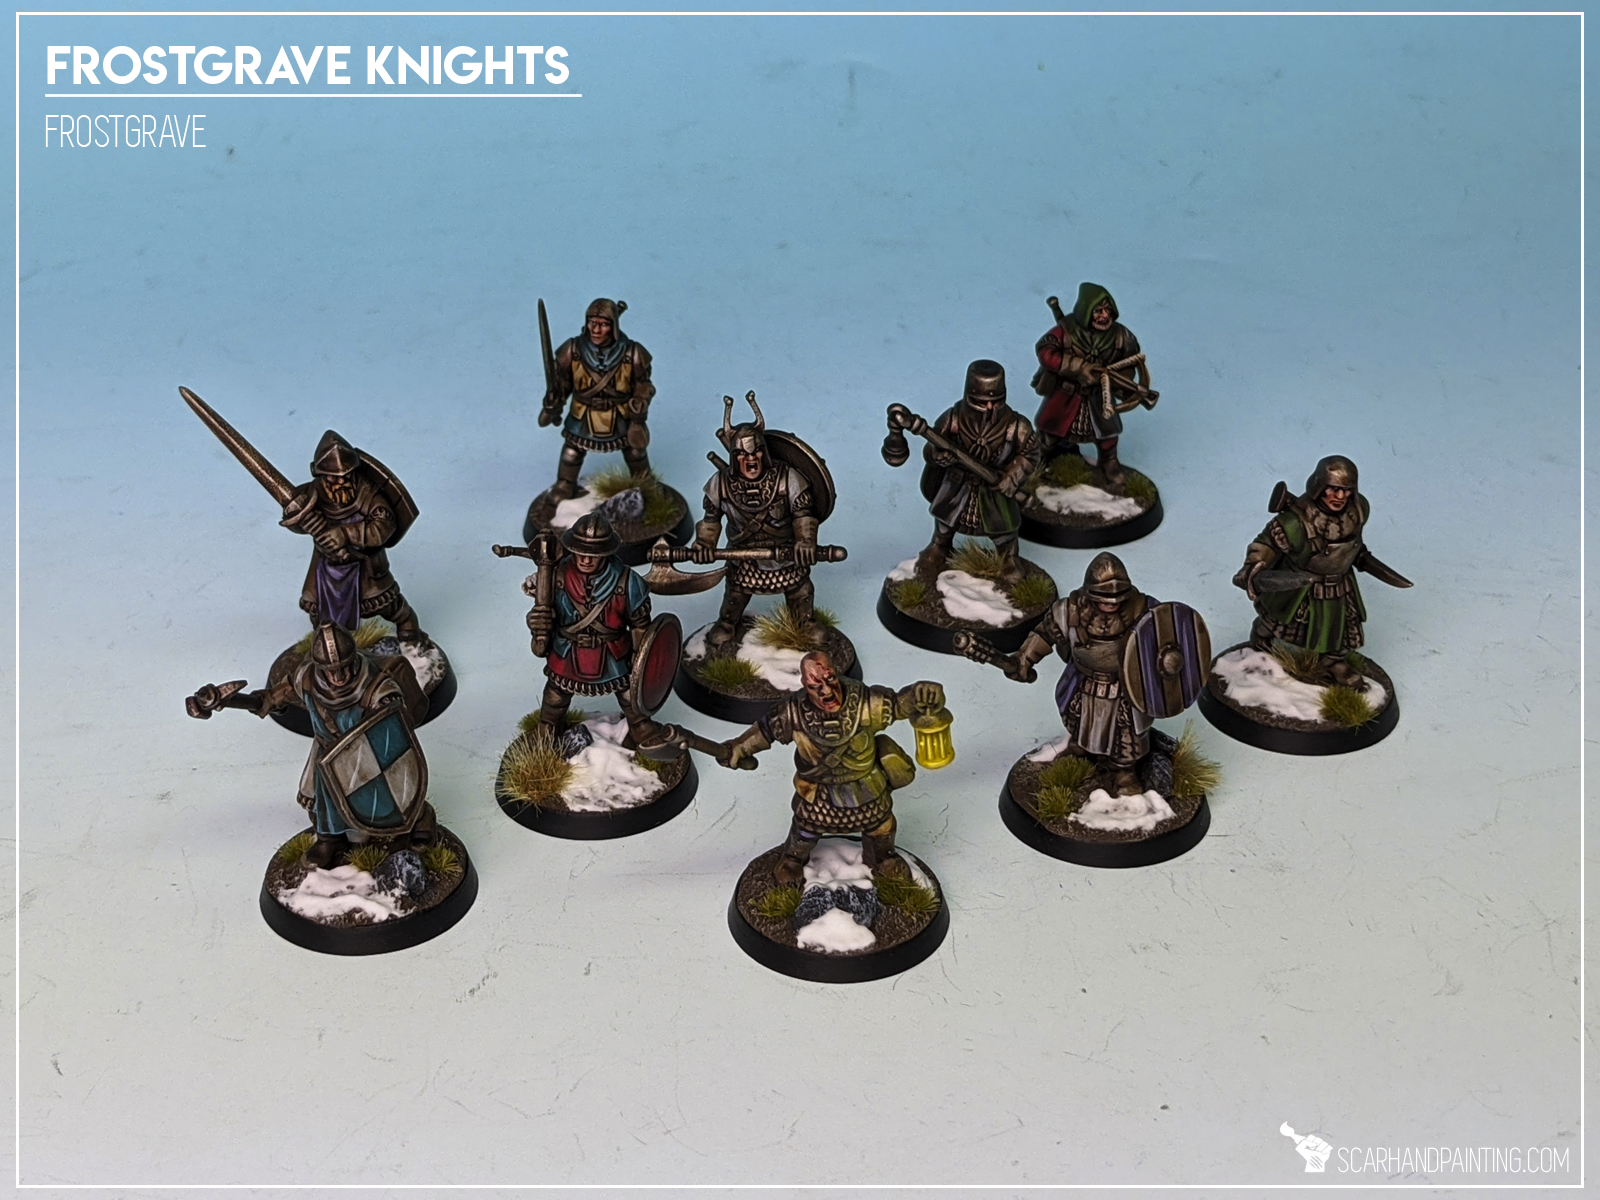
Job complete. It is just that simple. Now you have a nice base to add depth and additional detail with color washes/glazes, or you can just leave it as is, if you prefer. Below are some examples of Metal painted with Five Layers Technique.


I hope you find this tutorial interesting. Be sure to let me know your thoughts in the comments below or via Facebook or Instagram. I would also appreciate if you considered sharing this content with your friends, who might find it useful. Finally if you are looking for a professional miniatures painting service be sure to contact me with this contact form. I always reply within 24 hours, after which please check out your spam folder.
1 comment so far
Howie BPosted on2:28 pm - Jul 20, 2018
Cheers dude! I’ve just discovered this blog and it’s a goldmine of info.