- contact@scarhandpainting.com


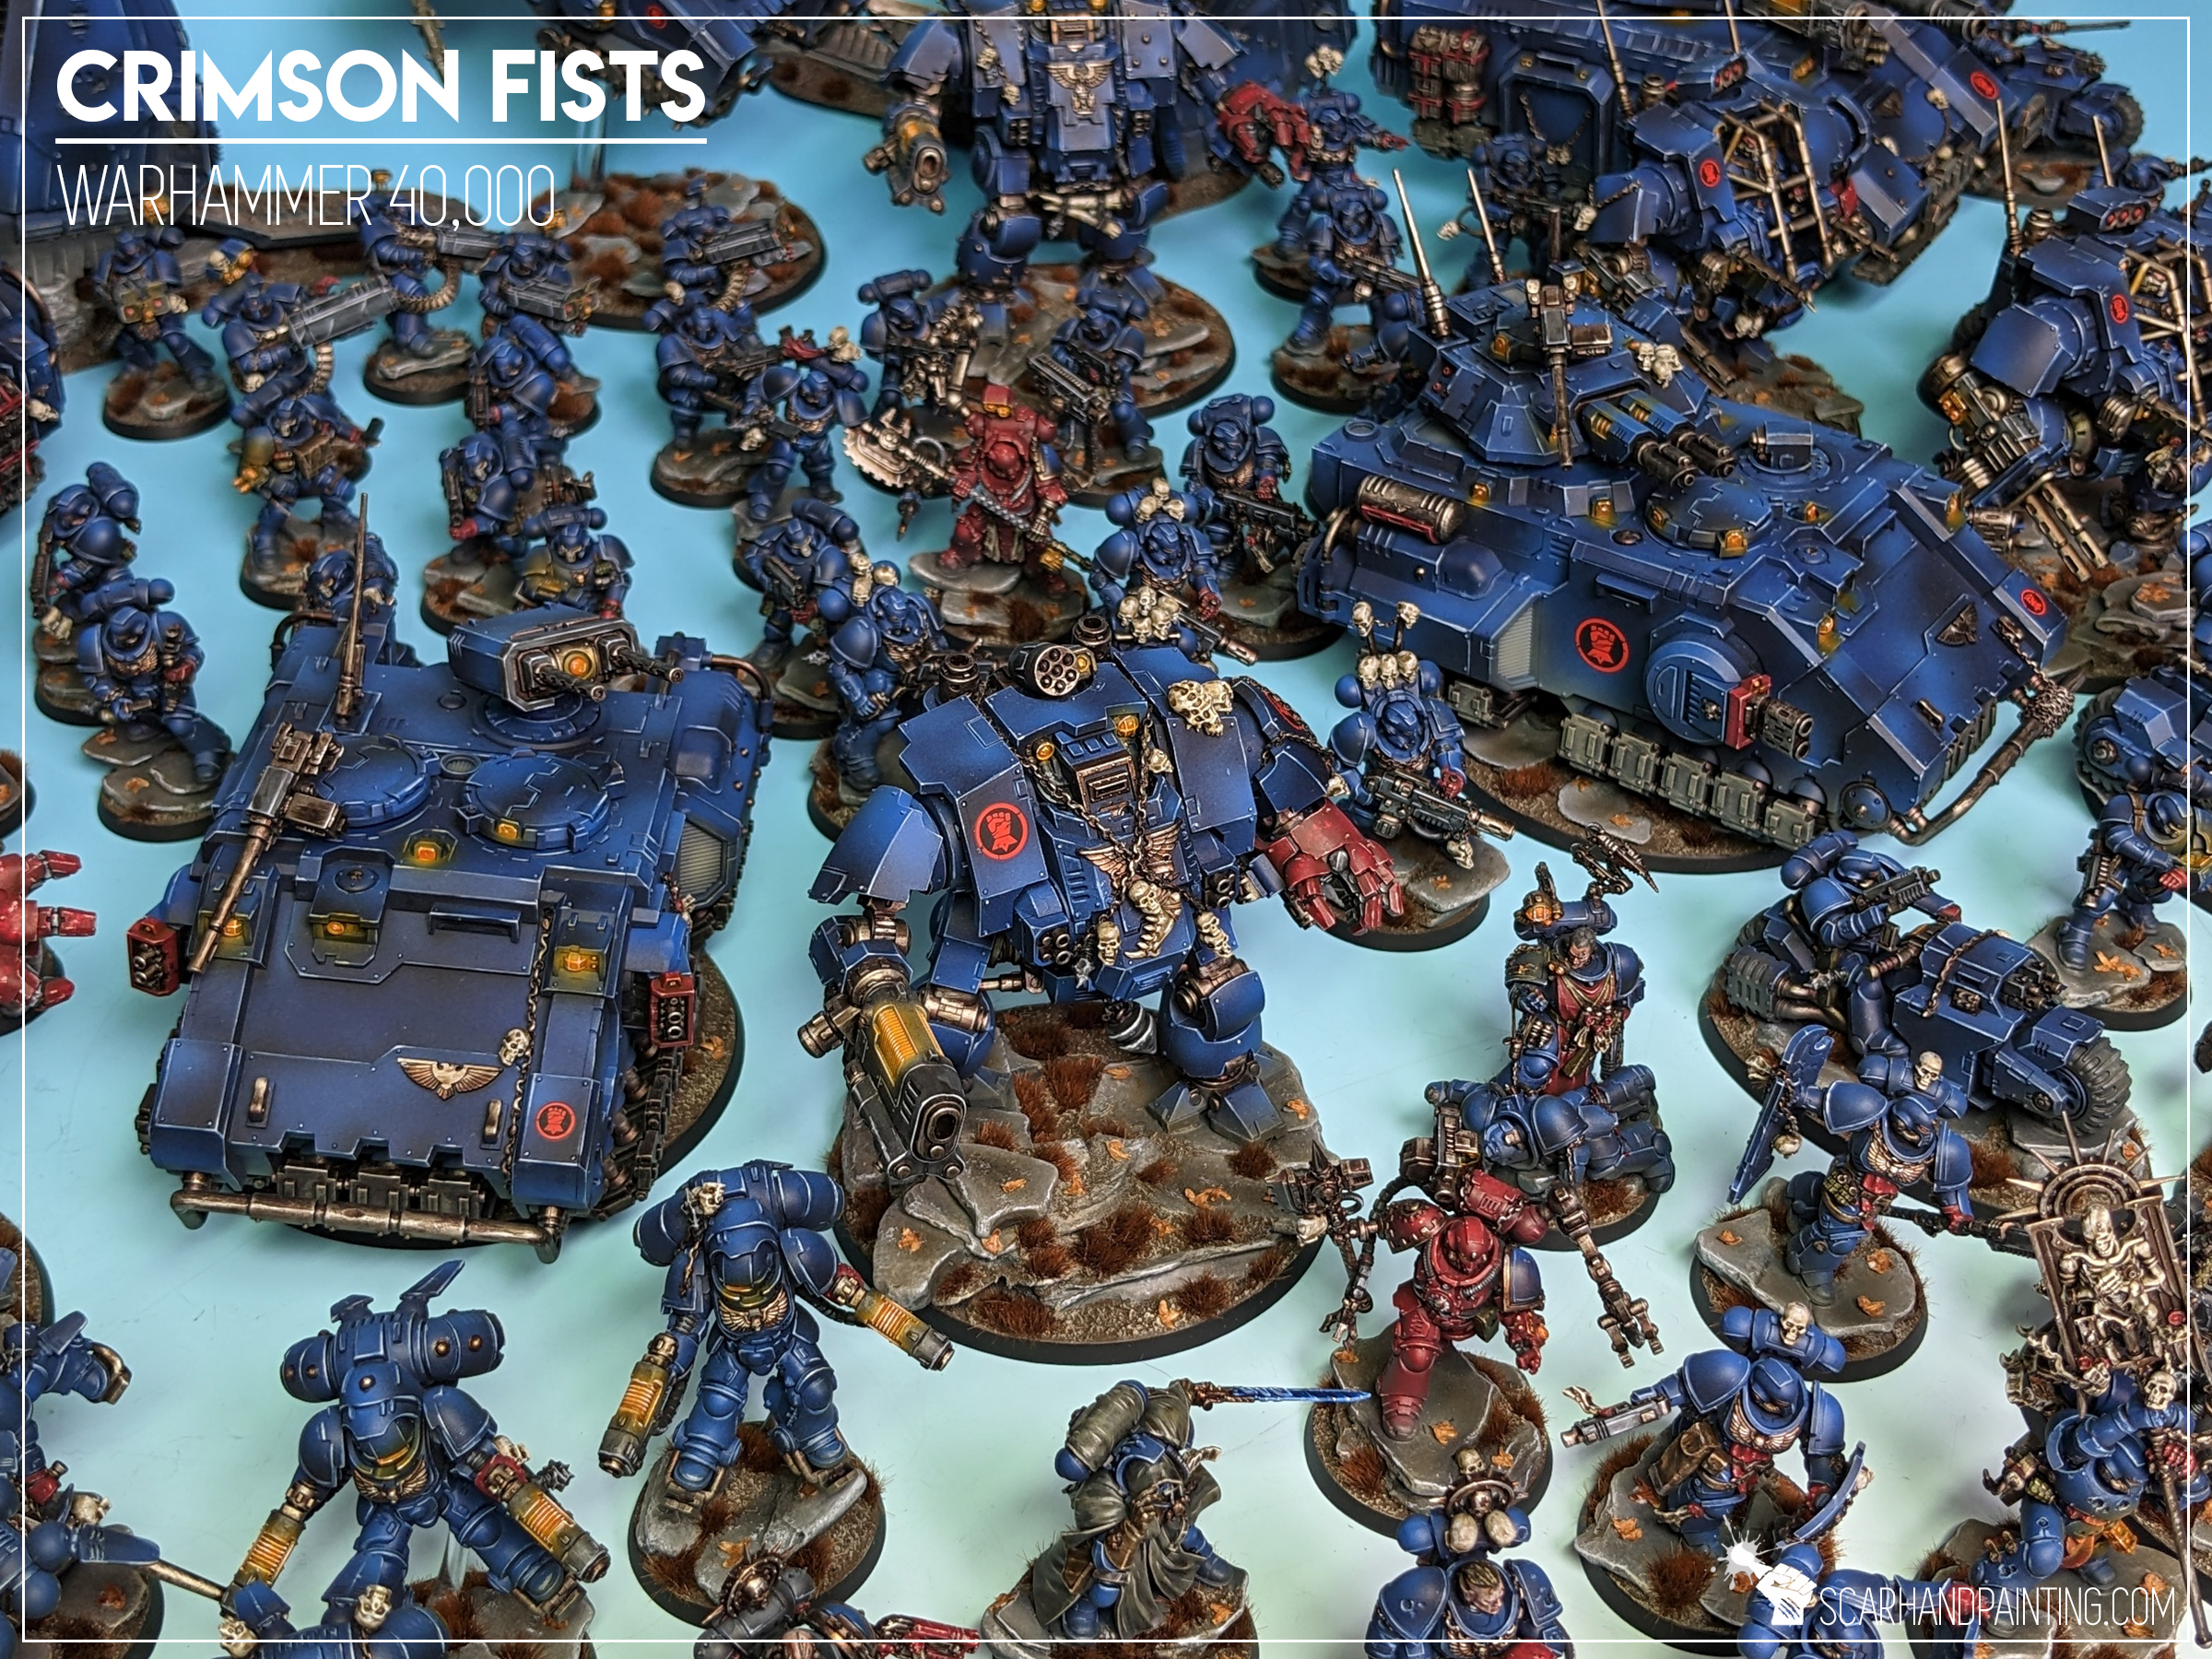
Welcome to Painting Warhammer 40,000 Crimson Fists tutorial. Here I will present to you a Step-by-step of an easy and fast painting process for Games Workshop Crimson Fists Primaris Marines red as can be seen in Gallery: Crimson Fists.

Before we start, some notes:
Previous steps: Blue Armor
Although red elements can be painted separately I strongly recommend following part one of the article before moving to this color. Visit Tutorial: Painting Warhammer 40,000 Crimson Fists part one Blue Armor for more information.
Step one: Base Color
The initial layer was painted manually (no airbrush) with Vallejo Model – Hull Red (70.985). The color is thick resulting in strong coverage. I deliberately avoided going back to places where the undercoat might be visible, not to build too much paint in the area. Other layers will take care of that.

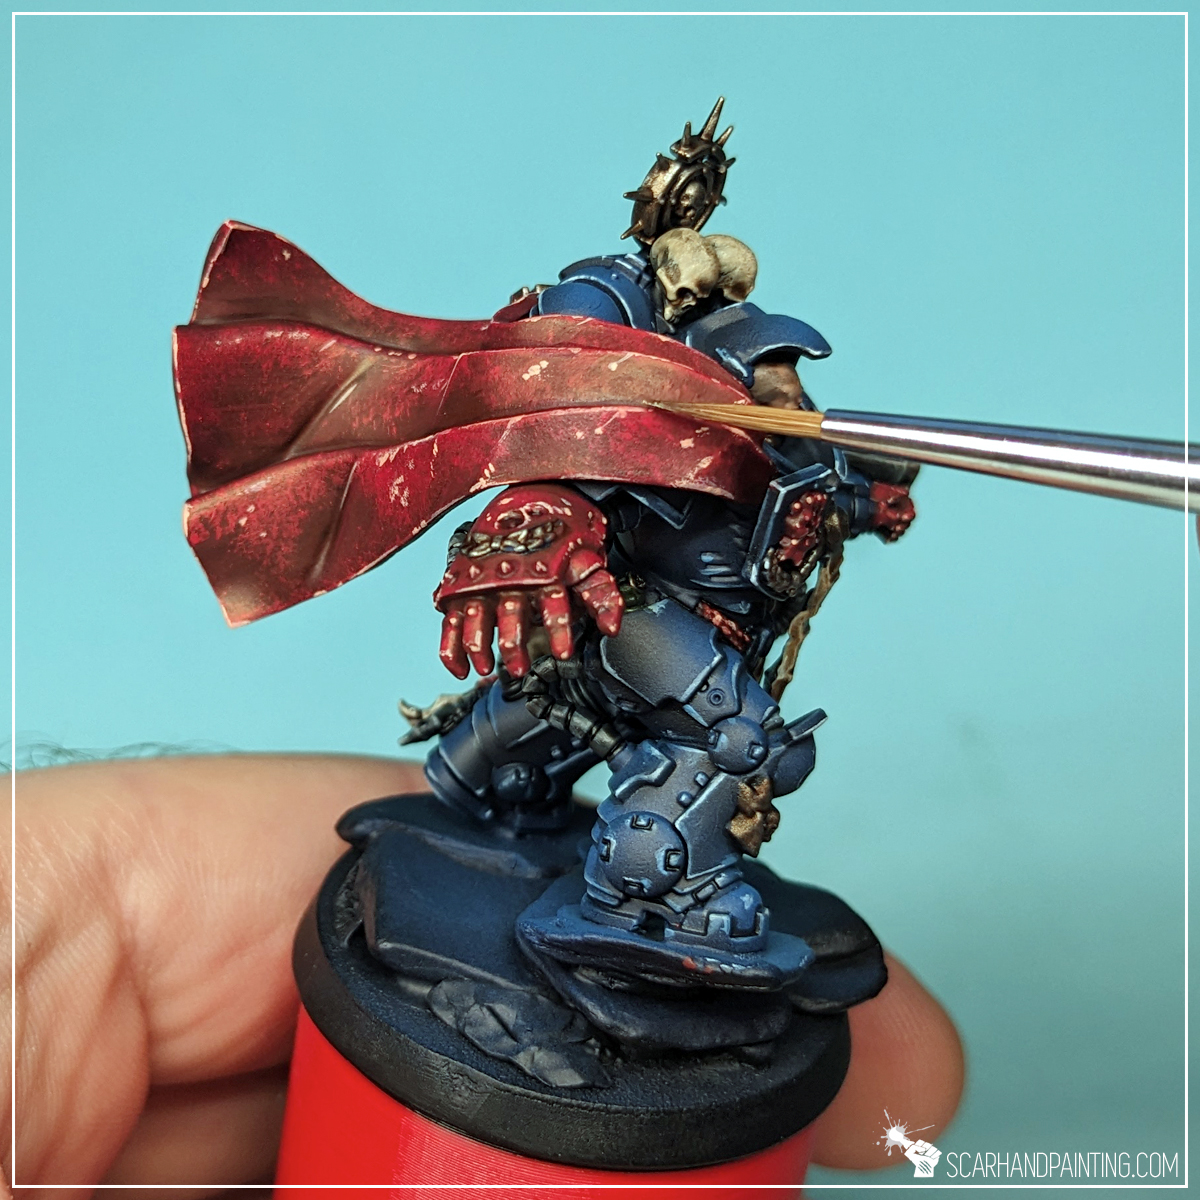
Step two: Highlight
Next I manually applied a large area highlight of Vallejo Burnt Red (70.814). A bit brighter and slightly pastele, the color has a relatively good coverage. I focused on covering all edges and exposed areas, less on recesses and inner folds.

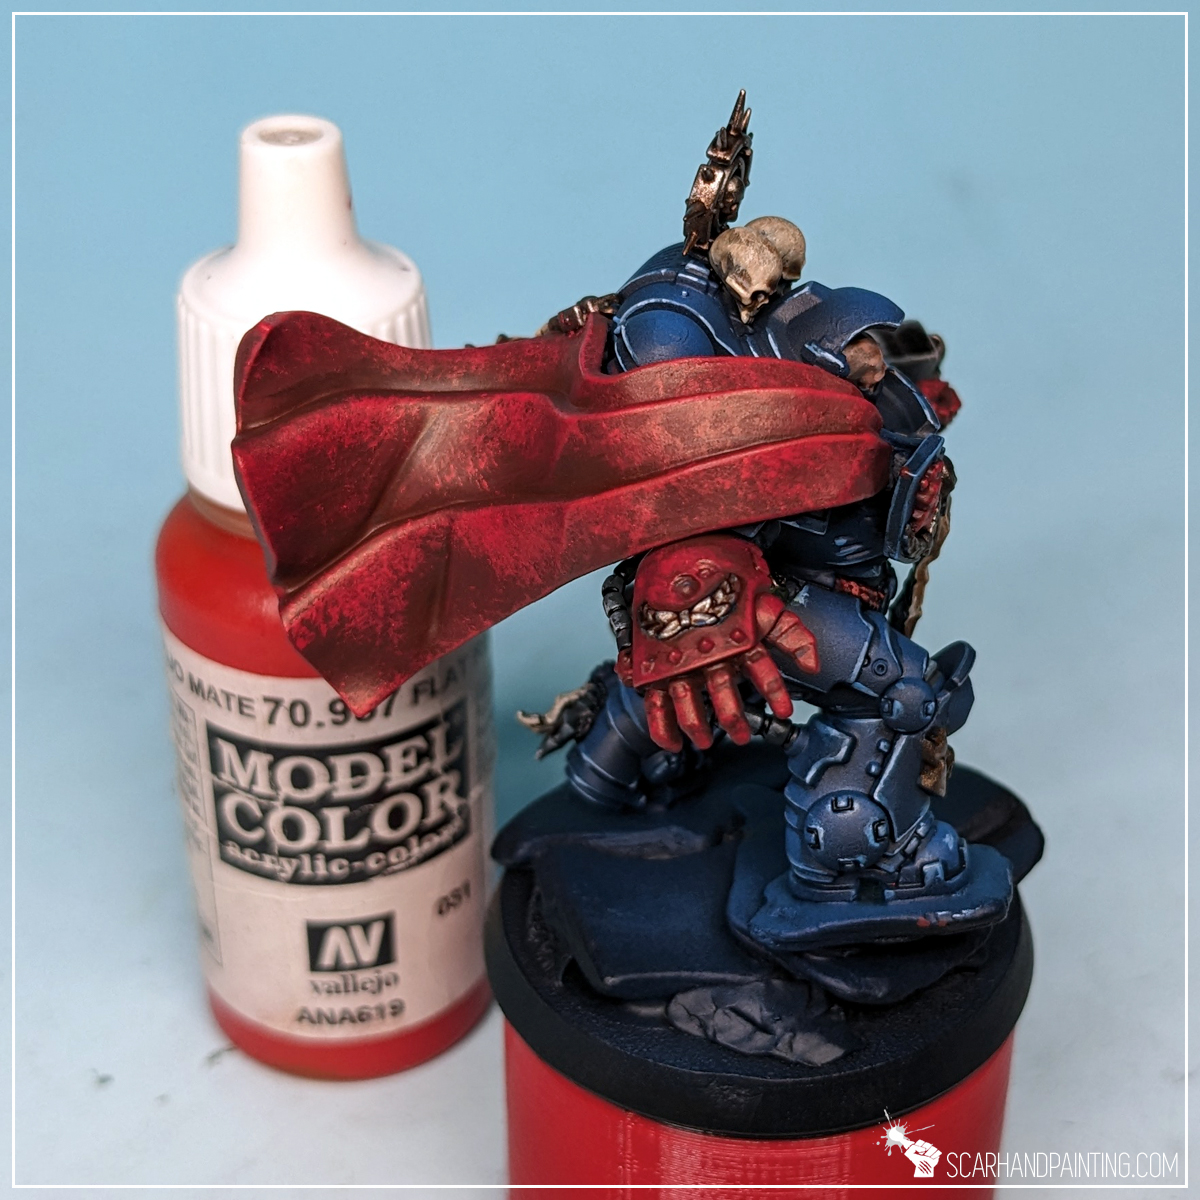
Step three: Texture Highlight
I then applied a mix-method layer of Vallejo Flat Red (70.957)*, switching between edge highlight and stippling. This added much needed texture and vibrancy.
* Warning: I am convinced my Vallejo Flat Red is bugged. I have purchased a number of bottles and the one used for my Crimson Fists is clearly mixed up. There sadly is no comparable color in the entire Vallejo range that I am aware of (and I got each Red they make to test it). I recommend choosing any strong, vibrant, well pigmented red for this step instead.
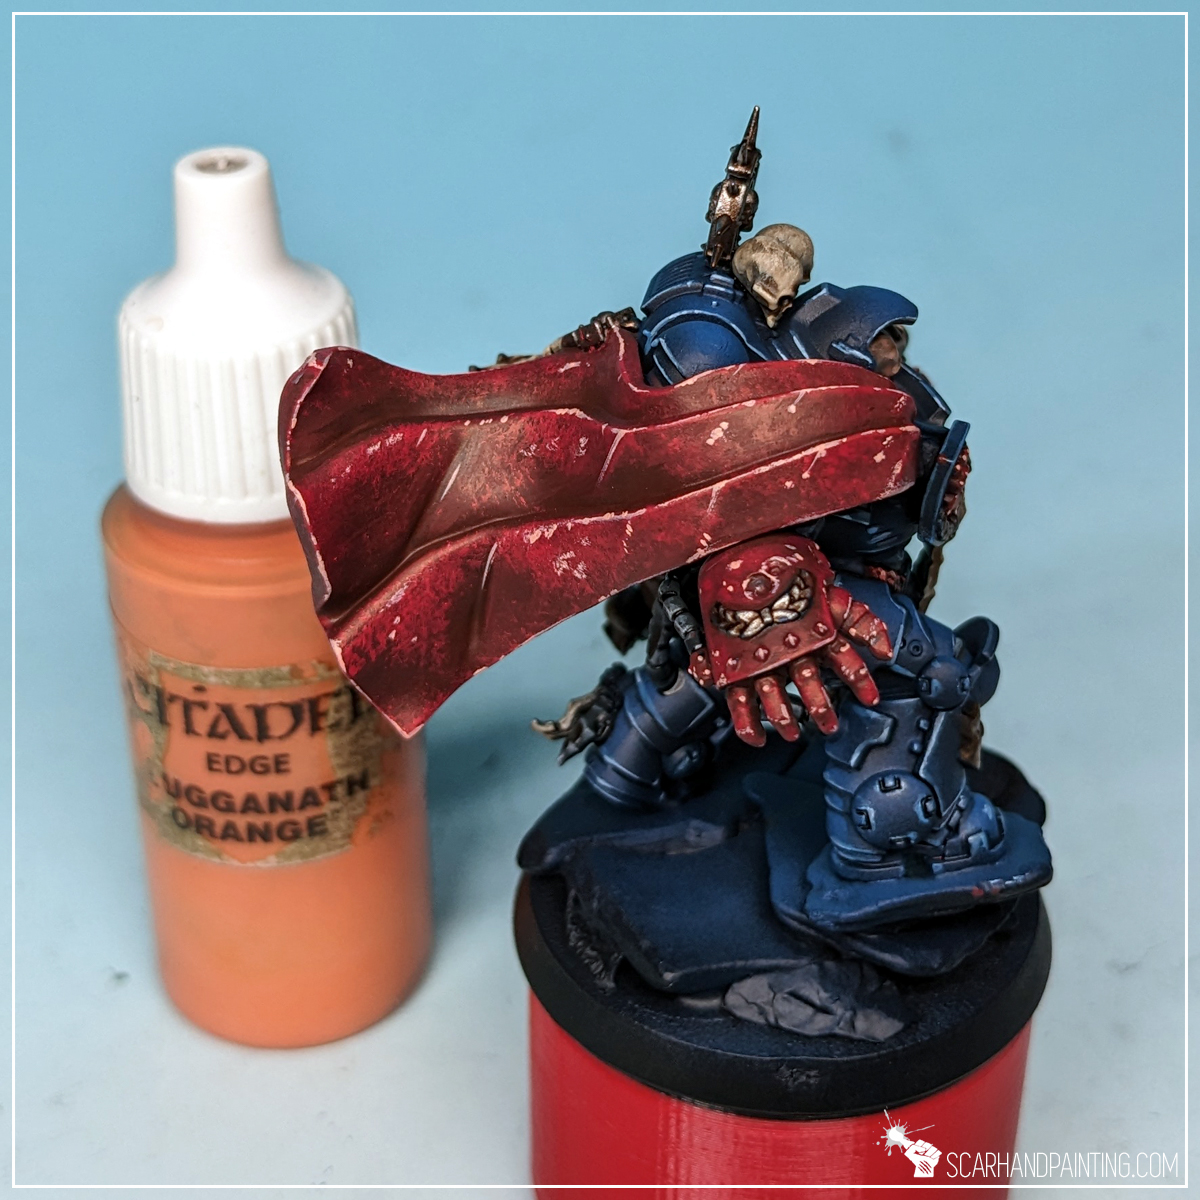
Step four: Final Highlight
In the last step I added a limited highlight of Citadel Lugganath Orange. The paint is thick and I used it without thinning. Just a few lines on the edges, a few irregular dots in certain areas. Not to much, not to change the expression of the overall color.

That wraps up red. Four layers of paint to imitate eye catching, vibrant tone. Two most important colors out of the way, the rest is a topic for another day. Stay tuned for part three of the tutorial.
I hope you’ve enjoyed this article. Be sure to let me know your thoughts in the comments below or via Facebook or Instagram. I would also appreciate it if you considered sharing this content with your friends, who might find it interesting. Finally if you are looking for a professional miniatures painting service, be sure to contact me with this contact form. I always reply within 24 hours, after which please check out your spam folder.