- contact@scarhandpainting.com


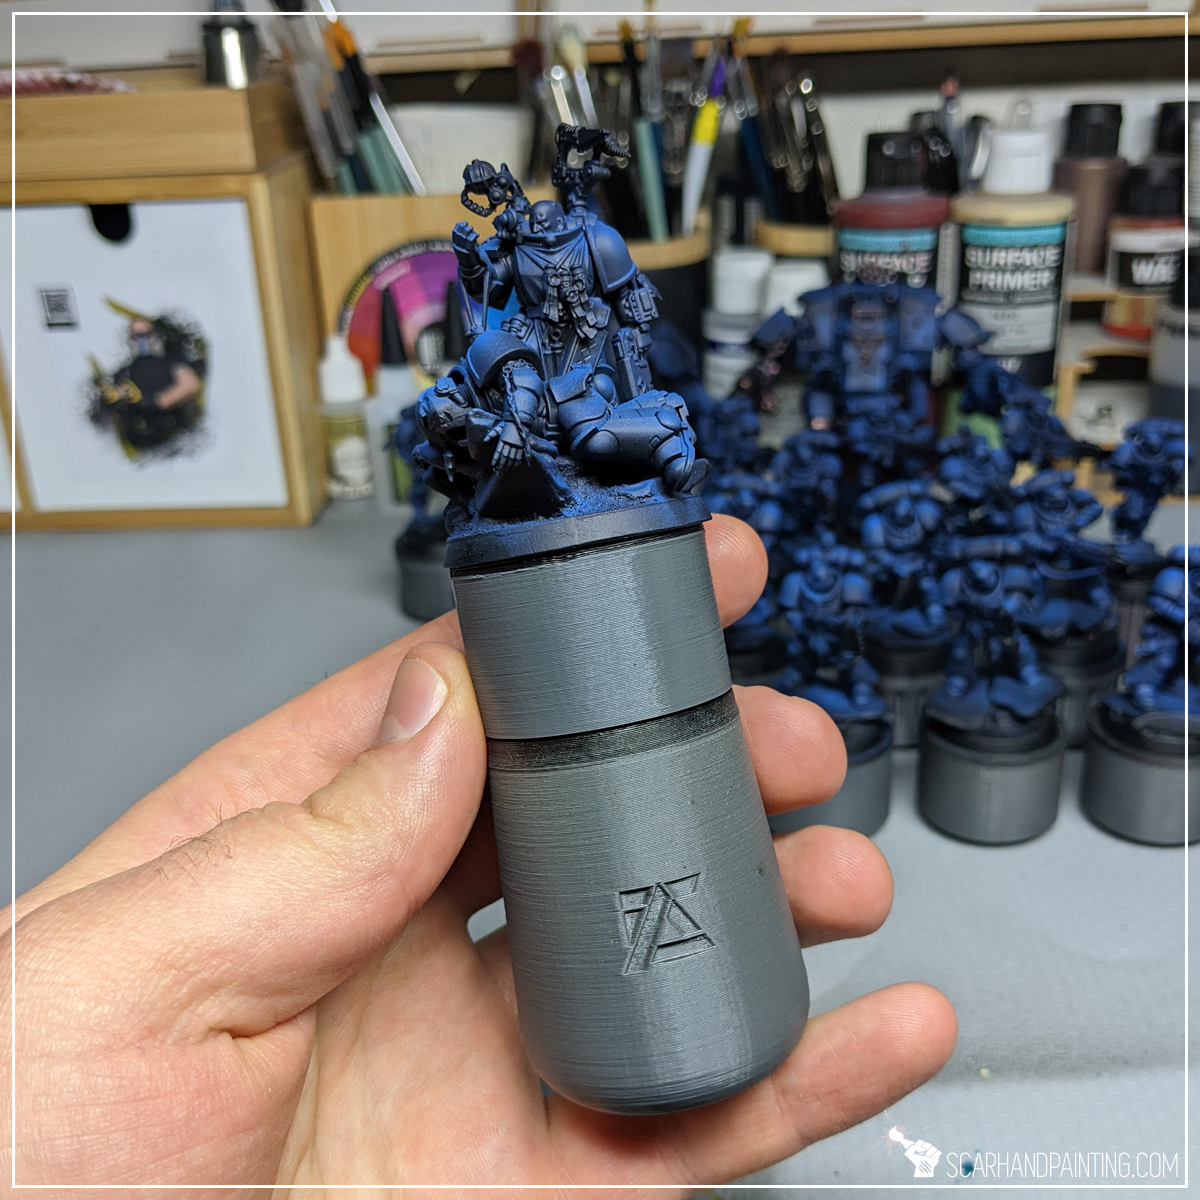
In this step-by-step tutorial I’m going to show you how to magnetize resin bases – easy and fast!
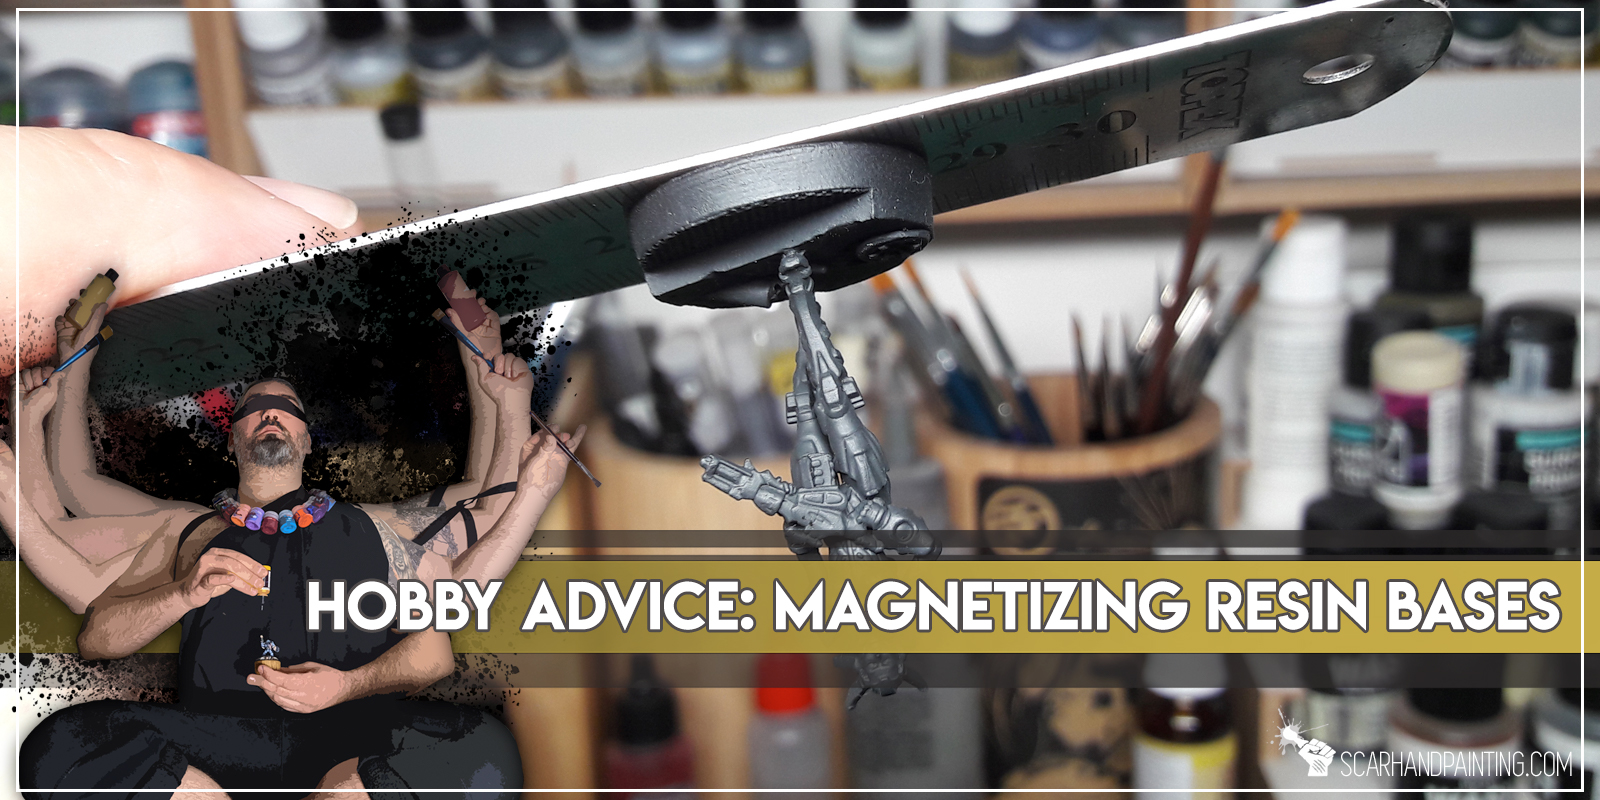
Magnetizing entire army for an upcoming delivery of a brand new A-Case carrying bag seem like a great opportunity for a tutorial, doesn’t it? The thing about resin bases is that they rarely come with magnet holes at the underside and even when they do (for example Warsenal) it’s still better to drill your own precise holes. Below are some of the shortcuts and hacks I use when magnetizing resin bases.
Step One: Drilling

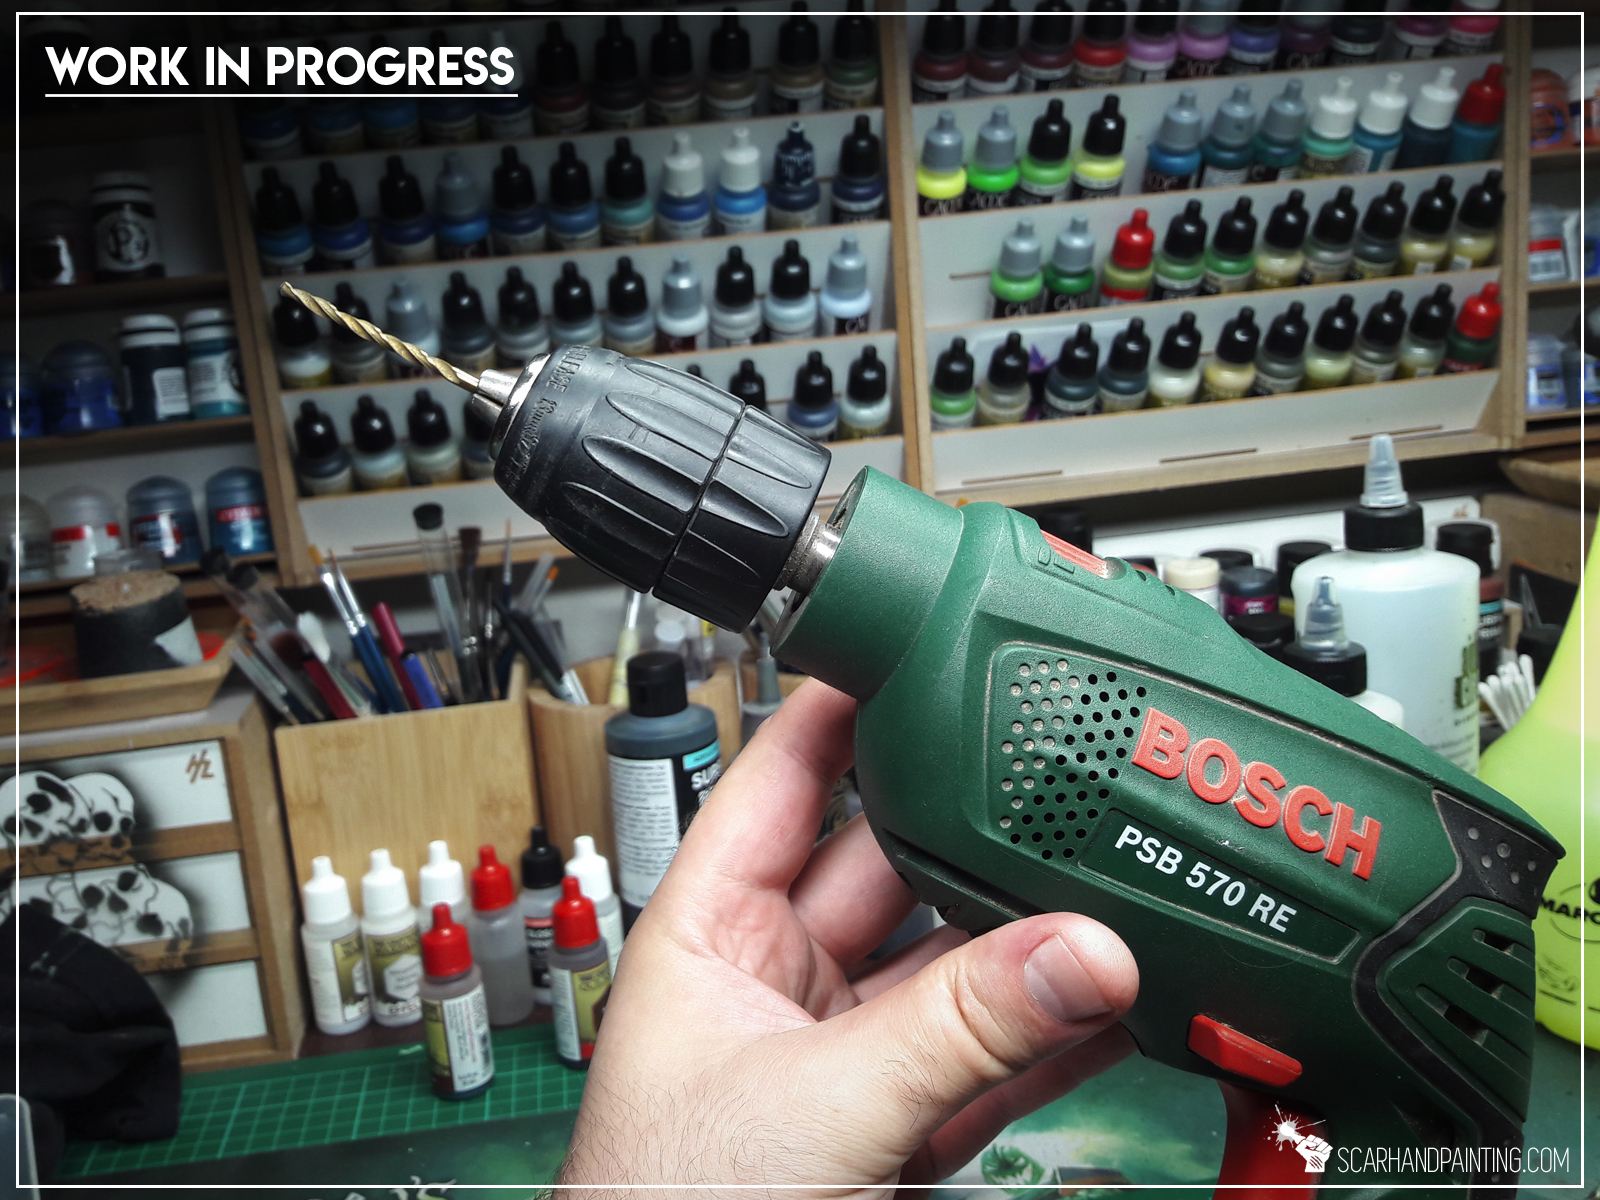
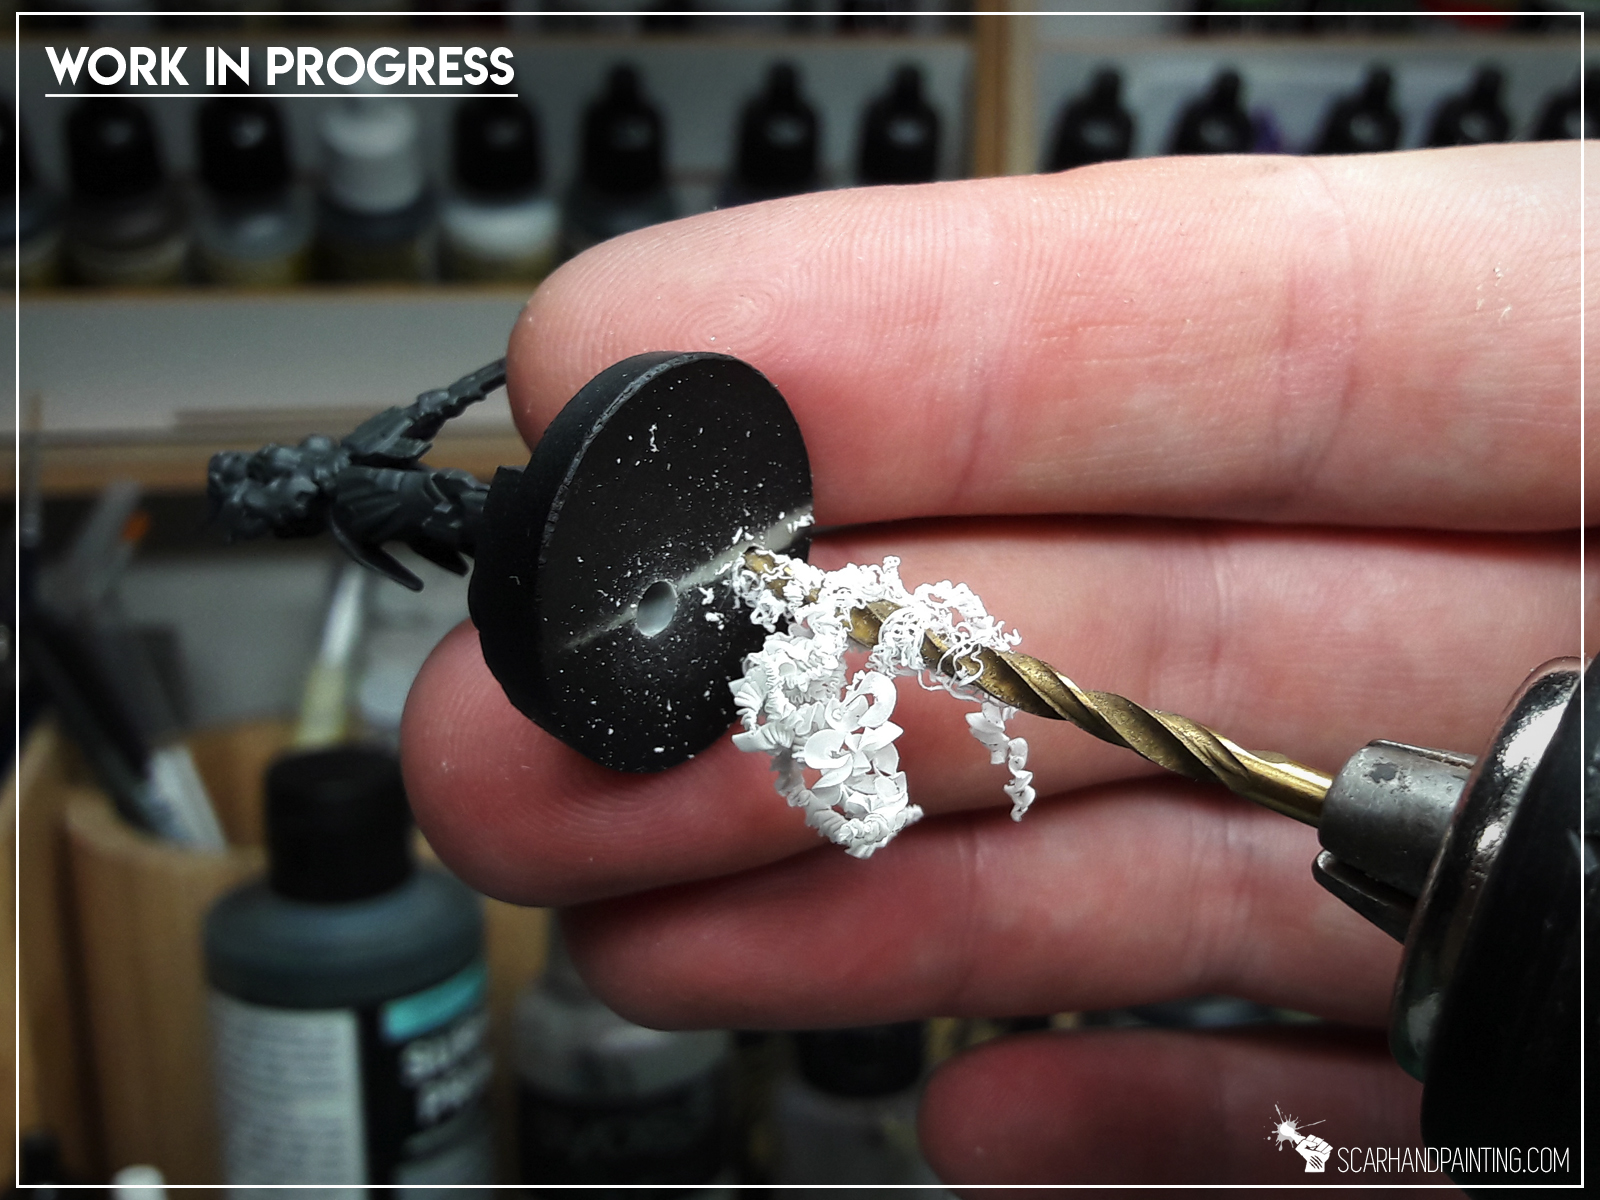
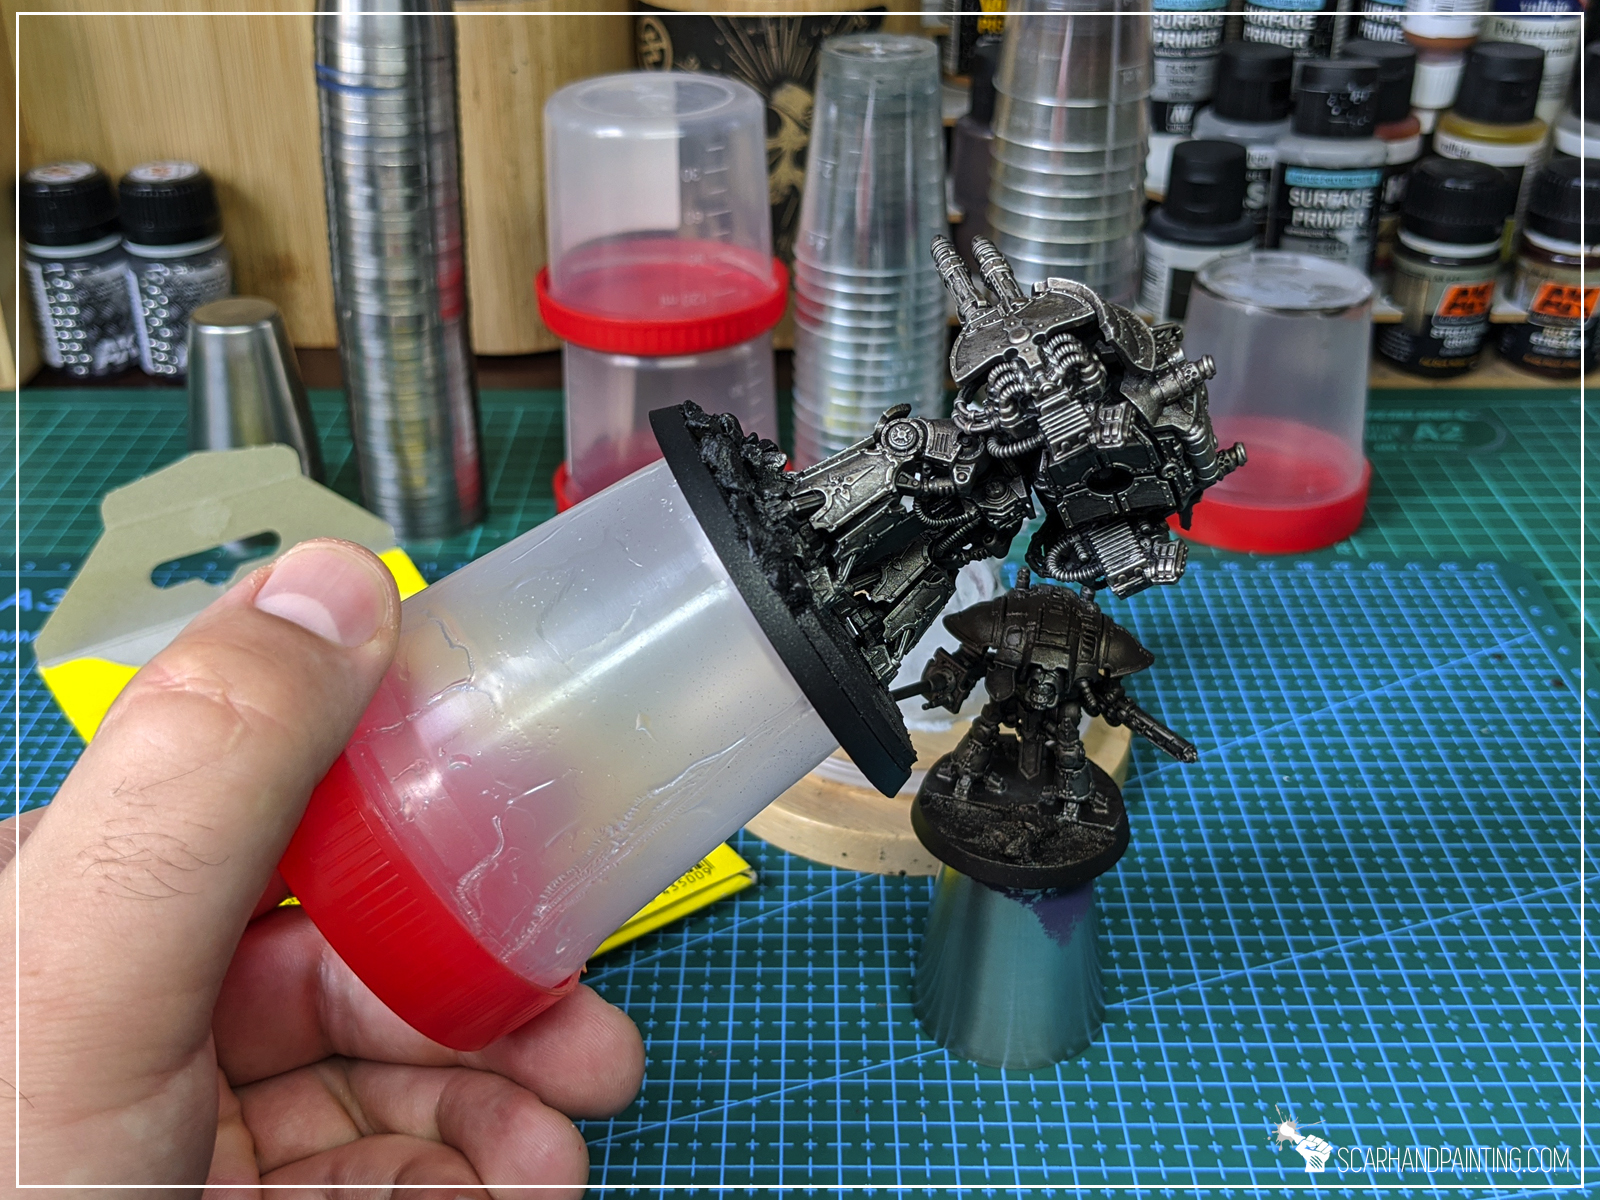
Tip number one would be to use a drill that is the size of the magnet you want to put into the base. This would usually be too big to use in a hand driller, thus we land on Tip number two – use a regular driller instead! I know this might come up as crude and a bit scary, especially when we’re talking fully painted miniatures, but with just a bit of focus it goes smooth. To ensure your miniature’s safety, hold the base firmly and avoid holding the miniature itself.
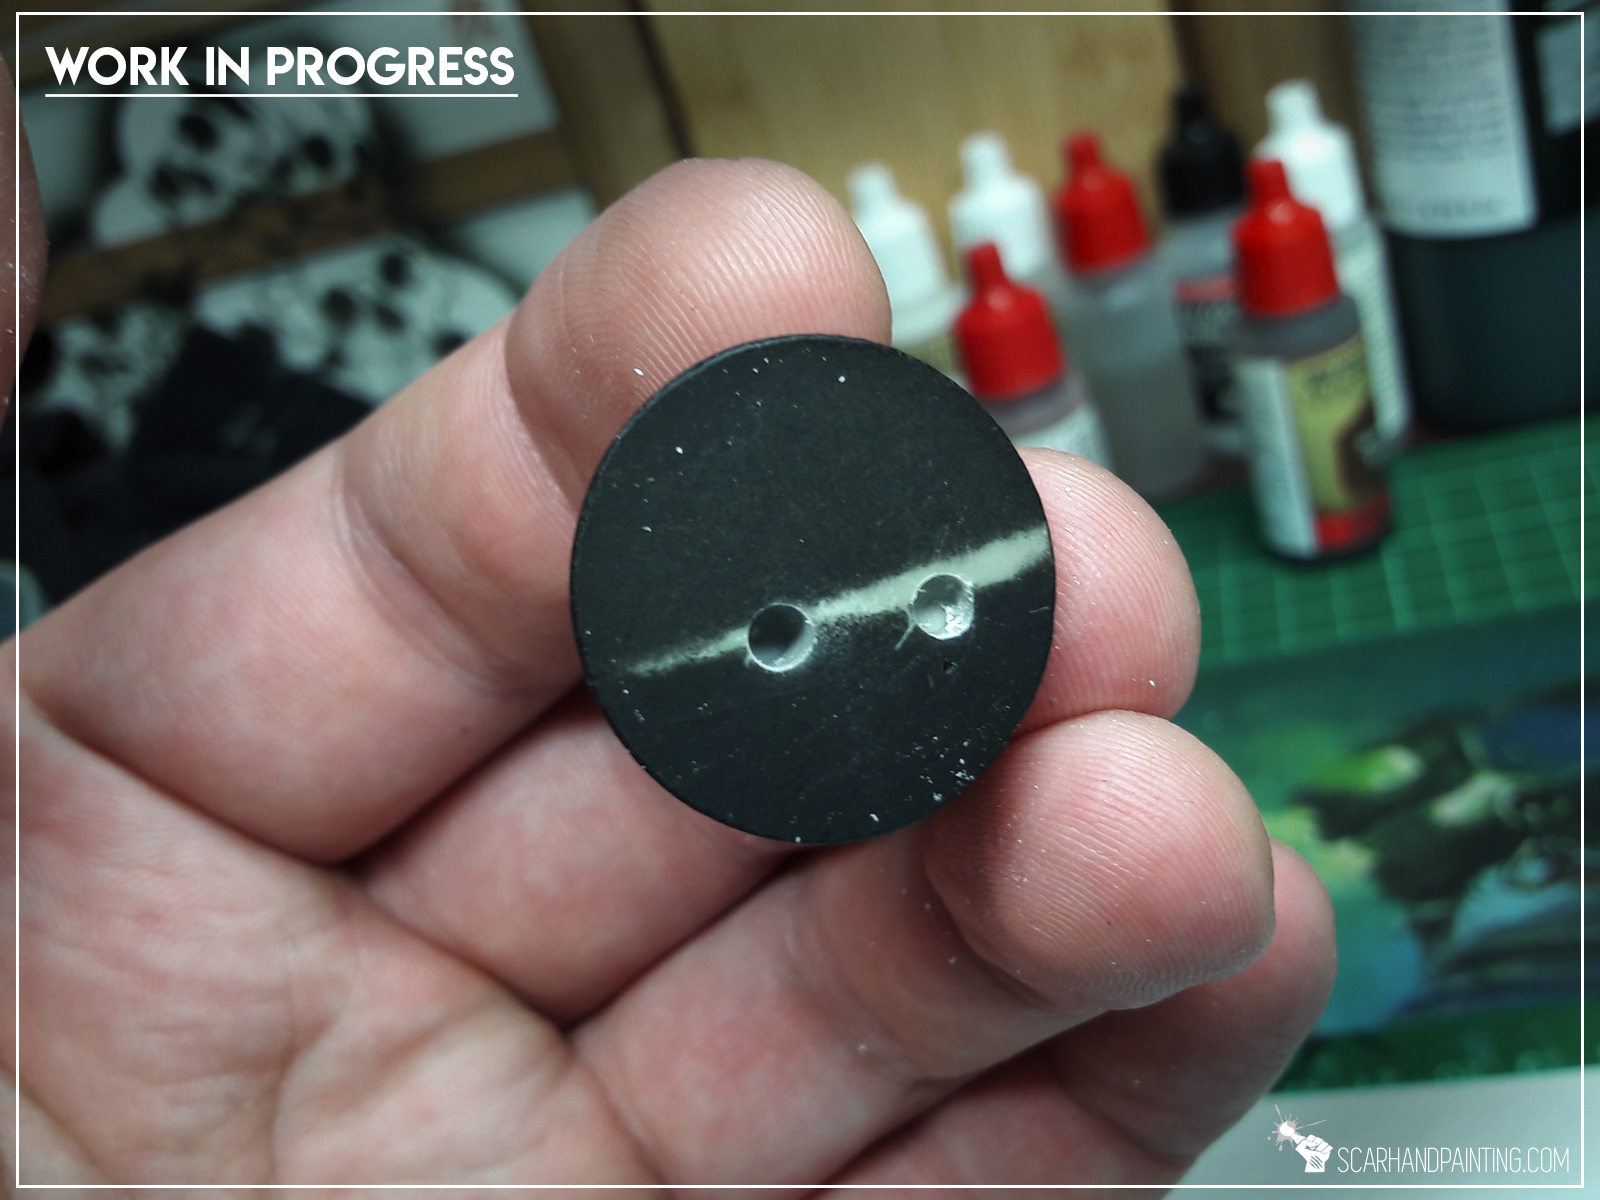
Step two: Inserting Magnets

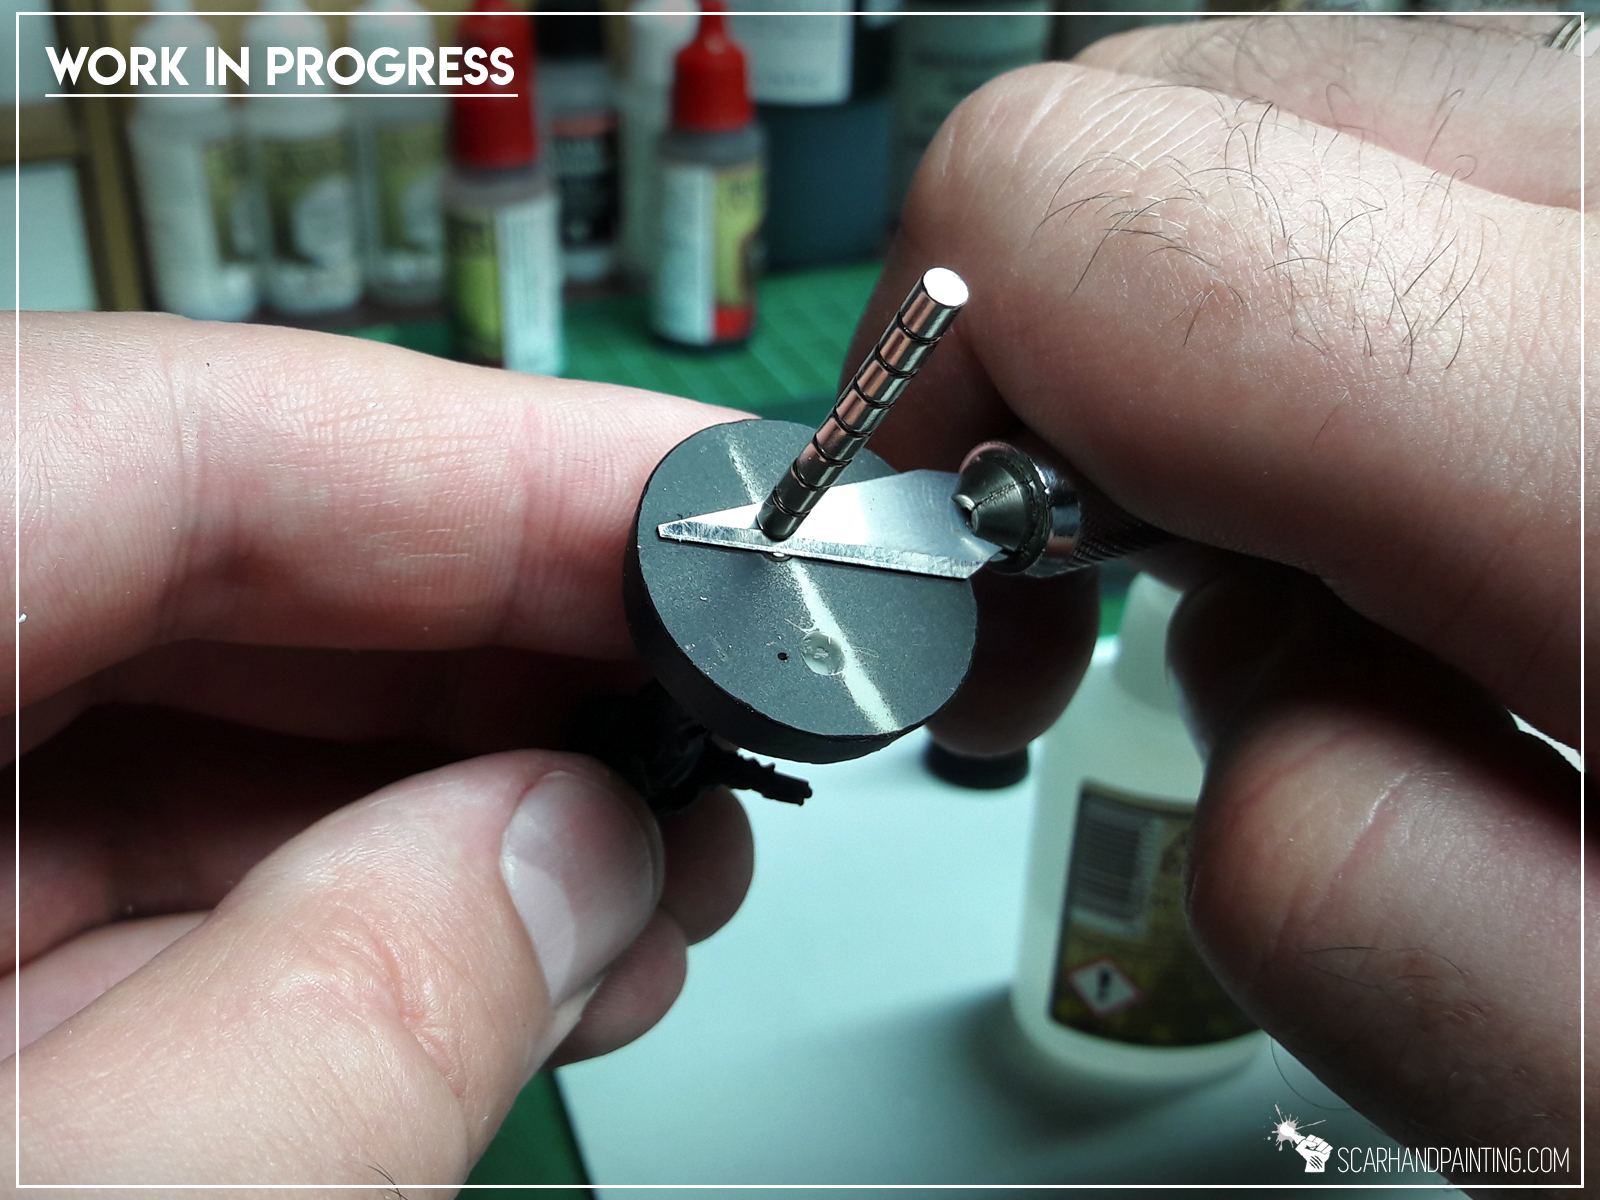

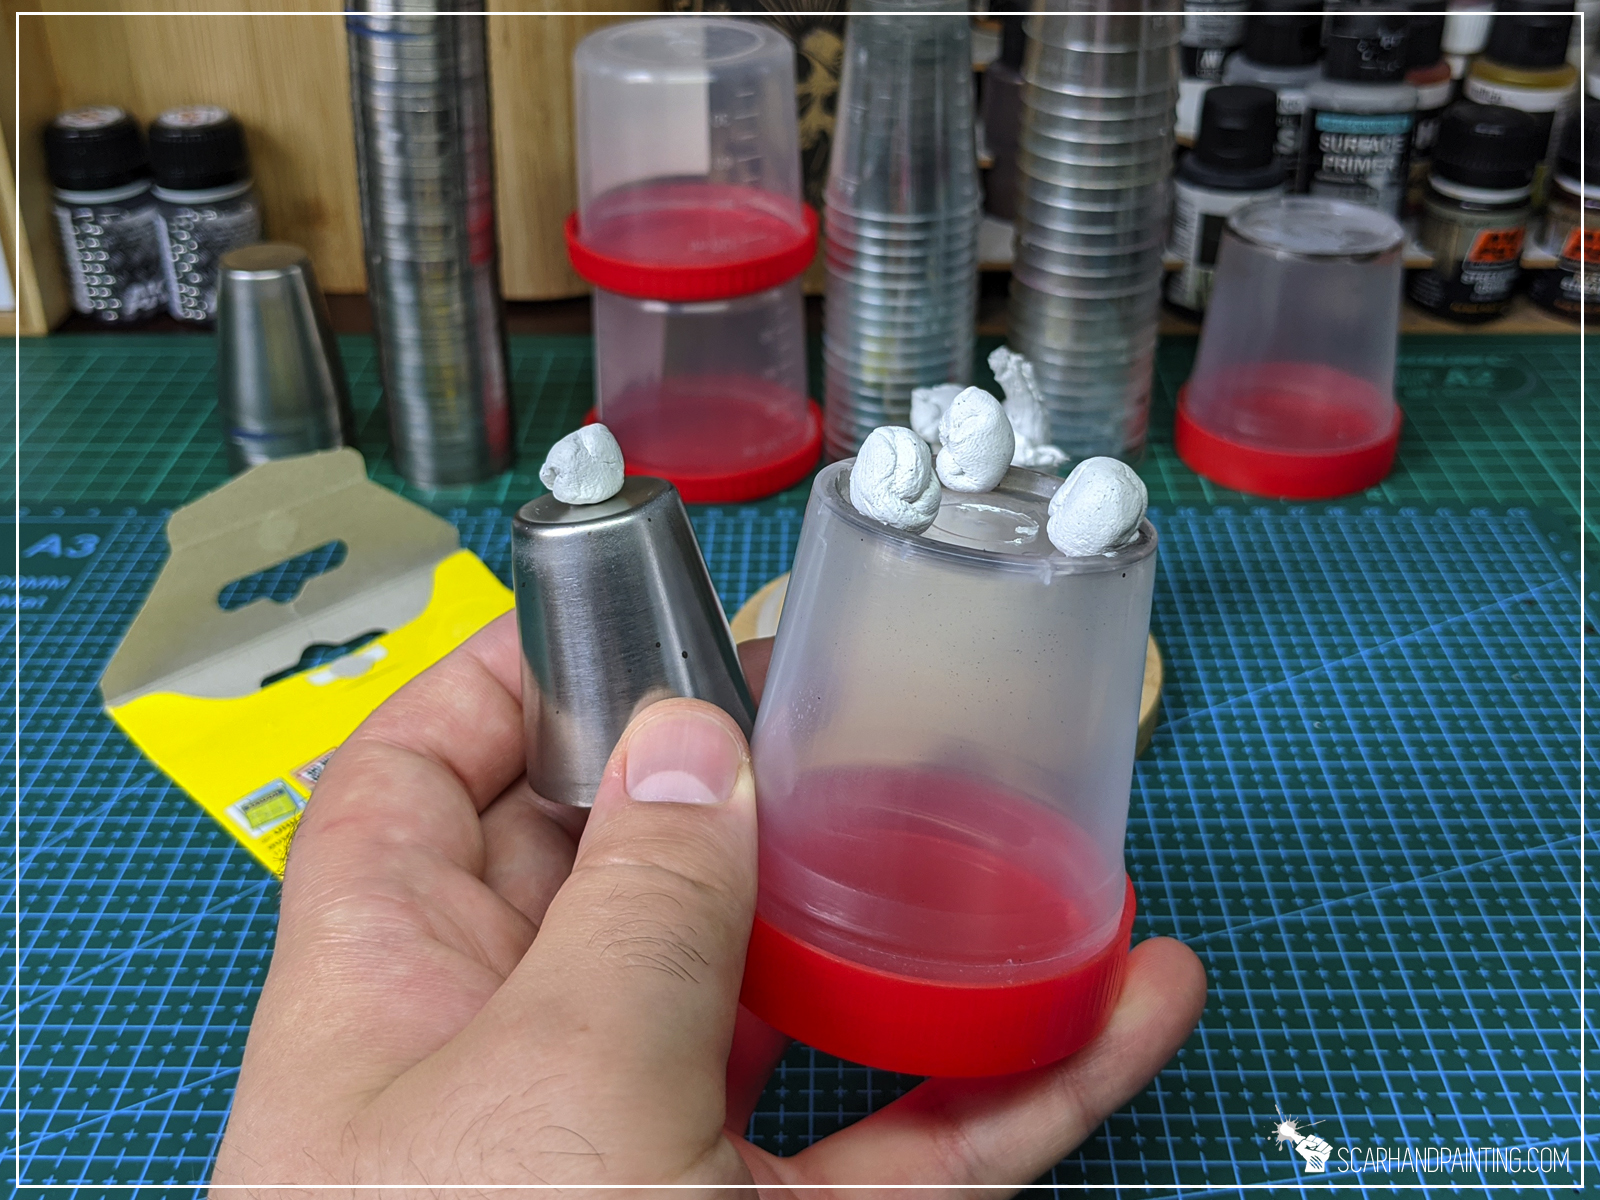
I recommend Army Painter Super Glue, or any similar glue to mount the magnets firm inside the holes. Tip number three would be to use a hobby knife. This way you can “cut off” a bottom magnet from the stack and simply insert it into the hole, using blades side to push the magnet in until it’s parallel to the bases bottom line.
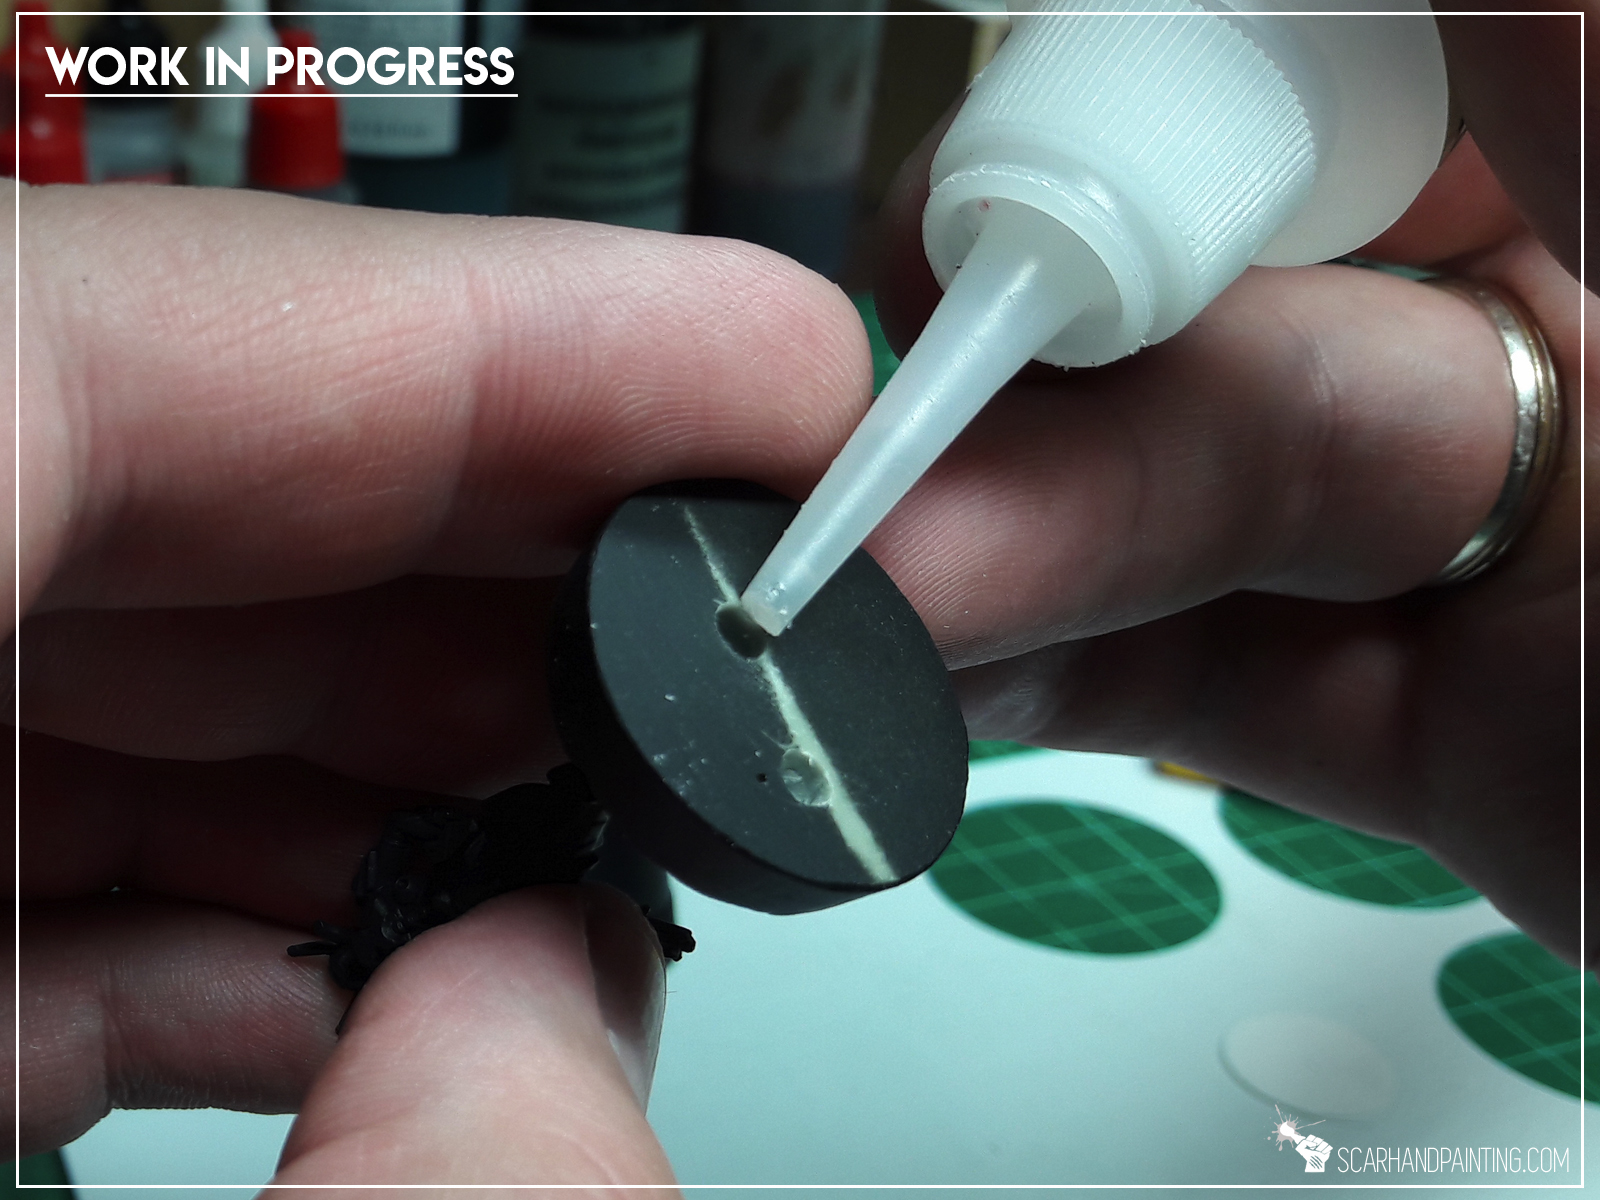
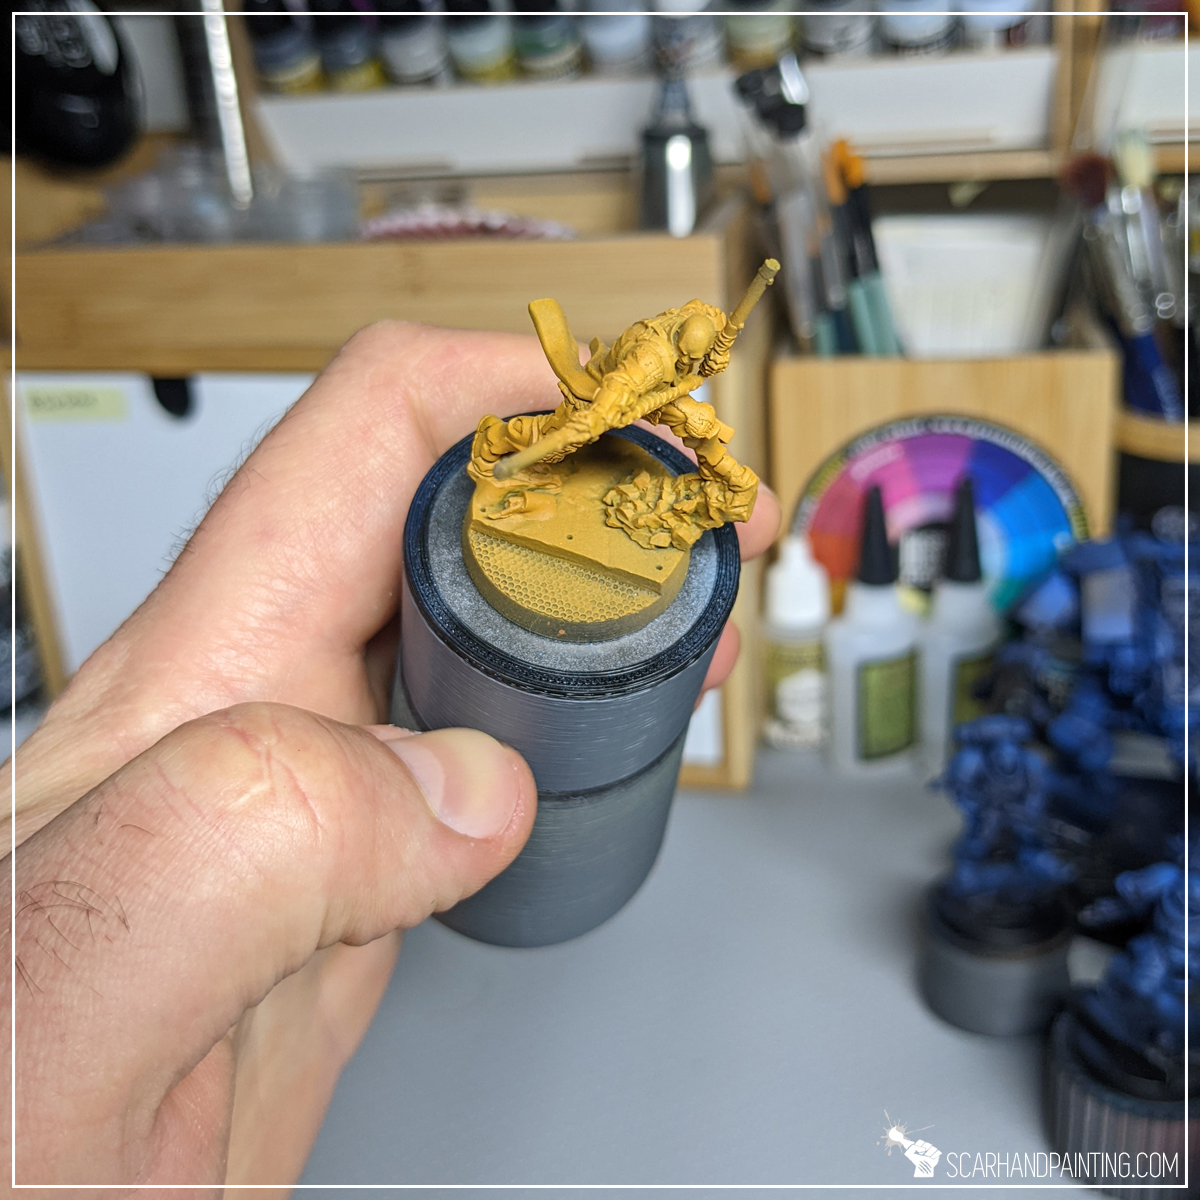
Step three: Sealing Magnets
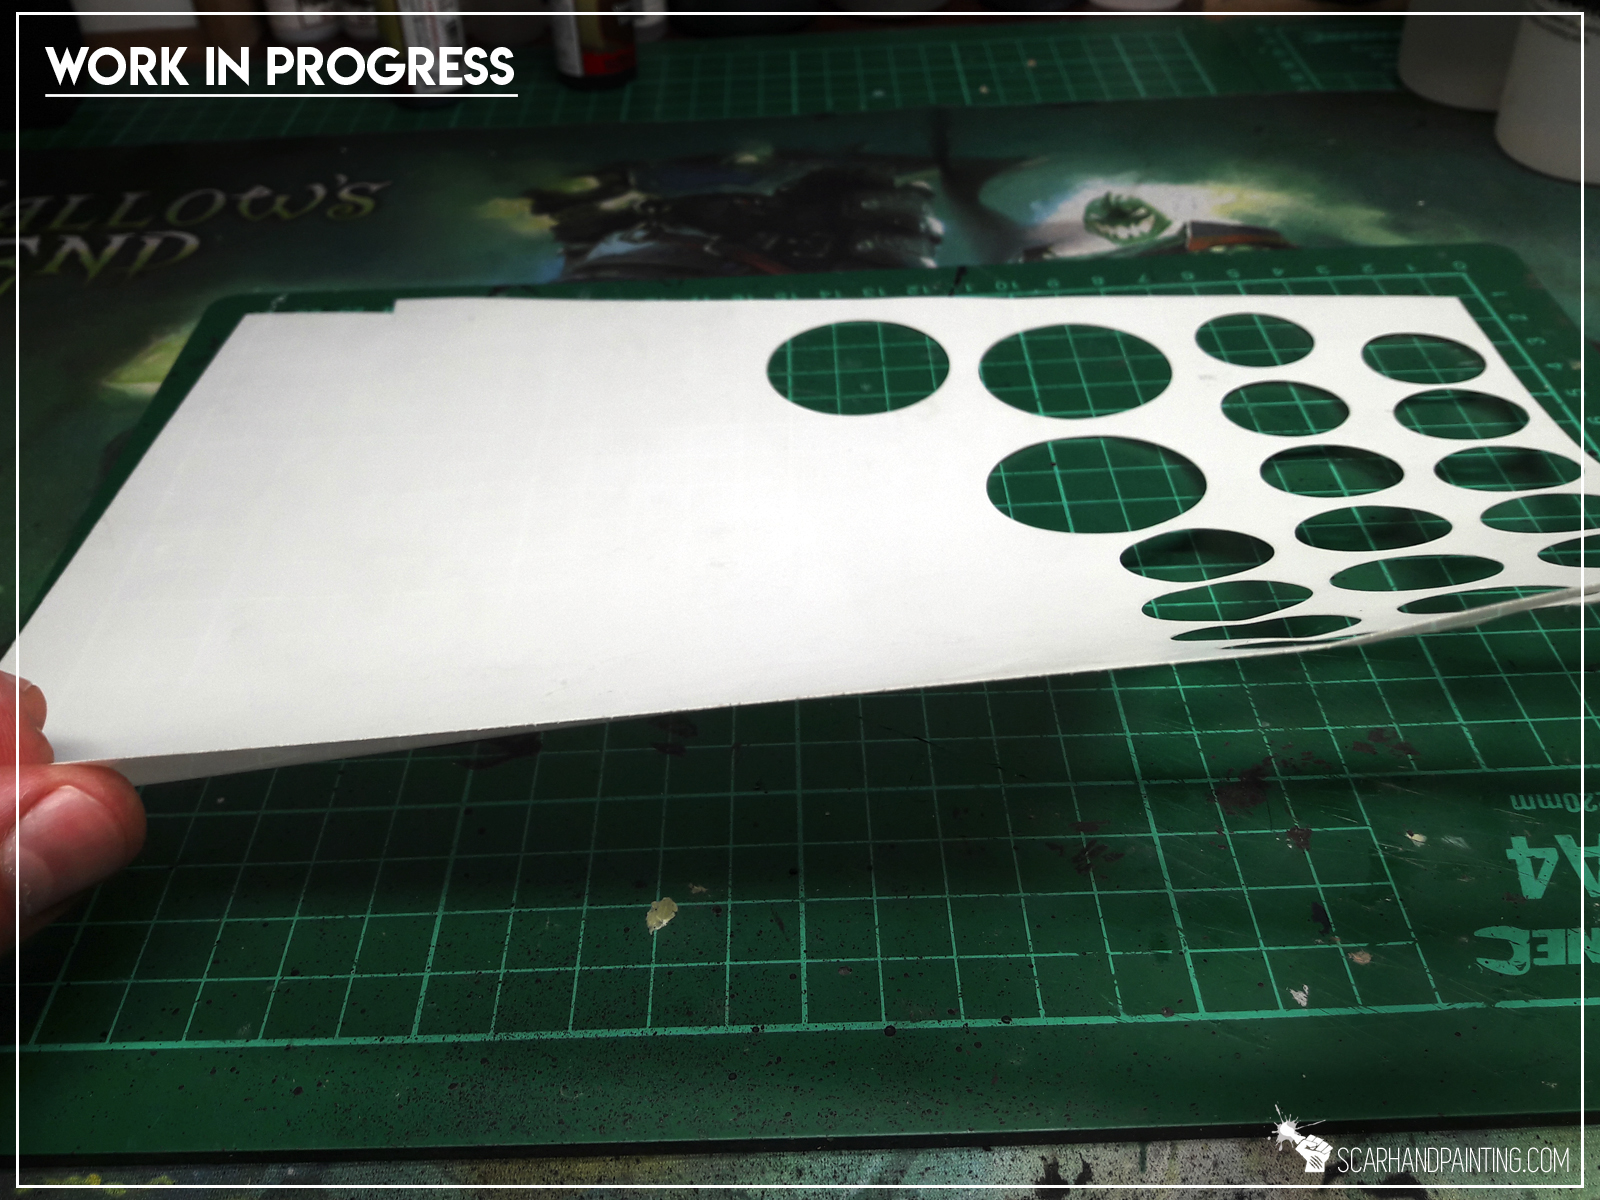
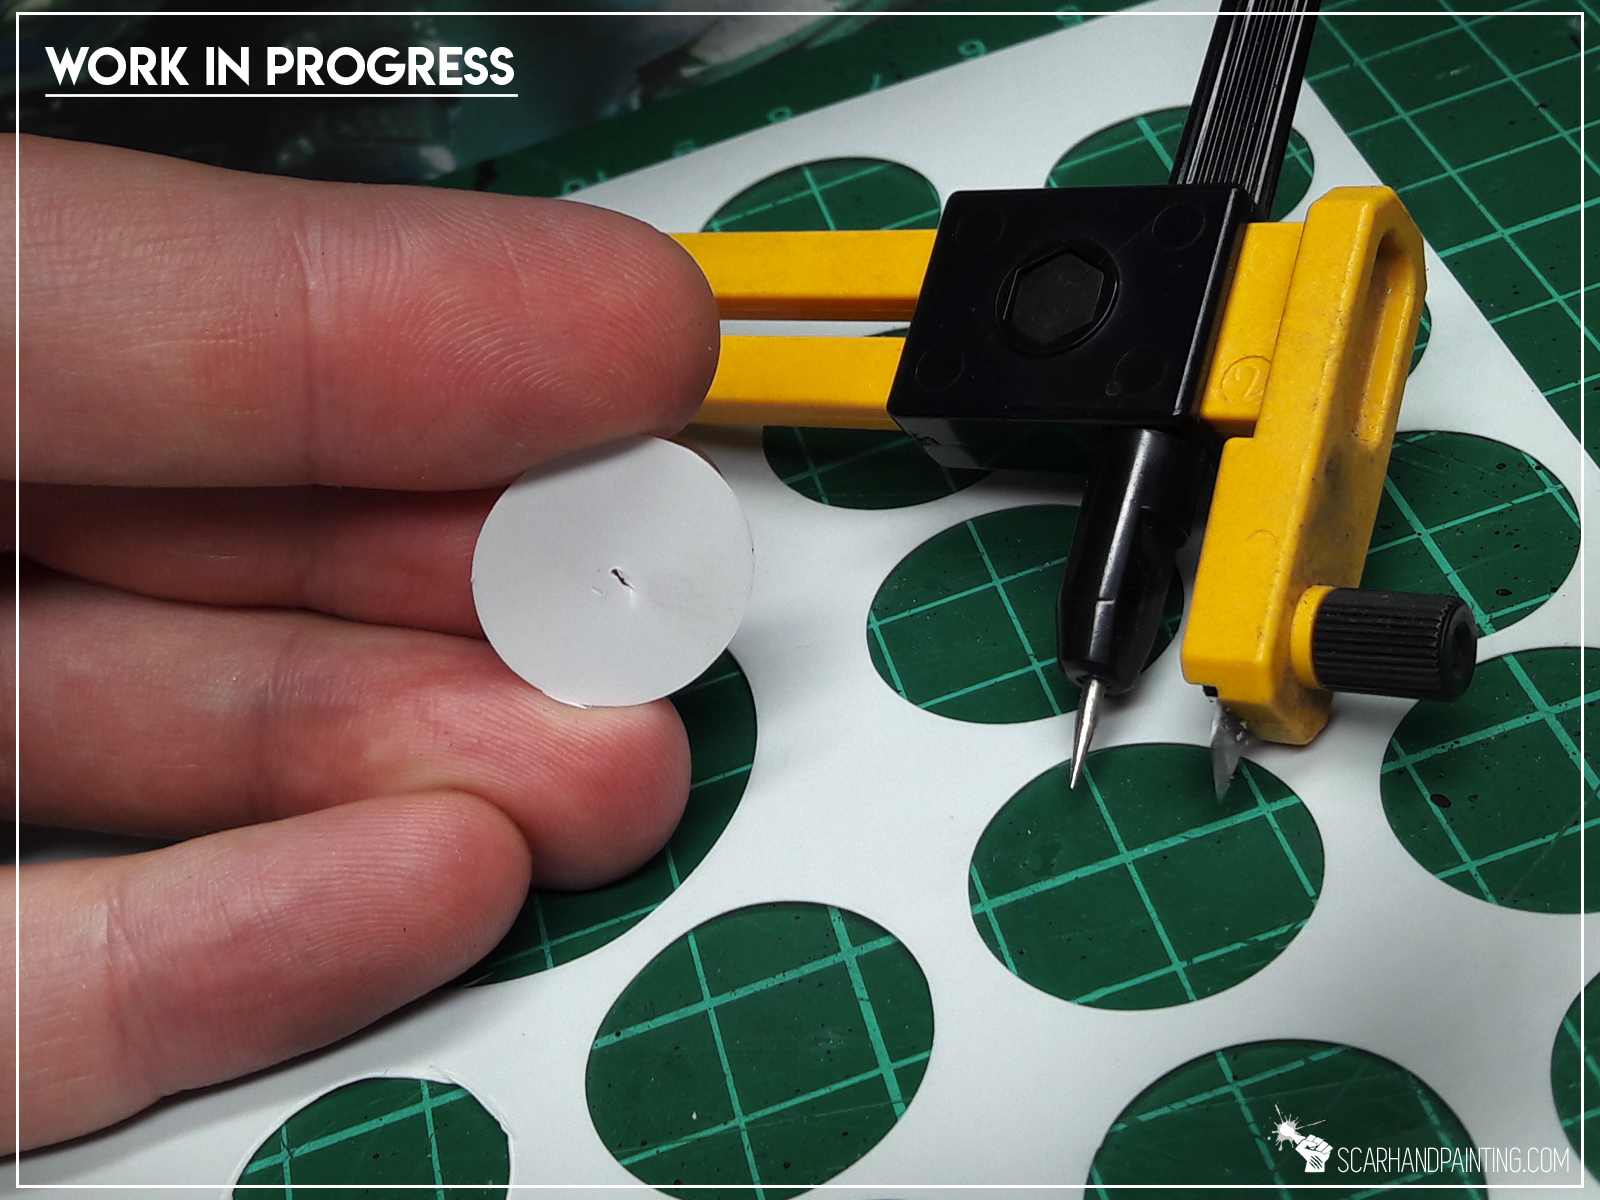
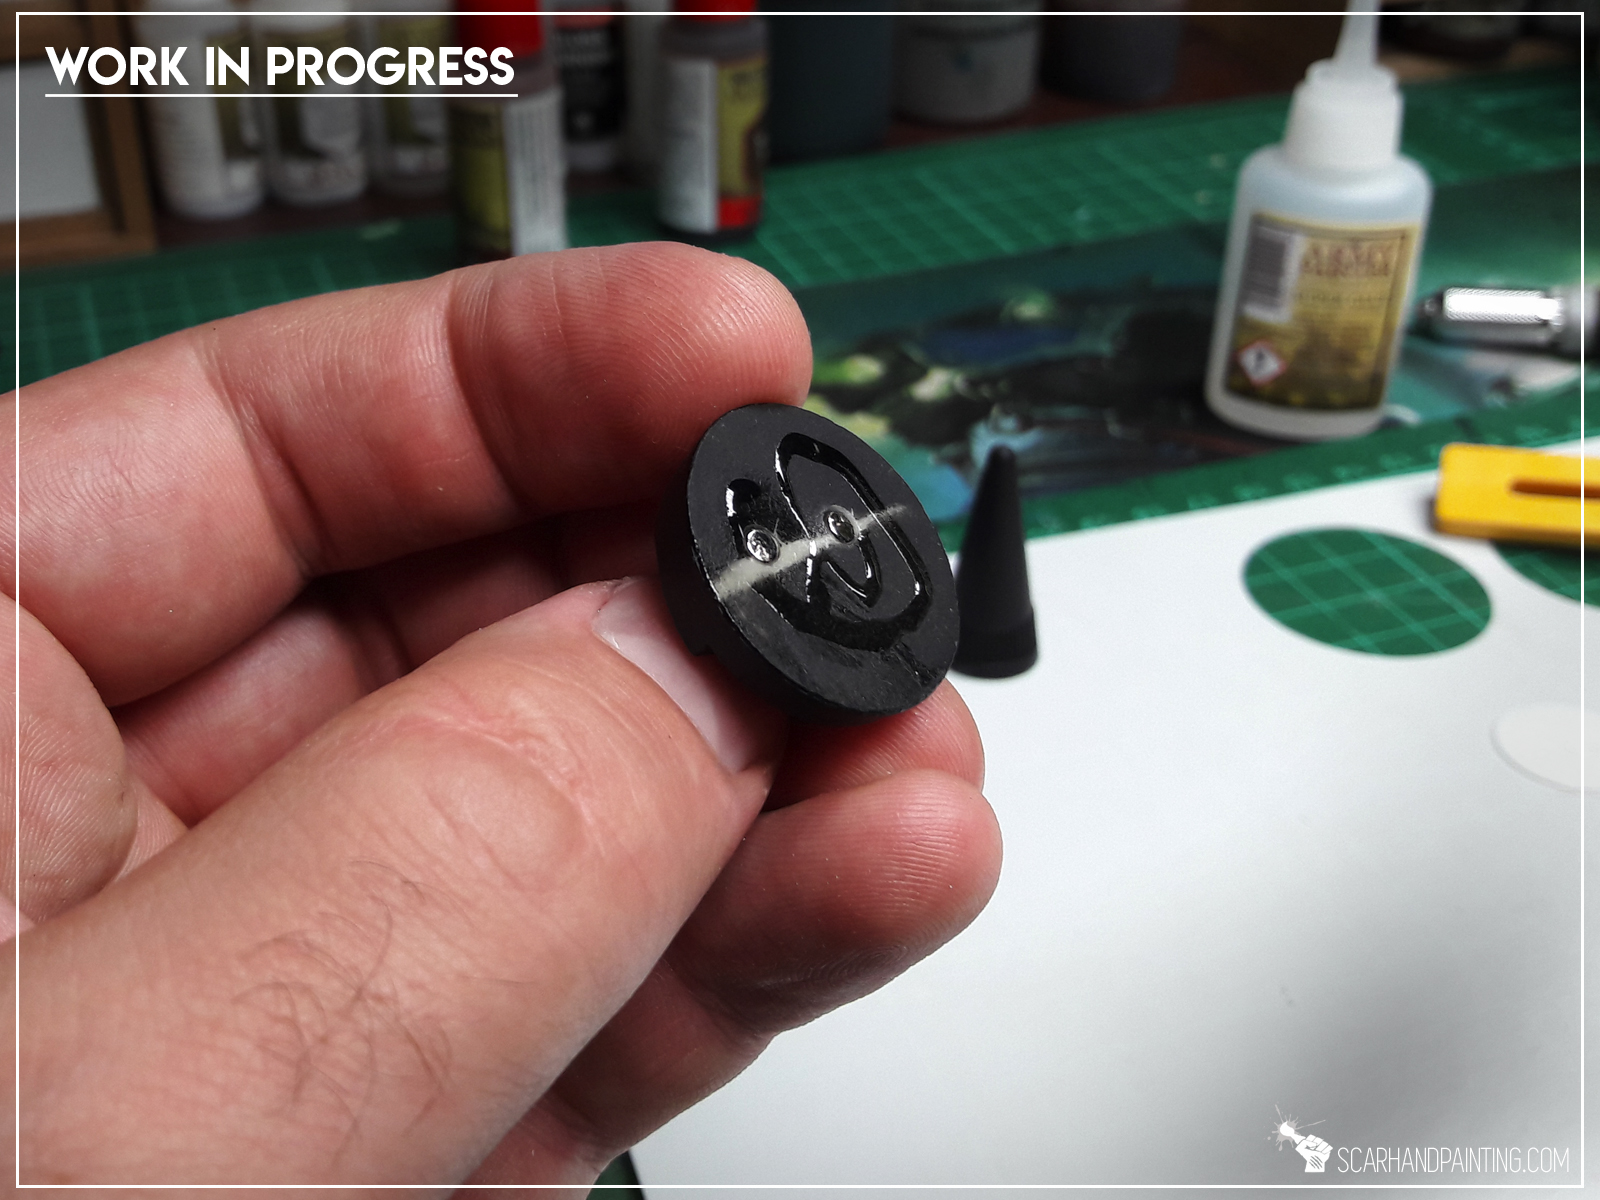
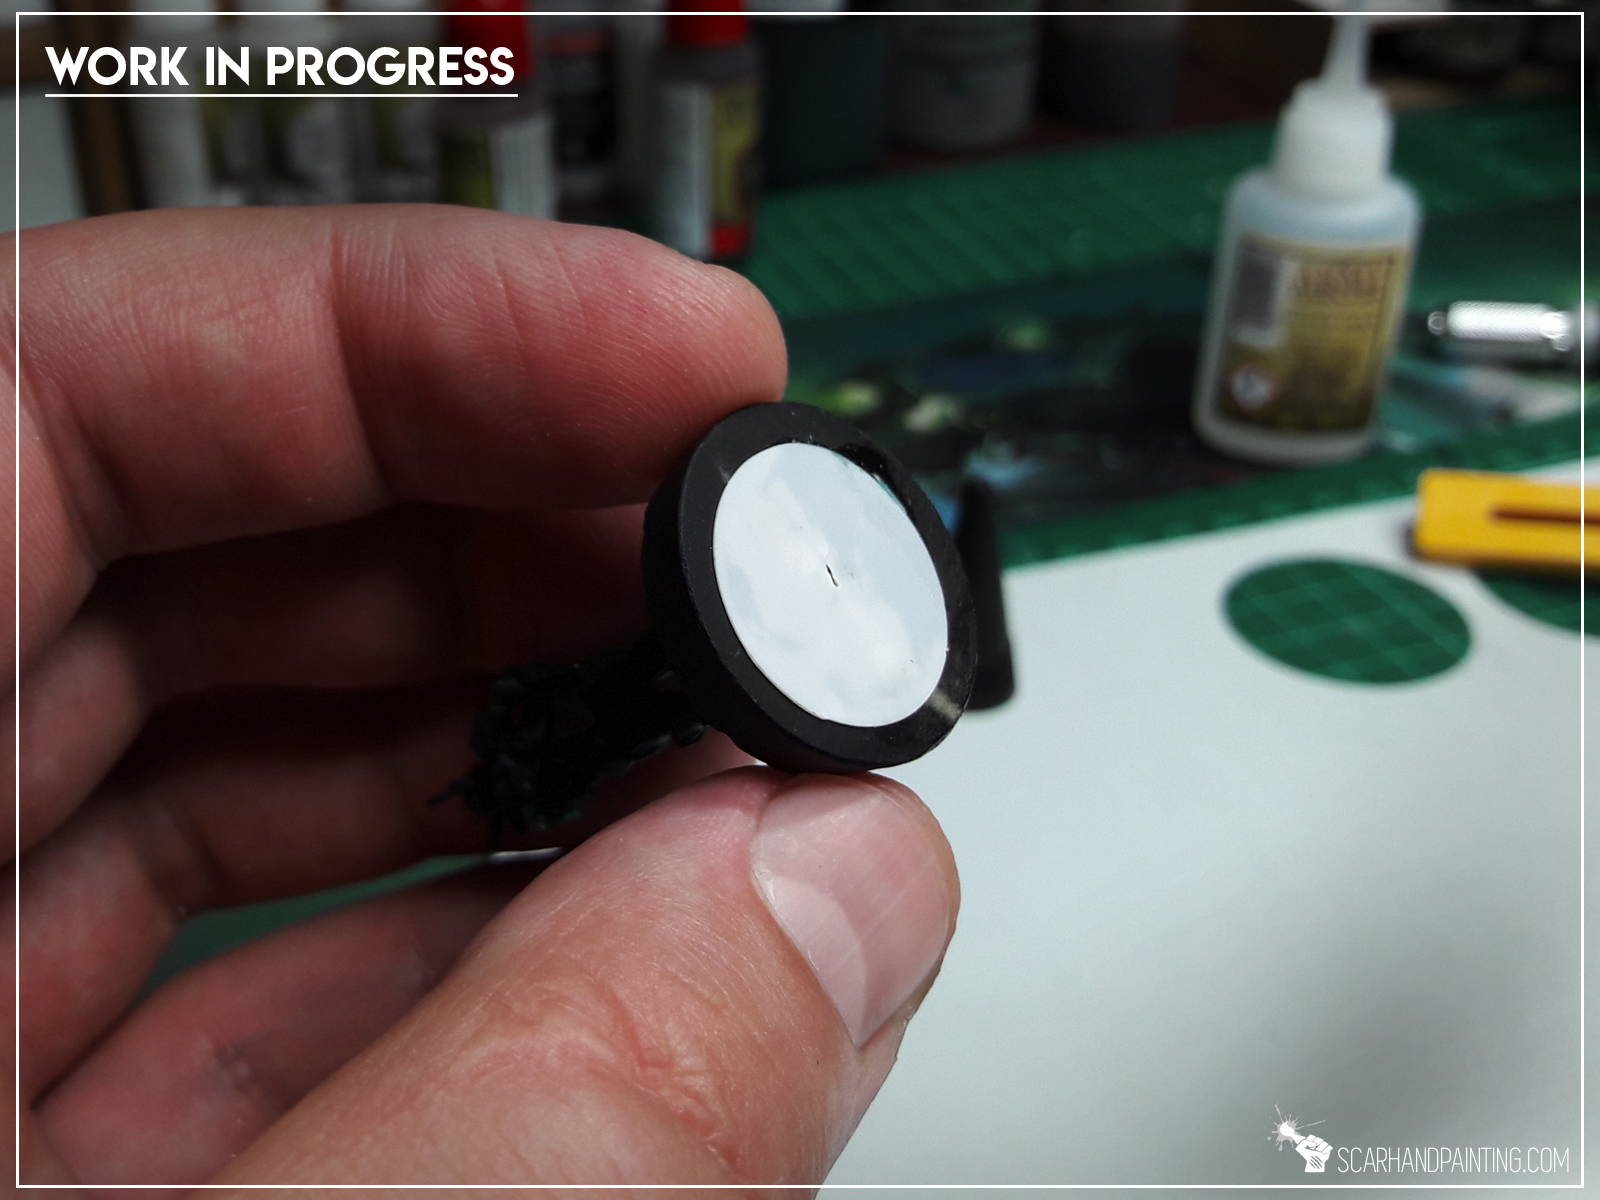
You can skip on this one, but if you want your magnets to hold firm inside the base and for the miniature to come off the case with it’s base attached you might consider this Hack. Simply glue a circle of paper thin plasticard on top of the magnets. This barrier won’t be as thick as to significantly weaken the pull, but will definitely make the transition onto and out off the metal surface smoother. It will also keep the magnets inside the holes – no matter what.
Do you find this article helpful? Please consider sharing it and/or dropping me some feedback down below or at my Facebook profile!

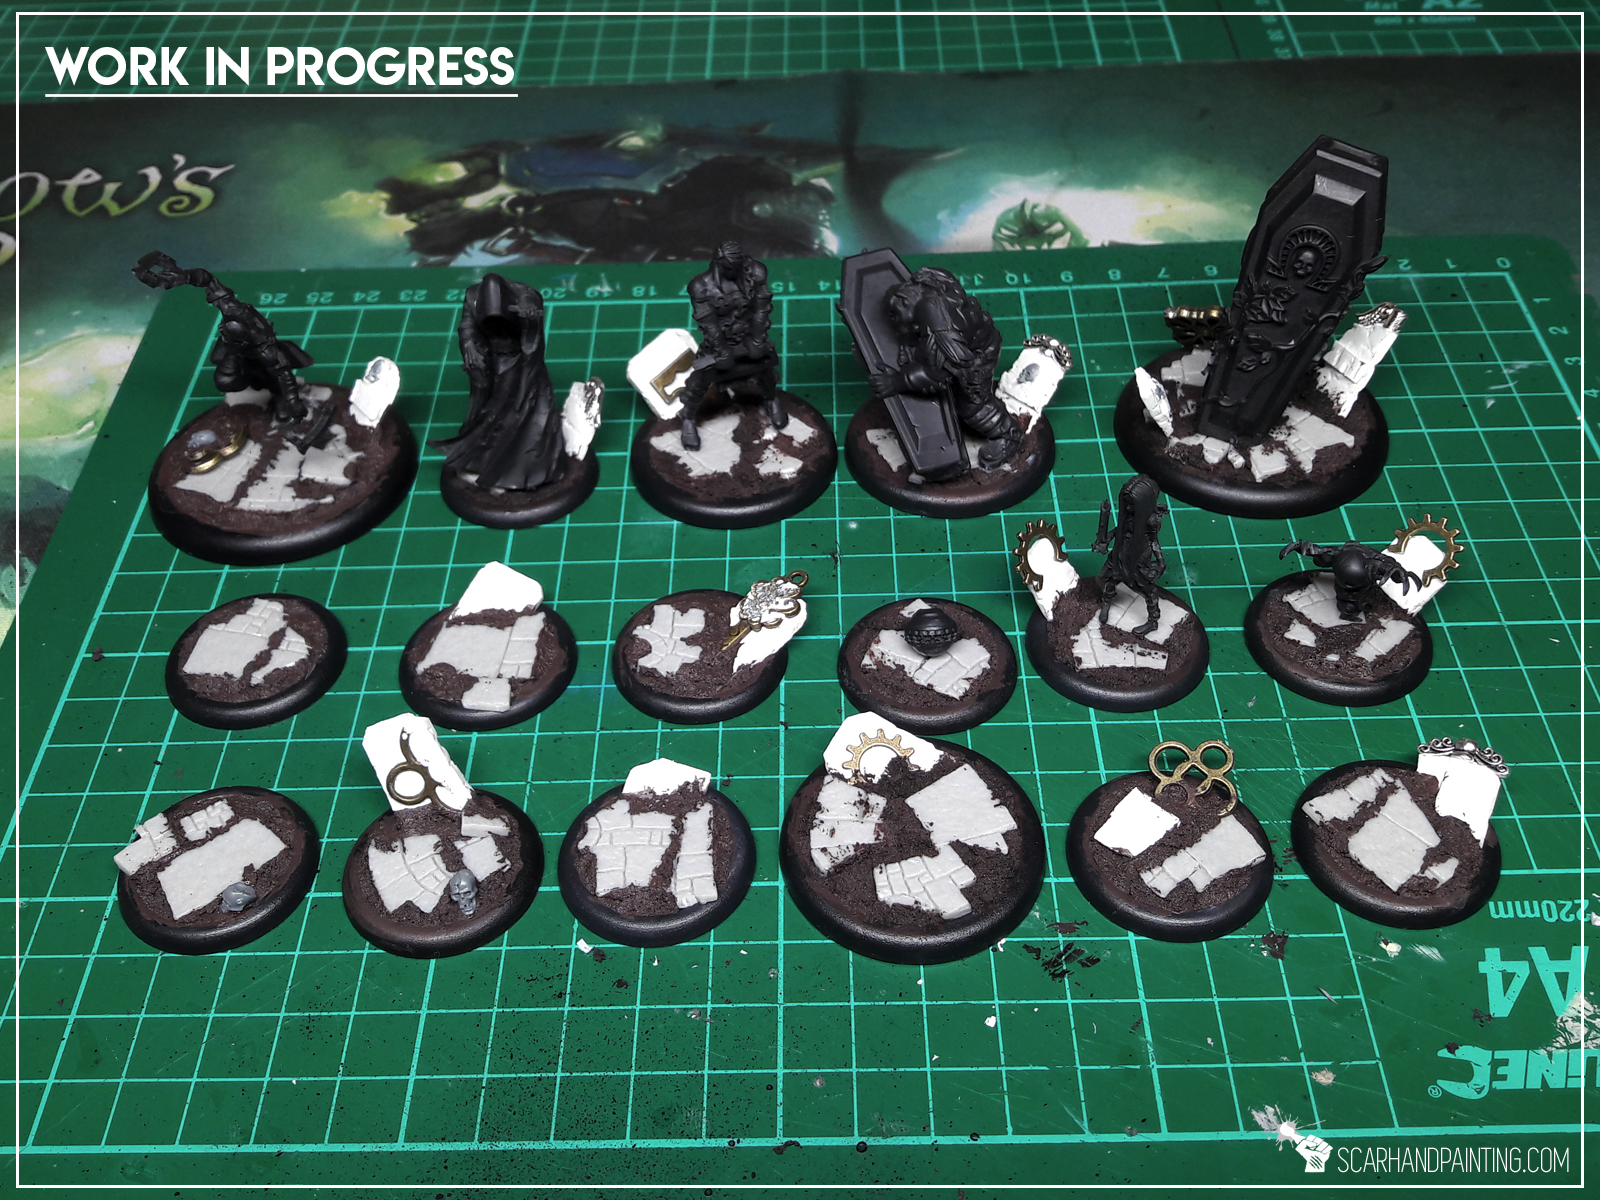
In this step-by-step tutorial I’m going to show you how to create gravestones. Please treat this article more like an inspiration, rather than tutorial.

I recently started collecting Guildball and decided to create graveyard themed bases for my Mortician’s. In the miniatures world gravestones are a rare bitz to come across. Sure there are some graveyard themed miniatures sets but getting them just for the sake of gravestones seem like a ludicrous idea – at least for me. Cuz why not just make your own? It is pretty simple you know…
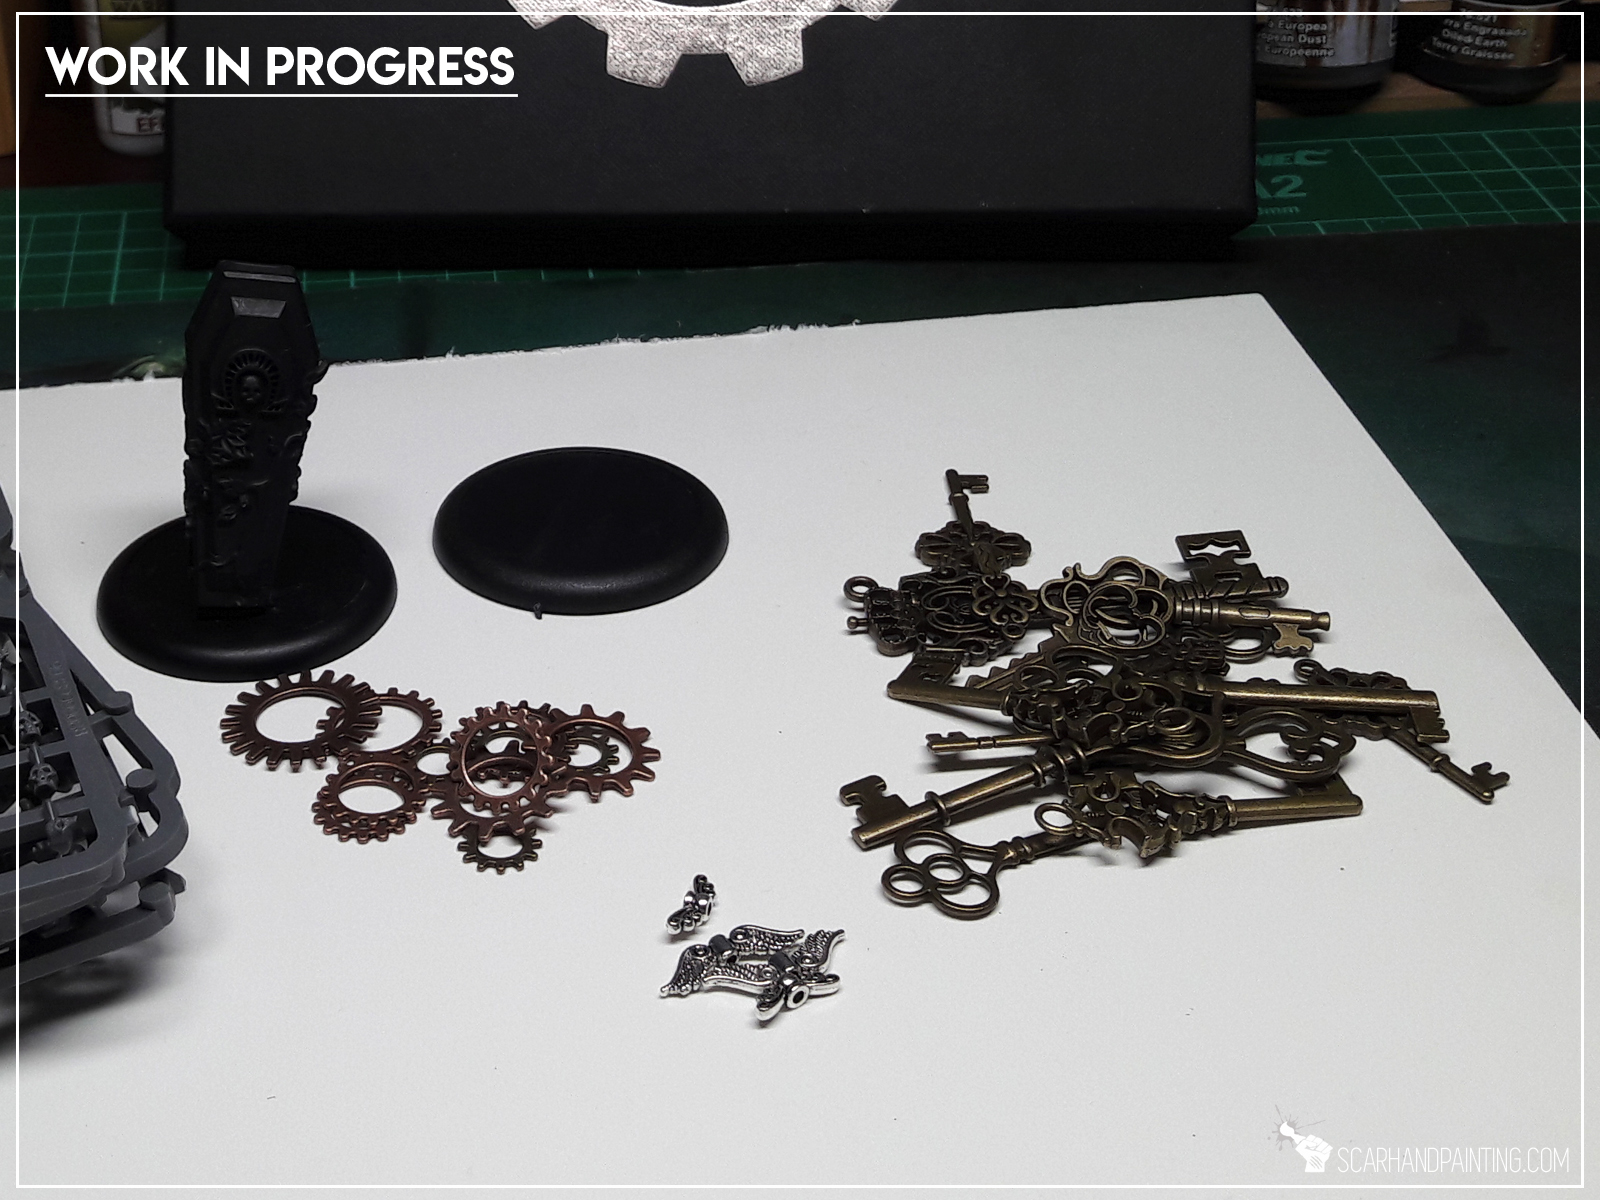
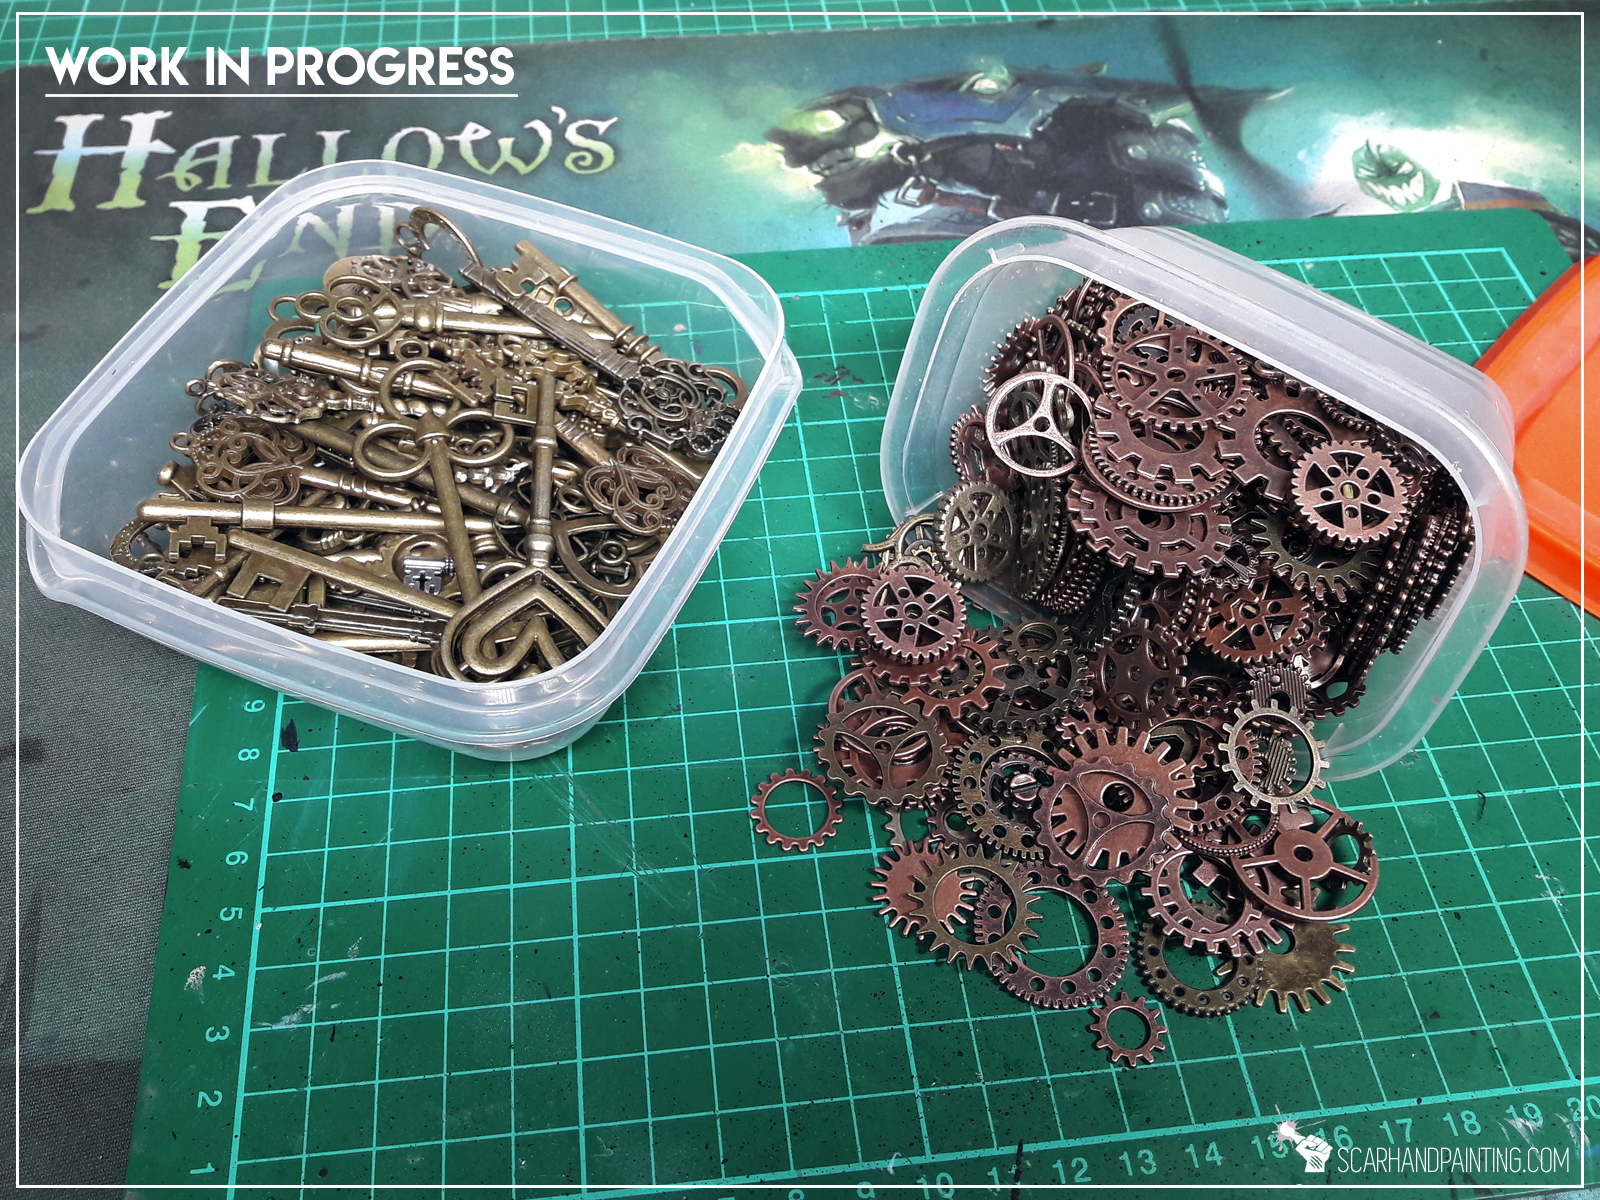
Before we get into it, let’s talk all the charms, decorative beads and bronze gears. Ever heard of Aliexpress? Just search for “decorative charms bronze” and prepare yourself for a mind blowing experience – cause miniatures modelling would never be the same from now on…
Step one: Cutting plasticard
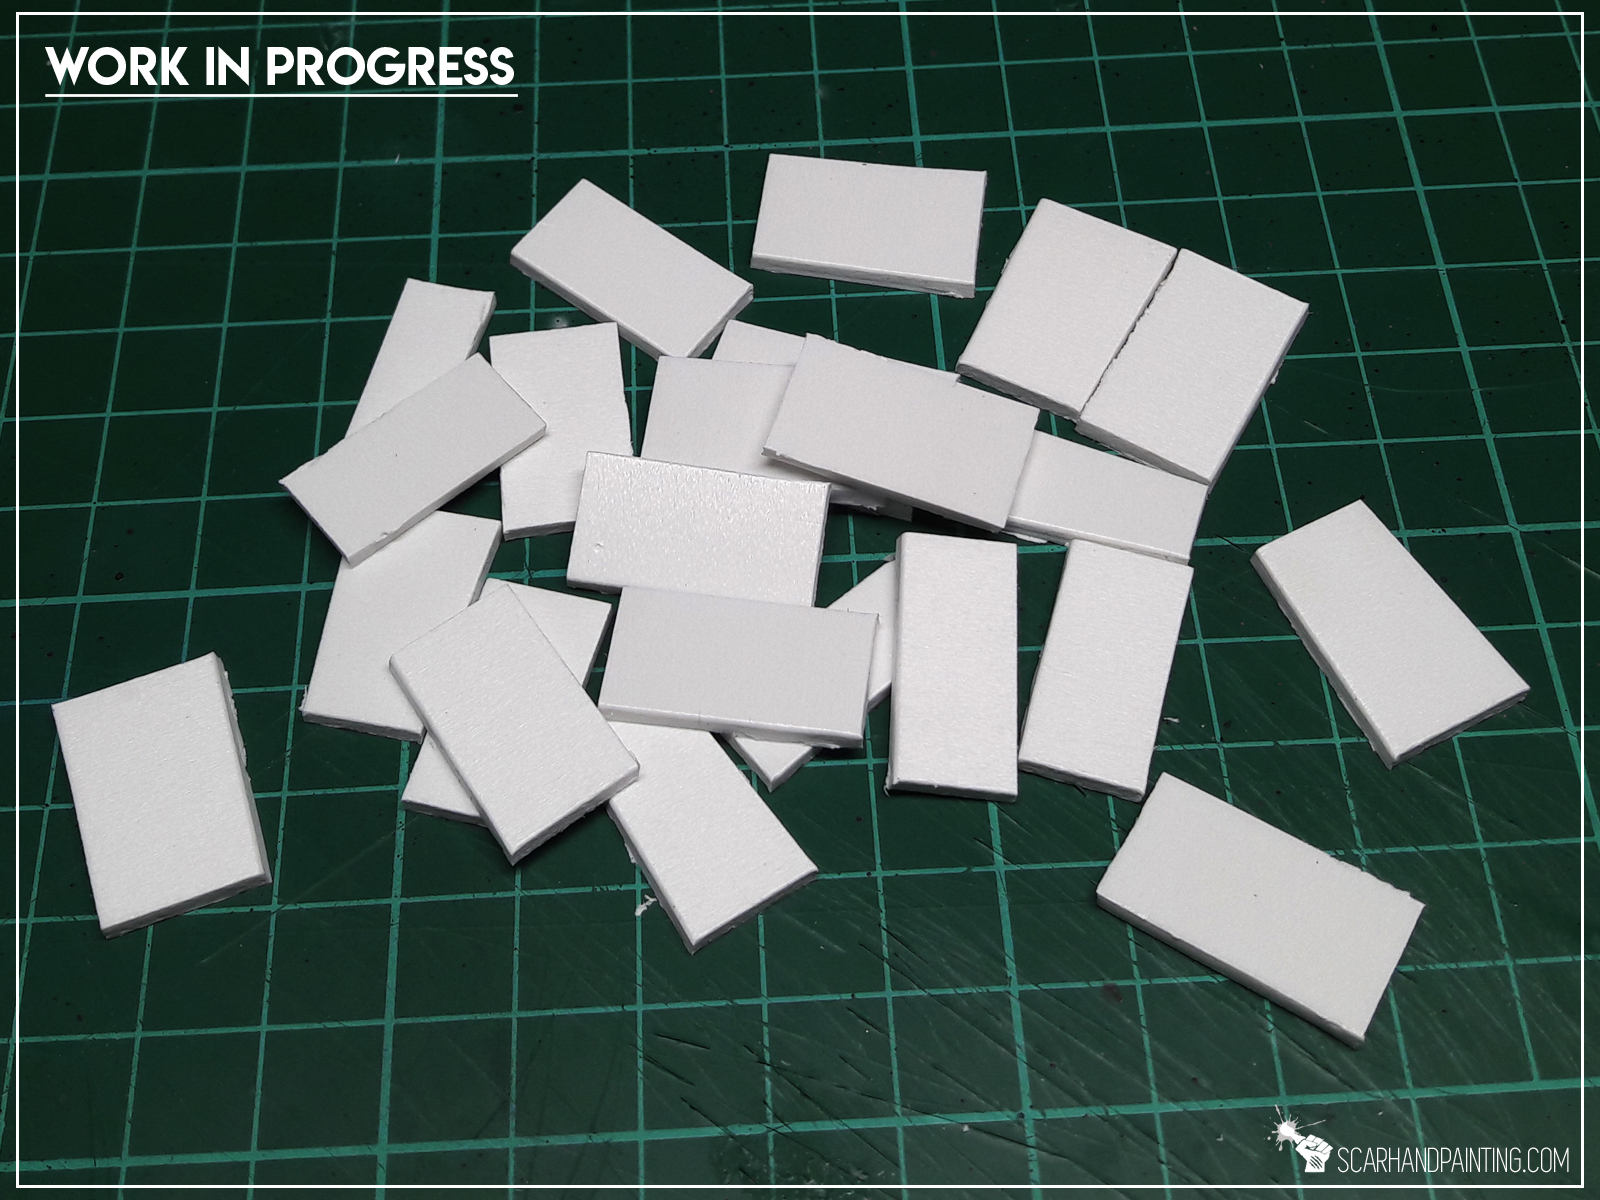
Using a hobby knife I cut 2mm plasticard into pieces of more or less gravestone size and shape.
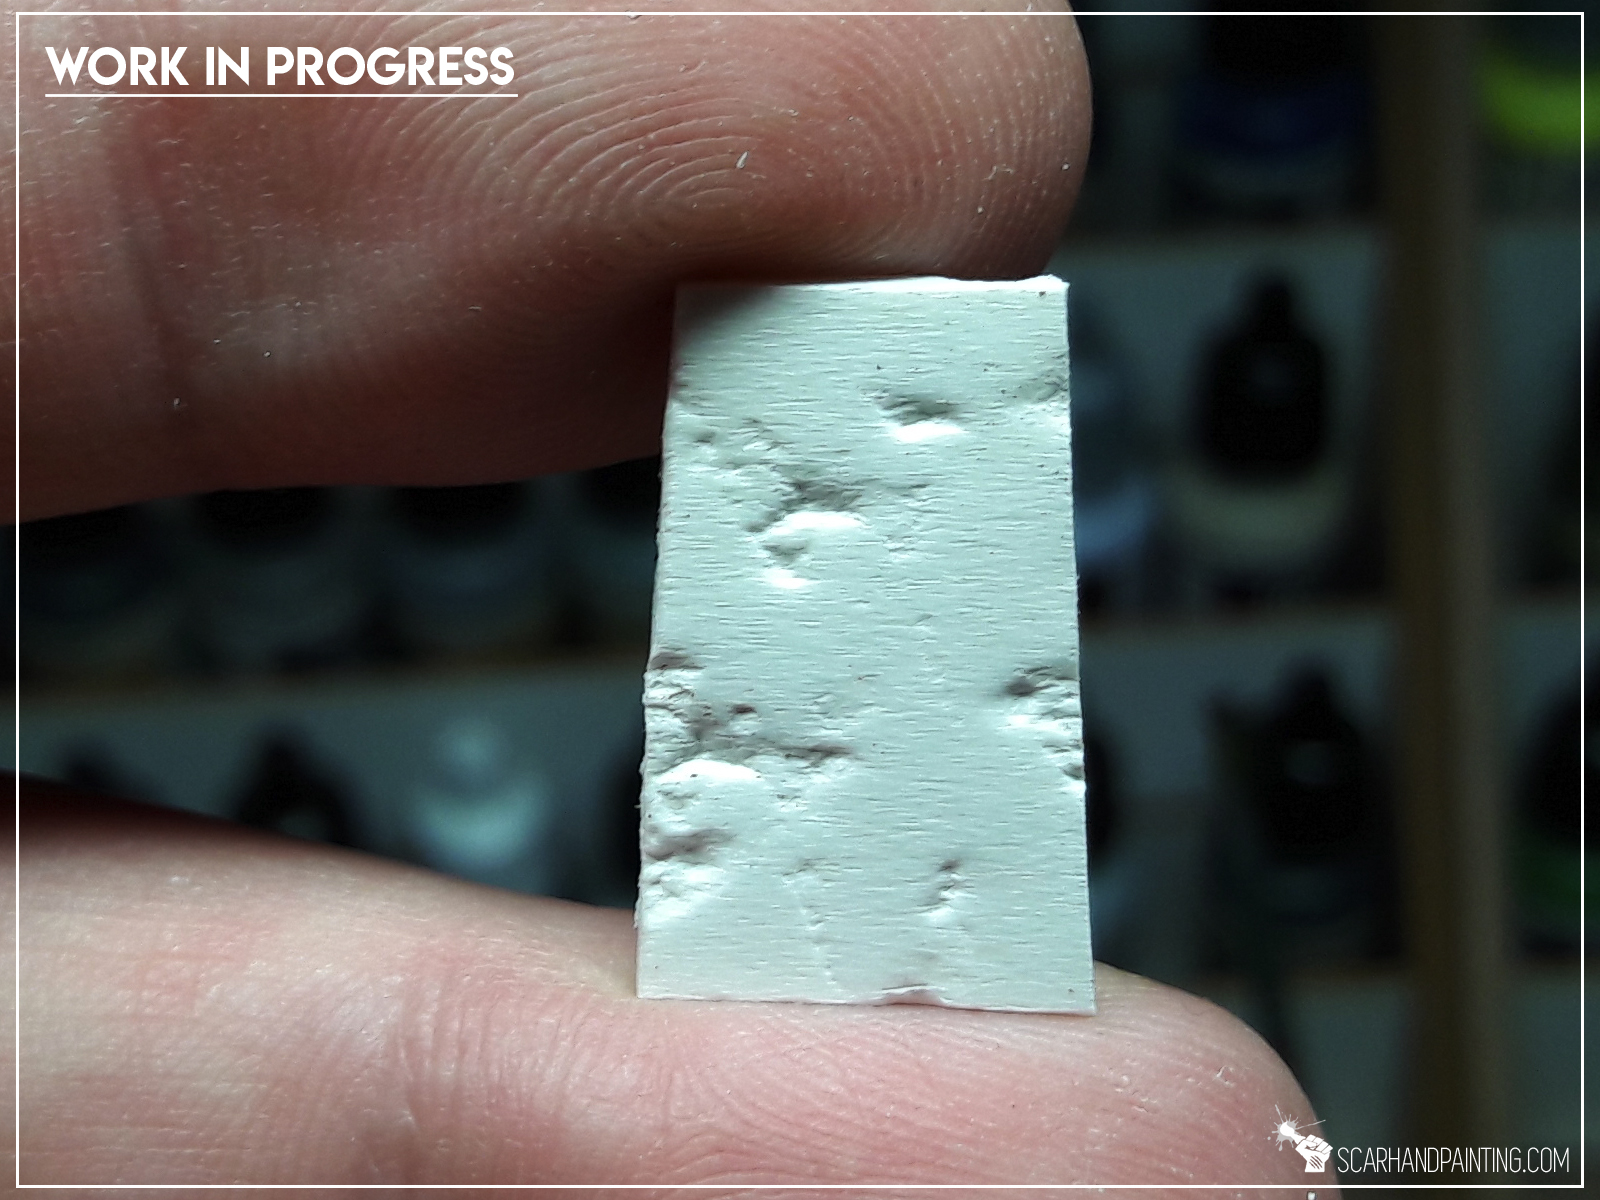
Step two: Applying texture
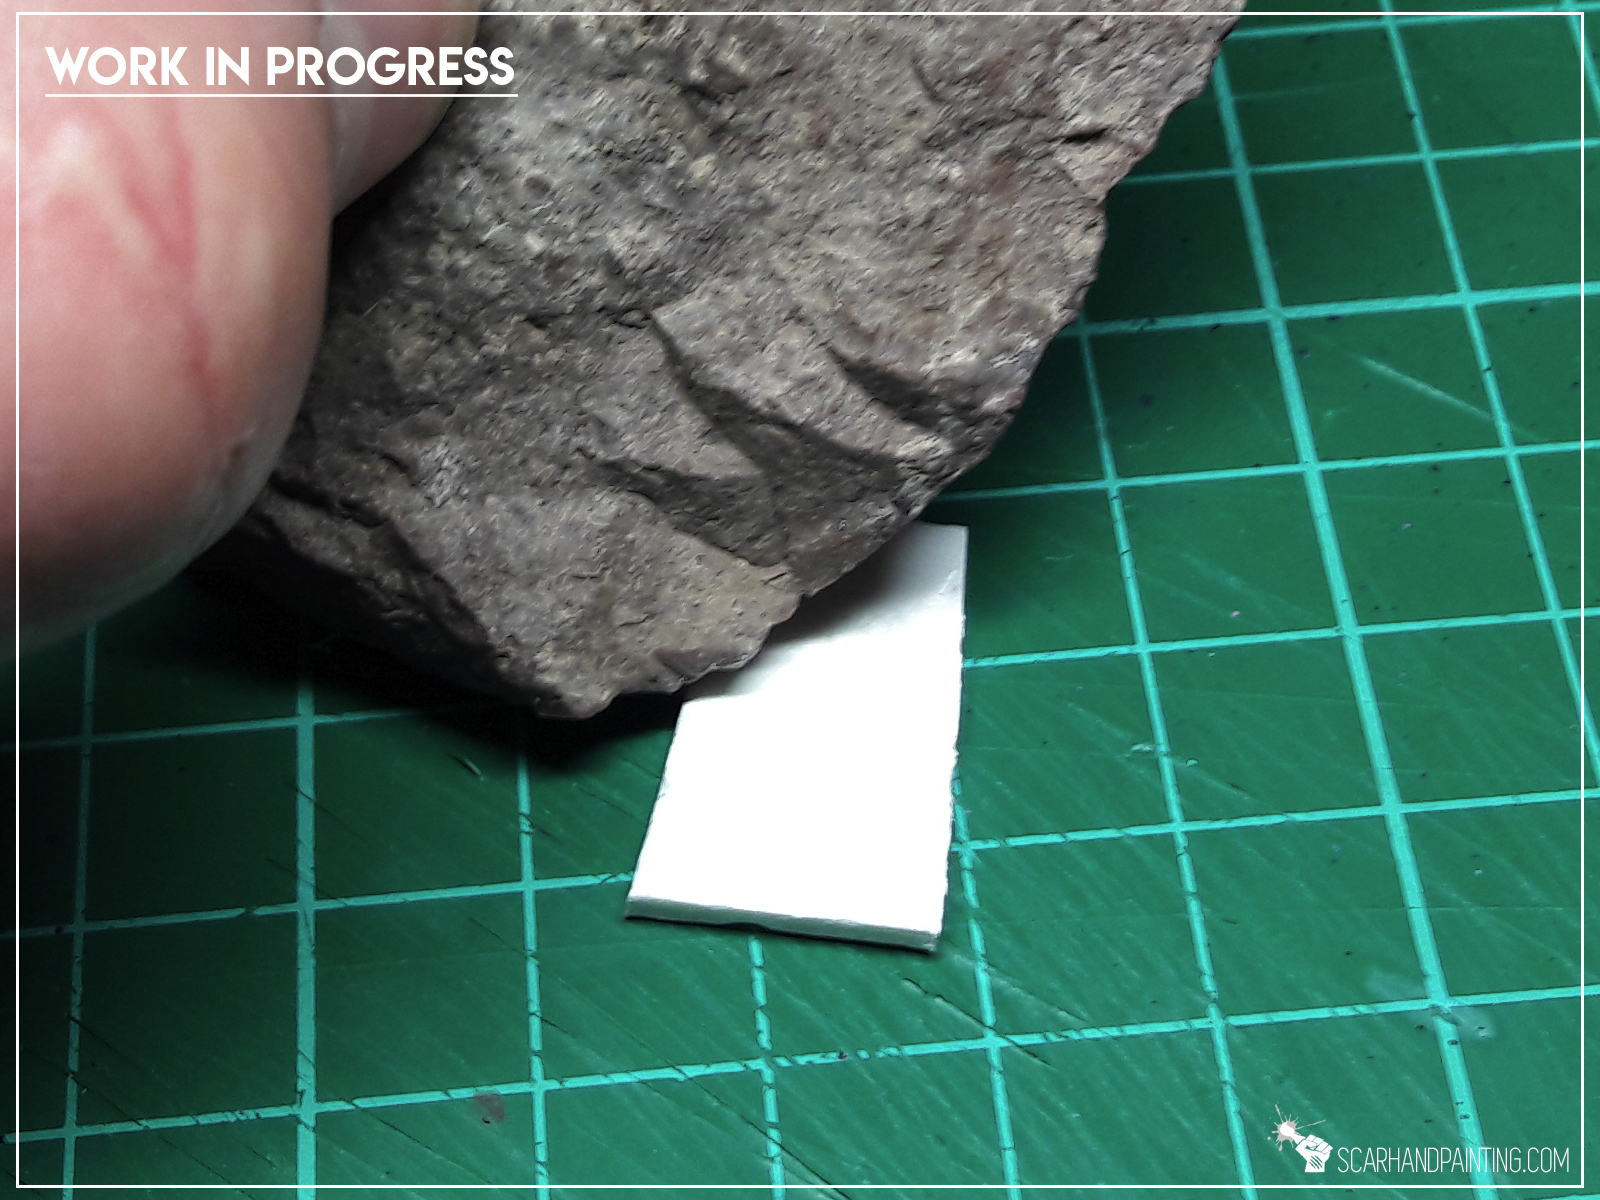
I then “textured” each gravestone with a rock. I know how it sounds, but yeah – I simply rock’n’rolled on top of the plasticard to create an uneven texture.
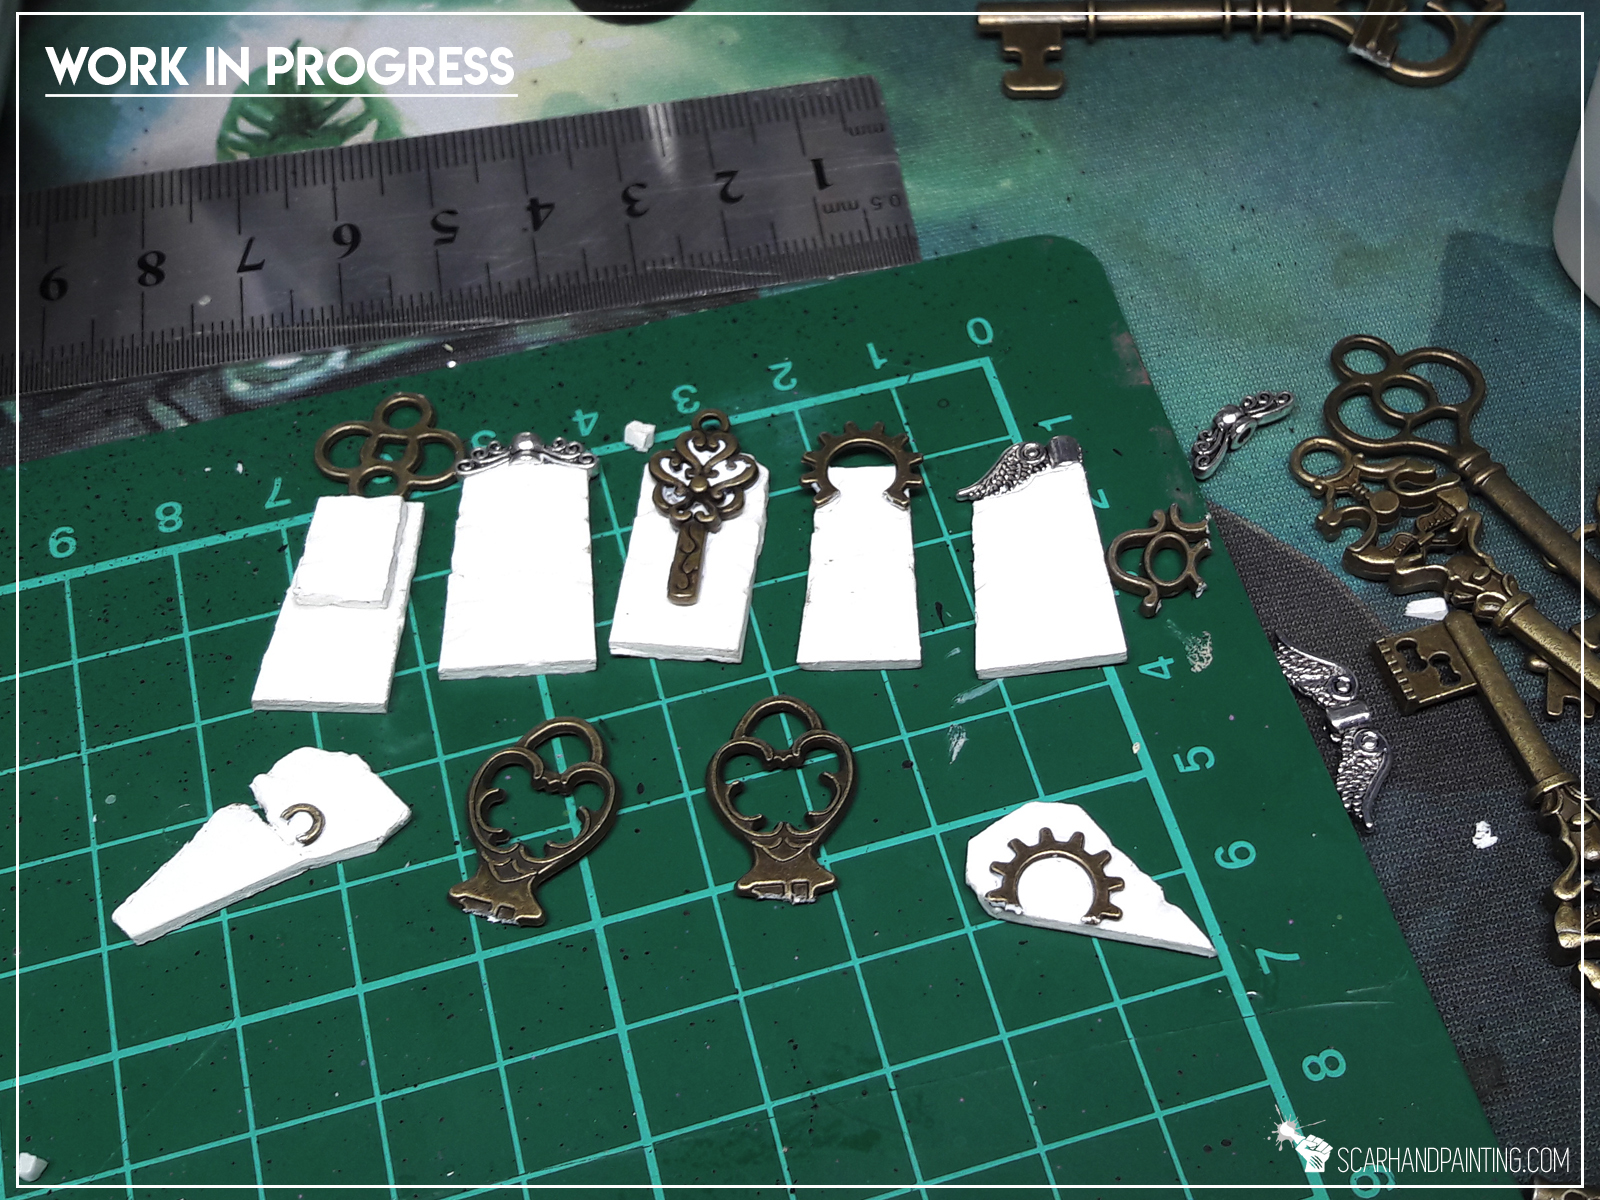
Step three: Detail

With basic gravestones done I added some detail. I glued plasticard and some of the bronze charms on top and on the sides.
Good to know: Bronze charms are easy to work with. They can be broken into smaller pieces with tweezers and just a bit of force.
Well… that’s all. Job done! That was easy, wasn’t it? Plus it costed barely couple bucks for an entire graveyard worth of material! Not that I need as much 😛

Now just waiting for all the Mortician’s to show up. Can’t wait to get these painted!
You find this article helpful? Don’t be a stranger and drop me a comment below!
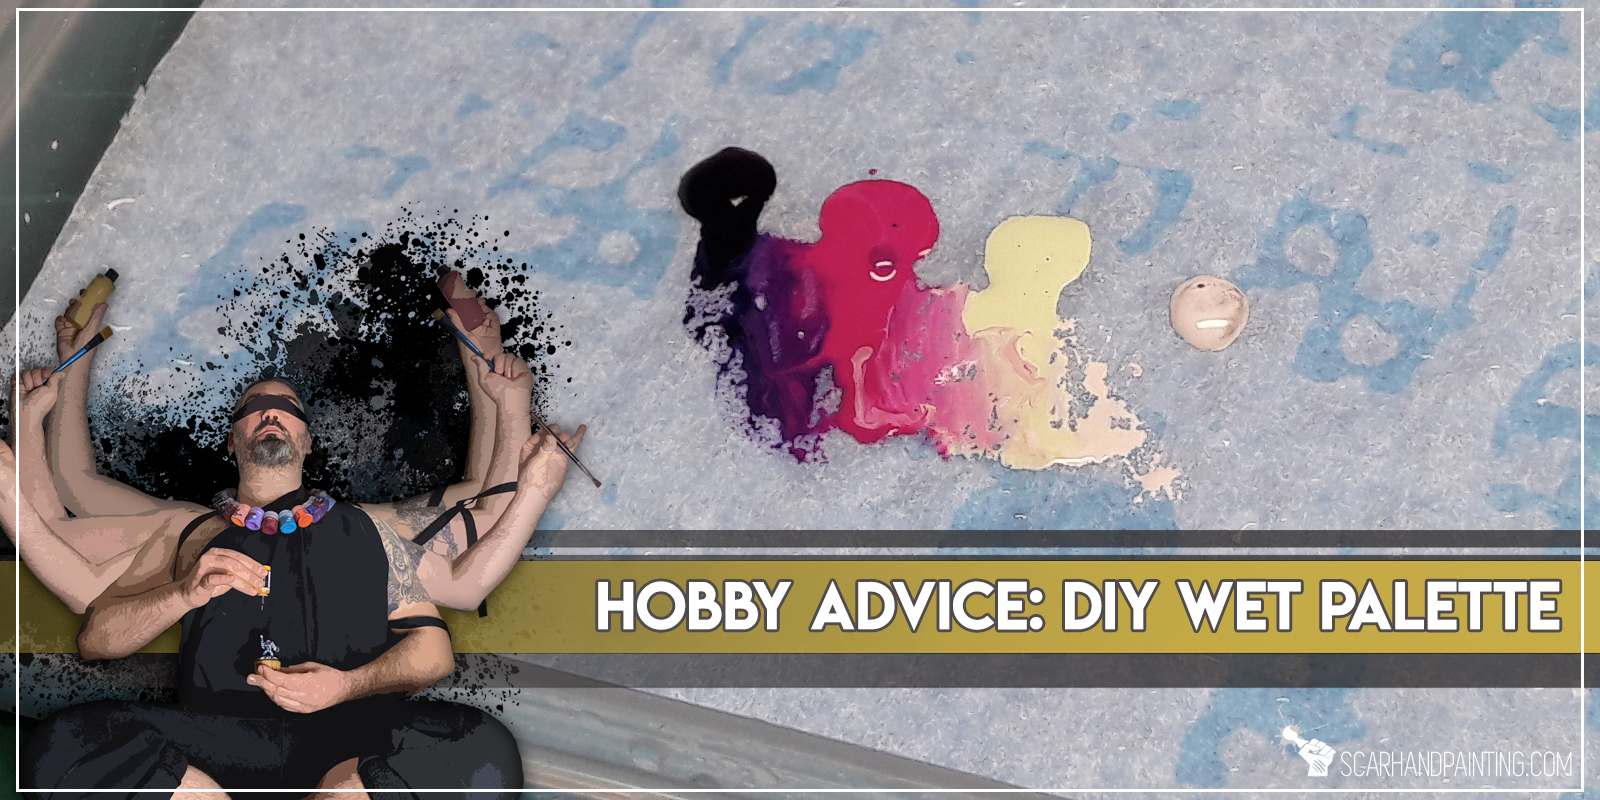
Wet Palette – a hobby tool every or at least a vast majority of pro painters has. A Wet Palette is simply a piece of parchment sitting on a wet sponge that keeps your paints thin and allows you to “save” a certain colour mix to go back to without the necessity to mix the paints anew in hope to achieve same results. In this article I will show you how to make your own Wet Palette.
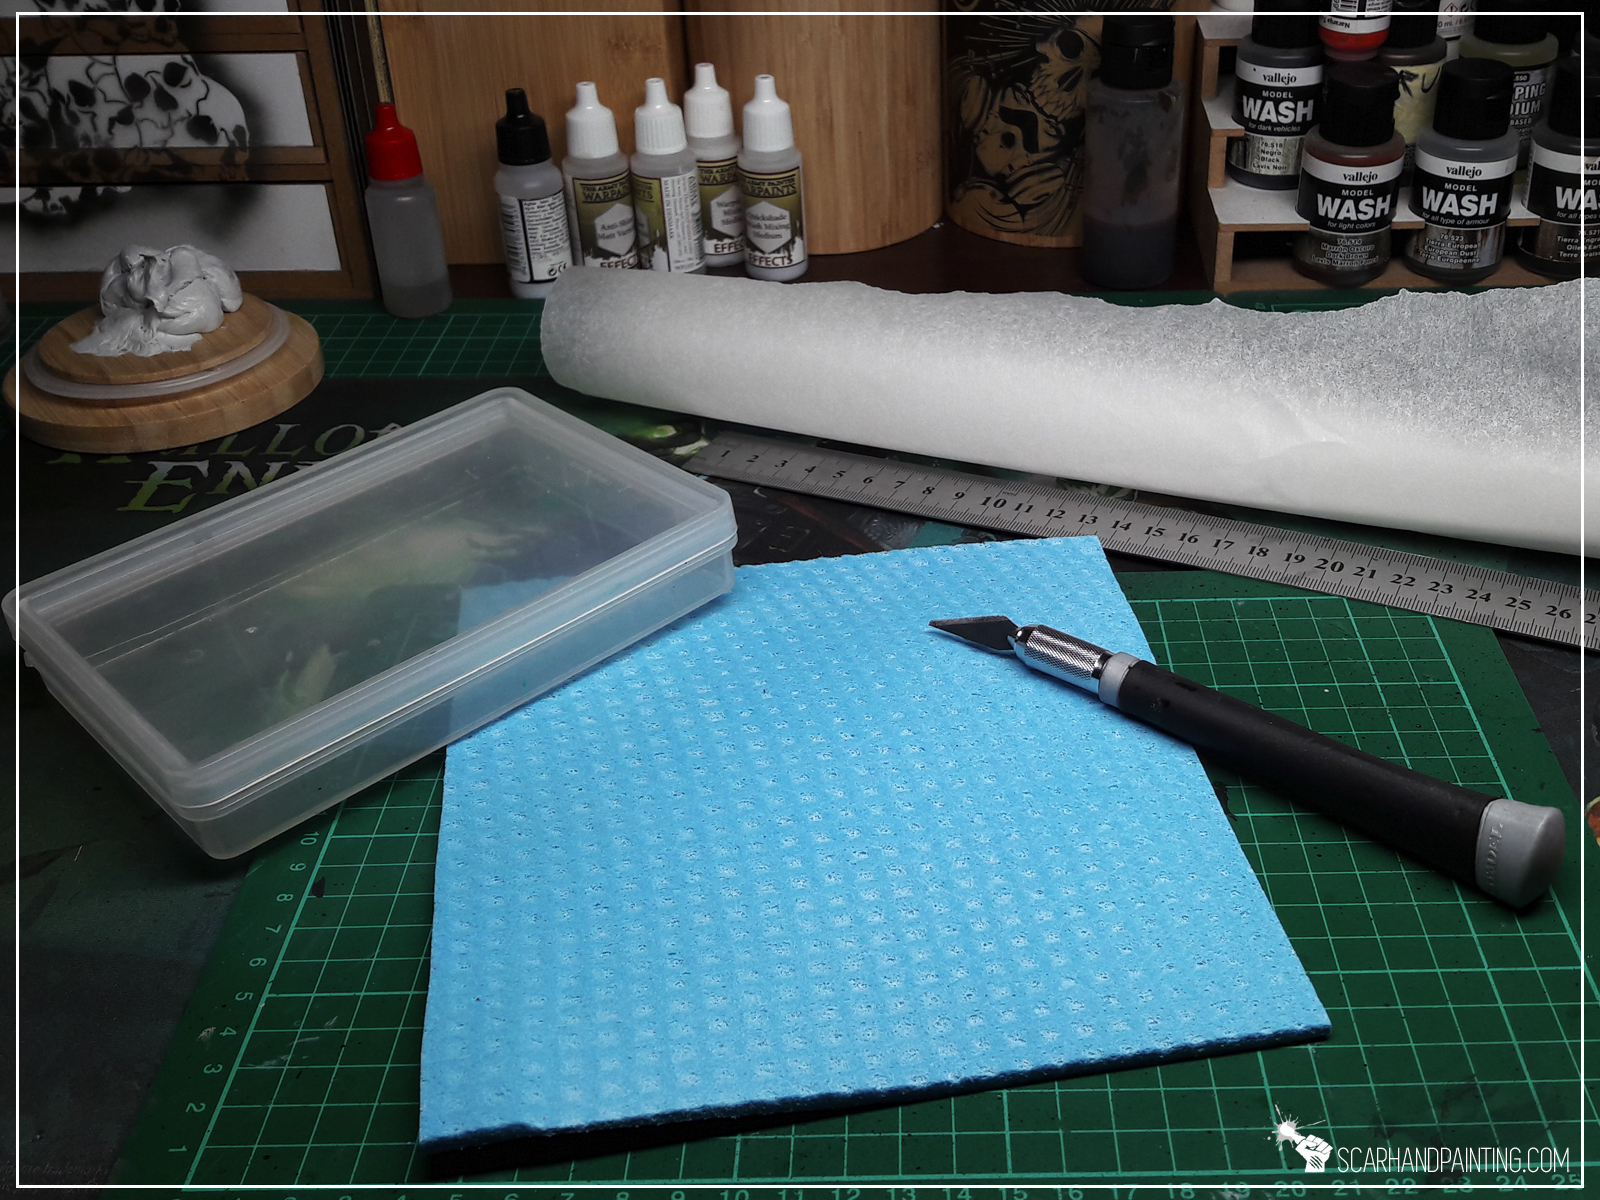

Picking a right box for the job is very important. For best results it should be hermetic, rather shallow and as wide and long as you prefer. I know a very good painter who uses a Ferrero Rocher box, I preffer to use a more hermetic and smaller Games Workshop Turf box. It suits my needs better, as I don’t use Wet Palette too often. Either way…
Step one:

I measured the insides of my box of choice and cut a piece of kitchen sponge to be approximately 5mm smaller. This is to leave some space for a sponge that might grow a bit once filled with water.

Step two:
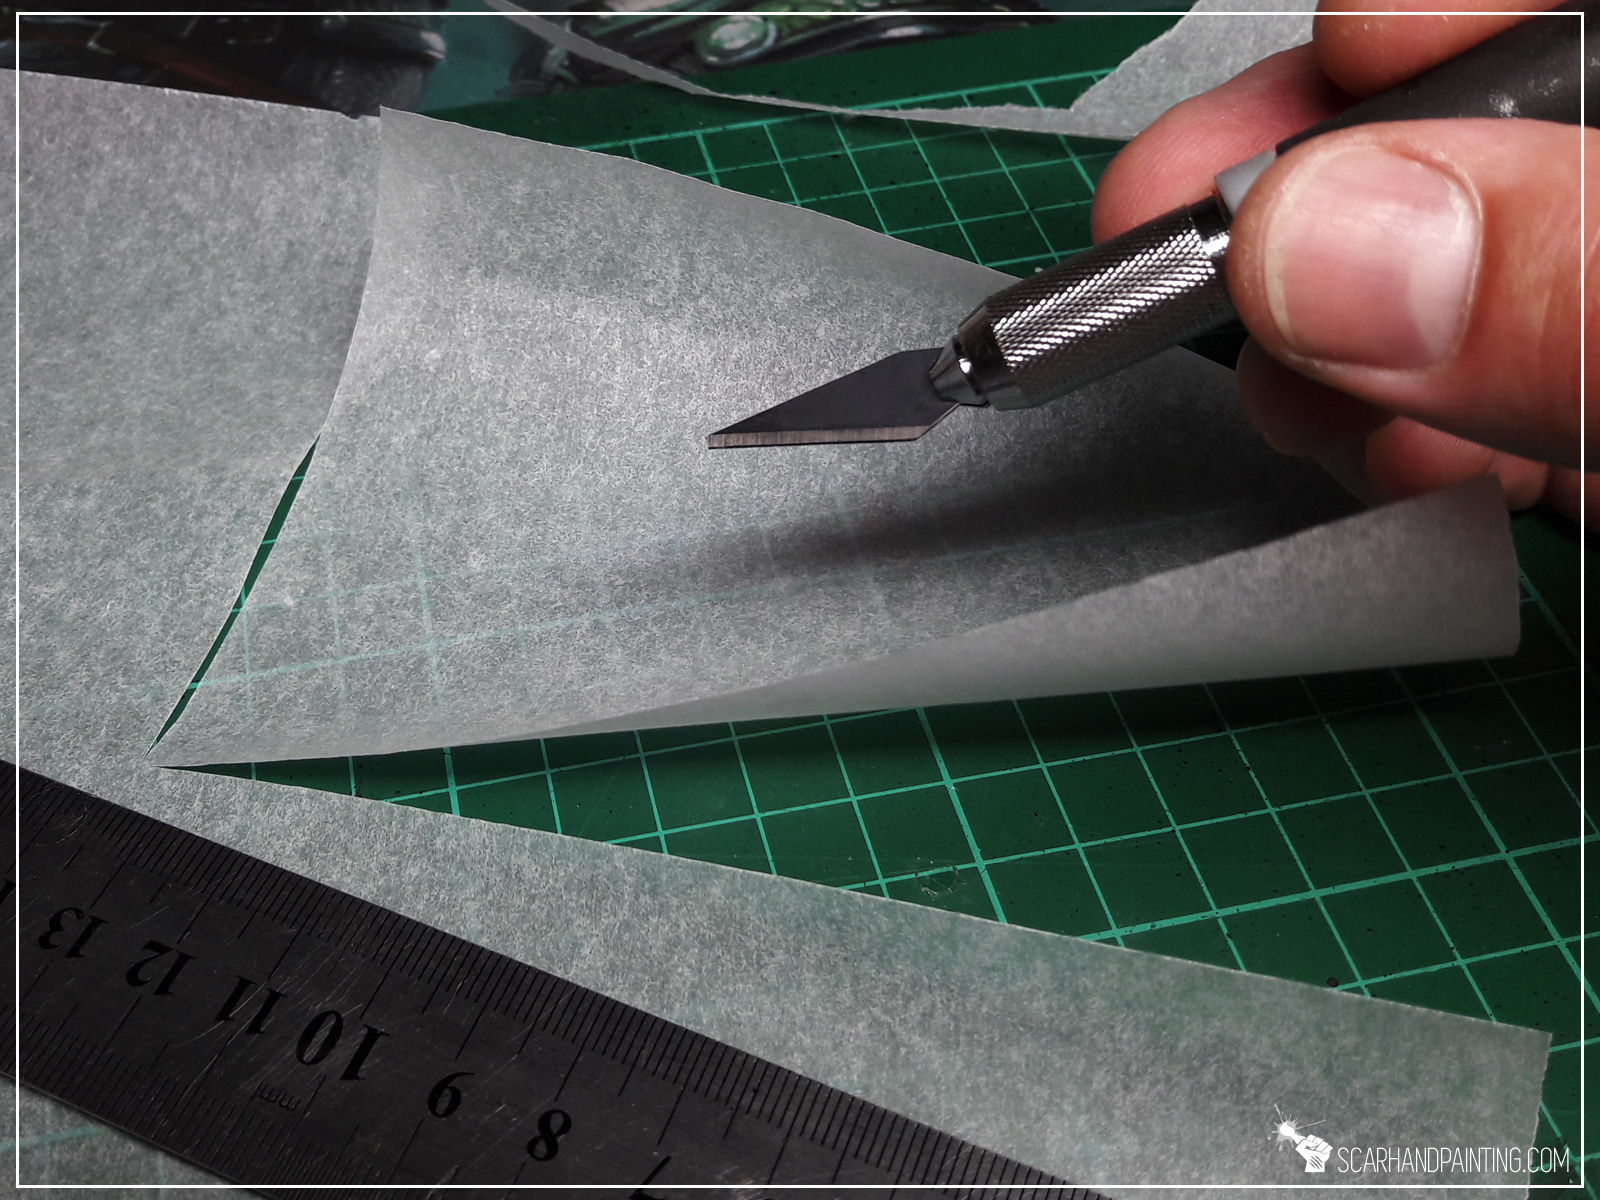
Next I cut a piece of baking paper to fit the sponge, again leaving about 5mm space between the edge of the sponge and the paper itself.
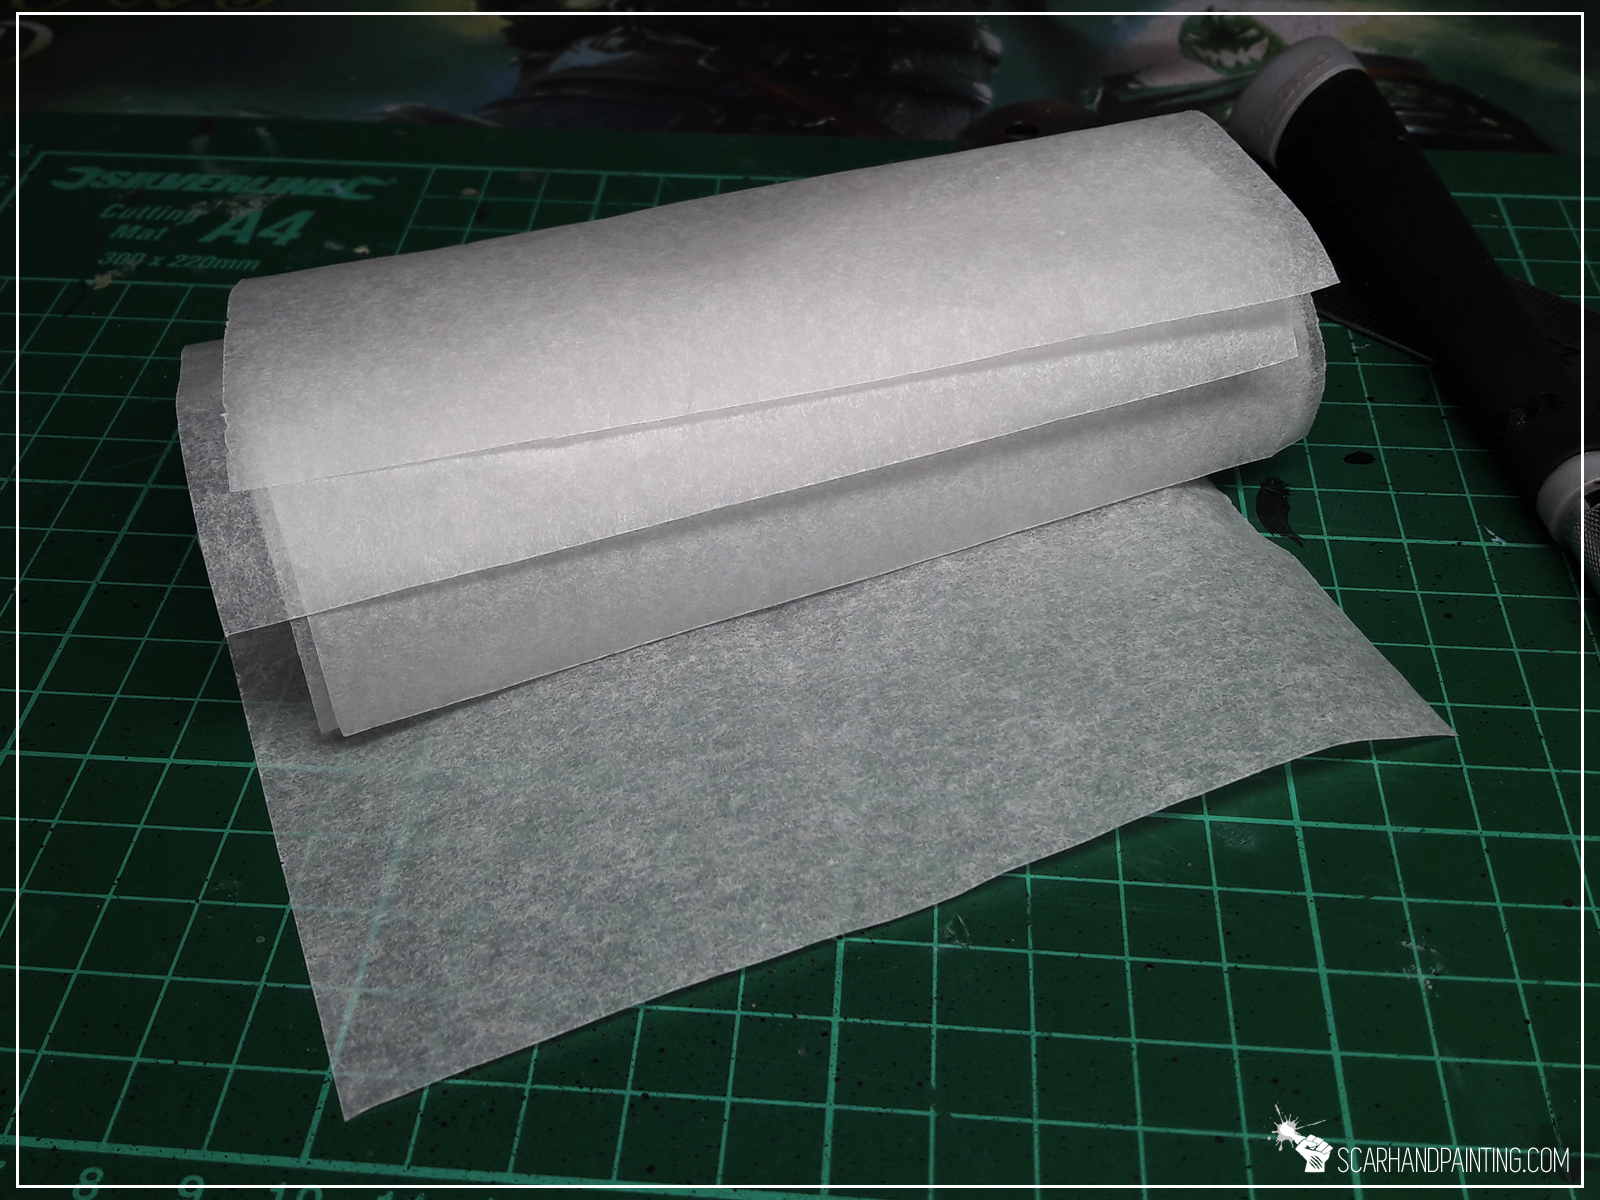
Step three:

I filled the “palette” with water until the sponge couldn’t take anymore. The key is to avoid water outside the sponge.
Step four:
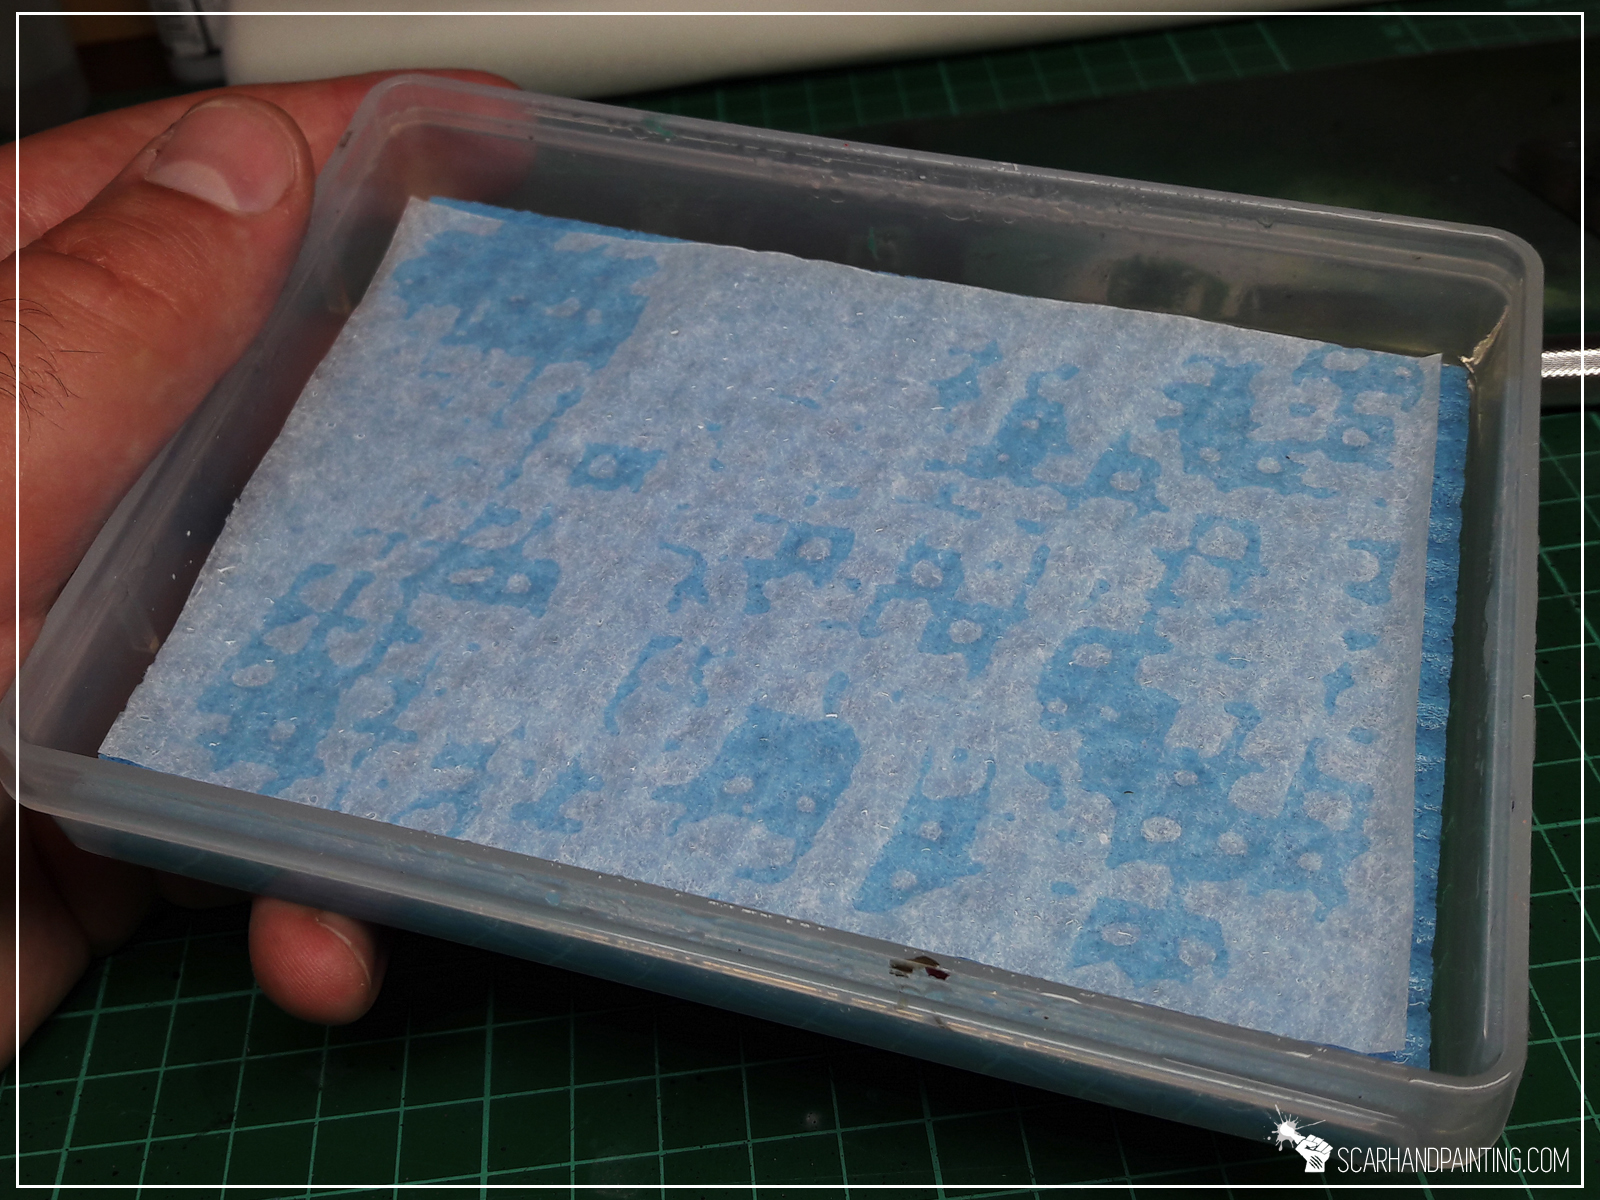
I then put a piece of baking paper on top of the sponge and held it in place, so that it took a little bit of water and flattened. That’s actually it – Wet Palette complete and ready for action!
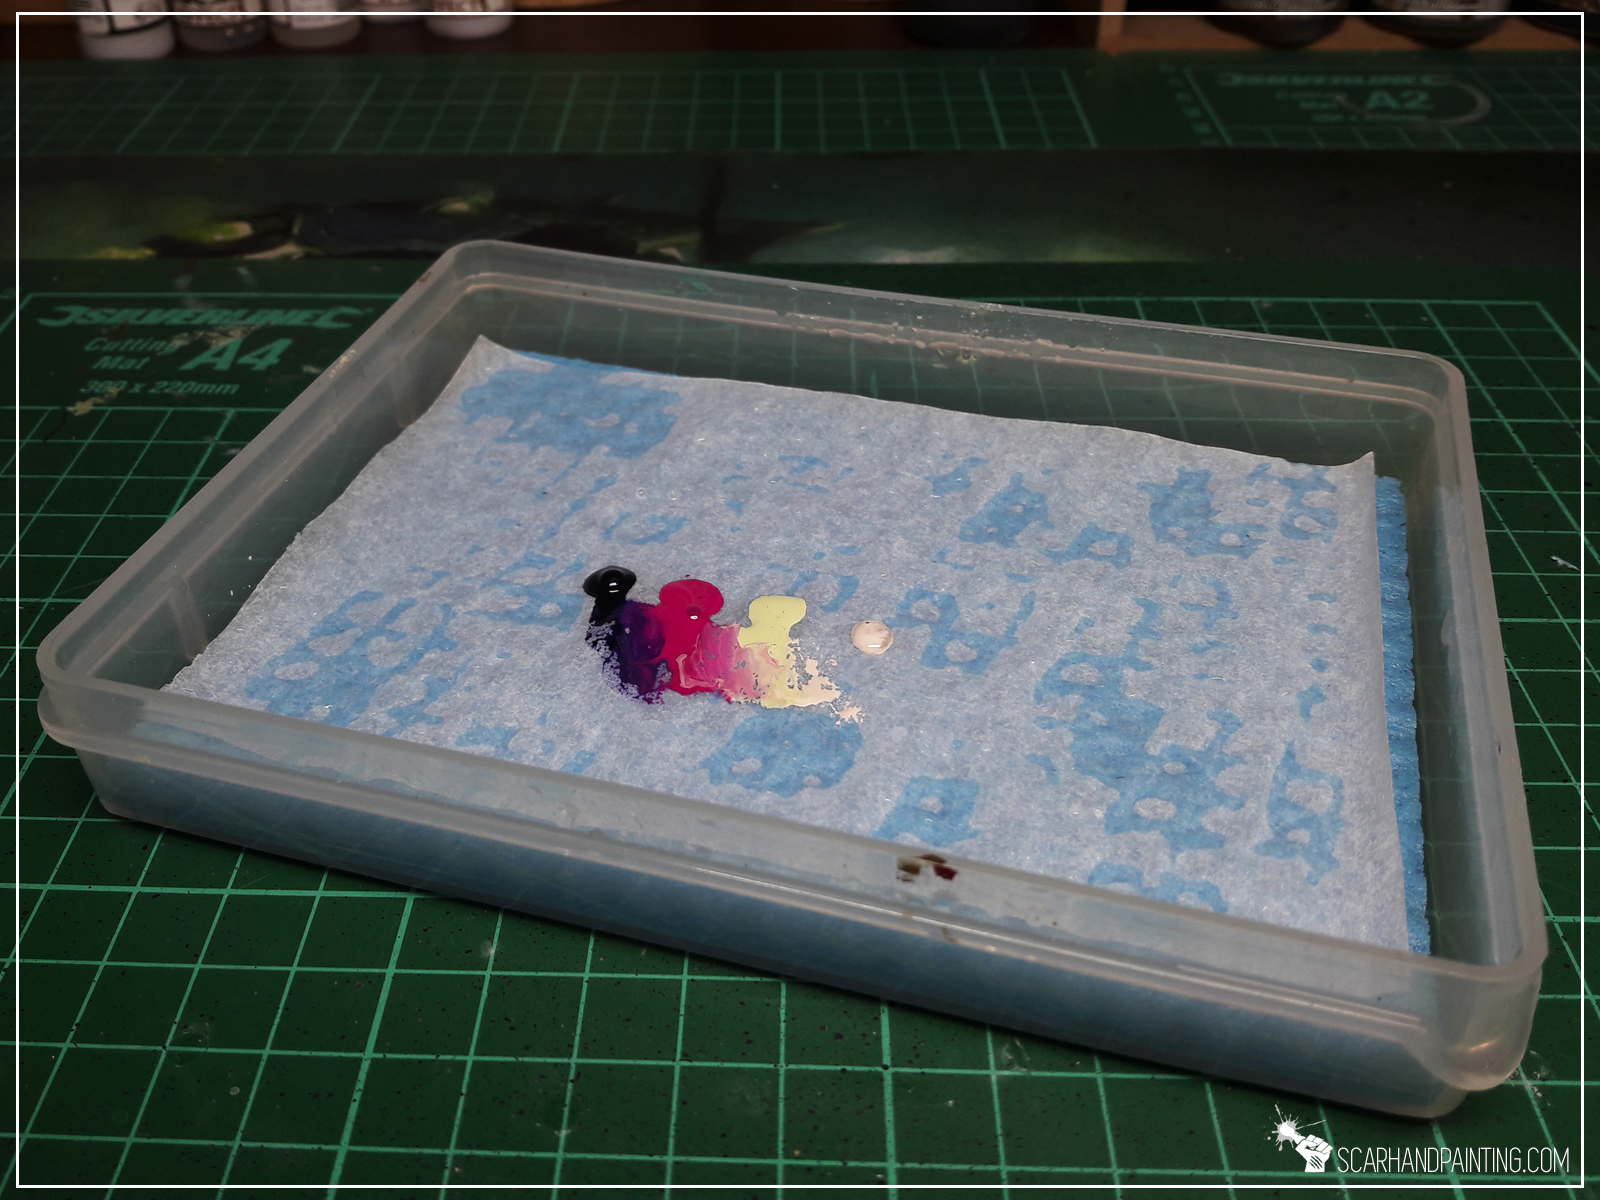
Now I can “save” the paints for later use…
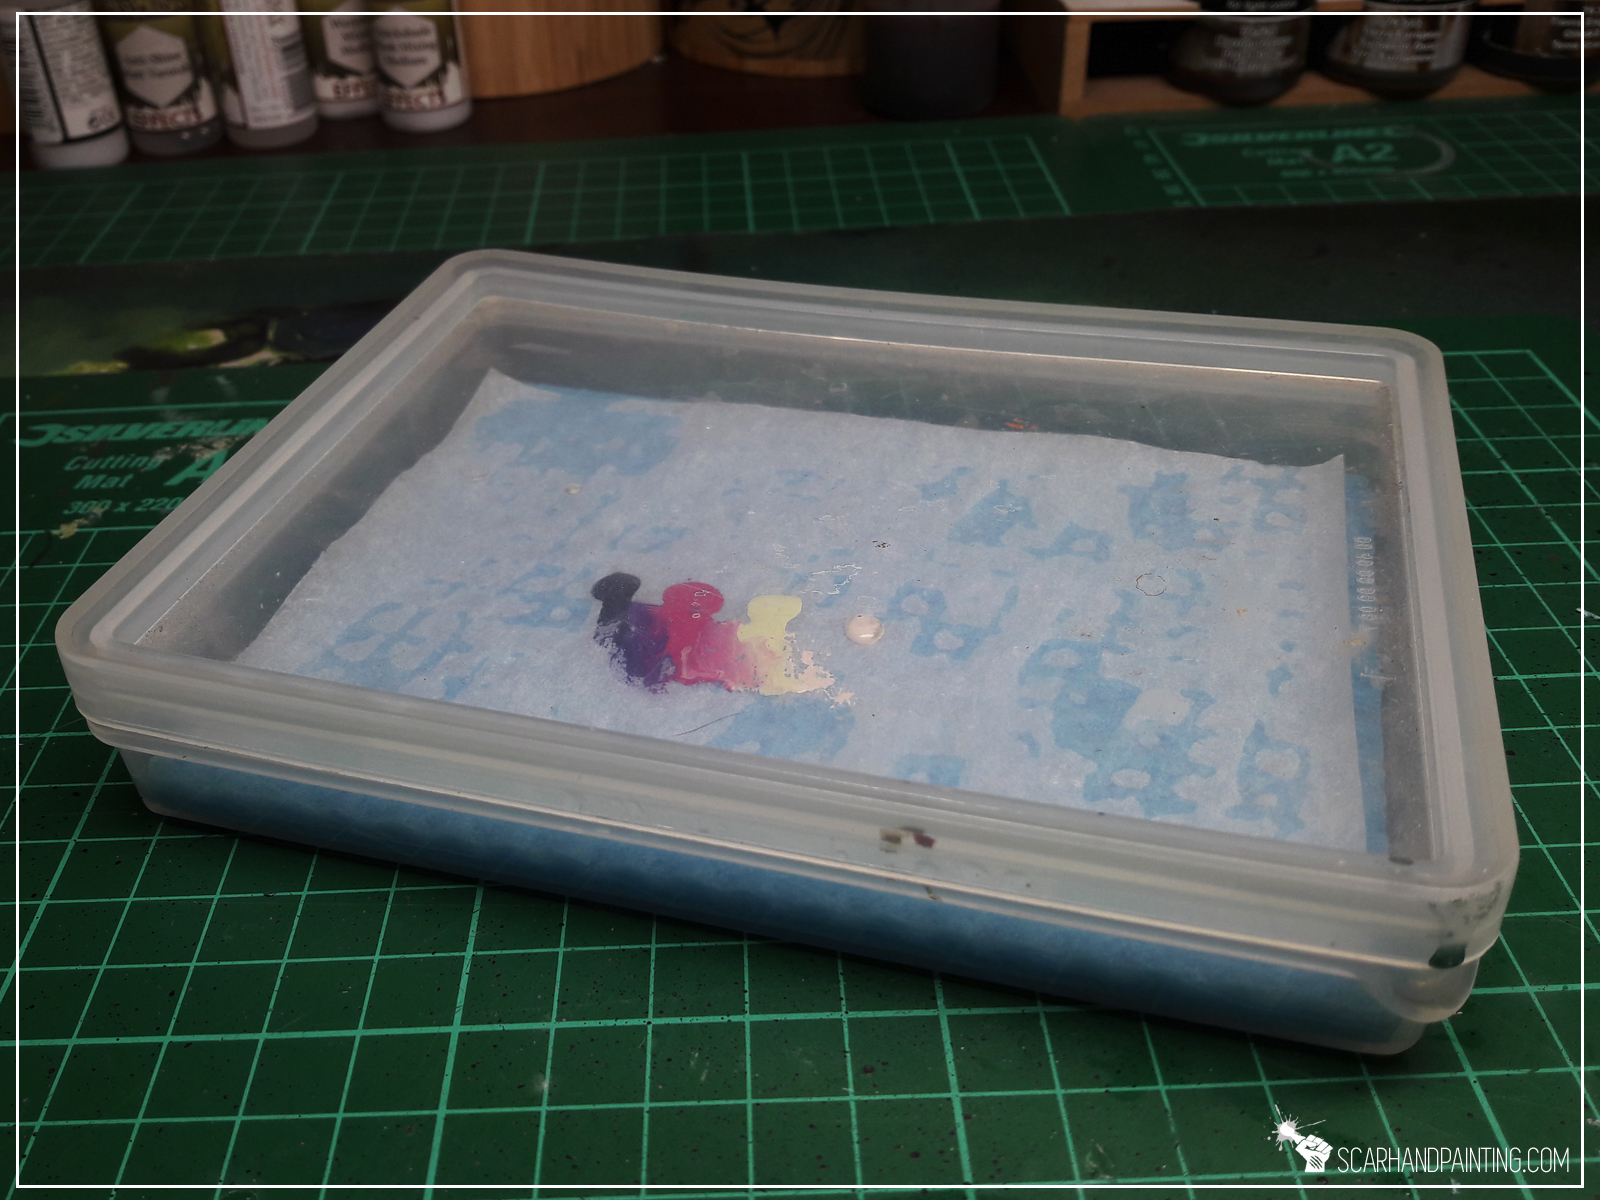
Important tip: You will be switching the piece of baking paper every now and then, but I advise you to occasionally switch the sponge too. Depending on what kind of soft sponge you’ll use it might get smelly after long use. It’s because nowadays kitchen sponges are made out of algae and similar organic material. Just saying 😉
You find this article helpful? Don’t be a stranger and drop me a comment below!

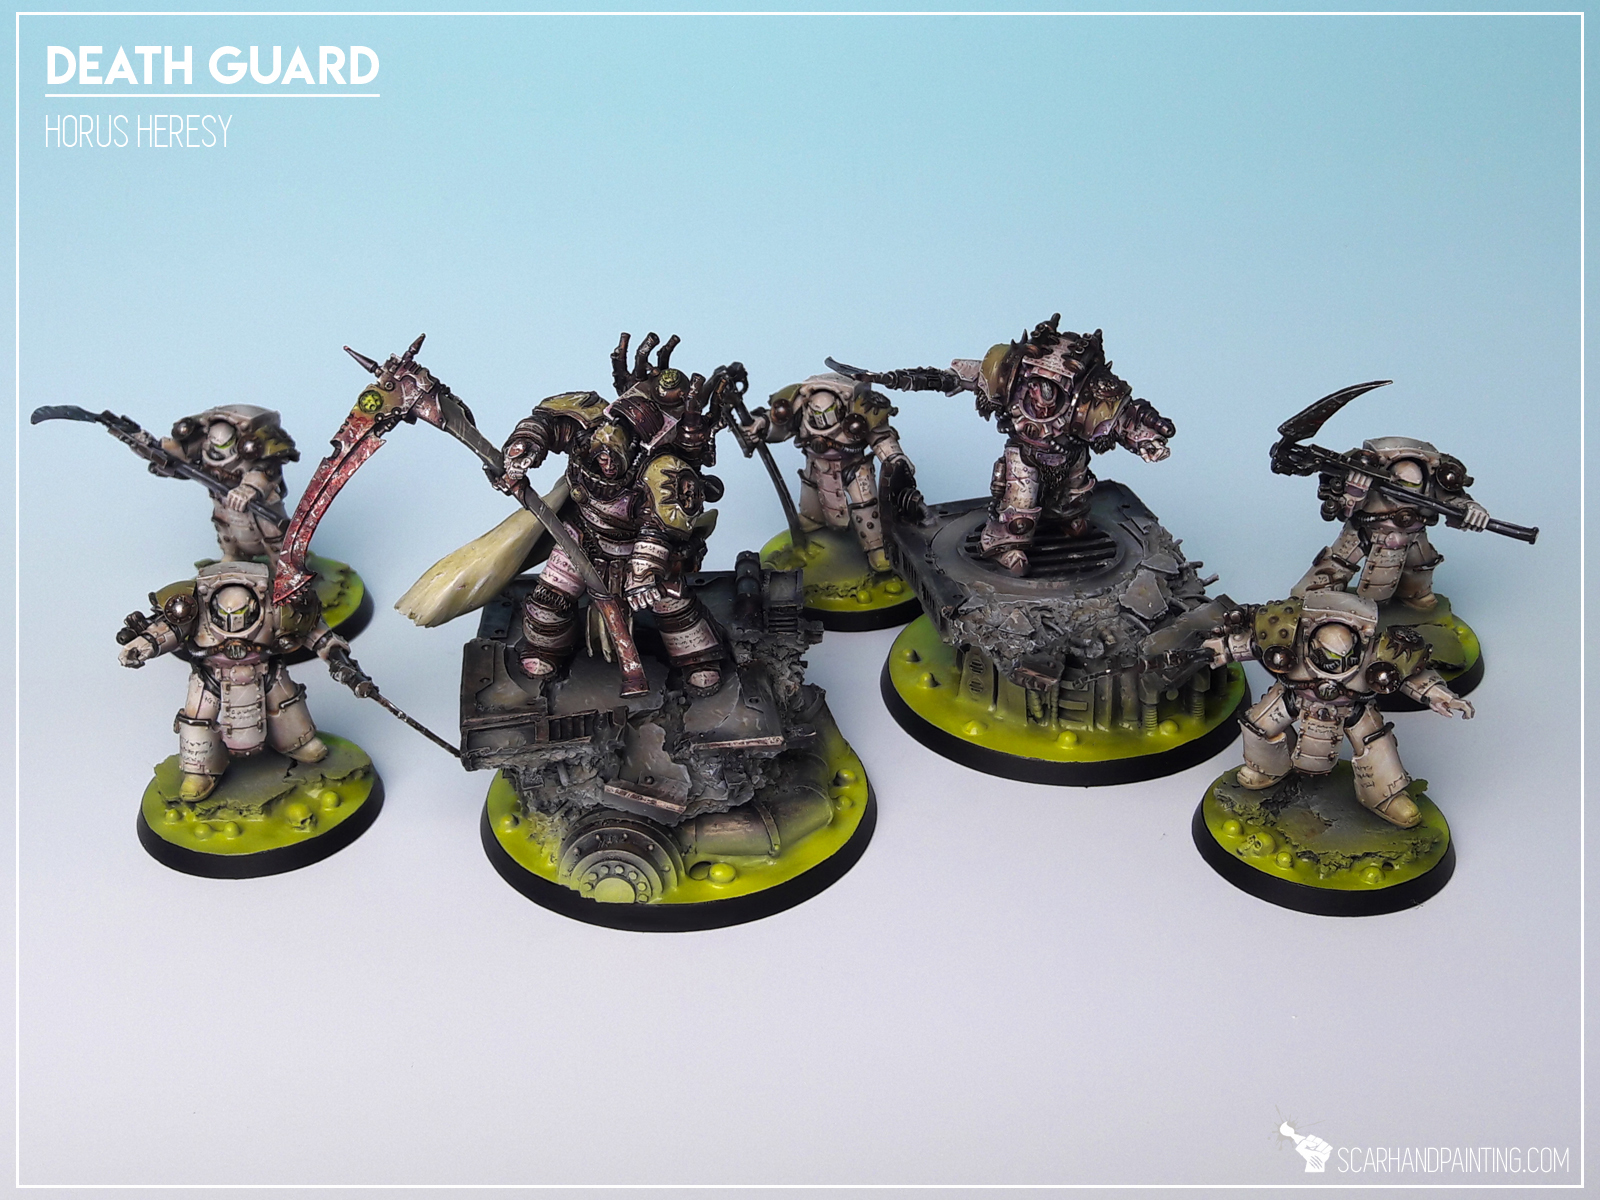
Welcome to Painting Jade Bases tutorial. Here I will take you on a Step-by-step trip through the process of painting jade Sci-Fi bases the same way as seen at: Gallery: Aleph S.S.S.

Before we start, some notes:
* This one requires an Airbrush.
* What works for me might not necessarily work for you.
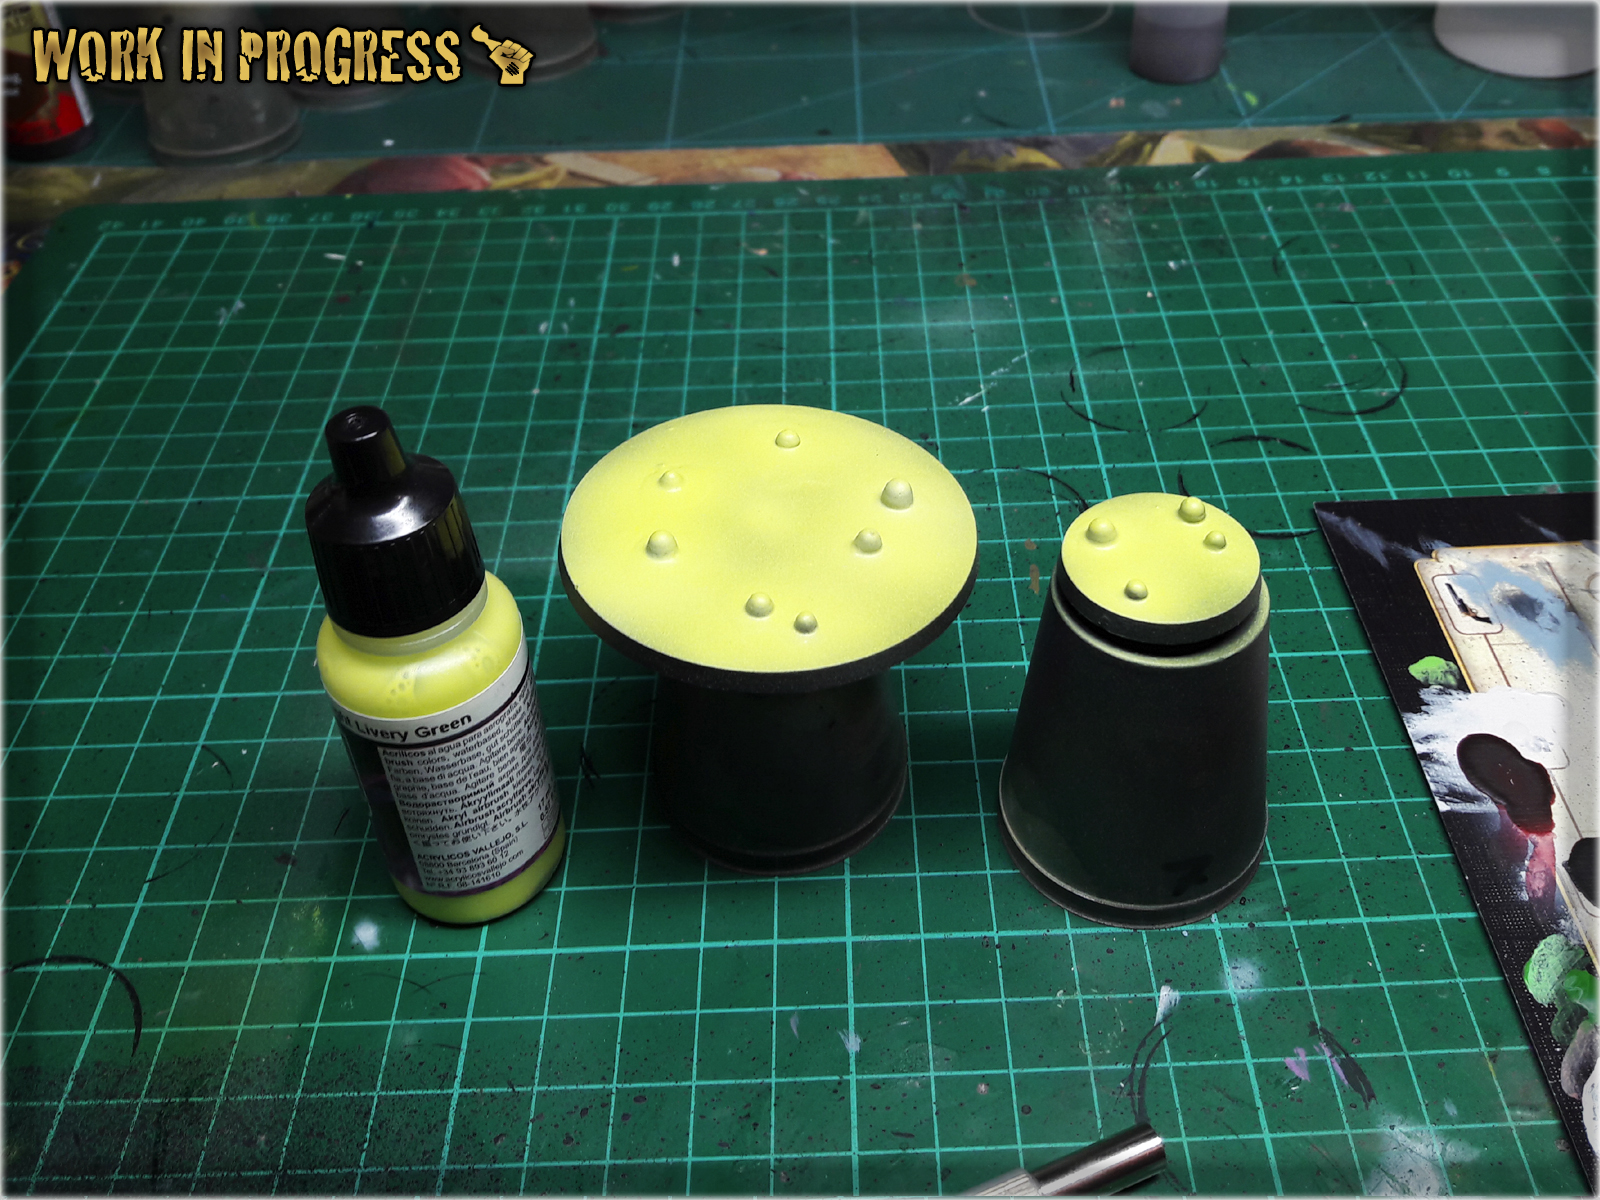
* I used Zen Terrain “Futura” base toppers.
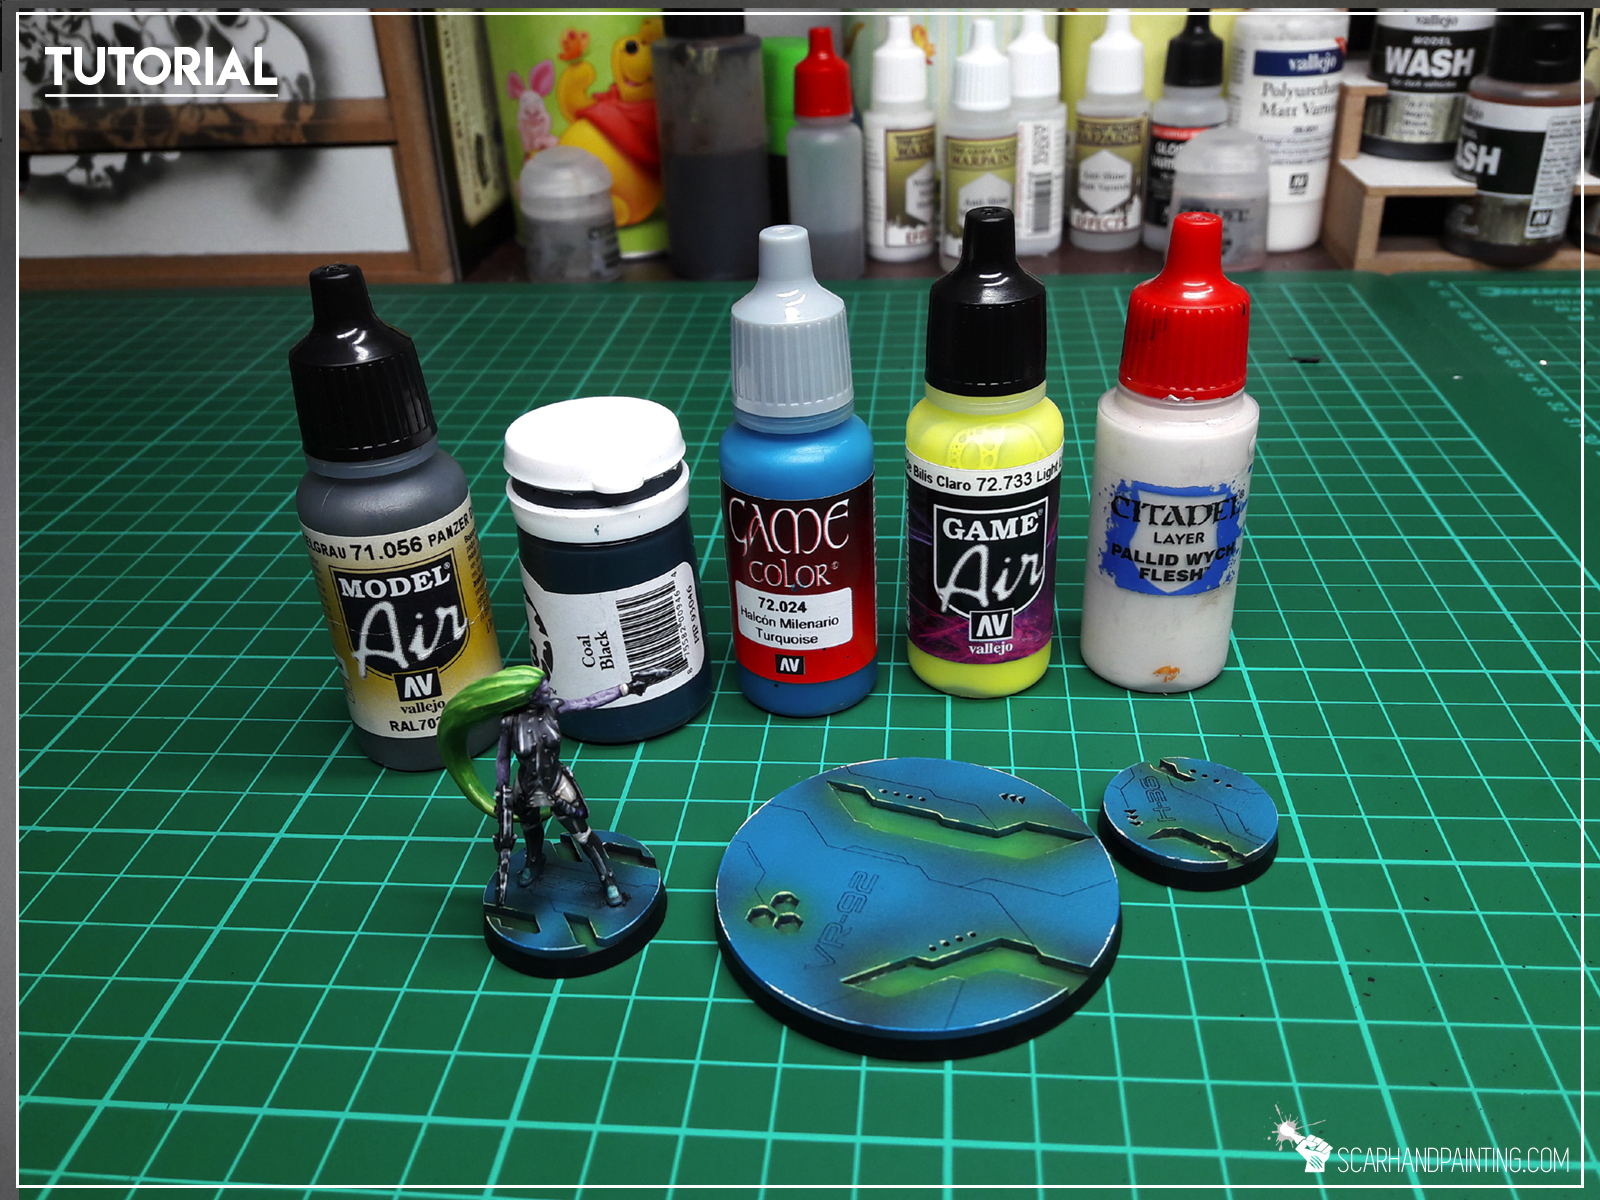
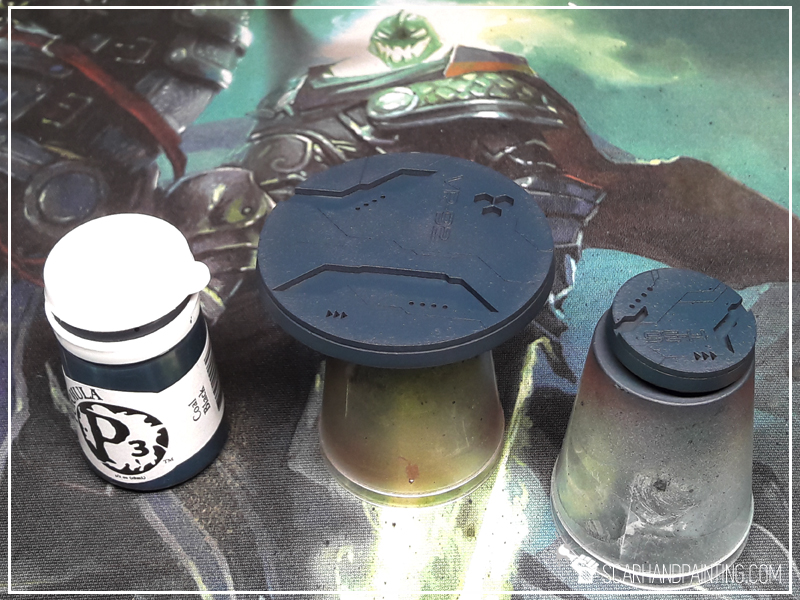
* I started by airbrushing a thick layer of Vallejo Panzer Dark Grey.

* I followed with a layer of P3 Coal Black, mixed with Flow Improover.
* Next I applied a layers of Vallejo Turquoise, mixed with Flow Improover, but this time made sure to leave some spots of previous layer visible.
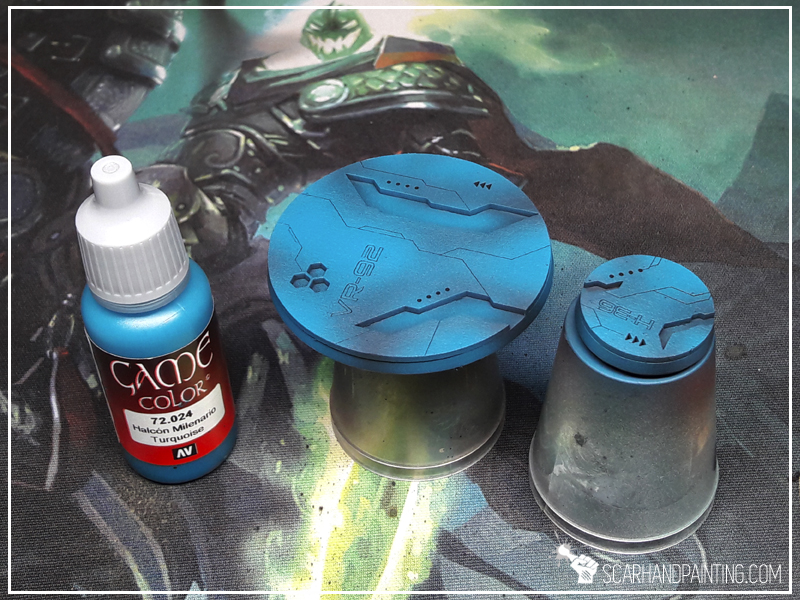
* Using a regular brush I then highlighted all the edges with Vallejo Turquoise.

* Next I partially higlighted the edges with Games Workshop Pale Wych Flesh.
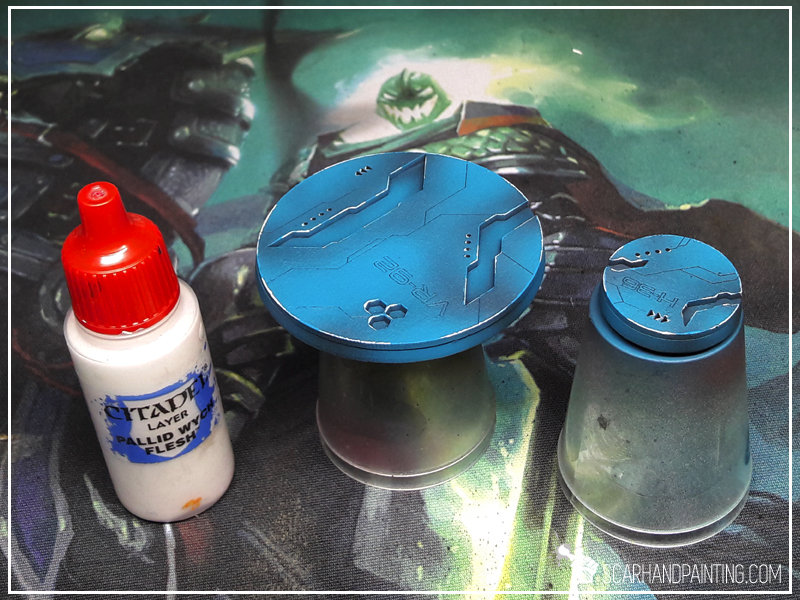
* Back to airbruush, I applied a layer of Vallejo Light Livery Green on top of all lower parts of the base.
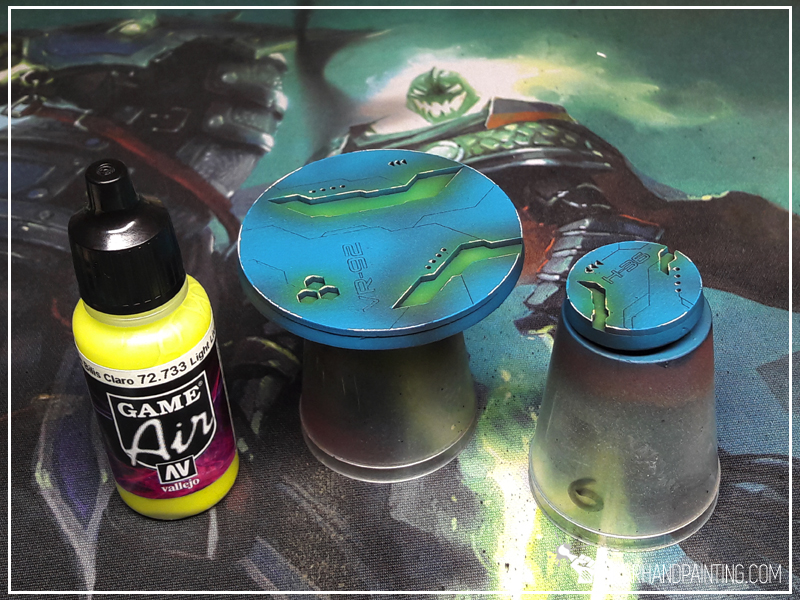
* I then washed all recess spots with Games Workshop Waywatcher Green, being careful not to leave stain outside the lower parts of the base.

* Finally I painted side edges black. Job done.

That’s all! If you followd this tutorial and painted your own bases this way, be sure to leave a comment and drop me some pics via Facebook 😉
Cheers!

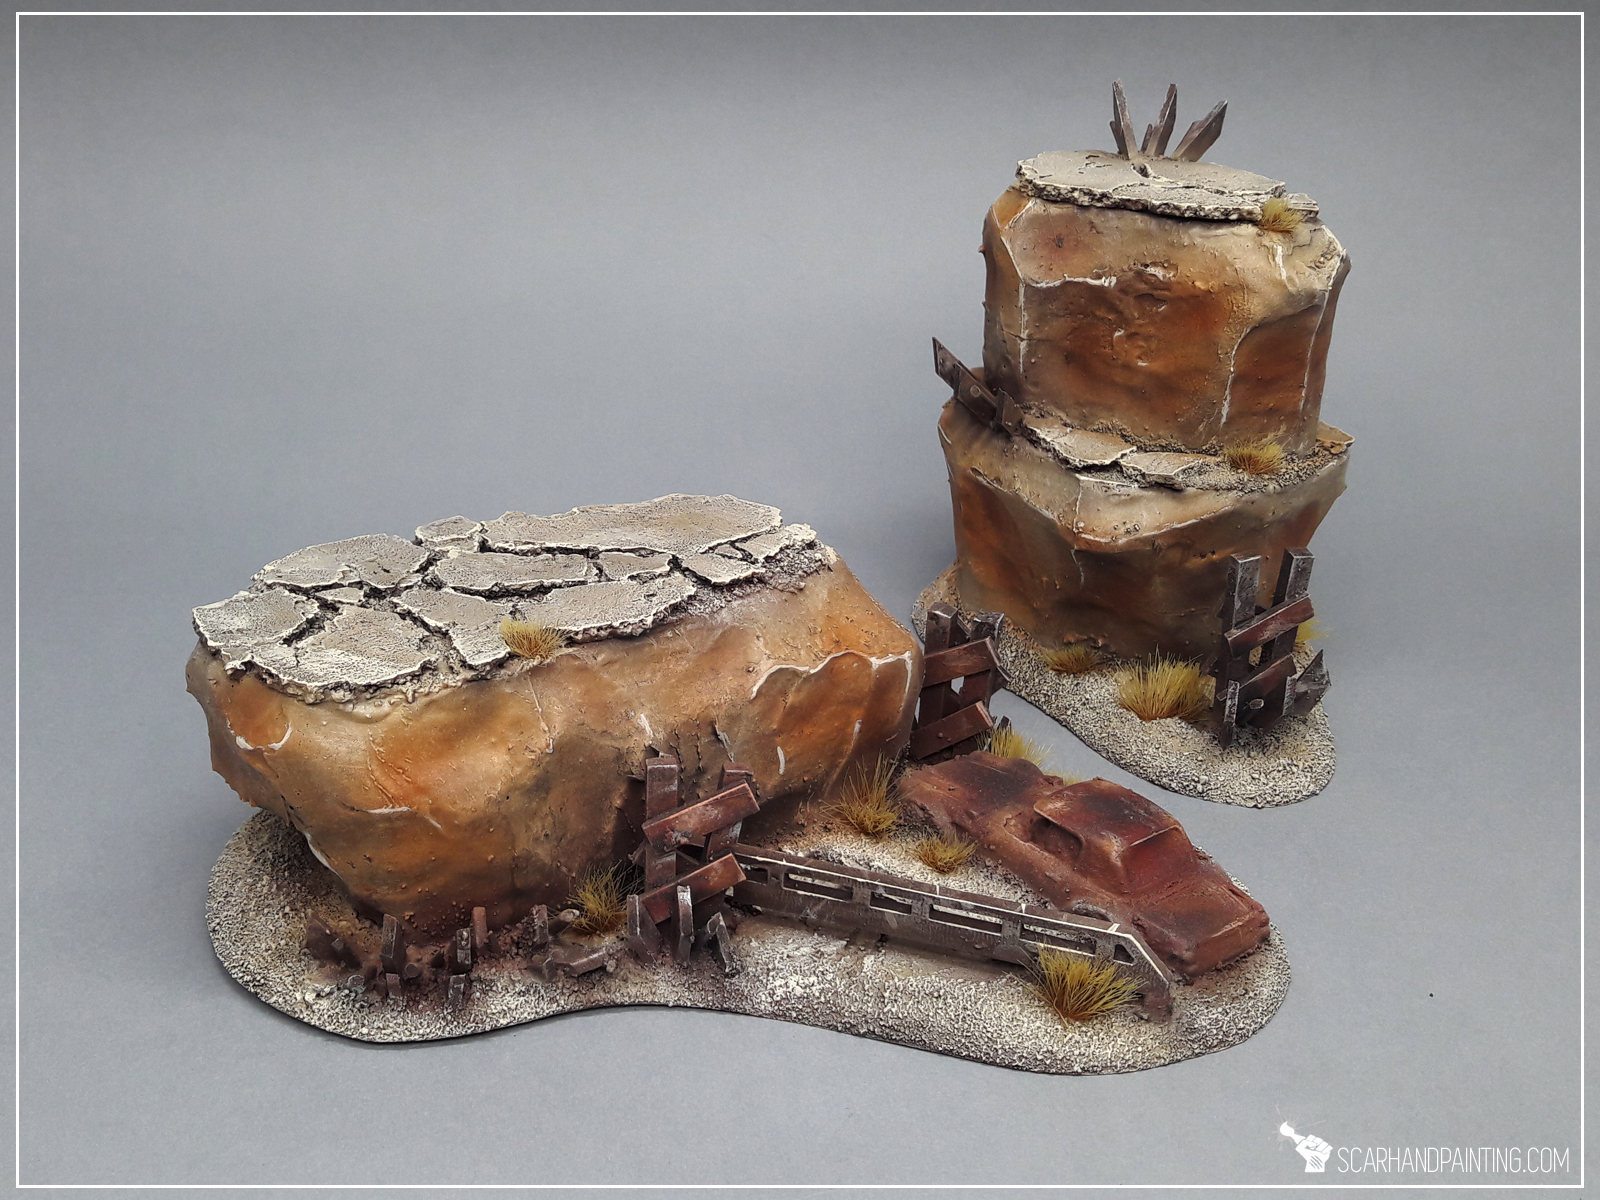
In this easy, step-by-step tutorial I’m going to show you how to create a Desert Scenery as could be found in “Gallery: Gaslands”.

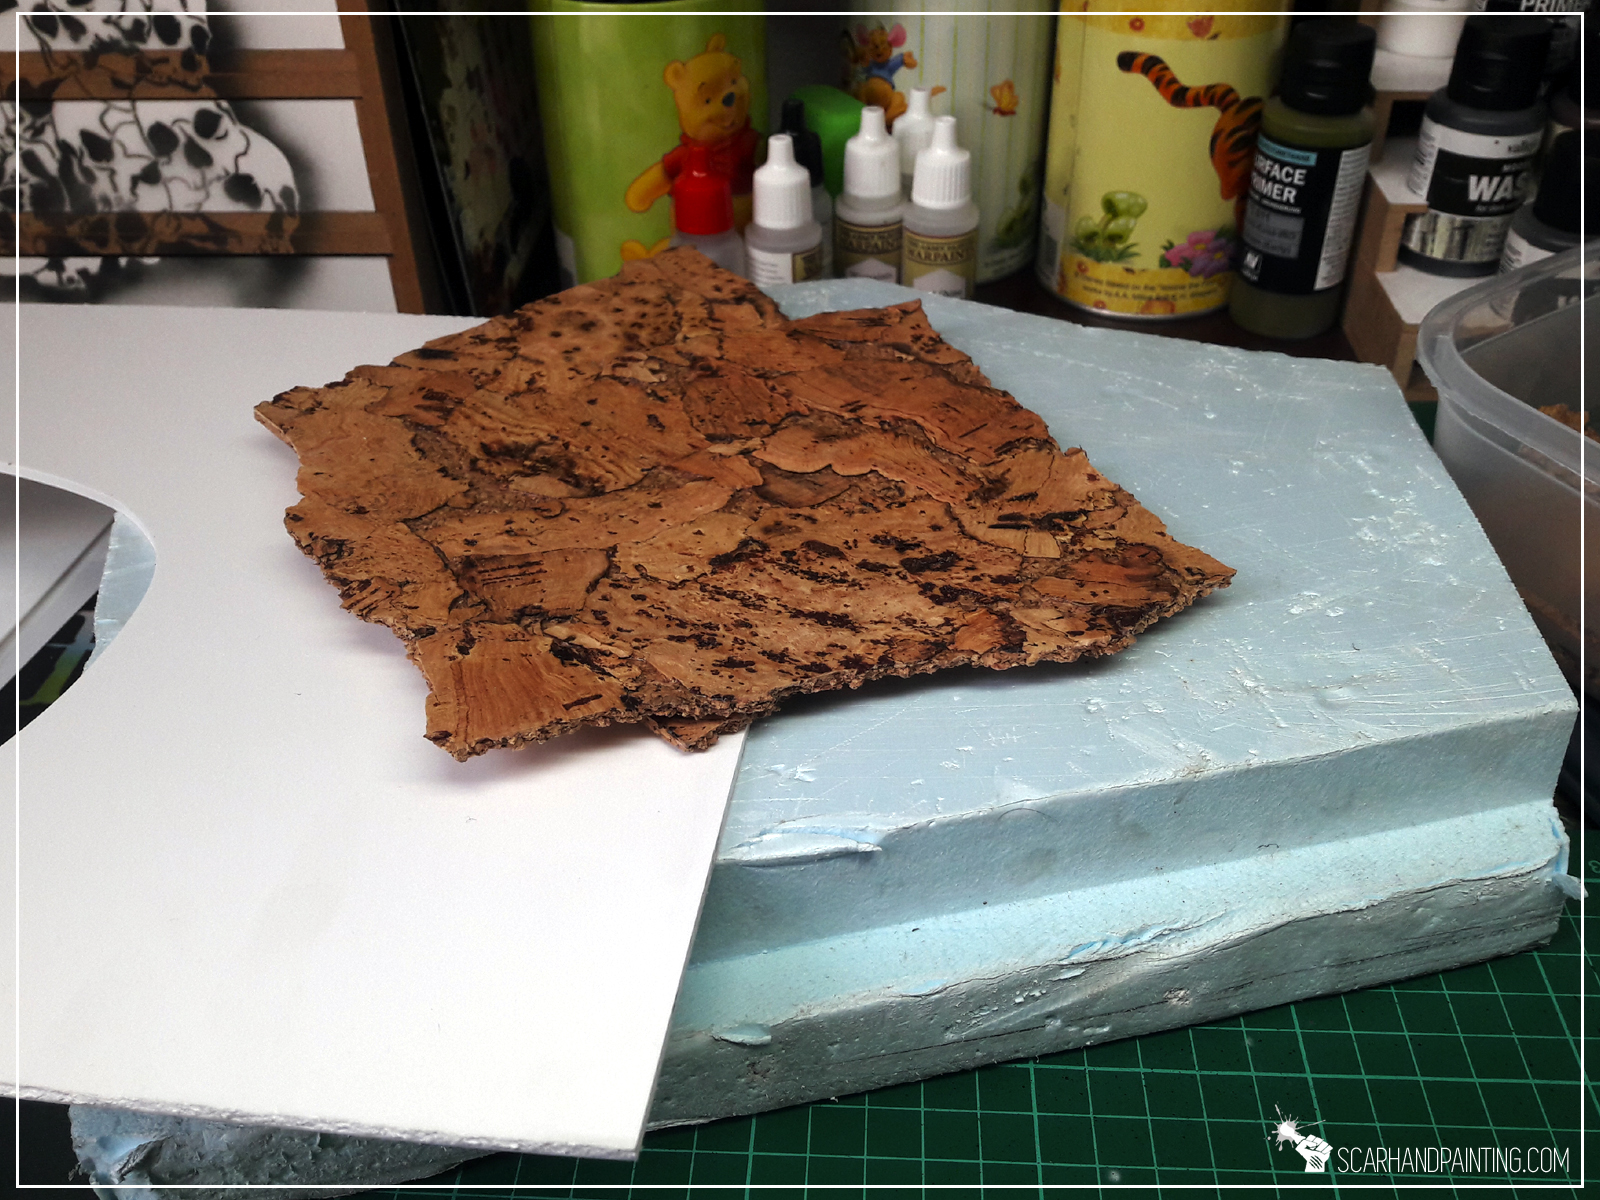
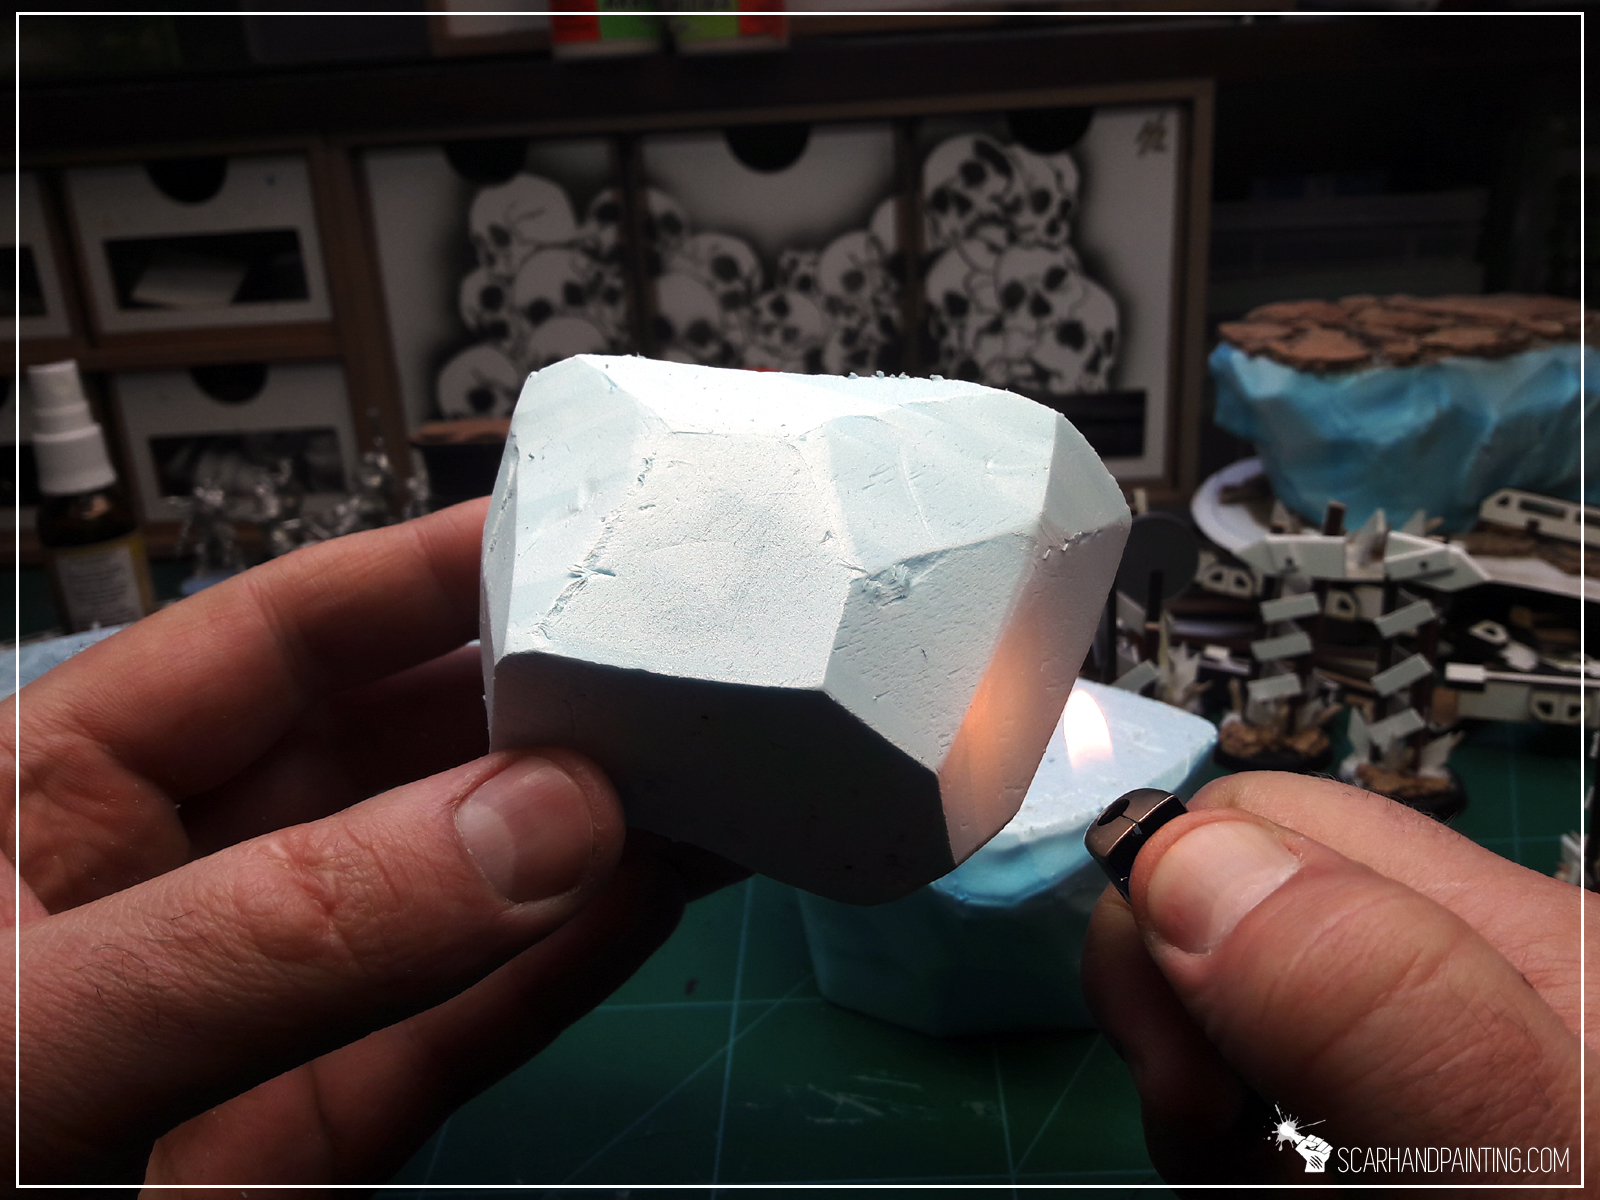
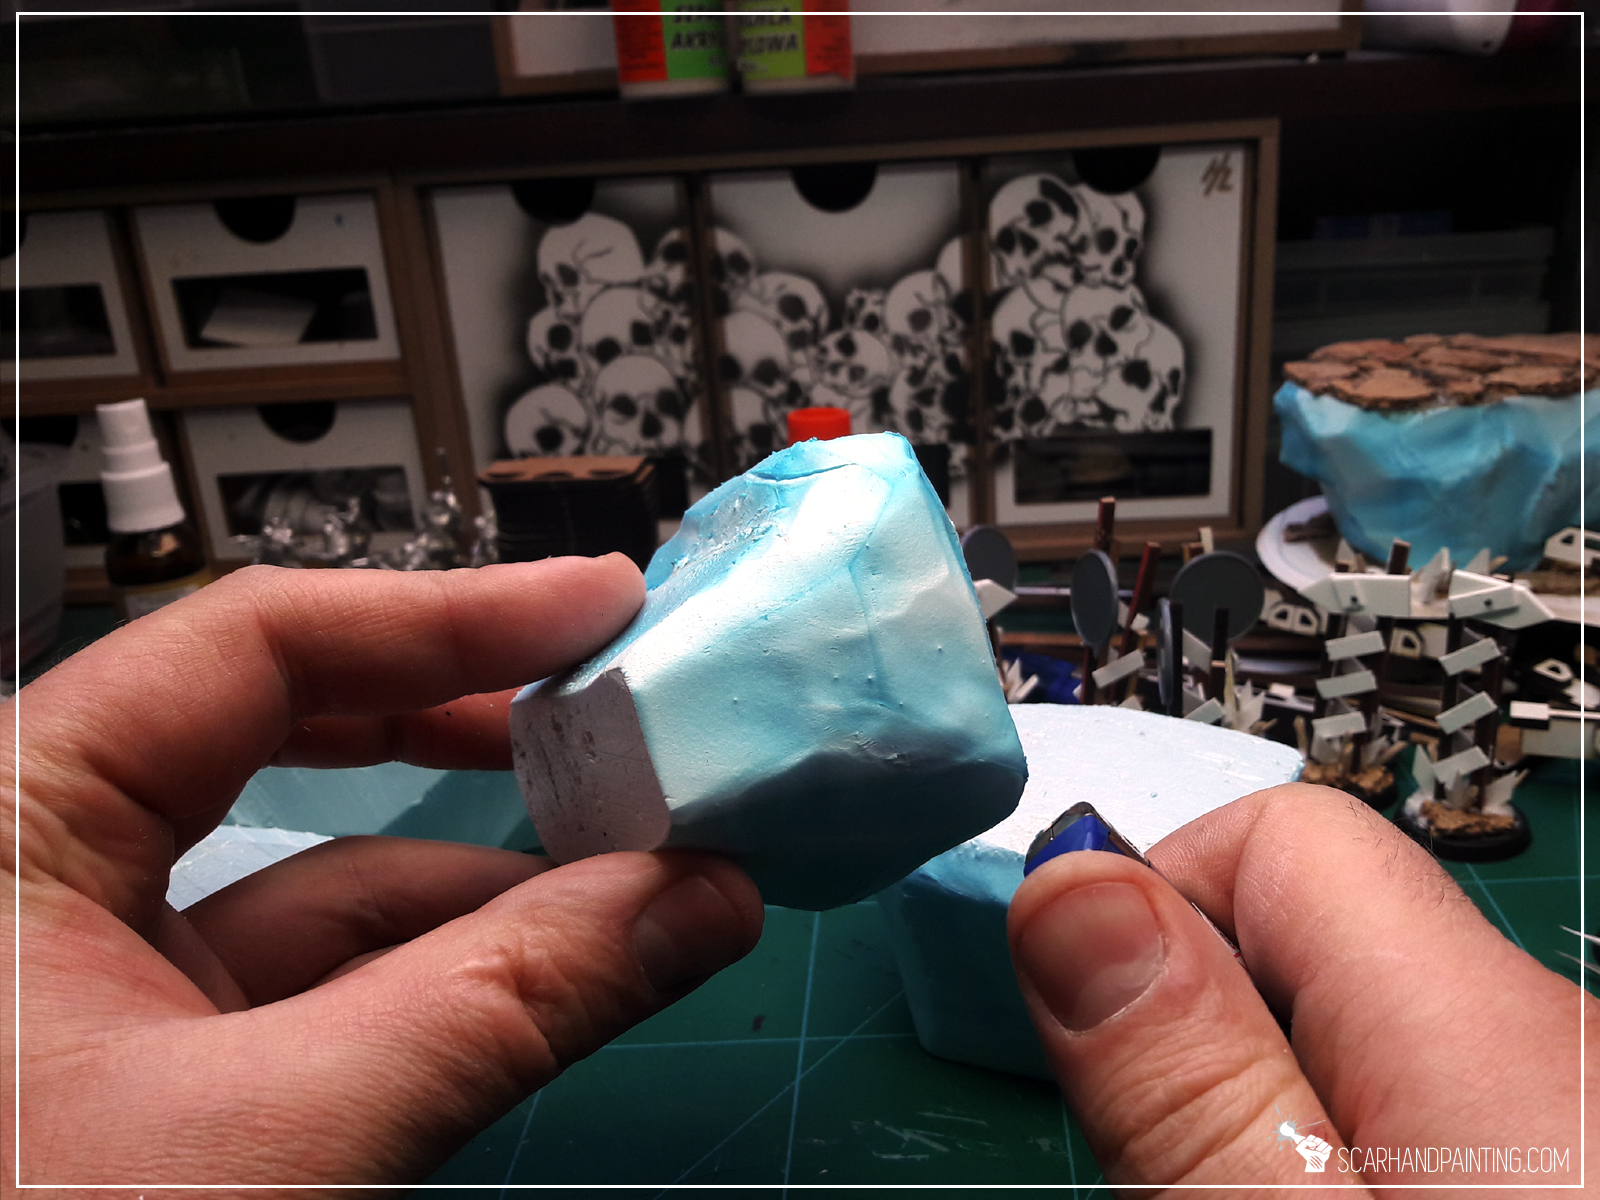
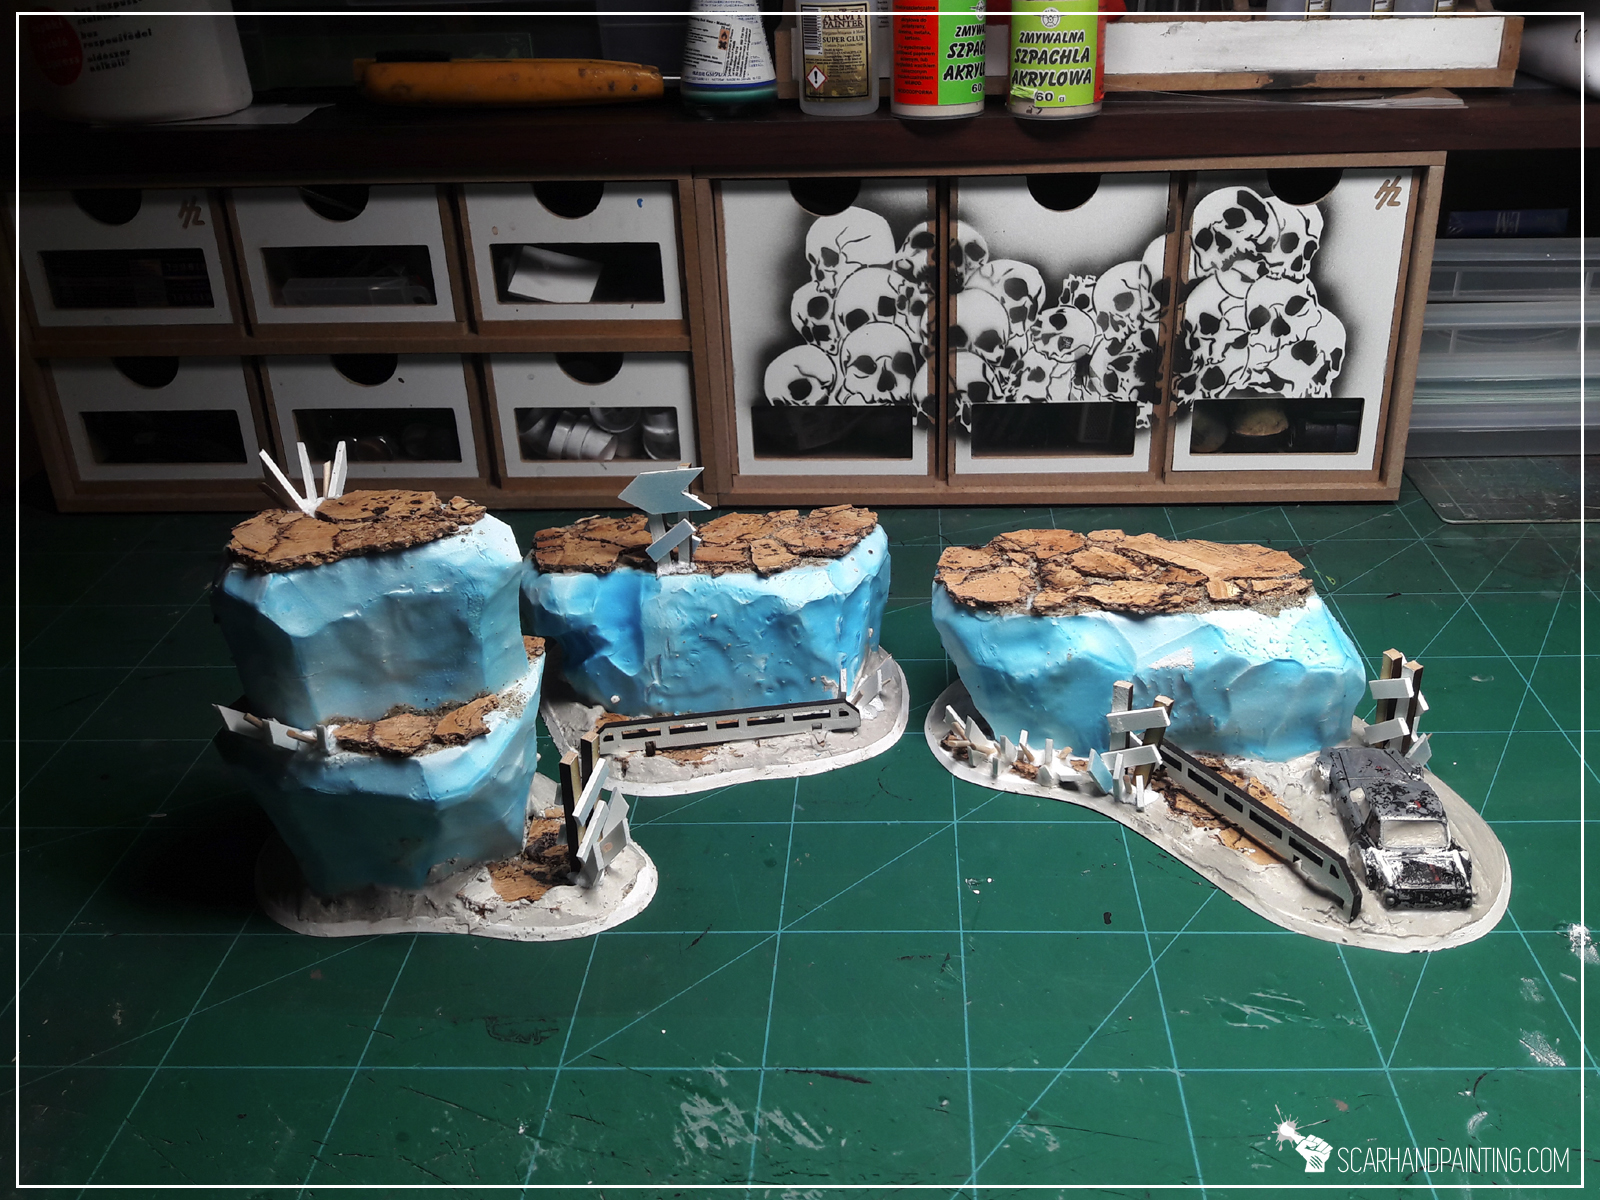
* I started by cutting foamed PCV (or styrofoam) into basic rocky blocks.
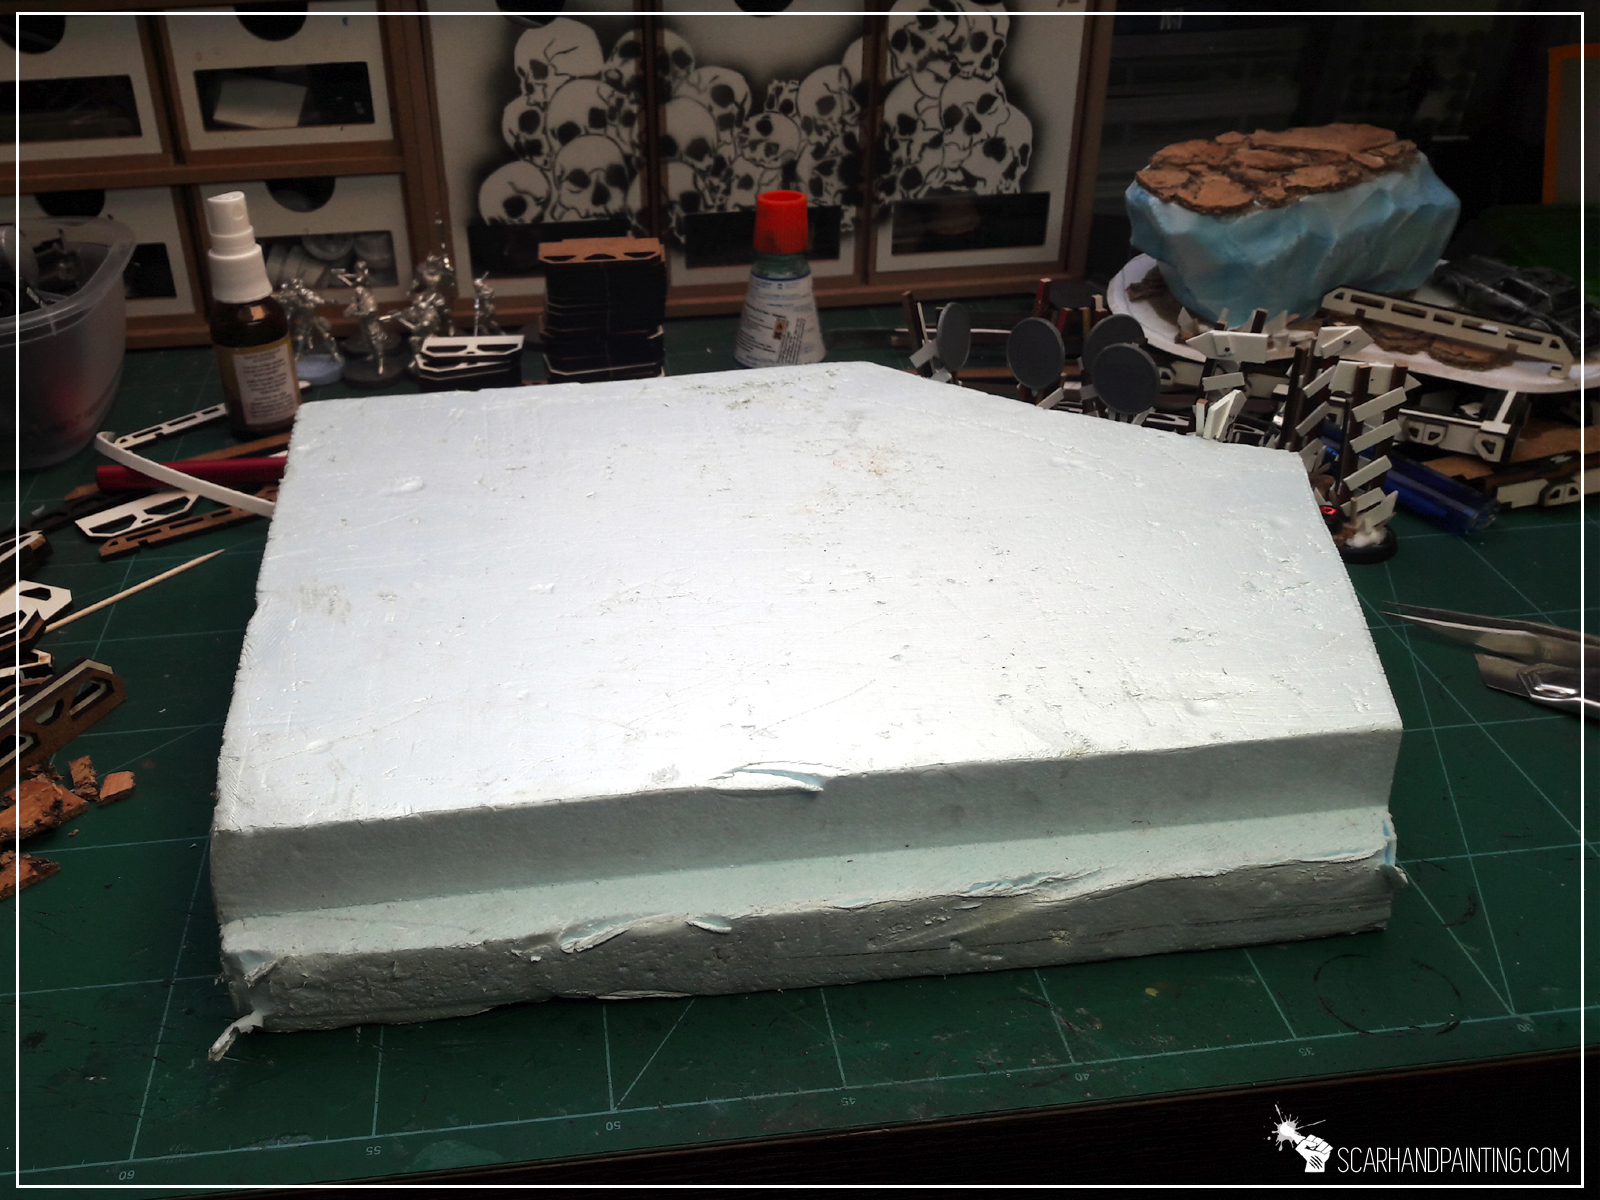

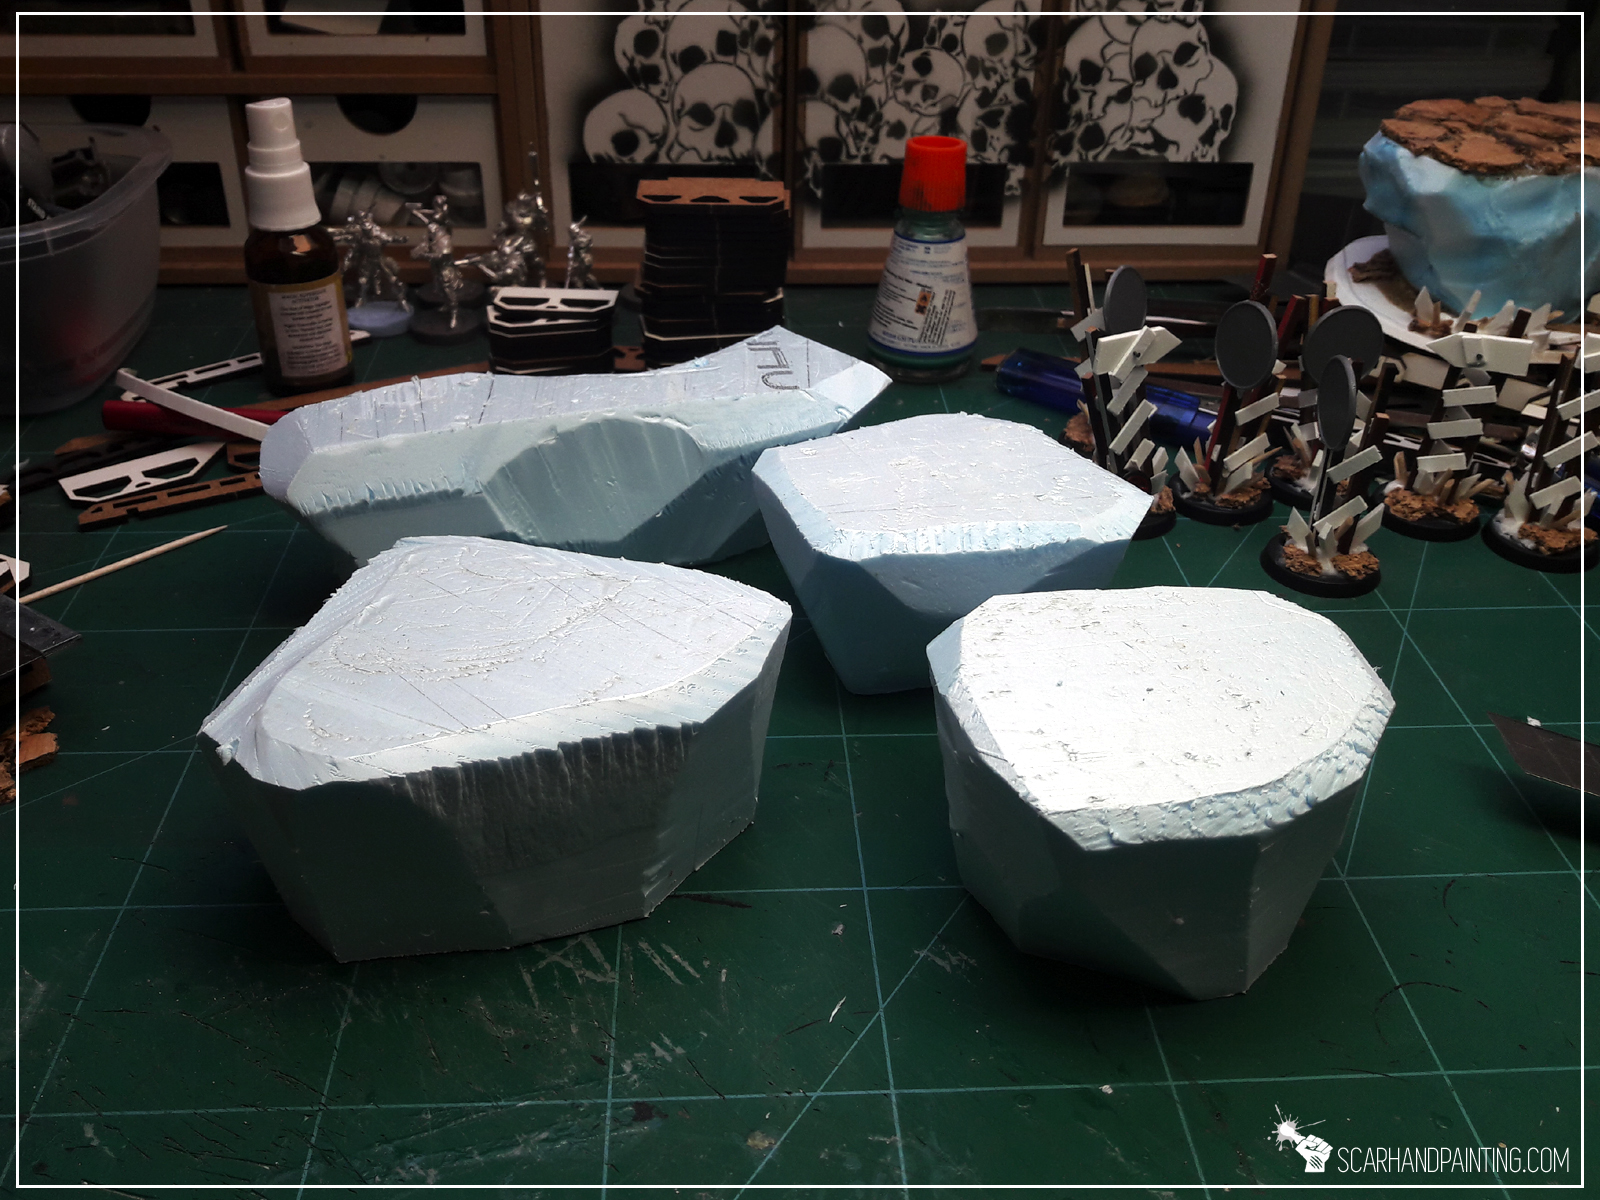
* I then used lighter to gently heat blocks on the sides, avoiding heating up top and bottom surfaces.
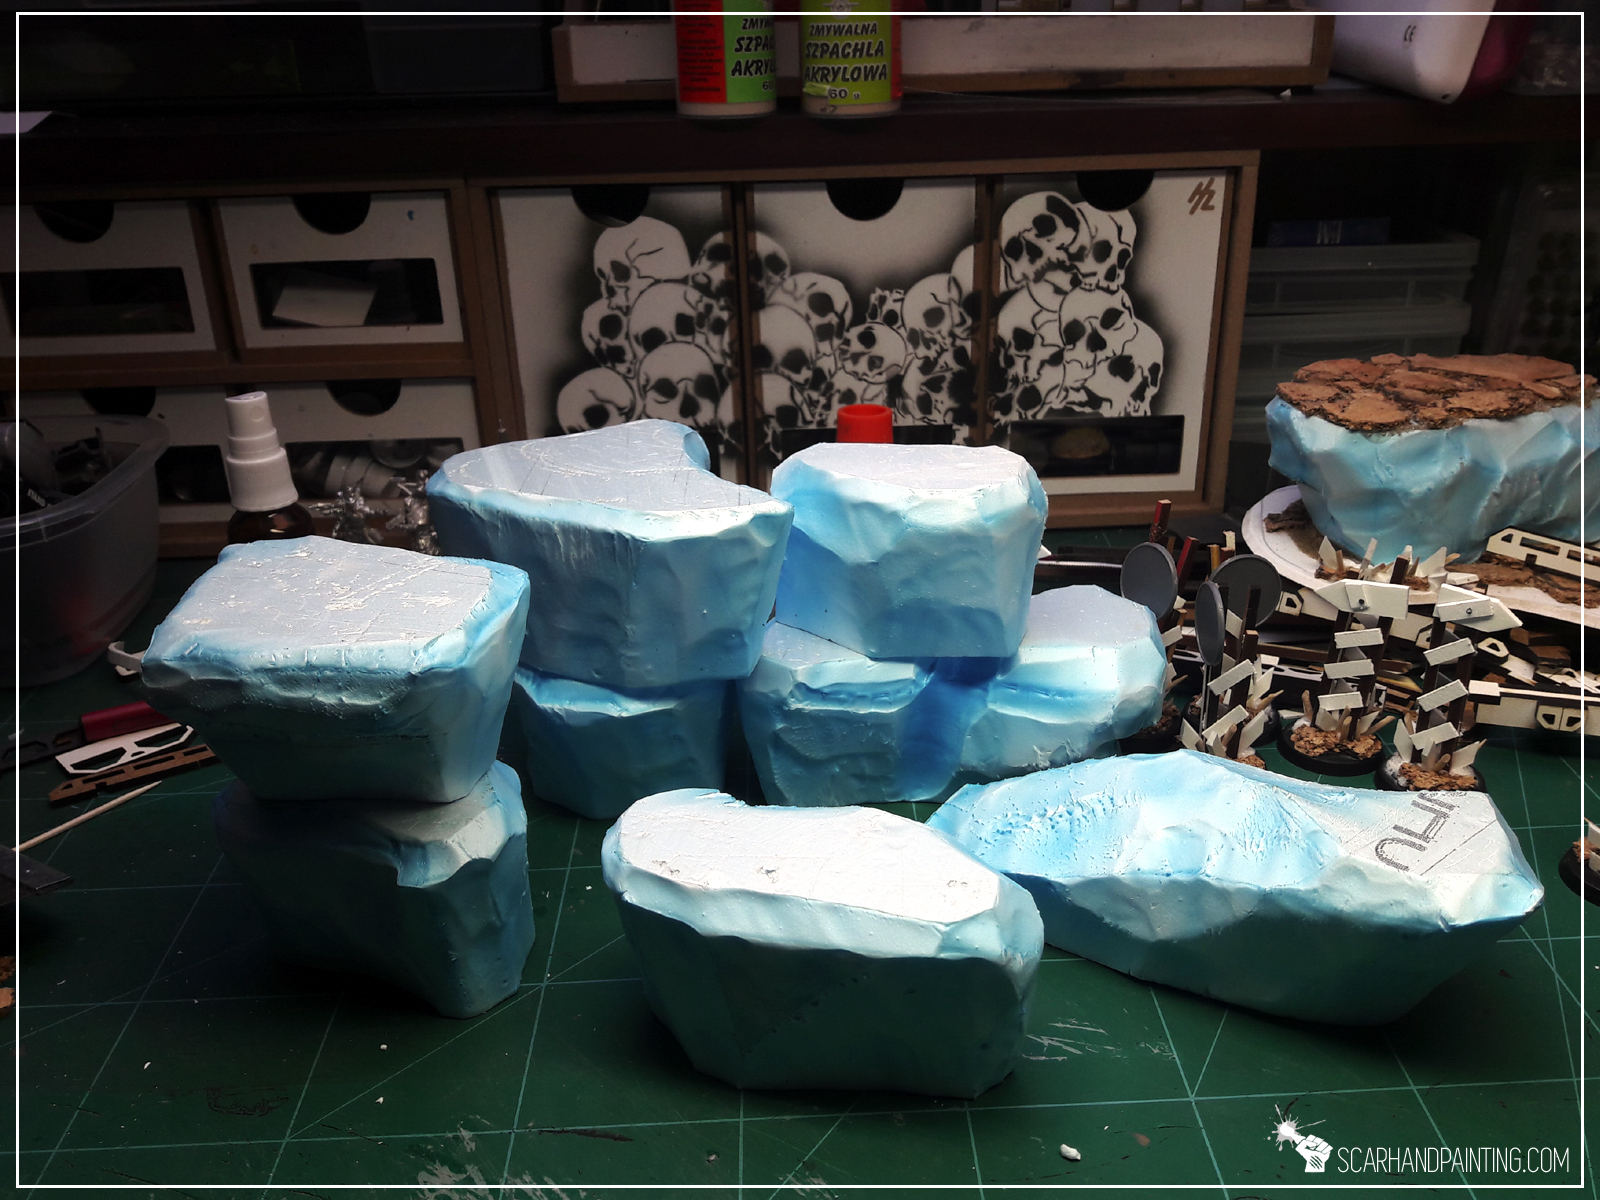
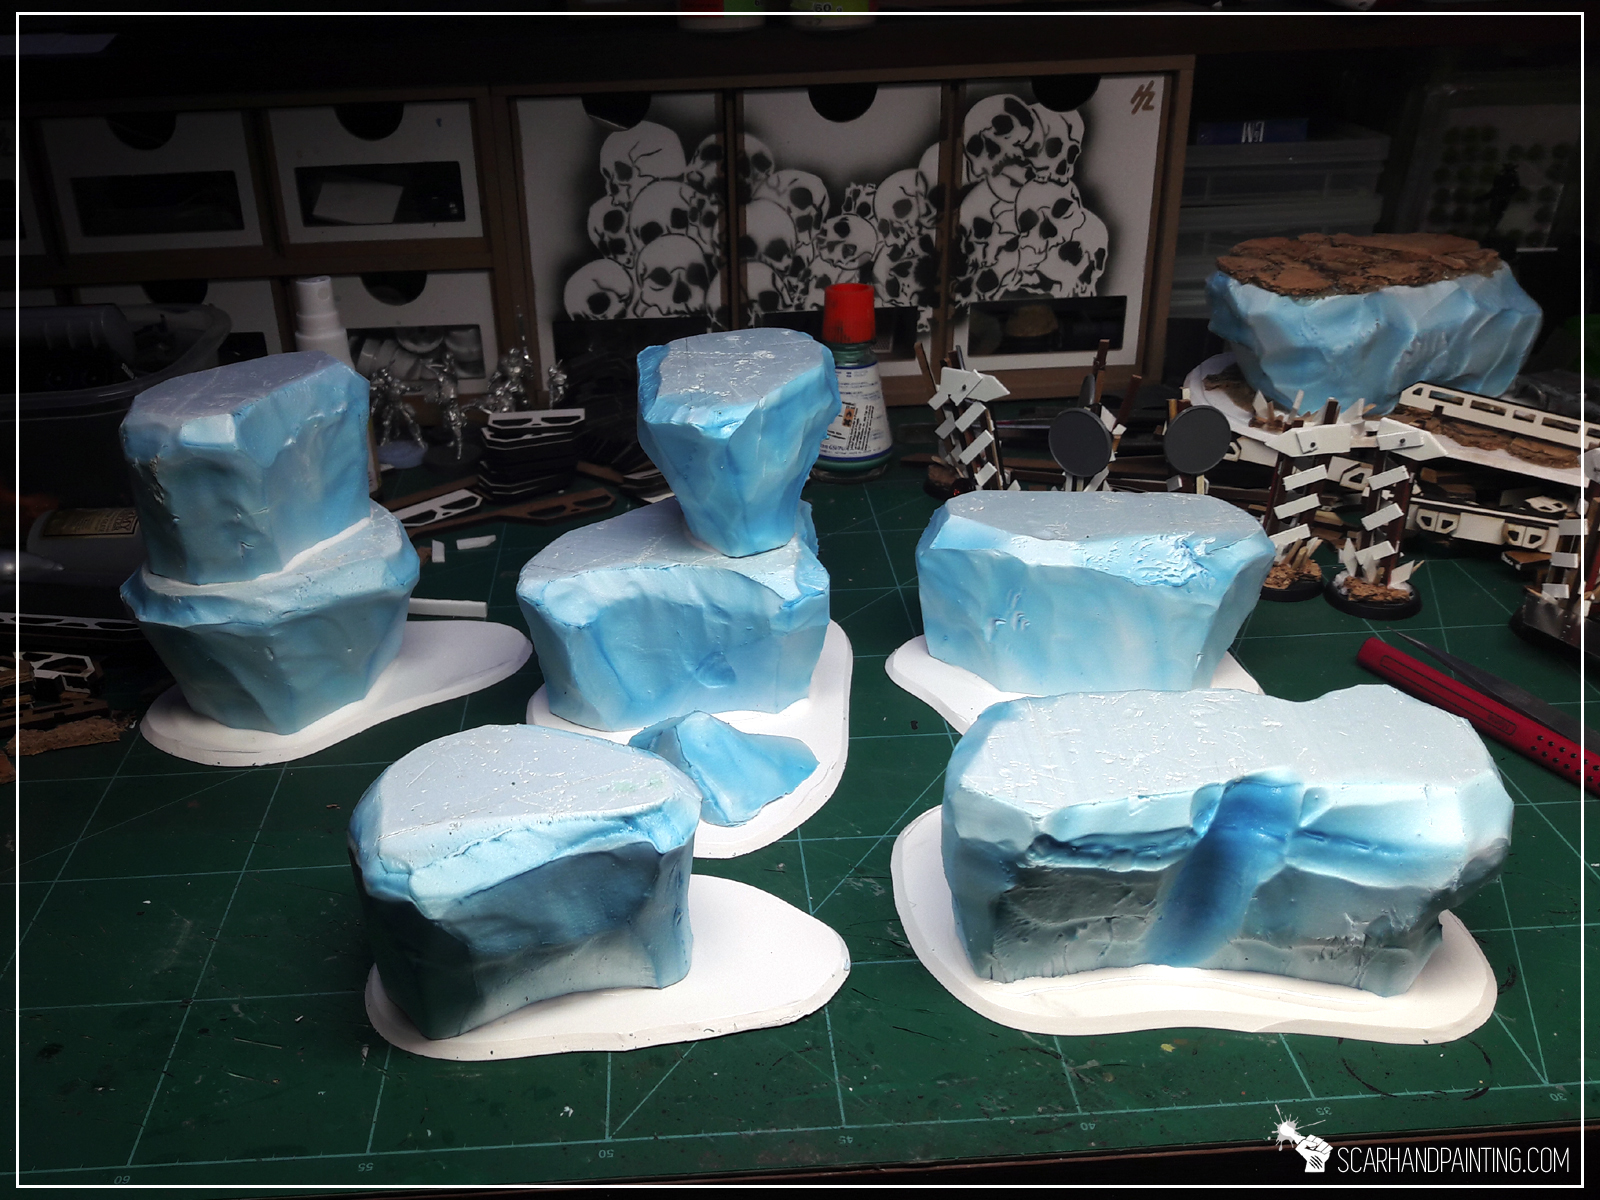
* Next, using a hobby knife, I cut bases from 3mm thick plasticard.

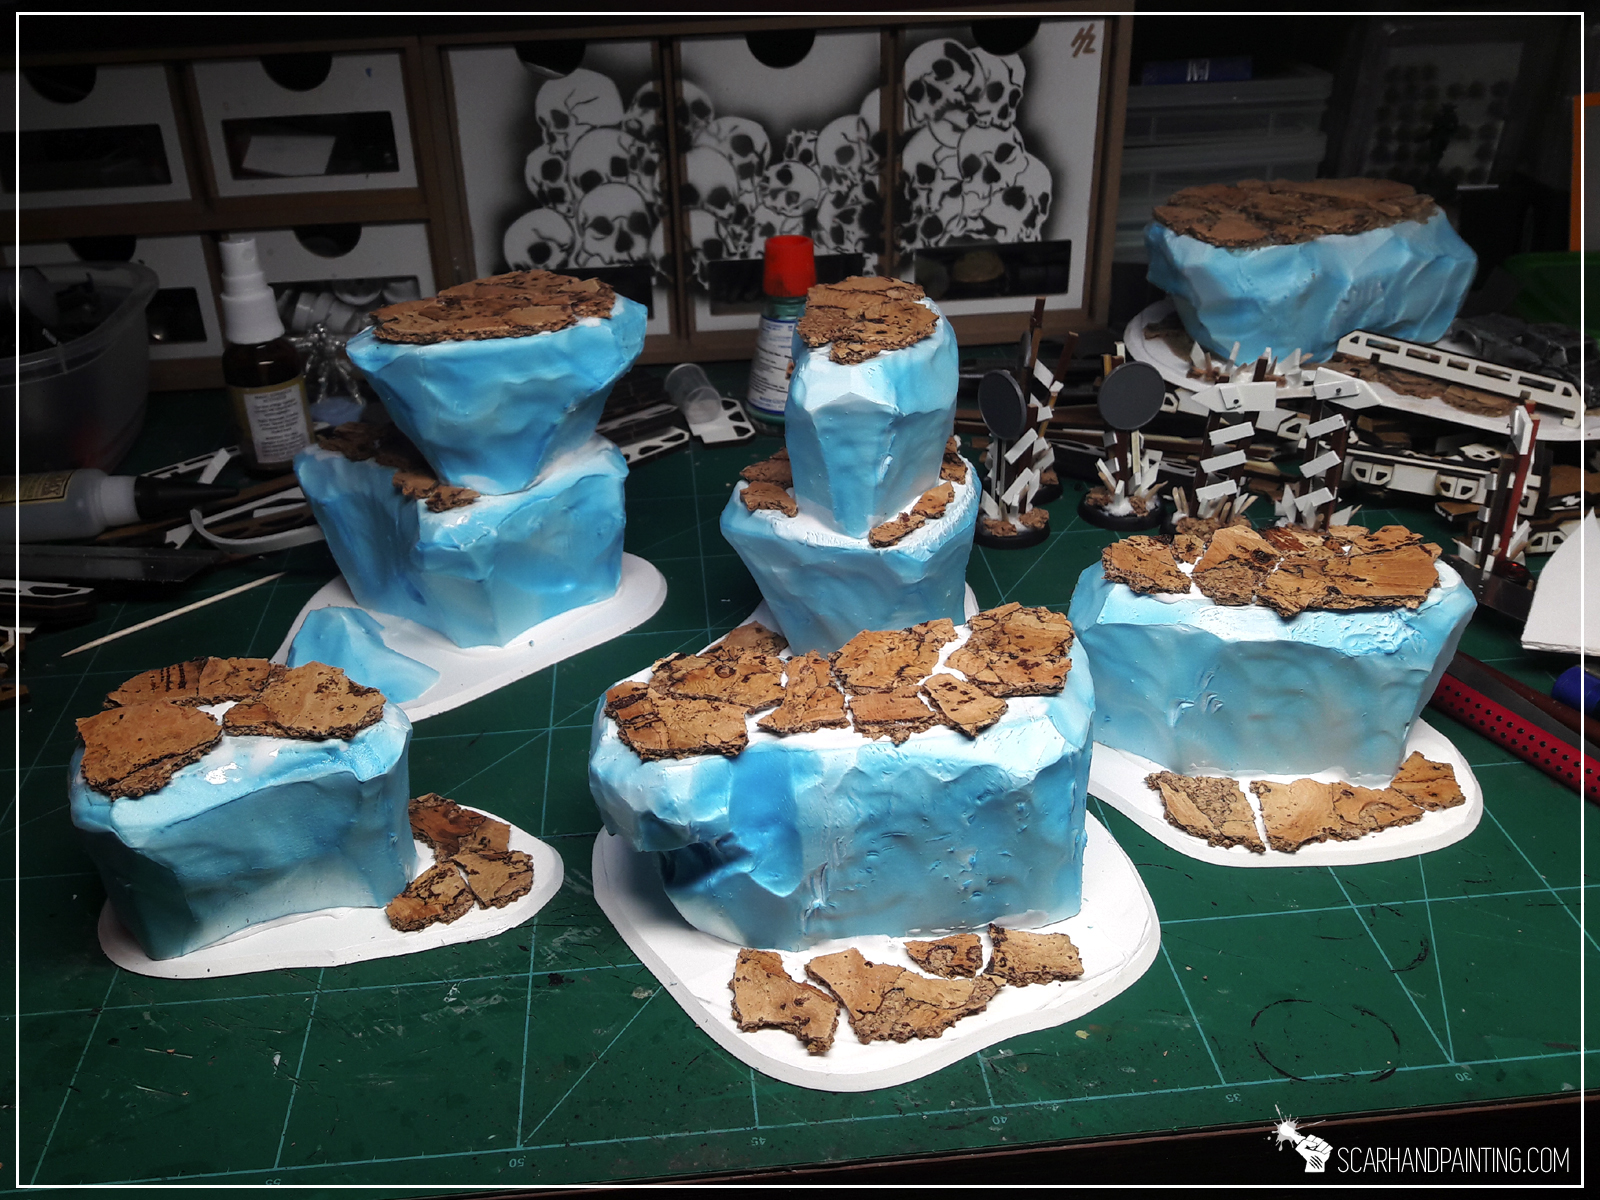
* I then glued rocky blocks on top of the bases with basing (PVA) glue. I also glued some blocks on top of one another for the scenery to look more diverse and interresting.
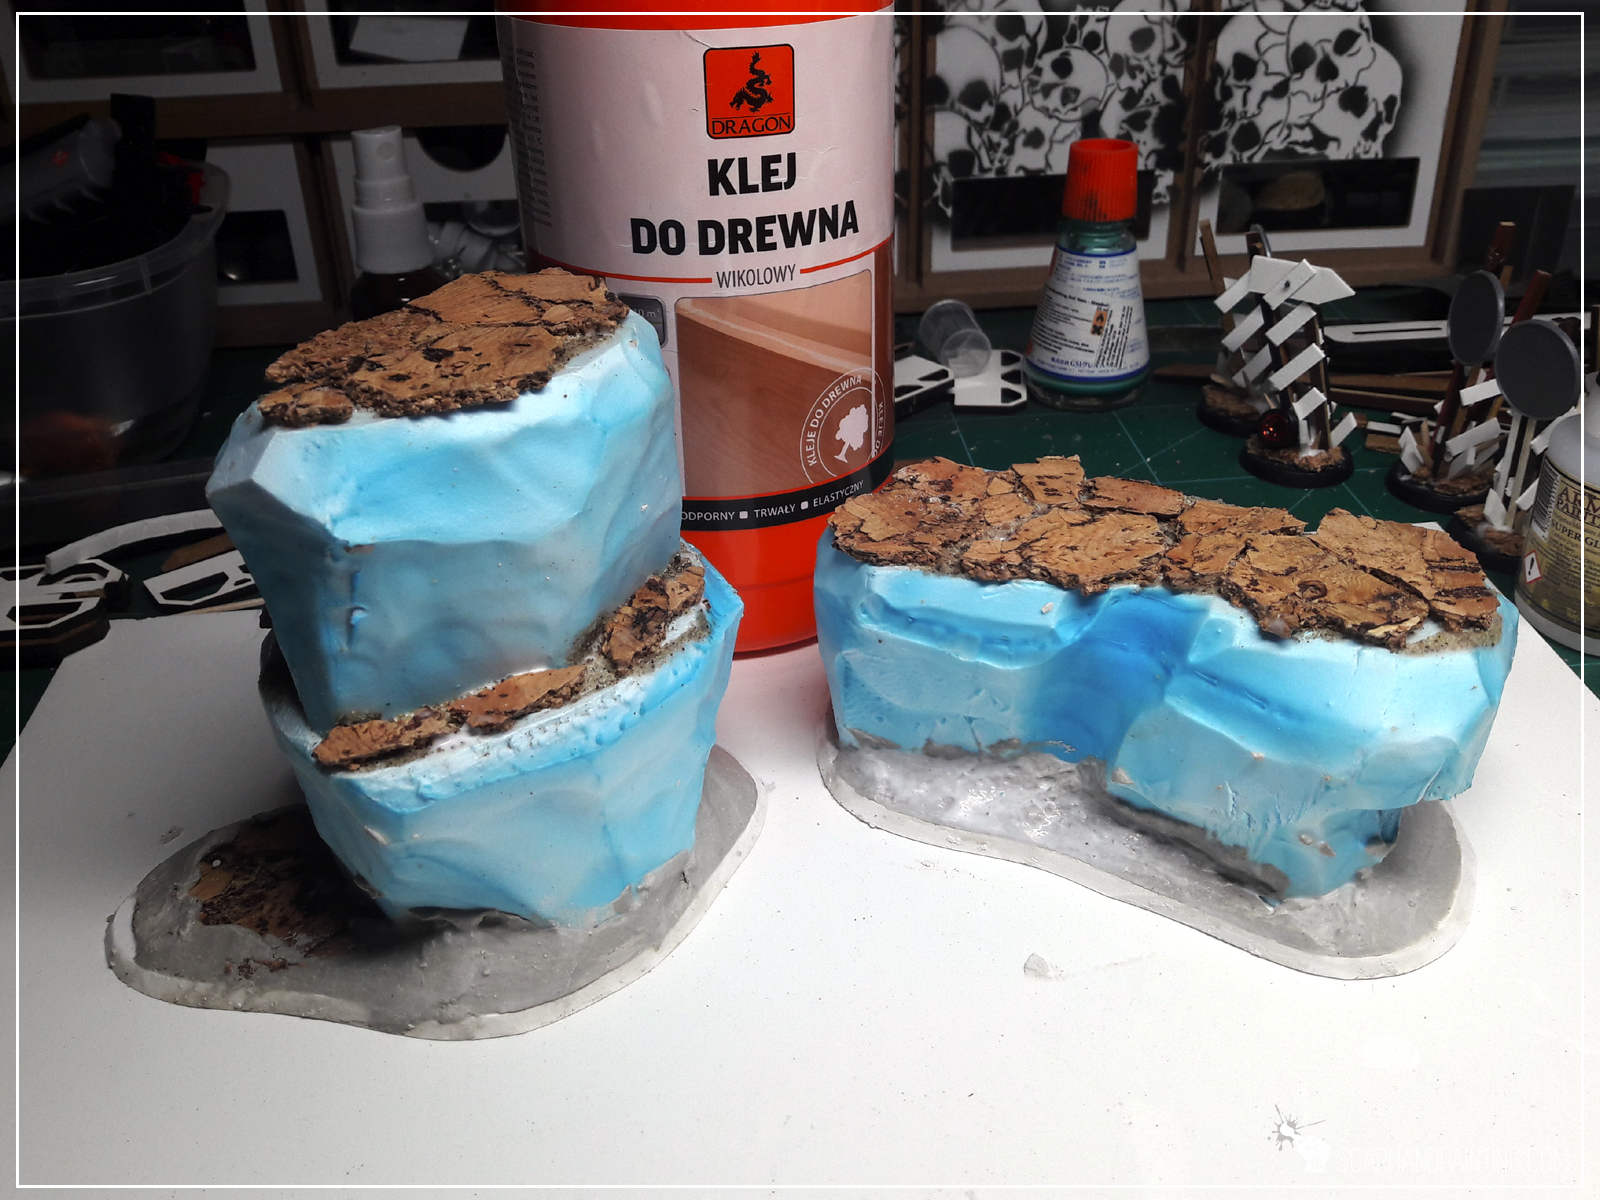
* Next I crumbled a sheet of cork into small pieces and glued them on top of the blocks with basing glue, sanding them before glue dried out to fill the gaps inbetween separate cork pieces.


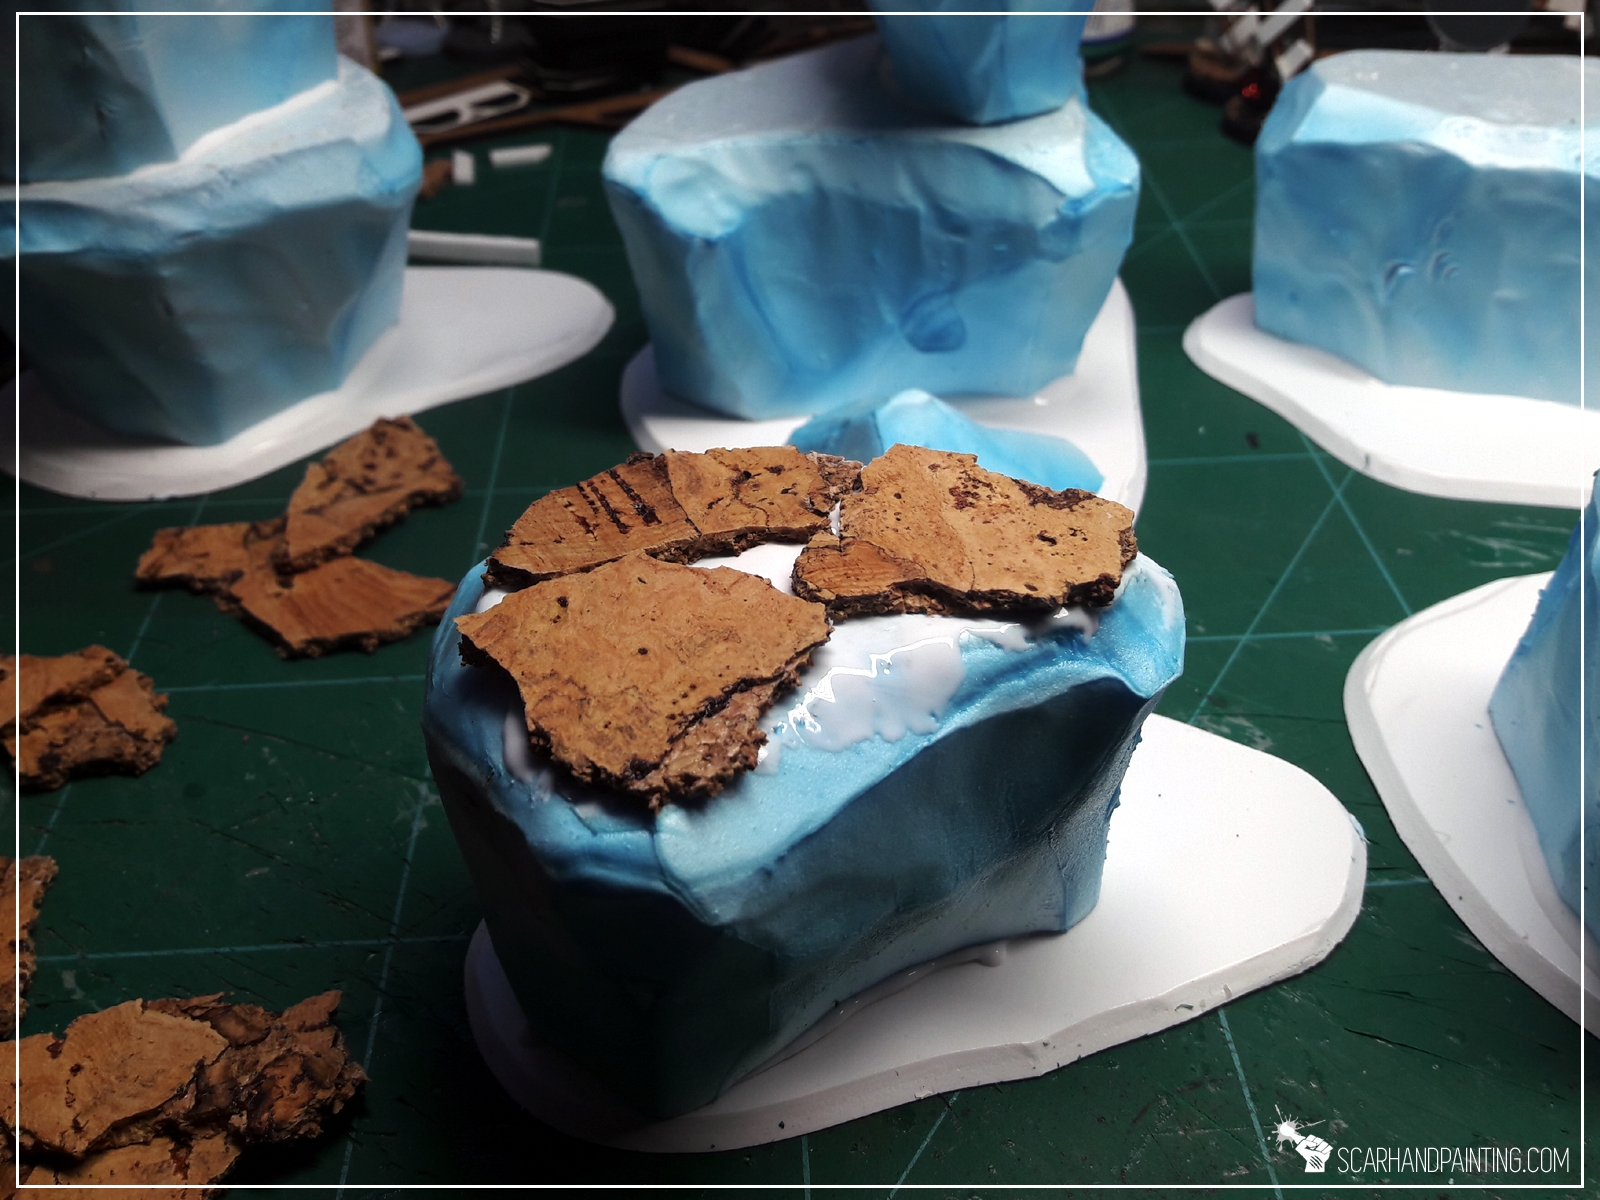

* I then used plaster (gypsum) to build a gentle transition between bases and blocks.
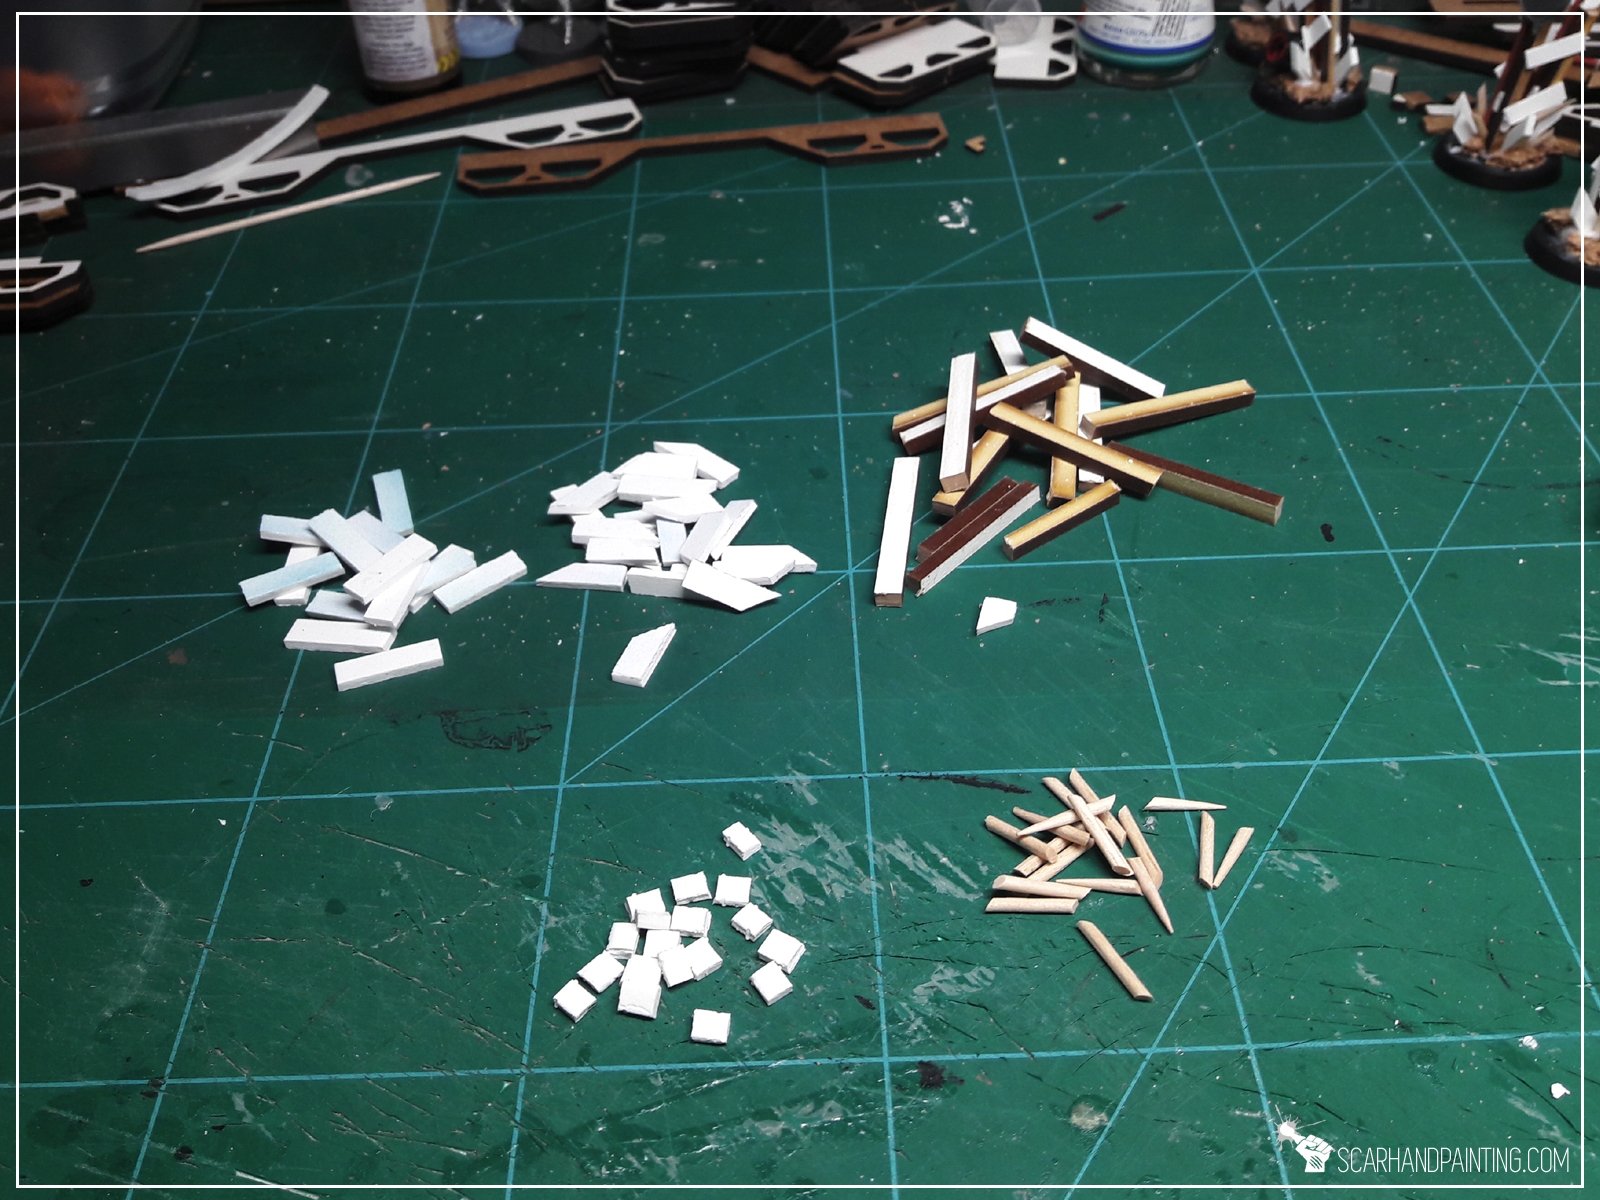
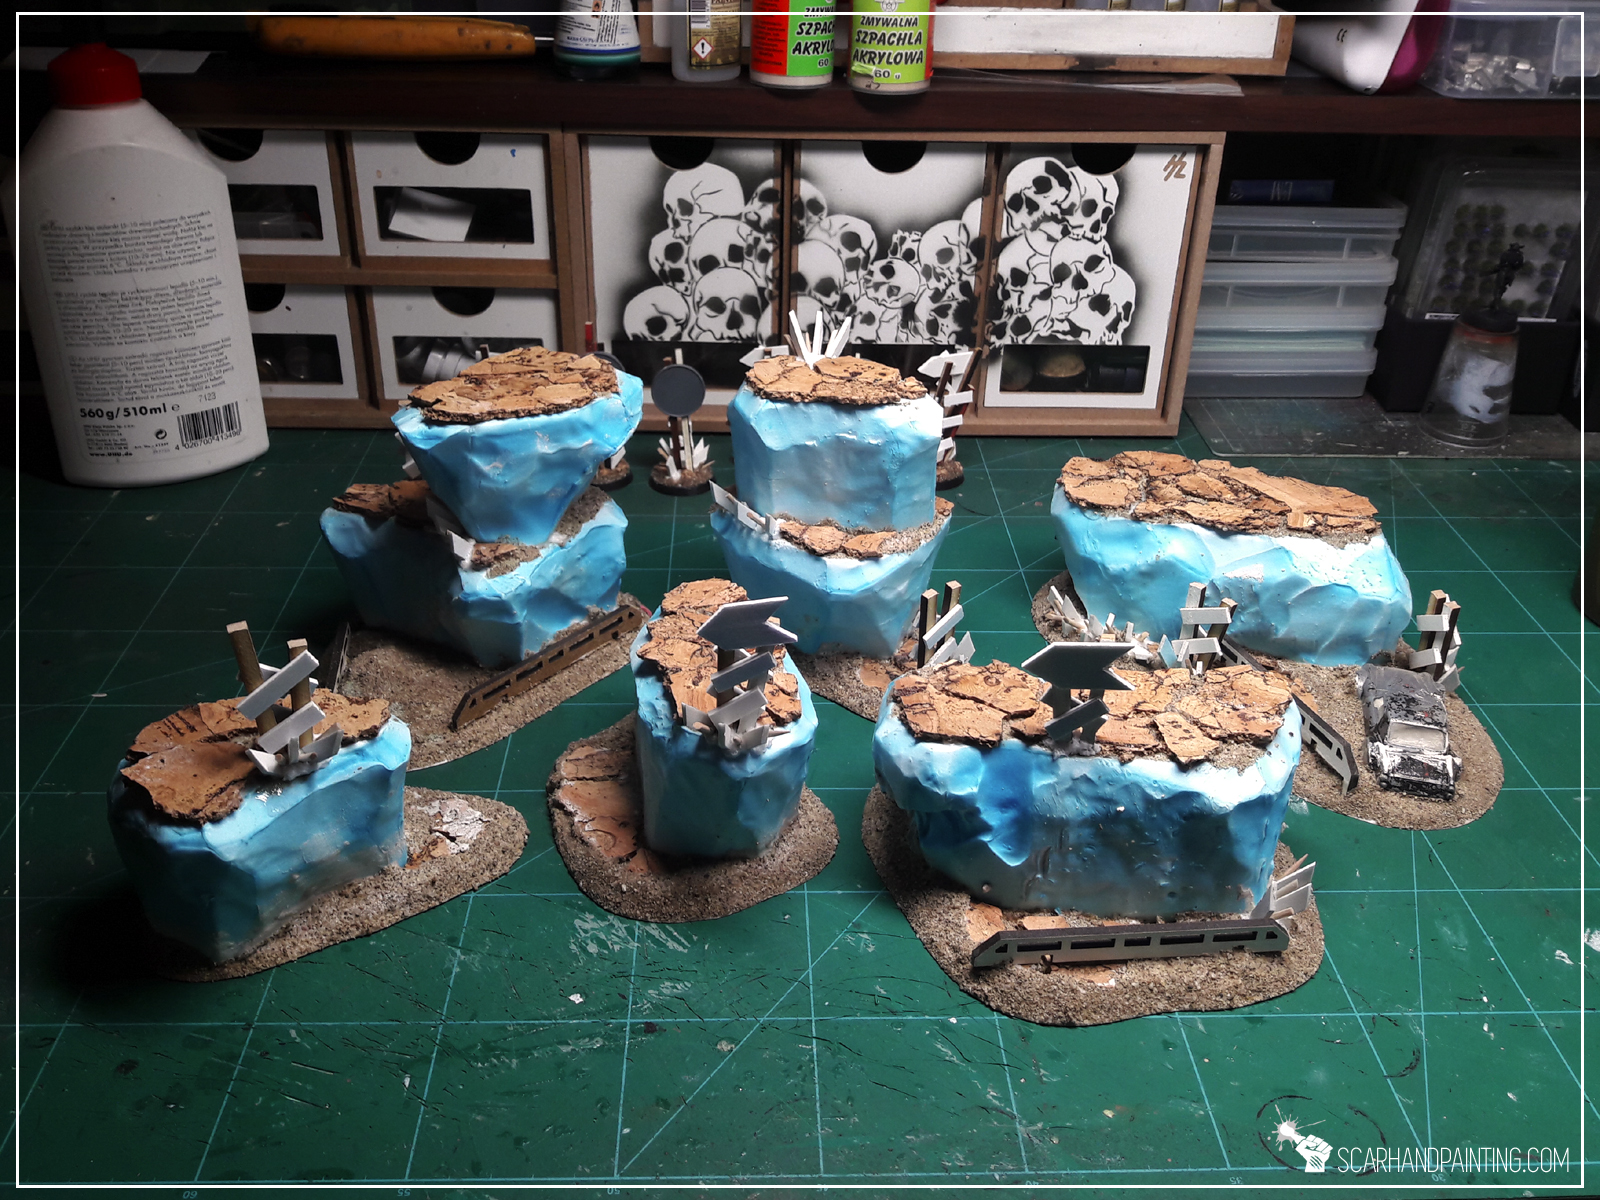
* A time has come for me to add some detail. Not much, just some texture to bring more life to the wasteland. I cut pieces of plasticard and used toothpicks, MDF leftovers and a toy car to create ragtag barricades and post-apo racing signs.
* Lastly, with a regular brush, I applied basing glue then sanded all the plaster, sides of the bases and some areas around cork pieces on top of the blocks.
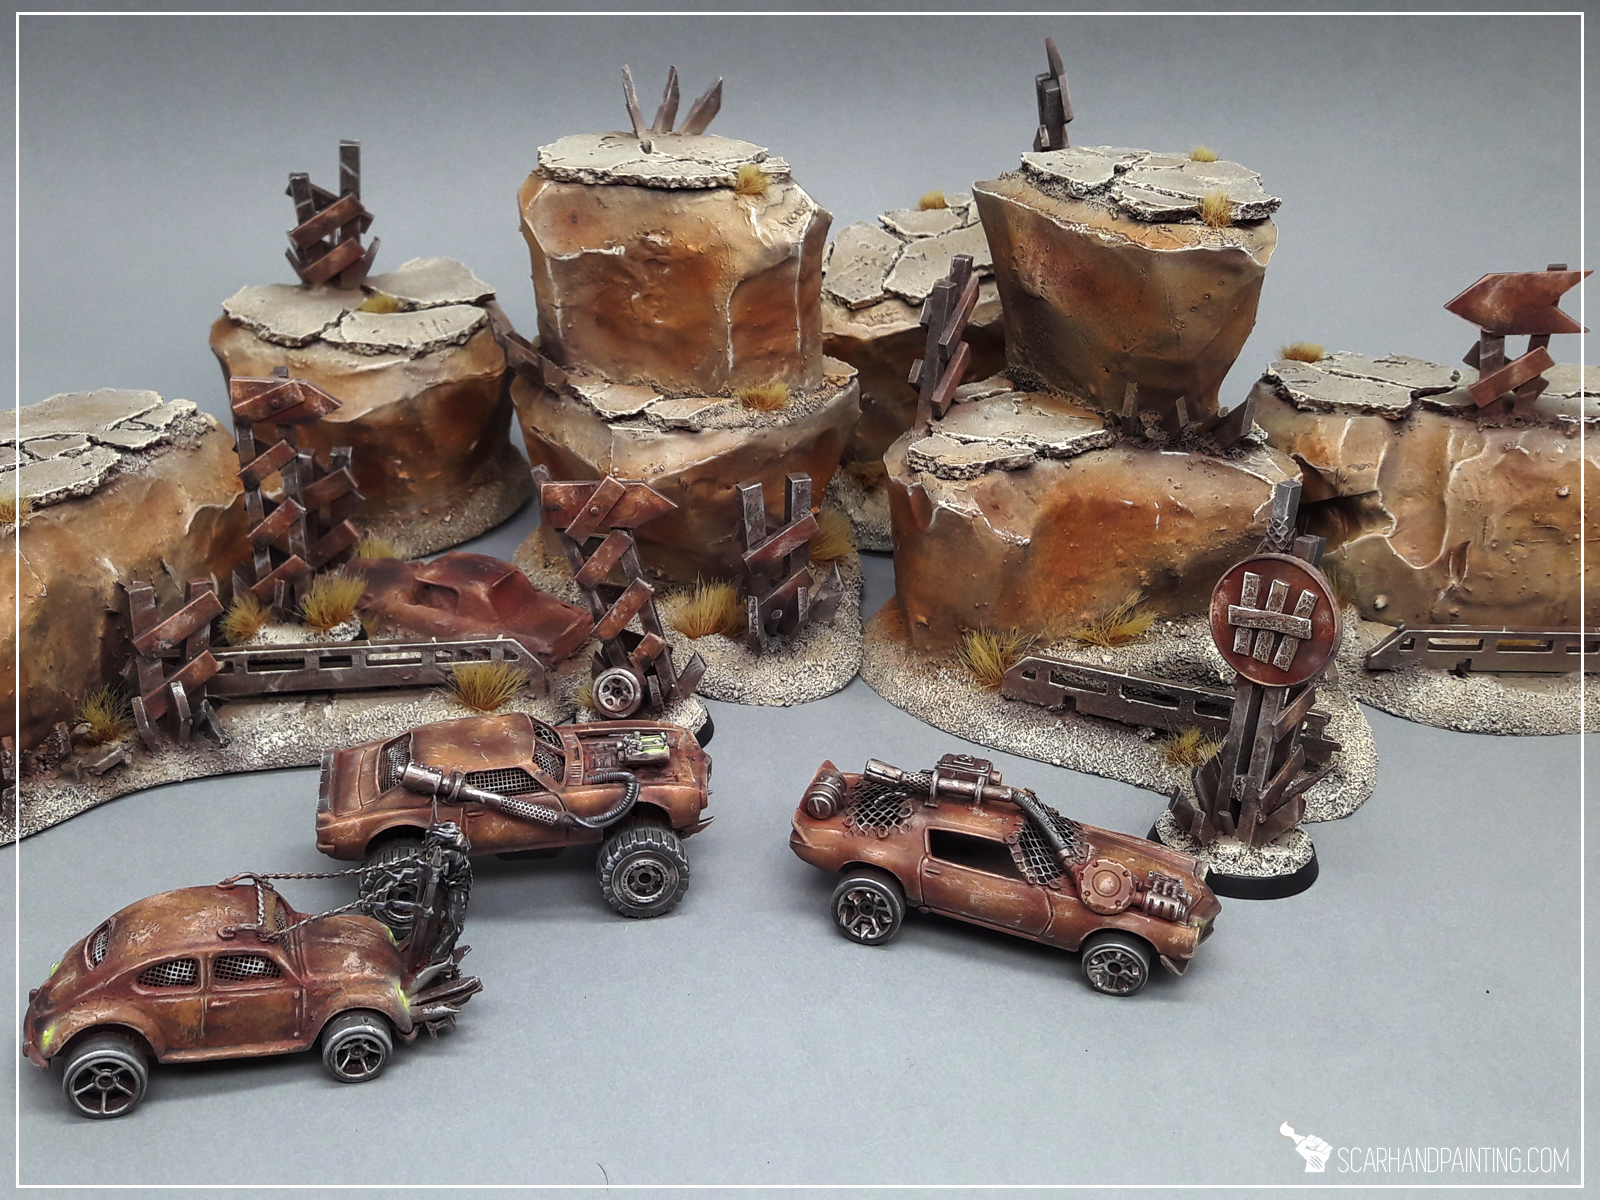
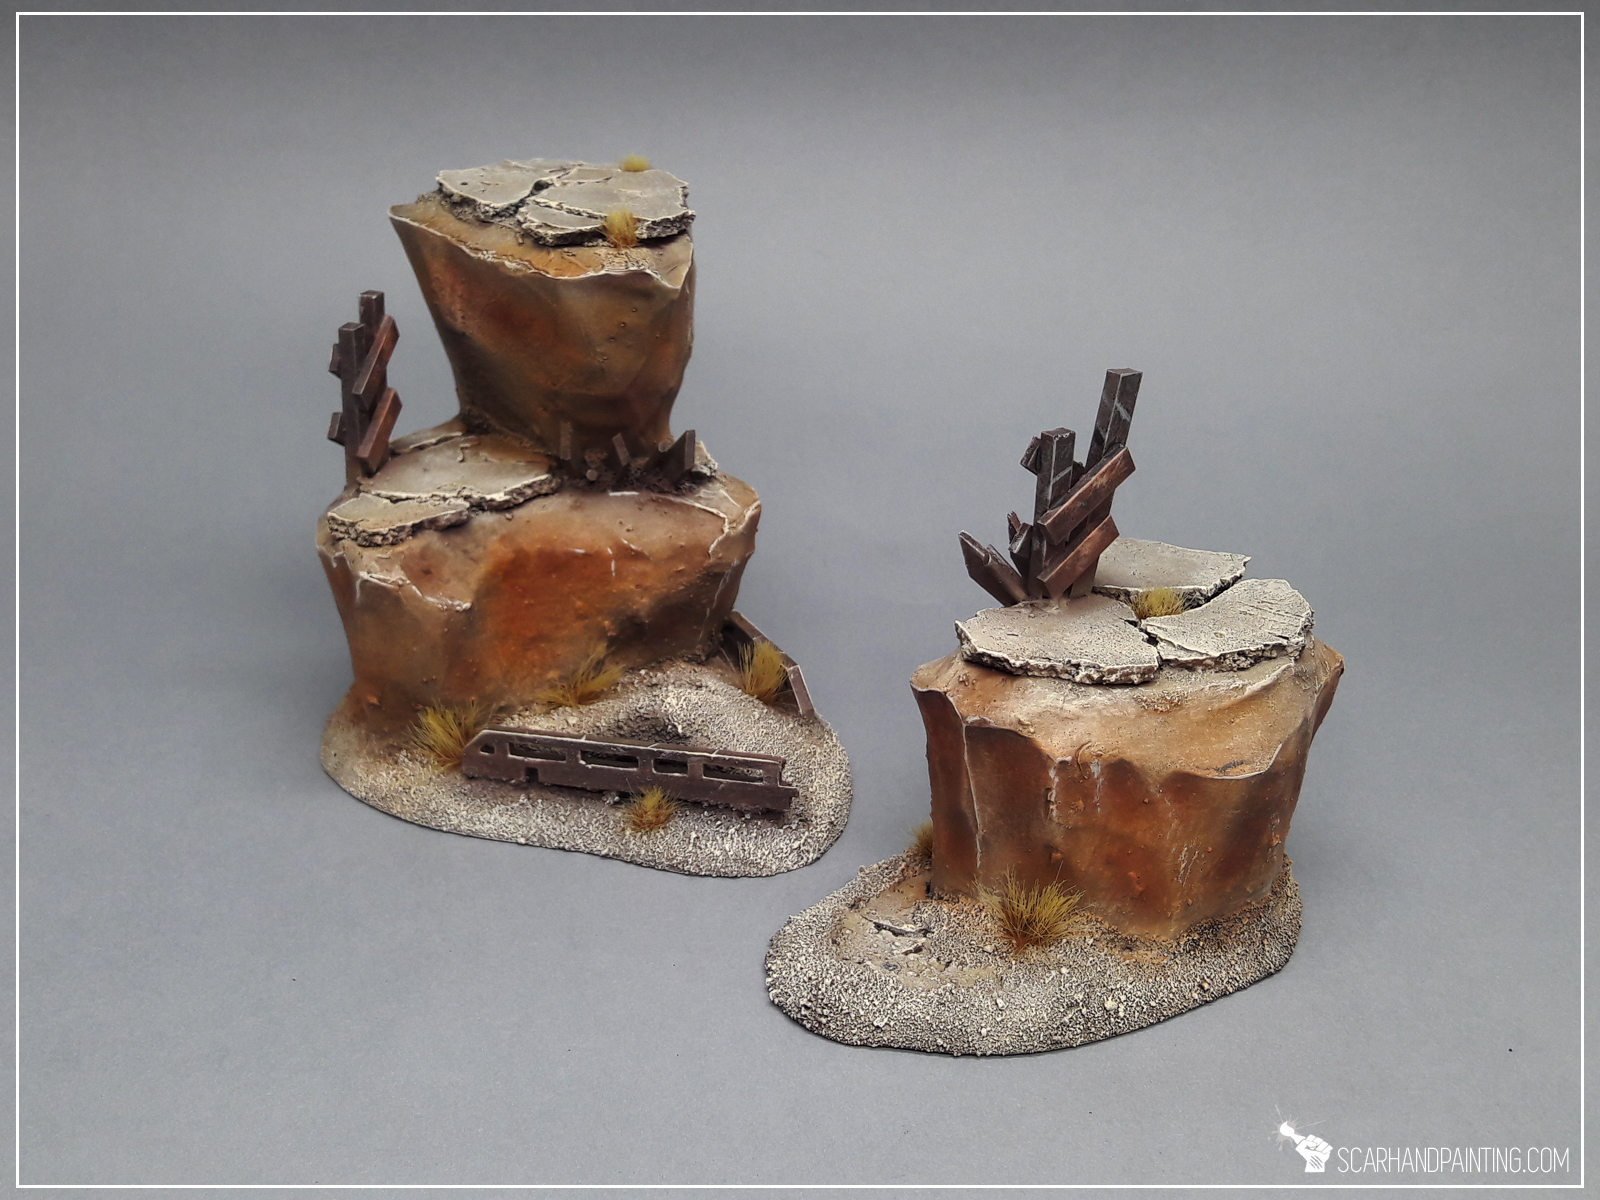
Couple of hours later I have painted this stuff and added some tuftsthe end result looks like this:


Welcome to Painting Infinity Daofei Camo tutorial. Here I will take you on a Step-by-step trip through the process of painting Daofei Camo the same way as seen at: Gallery: Yu-Jing.
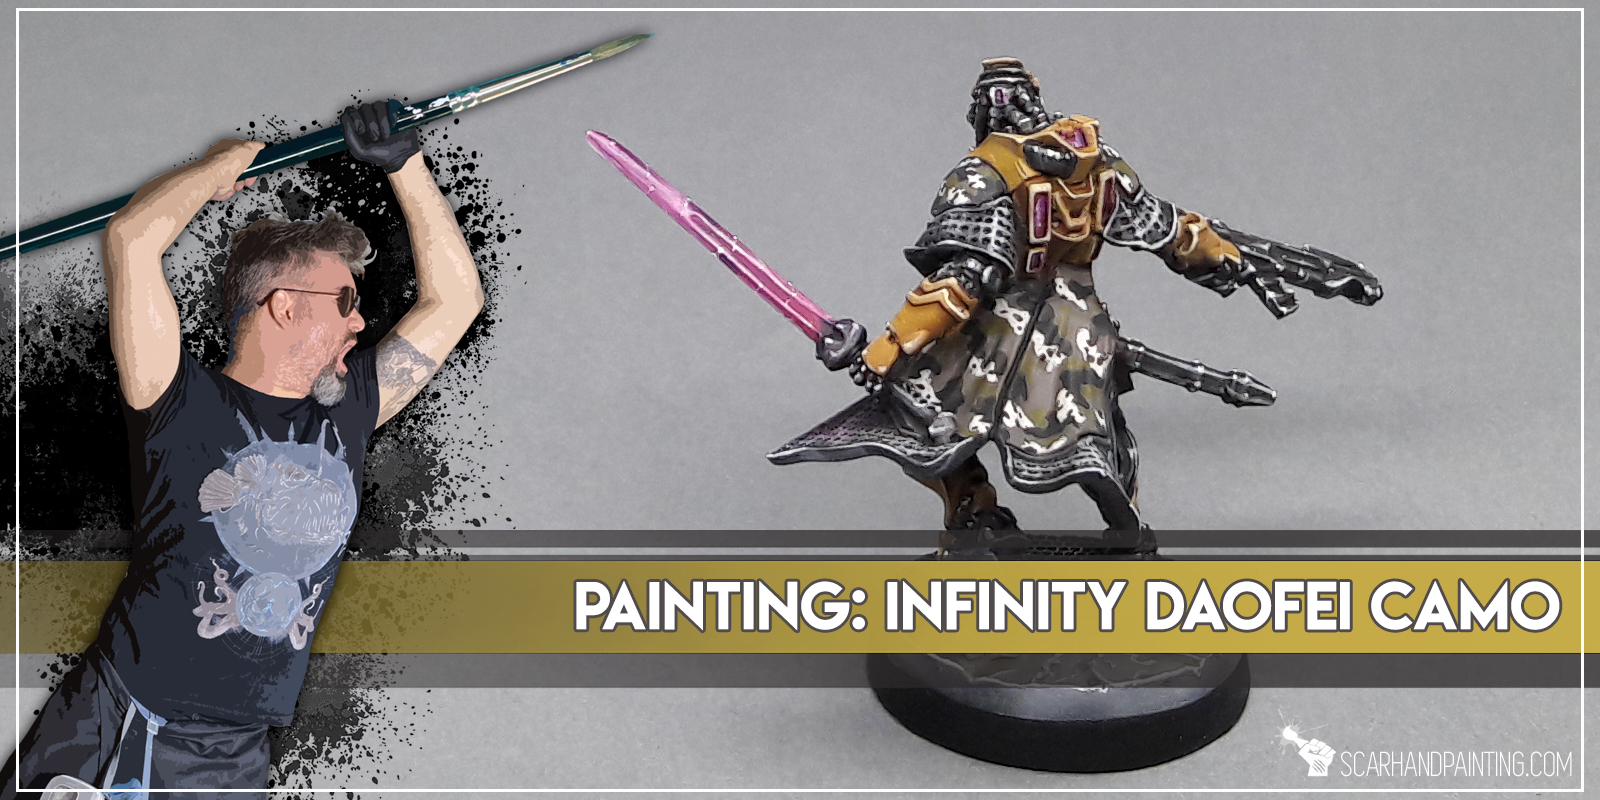
Before we start, some notes:
* This one requires no Airbrush.
* For better visibility there are two different sizes of the pattern.
* What works for me might not necessarily work for you.
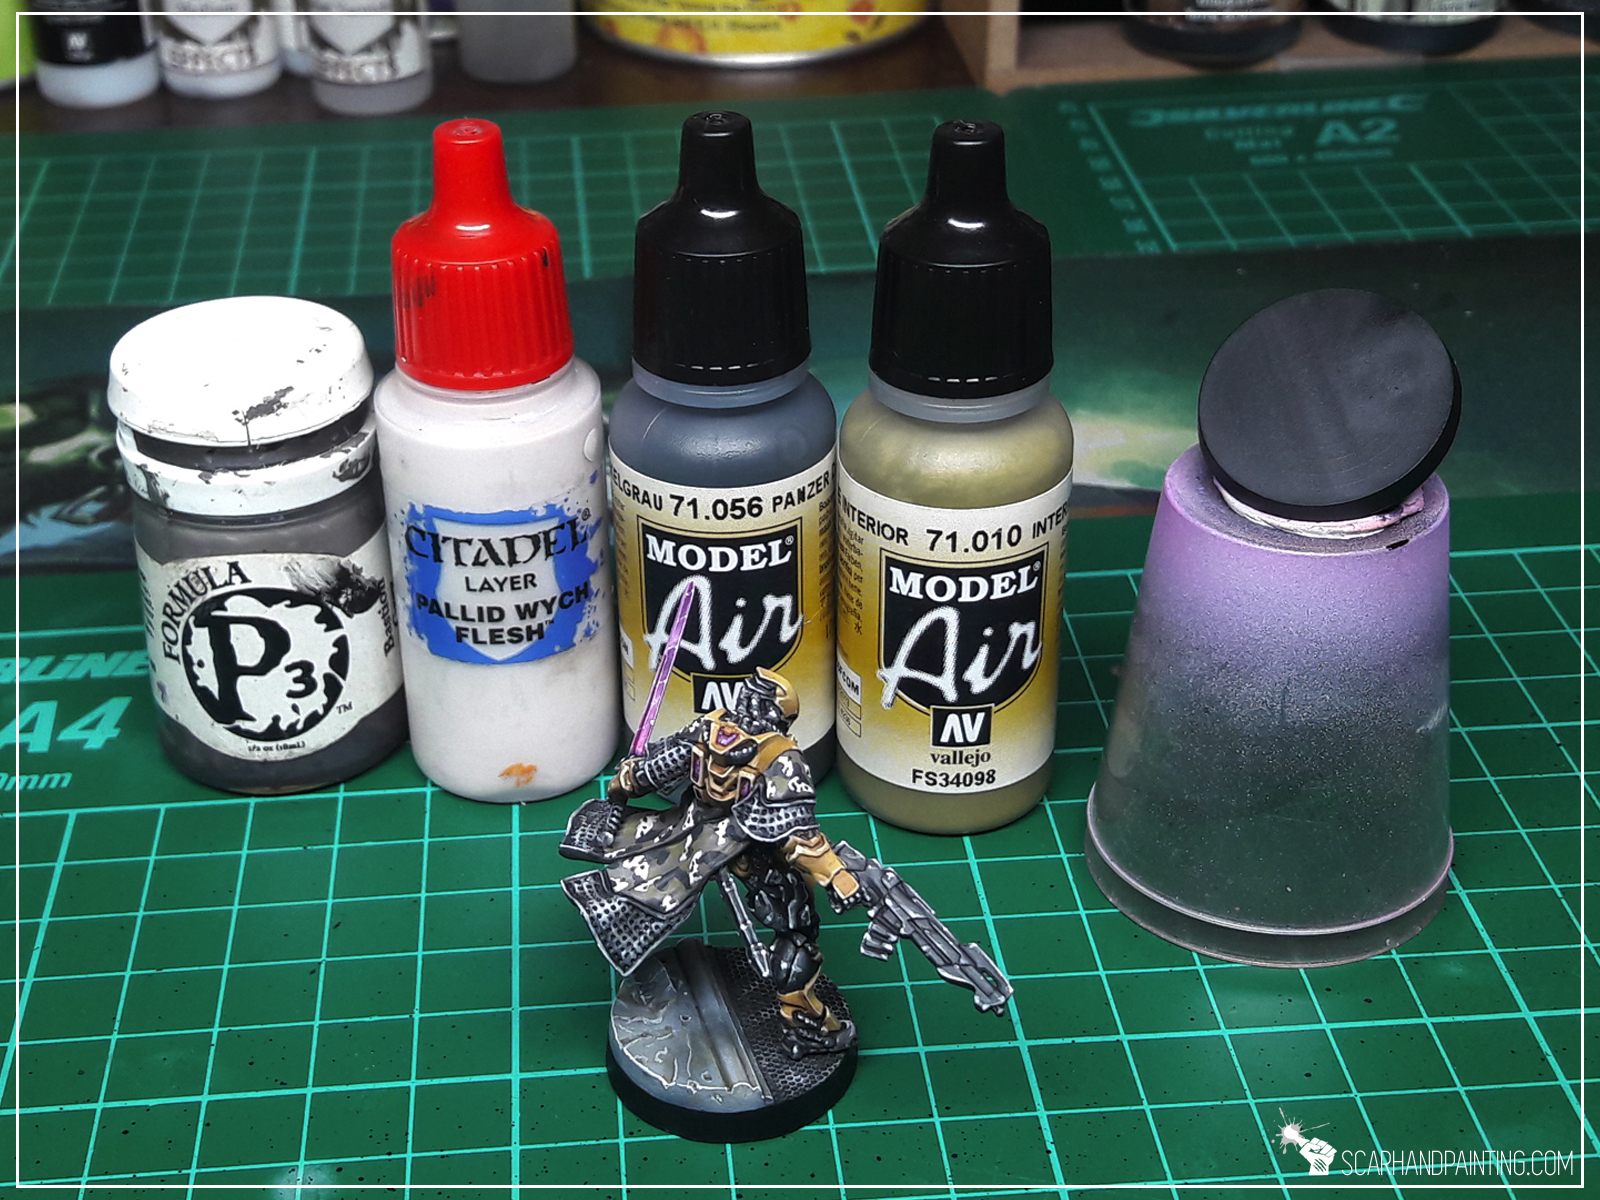
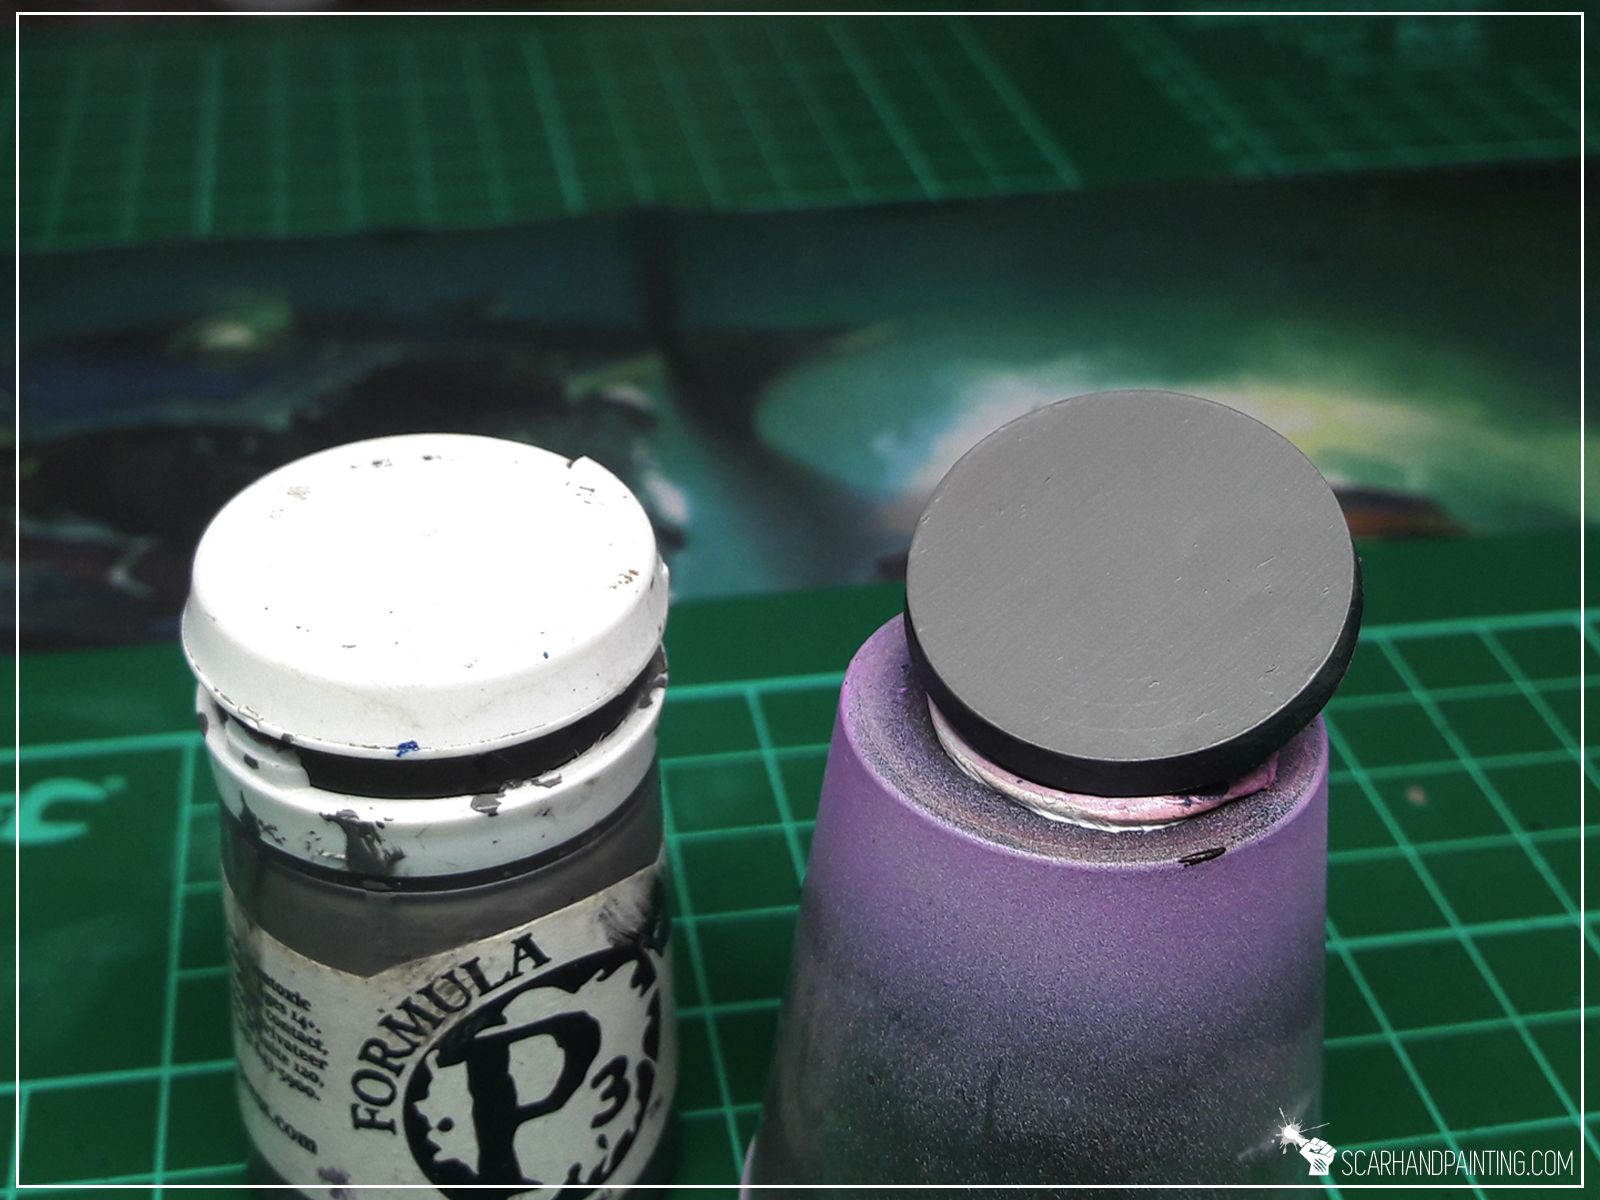
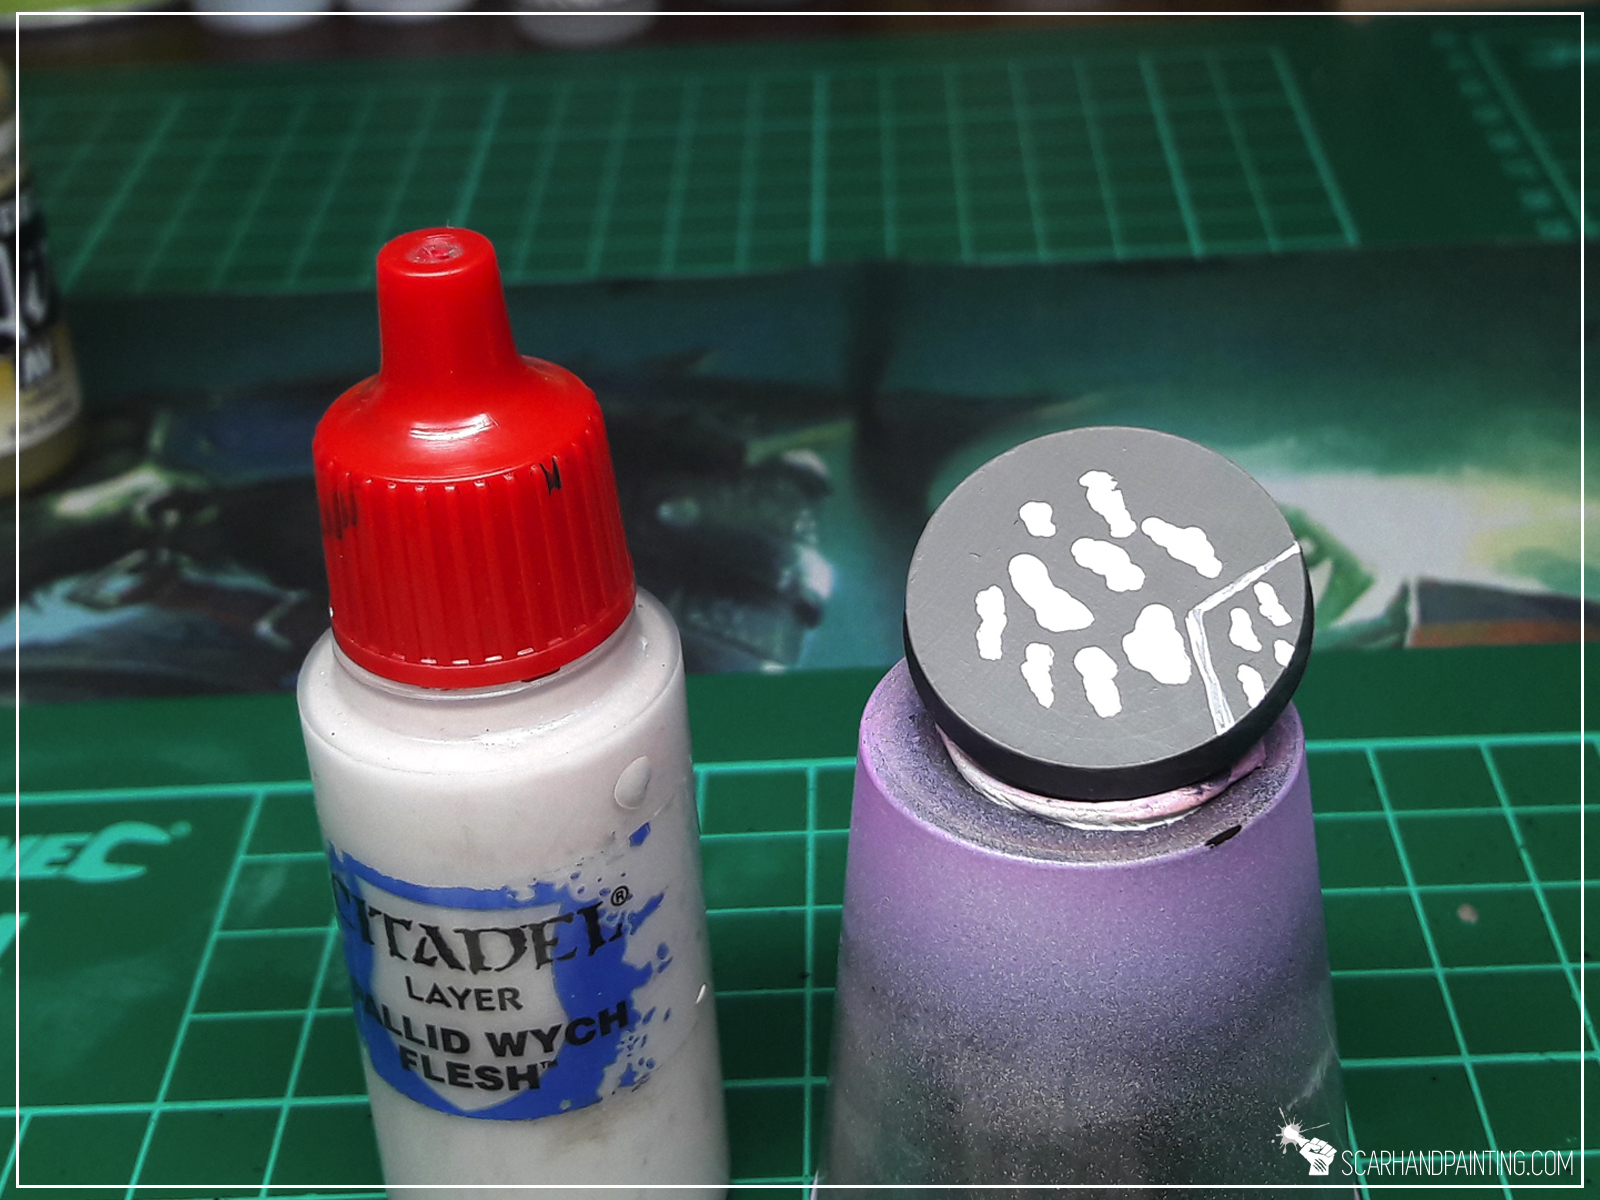
* Start by applying a smooth layer of P3 Bastion Grey.
* Create basic pattern, applying Pale Wych Flesh spots leaving similar sized gaps inbetween .
* Next apply Panzer Dark Grey spots between Pale Wych Flesh, so that every new spot touches at least one from the previous layer.
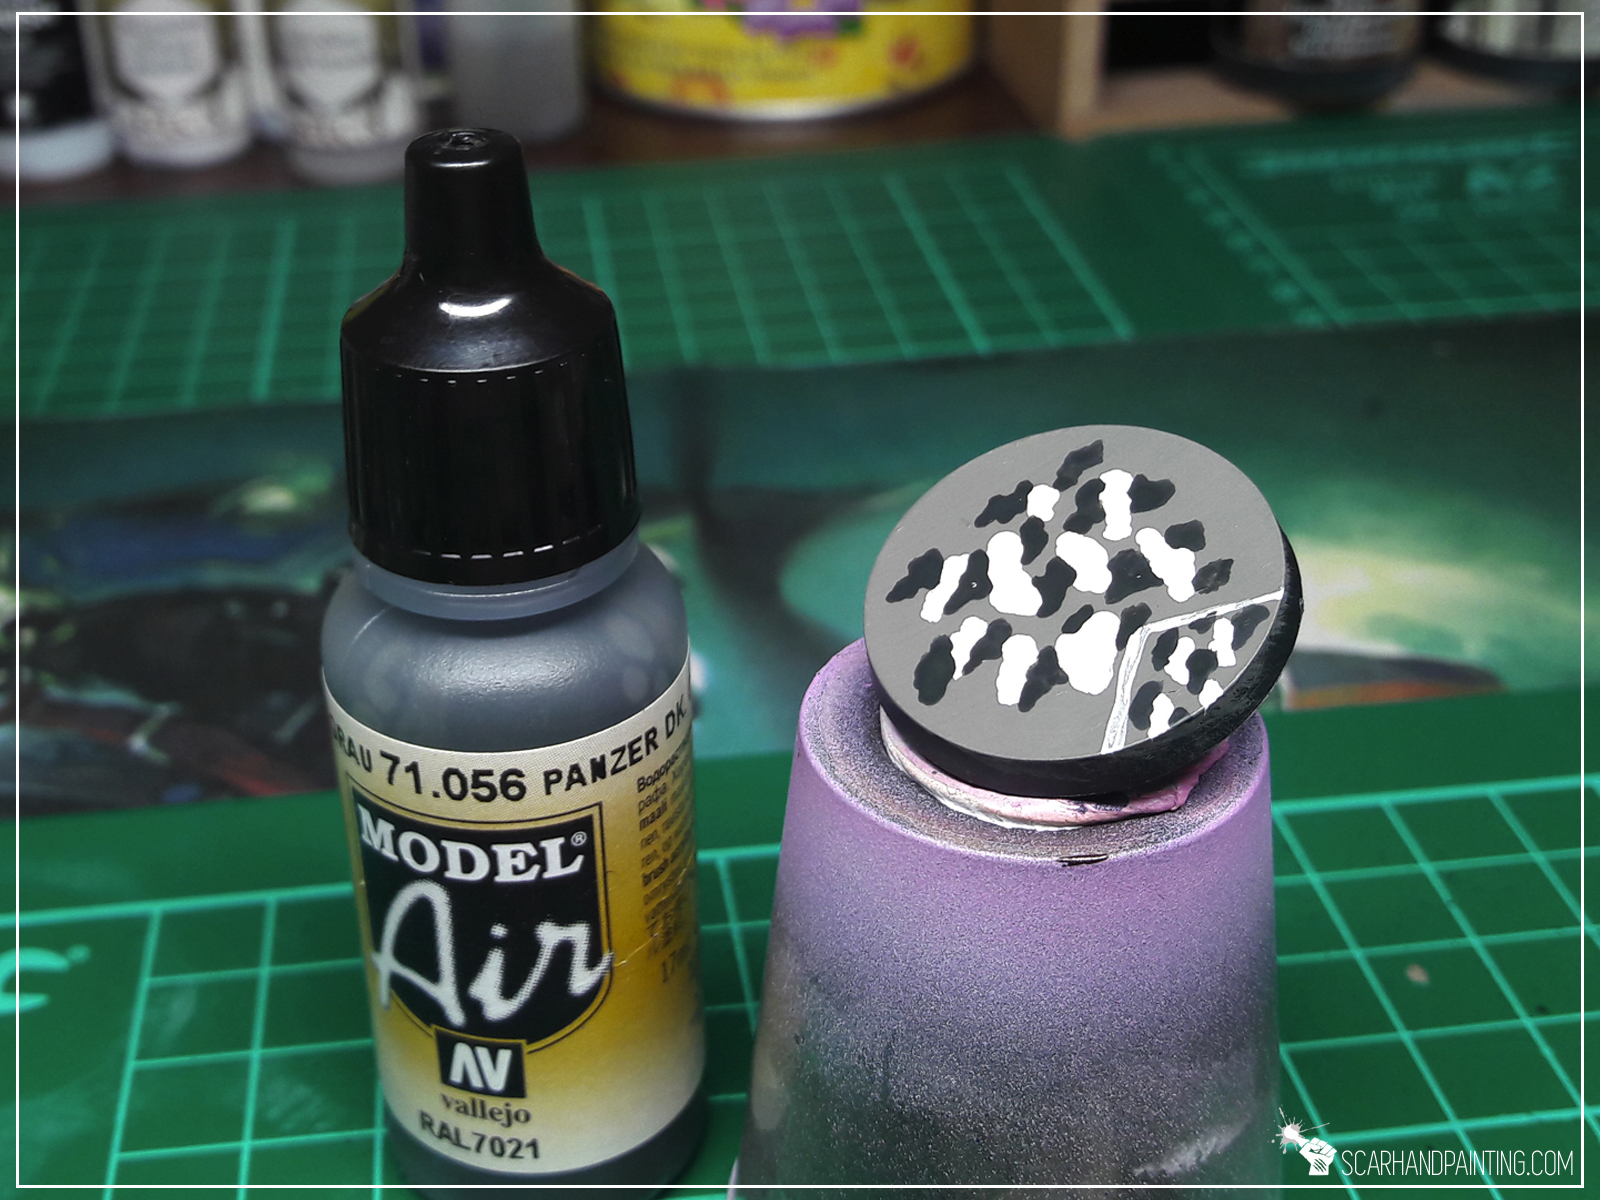
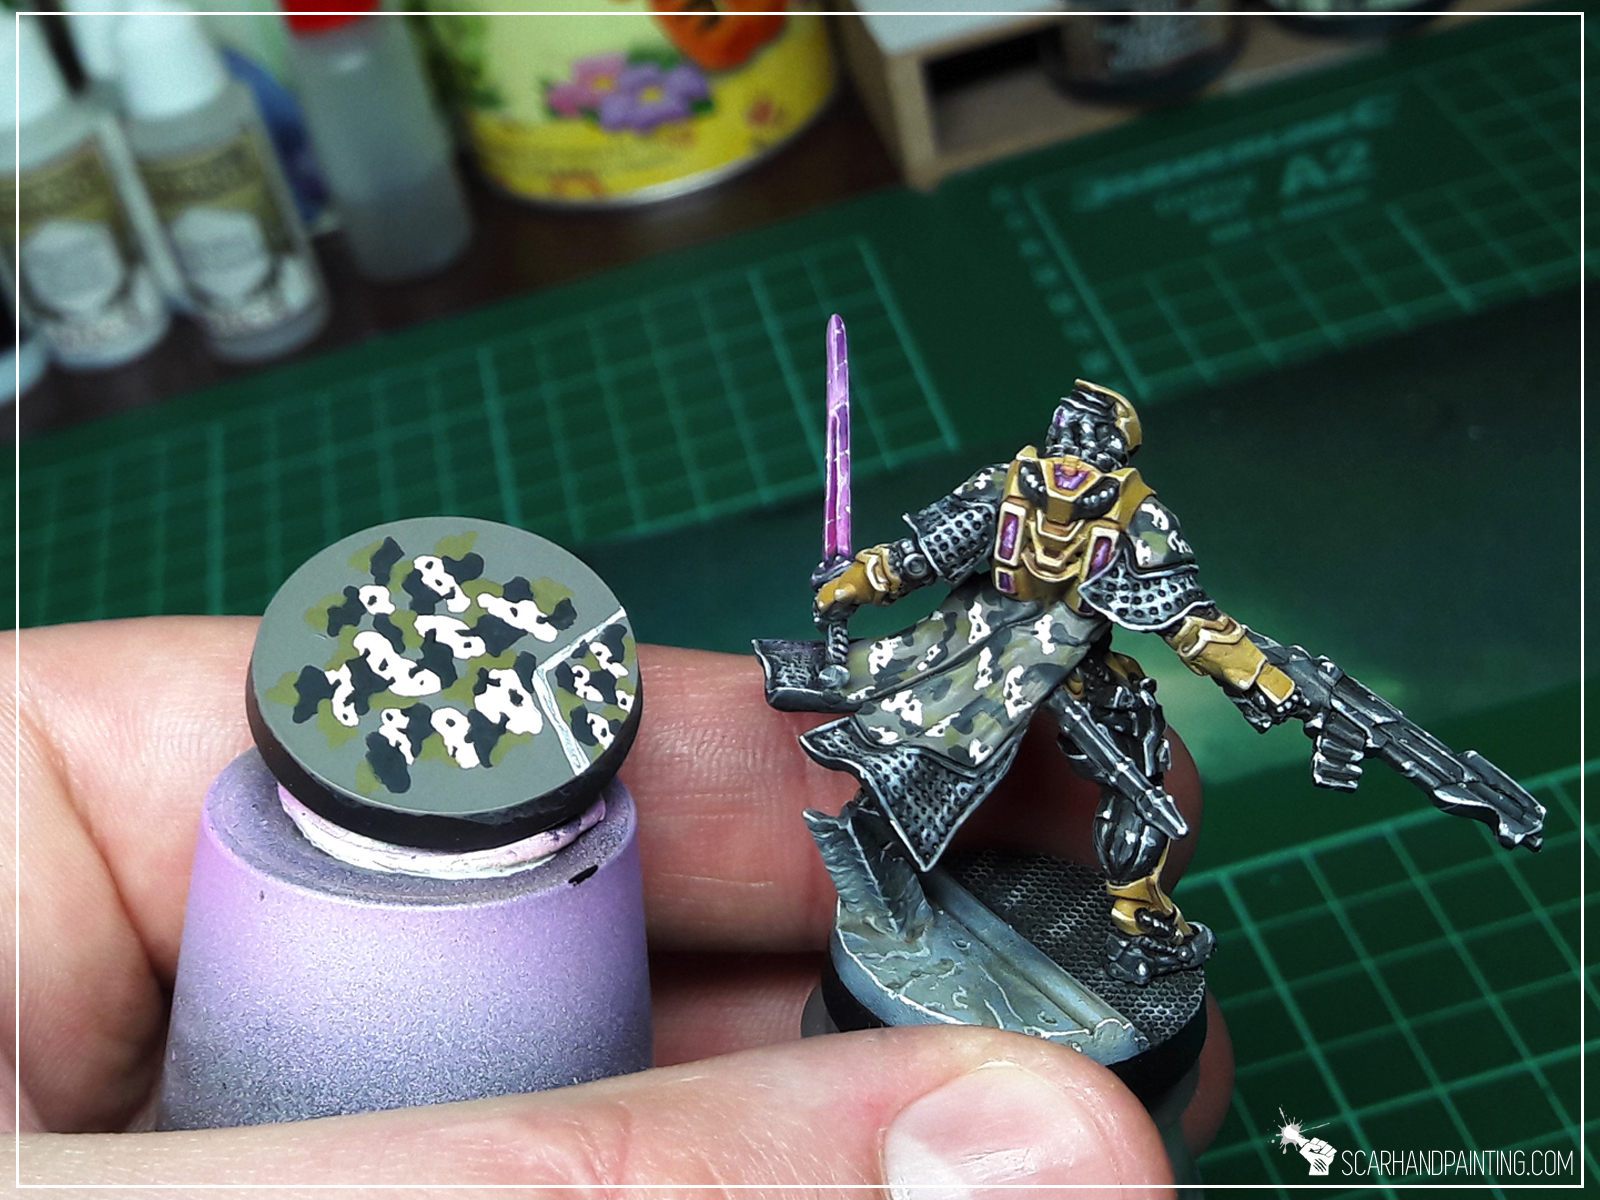
* Follow up with a third layer of pattern, using Interior Green and following the same rules. Be sure to leave some spots of Bastion Grey visible.

* Lastly add tiny spots of Panzer Dark Grey on top of Pale Wych Flesh pattern. Some might touch the edges.

That’s it, you have painted the pattern. Congrats! Be sure to visit Infinity Yu-Jing gallery for further inspiration if need be 😉
Welcome to Painting “Guijia” tutorial. Here I will take you on a Step-by-step trip through almost entire process of painting Infinity the Game “Guijia” Special Project.
Before we start, some notes:
* This one requires an Airbrush.
* Paints are to be properly thinned before airbrush application.
* As usual, please take note that what works for me might not necessarily work for you.

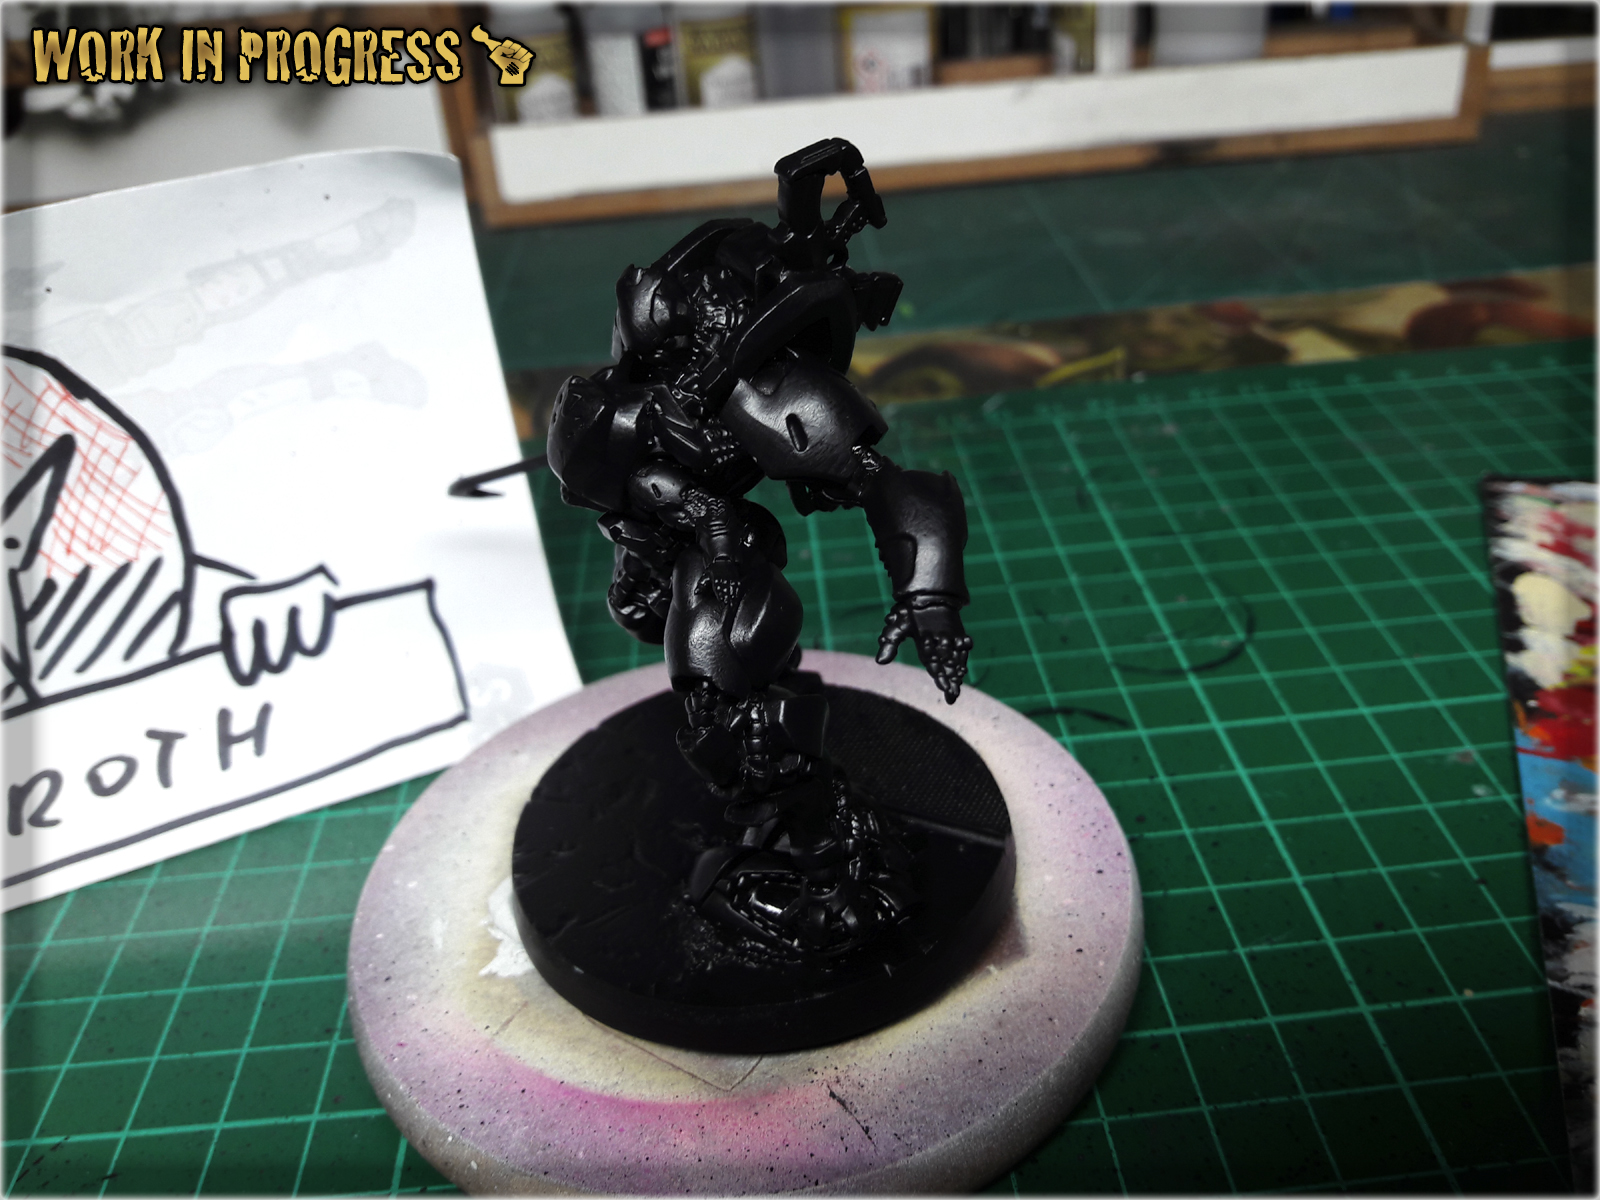
Allright! Undercoat the miniature with black, check your gear and let’s do this!
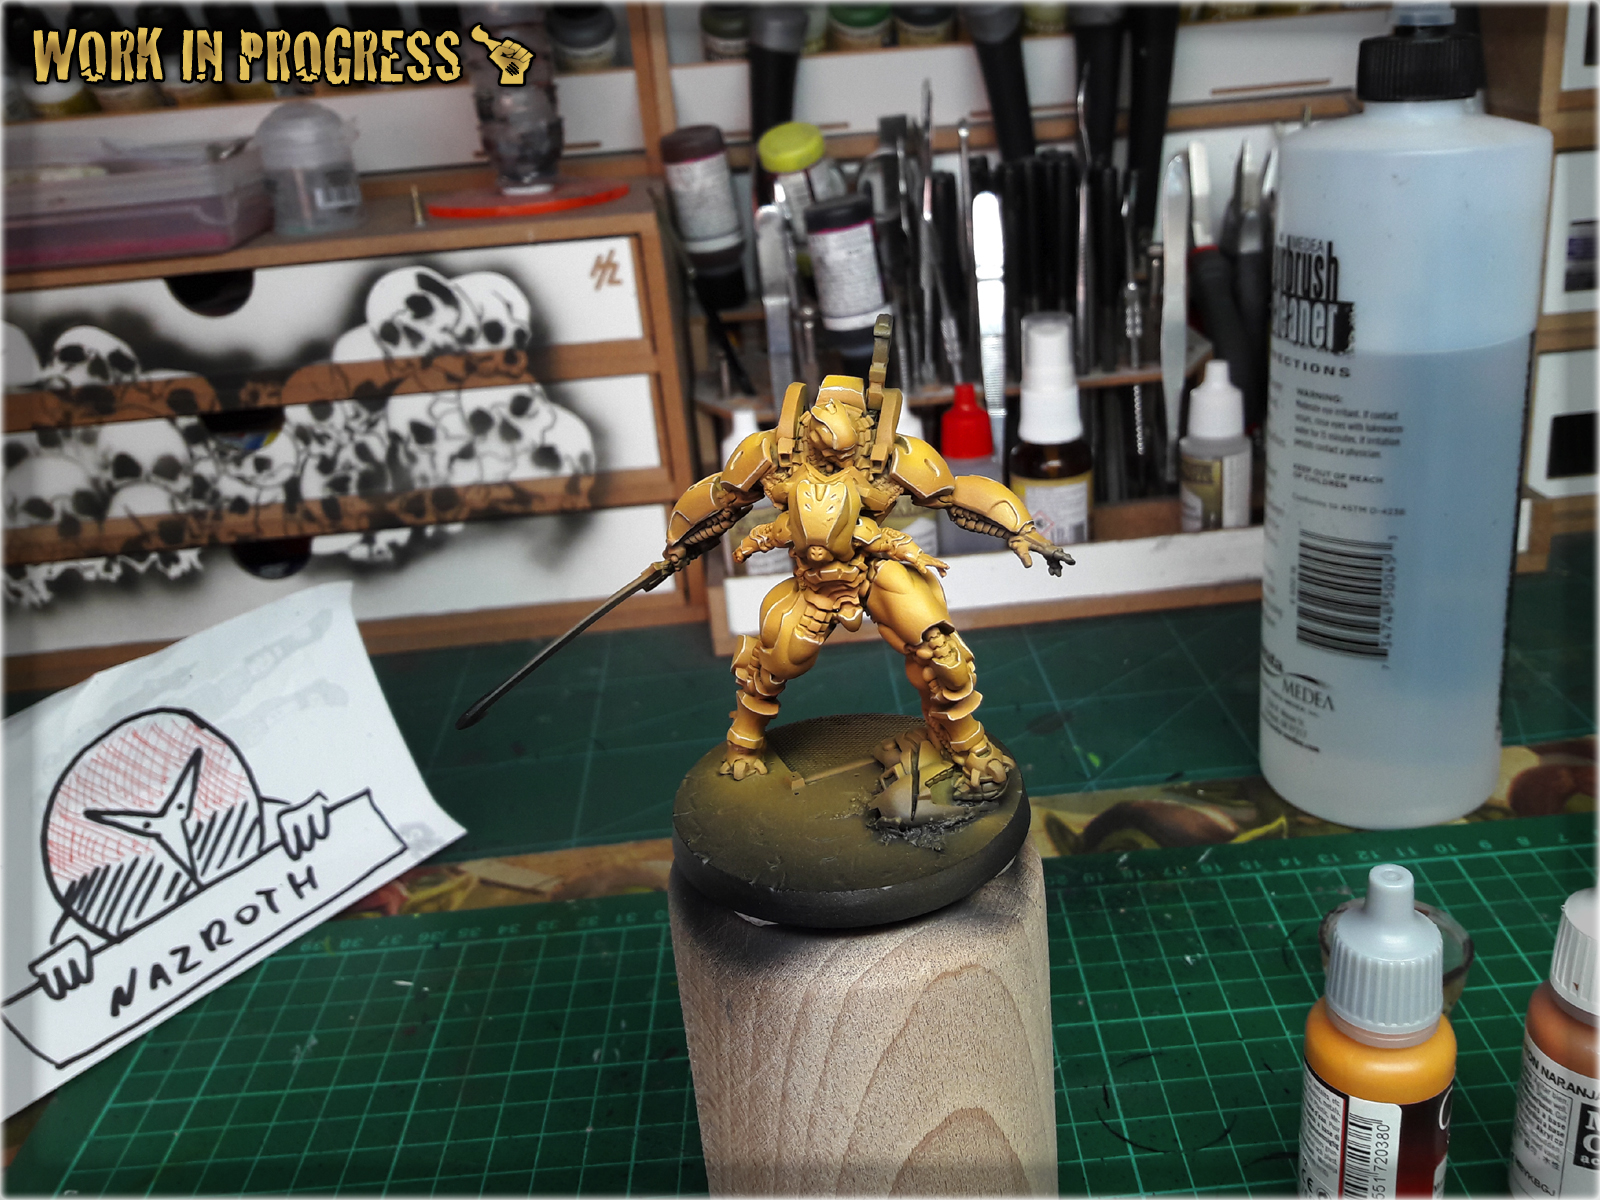
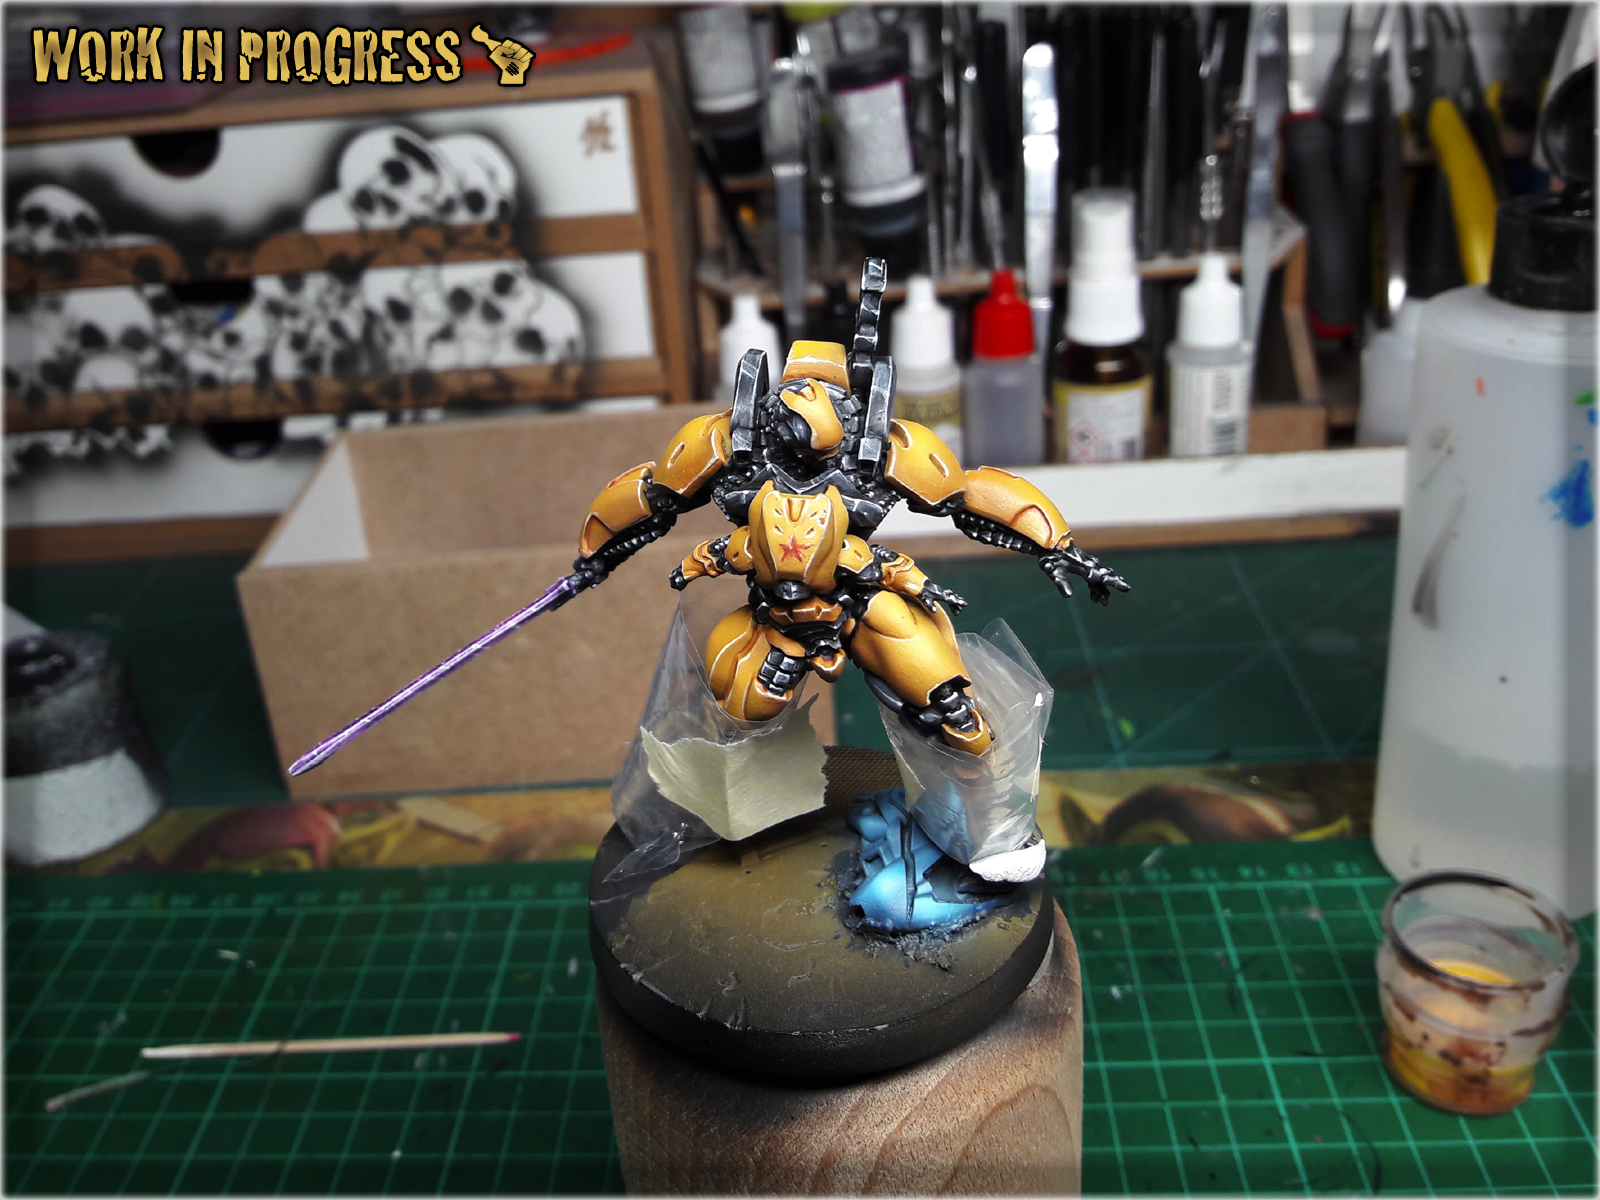
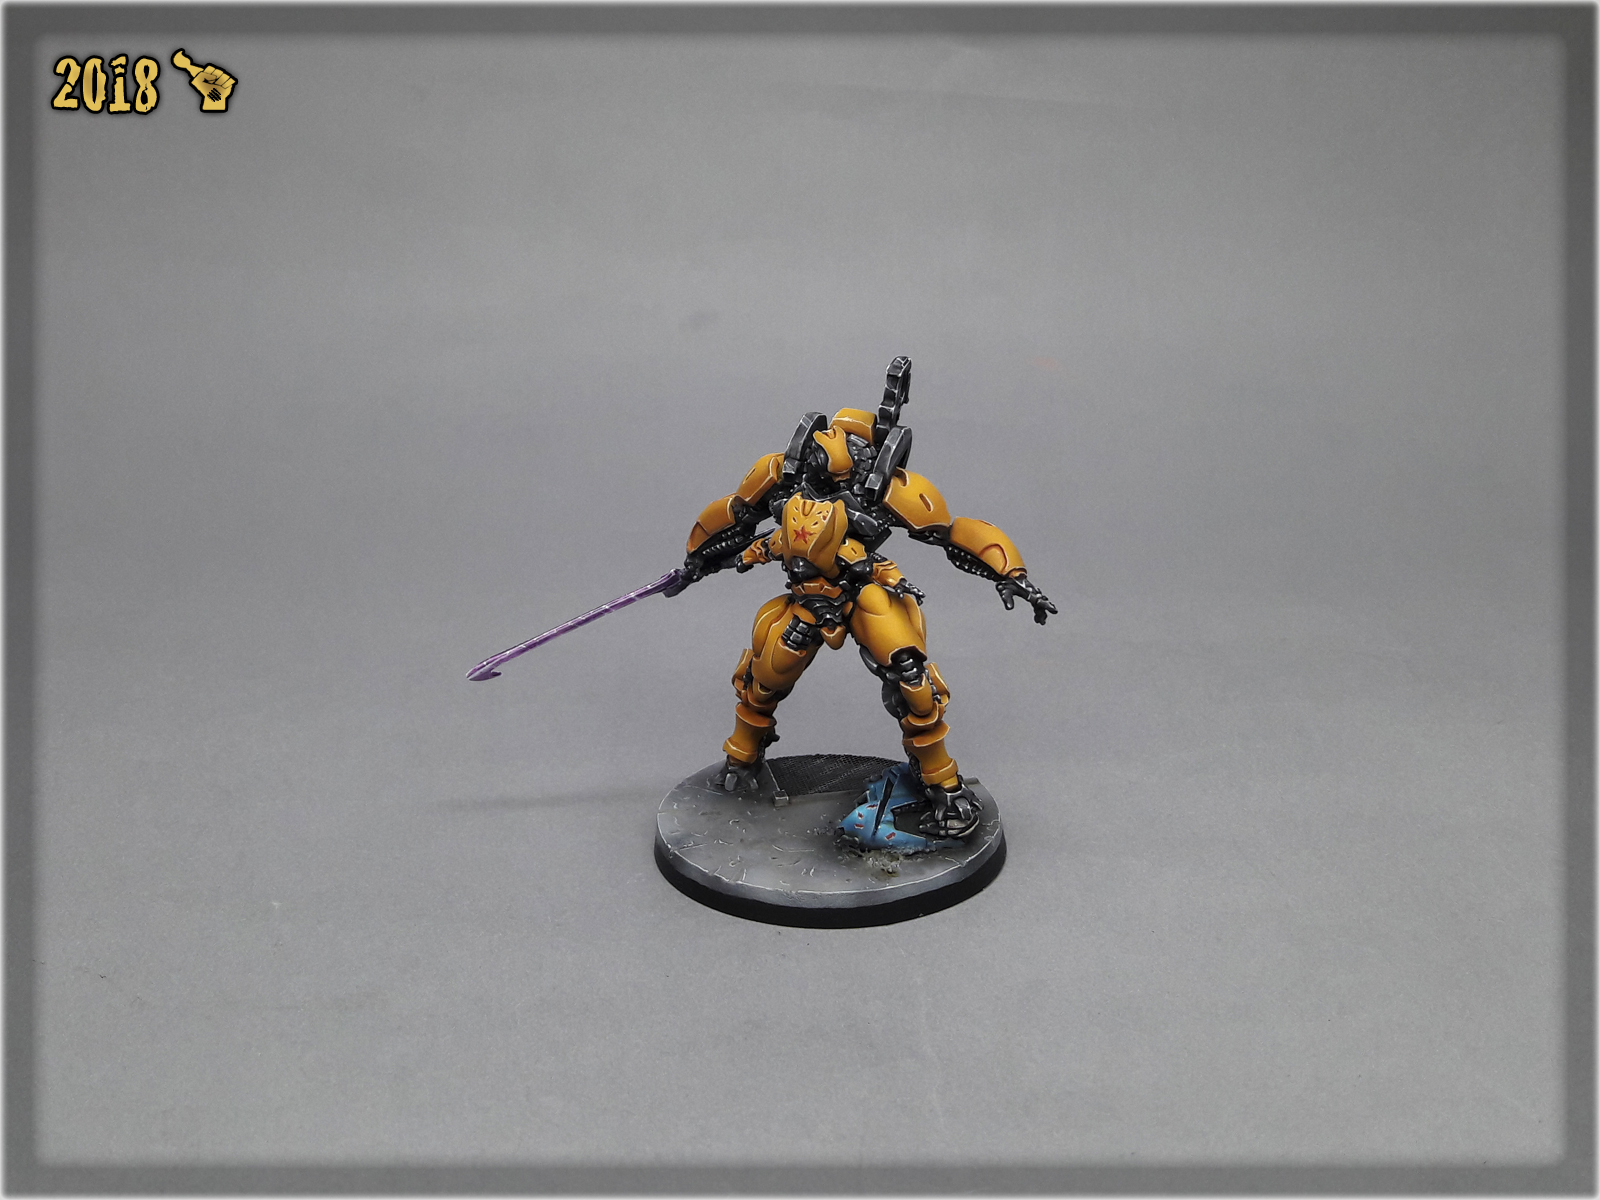
* Start with a solid layer of airbrushed Val. Orange Brown. I applied mine in three delicate, overlaping layers. I went around the miniature, with top and bottom, focusing on Armor Plates areas.

* Next, airbrush Val. Scrofulous Brown. Mostly from the top and up to 45* degree, focusing on the most exposed areas. You can start building transitions to previous layer avoiding shadowed areas.

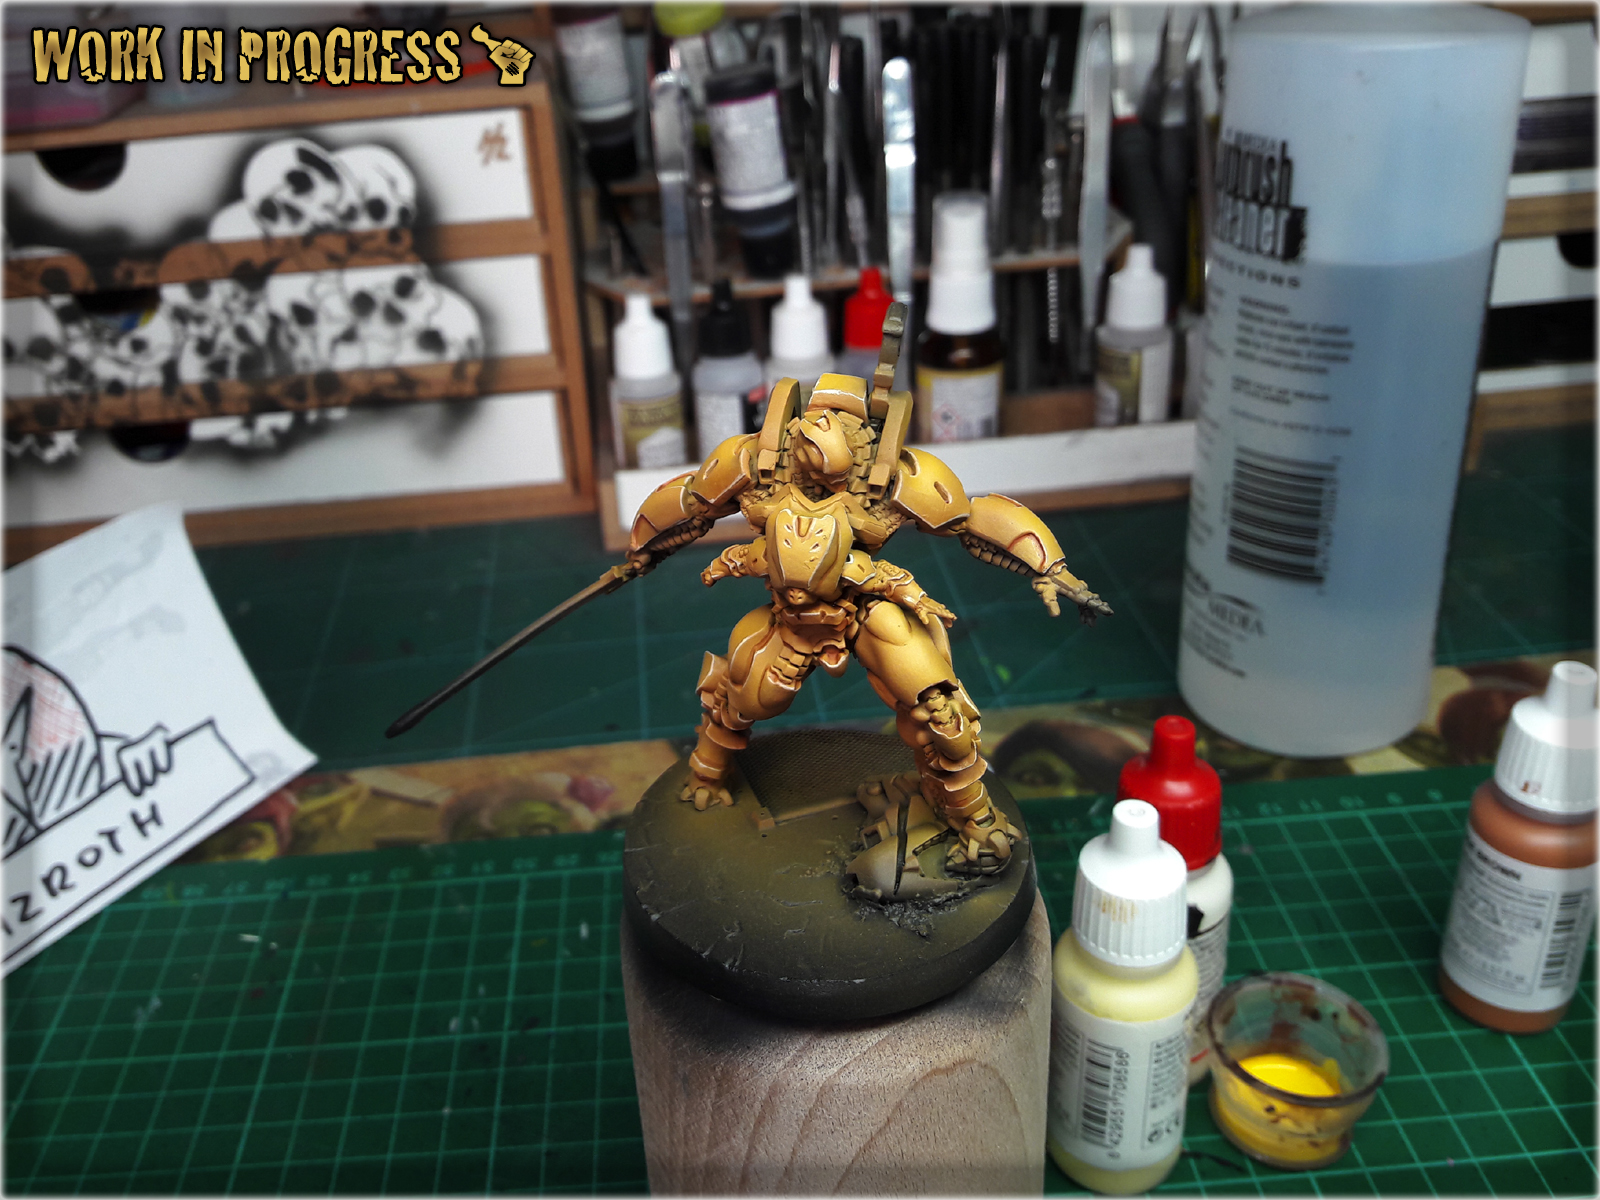
* I forgot to take a picture of this layer. That's on me. Fortunatelly the result can be seen on the next picture. The layer is a mix of Val. Scrofulous Brown and Val. Off White, applied from top onto the center of all exposed areas.
* Next, outline all the edges with Val. Ice Yellow
* Lastly, underline armor plates with Army Painter Soft Tone Ink. I also used strongly dilluted Soft Tone to apply some more shadow in certain 'over the edge' areas.
* This is the most difficult part of the process. Mix Val. Black (air) 1:5 with Val. Panzer Dark Grey (air) and apply it to everything, that is not external armour plates and blade. The difficult part is to not mess up all these sexy Orange-to-Yellow armour plates. If you do, you can try out Erasing Bloopers following one of my tutorials, still the airbrushed nature of the layer will make it extremely difficult.
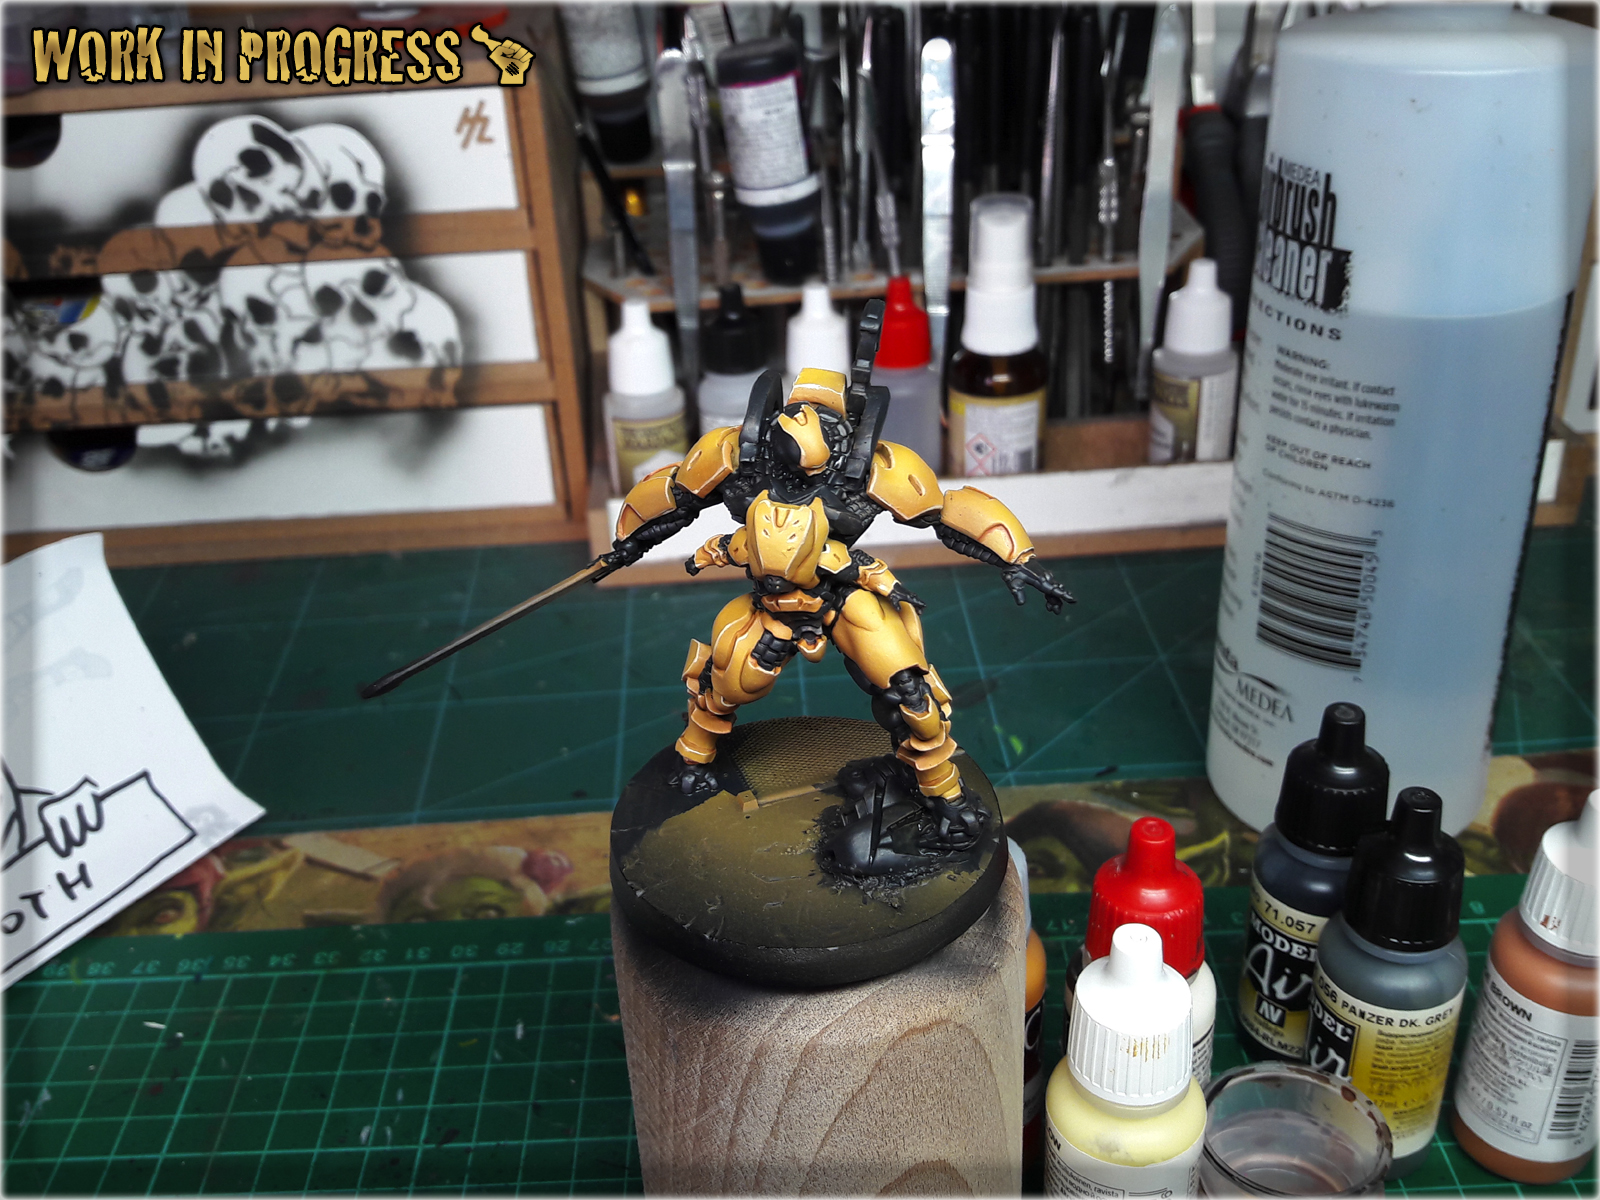
* Next apply a watered down GW Fenrisian Grey over black areas. It is important not to fill any recesses. You can apply more than one thin layer, overlaping each other and even leave some irregularities - this will work to the overall paint job's advantage.

* Next, higlight edges with GW Pale Wych Flesh. This time no thinning down the paint. You can imitate some scratches, reflexions etc.


* Now wash it all with a thinned down Army Painter Dark Tone Ink. Once again be extra carefuul not to paint over finished armour plates.

* Now it's time to make it POP! Using GW Pale Wych Flesh and Val. Off White, highlight the edges and create some points of focus, scratches, reflections etc.

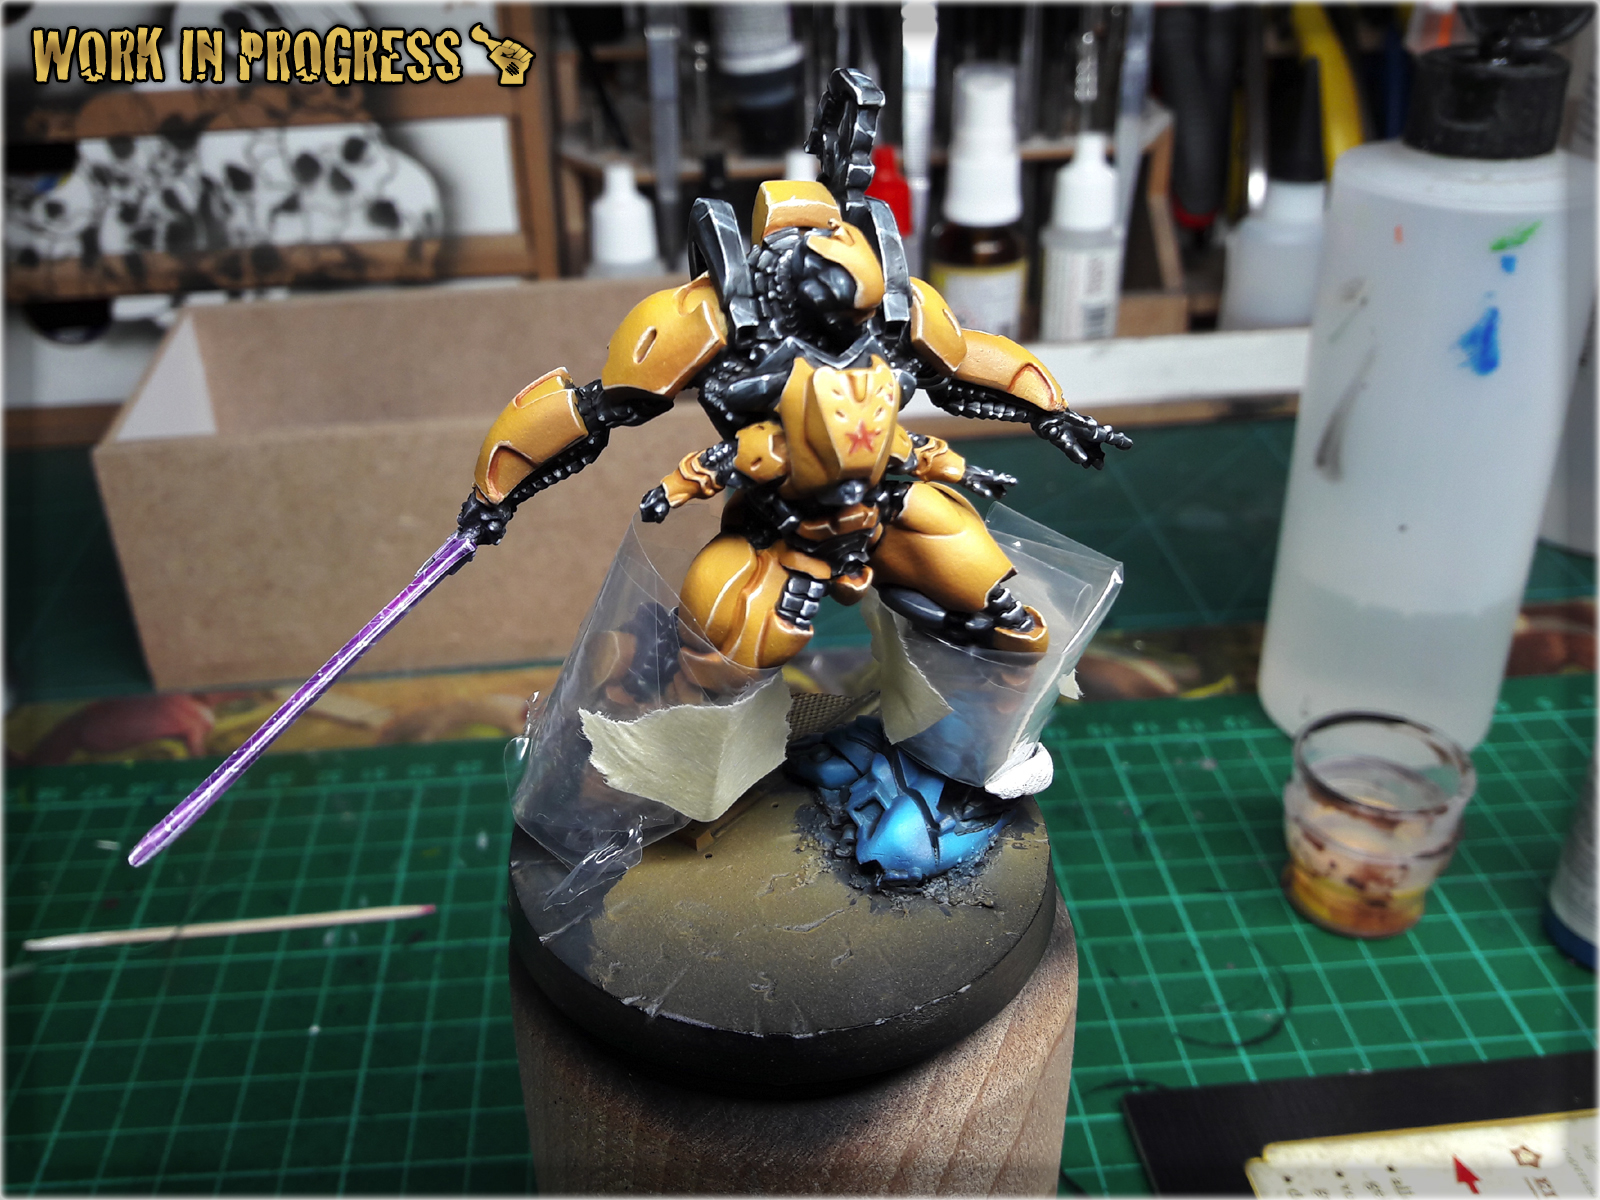
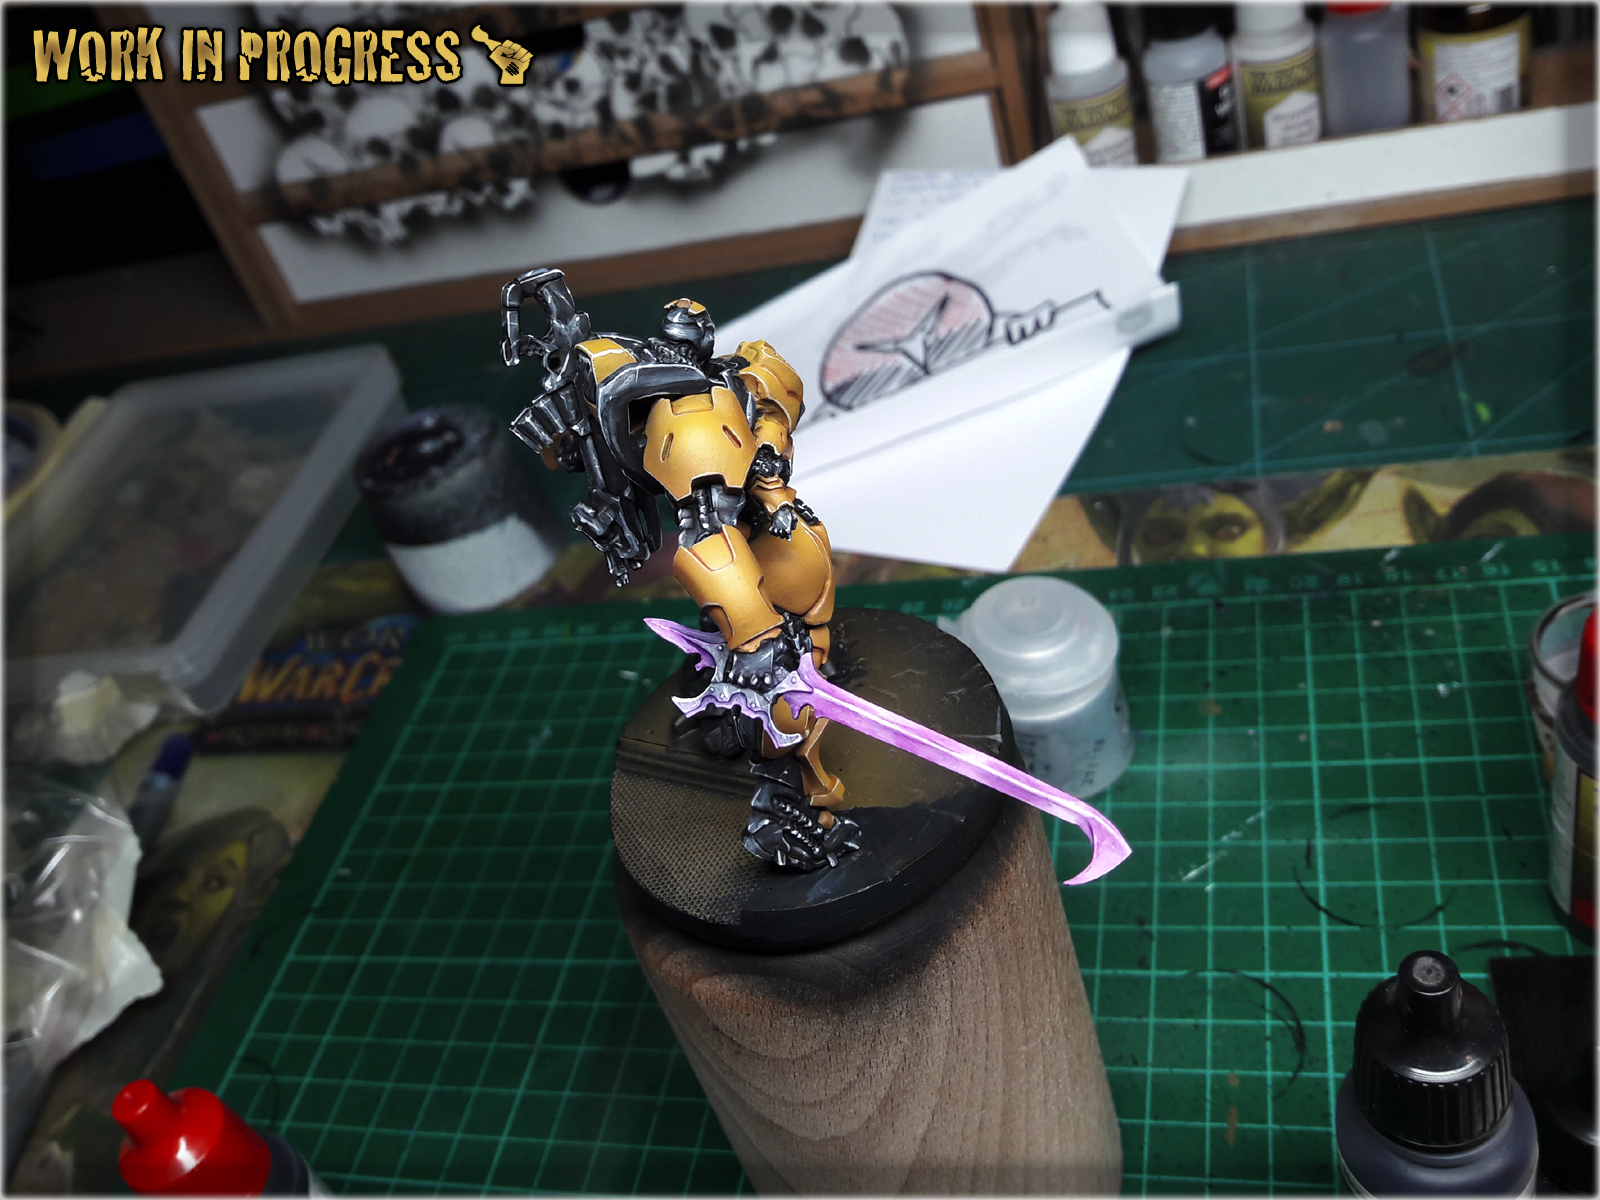
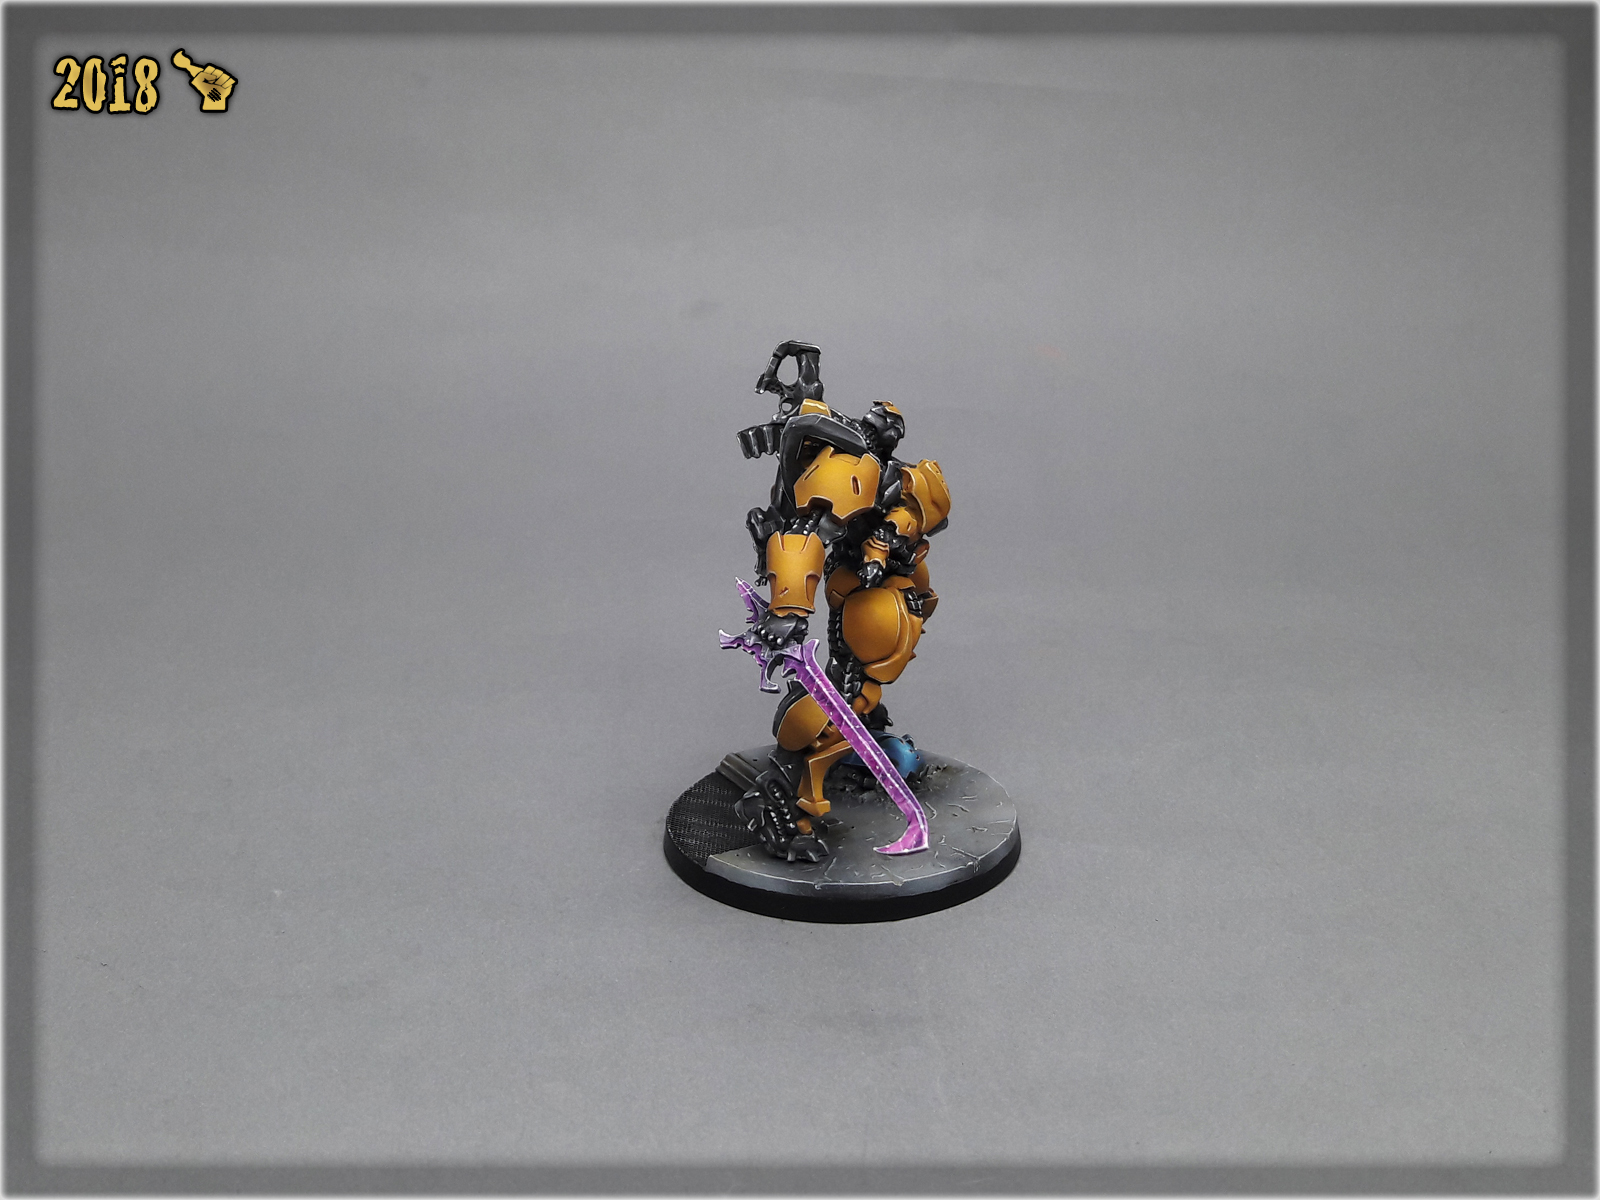
* Start by masking the Guijia's leg. I used a piece of foil and masking tape to cover areas that I didn;t wanted to get dirty. Then manually applu a layer of Val. Prussian Blue, avoiding areas of Black Mesh.

* Next airbrush a layer of Light Sea Blue, focusing on the most exposed areas of armour.
* Next, airbrush a mix of Val. Light Sea Blue with a bit of Val. White focusing on middle areas, creating a transition from previous layer.
* Next highlight the edges with GW Pale Wych Flesh.

* To seal Blue, wash it with thinned down GW Guilliman Blue Glaze. You can see that I have also painted some battle damage. I did it using Val. Cavalry Brown, underlined with Val. Off White.

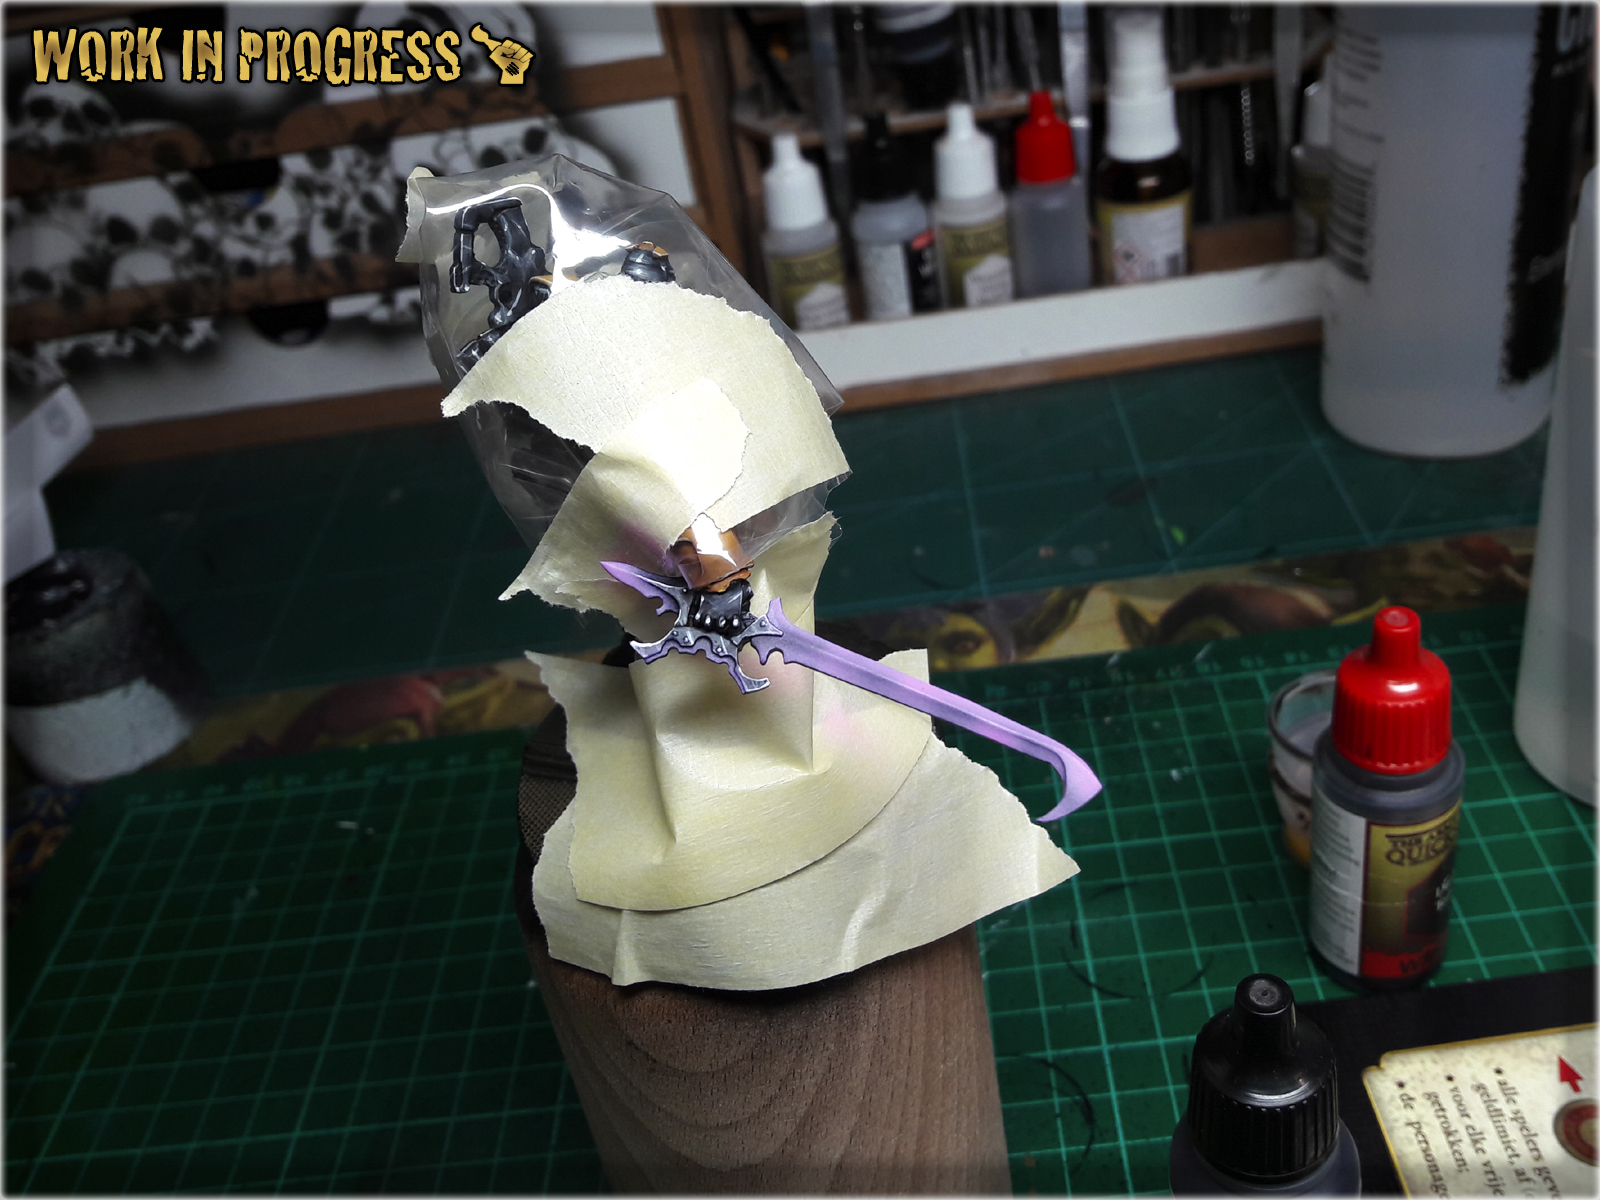
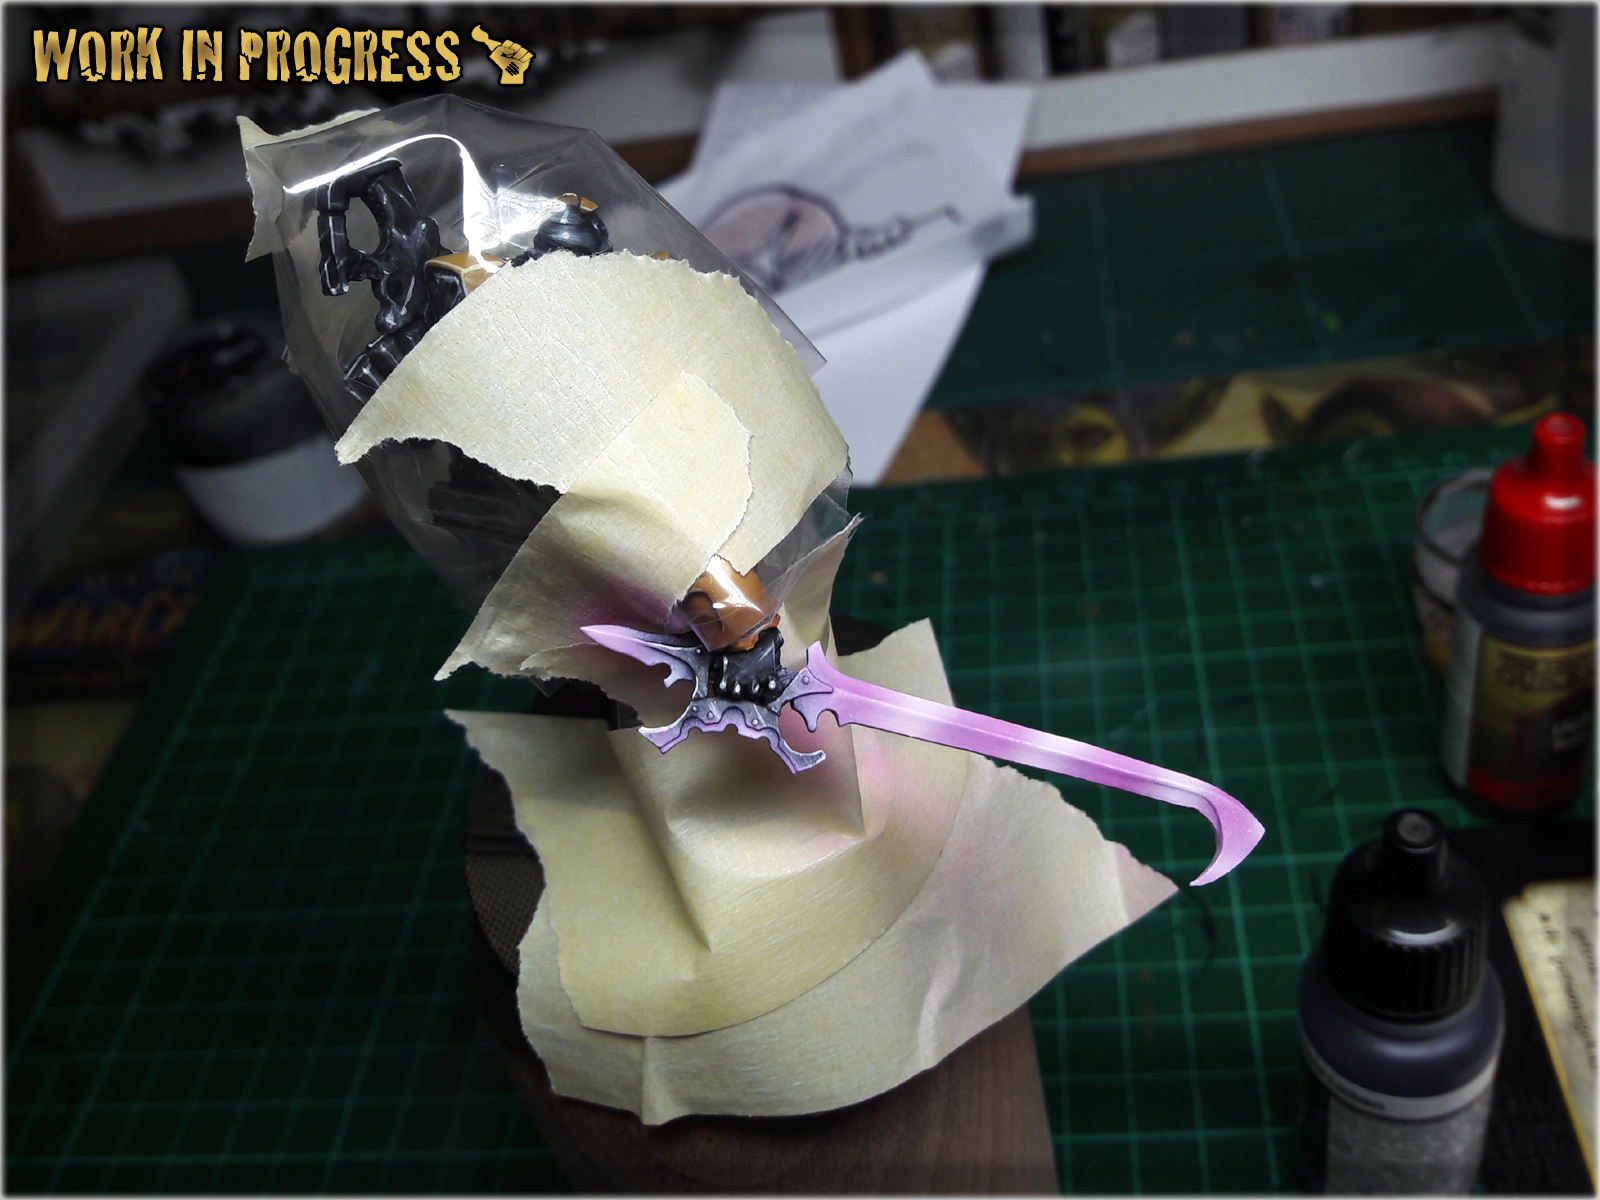
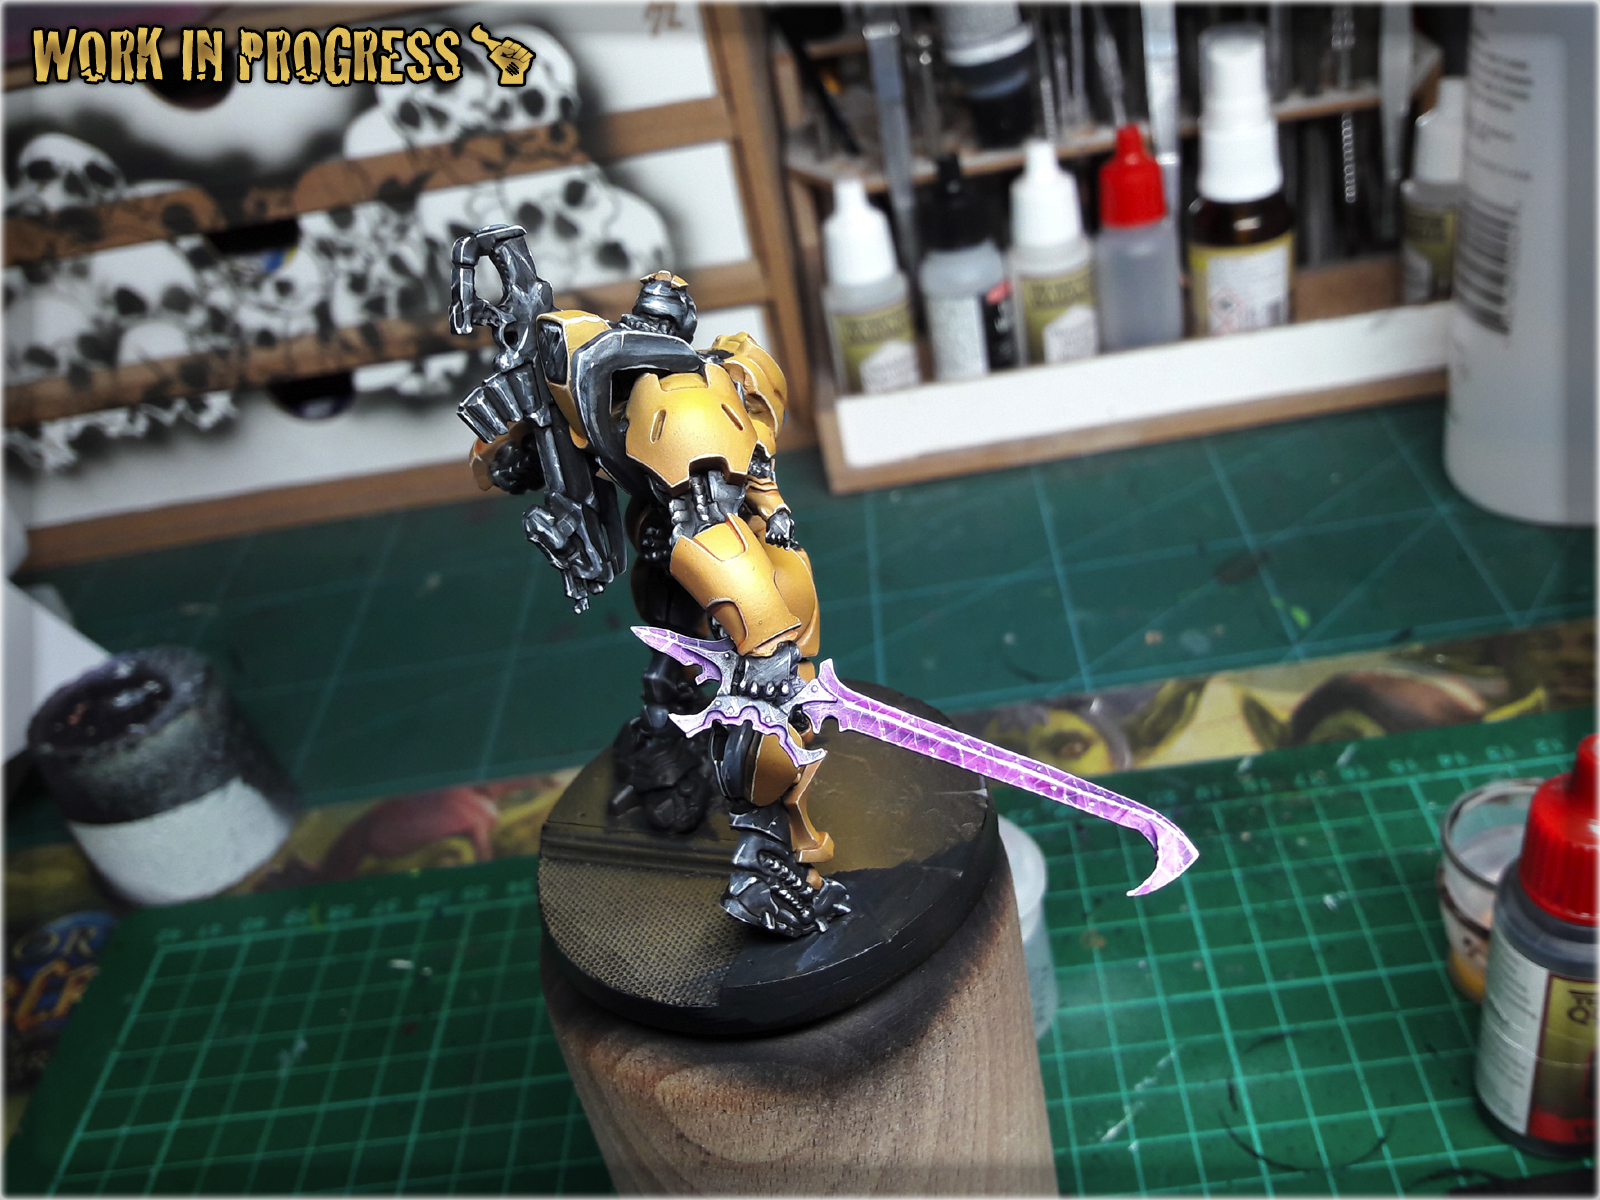
I leave adding Black Under Armour and additional details to you. Now to the Sword… To be honest, because of strong light, pictures taken during this one’s painting process did not captured how the sword looked like and I really don’t like how they turned out. That being said – I will still show you the Sword and name the paints used, but instead of a Step-by-step tutorial, let’s just call it a BONUS.
List of paints:
Val. Warlord Purple,
Val. Off white,
GW. Pale Wych Flesh,
AP. Purple Tone Ink,


I leave the base and additional detail to you. Congratulations, you have painted a Guijia 🙂
Was this tutorial helpful? Did you enjoyed it? Leave me a comment 😉
I hope you find this tutorial interesting. Be sure to let me know your thoughts in the comments below or via Facebook or Instagram. I would also appreciate if you considered sharing this content with your friends, who might find it useful. Finally if you are looking for a professional miniatures painting service be sure to contact me with this contact form. I always reply within 24 hours, after which please check out your spam folder.
In this easy, step-by-step tutorial I’m going to show you how to create a Toxic Sludge Base. I designed these bases for Warhammer 40,000 Death Guuard Plague Marines.

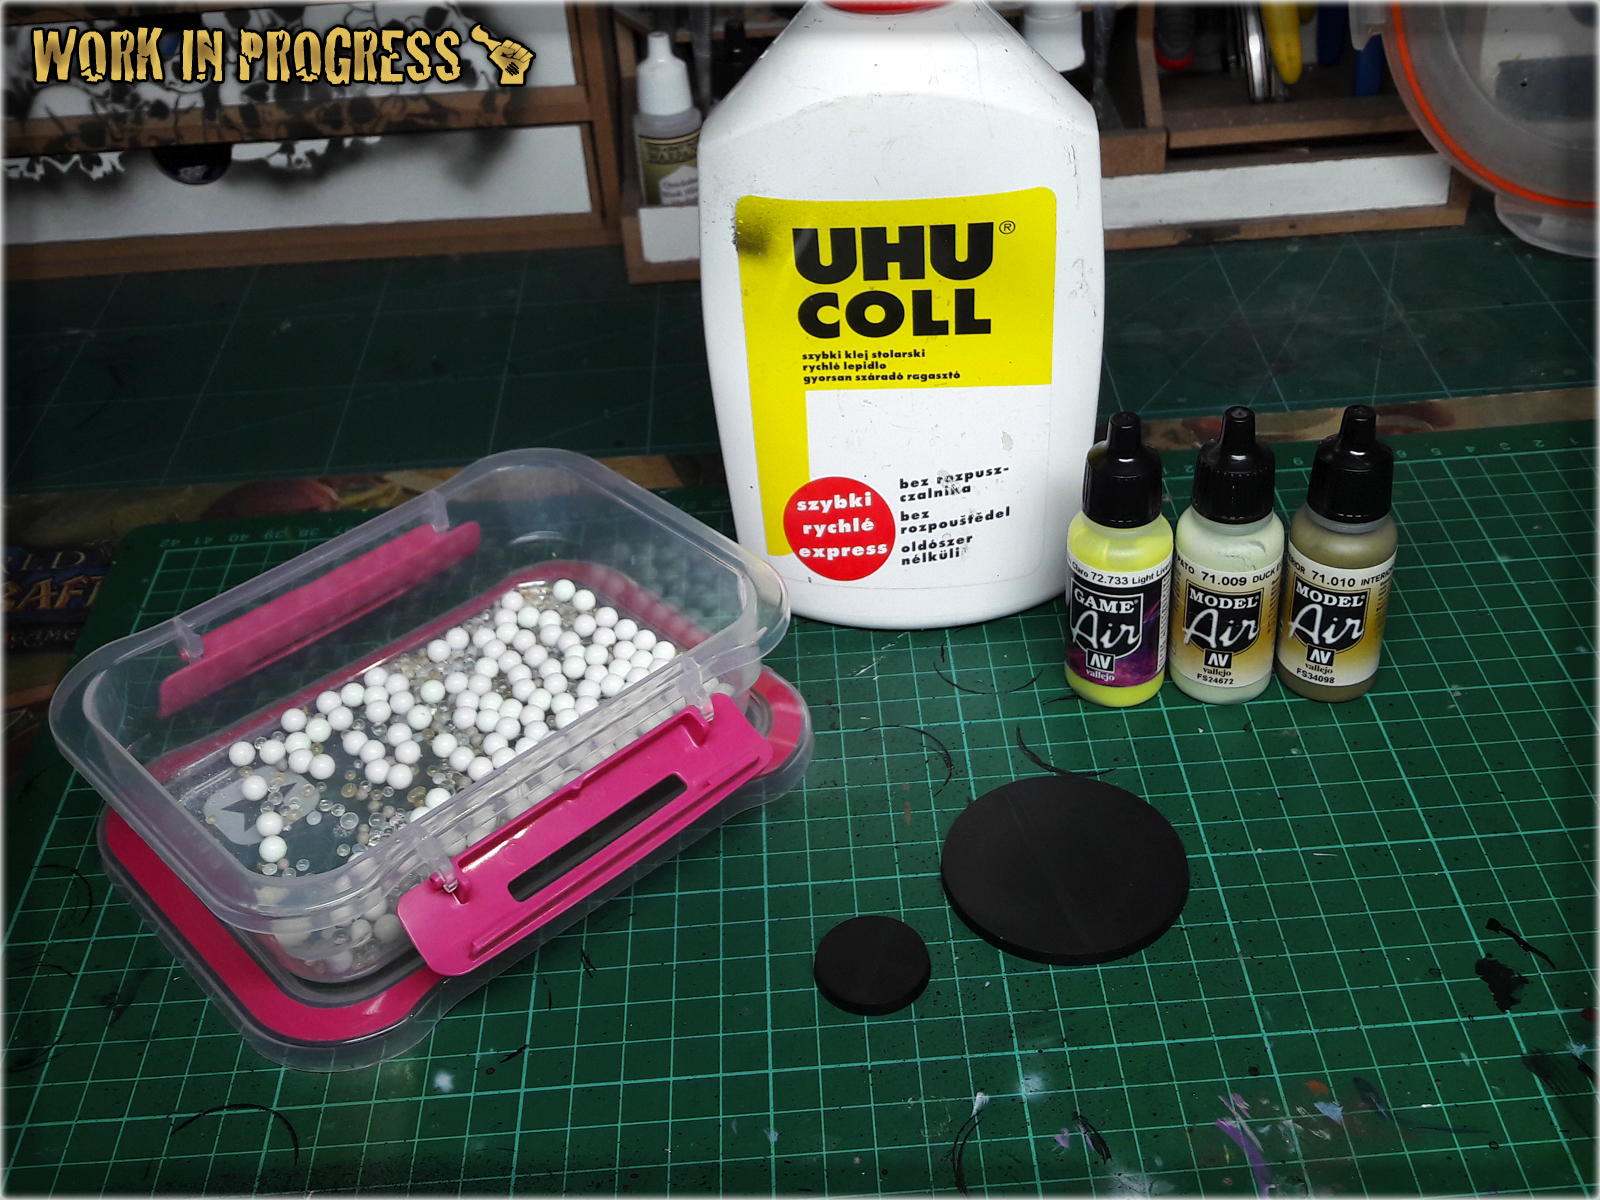
**Where I’m from there’s a small paper bag filled with moist absorbsion balls in every shoe box. If you can’t get that, just use some grains or make small balls out of green stuff or modeling clay.
* I started by covering entire base with a layer of basing glue.

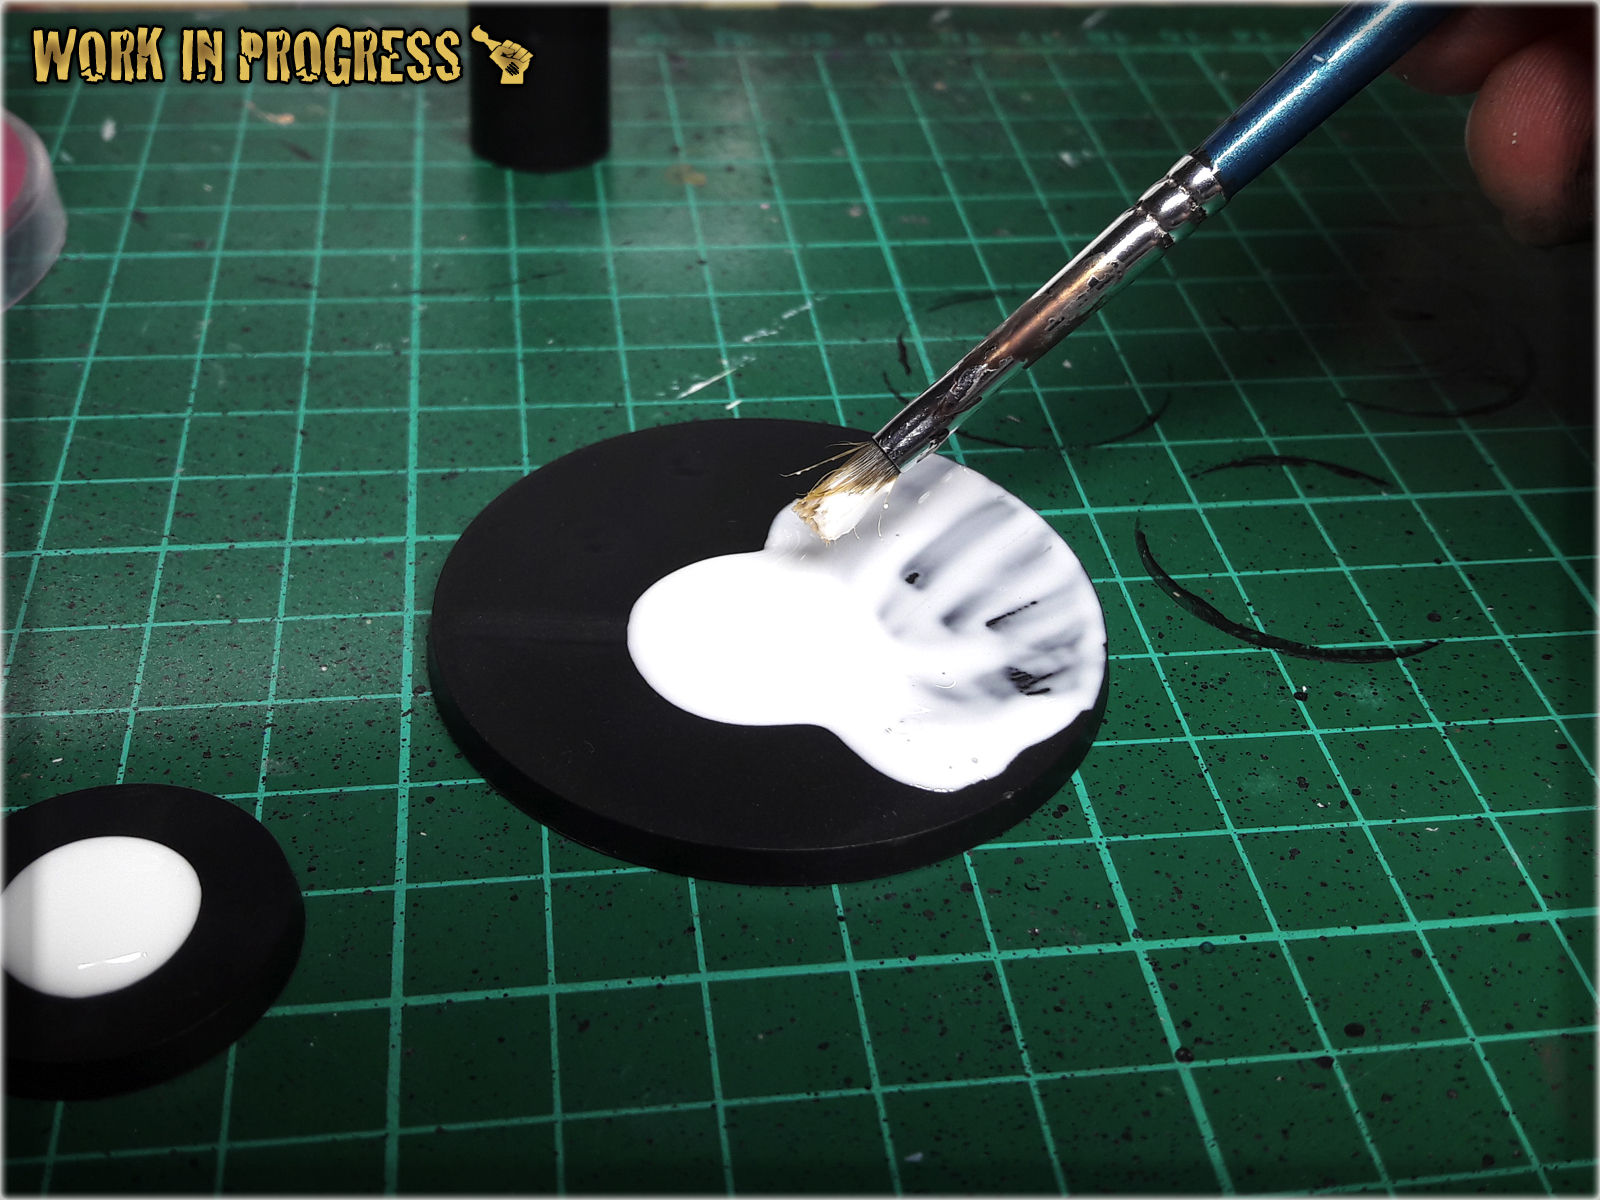
* I then put couple of tiny balls onto the base, creating 'buubbles' and let it all dry.

* Once dry, I covered are around the bubbles with another layer of basing glue.

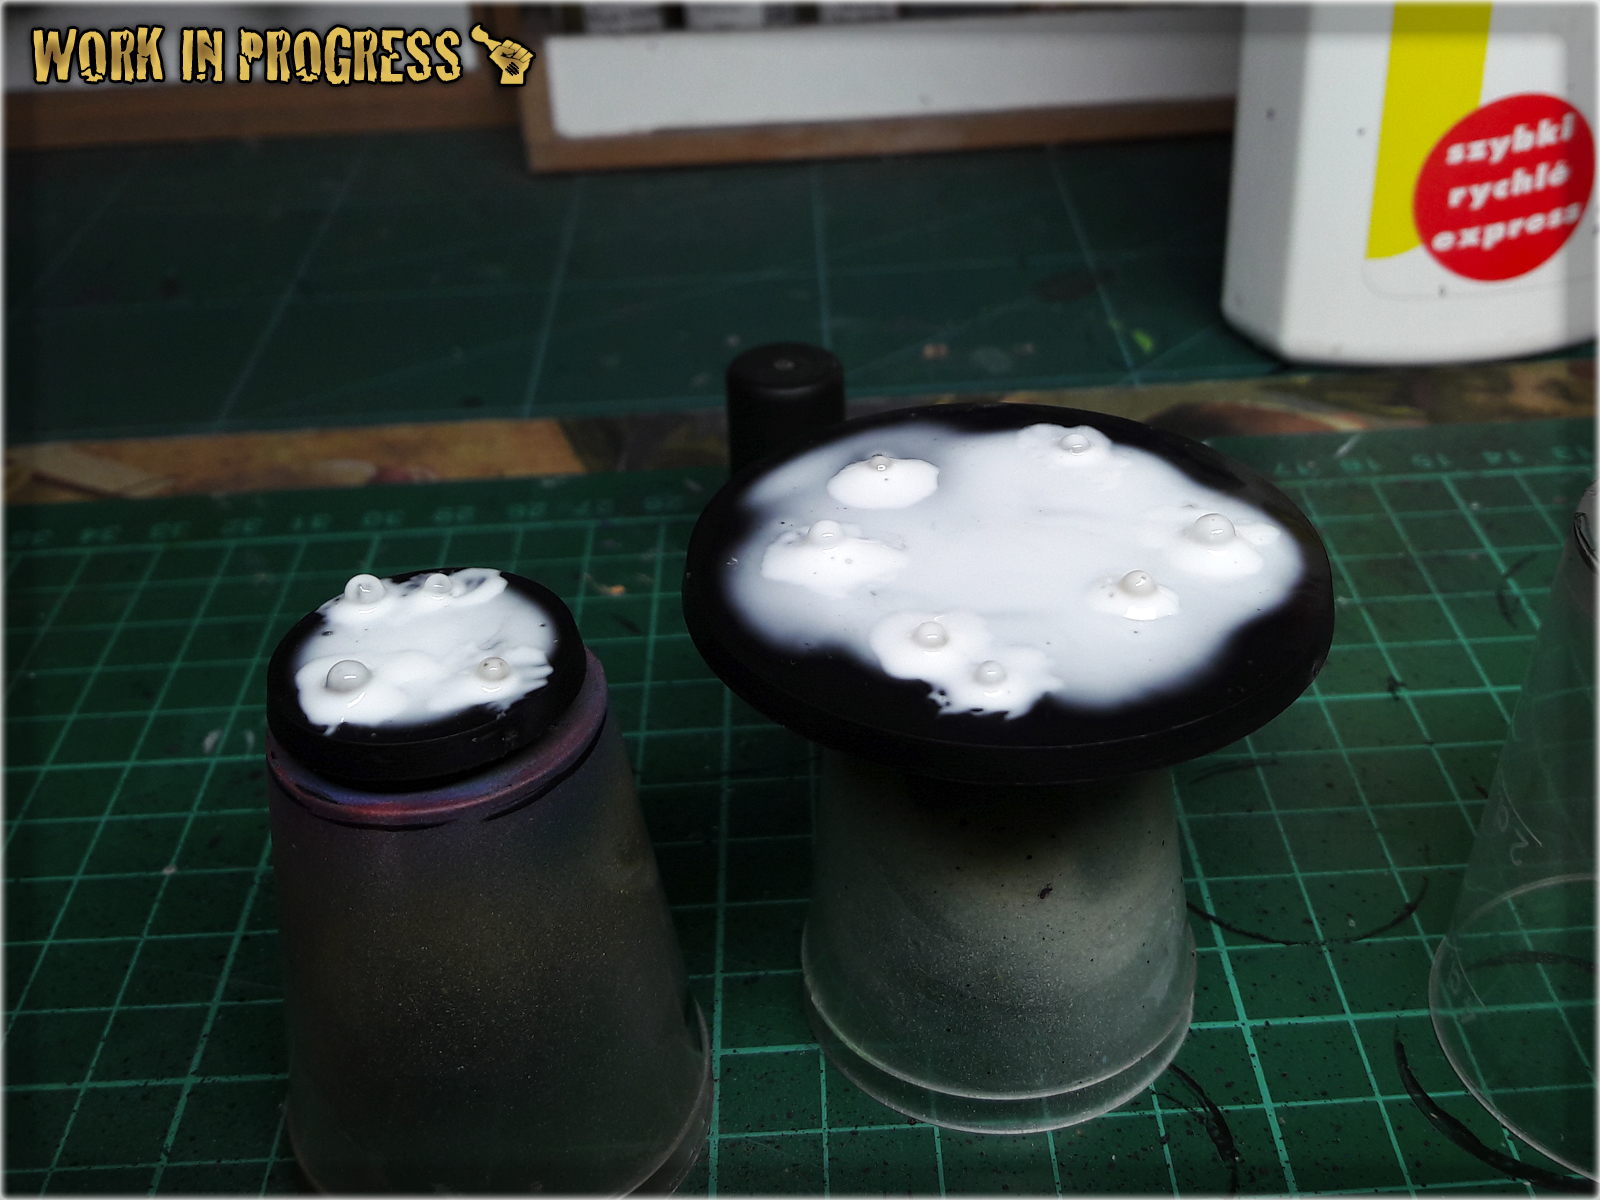
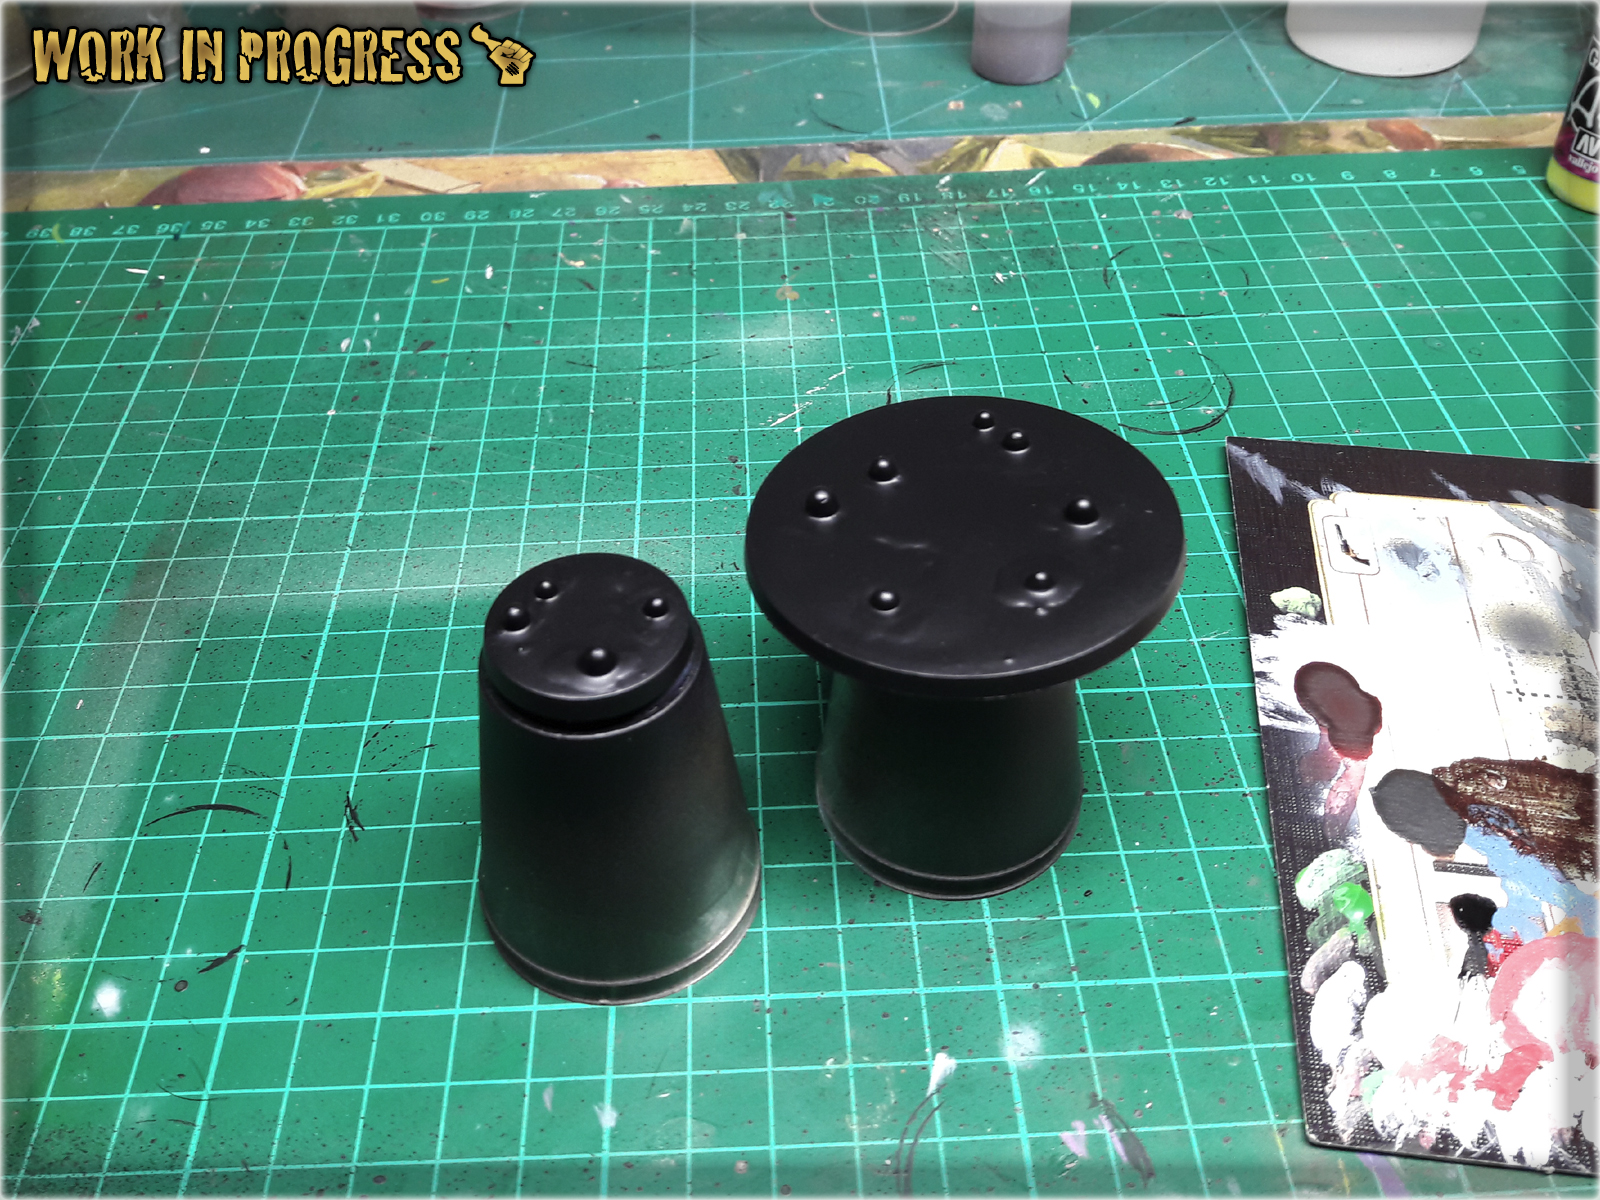
* I let it all dry for about an hour, then undercoated entire base black.
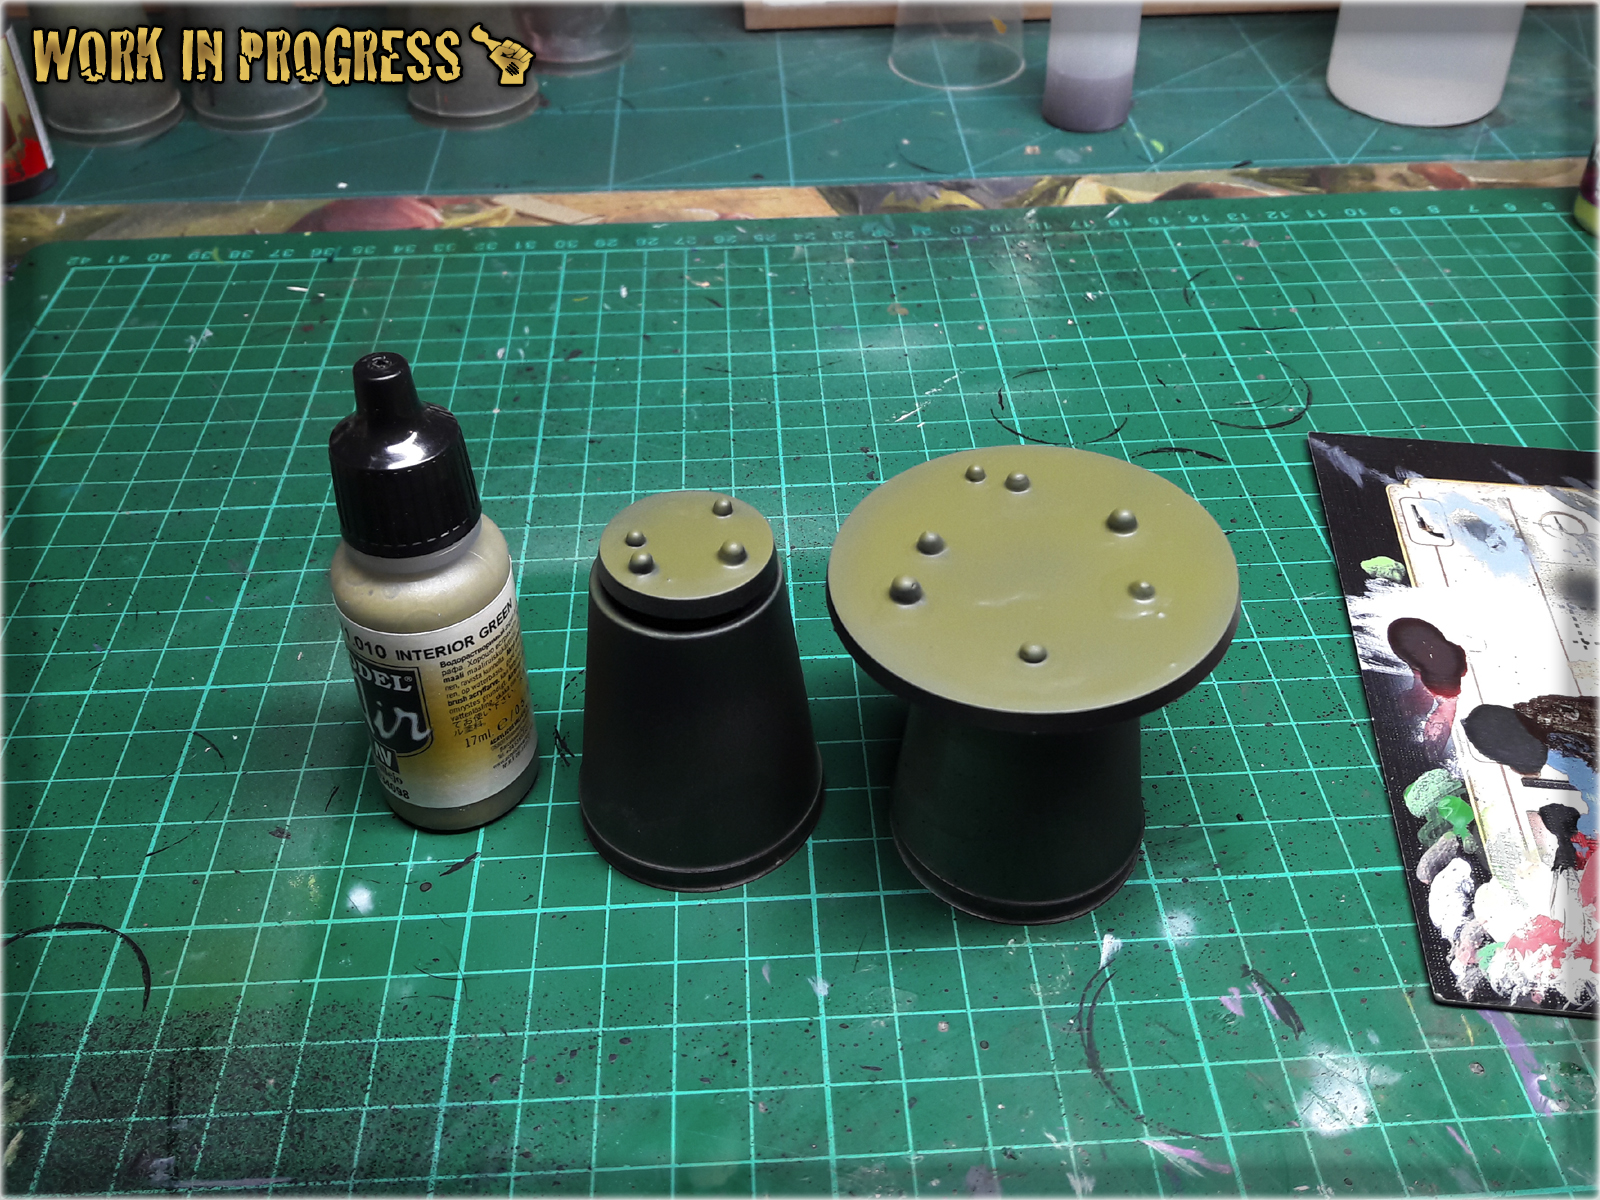
* I then airbrushed a layer of Vallejo Interior Green over entire base.
* Next I airbrushed a layer of Duck Egg Green concentrating on bubbles and surrounding areas.

* Last thing to do was to airbrush two layers of Light Livery Green over entire bases and paint the sides black.

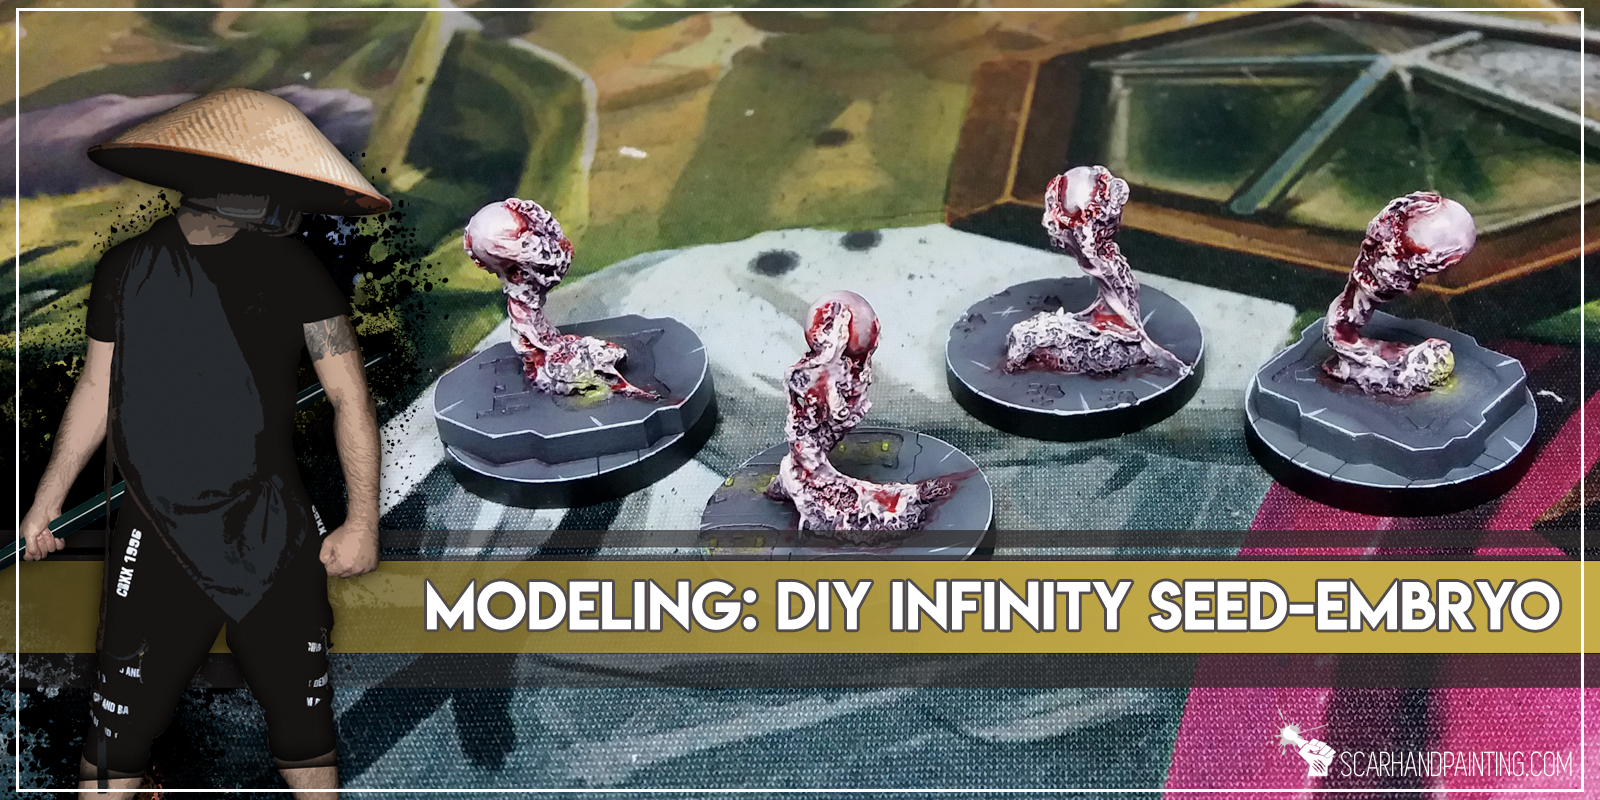
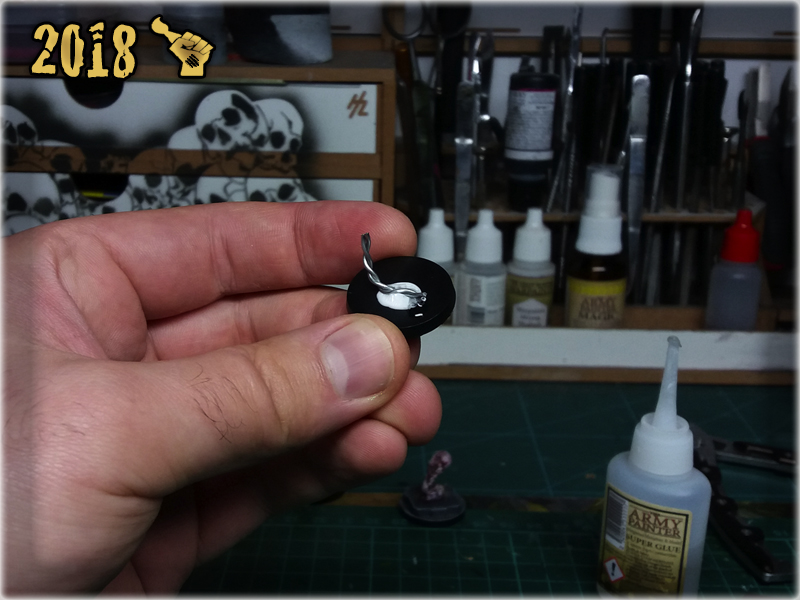
In this easy, step-by-step tutorial I’m going to show you how to create a Seed-Embryo marker, same as from Infinity SHASVASTII lvl 5 ‘Witness Me!’ gallery.
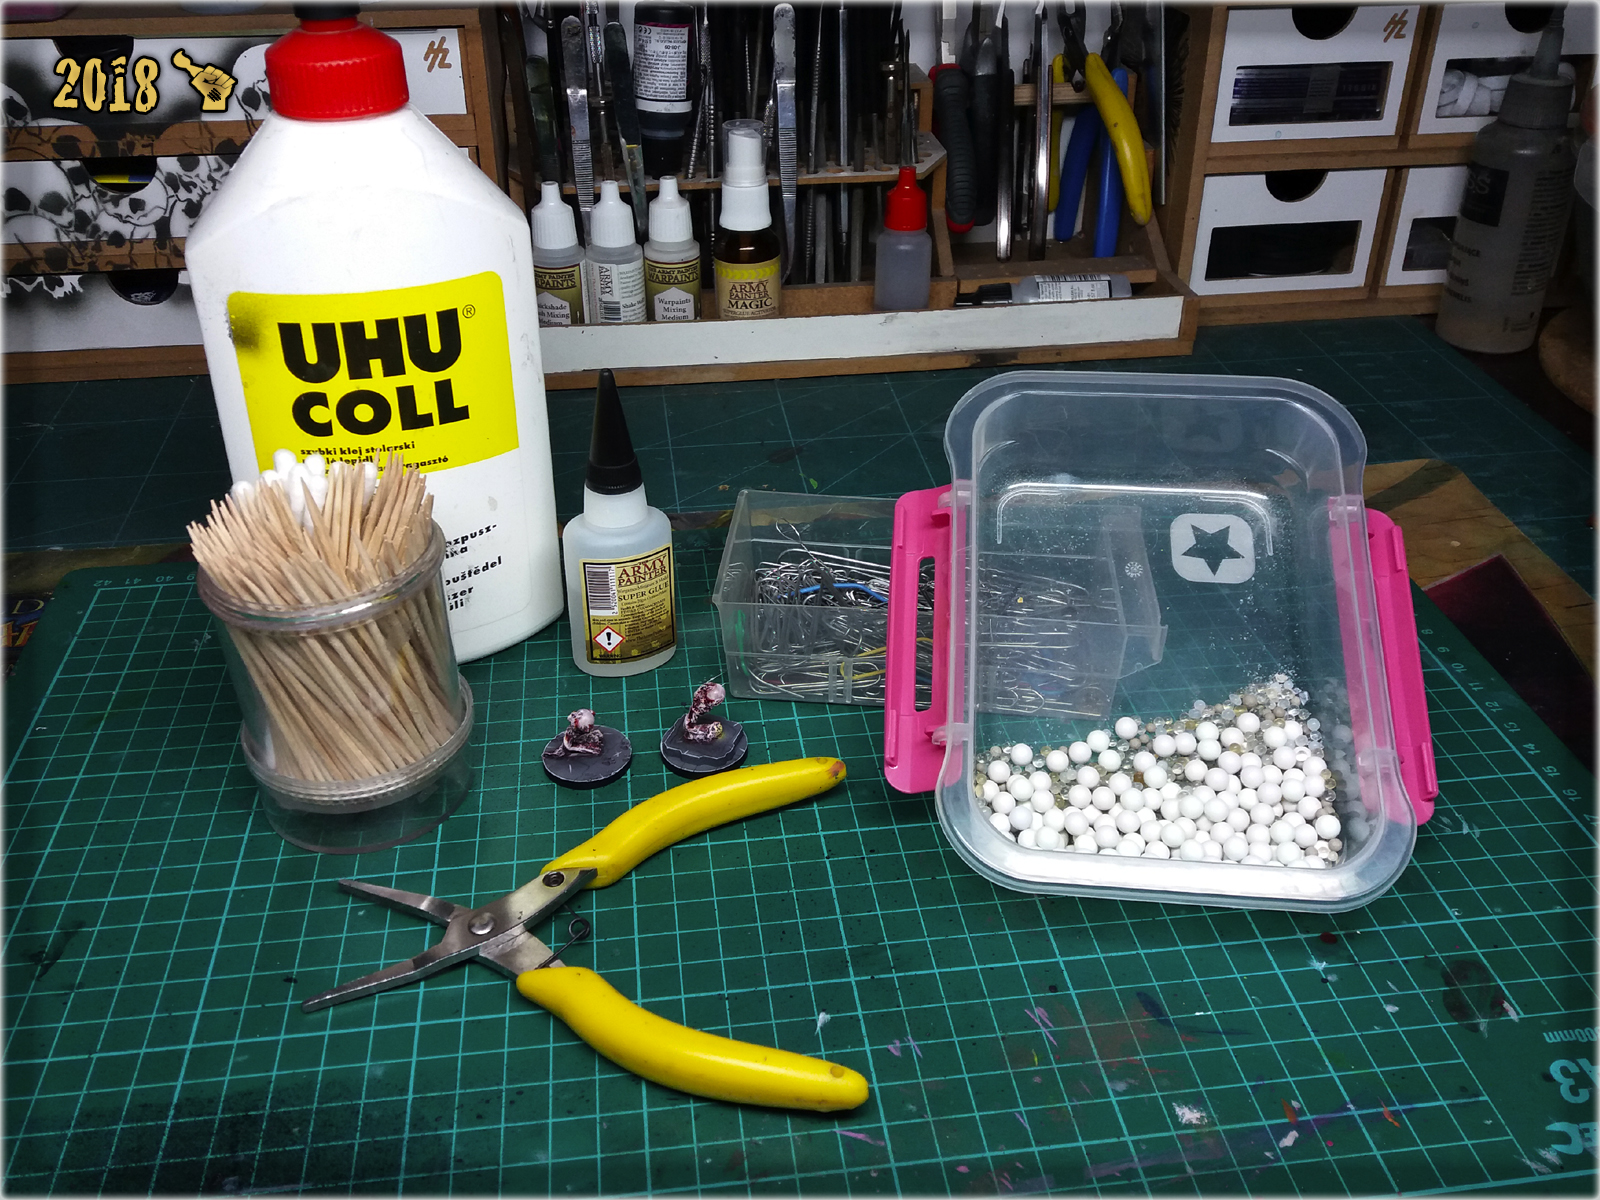
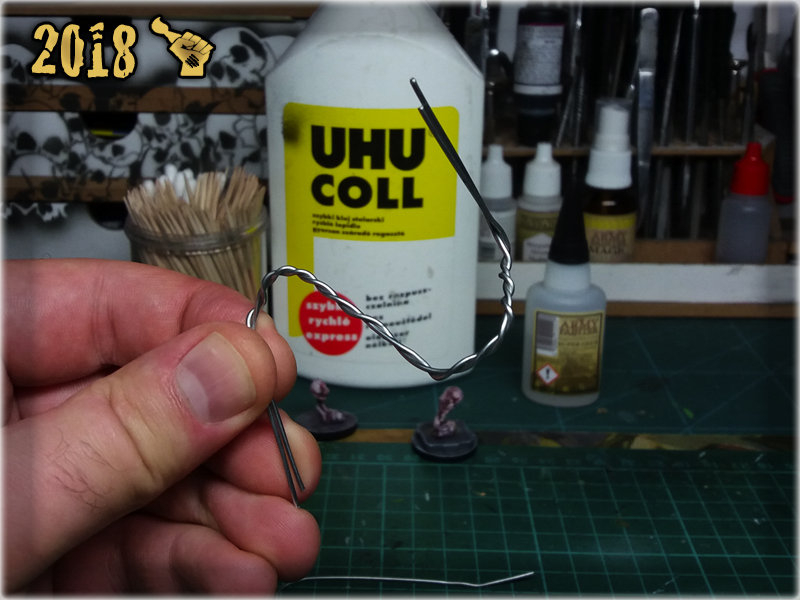
* I started by straightening two office clips, leaving both ends curved.

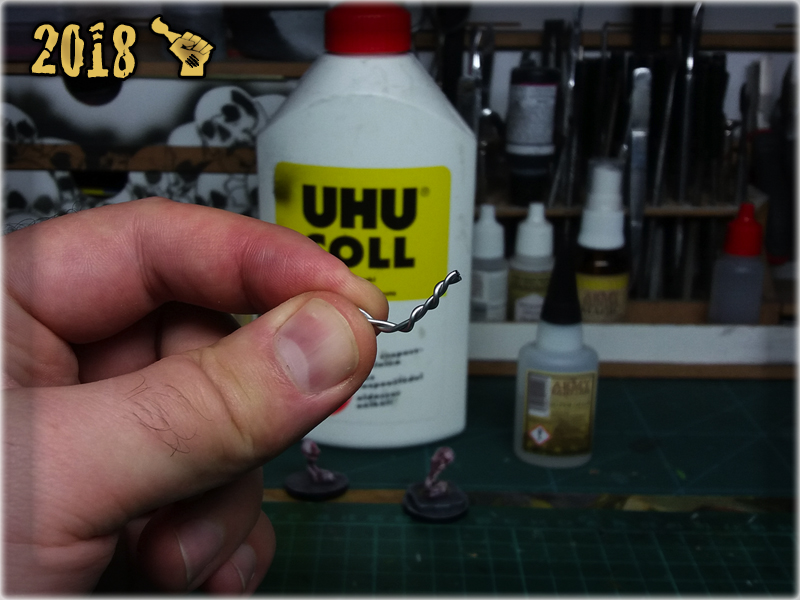
* I then wraped them around one another and once done, cut a piece with hobby cutters.
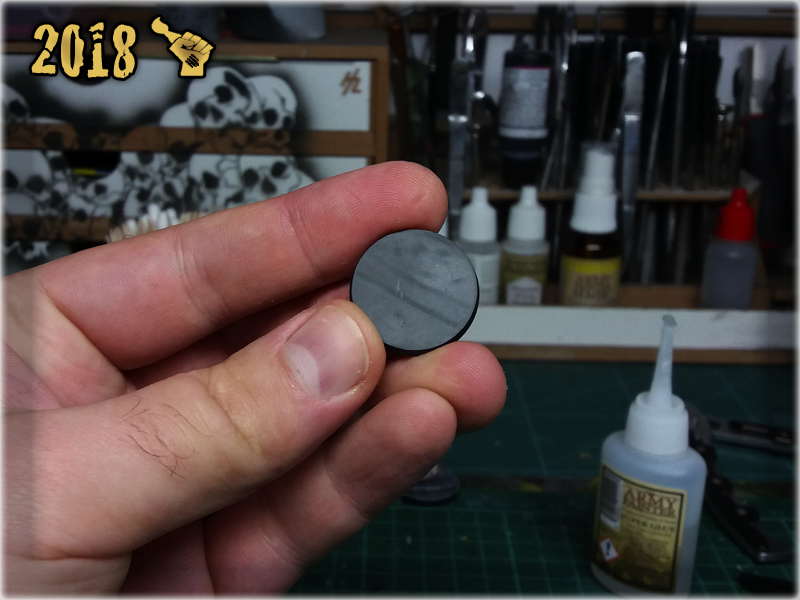
* Next I applied a drop of basing glue, followed by a drop of super glue onto a base.


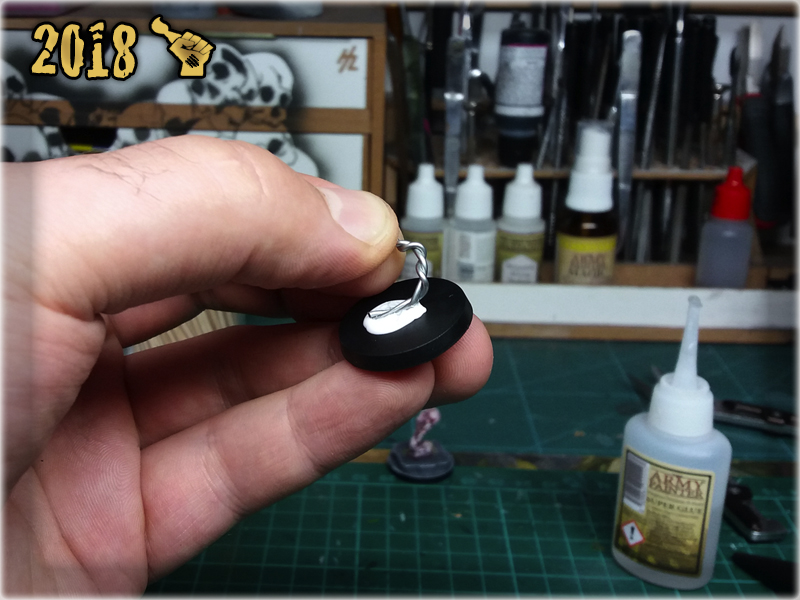
* Then I glued wraped up office clip piece on top of the super glue spot.
* Airsoft gun ammo ball followed, on top of the office clip piece. First a drop of super glue, then basing glue, then I slightly dipped the ball in super glue and glued it on.
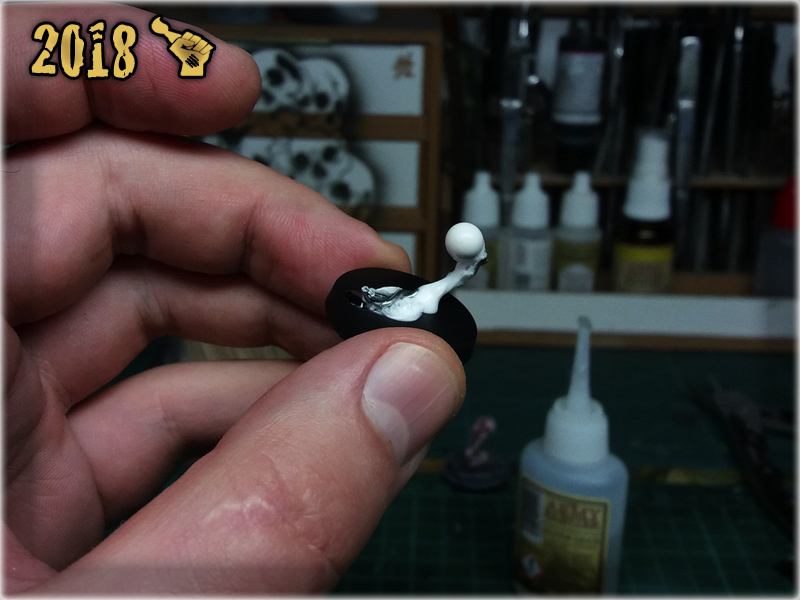
* Lastly I modelled three growth pieces on top of the ball, applying a small dose of basing glue with a tootpick, then covering it with super glue.

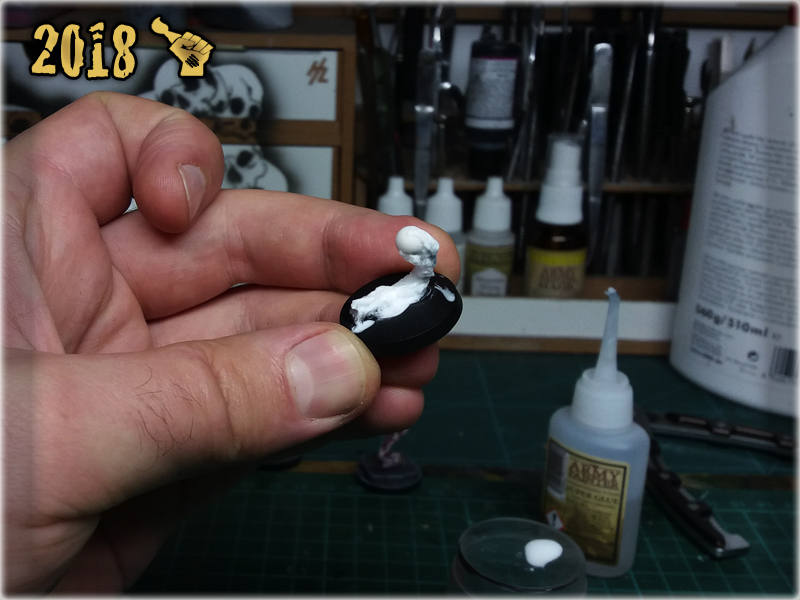
And that’s it! The Seed-Embryo markers ready in few minutes. Just make sure you let them dry before painting – I recommend about 4 hours for super glue – basing glue mix to fully dry out and produce awesome texture.

Do you like this tutorial? Have you made your own Seed-Embryo markers? Be sure to let me know in the commets below!
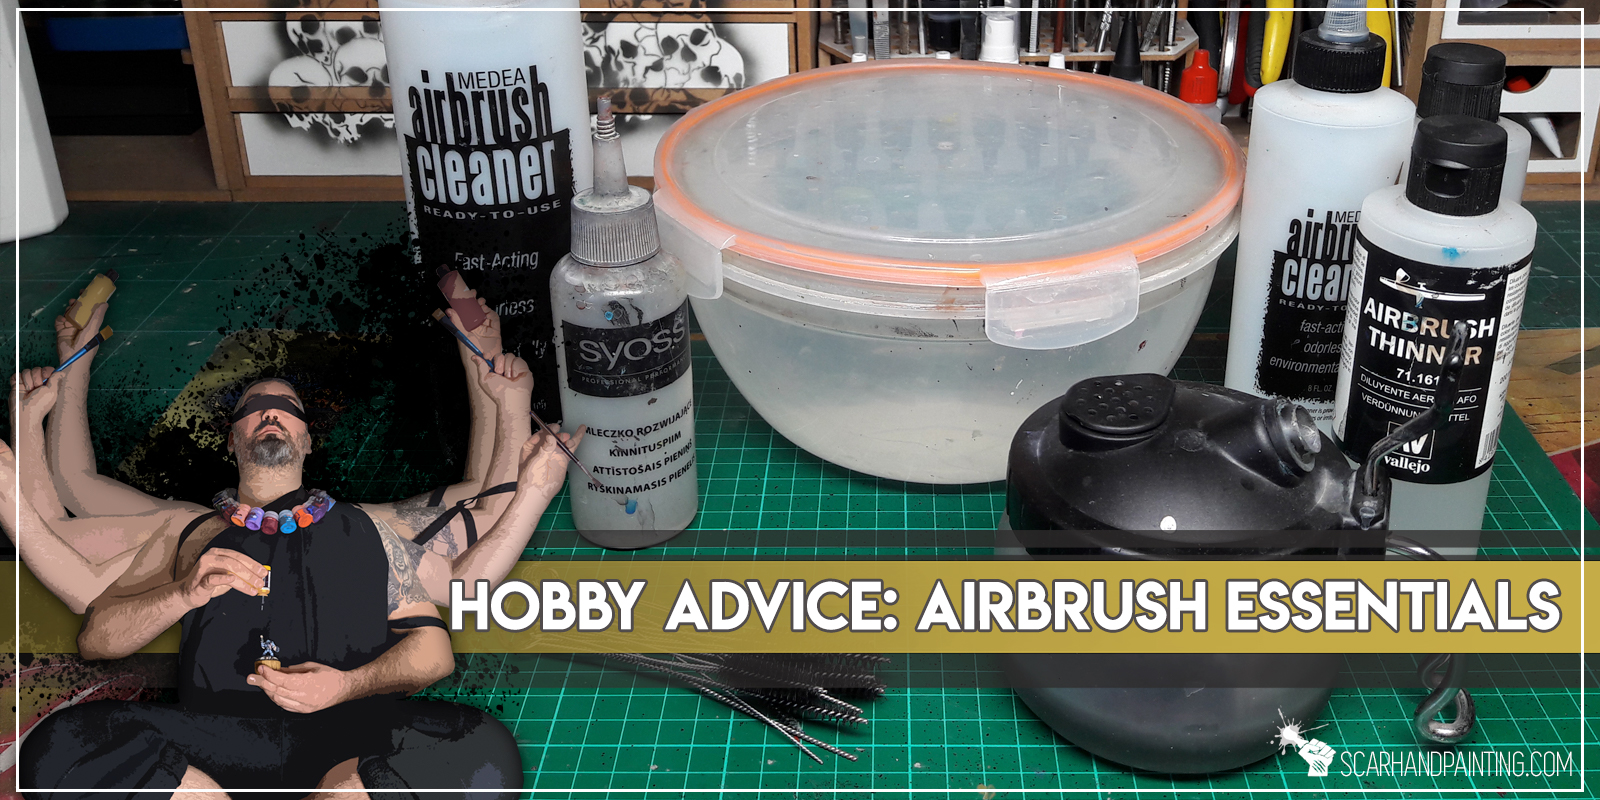
Alright, so you decided to start with an airbrush. You’ve made some reconnaissance, picked an airbrush and compressor and the only question that stands between you and a lifetime of successful airbrushing is “what else do I need to start?”. This very question was asked to me a lot since I myself started airbrushing. It might be about time to turn the answer into a short article, in hope to support all the beginner hobbyists out there…
Assuming you’ve already picked an airbrush and a compressor, there’s still a list of items you should get before you’ll be able to start airbrushing. Let’s dive head on into the list of necessary items…

Air hose is used to link the airbrush with compressor. When picking an air hose it is important to check which models of airbrush / compressors it’s fitting is compatible with. The easiest way is to simply contact a store and ask them to recommend an air hose compatible with types of fitting of your airbrush / compressor.

In case your airbrush has different type of fitting than the compressor, you will also require an Adapter, or a Multi Way Valve Assembly with a proper type of connection. Take a look at E-Bay to see how many different types of fitting there are…

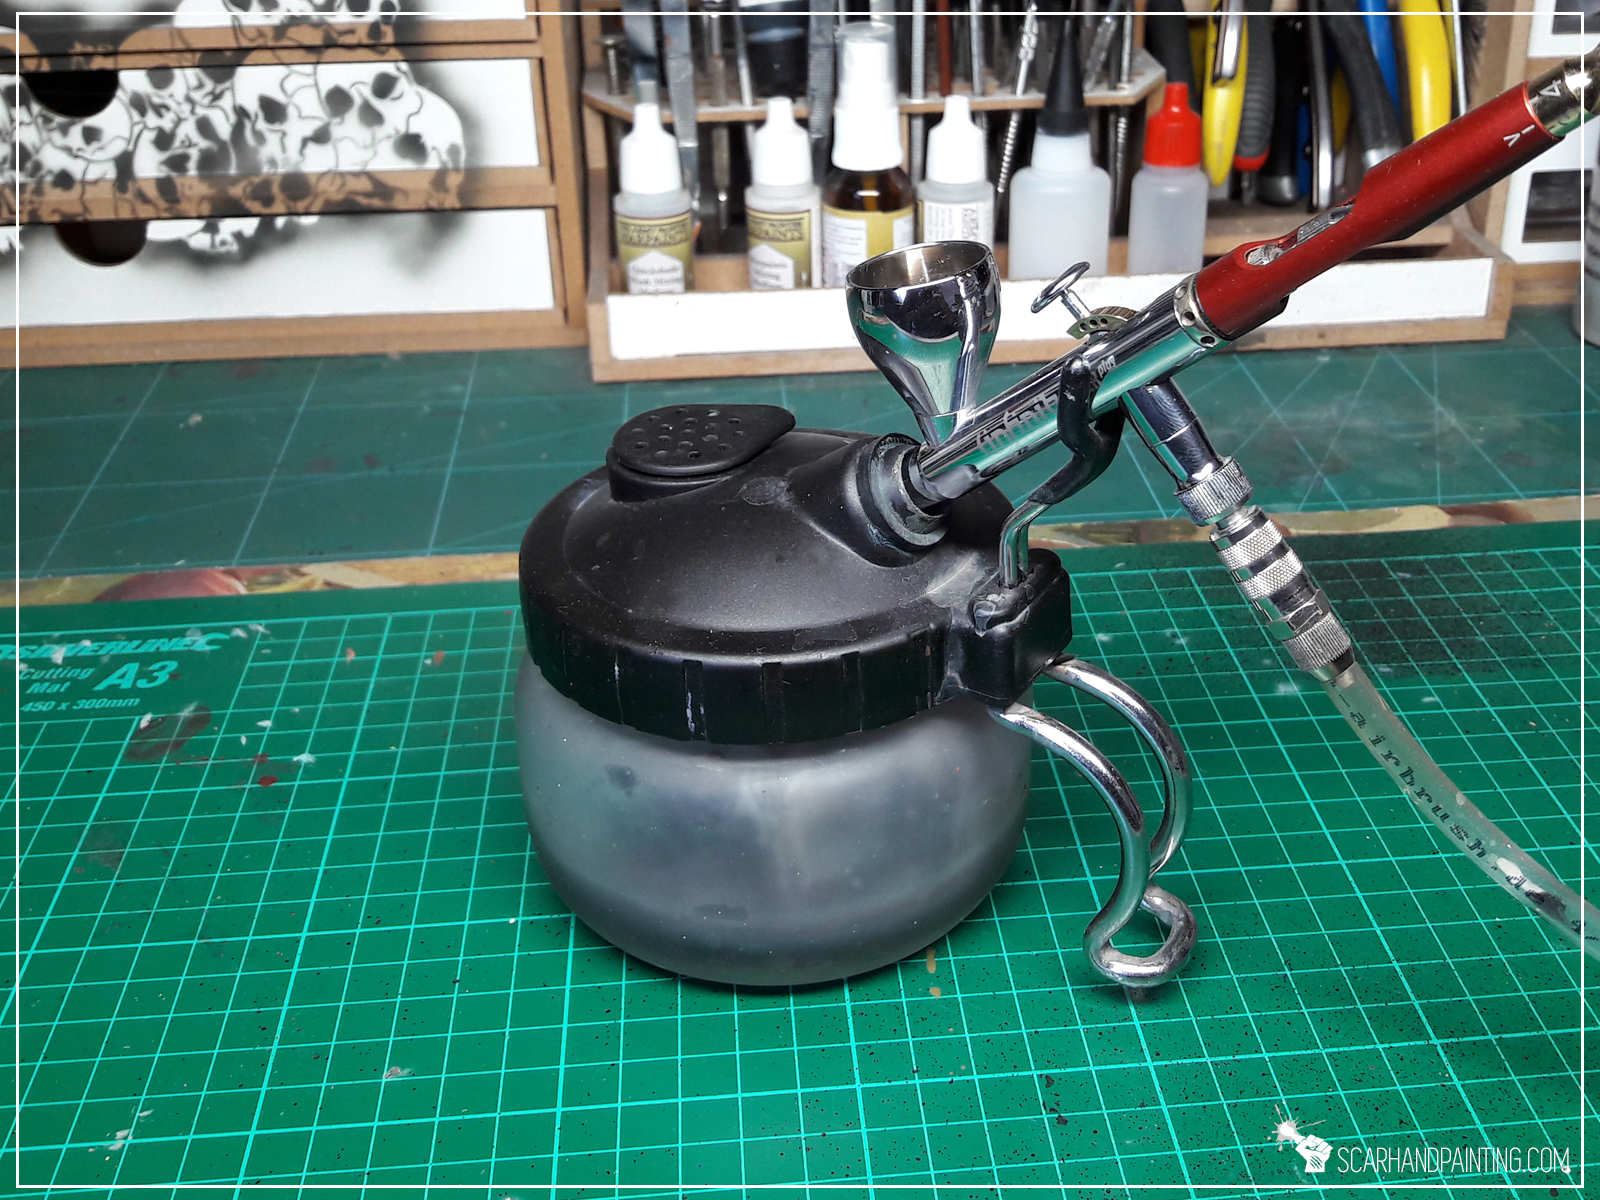
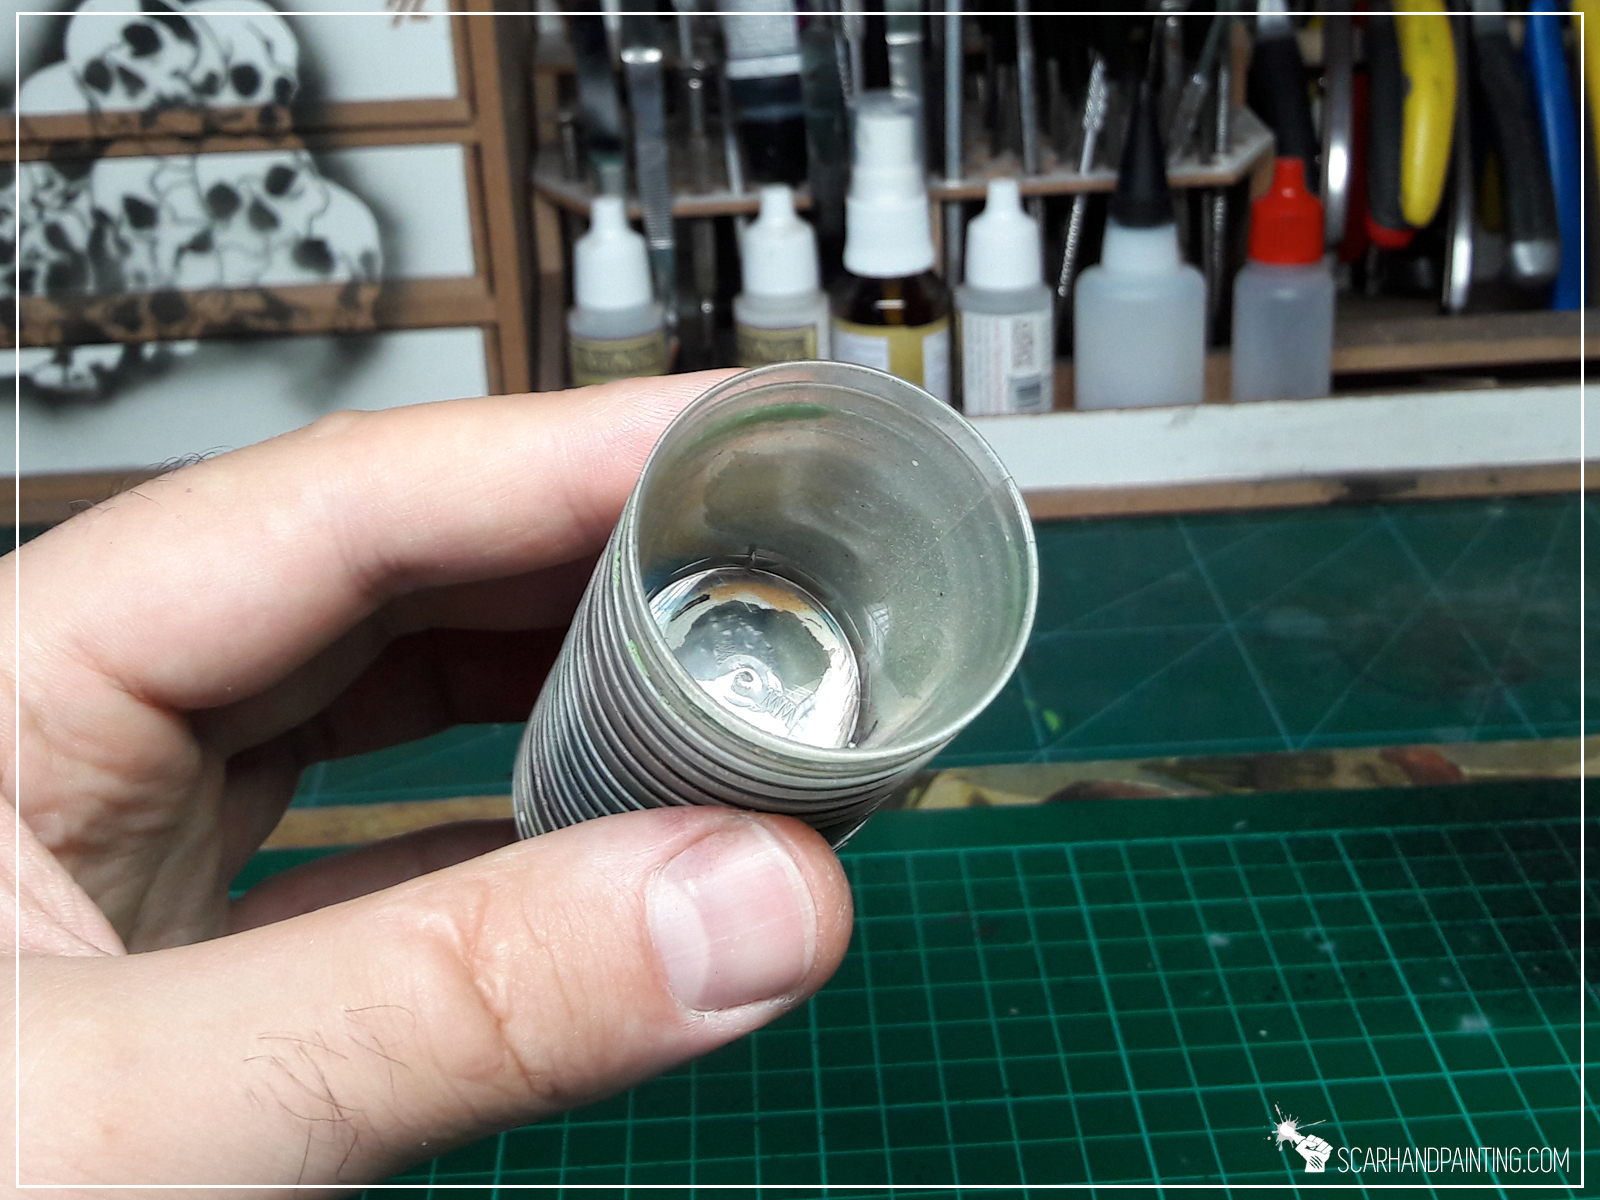
A filter equipped spray out airbrush pot and an airbrush holder (preferably 2 in 1 like below) are also necessary. Thanks to these you will have an option to rest the airbrush on a holder in-between different activities (like mixing paints, or even resting for a bit). Spray out airbrush pot will also keep the majority of paint waste contained in an easy to clean glass pot.

You will use these too clean up the insides of your airbrush.
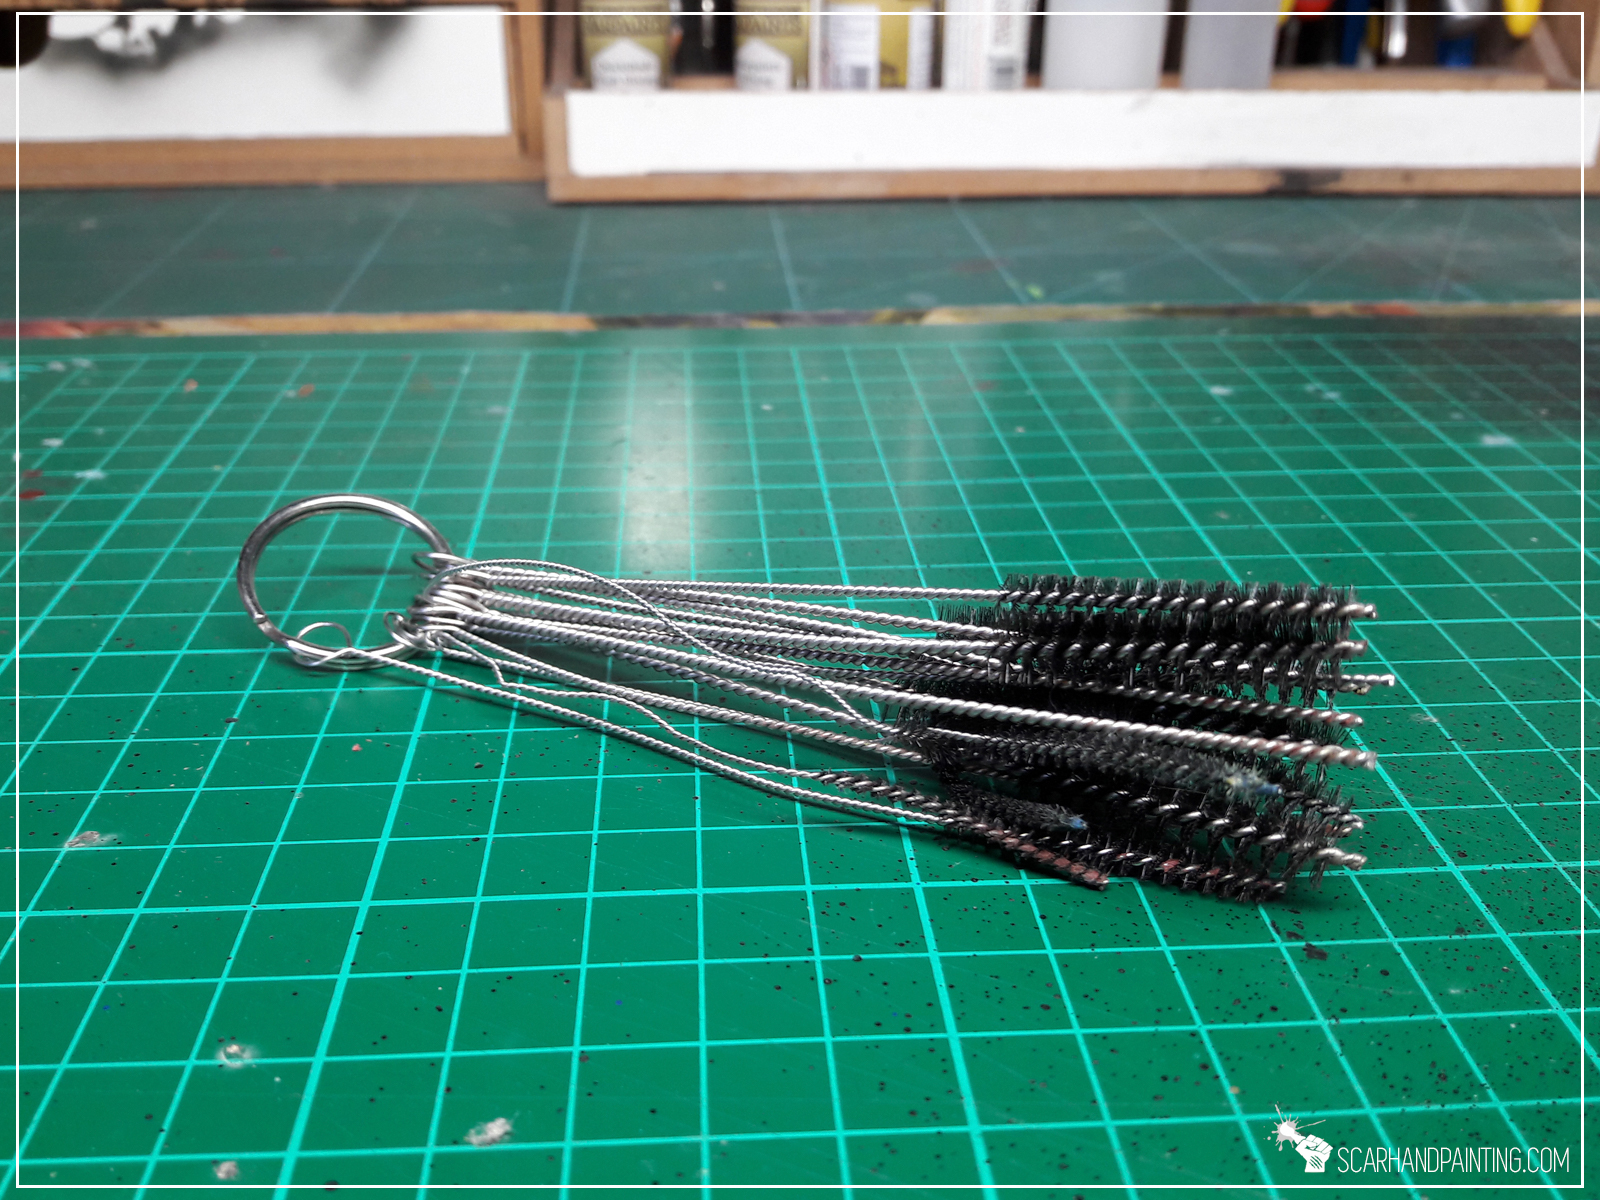
You will use this tool to clean up the nozzle. When picking one, make sure it is recommended for the type of nozzle of your airbrush. Too large tool may damage the nozzle from the inside.
Example: ALDER tool (top) damages H&S nozzles! H&S tool (bottom) is perfect for H&S nozzles

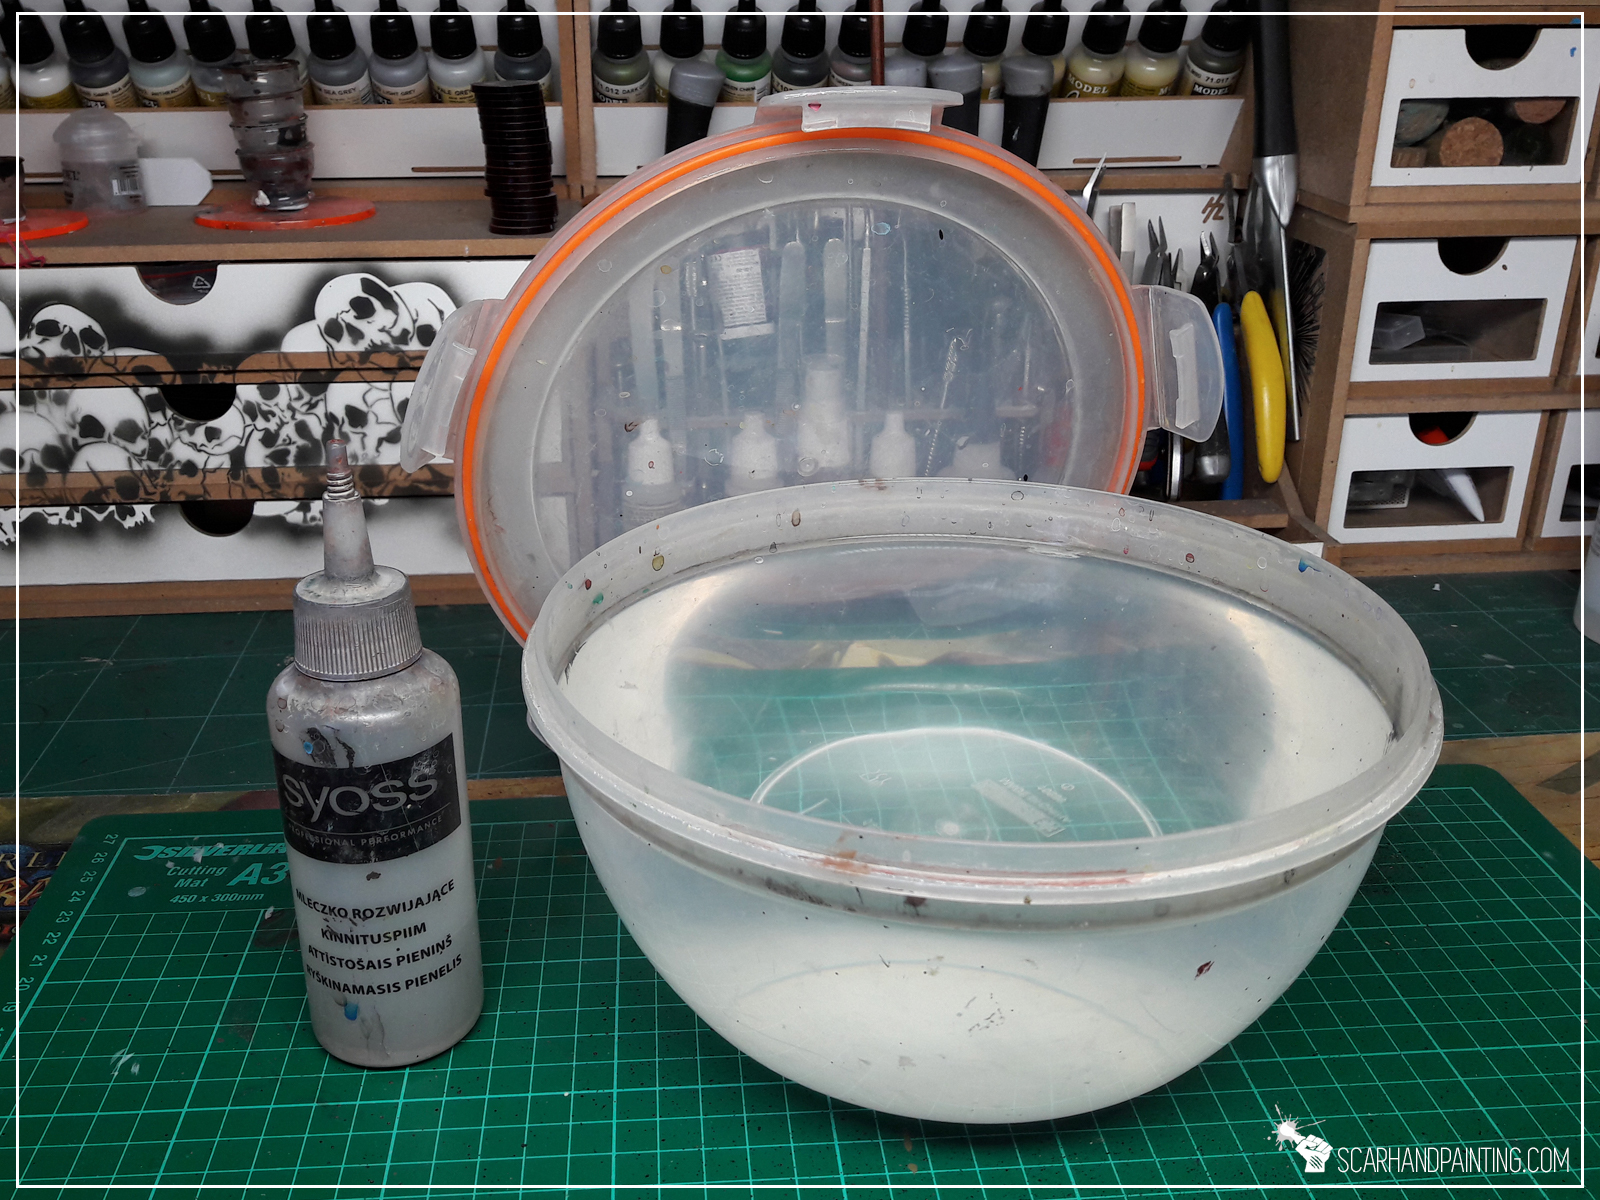
You will use this duo to remove the excess paint from your airbrush without the need to spray it all out.
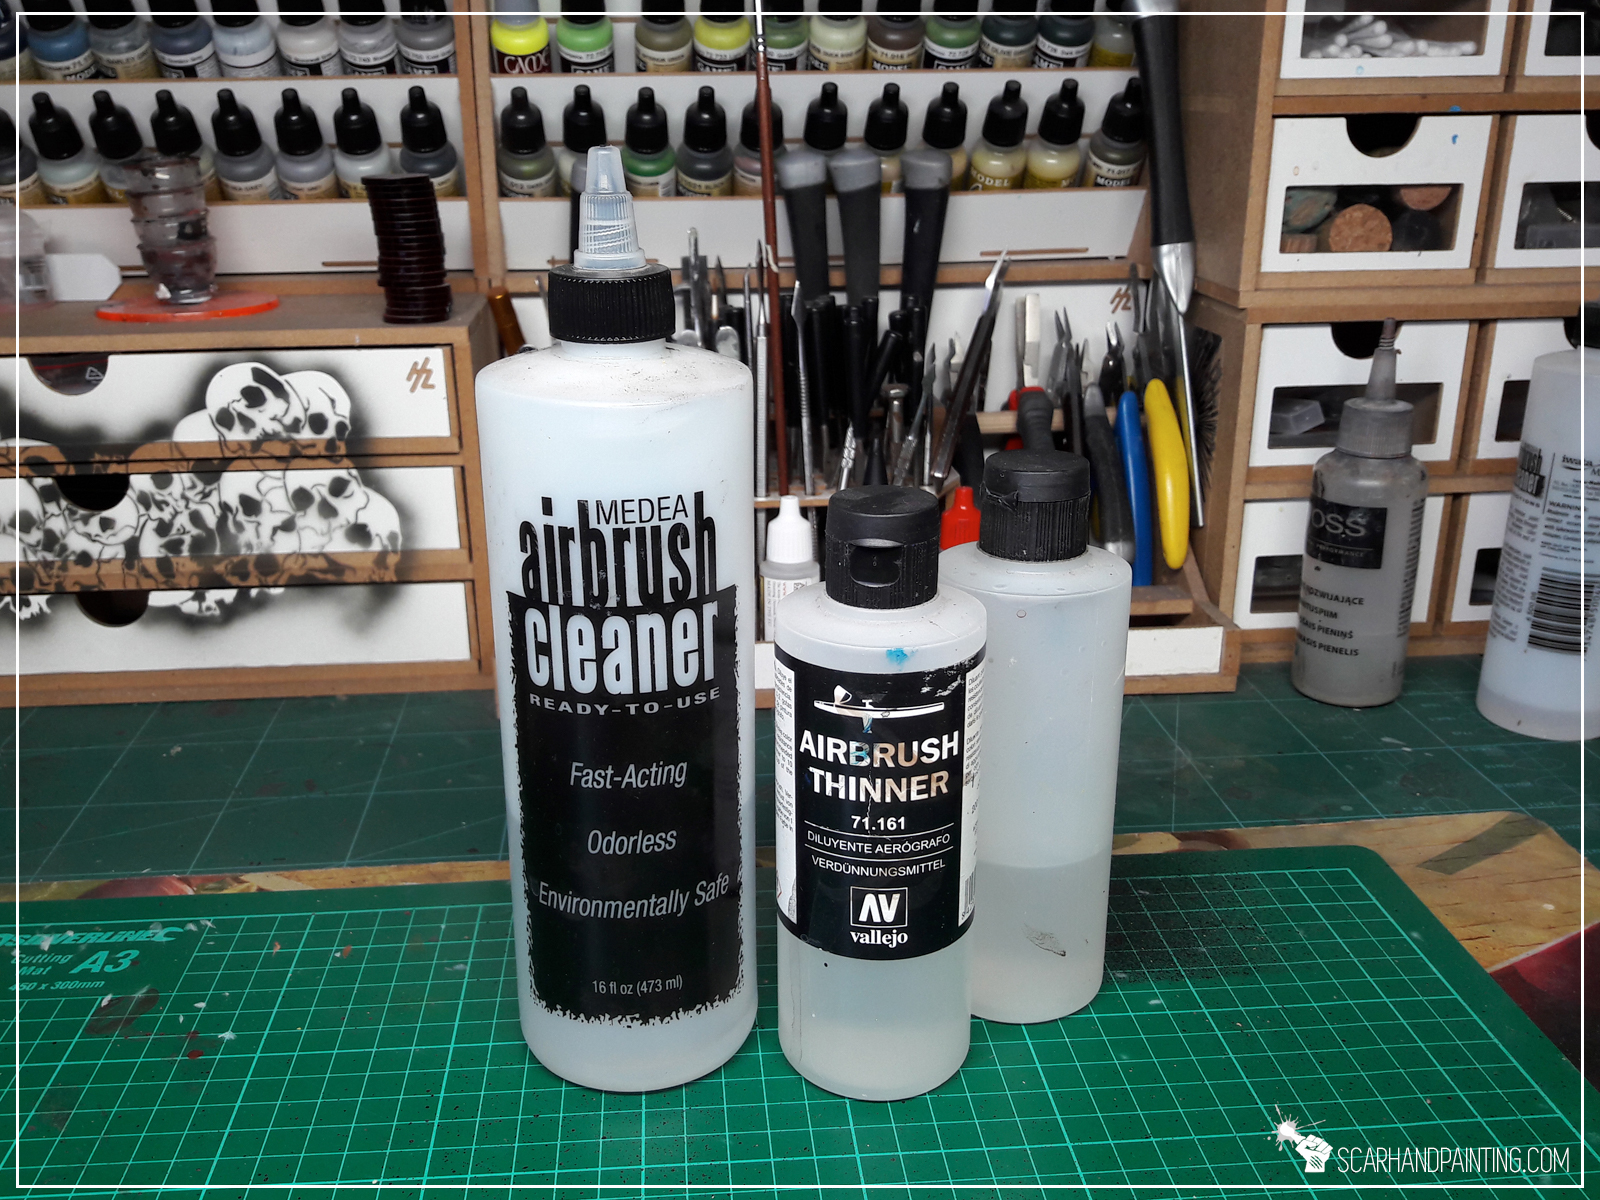
Airbrush Cleaner, Airbrush Thinner and Airbrush Flow Improver – these three liquids are a must have.
Below are some additional items that while not necessary, will come in handy once you start airbrushing your way to hobby glory.
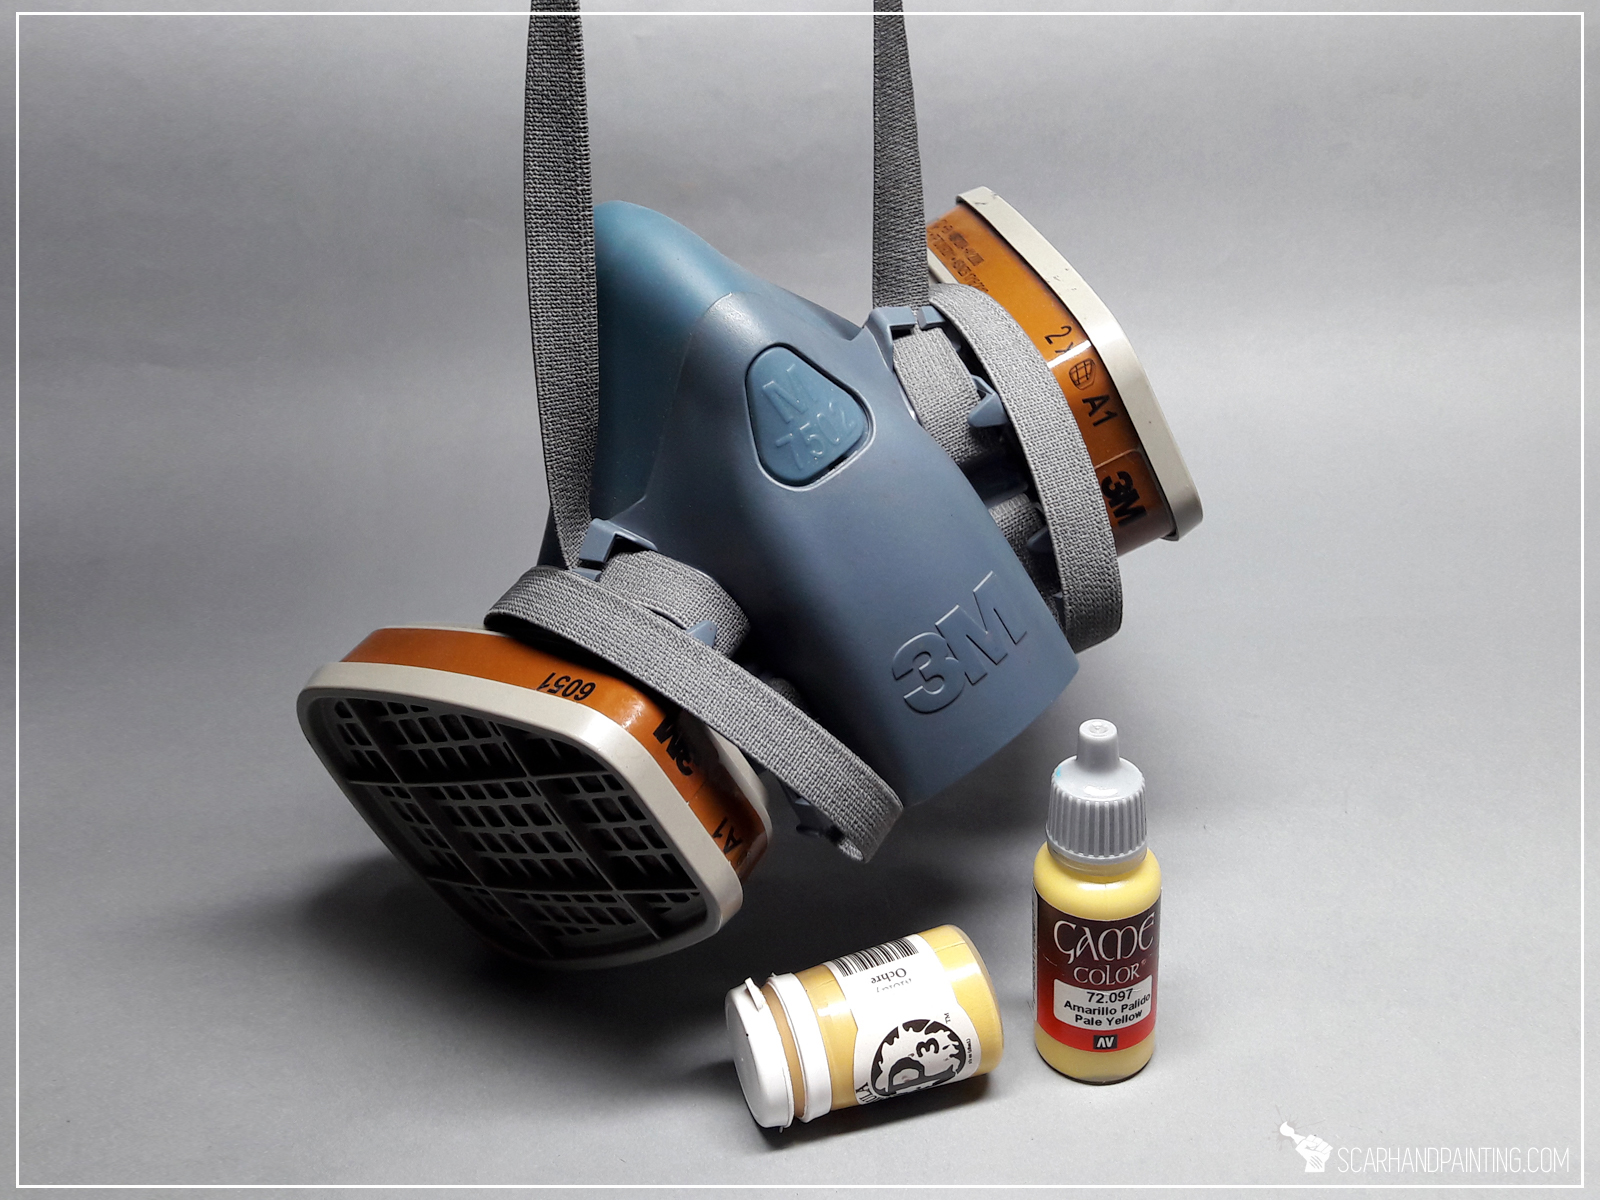
Unless you’re ok with lung damage, wearing a proper mask while airbrushing, is in order. With this one it is recommended to aim high, pick a high quality tool with strong filters – better safe than sorry.
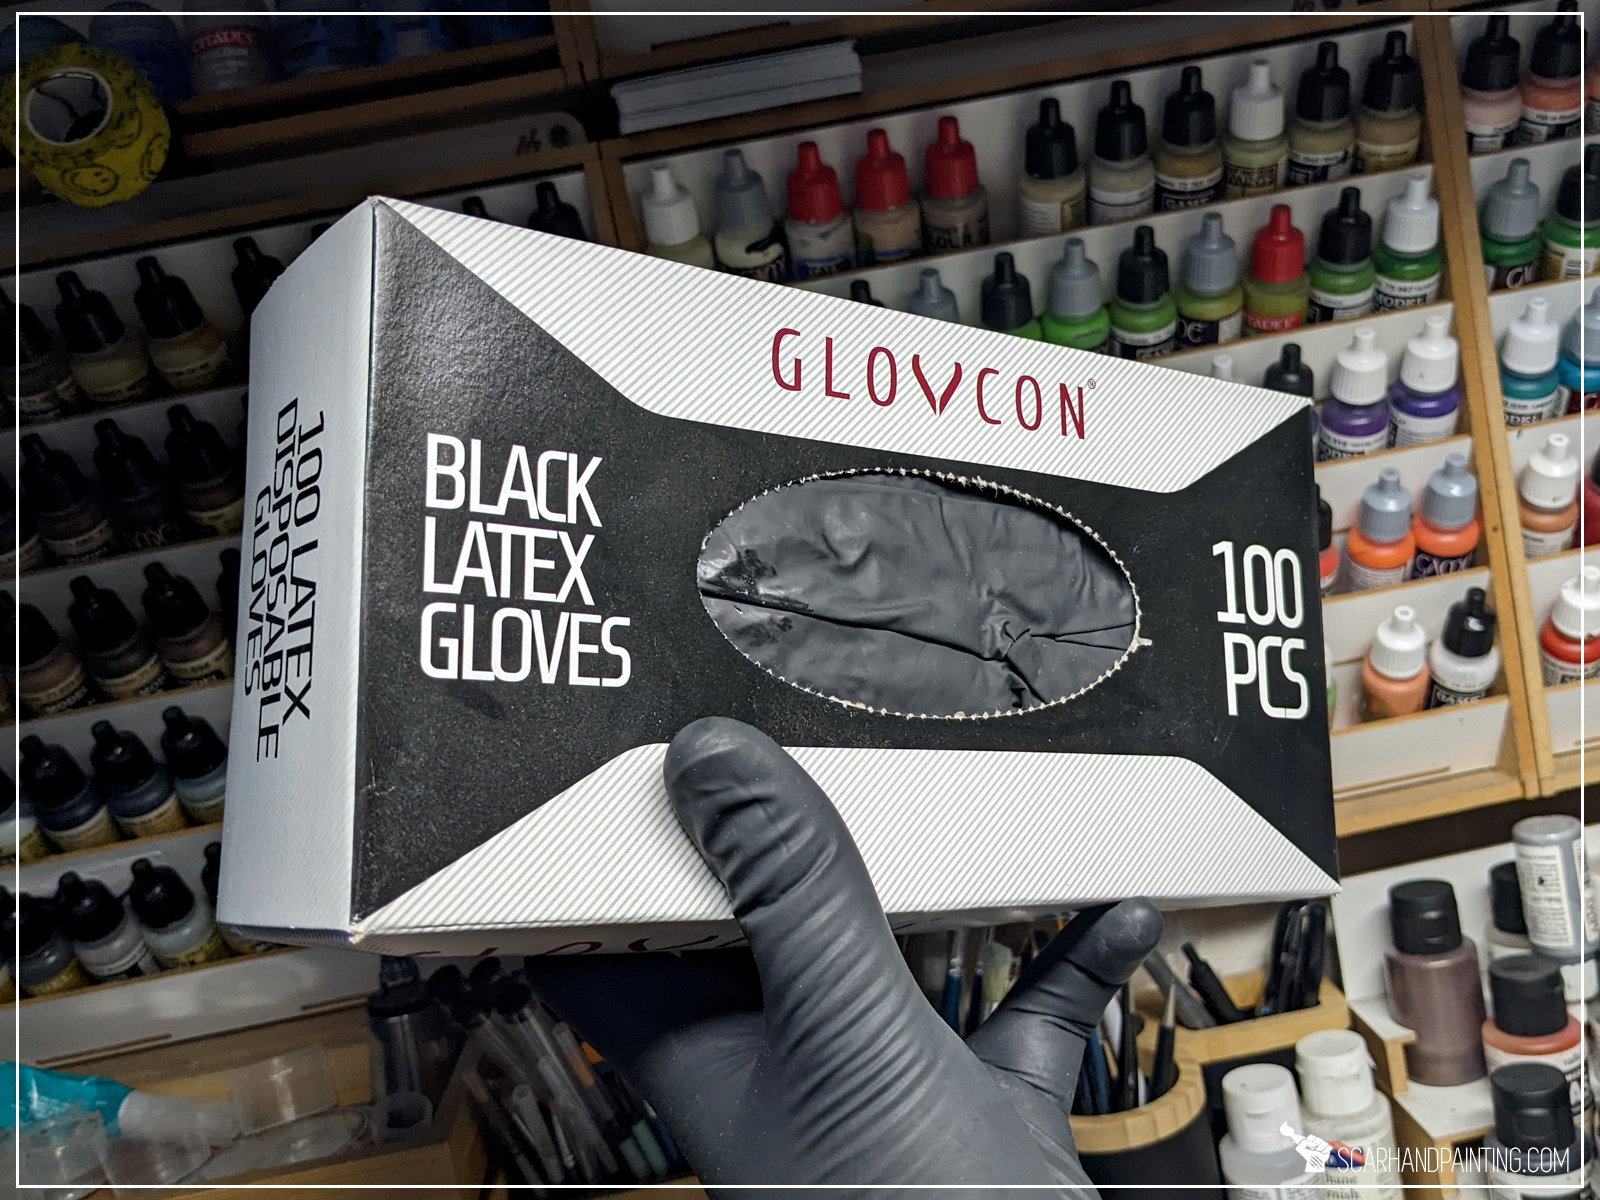
Protective latex gloves, while not essential, will help you keep your skin clean and healthy. Extensive airbrushing might lead to skin getting dry and irritated.
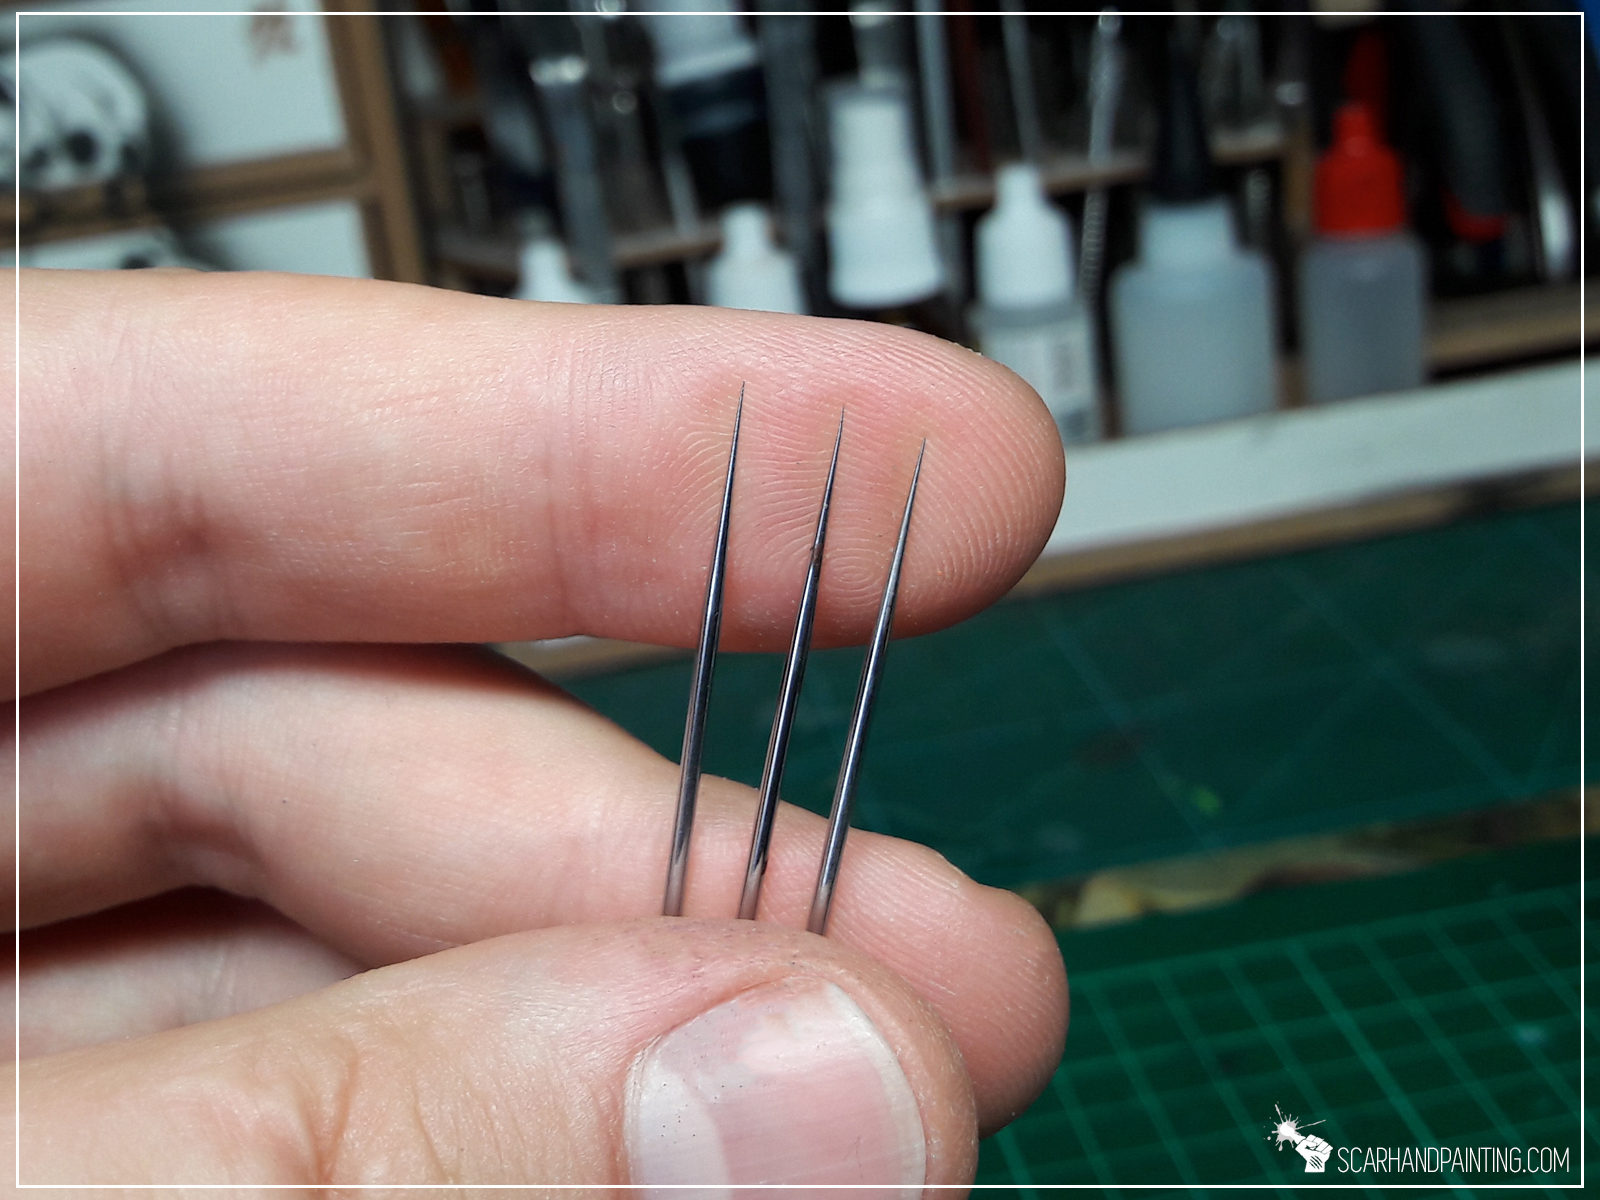
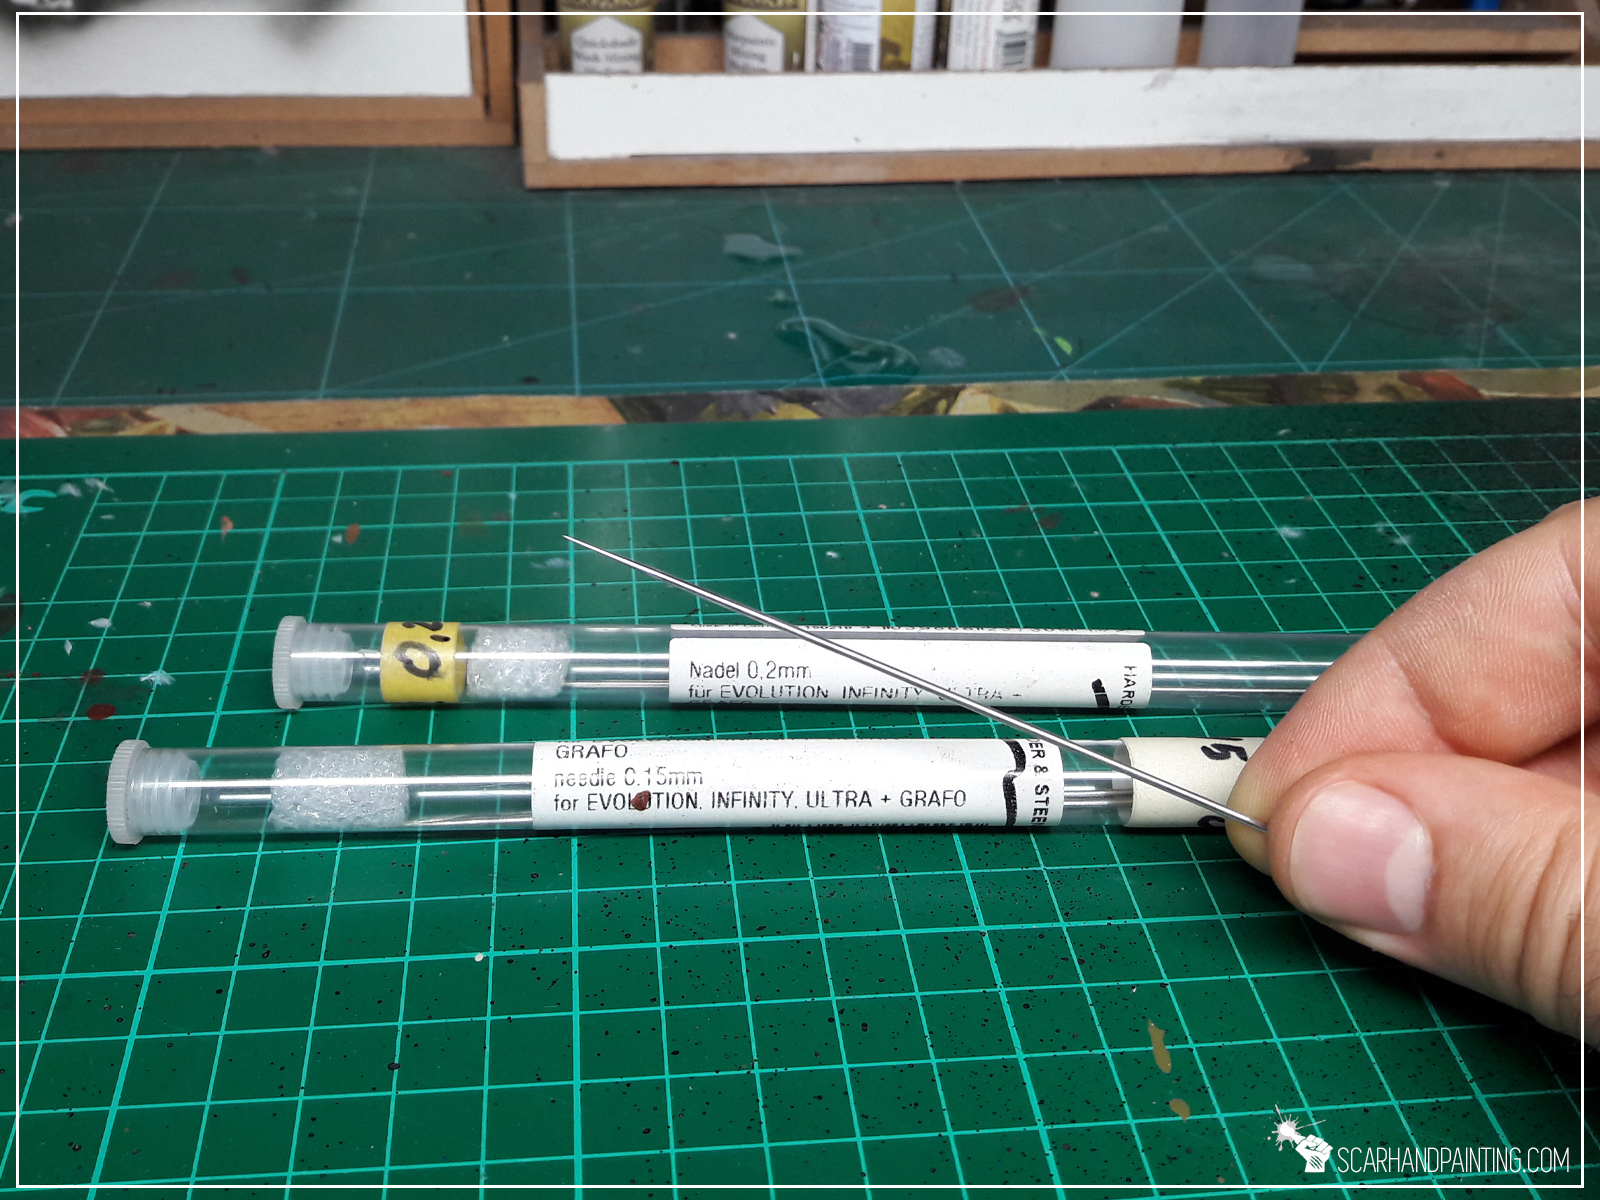
Airbrush needle is very delicate. A vast majority of beginners damage the needle during first few days of airbrush adventure. I advise you to get a spare needle outright, just in case.
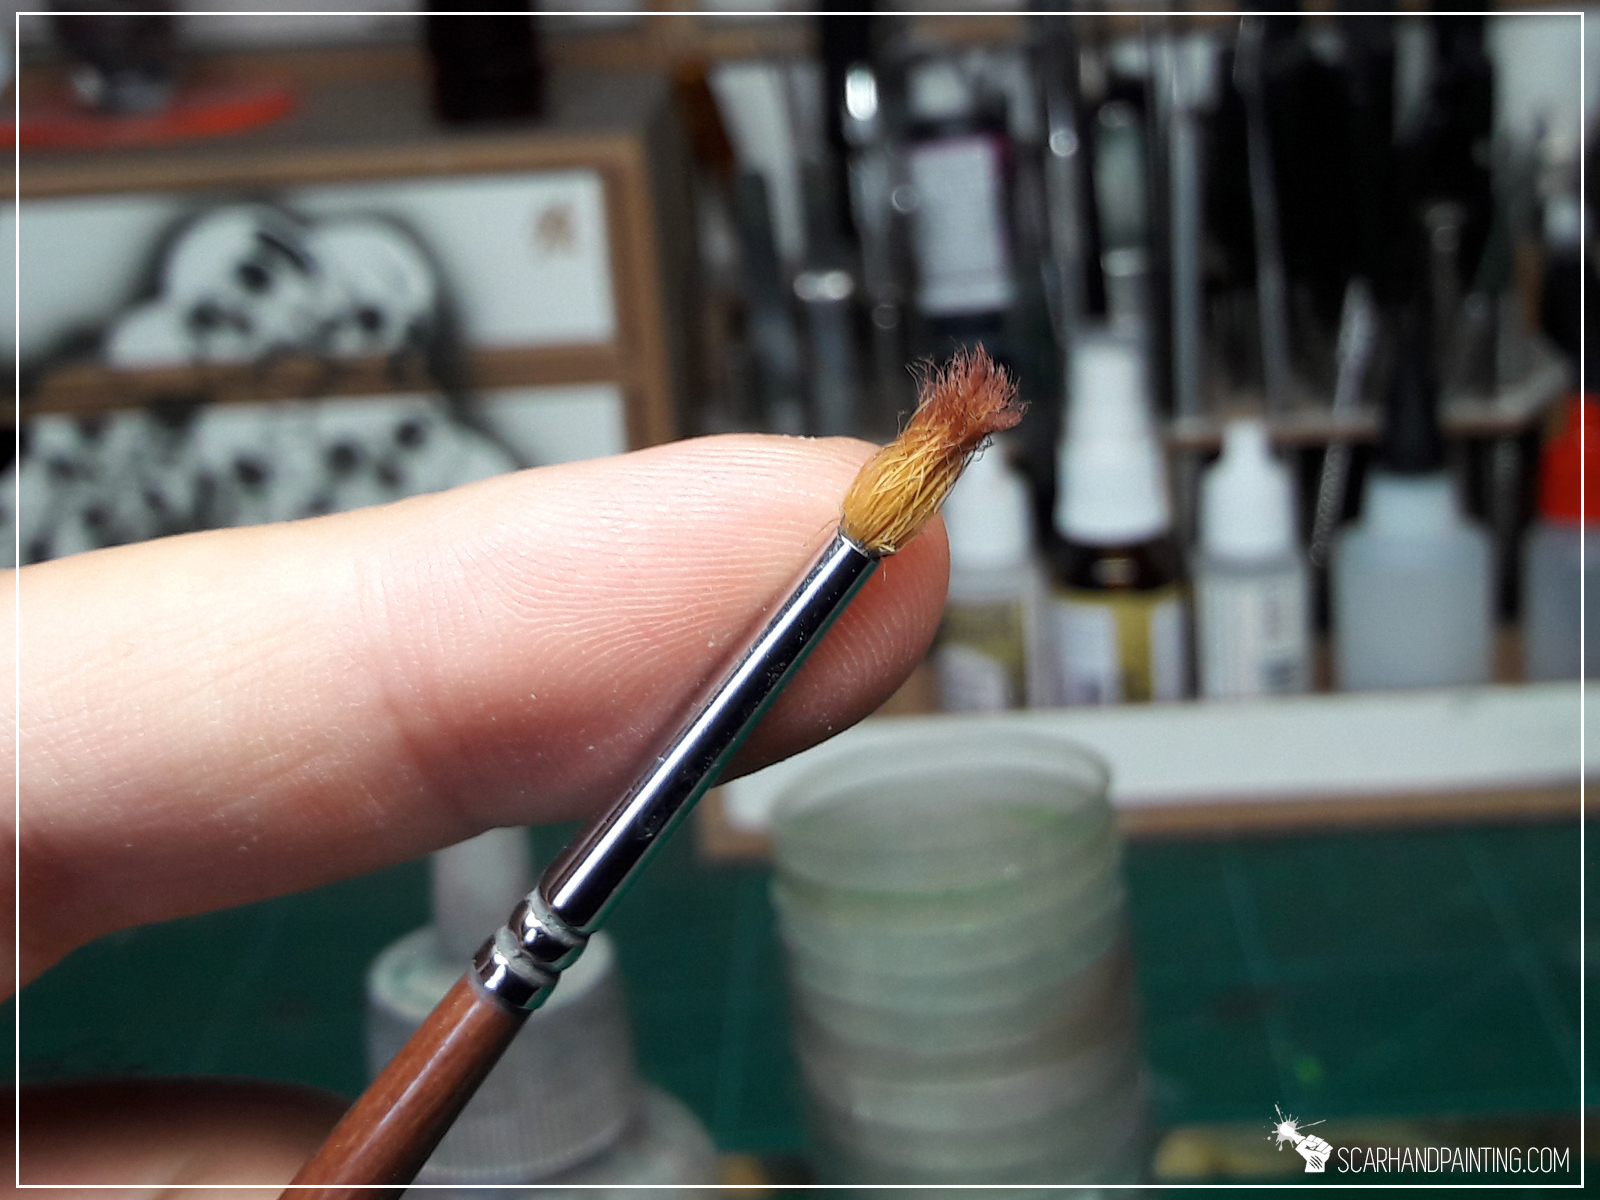
Long hair, medium size, round brush to remove excess paint from the tip of the needle without the need to dismantle entire airbrush.
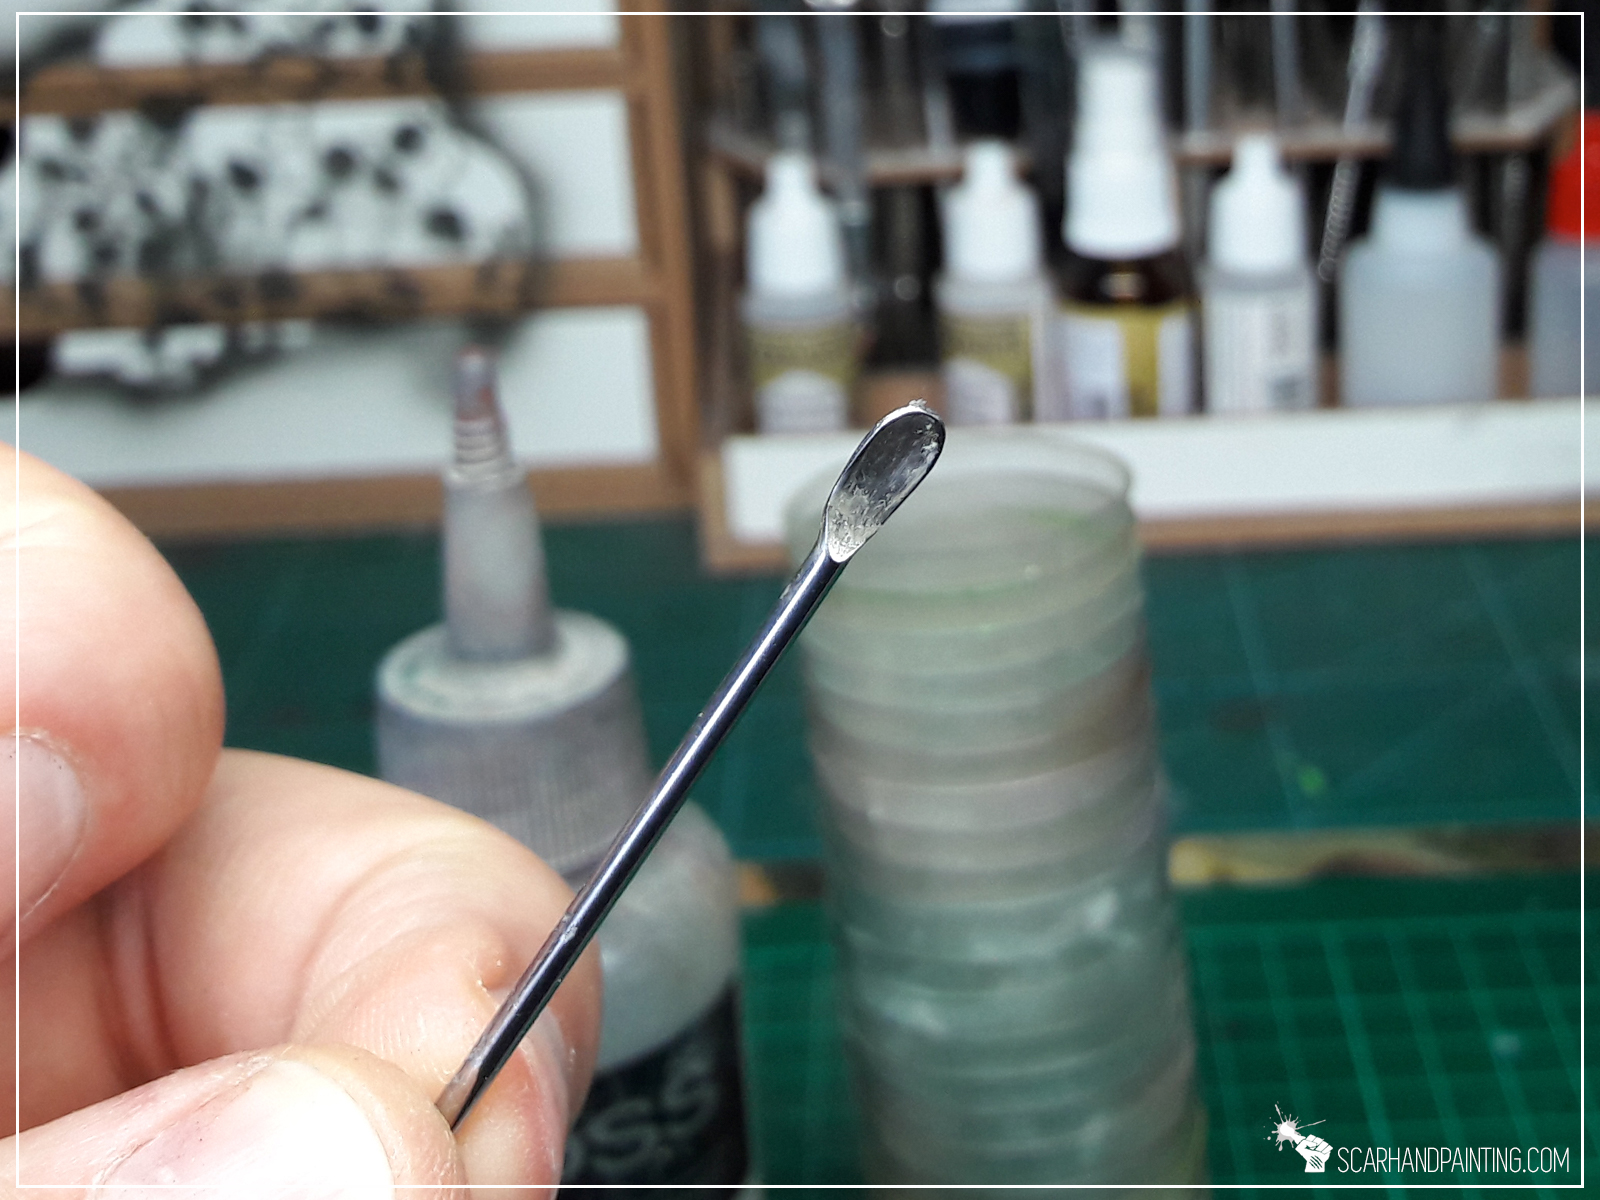
You might use these to mix paints before pouring them into the cup on top of an airbrush to avoid clods of paint to get inside.
Not really an essential, but a very useful tool to help you with avoiding overlapping paint on some areas.
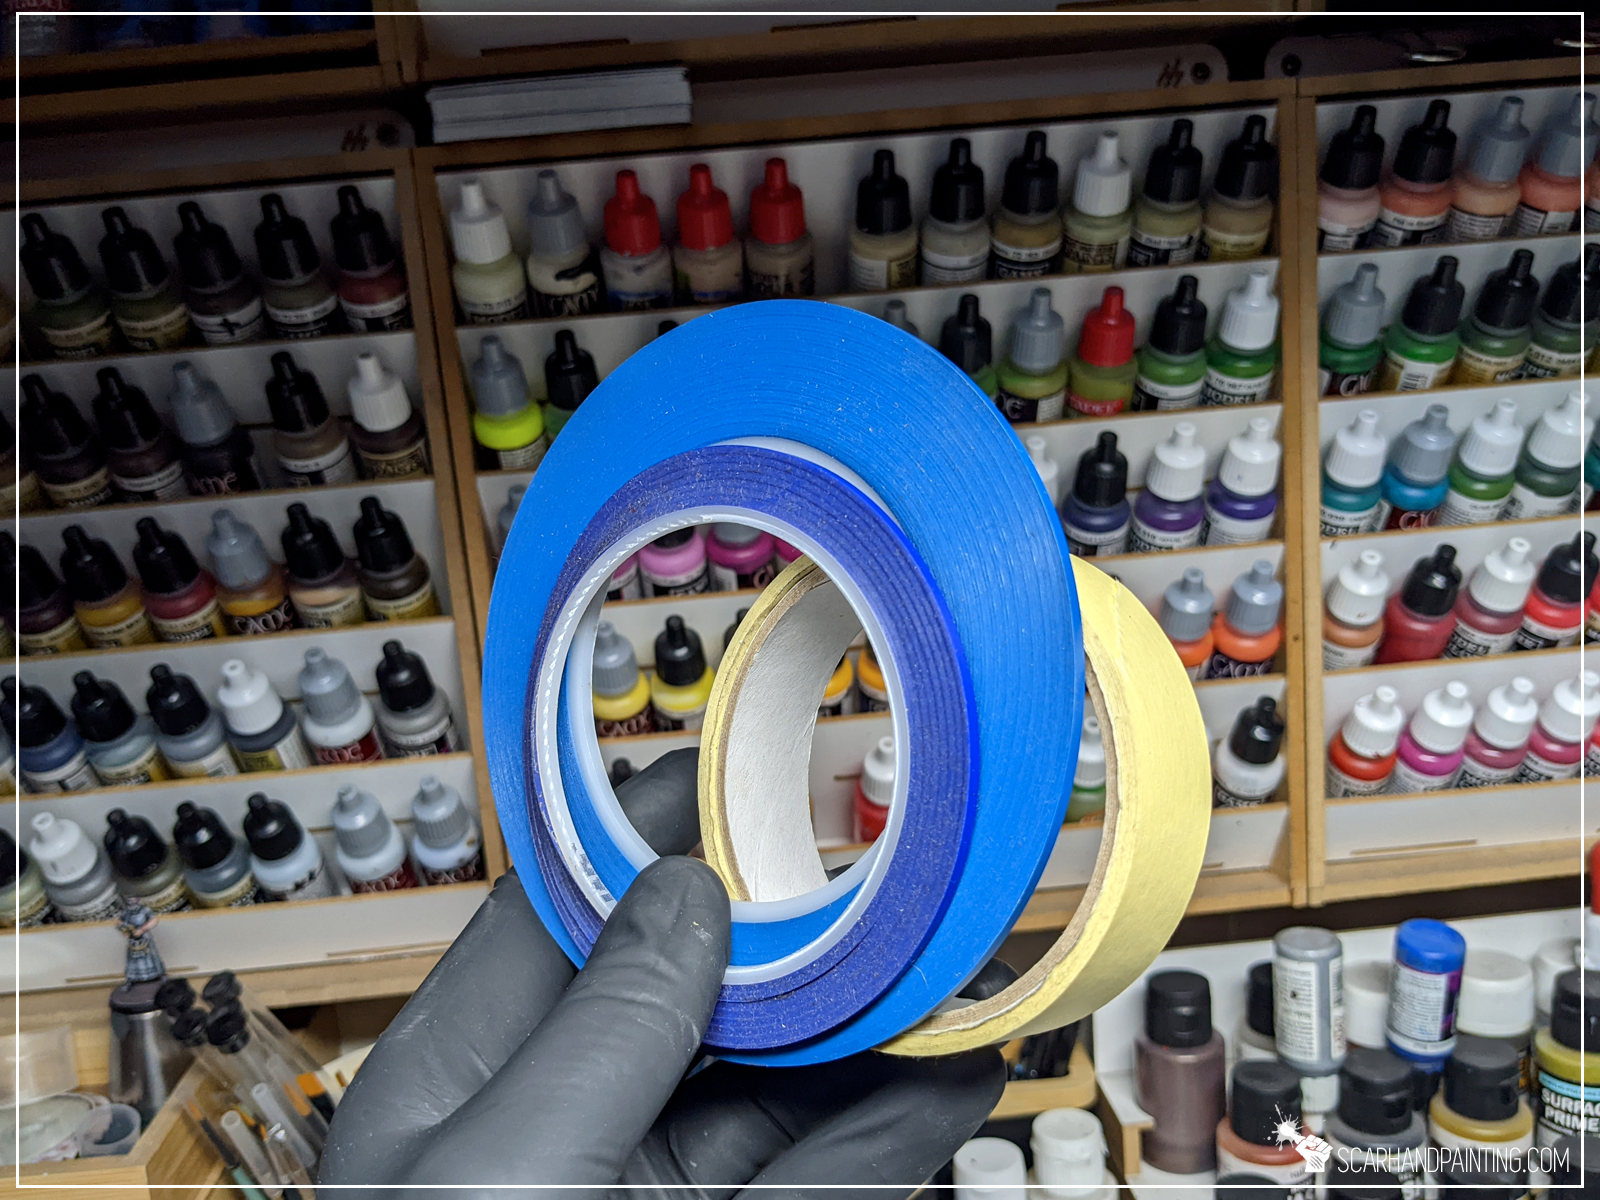
This can be anything between an original painting holder and a sole small cup with a ball of Blu Tack mounted on the underside. Such tool will let you airbrush without fear of messing up the paint job with your fingers. Plus it is just a very comfortable way of painting miniatures.
Obviously you will require paints. It is not necessary to get any type of special airbrush paints. Thanks to Flow Improver and Thinner regular paints will do, but that’s a story for another article. Personally I wholeheartedly recommend Vallejo Air series as I find them ready to use straight out of bottle.

Thanks for reading. If you think I skipped a necessary or useful item that a beginner airbrush users should get, let me know in the comments section or via Facebook or Instagram. I would also appreciate if you considered sharing this content with your friends, who might find it useful. Finally if you are looking for a professional miniatures painting service, be sure to contact me with this contact form. I always reply within 24 hours, after which please check out your spam folder.