- contact@scarhandpainting.com


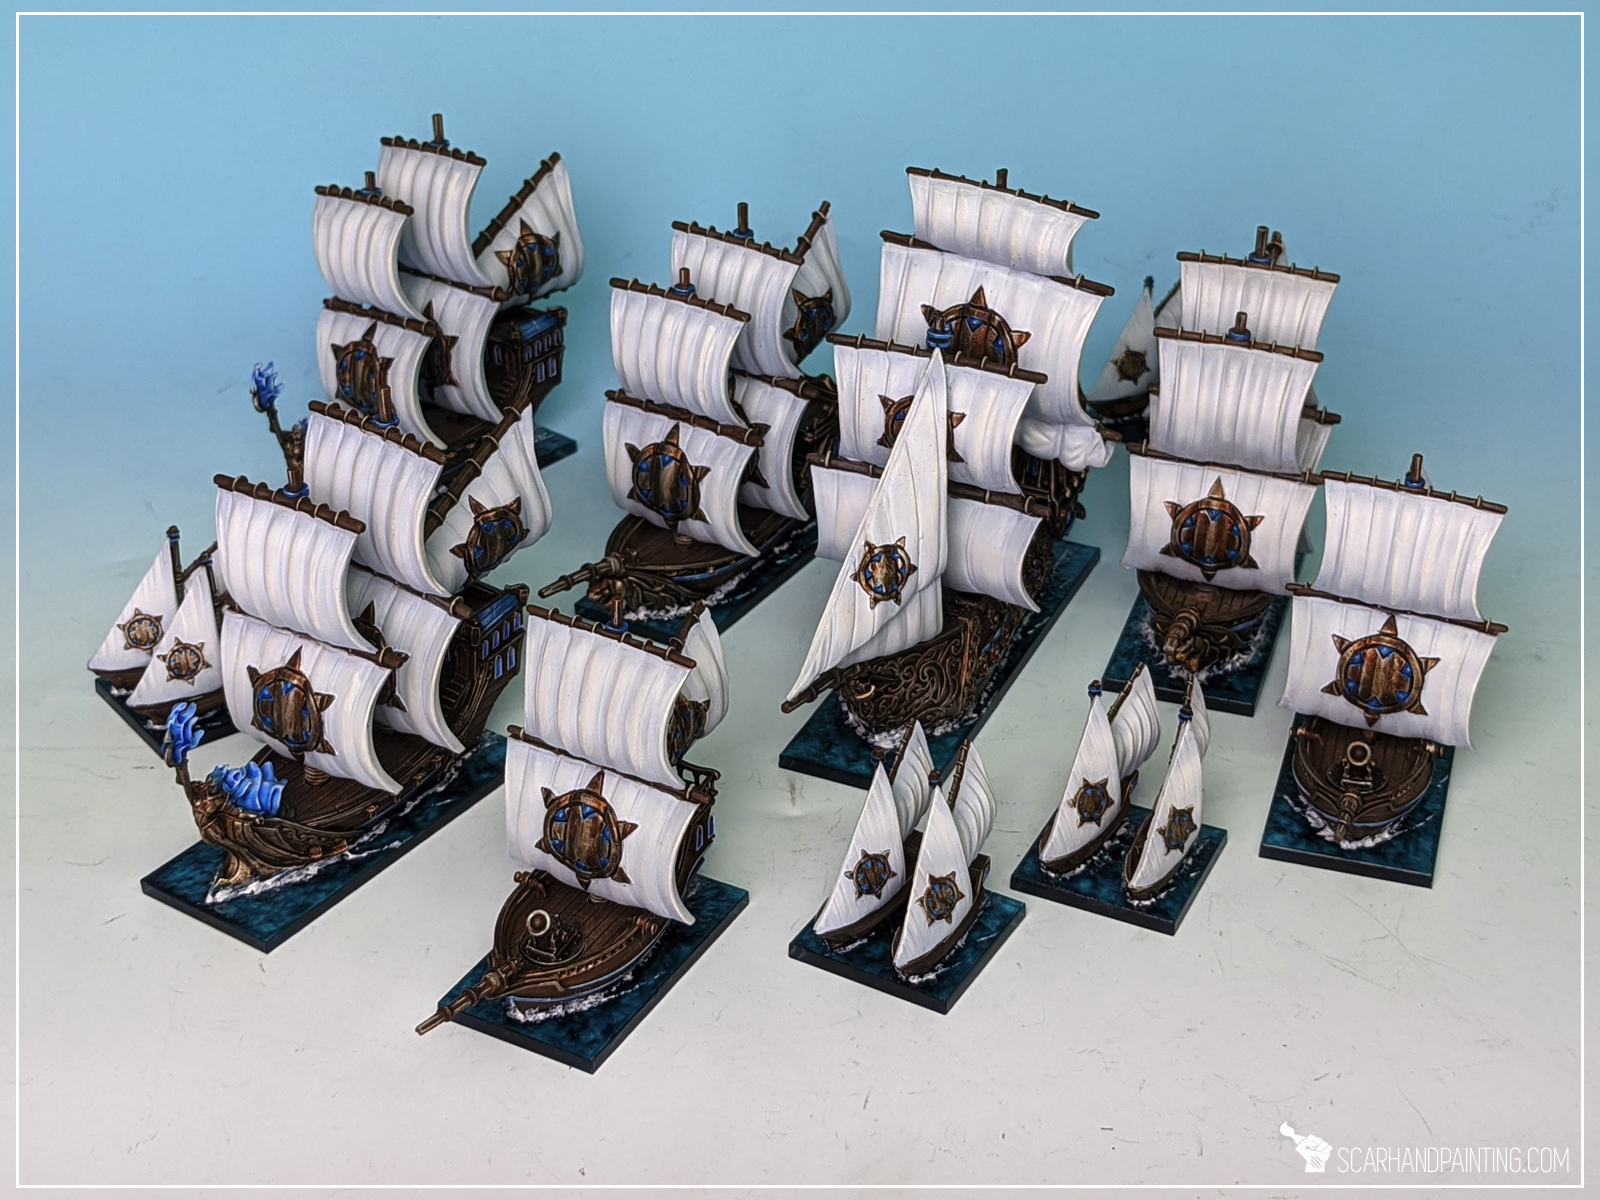
Welcome to Kings of War Armada Water Bases tutorial. Here I will take you on a Step-by-step trip through the process of creating and painting bases as can be found in the Gallery: Armada Basileans from Mantic Games Kings of War Armada.
Before we start, some notes:

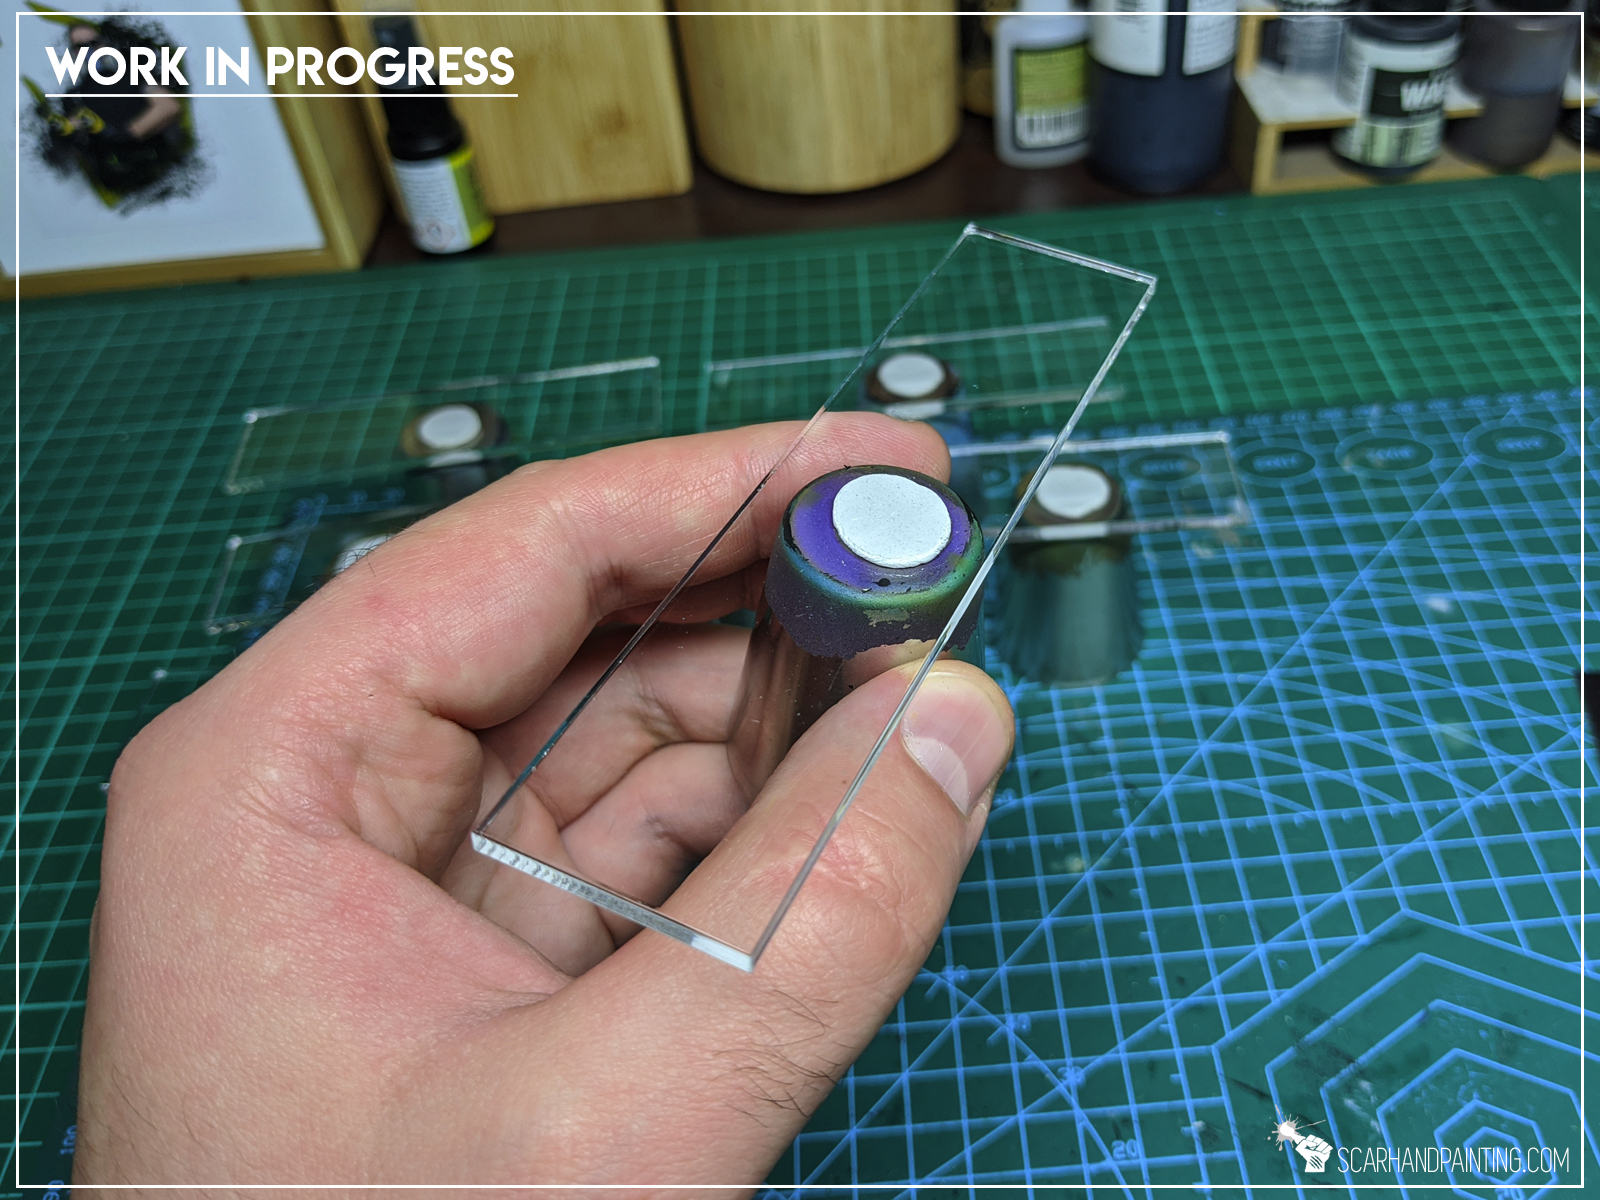
I plan to go all-in with Mantic’s KoW: Armada. This means a lot of ships from across numerous fleets. To keep my bases easy to paint and visually coherent I decided to limit myself to some water effects and simple tricks. Instead of going through a lot of effort, trying to build multiple layers of transparent water, I switched out standard MDF bases for clear acrylics.
That doesn’t mean the method wouldn’t work with MDF’s. If you’d rather stick with Mantic’s bases – undercoat them white, then paint sides with some dark blue and you’d be ready to go. That being said, this method was developed with clear acrylic bases in mind so please take that into account when trying different approaches.
Without further ado, let’s get these bases wet!
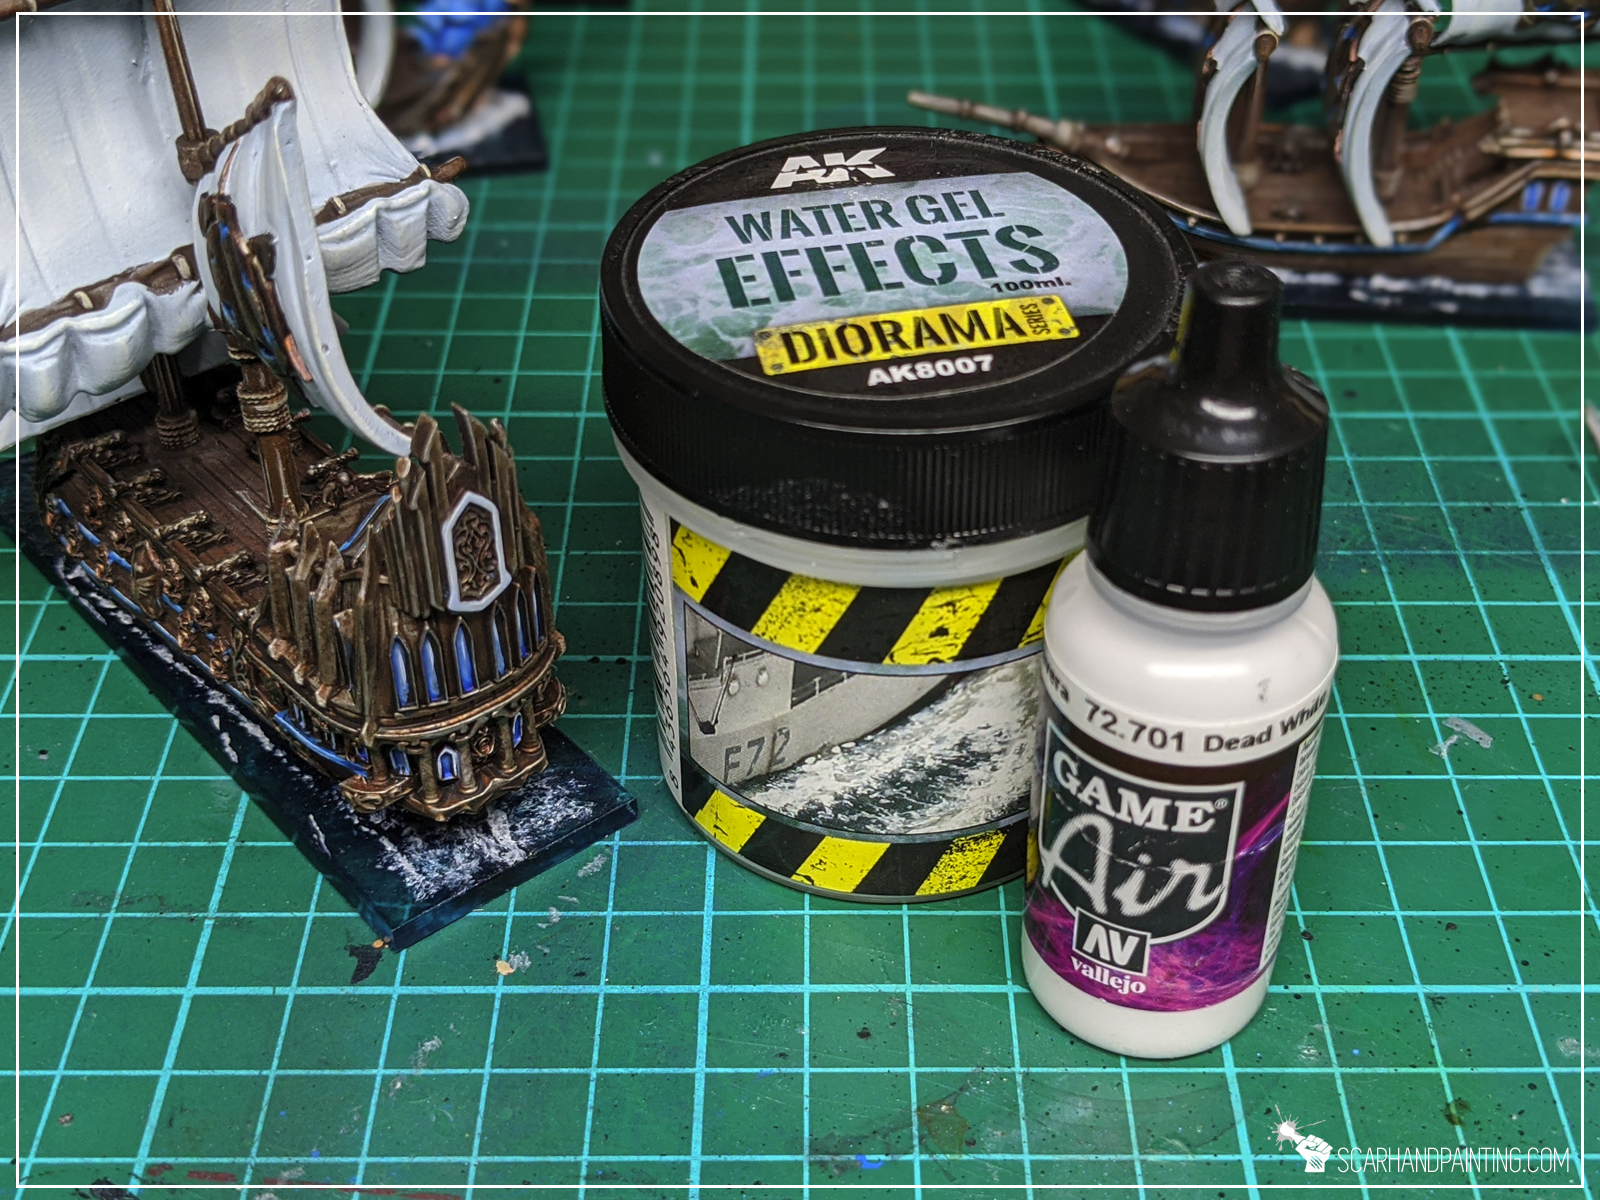
I used:

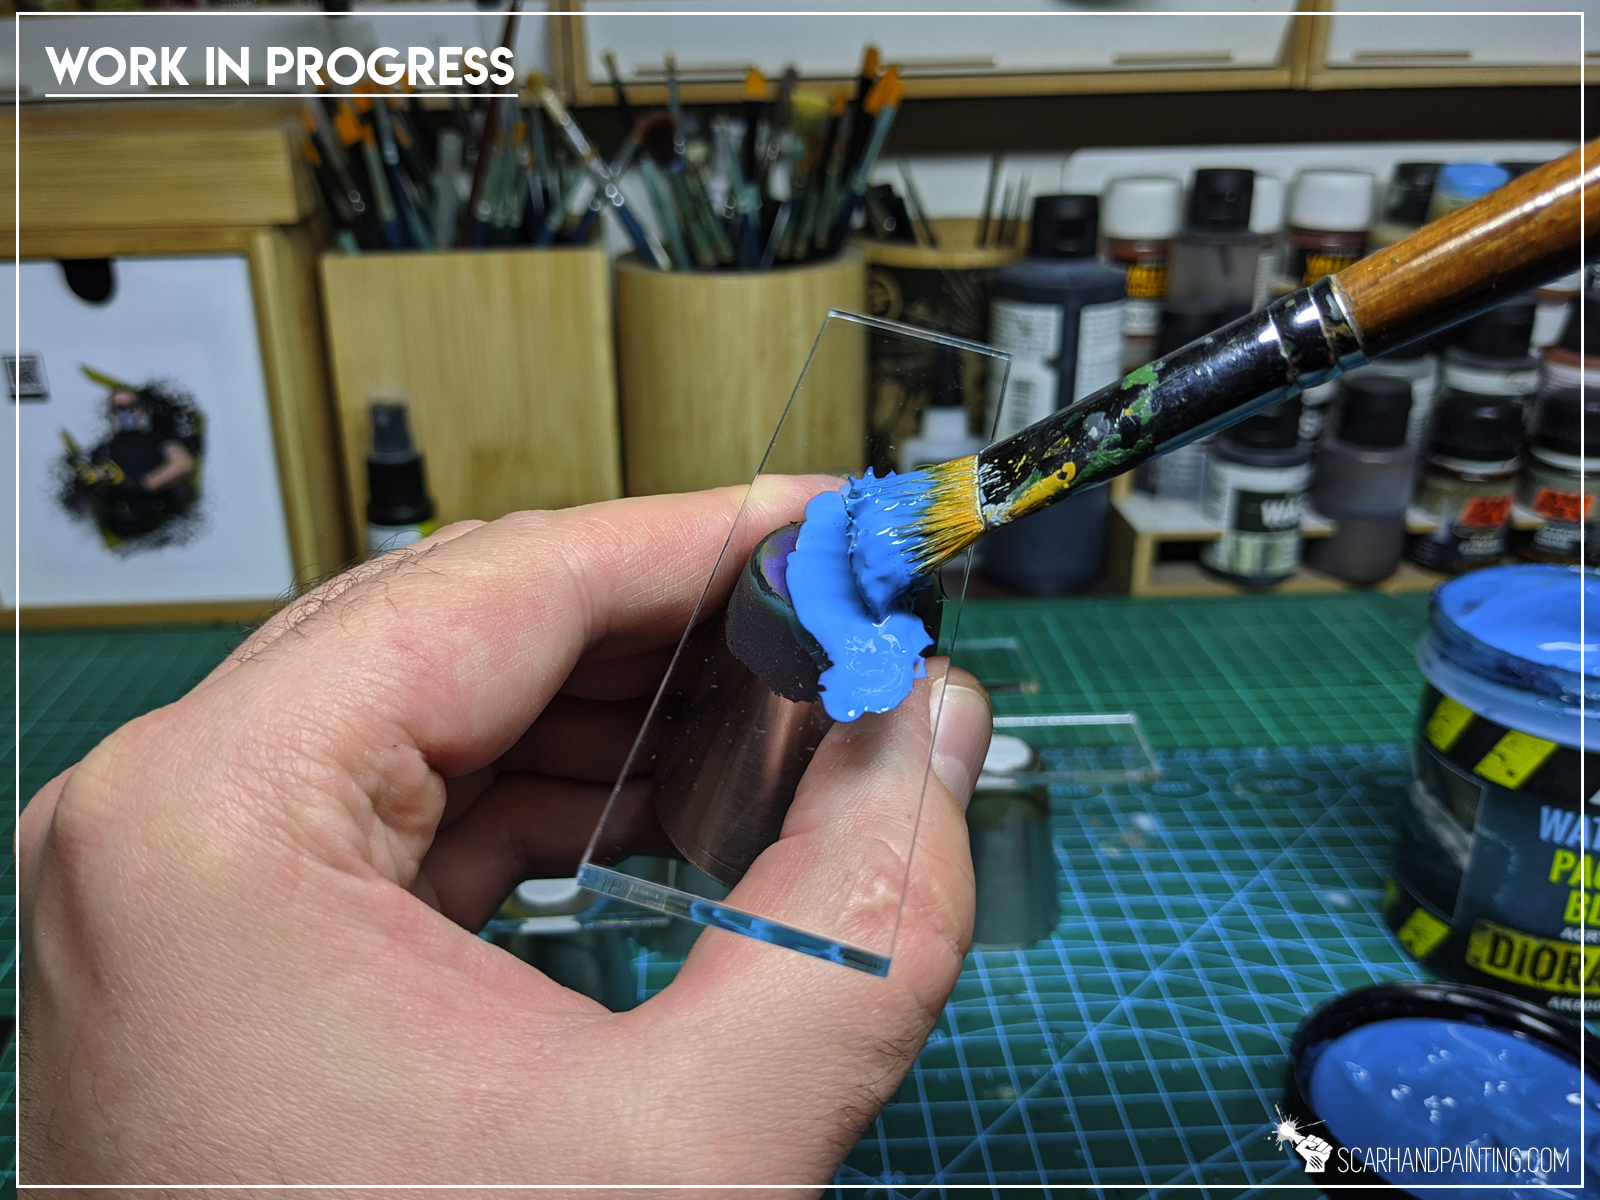
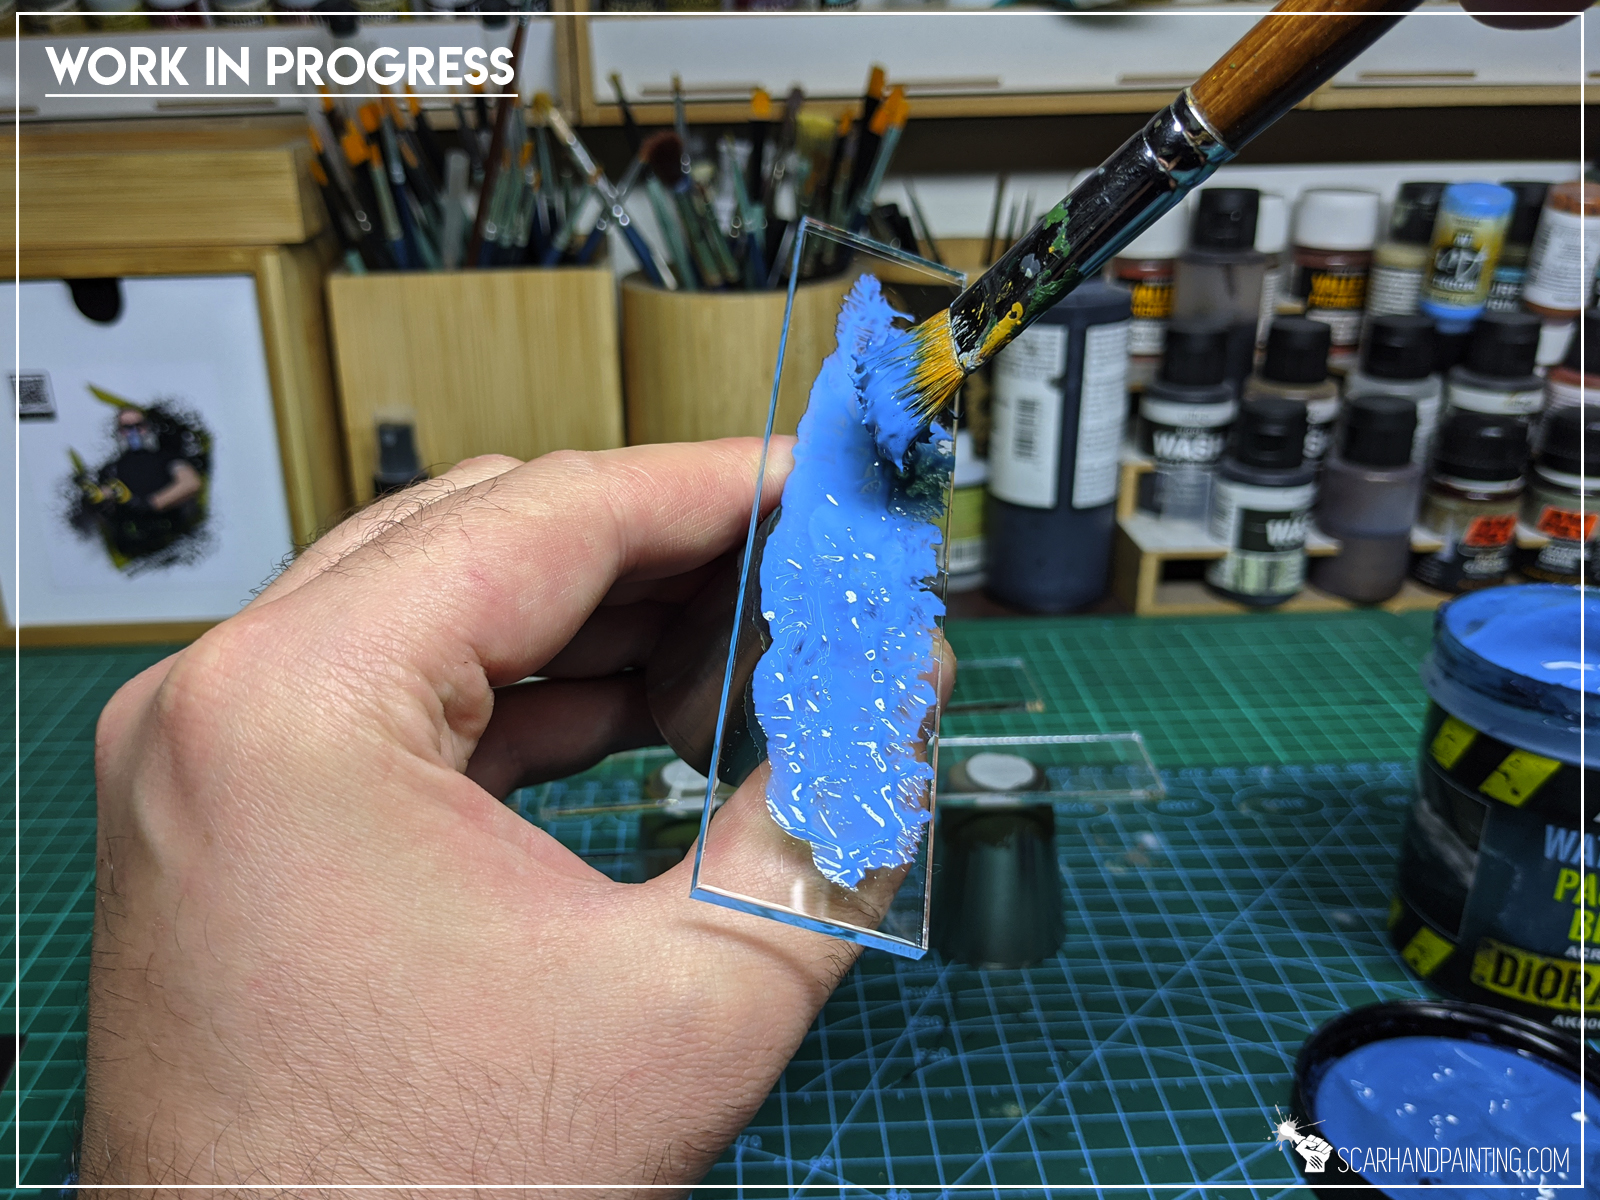
Step one:
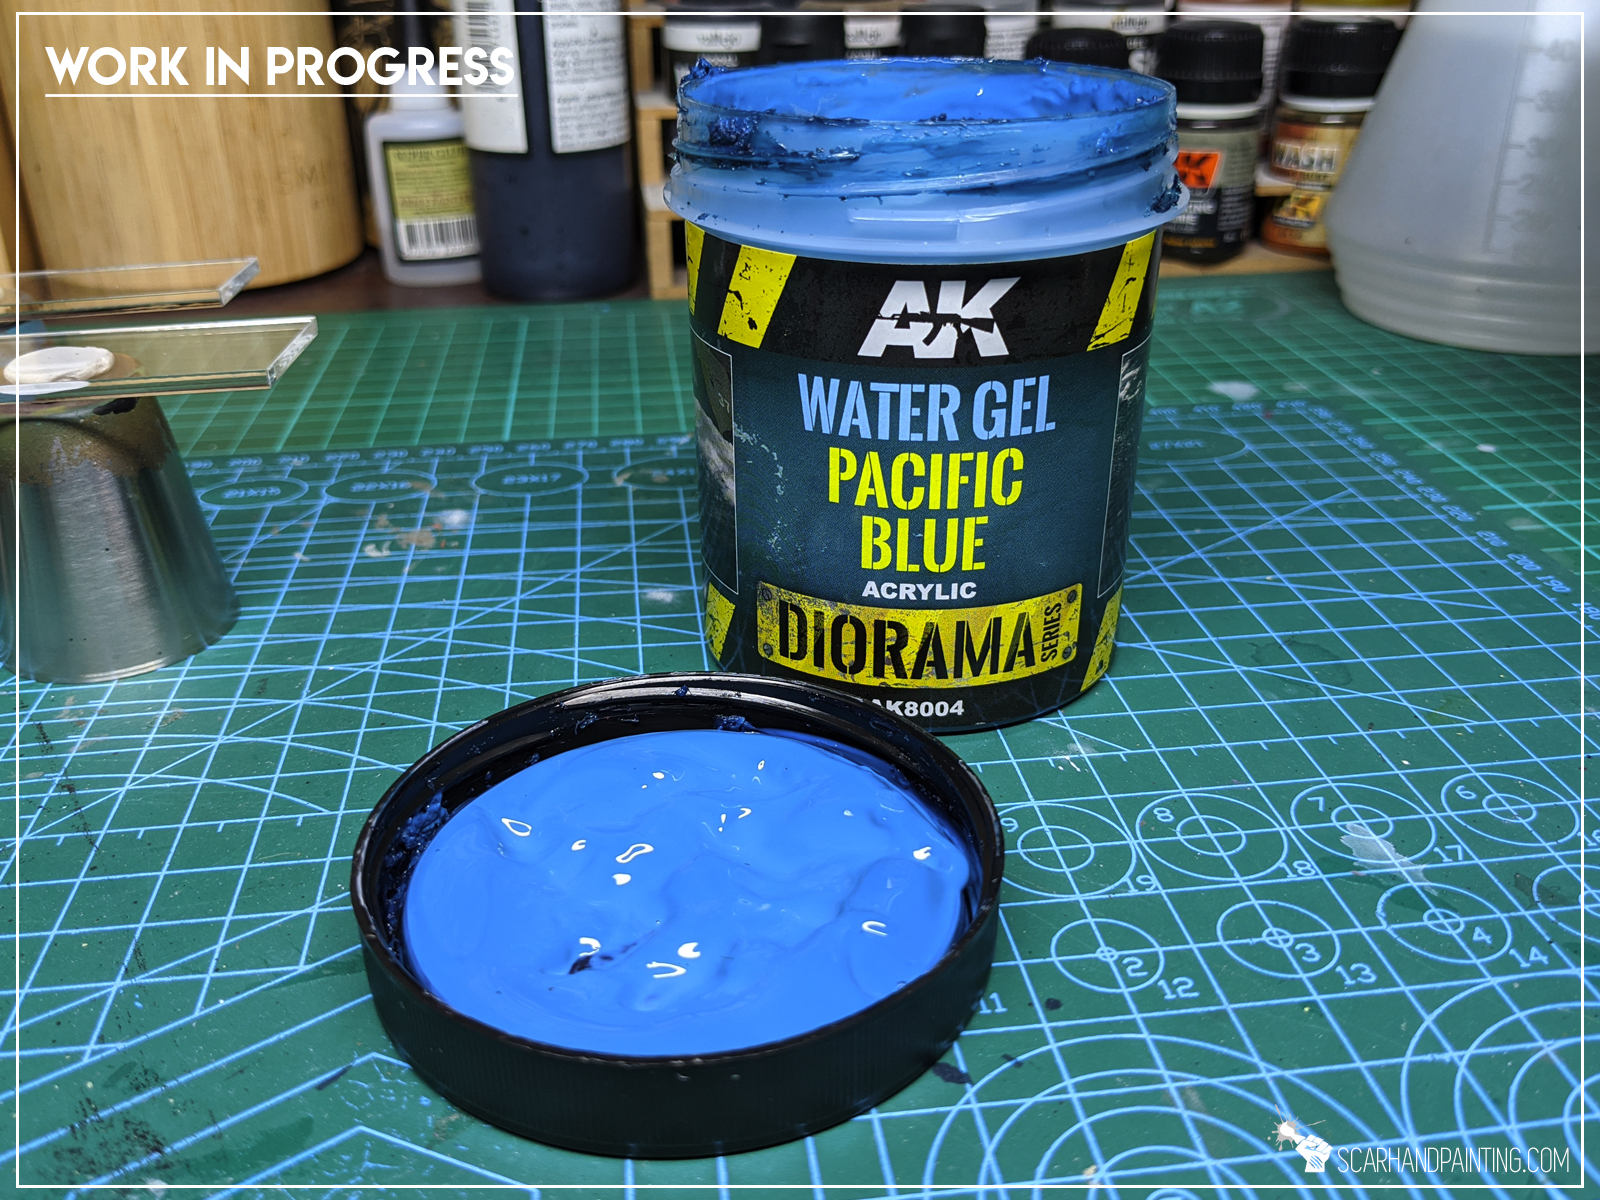
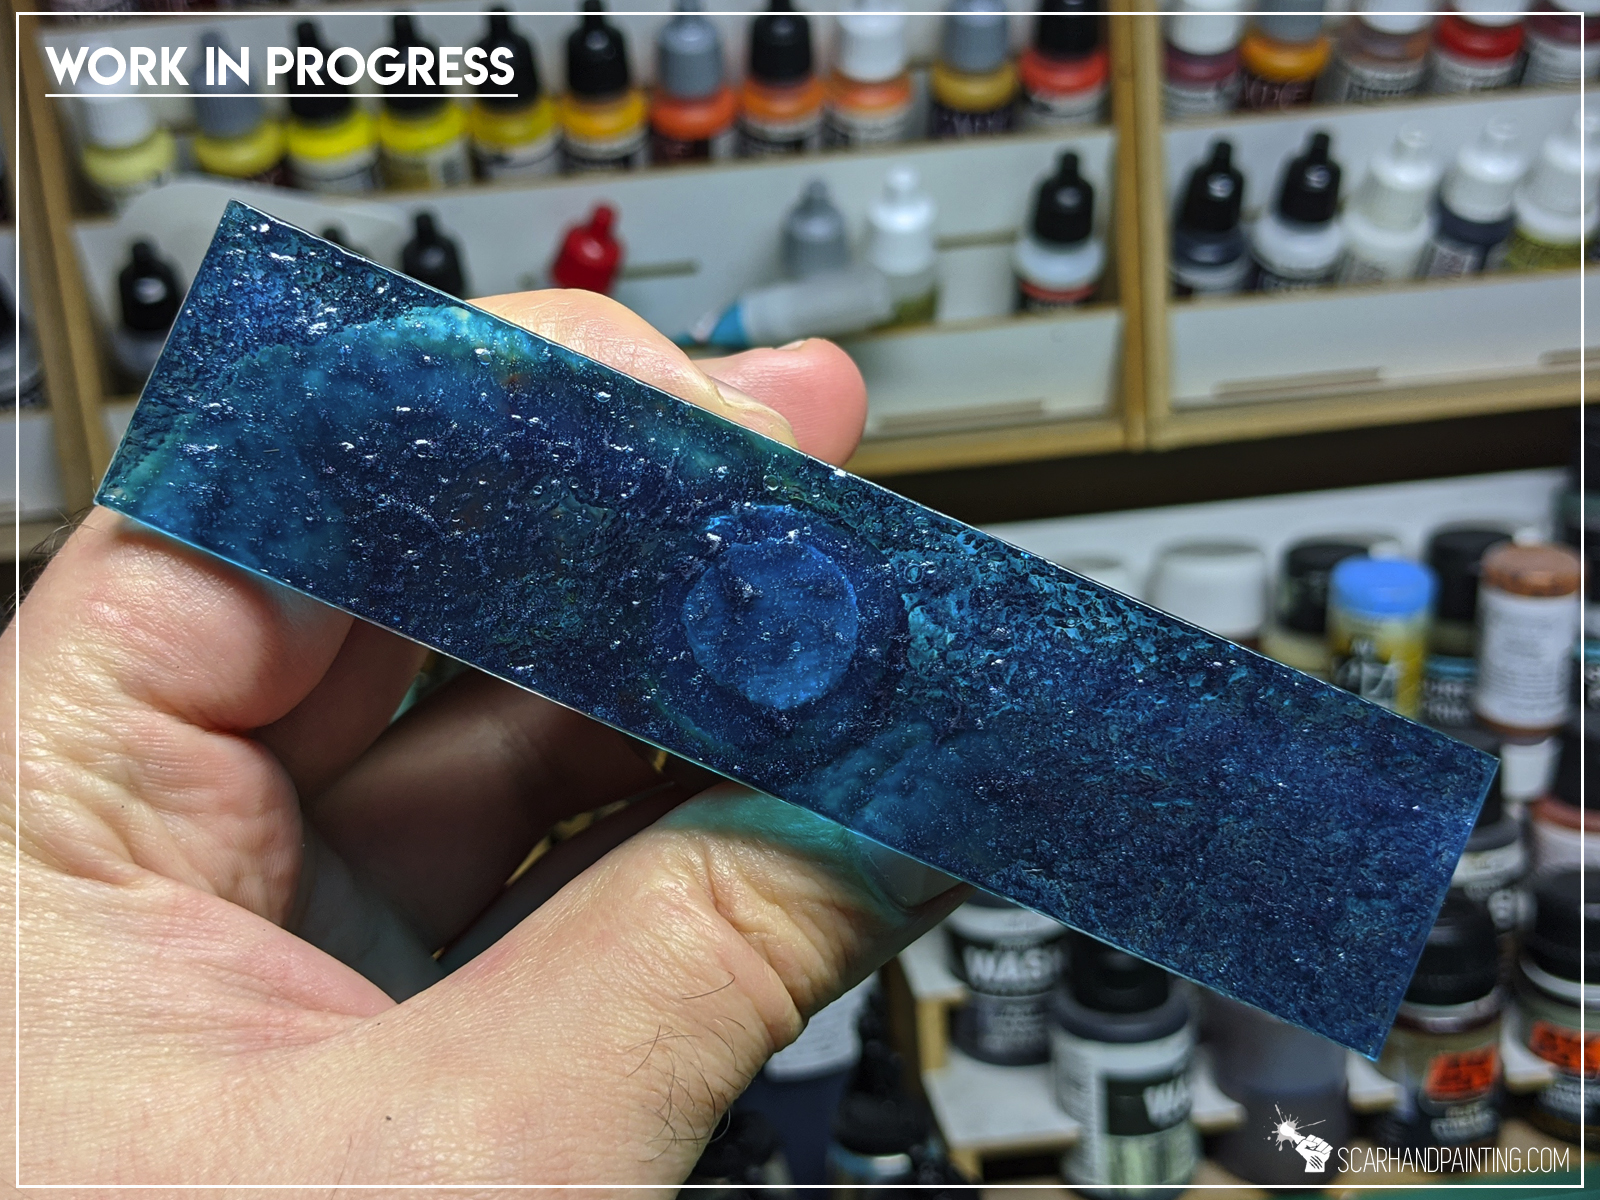
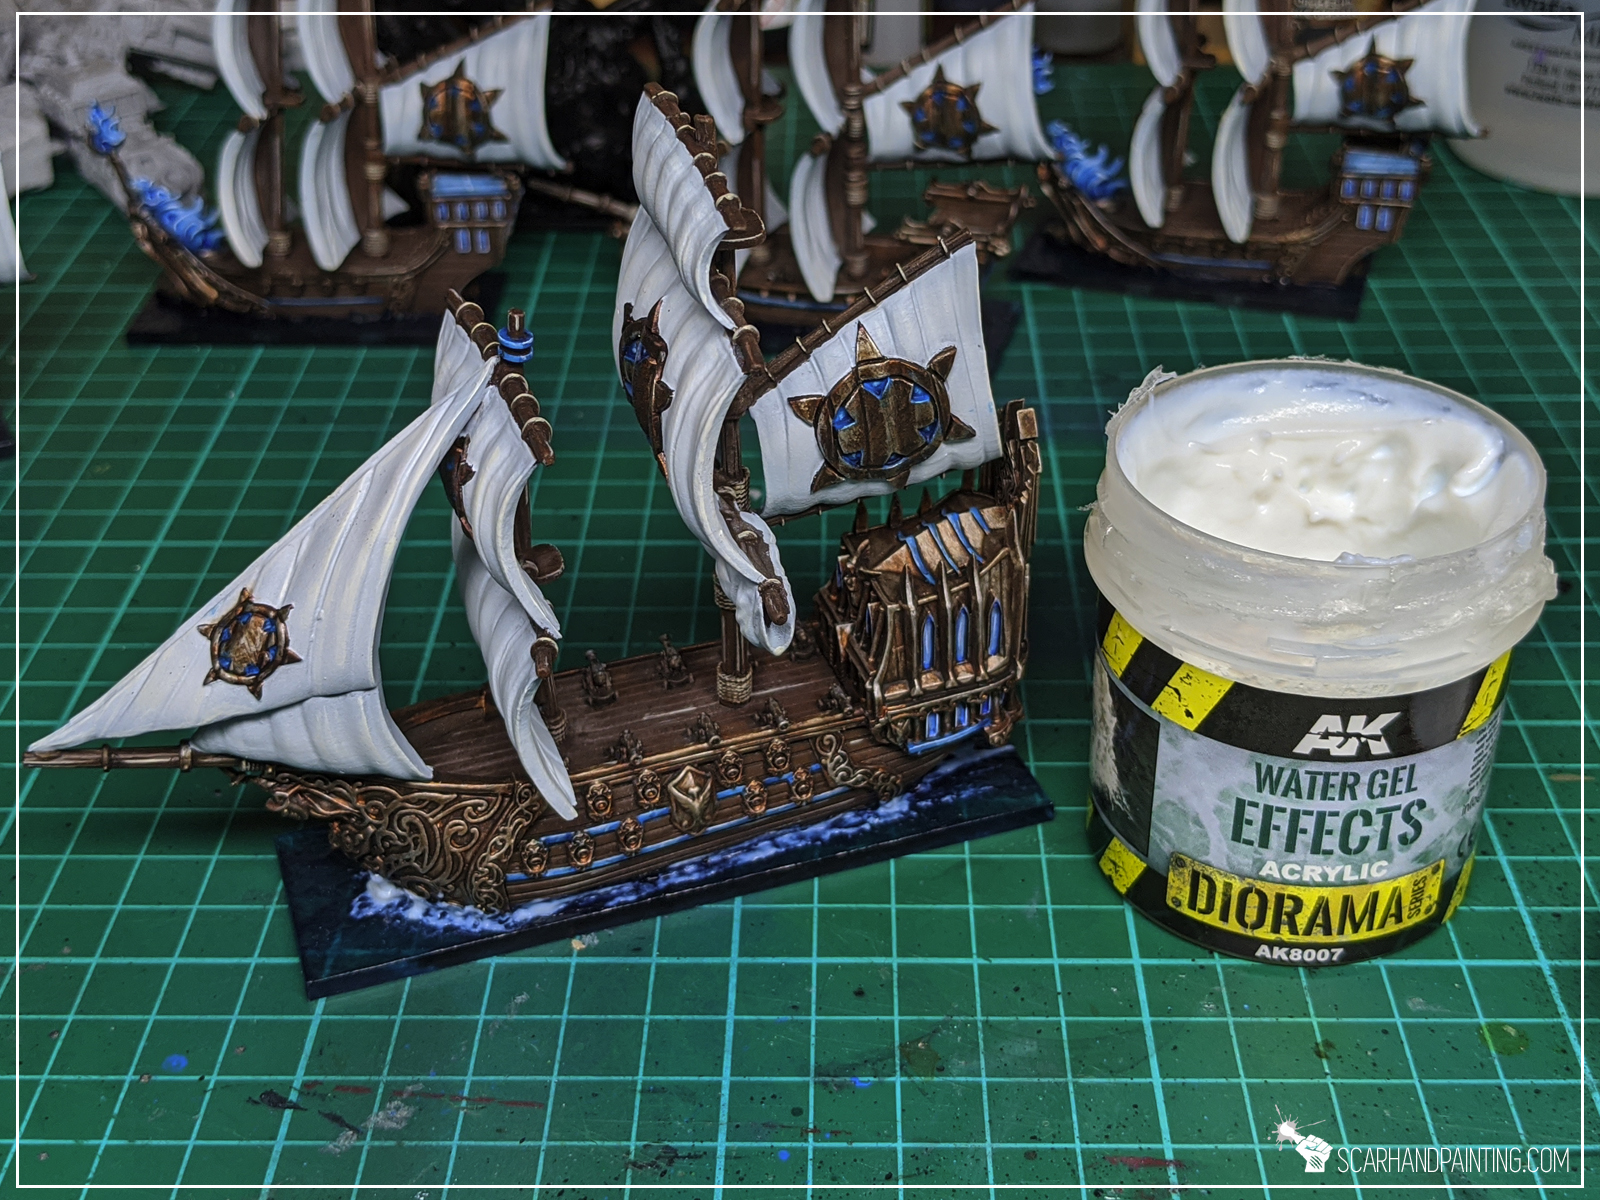
I used a large brush to apply AK Interactive Diorama Series: Pacific Blue Water Gel onto entire surface of the base. I then stippled a bit to create an uneven surface. Lastly I used a finger to remove the excess gel from the sides of the base.


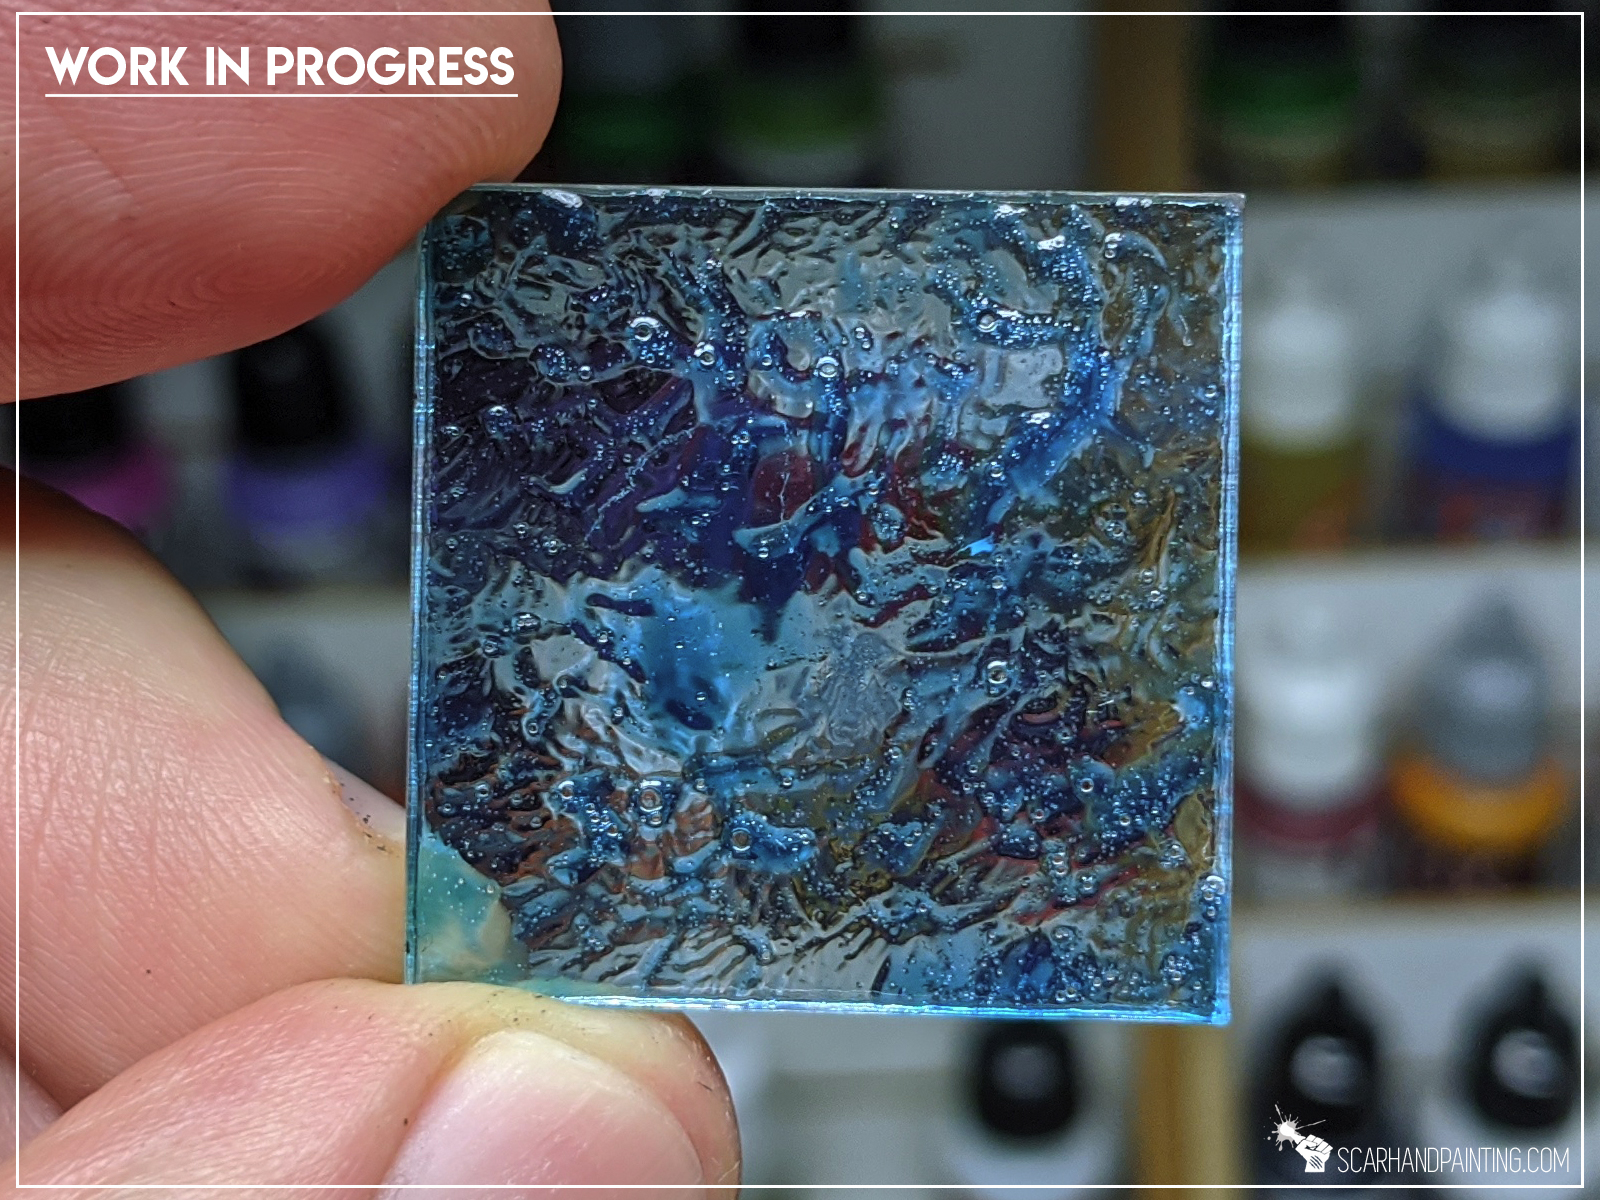
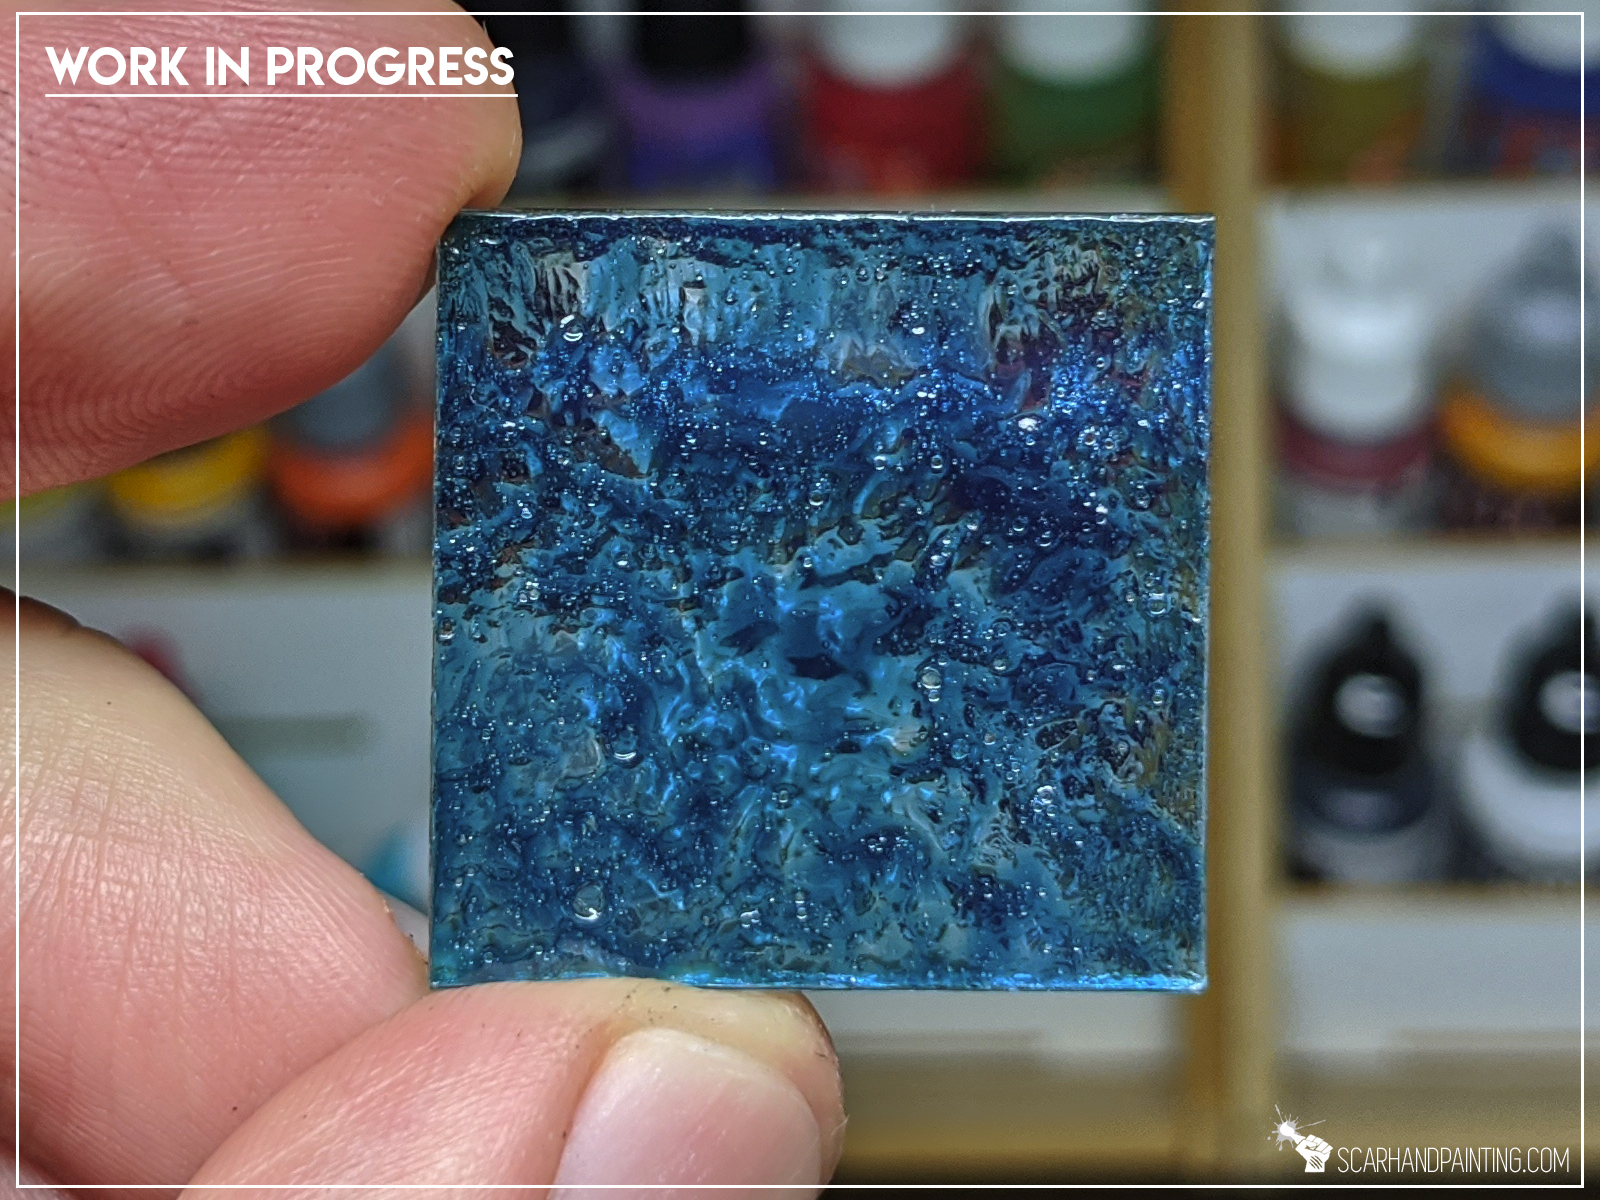
Step two:
I repeated first step two more times, leaving the paint to dry between each repeat. This darkened the base significantly and resulten in a nice solid layer with a lot more detail on top of the first one.

Step three:
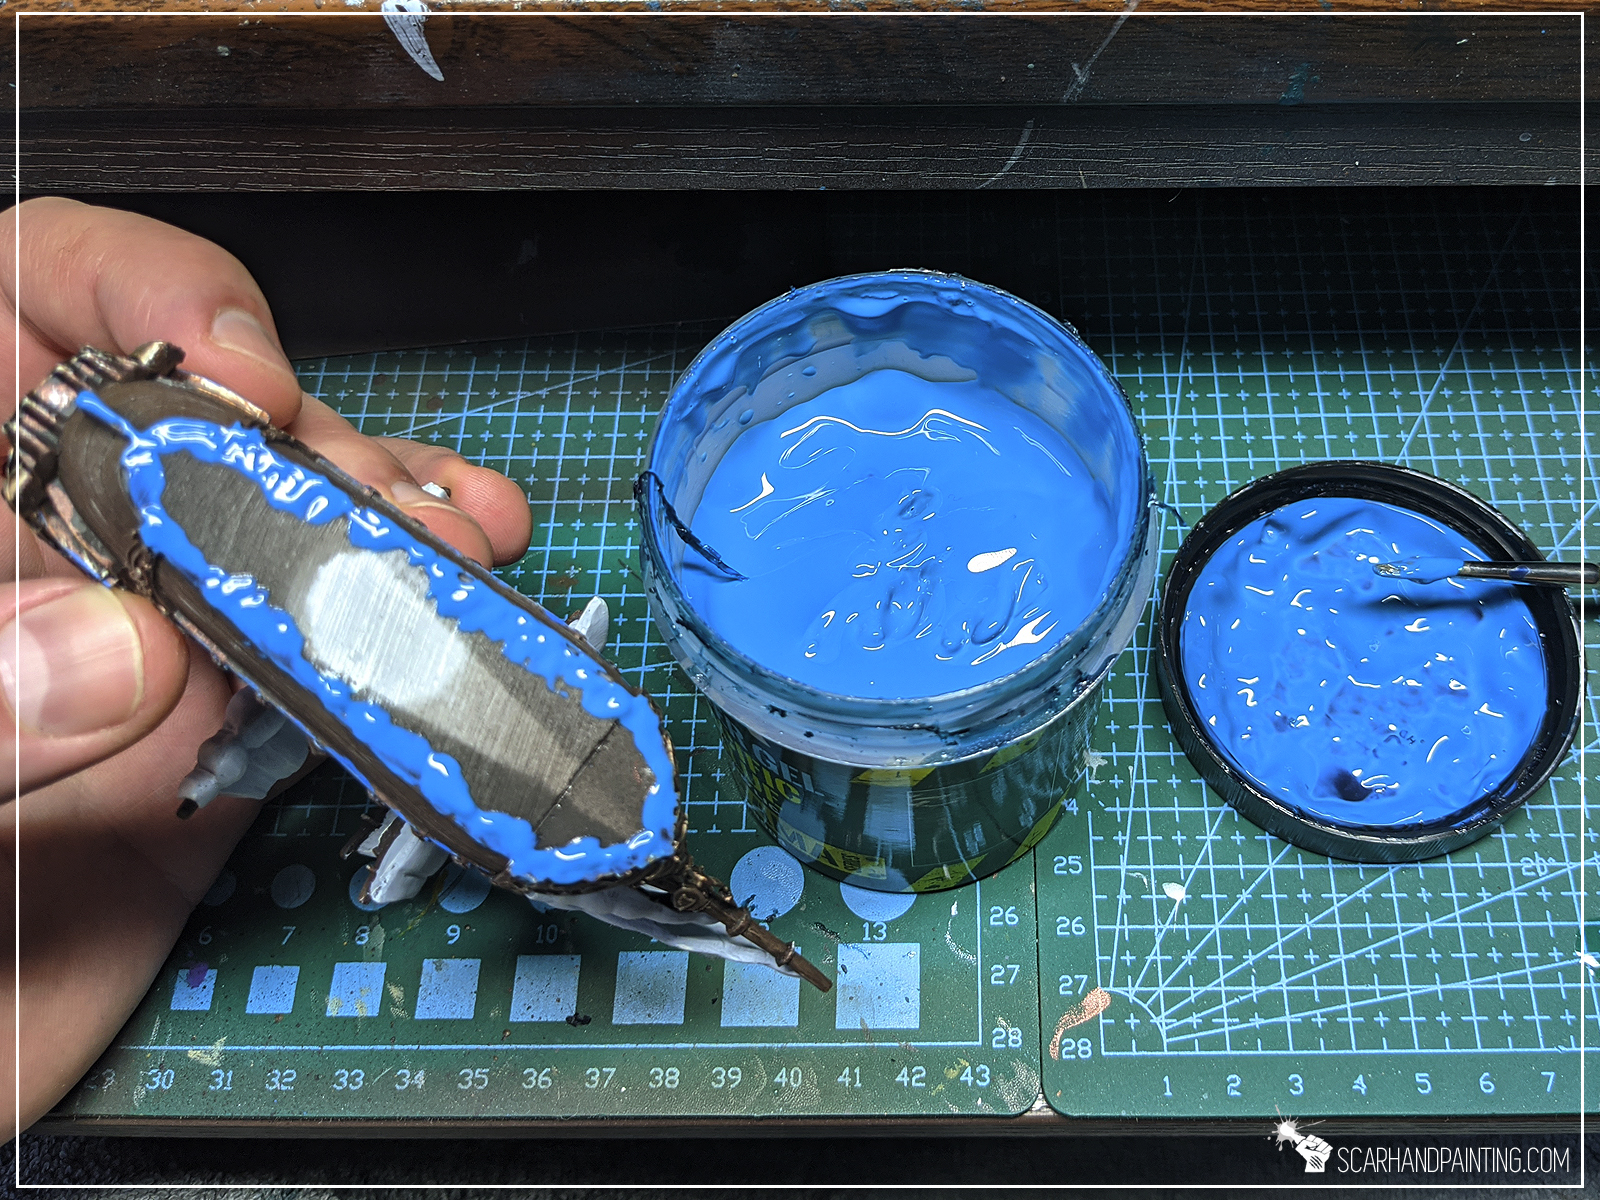
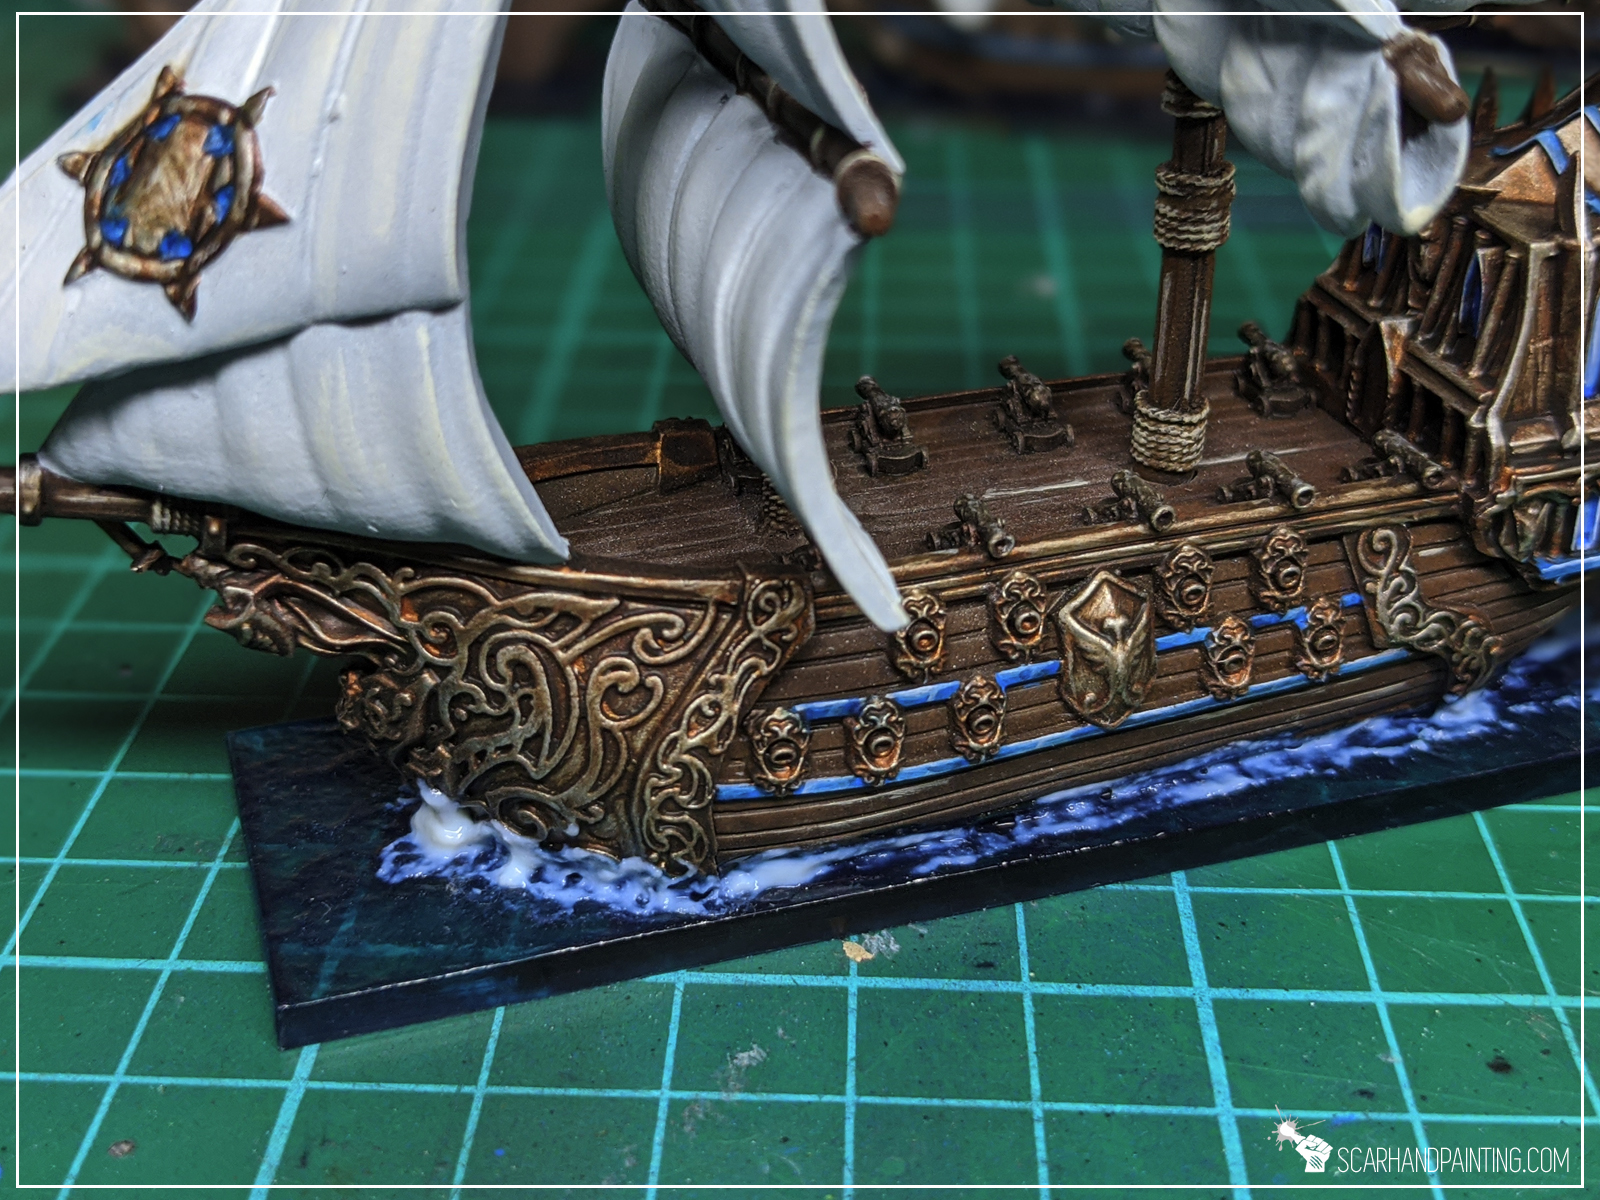
Once I was done painting ships I applied AK Interactive Pacific Blue Gel at the edges of each ship’s underside. I then followed with Super Glue through the middle and glued the ship on top of a base. Excess gel was queezed out and filled any holes between the ship and the base.

Step four:
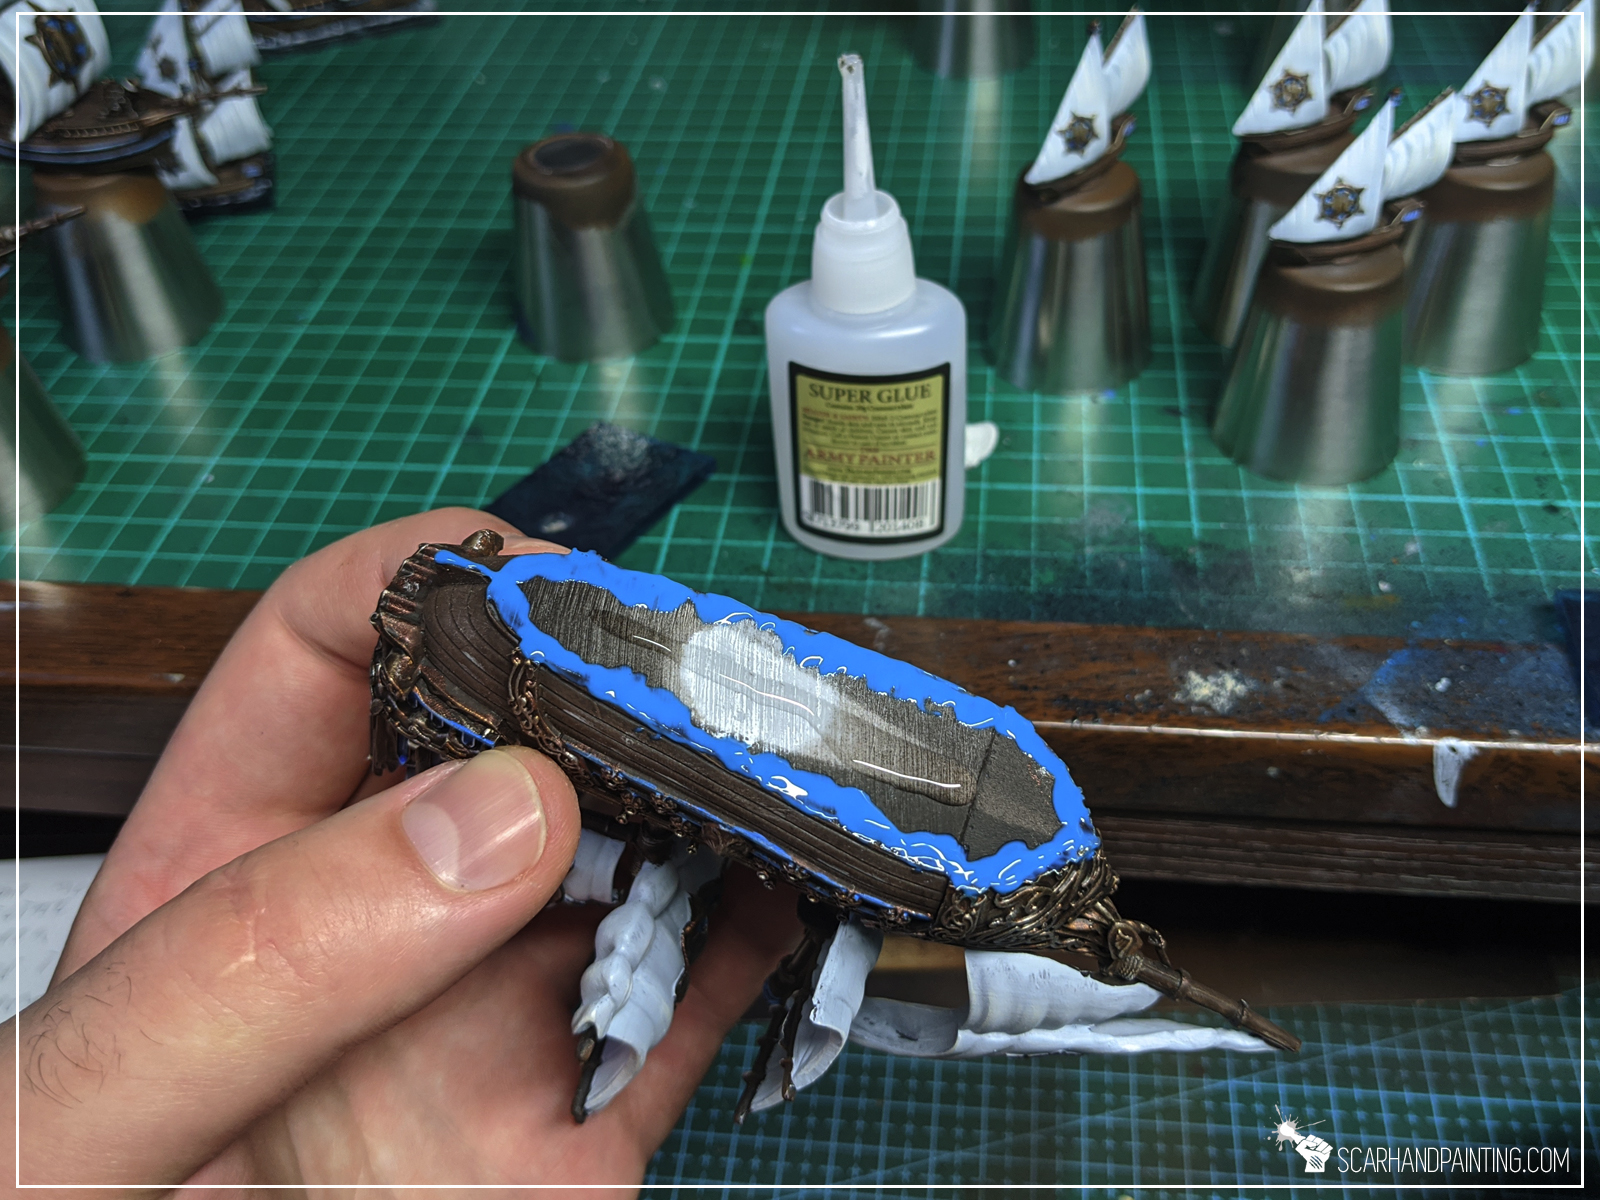
I then applied more Pacific Blue Gel around the ship. It was a bit messy so I used a clean flat brush to move any excess gel from the ship’s sides and onto the base.


Step five:
Some time later I applied AK Interactive clear Water Gel effects around the ship. I used a small brush and slowly built the mass of splashing water at the front and on the sides of the ship. This time I didn’t care about messing up the hull.
Step six:
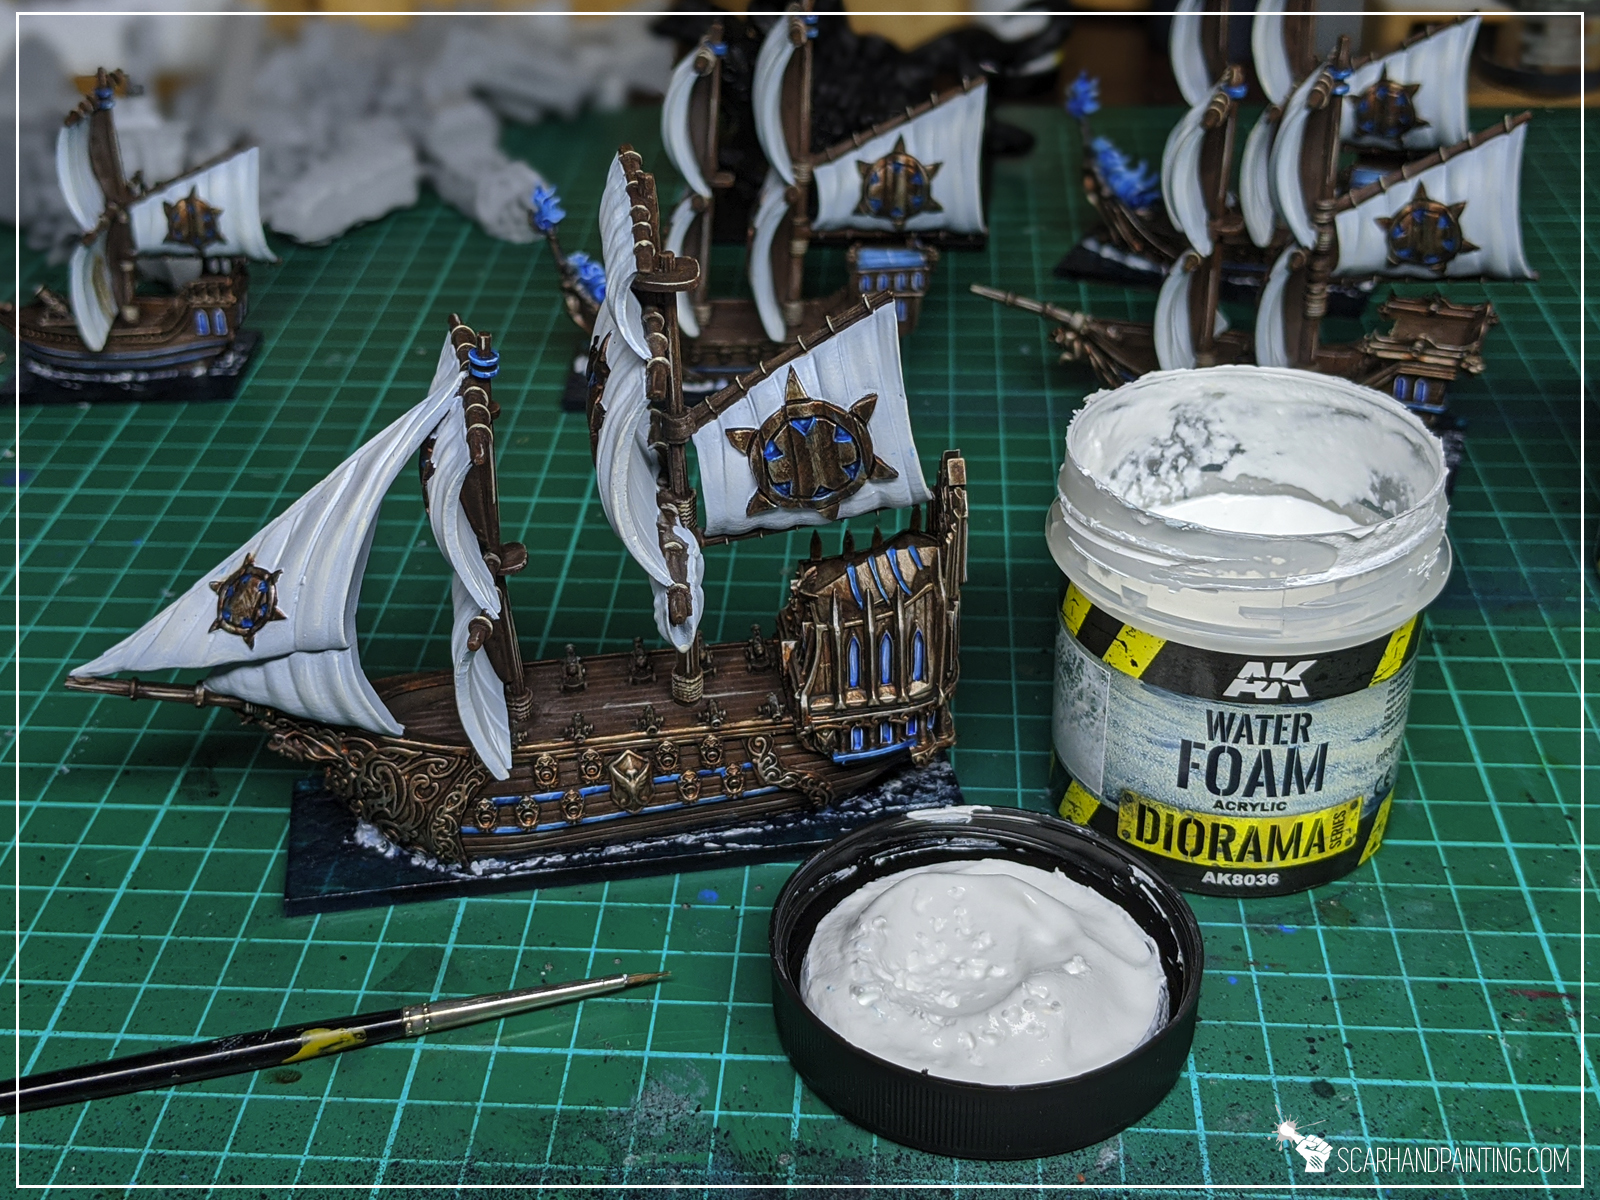
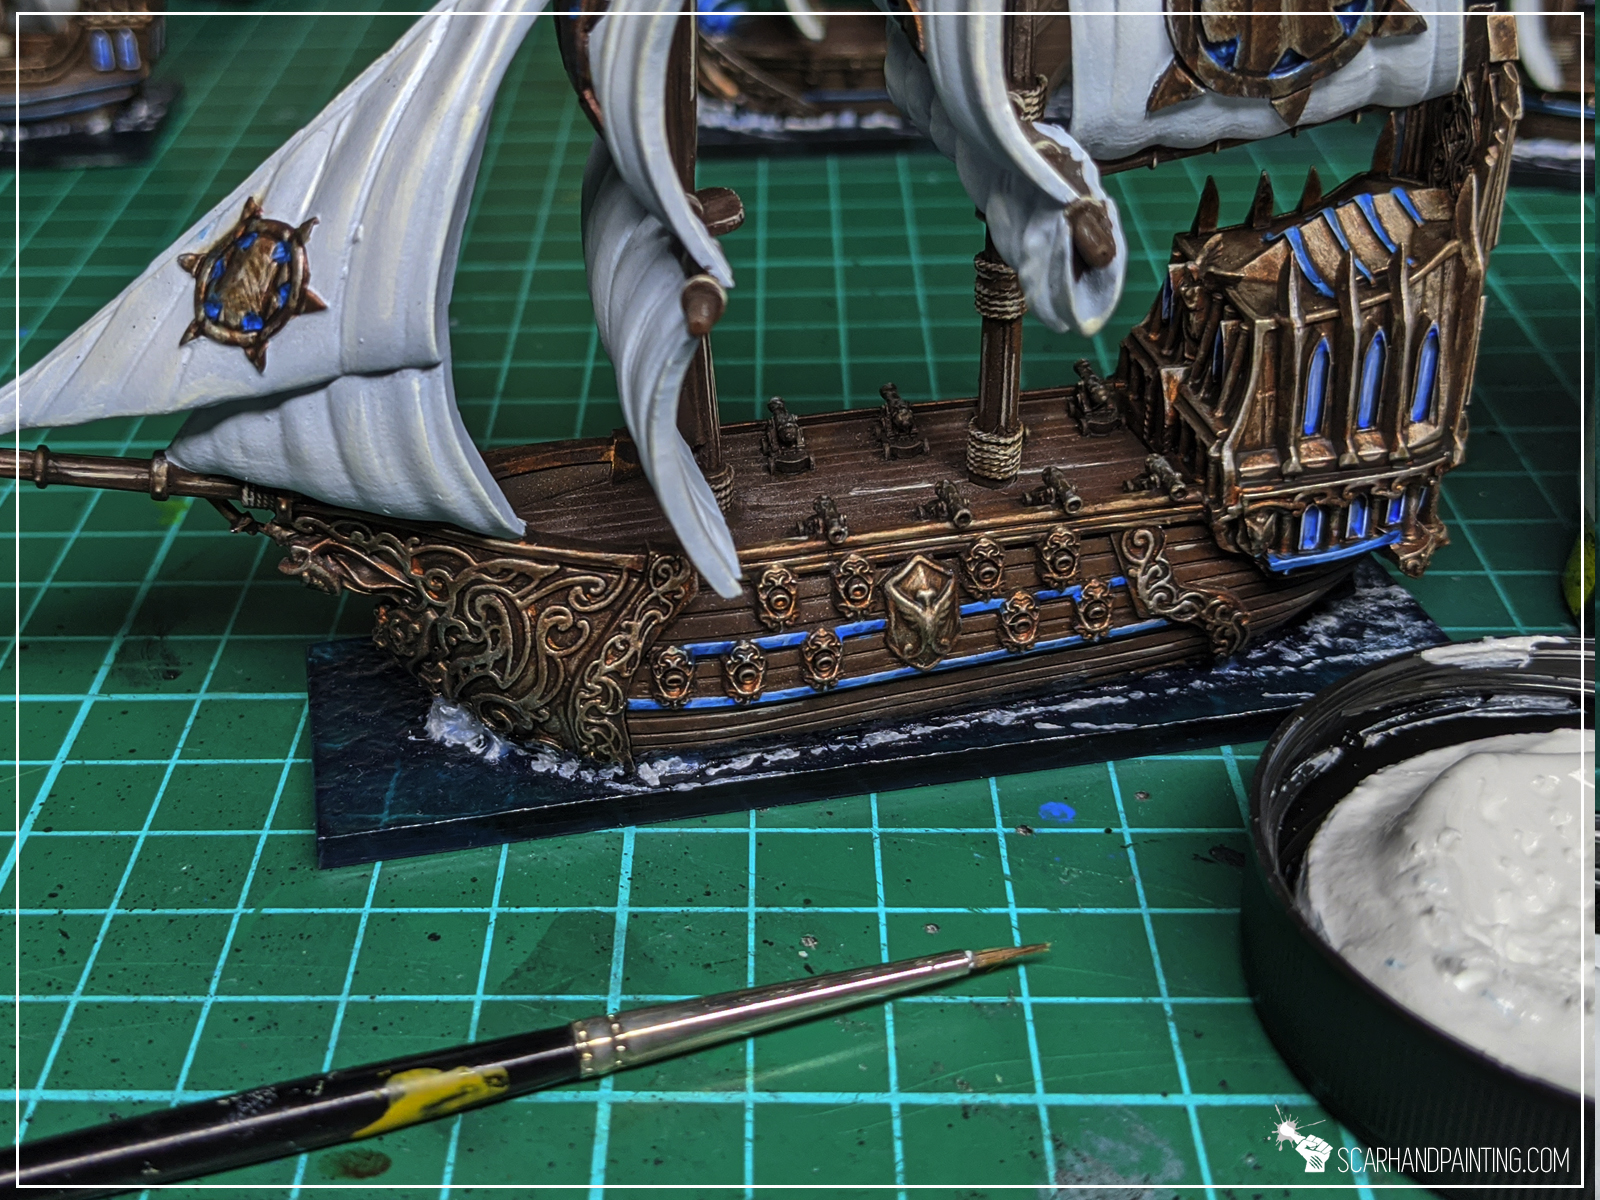
Next I applied AK Interactive Water Foam. Using a small brush I applied small dots of the effect on top of previous layer. This one is very white so I tried to avoid applying to much. Mistakes were removed with a clean flat brush – pushed into more tight lines, where necessary.
Step seven:
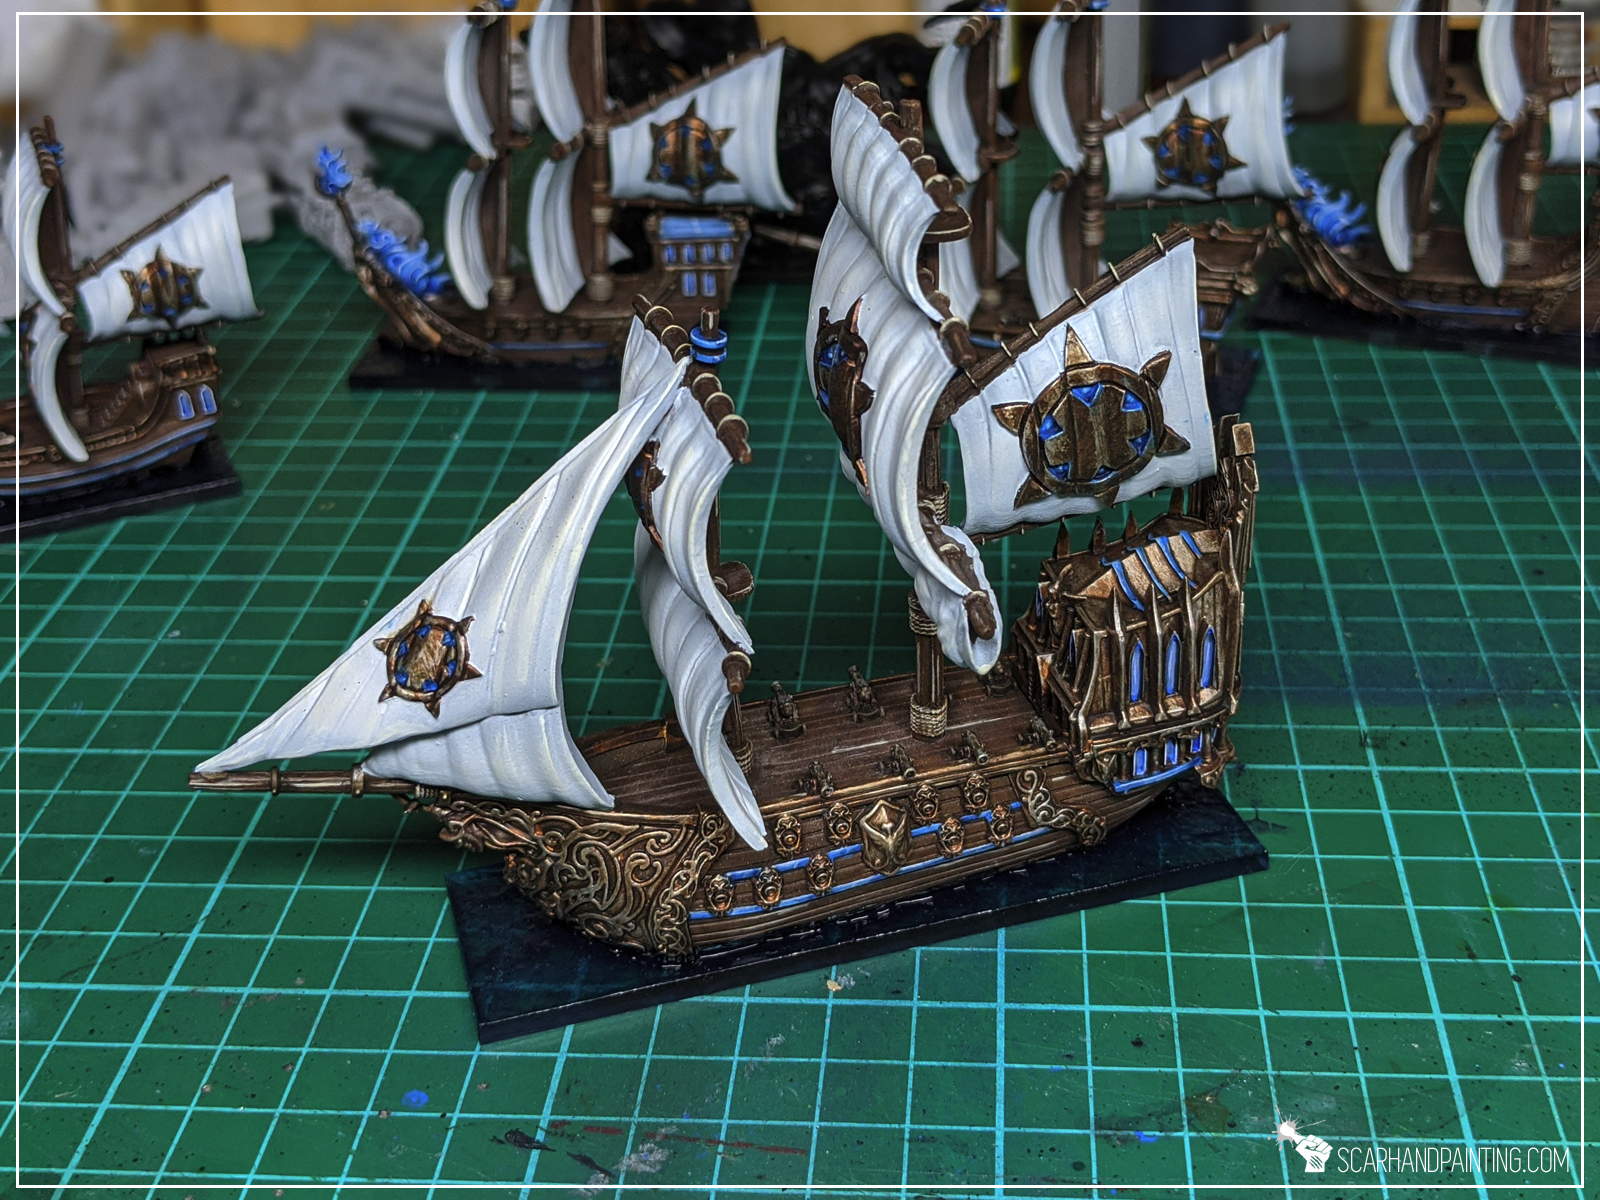
Lastly I mixed white paint, water and AK Interactive clear Water Gel effect and stippled a bit behind and around the ship to create a nice effect of dissolving water foam.

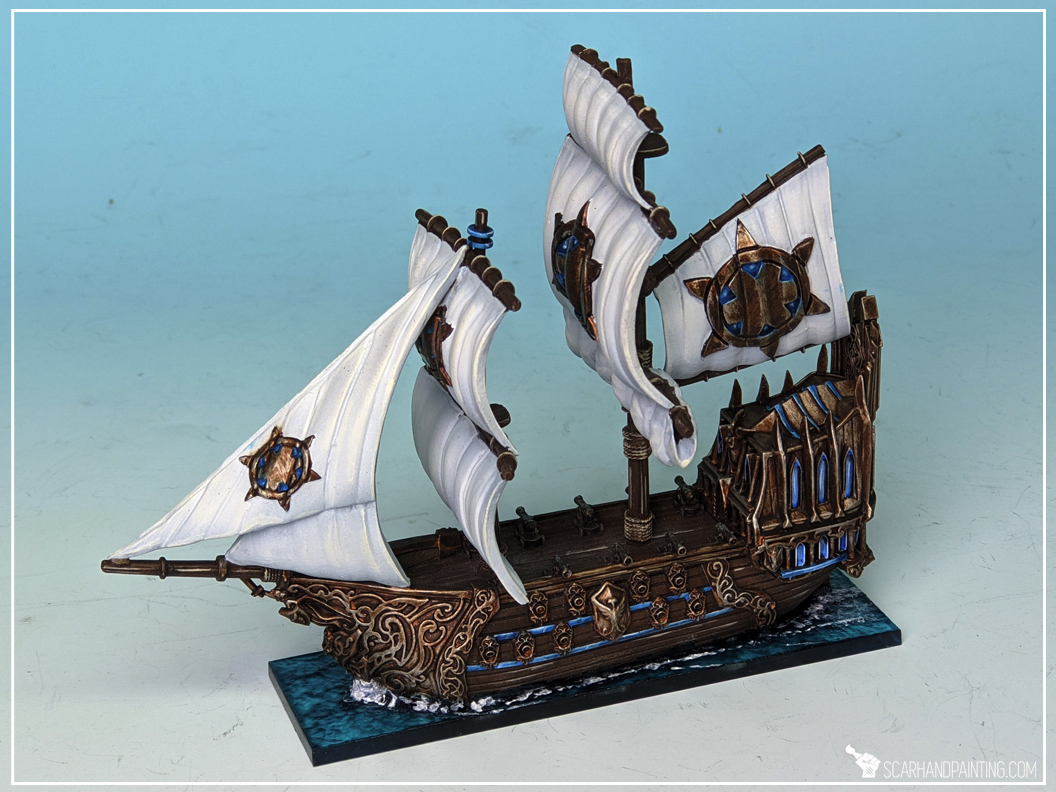
Task complete! The fleet is now sailing into the unknown. I hope you like this tutorial. For more pictures of finished fleet visit Gallery: Armada Basileans
Be sure to let me know your thoughts on the method either in the comments below or at my facebook profile.
Please link this tutorial to anyone who likes to learn new hobby tricks.
Lastly I also invite you to follow me at Instagram, where I drop some nice pictures from time to time.
All speed ahead and see you in the next article!
5 comments so far
TomPosted on9:02 am - Dec 23, 2020
Oh boy! I love these bases and will make them too. Thanks a bunch for the great tutorial!
DannyPosted on3:37 pm - Jul 17, 2022
Looks great! Where did you get the clear acrylic bases?
ScarhandpaintingPosted on8:32 pm - Jul 17, 2022
Hey Danny, I found a local miniatures laser cut scenery company and asked them to cut this for me. This is standard 3mm thick translucent acrylics. Anyone with a laser can cut these.
BenPosted on10:52 pm - May 27, 2023
Nice tutorial and impressive result. How did you magnetize those bases (as they seems to be in your article about A-case) ?
ScarhandpaintingPosted on4:35 pm - May 28, 2023
Thanks. Glad you like it.
I magnetized first batch f bases by drilling holes in them. Second batch and up I ordered bases with pre-cut holes. Too much of a hassle drilling acrylics. A lot of cut fingers, broken bases and overall issues.