- contact@scarhandpainting.com


In this step-by-step tutorial I’m going to show you how to create Cityfight bases same way I did for Gallery: Tau Sa’Cea.

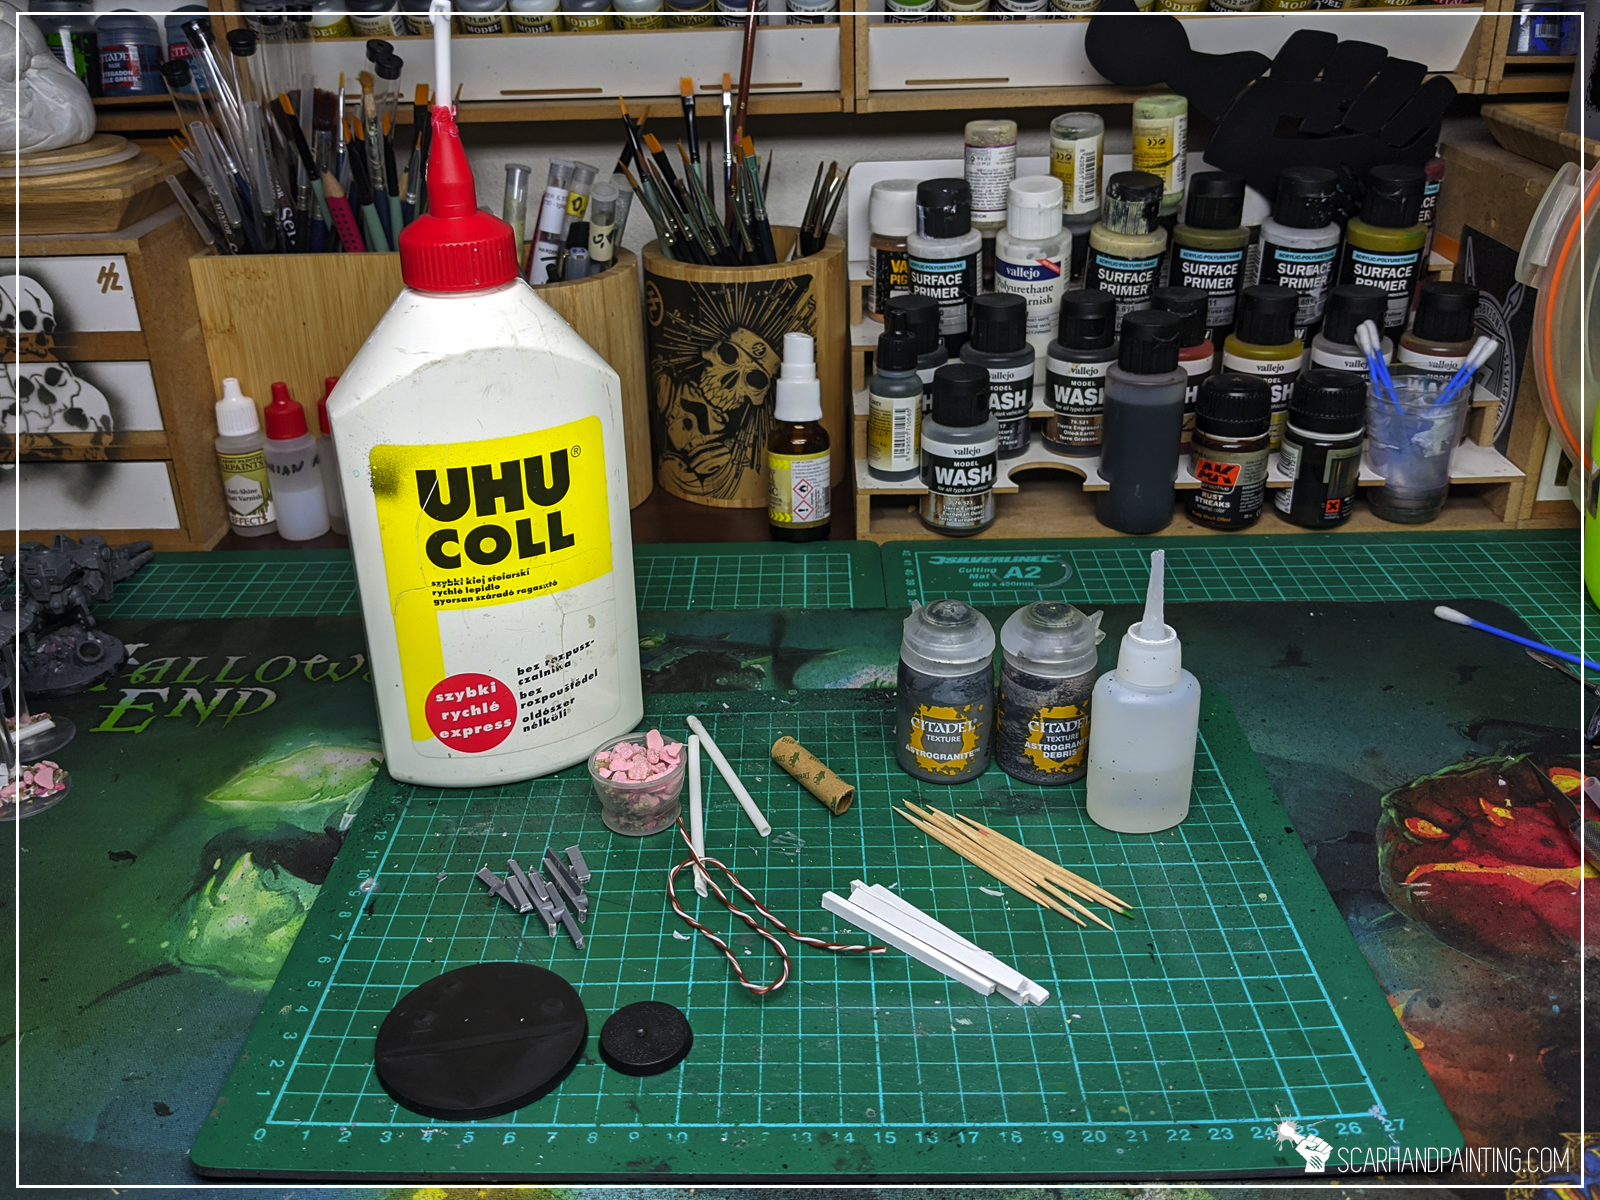
I used:
Step one: Special detail
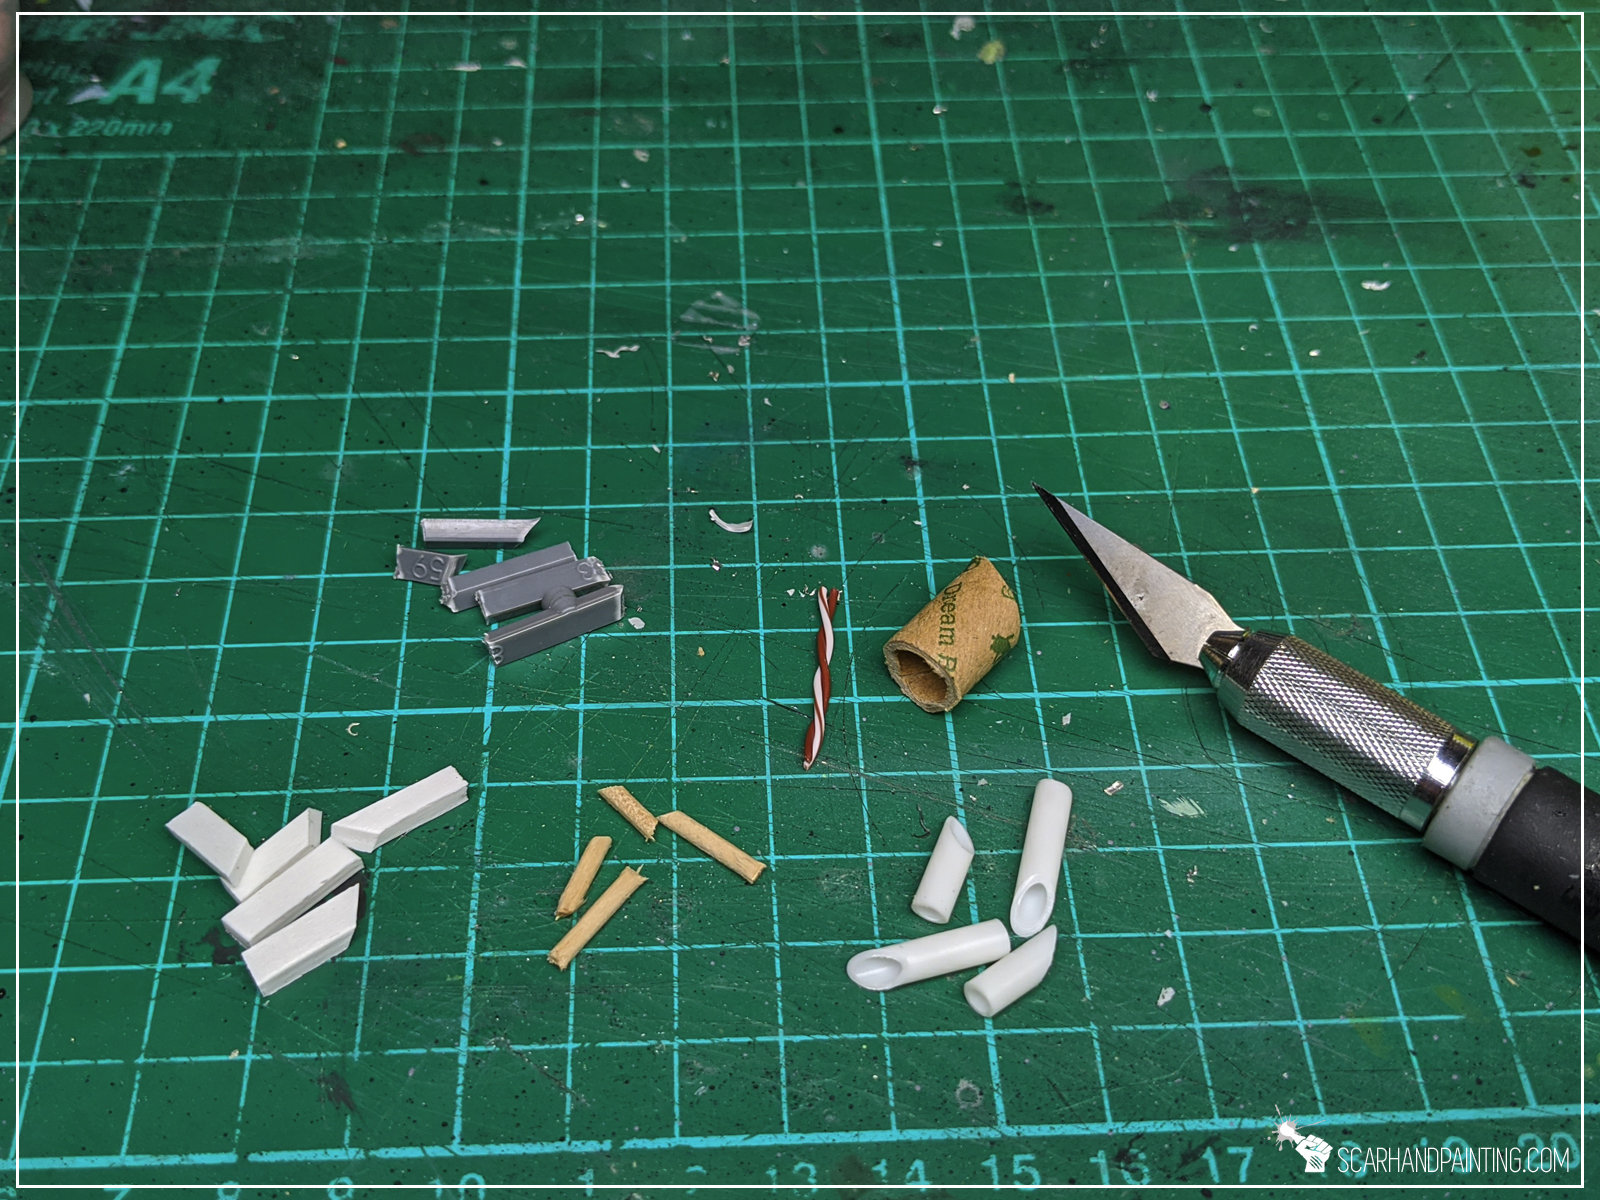

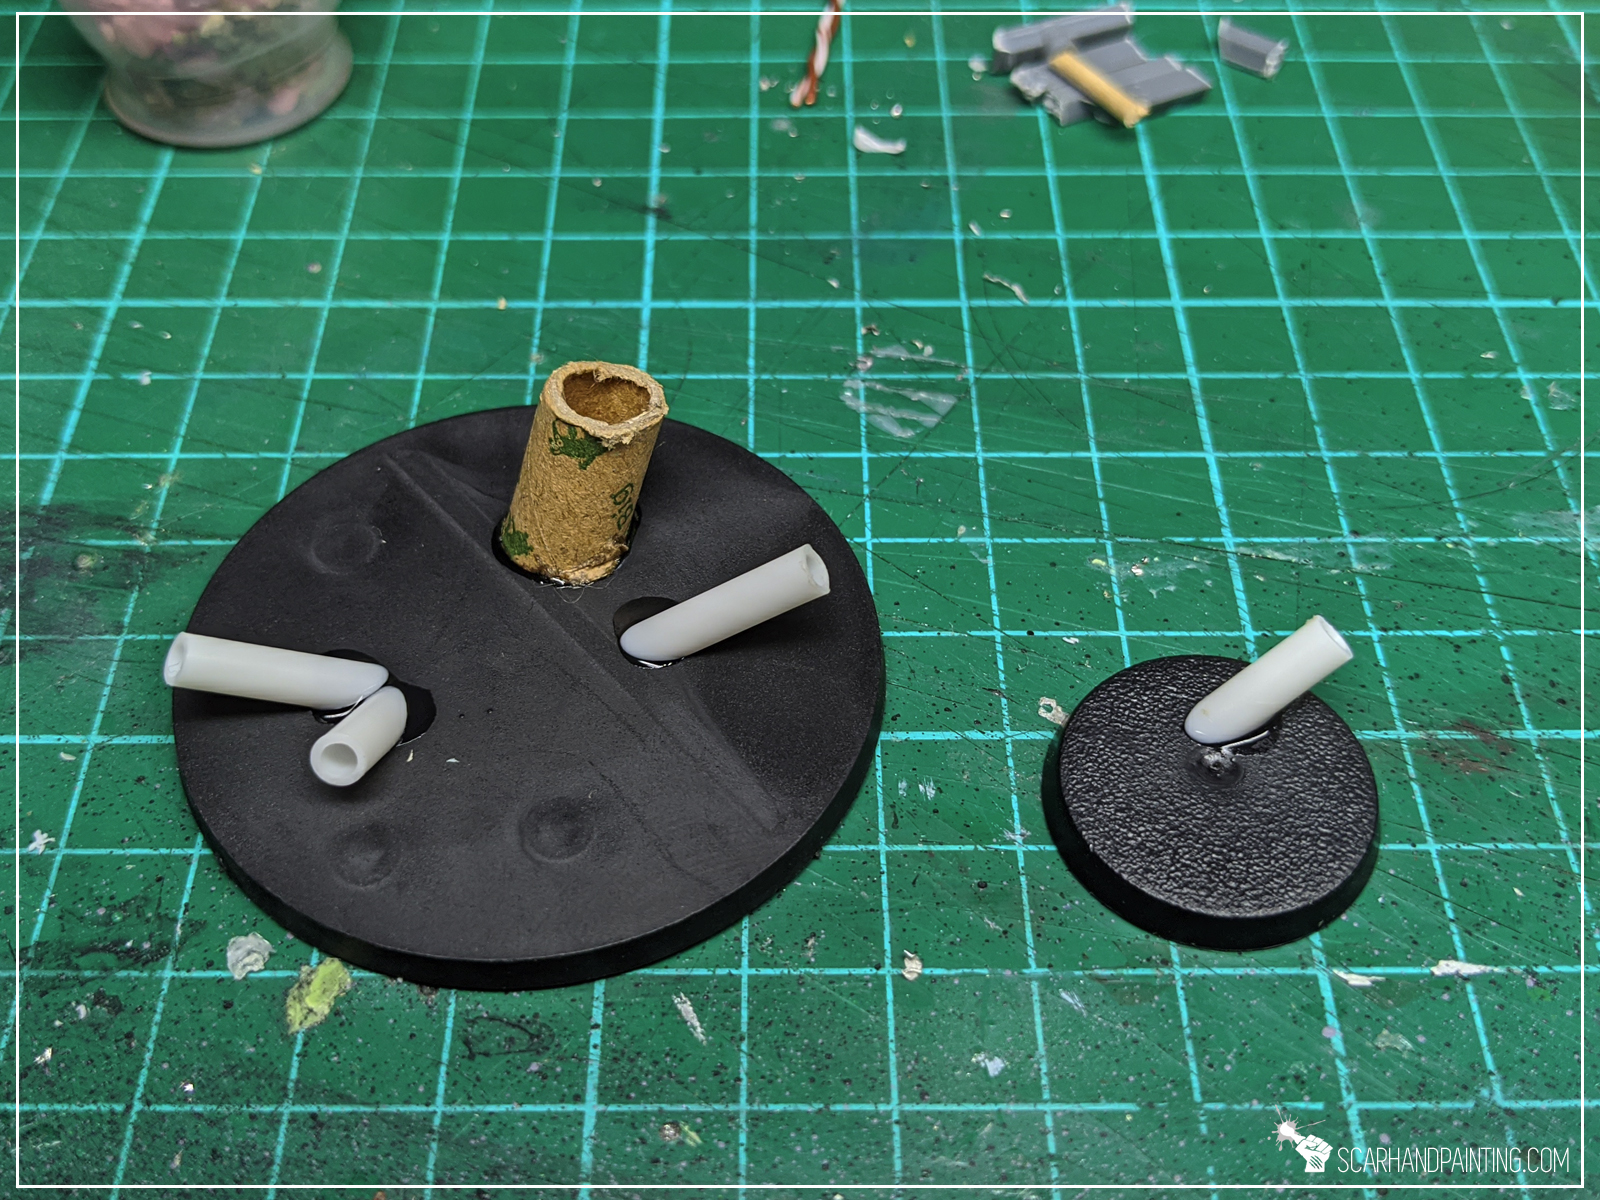

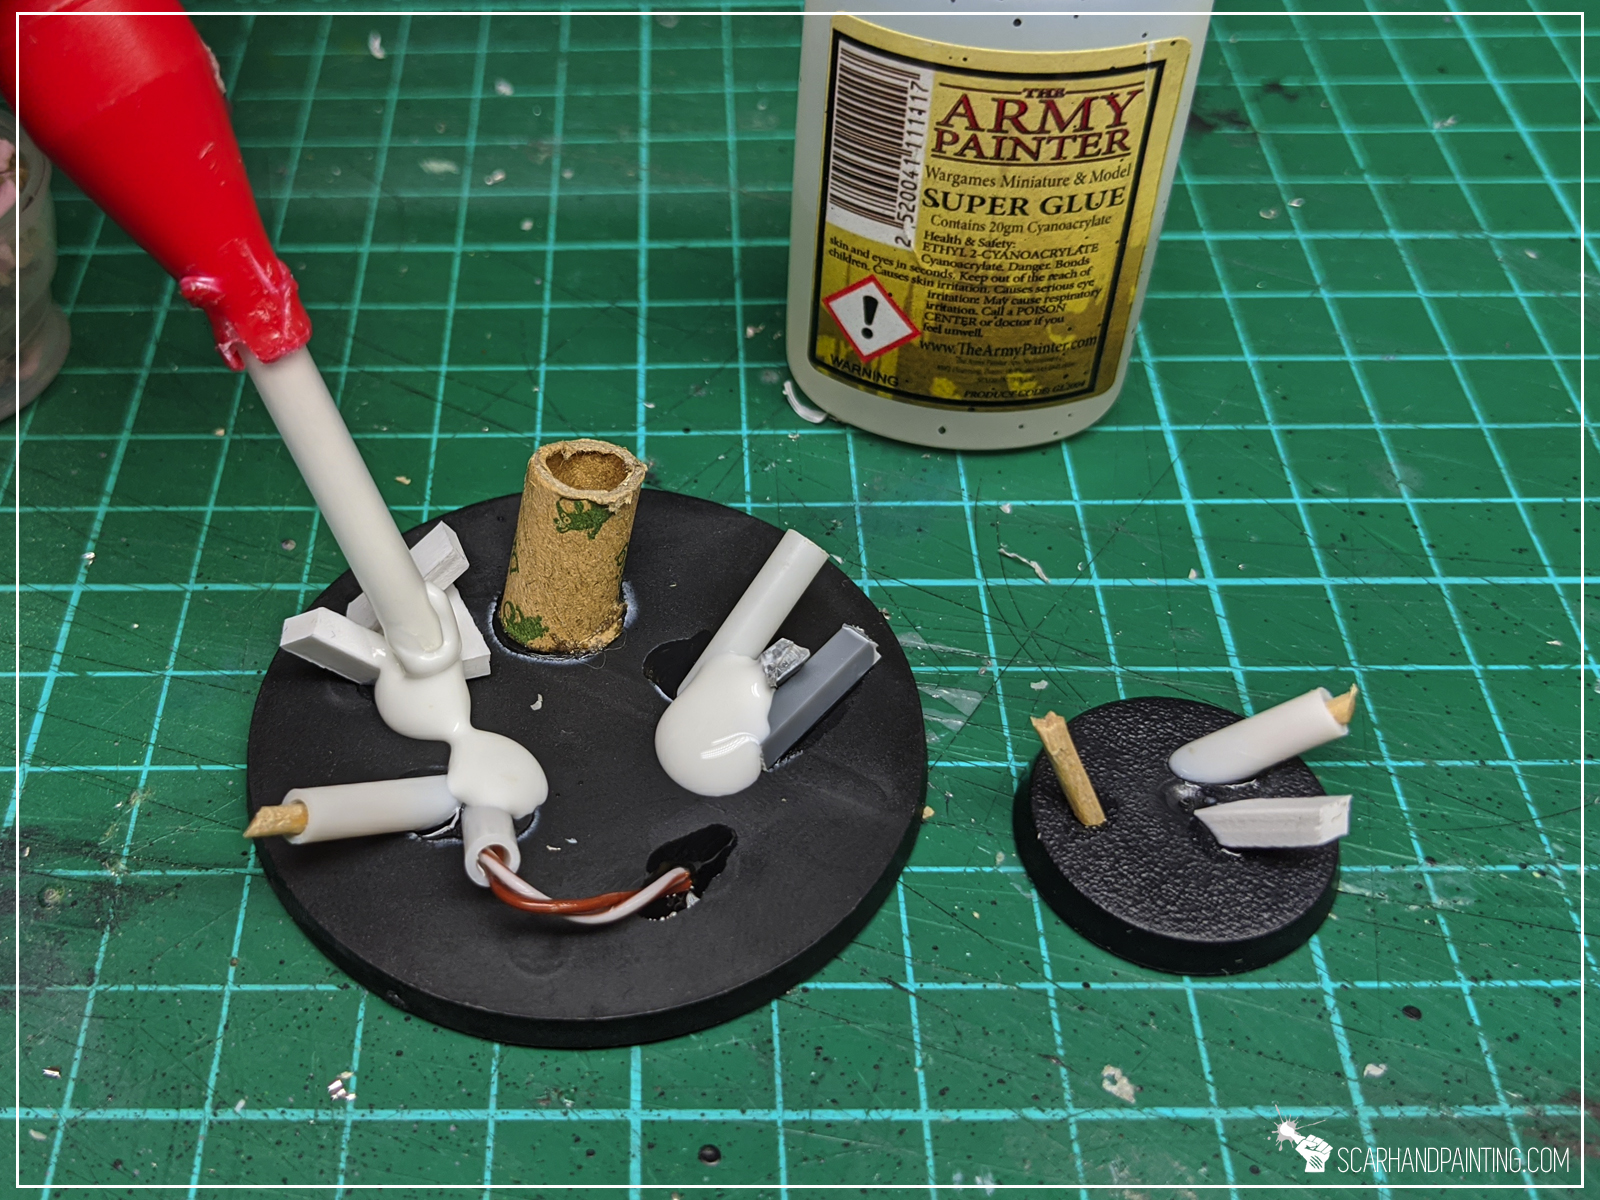
Using a hobby knife I cut all the sticks, sprues, toothpicks, plasticard and tube into small pieces. I made sure to cut one side of each piece at an angle, to better position each piece on the base. I then glued random pieces on top of a base using Super glue.
Step two: Gravel
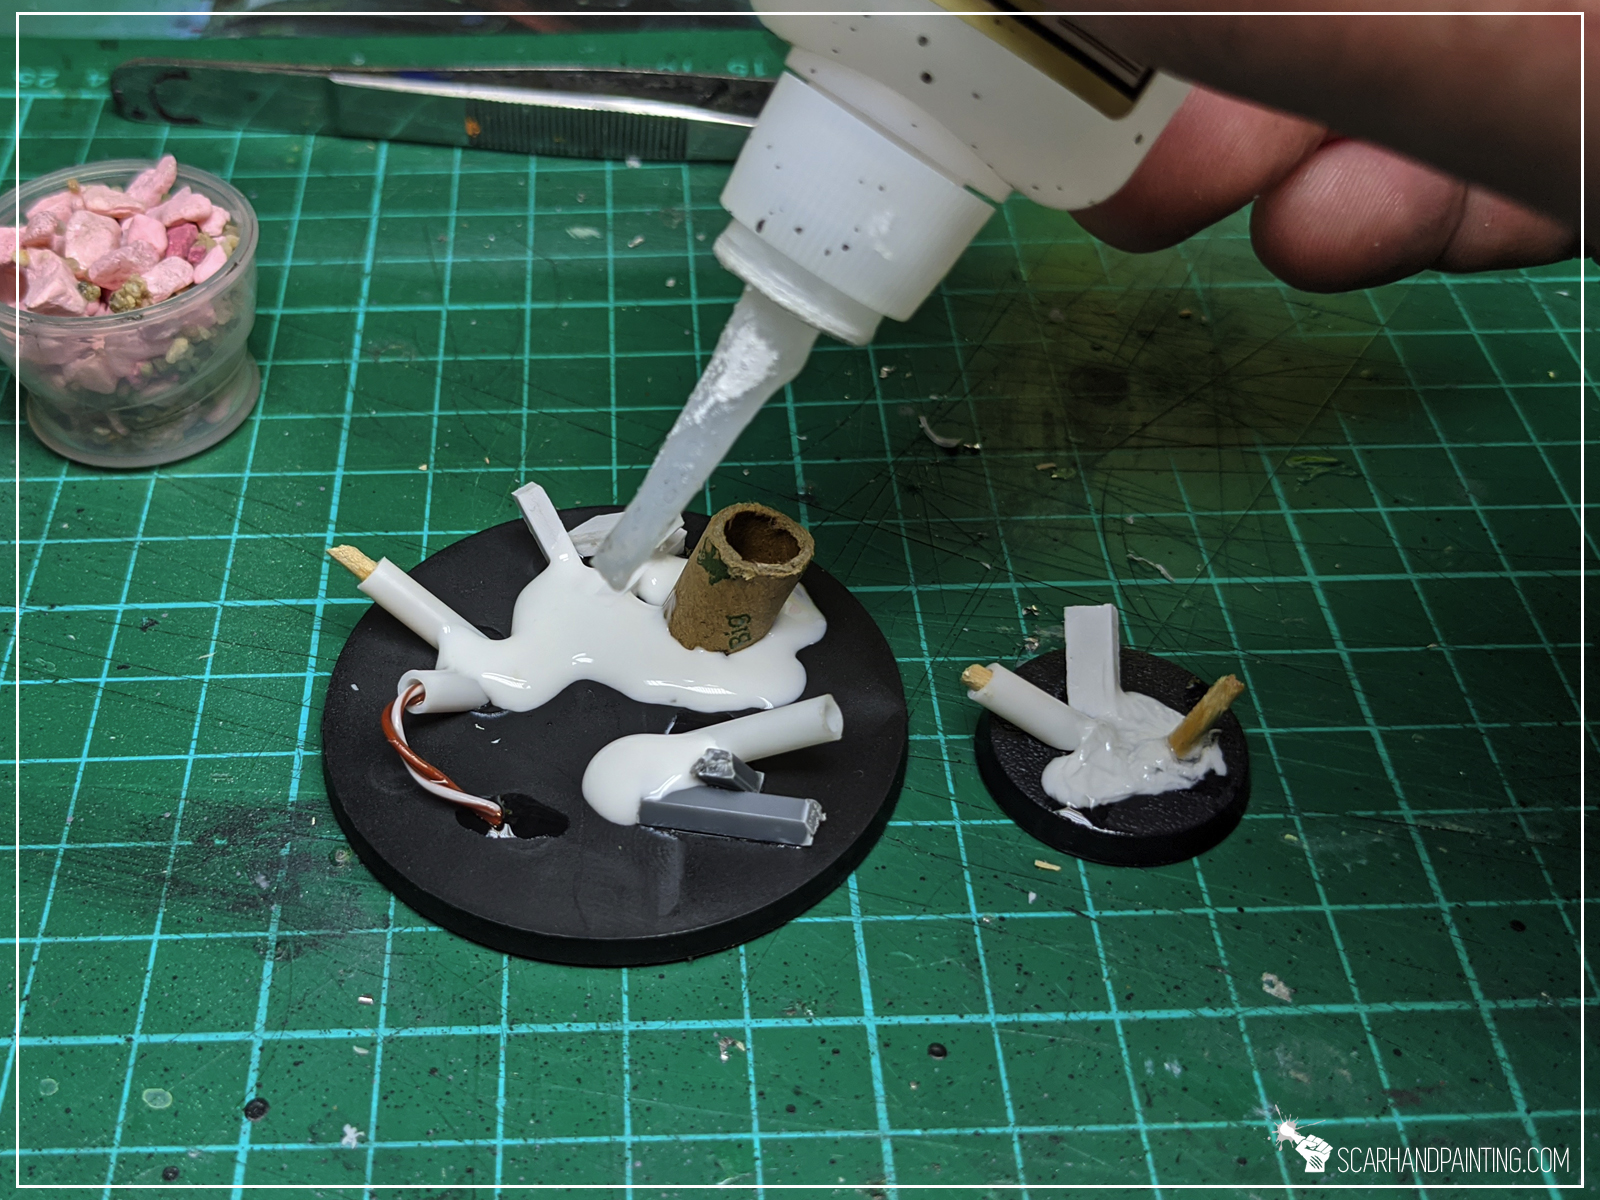


I applied PVA glue around previously glued pieces. I then applied Super glue on top of it and, before super glue hardened, covered entire thing with thick sand mixed with hobby gravel.
Step three: Texture
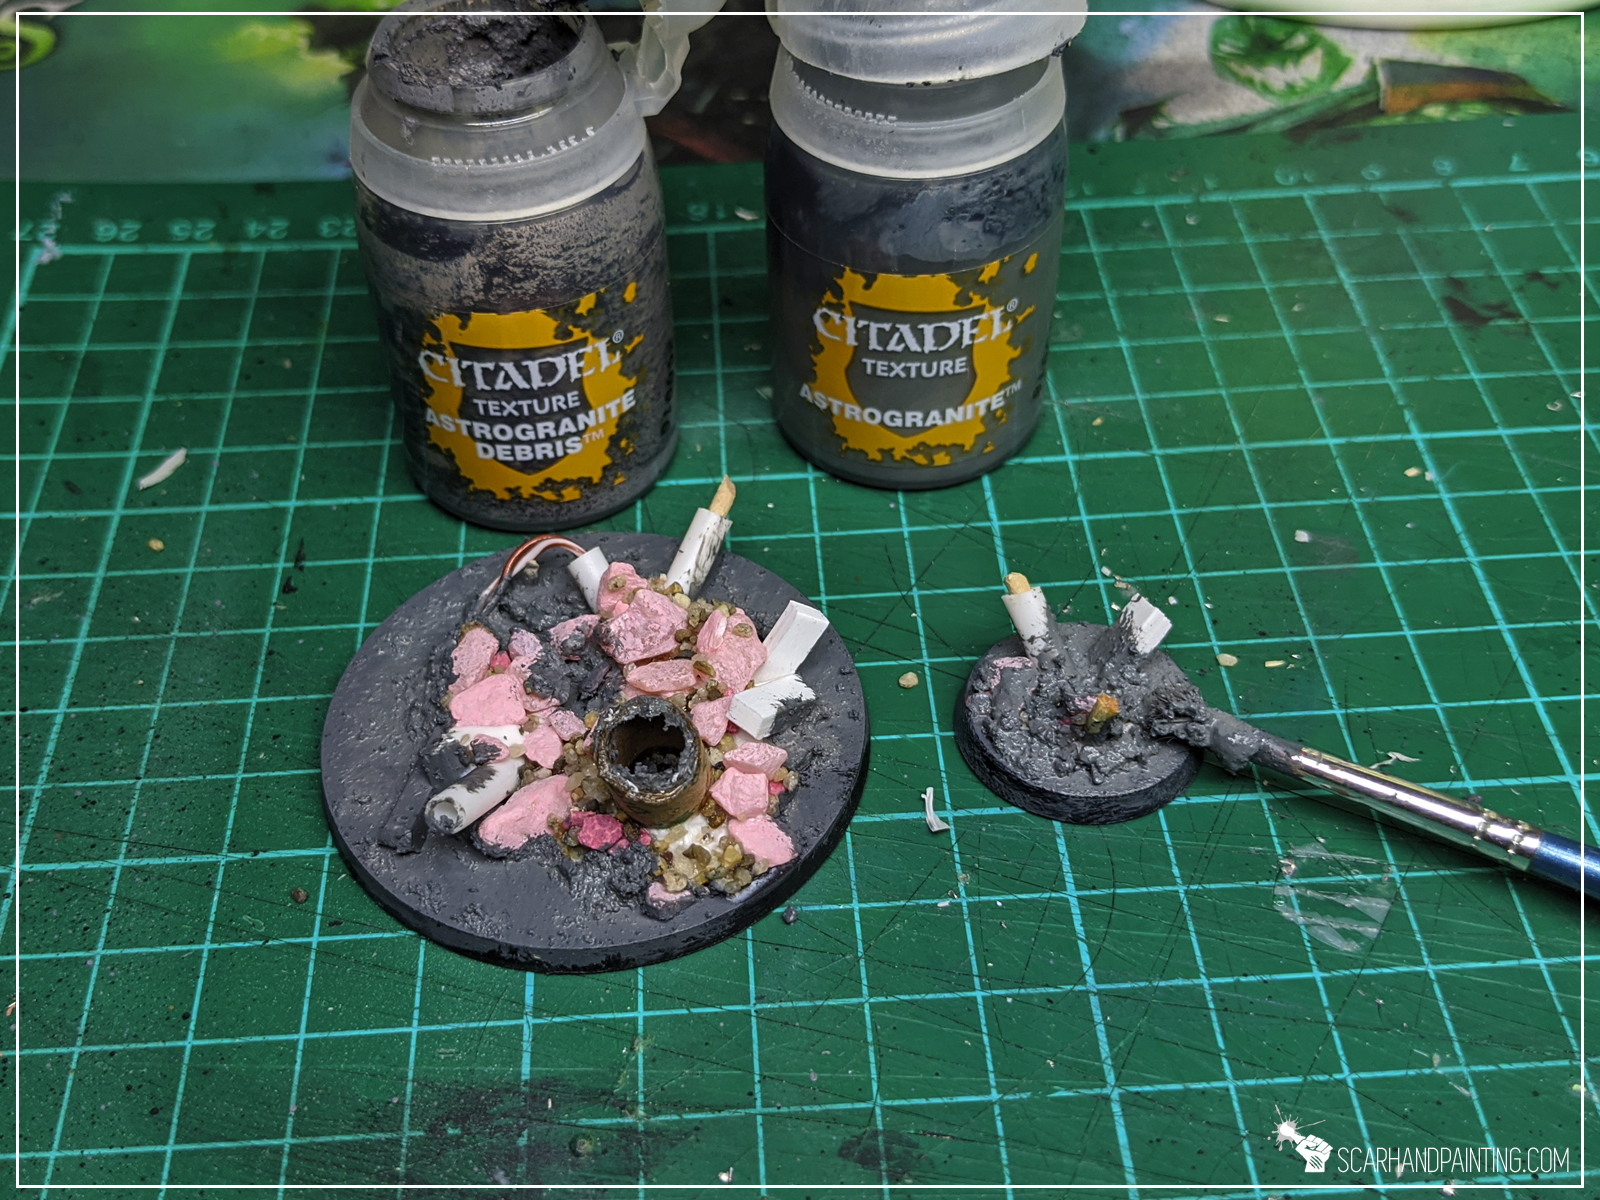
I then textured rest of the base using Games Workshop Astrogranite and Astrogranite Debris paints.
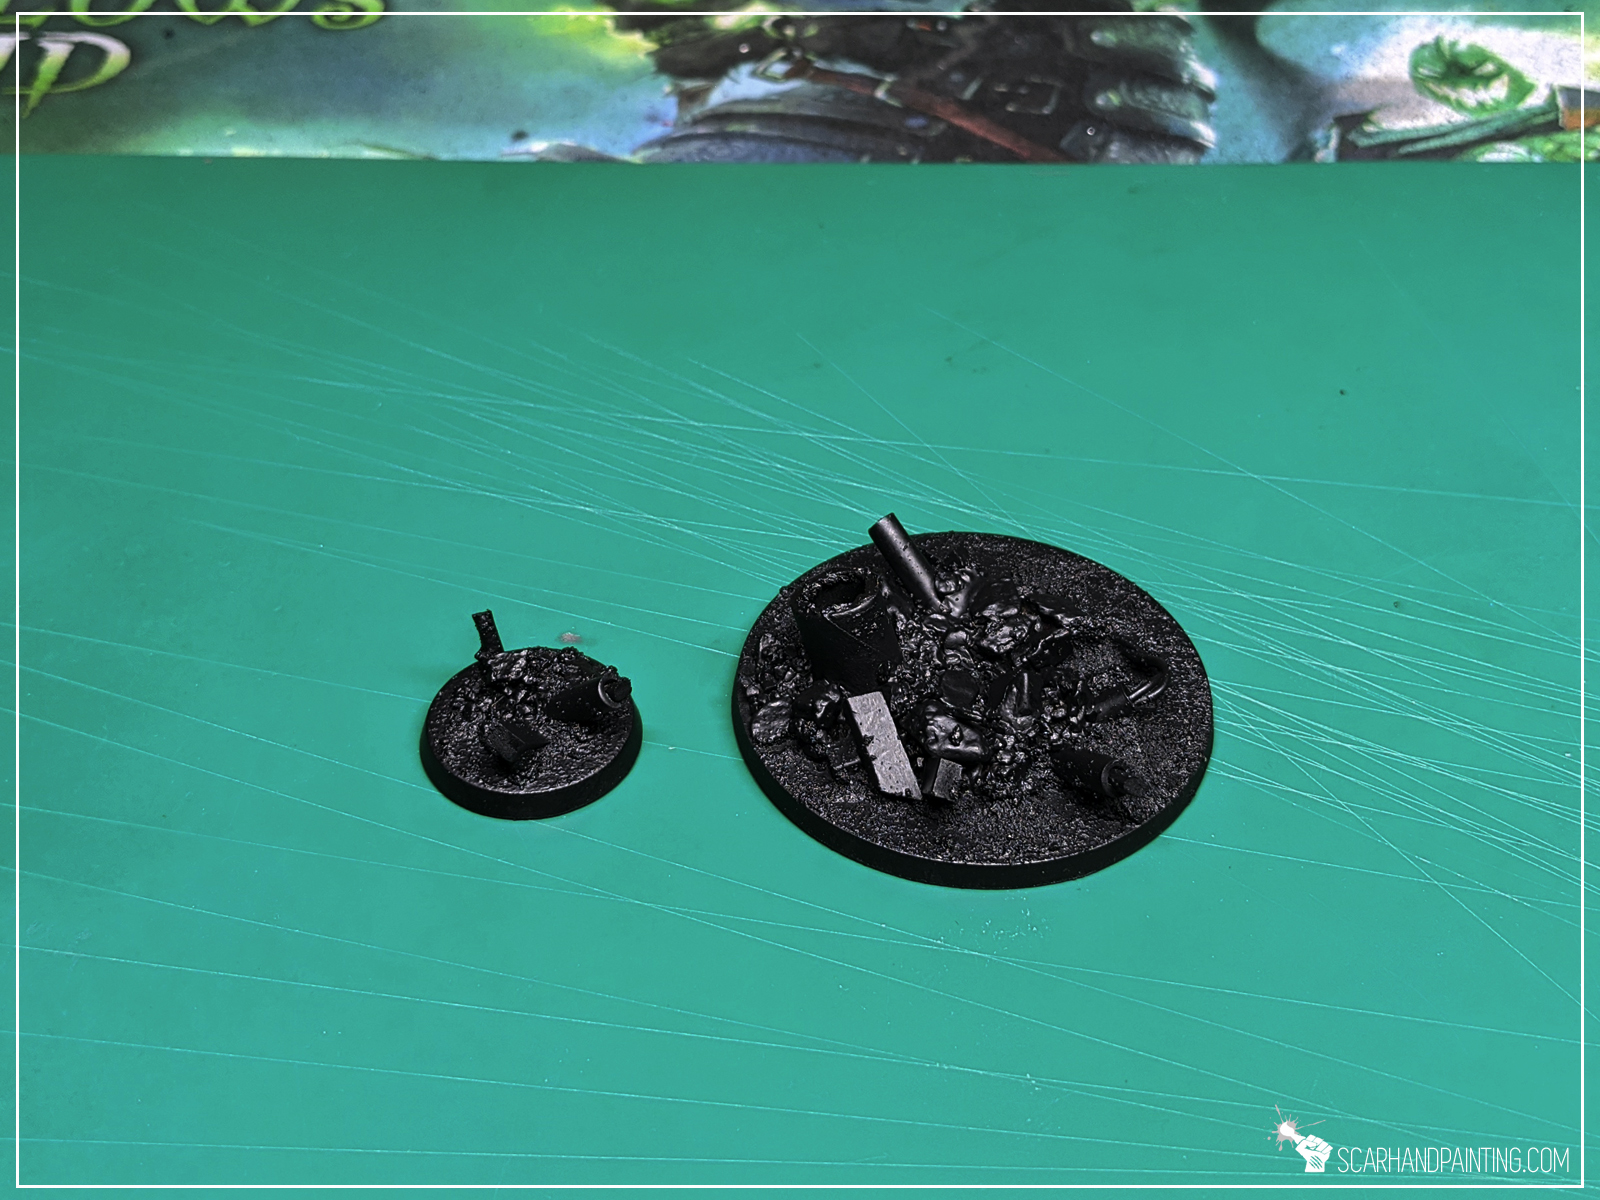


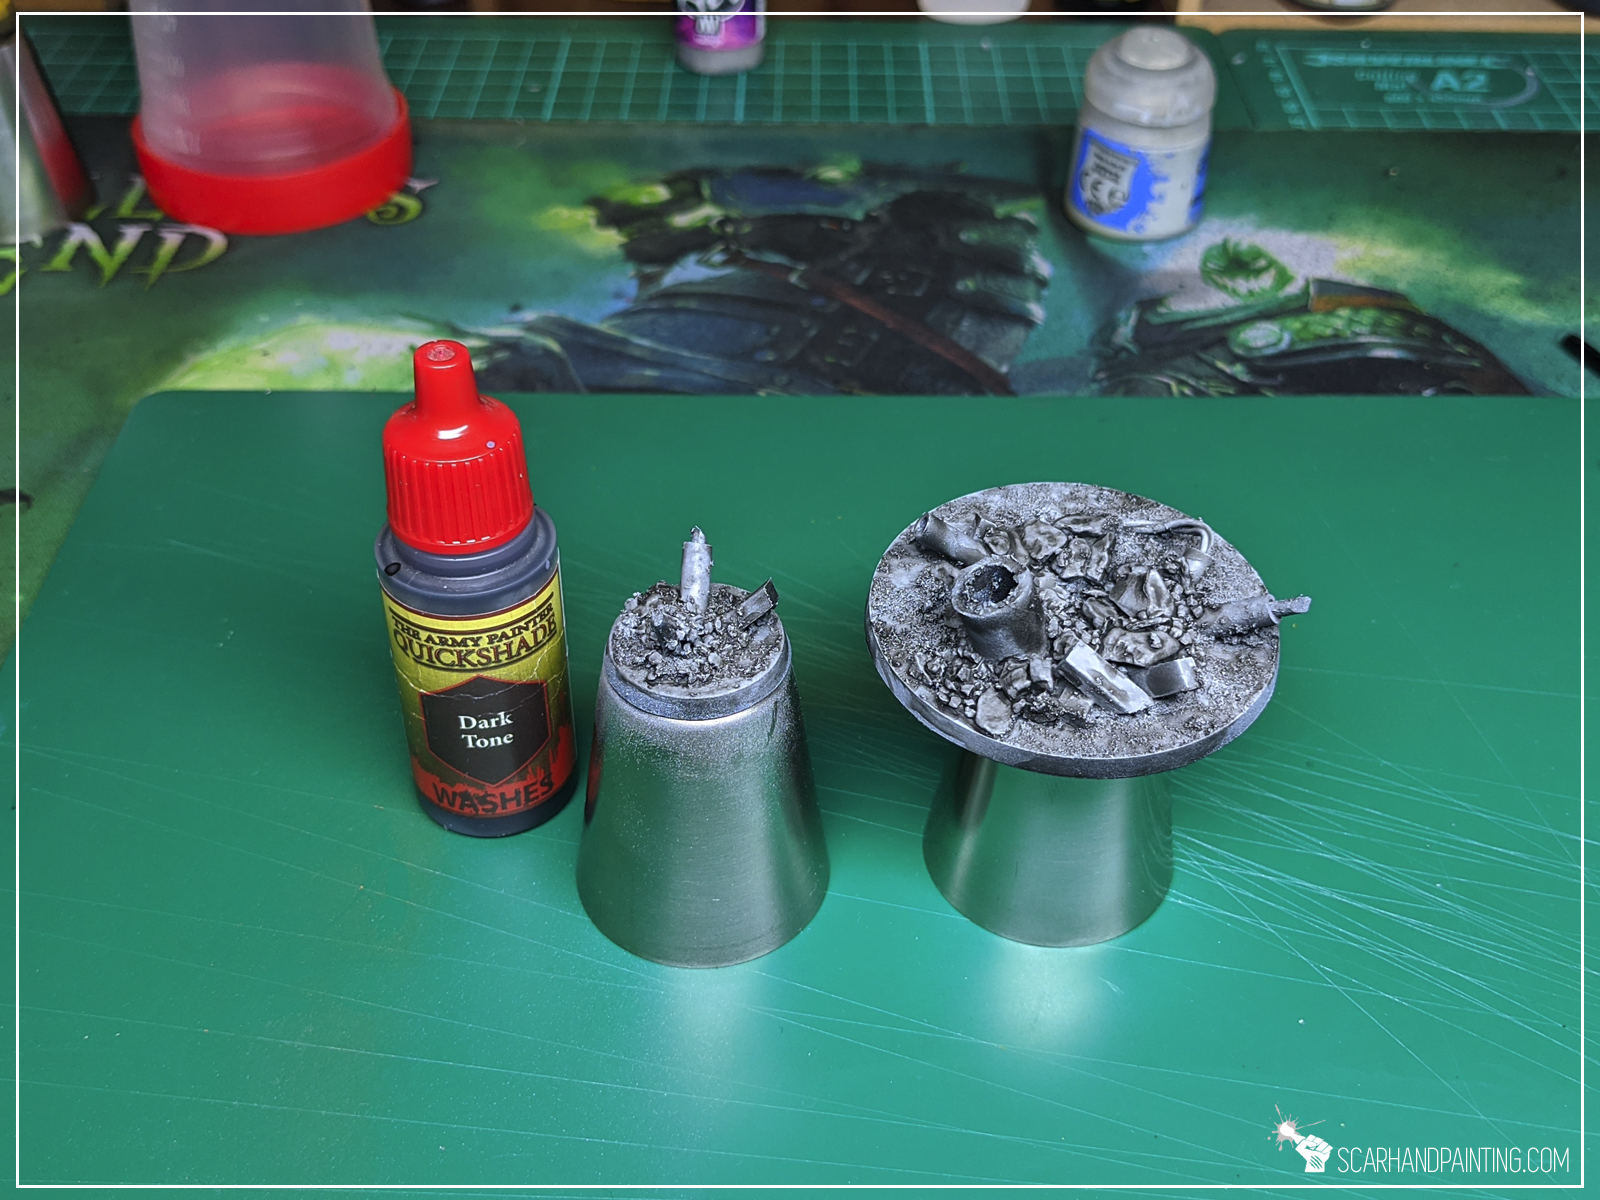
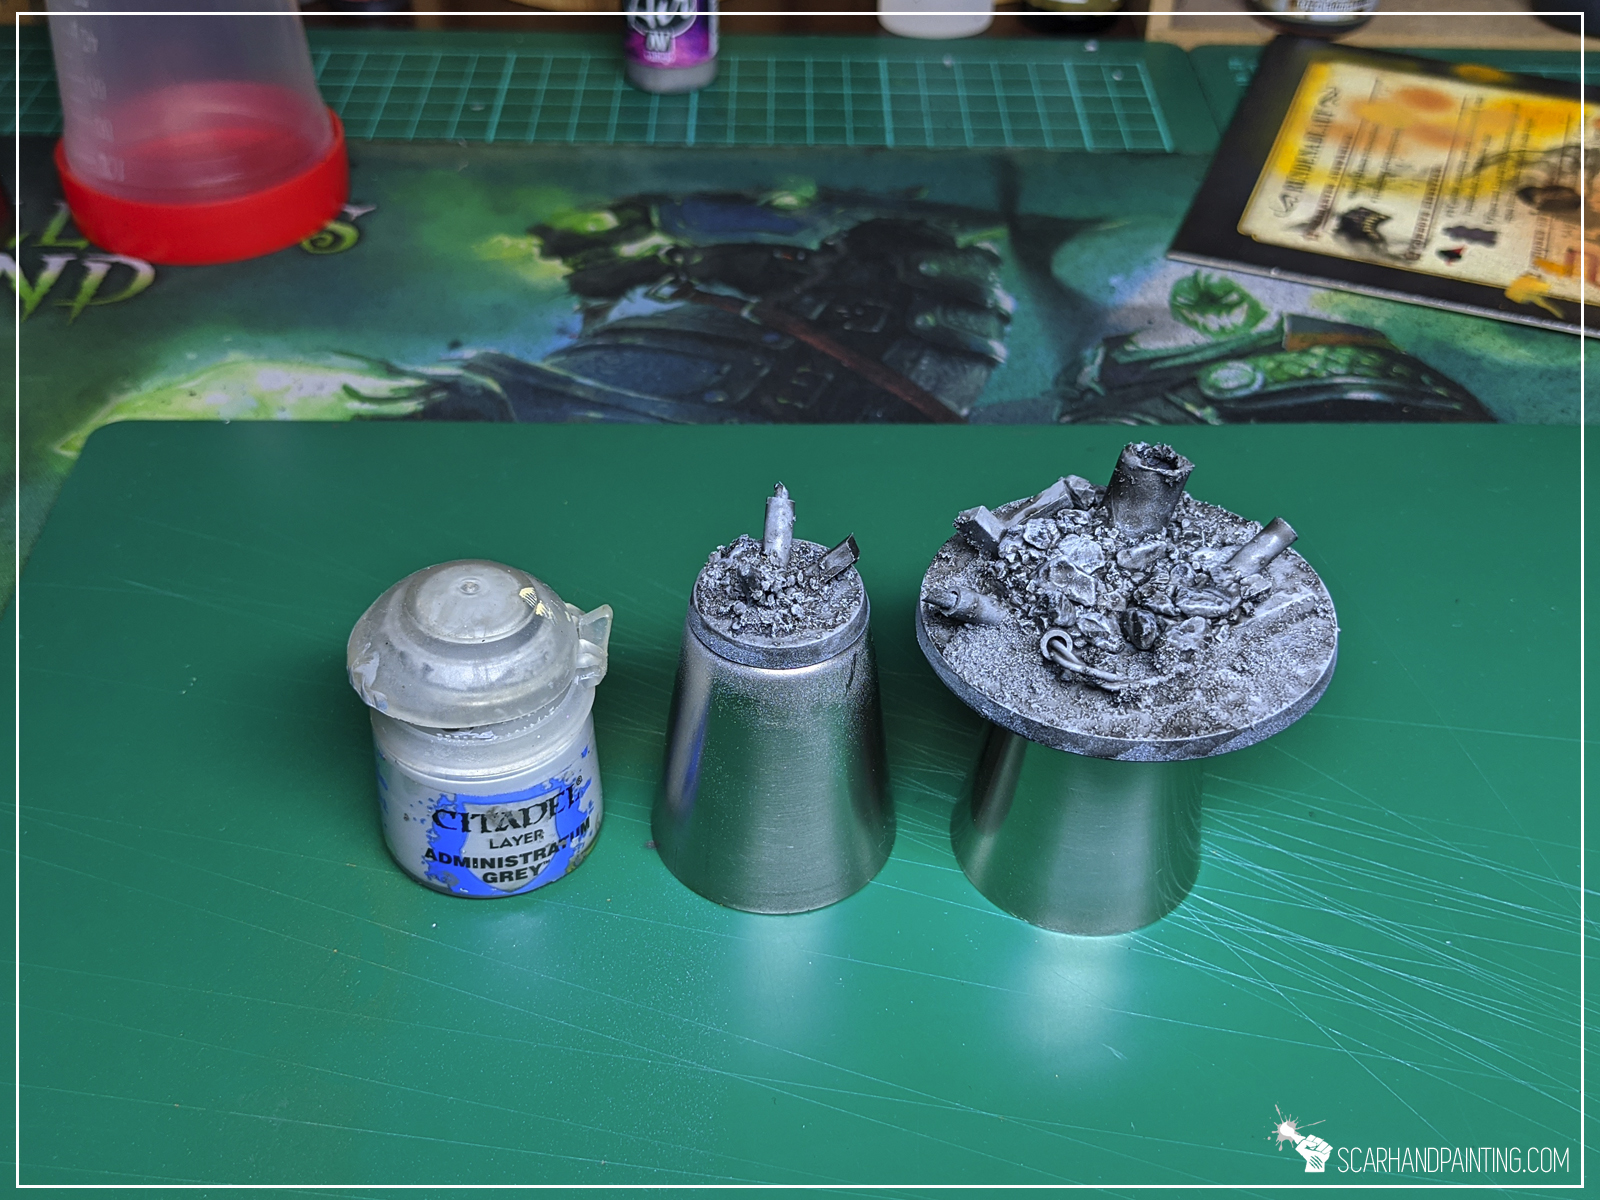
I started with Black Undercoat, then airbrushed a layer of Vallejo Cold Grey, followed short by Vallejo Stonewall Grey. I then washed everything black using Army Painter Dark Tone Ink and once it dried I drybrushed entire base with Games Workshop Administratum Grey.


For metal debris elements I used a mix of Games Workshop Warplock Bronze and Army Painter Gun Metal, followed by a highlight of Army Painter Shining Silver. I then washed all the pieces brown with Army Painter Strong Tone Ink.
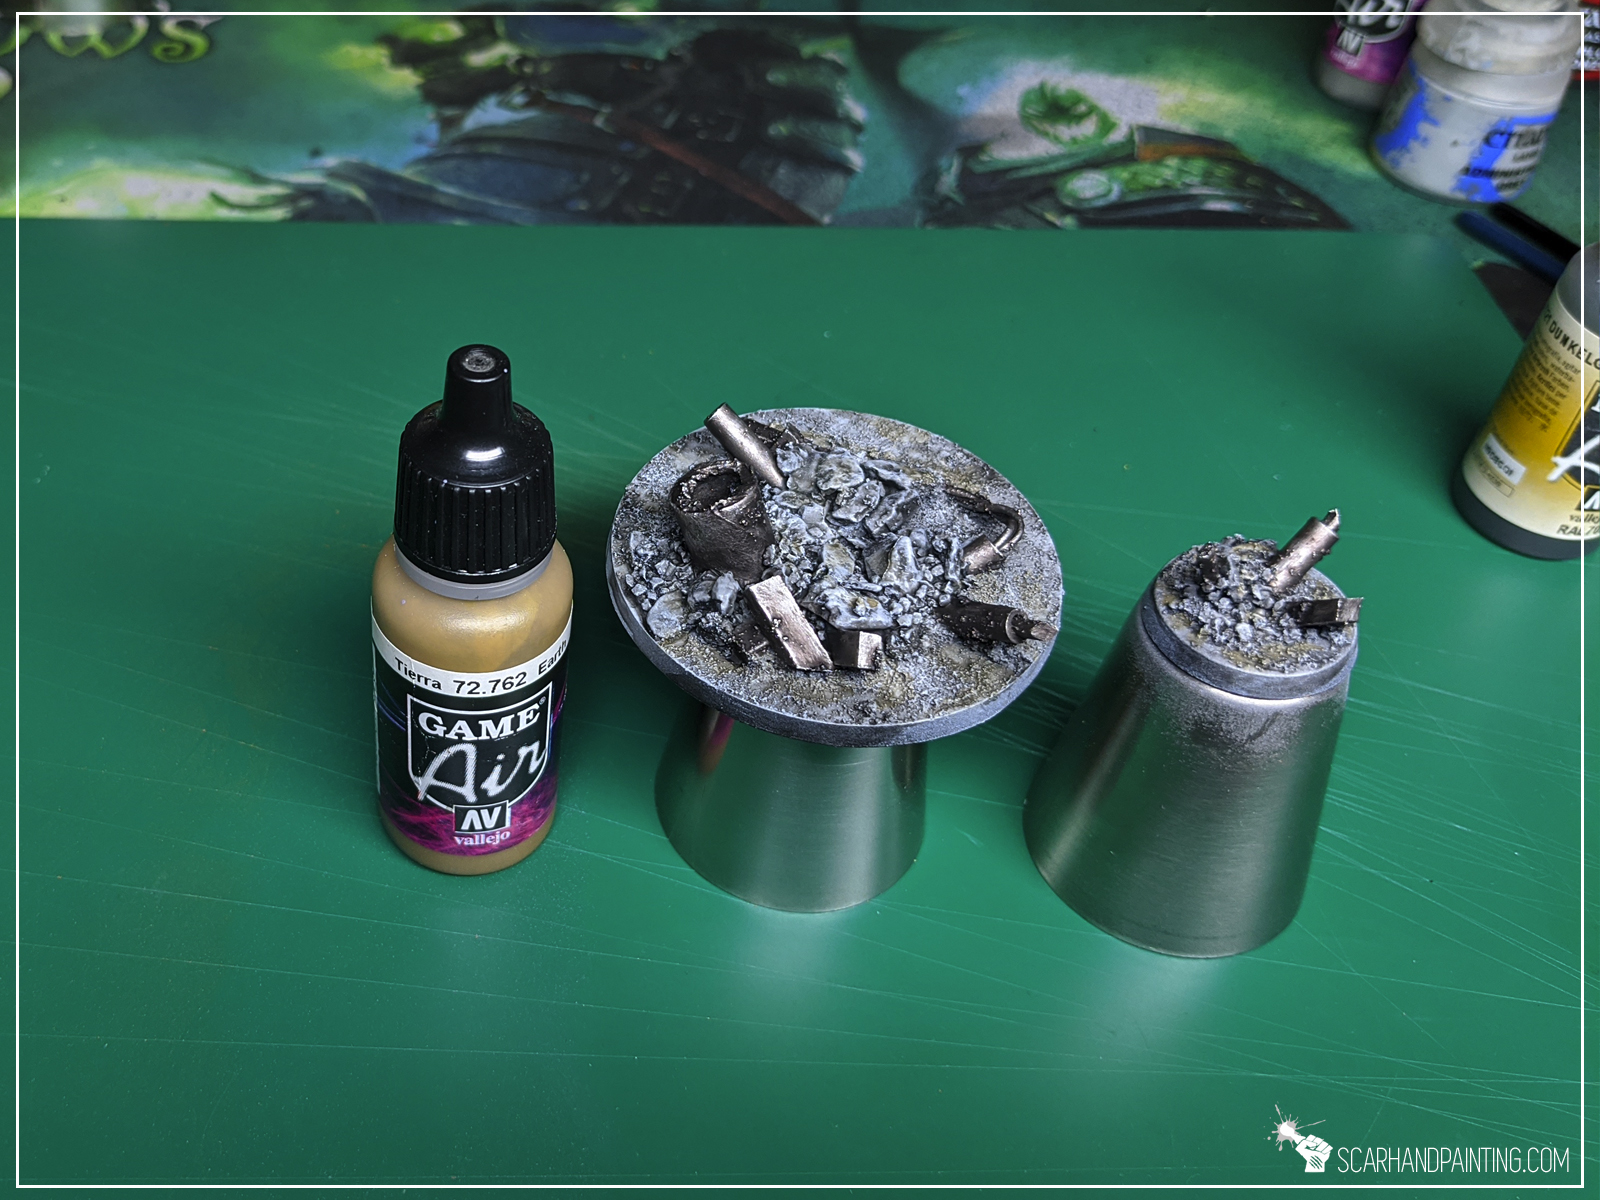
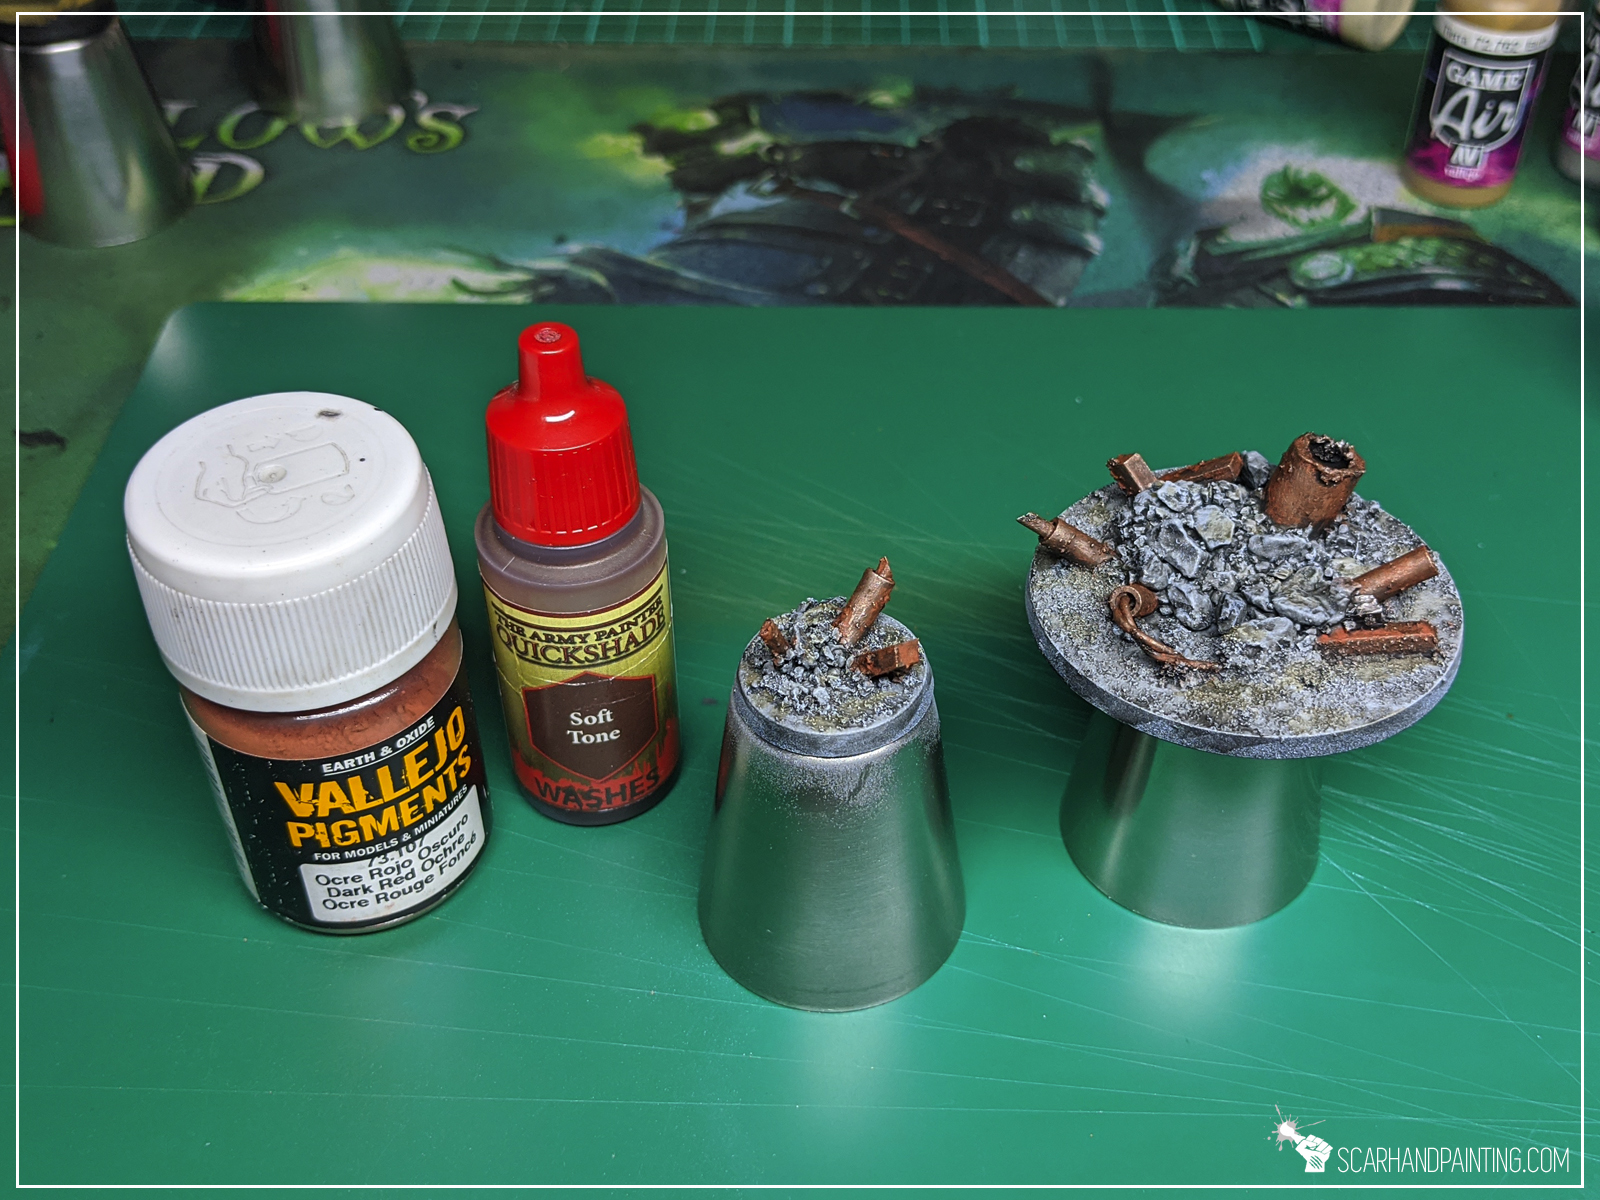

For additional depth and effects I blended in some watered Vallejo Earth. Next I washed all metal debris with a mix of Vallejo Dark Red Ochre Pigment and Army Painter Soft Tone Ink. Lastly I drybrushed grey areas with Vallejo Ghost Grey.
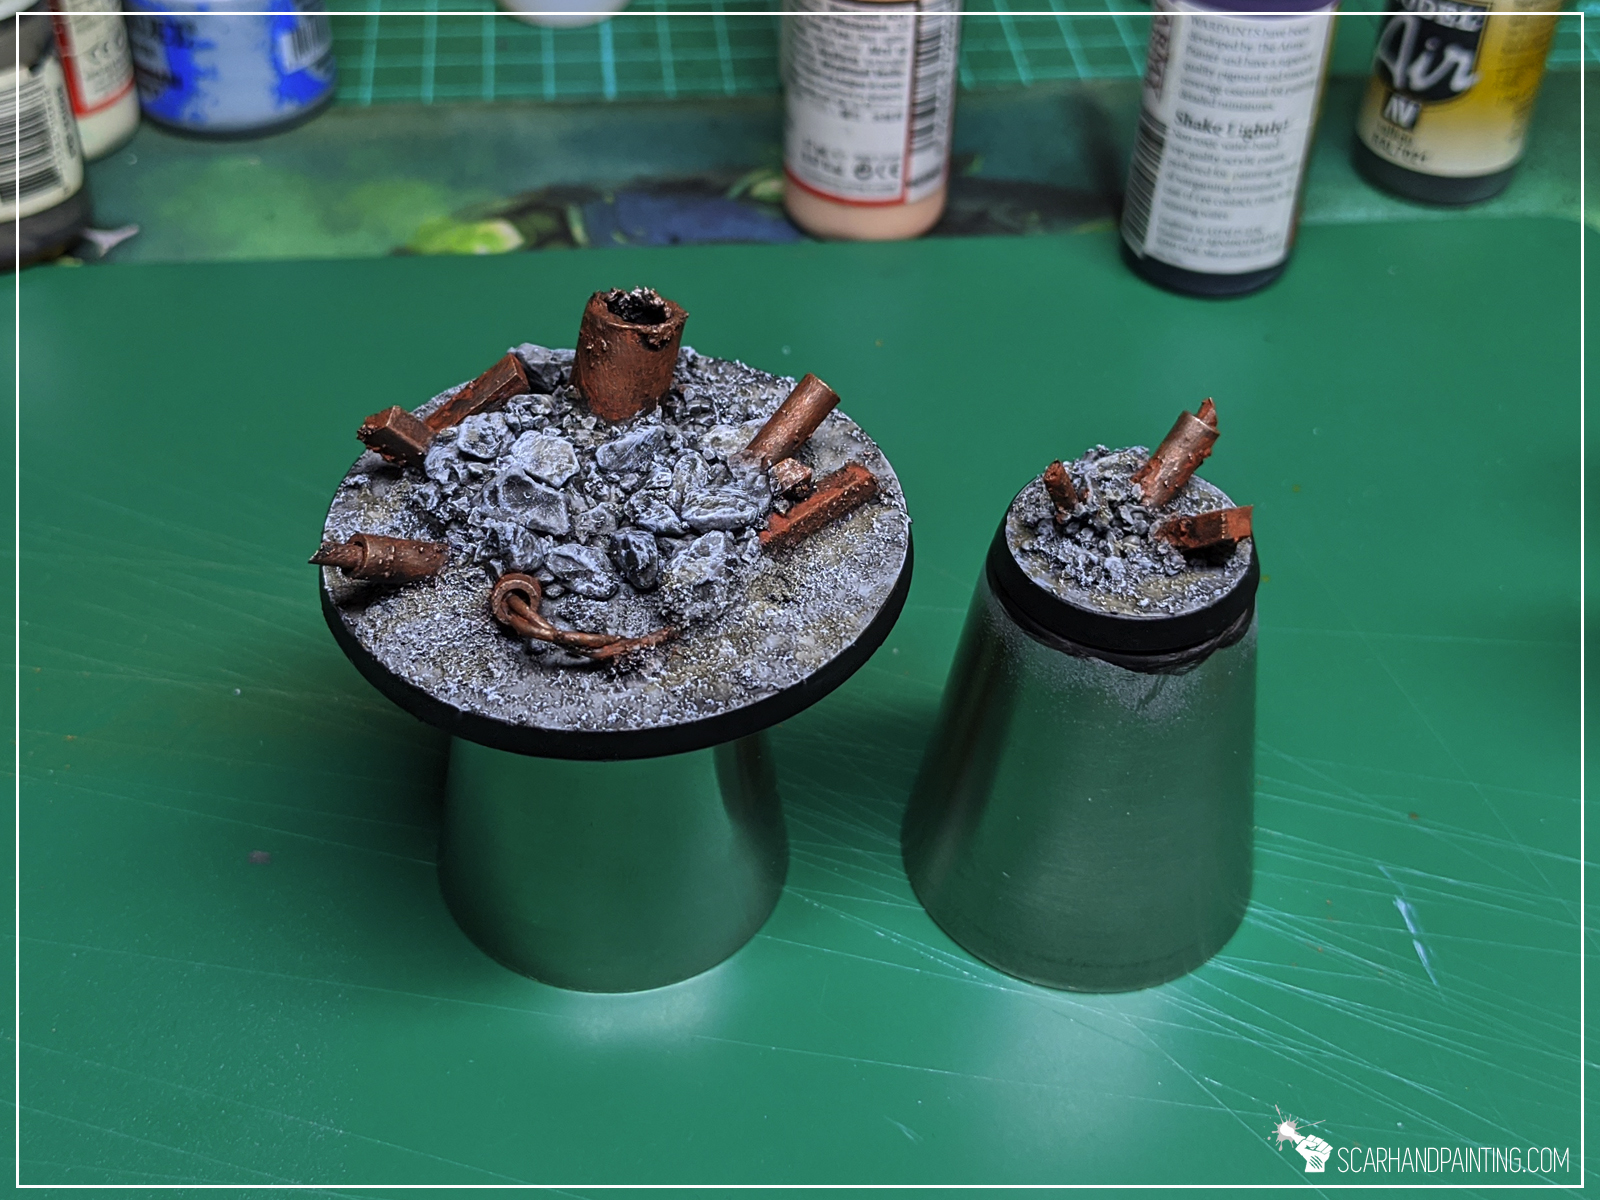
Edges repainted black and job done!
You like this article? Don’t be a stranger! Let me know what you think in the comments below or at my Facebook profile! Cheers!