- contact@scarhandpainting.com


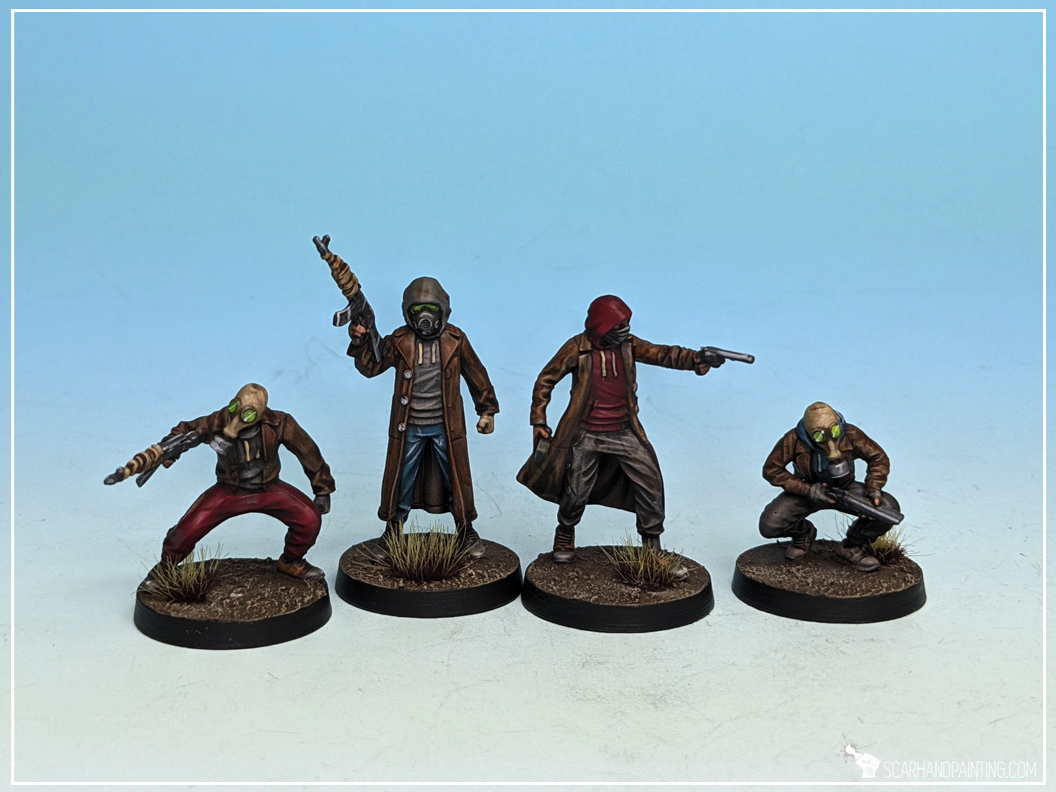
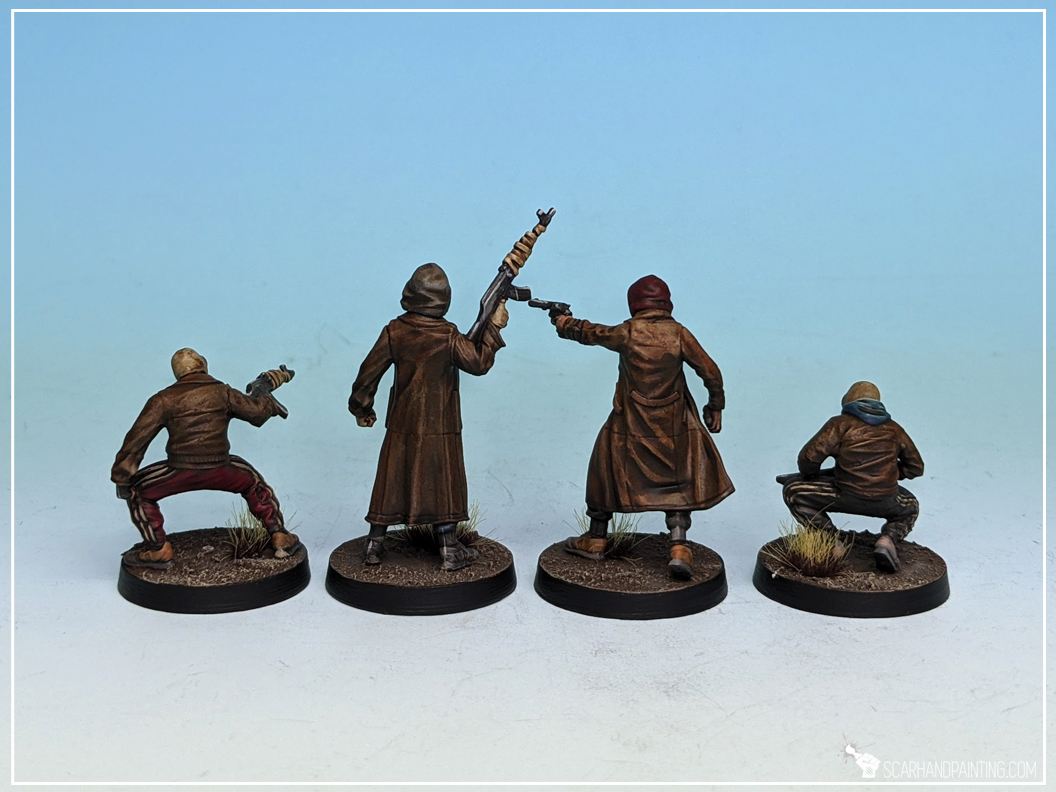
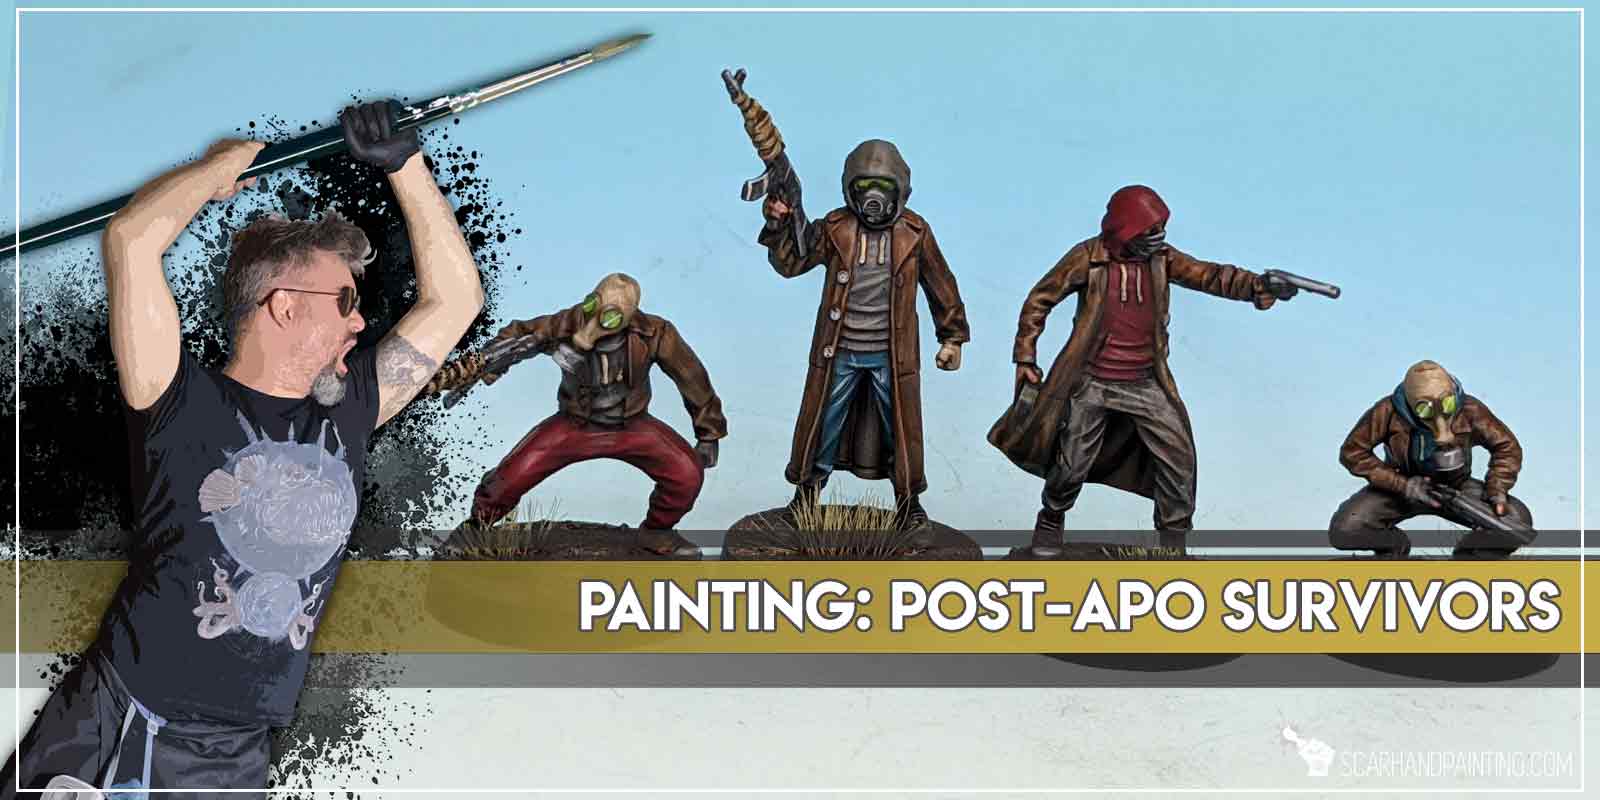
Welcome to Painting Road to Survival Bandits tutorial. Here I will present to you a Step-by-step of an easy and fast painting process for Orzol Studio’s Bandits team from the Post-apo Survivors Kickstarter.
Before we start, some notes:

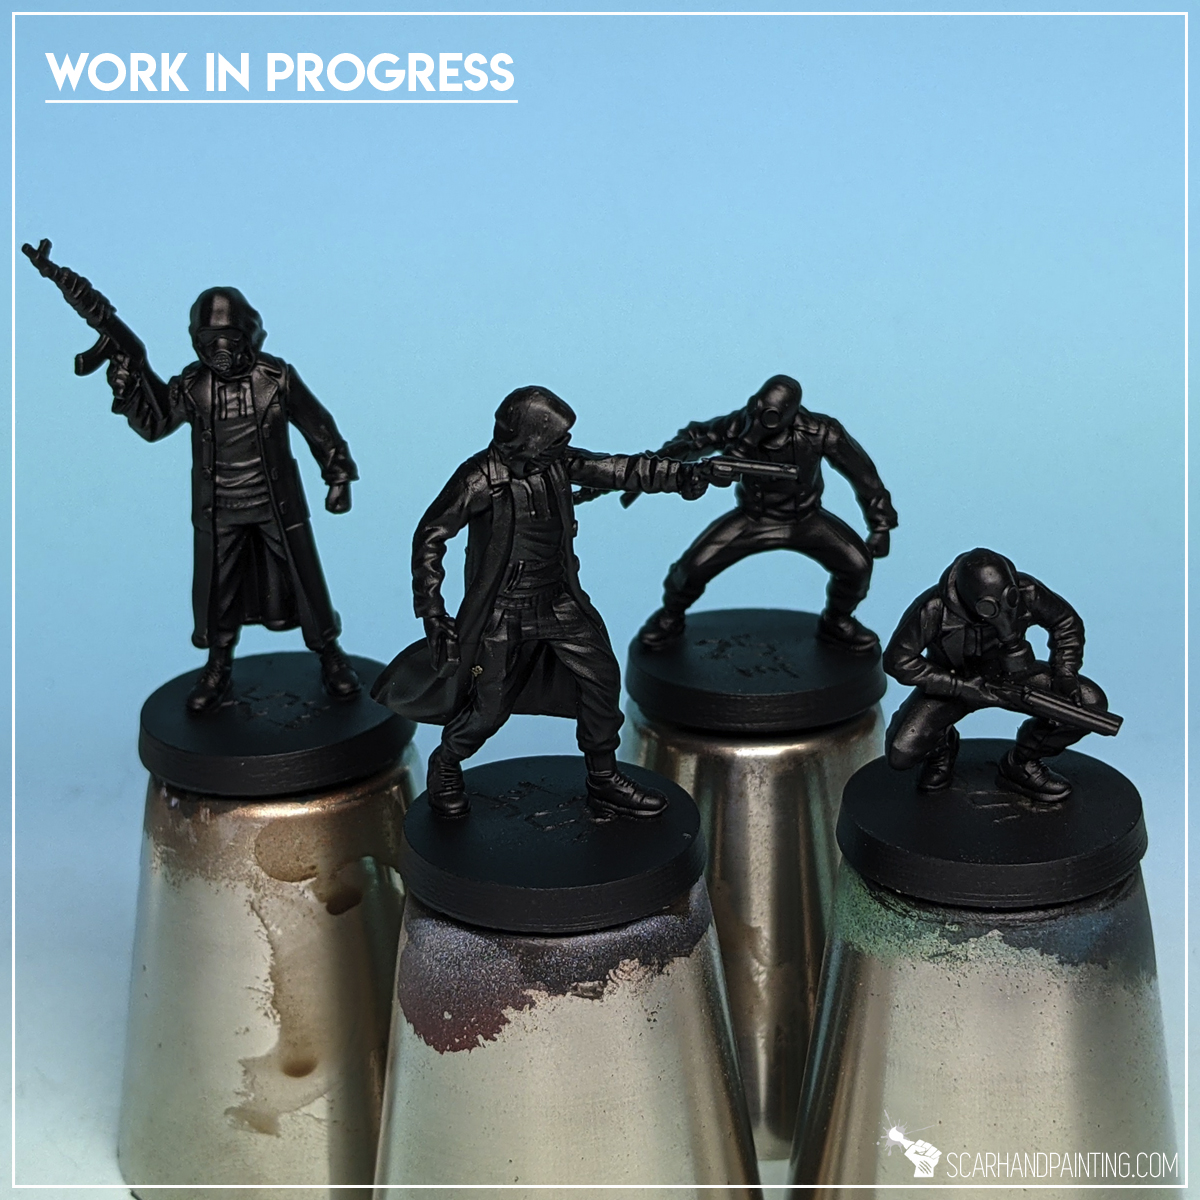
Step one: Undercoat
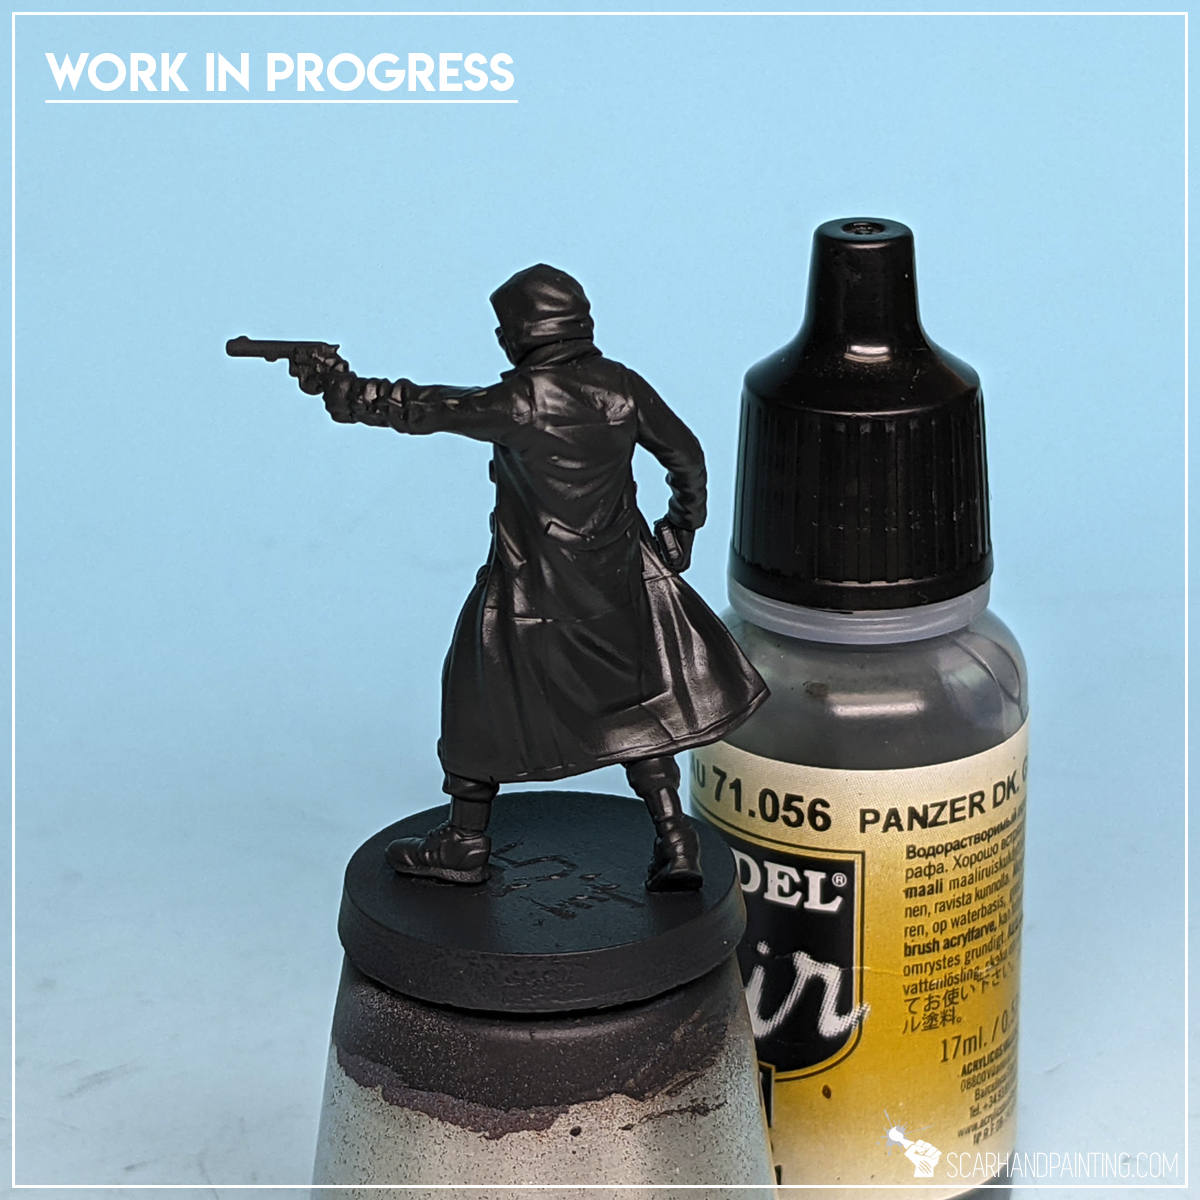
I applied a strong layer of Citadel Chaos Black spray. I prefer spray over manual application, but this is just a personal preference. Any matt black undercoat will do, as long as it’s thorough.
Step two: Grey clothes base
I started by airbrushing a strong layer of Vallejo Panzer Dark Grey all over the miniature. I used an airbrush mainly to have a thin but also strong and smooth layer.
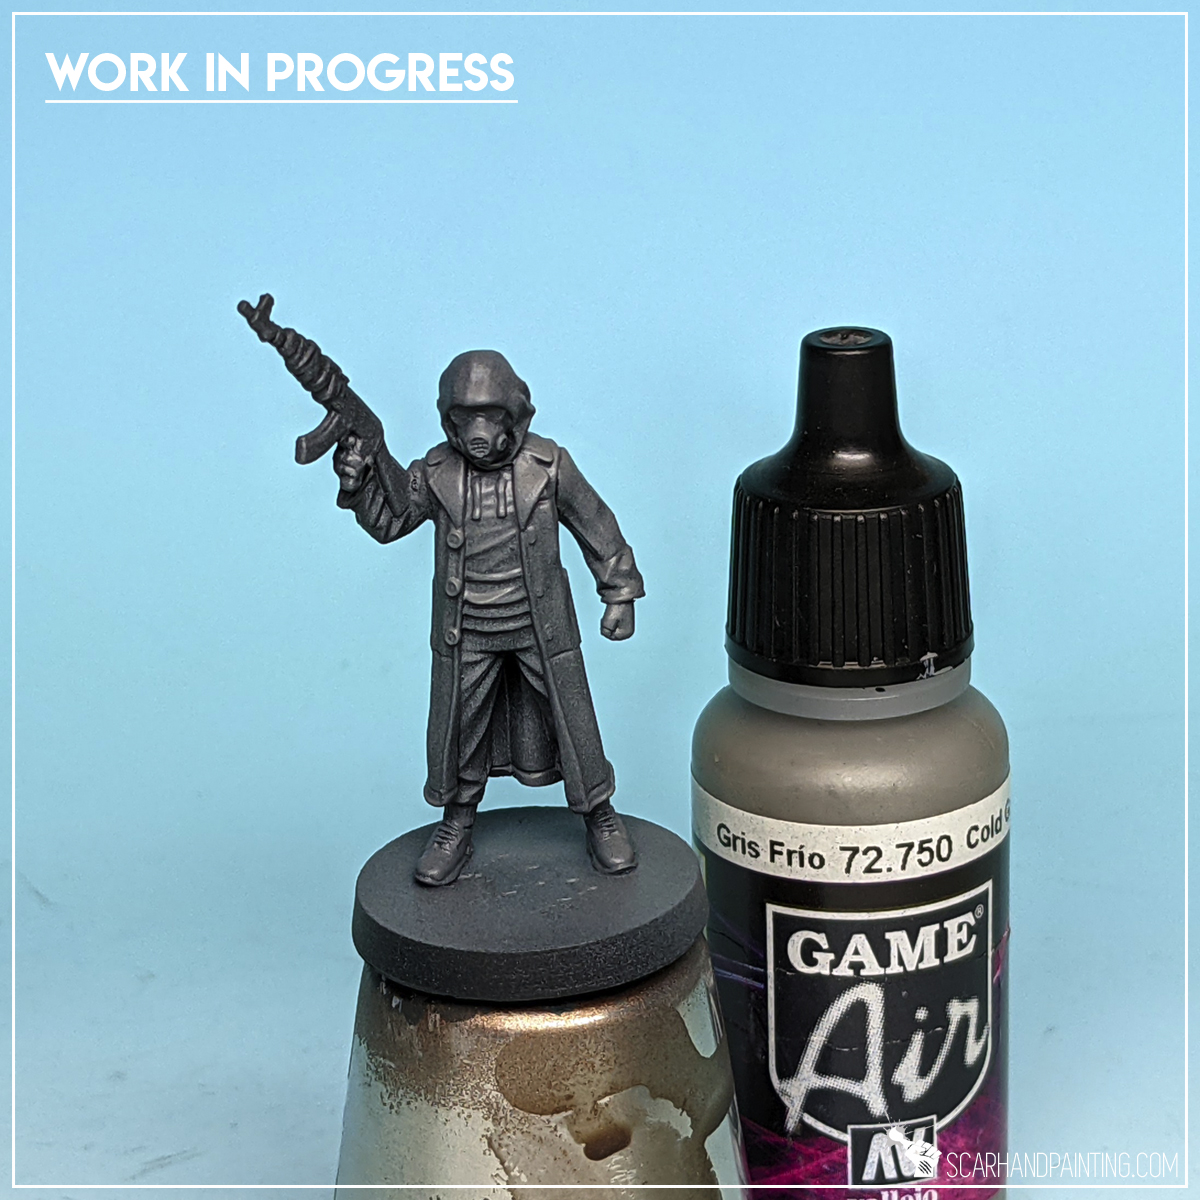
Next I airbrushed a layer of Vallejo Cold Grey on top, zenithally and partially on the sides of the miniature.

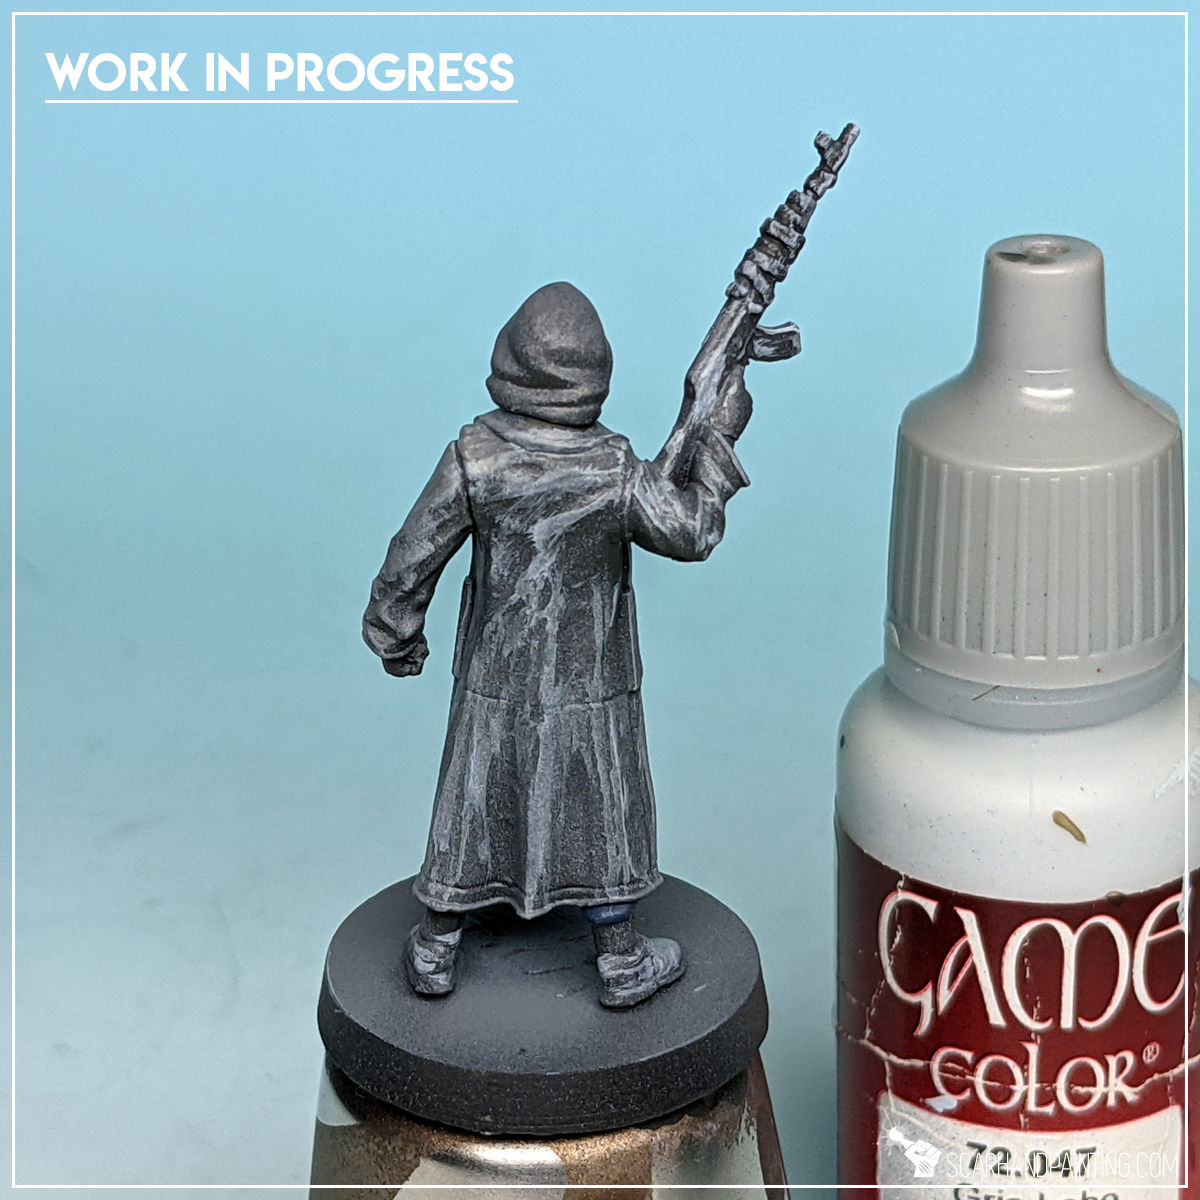
Step three: Brown clothes
With a solid grey foundation I moved to painting browns. I started by applying a thinned down Vallejo Ghost Grey in a gritty, haphazard fashion on top of everything soon to be brown. I also used this opportunity to apply highlights on weapons and pieces of clothes meant to be black.
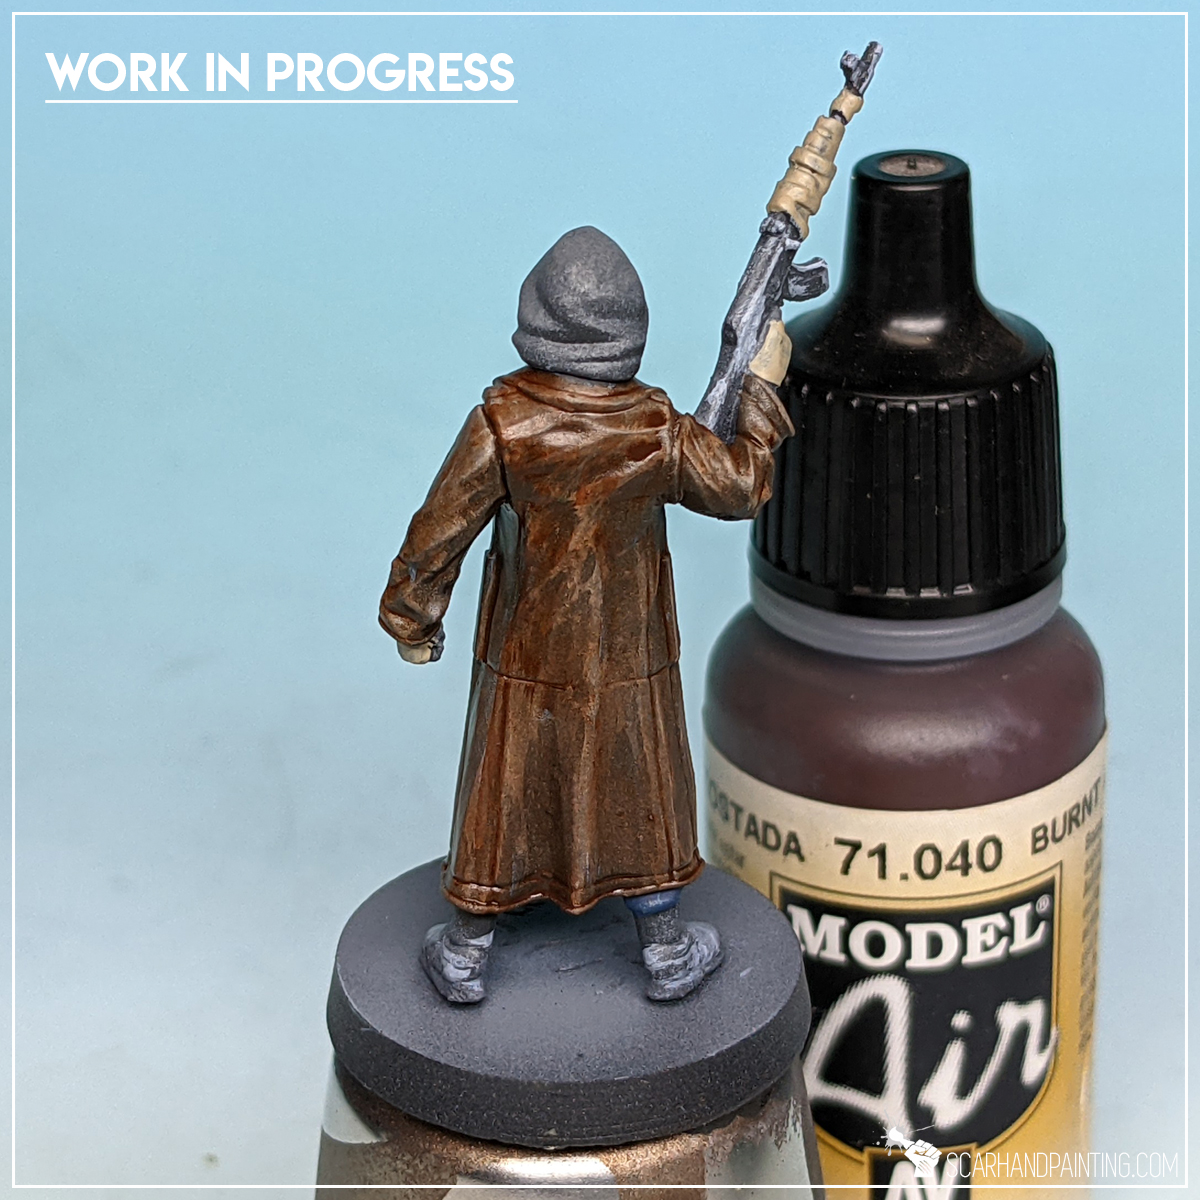
Then I applied a strongly thinned layer of Vallejo Burnt Umber instantly changing grey to nice vibrant brown, but keeping all the detail of the previous layer still visible. You might say I glazed with Burnt Umber.
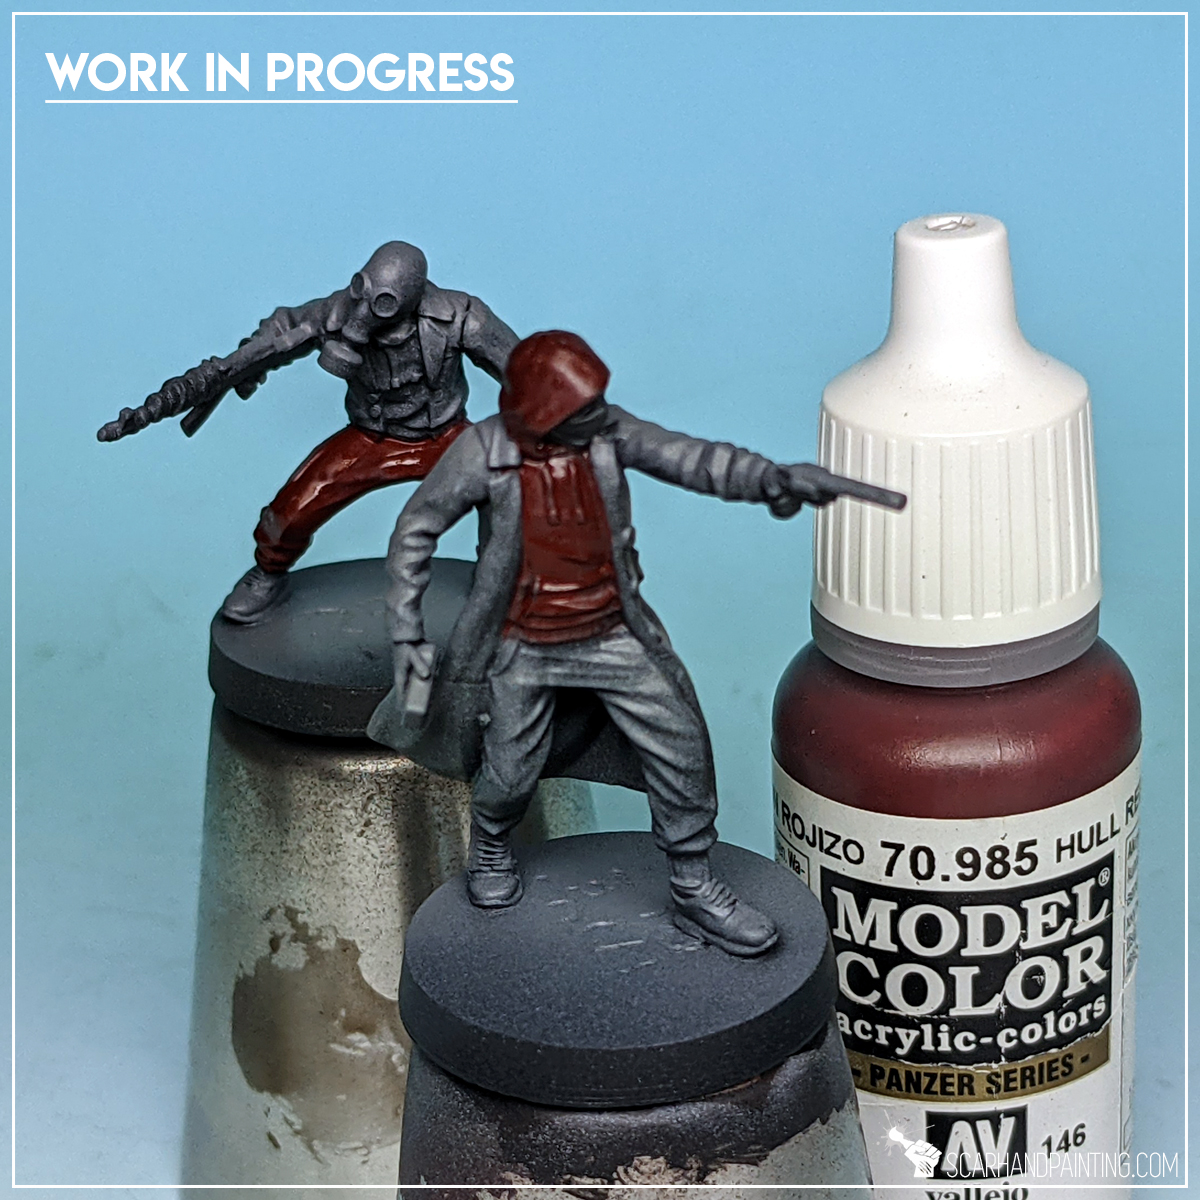
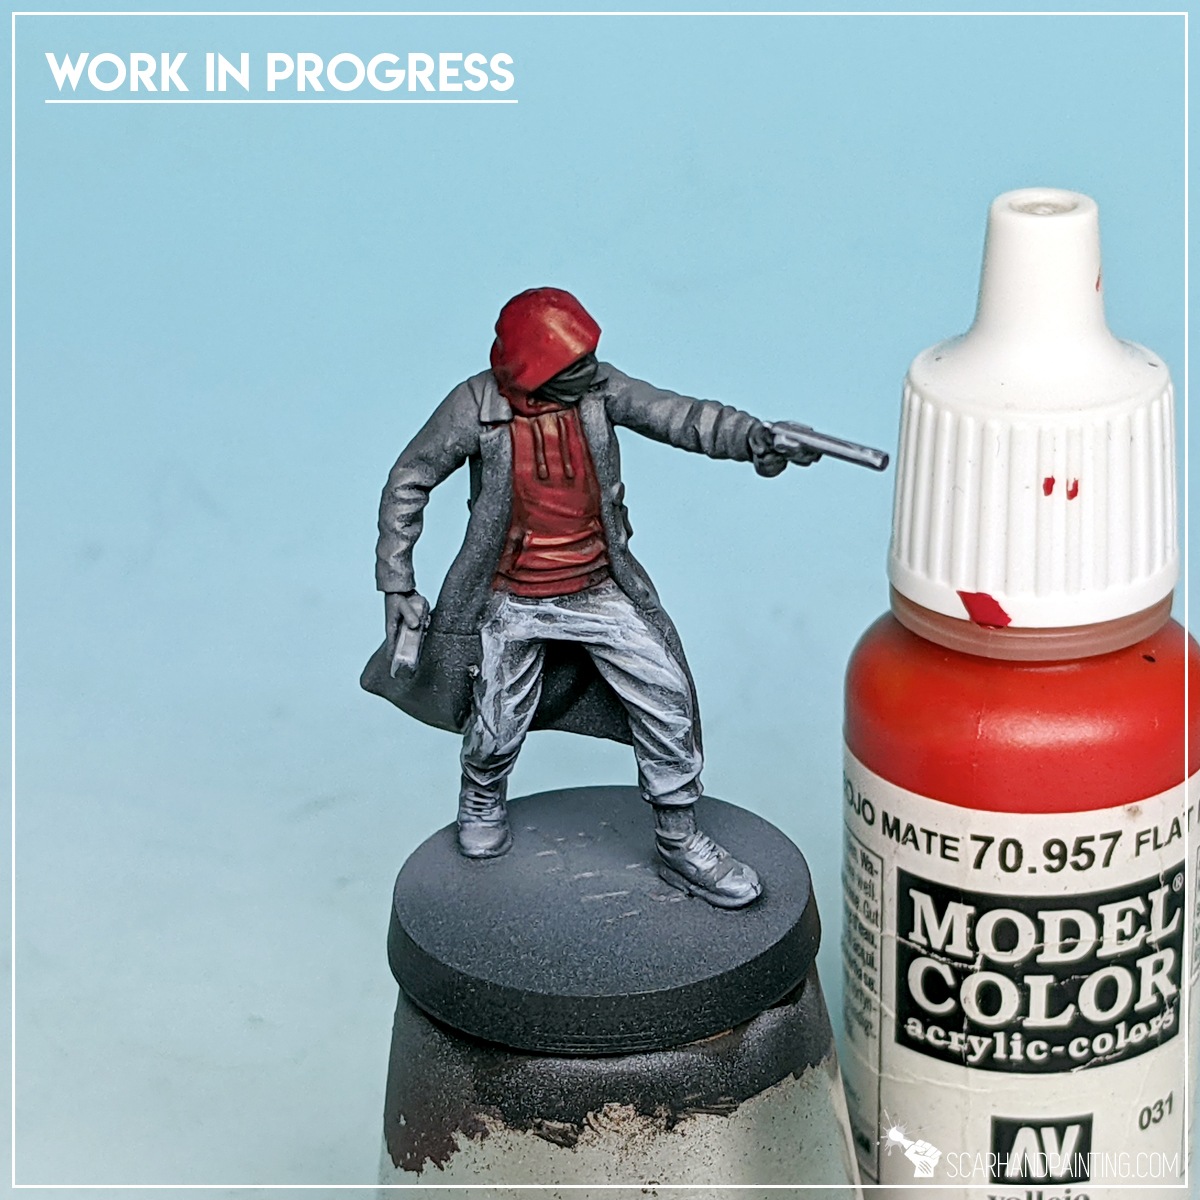
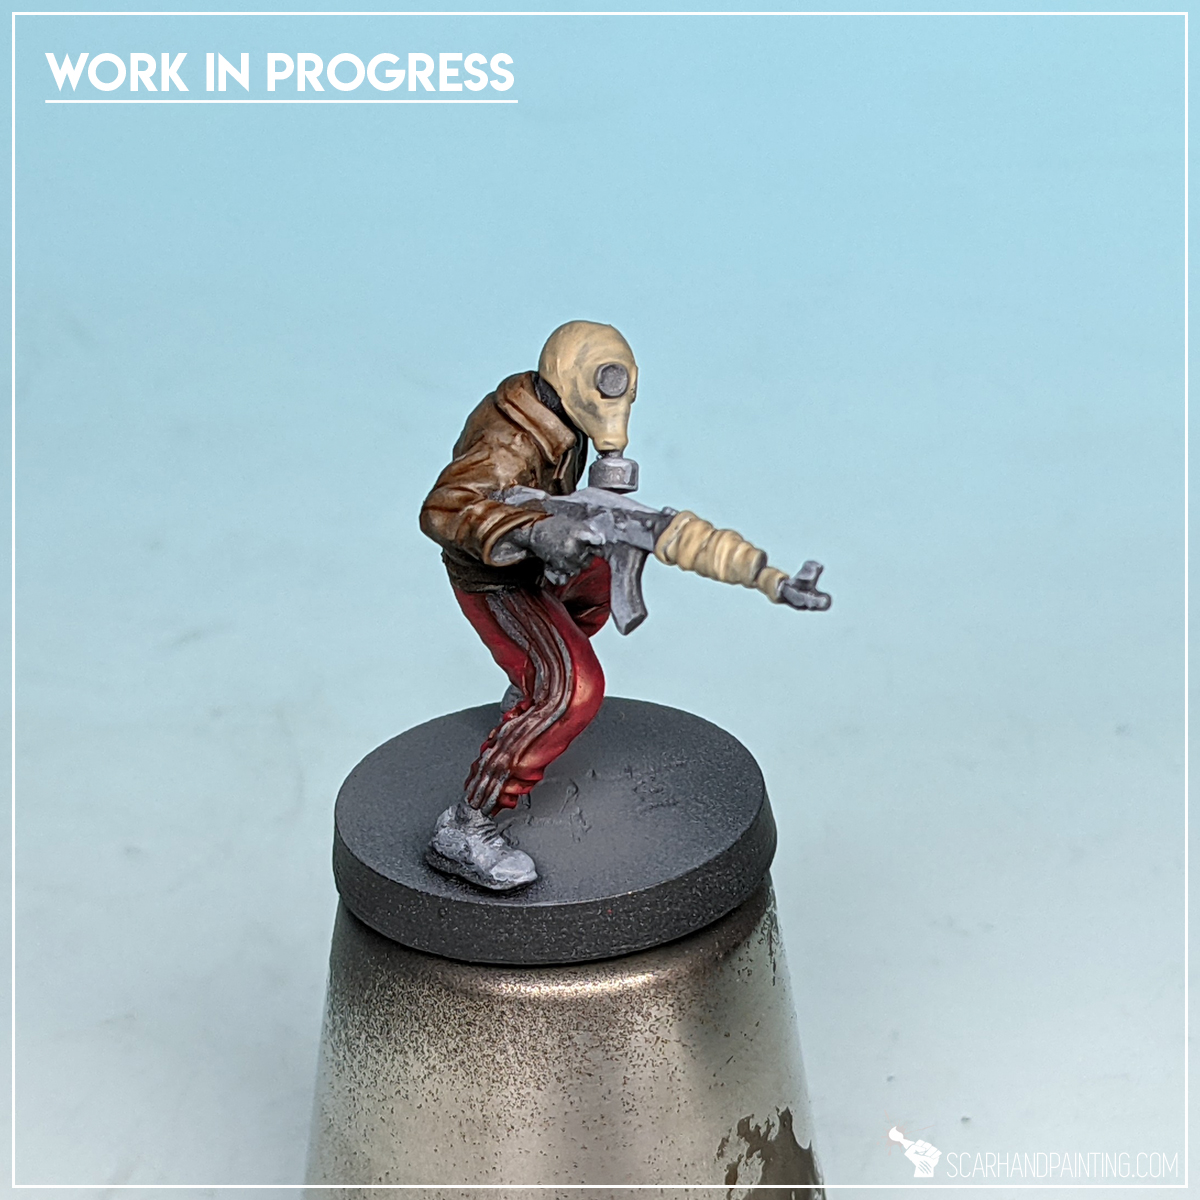
Step four: Red clothes
I moved to Reds, staring with a strong layer of Vallejo Hull Red, followed by a wide highlight of Vallejo Flat Red.
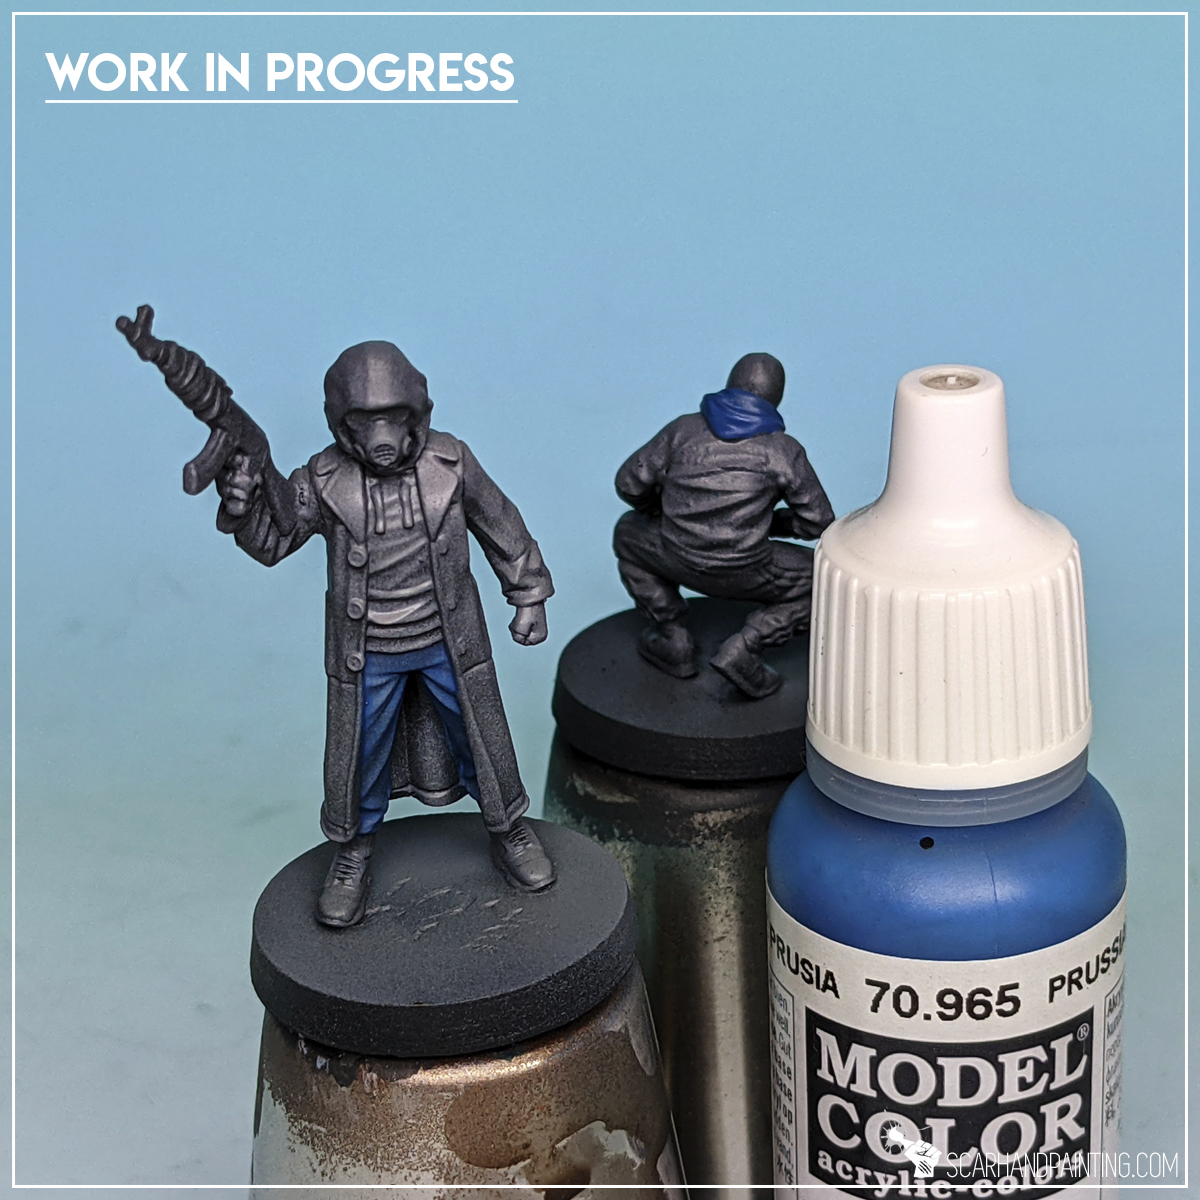
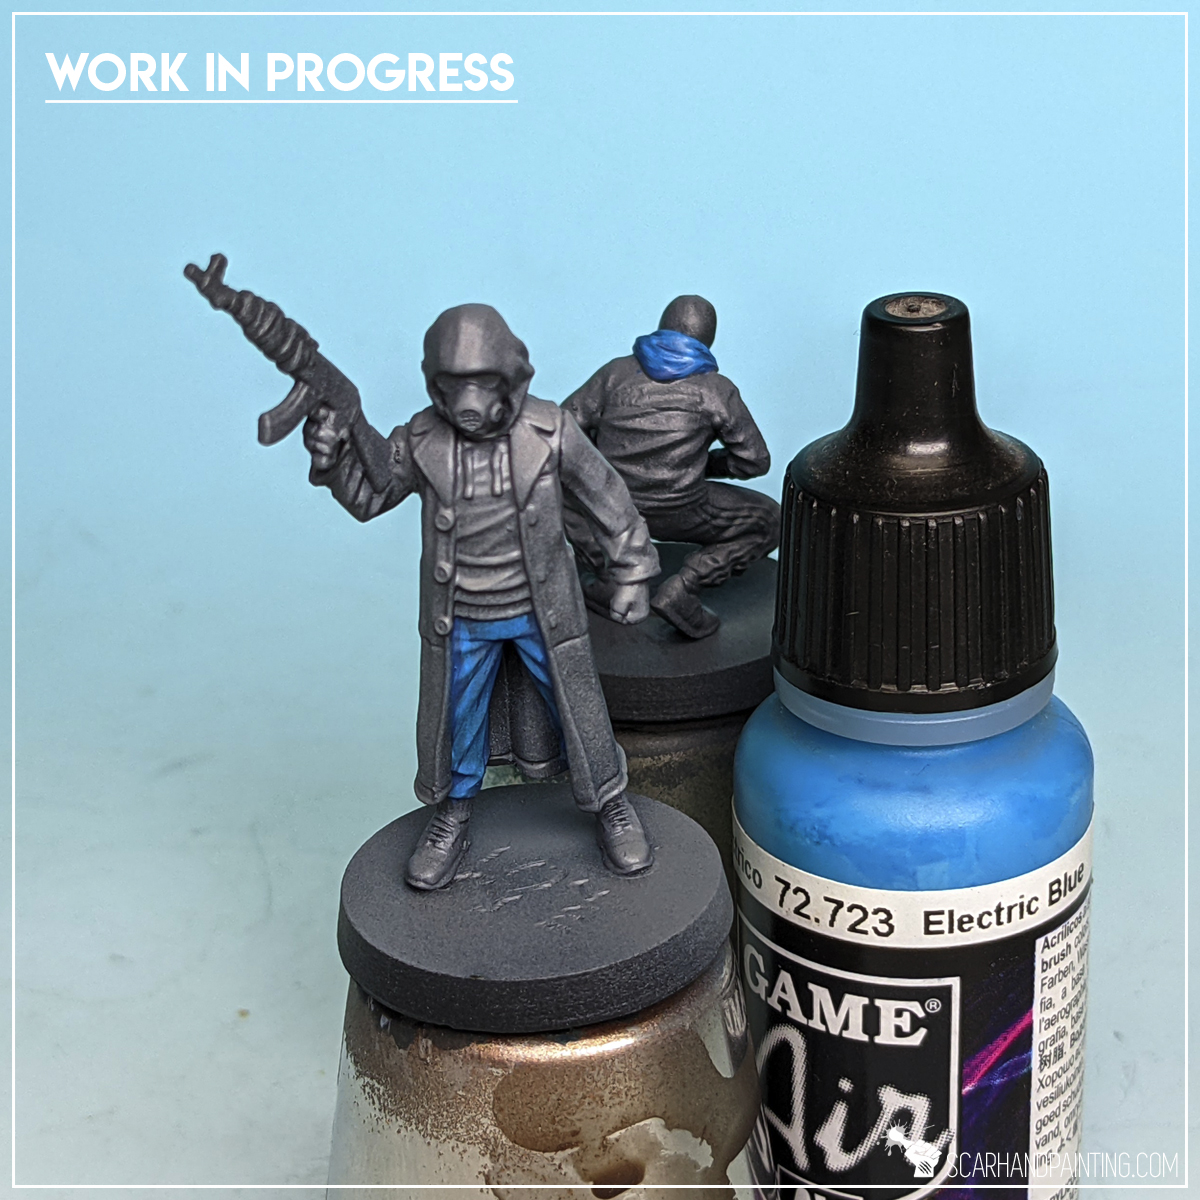
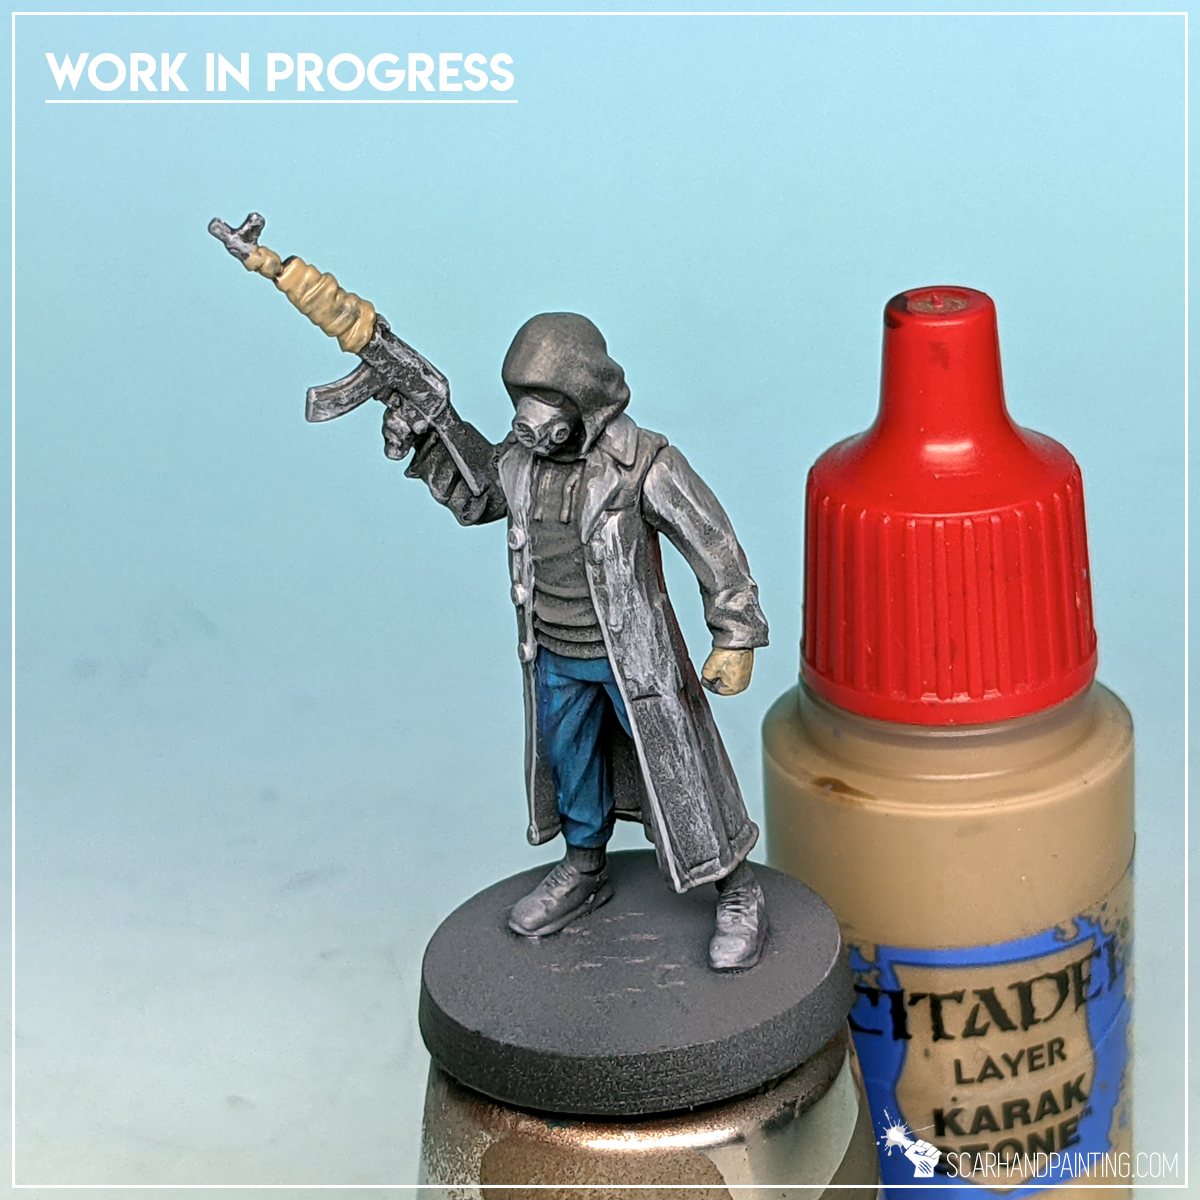
Step six: Blue clothes
Another color I took on was blue. I applied Vallejo Prussian Blue then highlighted with Vallejo Electric Blue.
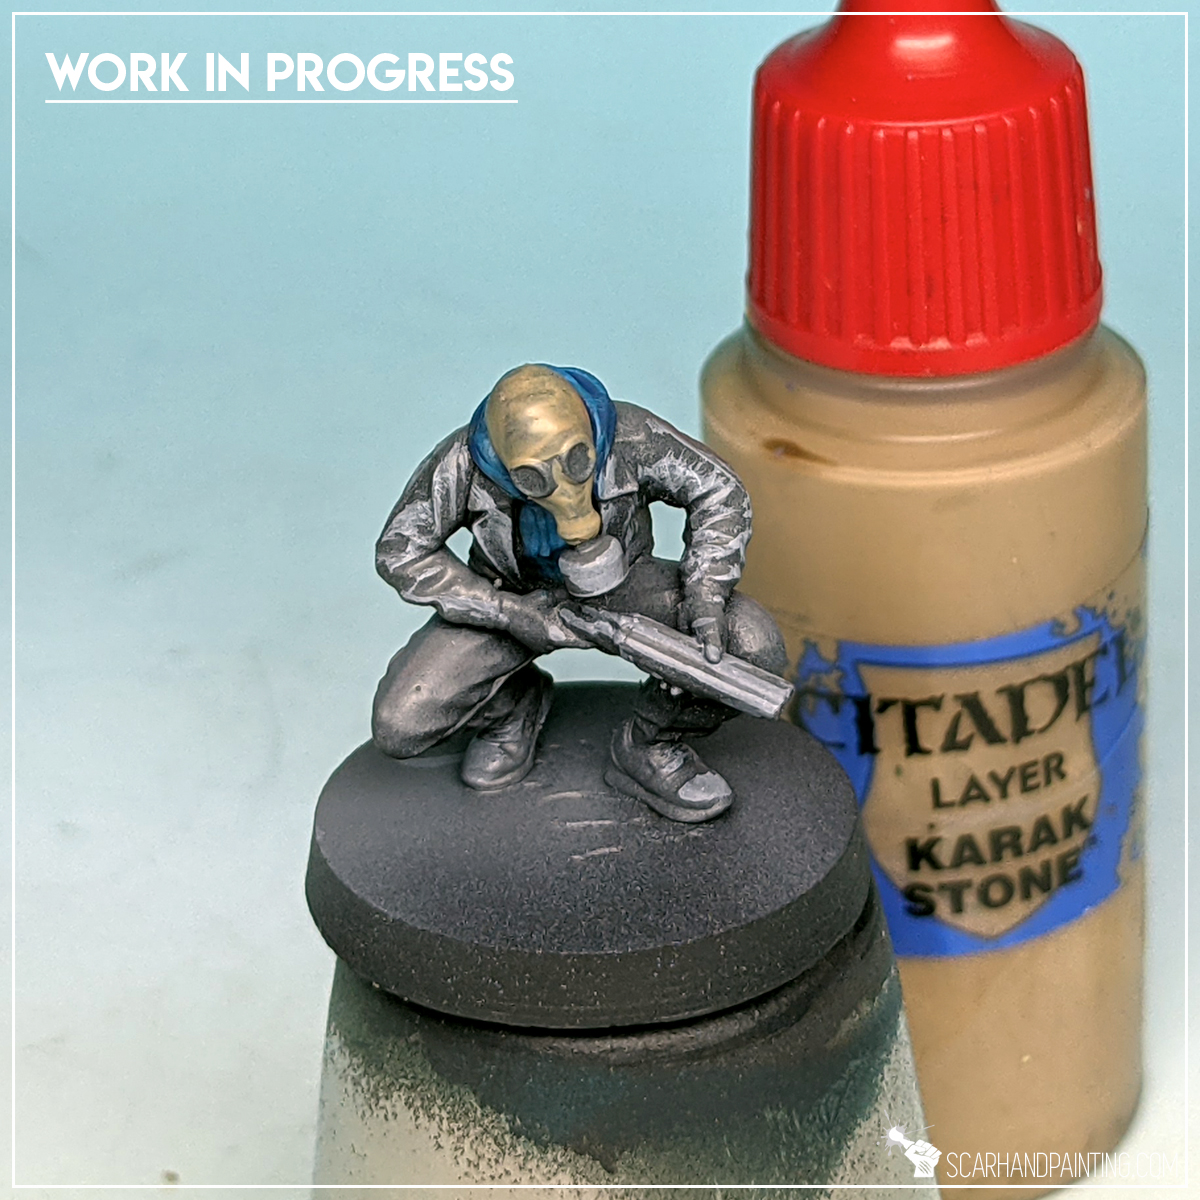
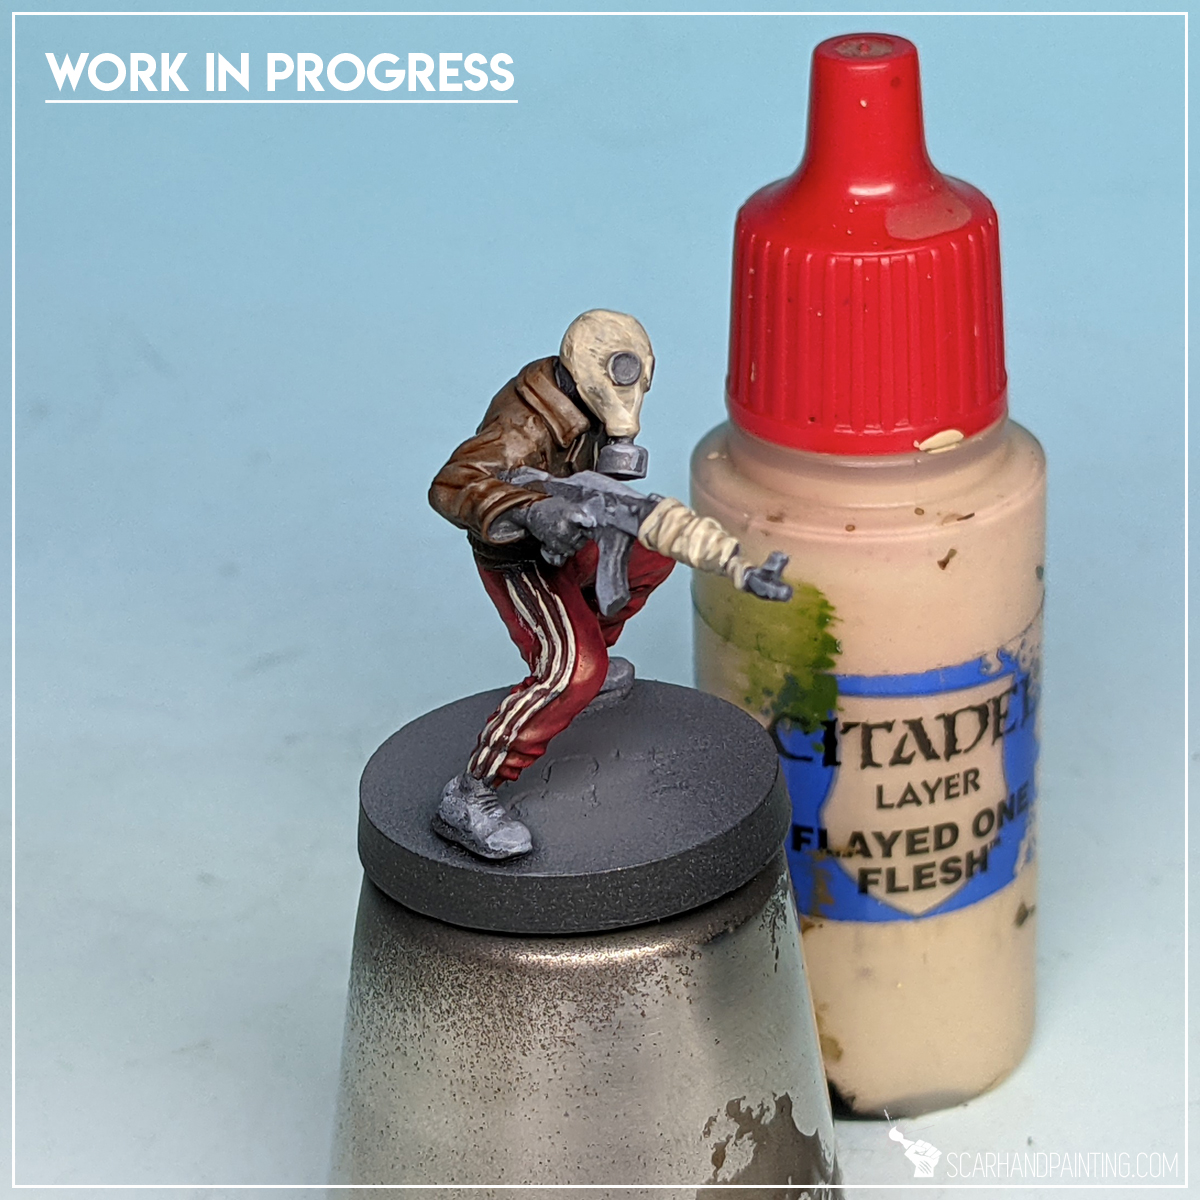
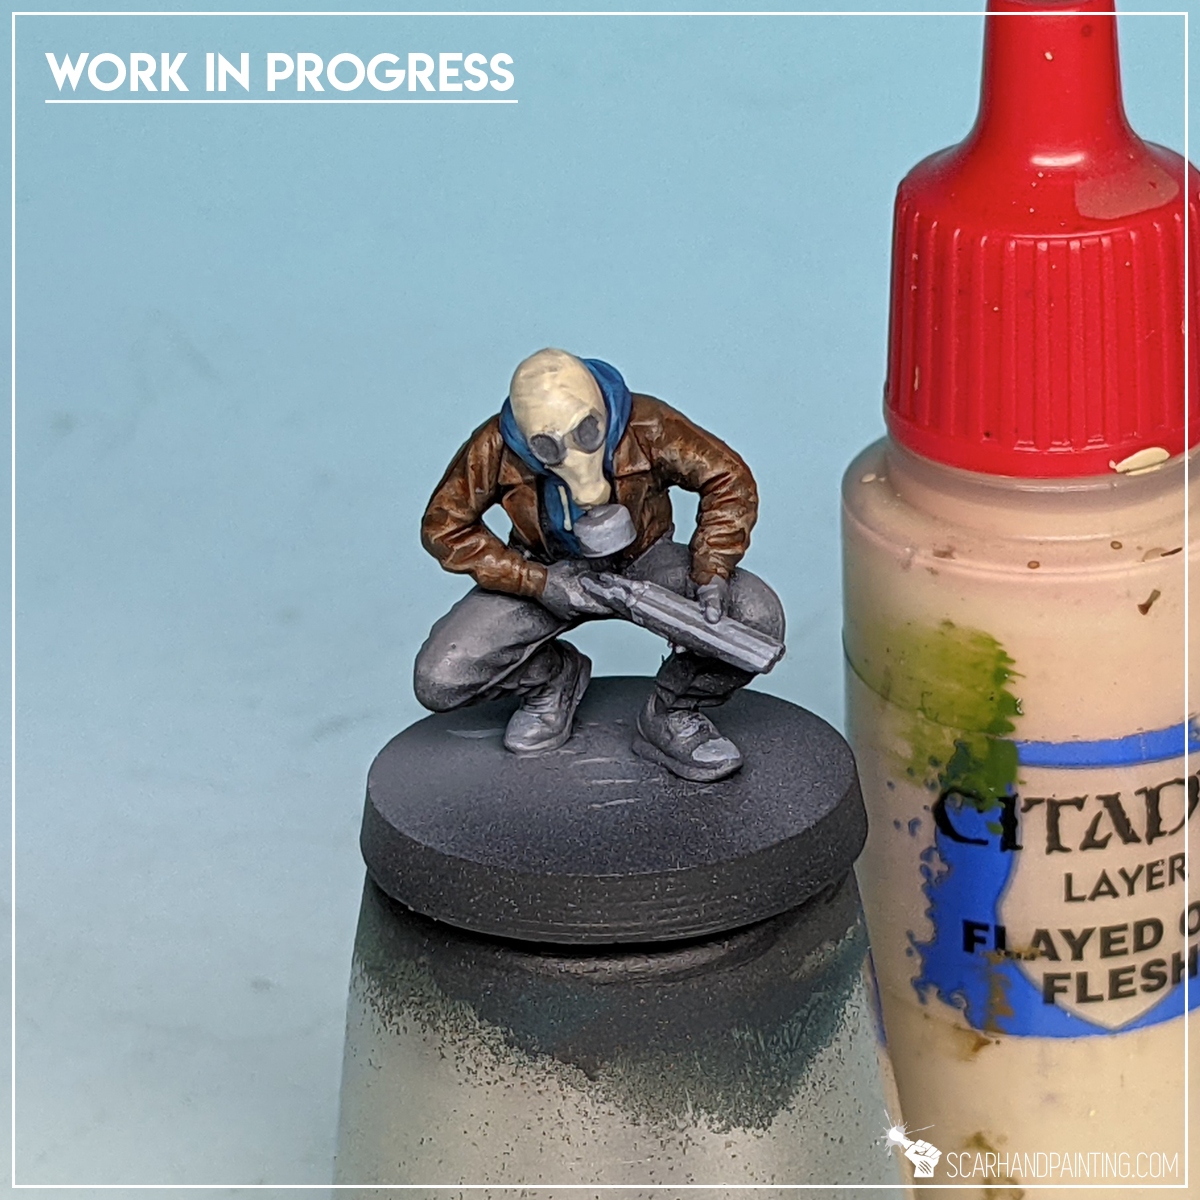
Step seven: Gas masks
For the masks and some additional detail I applied a layer of Games Workshop Karak Stone. I then strengthened the layer using Games Workshop Flayed One Flesh.
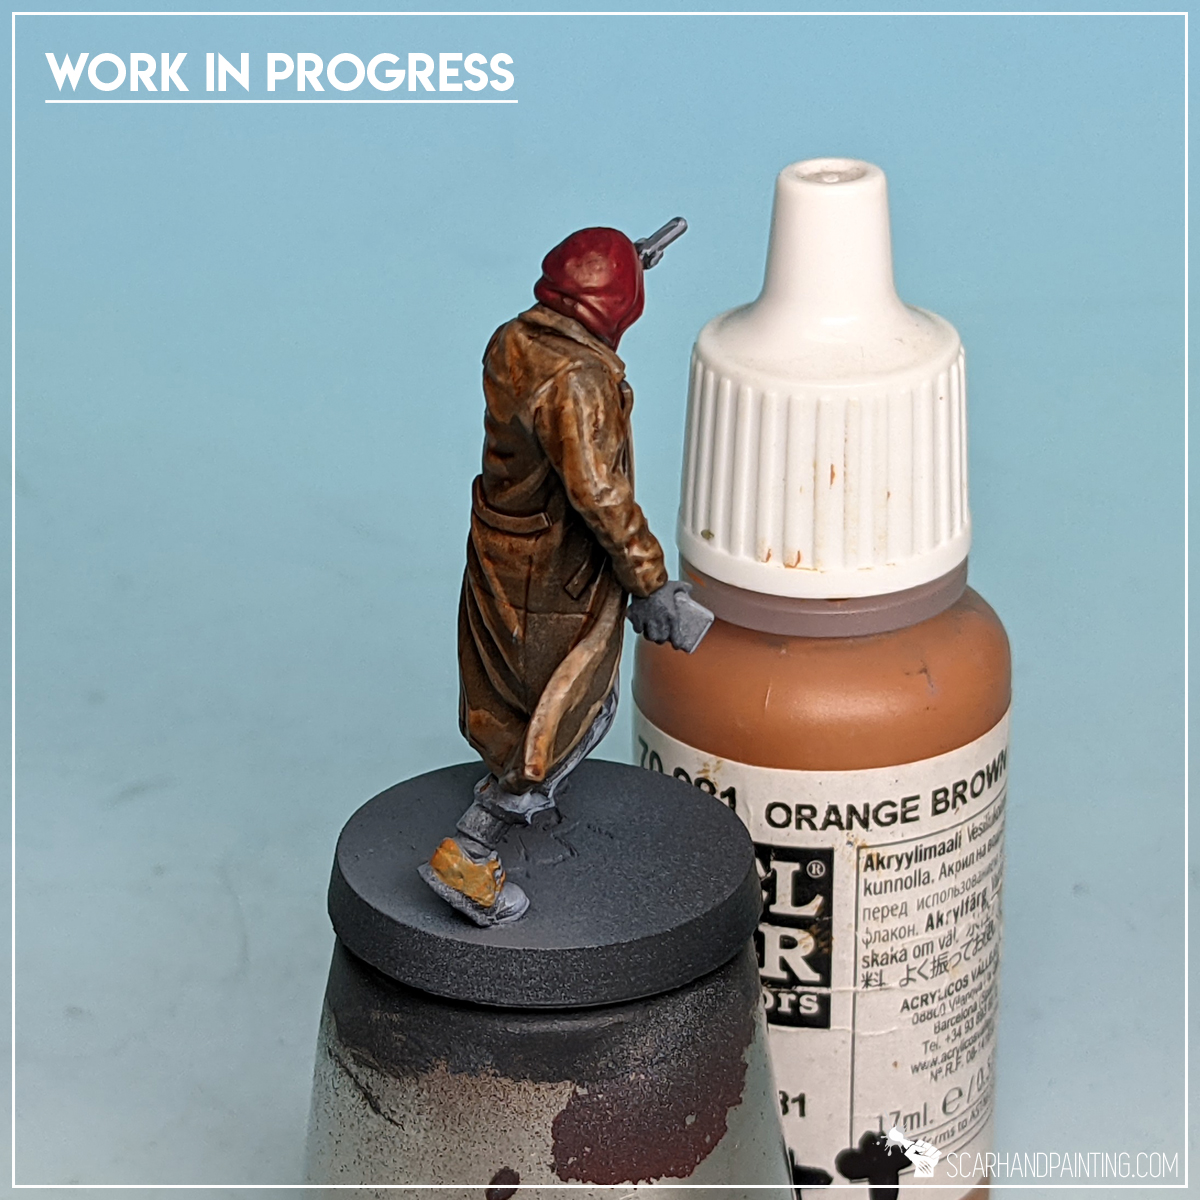
Step eight: Orange boots
For some shoes I applied a single layer of Vallejo Orange Brown. I knew boots will inevitably get messy during basing, so I decided to keep them super-simple.
Step nine: Brown wash
Here’s where all the magic happens. I applied a strong layer of Army Painter Strong Tone Ink mixed with just a drop of Matt Varnish. I washed everything, skin* included, except for weapons*. I kept coming back to the miniatures to remove the ostentatious excess of wash throughout the drying process.
Step ten: Highlights
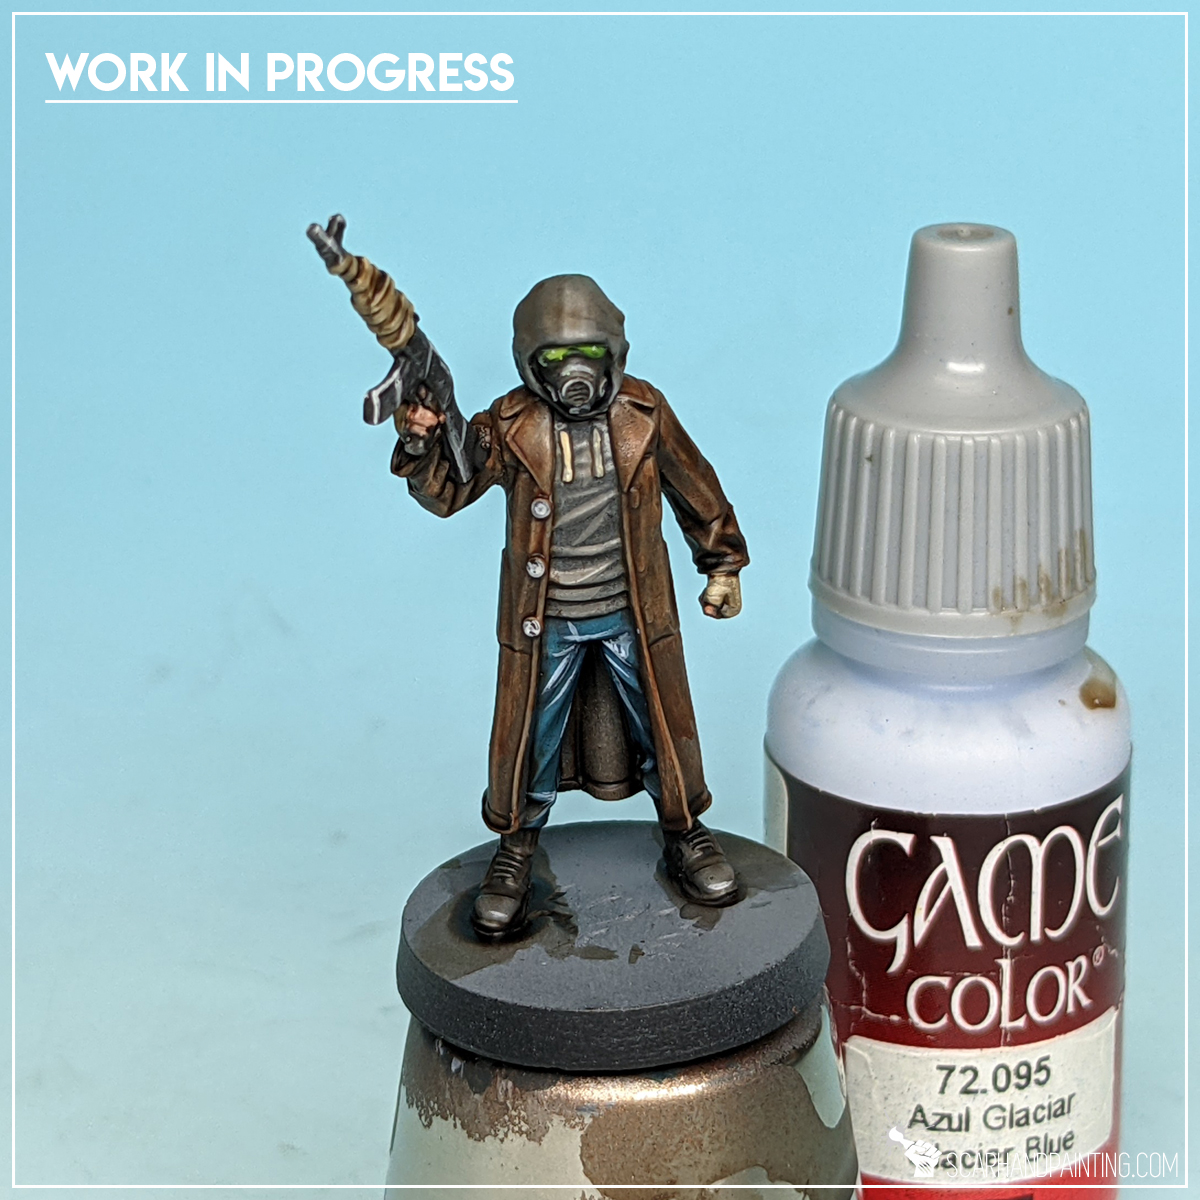
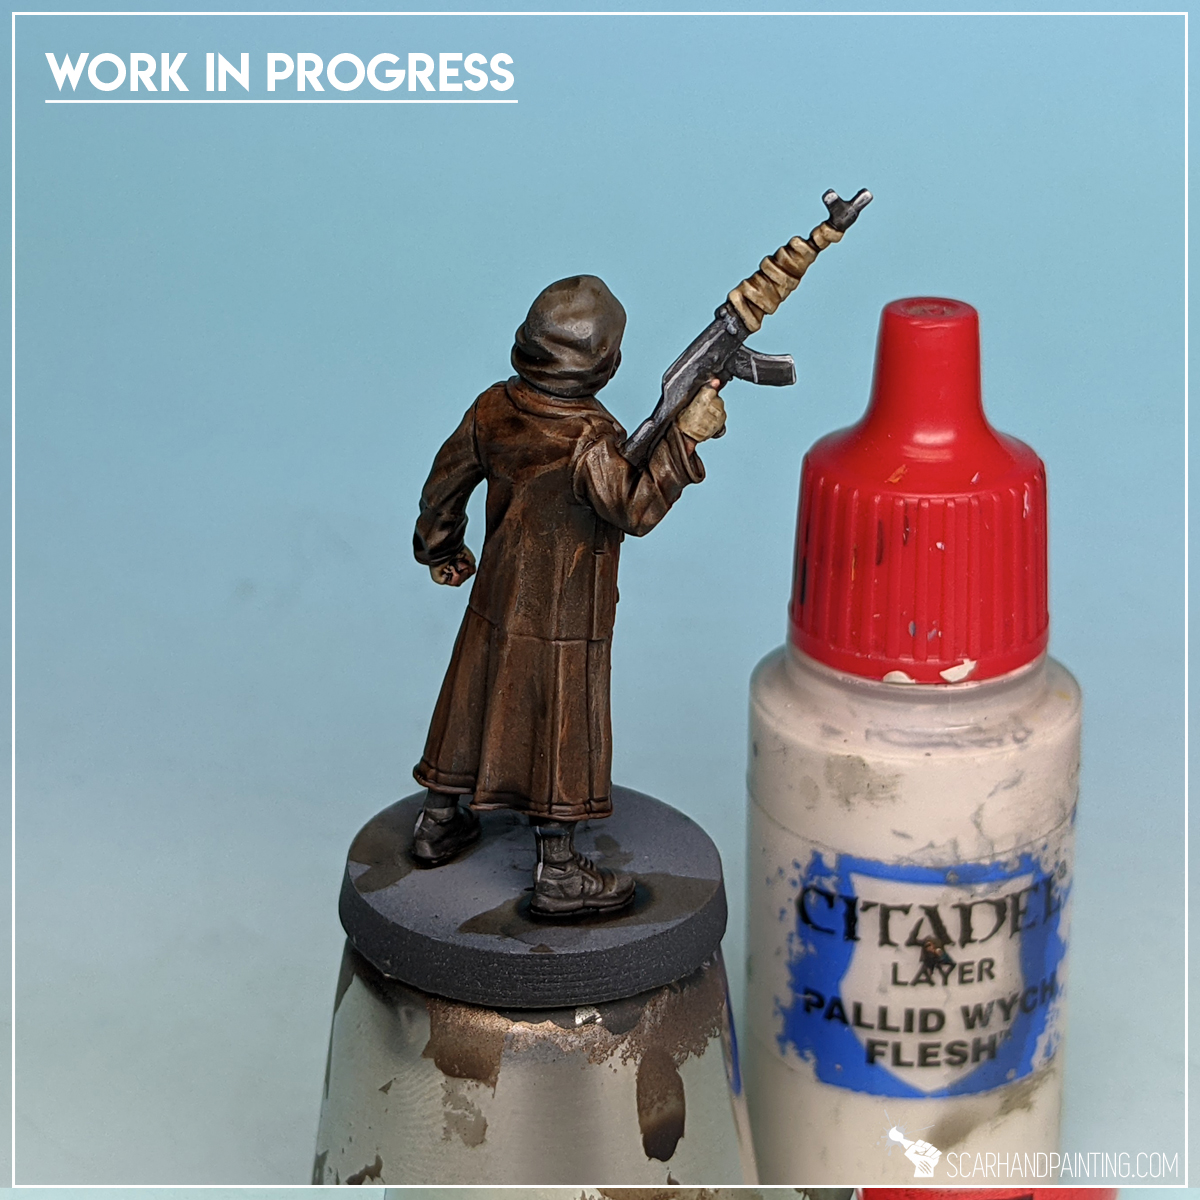
I used Vallejo Glacier Blue and Games Workshop Pallid Wych Flesh to highlight blue, black and paint some extra detail on the shoes and buttons.
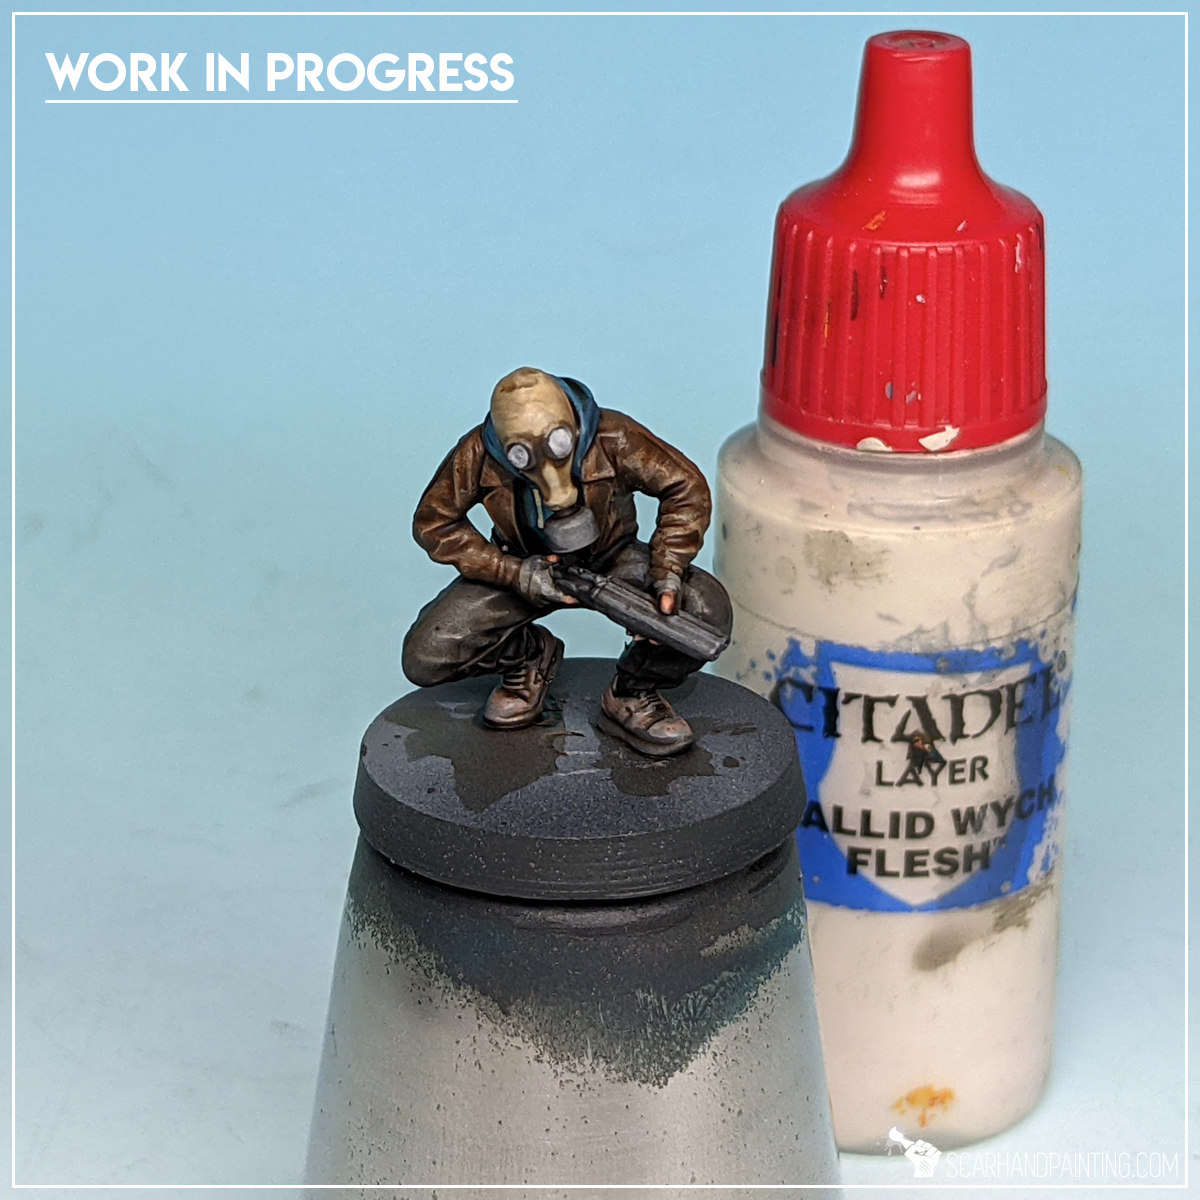
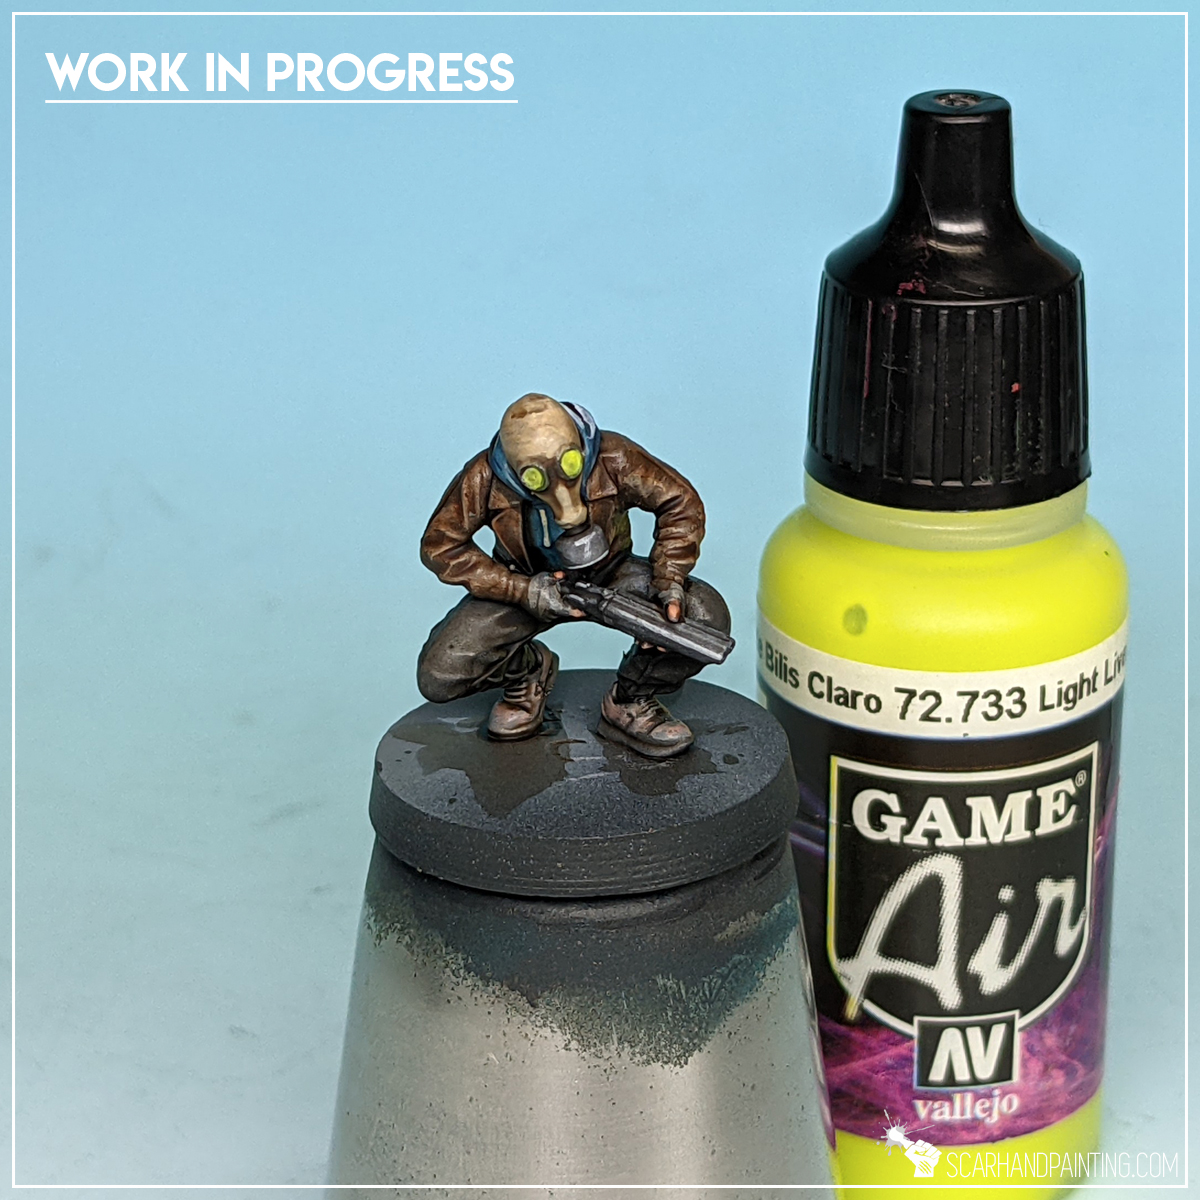
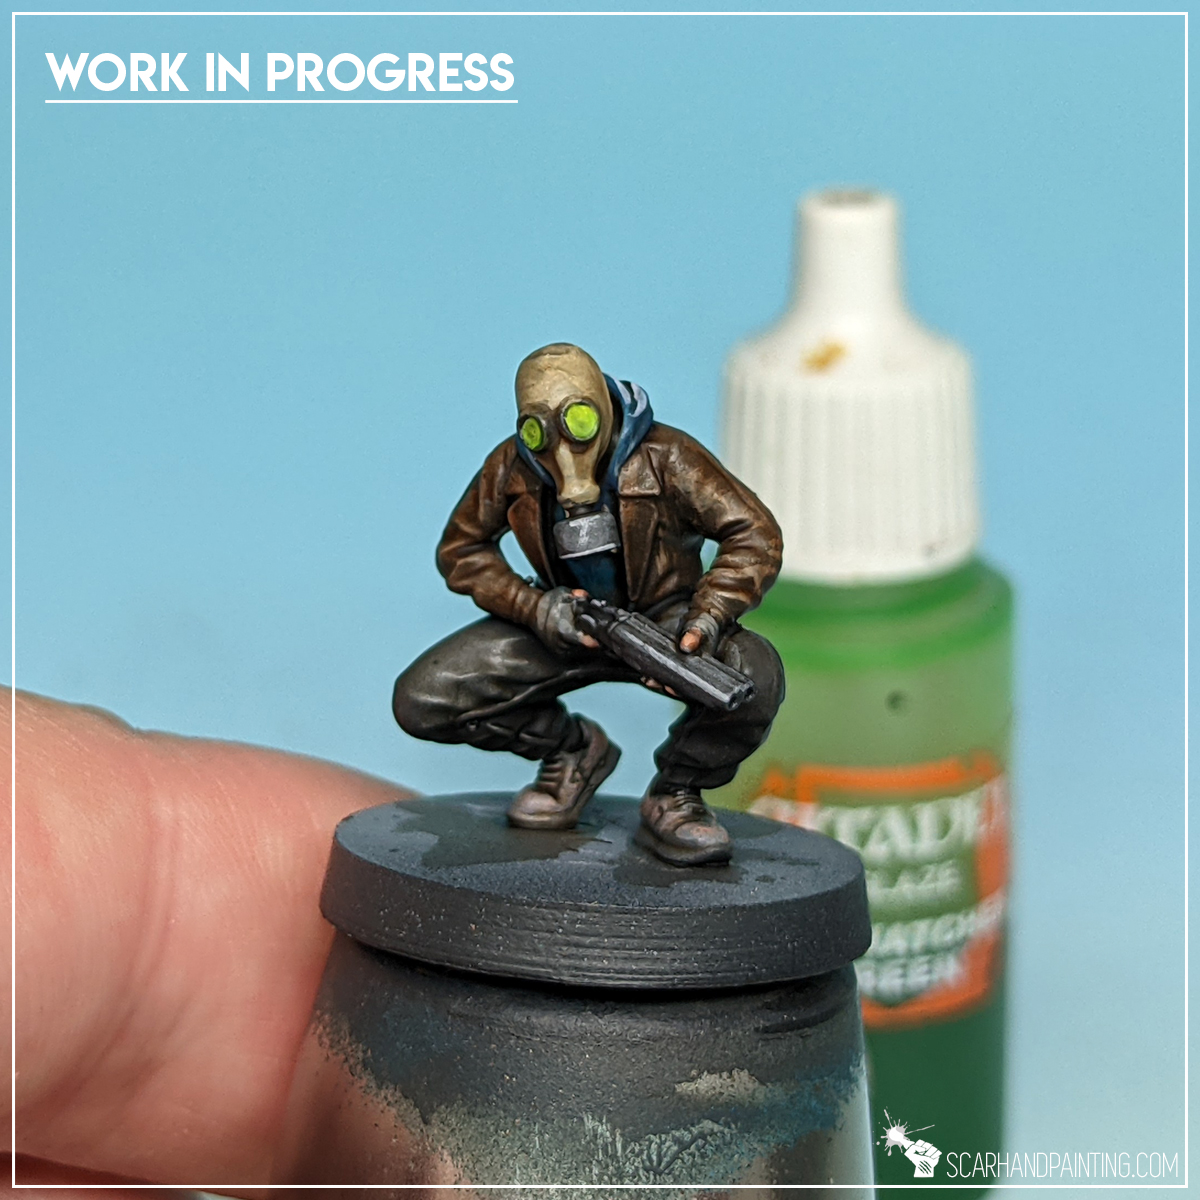
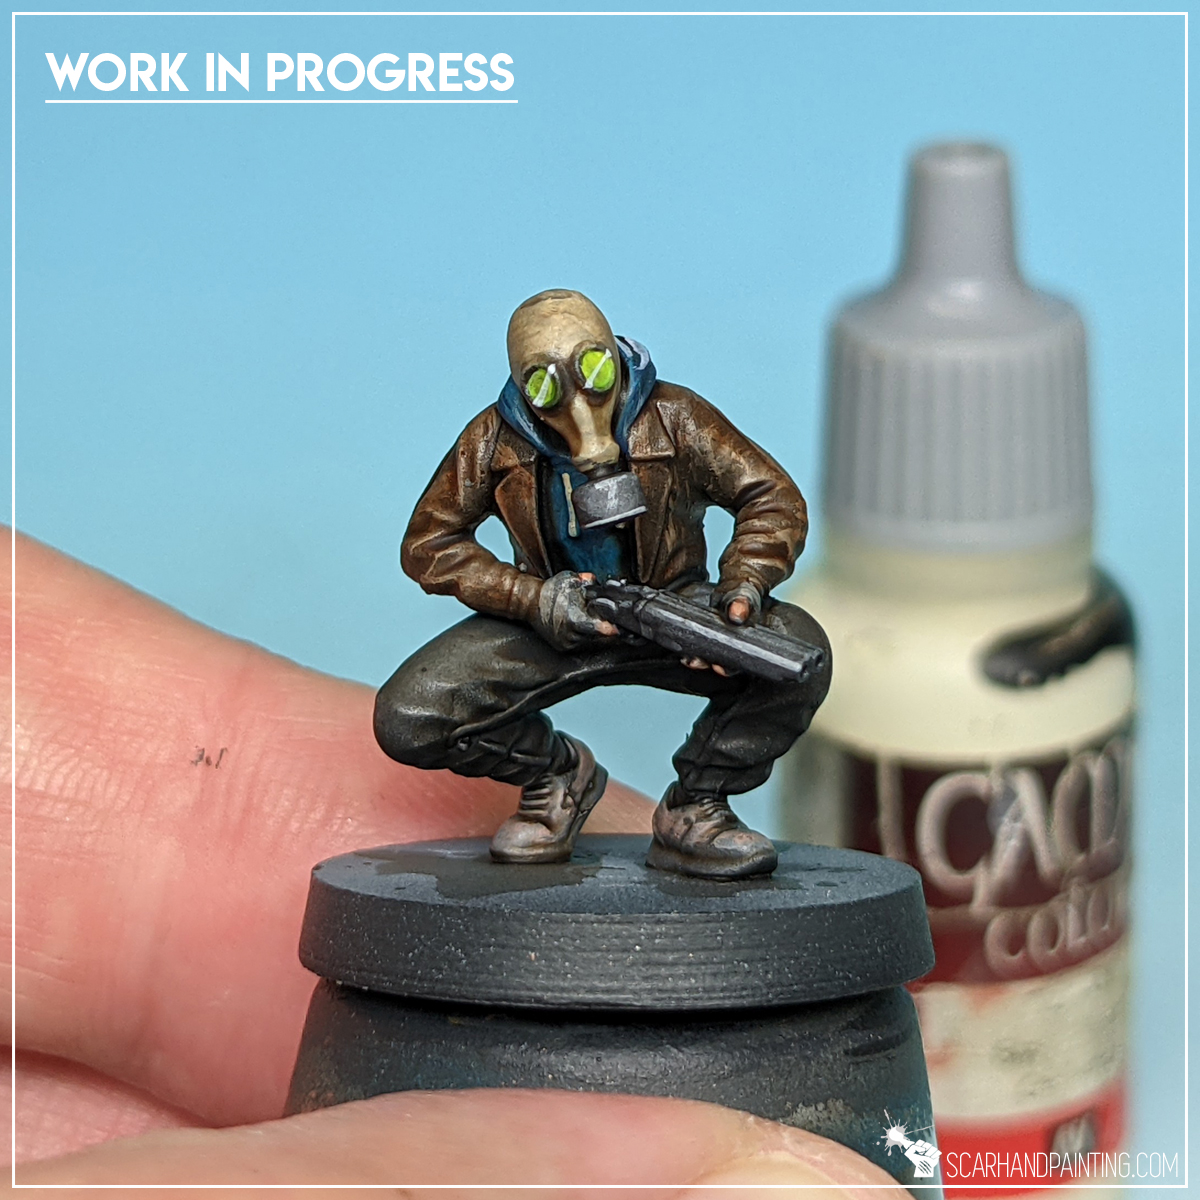
Step eleven: Gasmask visors
Finally I painted gasmask visors with Games Workshop Pallid Wych Flesh, followed by Vallejo Light Livery Green. I then applied a glaze of Games Workshop Waywatcher Green. Last step was to paint diagonal lines of Vallejo Off White through the visors – adding that extra flash effect to them.
Other steps: *You can learn how to paint weapons, skin and bases in previous tutorial: Painting Post-apo Survivors part 1 Stalkers

I hope you find this tutorial interesting. Be sure to let me know your thoughts in the comments below or via Facebook.or Instagram. I would also appreciate if you considered sharing this content with your friends, who might find it useful. Finally if you are looking for a professional miniatures painting service be sure to contact me with this contact form. I always reply within 24 hours, after which please check out your spam folder.