- contact@scarhandpainting.com


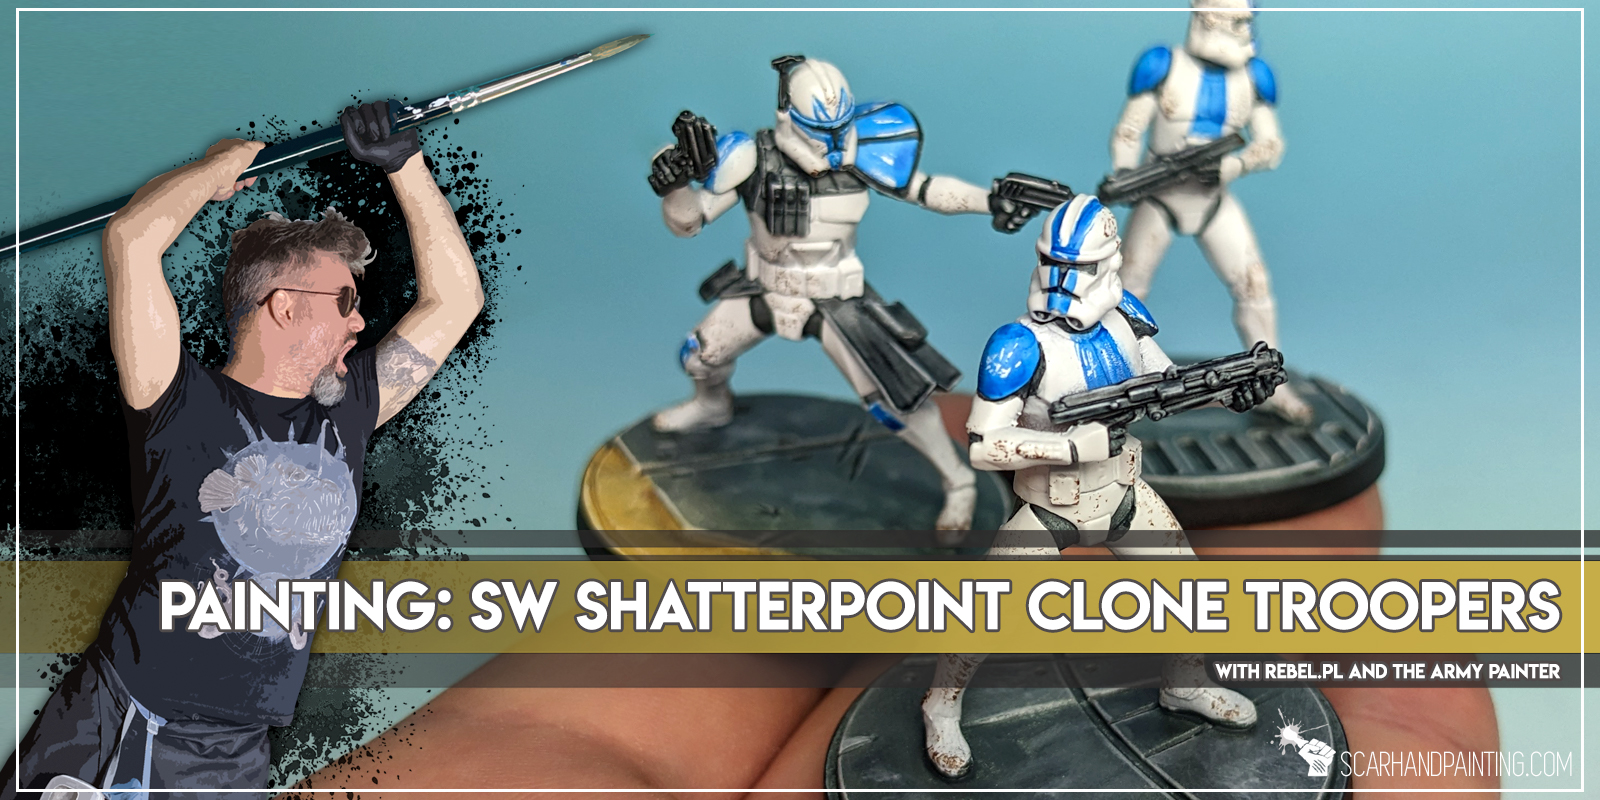
Welcome to Painting Star Wars: Shatterpoint Clone Troopers tutorial. Here I will present to you a Step-by-step of a basic painting process for Clone Troopers, with few optional extras.
Before we start, some notes:
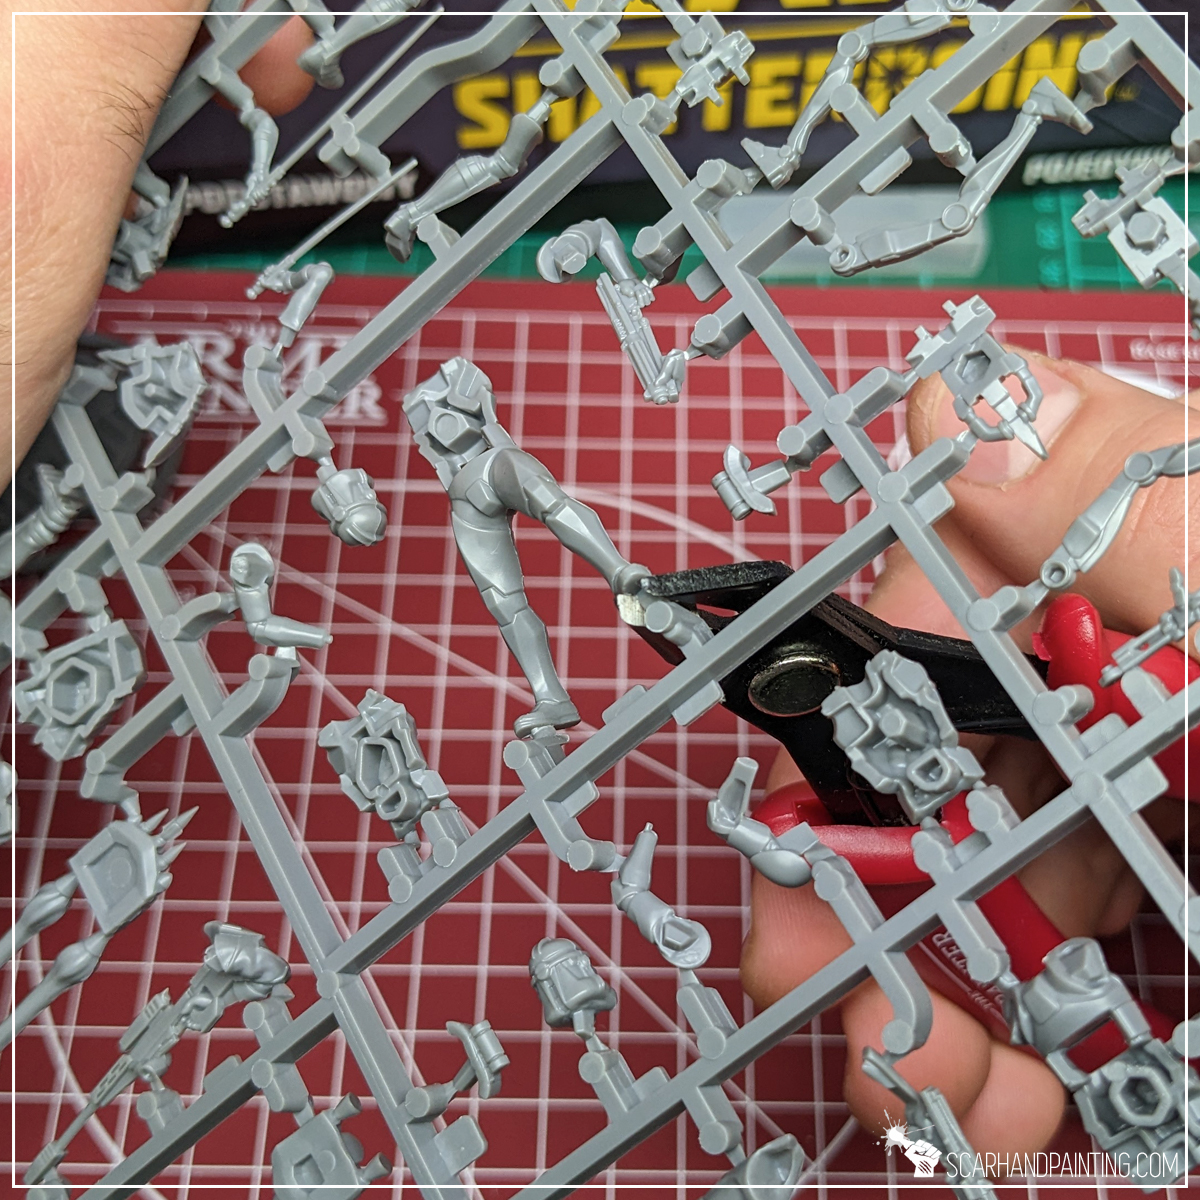
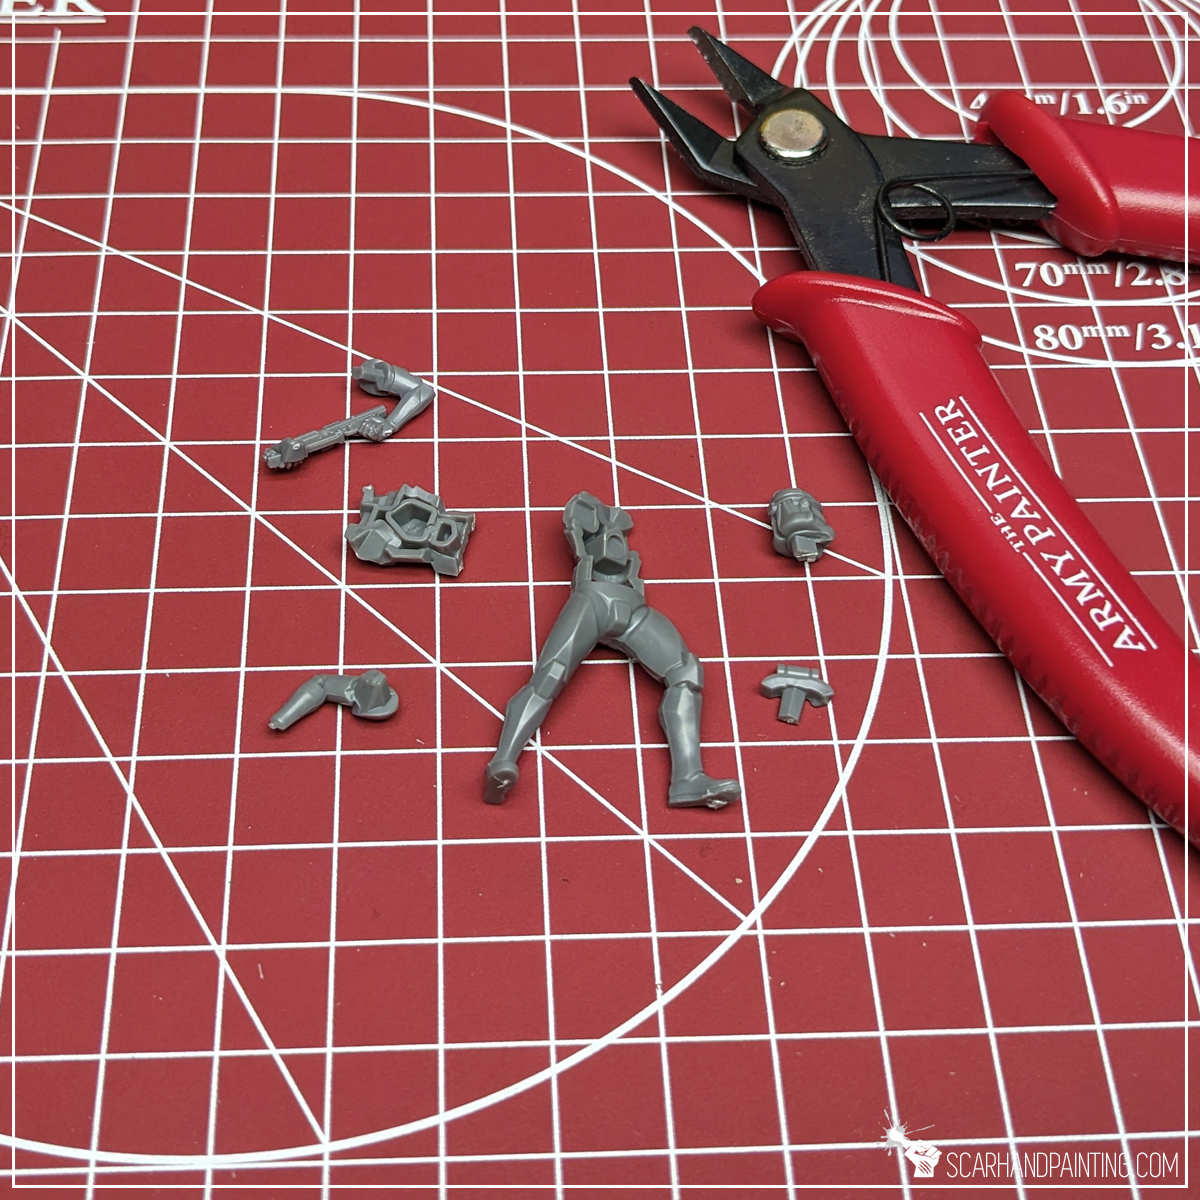
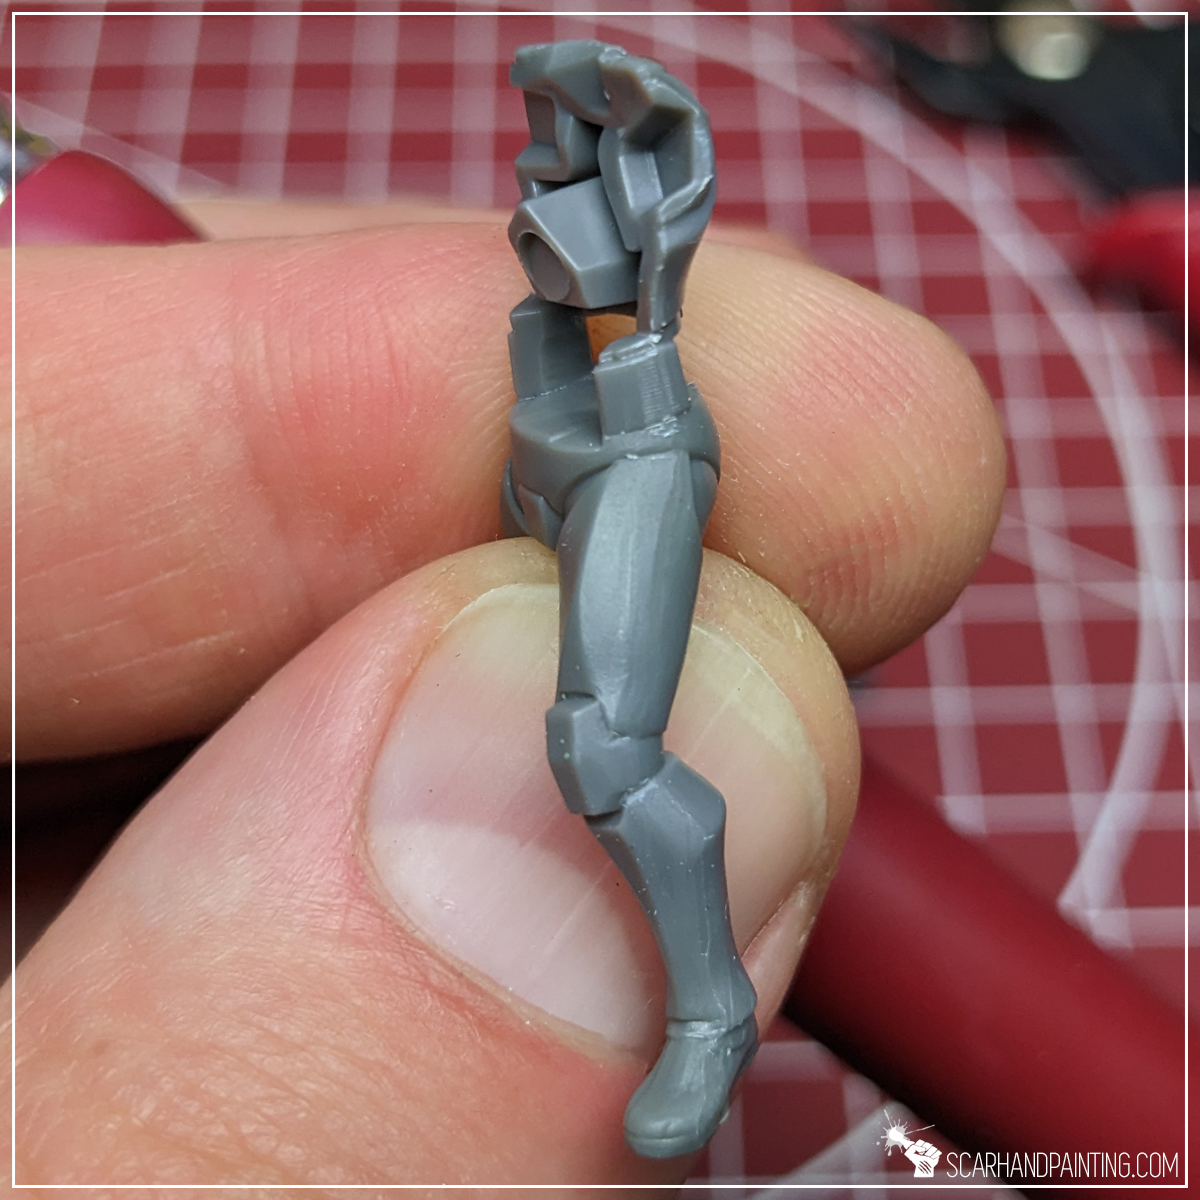
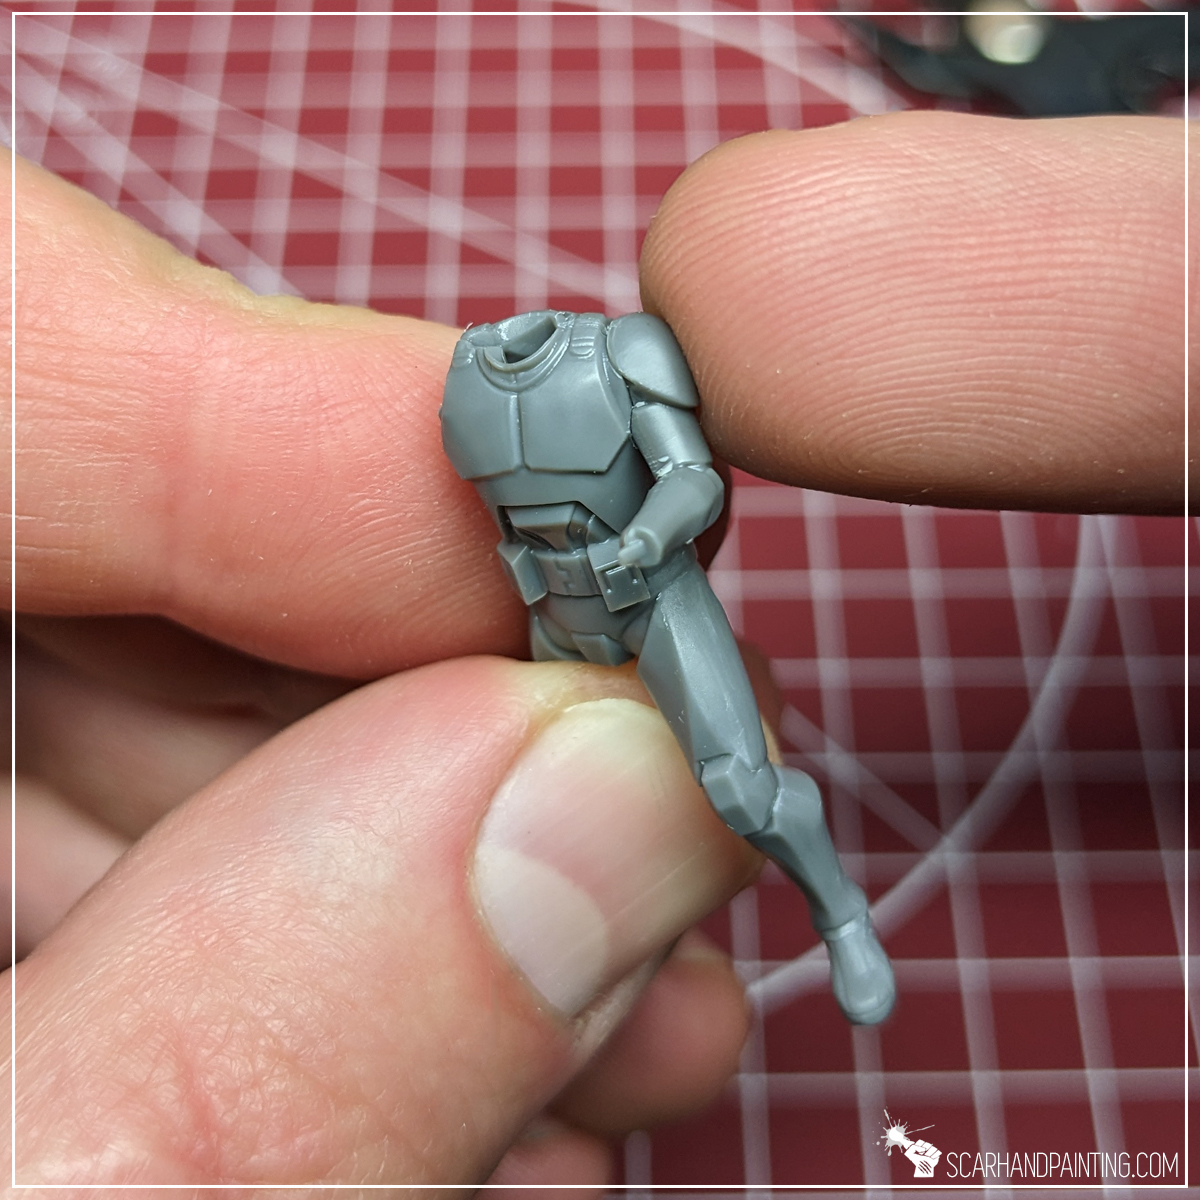
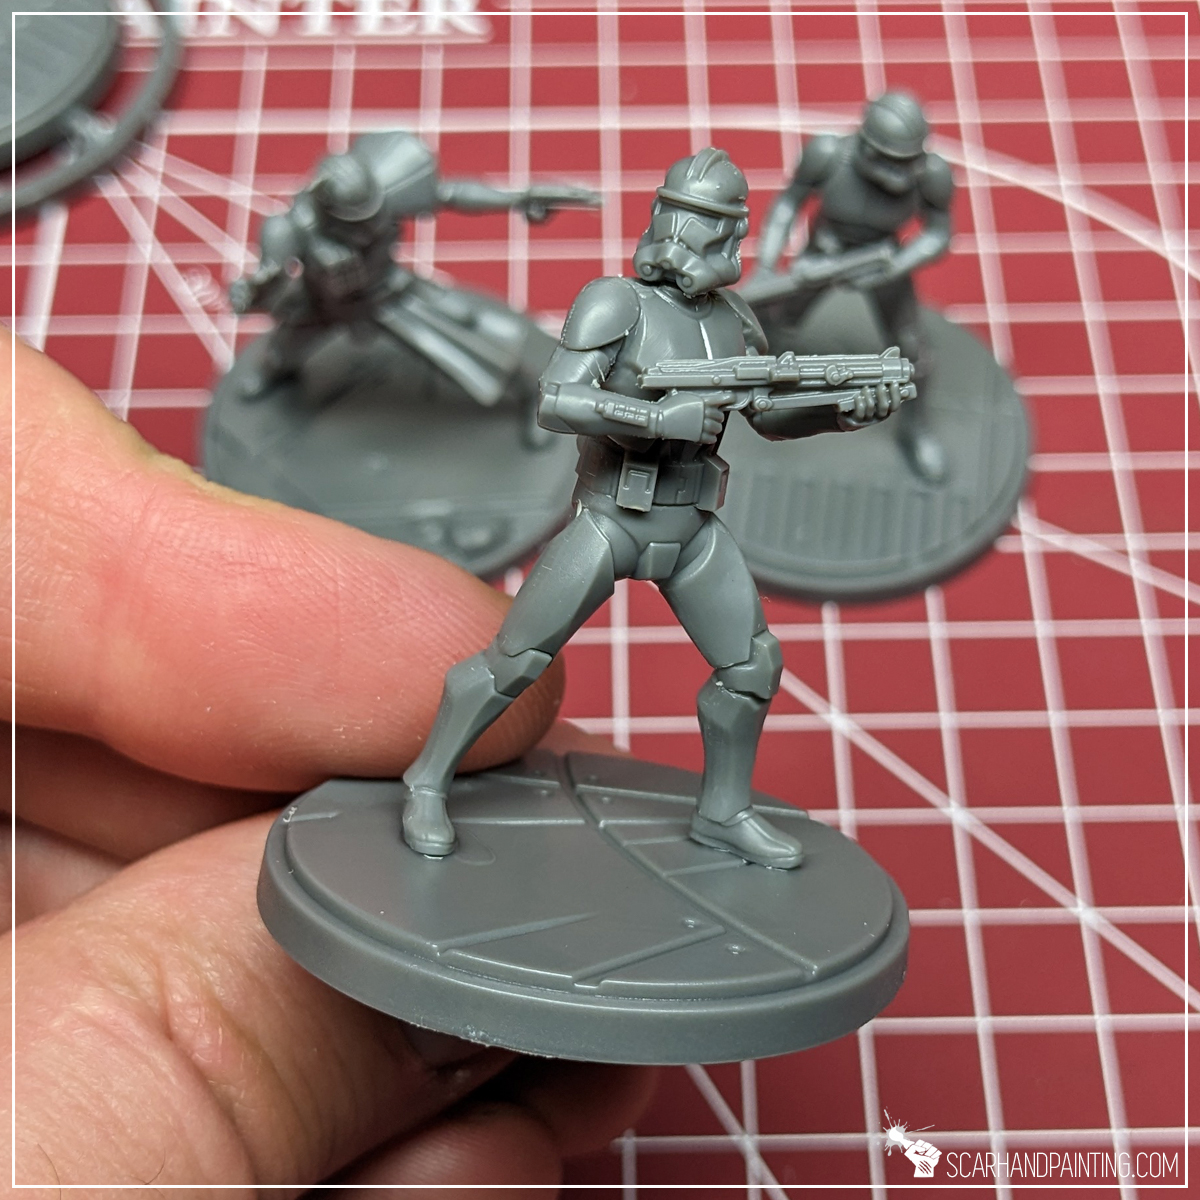
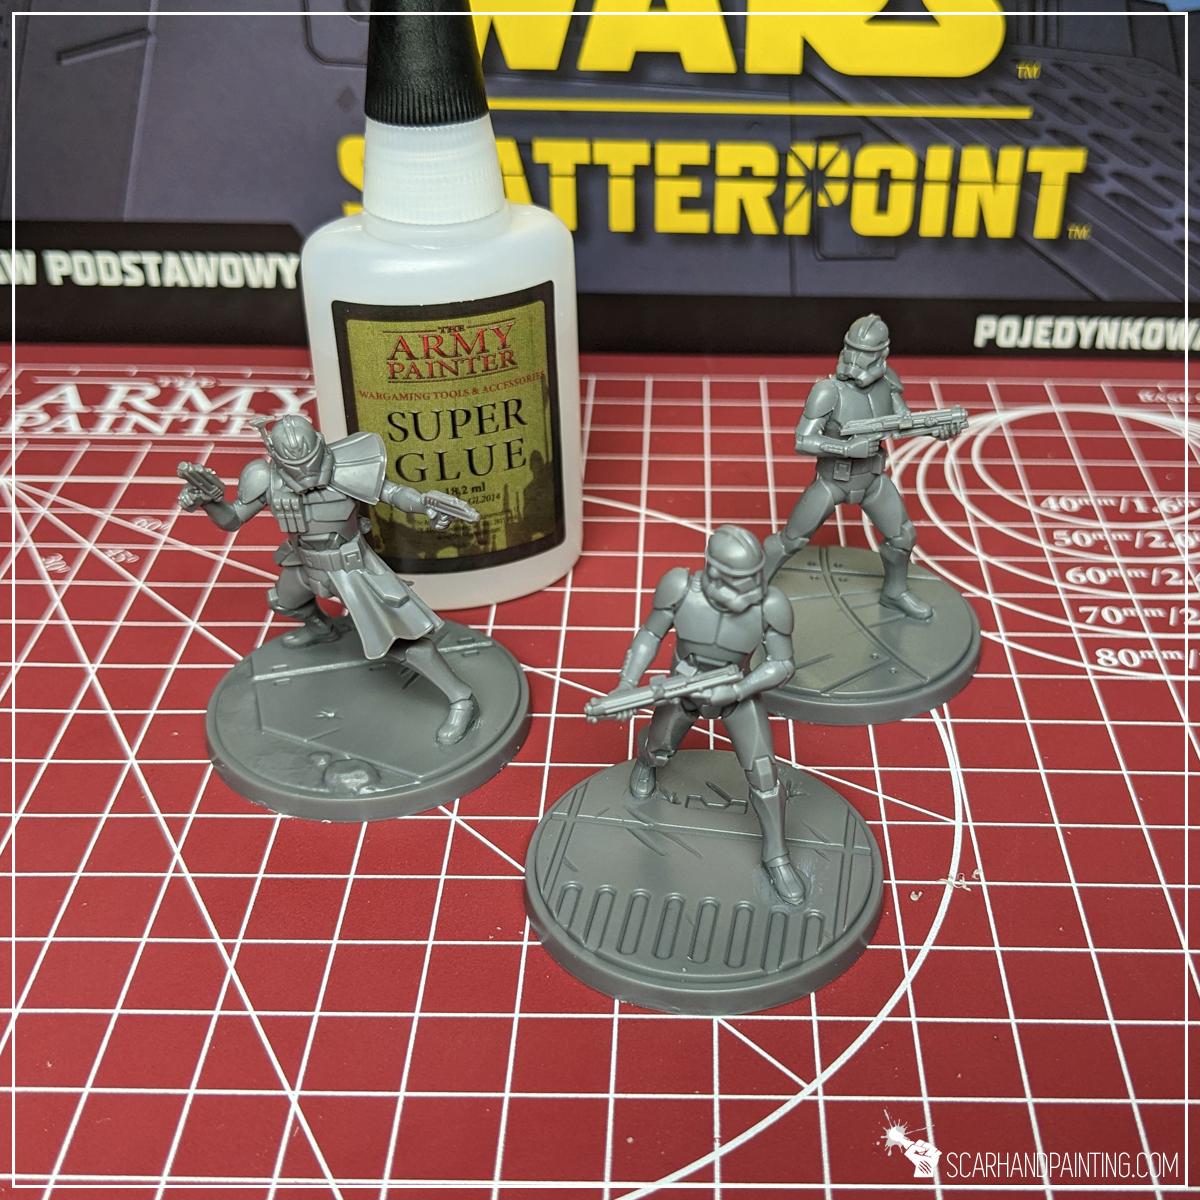
In case you are totally unfamiliar with the hobby, Star Wars: Shatterpoint being your very first step into the overall Wargaming, below are a few basic steps of miniatures build and preparation.



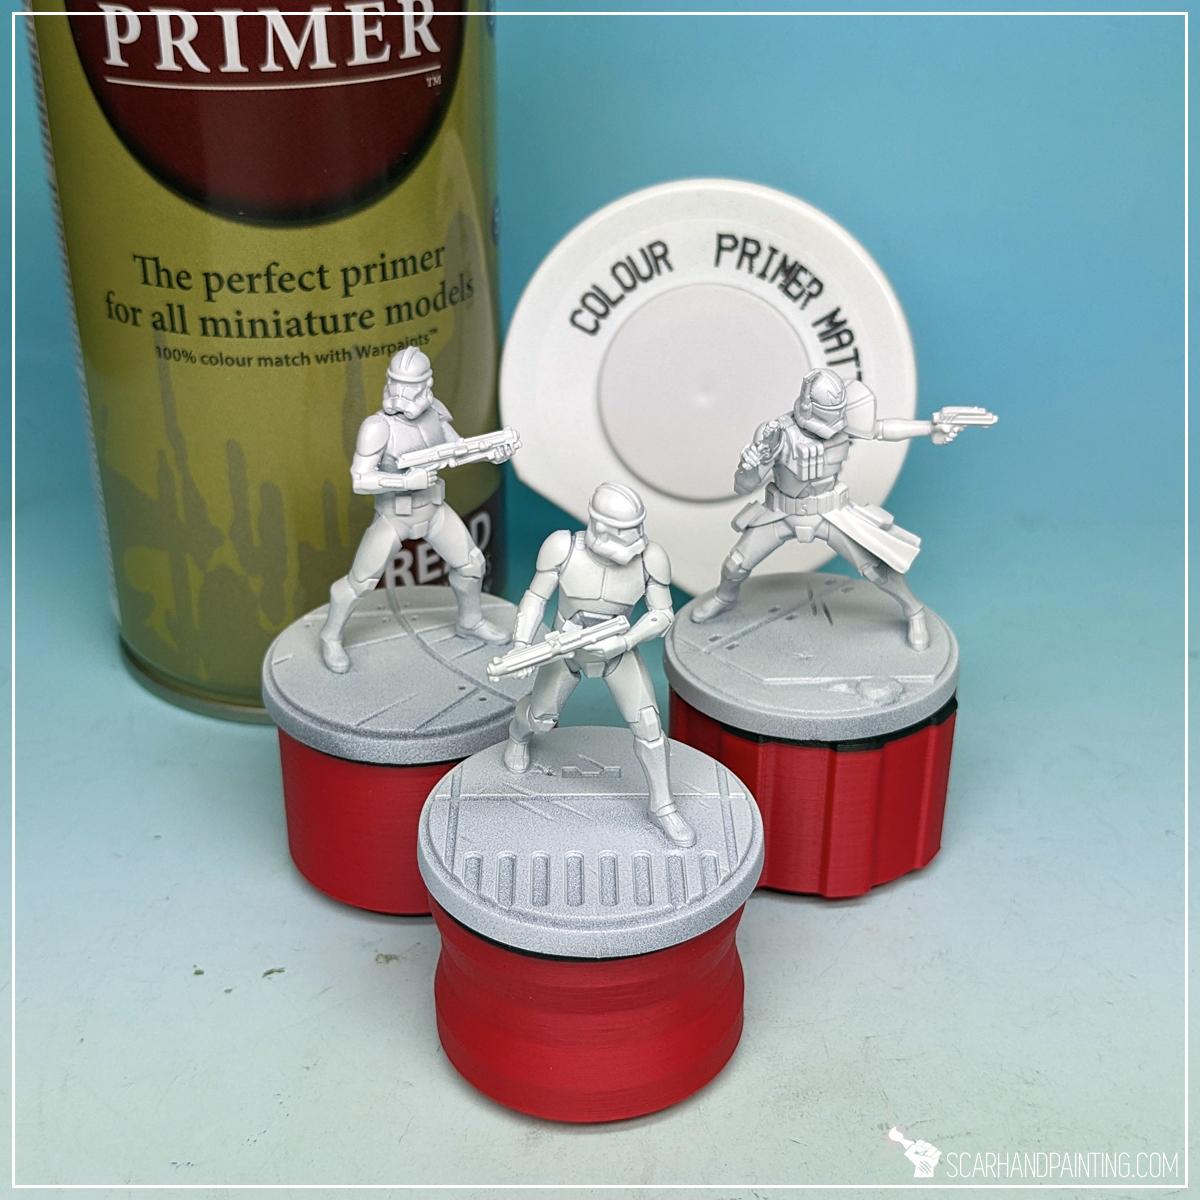
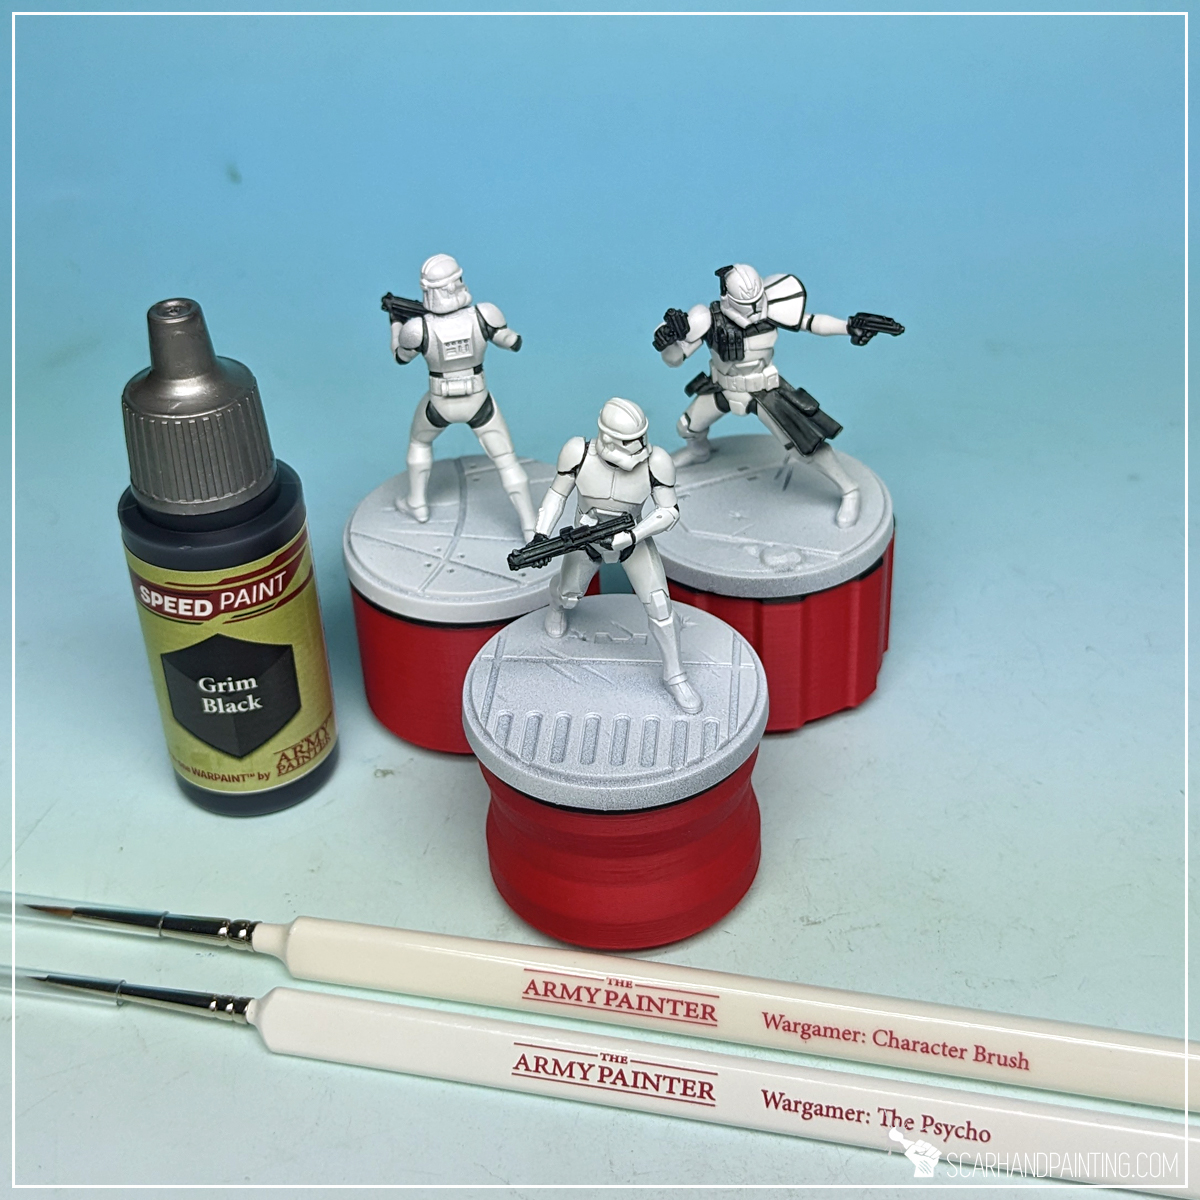
Undercoating miniatures is a topic on its own. Each primer color and technique of application has some advantages. For this tutorial I chose The Army Painter White Matt Primer and sprayed the miniatures around, mounted on a stick with a piece of Blu-Tack. This resulted in a durable, smooth surface, perfect for this kind of paint job. It also allowed me to skip an otherwise difficult first step – white armor.
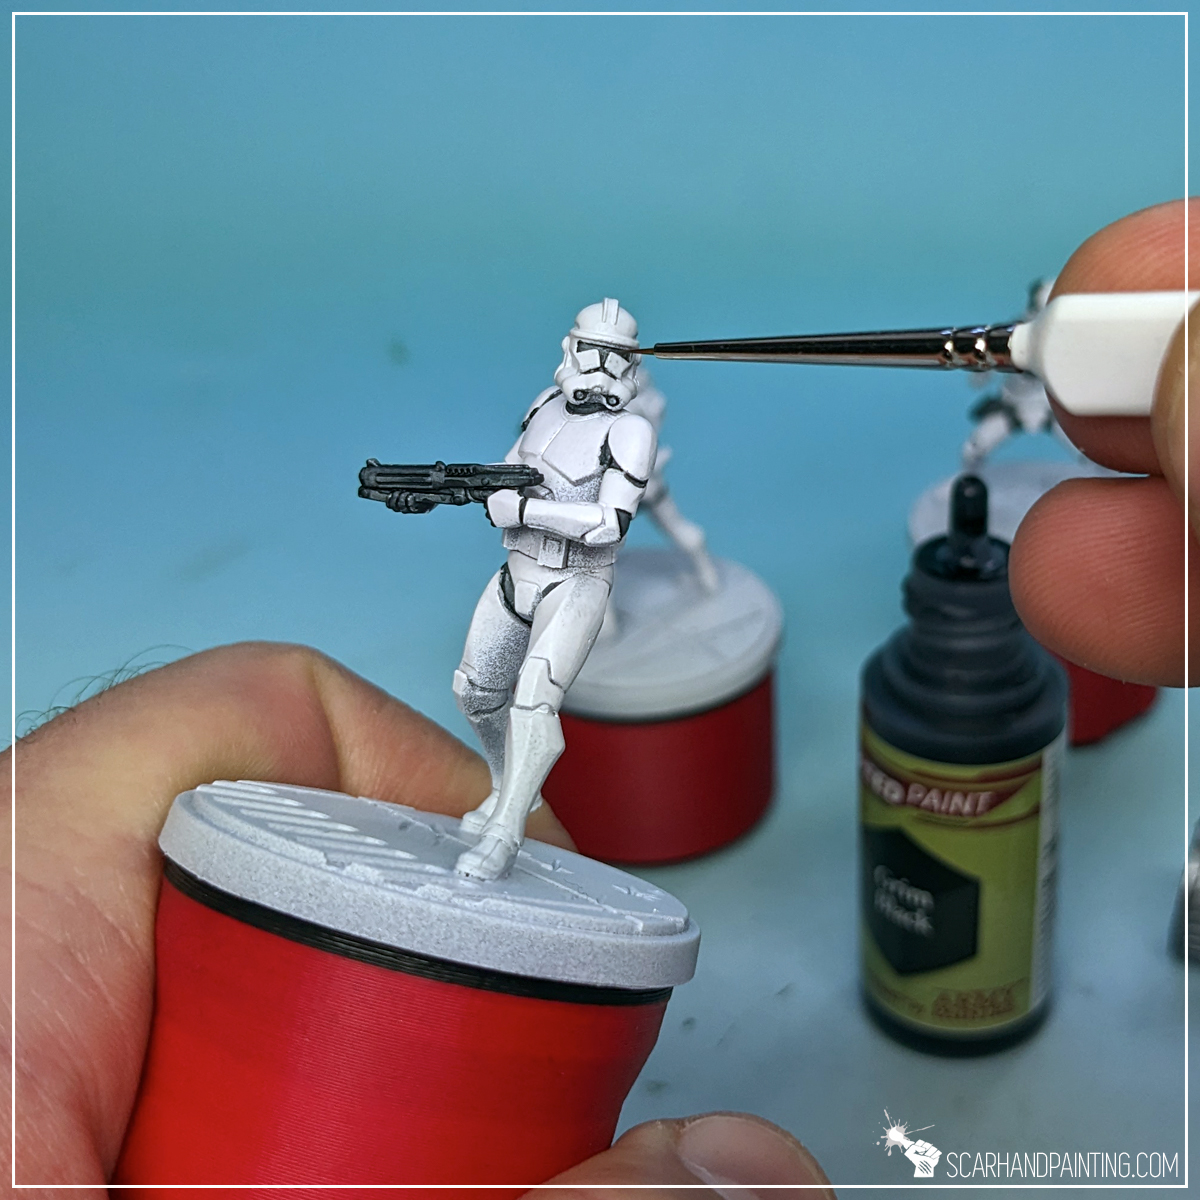
With a Wargamer: Character brush I applied Grim Black Speed Paint over weapons and cloth. I then switched to Wargamer: The Psycho to apply more paint into recesses between armor and onto helmet visors.
TIP: This step is a bit tricky. A lot can go wrong. Fortunately, thanks to spray undercoat’s durability and smoothness, any bloopers can be erased using a toothbrush soaked in water. Simply soak the tip of a toothpick in water, then flatten it with a pair of pliers to make an ultimate bloopers eraser.

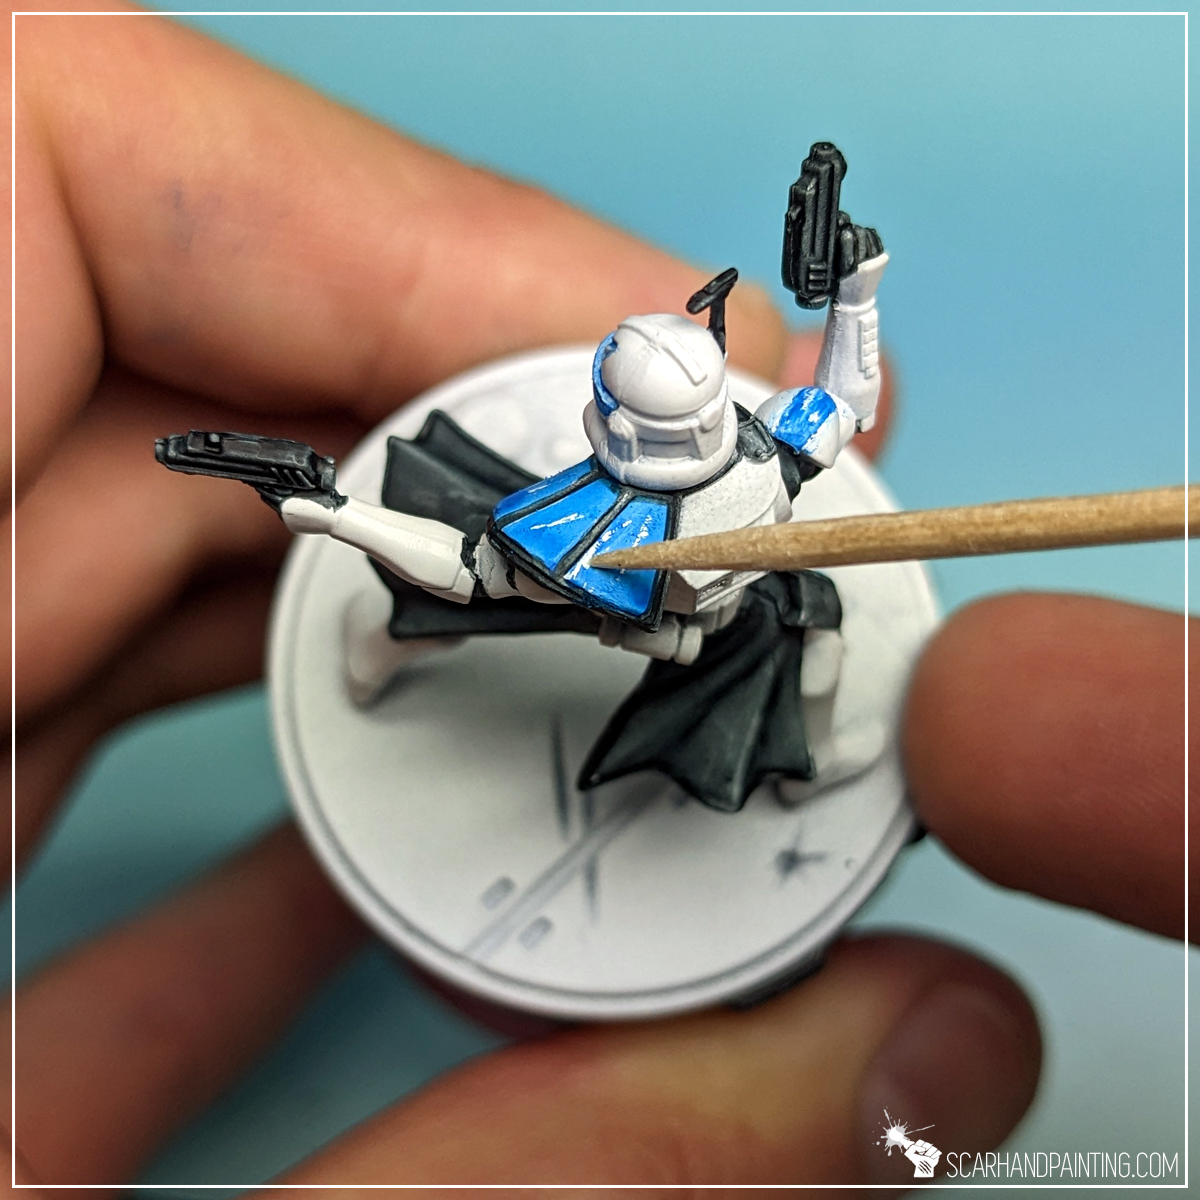
Next I applied Magic Blue Speed Paint onto shoulder guards and in selected areas on helmets and chest plates. I used Wargamer: Insane Detail and Wargamer: The Psycho brushes for this. Usually, when using thin paints such as Speed Paints I go with larger brushes, but here I aimed at precise application.
I then used a tip of a toothpick to scratch blue surface, adding some character with thematic battle damage. This wouldn’t be possible on most undercoats, but The Army Painter primers leave a really strong plastic-like surface.

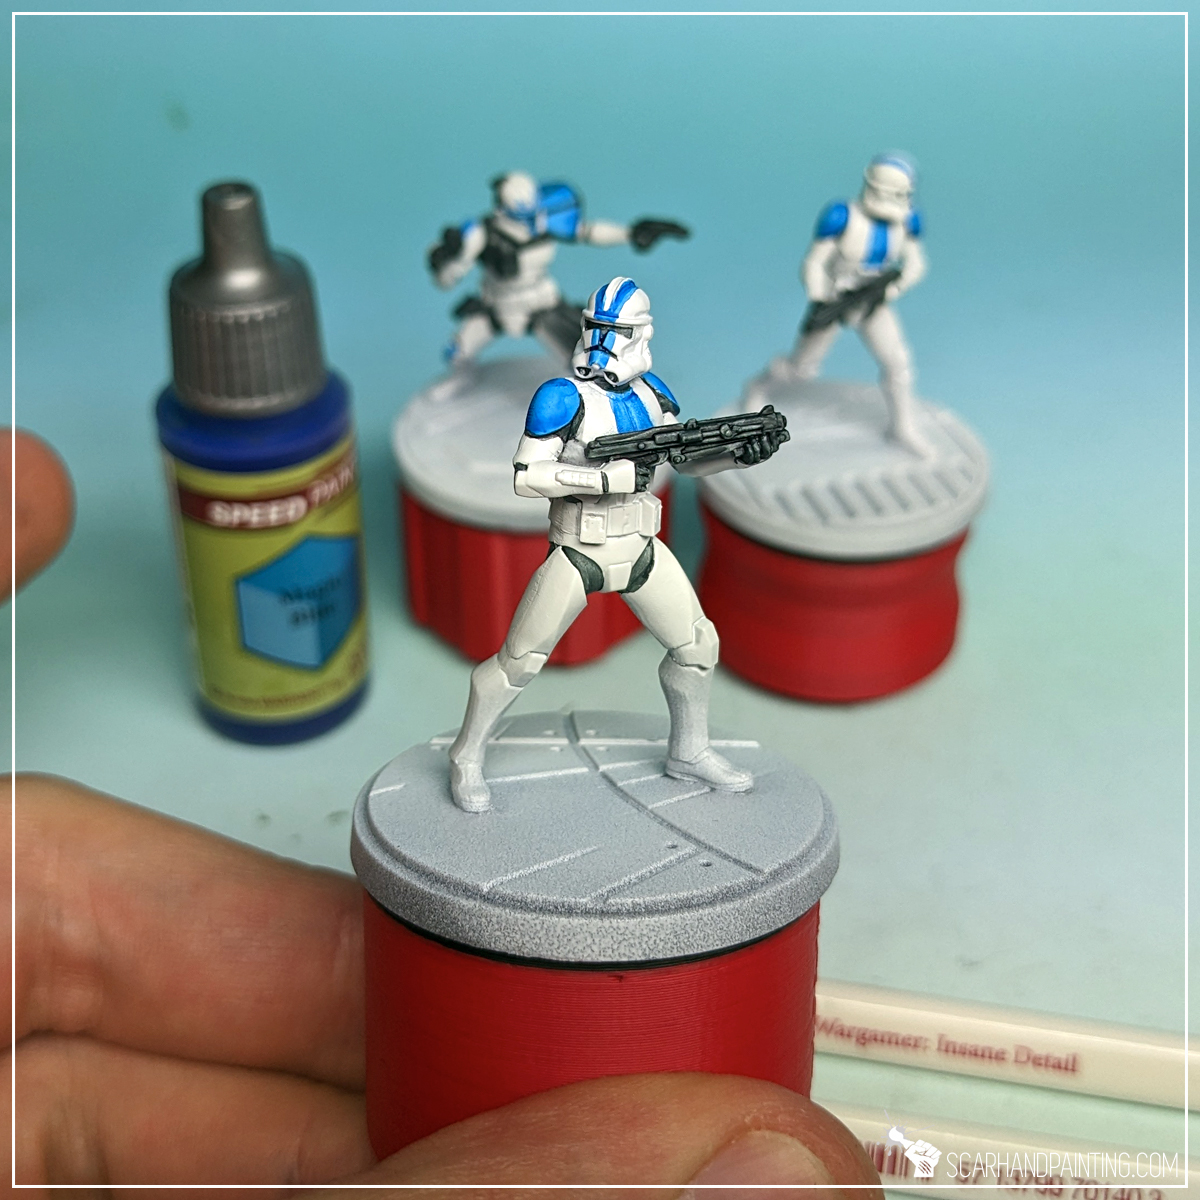
Using a Wargamer: Regiment Brush I then applied a highlight of Mummy Robes onto the top edges of the guns. Due to wider, more sturdy heads, I find larger brushes better for this kind of job. The key was to keep the paint to a minimum and slide the brush perpendicularly across the top surface of each gun.

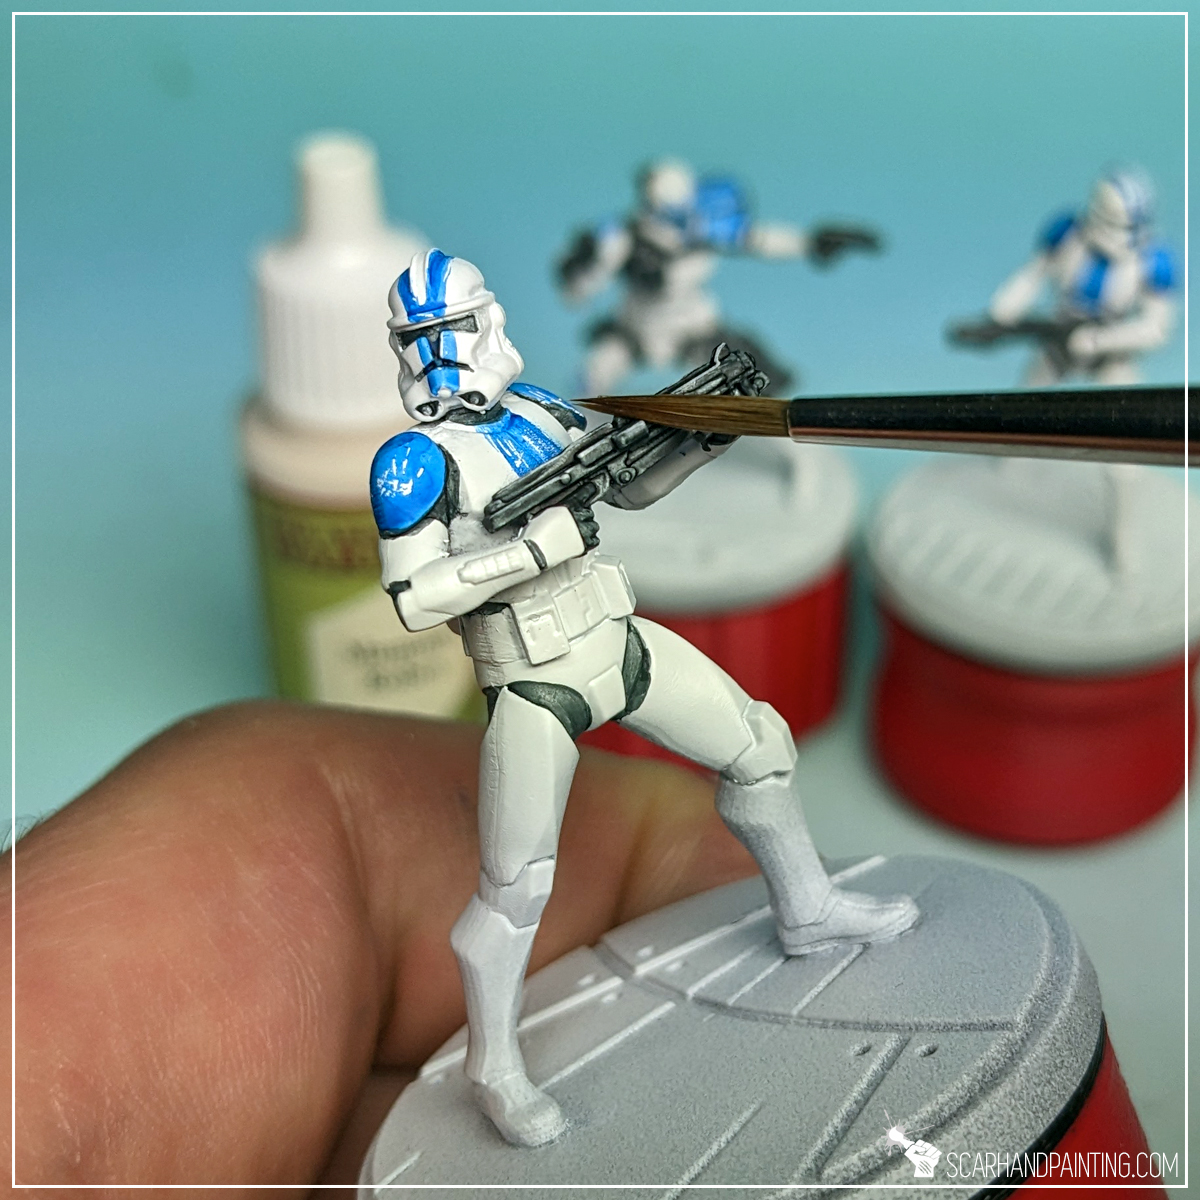
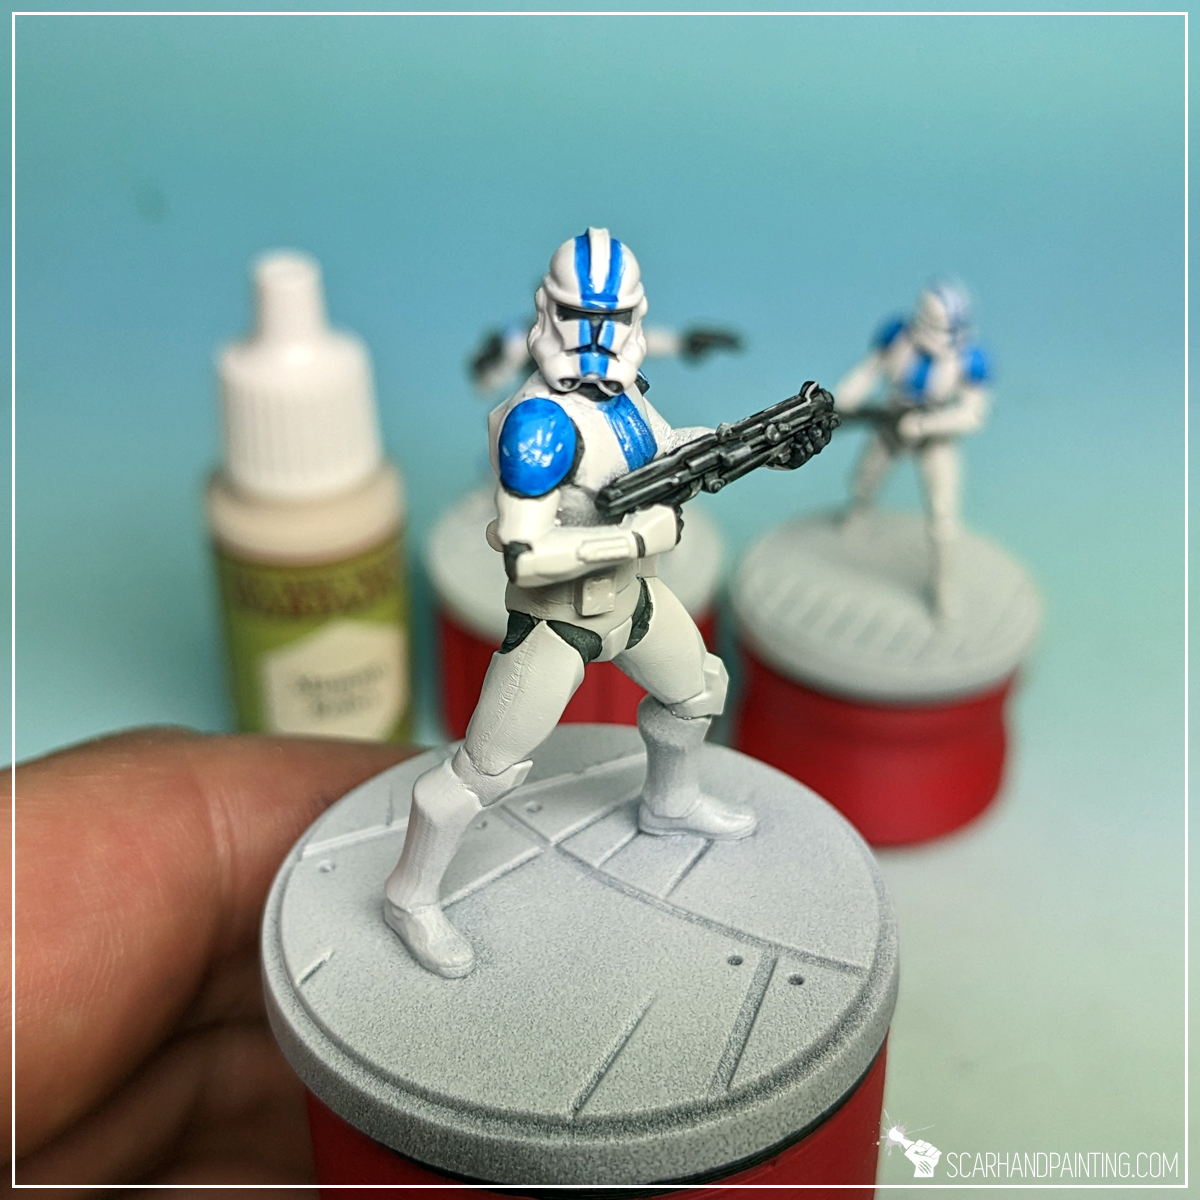
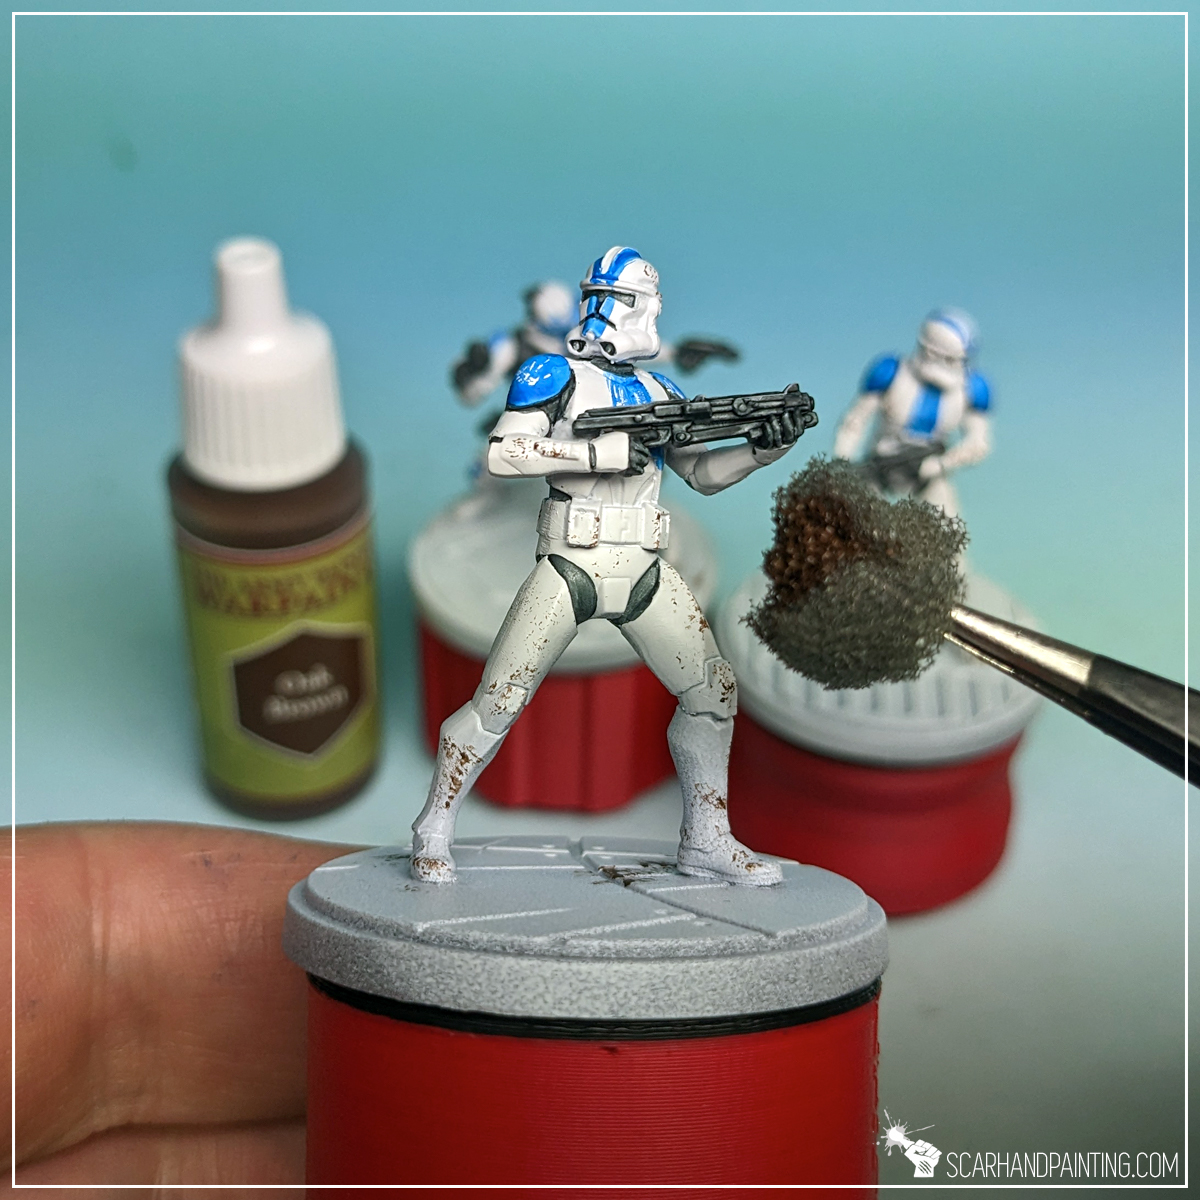
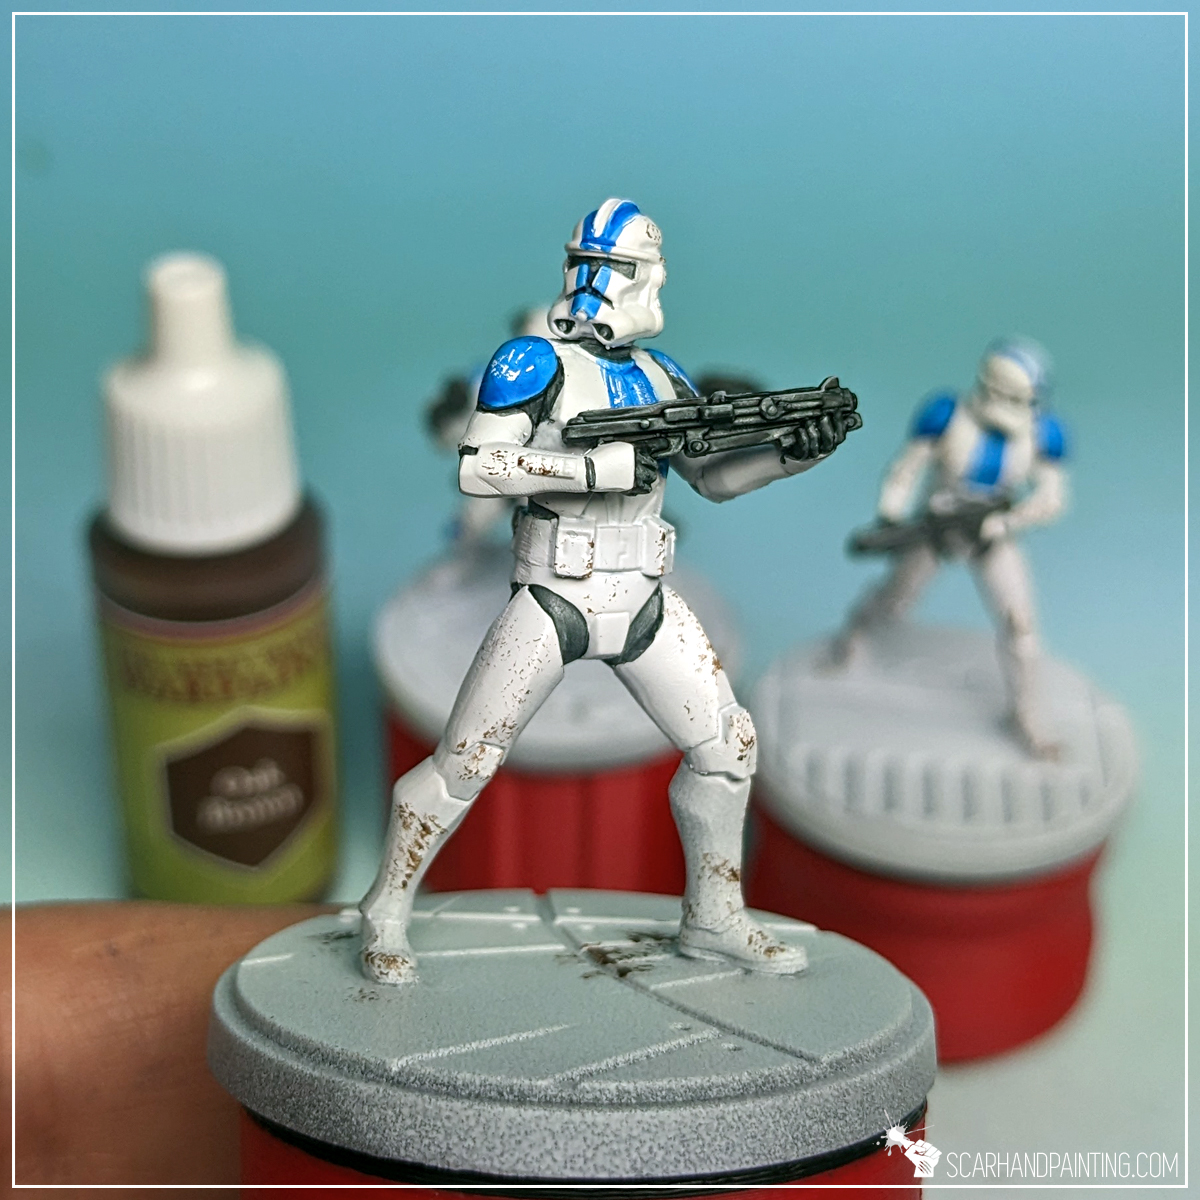
I then used a pair of tweezers and a piece of foam to stipple Oak Brown all over the armor plates. This broke the otherwise flat looking armor and provided additional detail to the miniatures.

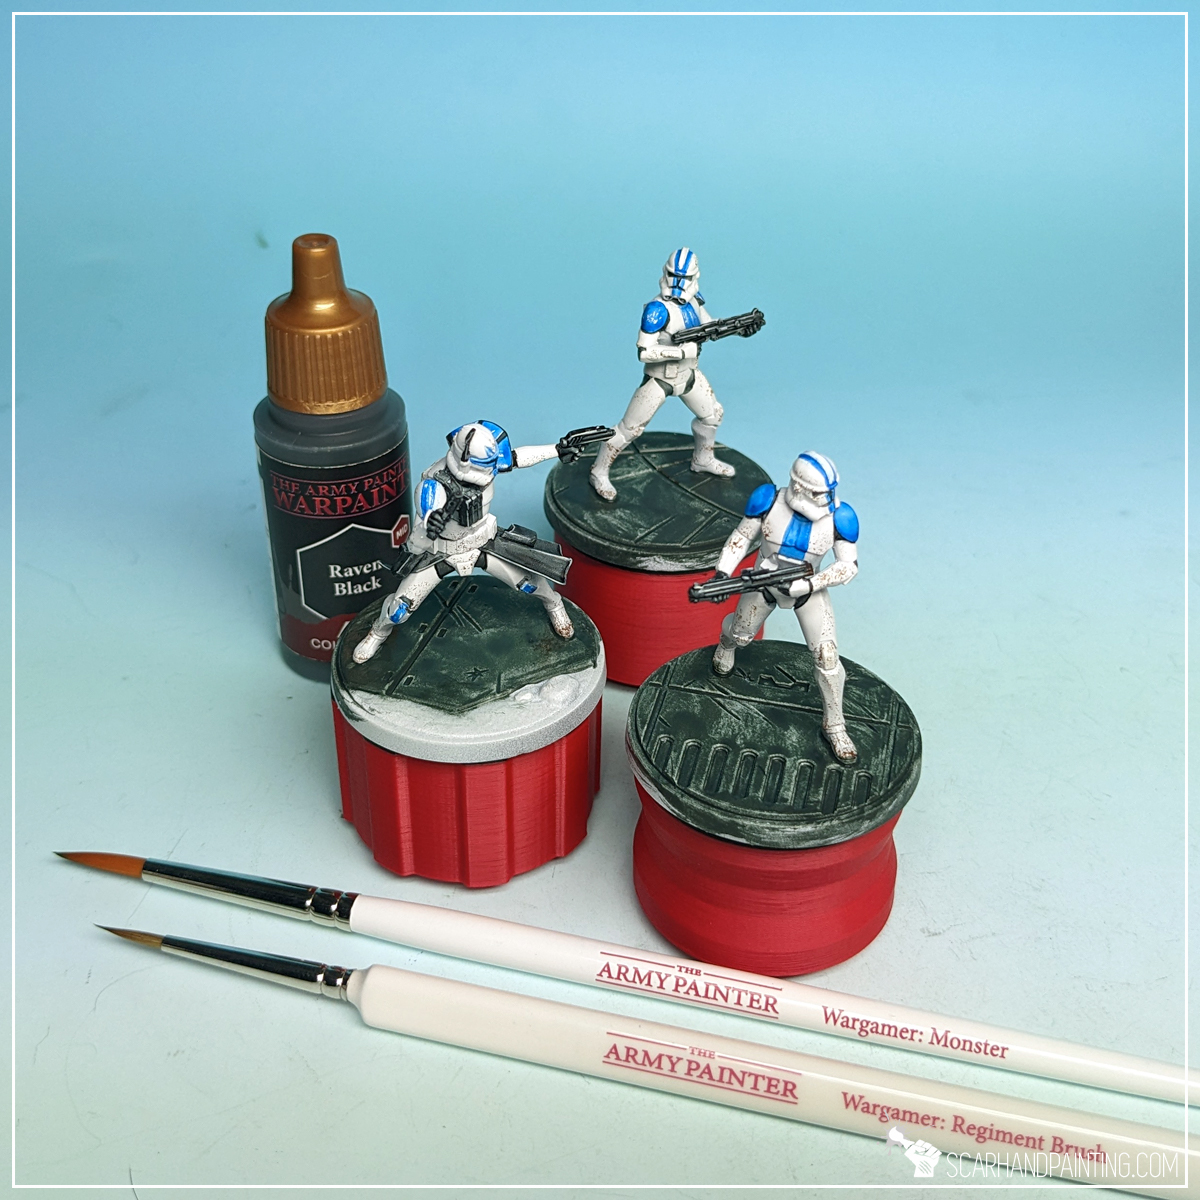
For bases I decided to keep them relatively simple, to make the miniatures stand out. First I applied a layer of Raven Black (air), starting carefully around the miniature’s feet, then expanding outwards. I deliberately used air series paint for an extra messy end result – free details on the painted surface. I used Wargamer: Regiment Brush for this and the next layer.


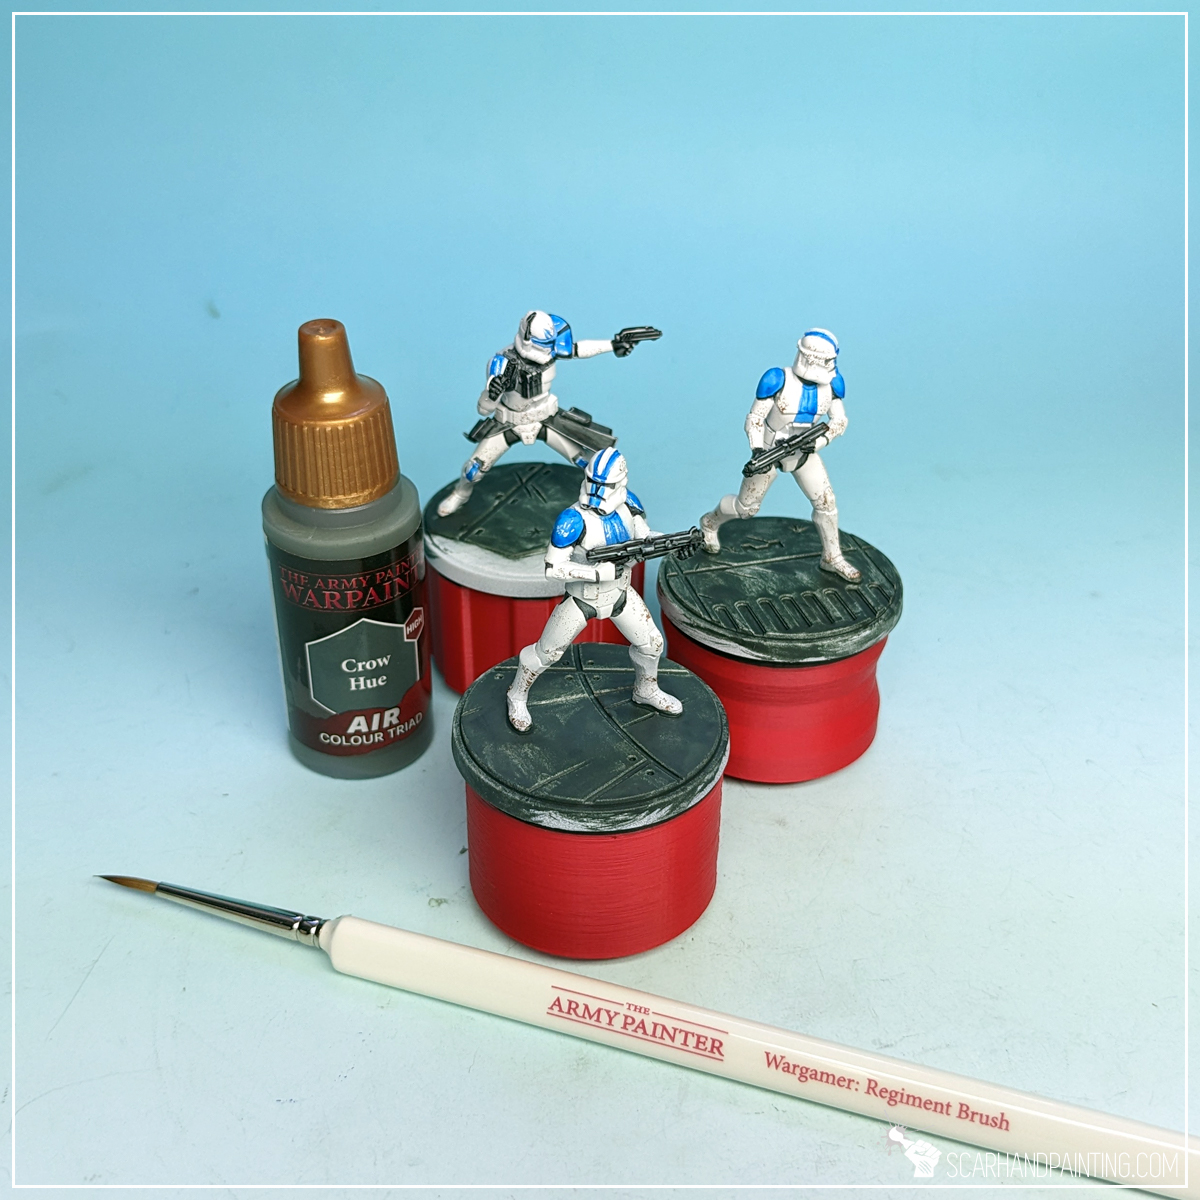
Next, using the same methodology, I followed up with Crow Hue.

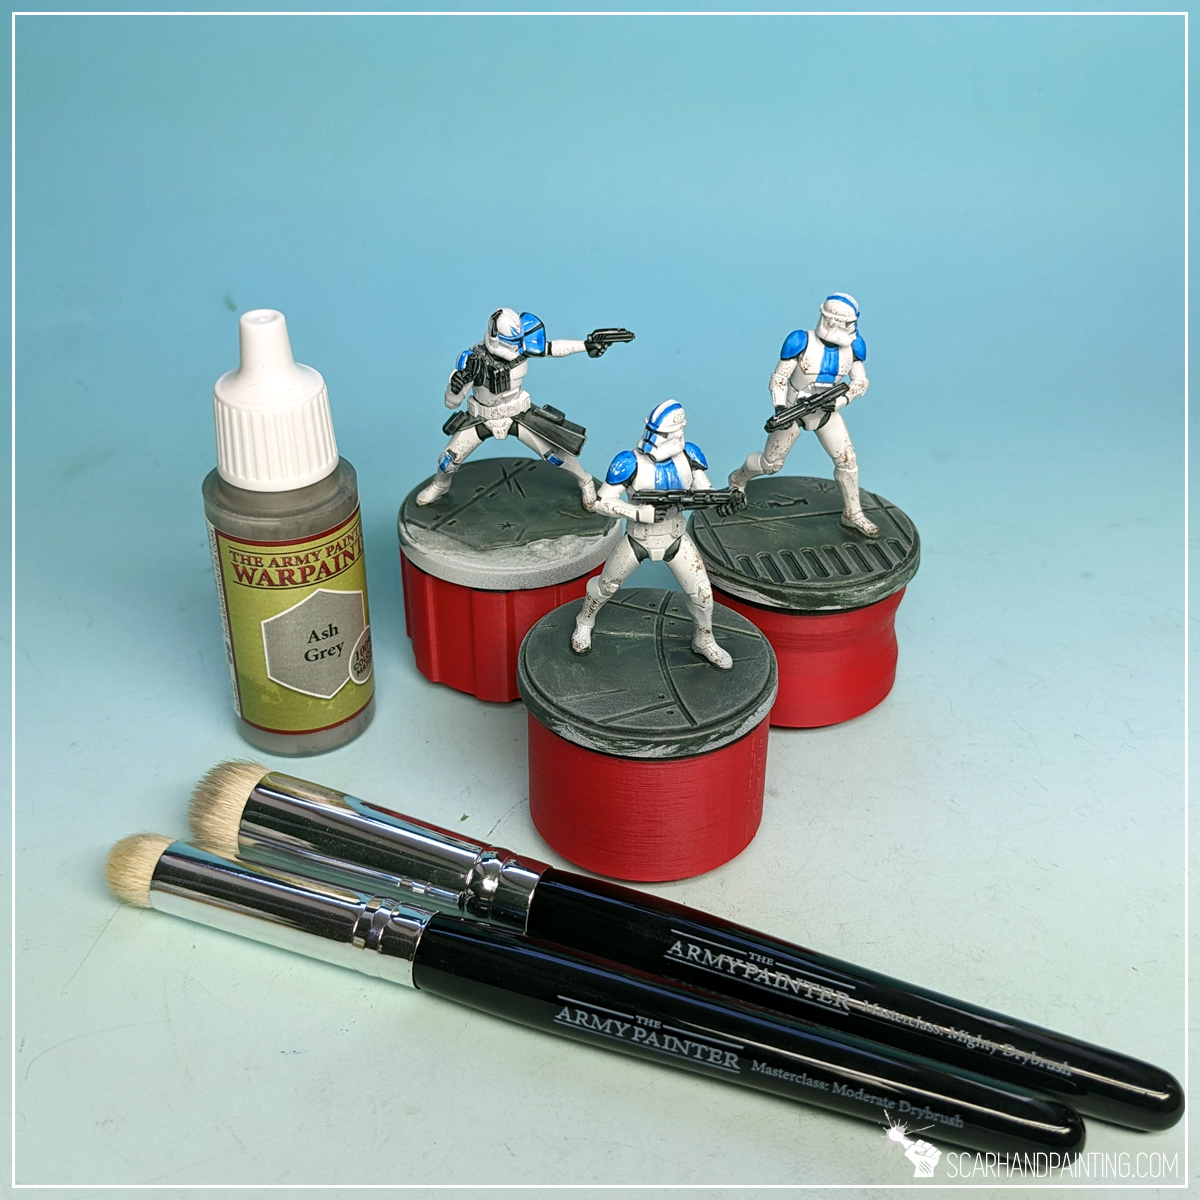
I then drybrushed entire base with Ash Grey.
TIP: Drybrush is done by putting the tip of a brush in paint, then brushing the excess paint off onto a piece of paper, foam or some other material, then brushing the remainder of the paint onto the chosen surface. This can be done with either standard Small/Large Drybrush, or Masterclass for easier, faster application.
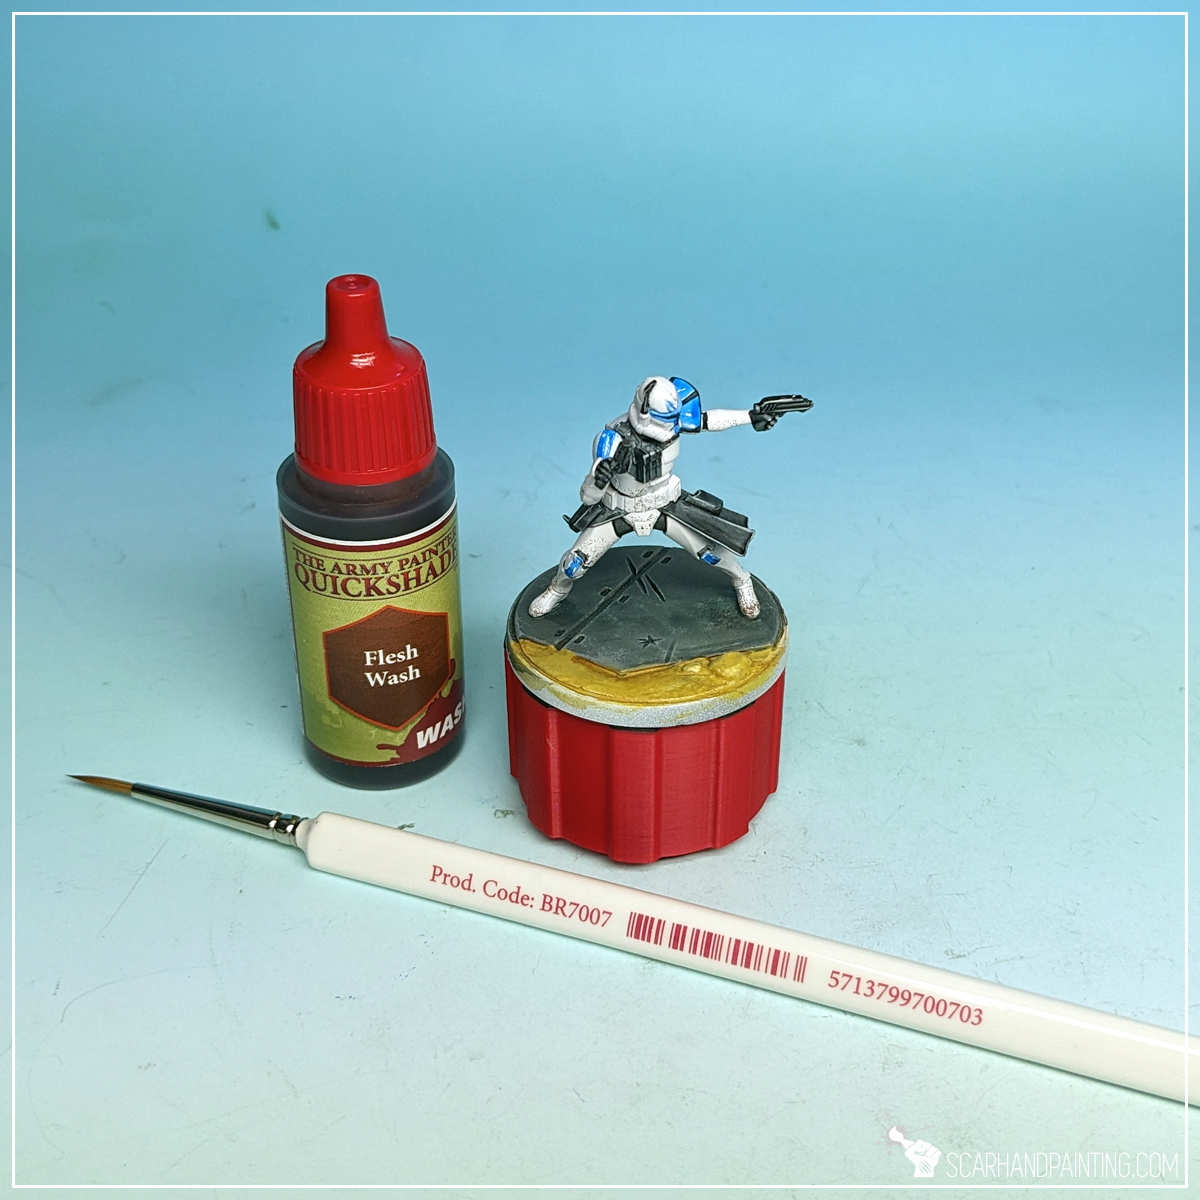
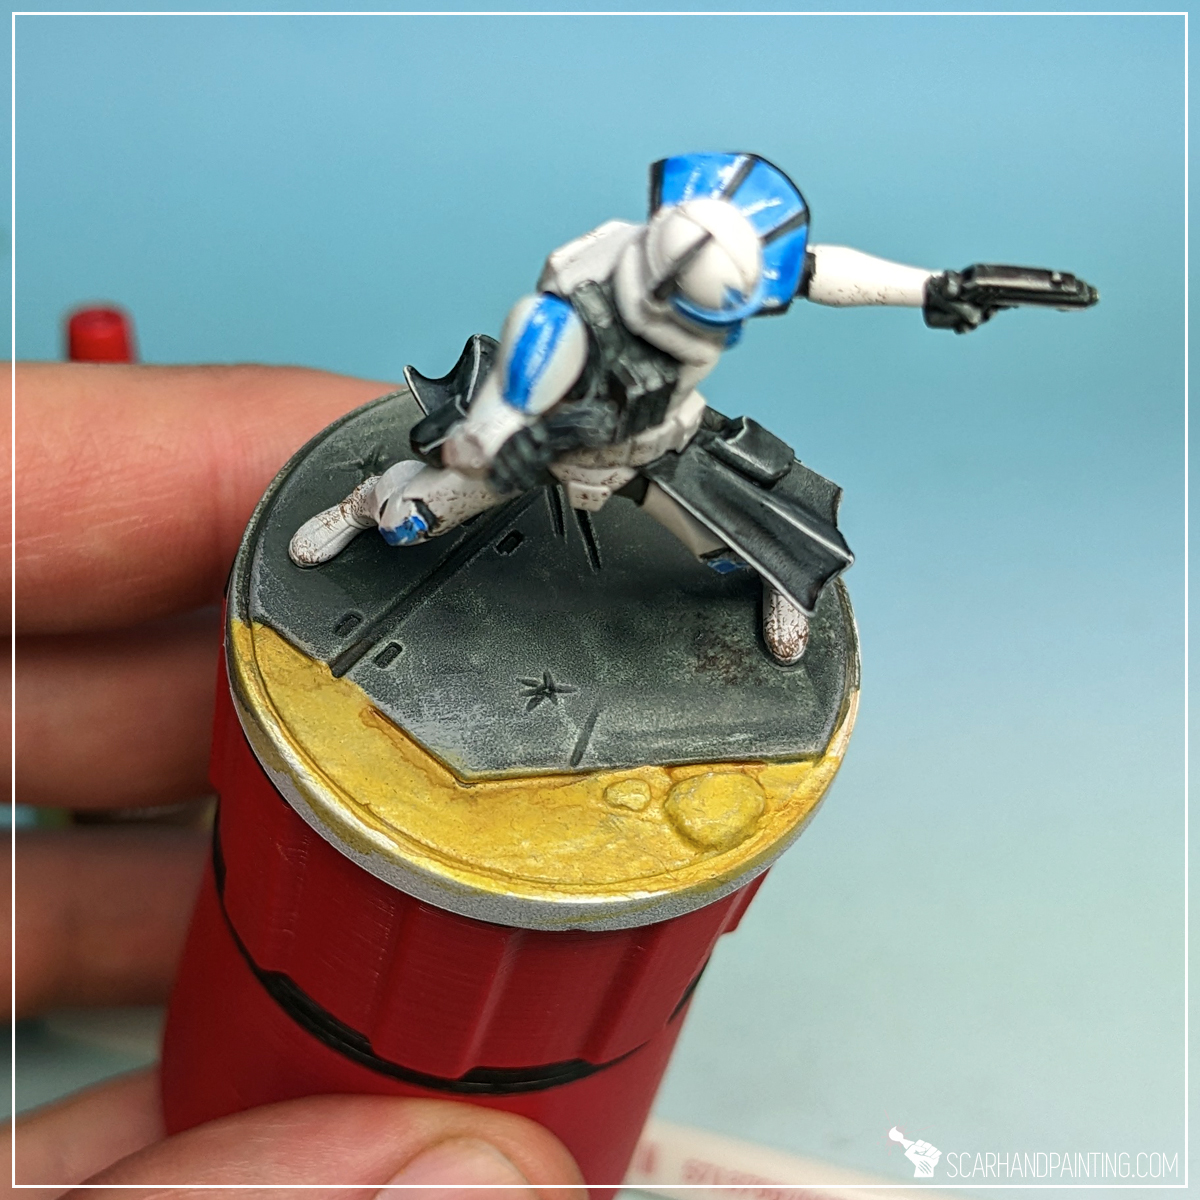
For sand I applied Yellow Dune (air), followed by a wash with Flesh Wash paint.
TIP: Washing is done by applying Washes, or Inks in large quantities and letting them dry. The pigmentation goes into recesses, highlighting any raised areas.

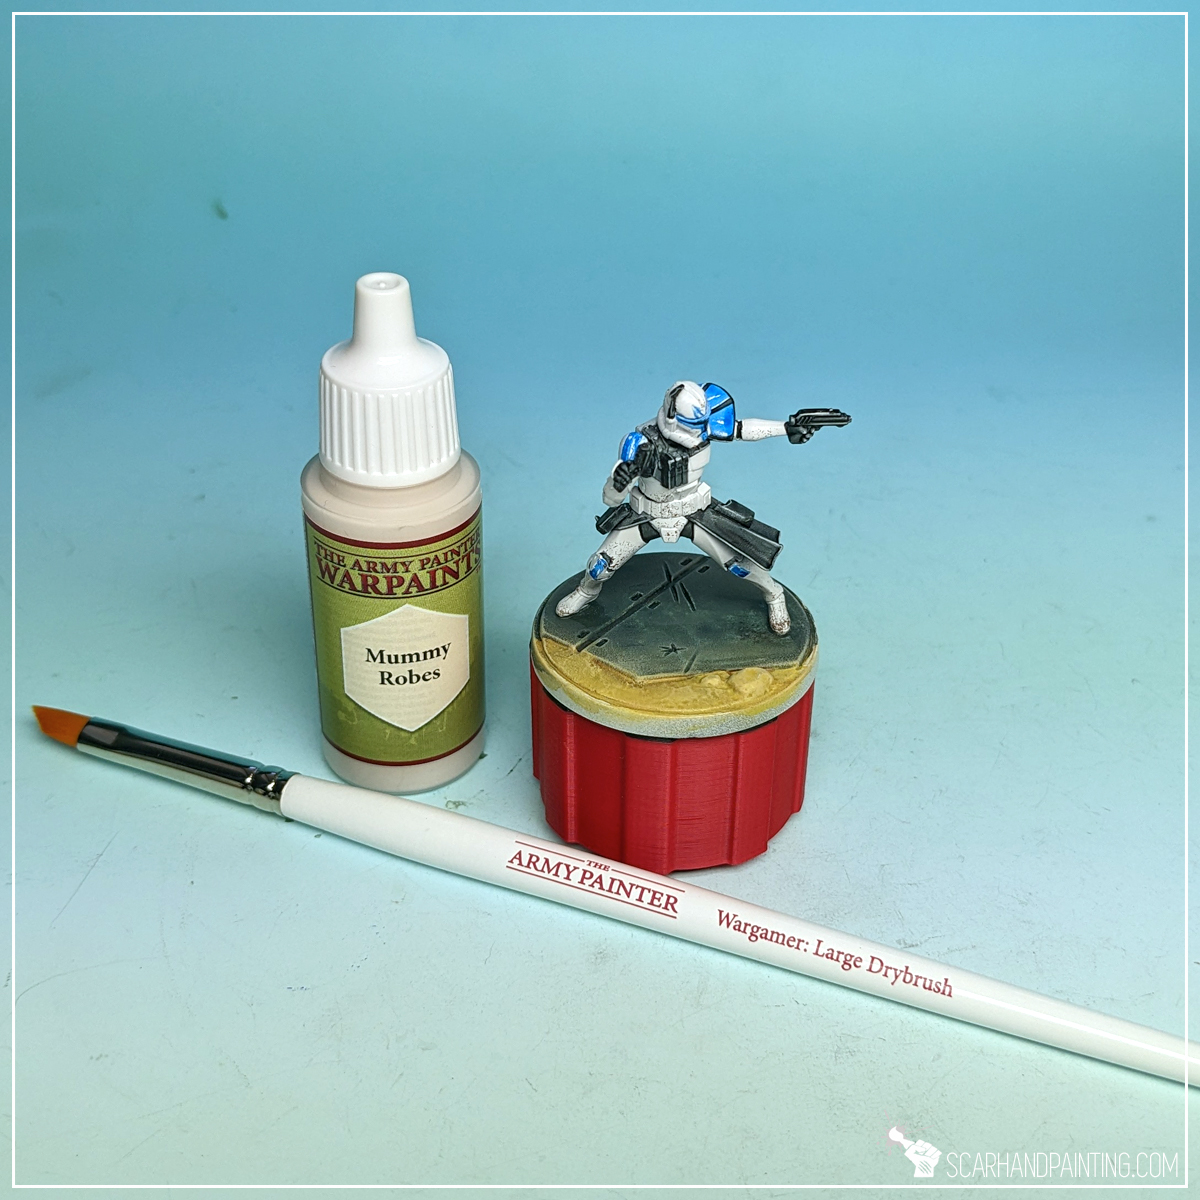
Next I drybrushed sand and surrounding areas with Mummy Robes.
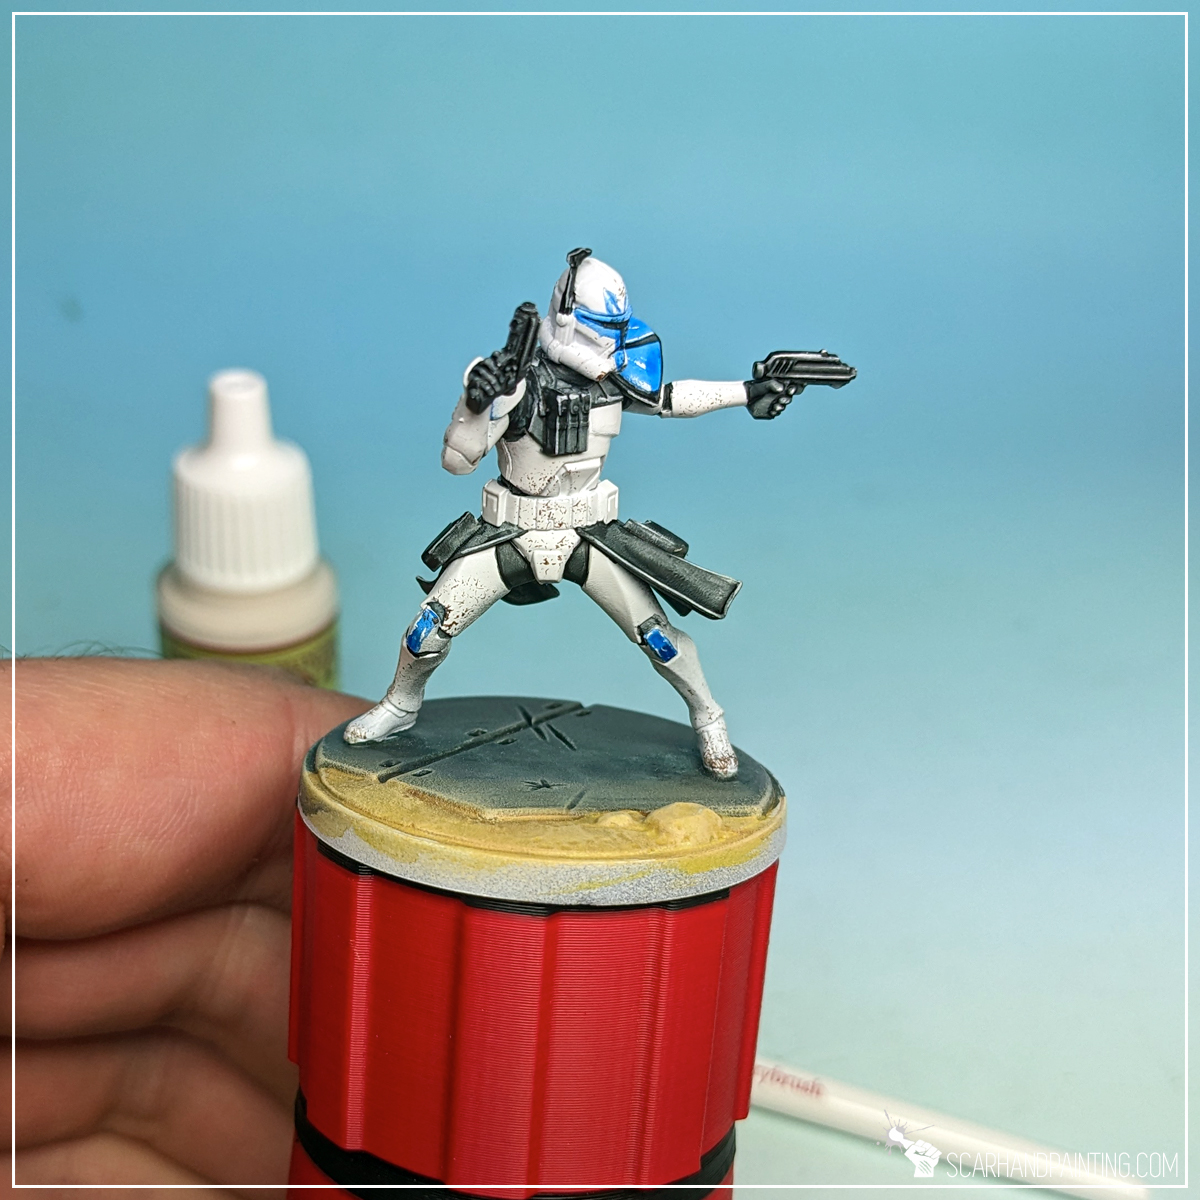

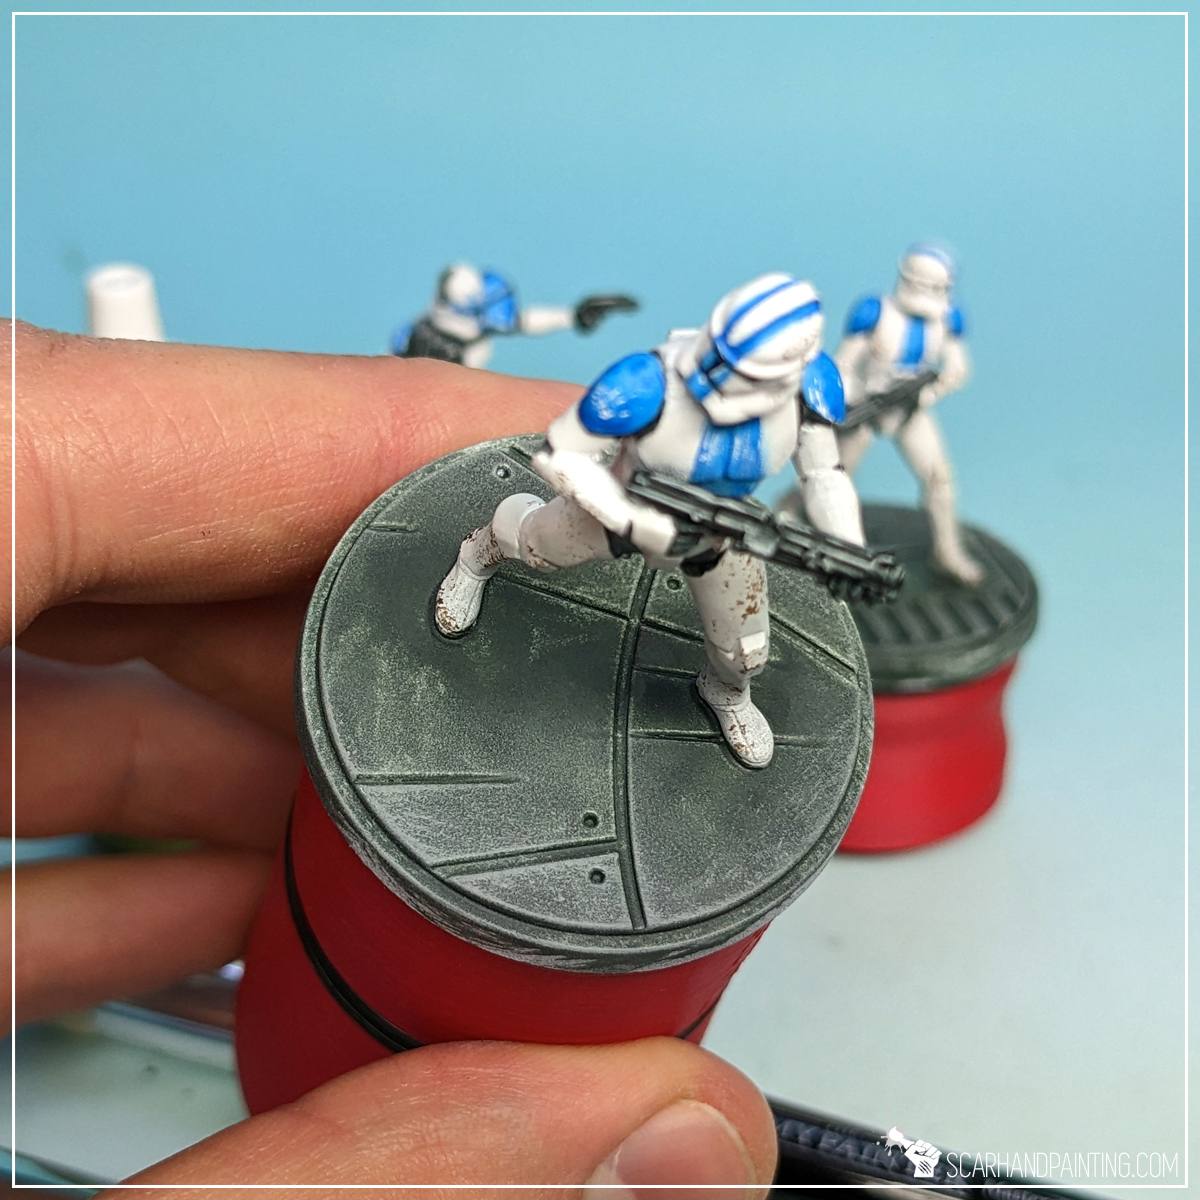
To add depth I highlighted concrete plates edges with Mummy Robes…
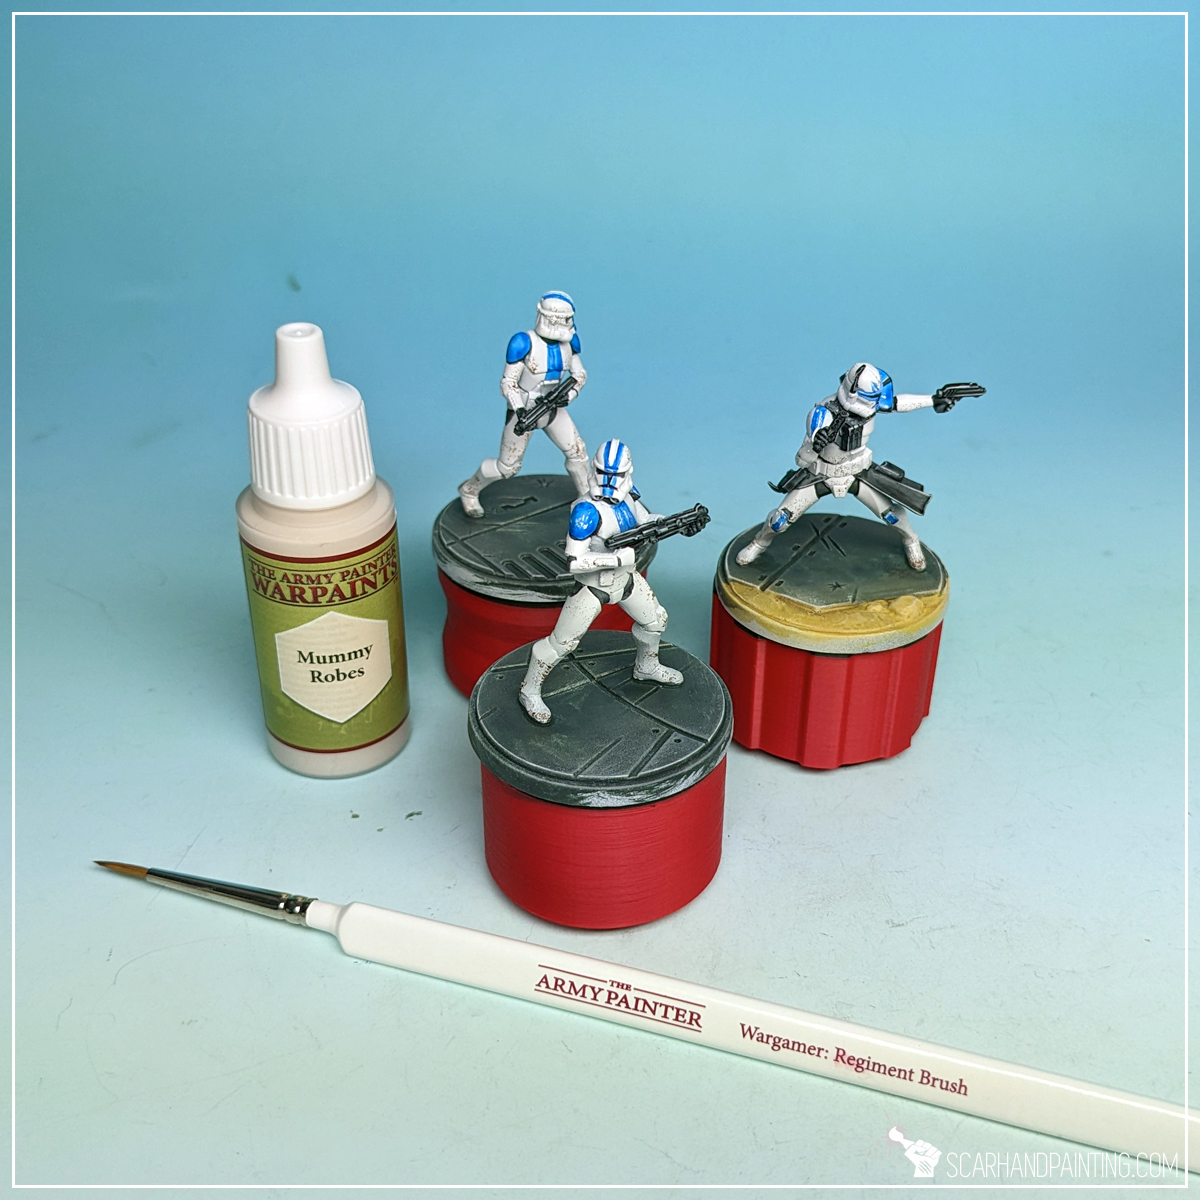
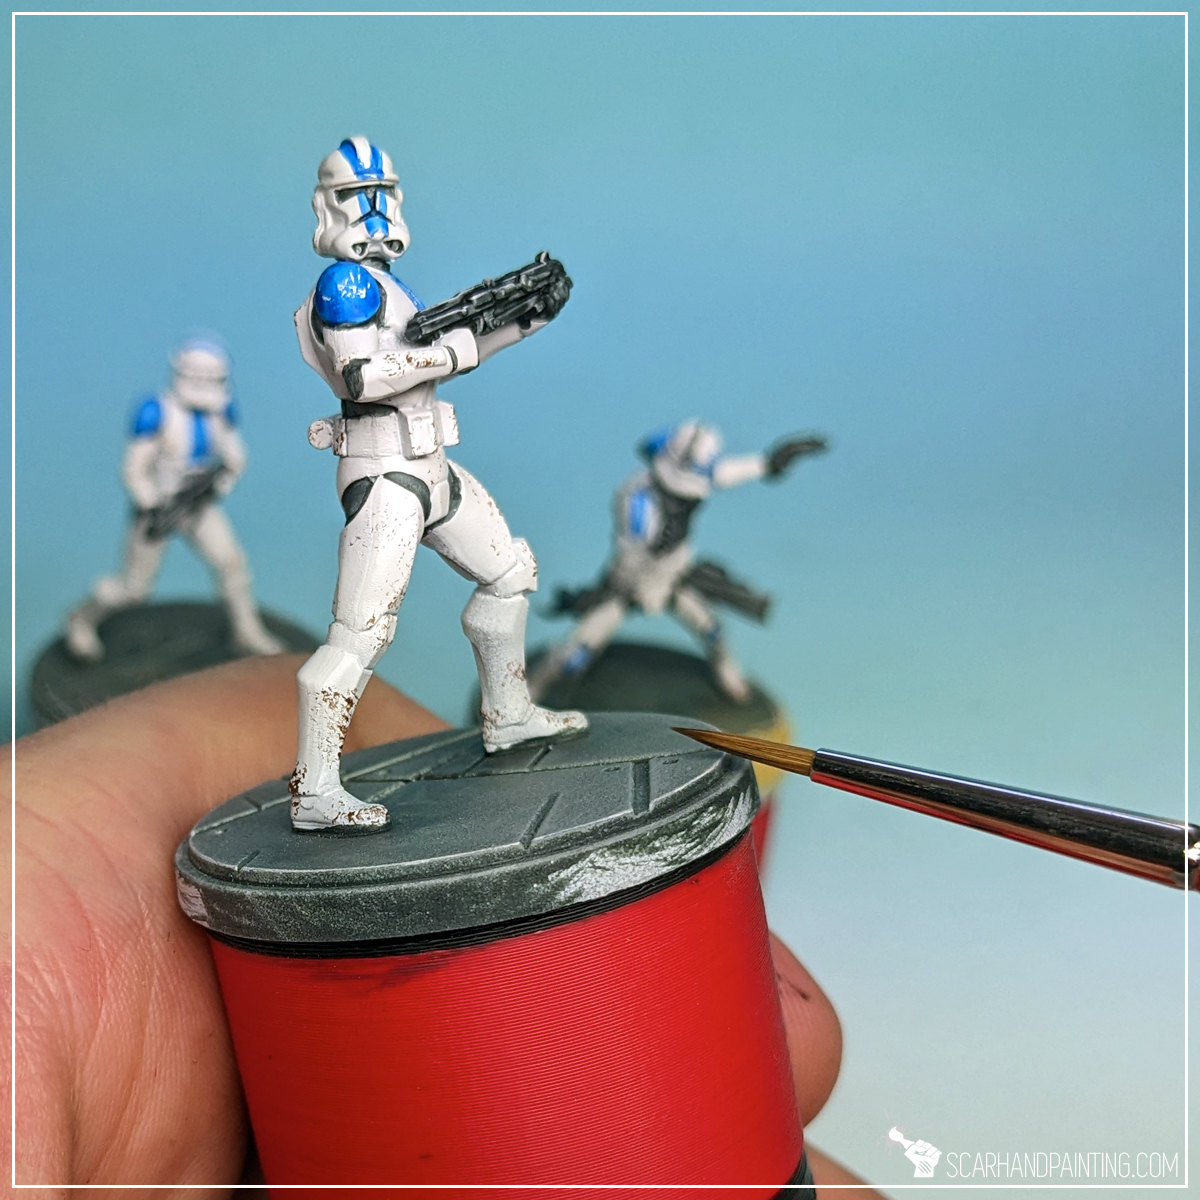
… then thinned Mummy Robes with a bit of water and wiped the brush off with a series of semi random movements, onto flat concrete areas. I used Wargamer: Regiment Brush.
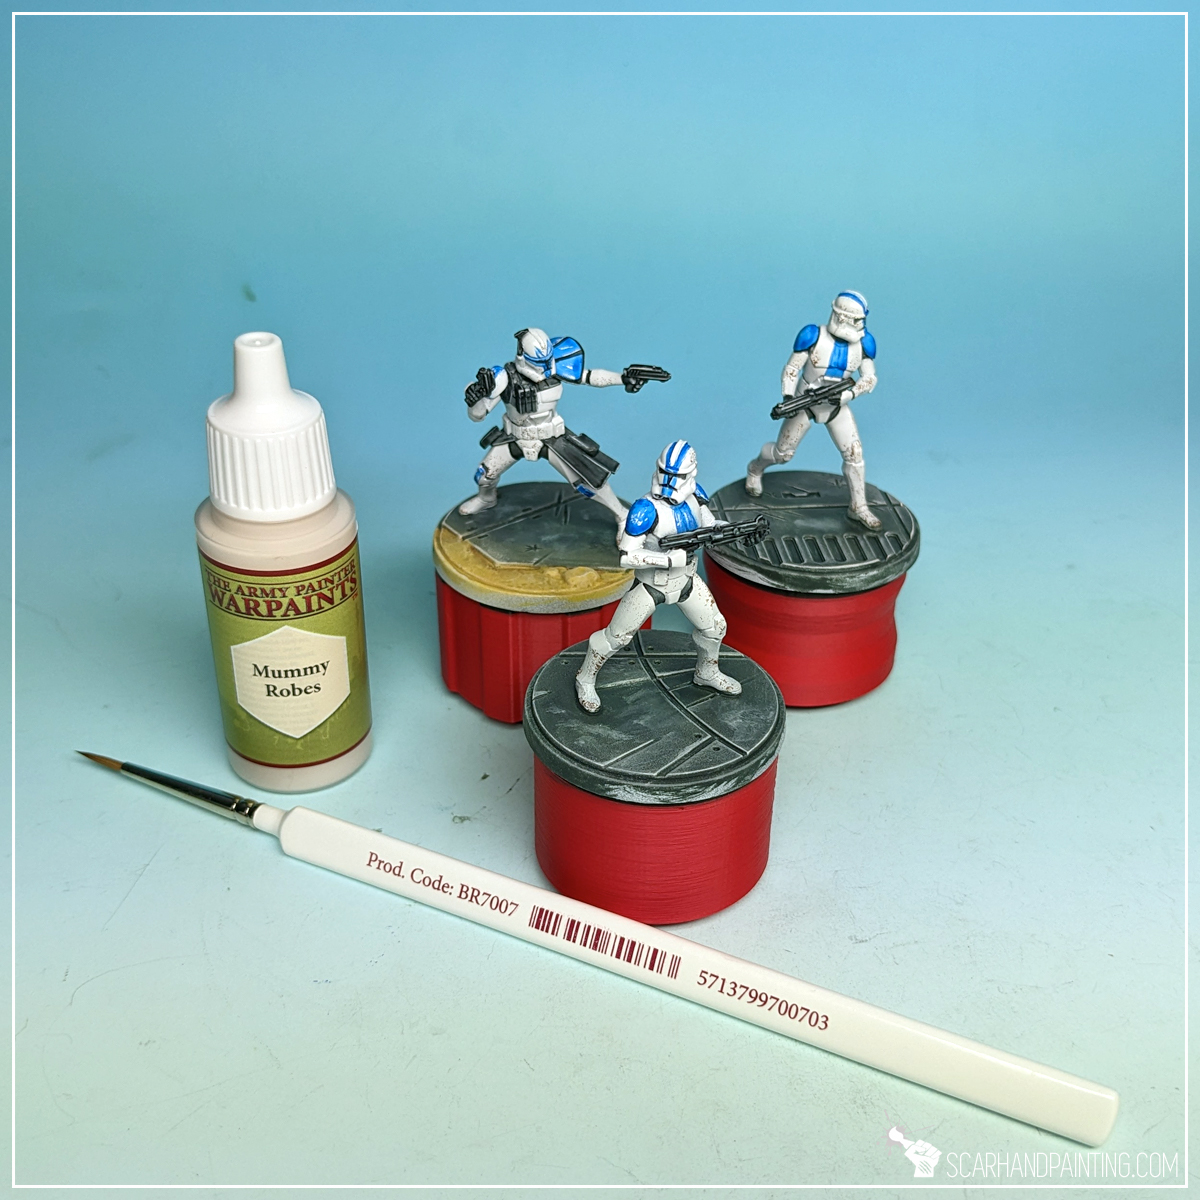
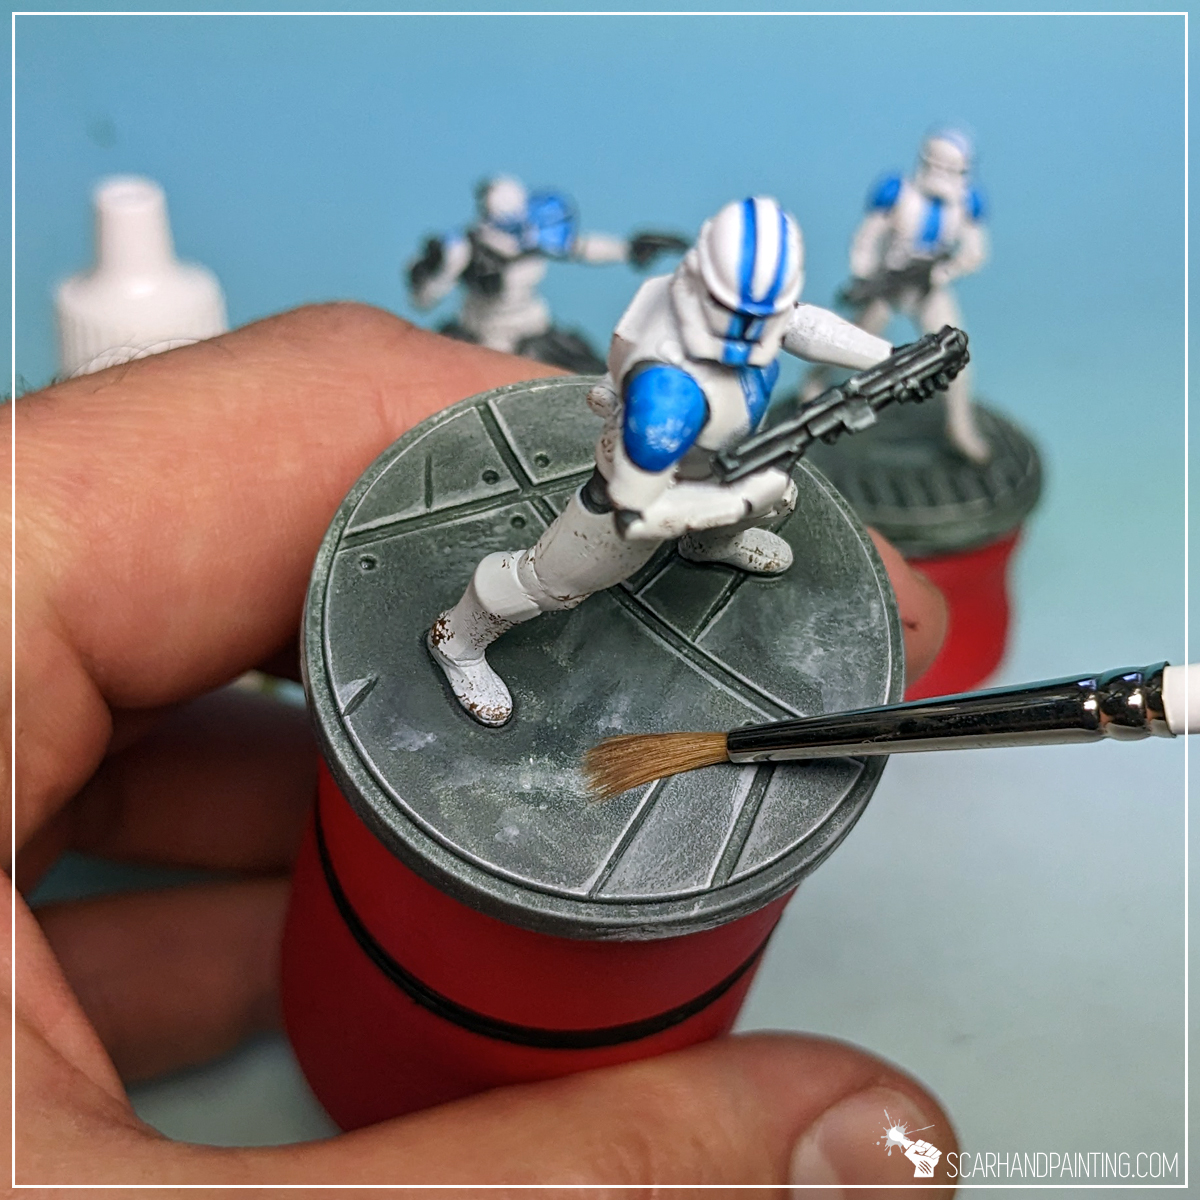
To make the miniatures stand out and underline them, I painted bases’ edges with Matt Black. Wargamer: Regiment Brush again.

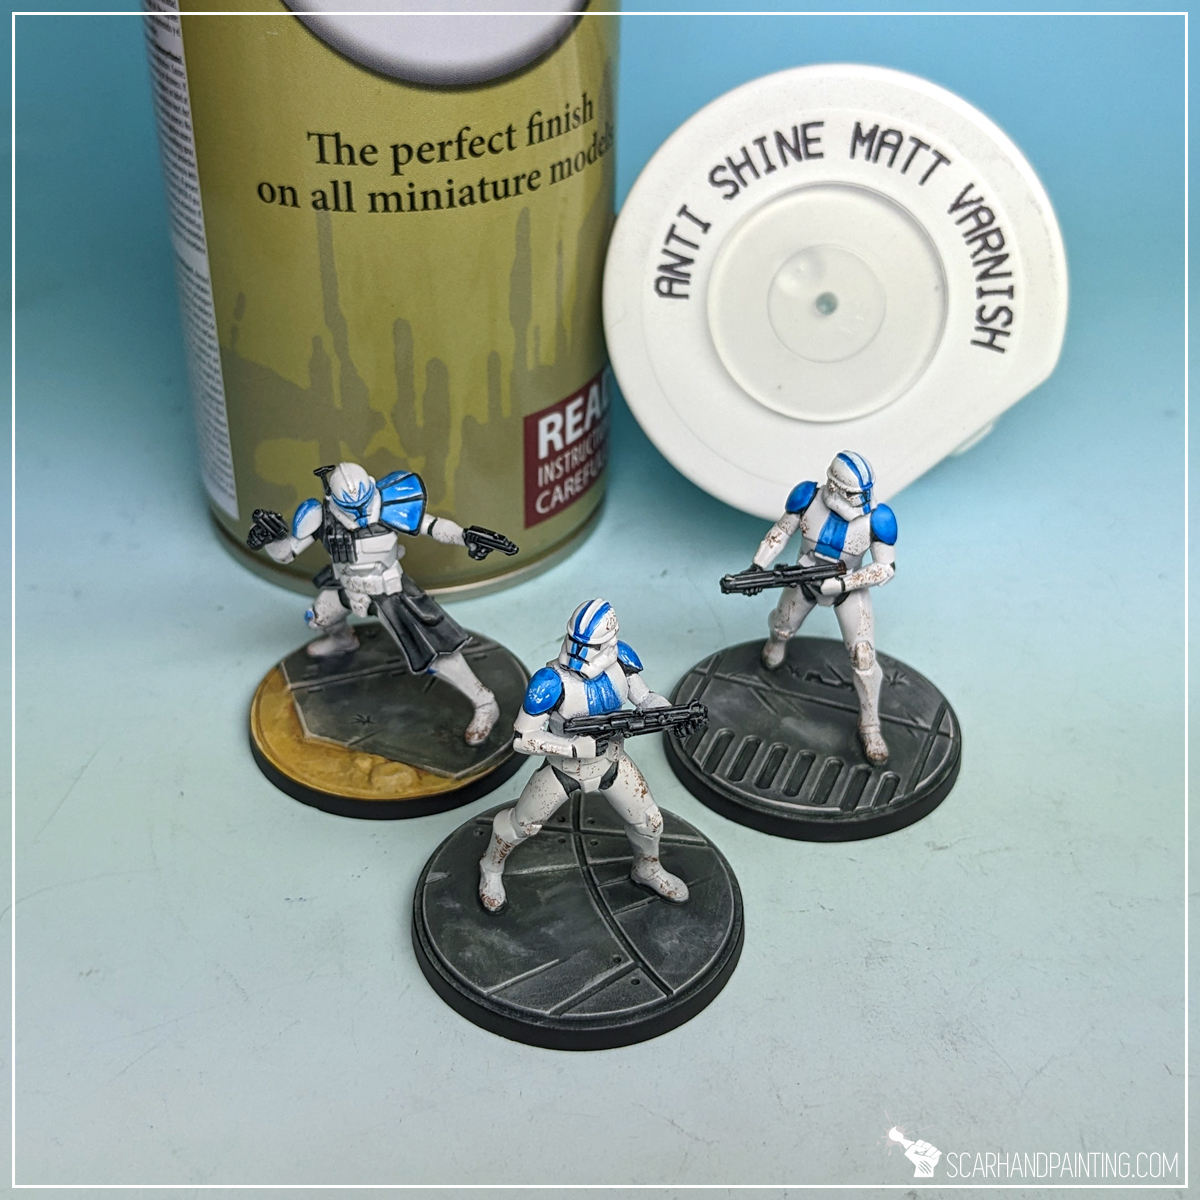
Finally I sealed the paint job with Anti Shine Matt Varnish. This protective layer will keep my Clone Troopers secure from damage, while I game them into oblivion. With this I have finished the paint job.


I hope you find this tutorial interesting. Be sure to let me know your thoughts in the comments below or via Facebook or Instagram. I would also appreciate it if you considered sharing this content with your friends, who might find it useful. Many thanks to Rebel.pl for sponsoring this content. Stay tuned for more Star Wars: Shatterpoint tutorials.