- contact@scarhandpainting.com


Welcome to tutorial for modelling Flames. Here I will present to you a Step-by-step guide on how to create fantastic, highly detailed flames for miniatures in a matter of seconds.
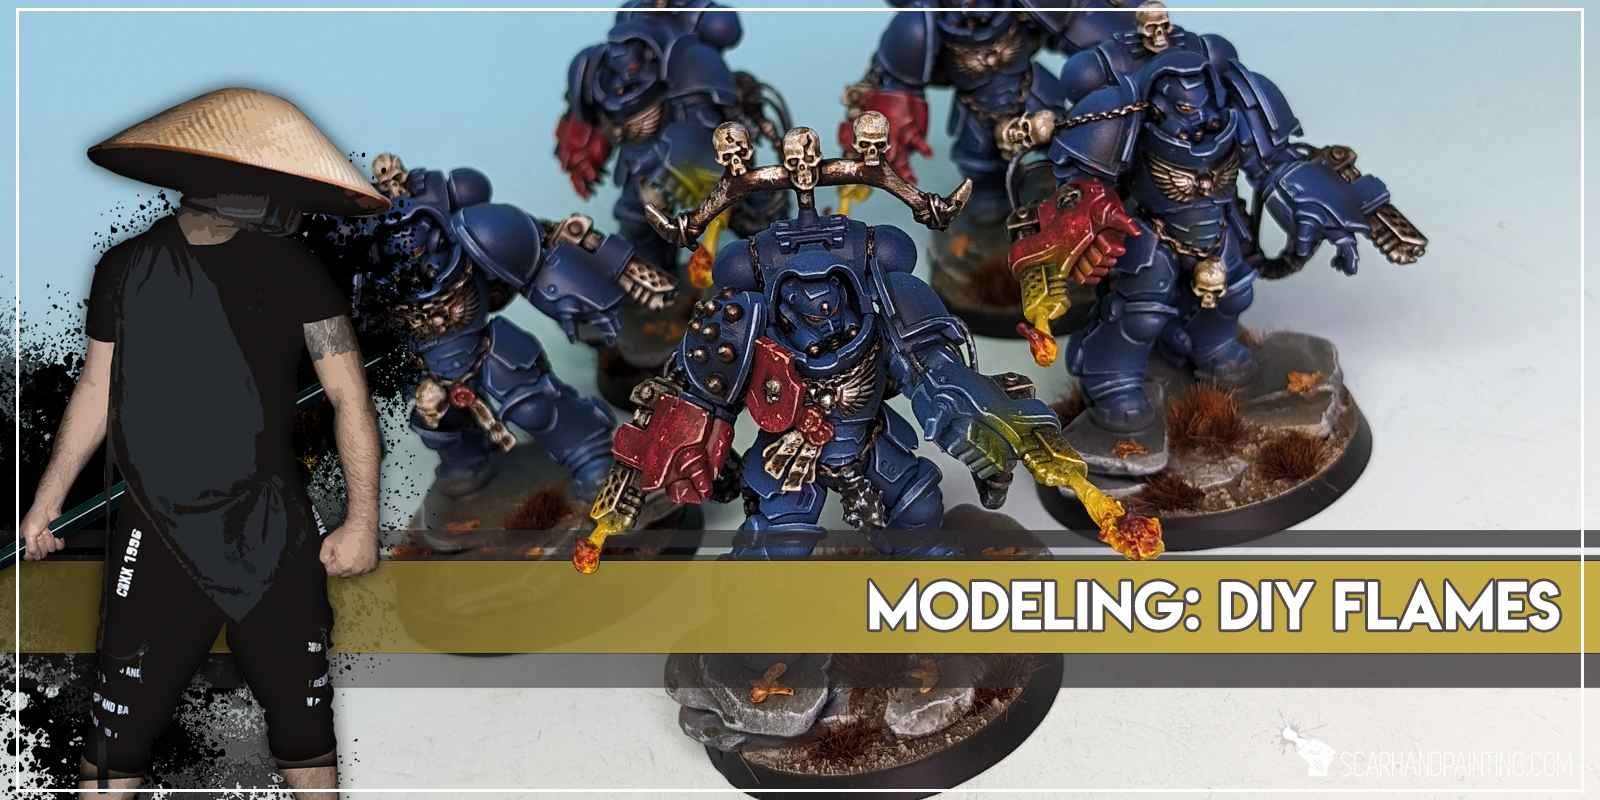
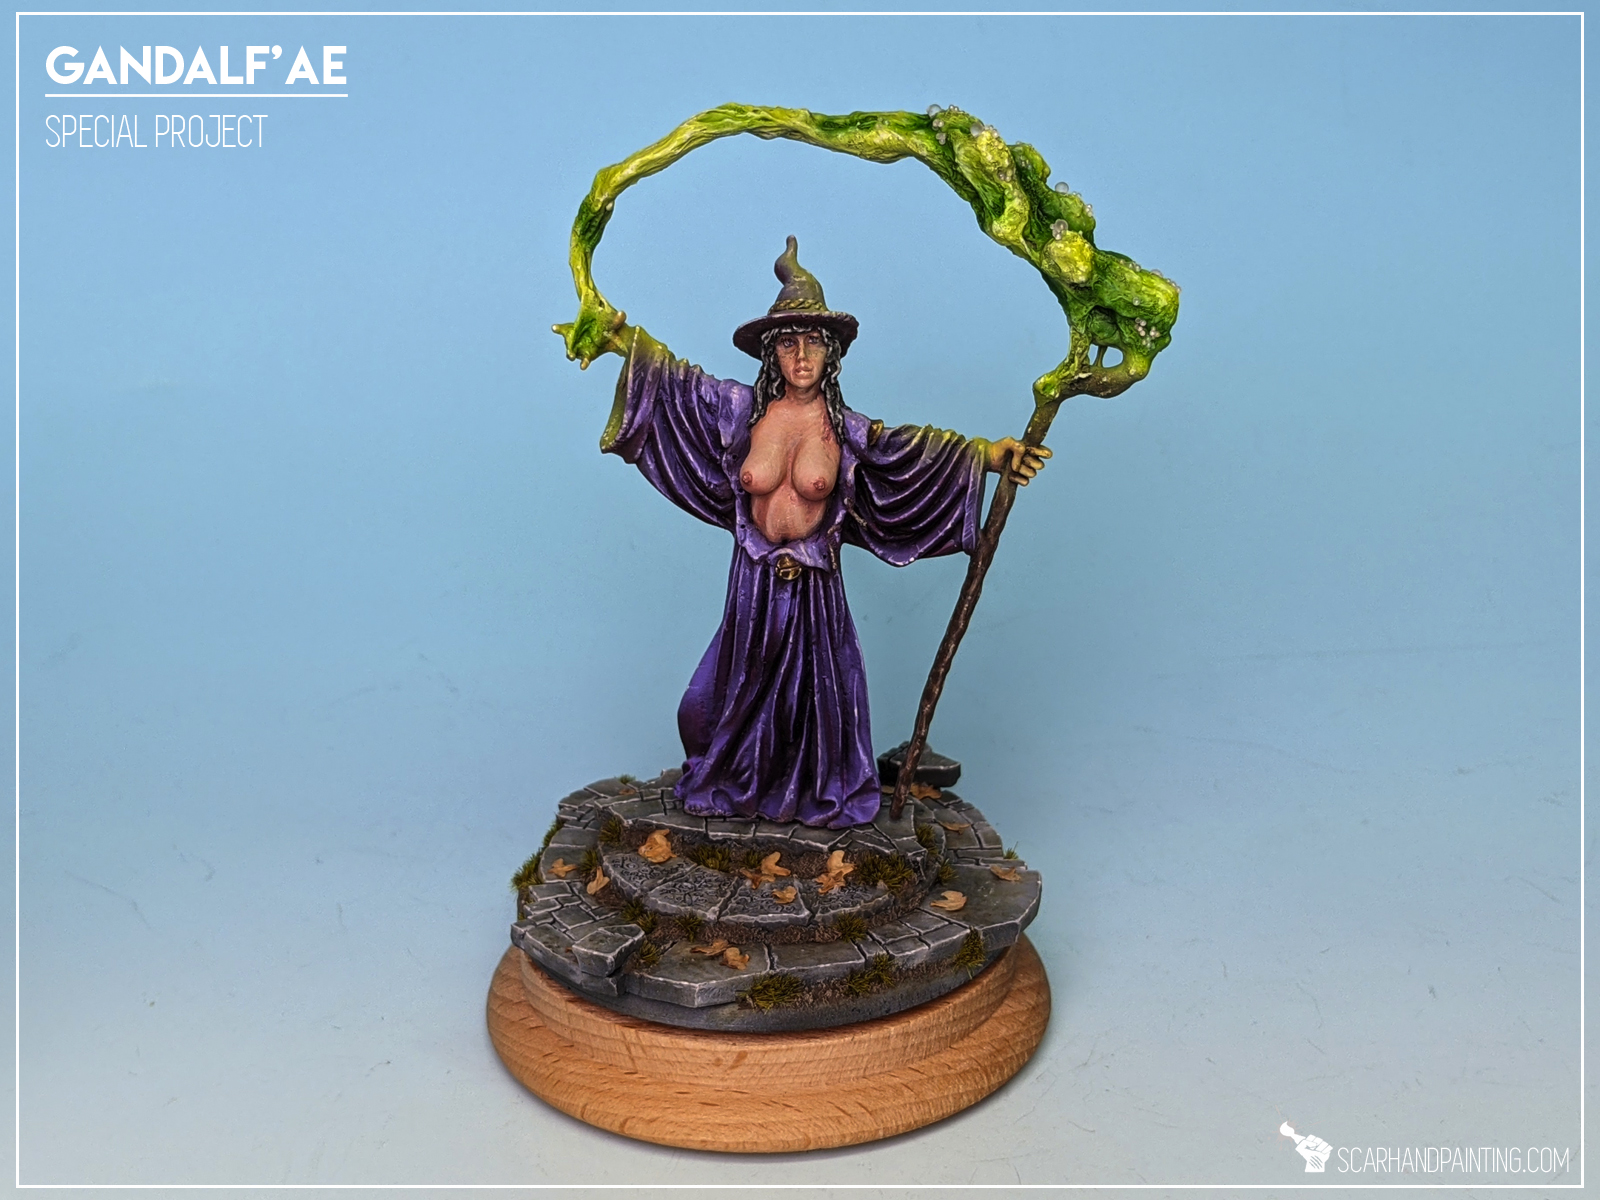
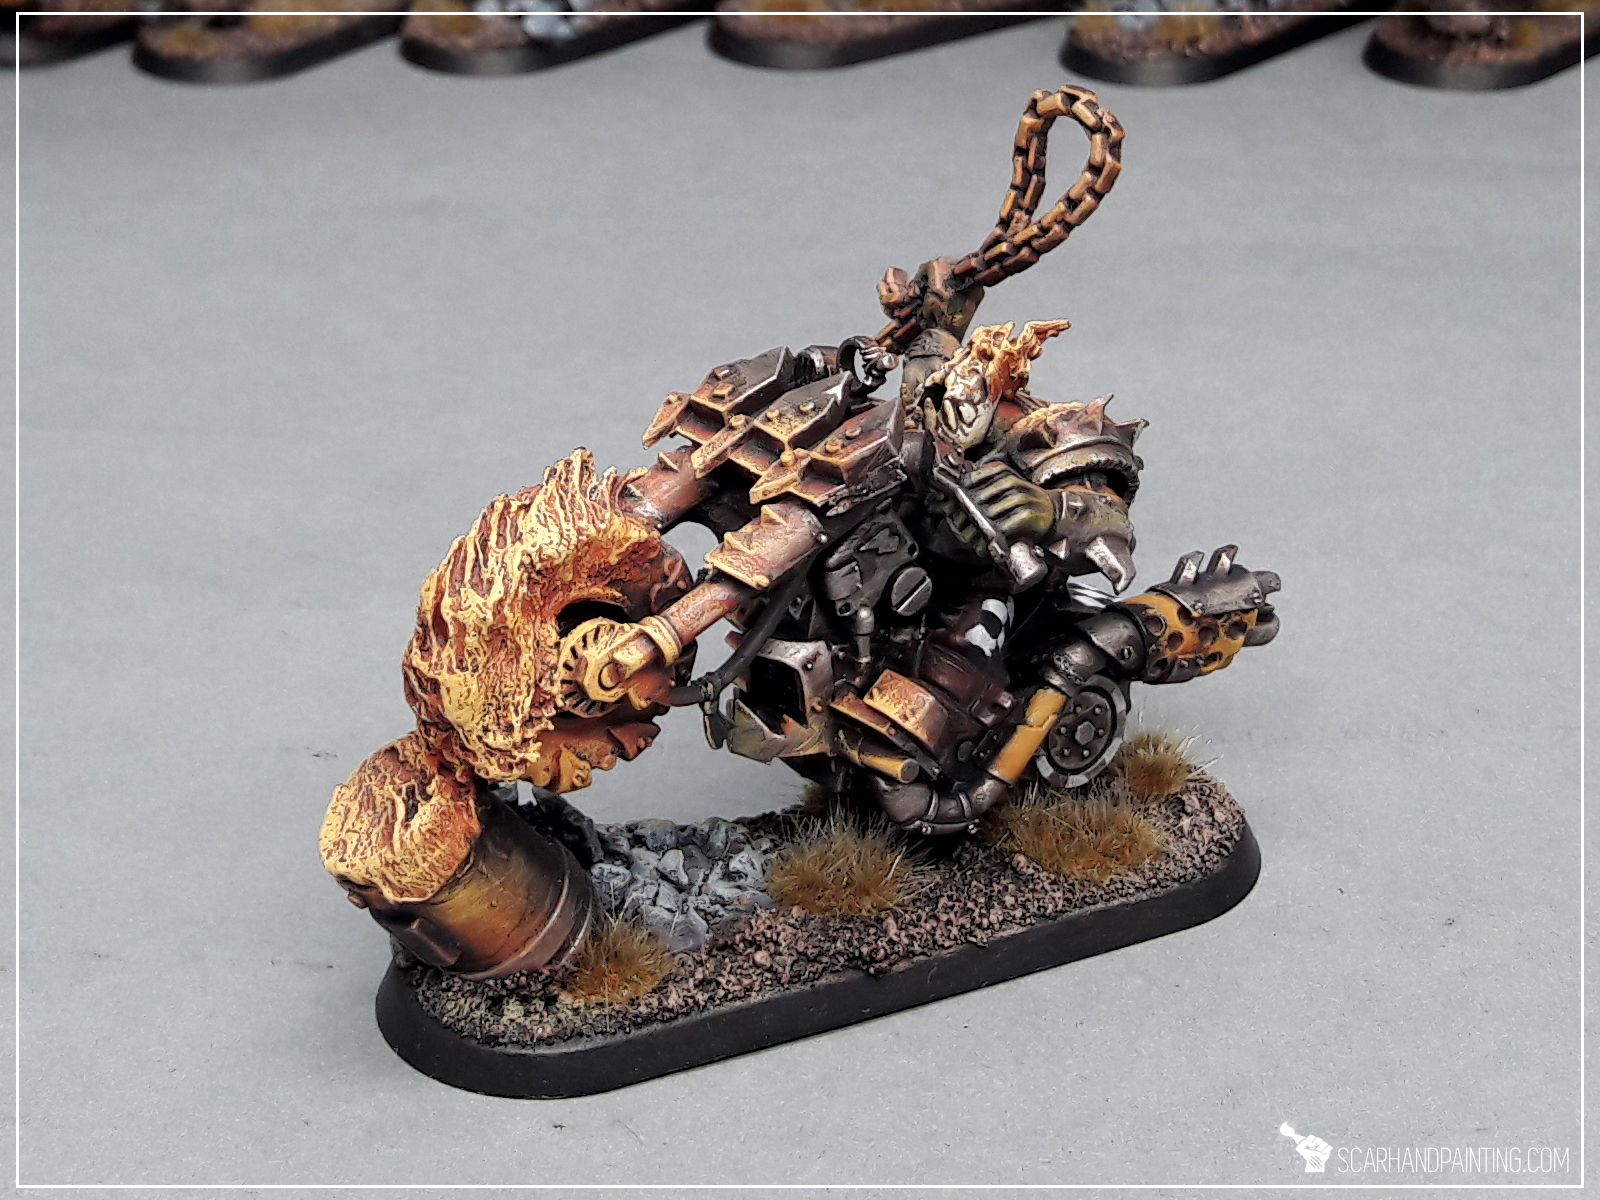
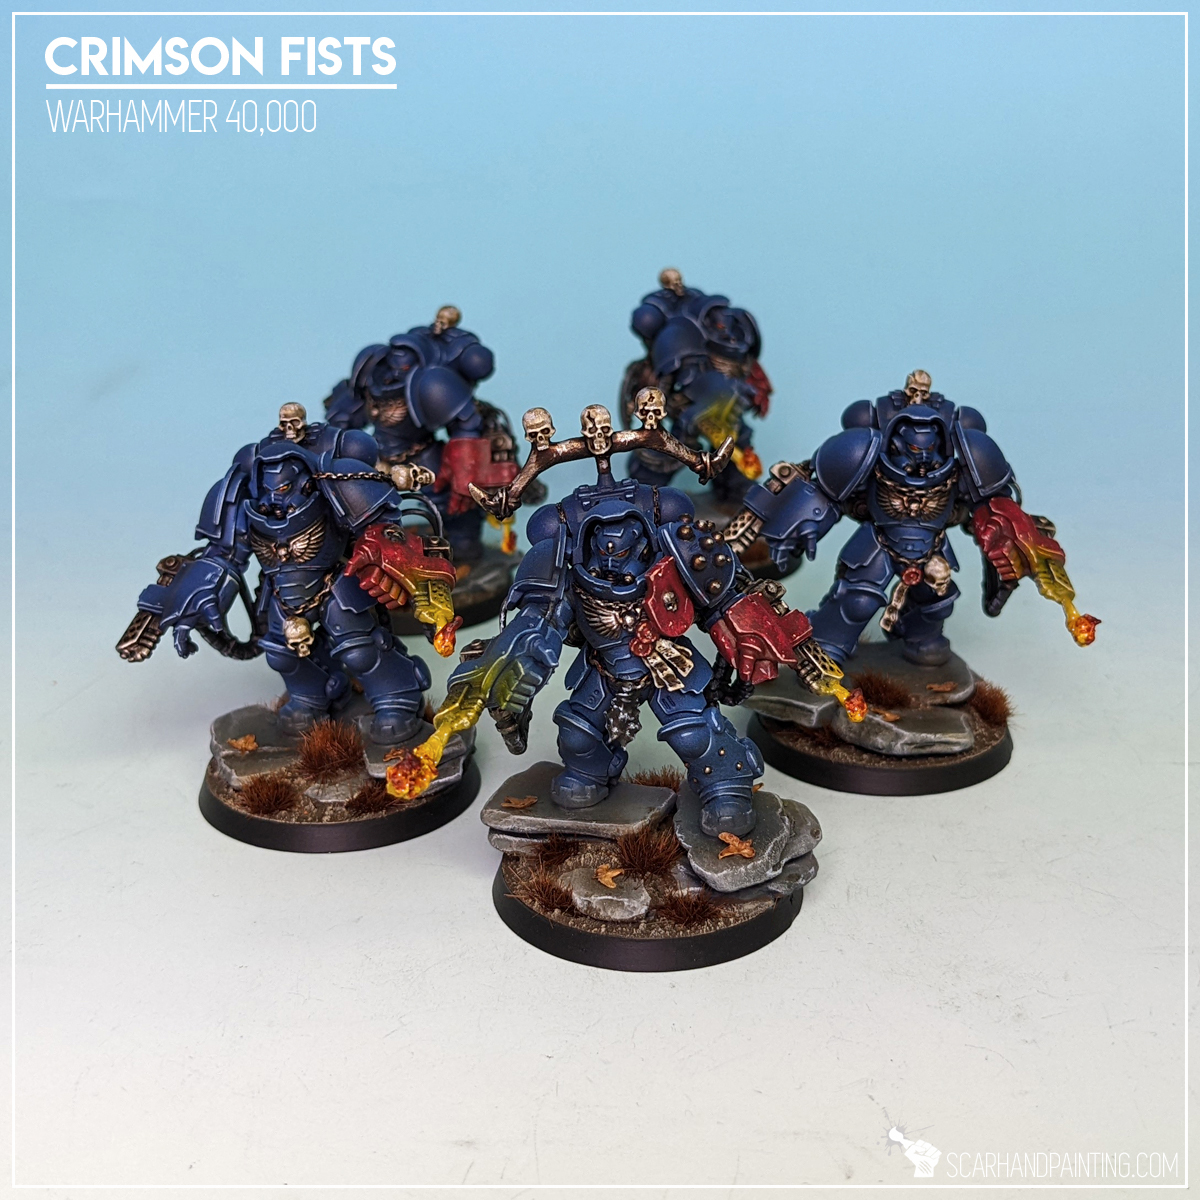
Blazing flamethrowers, crackling braziers, torches or balls of magical fire – in the world of miniatures wargames flames add a lot of character and dynamic to our favorite tiny characters. With 3d printing prevalence and a lot of bitz selling companies getting your hands on some awesome parts has never been easier. Still why pay and wait, when you can make your own flames of chosen size and shape in a matter of seconds and from materials you probably already have at home!
Before we start, as usual, please take note that what works for me might not necessarily work for you.

Step one: Foundation
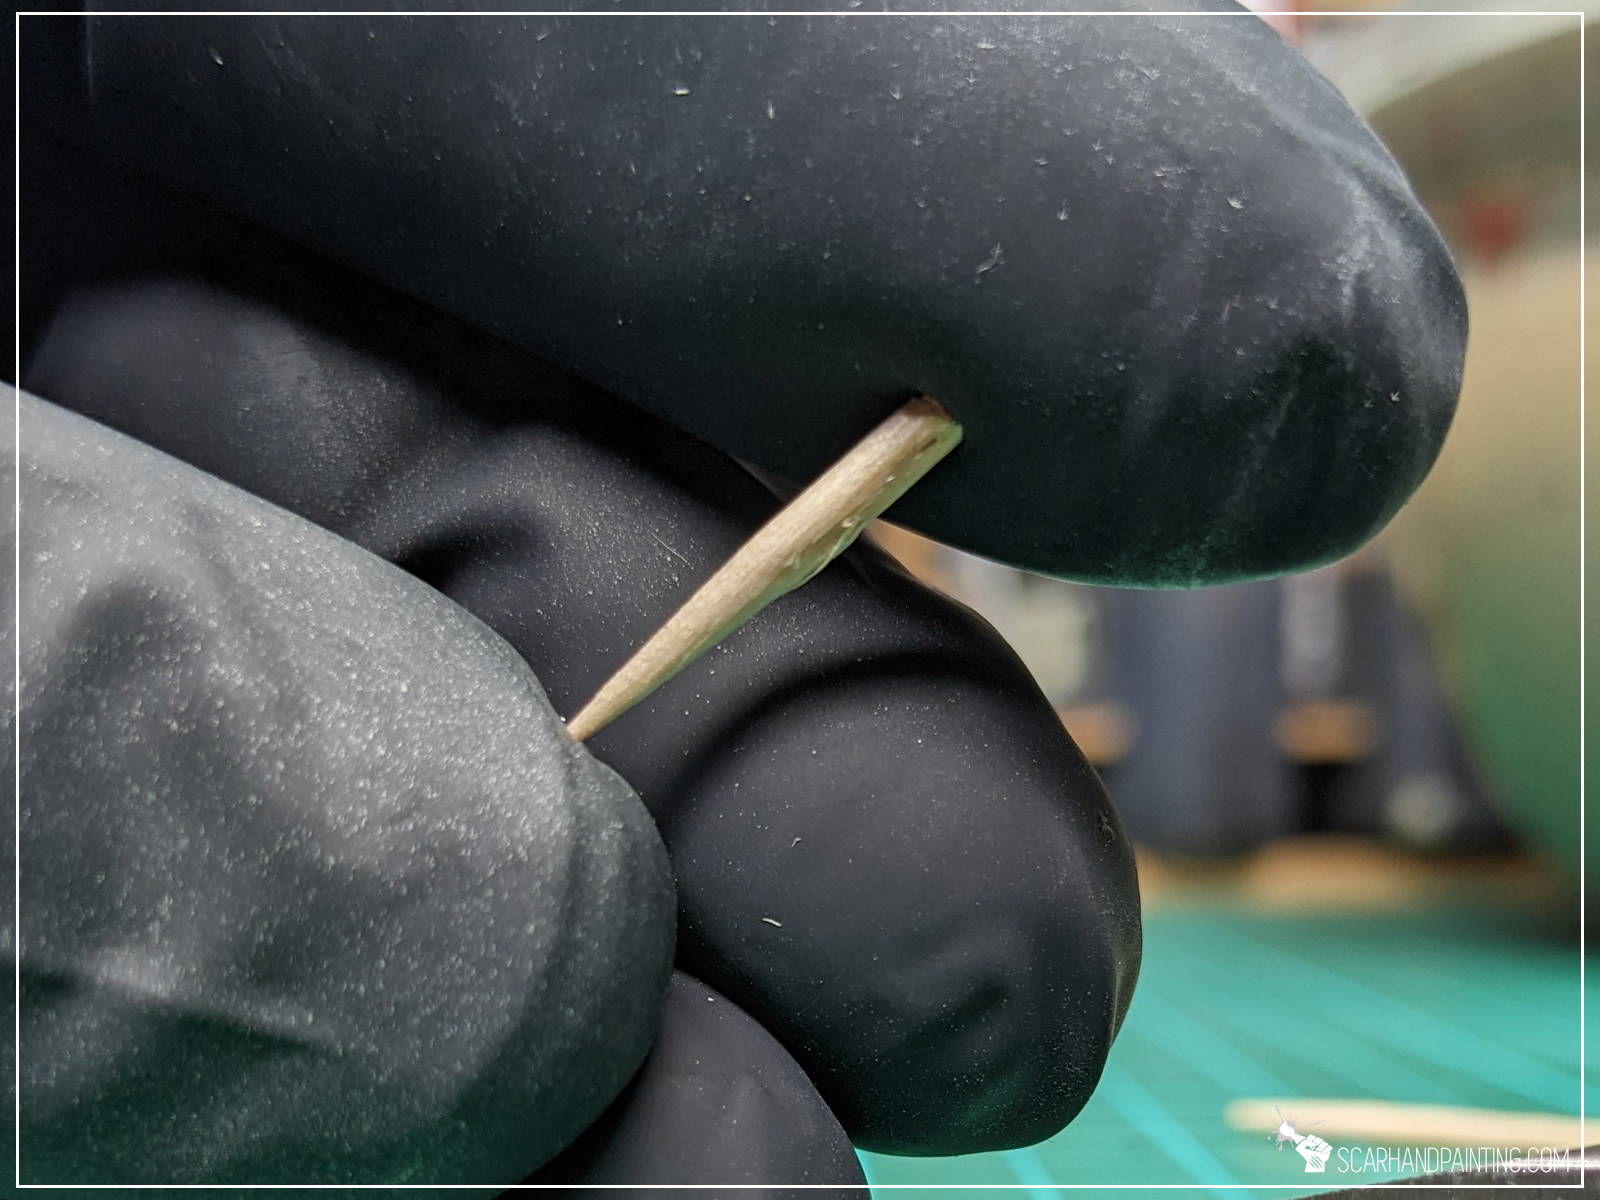
It is best to start by finding a base shape to build the flame around. It can be anything solid including toothpick, wire, piece of plastic, or even the miniatures themselves. In this case, with an idea of flames gushing out of a flamethrower, I cut a small piece of a toothpick.

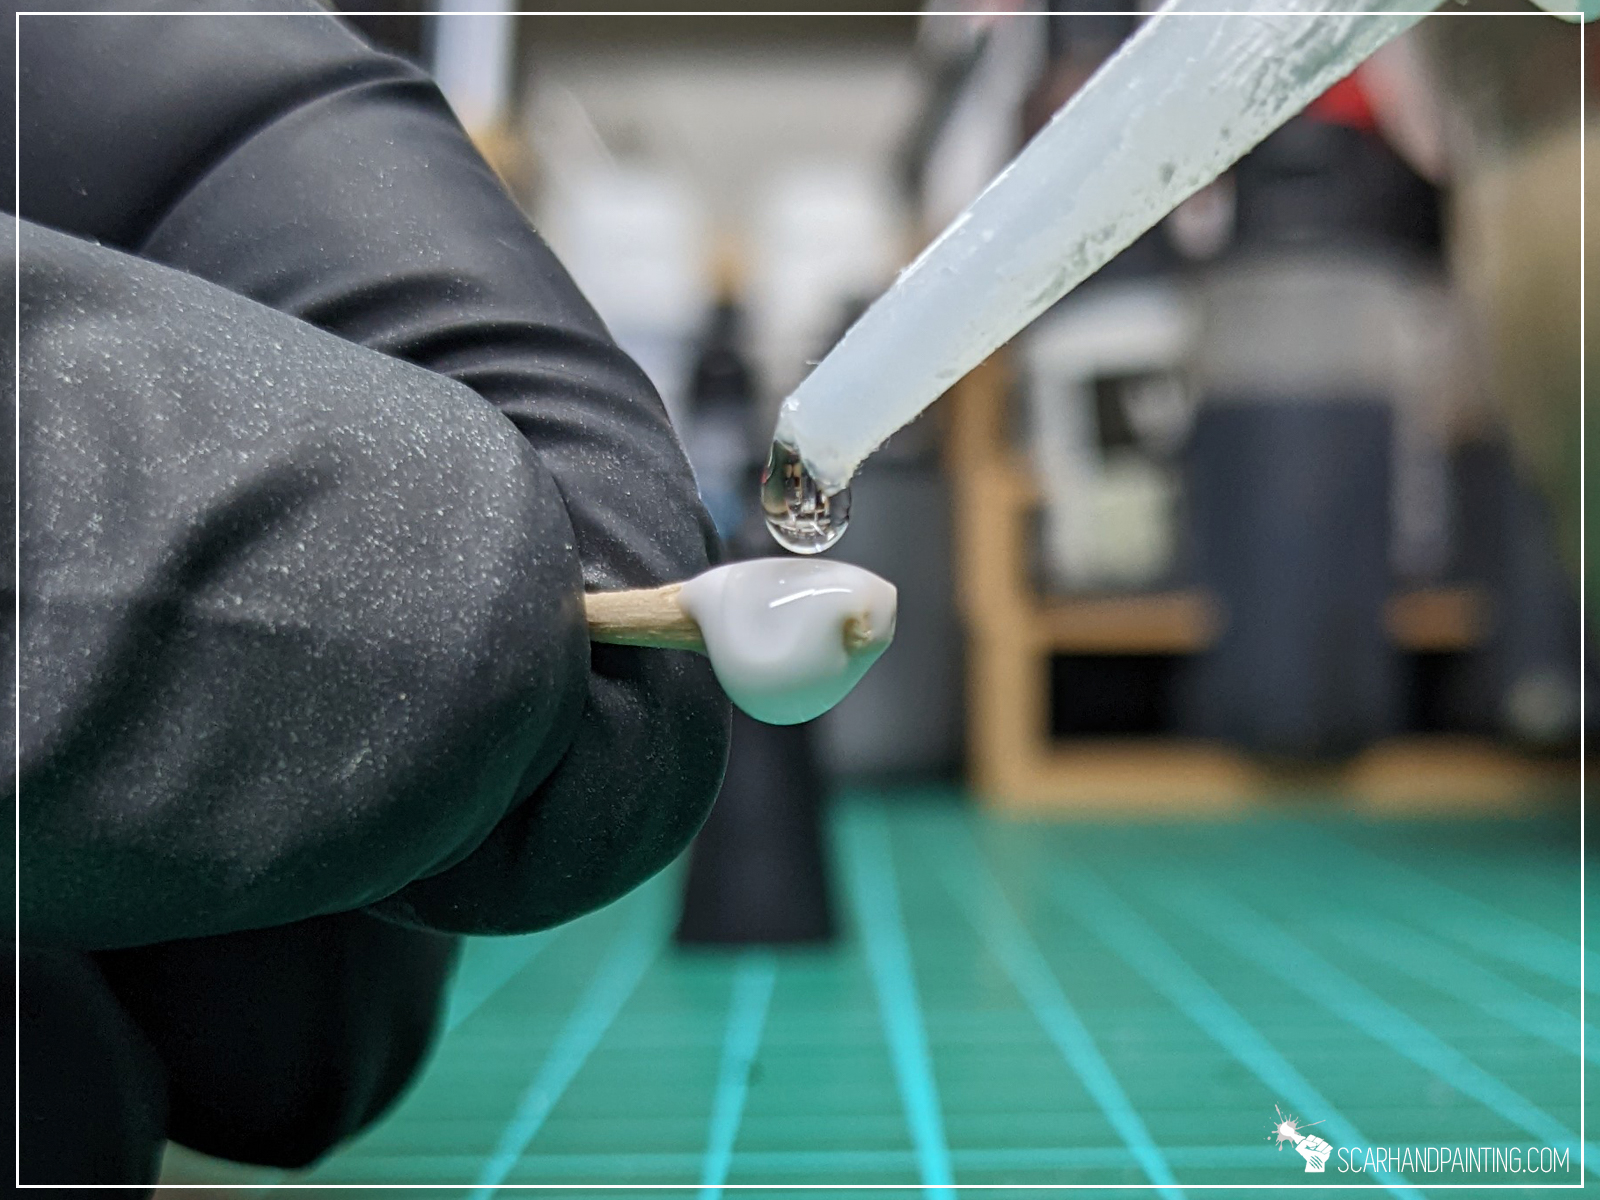
Step two: Ingredients
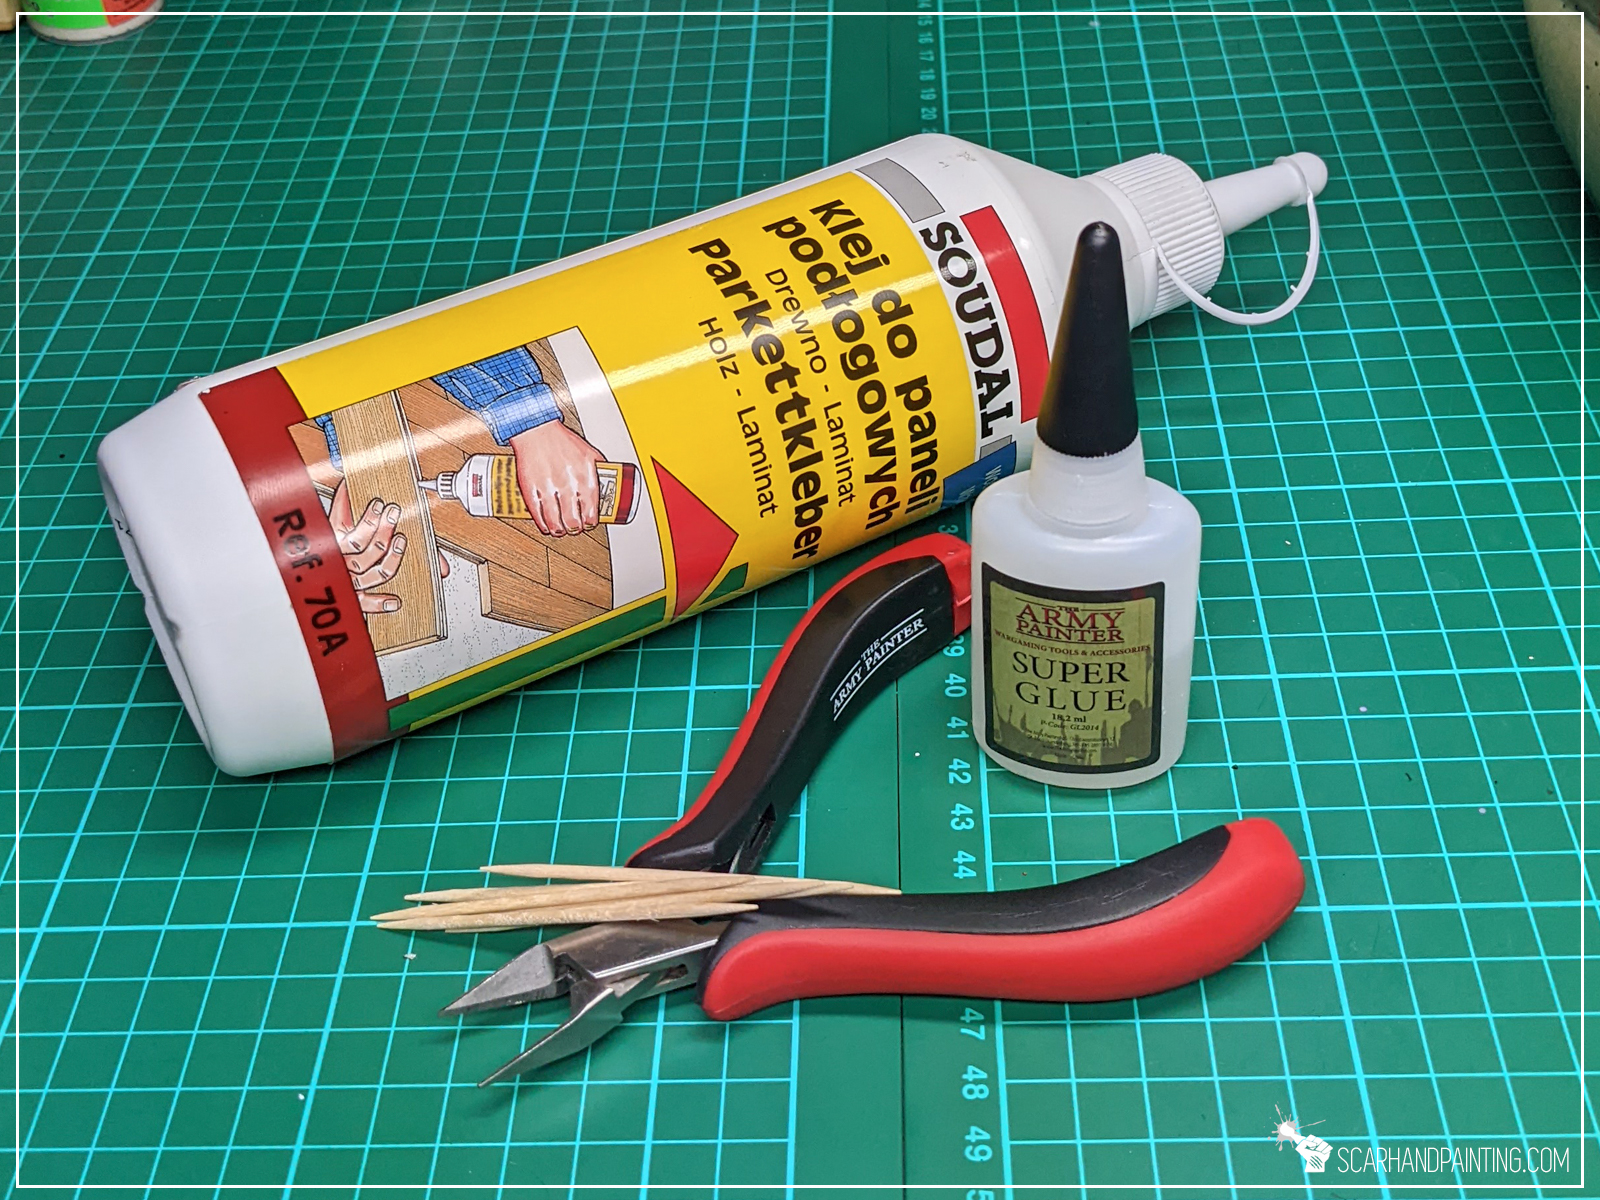
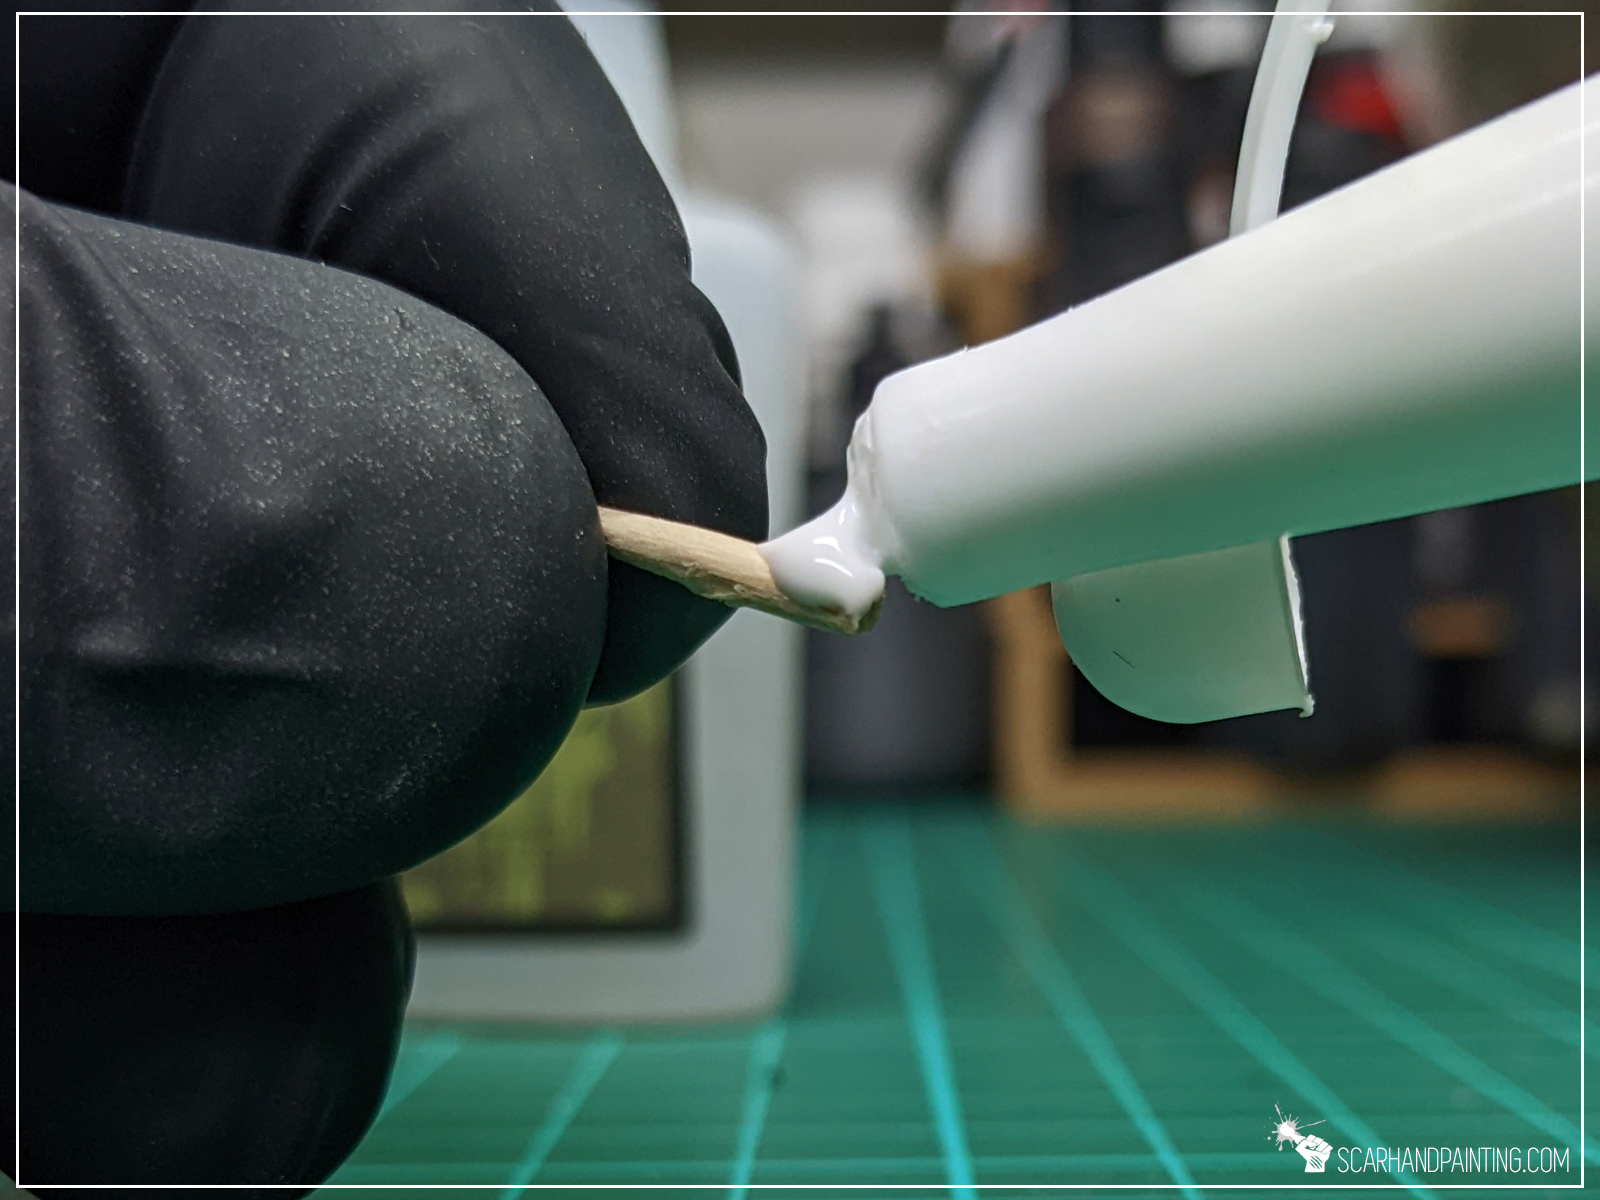
Next I poured few small drops of PVA glue onto the piece of toothpick. Just enough to cover the wider end. Right after that, while PVA was still wet, I poured Super Glue on top and moved the shape around so that Super Glue covered entire PVA beneath.
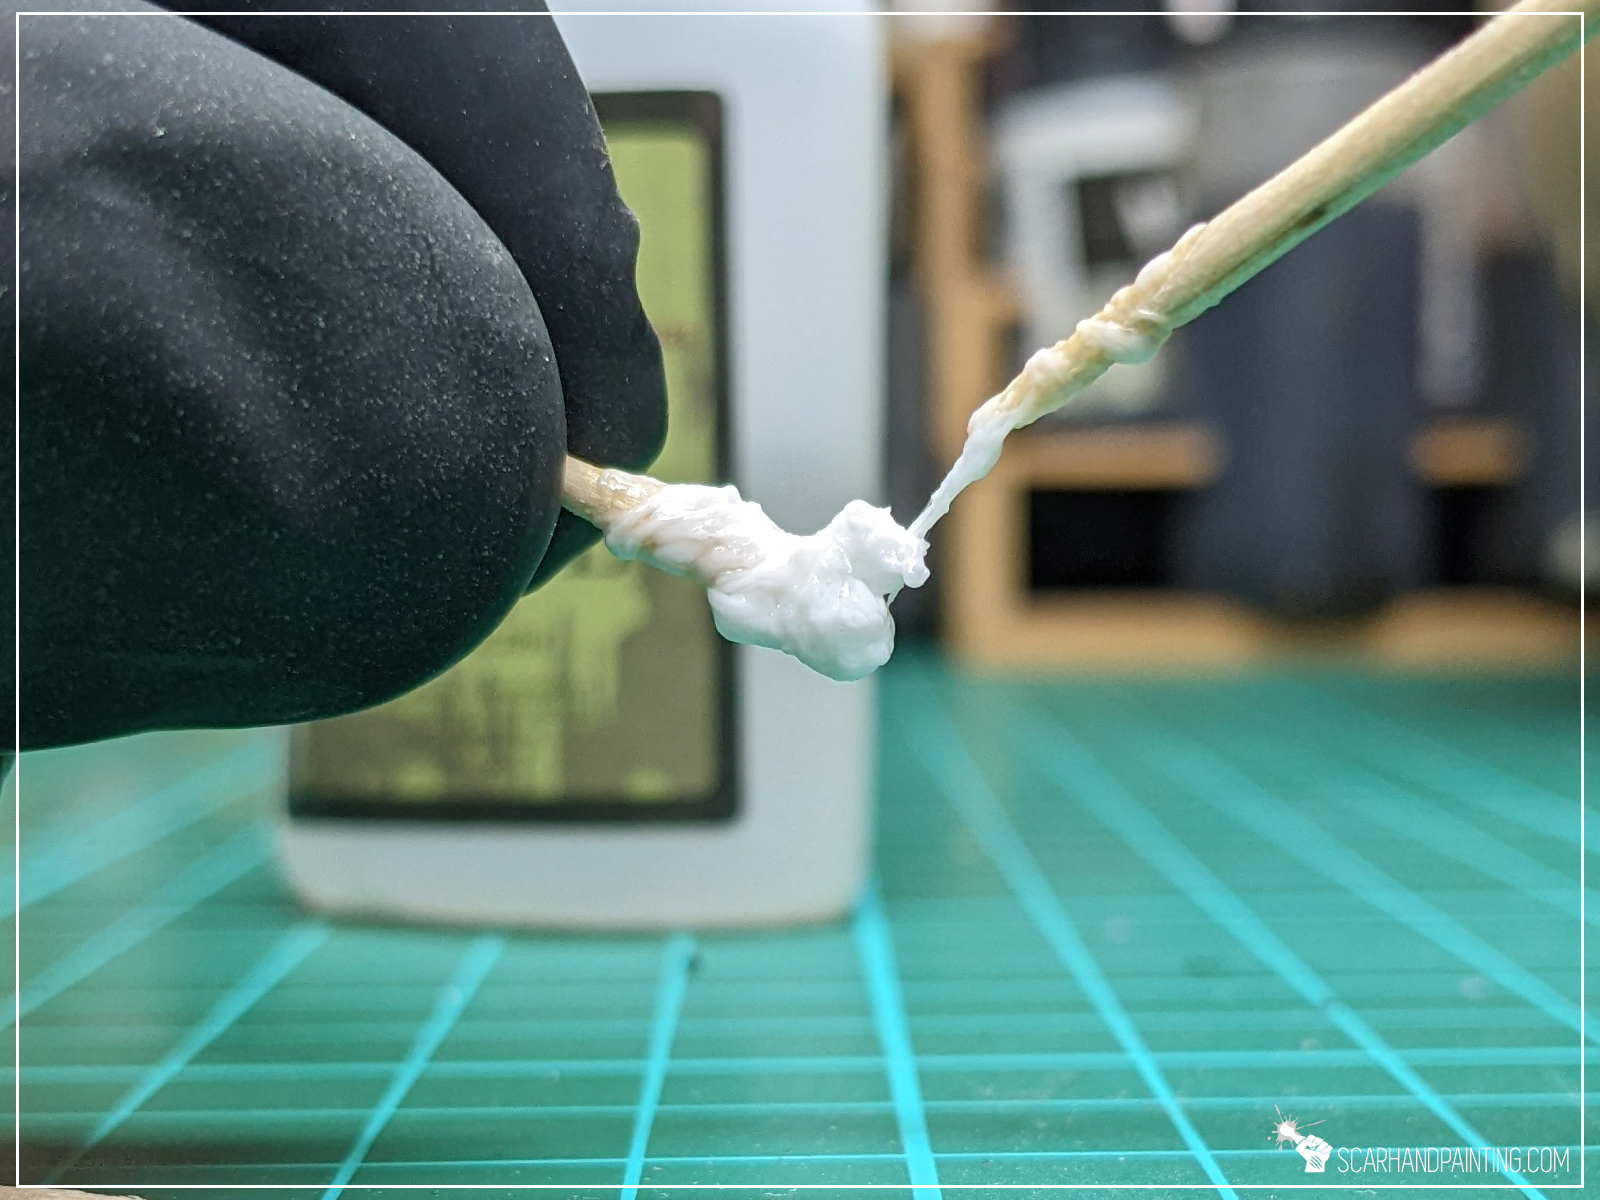
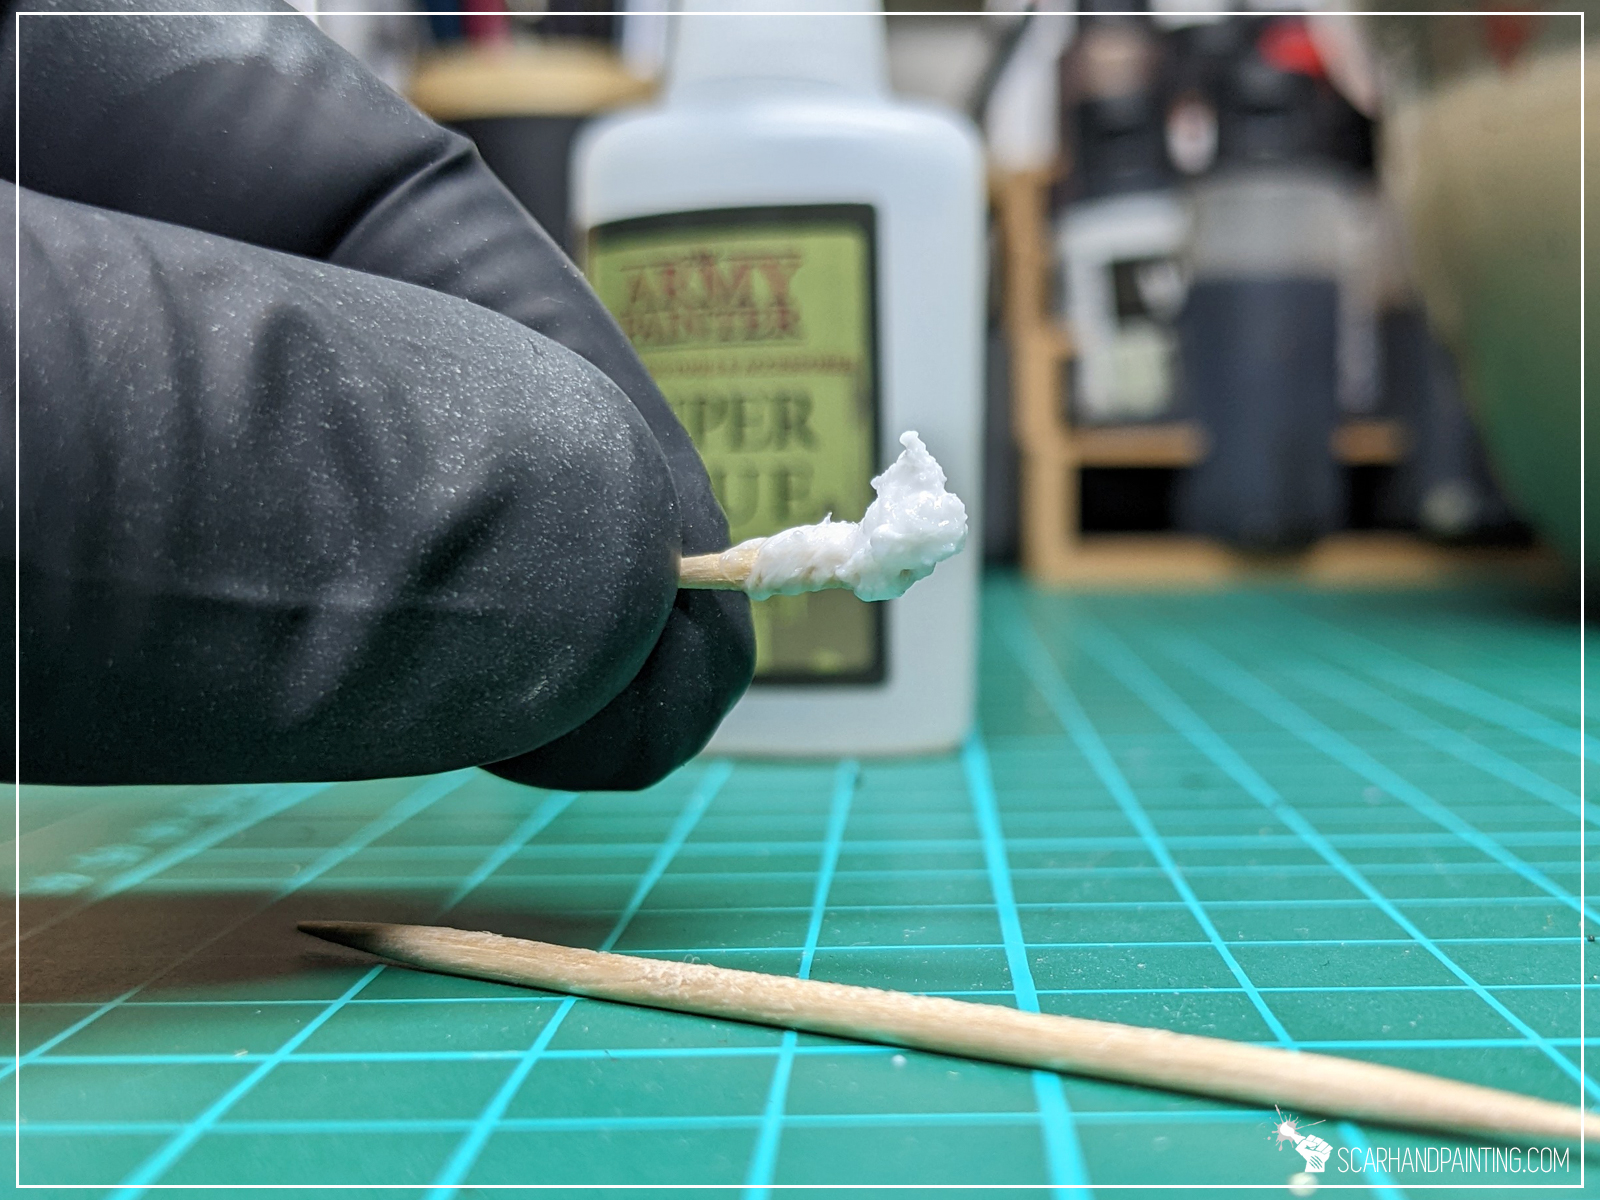
Step three: Shape
Here’s where modelling kicks in. I used another toothpick to mix both glues and guide a quickly hardening ‘paste’ around and finally in one direction to form a cone. The mix creates an organic, irregular texture when drying, which provided additional detail to the flame.
It might seem difficult at first, but once you get how the ‘paste’ behaves it will be as simple as barely few moves of a toothpick to get a desired cone.

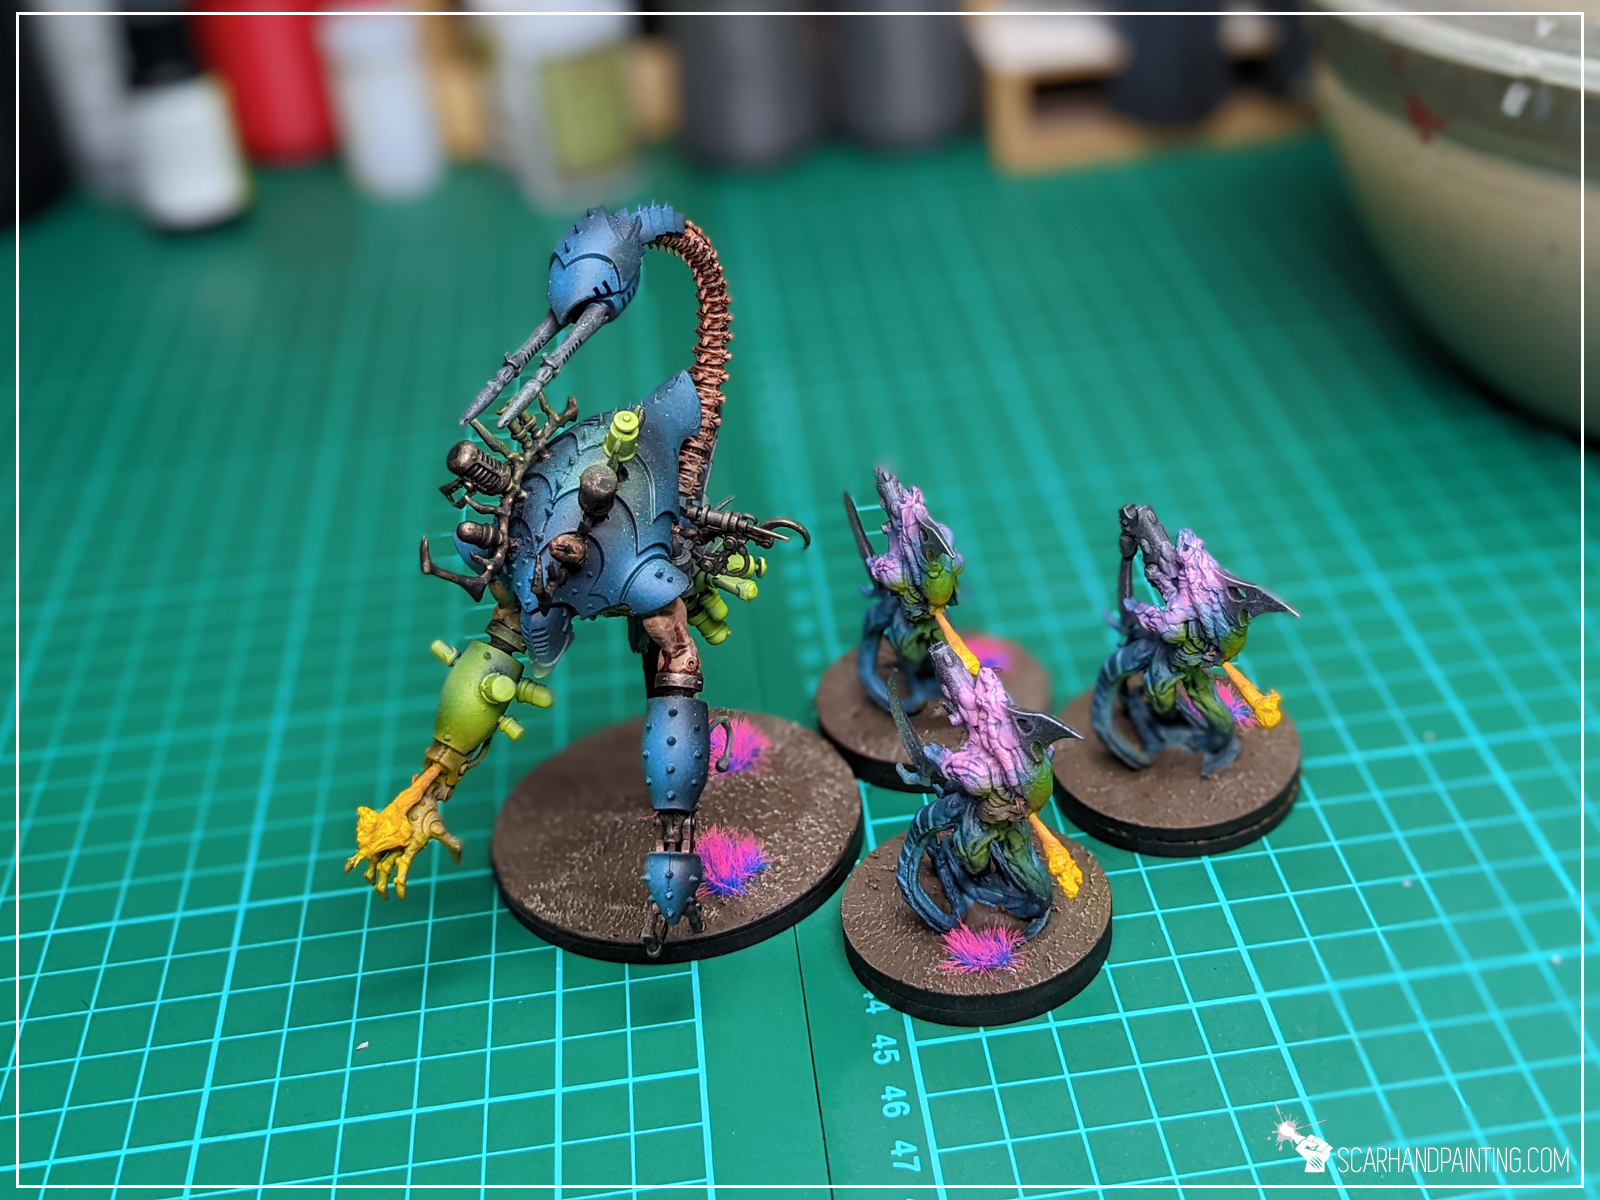
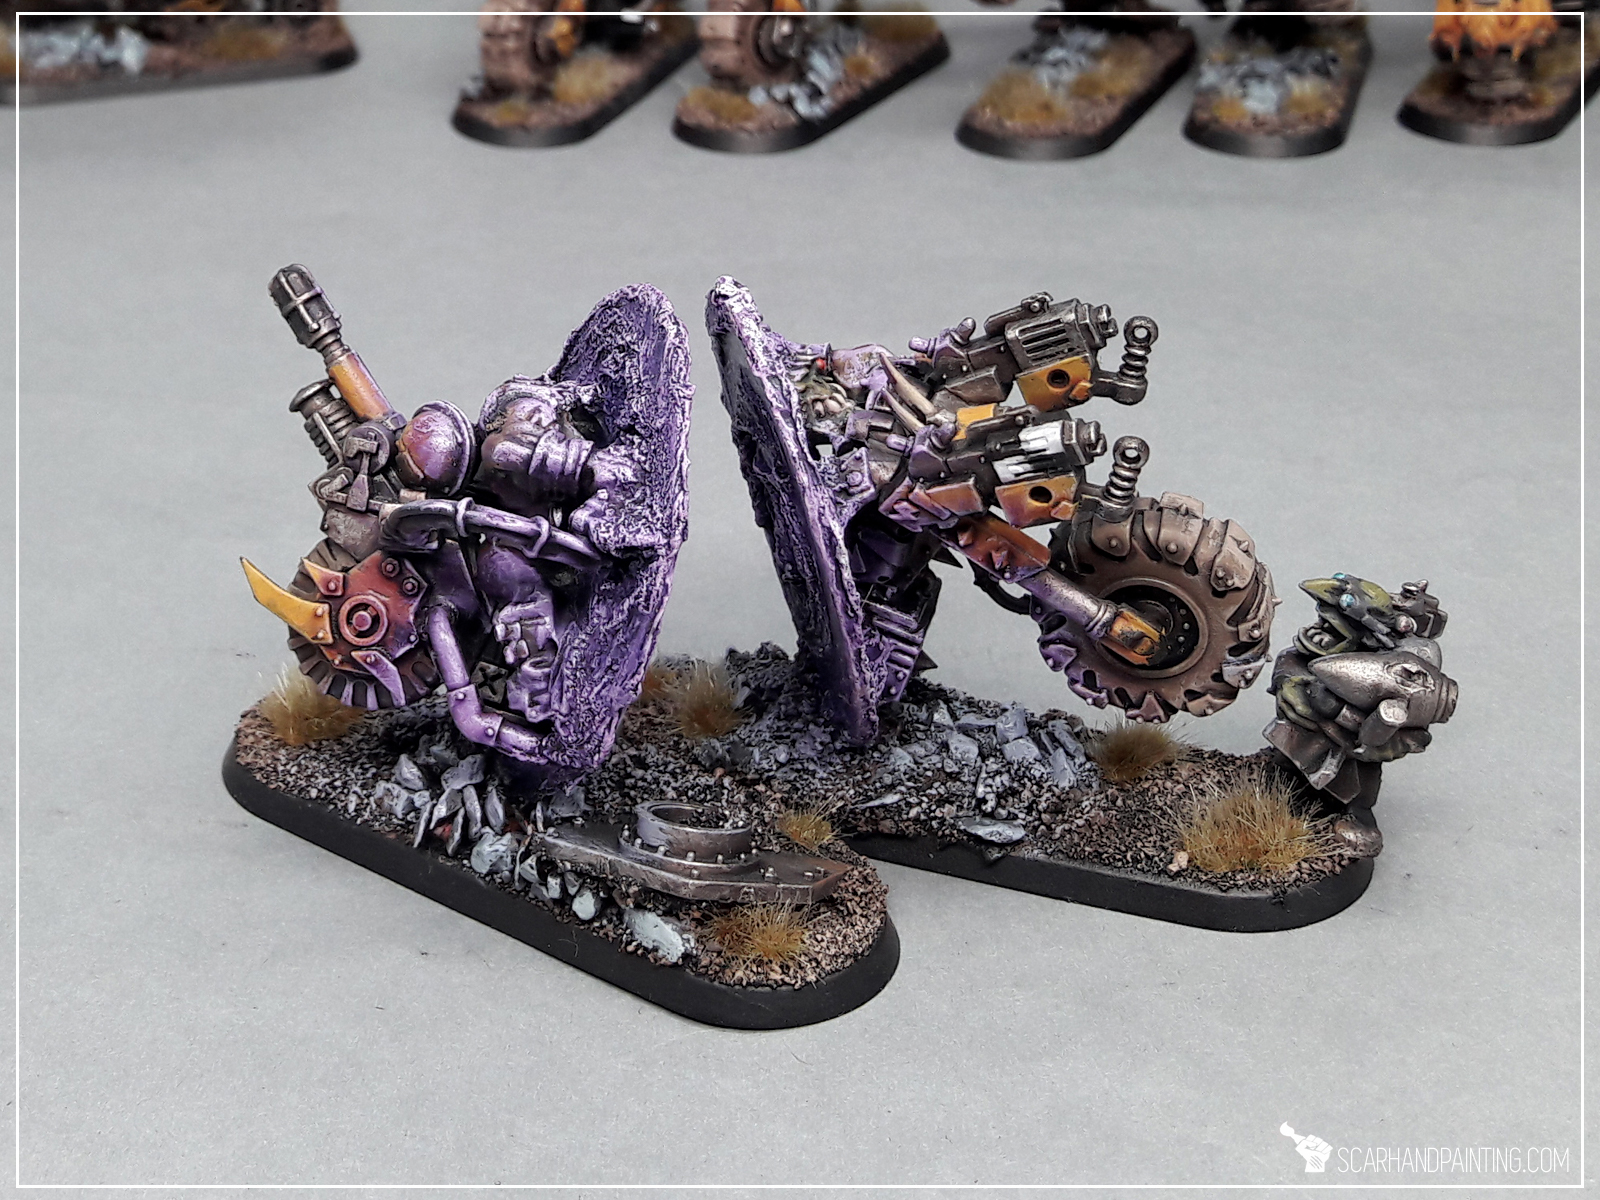
Three steps, that’s all it takes. With a bit of practice the process takes less than a minute and can be applied to any surface. Below are just some examples of the results:


I hope you find this tutorial interesting. Be sure to let me know your thoughts in the comments below or via Facebook or Instagram. I would also appreciate if you considered sharing this content with your friends, who might find it useful. Finally if you are looking for a professional miniatures painting service, be sure to contact me with this contact form. I always reply within 24 hours, after which please check out your spam folder.