- contact@scarhandpainting.com


Welcome to Painting Black Marbe tutorial. Here I will take you on a Step-by-step trip through the process of painting black marble.
Before we start, some notes:

Step one: Undercoat
I started with an airbrushed layer of White.
Step two: Base texture
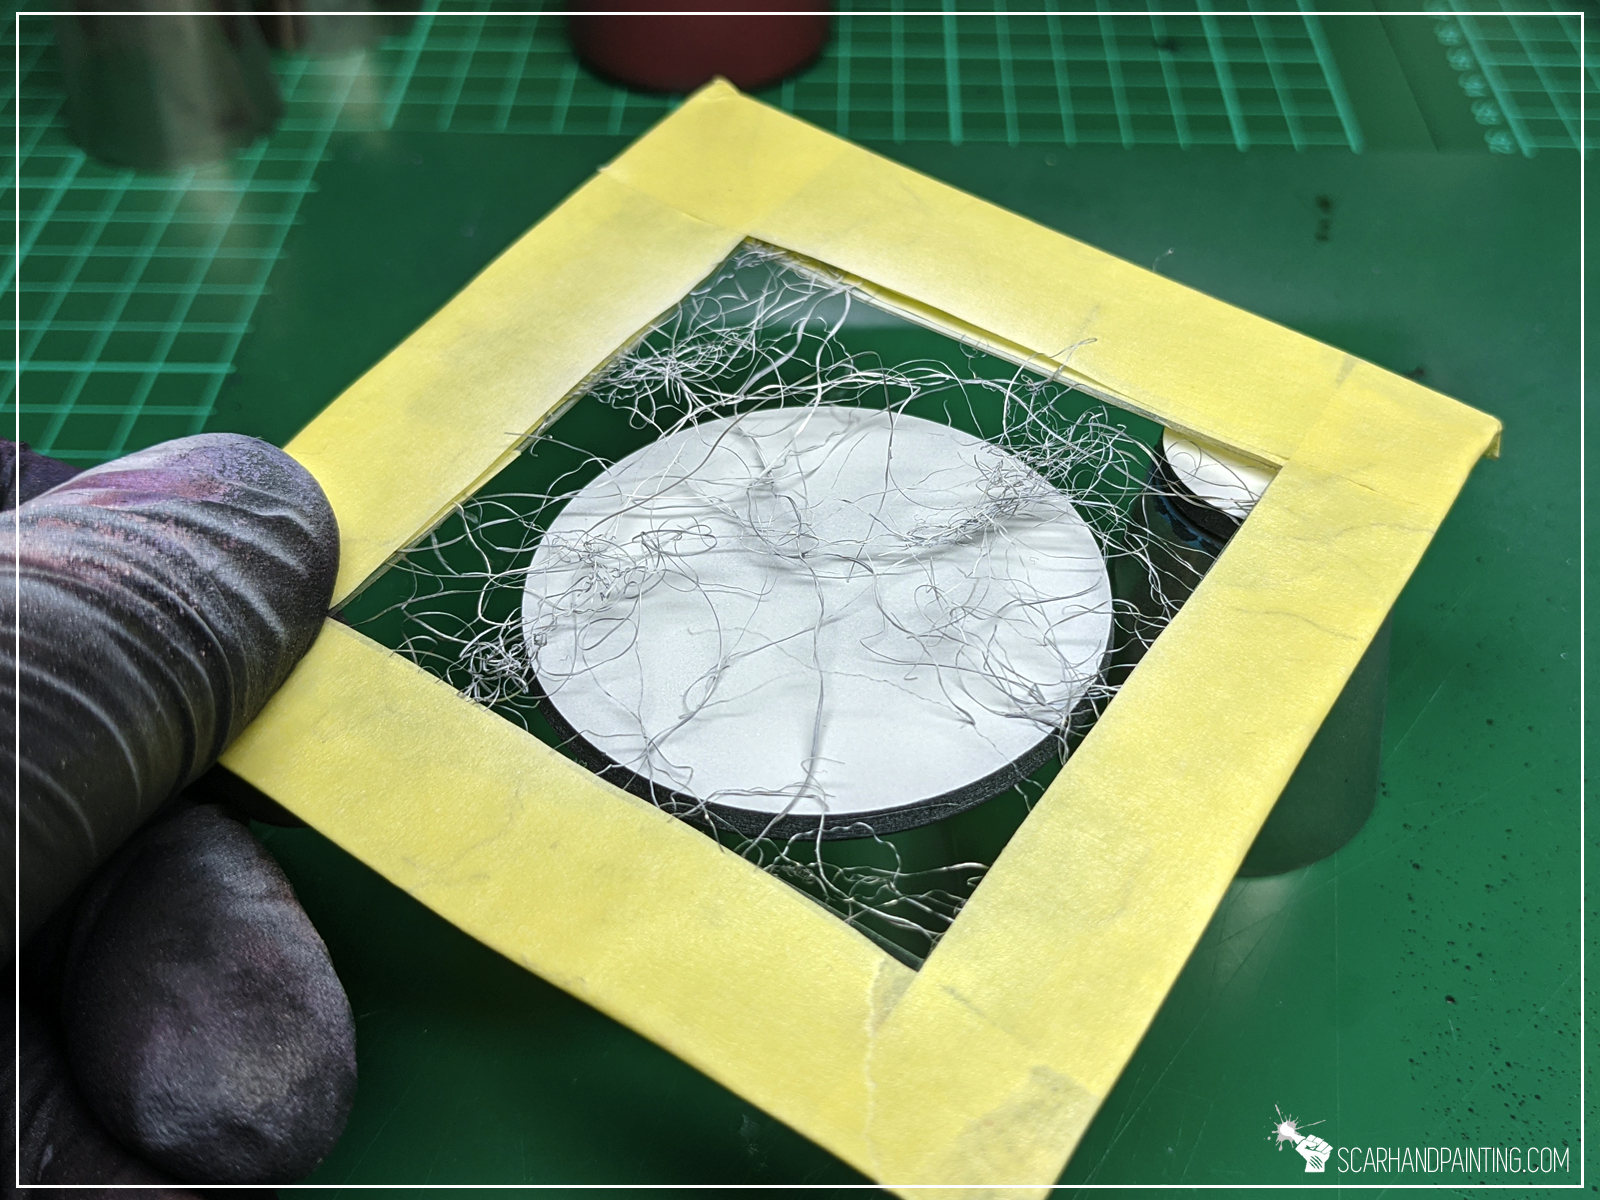
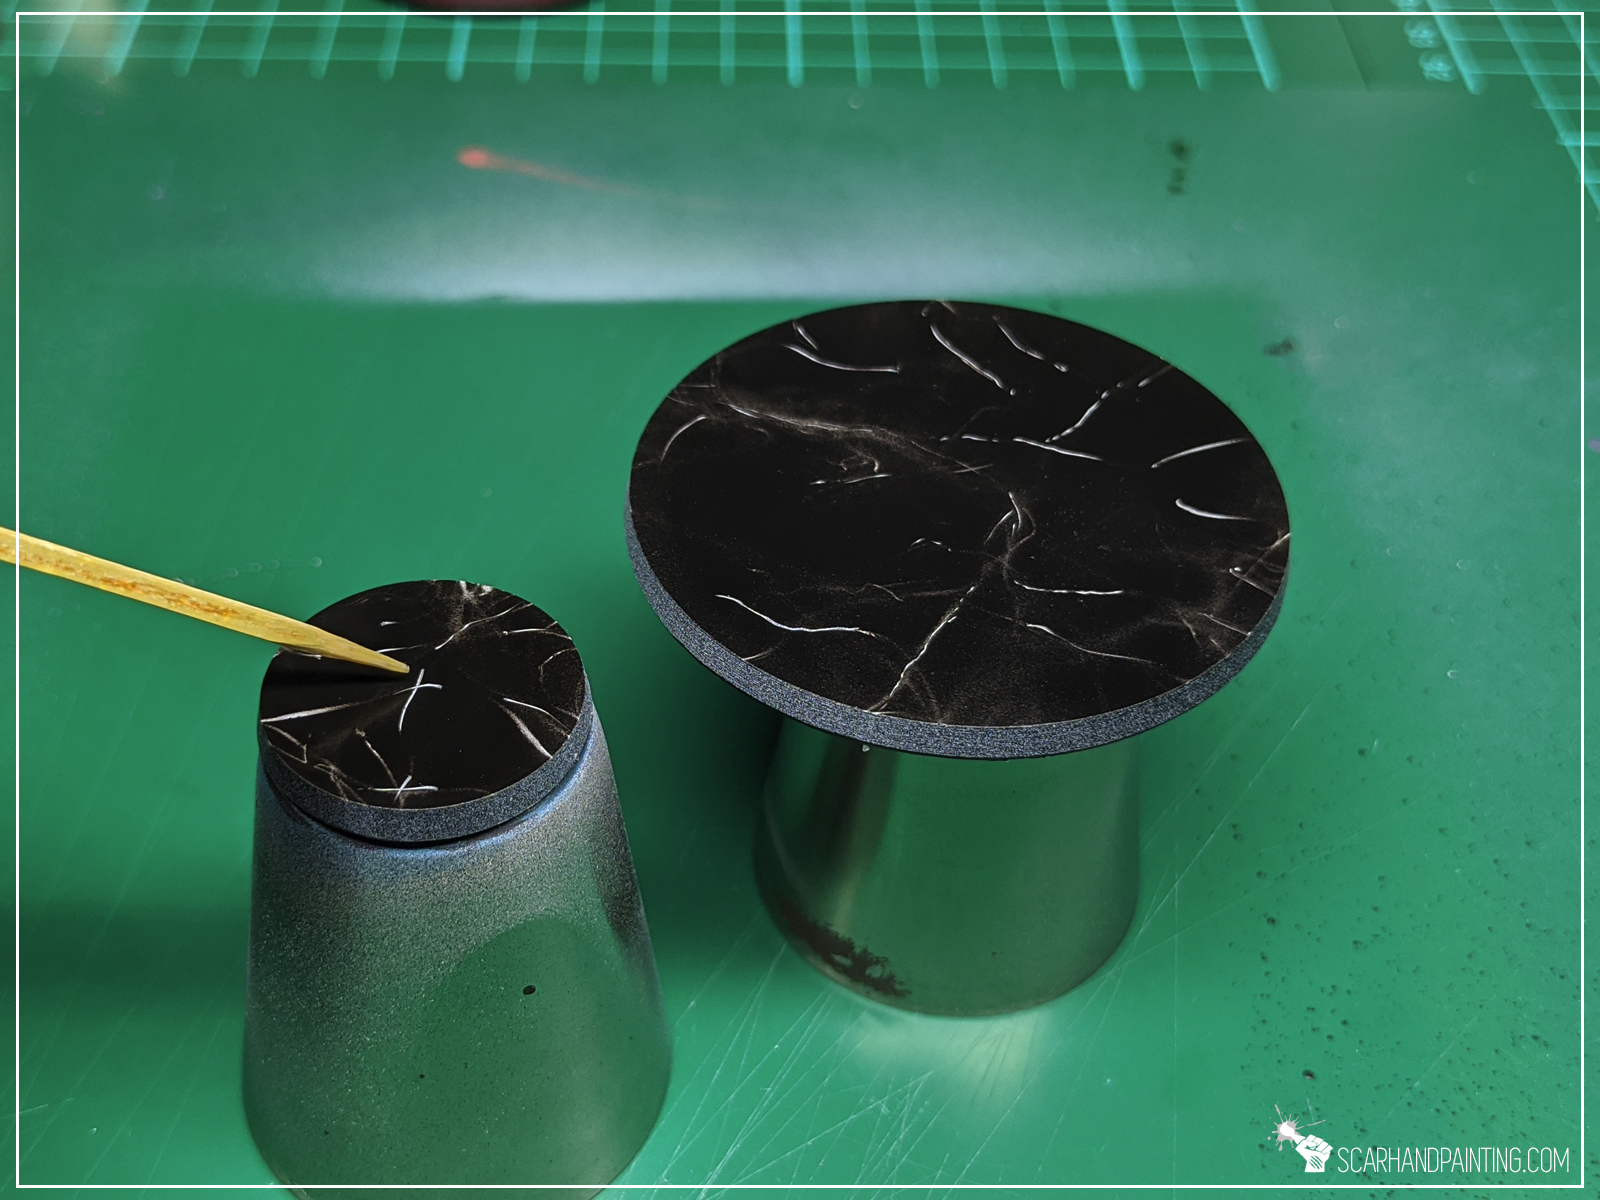
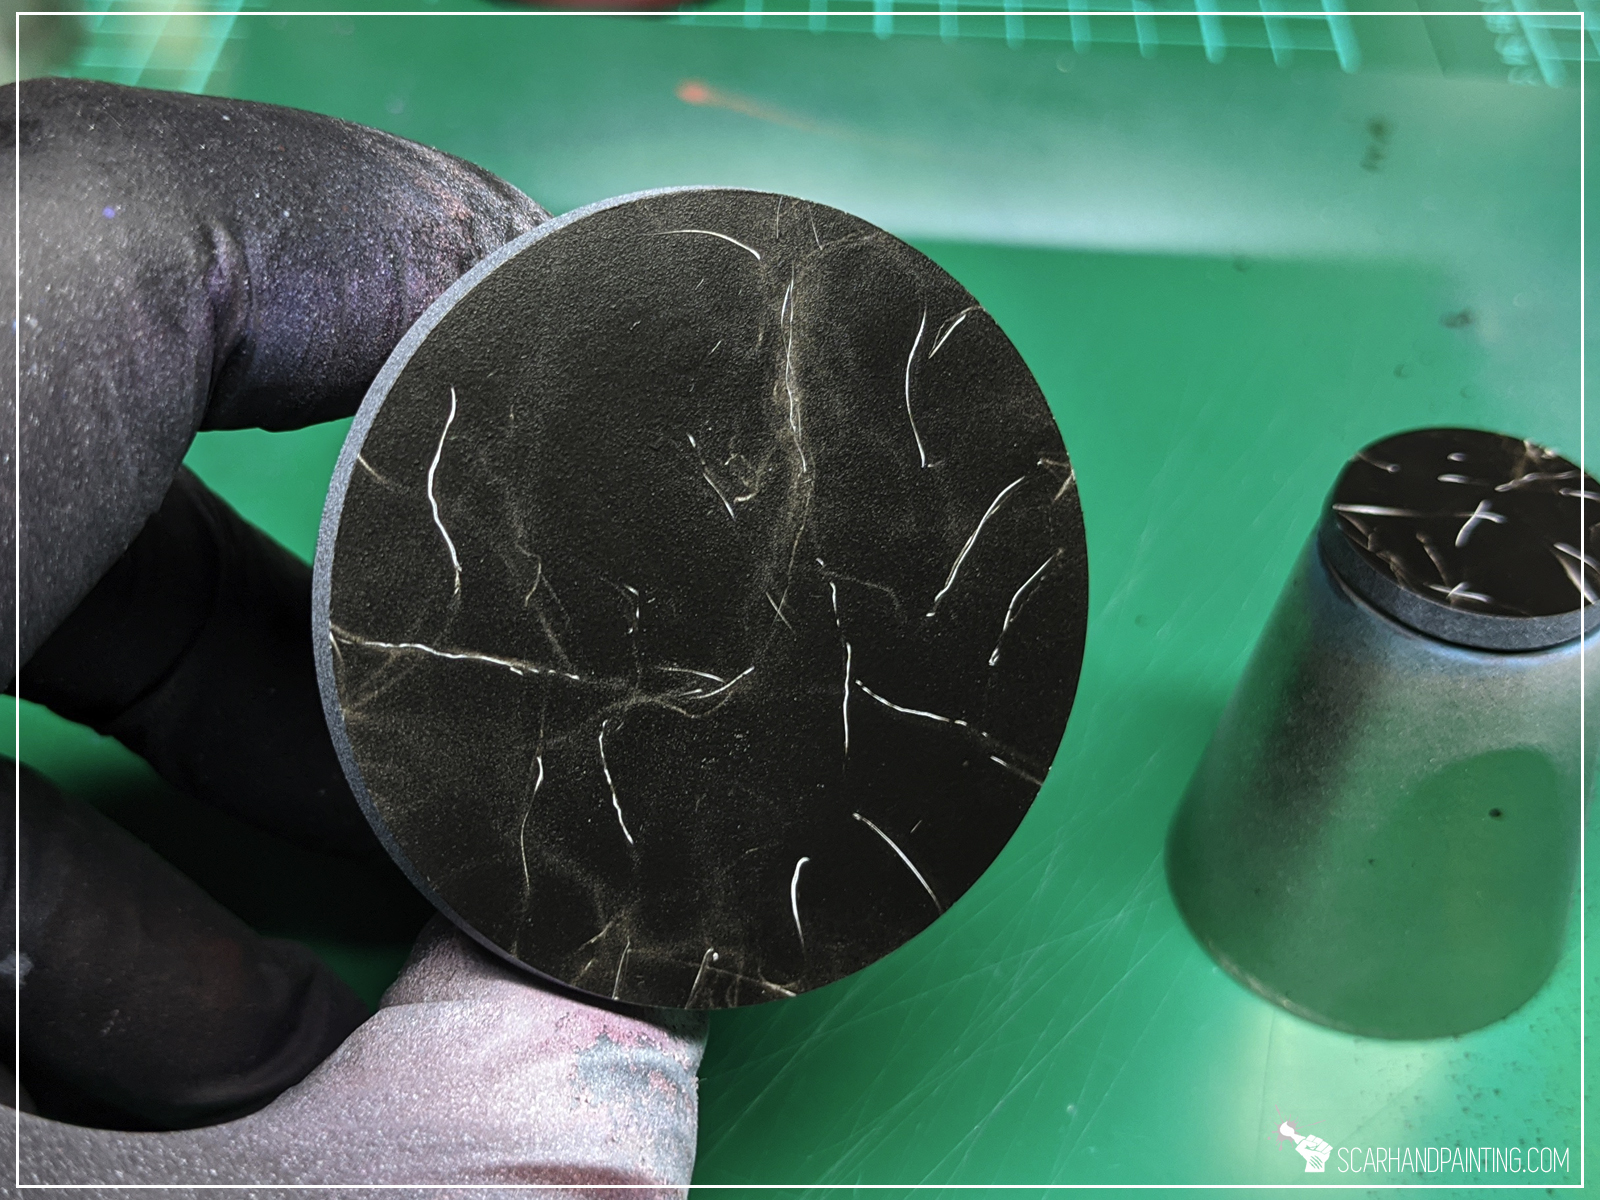
For this step I used a Steel Wool stencil prepared in the previous Tutorial: Painting Marble. I simply took few pieces of steel wool, taped them together and used them as a stencil. I then airbrushed black paint through the stencil. Furthermore in some places I have removed black paint with a wet toothpick to create strong white lines.
Step three: Texture
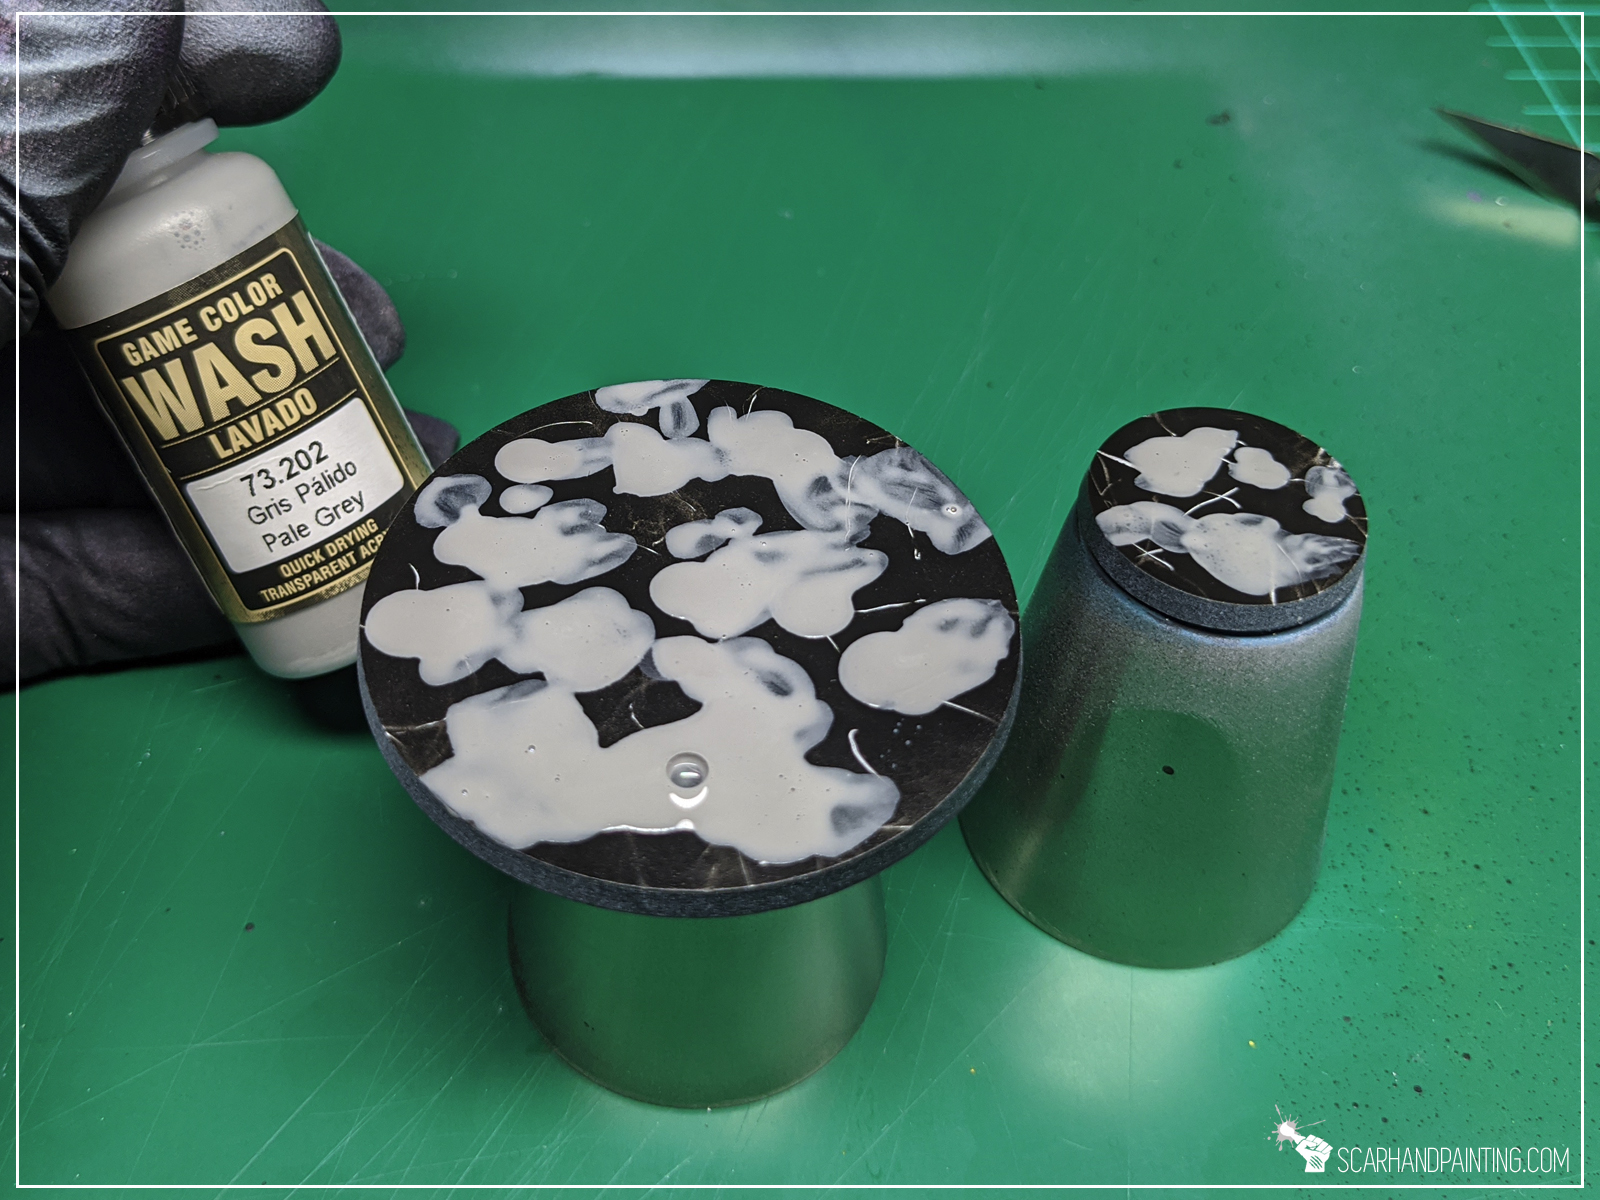
Next I added a layer of texture by manually applied stains of Vallejo Pale Grey Wash. After waiting half a minute I removed the excess of the paint with a paper towel.


Step four: More texture
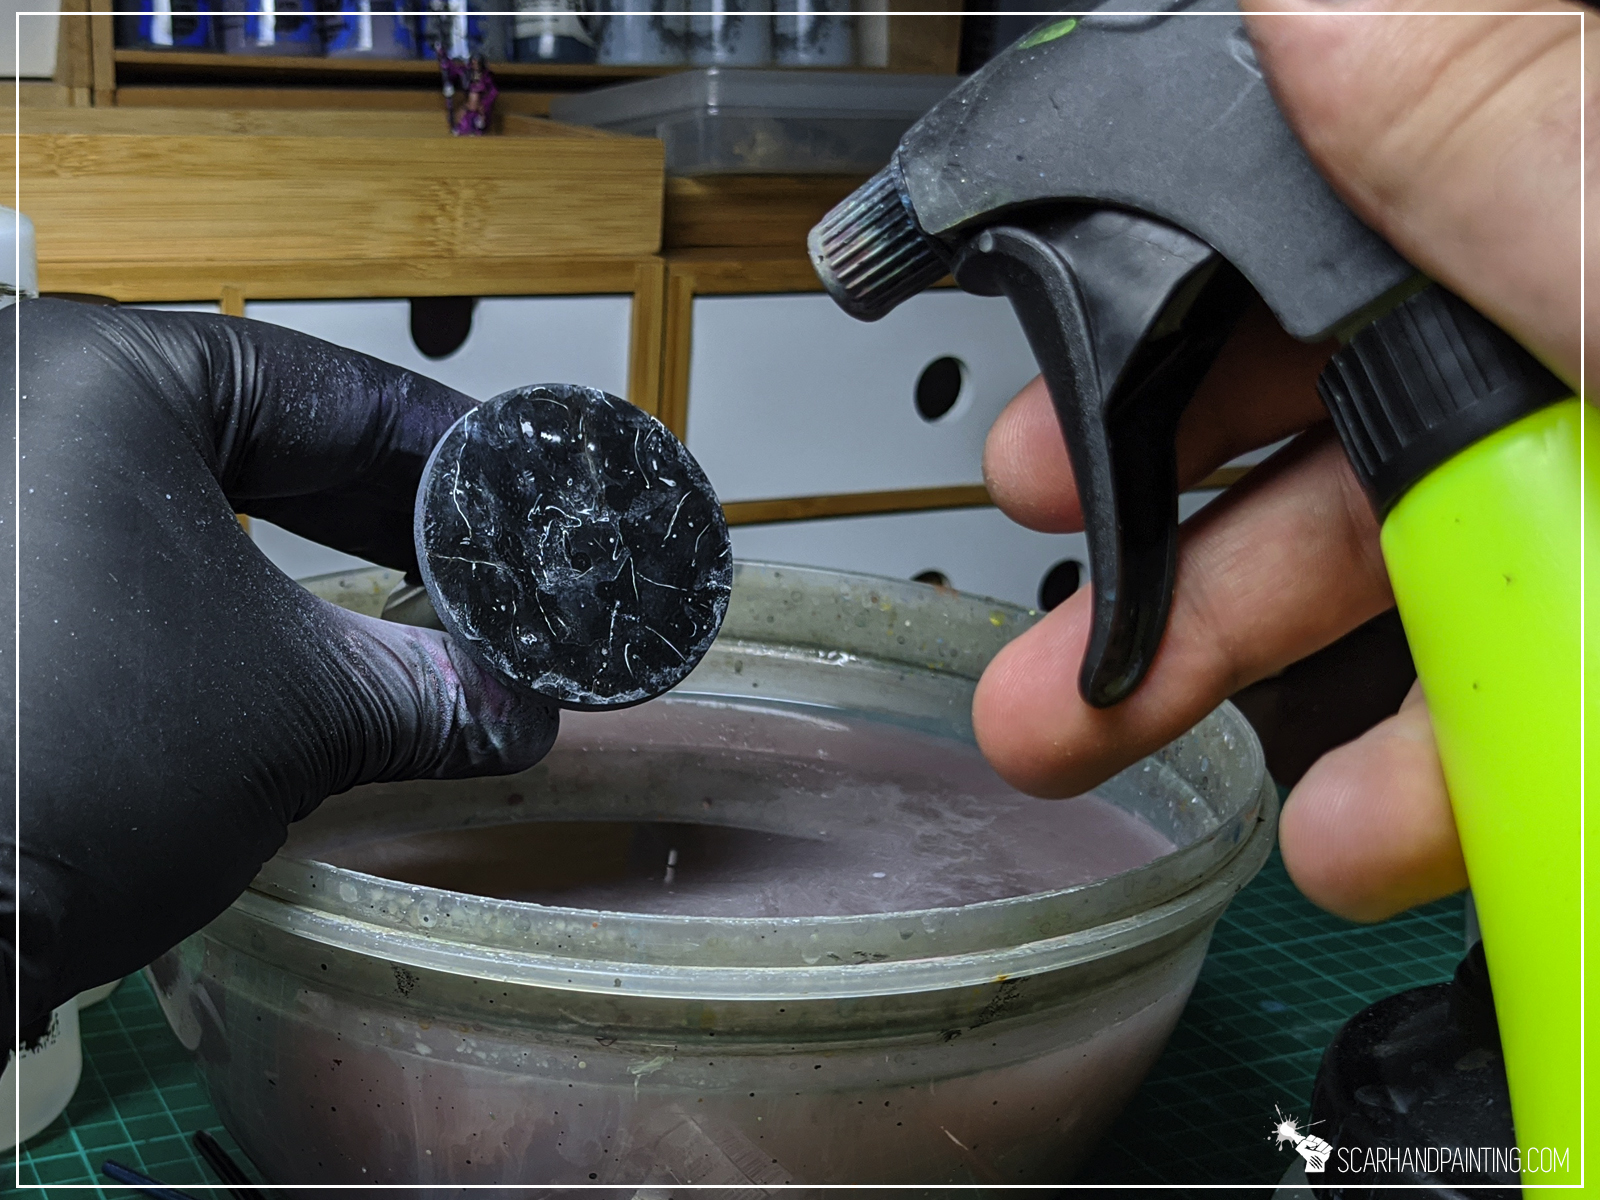
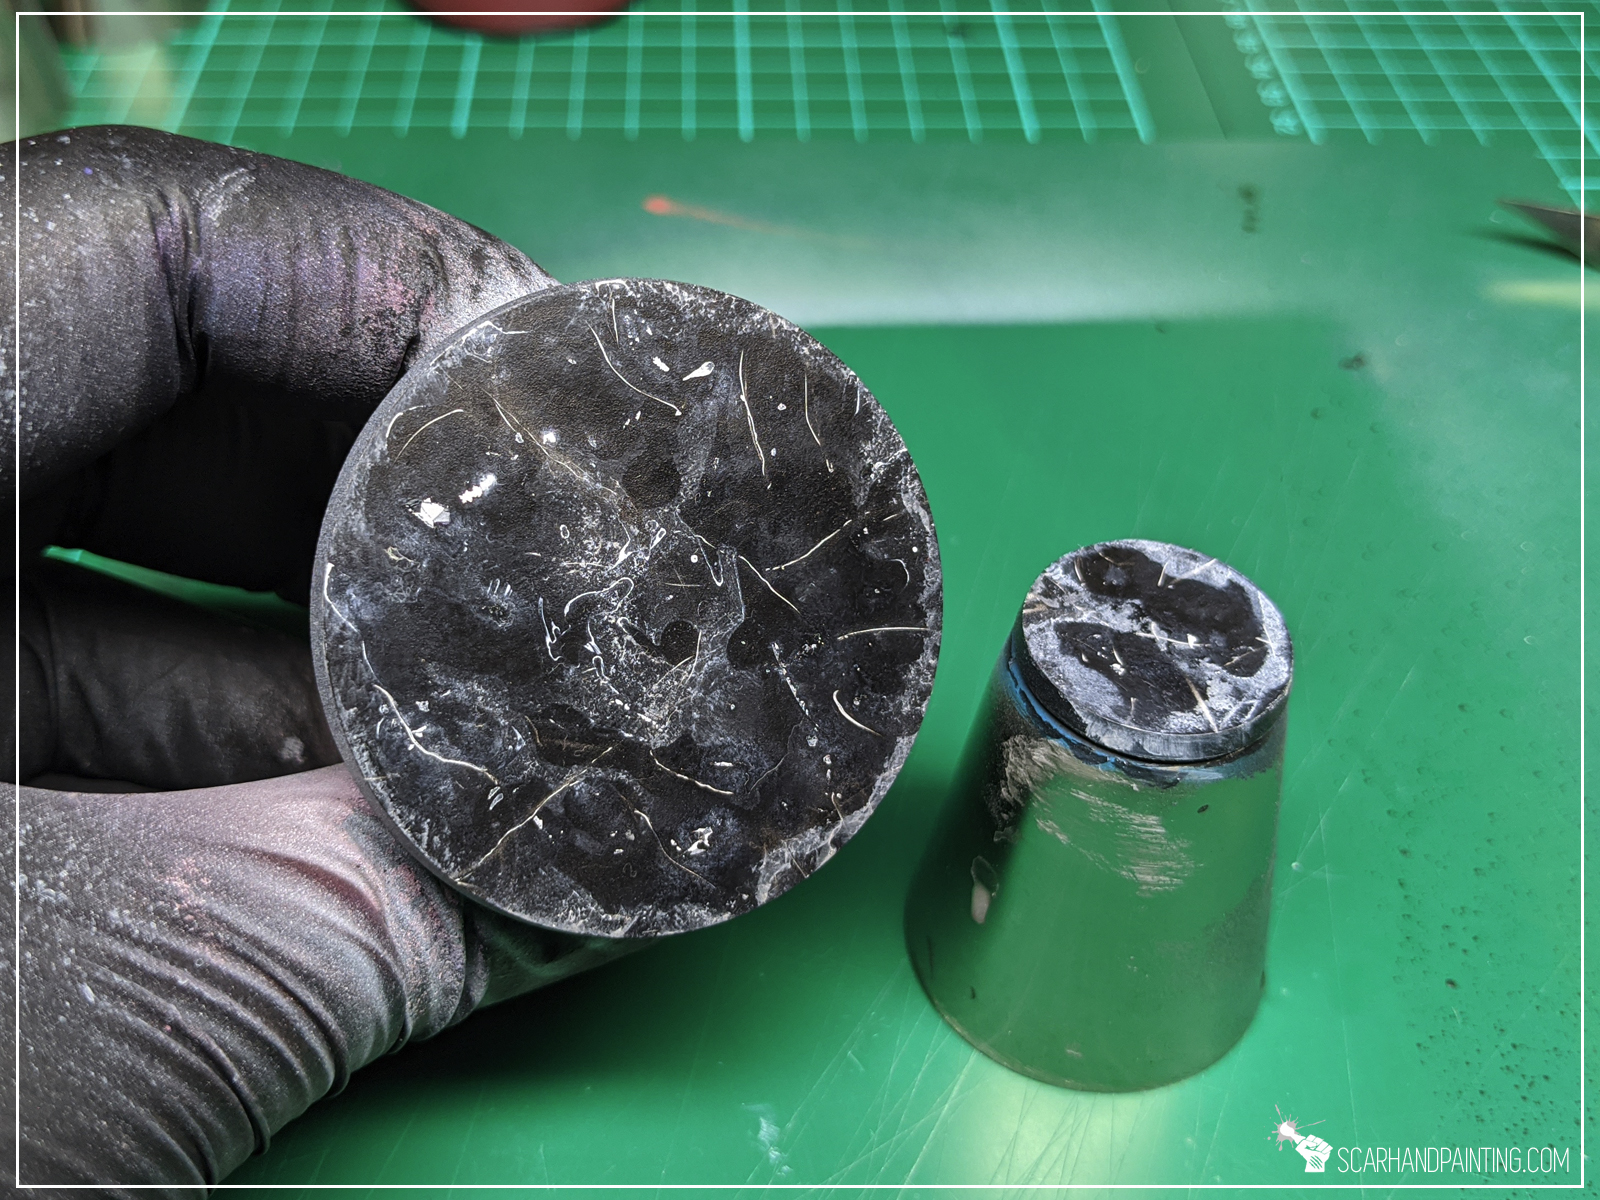
I then applied stains of Vallejo Air White, but this time removed the excess of the paint with slightly pressured water. You can simply airbrush water with around 0,5 bar pressure if you don’t have a sprinkler.

Step five: Sealing the colour
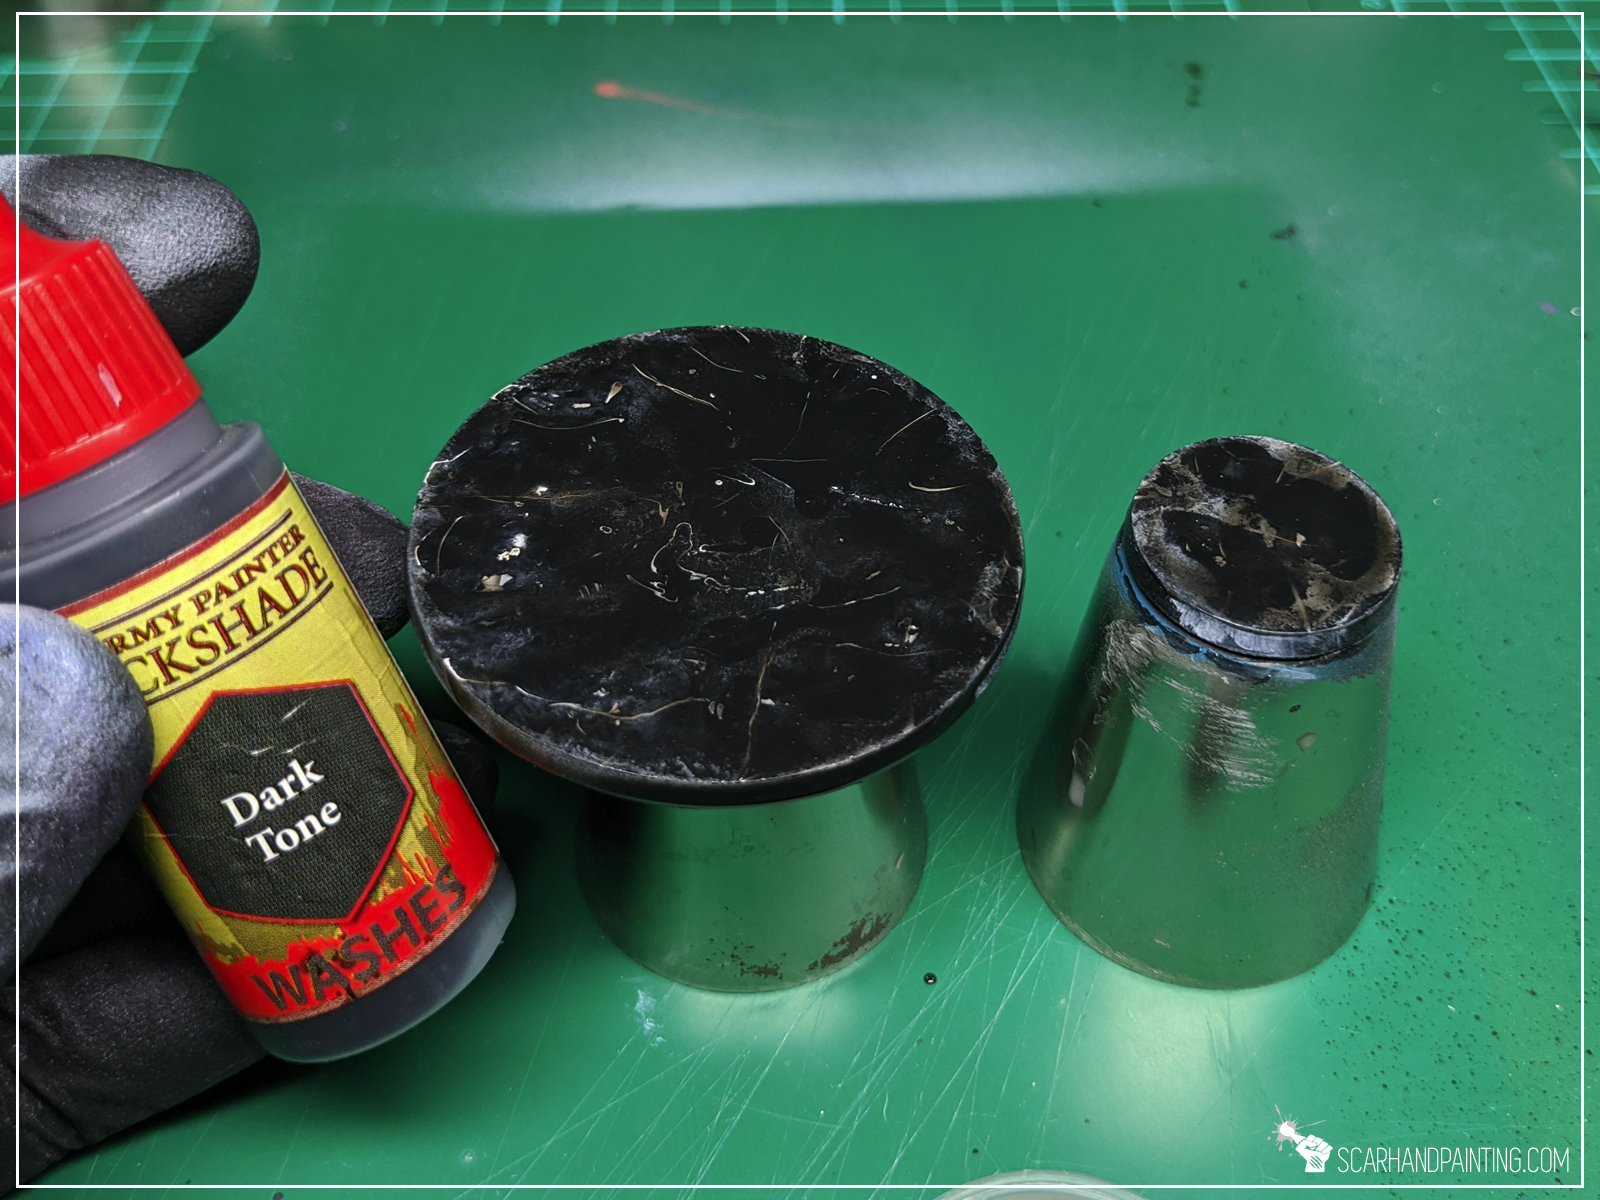
To seal the colour I applied an even, smooth layer of Army Painter Dark Tone Ink.
Step five: Gloss
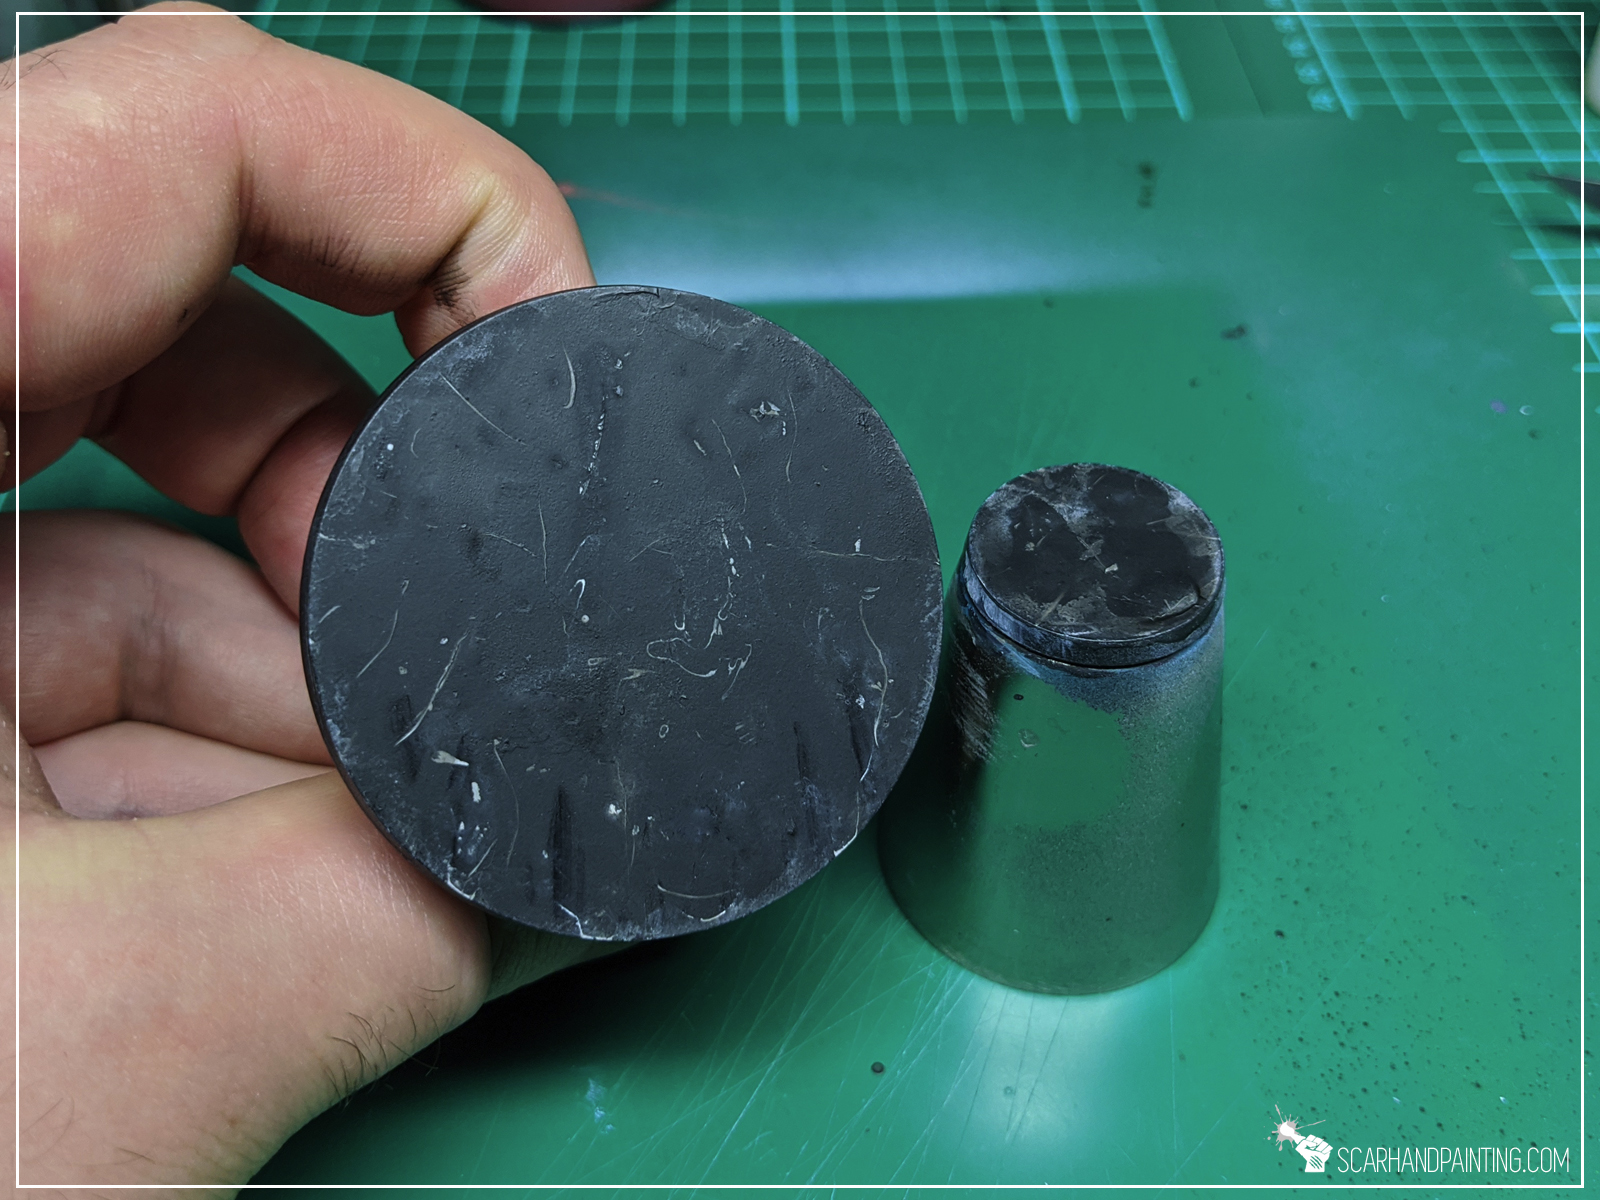
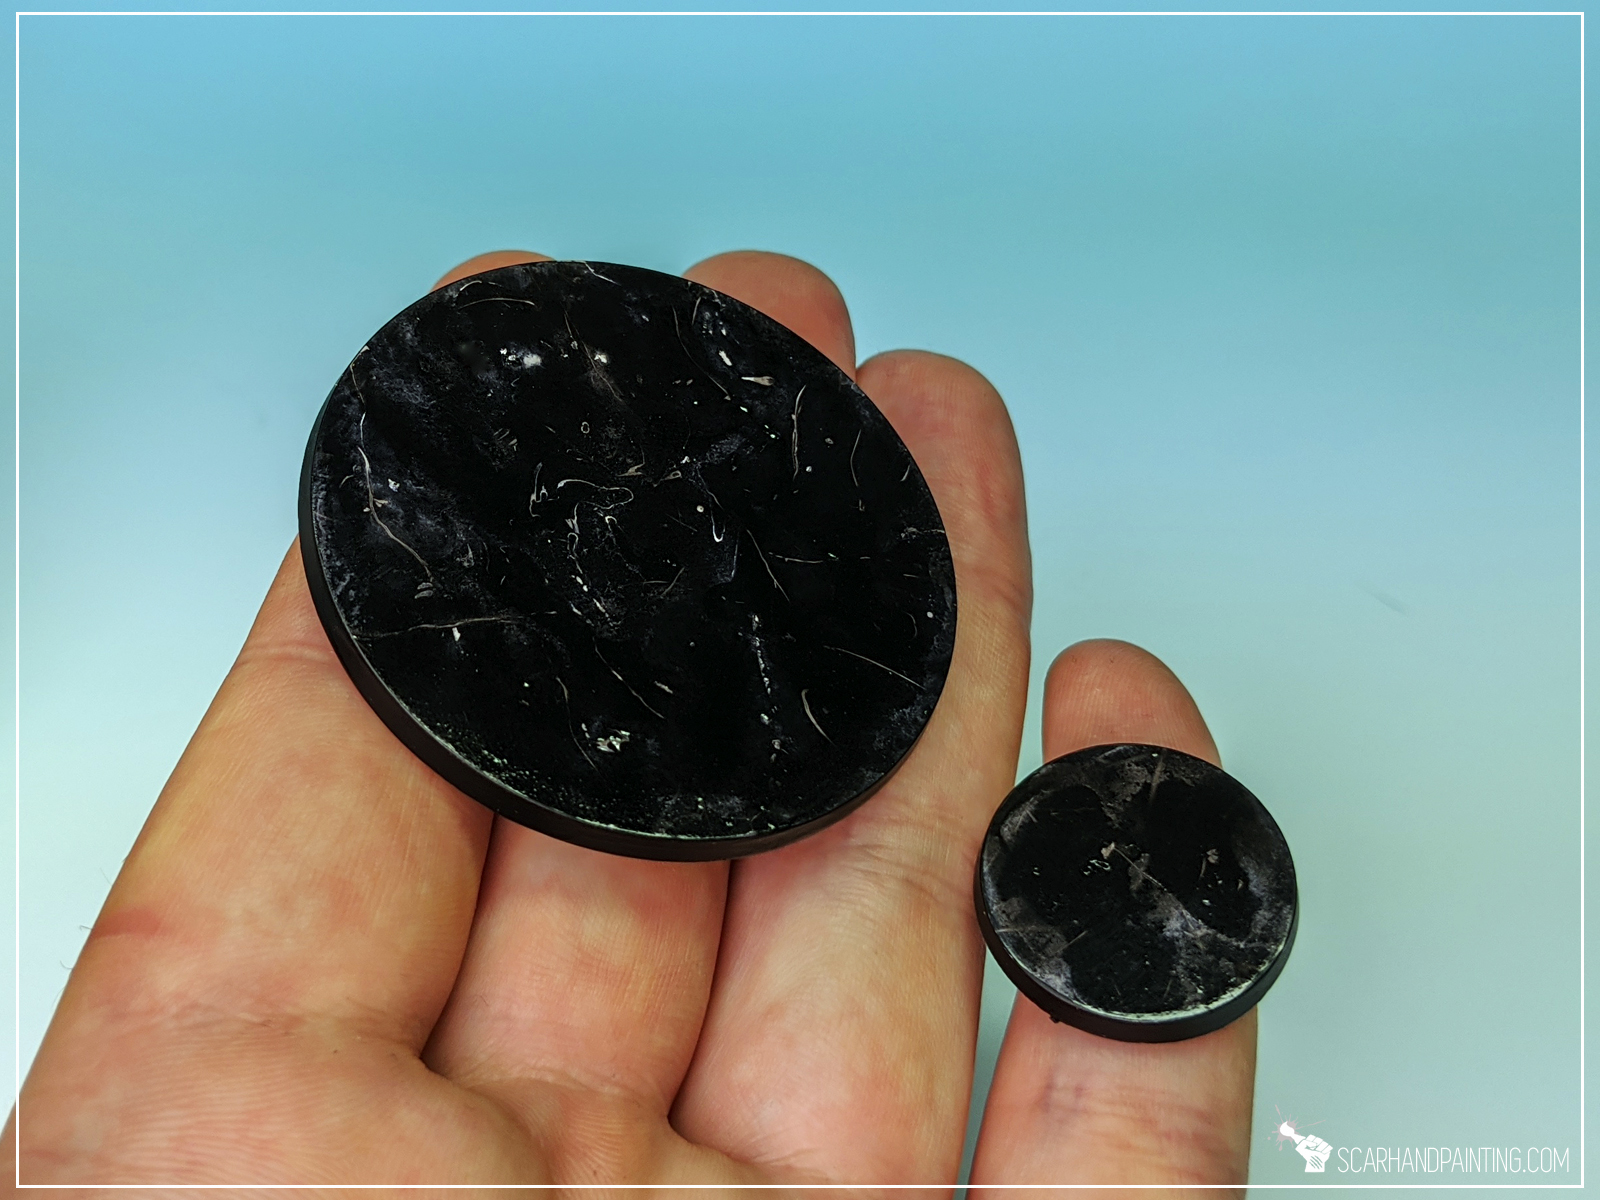
Finally I applied two layers of airbrushed Gloss Varnish. This resulted in a nice polished glossy look but also added that 3d look to different layers.

Here’s how the finished base looks like.

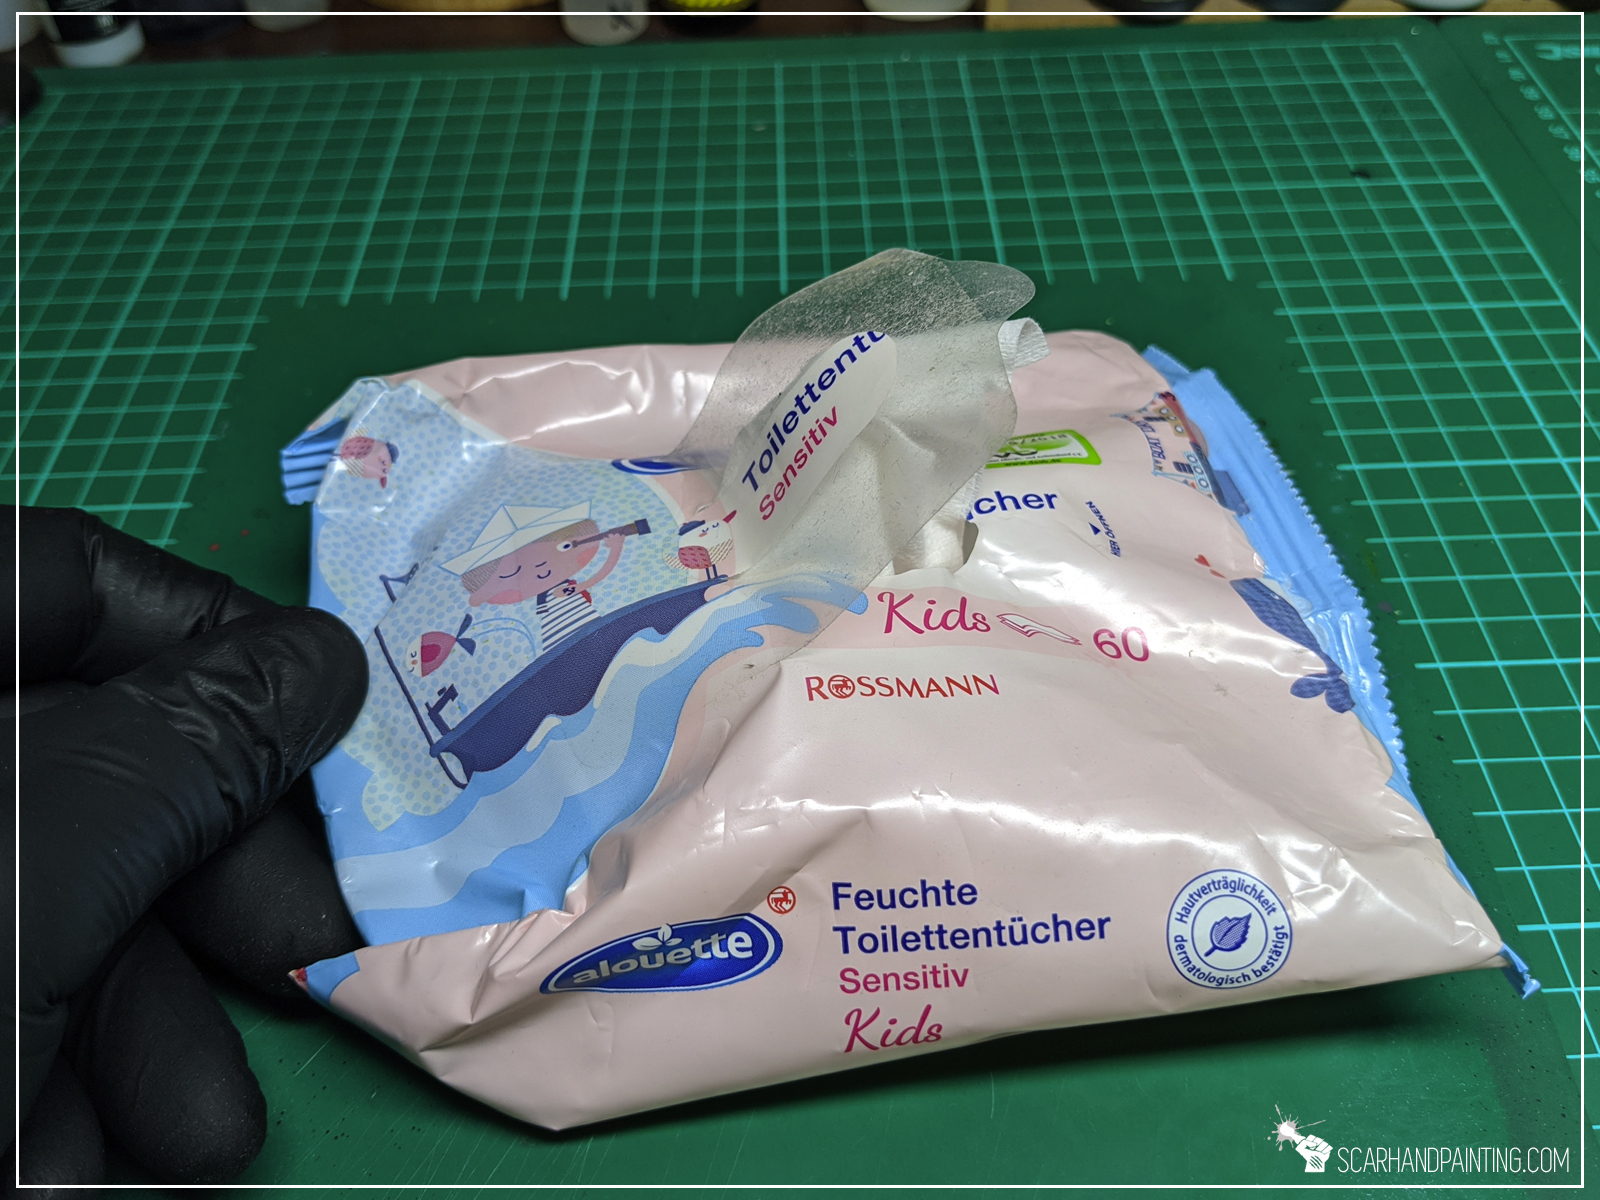
This bonus method is much simpler and I think it had a lot of potential, still I stumbled upon it by accident just fed ways ago and hadn’t had time to test it thoroughly. Here’s basics:
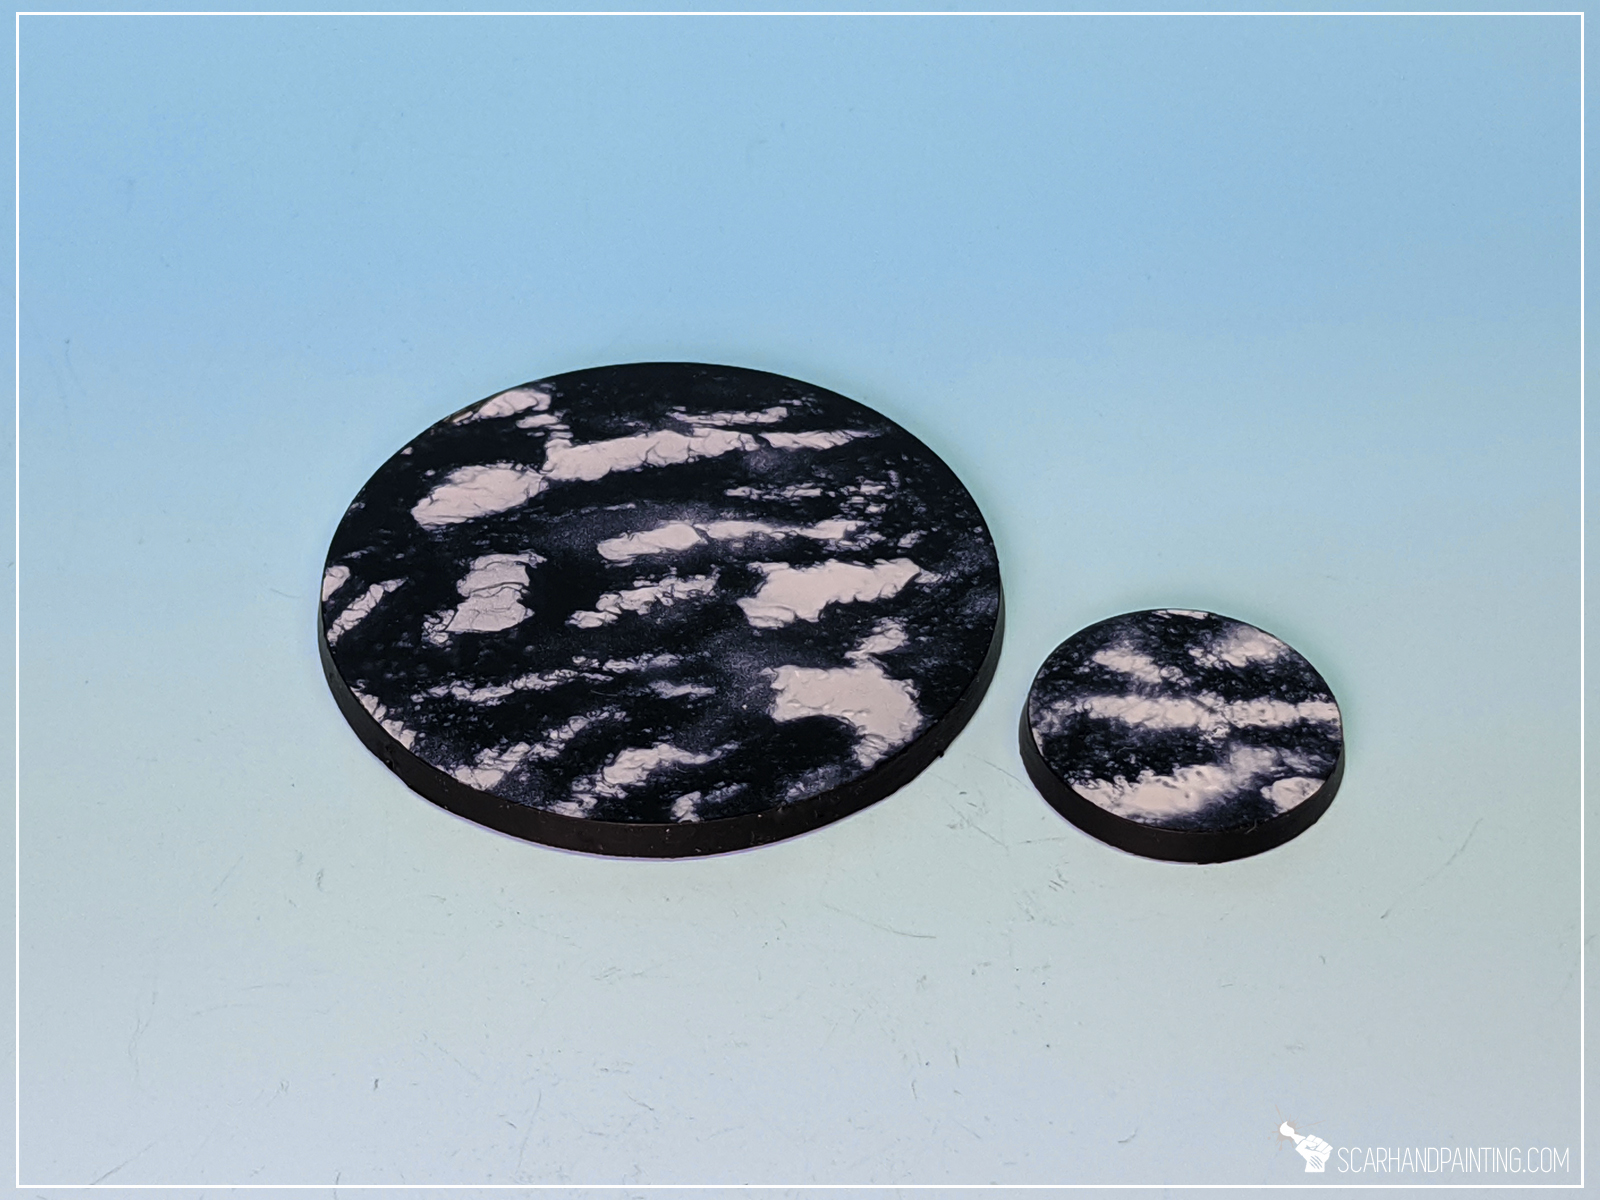
Done! Seems mind blowing? Surely is. Have I done this right? Totally no 😛 White spots are too large, but as mentioned – there’s potential in the method and at some point I will find a way to make it work.


Note from the author: I hope you enjoyed this article. Be sure to let me know what you think in the comments or at my facebook. If you ever use the tutorial – please tag me at facebook or send pics through Line app to scarhandpainting, so I can enjoy your work 😉