- contact@scarhandpainting.com


Taking some good quality pictures of our painted miniatures can be a real nightmare. I know for a fact that a lot of hobbyists struggle when presenting their work online because of how misrepresented, by bad quality photos, the paintjob is. Blurry or oversaturated pics can really undermine reception of our work, leading to our disappointment and anxiety, thus discouraging us from further painting attempts. Today I would present to you a few tips that should improve the quality of your pictures without a need for high end photographic equipment.
I have been painting miniatures for over twenty years now. During that time I really struggled with proper presentation. I followed multiple tutorials, tried different cameras and setups, shadow tents and specialist backgrounds. All that “ISO”, “Macro”, “Exposure” settings mambo jumbo made my head hurt while I failed to deliver satisfactory quality pictures. With time technology advanced and became simplified and more efficient. Smartphones are so common and their cameras advanced that there seems to be no need for specialist photographic equipment anymore – at least when it comes to sharing cool pics of painted miniatures.
Miniatures photography is still a part of the hobby I loathe with all my heart, but thanks to experience acquired through failure, my work’s presentation finally feels acceptable. That’s not to say I am now a miniatures photography specialist, just that I feel comfortable to share some tips in hope to help other hobbyists feel satisfaction from presenting their work.
Some notes:

Tip 1: Camera Handling
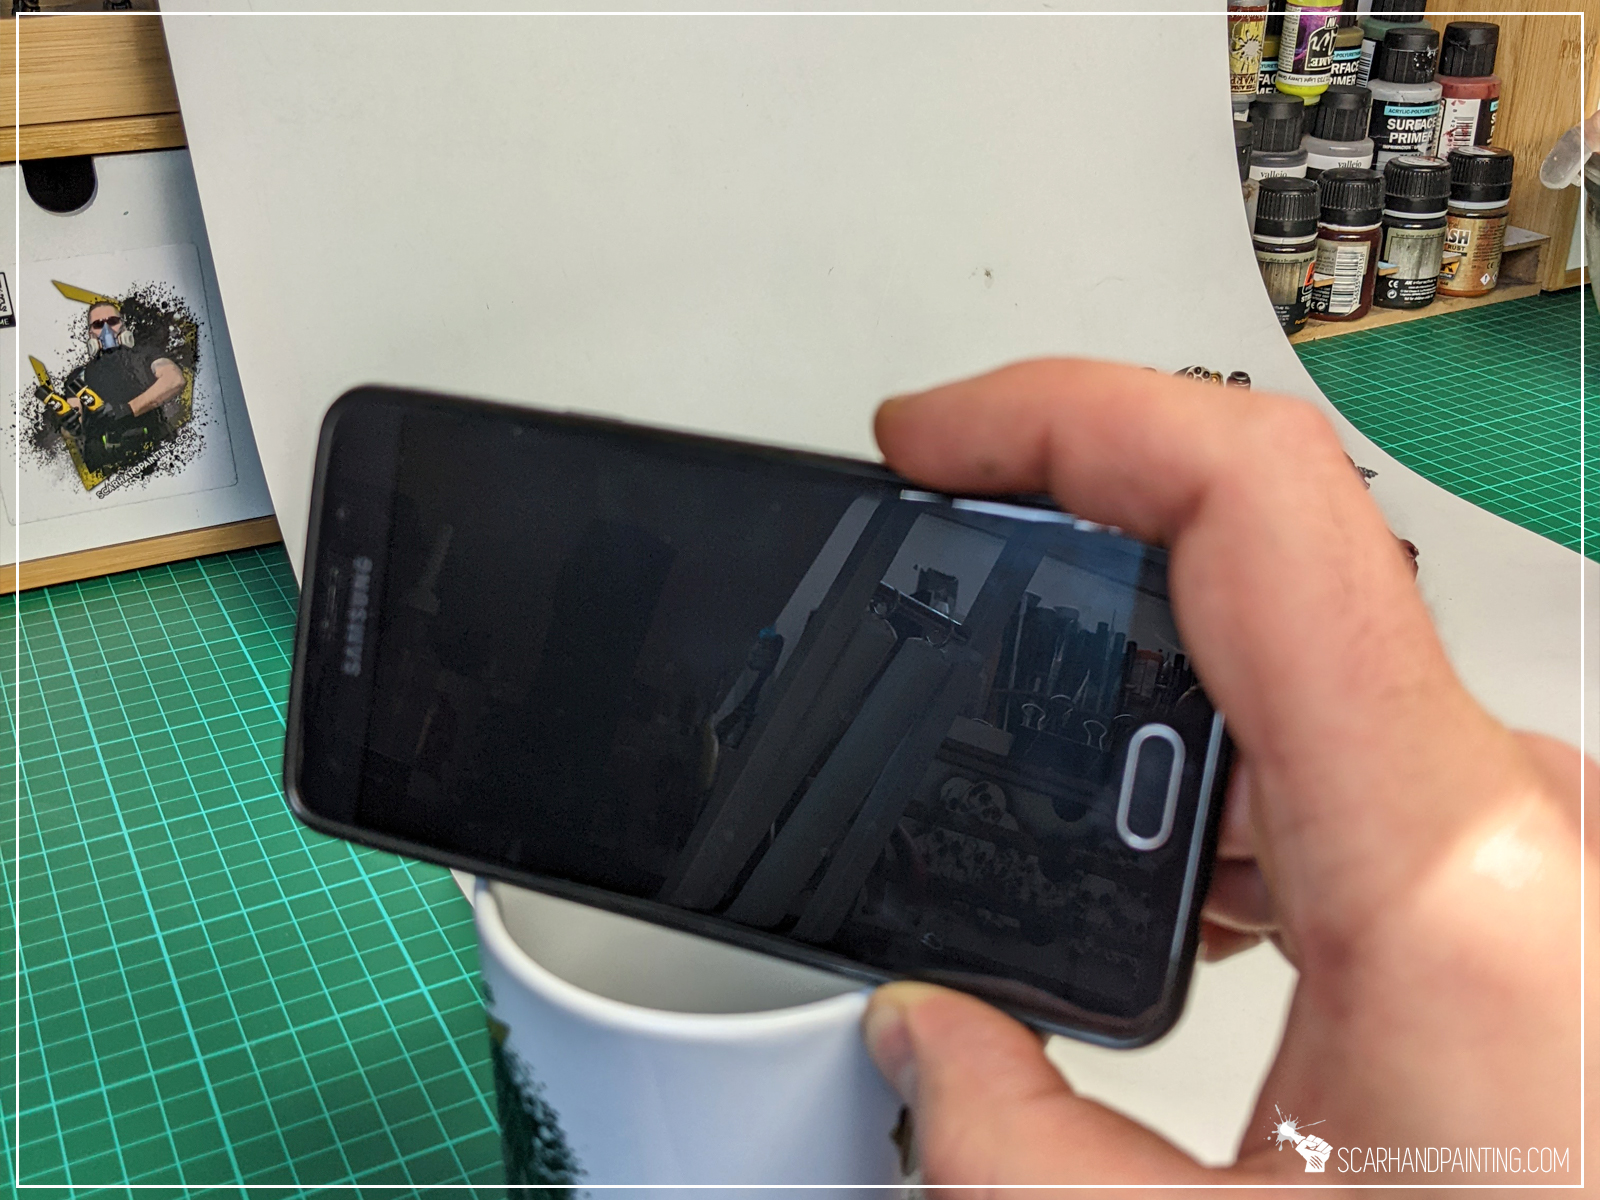
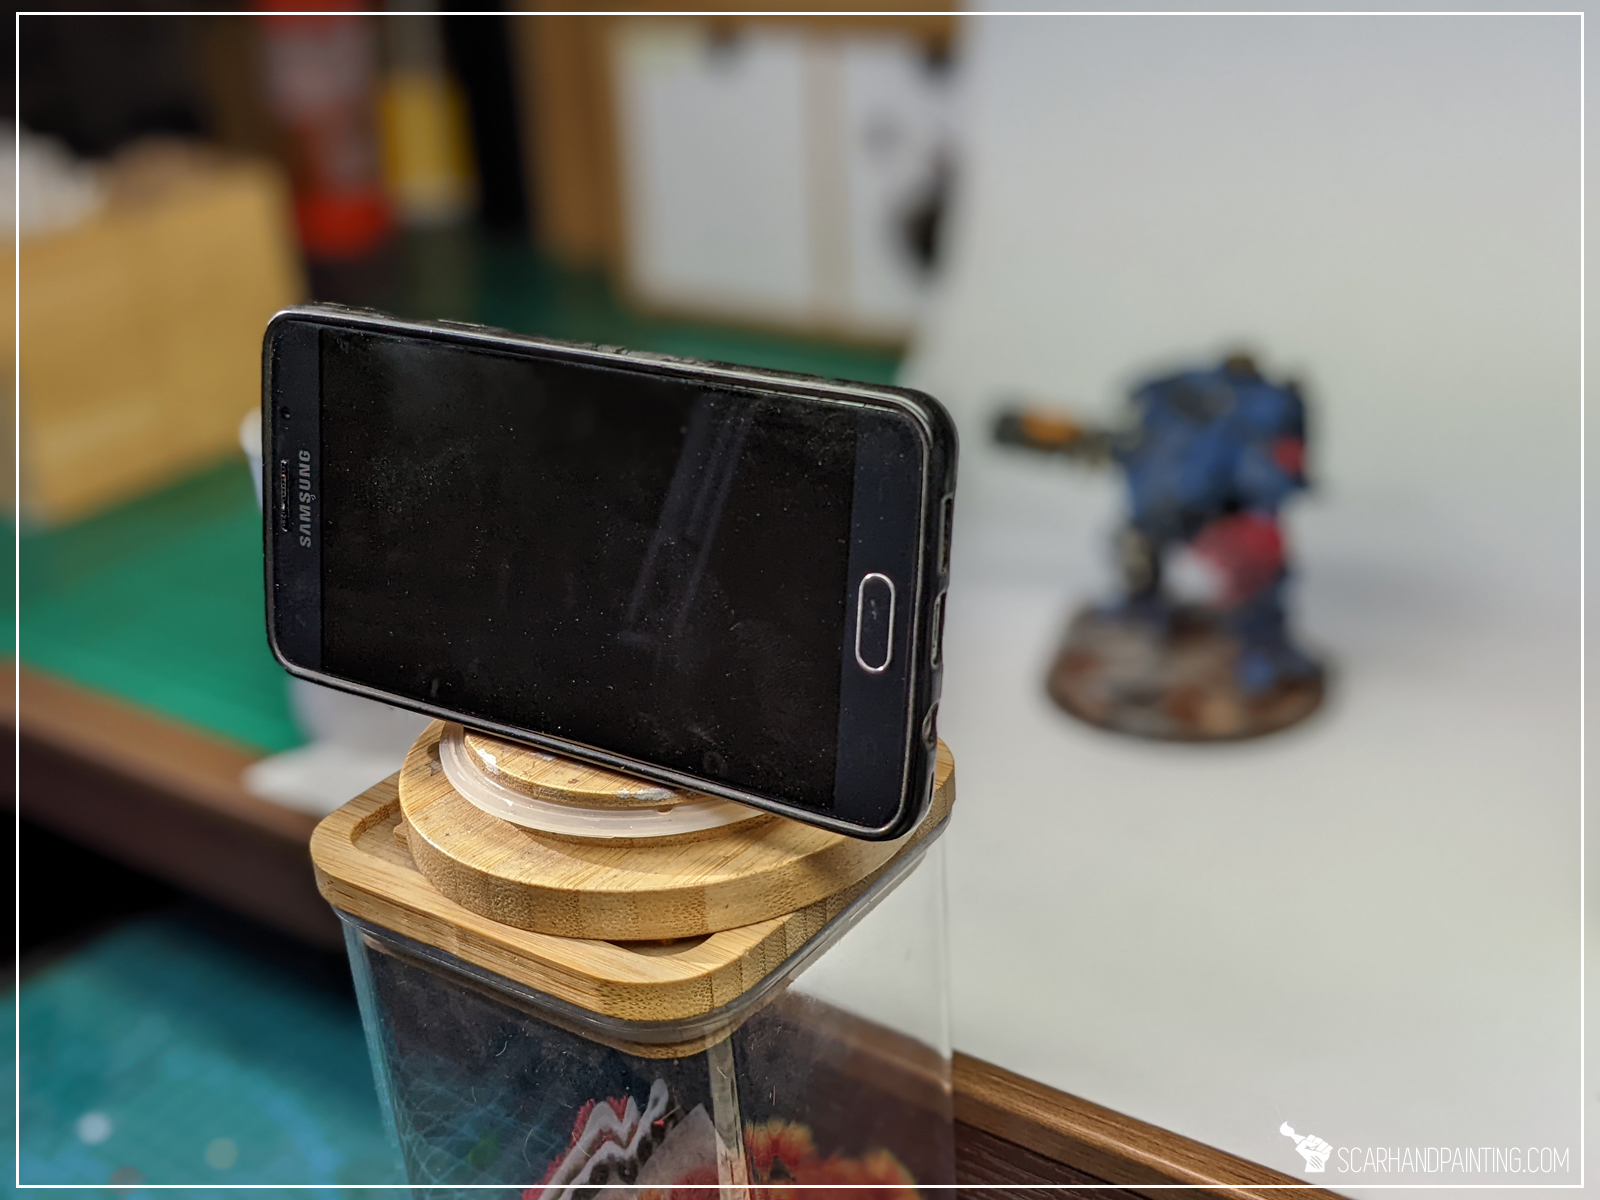
Be it on a tripod, or just held still on a piece of Blu Tack – keeping a camera perfectly still when taking pictures is key to achieving a nice sharp image. Holding the camera in hand, even if partially supported, results in micro movements disturbing focus. This includes taking a picture manually with a push of a button. To avoid unnecessary focus loss I recommend immobilizing the camera and setting a timer to three seconds to give it some time to settle after it got touched.
Example: Camera held in hand.

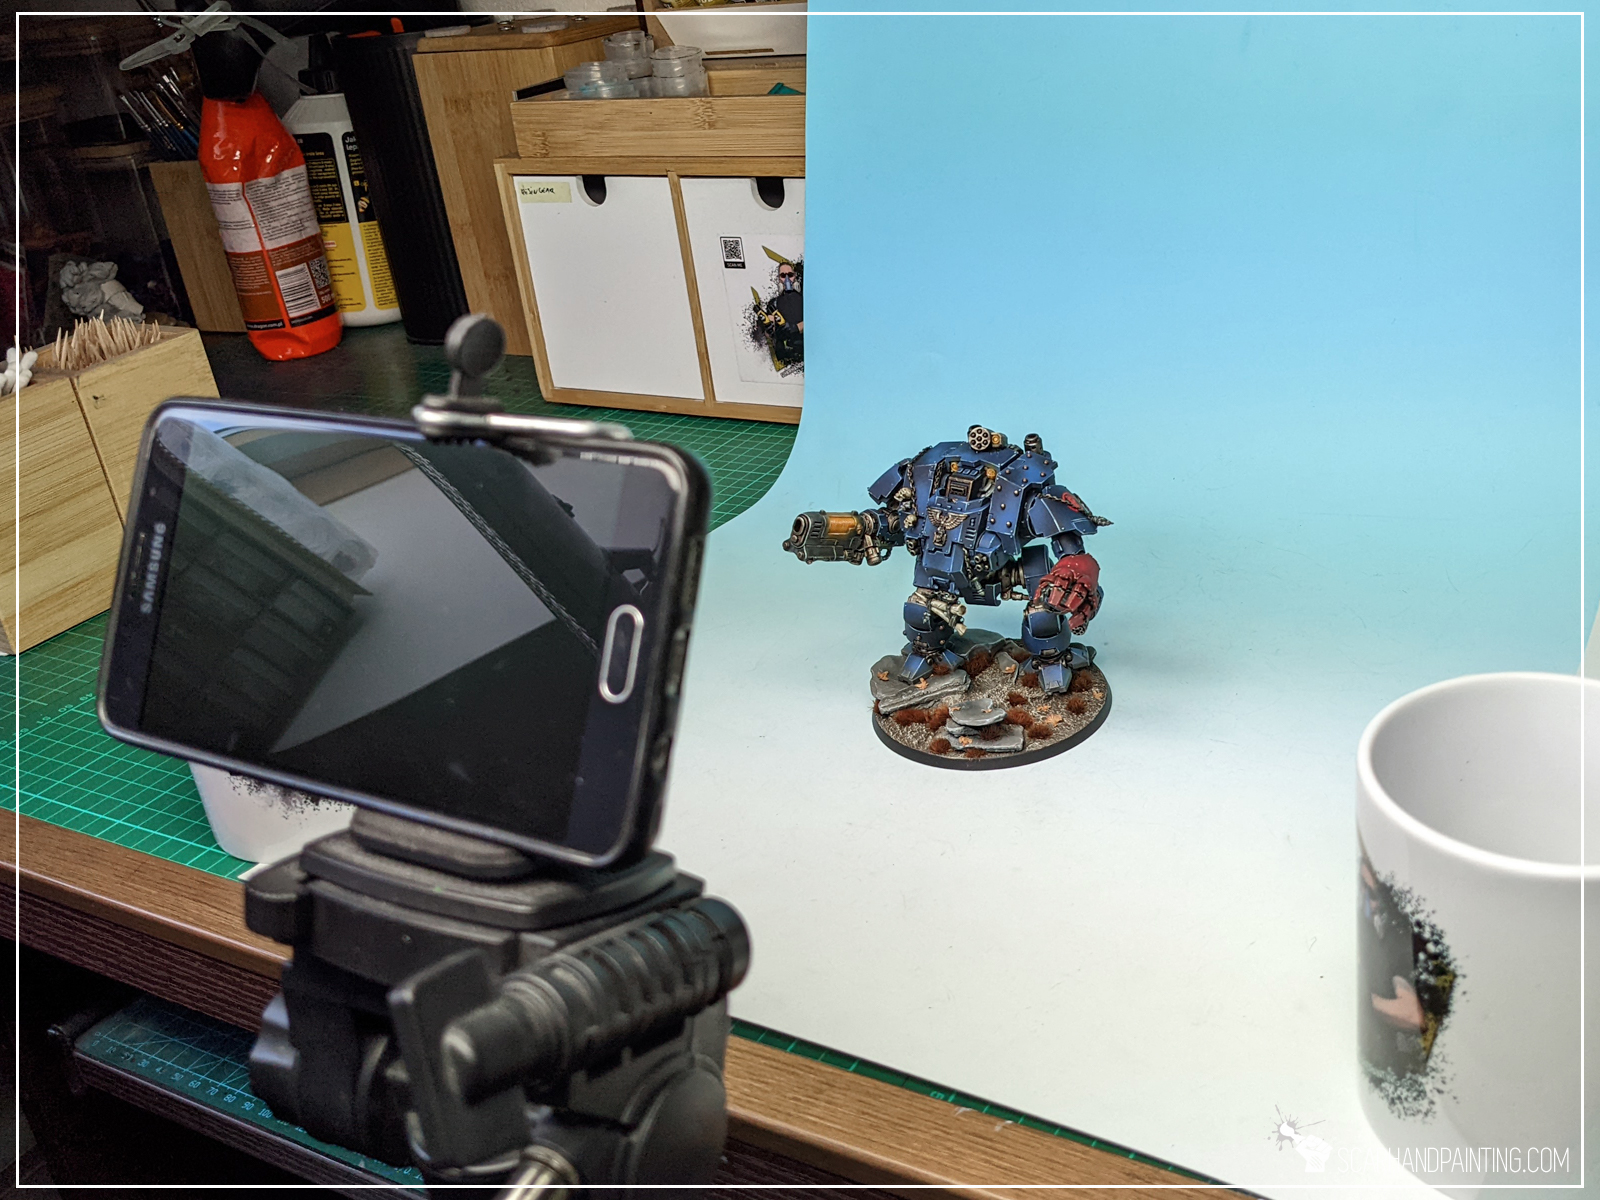
Example: Camera set up on a tripod or supported.

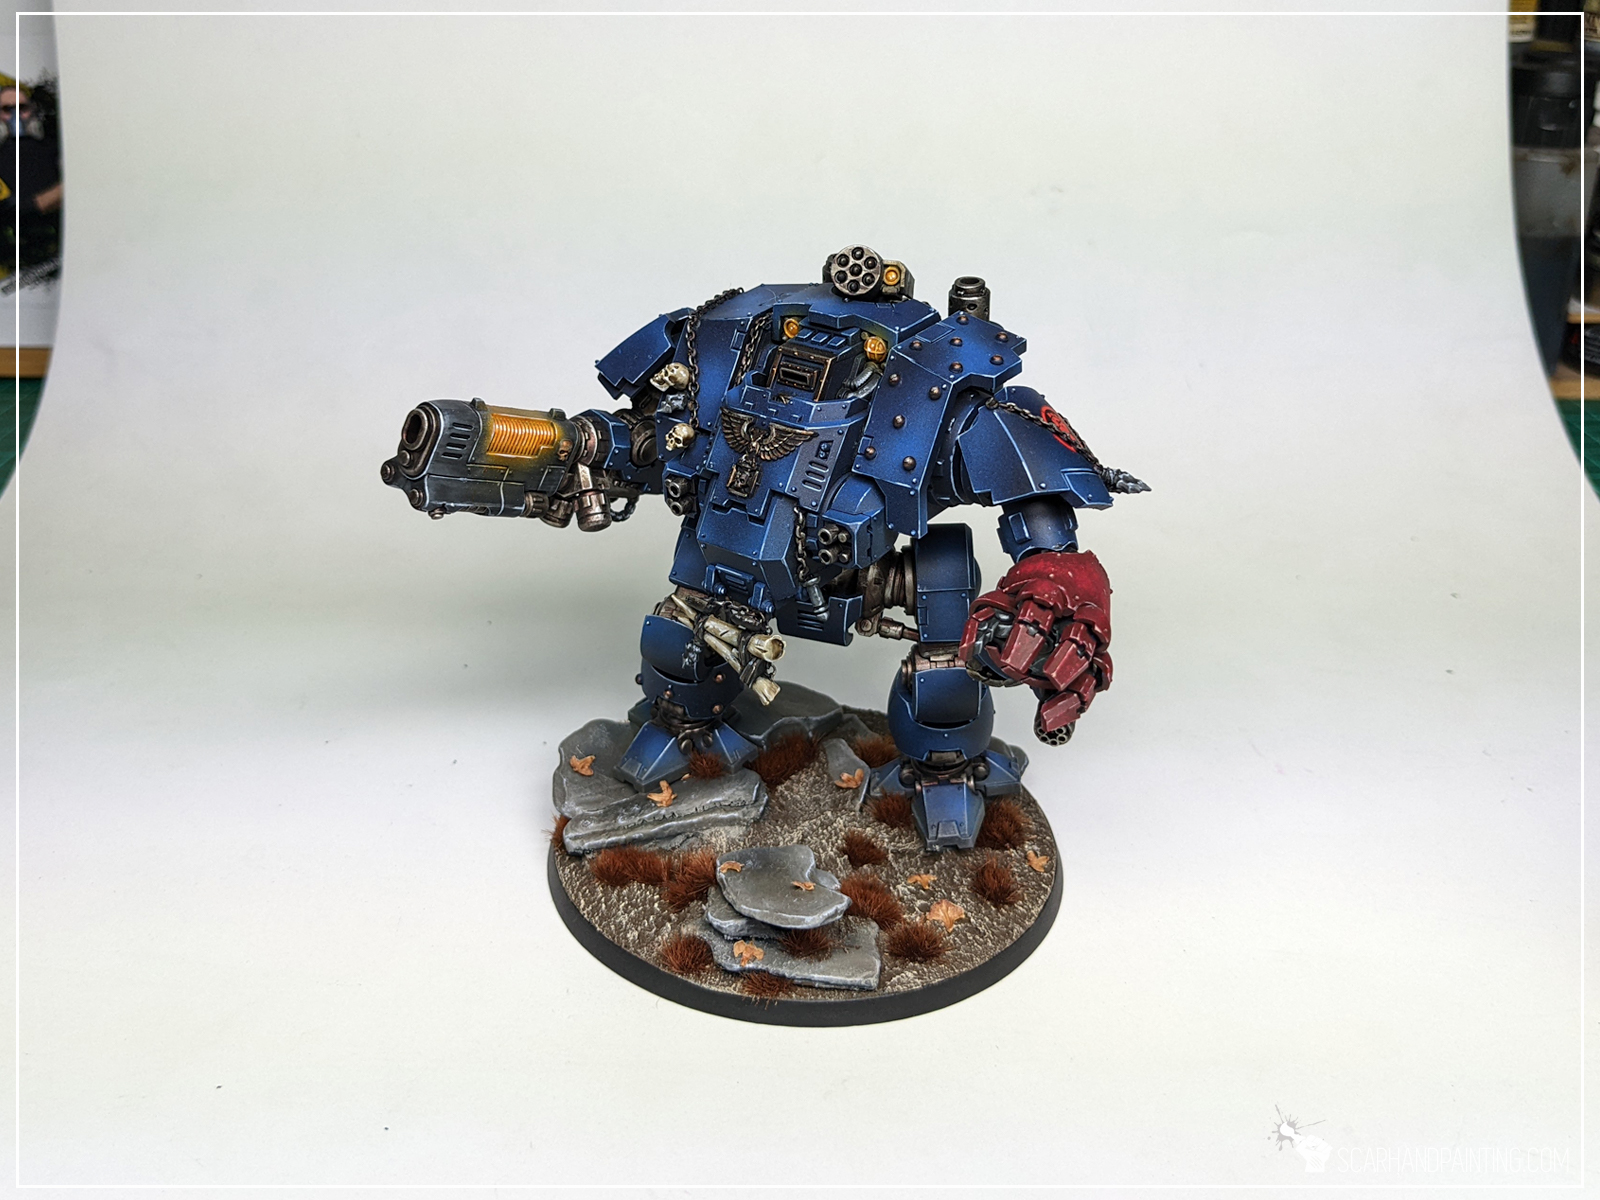
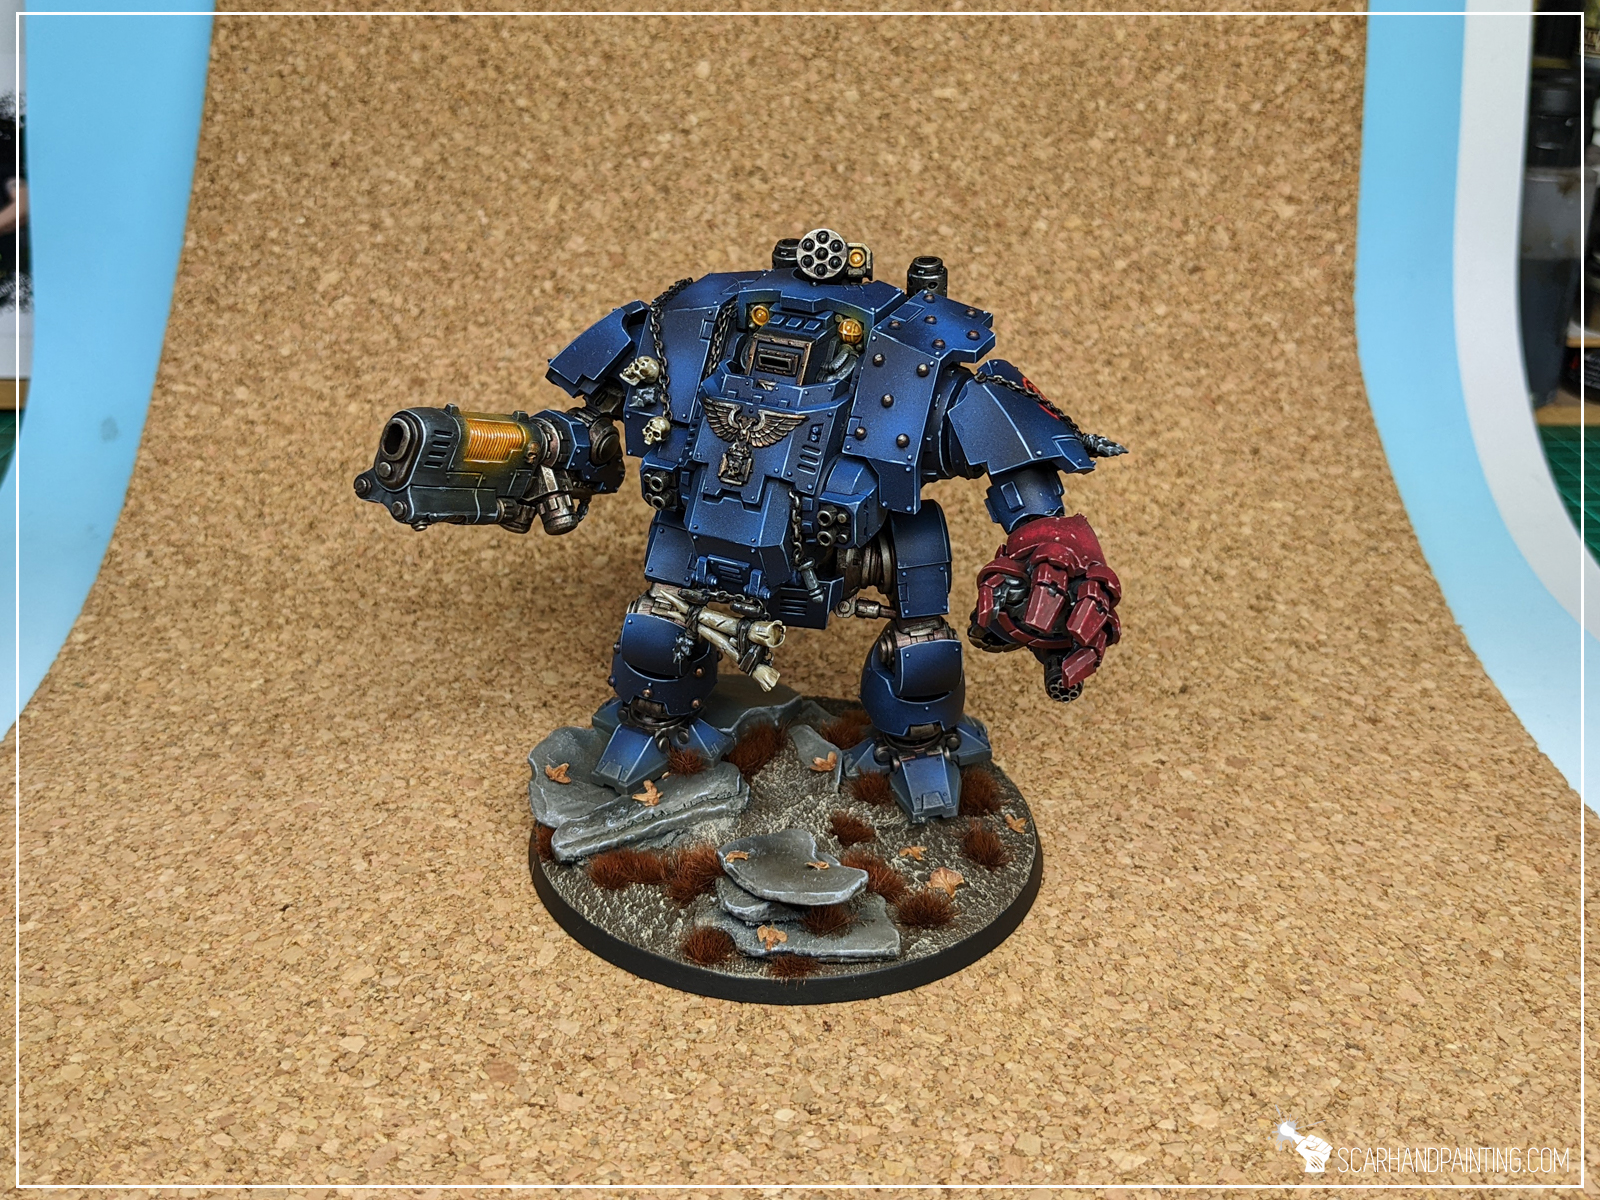
Tip 2: Light Setup
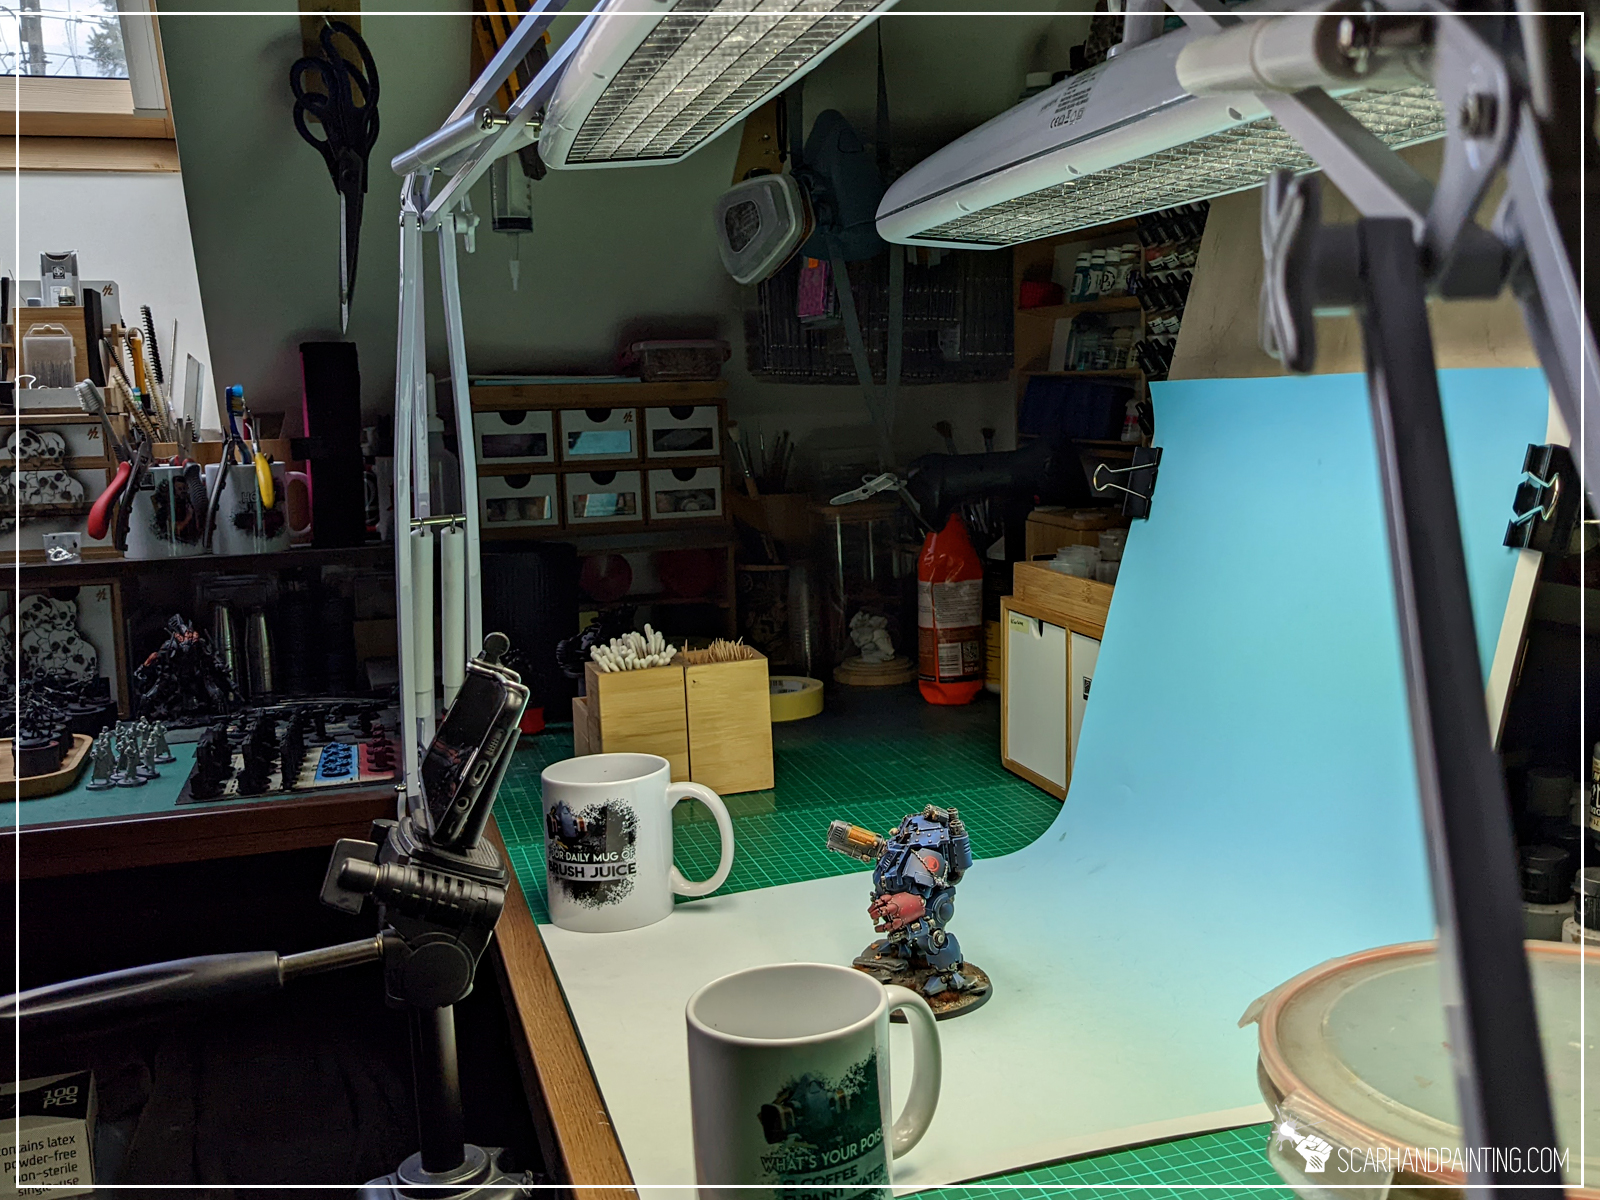
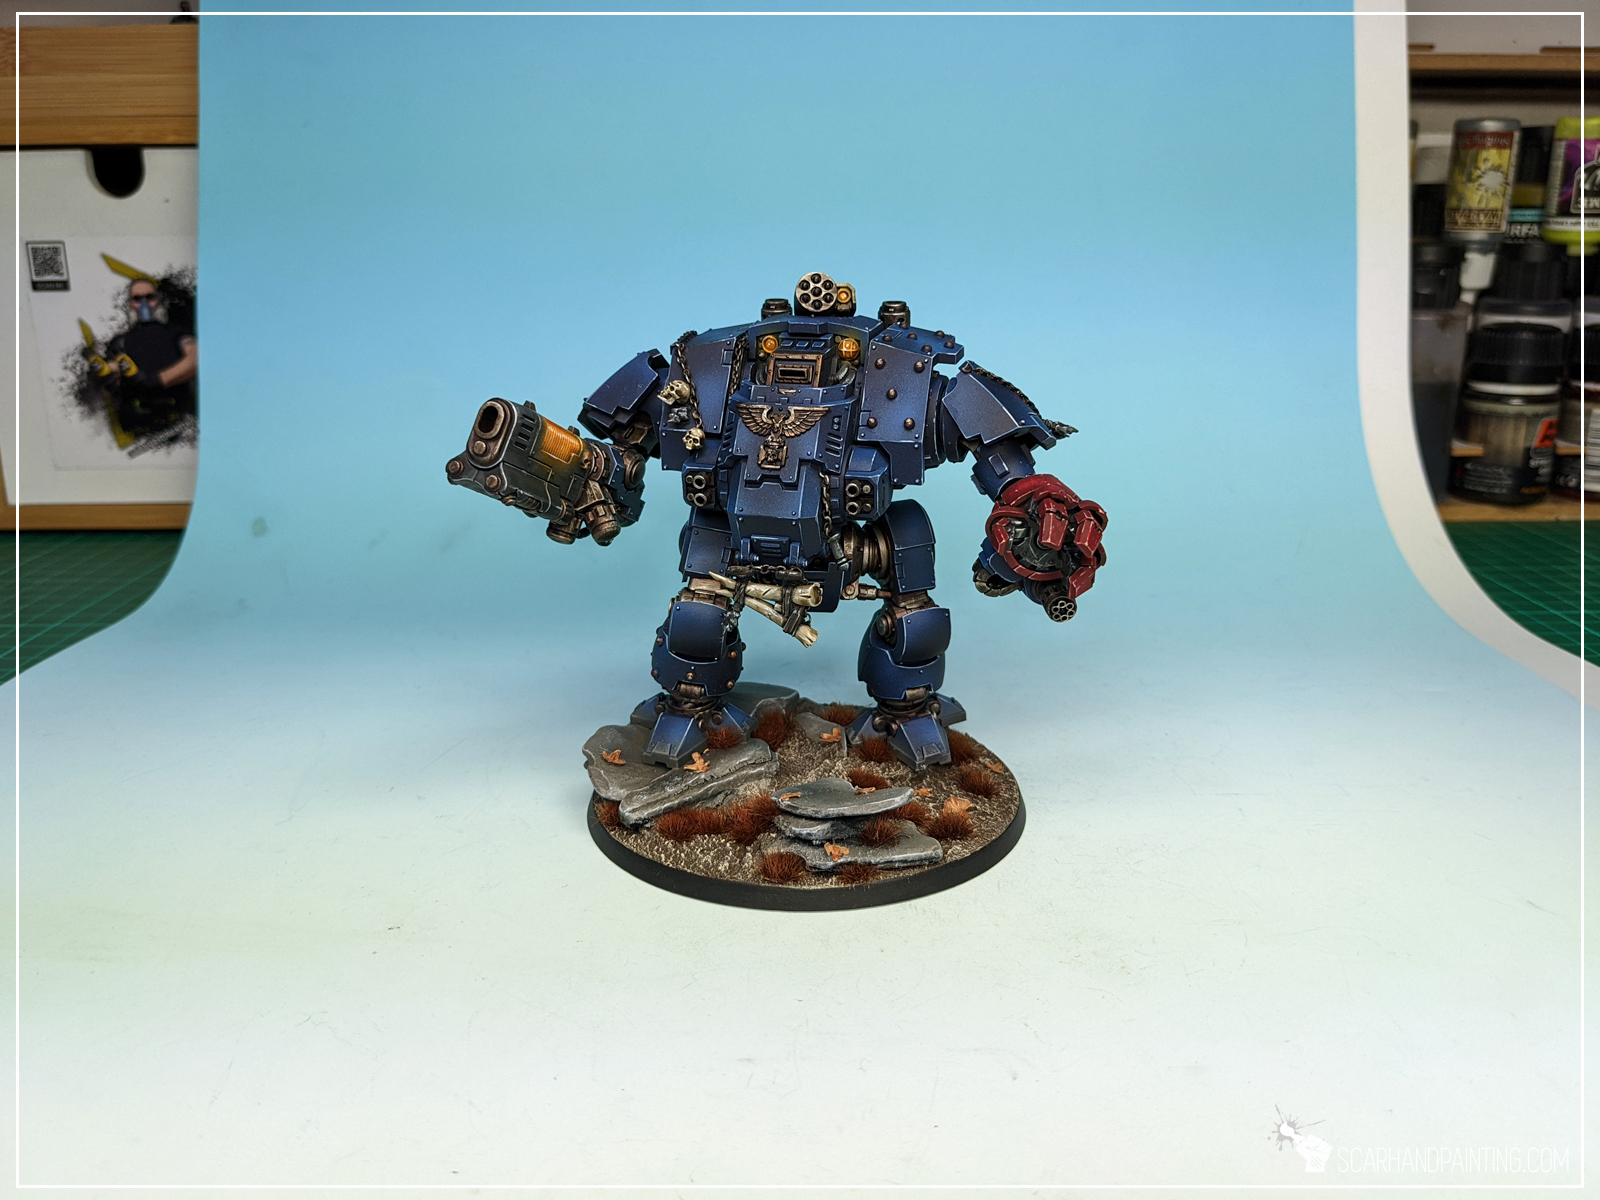
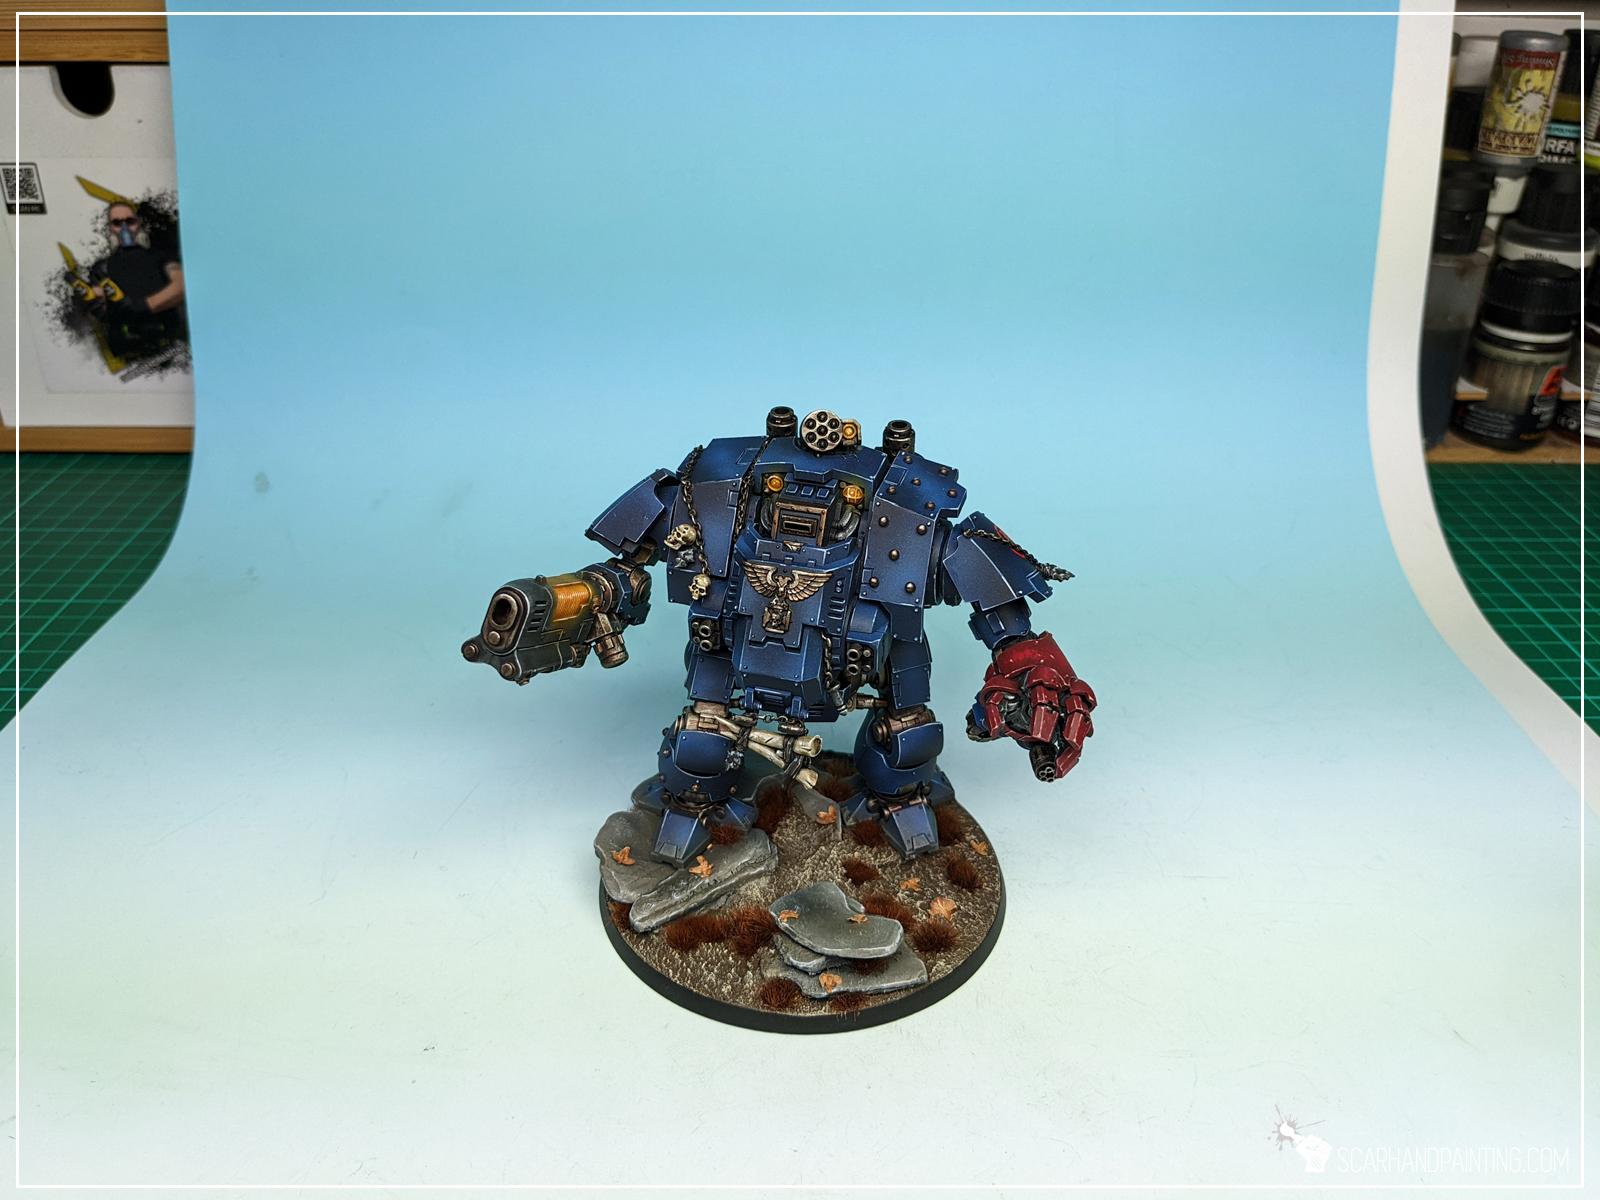
Most common light setup I’ve seen across multiple tutorials was one main light source positioned directly behind and slightly above the camera, backed by one to two supplementary light sources positioned at the sides pointing towards the miniature. After many tests I settled on two white light sources: One placed directly behind and slightly above the camera, pointing towards the miniature. The other is placed above and somewhere between the miniature and the camera, directed away from the camera and towards the miniature. Things to look out for would be placing a light source too far, behind the miniature, resulting in increased contrast and artificial shadows, or pointing towards the lens resulting in a too bright, blurry and fuzzy image.
Example: Light sources placed zenithally, one lamp behind the miniature.
Example: Light sources placed according to the tip.

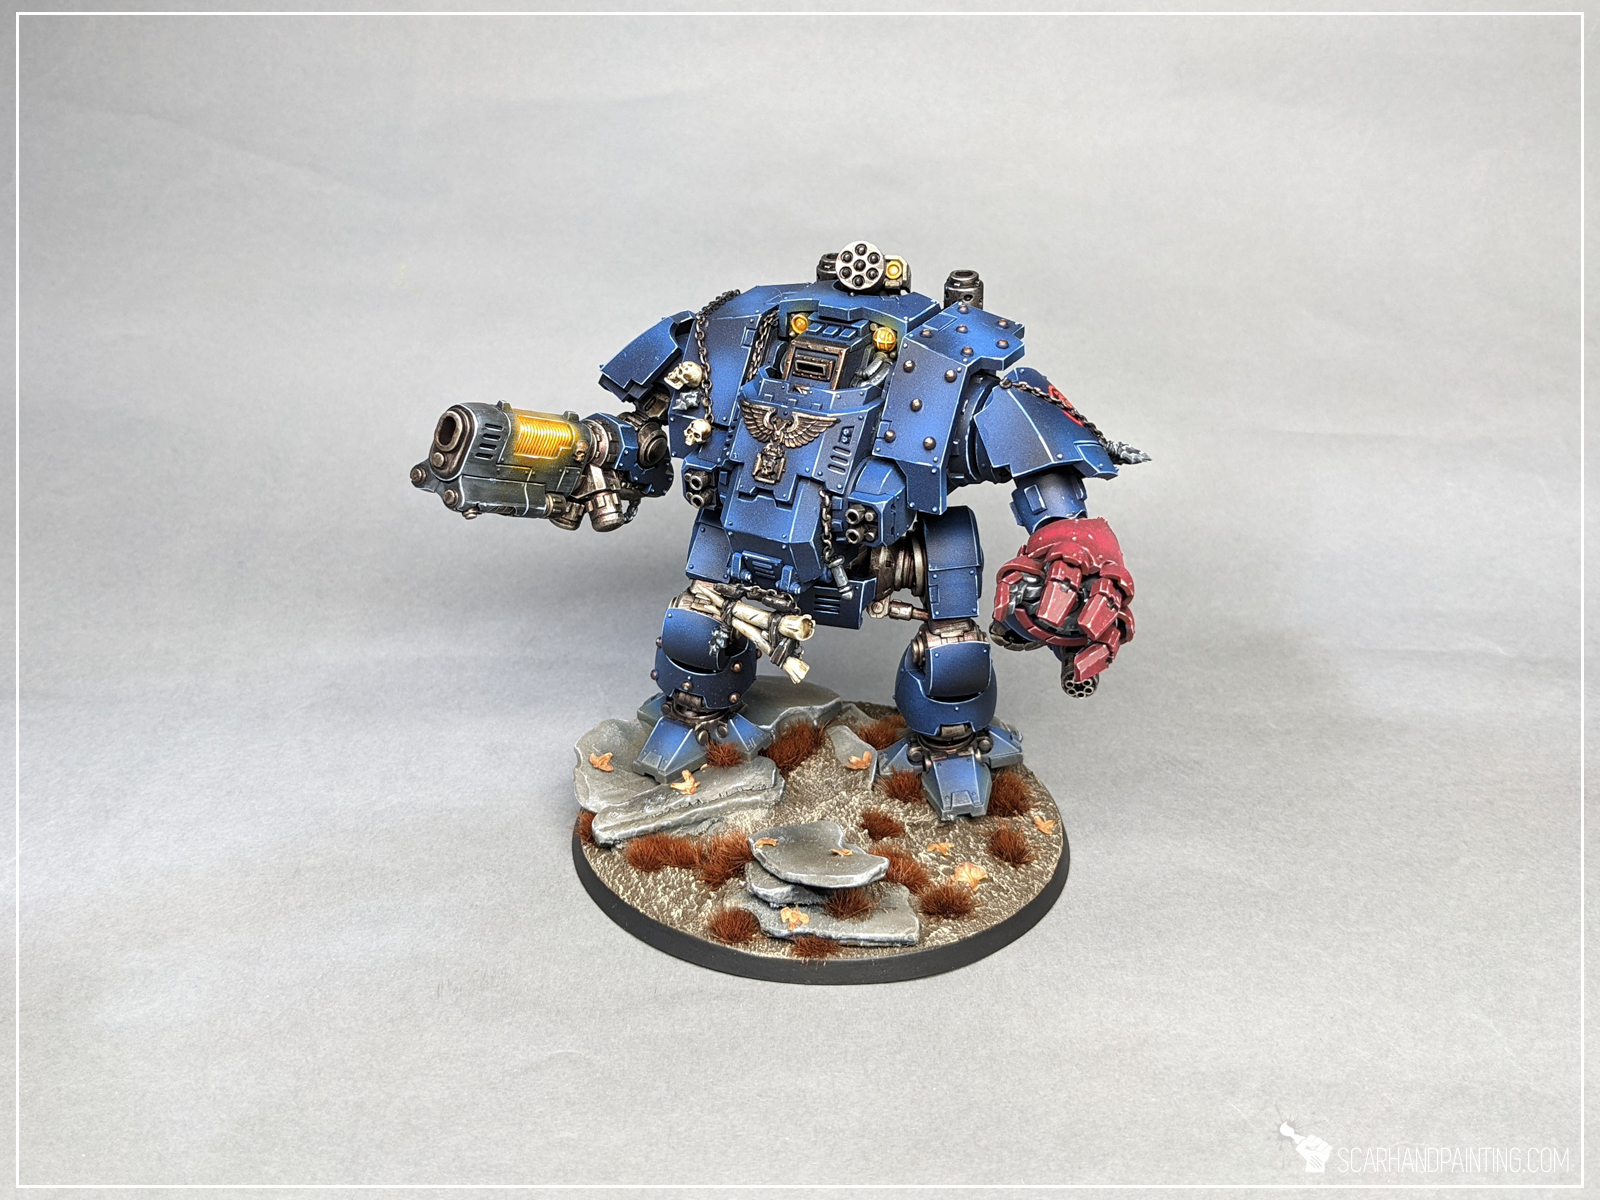
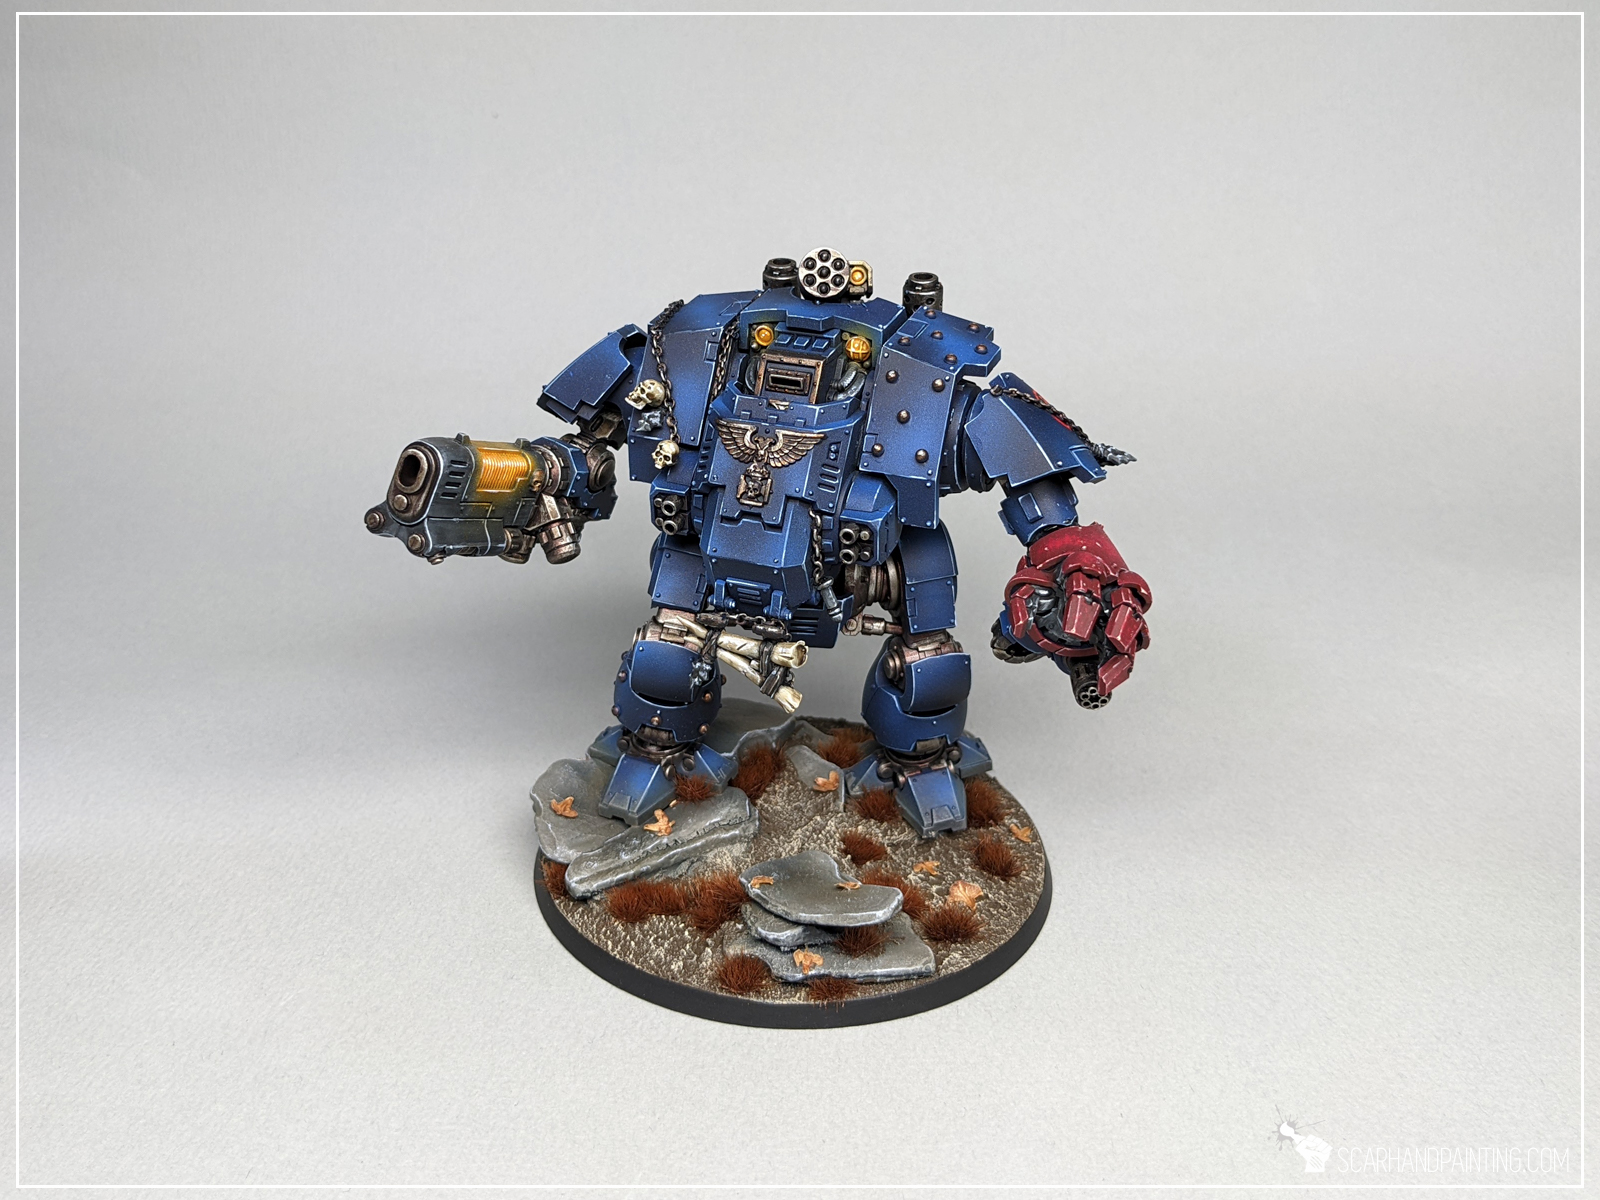
Tip 3: Background
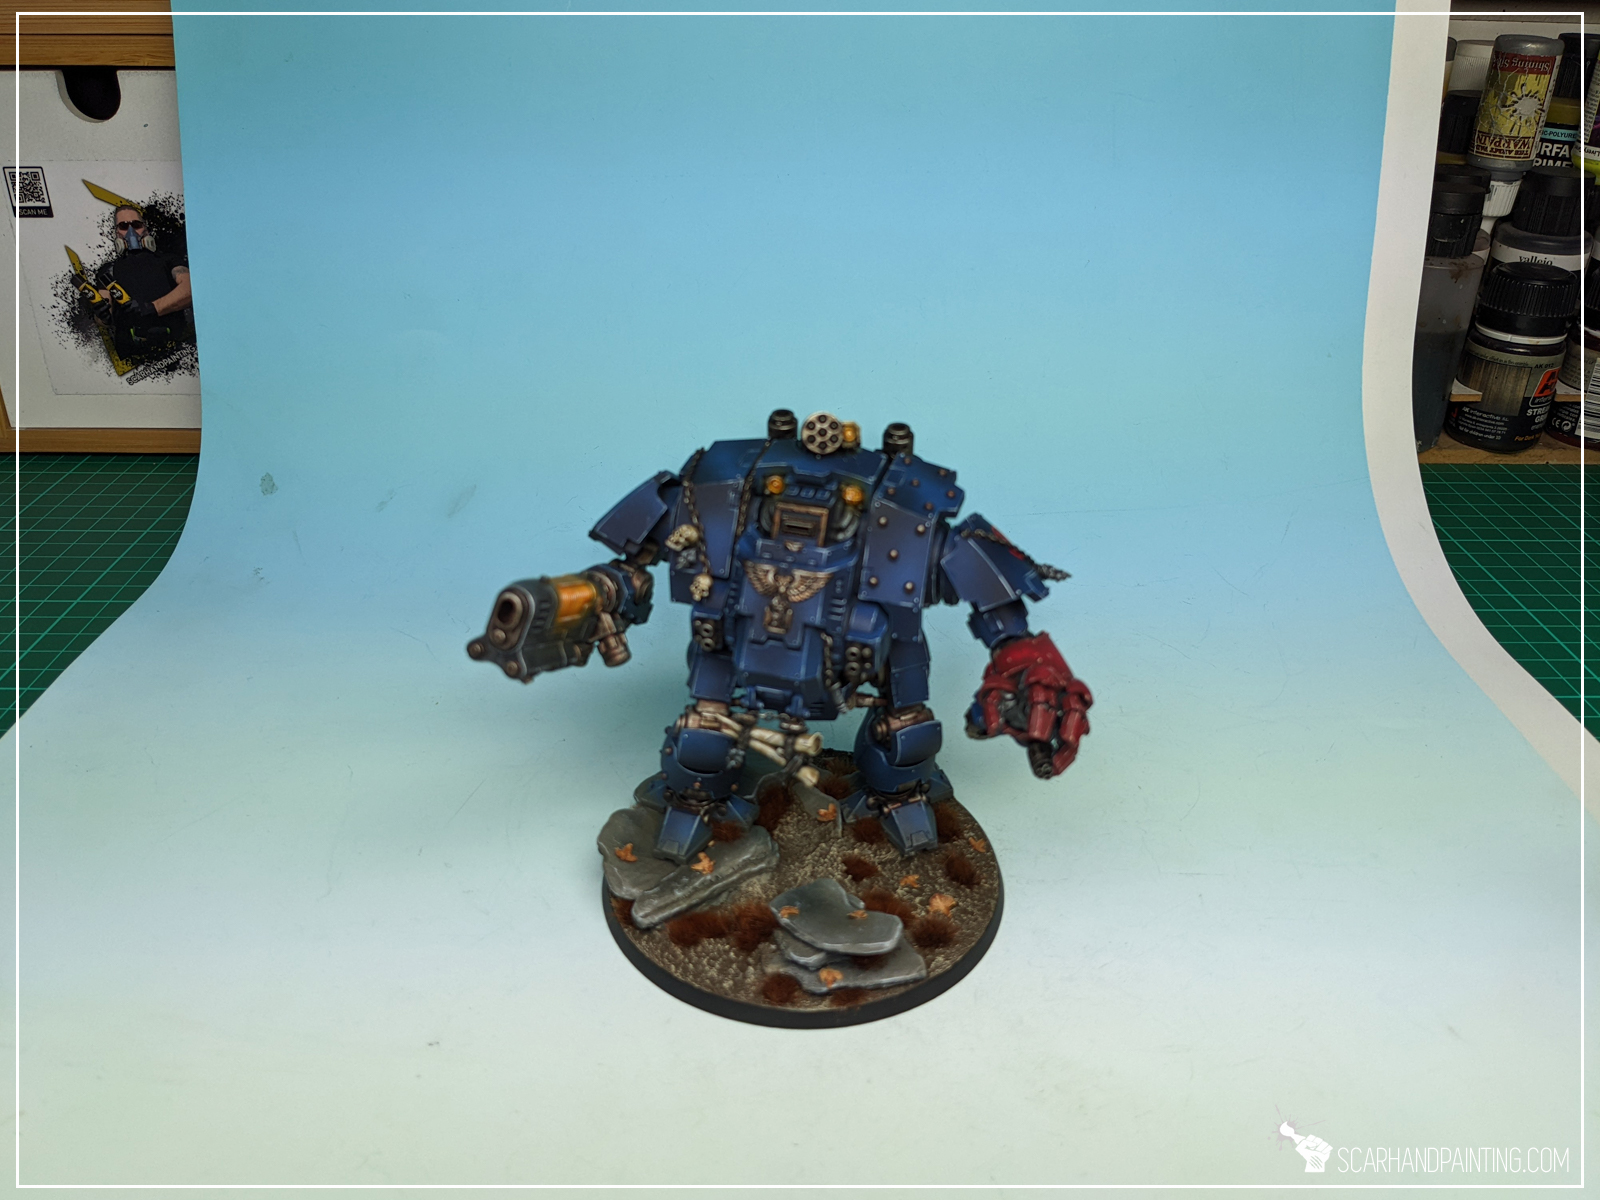
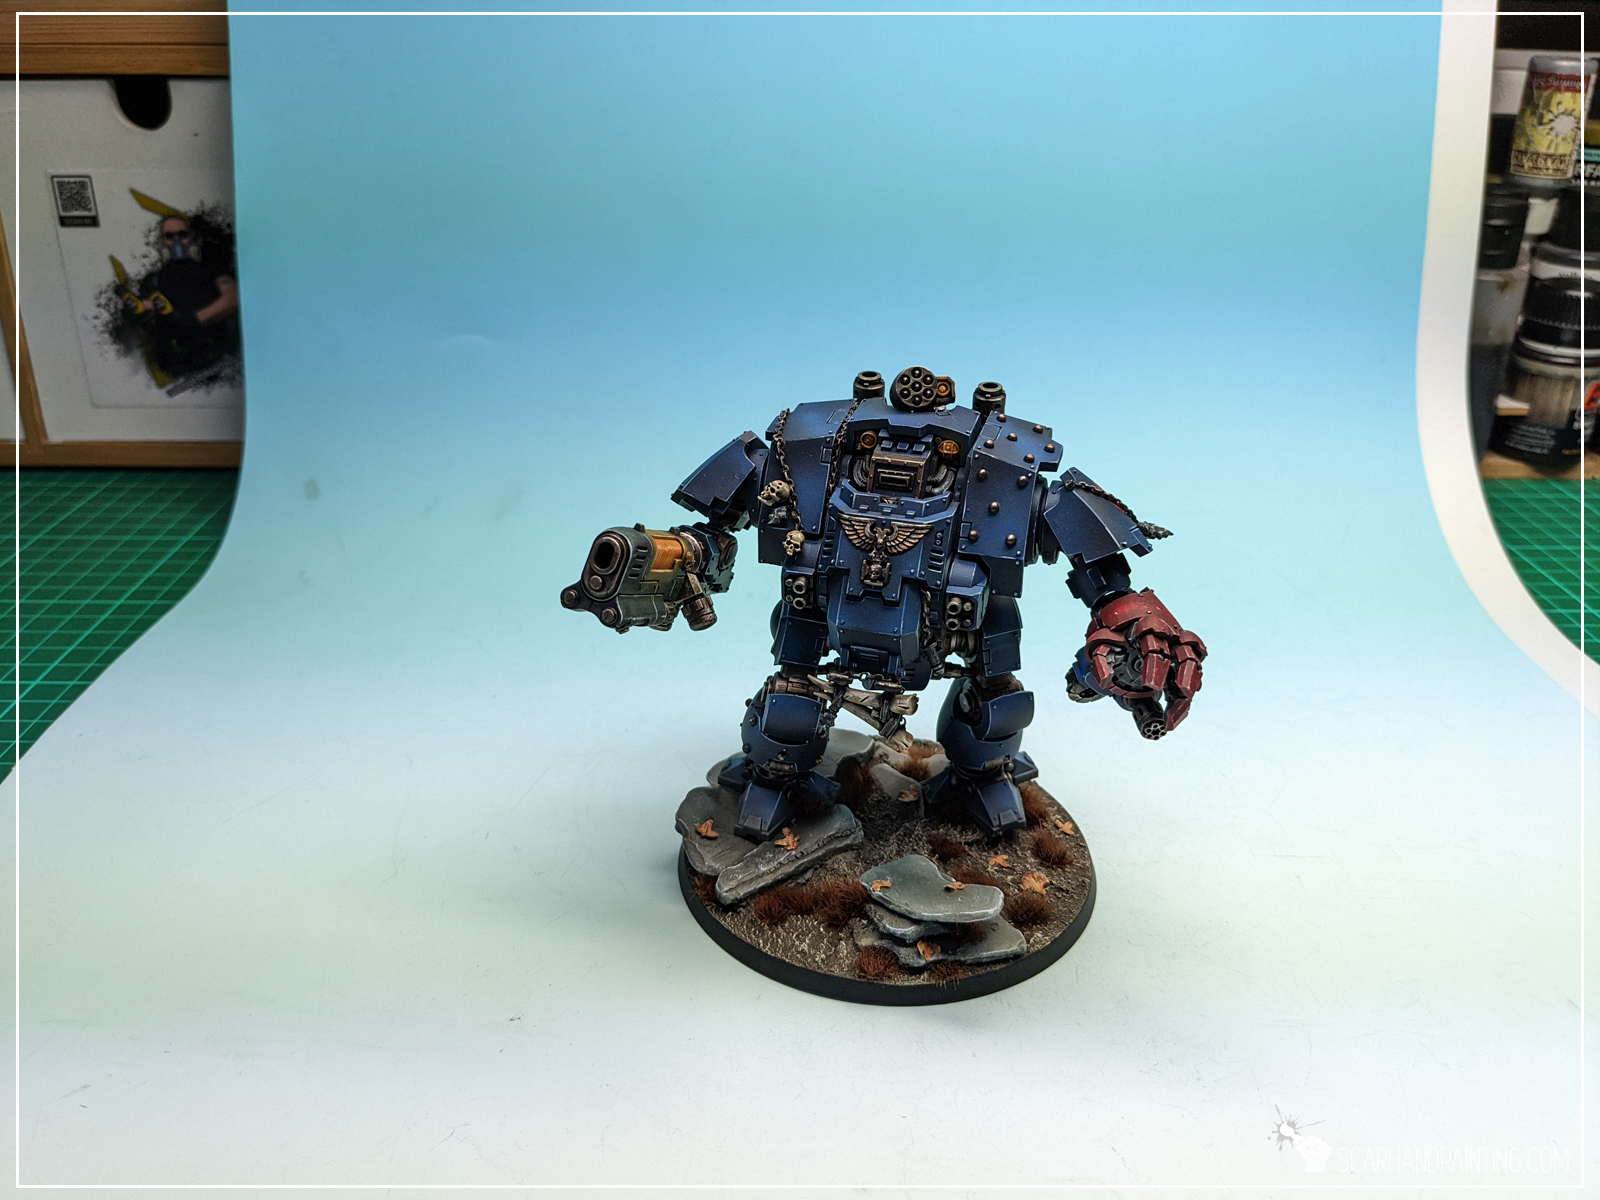
There are multiple approaches to choosing a background for a picture. Some painters prefer backgrounds that compliment a paint job, or produce a certain “feel” of the picture. This is all fine for a more artistic themed presentation. Still I feel that presenting a paint job for evaluation should be first and foremost about that paint job, not a picture. For this reason I try to aim for a background that would present my work in the most realistic way possible without a need to adjust colors in photoshop or create artificial shadows and surrealistic effects. After some ups and downs I feel that the blue to white transition background produces the best results by far, keeping the colors natural while allowing for clean, aesthetic images.

Tip 4: Composition
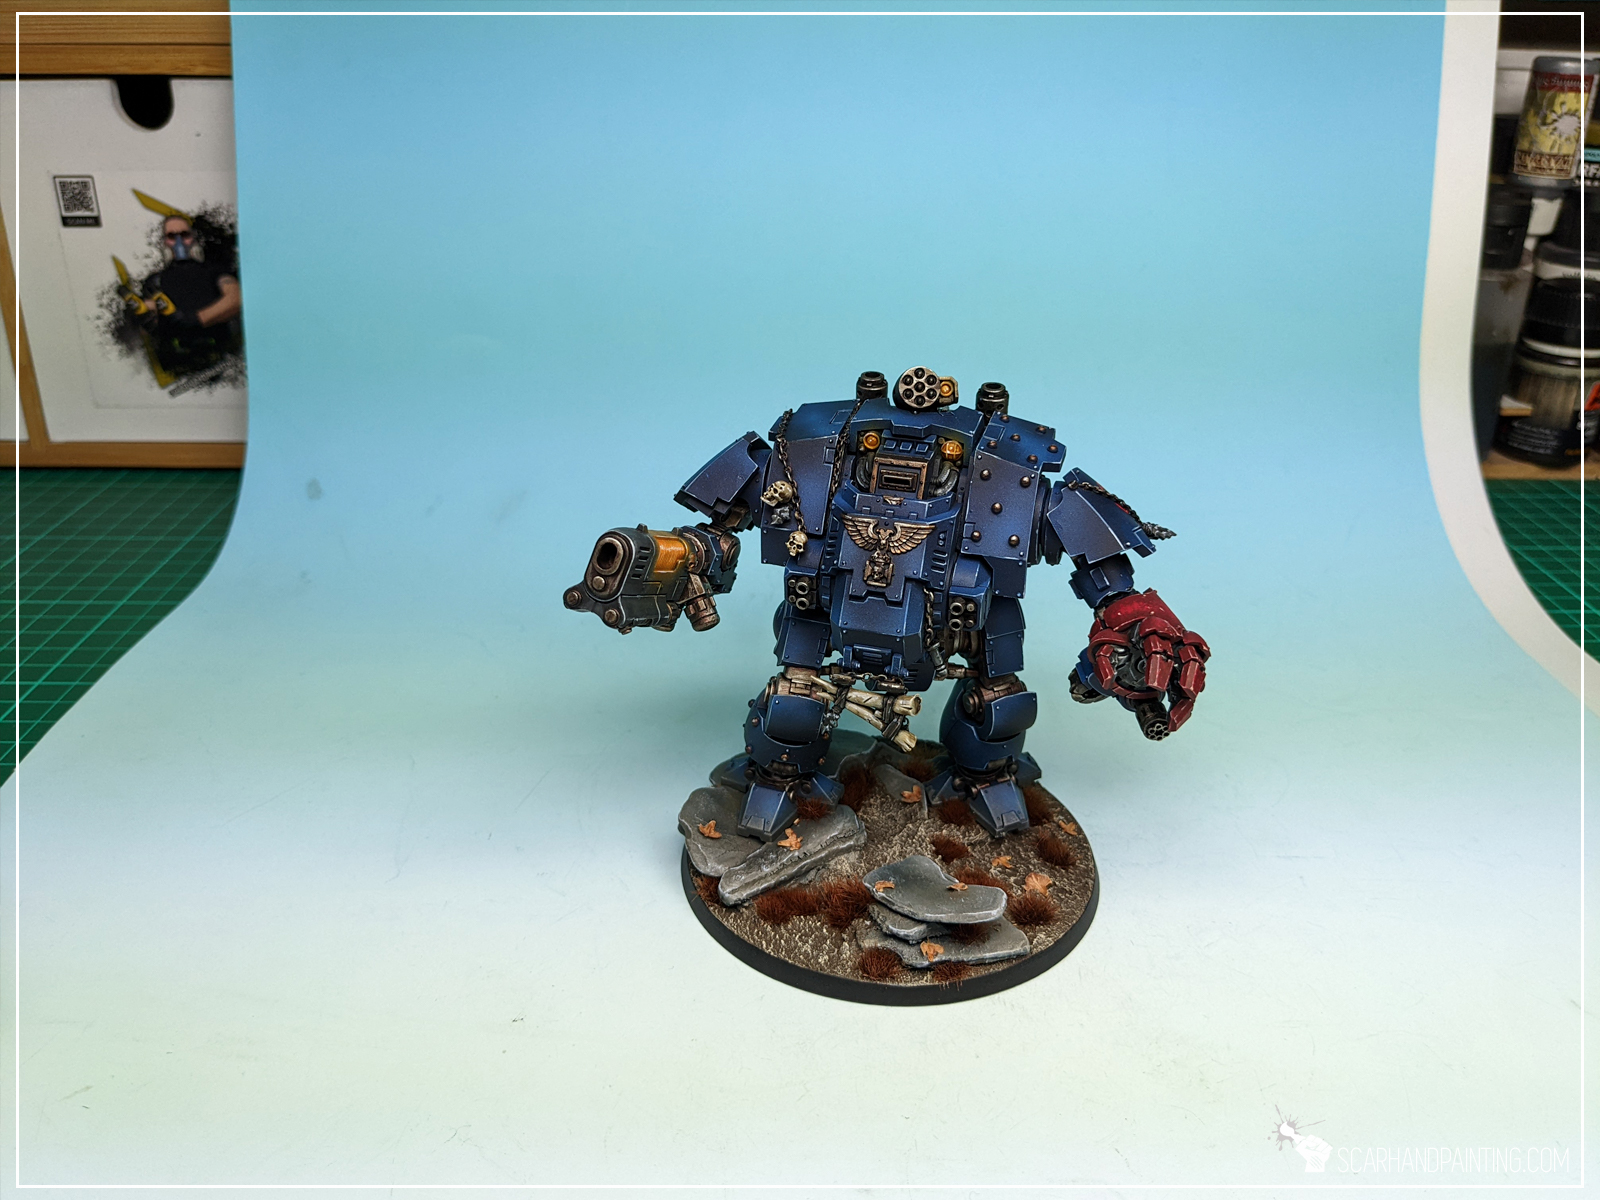
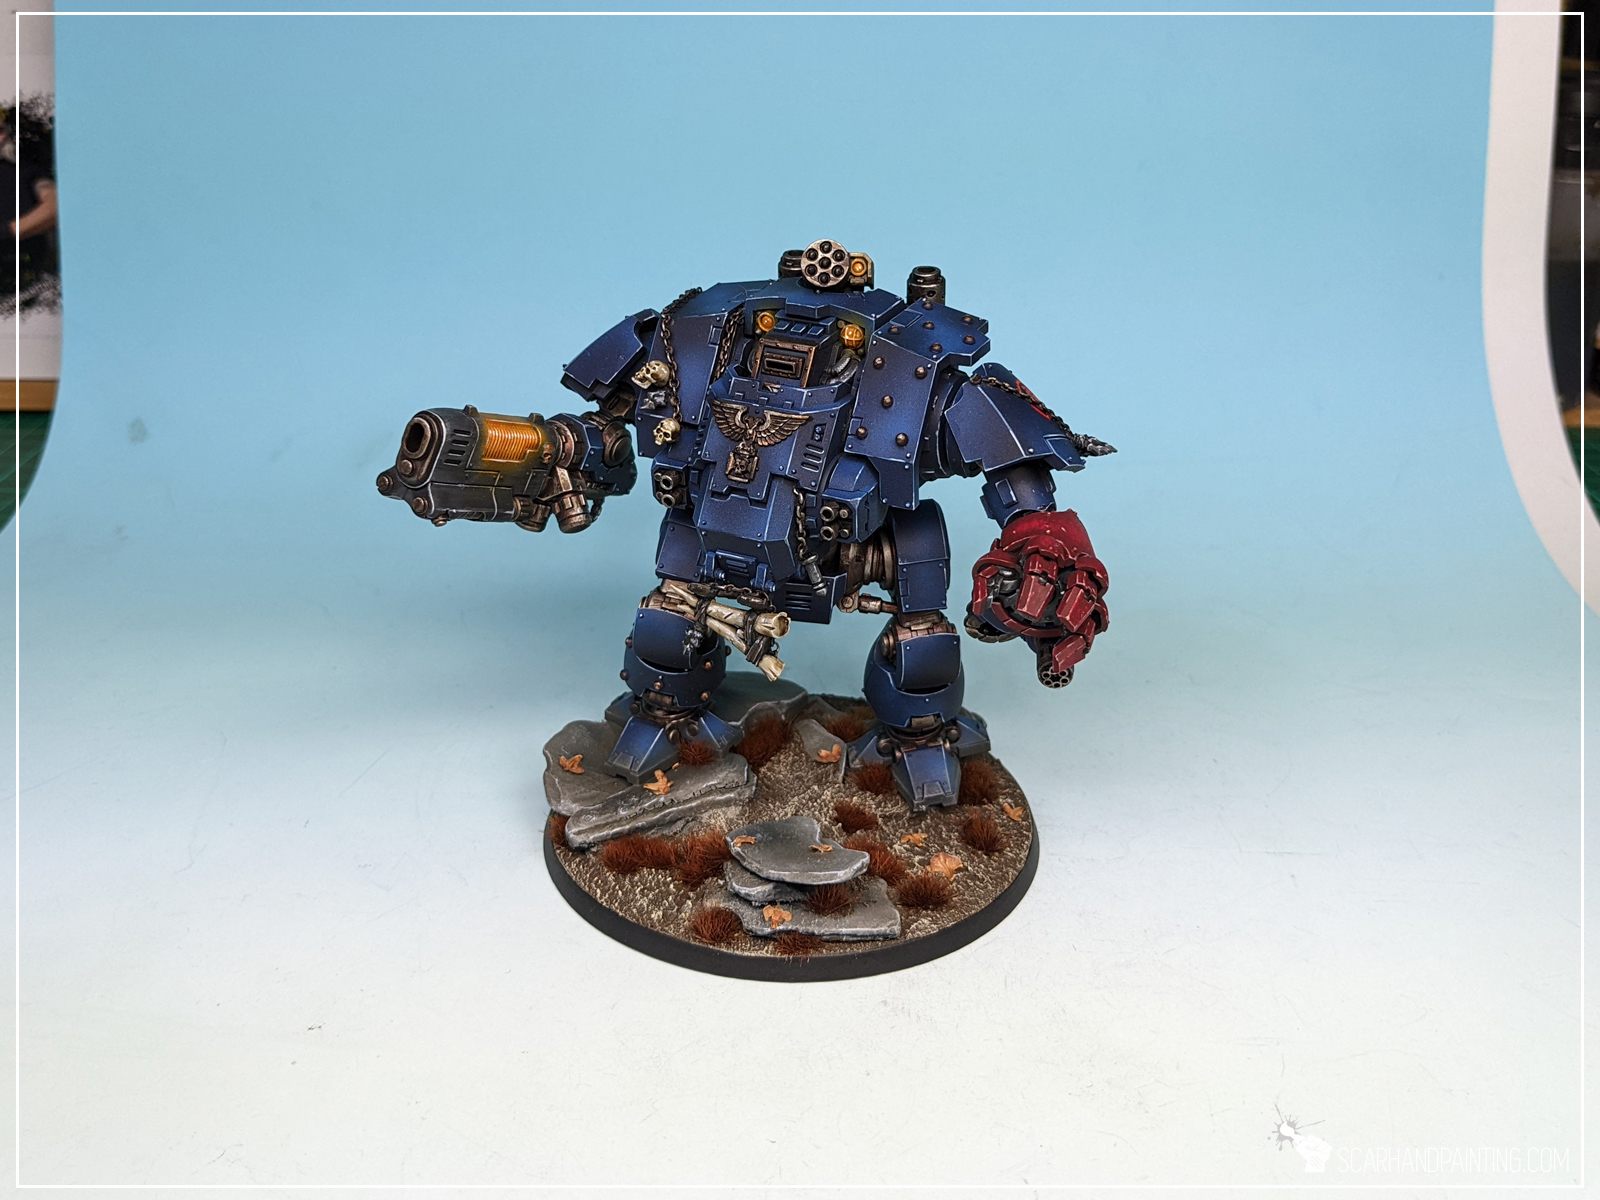
When setting up a miniature for a picture it is good to position it in a way to present an interesting angle. Some poses might look awkward resulting in entire parts losing depth or supplementary colors being hidden from view. I always check the miniature through the lens of a camera before taking a shot. Sometimes a small pose or angle adjustment might result in a much better shot.
Example: Awkward pose, weapon hidden from view, supplementary color barely visible, lack of depth around shoulder and top armor.
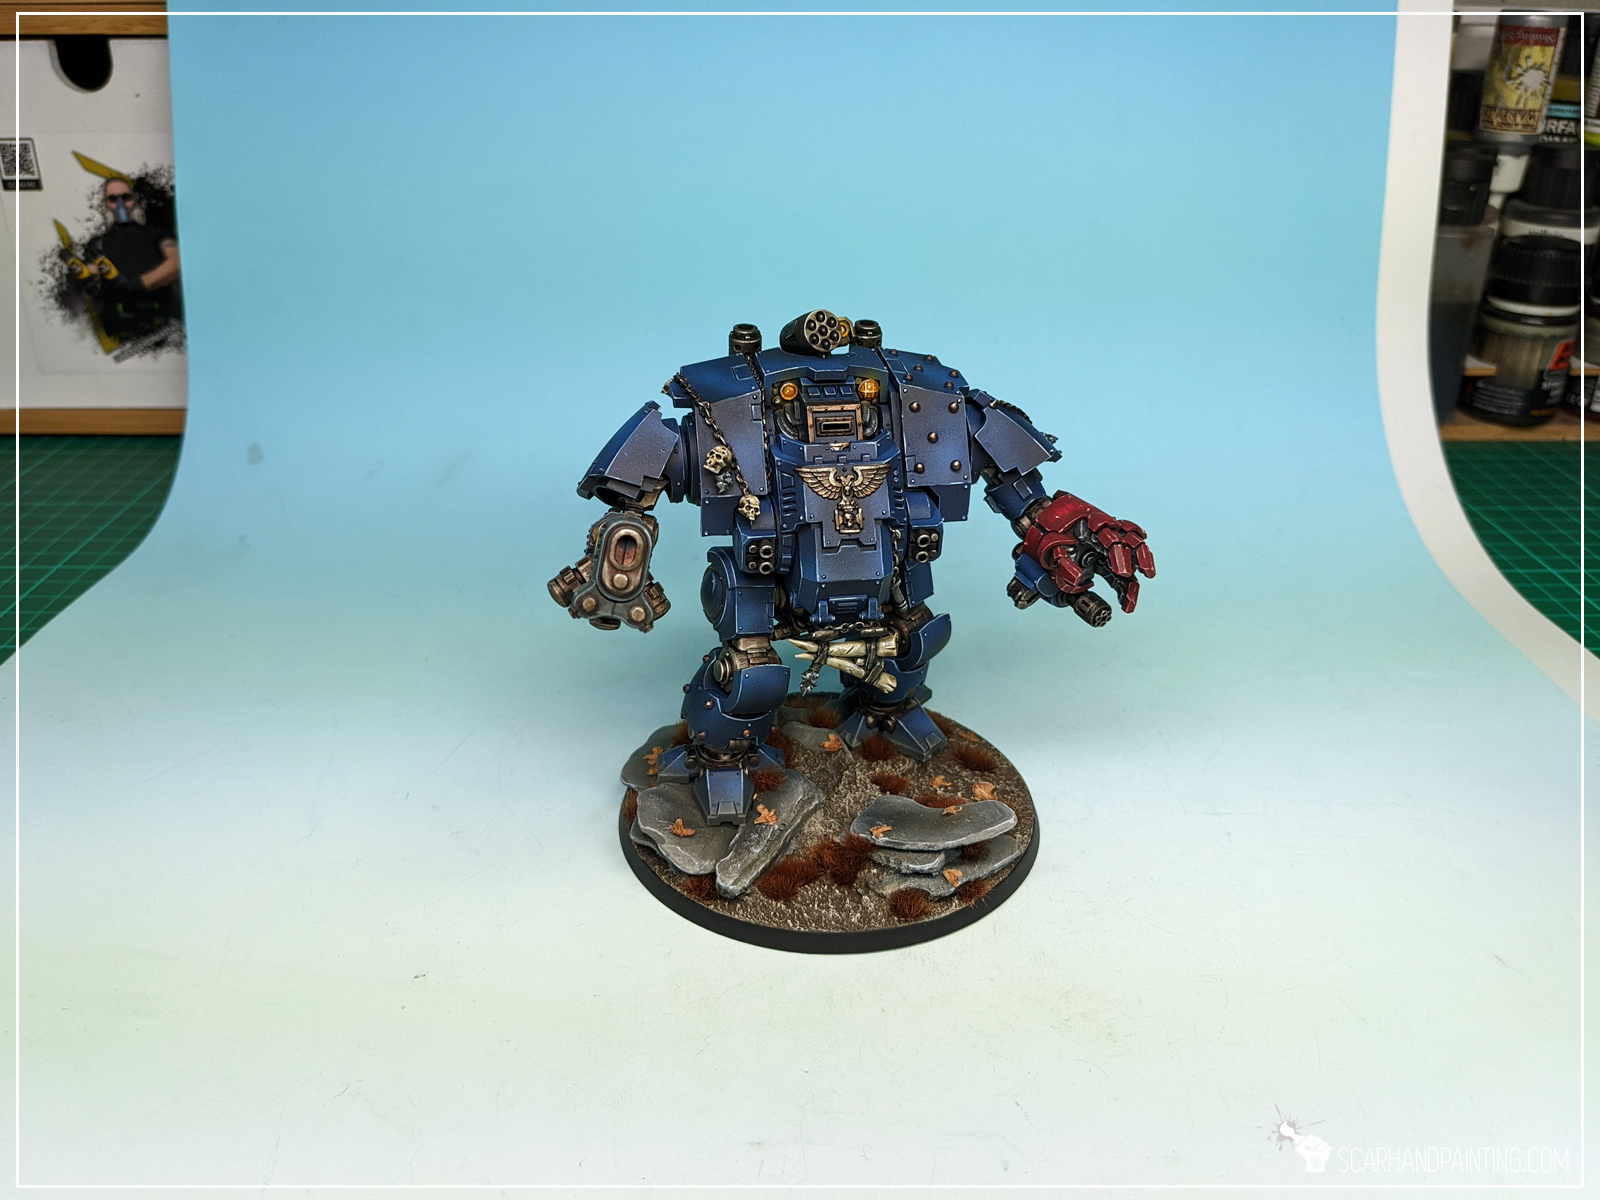

Example: Better proportions, weapon and supplementary color exposed, more depth to one arm and top armor.

Tip 5: Cropping
This might come as no surprise and yet a lot of hobbyists tend to forget about it. Cropping and adjusting an image so that the miniature is properly orientated and centered shows the audience that the author cares about their paint job and presentation. I strongly believe that it is much easier to get valuable feedback and engagement when treating the audience and own work with respect.

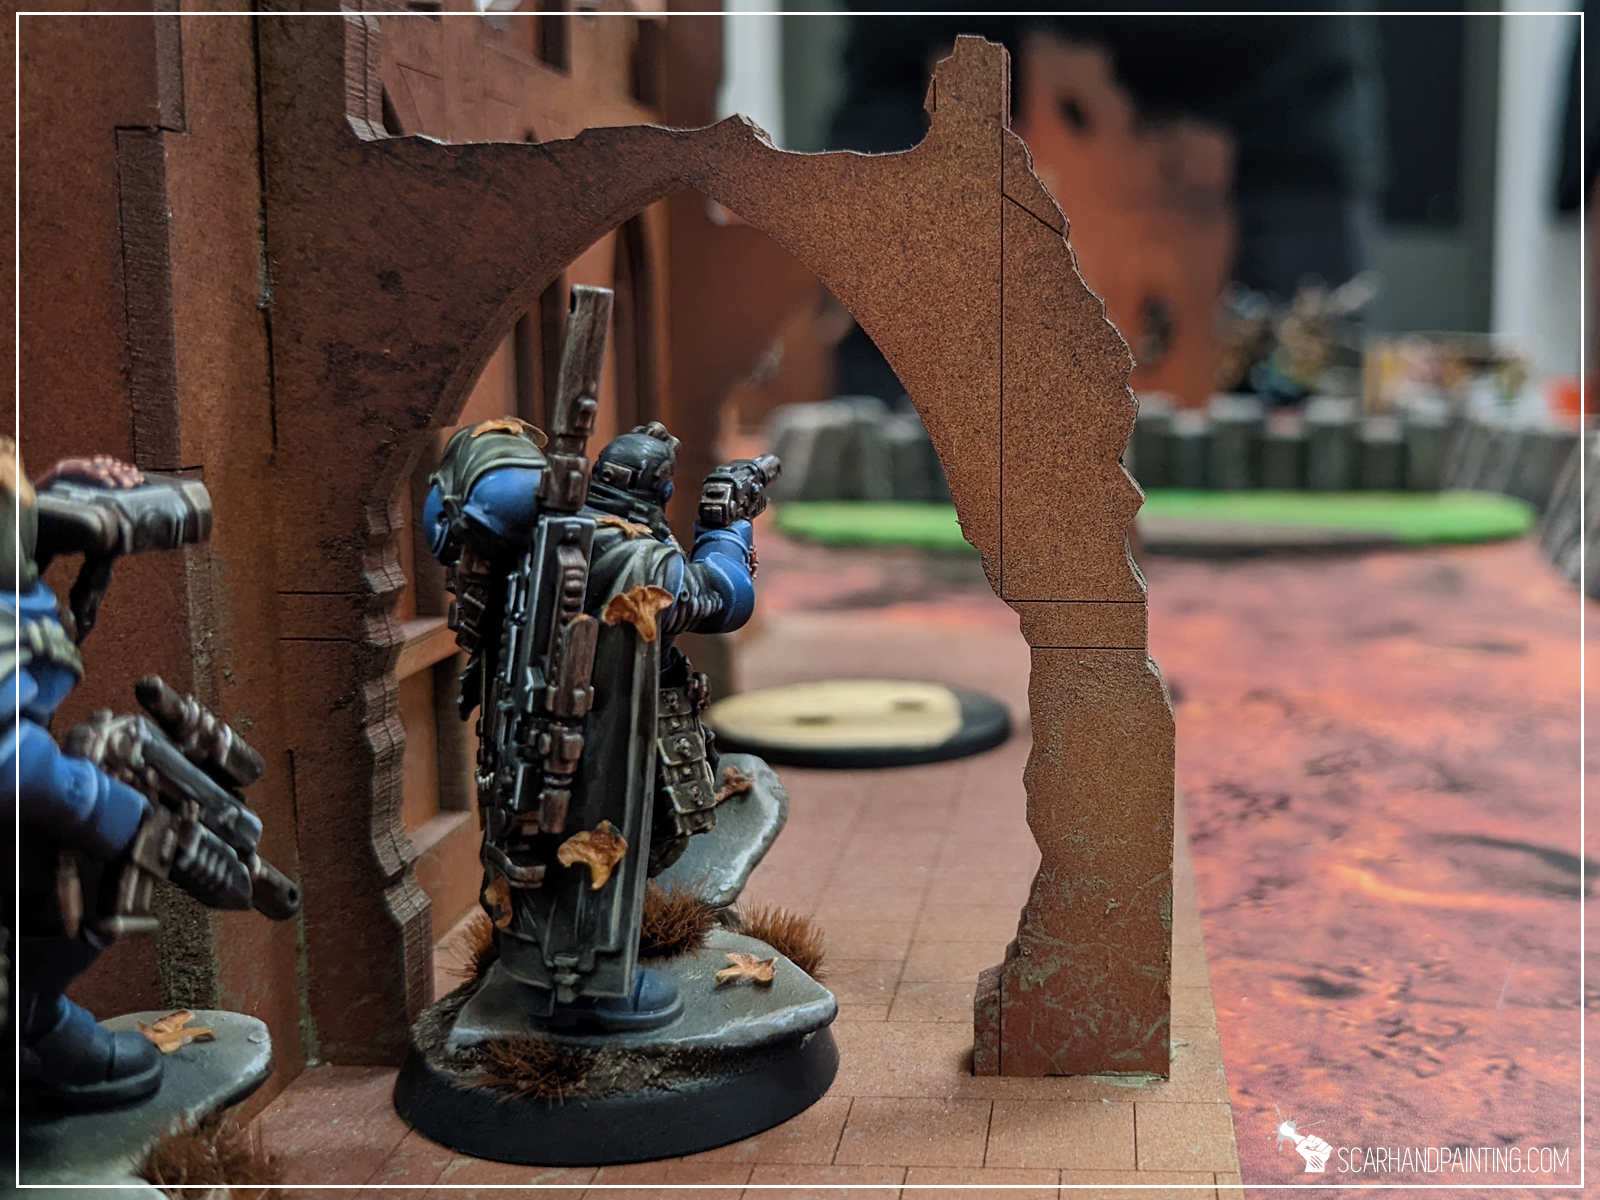
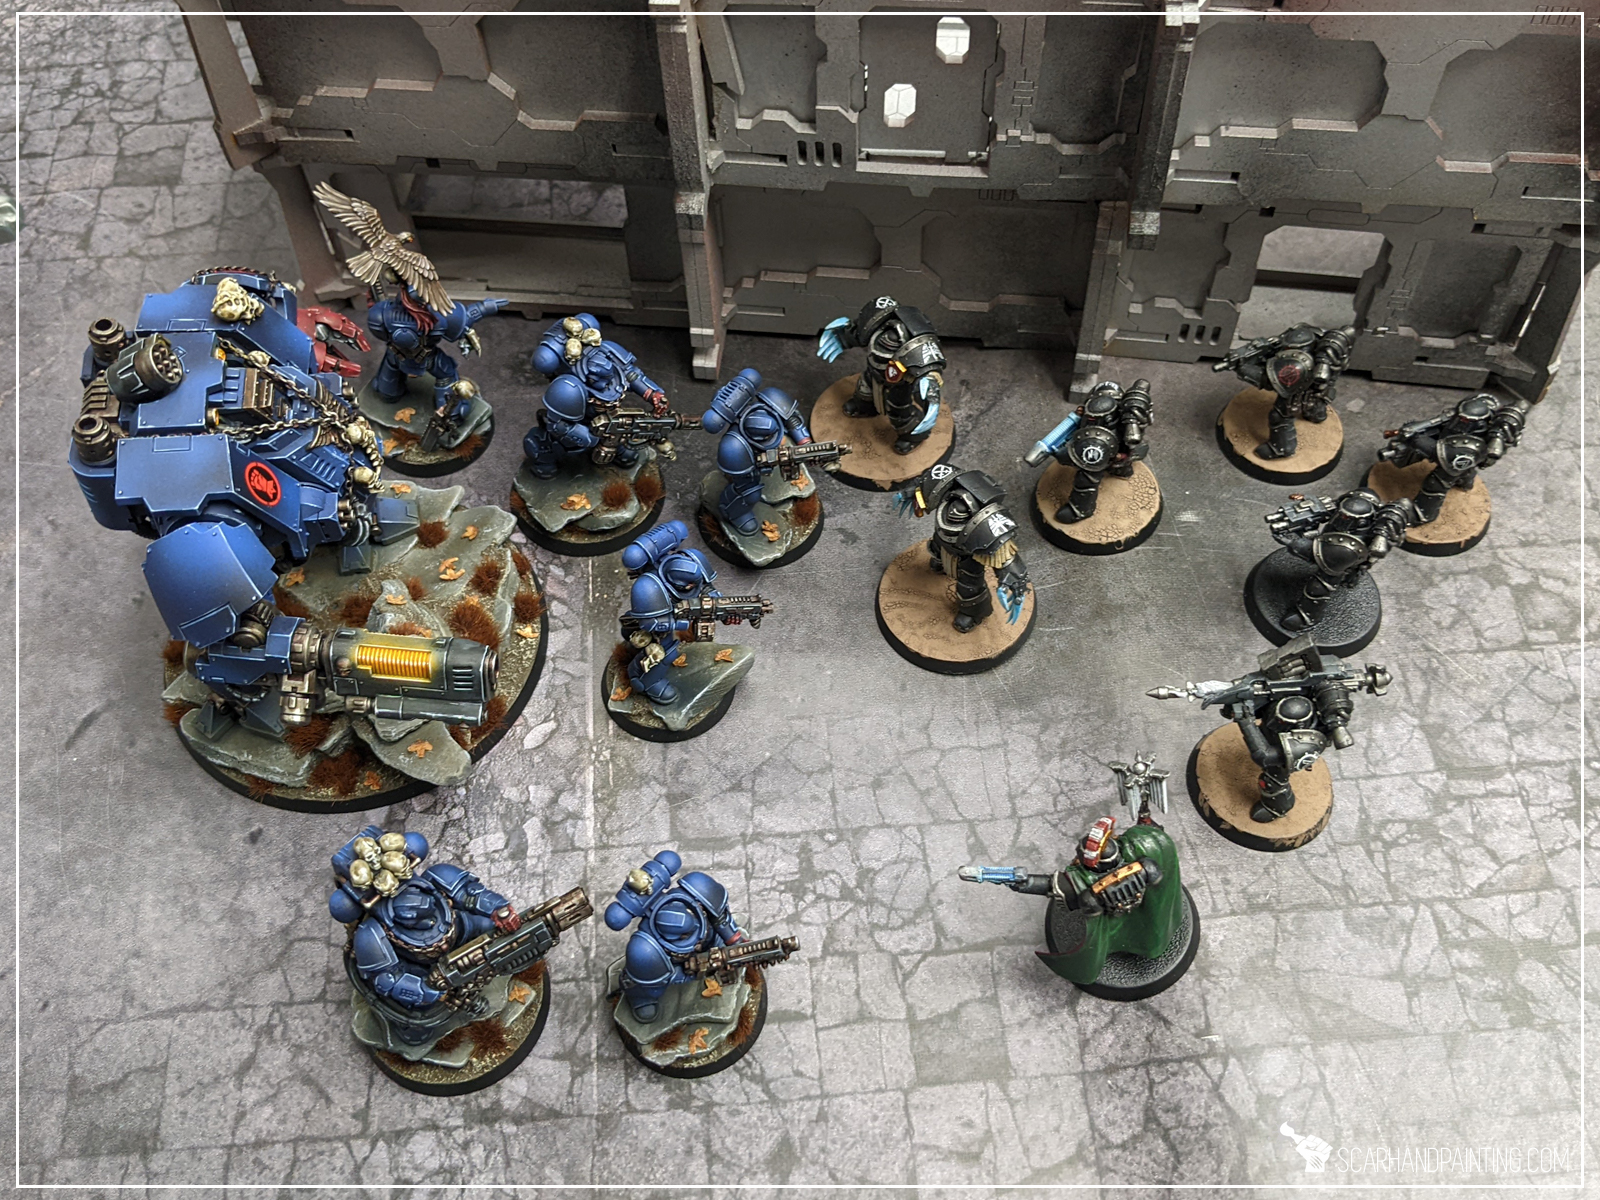
Bonus tip: Cinematic shots.
All of the above tips go to waste when talking cinematic in-game shots. There’s no choice of light sources or background. On top of that cinematic shots are just as much about the miniatures as the composition and overall feel of the image. Still most rules can be re-adjusted to work in the gaming area environment.
– Camera can still be supported on a piece of scenery or furniture, even if held in hand.
– Color depth and sharpness of the image will benefit from proper light source position (ceiling lamp behind and above head, instead up front).
– Miniature battlefields are filled with great compositions just asking to be immortalized!
– Cropping remains a thing 🙂


I hope you find this tutorial helpful and if so, please let me know in the comments below or via Facebook or Instagram. I would also appreciate it if you considered sharing this content with your friends, who might find it useful. Finally if you are looking for a professional miniatures painting service, be sure to contact me with this contact form. I always reply within 24 hours, after which please check out your spam folder.