- contact@scarhandpainting.com


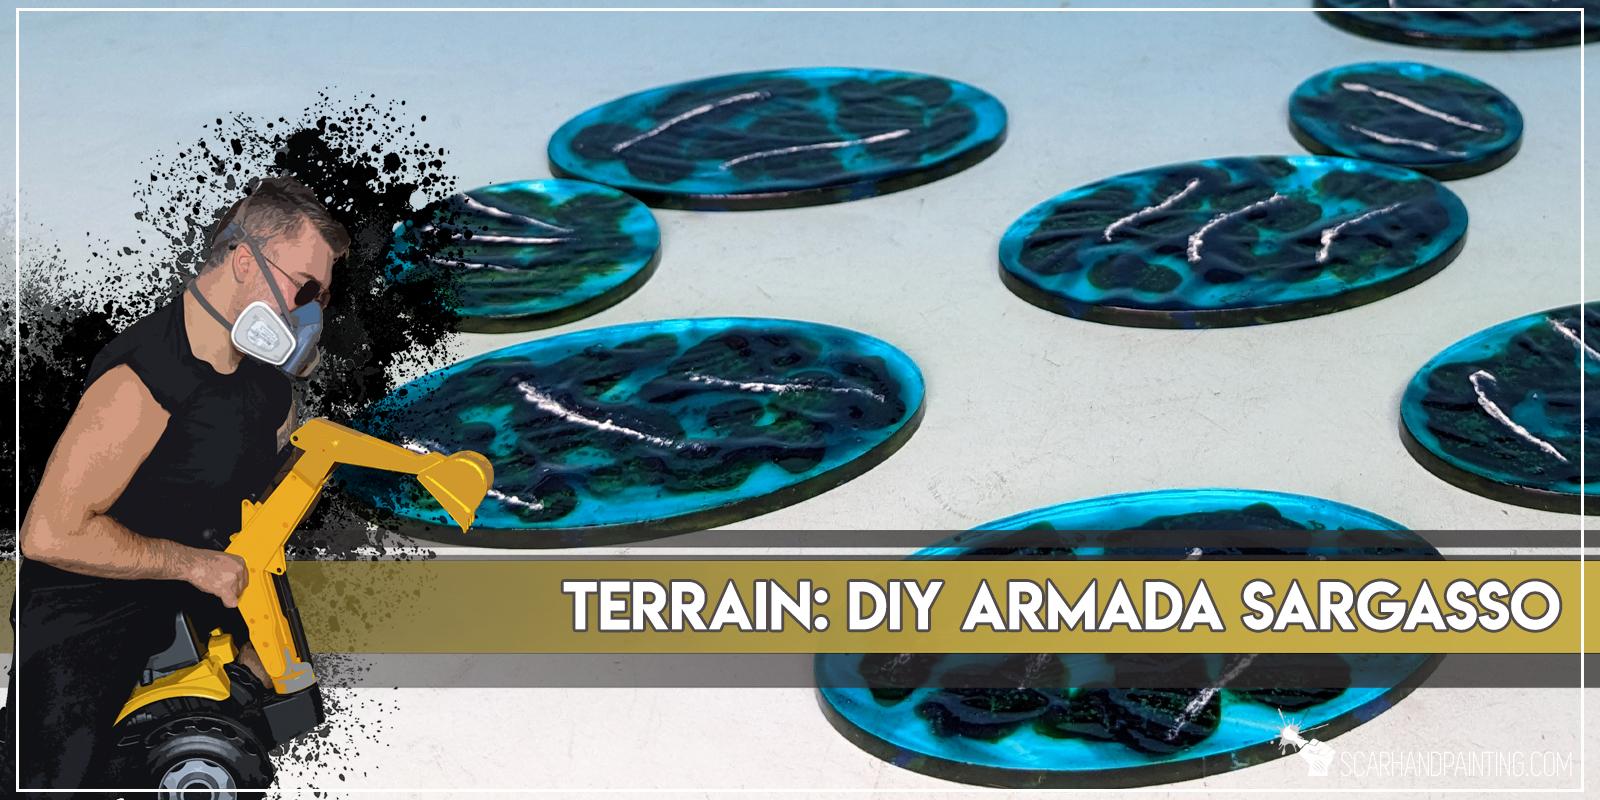
When it comes to spicing up your miniatures naval games, there’s nothing better than nice looking scenery. This is especially true for games full of finely detailed miniatures, such as Kings of War: Armada. Today I would like to take you on a Step-by-step trip through the process of creating and painting an alternative scenery for Armada – the Sargasso. These can be used as either Sandbanks proxy, or as something completely new, as you see fit.
Some notes:

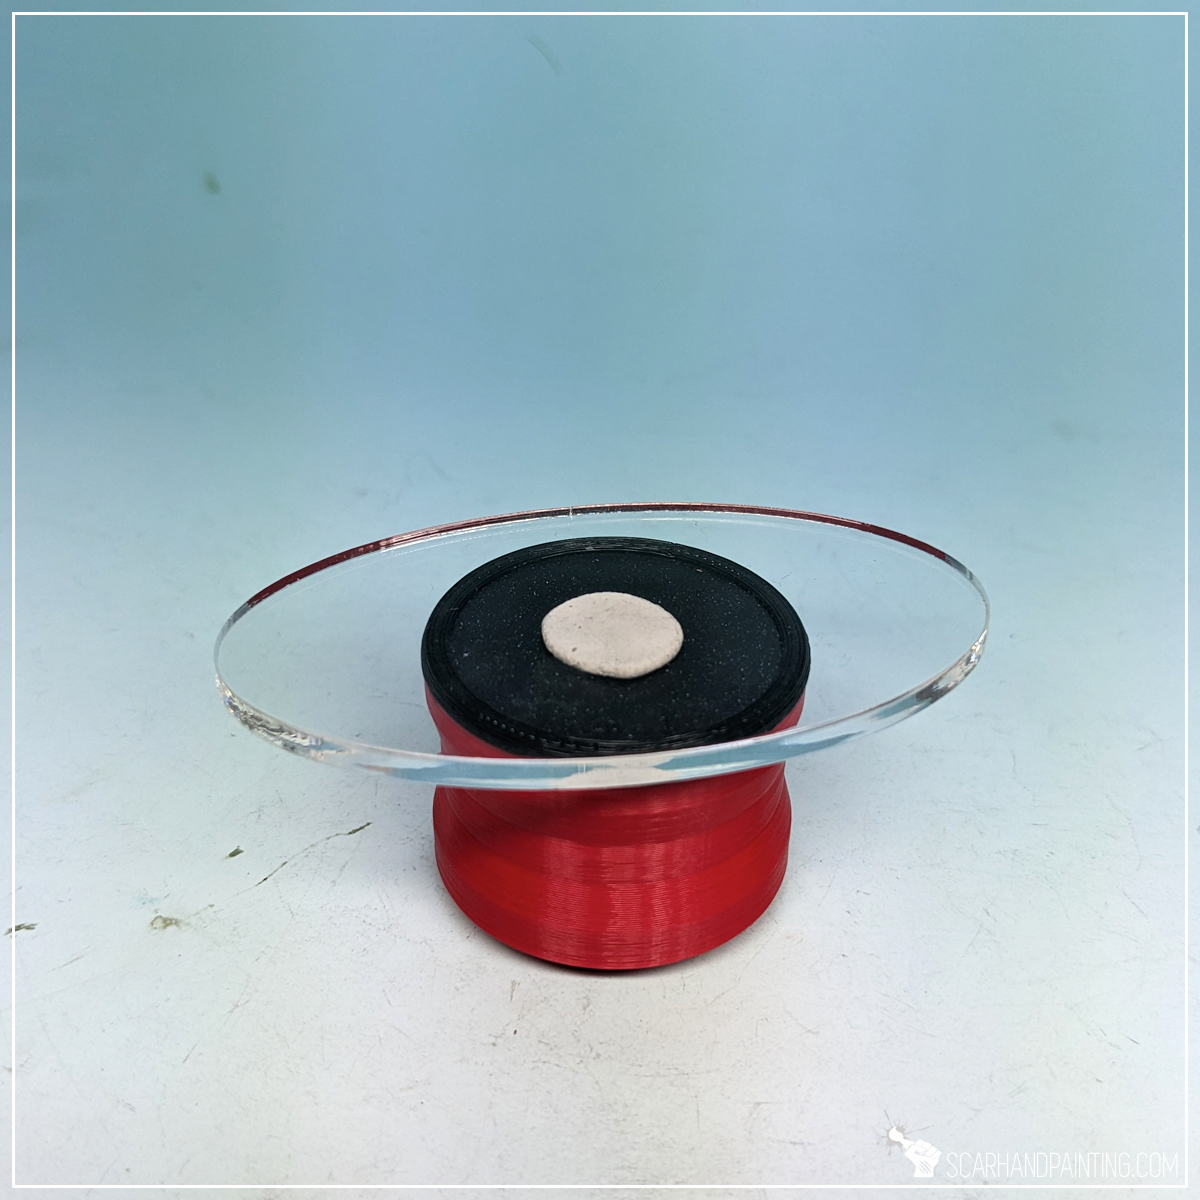
High end materials right from the get go. I do prefer my scenery to be durable and high quality, thus I went with laser cut translucent acrylics. That being said, there’s nothing preventing you from using a cheaper and more accessible material, such as clear plastic – maybe food packaging leftovers, or miniatures blister package? As long as it’s clear and sturdy enough you should be fine with any substitutes.
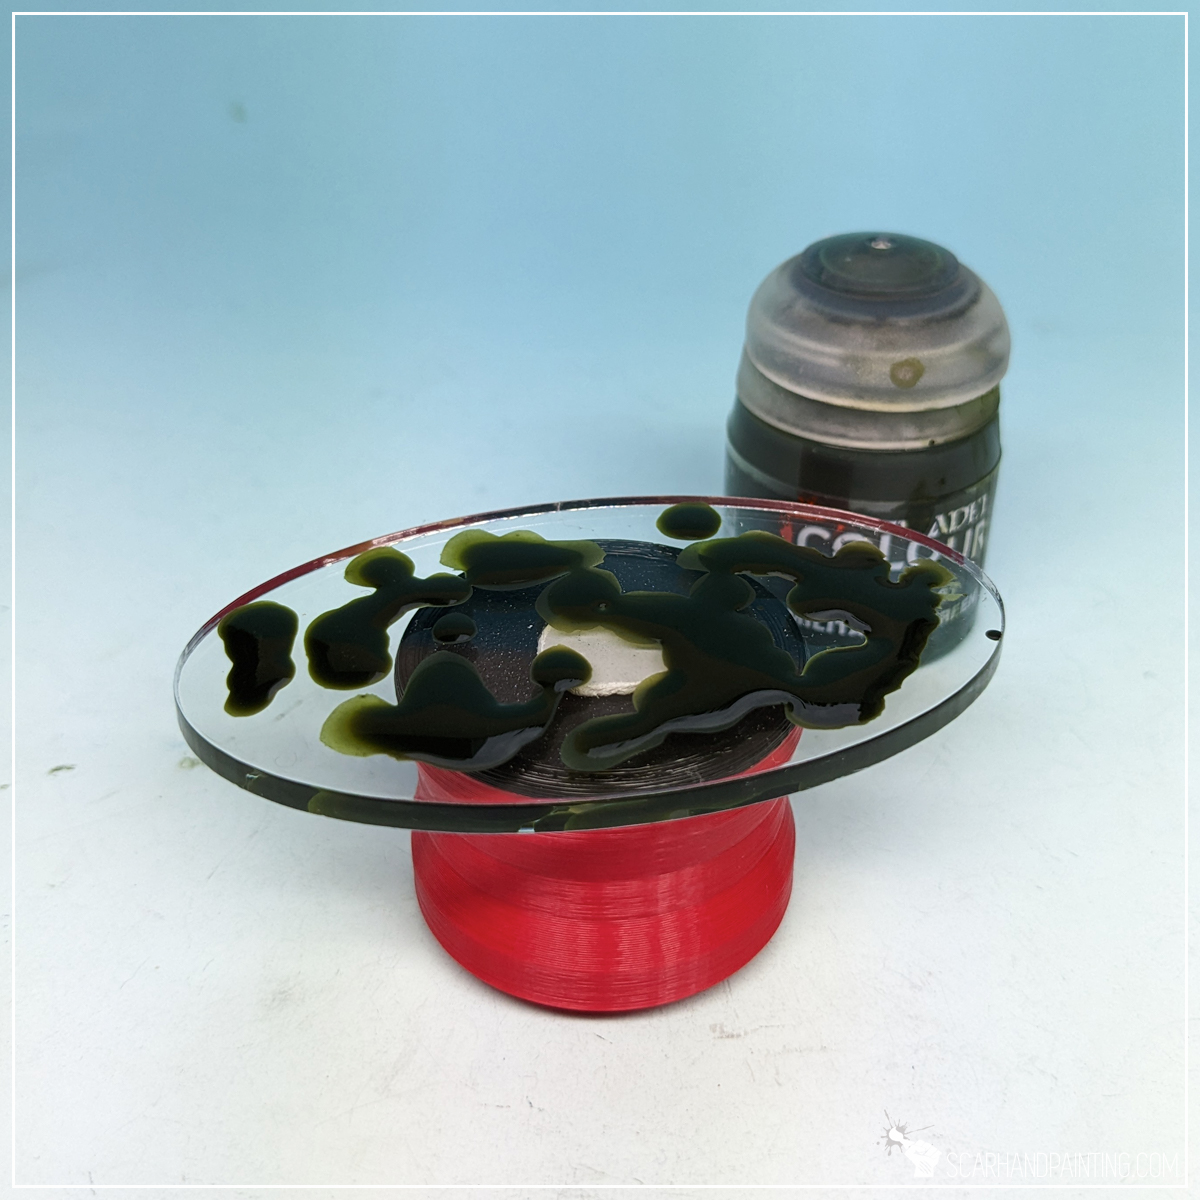
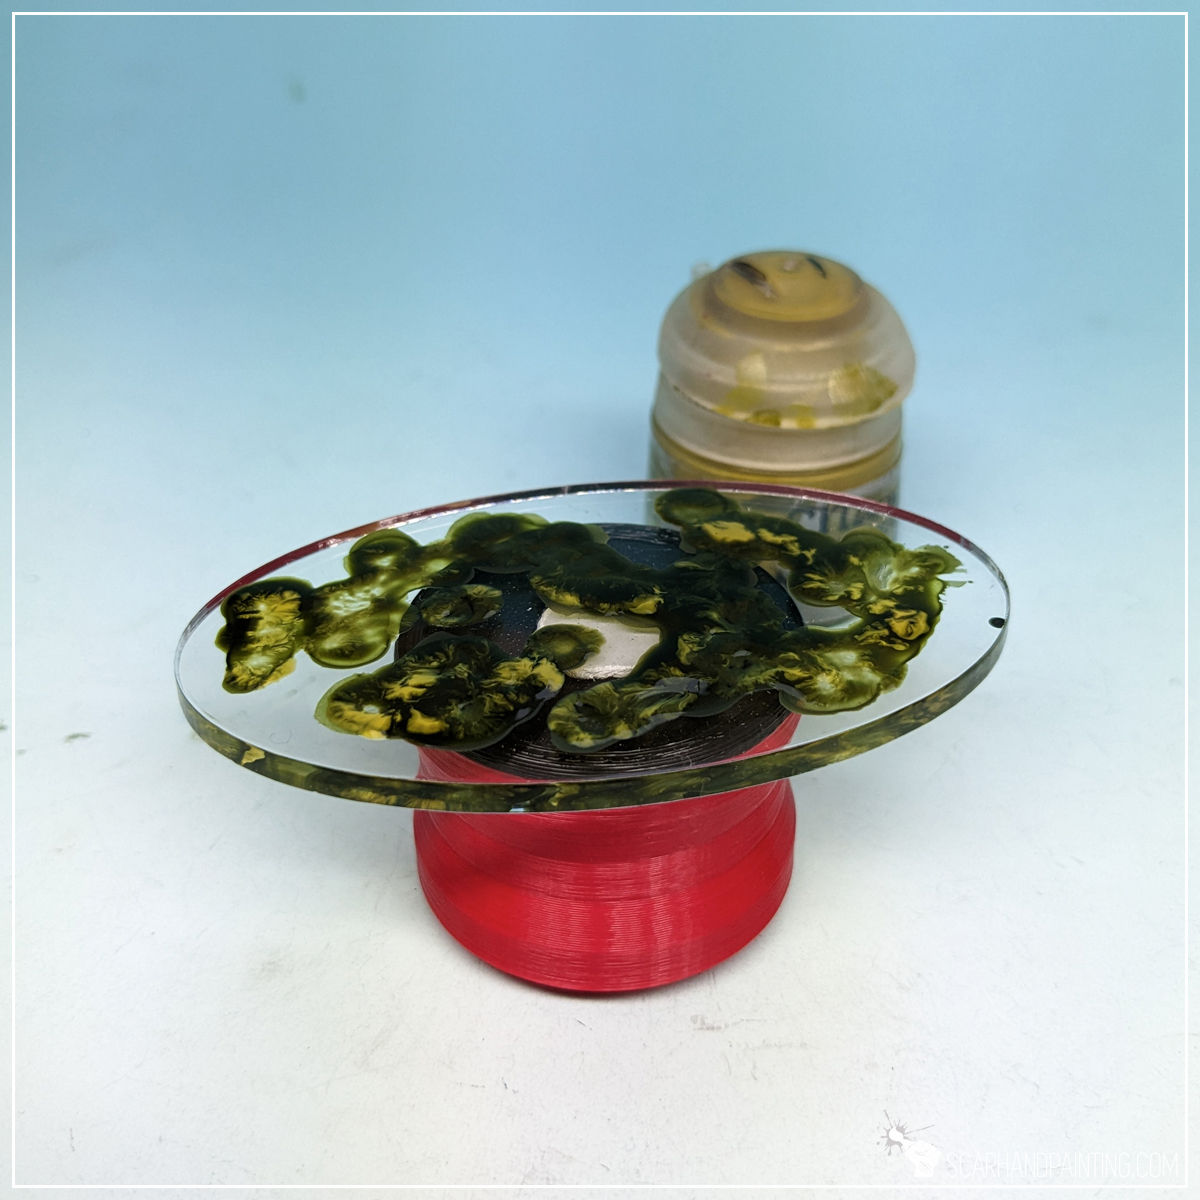
I started by applying some Citadel Militarum Green Contrast in a random pattern all over the base. I used a large, soft brush and applied few large drops of the paint, then added some more to link them.
Next I used a large, round brush to stipple Citadel Nurgle’s Rot paint on top of still wet Militarum Green. This was a bit tricky and I used a paper towel to clean the brush very often. The idea is to apply Nurgle’s Rot from the top by touching the previous layer, bot not smear nor mix the two paints too much.
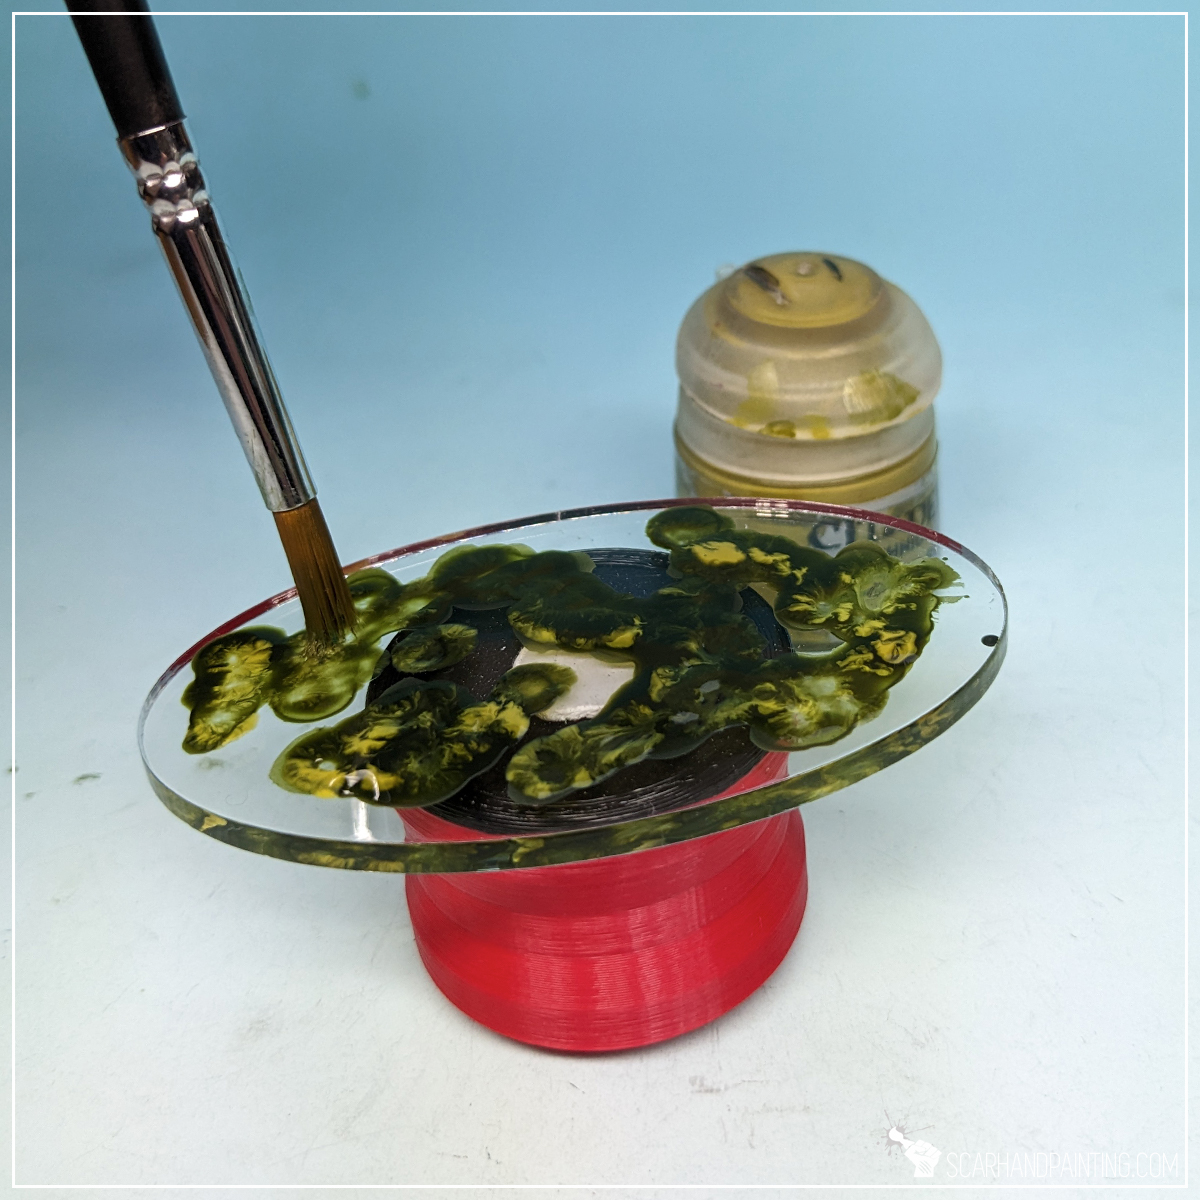

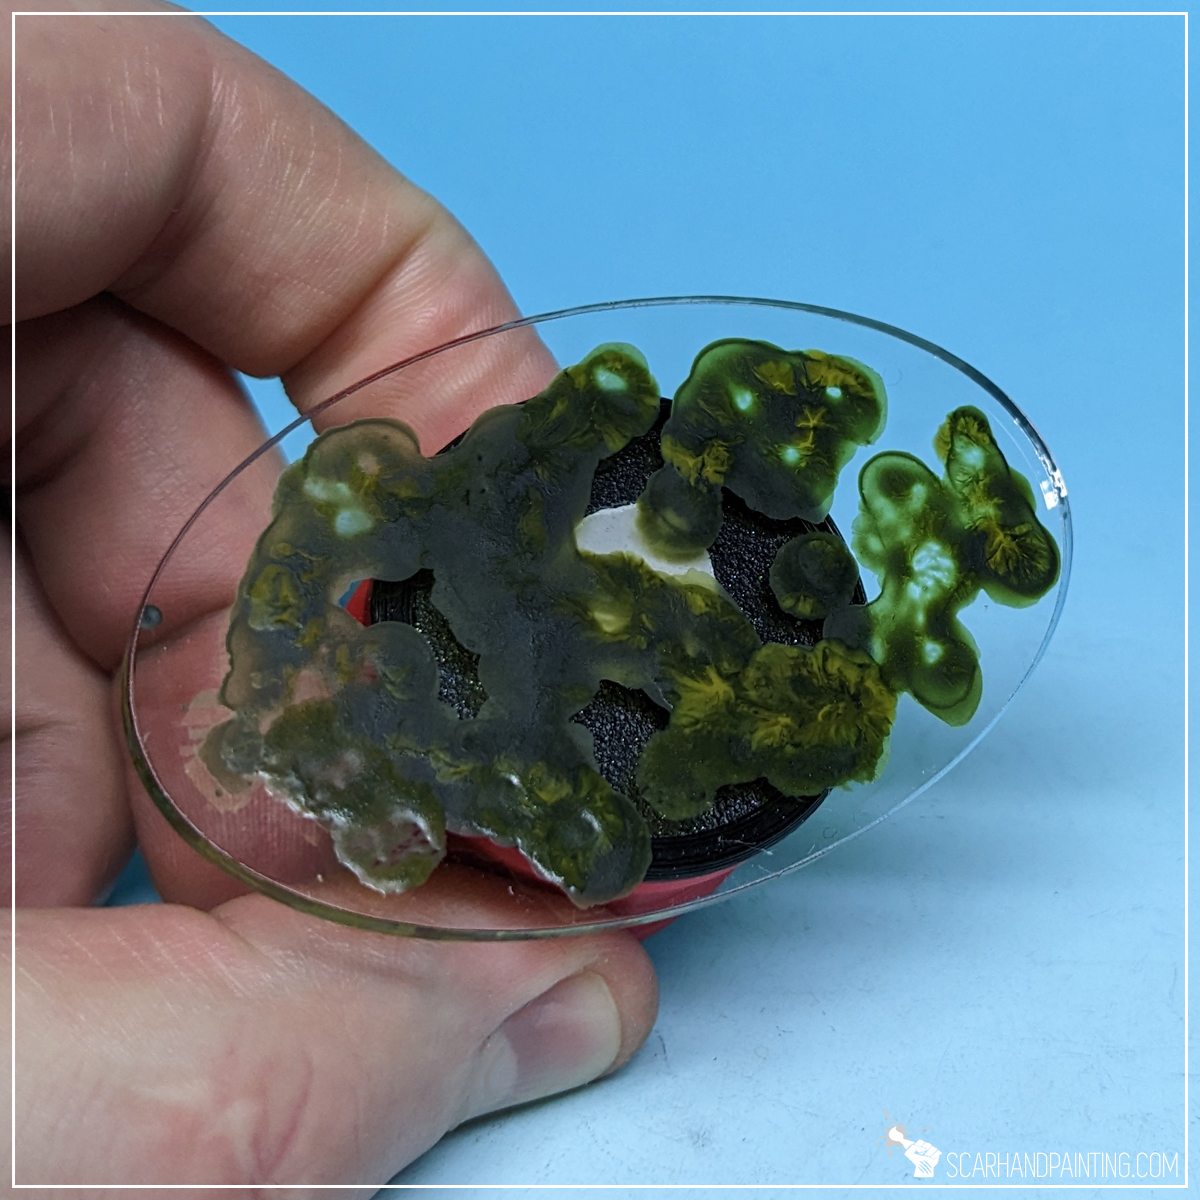
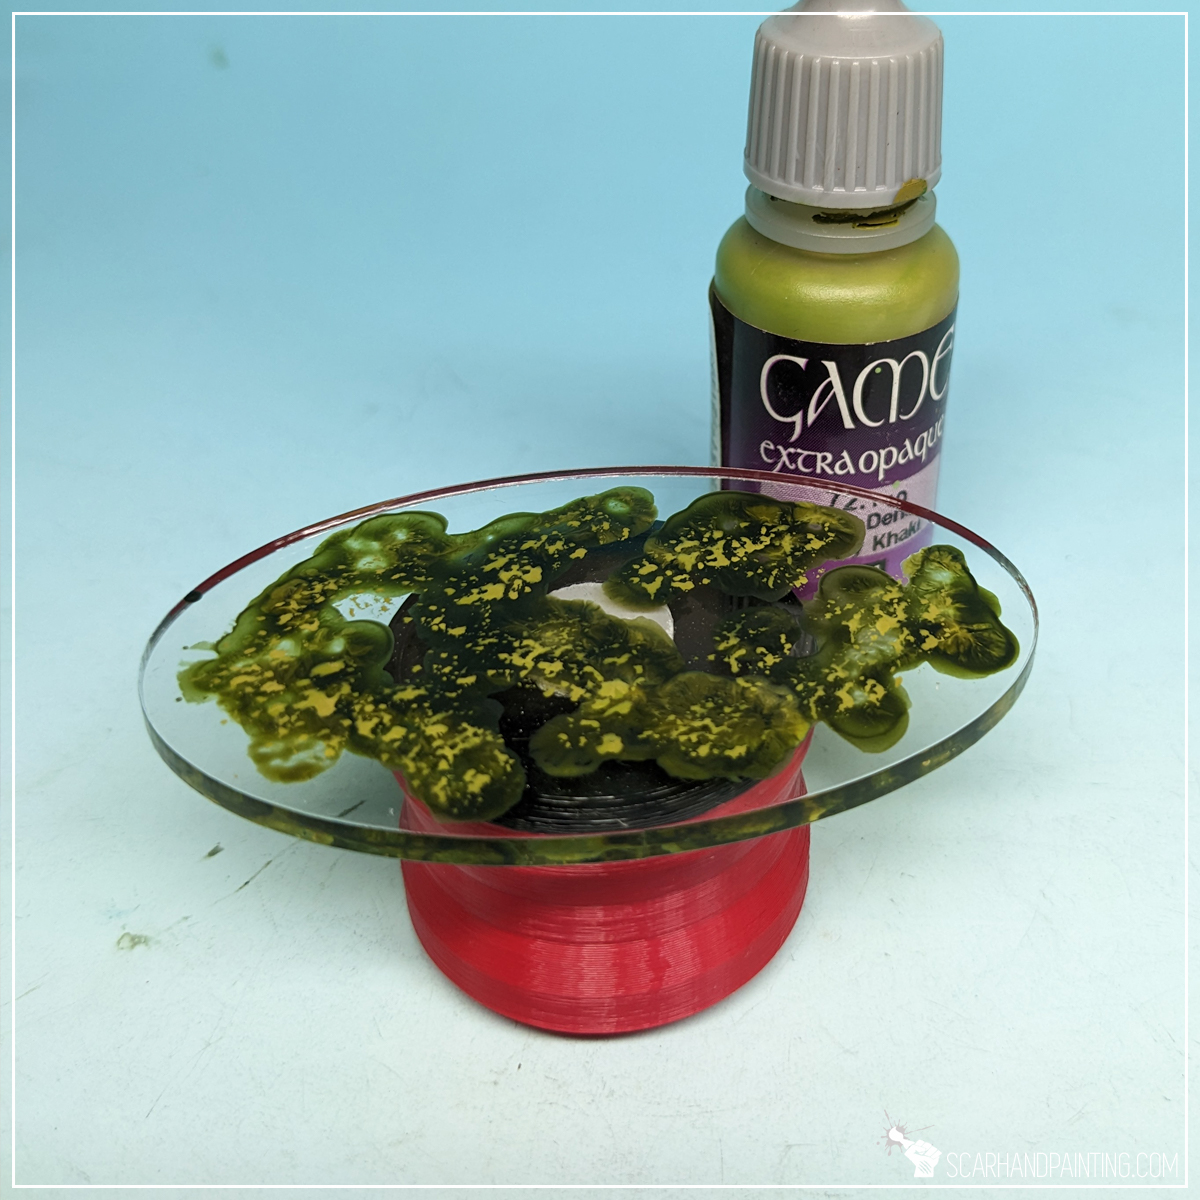
Once the paint dried I decided to add more live to the mix. Using a large, round synthetic brush with a flat tip I stippled wet Vallejo Heavy Khaki paint all over the previous layer.

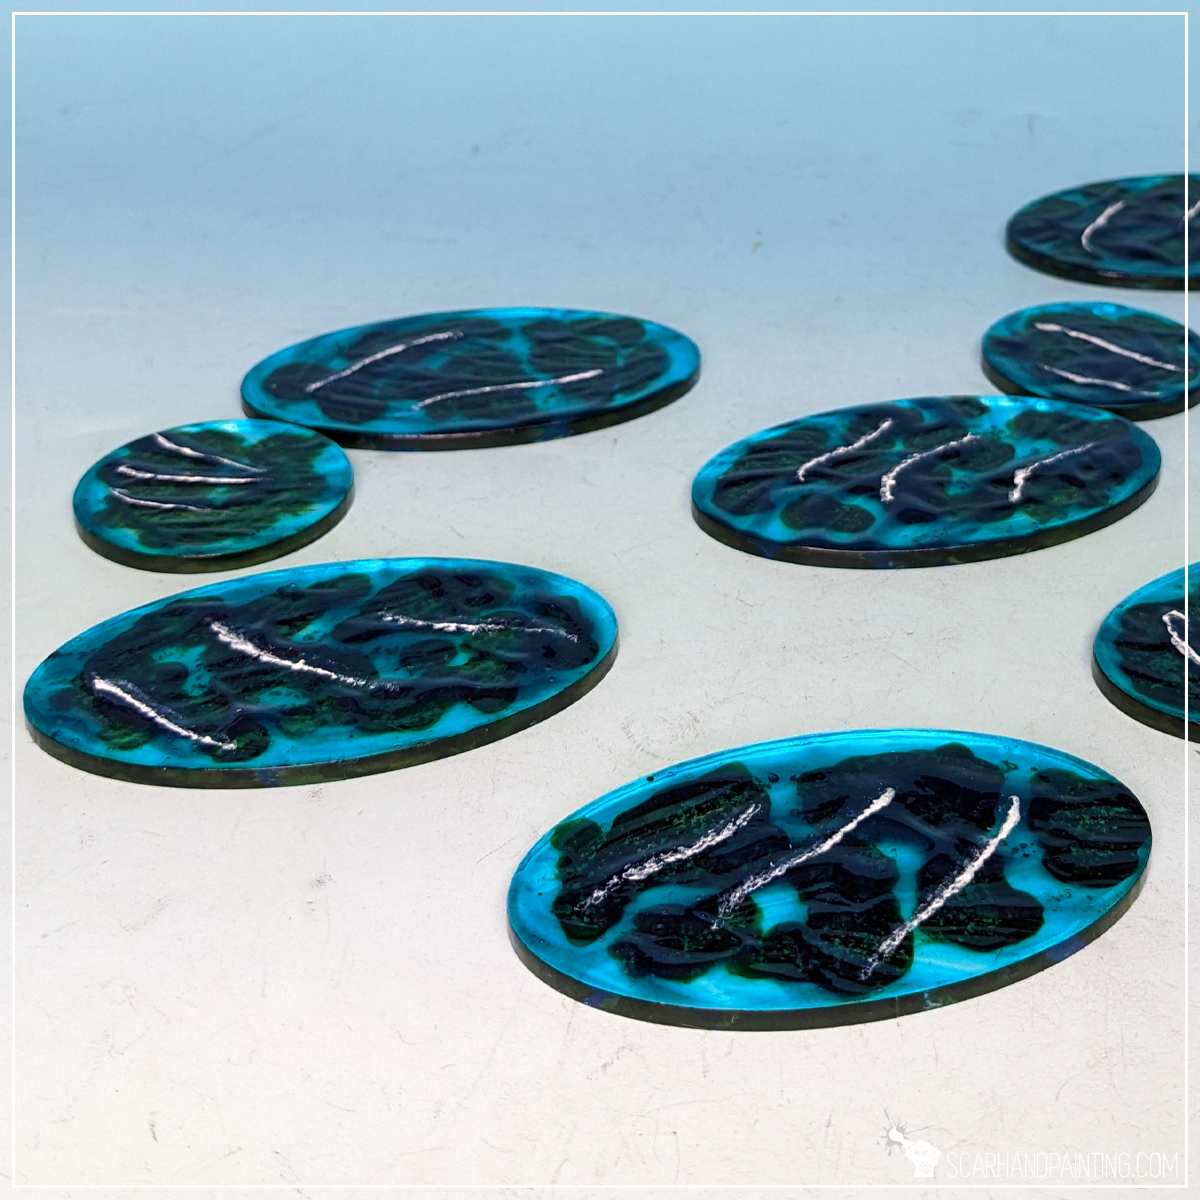
Next I applied a thick layer of AK Interactive Pacific Blue. I usually go with Atlantic Blue instead, but this time I aimed at a brighter, more translucent effect.

Finally I applied few lines of AK Interactive Water Foam texture. I then used a clean synthetic, flat tip brush to reduce volume and shape thin waves.


And that is basically all. Sargasso, Seaweed, alternative Sandbanks or some sort of awesome new Armada scenery is now complete.

I hope you find this tutorial interesting. Be sure to let me know your thoughts in the comments below or via Facebook or Instagram. I would also appreciate if you considered sharing this content with your friends, who might find it useful. Finally if you are looking for a professional miniatures painting service, be sure to contact me with this contact form. I always reply within 24 hours, after which please check out your spam folder.
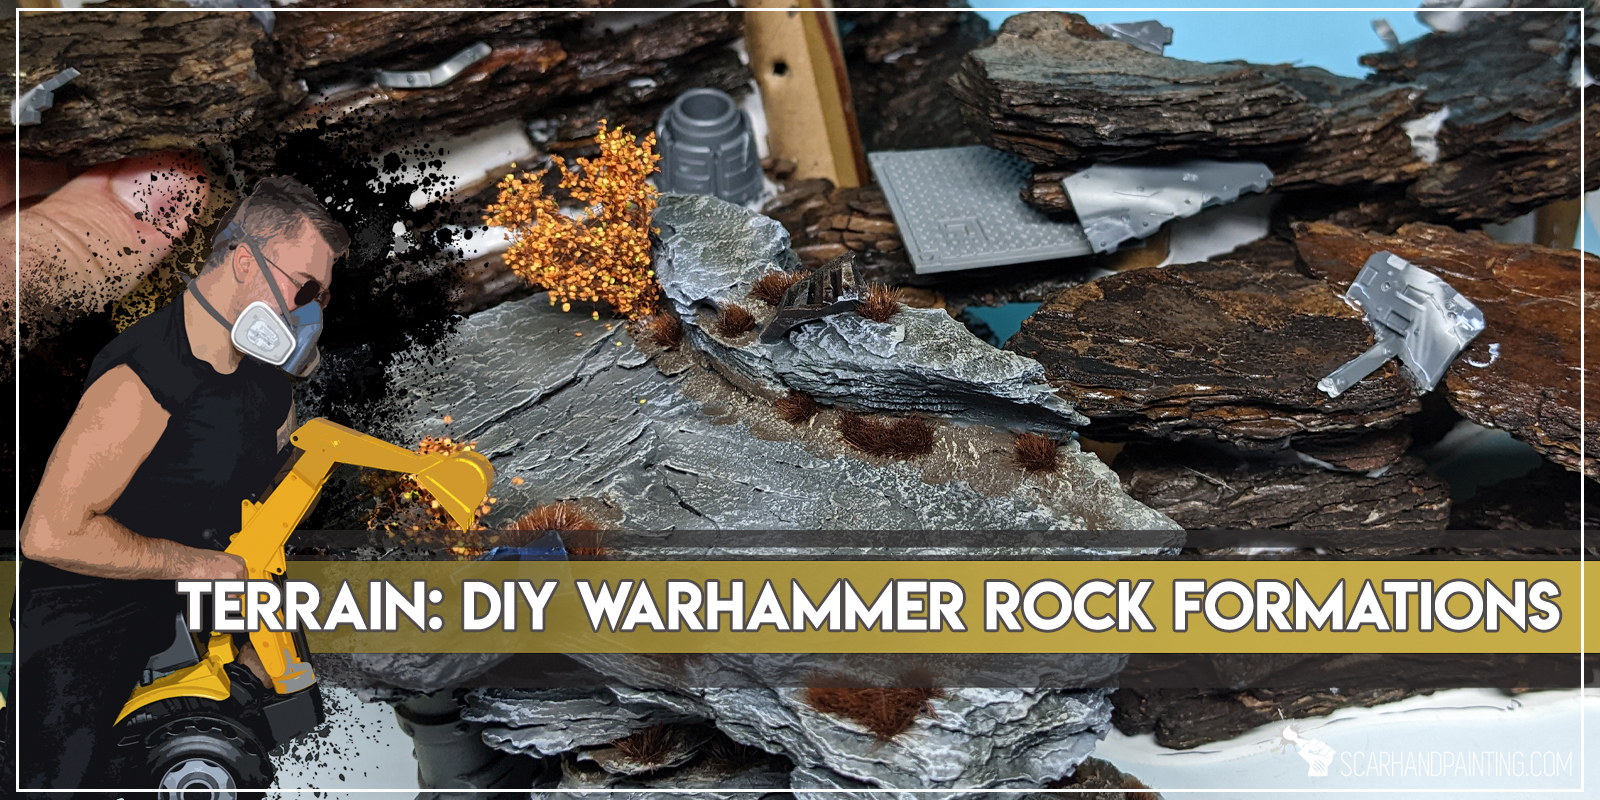
One of the most exciting parts of Warhammer hobby is playing games on awesome looking scenery sets. Still not all of us can afford high end scenery outright, as usually the miniatures comes first. Fortunately a top tier looking scenery is not that difficult and time consuming to make from scratch as it might seem. On top of that it’s much cheaper than most hobbyists can even imagine!
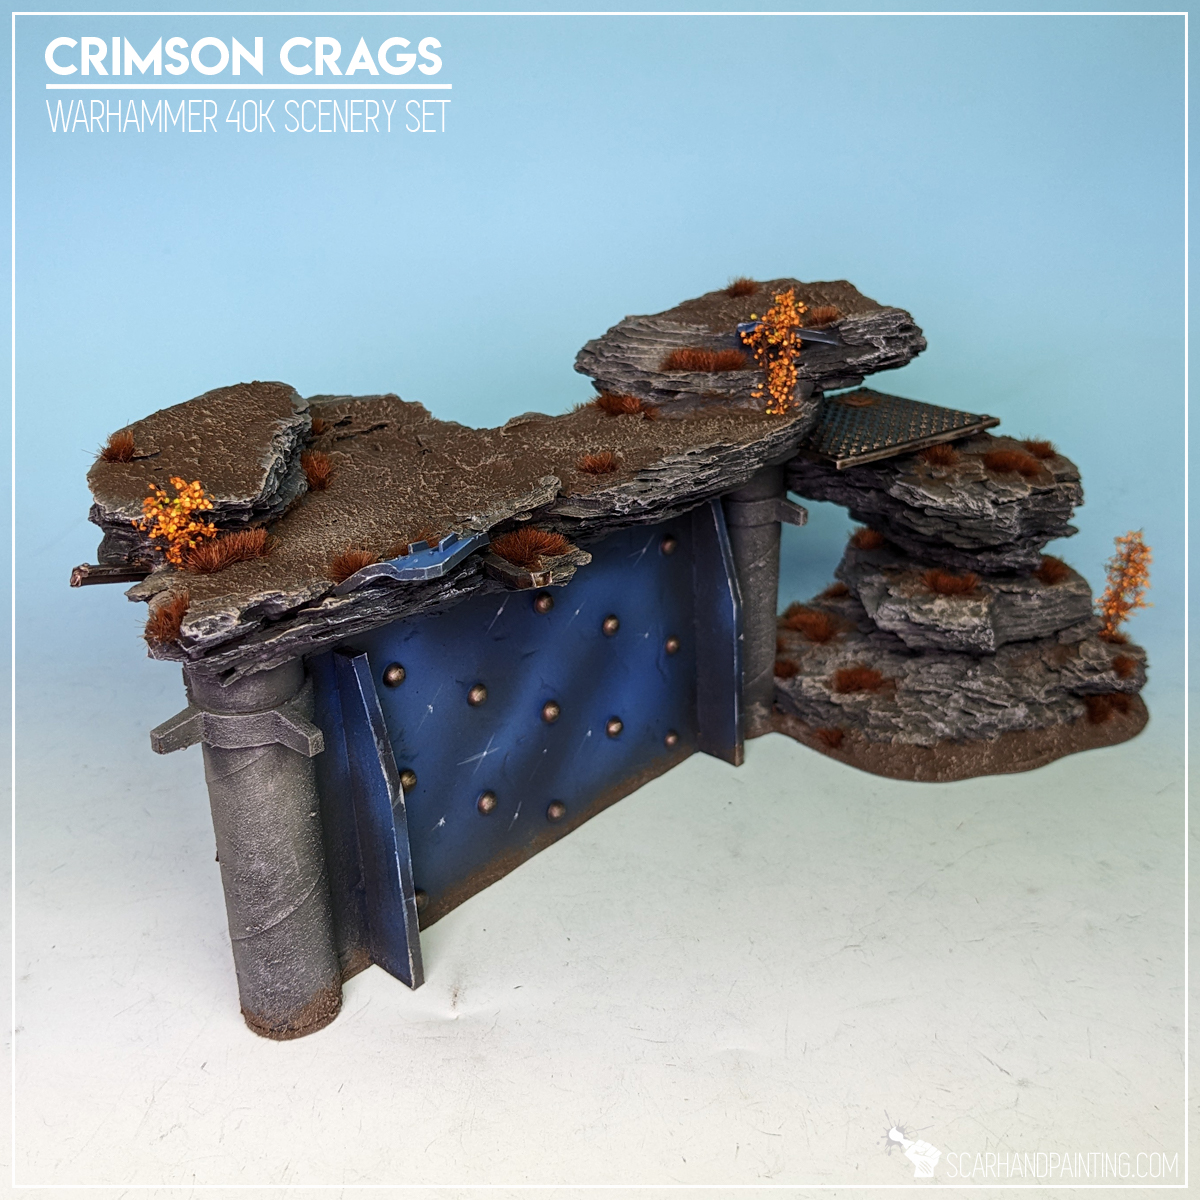
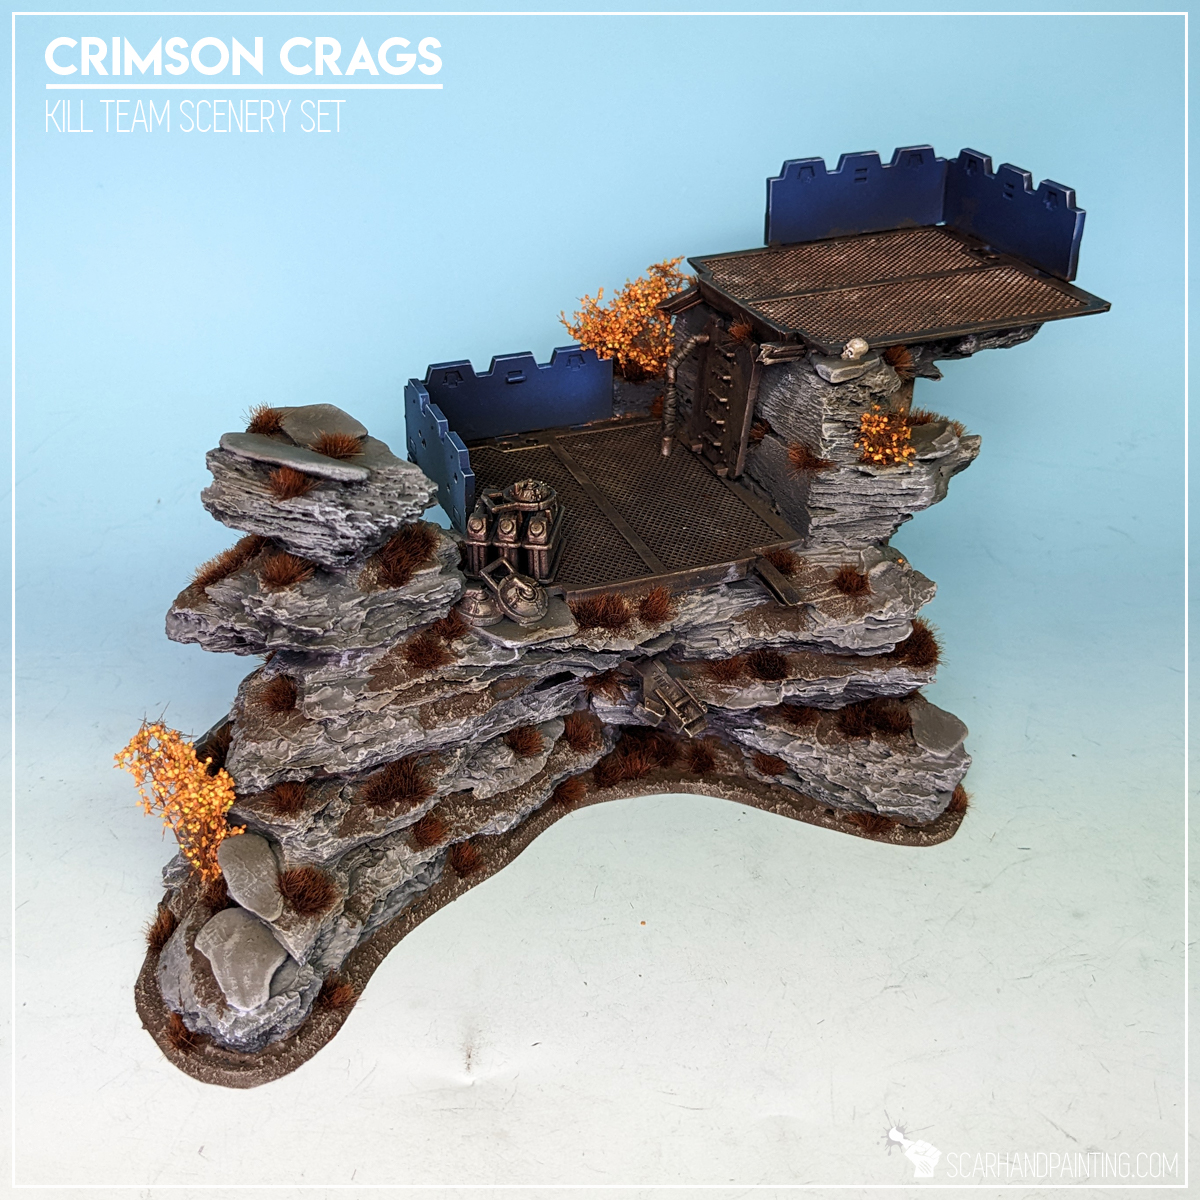
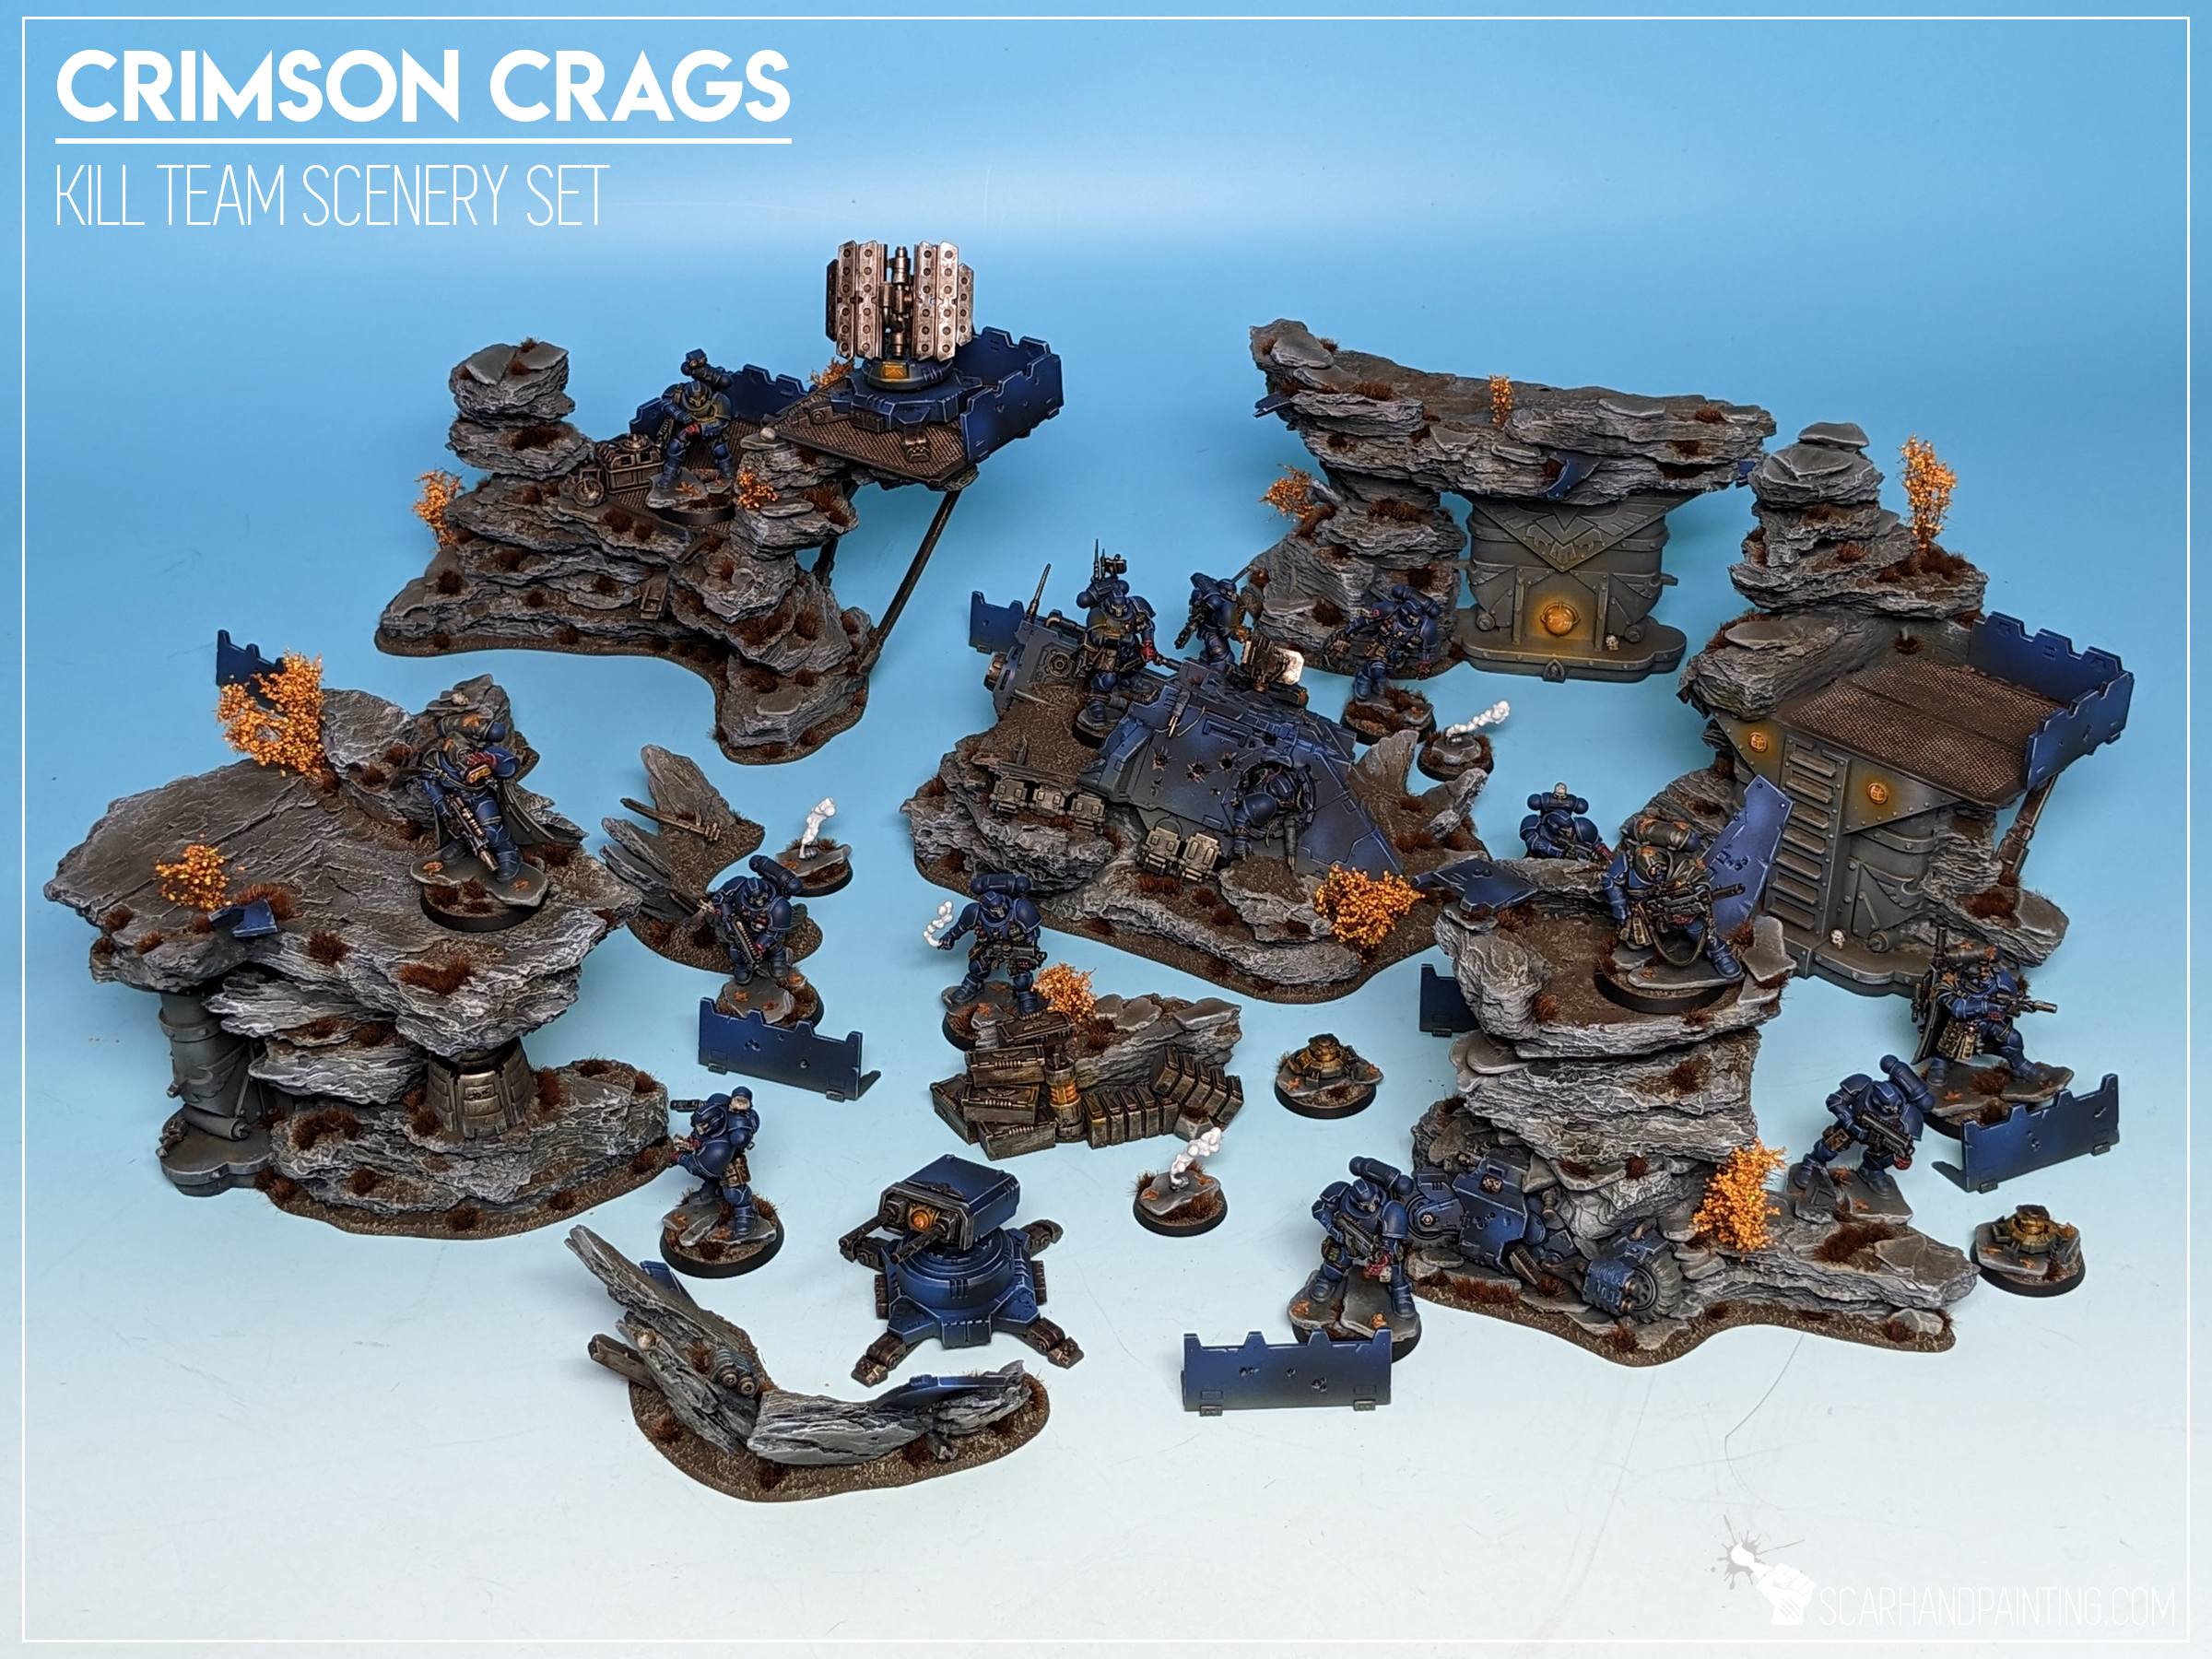
In this article I will present to you an easy way to make highly detailed rock formation perfect for anything Warhammer and many other miniatures wargames as can be seen in Crimson Crags Gallery.
Some notes:
The Basics:
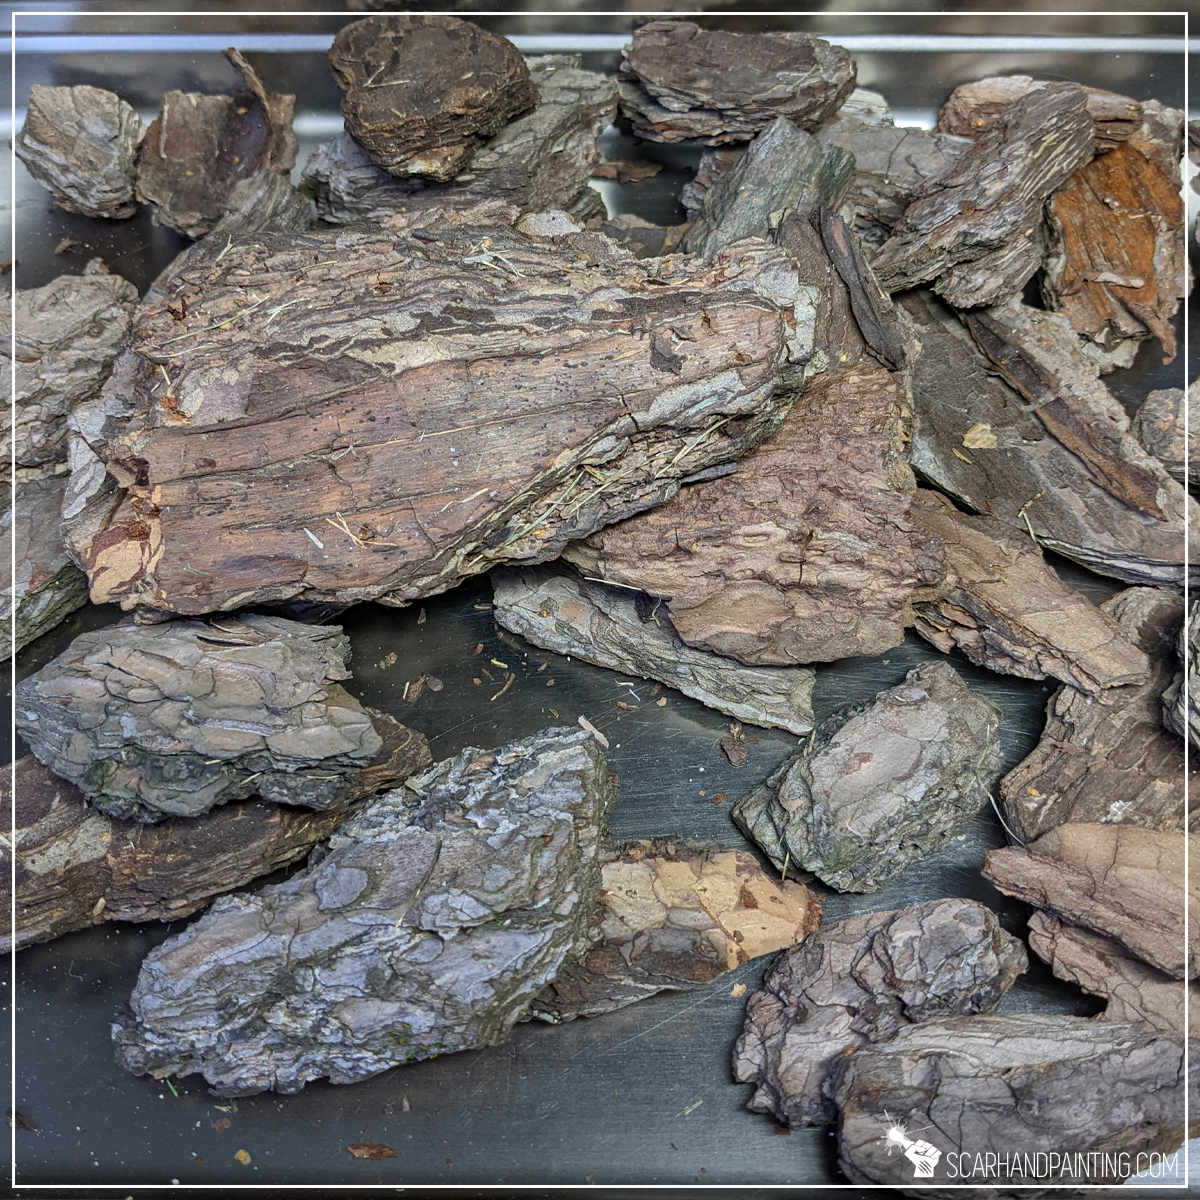
When making miniatures scenery with looks in mind a detailed texture and interesting shapes are usually my go to. These can be difficult to come by and might require a purchase of existing sets, but not in case of rocky formations. Fortunately for our wallets nature have come up with the best source of awesome looking, house budget friendly miniature rocks – Tree Bark. Unless you’re living on the North Pole there should be some sort of trees around. Bark, being the main source of shapes and textures, can be used as the main bulk of miniature rocky scenery, providing an abundance of layers to surround focus points with. This is why for the purpose of this tutorial bark and related know-how will be my main focus.

Bark preparation:
Depending on where you live and weather bark might come wet and dirty. In my case it’s early Autumn, everything is moist and hand picked bark does not cut it without some preparation. Because of that I started by drying bark pieces for about twenty minutes in a stove set to 100* degrees Celsius. Once dry I then brushed any dirt and residue with a hard synthetic brush. This left bark dry, clean and ready to use.
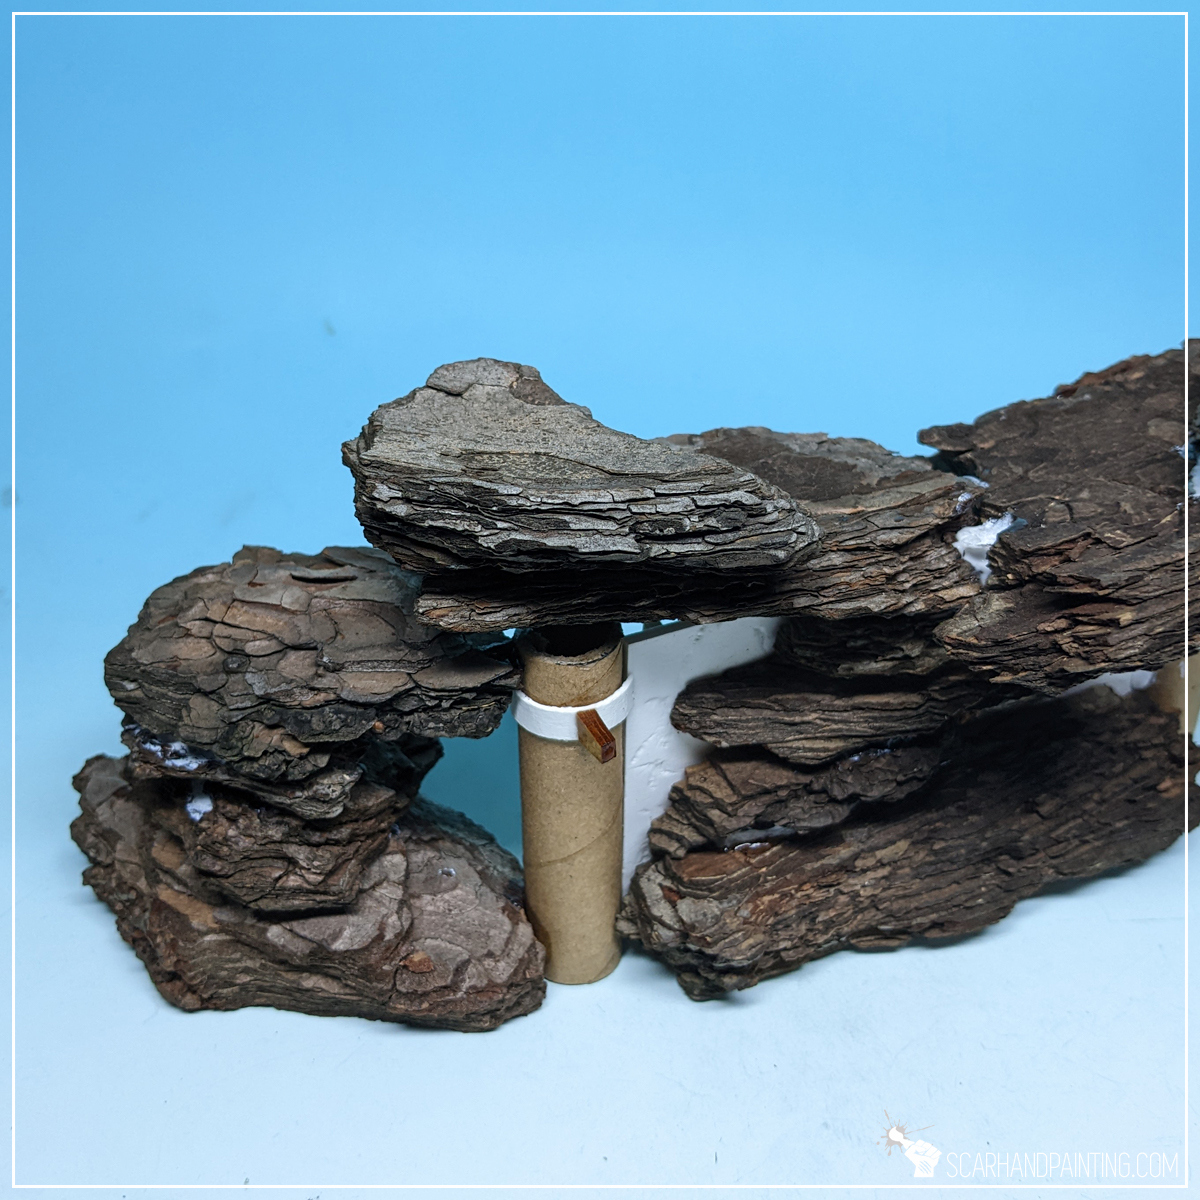
Composition:
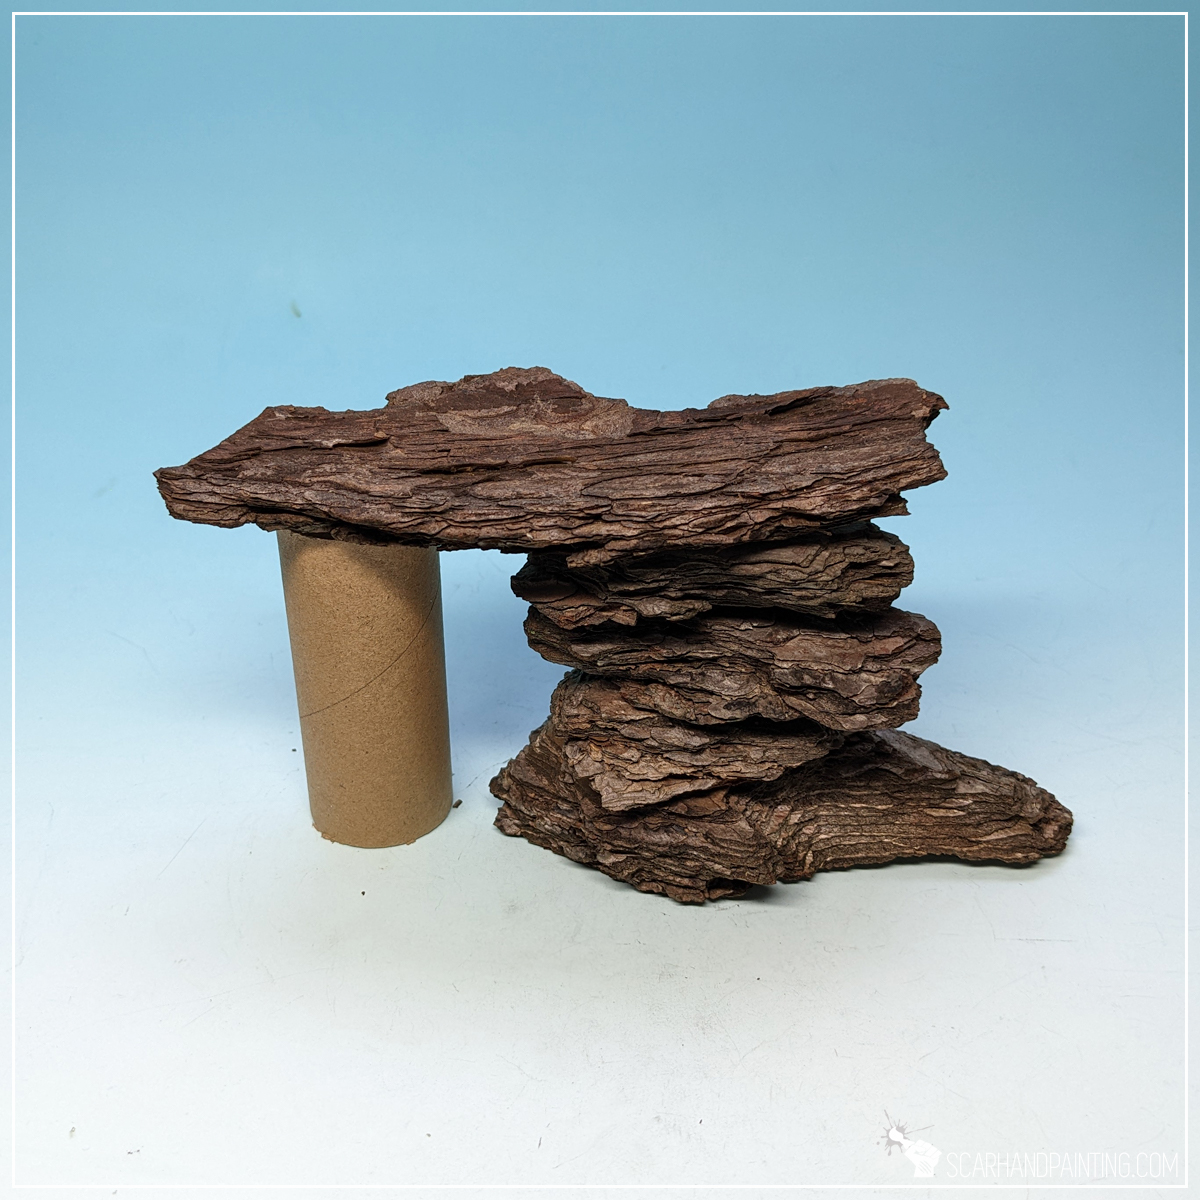
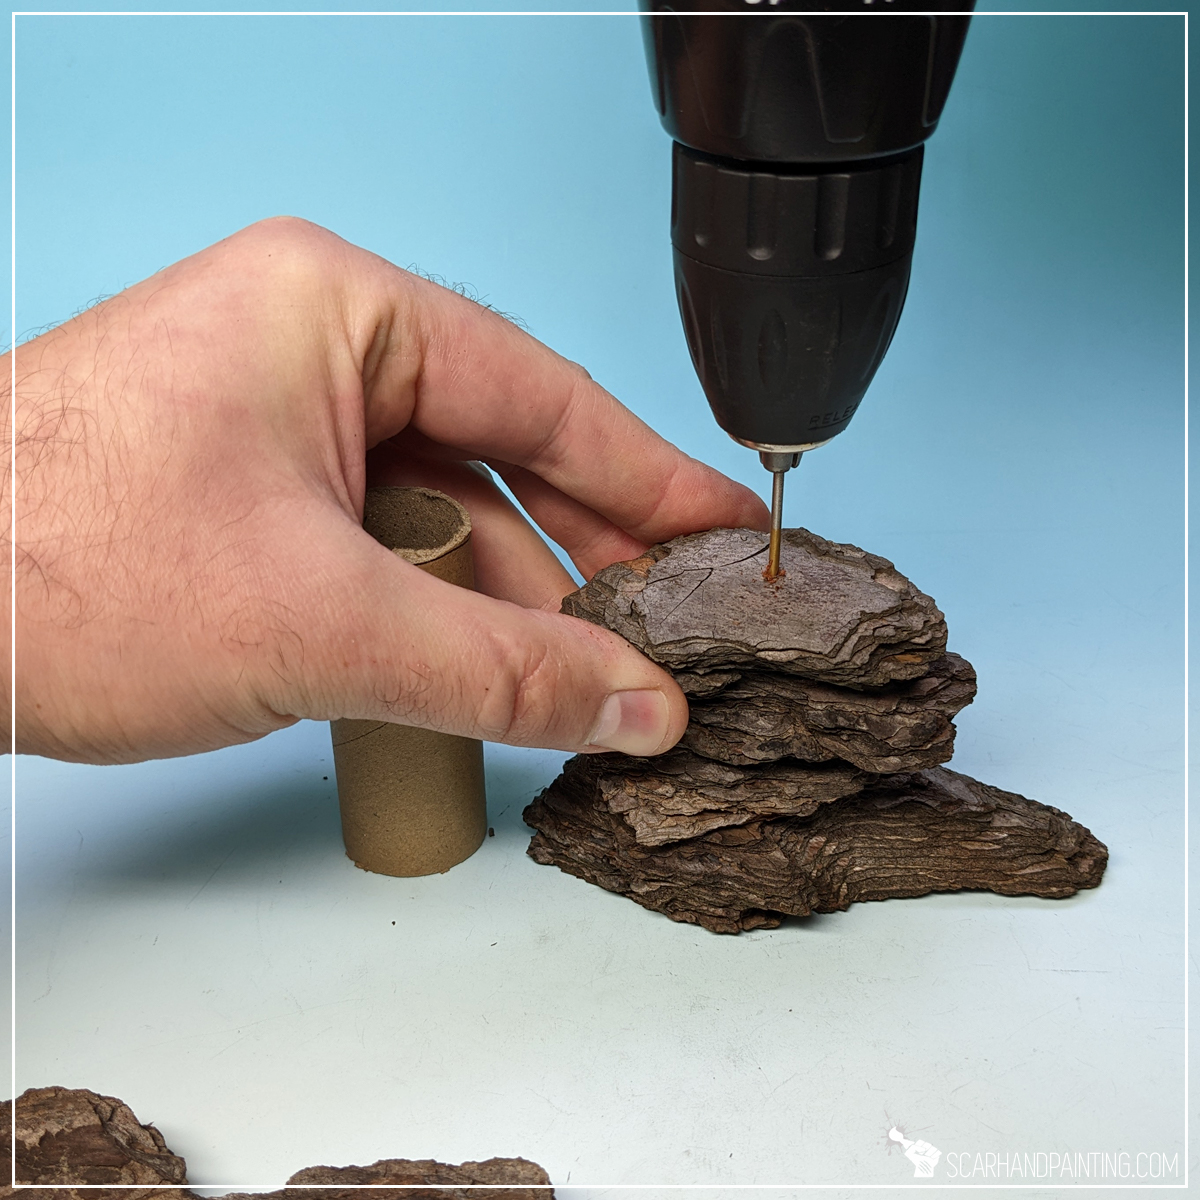
I then created few basic compositions, using a pre-cut piece of hard paper pipe to measure overhangs height. This allowed me to fit any additional elements I had in mind, but also kept all the scenery at a relatively similar height. Once composed I drilled horizontal holes through entire scenery piece and put toothpicks through to ‘save’ the composition shape.
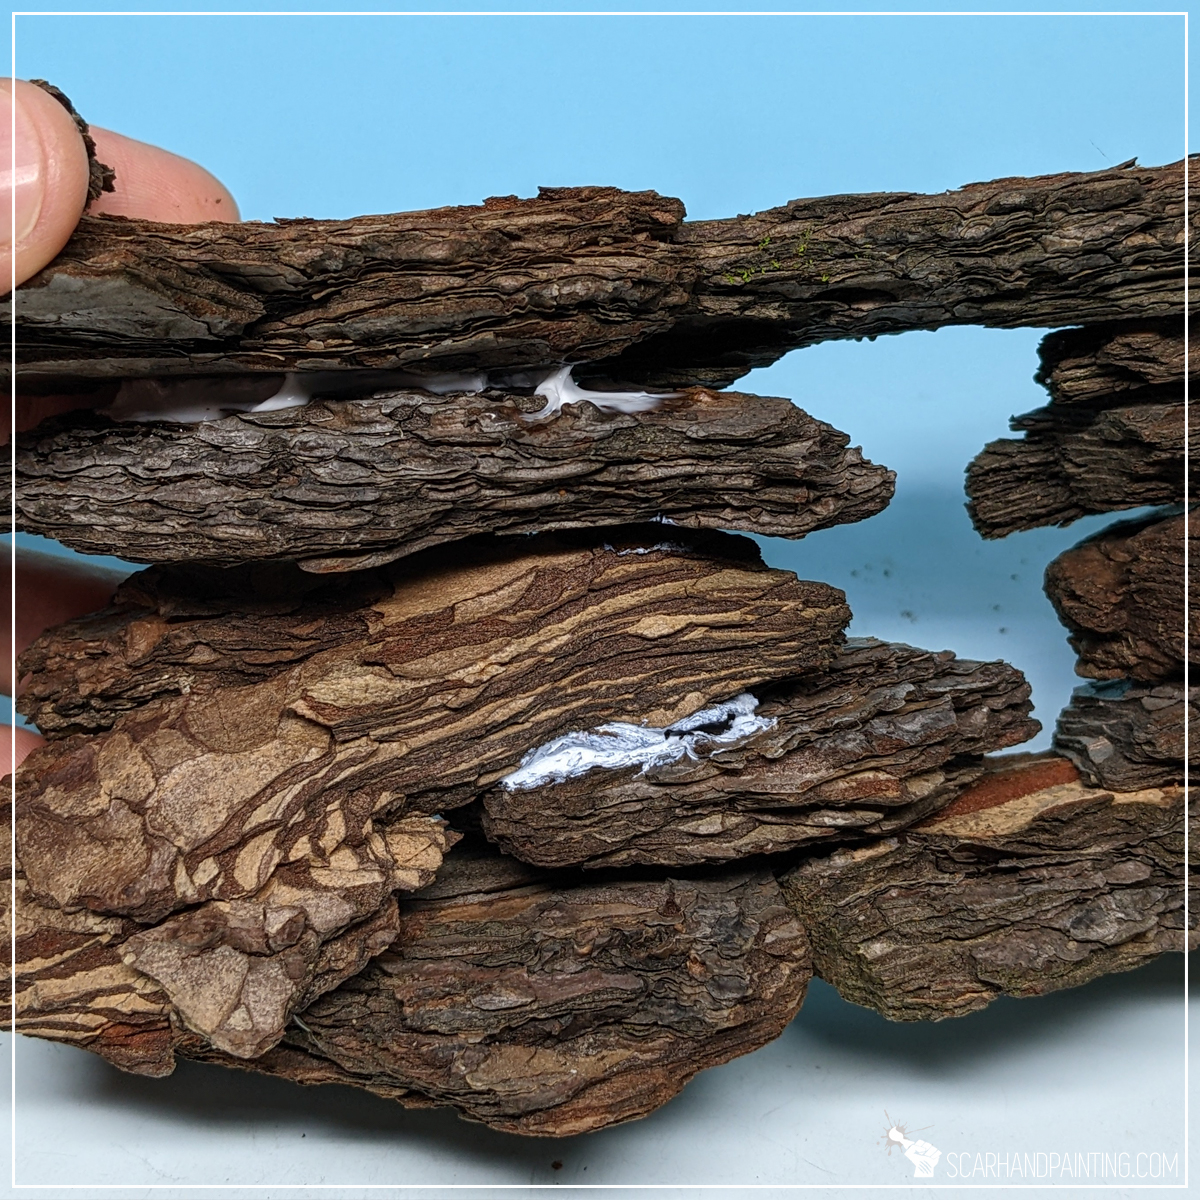
Gluing:
Using PVA glue on bark can be lengthy whereas Cyanoacrylate requires multiple layers to build volume sufficient to hold dry bark pieces. Because of that I took the best of both worlds and glued the compositions firm with a mix of PVA and Cyanoacrylate glue. The mix not only dries much faster than solo PVA, but also leaves rough, textured layer outside. It’s perfect for this kind of scenery.
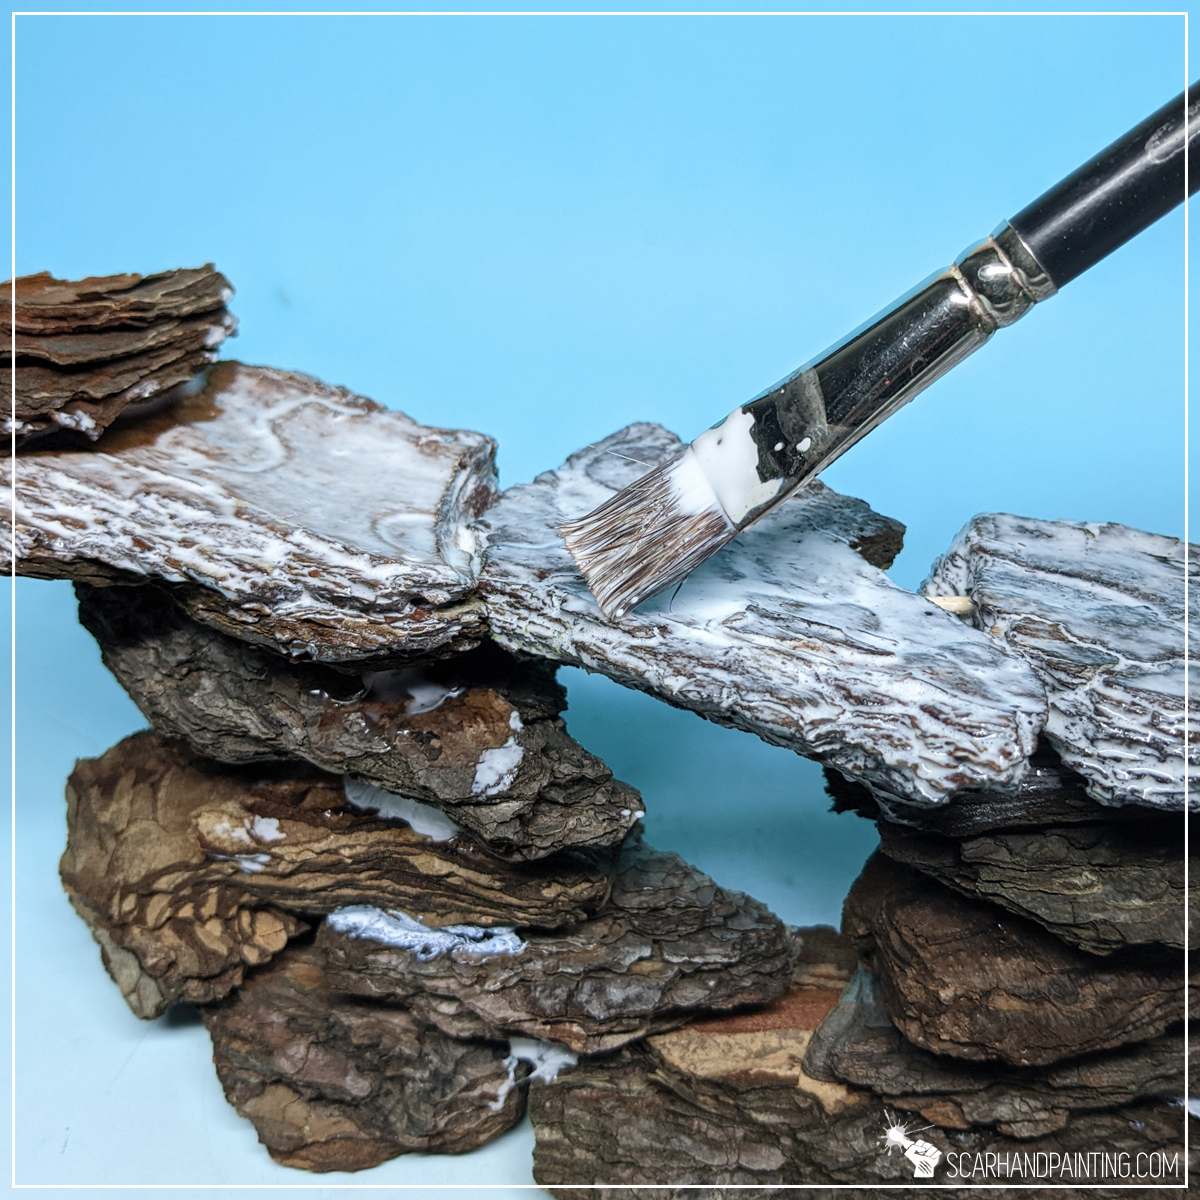
Sealing:
Dry bark tends to cheap and crumble a lot, not to mention it doesn’t take paint that well. To ensure durability and sturdiness of my gaming scenery I sealed the surface by applying a mix of PVA glue with a bit of water. This left the surface a bit smoother, glossy and much more durable.
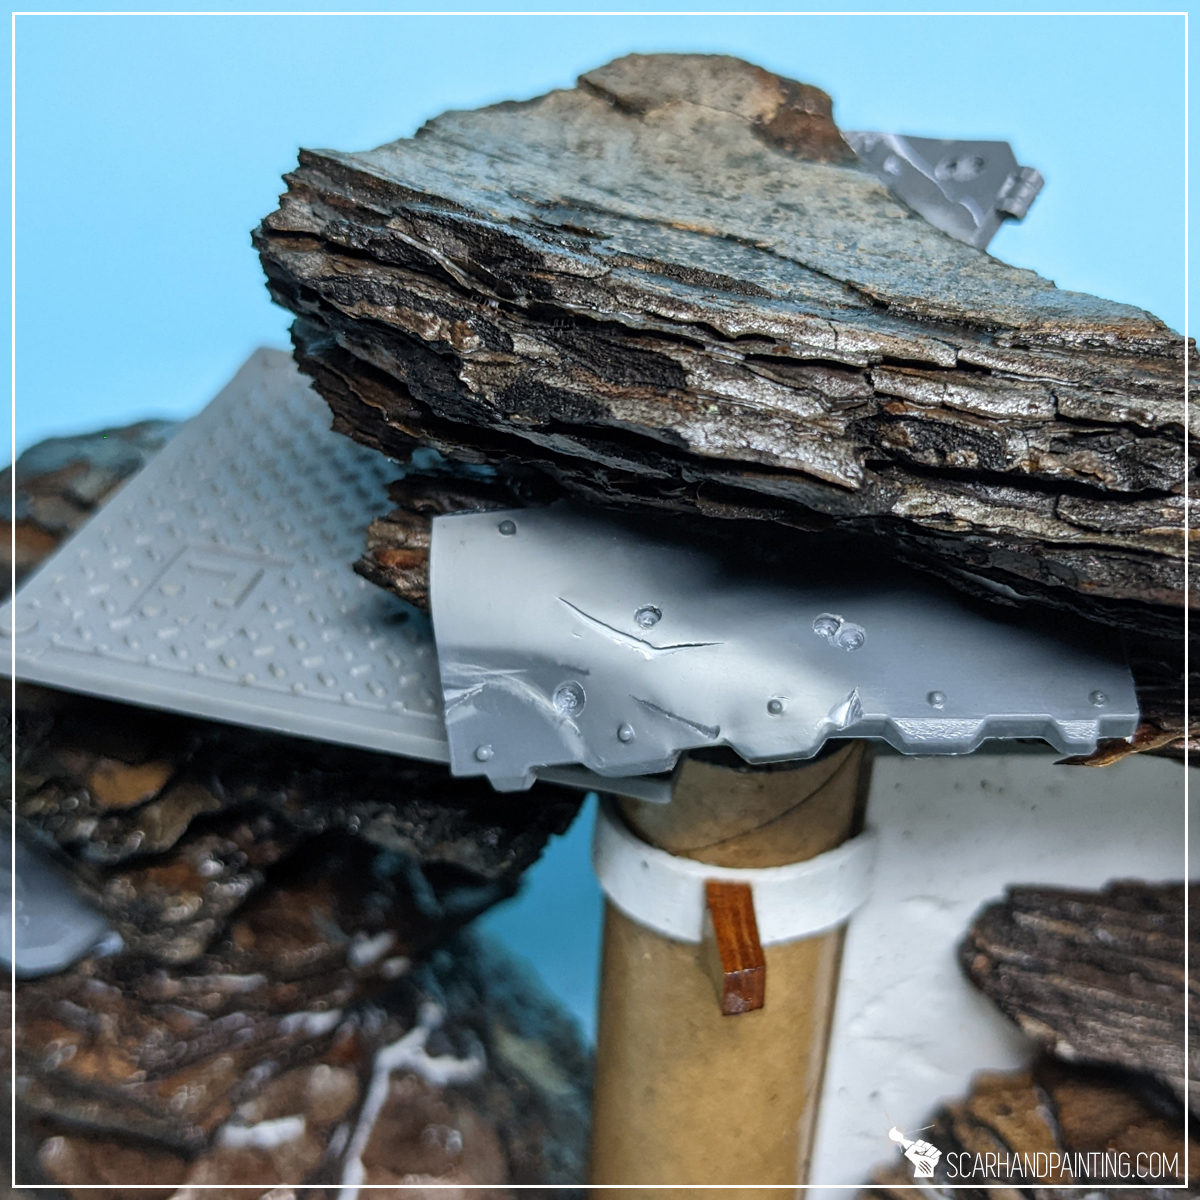
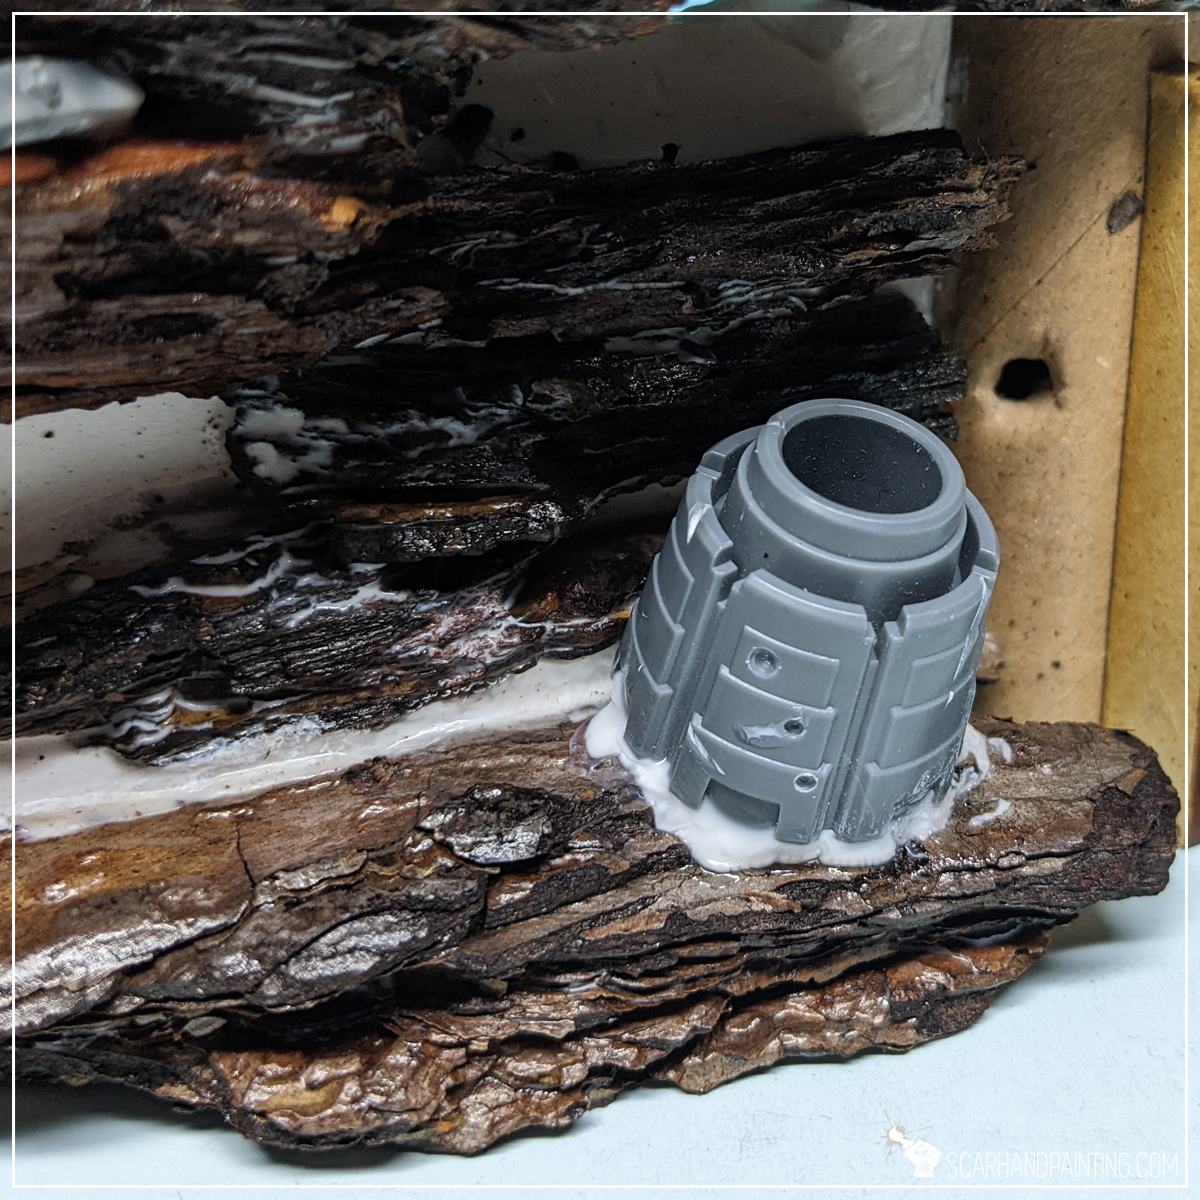
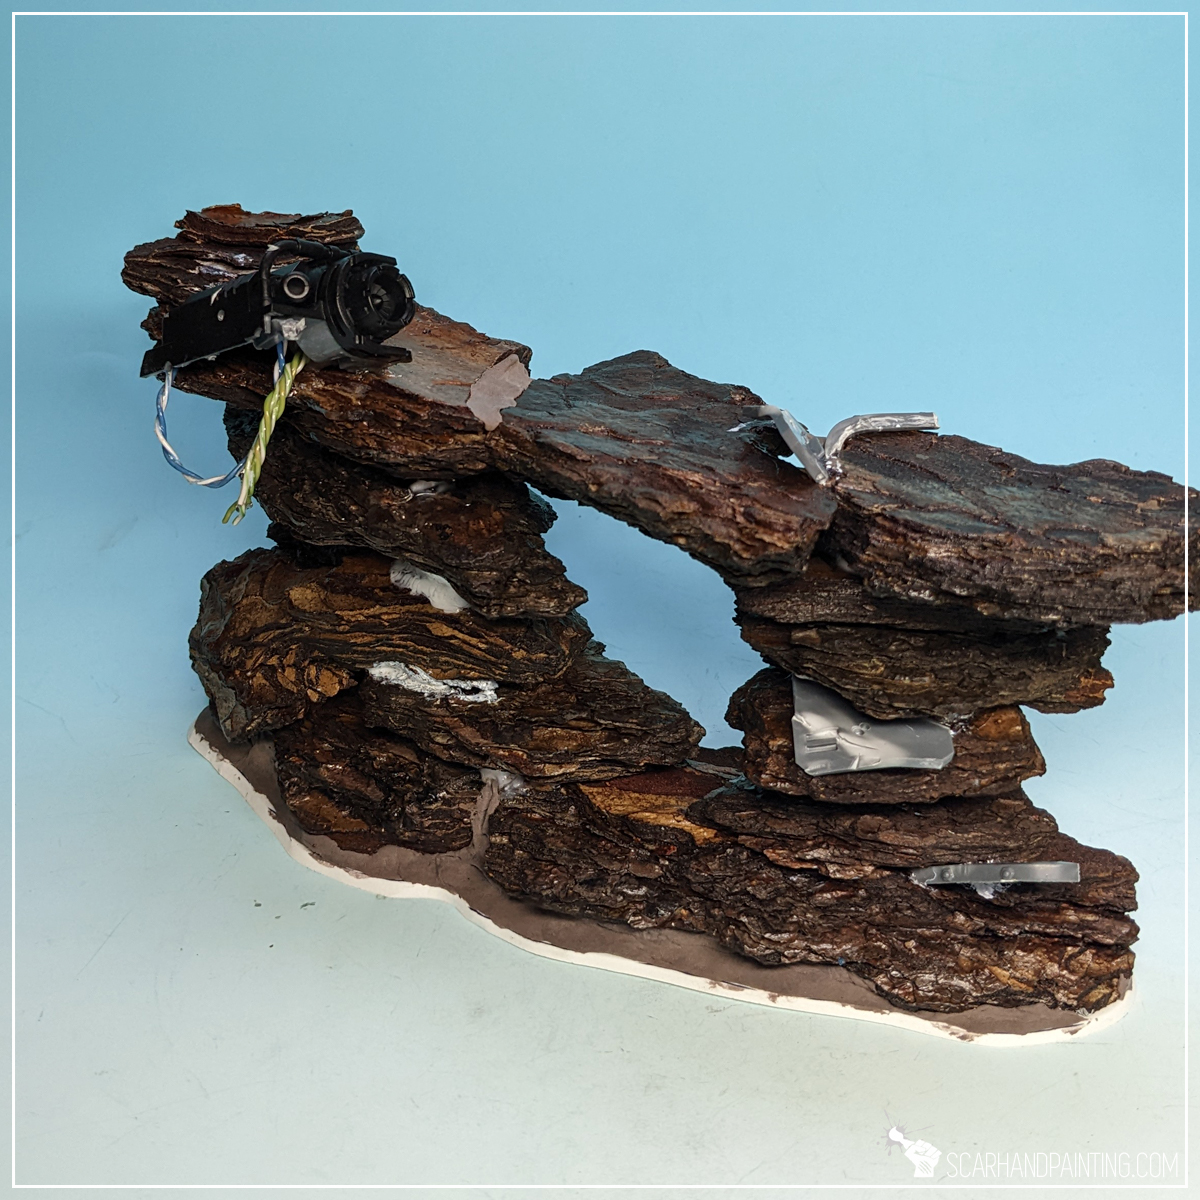
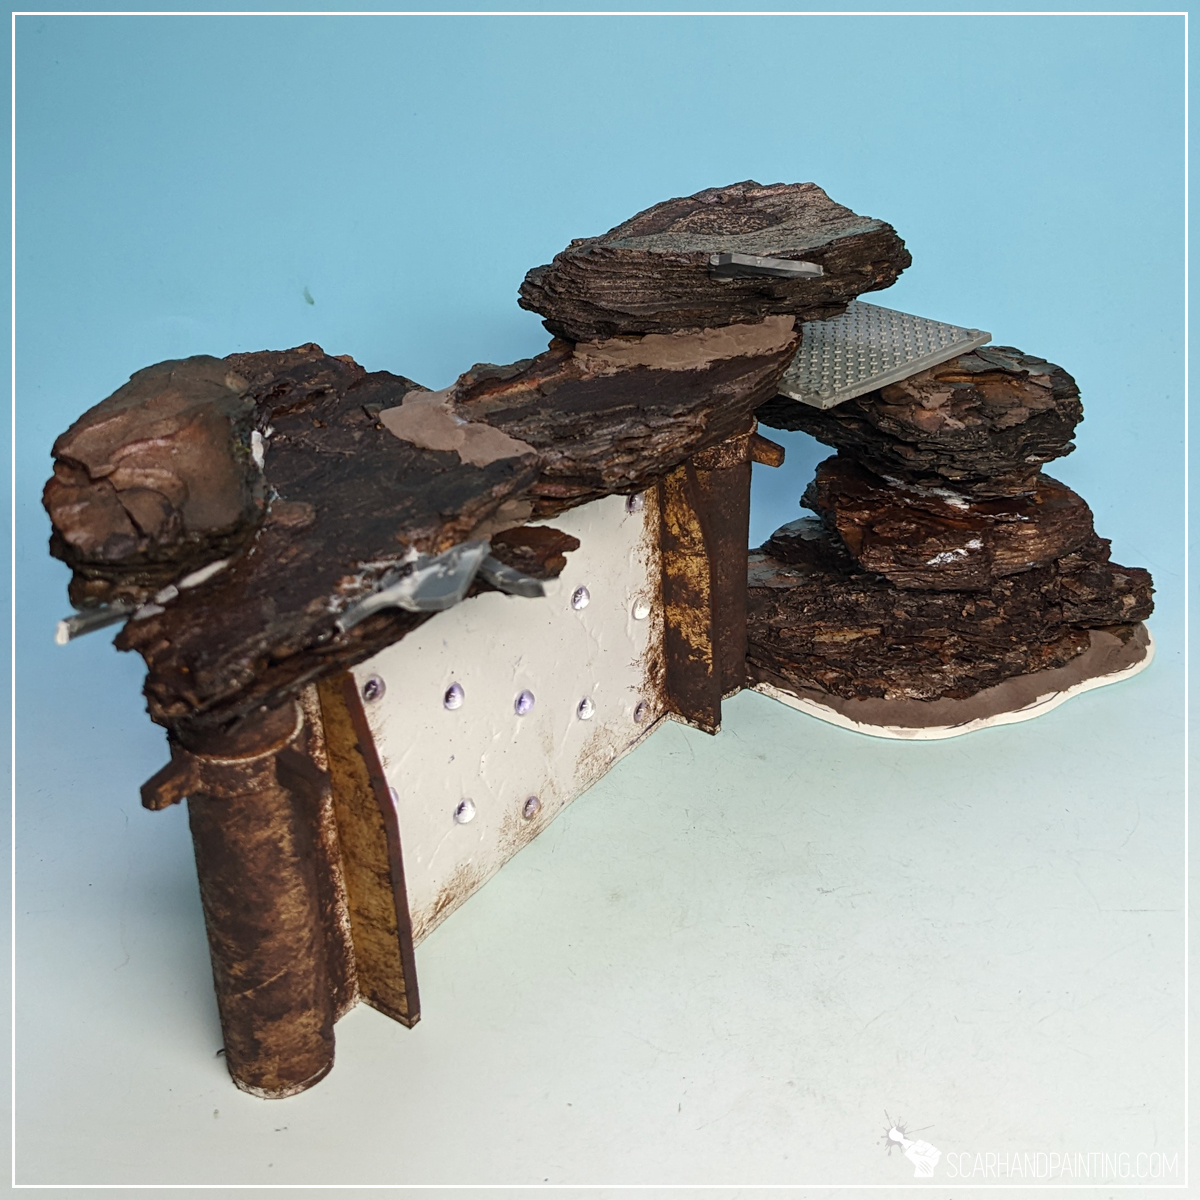
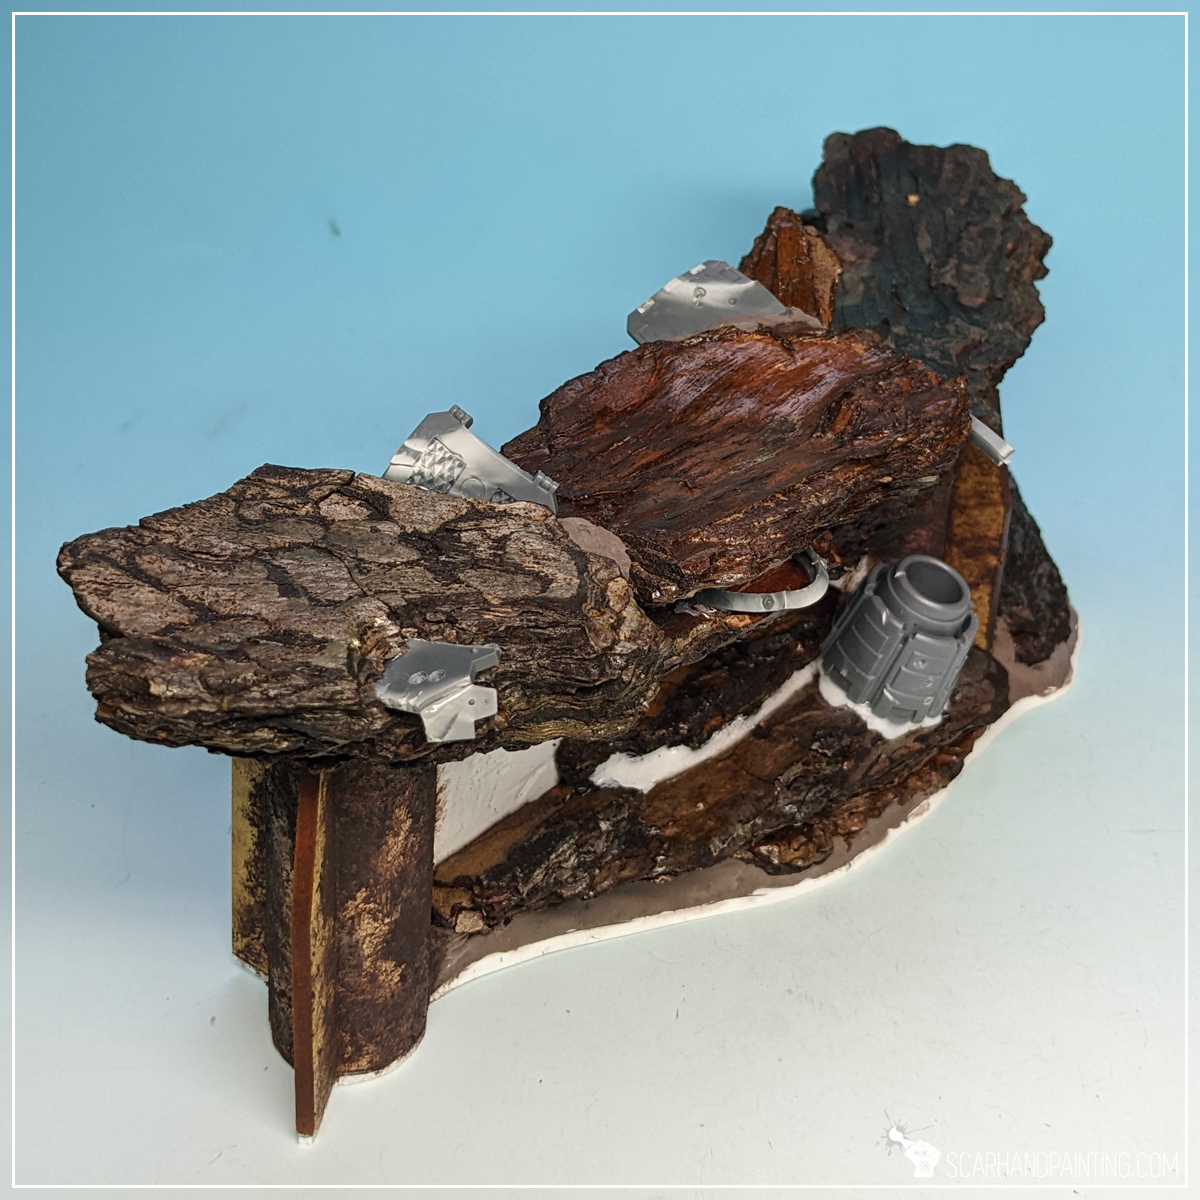
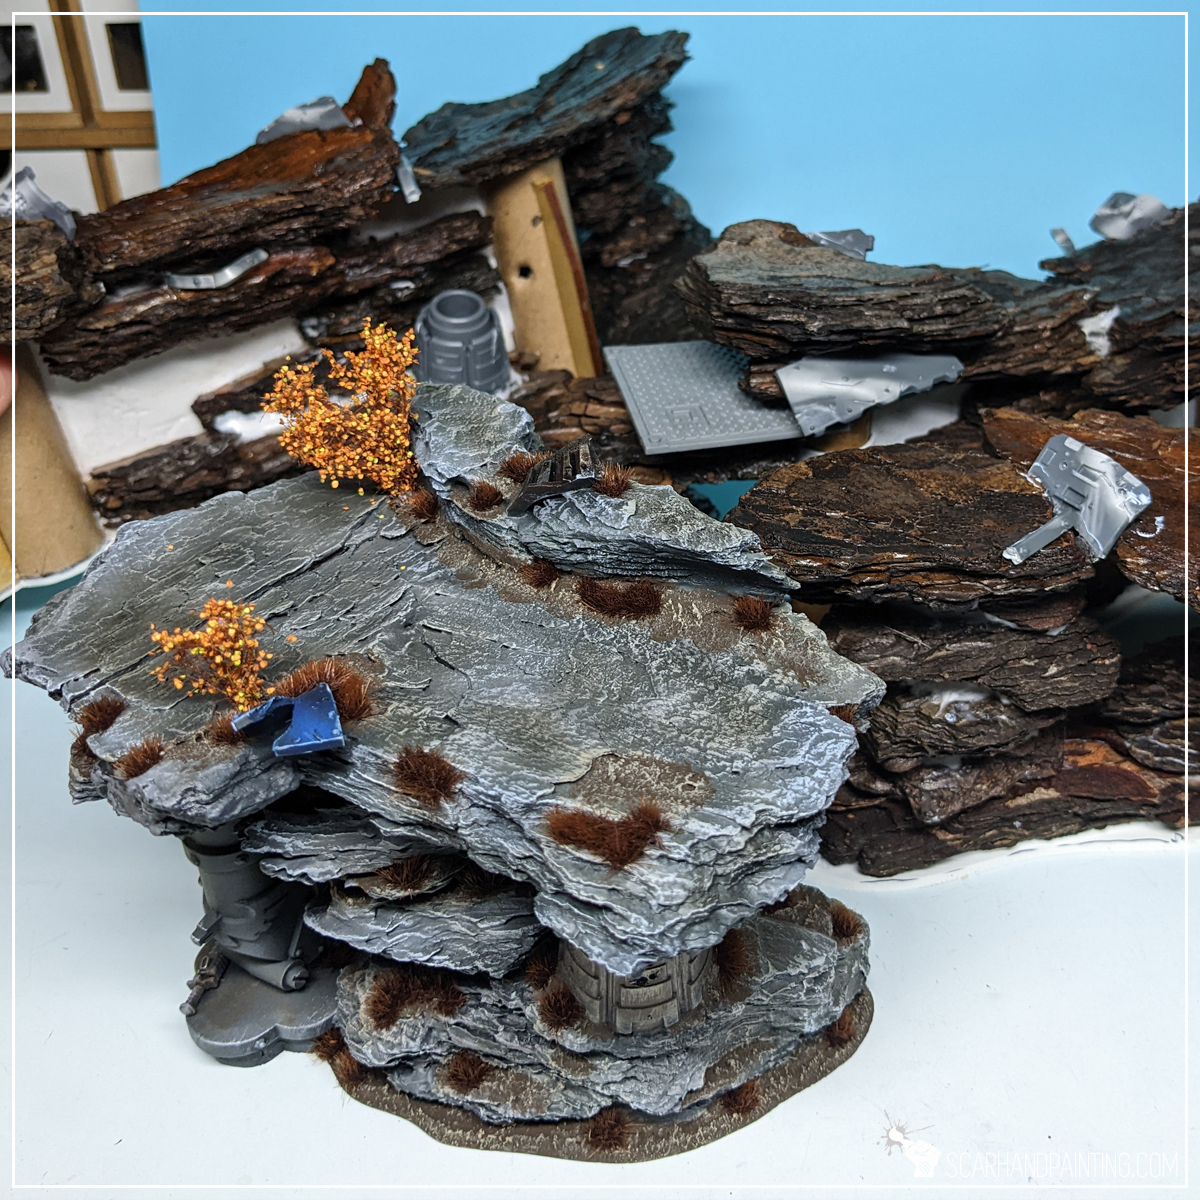
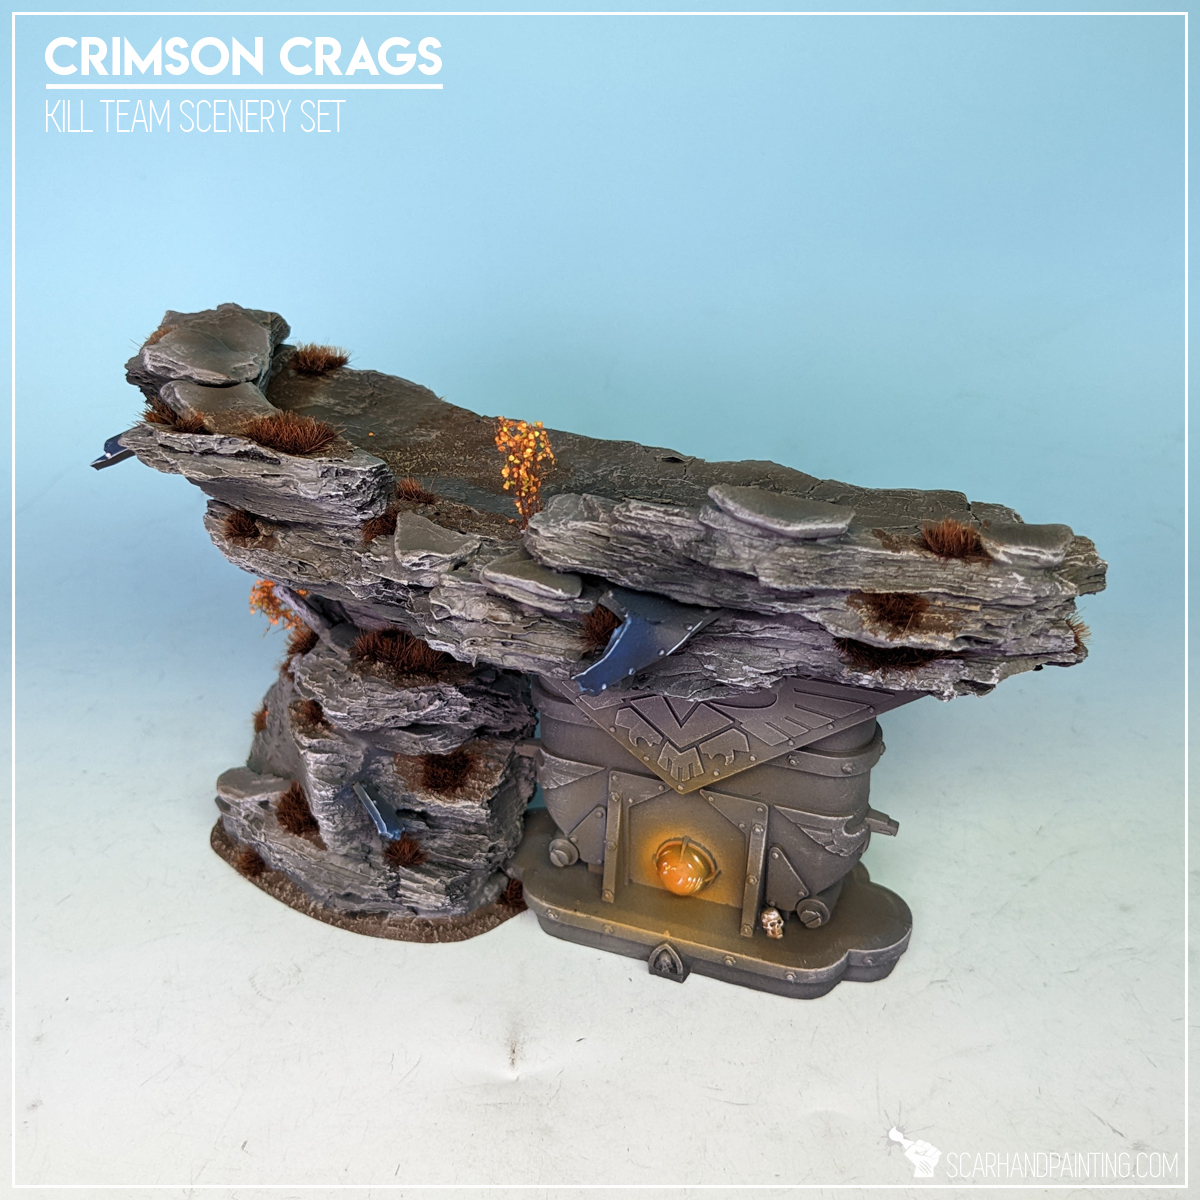
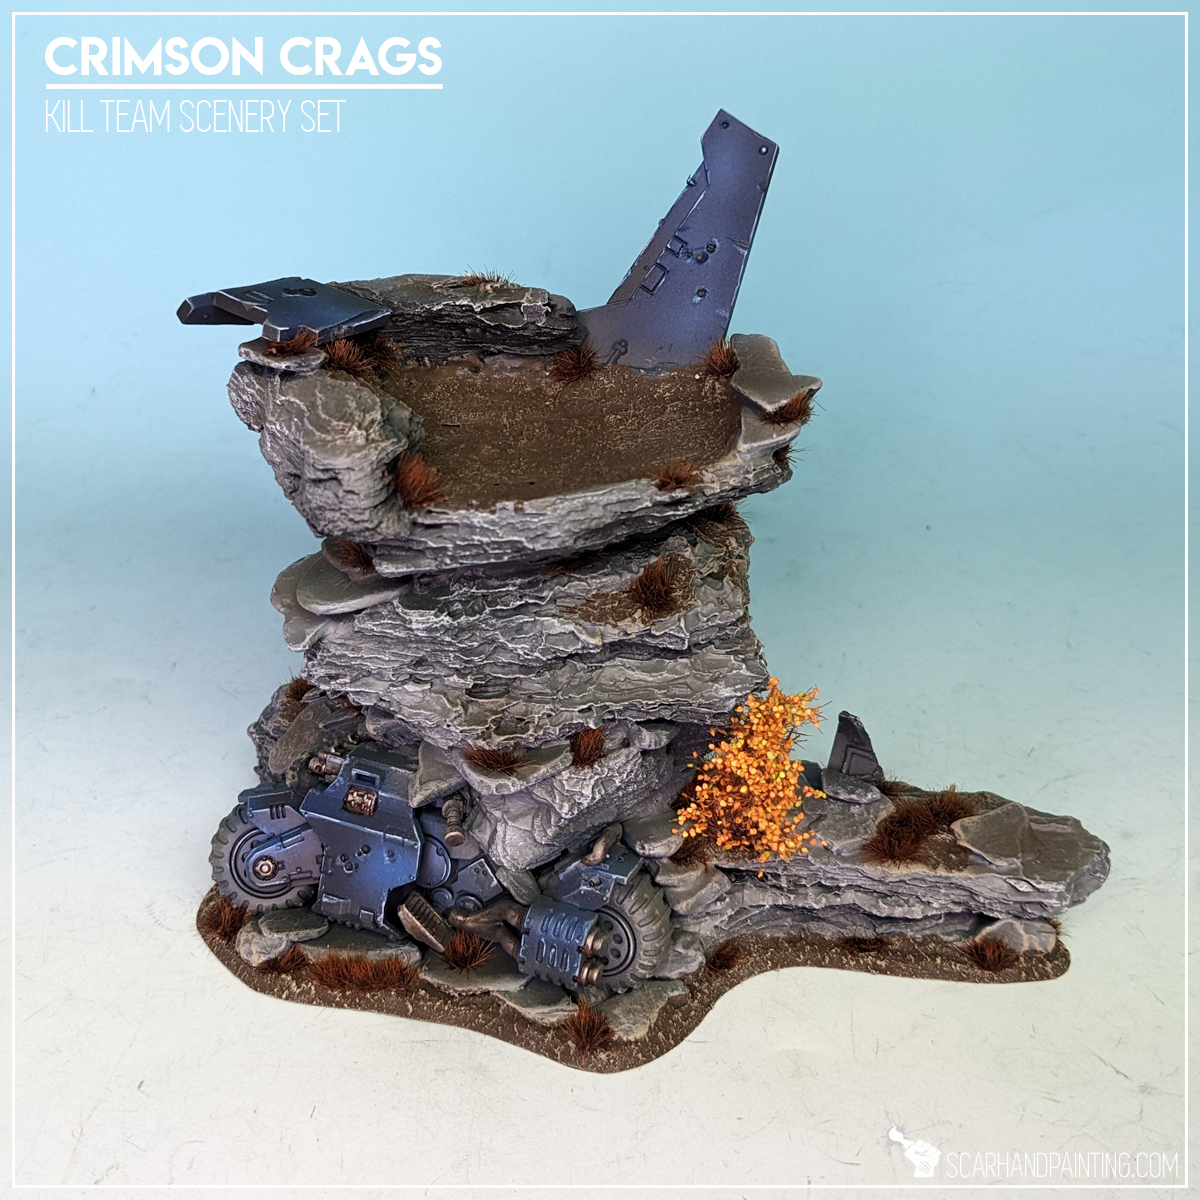
Extra detail:
Focus points are an important part of gaming boards, adding life but also variety to otherwise simple scenery. With sealing done I moved to adding detail. Because this particular set was meant for Kill Team and Warhammer 40k I added some damaged Space Marines vehicle elements, but depending on the game and setting – anything will do the job just as well. Simply pick a theme and follow up with proper details as you see fit.
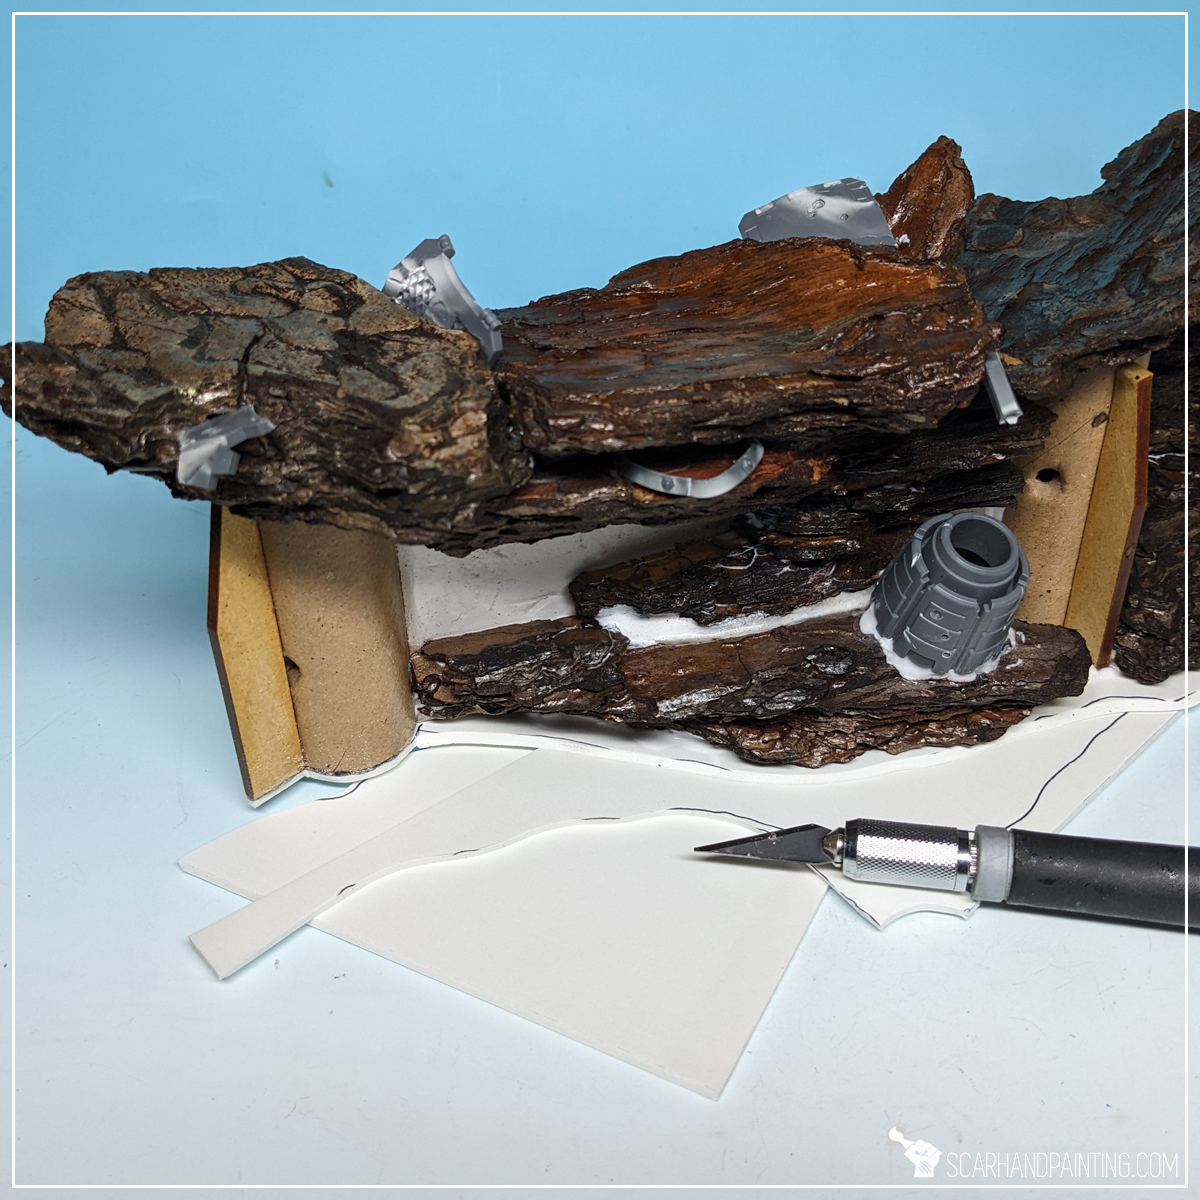
Basing:
In my opinion nothing ruins gaming scenery more than being wobbly. No matter how good it looks, it gotta be playable and lay flat on the board. I cut simple bases for the scenery out of a 2mm plasticard and glued them firmly under scenery pieces. Any flat, relatively sturdy material will do. I chose plasticard because it is very easy to work with and lightweight.

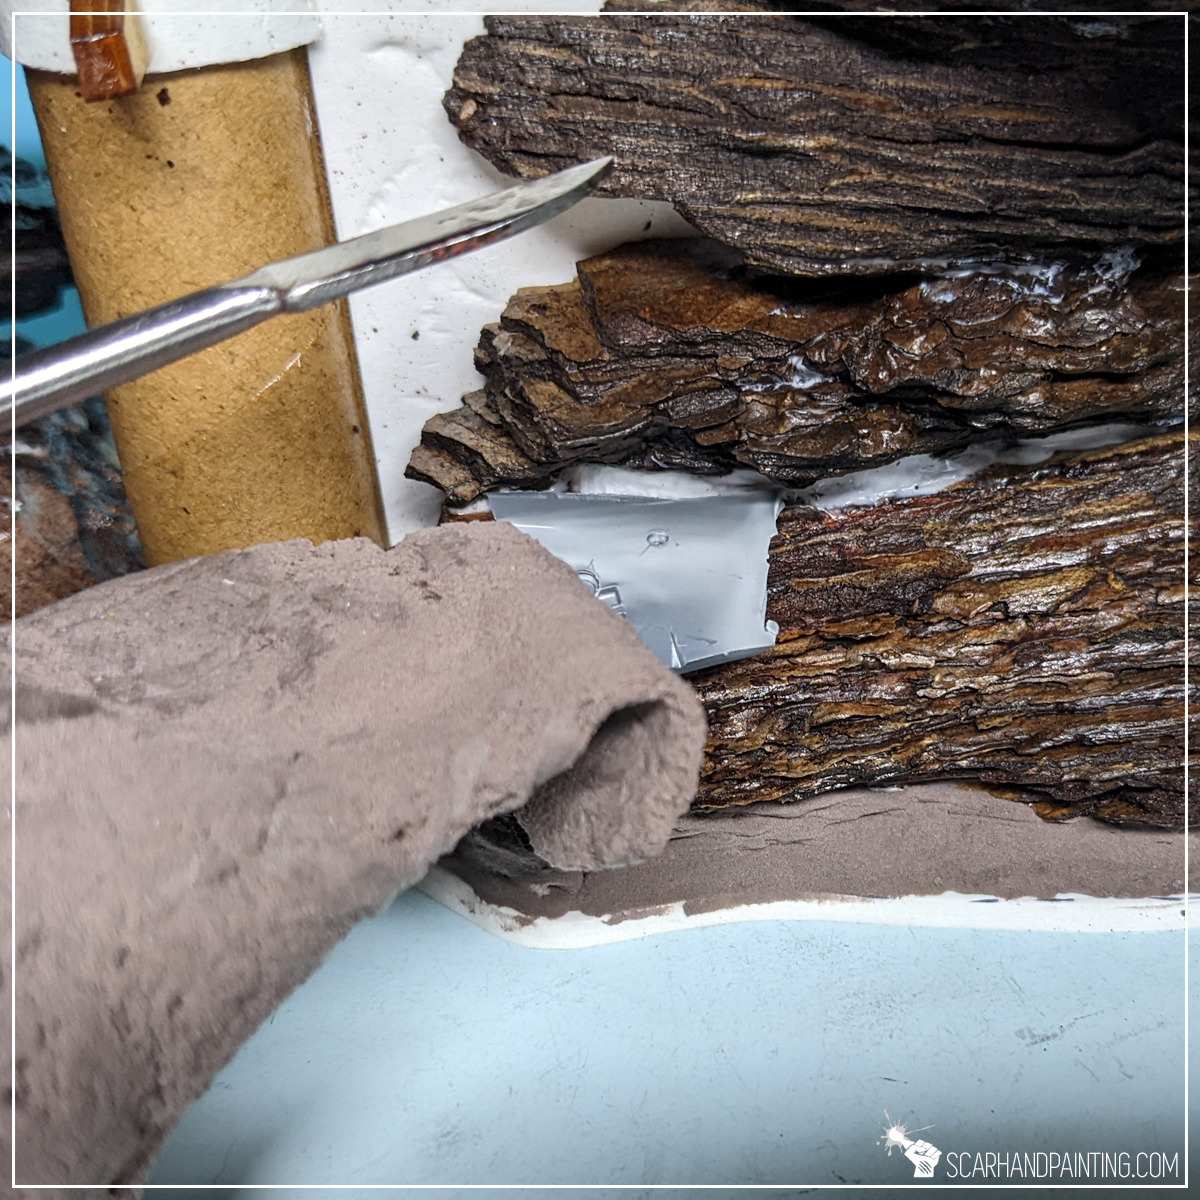
Filling gaps:
Once based I filled gaps with Hey Clay. This one might come as a surprise to some of you, Hey Clay being a toy for kids. It is similar to plasticine but very lightweight and dries up to a semi-hard state in a matter of few hours. I found it very easy to work with and perfect for this kind of job.
Initial textures:
Everything looked fine already but I wanted to add some variety on paper and HDF elements. For this purpose I stippled Citadel Typhus Corrosion on some of the flat areas. Any texture will do and this step can even be skipped completely depending on what kind of detail is being added.
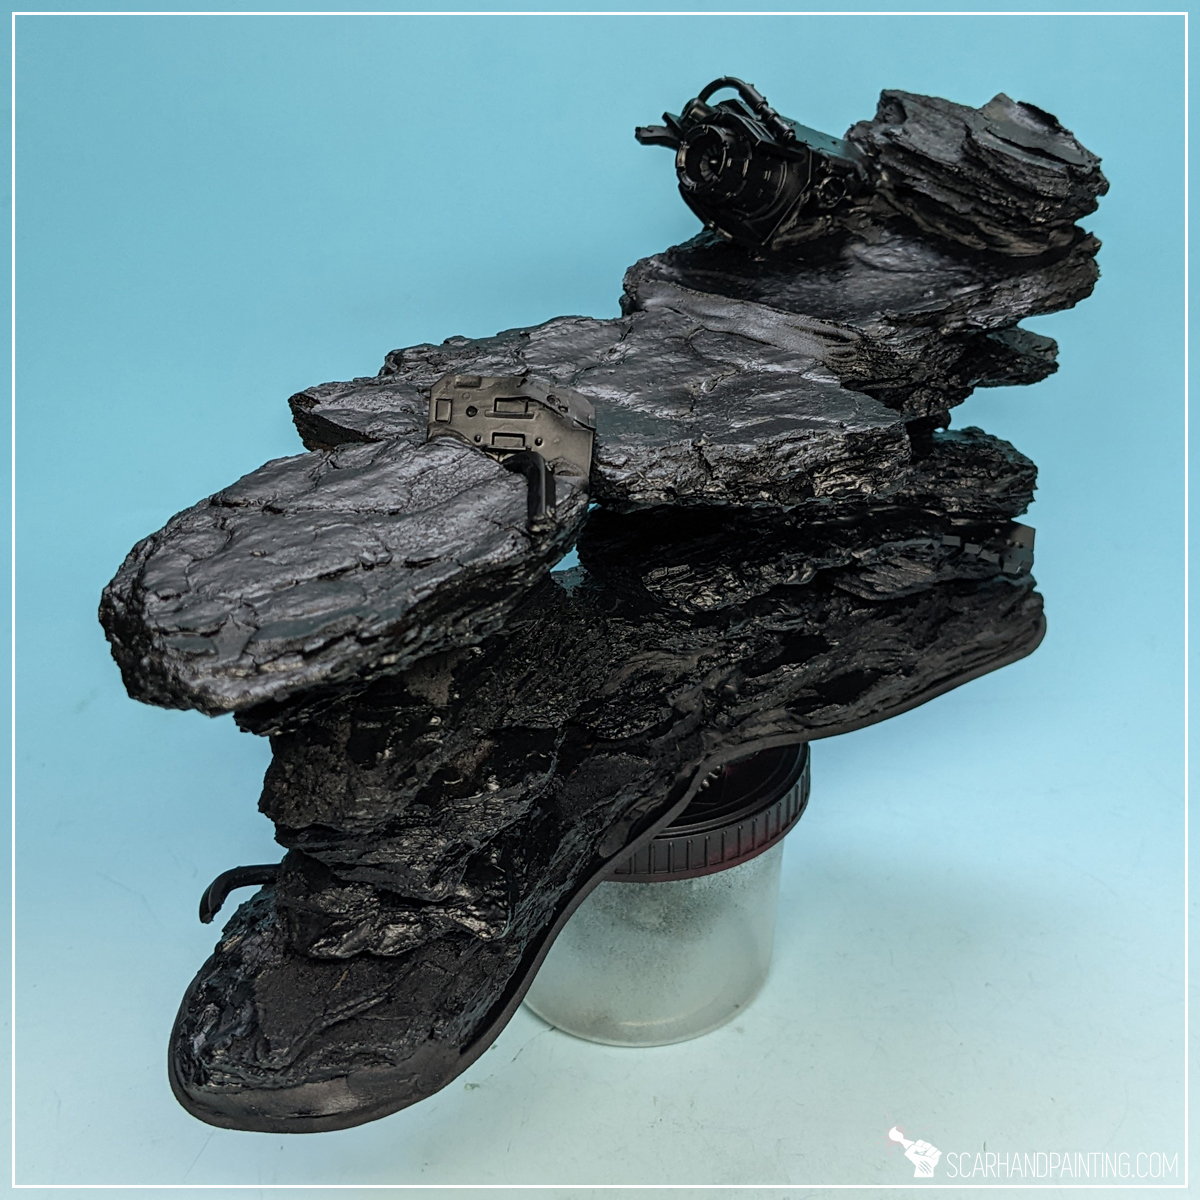
Undercoat:
There are few ways to go about it. Usually when it comes do Styrofoam and wood I tend to undercoat manually with thick acrylic paints. In this case I had entire thing sealed with a mix of PVA glue and water, which allowed me to go with a spray can. I sprayed everything with a cheap matt black spray. I always undercoat miniatures with Citadel Chaos Black. With DiY scenery I found crude cheap sprays work very well, providing a thick, hard layer and adding a bit of additional protection from scratches.
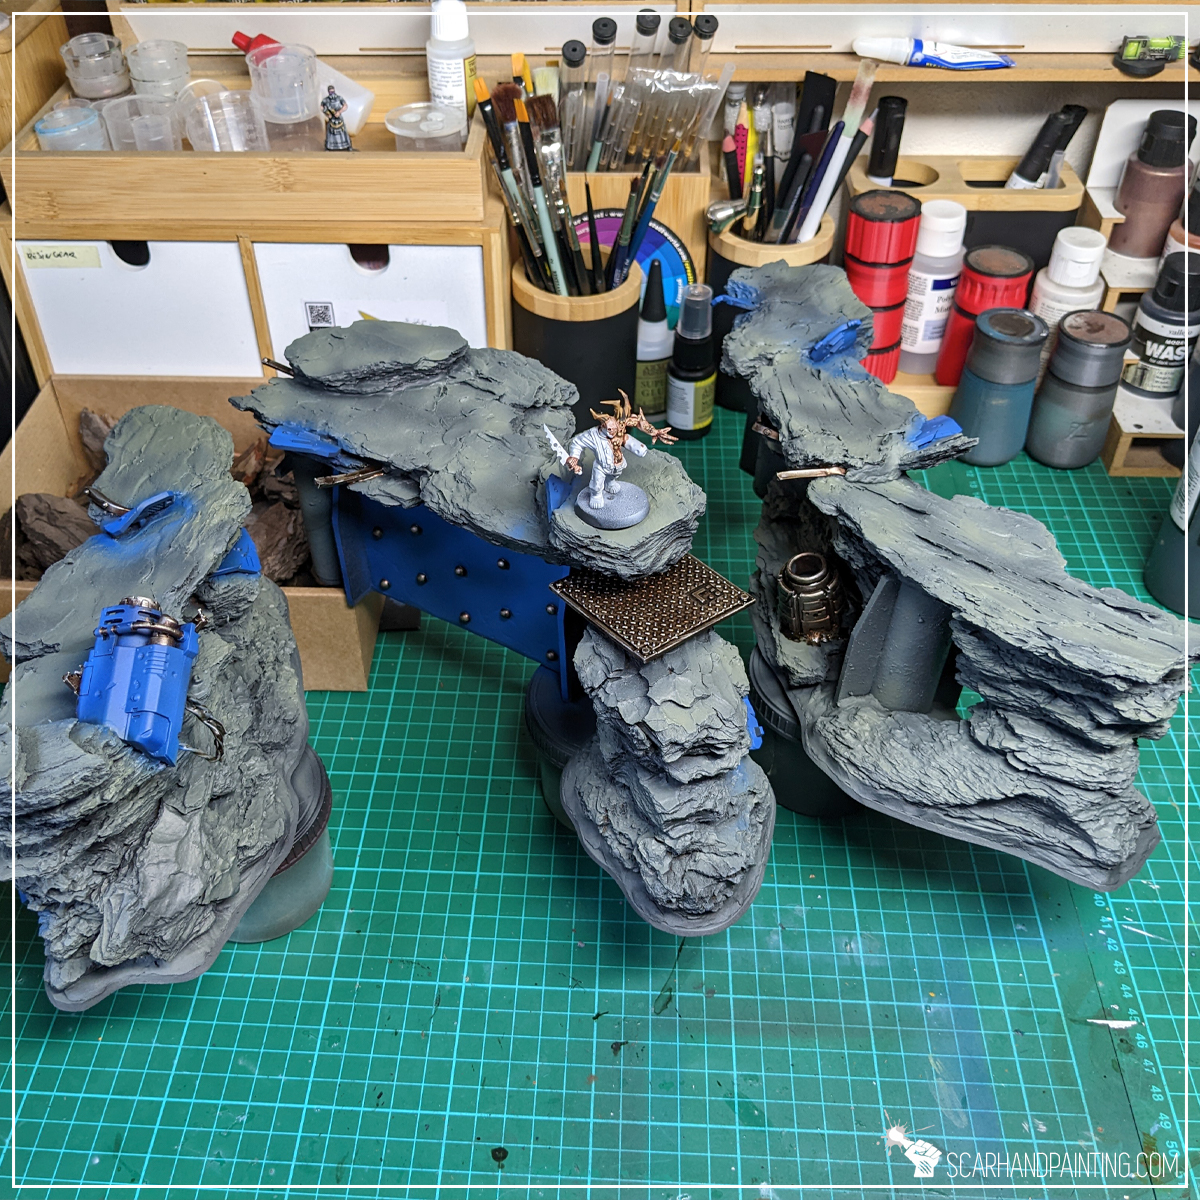
Painting and Textures:
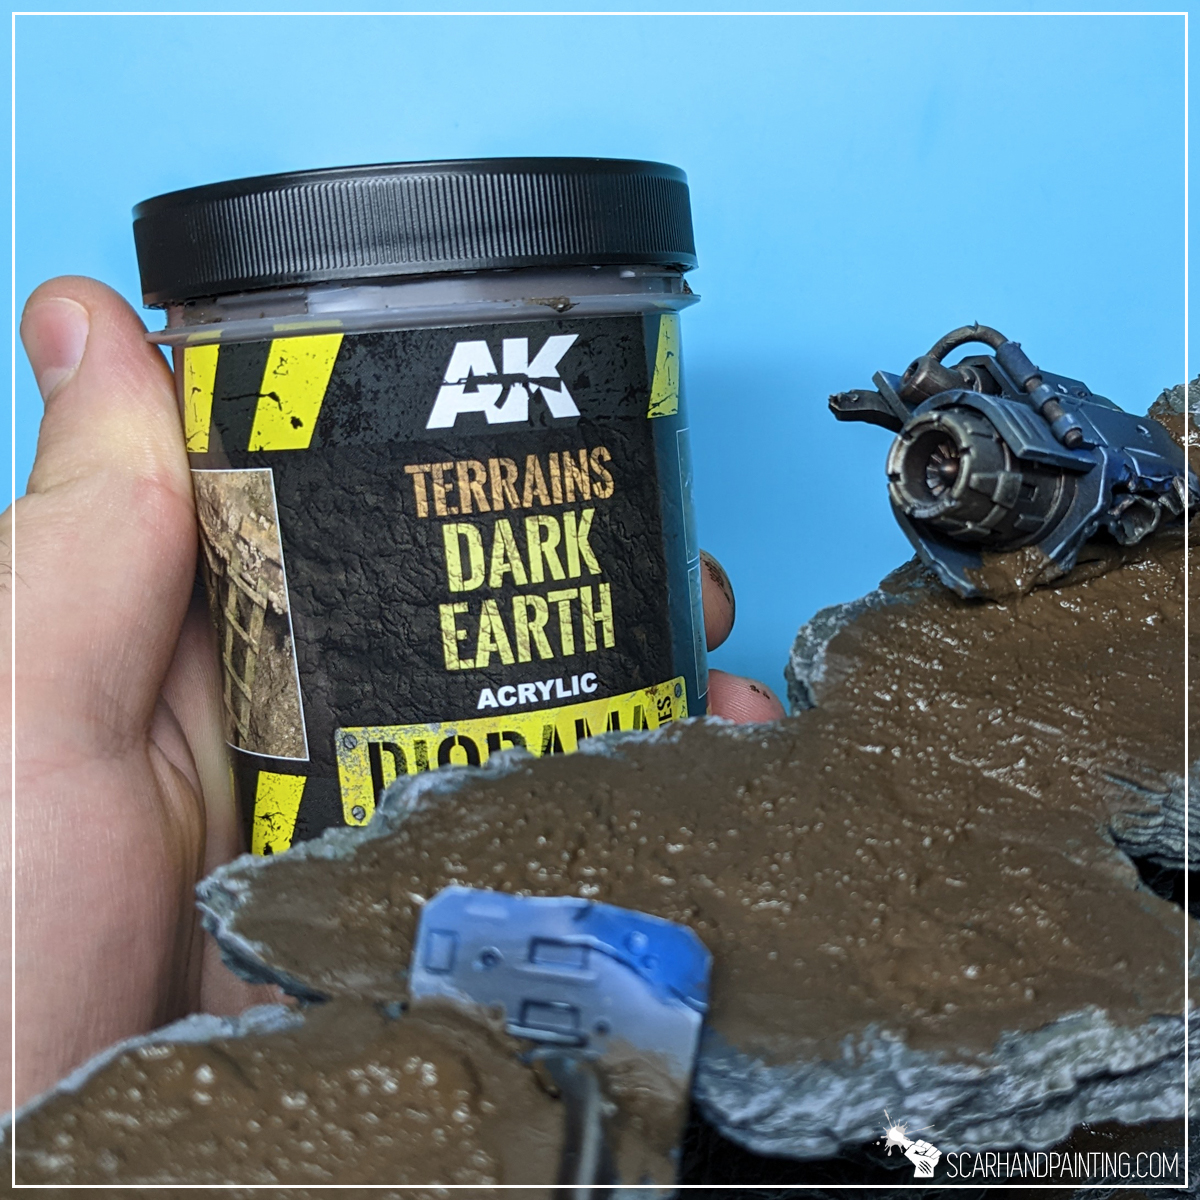
This one I will allow myself to skip, as there is plenty of tutorials and color recipes available on my blog already. Painting is more about personal tastes and available tools. One thing of note is AK Interactive Dark Earth texture. I used it on this particular scenery set and I really recommend this product to everyone. You can learn more about this godlike texture in this article here.
Anyhow – that’s it! Pretty neat looking rocky formations, in this case fit for both Kill Team and Warhammer 40,000, are done! I wasn’t saving on extra detail, but if I did, the entire set would cost me pocket change.


I hope you find this tutorial interesting. Be sure to let me know your thoughts in the comments below or via Facebook or Instagram. I would also appreciate if you considered sharing this content with your friends, who might find it useful. Finally if you are looking for a professional warhammer 40k miniatures painting service, be sure to contact me with this contact form. I always reply within 24 hours, after which please check out your spam folder.