- contact@scarhandpainting.com


Welcome to Painting Star Wars: Shatterpoint Cad Bane tutorial. Here I will present to you a Step-by-step of a basic painting process for Fistful of Credits Aurra Sing miniature and a few extras.

Before we start, some notes:
Both Mandalorian Super Commandos were prepared in the same way as previous Shatterpoint miniatures. Visit Tutorial: Painting Star Wars Shatterpoint Clone Troopers article for a detailed step-by-step guide.
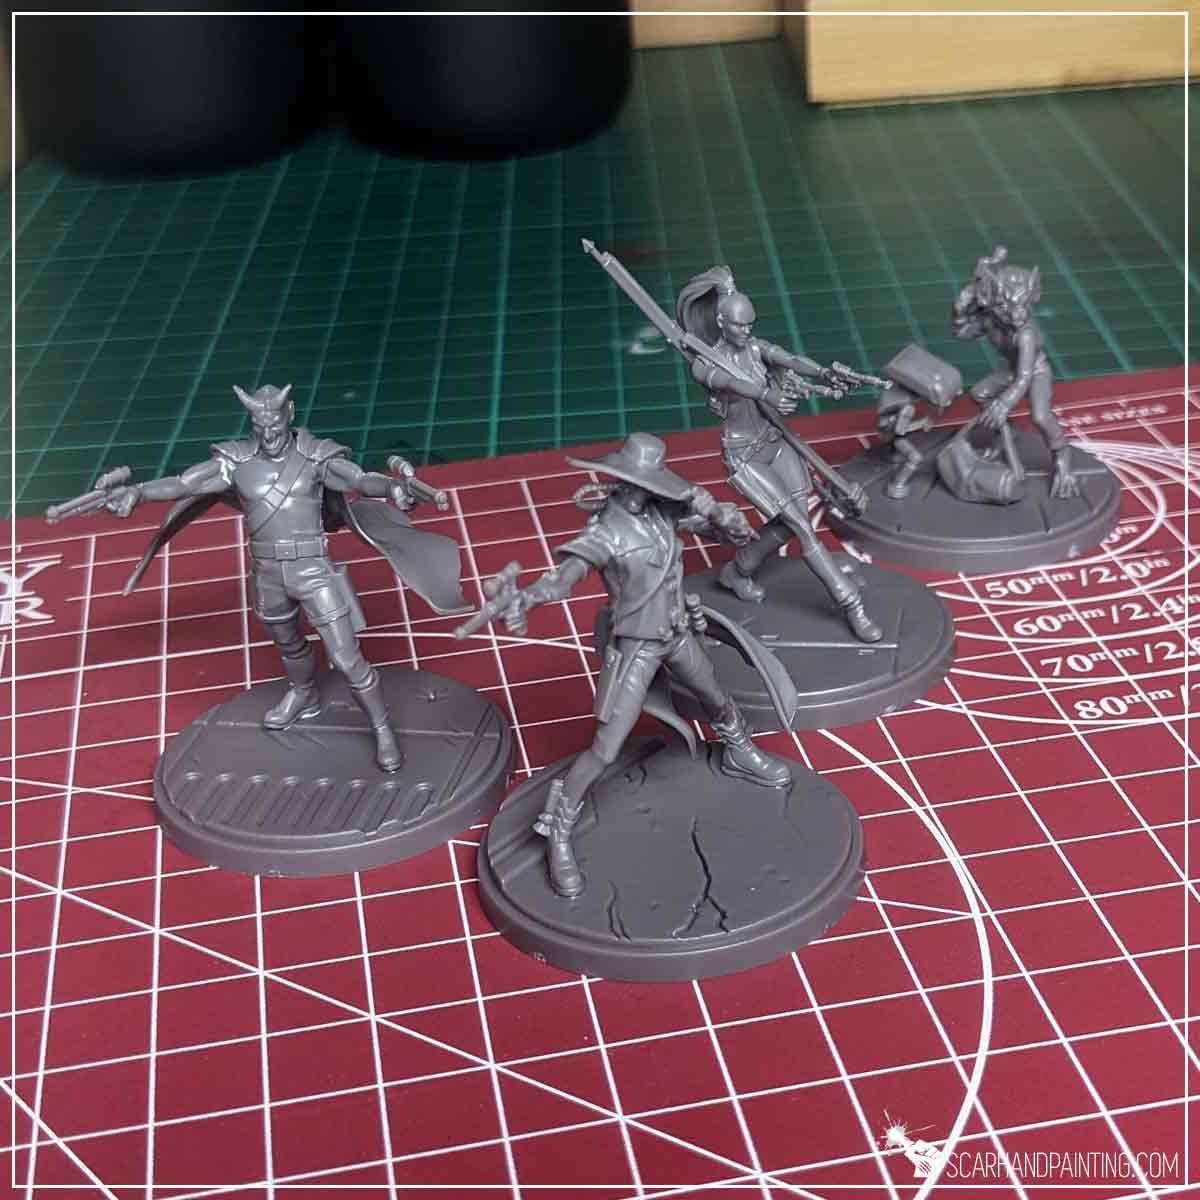
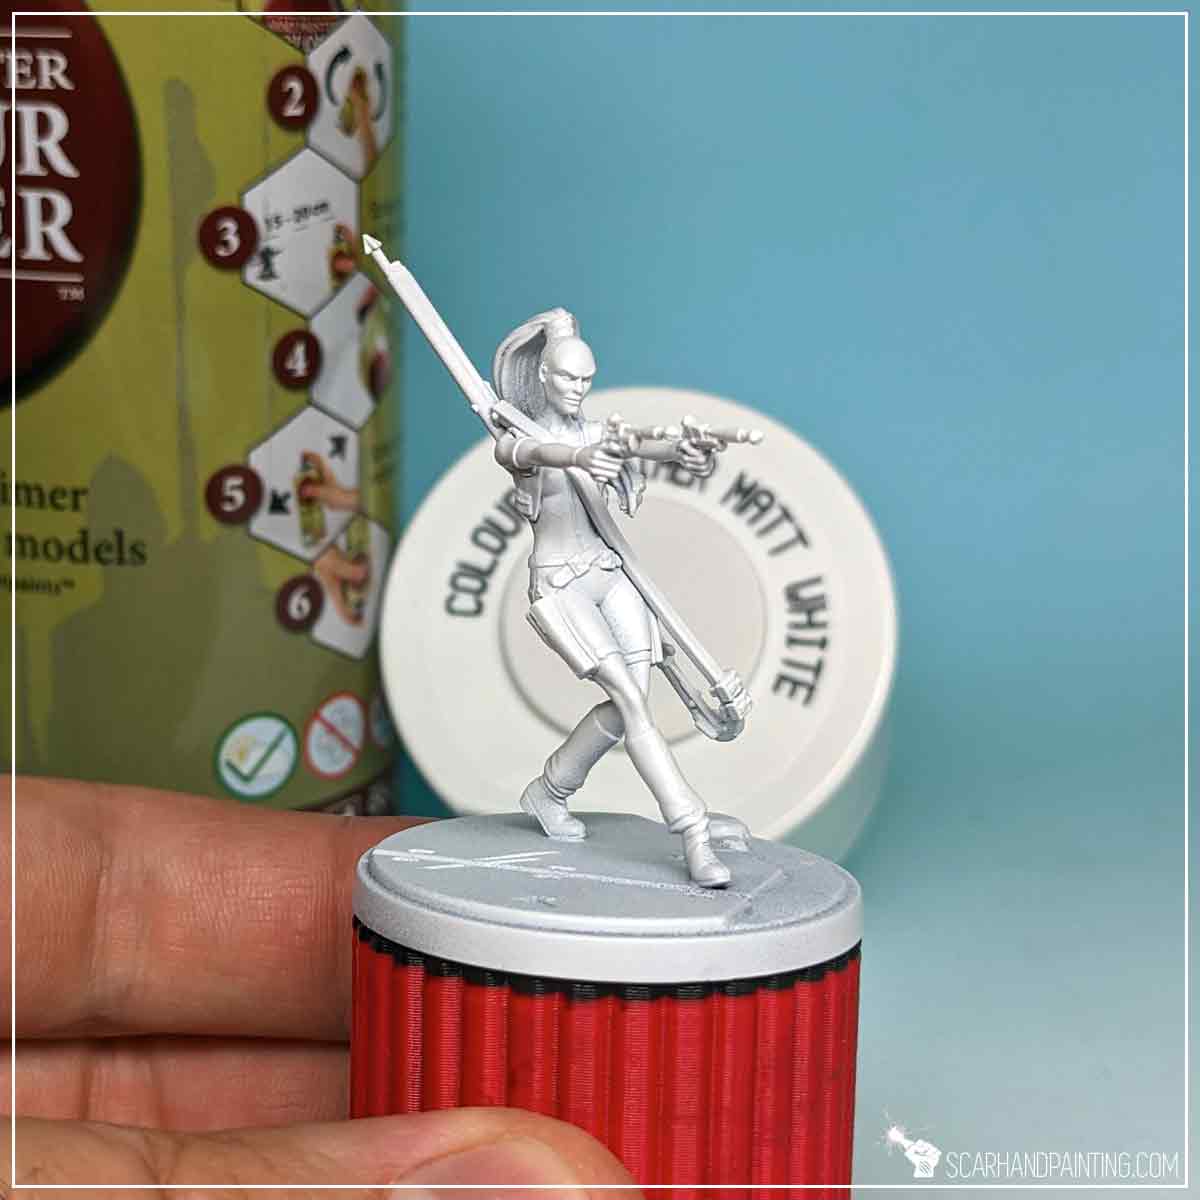
I mounted the miniatures on a stick with a piece of Blu-Tack, then undercoated them with The Army Painter White Matt Primer.
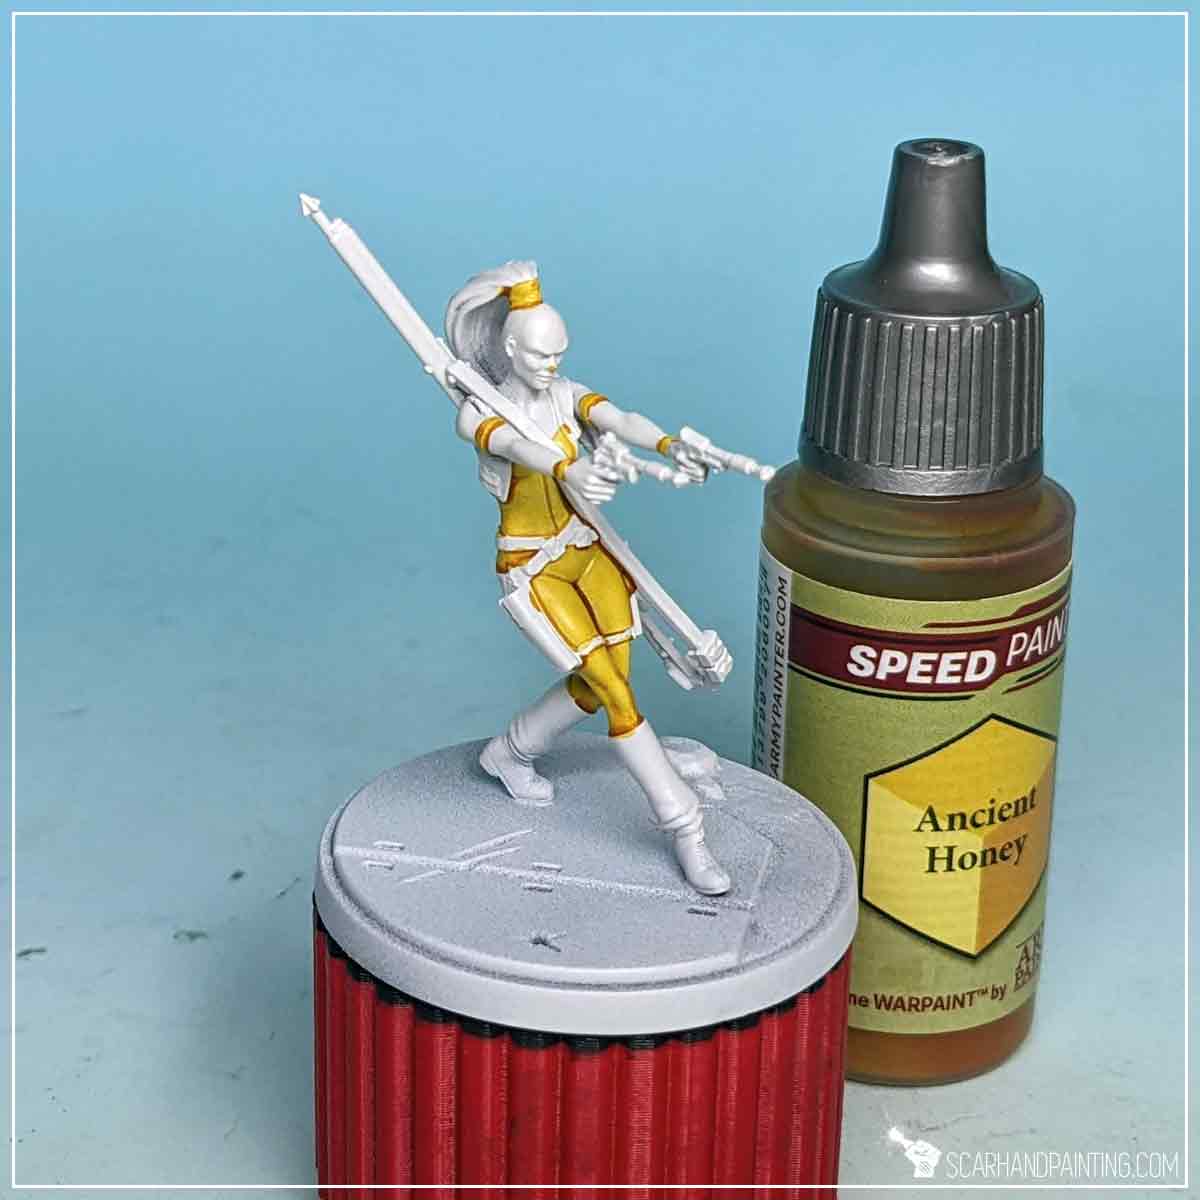
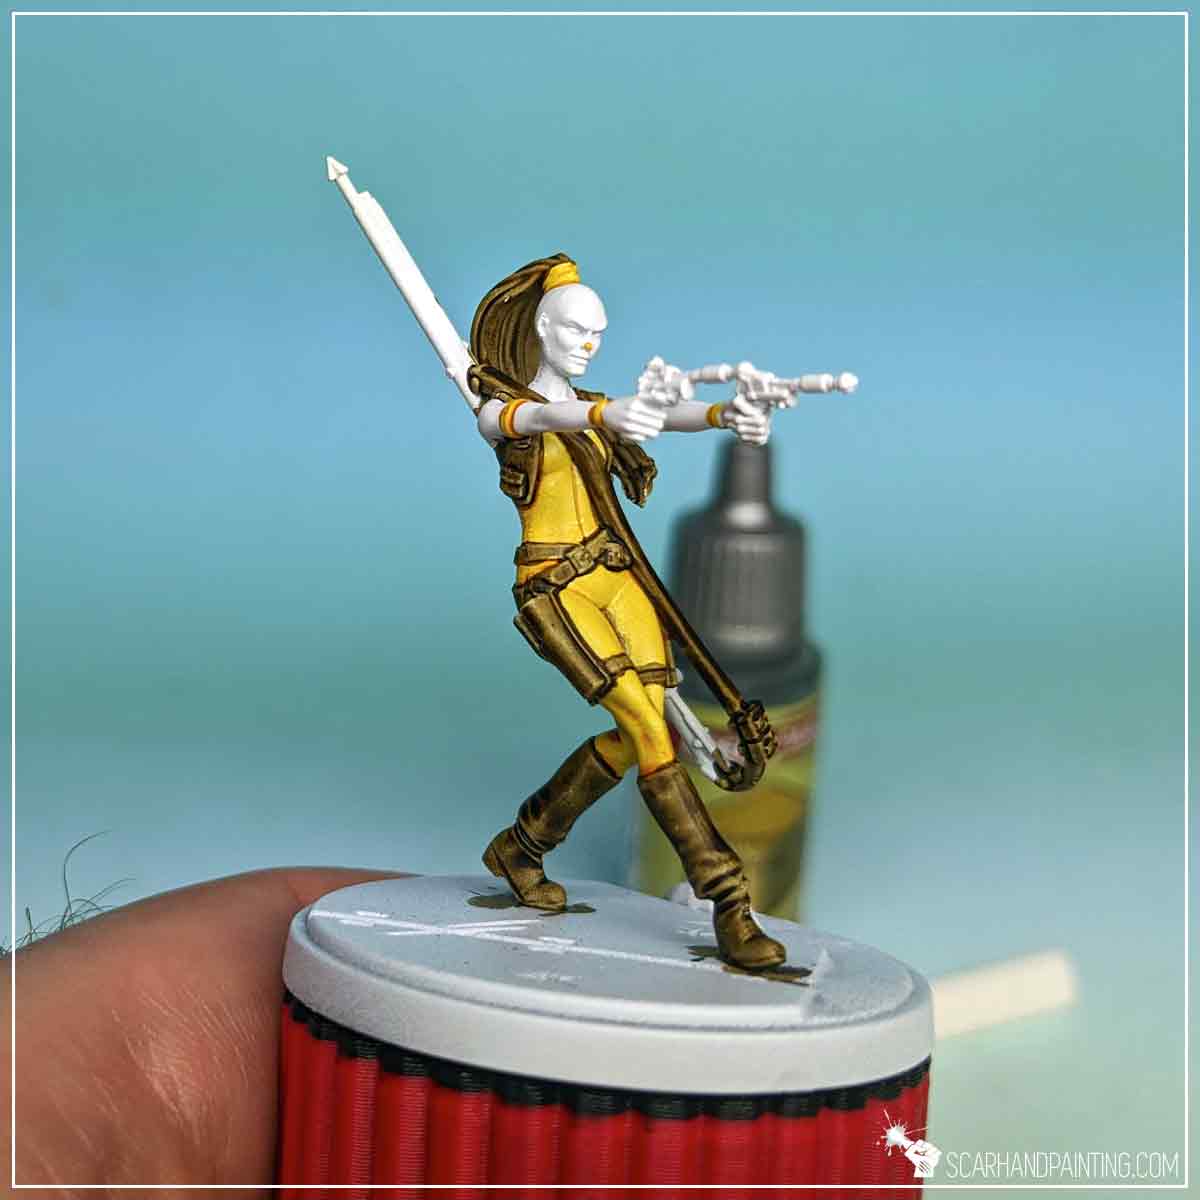
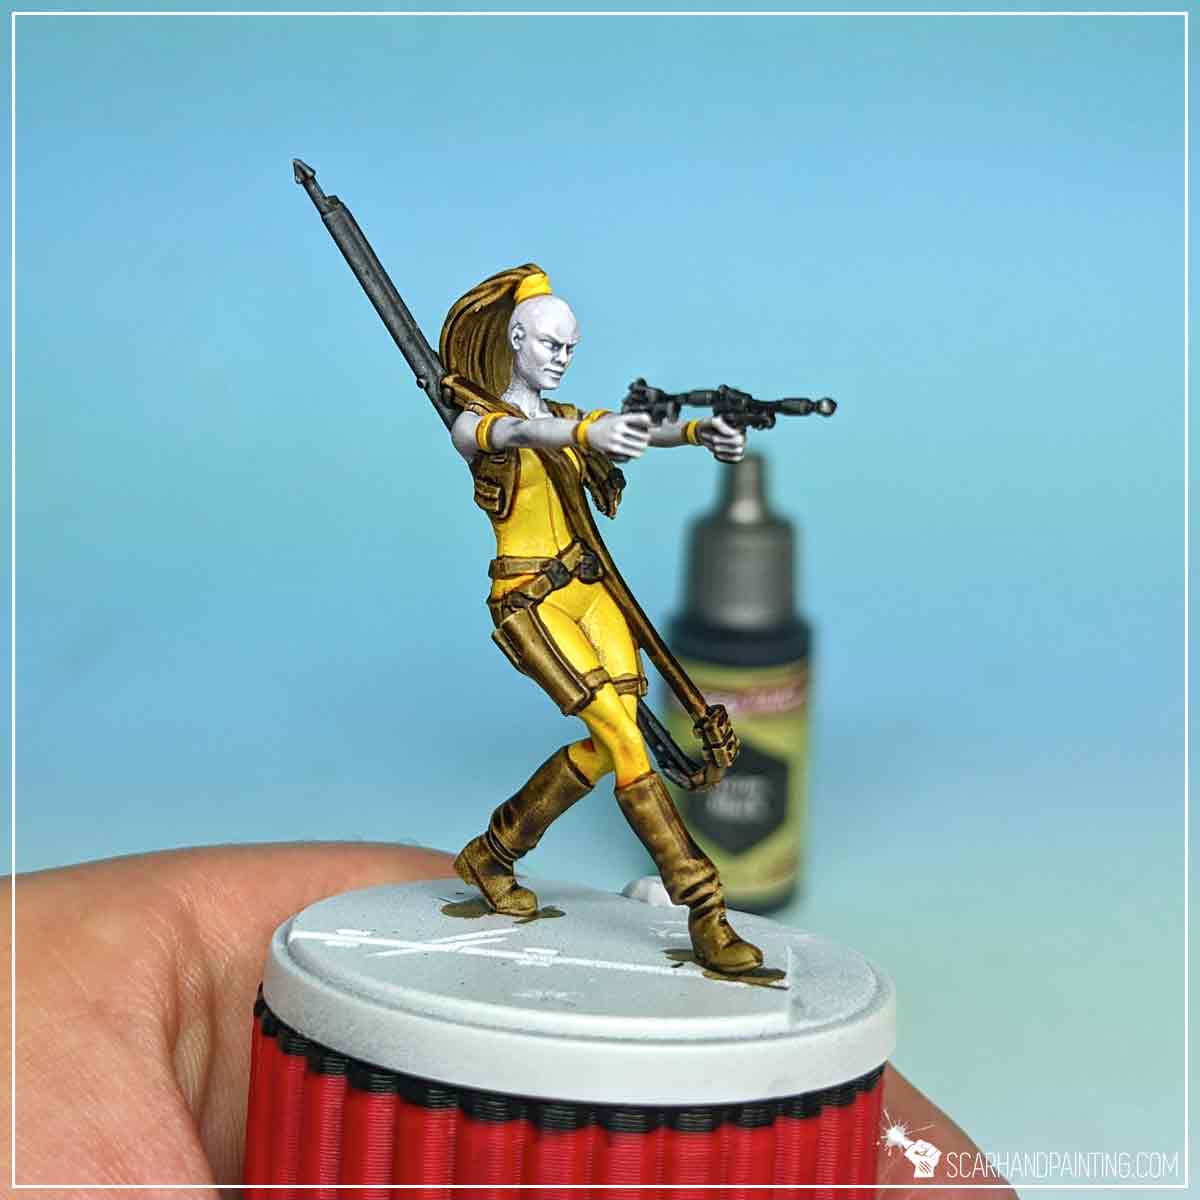
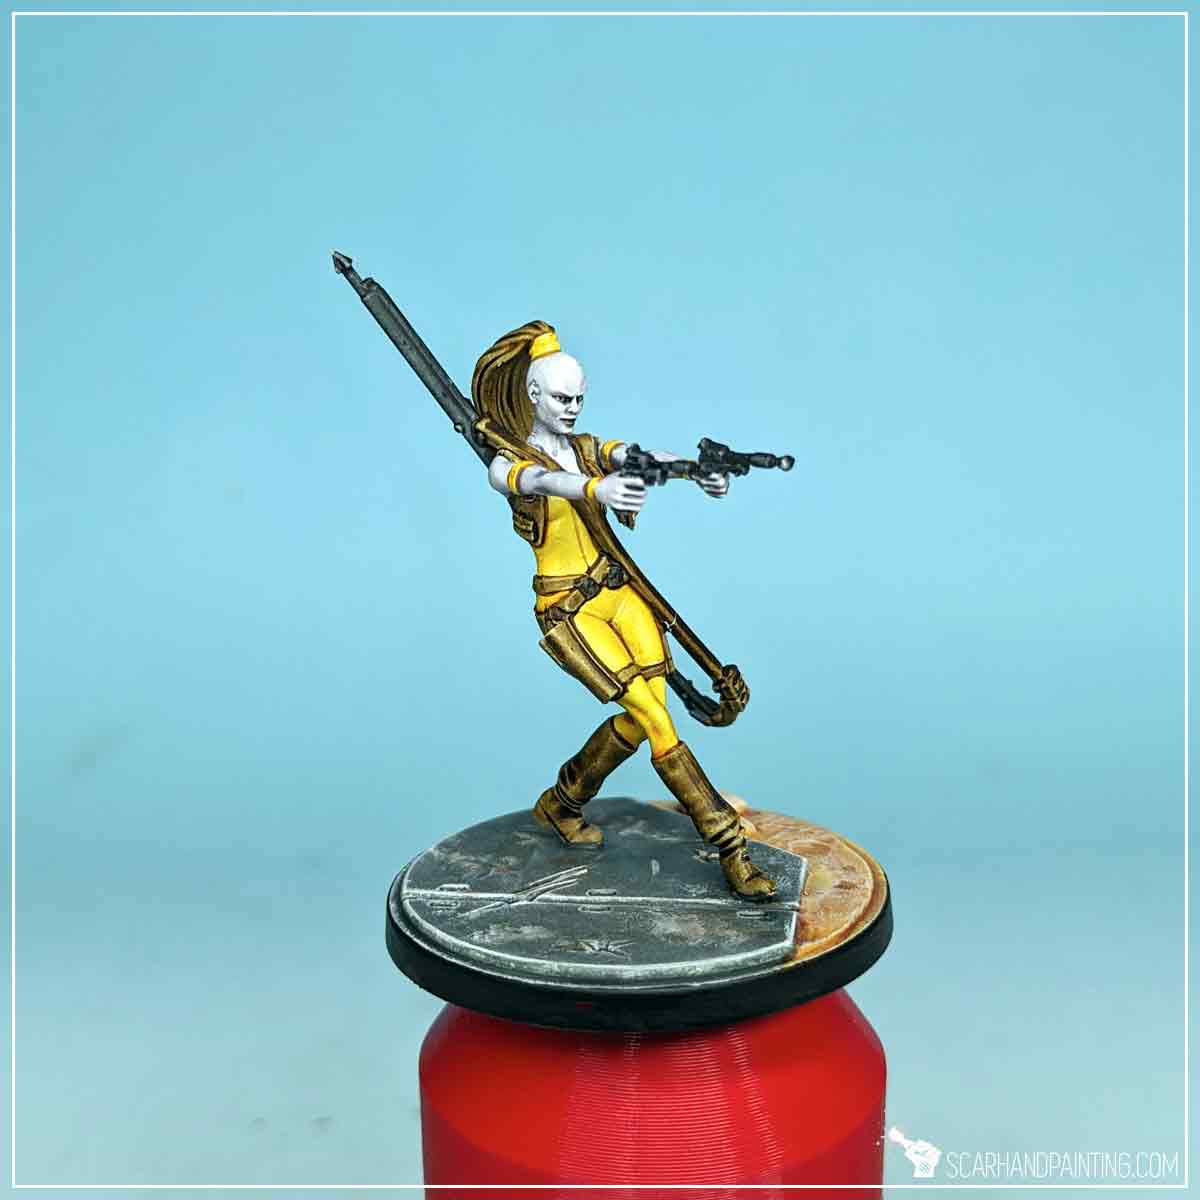
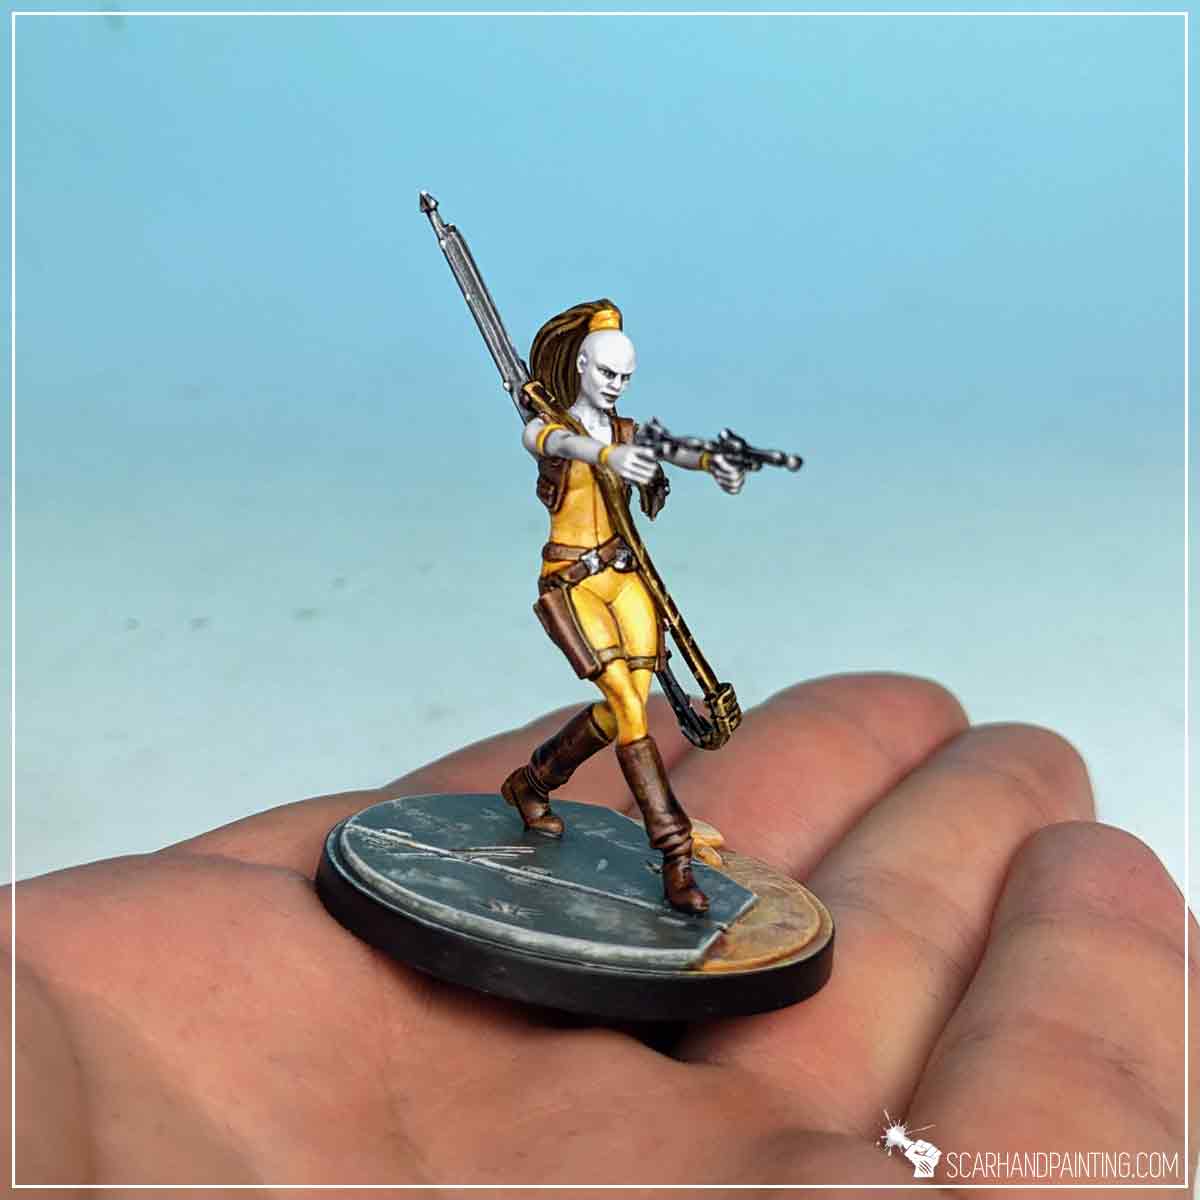
Aurra Sing is commonly represented in either opaque orange or yellow clothes. I decided to base this paint job on Fistful of Credits box art, so honey yellow. Using Wargamer: Character Brush I have painted all clothes with Ancient Honey Speedpaint.
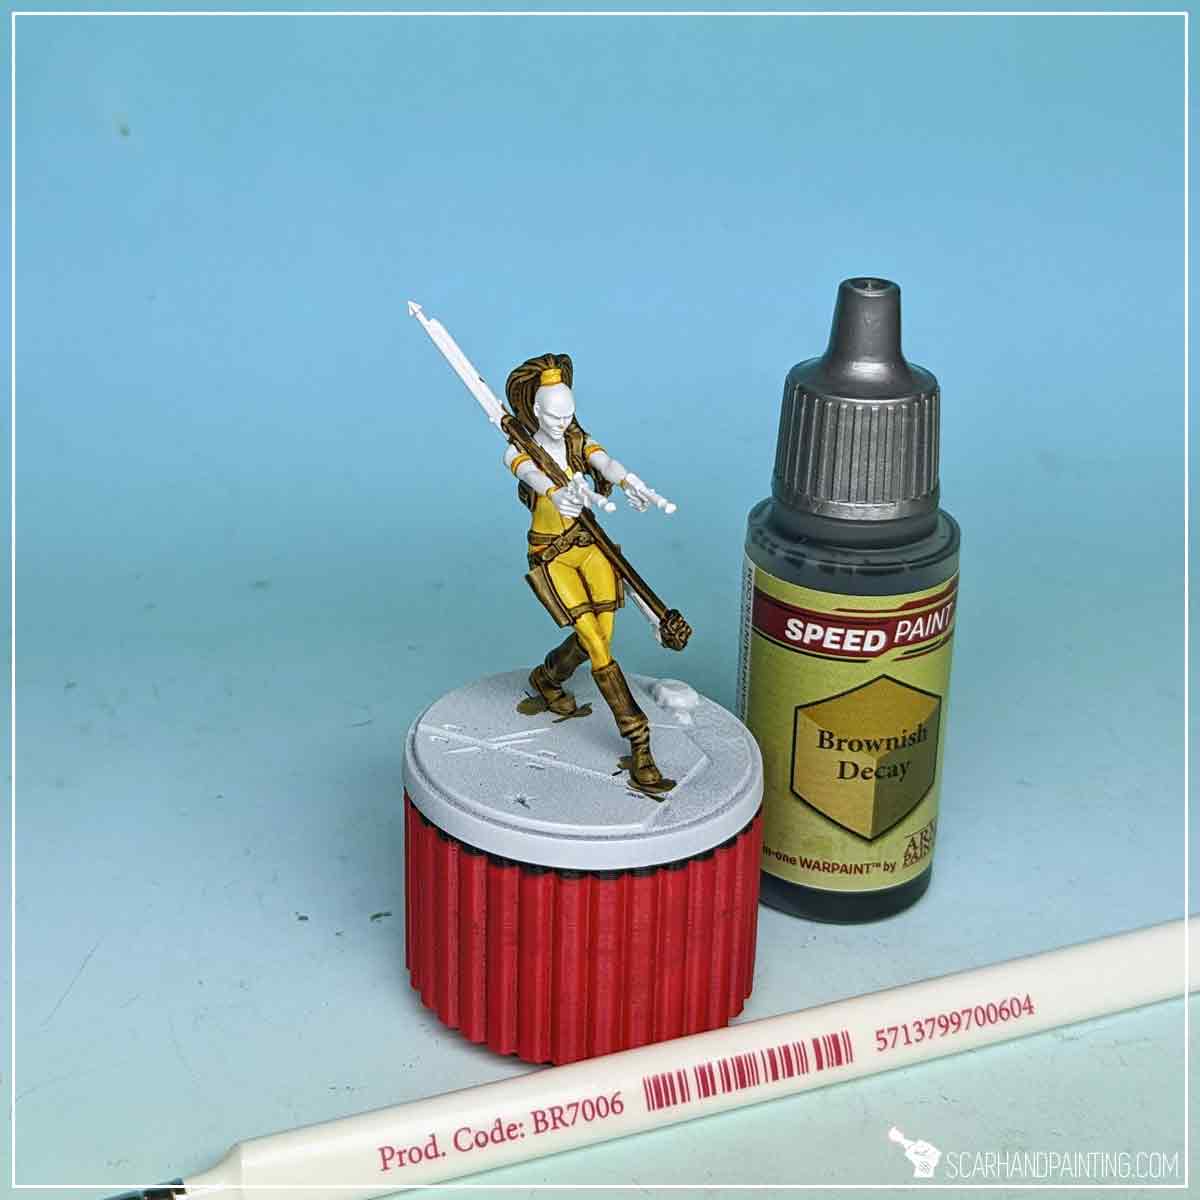
Next, using the same brush, I’ve painted boots, weapon holsters, straps, hair and vest with Brownish Decay.
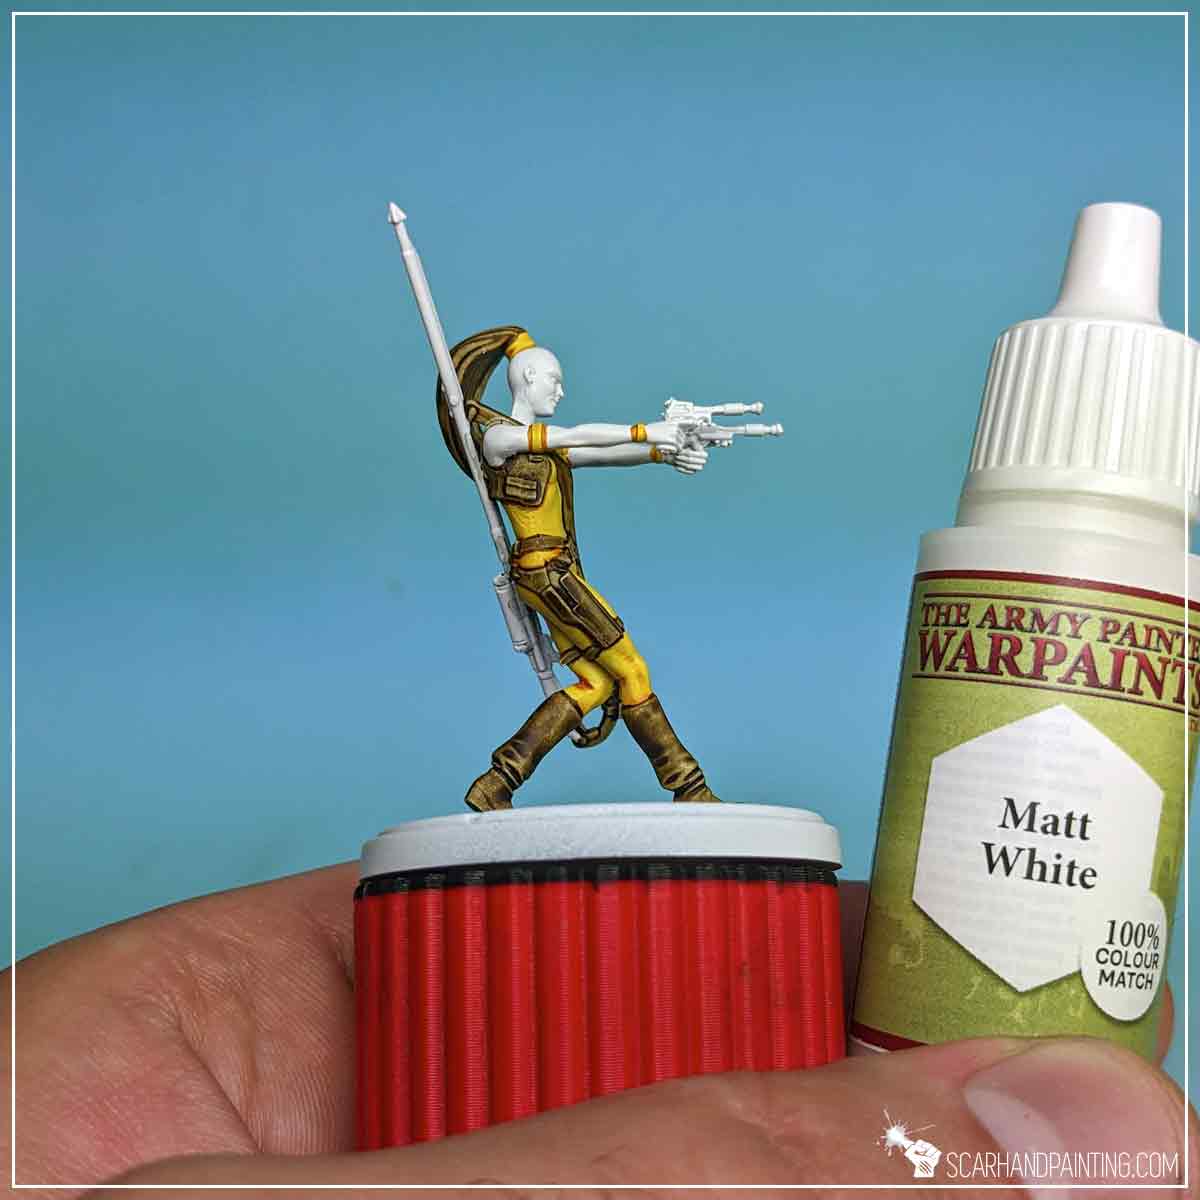
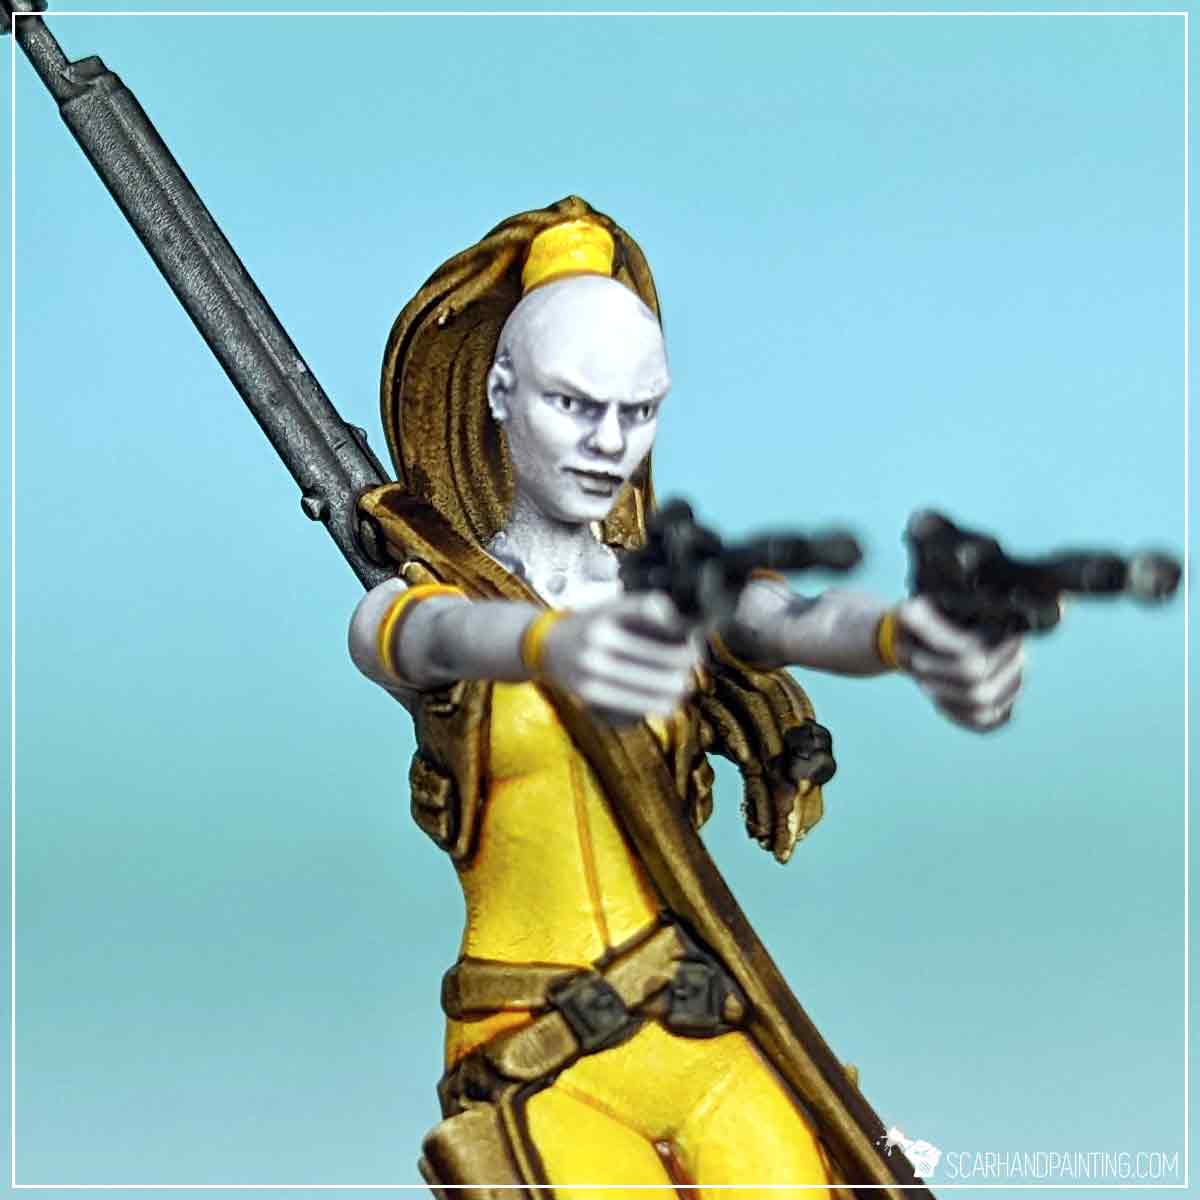
I’ve made quite a few mistakes with previous layers that I have corrected in this step using Matt White.
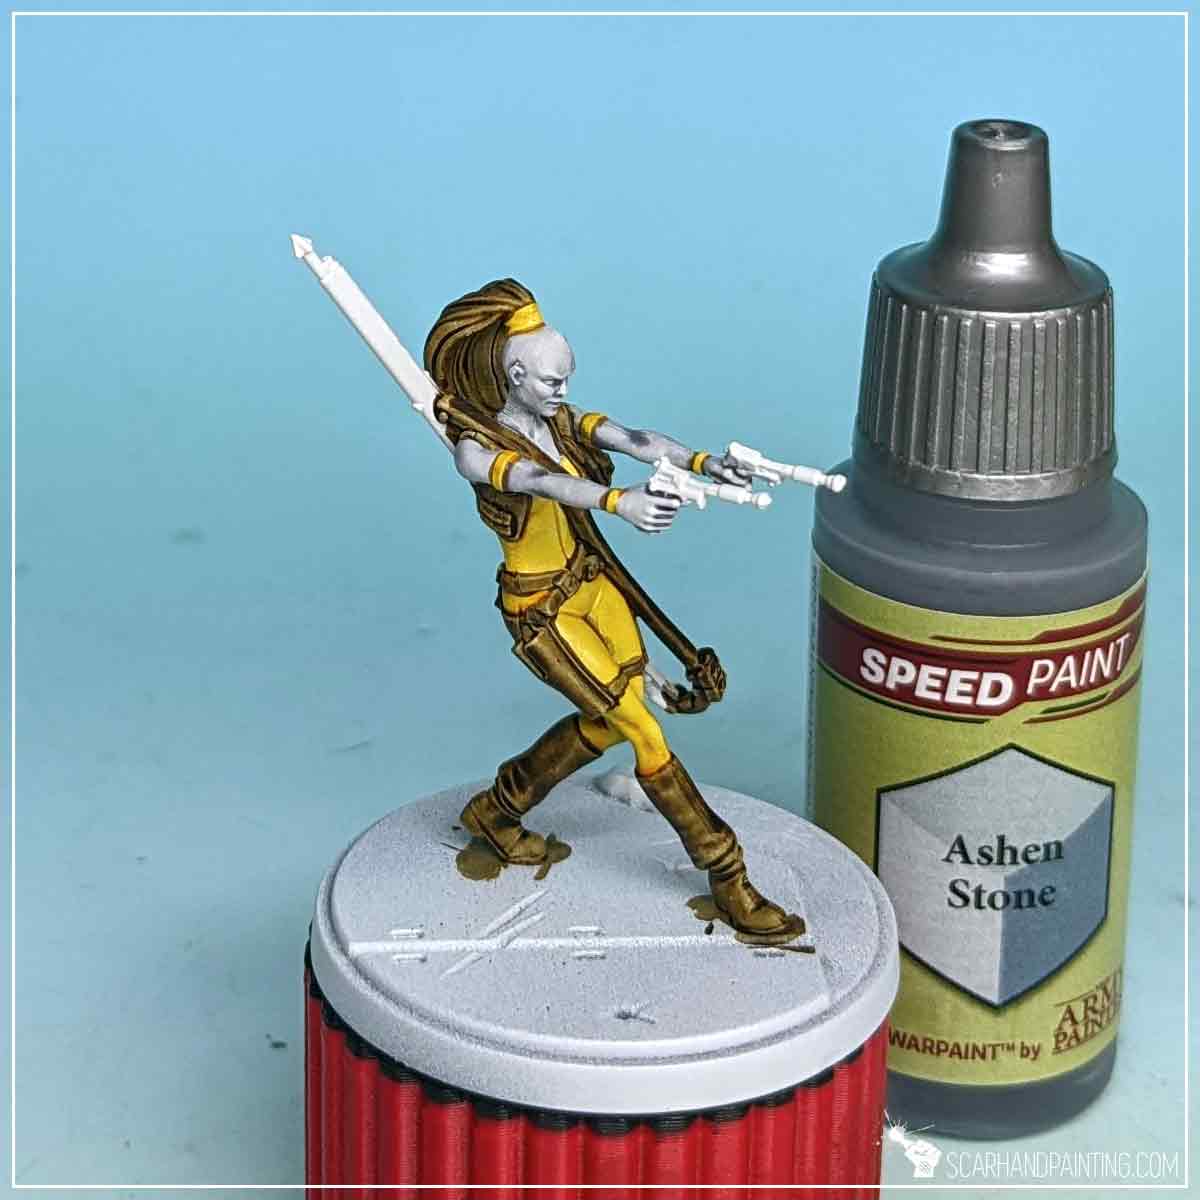
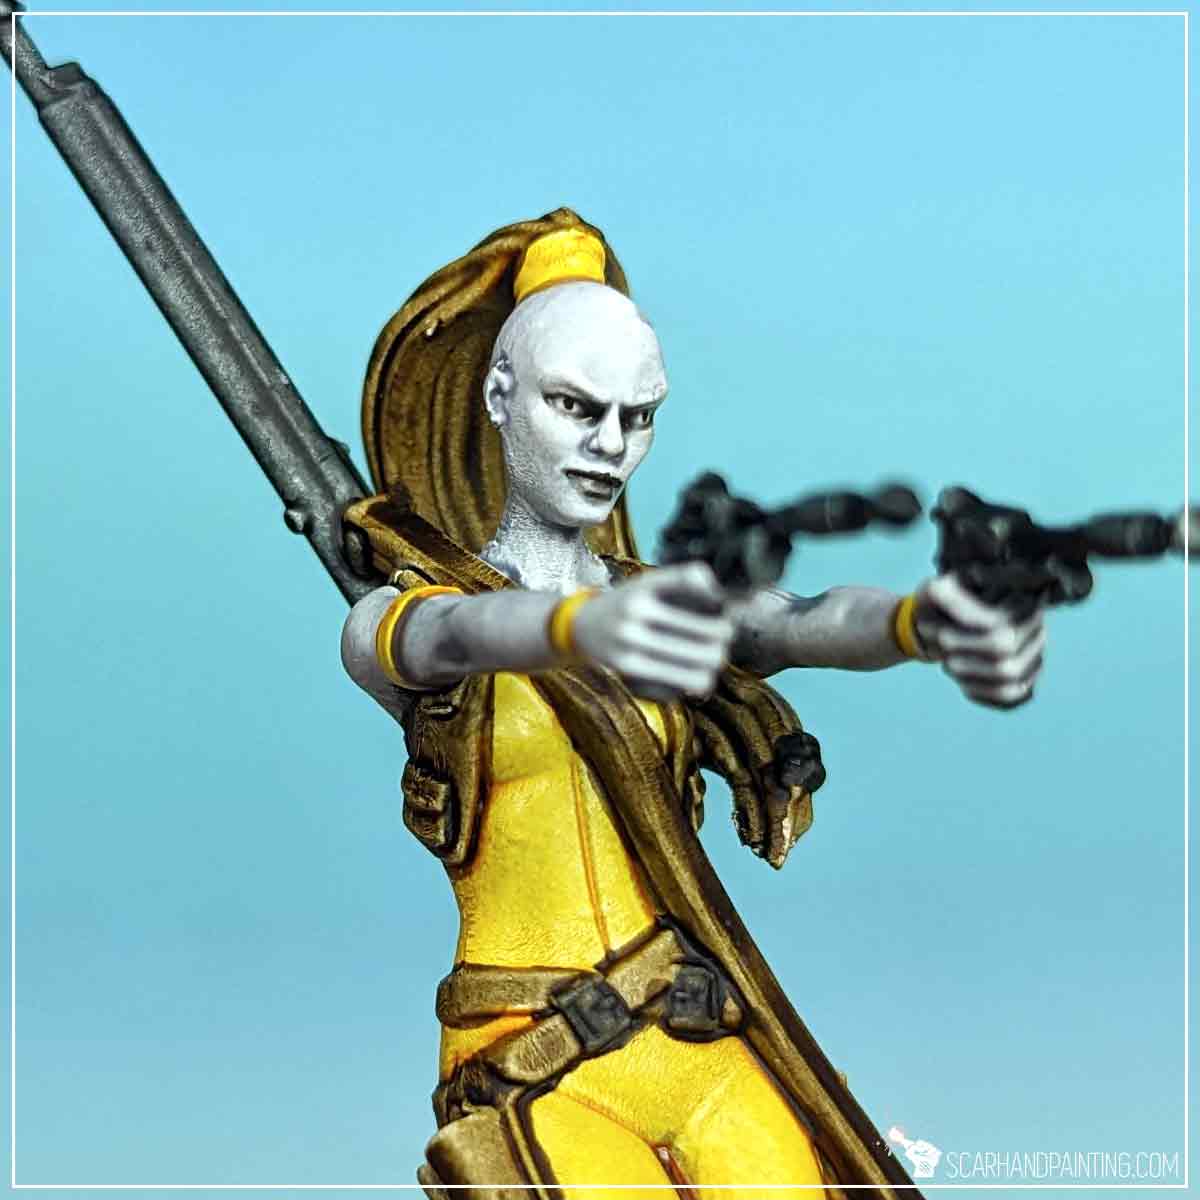
To better represent Aurra’s pale grey’ish skin tone I applied a layer of Ashen Grey.
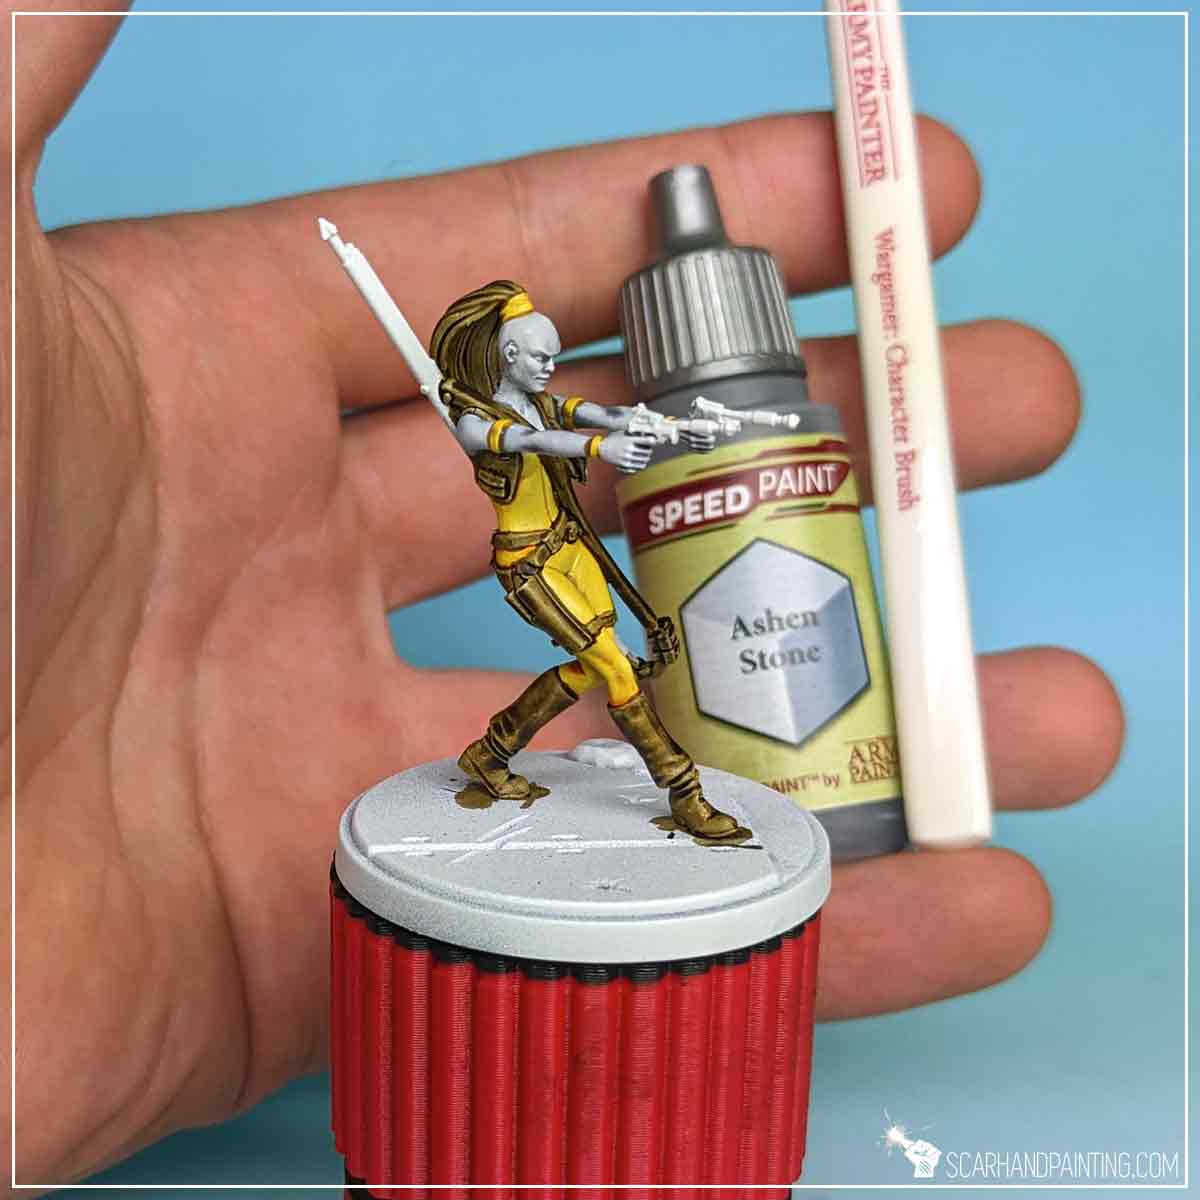
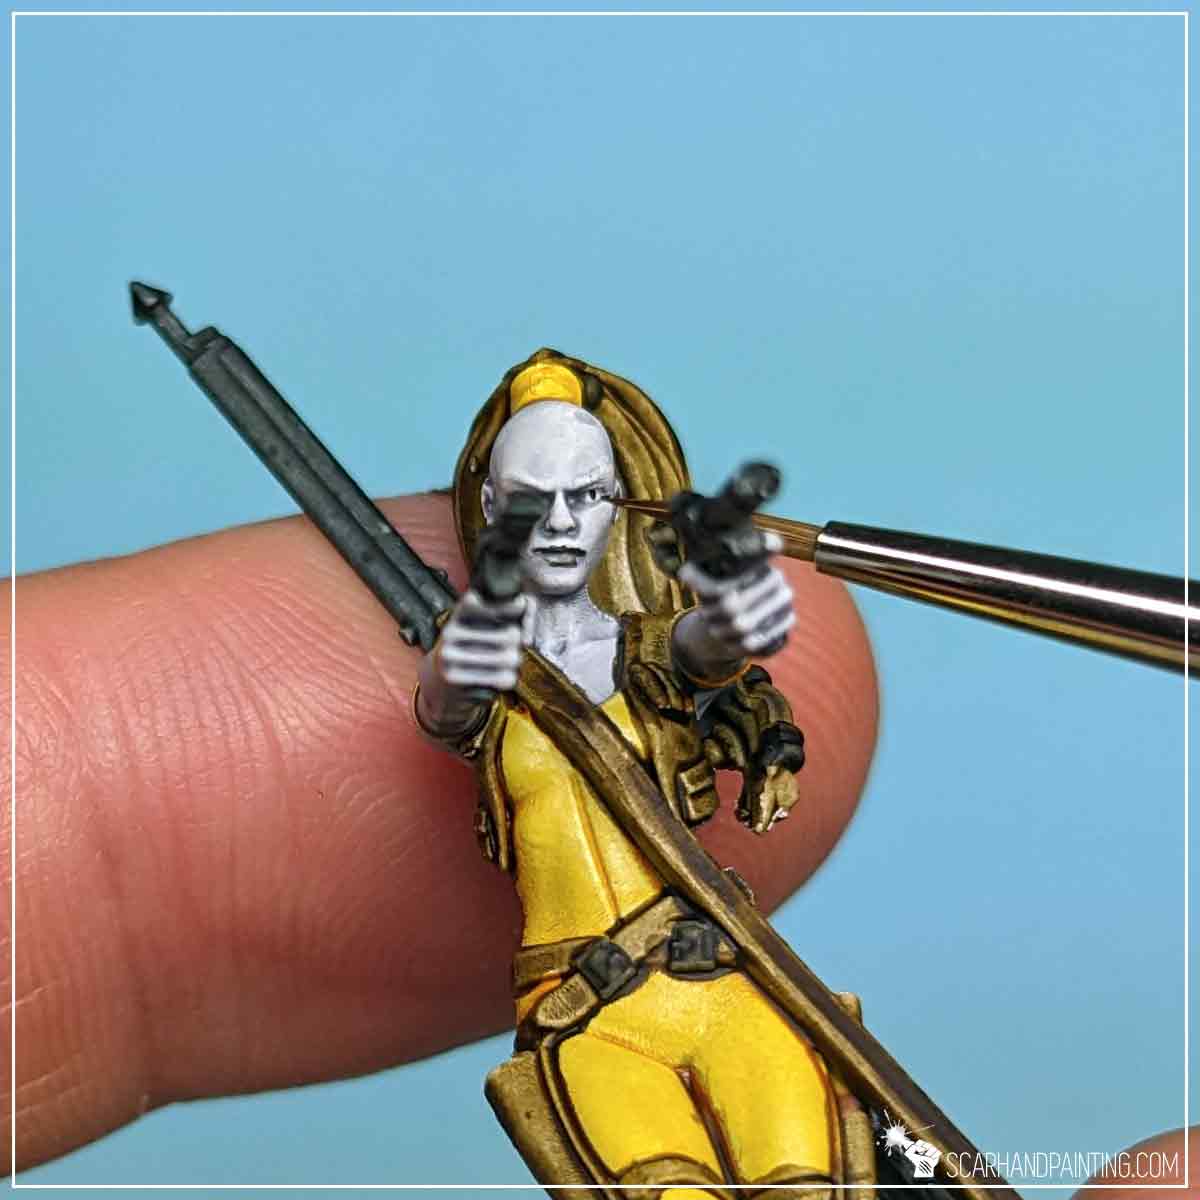
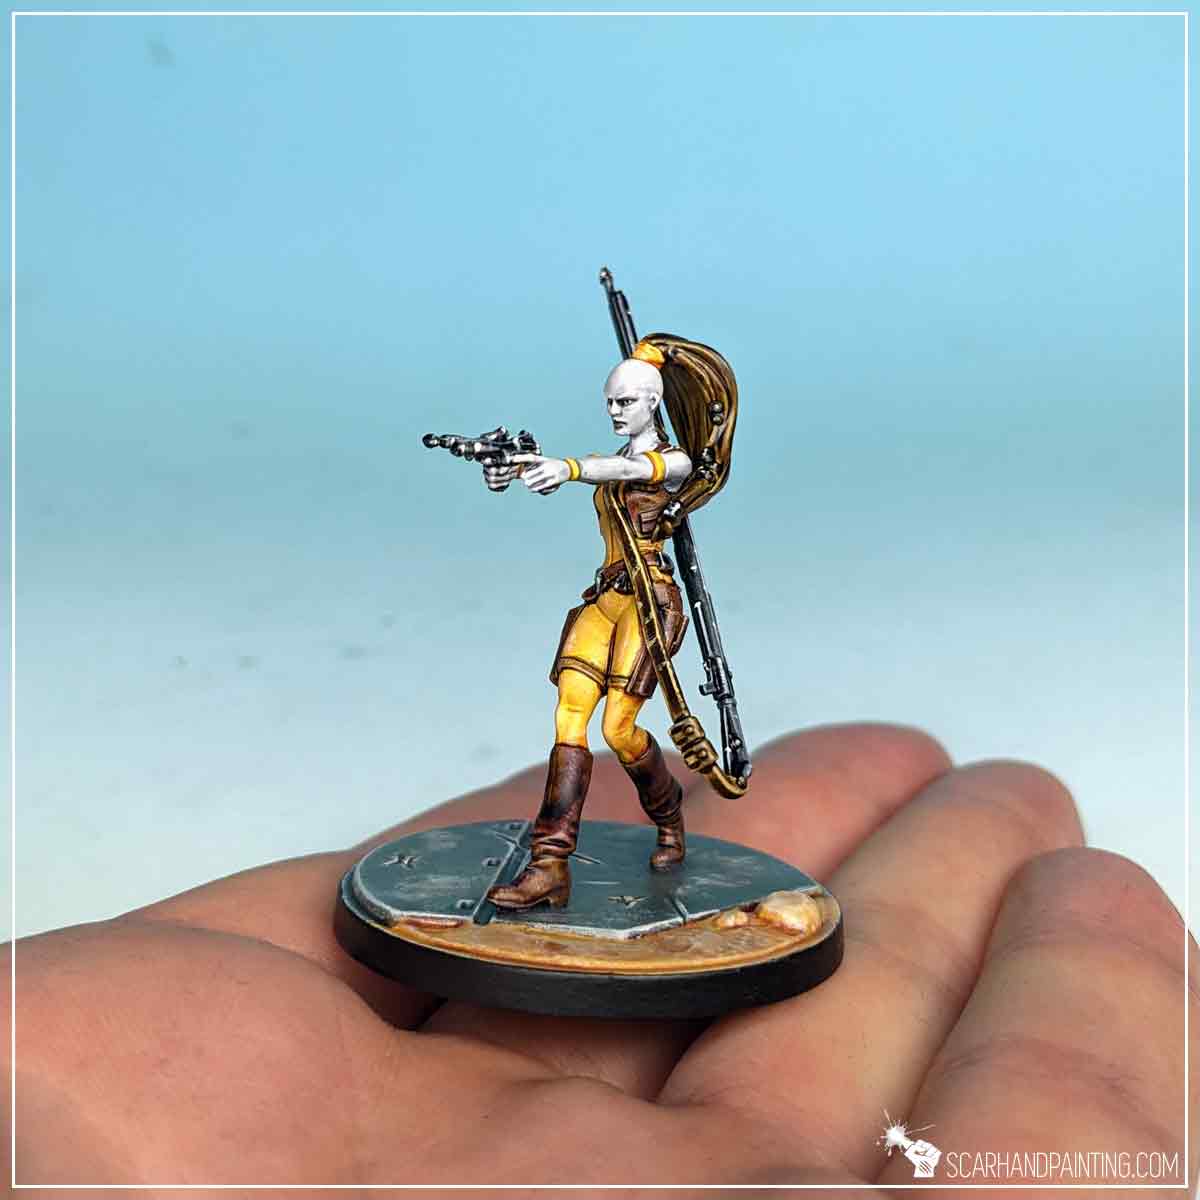
I then painted weapons, strap buckles and hair jewelry with Grim Black Speedpaint.
Painting eyes is a craft in its own category. Fortunately for Aurra here two small dots of Matt Black followed by delicate ‘touches’ of Dark Tone wash worked like a charm. I also applied Dark Tone wash to her lips. Wargamer Detail Brush was perfect for this step.
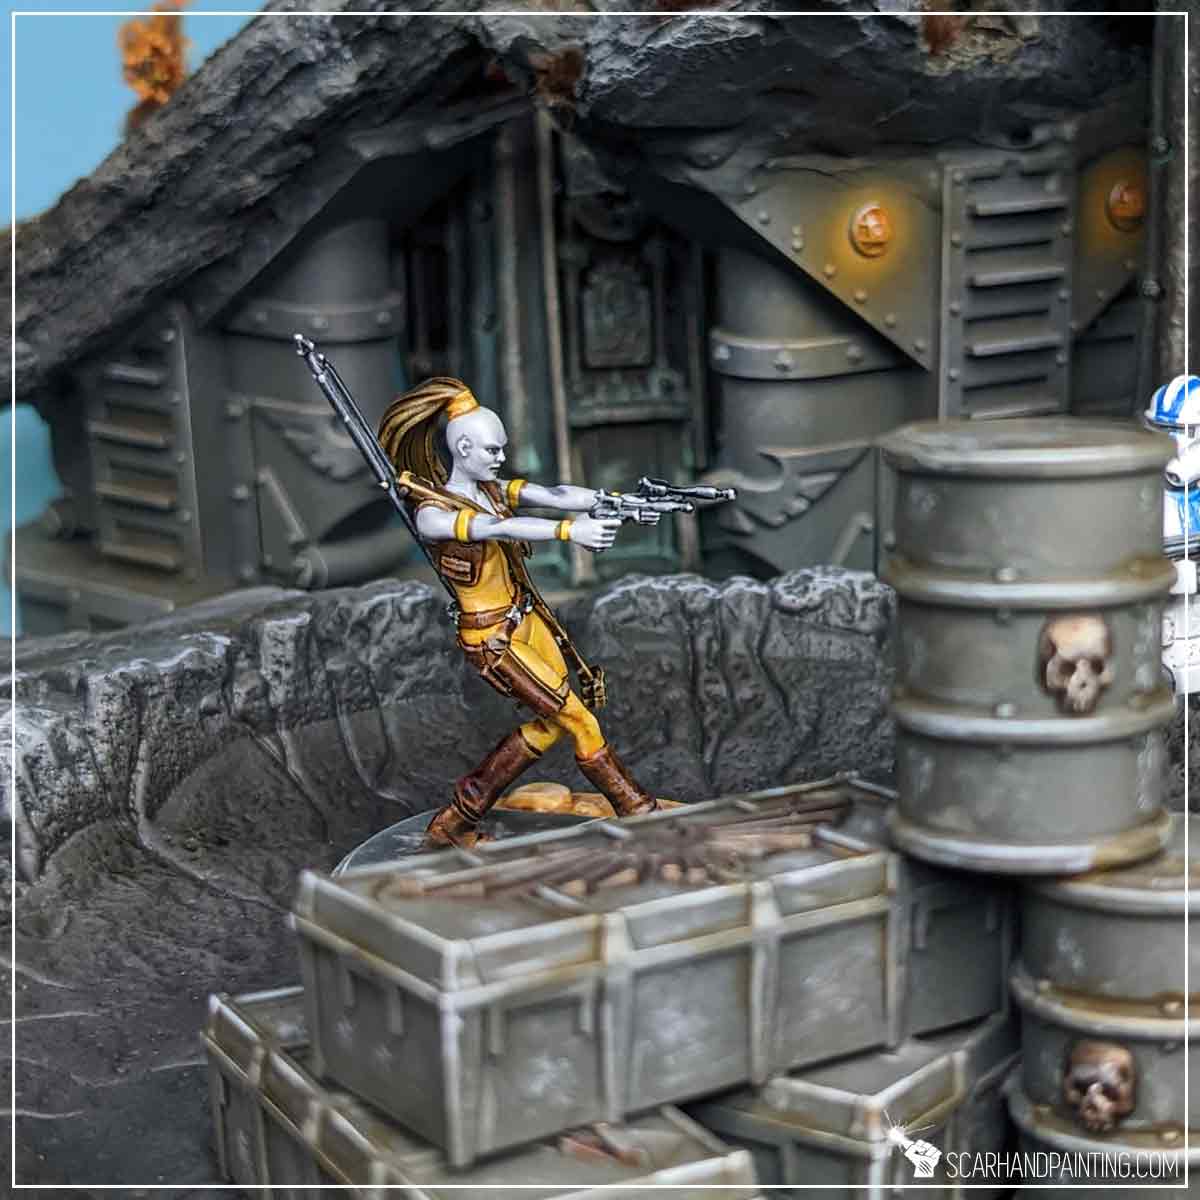
Finally I have painted the base following steps previously presented in the Tutorial: Painting Star Wars Shatterpoint Clone Troopers article, at which point the basic painting process was over and the miniature might have been considered done… but why not take it further?
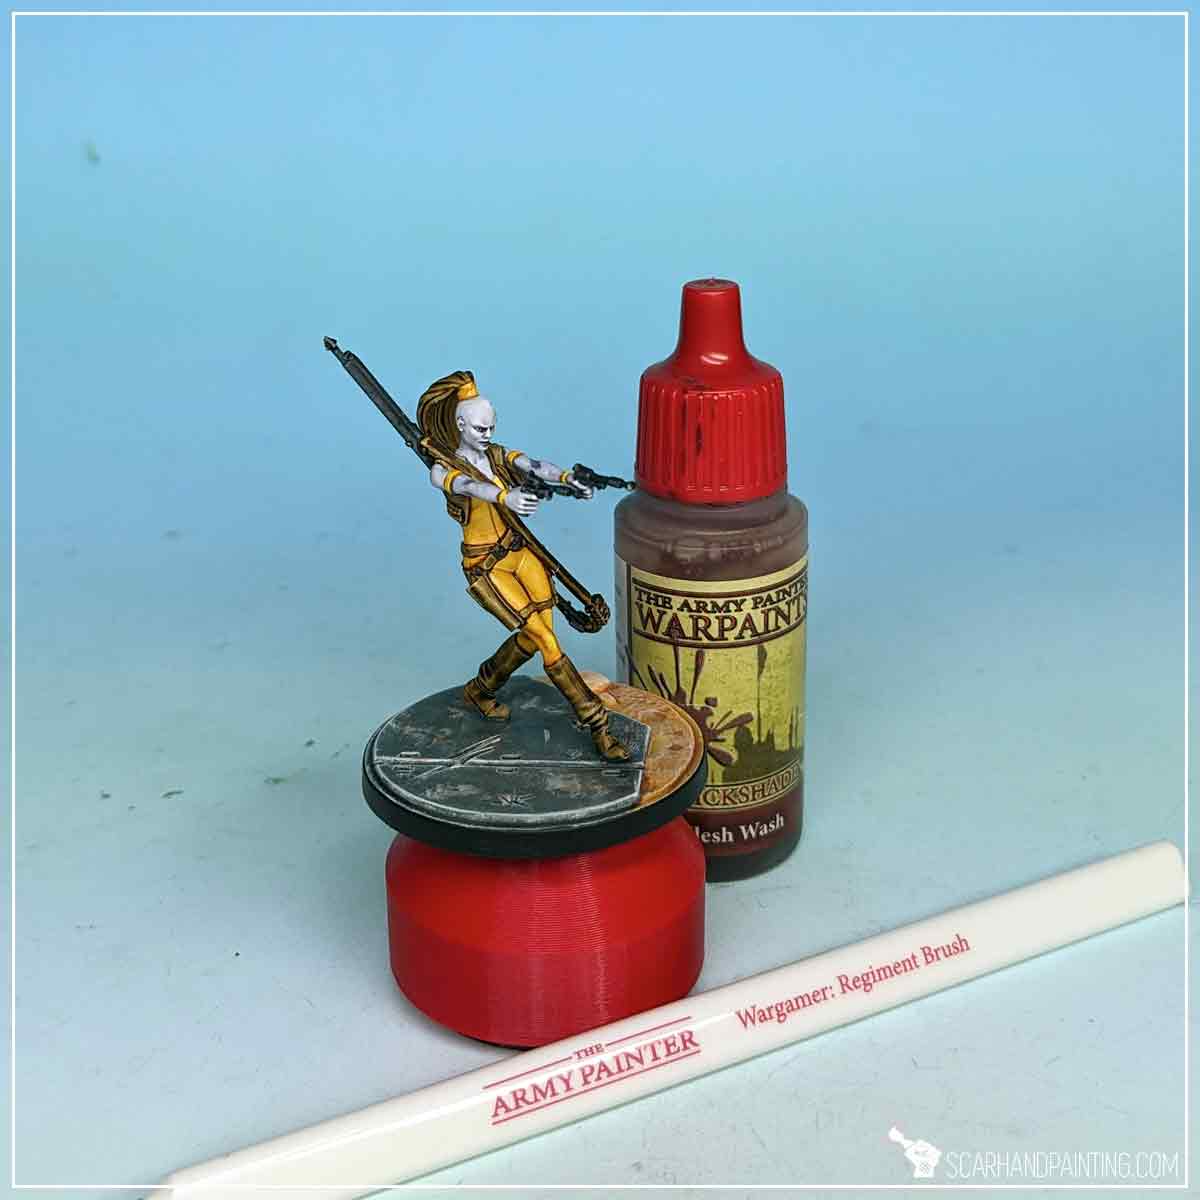
To bring more depth to Aurra’s clothes I applied a layer of Flesh Wash.
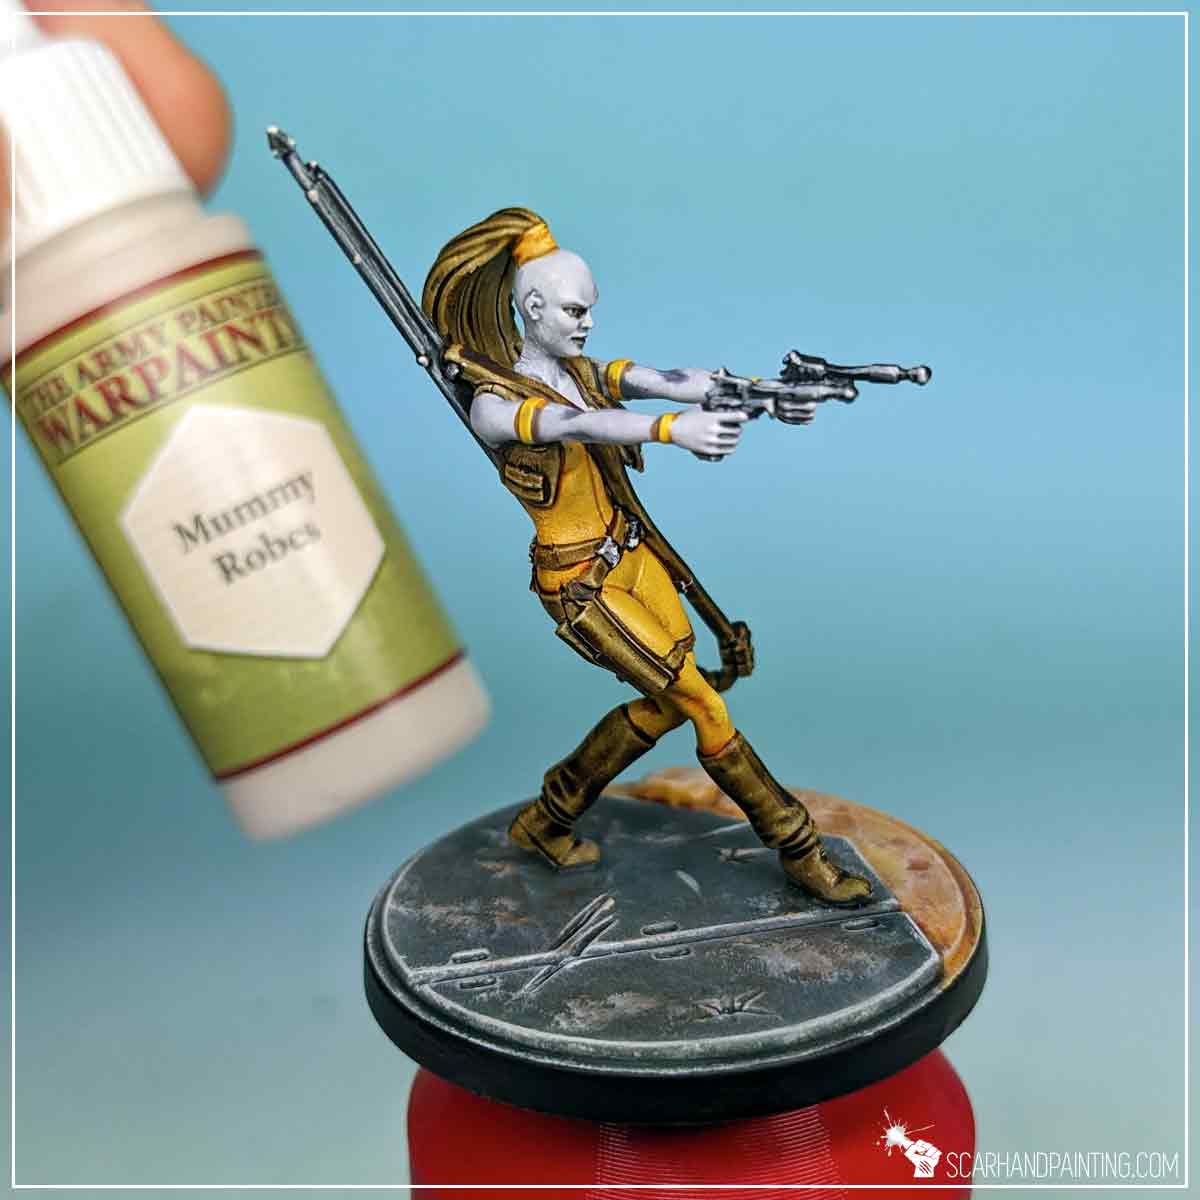
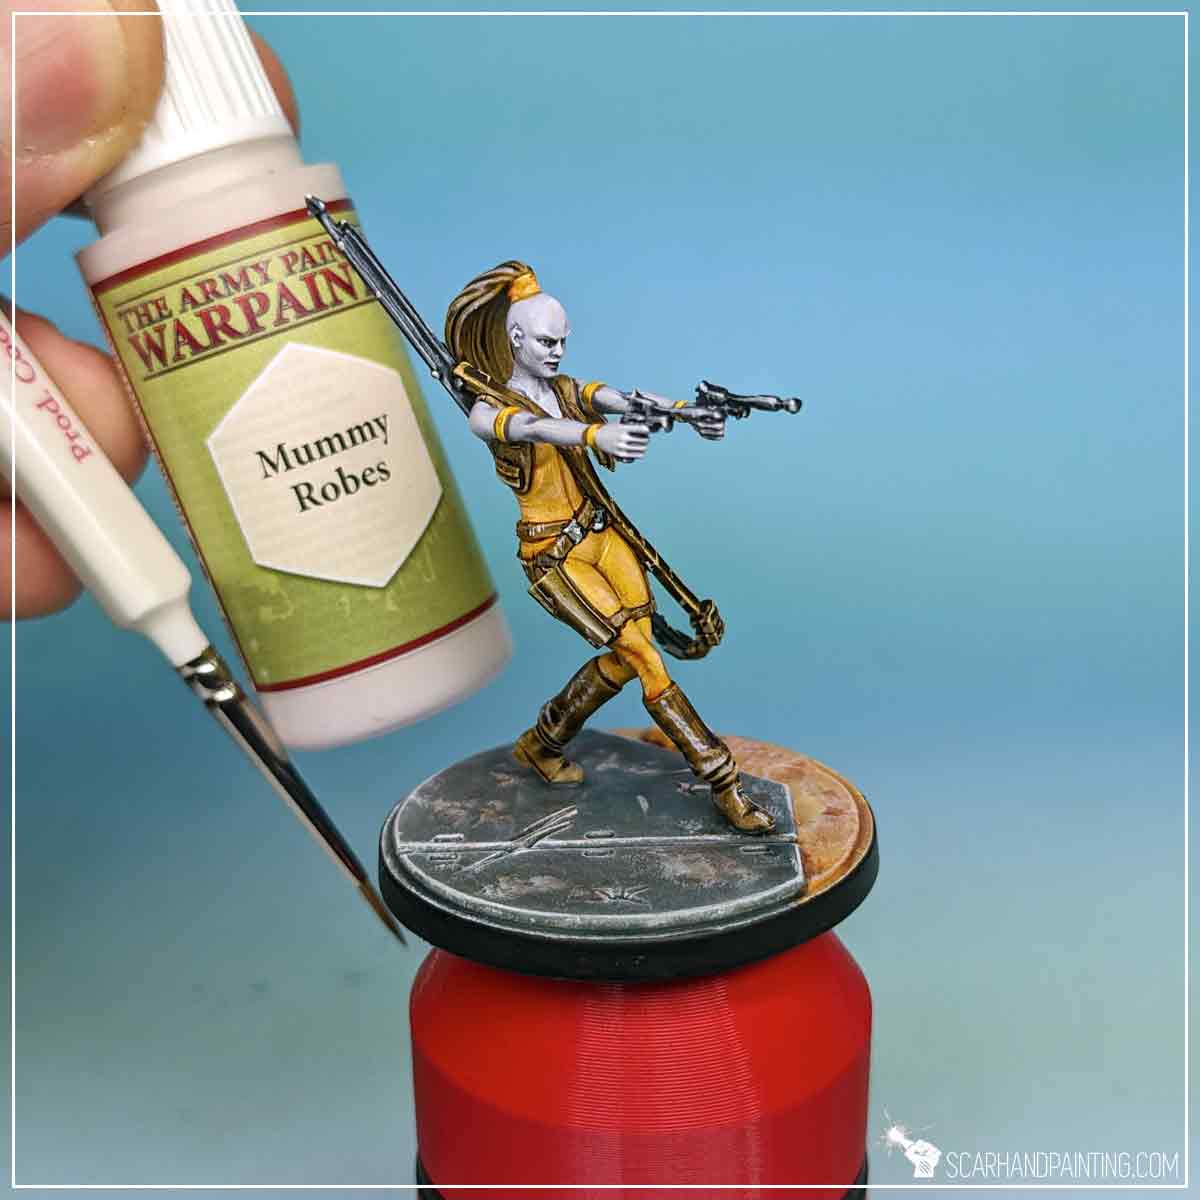
With Wargamer: Detail Brush I applied thin lines of Mummy Robes to the sharp edges of weapons and strap buckles. I also applied a few tiny dots to selected spots on weapons, buckles and hair jewelry. Dots of bright colors create focus points that result in more contrast within a particular color range.
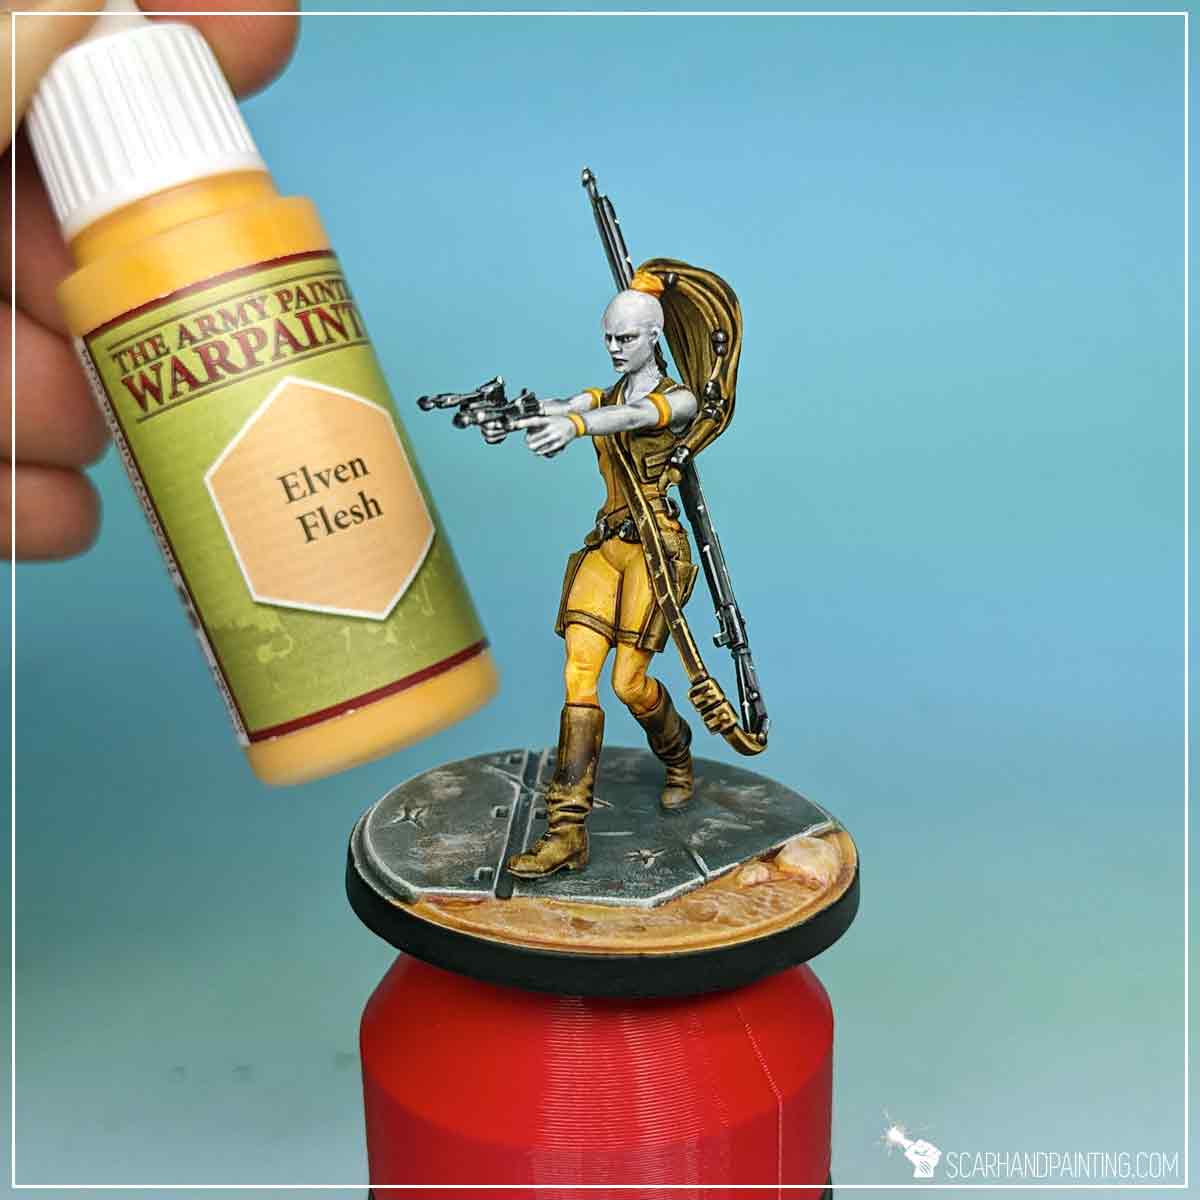
Next I applied similar lines and dots to the weapon strap with Elven Flesh color.
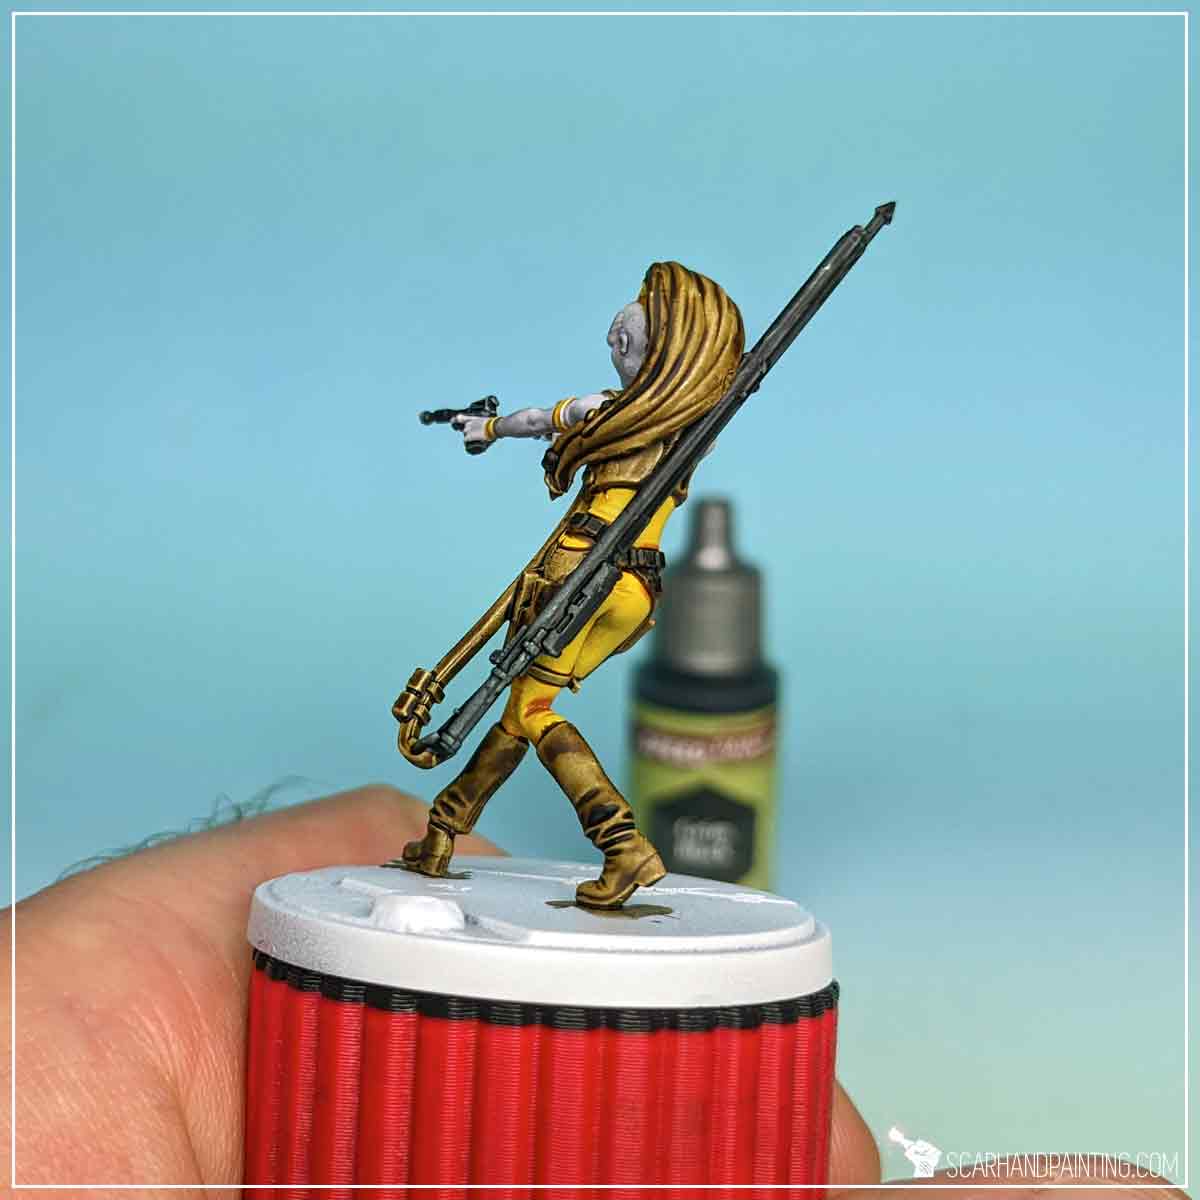
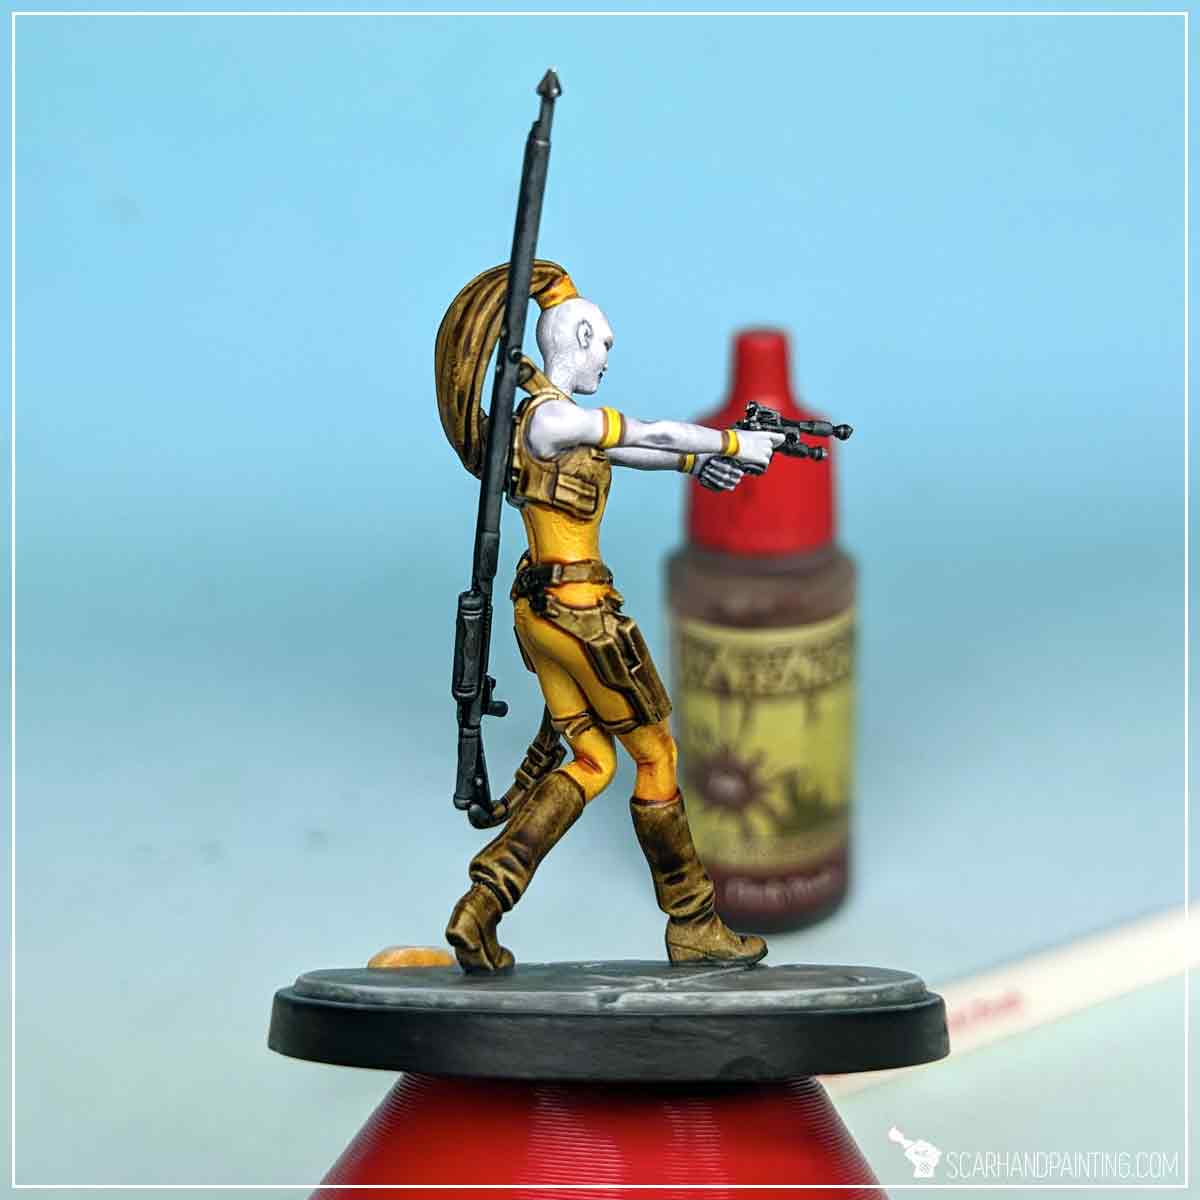
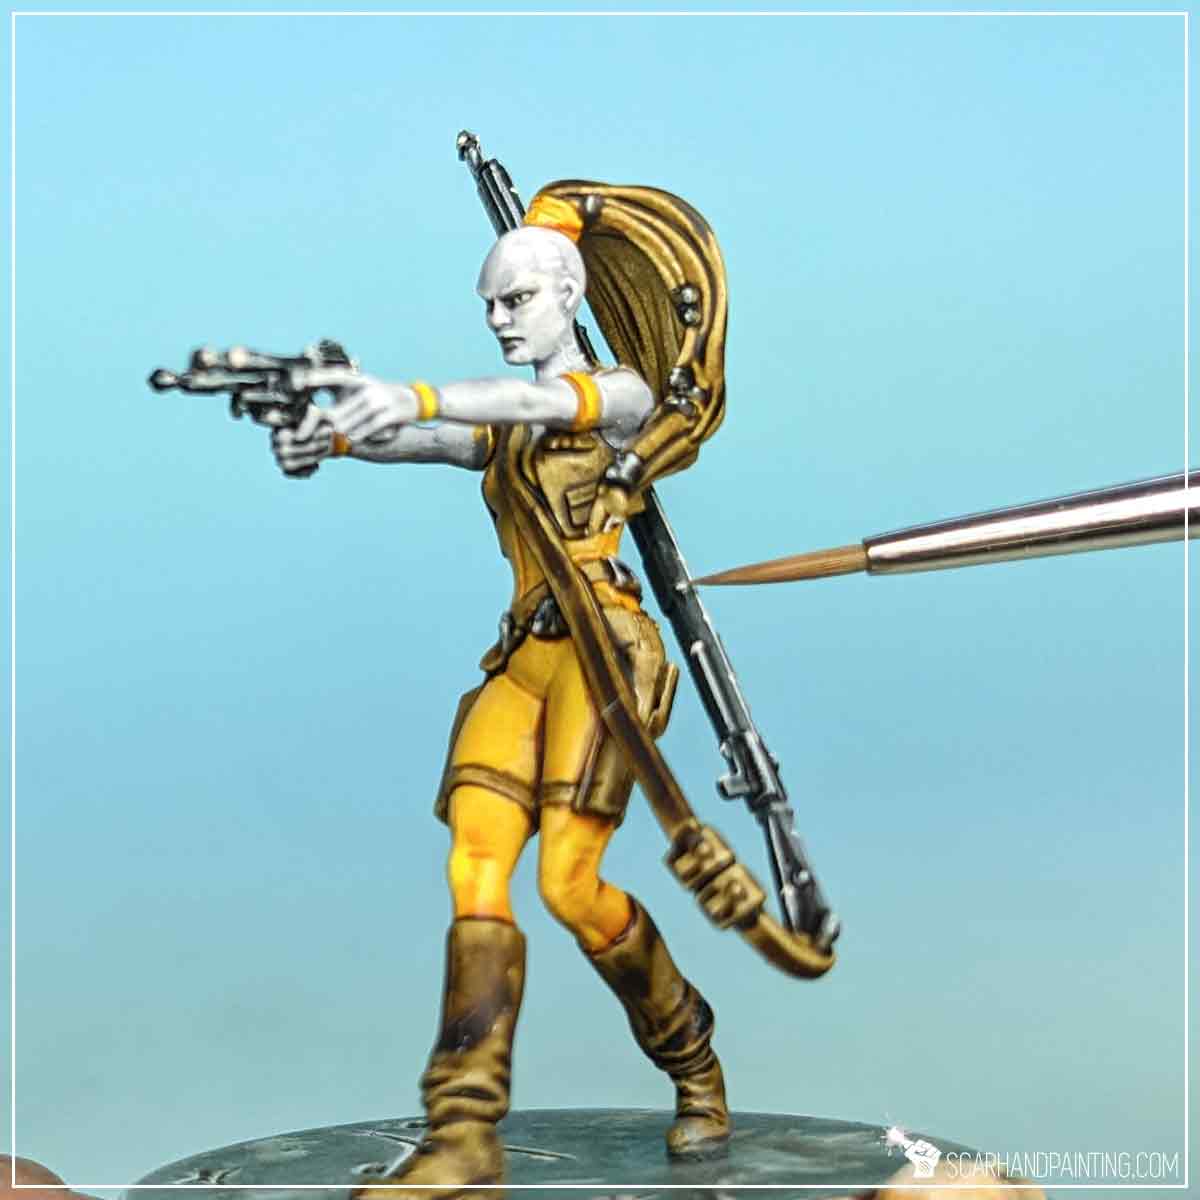
All other browns, including straps, hair, boots and weapon holsters, I have highlighted with lines and dots of Mummy Robes to prepare them for upcoming color filters.
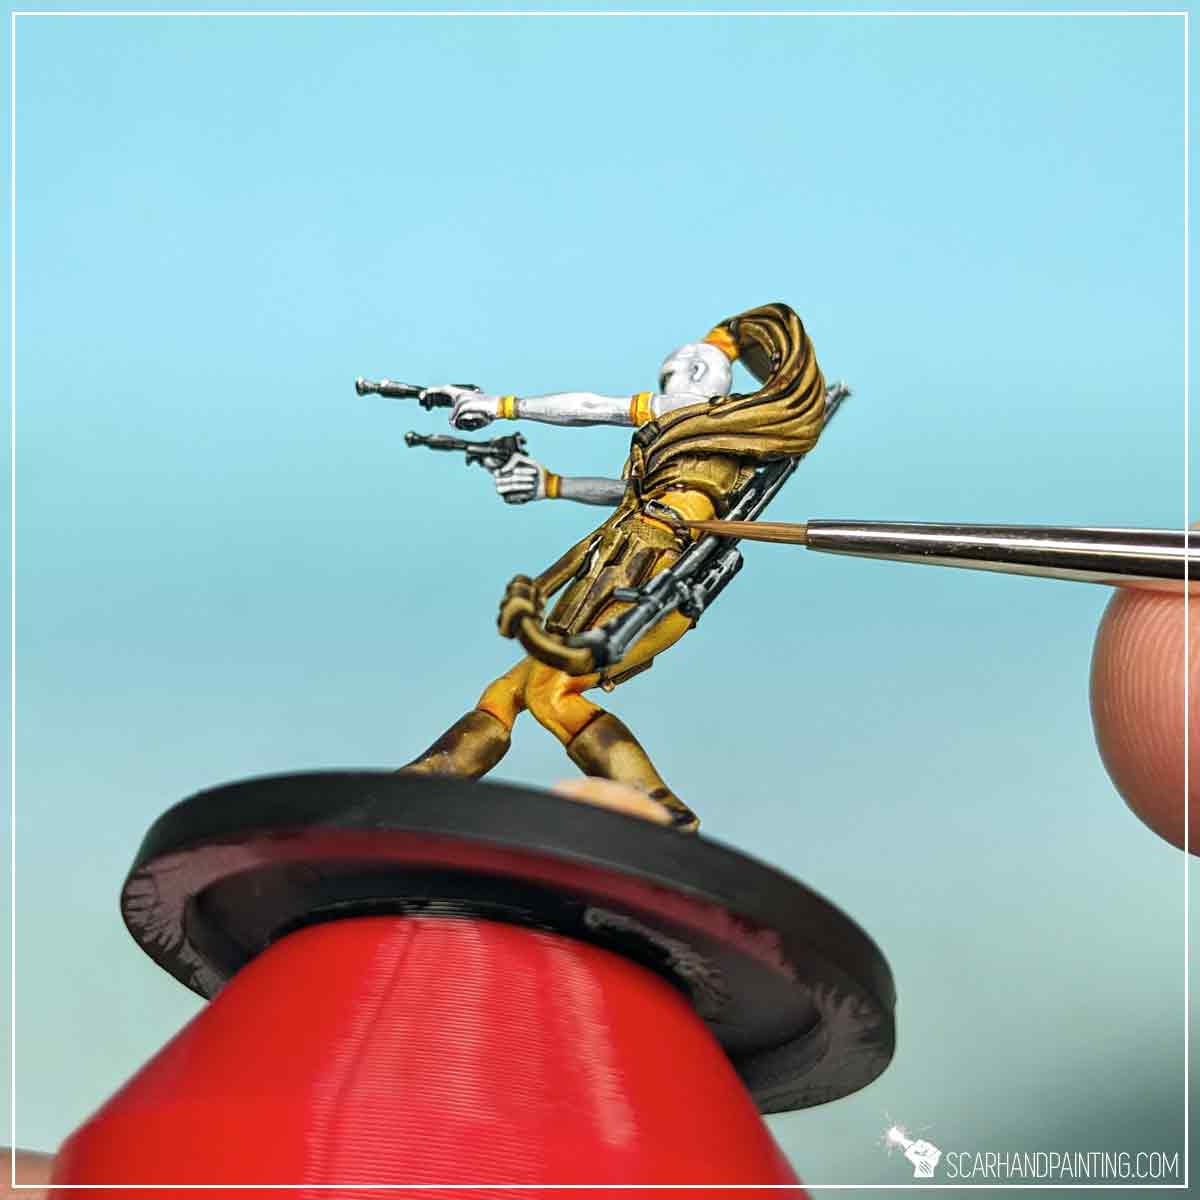
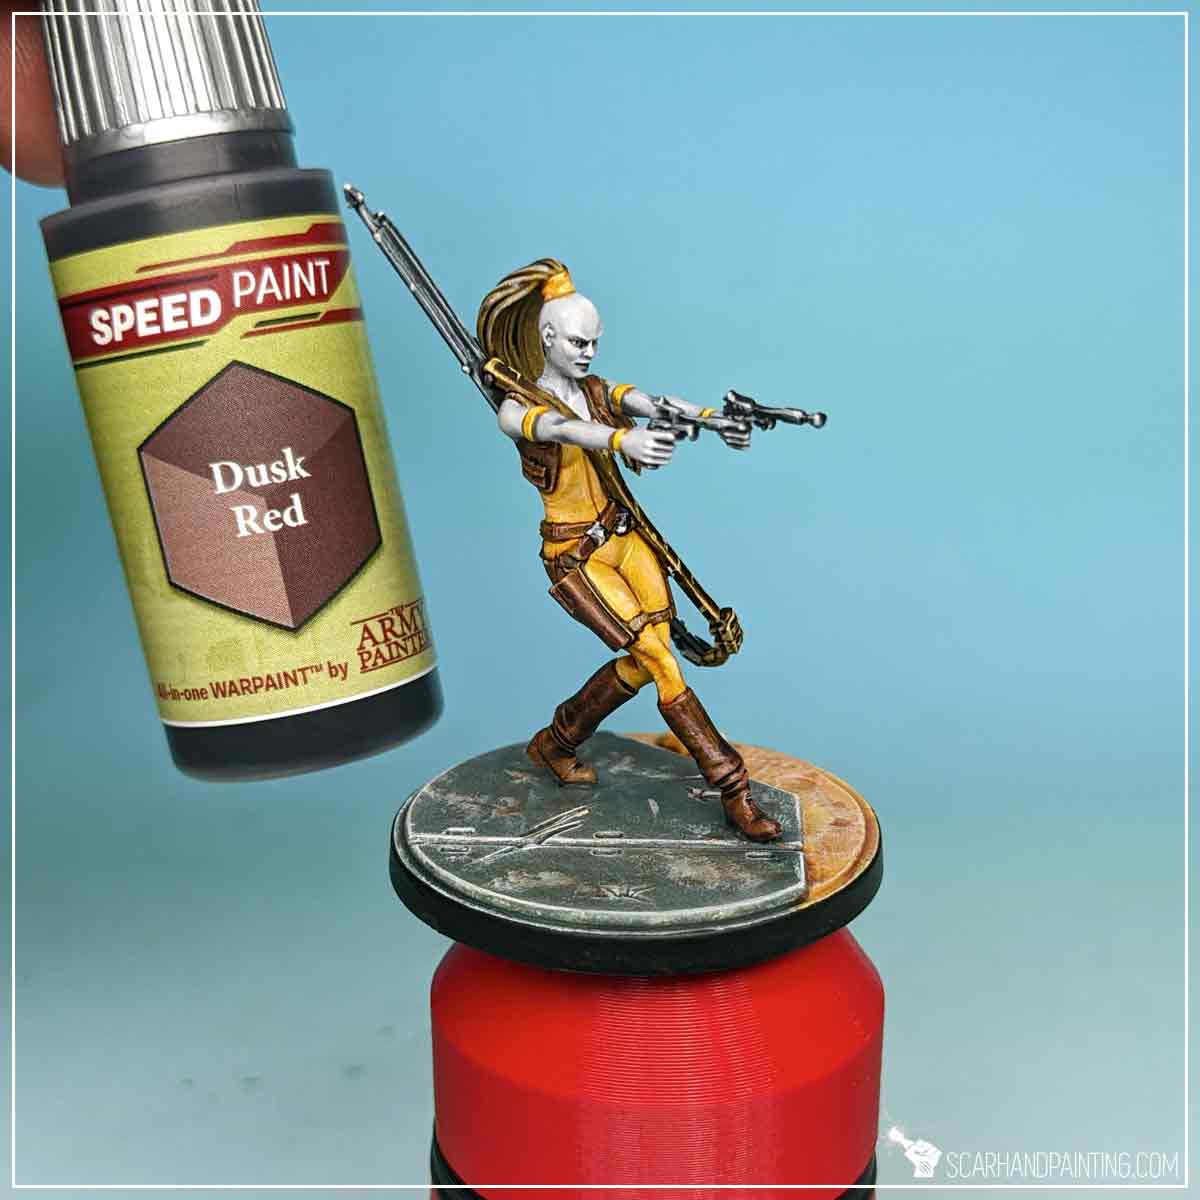
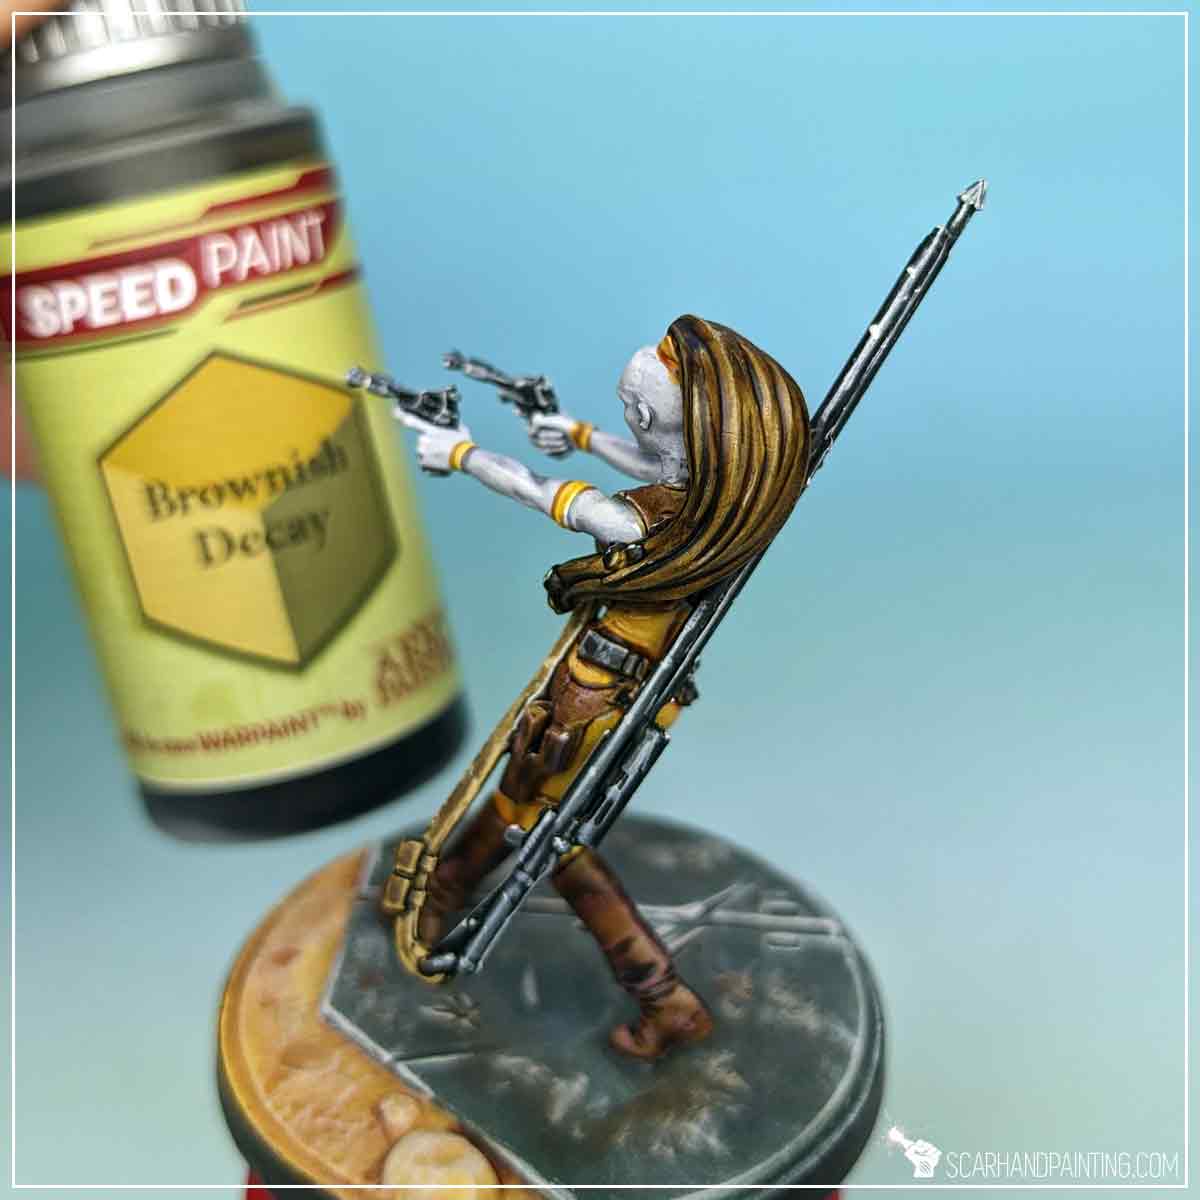
Next I have applied slightly thinned down Dusk Red to all elements, except for hair that got Brownish Decay treatment instead. Combined with well punctuated weapon strap the miniature ended up with a nicely diversified range of browns.
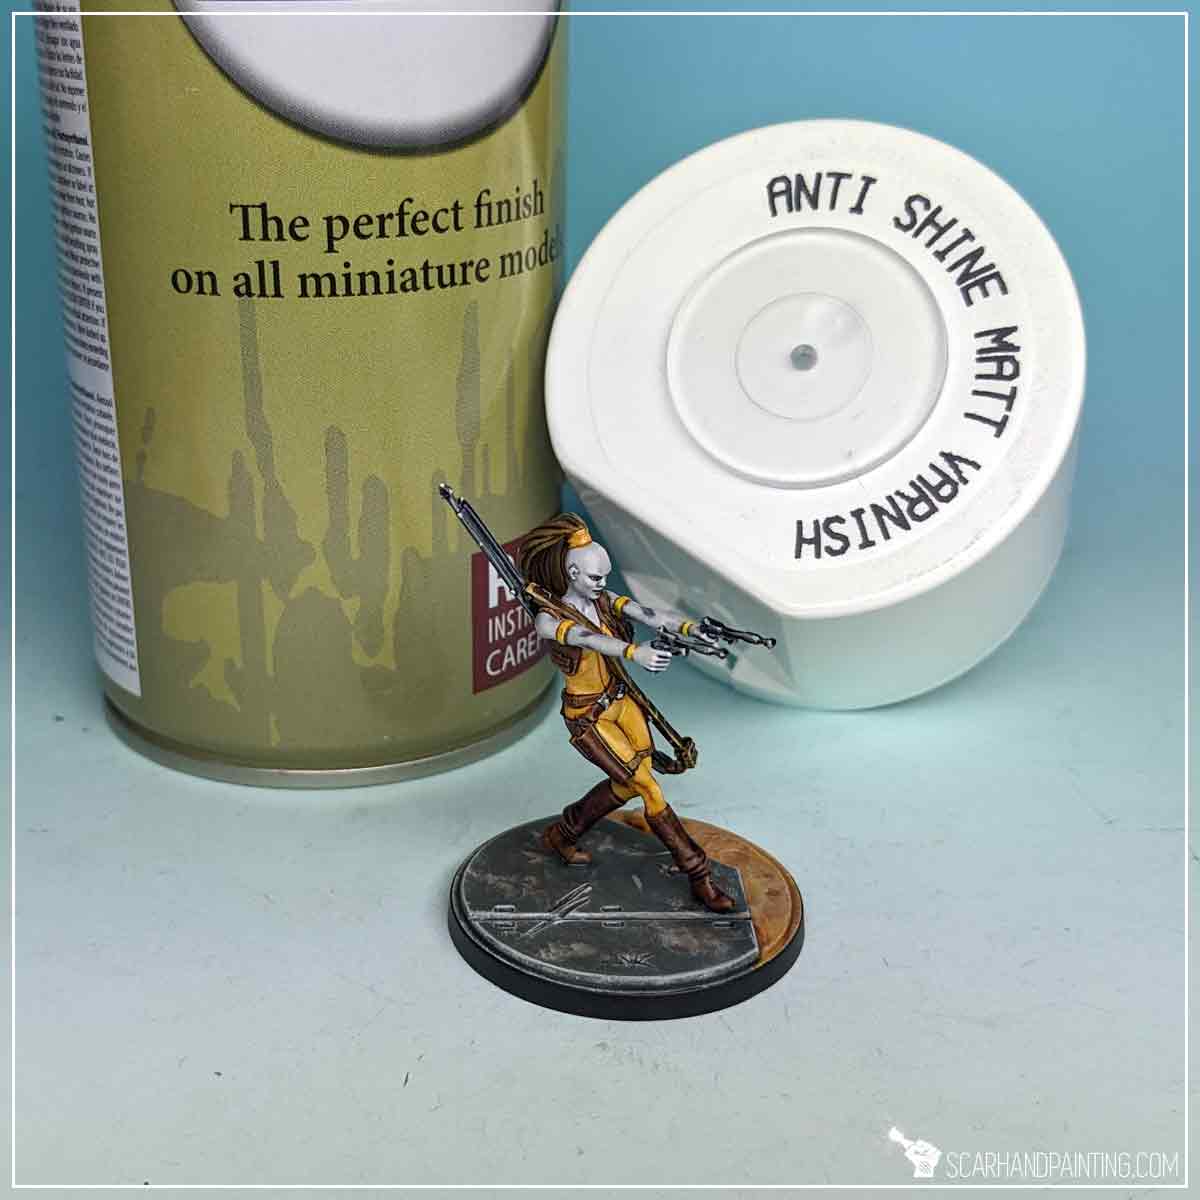
Finally I Varnished the miniature the same way as presented in the Tutorial: Painting Star Wars Shatterpoint Clone Troopers article.

I hope you find this tutorial interesting. Be sure to let me know your thoughts in the comments below or via Facebook or Instagram. I would also appreciate it if you considered sharing this content with your friends, who might find it useful. Many thanks to Rebel.pl for sponsoring this content. Stay tuned for more Star Wars: Shatterpoint tutorials.