- contact@scarhandpainting.com


In this step-by-step tutorial I’m going to show you how to magnetize resin bases – easy and fast!
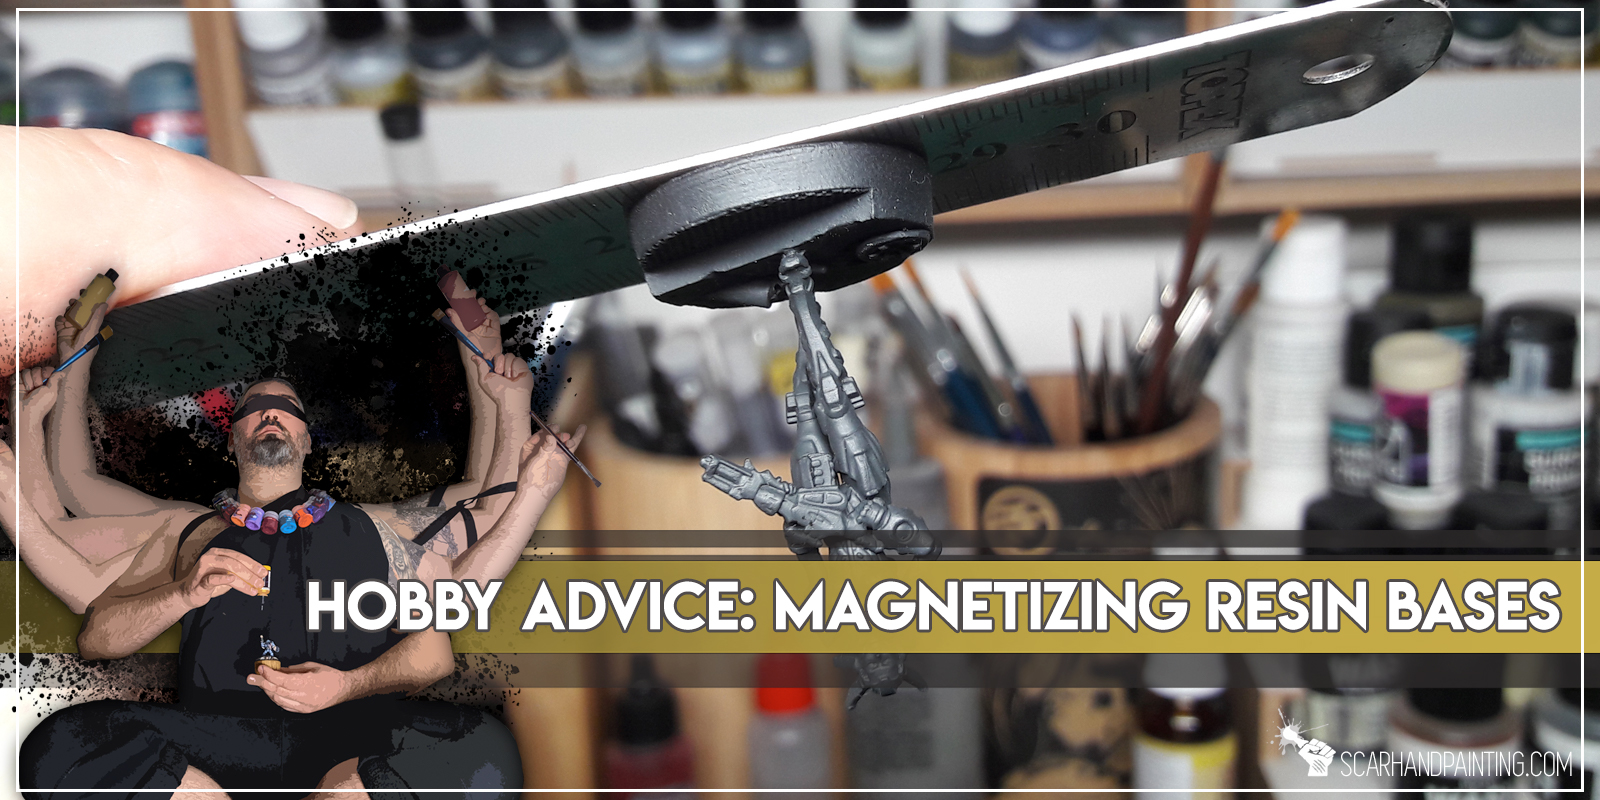
Magnetizing entire army for an upcoming delivery of a brand new A-Case carrying bag seem like a great opportunity for a tutorial, doesn’t it? The thing about resin bases is that they rarely come with magnet holes at the underside and even when they do (for example Warsenal) it’s still better to drill your own precise holes. Below are some of the shortcuts and hacks I use when magnetizing resin bases.
Step One: Drilling

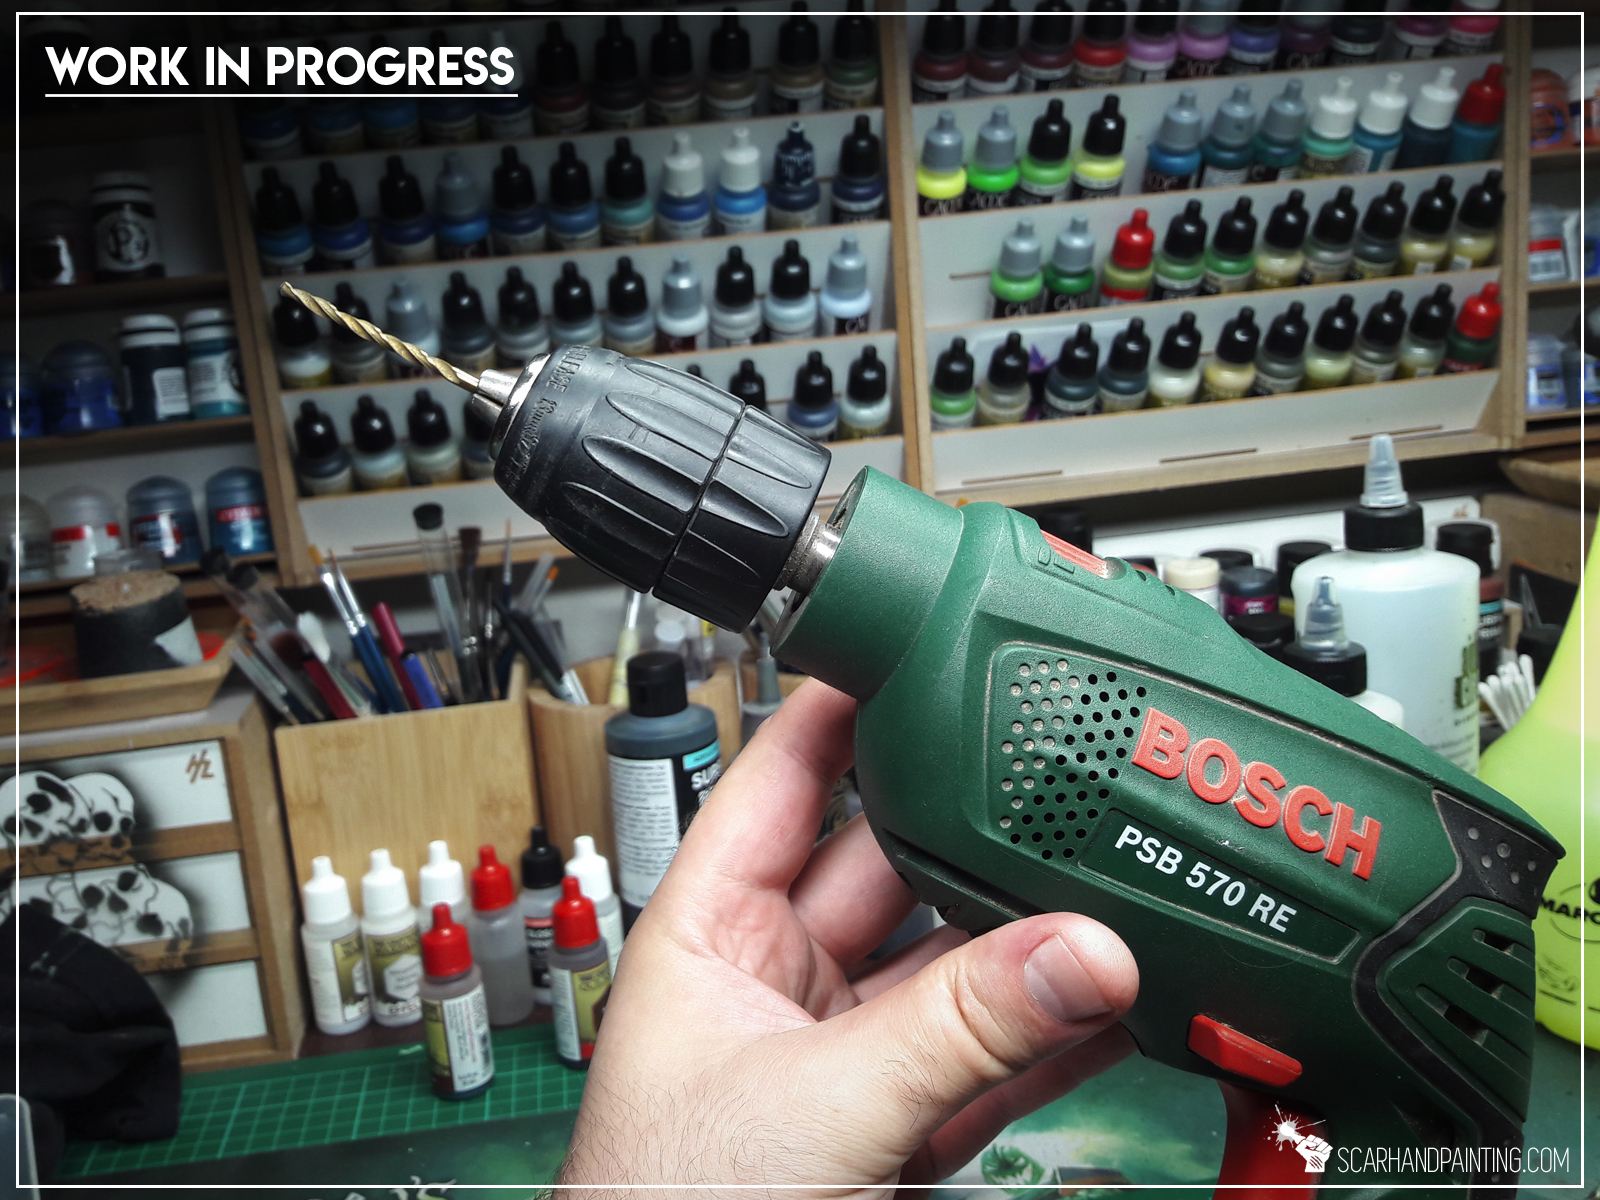
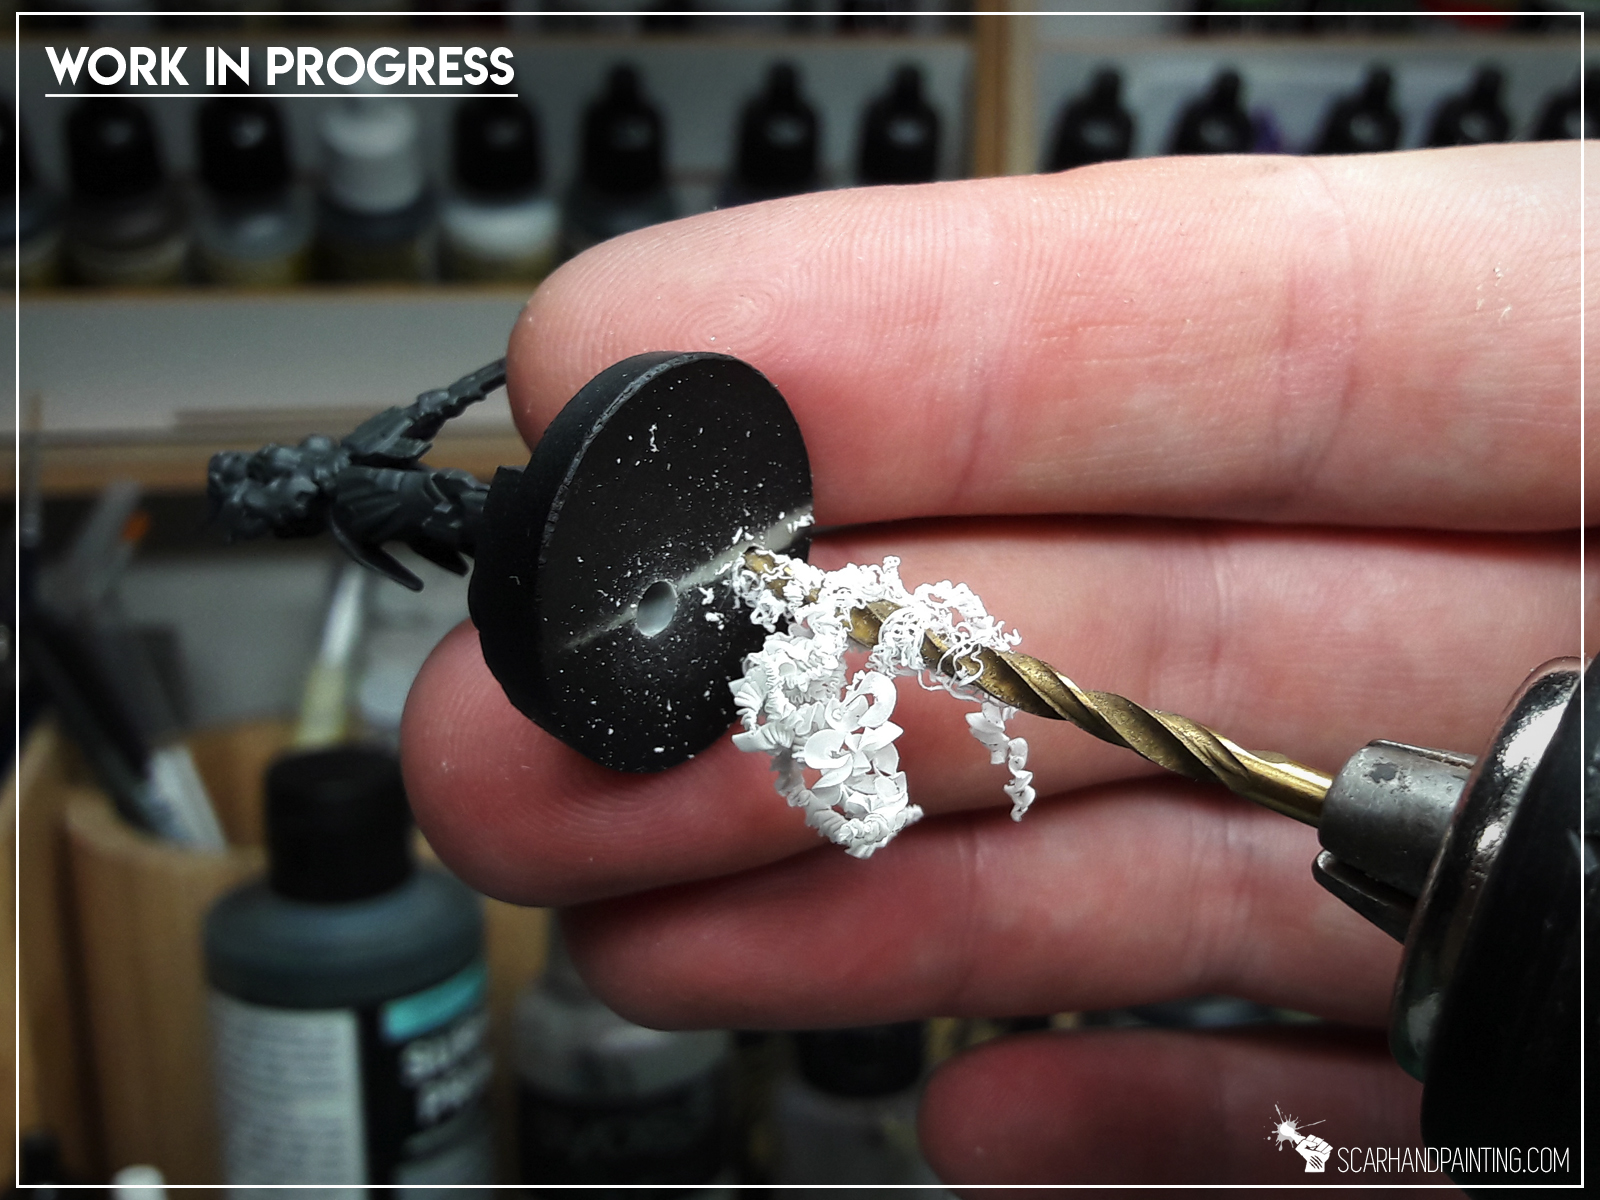
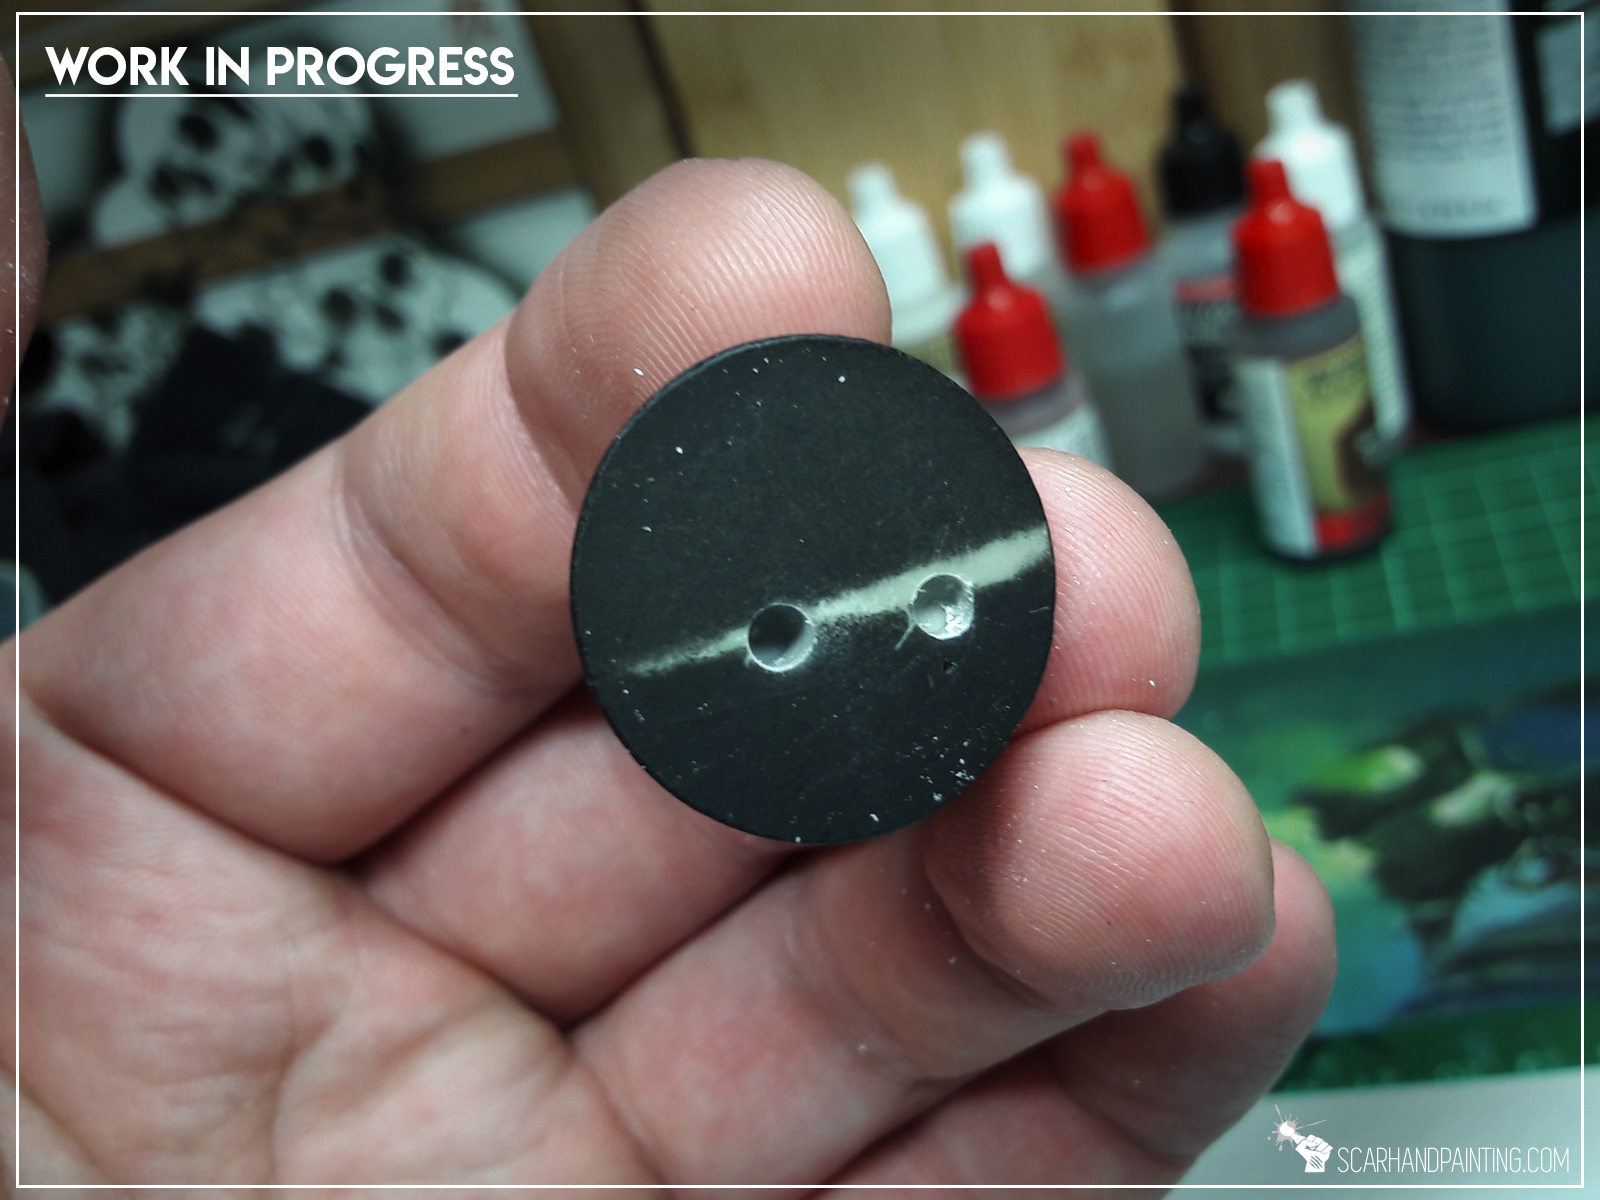
Tip number one would be to use a drill that is the size of the magnet you want to put into the base. This would usually be too big to use in a hand driller, thus we land on Tip number two – use a regular driller instead! I know this might come up as crude and a bit scary, especially when we’re talking fully painted miniatures, but with just a bit of focus it goes smooth. To ensure your miniature’s safety, hold the base firmly and avoid holding the miniature itself.
Step two: Inserting Magnets
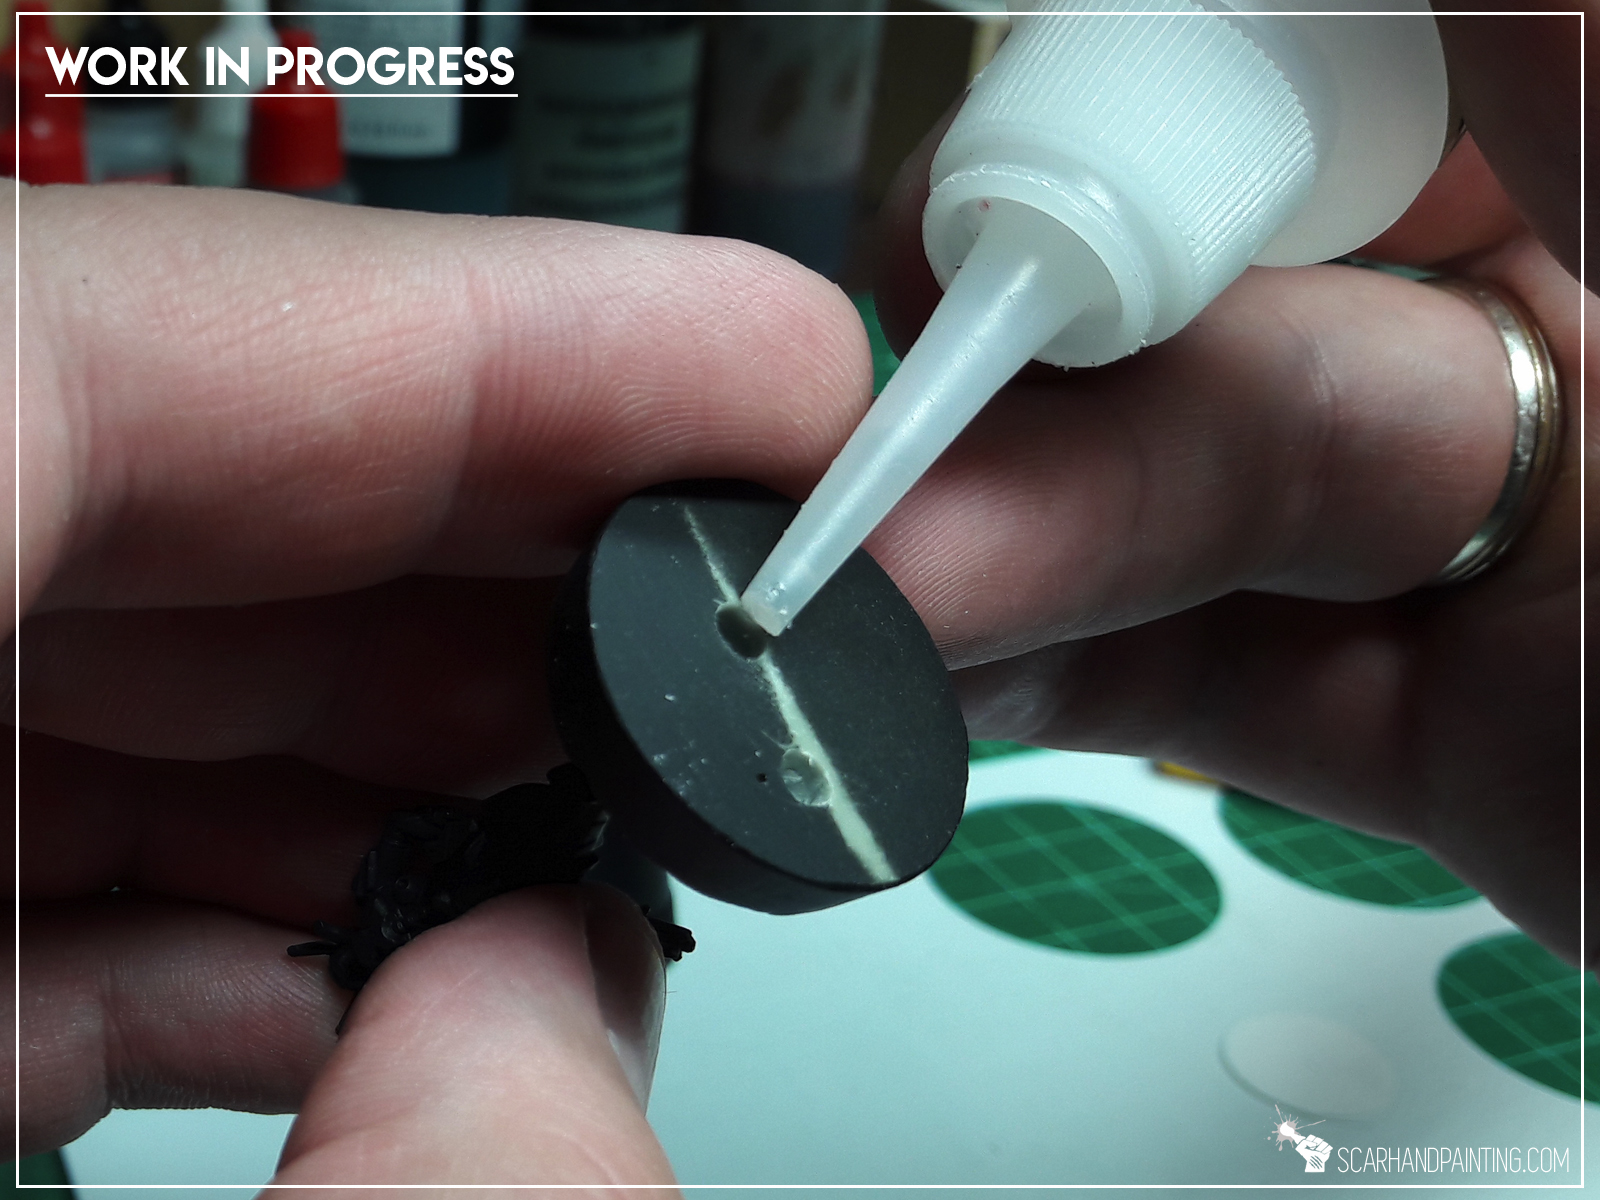

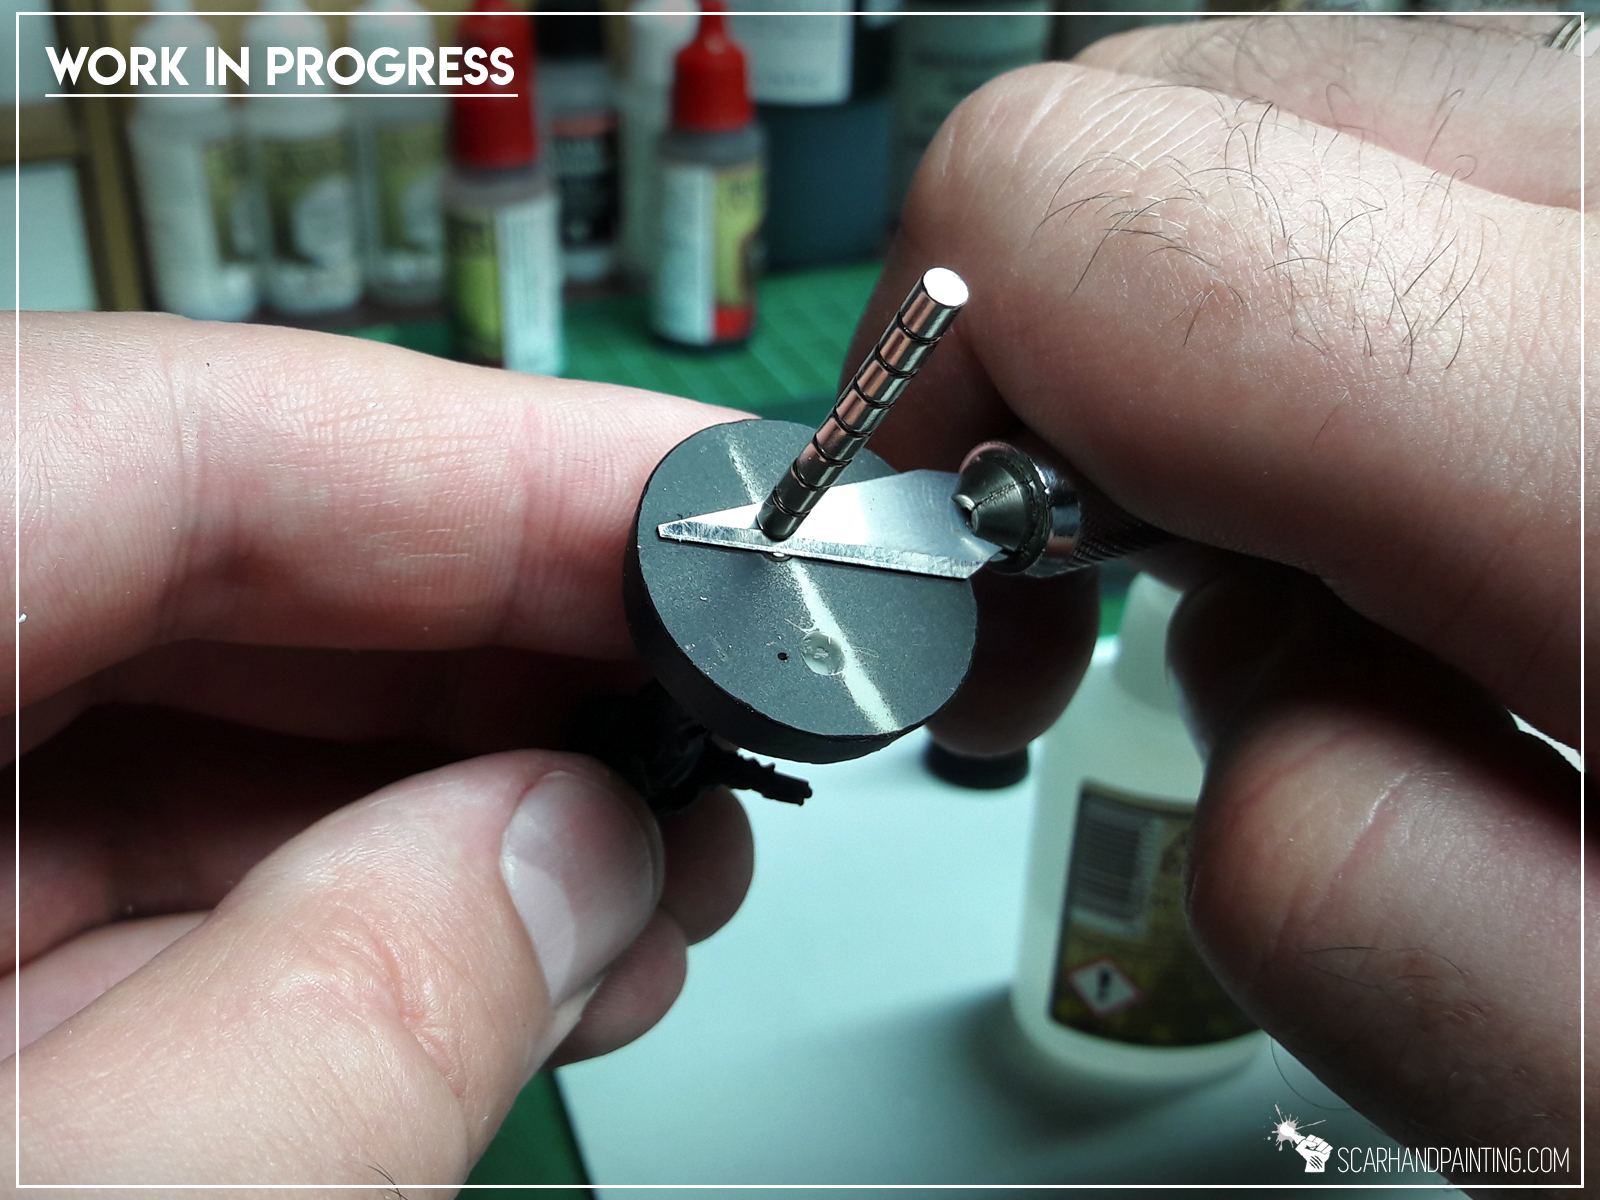
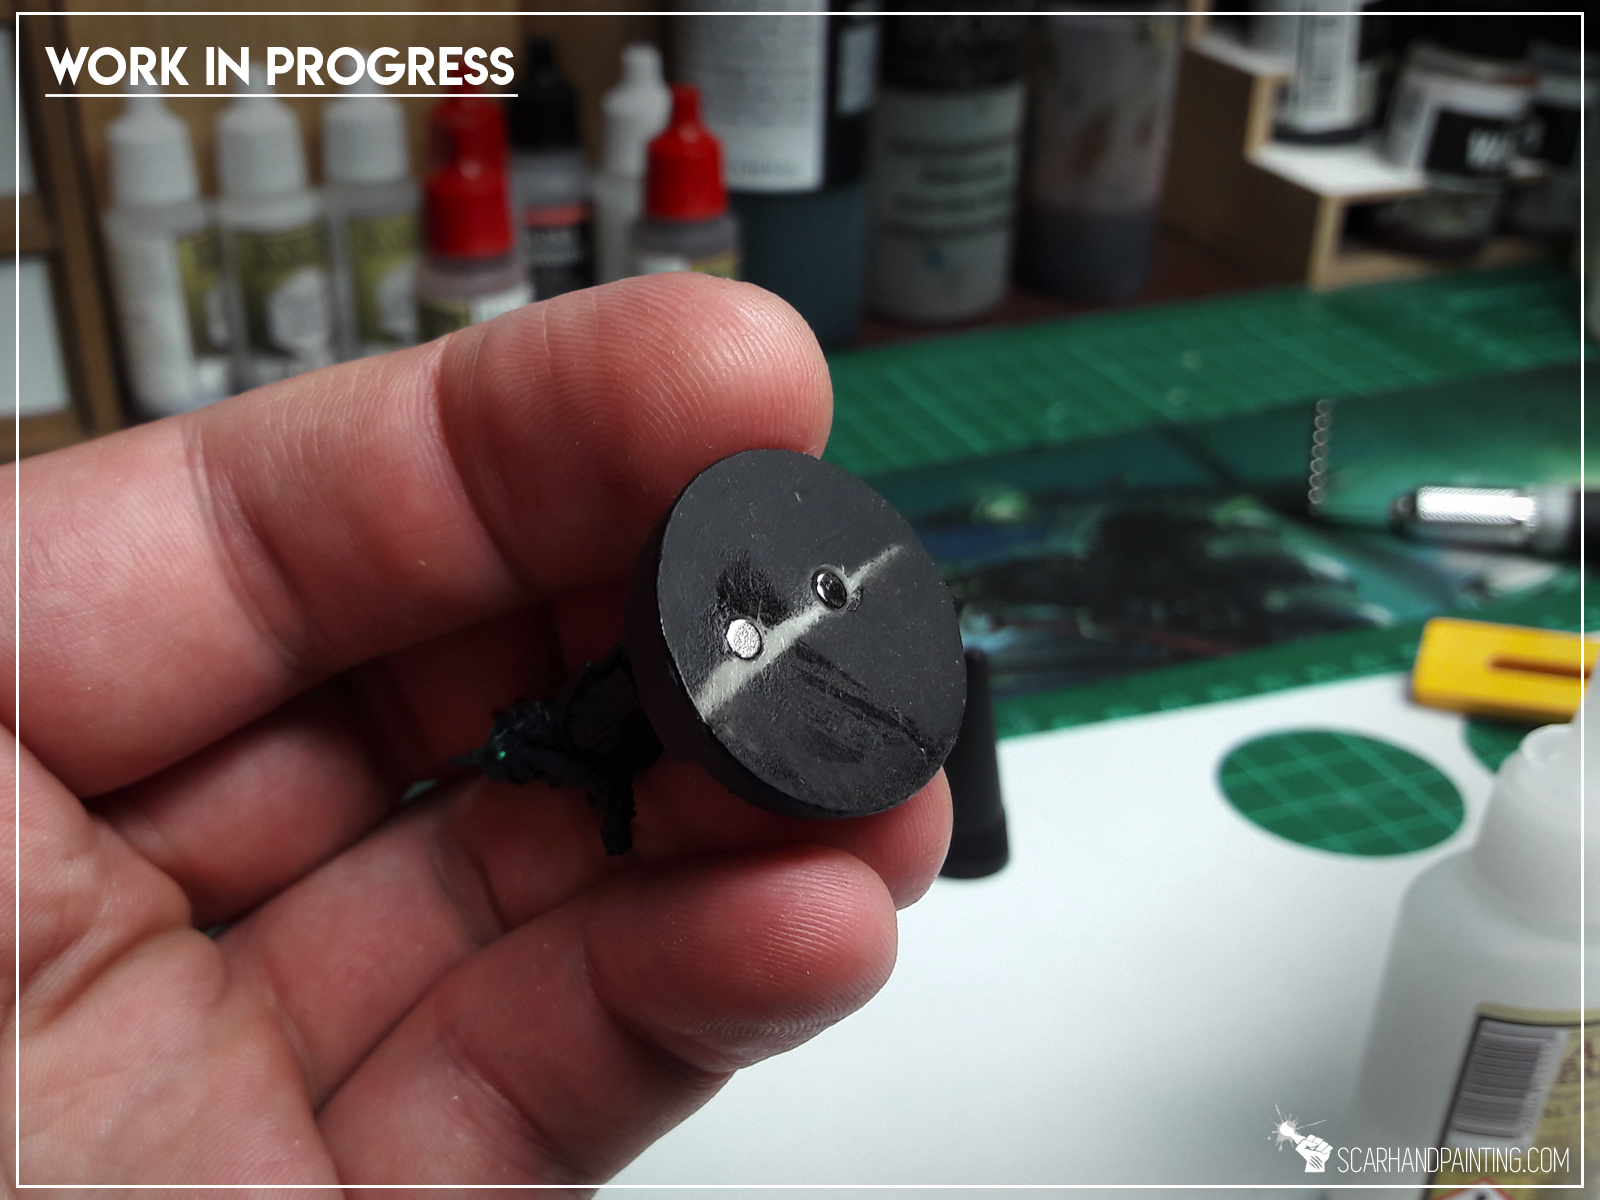
I recommend Army Painter Super Glue, or any similar glue to mount the magnets firm inside the holes. Tip number three would be to use a hobby knife. This way you can “cut off” a bottom magnet from the stack and simply insert it into the hole, using blades side to push the magnet in until it’s parallel to the bases bottom line.
Step three: Sealing Magnets
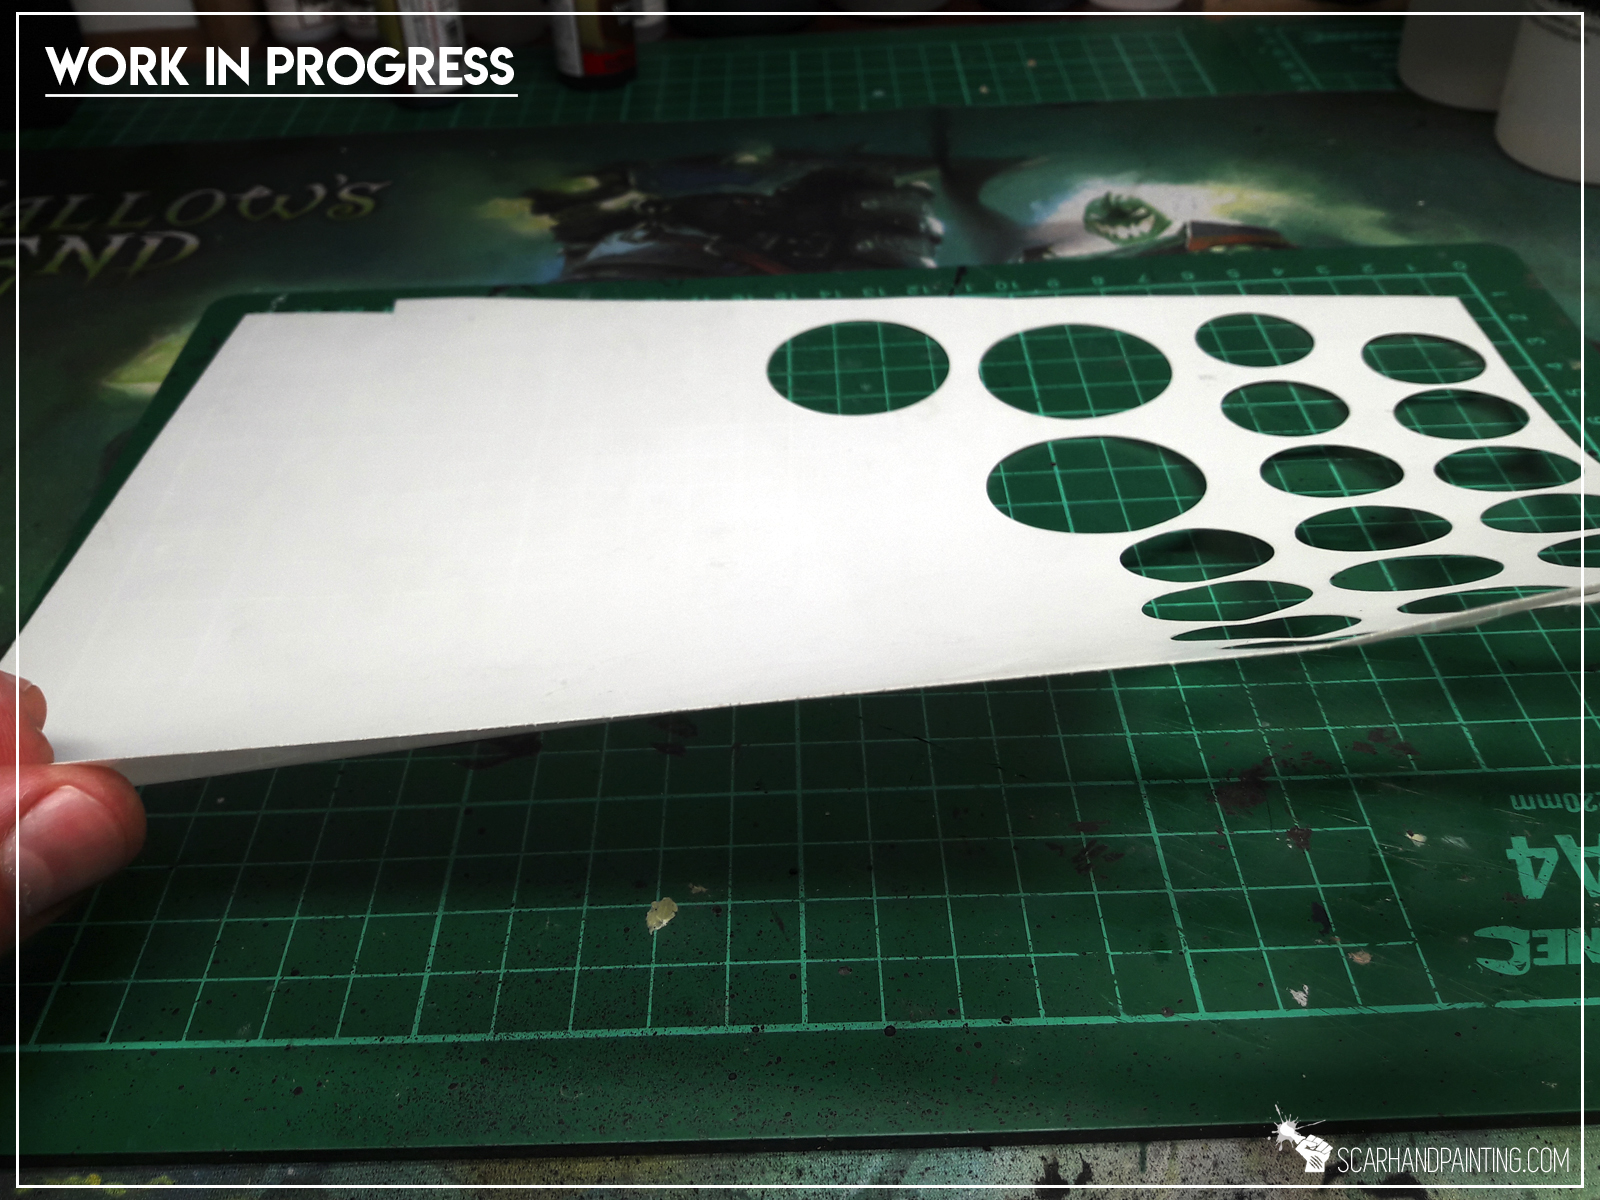
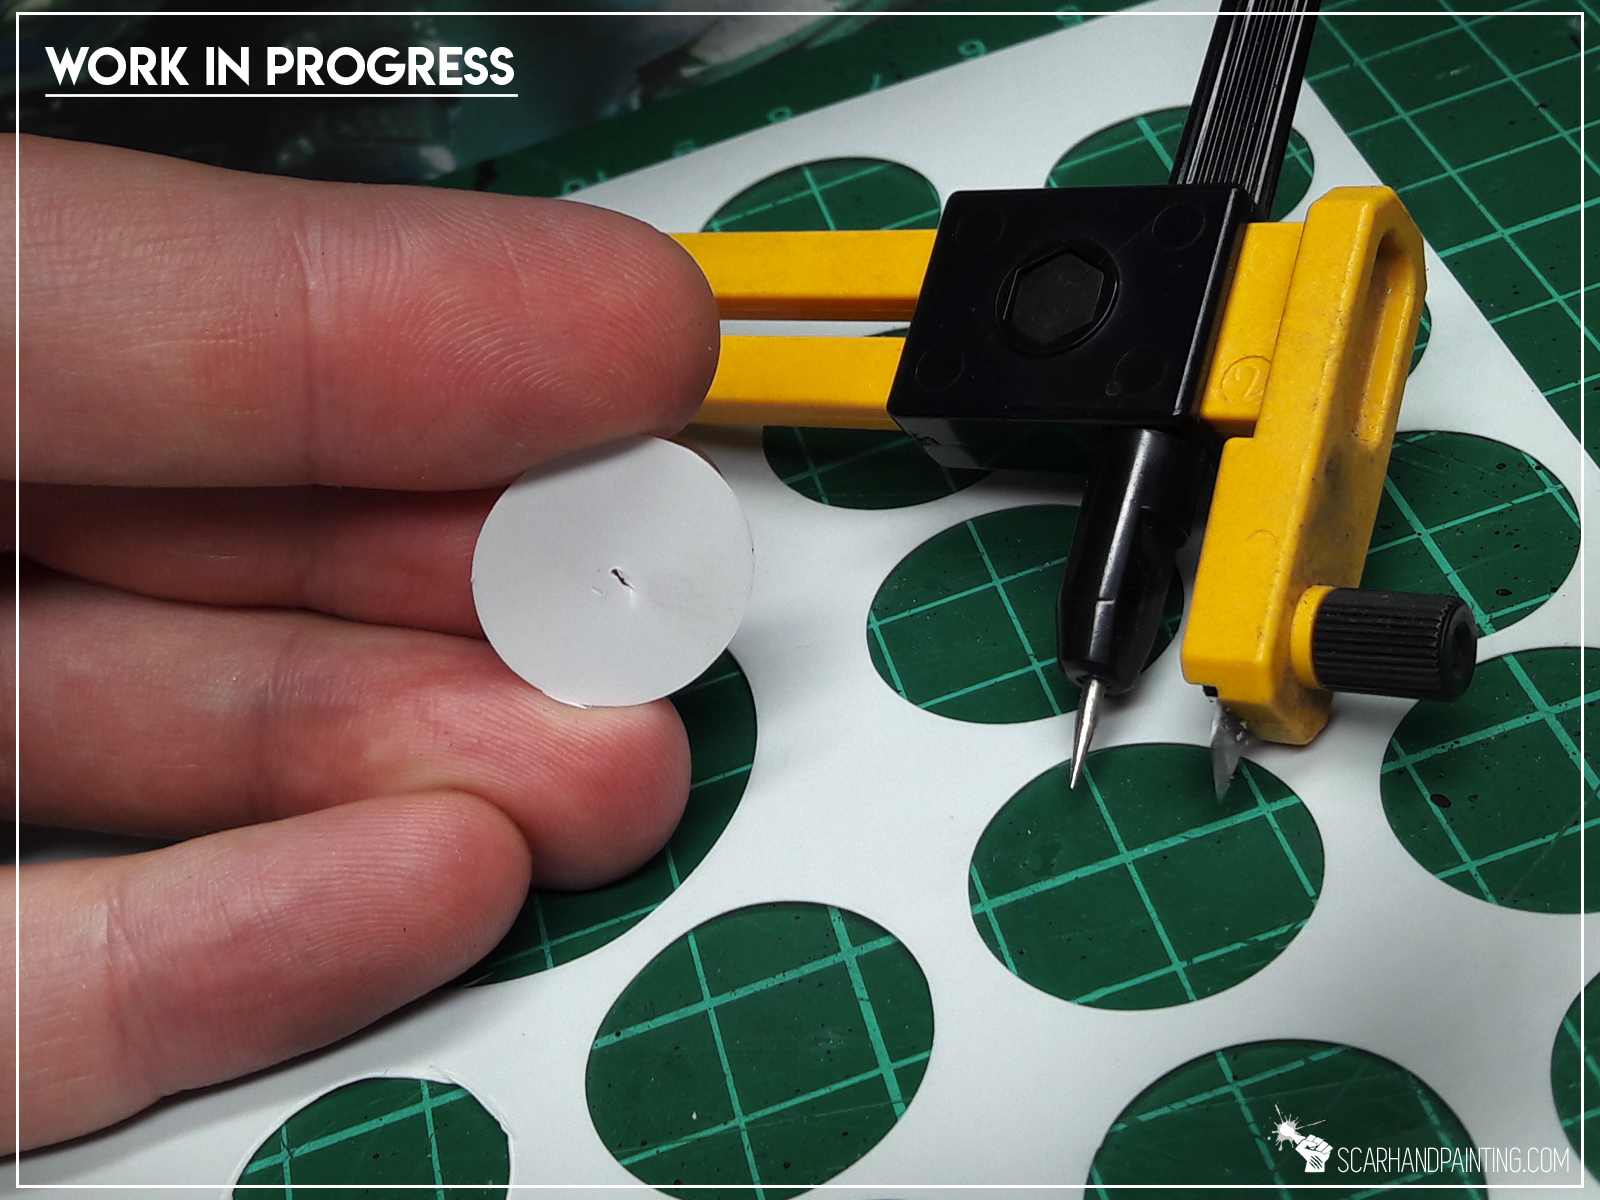
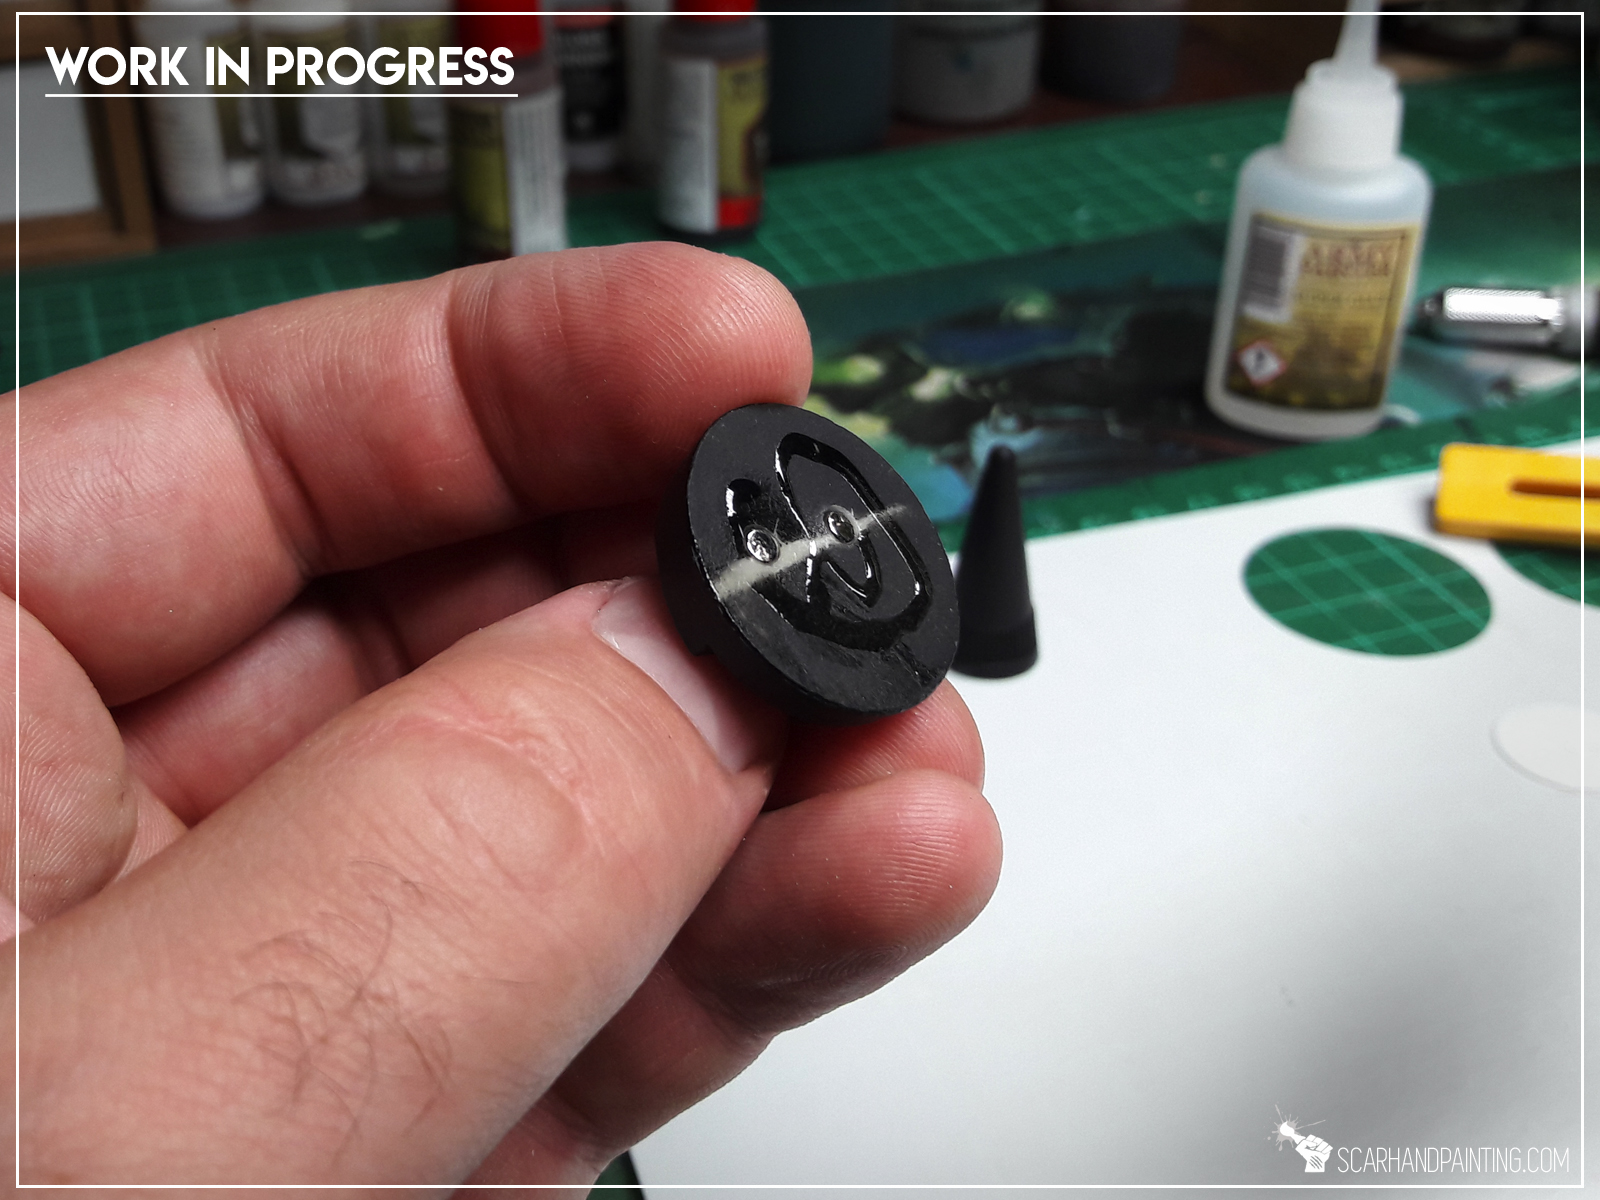
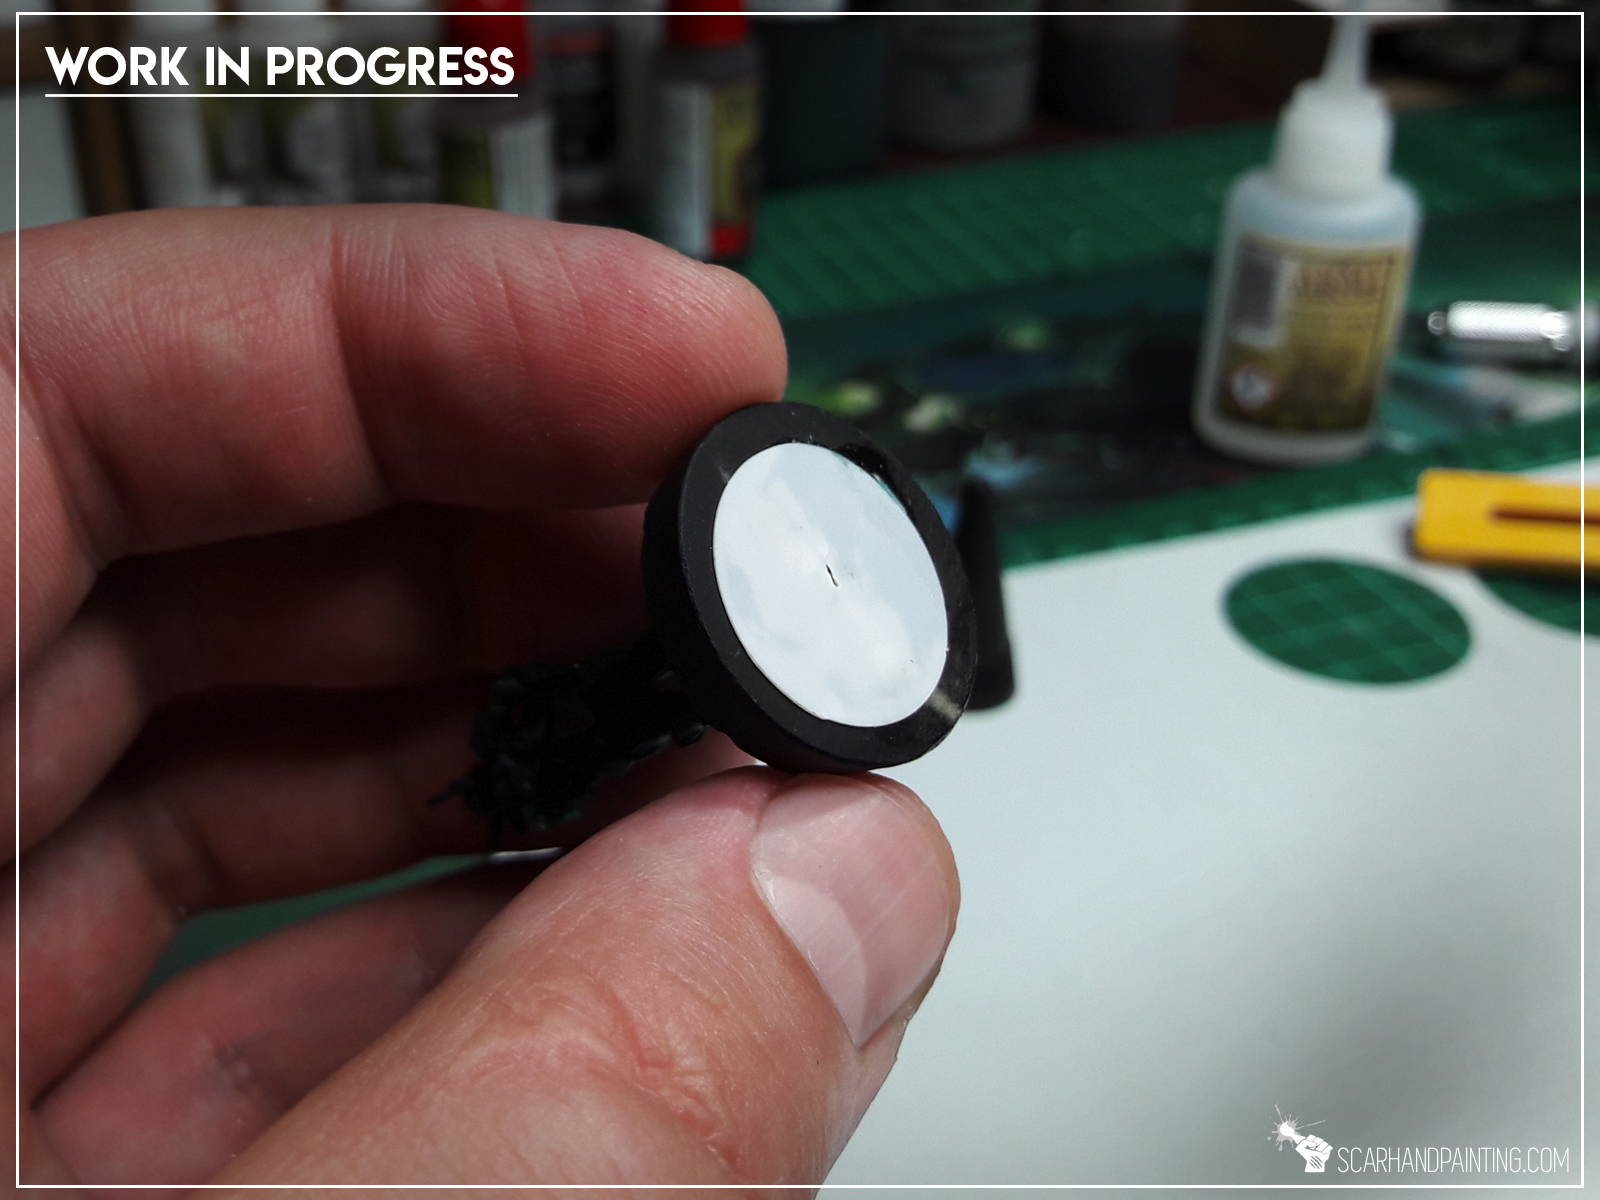
You can skip on this one, but if you want your magnets to hold firm inside the base and for the miniature to come off the case with it’s base attached you might consider this Hack. Simply glue a circle of paper thin plasticard on top of the magnets. This barrier won’t be as thick as to significantly weaken the pull, but will definitely make the transition onto and out off the metal surface smoother. It will also keep the magnets inside the holes – no matter what.
Do you find this article helpful? Please consider sharing it and/or dropping me some feedback down below or at my Facebook profile!