- contact@scarhandpainting.com


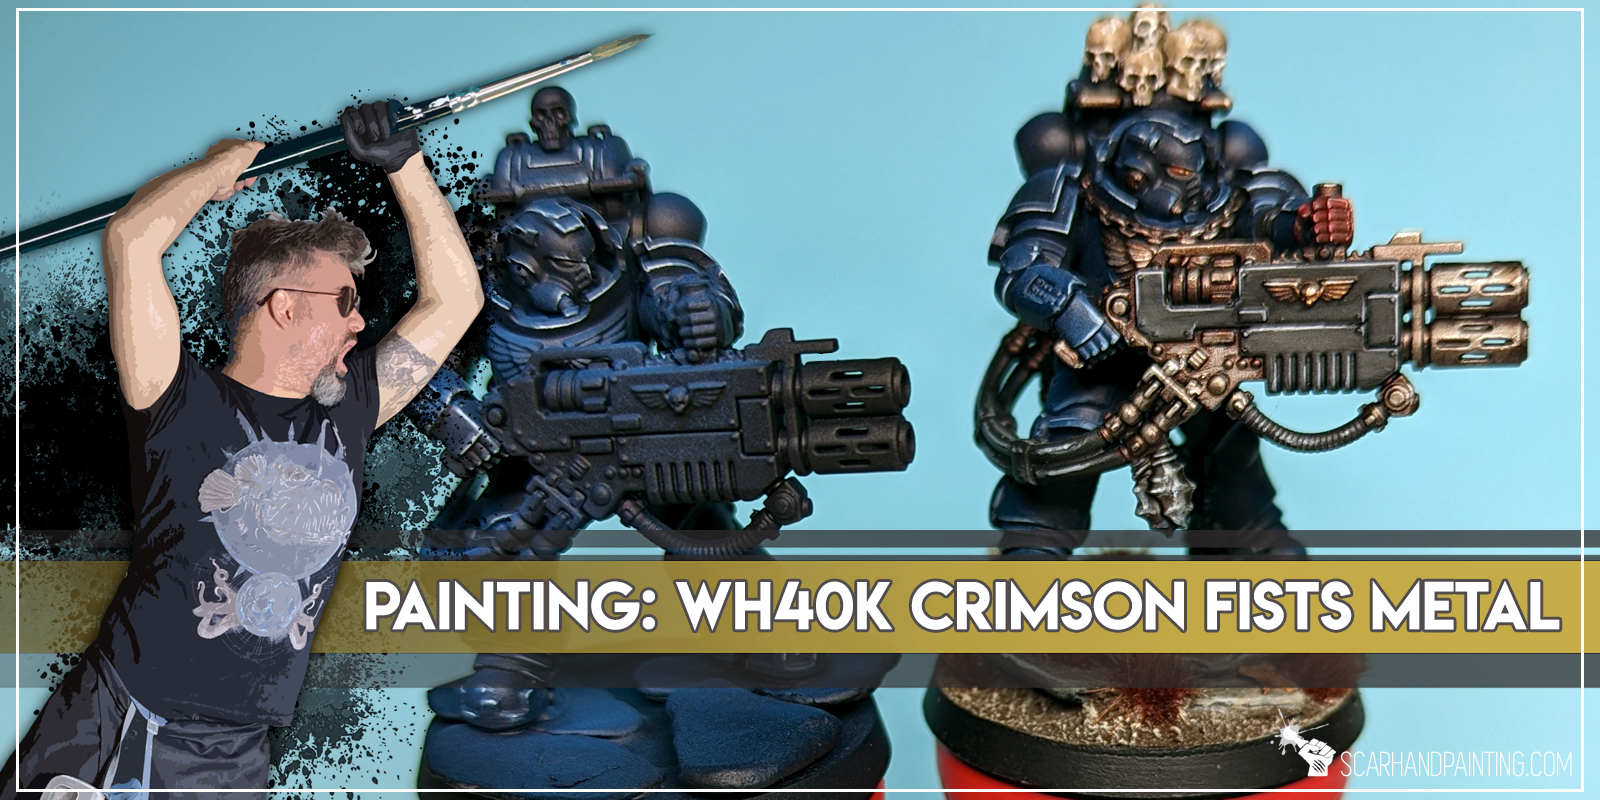
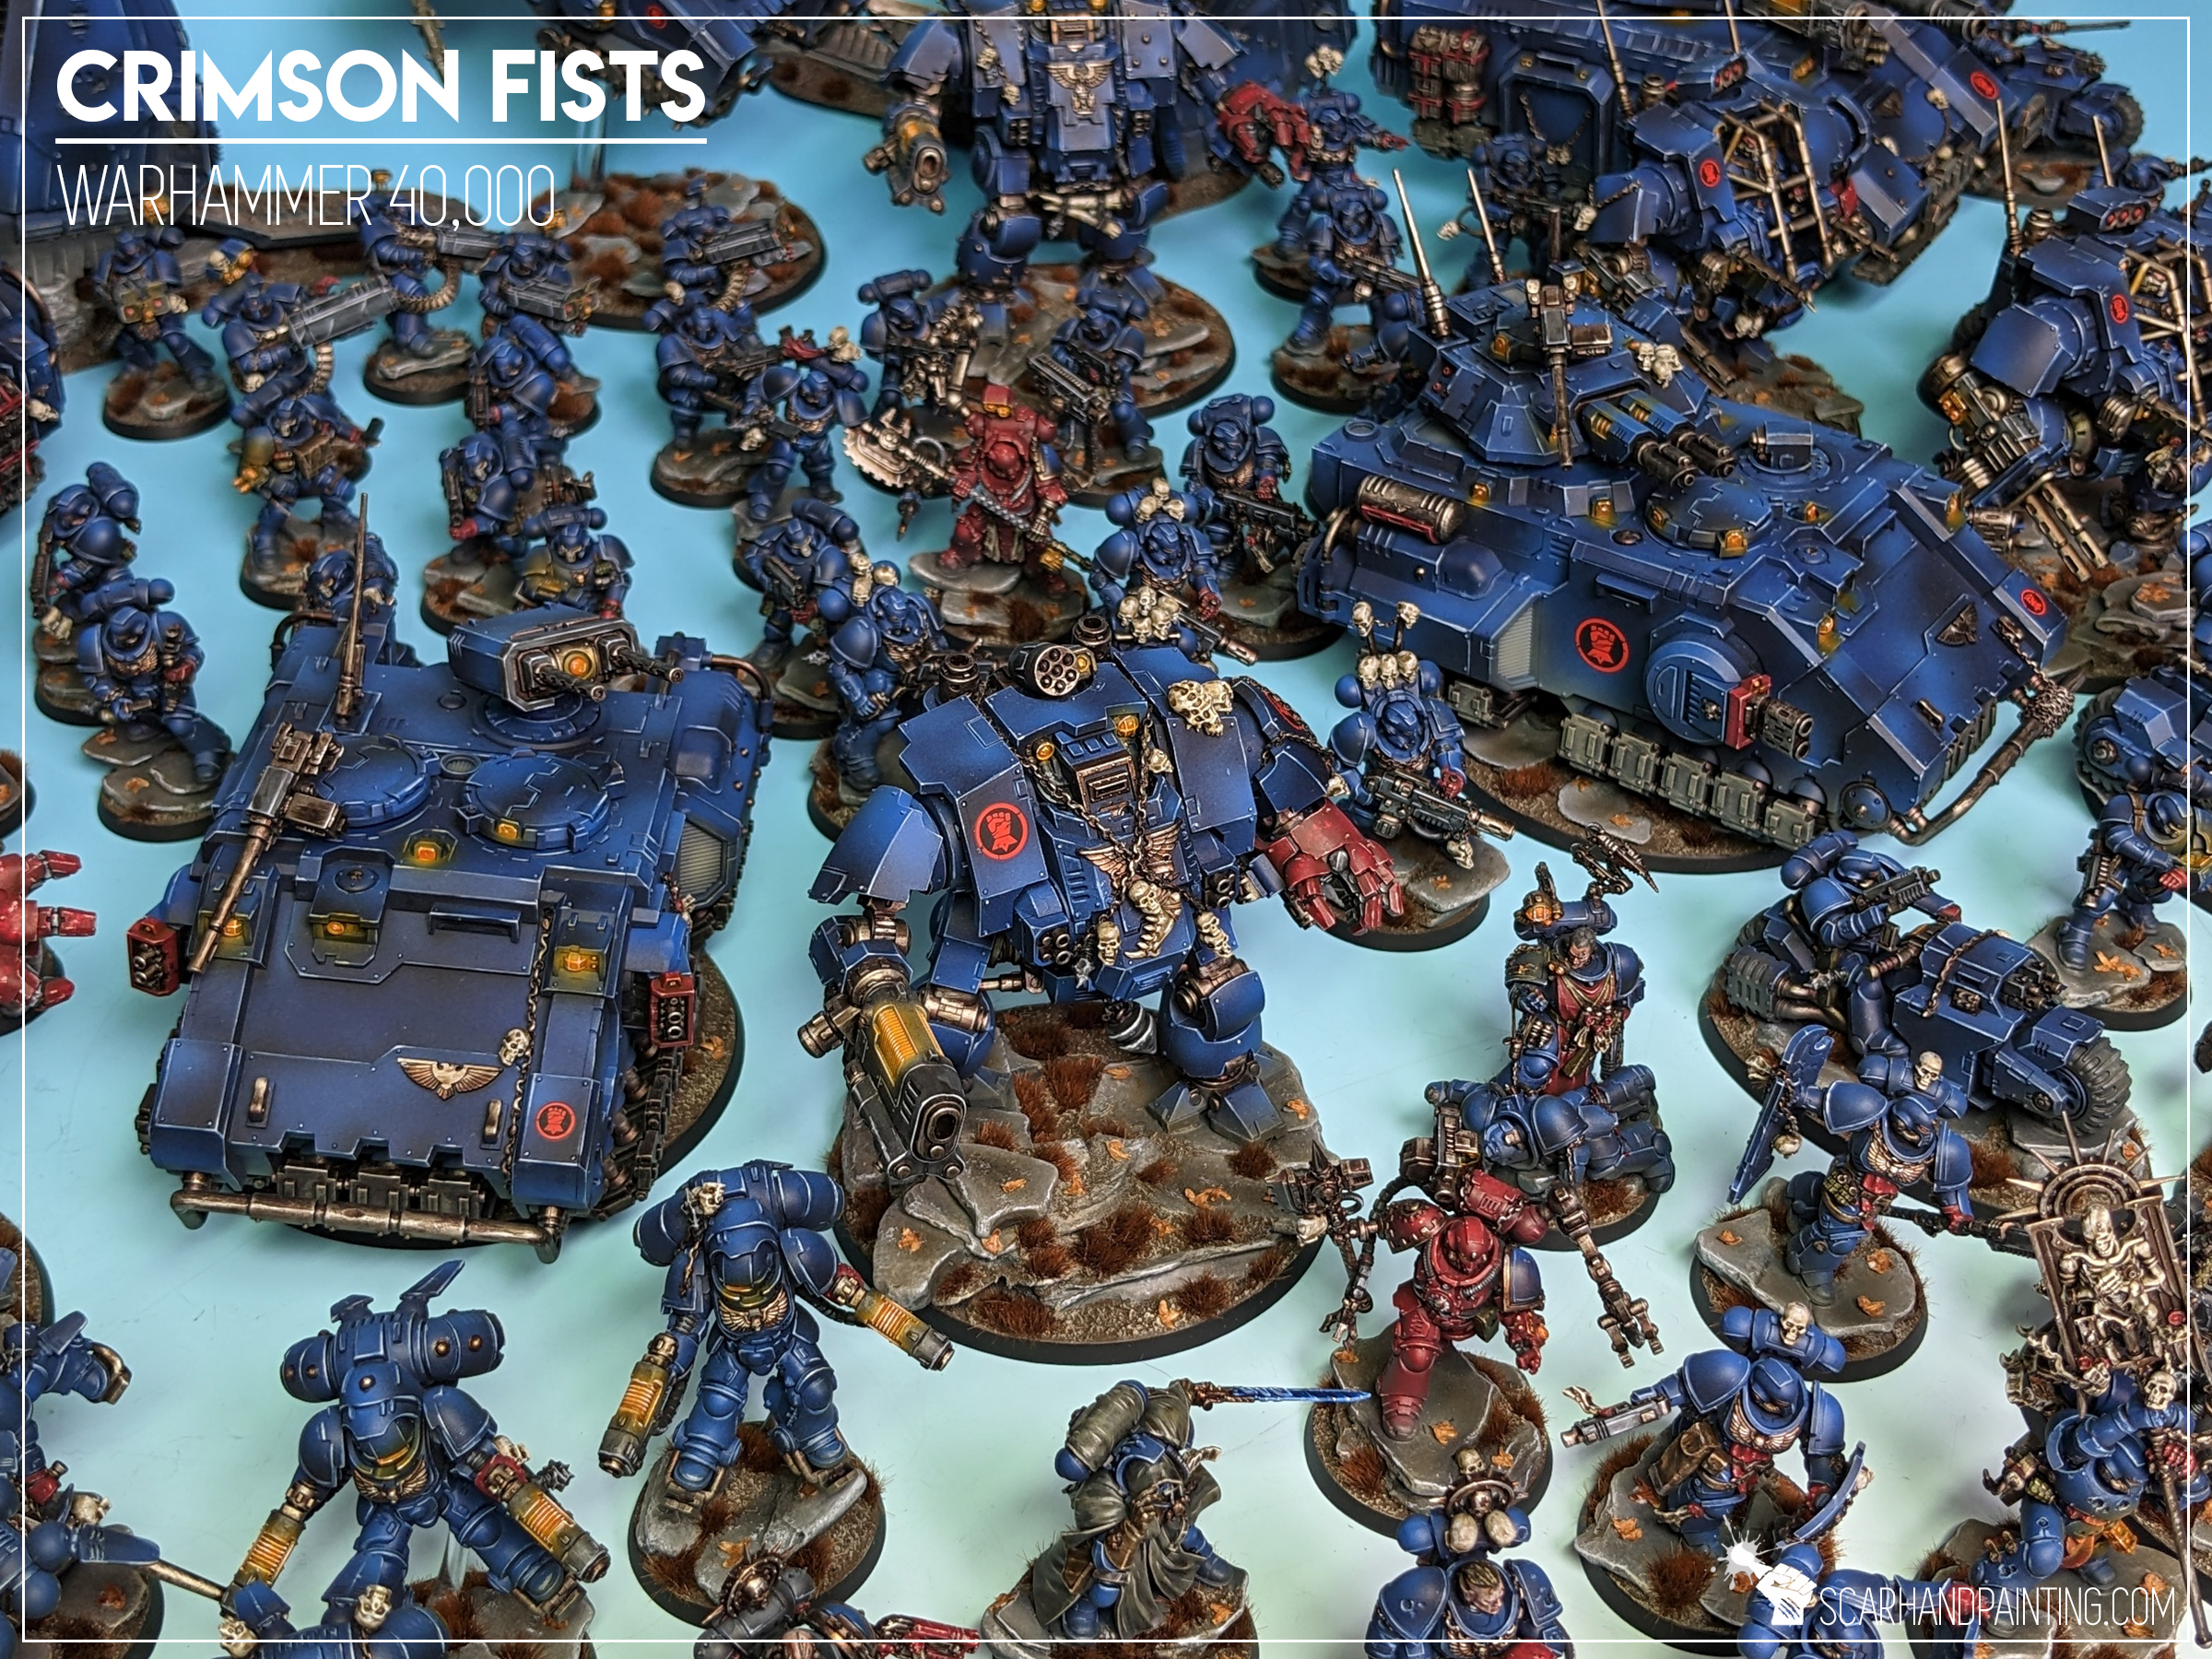
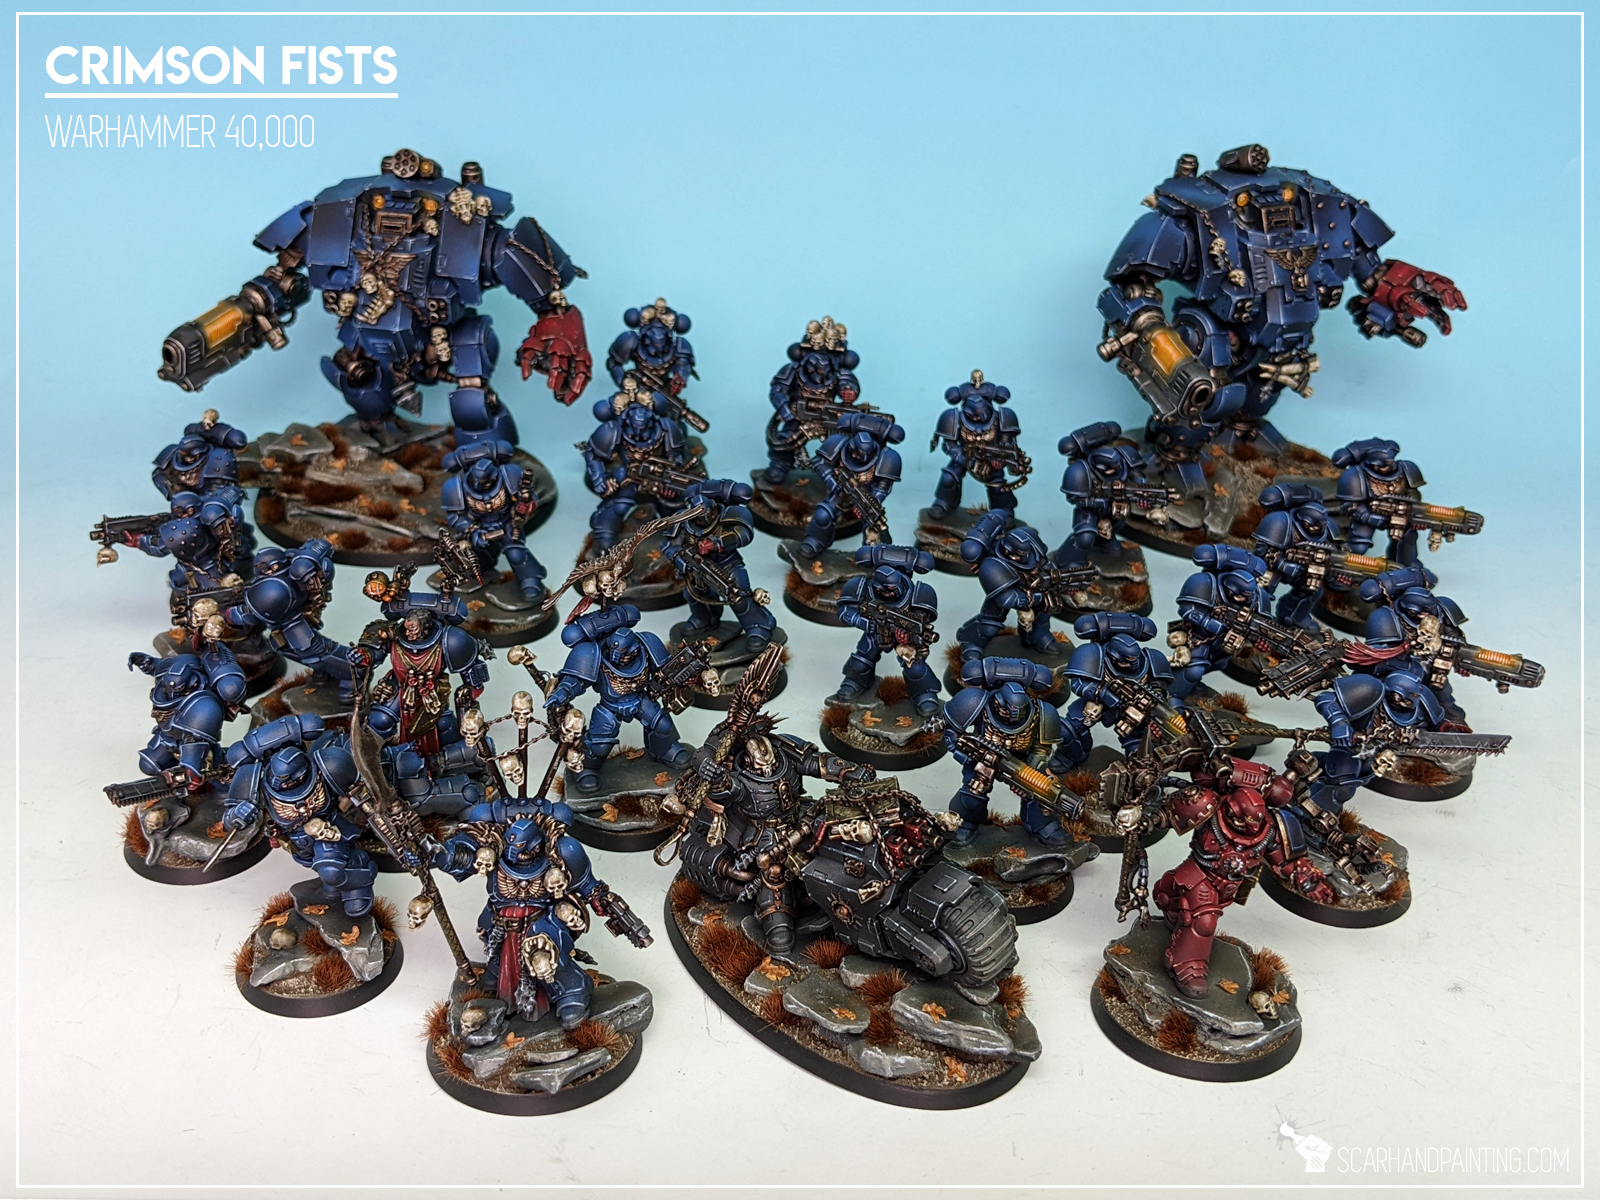
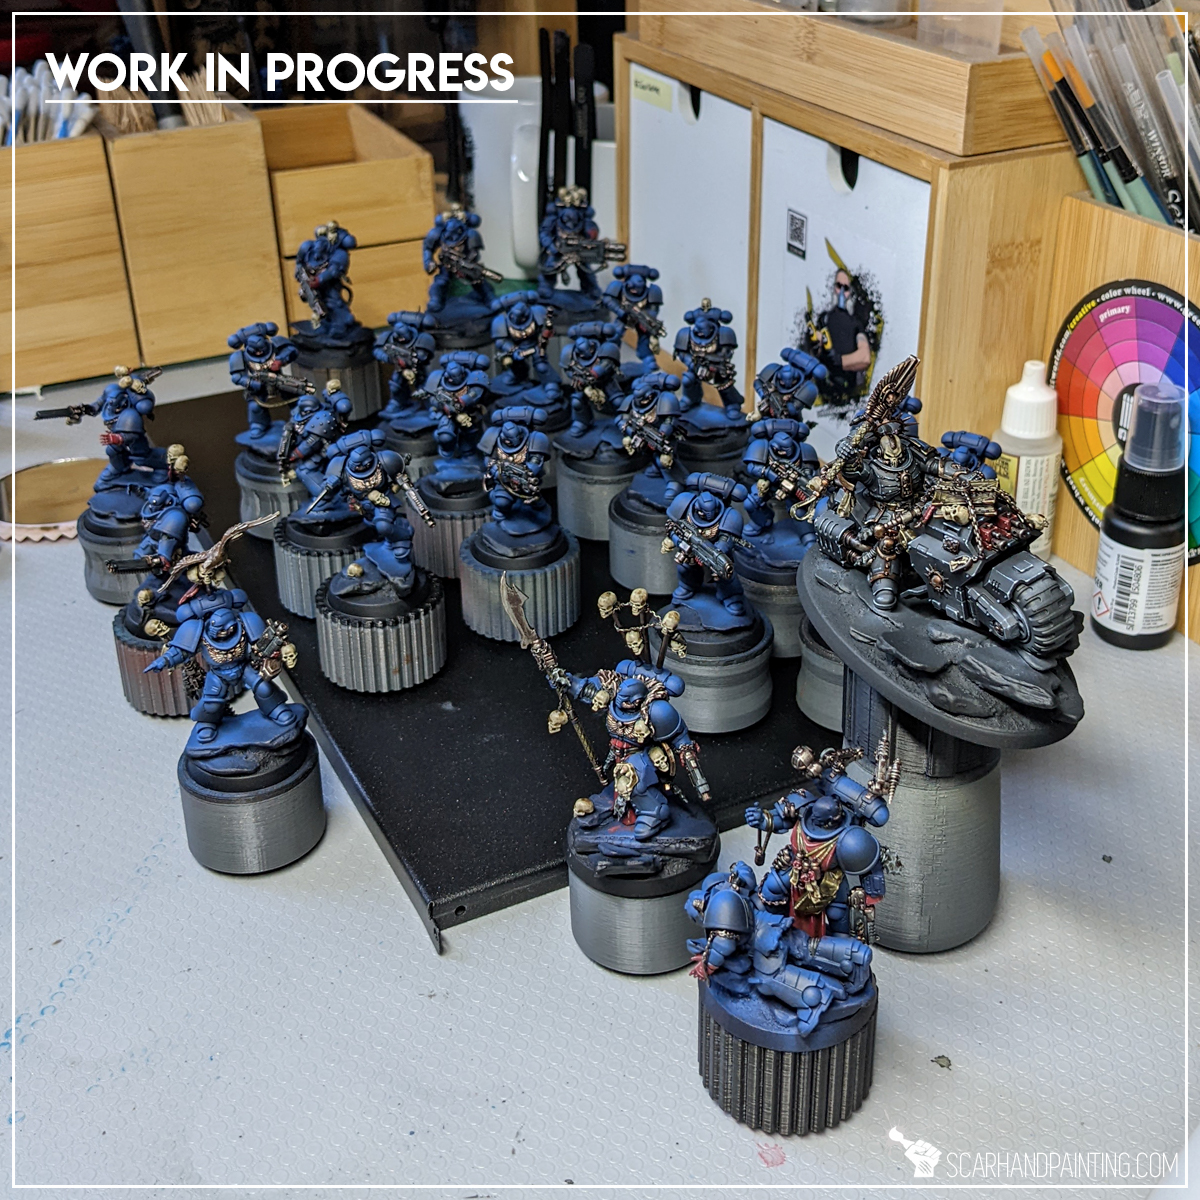
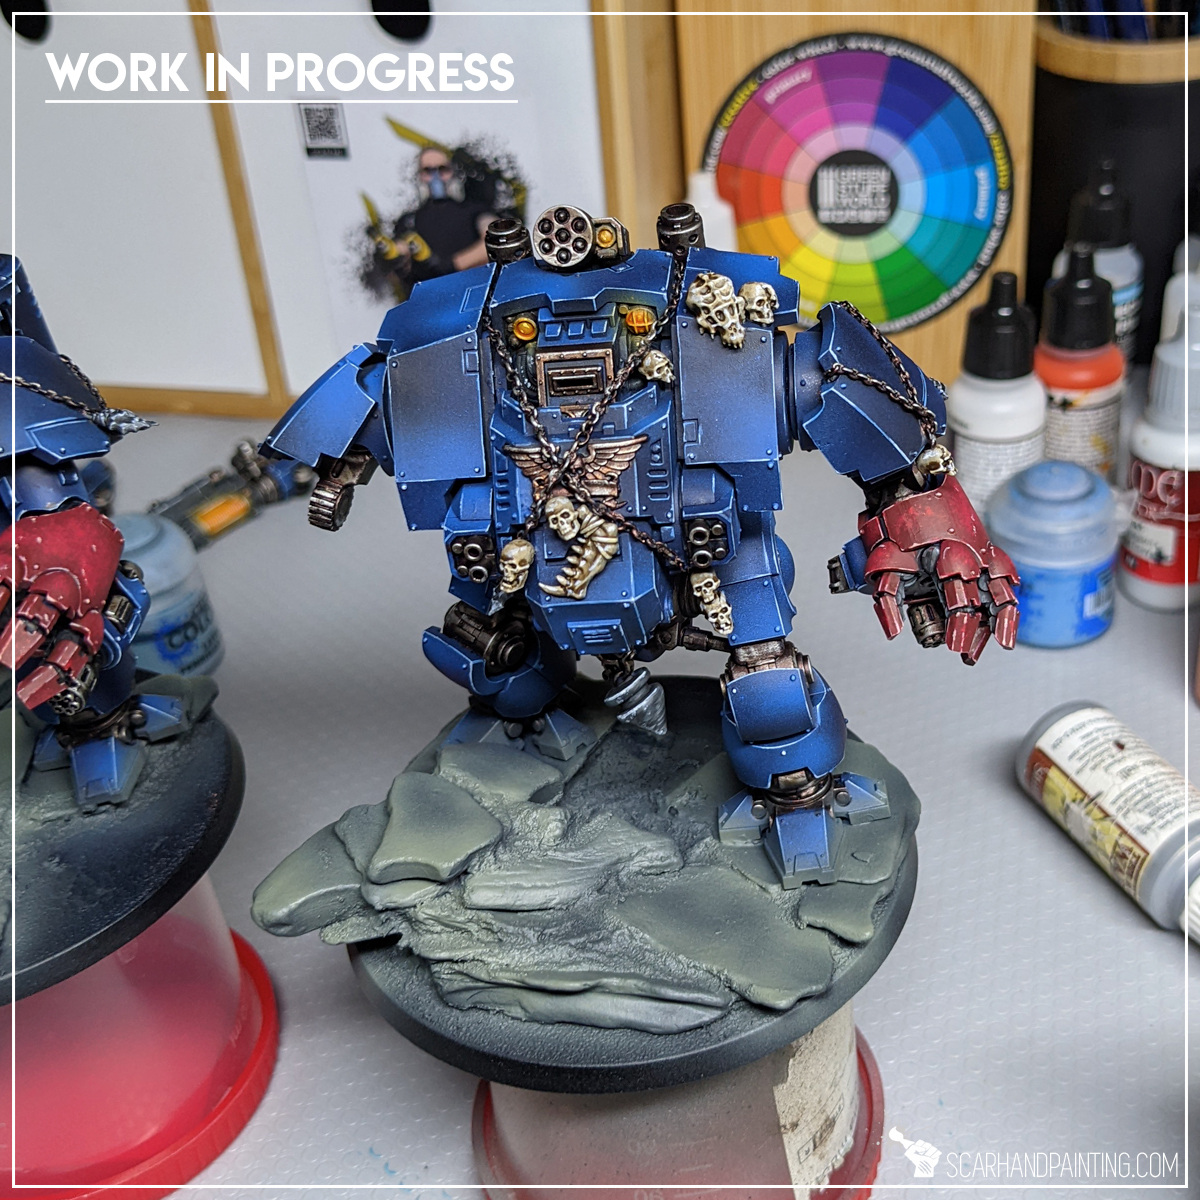
Welcome to Painting Warhammer 40,000 Crimson Fists tutorial. Here I will present to you a Step-by-step of an easy and fast painting process for Games Workshop Crimson Fists Primaris Marines metal as can be seen in Gallery: Crimson Fists.
Before we start, some notes:
Previous steps: Blue Armor
Although metal elements can be painted separately I strongly recommend following part one of the article before moving to this color. Visit Tutorial: Painting Warhammer 40,000 Crimson Fists part one Blue Armor for more information.
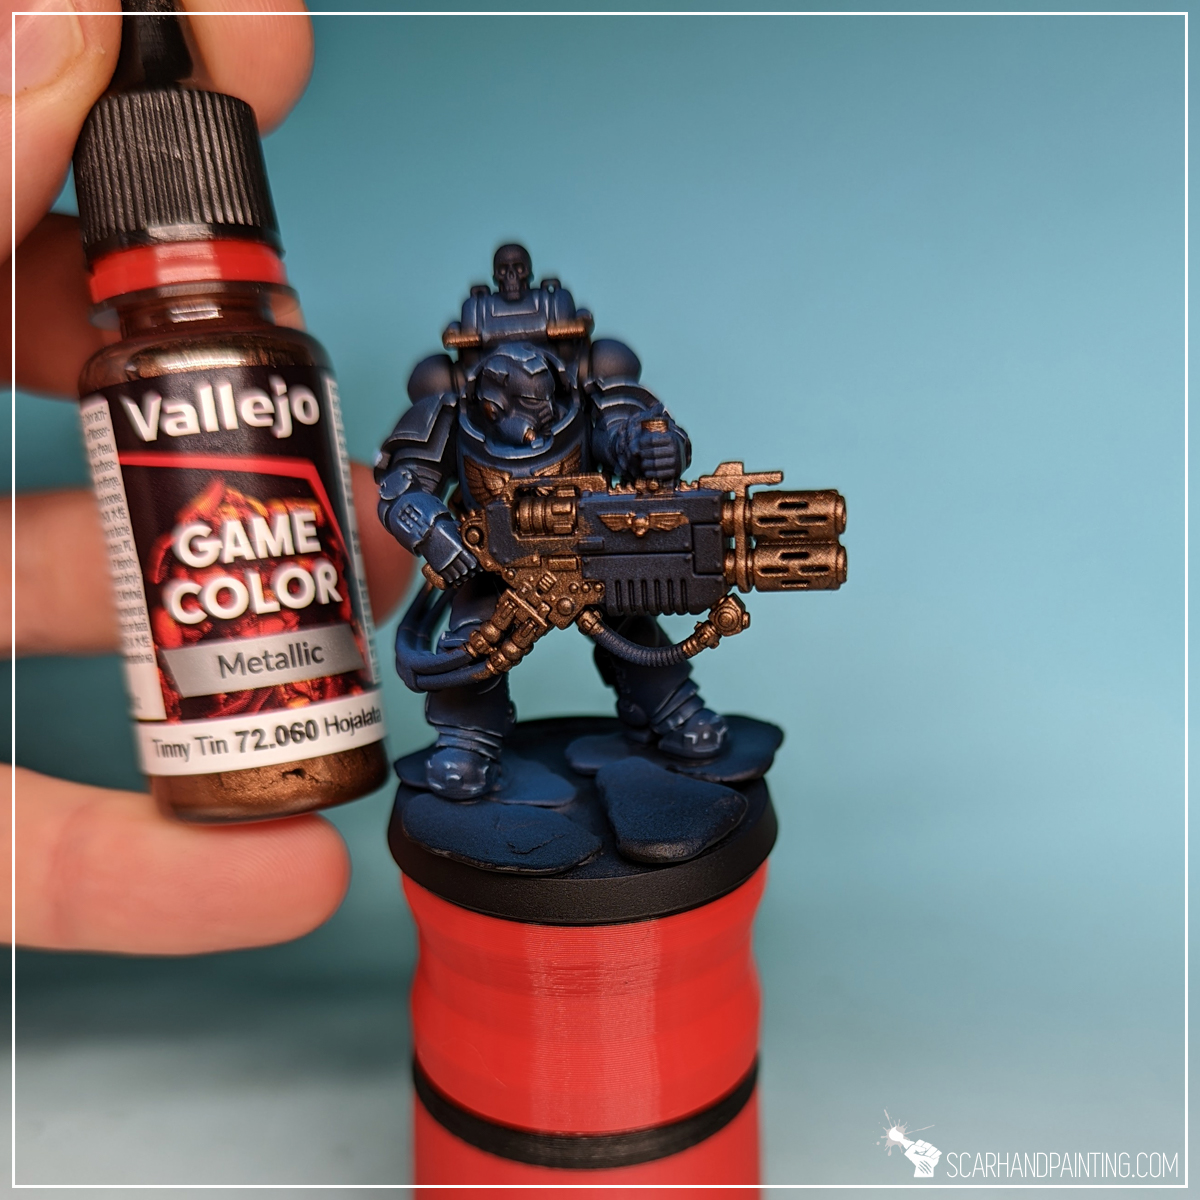
Step one: Base Color
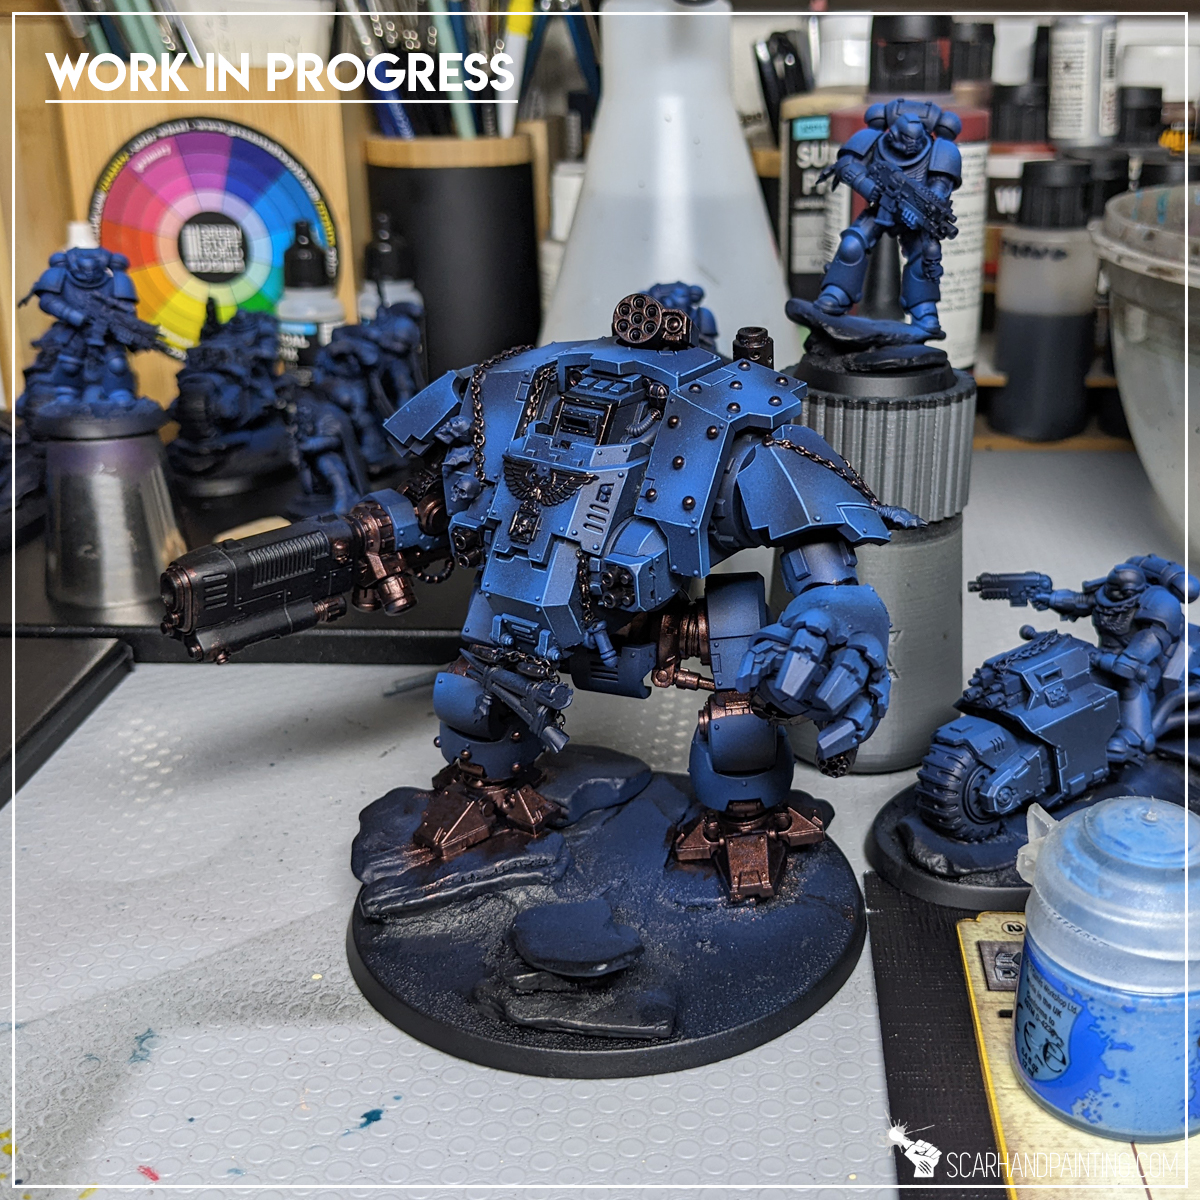
The initial layer was painted manually (no airbrush) with Vallejo Game Color – Tinny Tin (72.060). The color is relatively thin making it easy to move into any recesses, but also maintains a strong coverage, which is good because covering the entire surface is imperative for this particular layer.
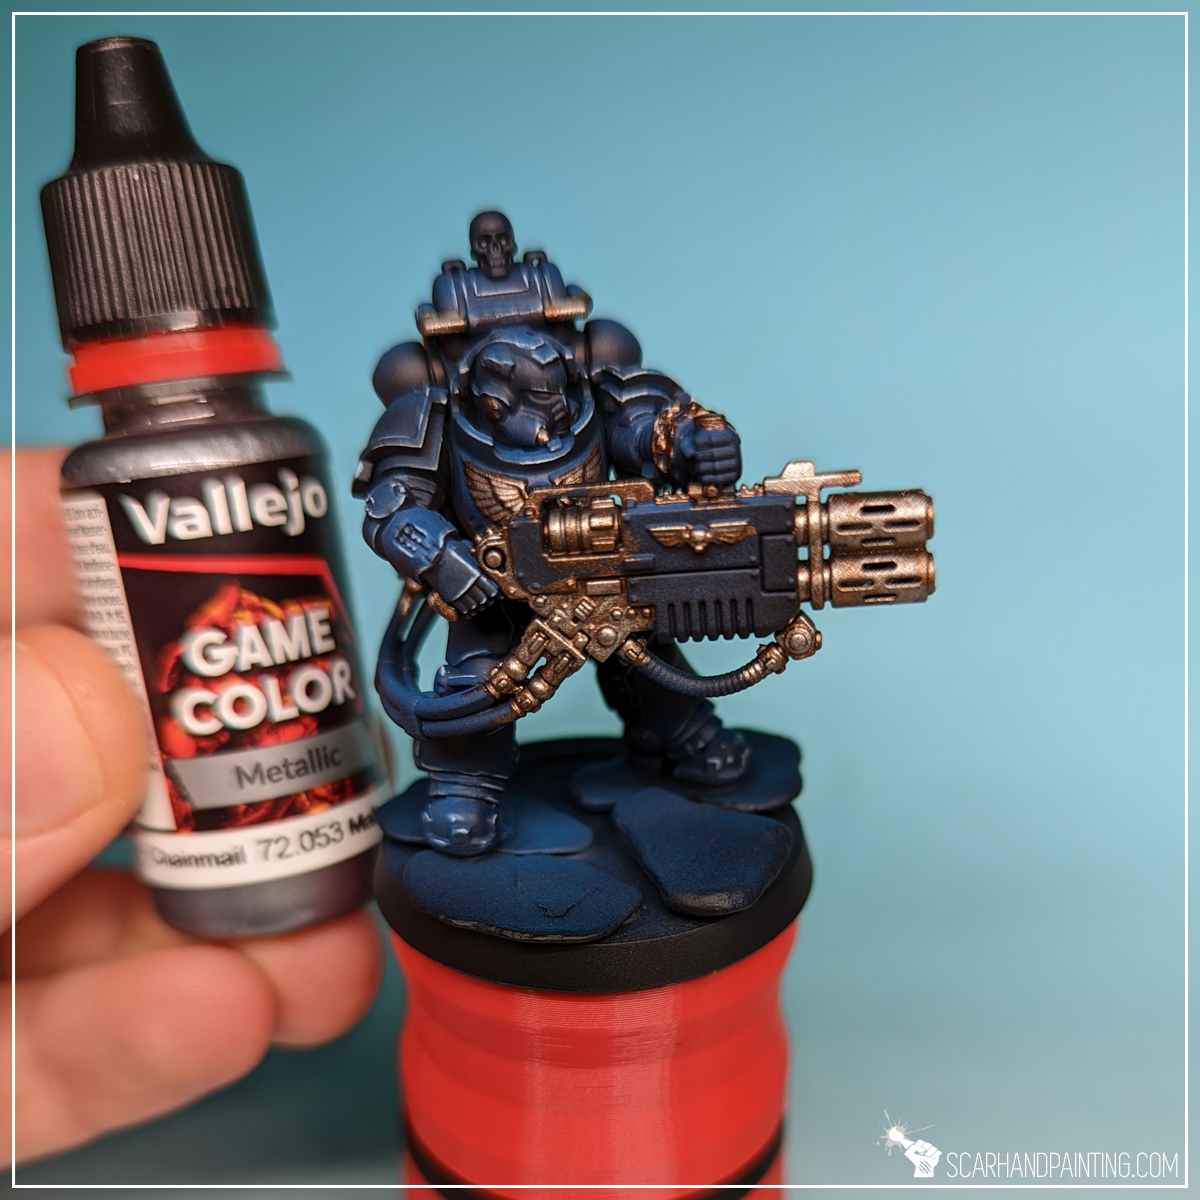
Step two: Highlight
Next I manually applied a large area (flatbrush) highlight of Vallejo Game Color – Chainmail (72.053). A much brighter steel color with strong pigmentation to cover most of the surface, except recesses.
Step three: Highlight
I then applied a more contained highlight of Vallejo Game Color – Silver (72.052), switching between edge highlight and flatbrush.
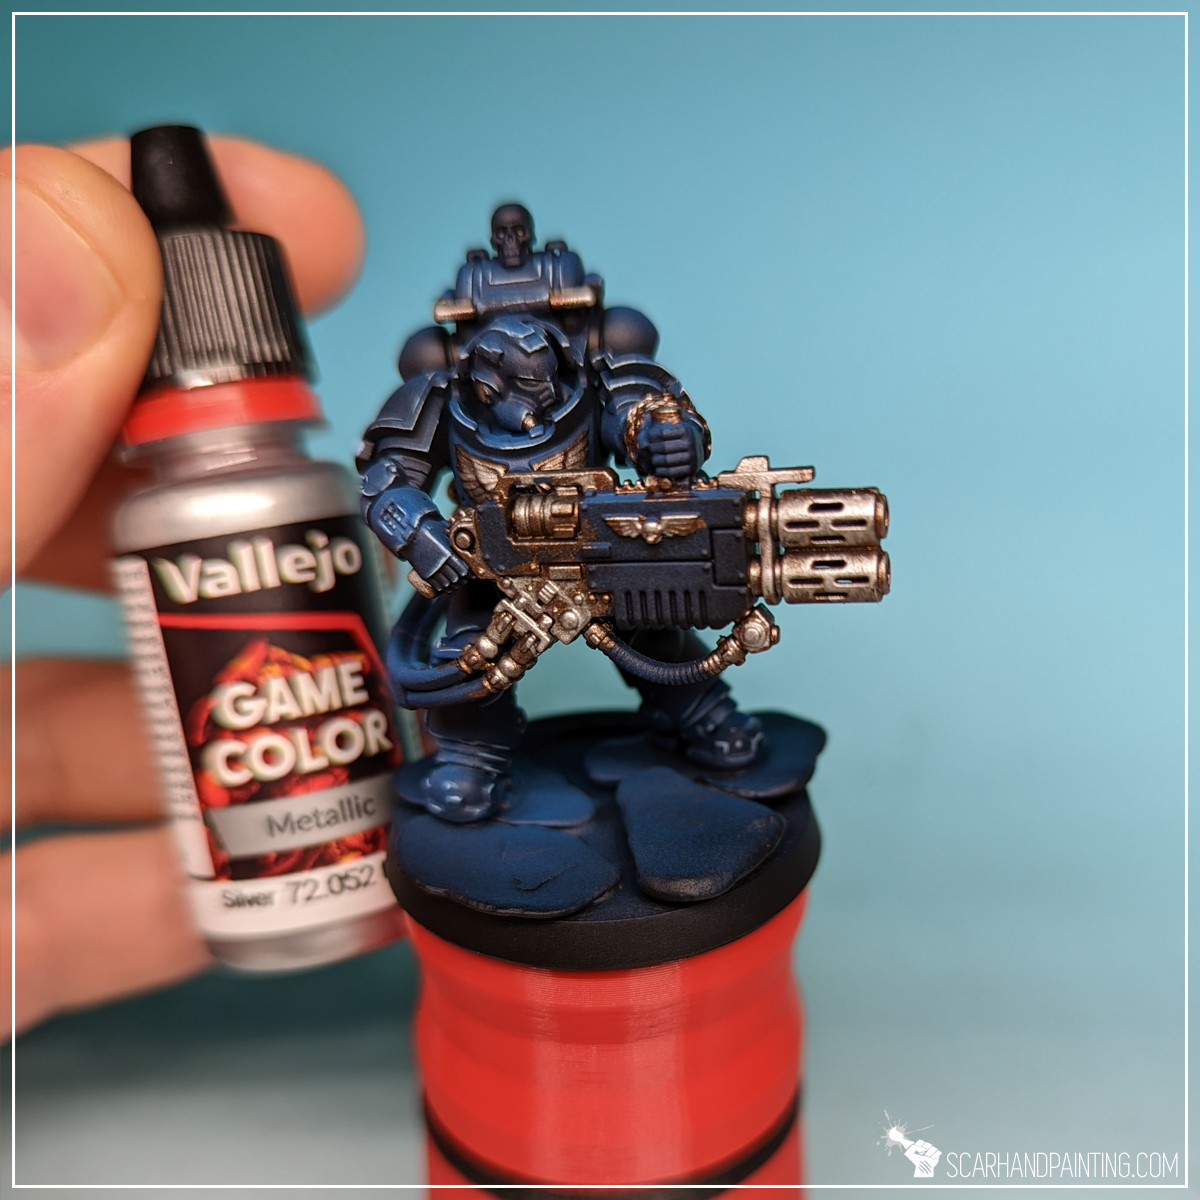
Step four: Wash
Lastly I applied a lot of The Army Painter – Strong Tone Wash. I like to go hard on washes, applying lots and lots of them to allow for pigmentation to do its thing.
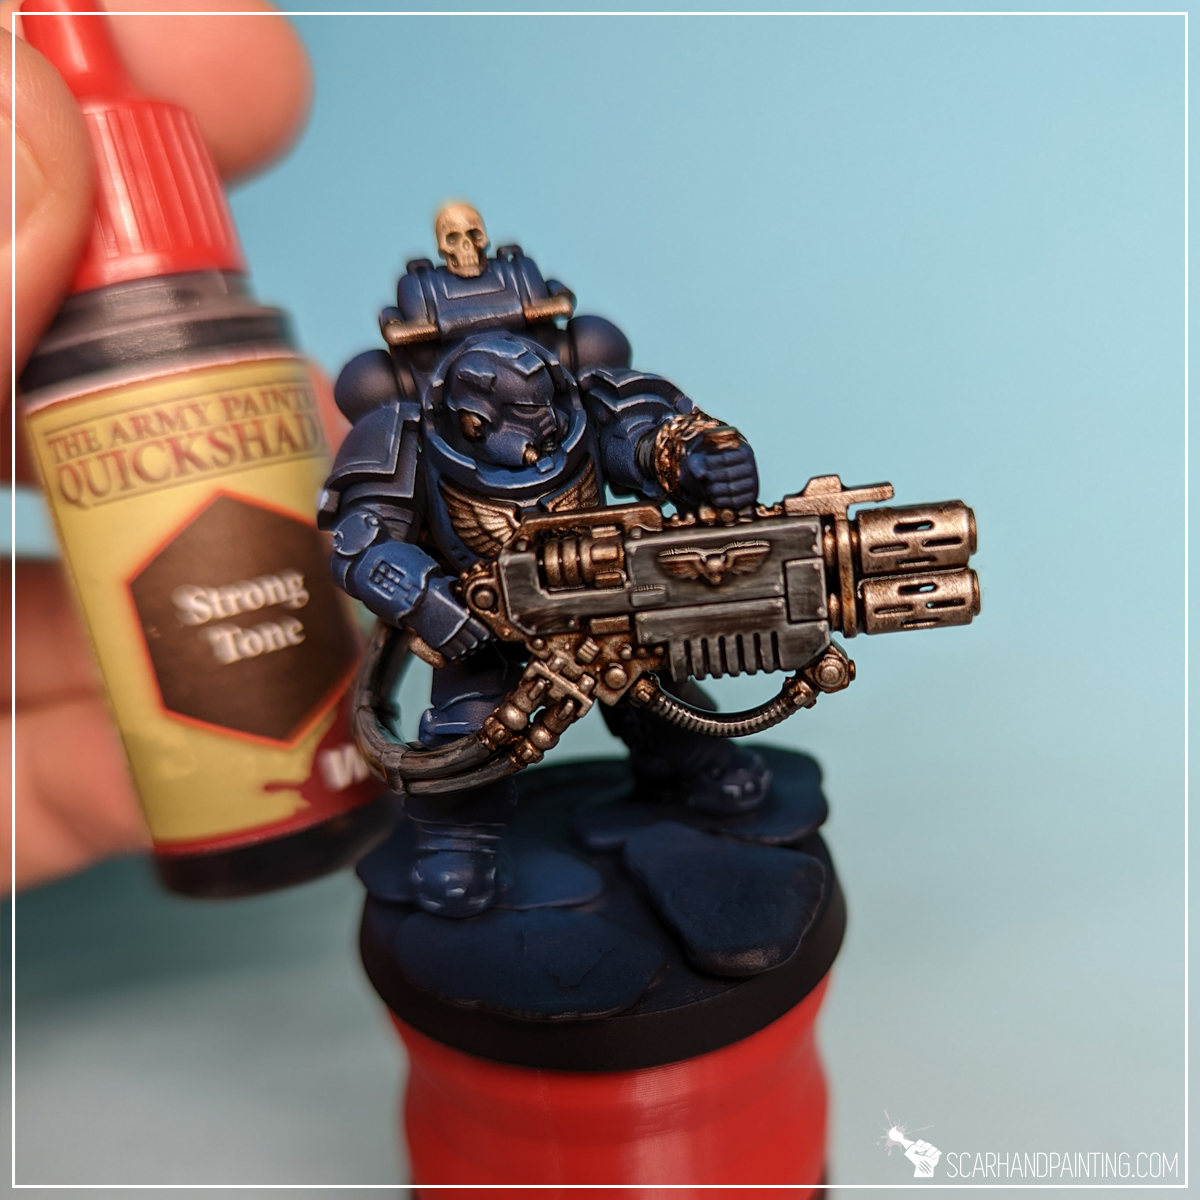
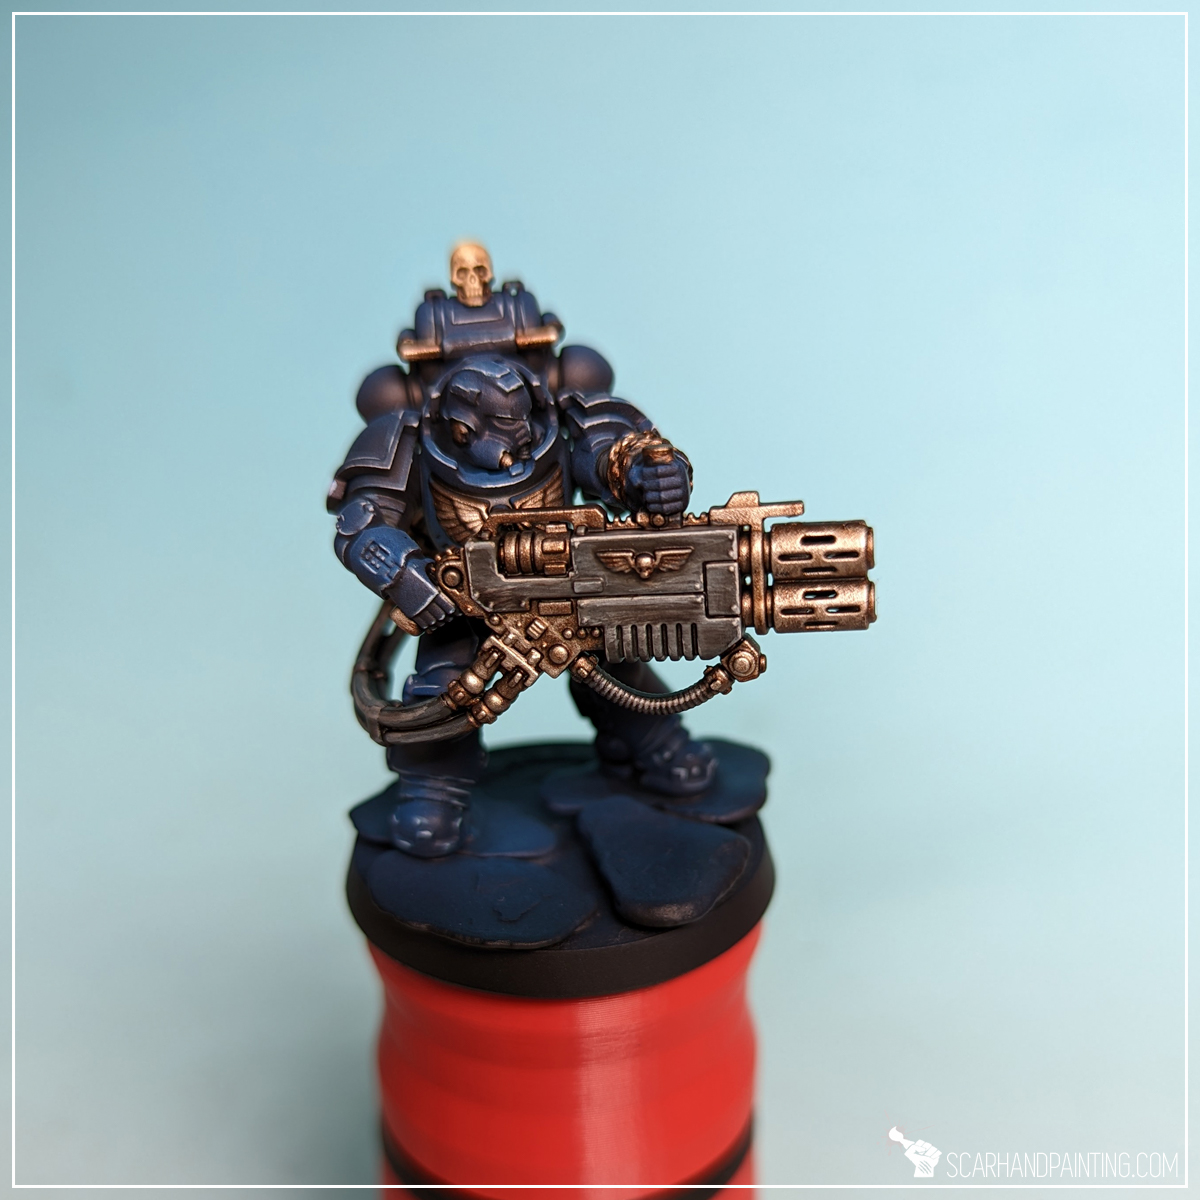
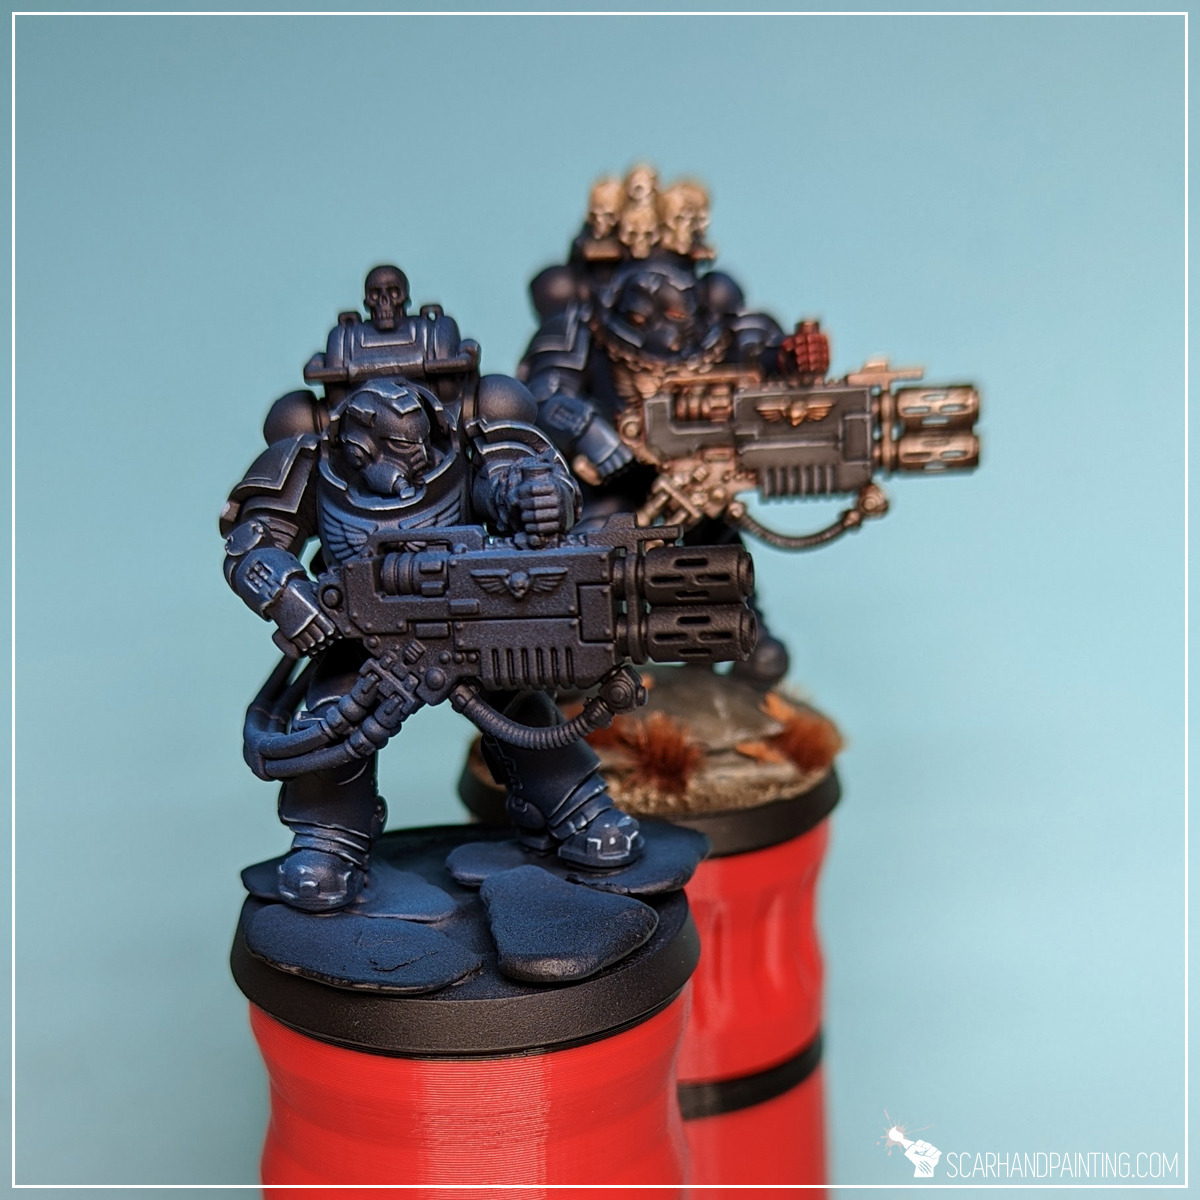
Extra Step: Final Highlight
Depending on the level of paint job I sometimes apply a final, soft highlight of Vallejo Game Color – Silver (72.052). This might work especially good for tiny detail such as chains, Imperial Aquila and similar, making steel look crisp and sharp. Unfortunately I skipped this part for the Eradicators so you’d have to take my word for how it works, or see other Crimson Fists miniatures for reference.
I hope you’ve enjoyed this article. Be sure to let me know your thoughts in the comments below or via Facebook or Instagram. I would also appreciate it if you considered sharing this content with your friends, who might find it interesting. Finally if you are looking for a professional miniatures painting service, be sure to contact me with this contact form. I always reply within 24 hours, after which please check out your spam folder.
Welcome to Painting Warhammer 40,000 Crimson Fists tutorial. Here I will present to you a Step-by-step of an easy and fast painting process for Games Workshop Crimson Fists Primaris Marines red as can be seen in Gallery: Crimson Fists.

Before we start, some notes:
Previous steps: Blue Armor
Although red elements can be painted separately I strongly recommend following part one of the article before moving to this color. Visit Tutorial: Painting Warhammer 40,000 Crimson Fists part one Blue Armor for more information.
Step one: Base Color
The initial layer was painted manually (no airbrush) with Vallejo Model – Hull Red (70.985). The color is thick resulting in strong coverage. I deliberately avoided going back to places where the undercoat might be visible, not to build too much paint in the area. Other layers will take care of that.

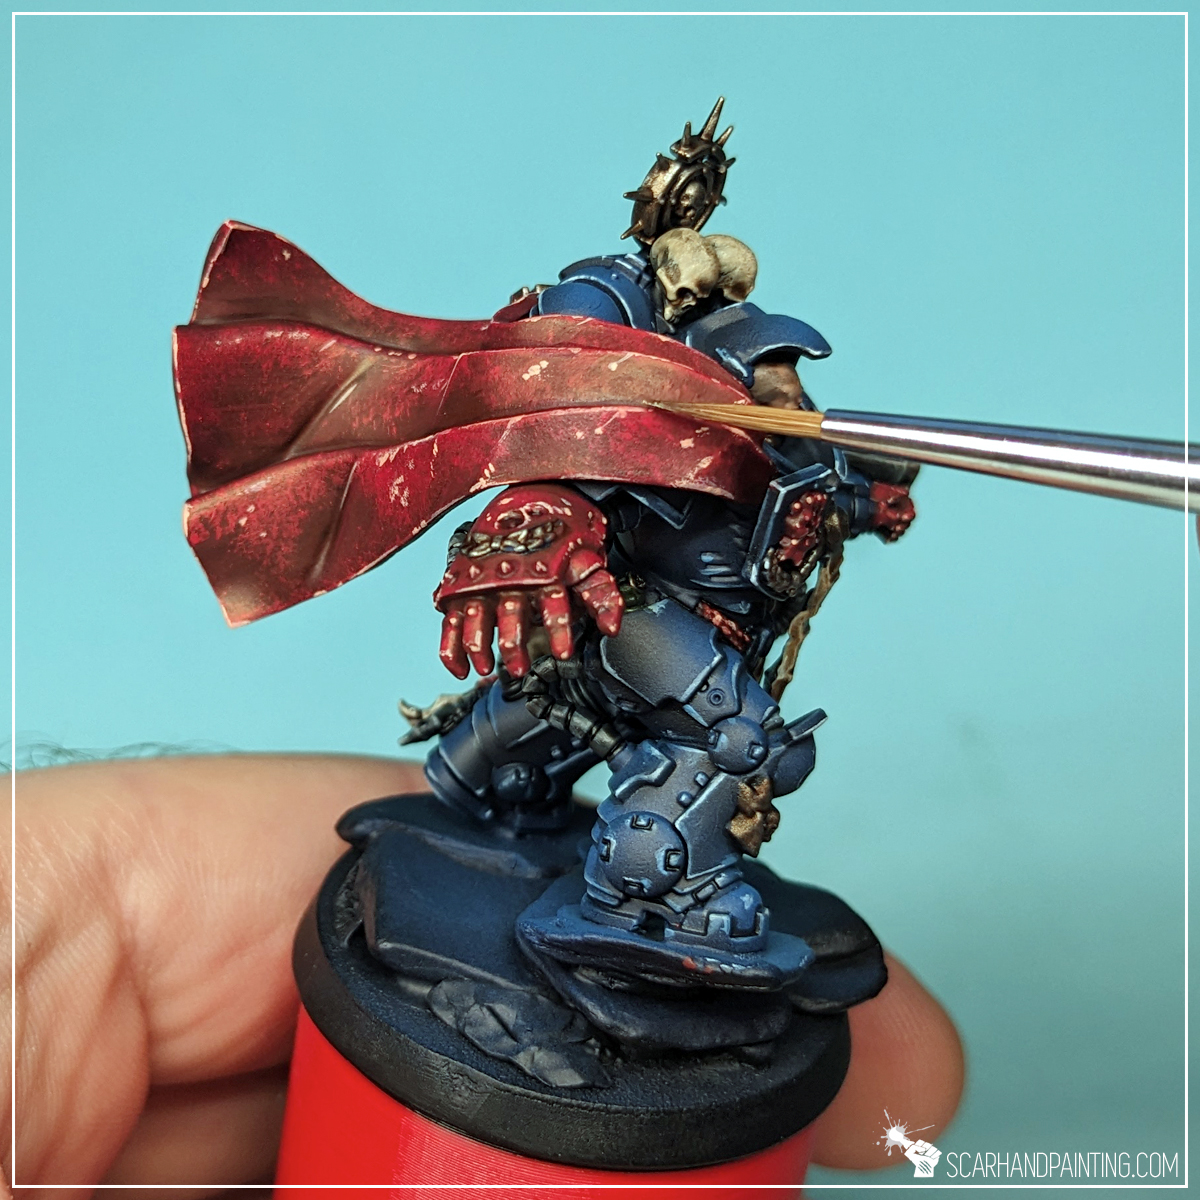
Step two: Highlight
Next I manually applied a large area highlight of Vallejo Burnt Red (70.814). A bit brighter and slightly pastele, the color has a relatively good coverage. I focused on covering all edges and exposed areas, less on recesses and inner folds.

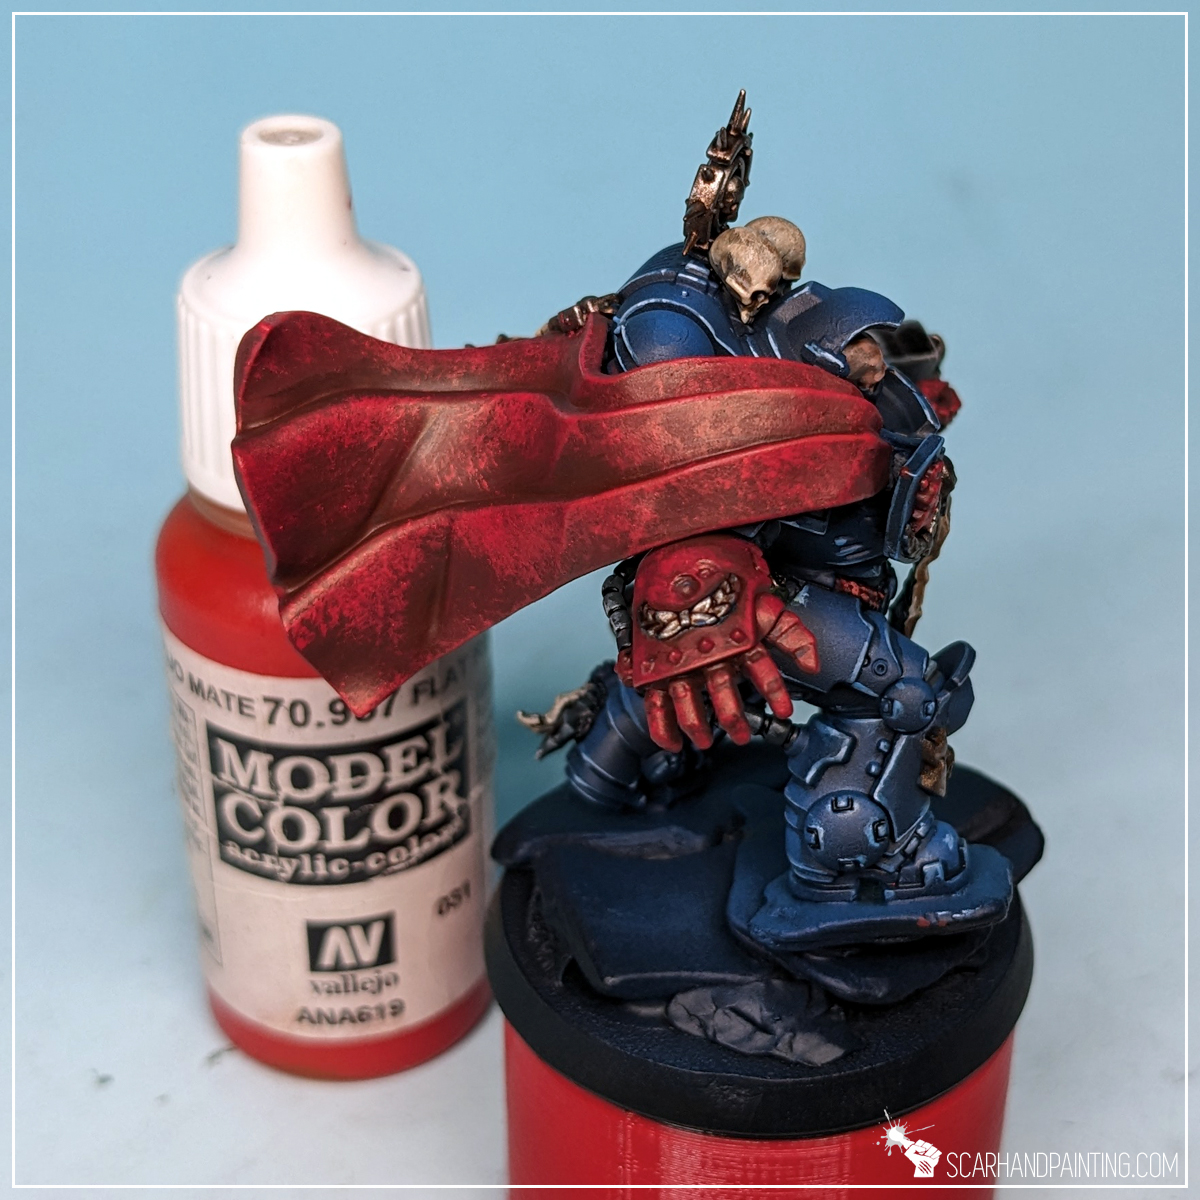
Step three: Texture Highlight
I then applied a mix-method layer of Vallejo Flat Red (70.957)*, switching between edge highlight and stippling. This added much needed texture and vibrancy.
* Warning: I am convinced my Vallejo Flat Red is bugged. I have purchased a number of bottles and the one used for my Crimson Fists is clearly mixed up. There sadly is no comparable color in the entire Vallejo range that I am aware of (and I got each Red they make to test it). I recommend choosing any strong, vibrant, well pigmented red for this step instead.
Step four: Final Highlight
In the last step I added a limited highlight of Citadel Lugganath Orange. The paint is thick and I used it without thinning. Just a few lines on the edges, a few irregular dots in certain areas. Not to much, not to change the expression of the overall color.

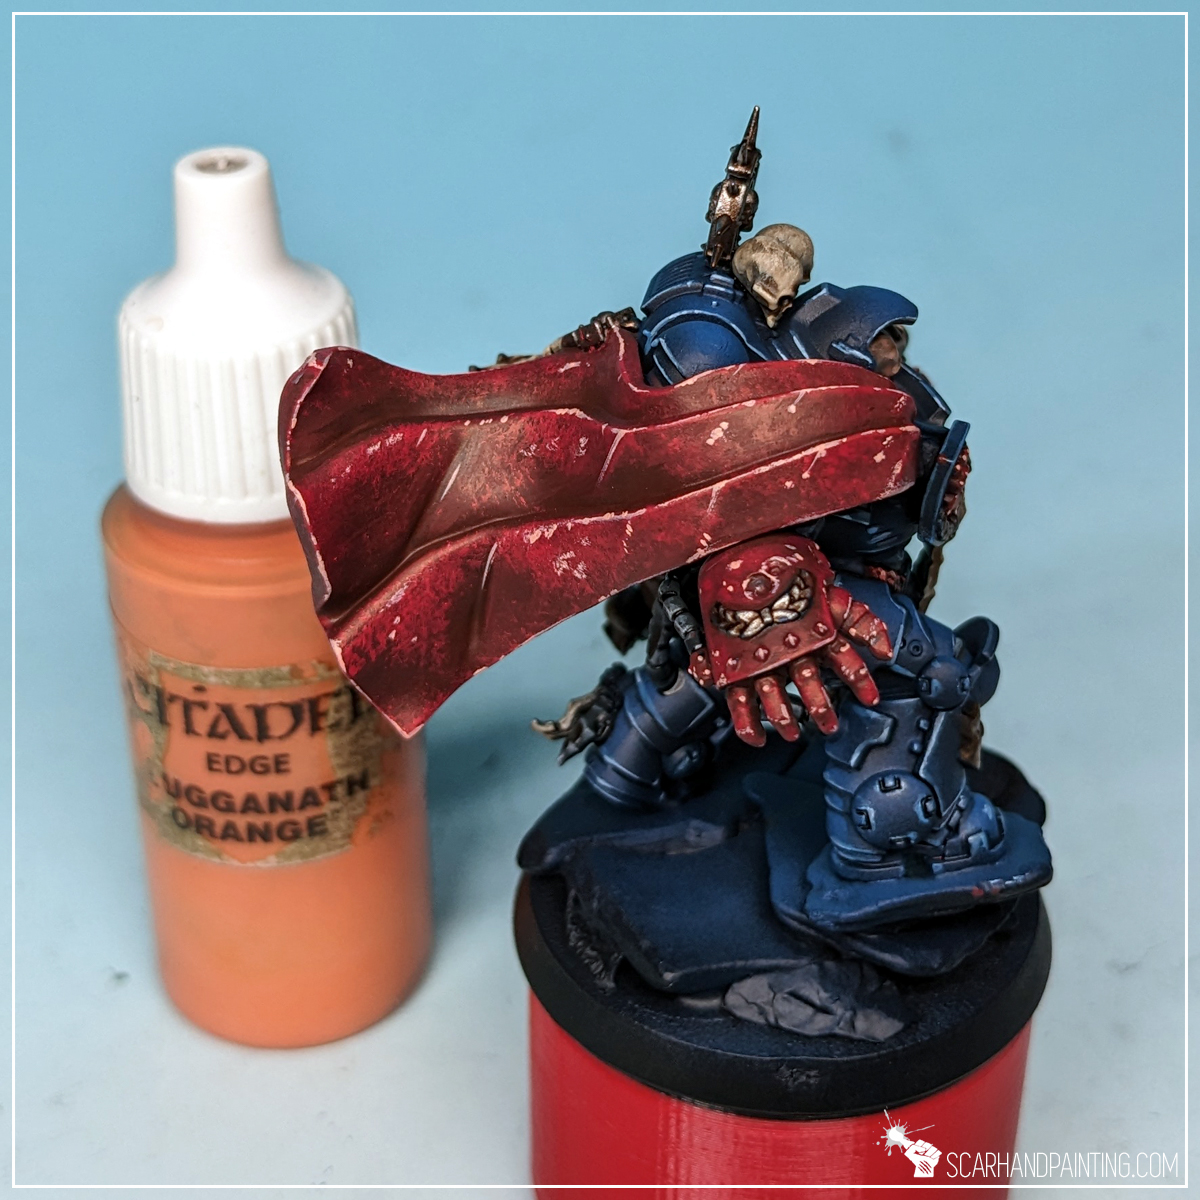
That wraps up red. Four layers of paint to imitate eye catching, vibrant tone. Two most important colors out of the way, the rest is a topic for another day. Stay tuned for part three of the tutorial.
I hope you’ve enjoyed this article. Be sure to let me know your thoughts in the comments below or via Facebook or Instagram. I would also appreciate it if you considered sharing this content with your friends, who might find it interesting. Finally if you are looking for a professional miniatures painting service, be sure to contact me with this contact form. I always reply within 24 hours, after which please check out your spam folder.

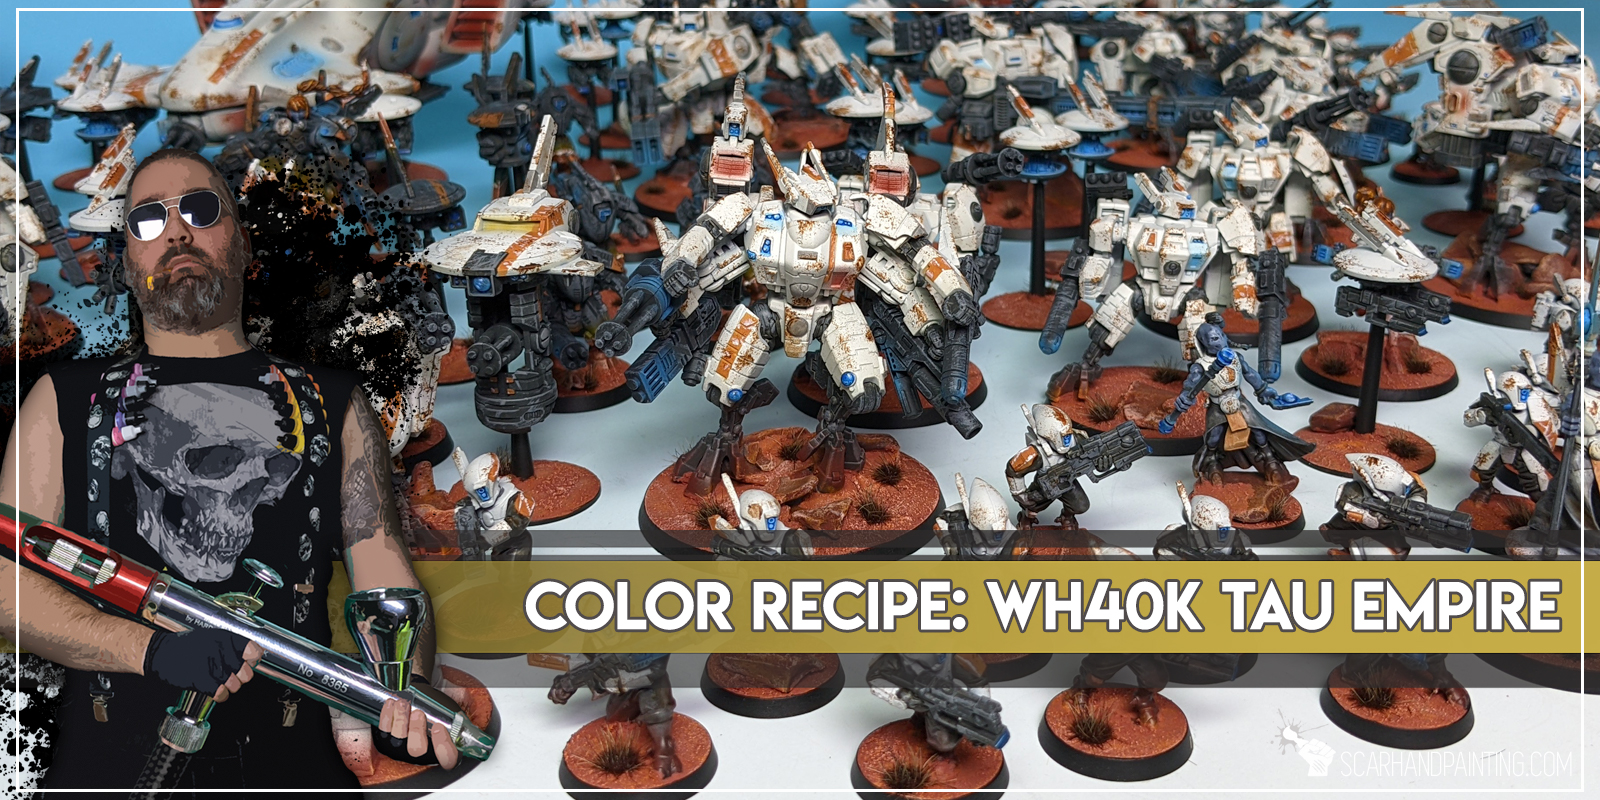
Here are some Color Recipes for Warhammer 40,000 Tau Empire from Gallery: Tau Empire. Please take note that this is a simple color scheme, not covering multiple overlapping layers and blends in between, that lead to the final product. It is supposed to be used as guideline not a step-by-step.
White Armor:
Desert Tan (val primer),
White (val primer),
Scrofulous Brown (val),* stencil stripes
White (val), scratches
Clothes / Mesh:
Panzer Dark Grey (val a) *
– White Armor –
Panzer Dark Grey (val a), wash
Cold Grey (val a), flbr
CLOTHES: Strong Tone Ink (ap), wash

Weapons:
Panzer Dark Grey (val a),
Cold Grey (val), weathering, edge highlight
Weathering:
Smokey Ink (val), stpl
Desert Yellow (val a),*
German Red Brown (val primer), *
Blue OSL:
Light Sea Blue (val a), bl / *
White (val), l&p
Guilliman Blue (gw), glaze
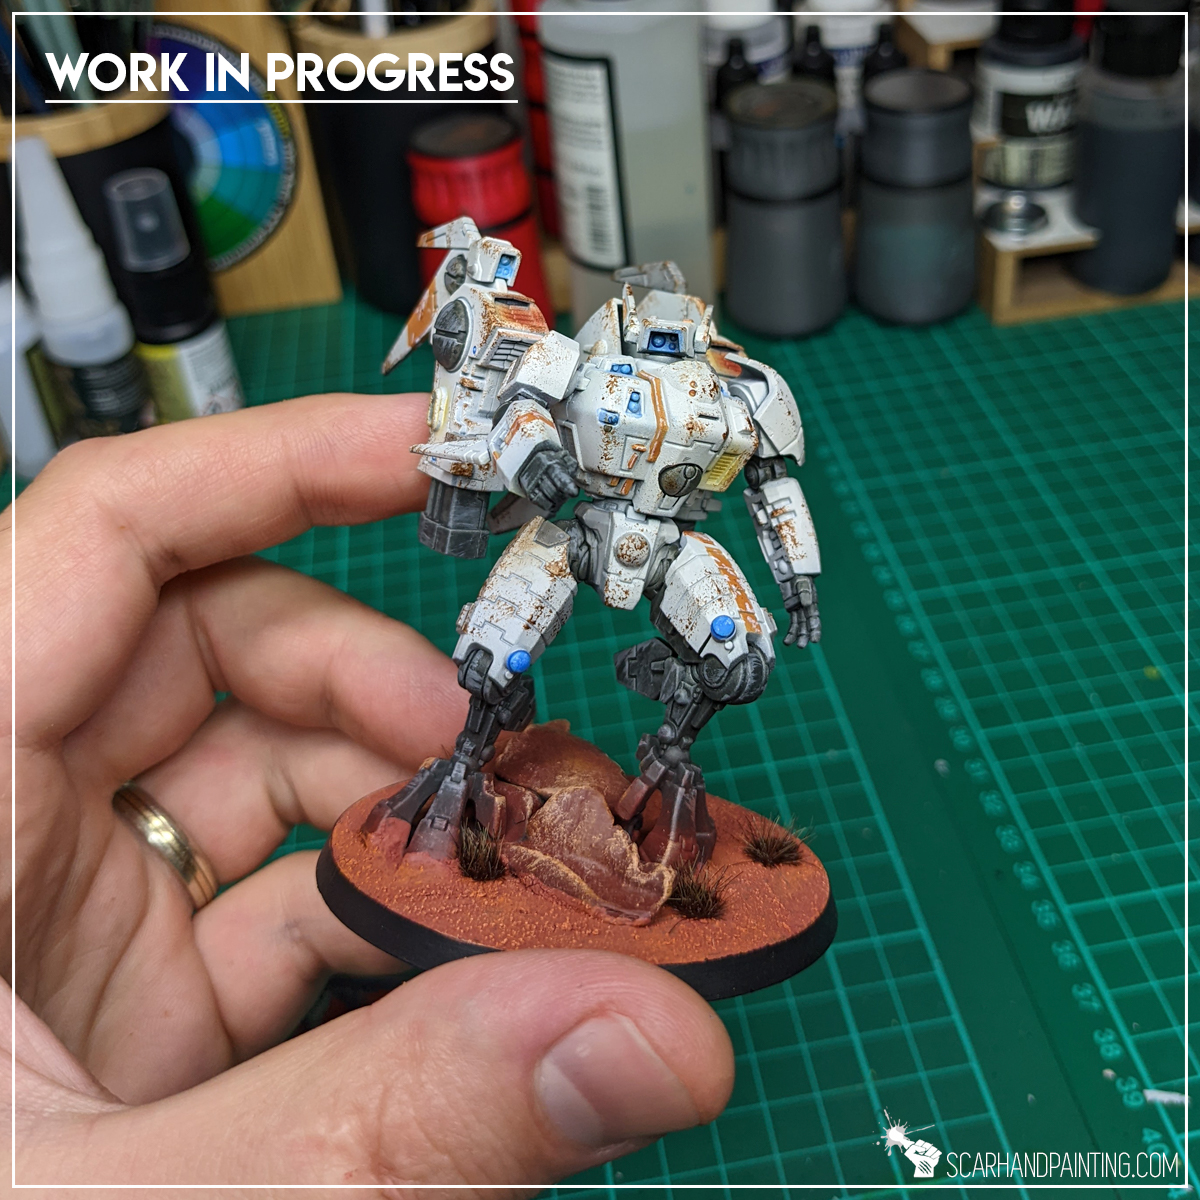
Bases:
German Red Brown (val primer),
Mix Martian Ironcrust (gw texture) 1:1 Martian Ironearth (gw texture), texture
Orange Fire (val), flbr
Lugganath Orange (gw), drbr
TUFT: Army Painter Wasteland Tuft
TUFT: Gamers Grass Burned Tuft

l&p – lines and points,
p – points,
dl – deep lining,
bl – blend,
gl – glaze,
drbr – drybrush,
flbr – flatbrush,
lobr – loaded brush,
stpl – stippling,
*Airbrushed (with multiple layers and mixes)
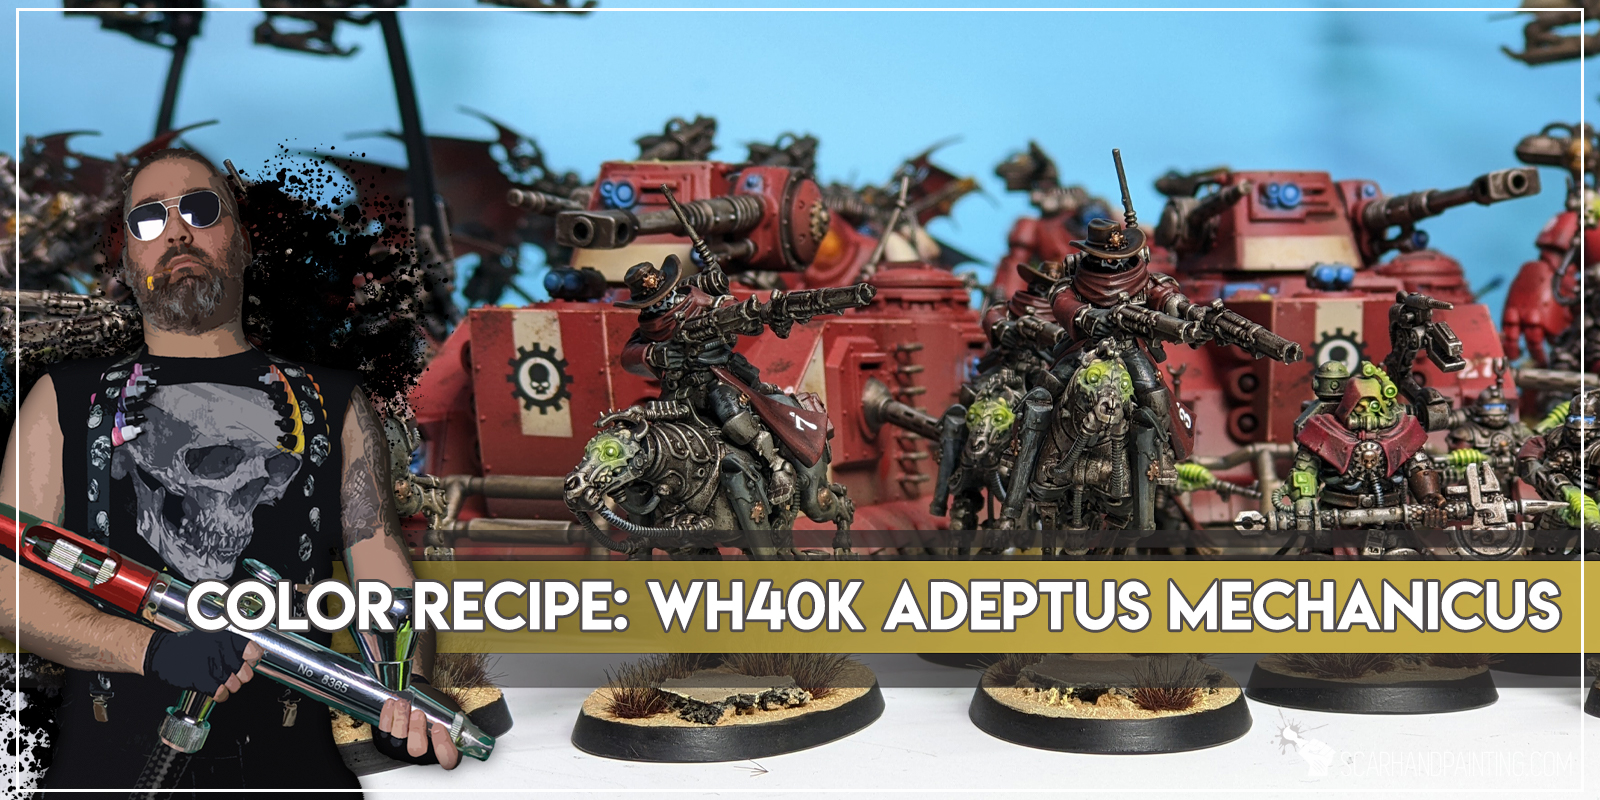
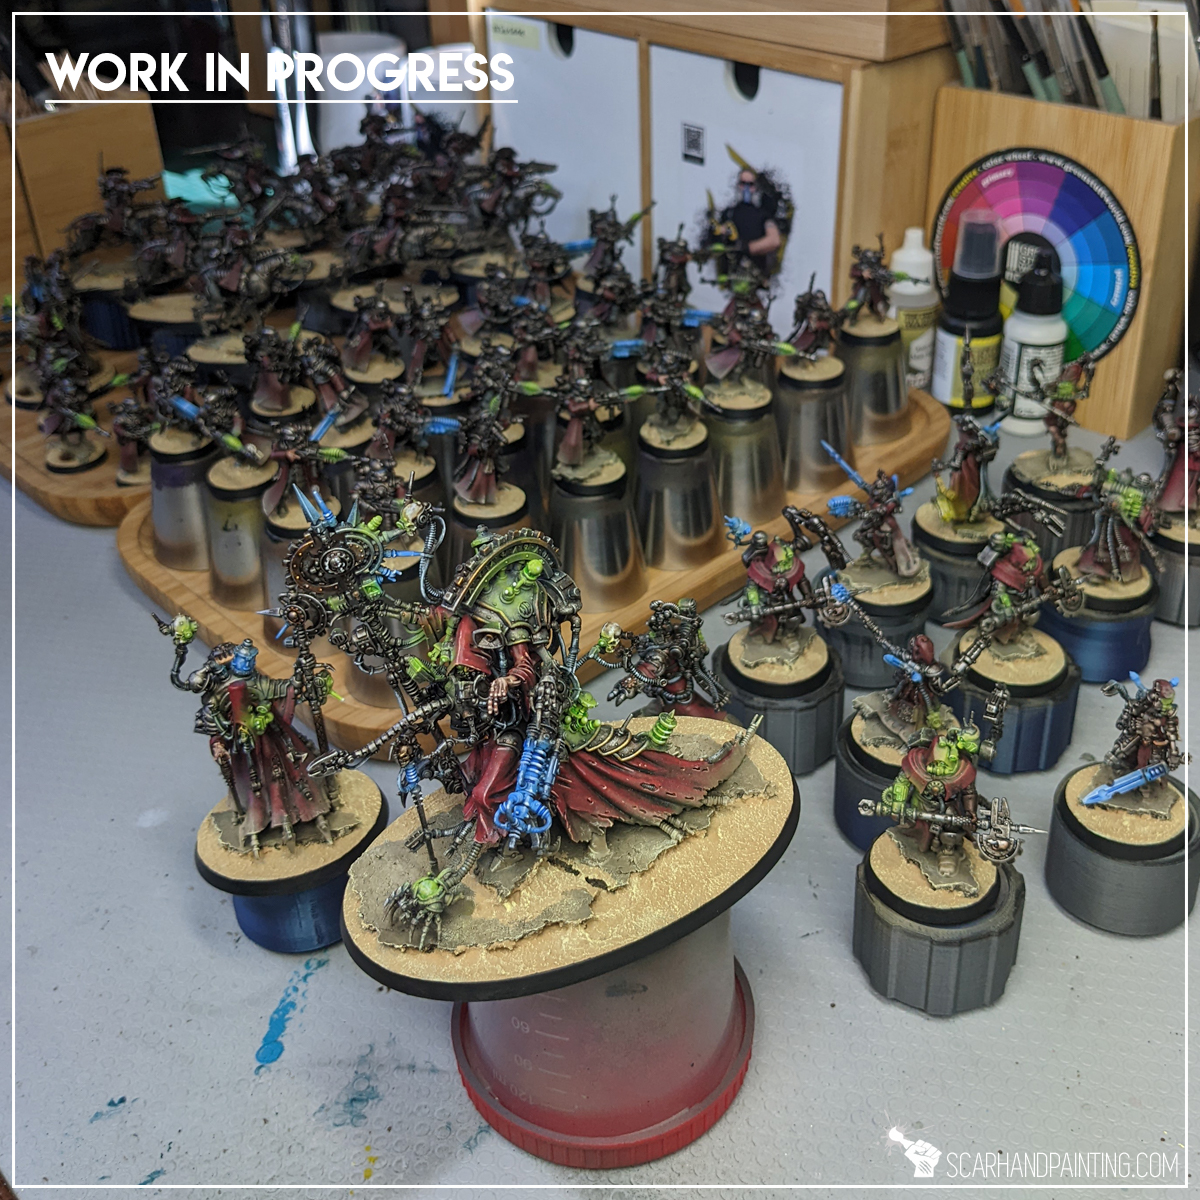
Here are some Color Recipes for Warhammer 40,000 Adeptus Mechanicus from Gallery: Adeptus Mechanicus. Please take note that this is a simple color scheme, not covering multiple overlapping layers and blends in between, that lead to the final product. It is supposed to be used as guideline not a step-by-step.
Metal:
Rust (val a),*
Gun Metal (ap), flbr
Shining Silver (ap), flbr
True Copper (ap), alternative spots
Strong Tone (ap), wash / wash*
Shining Silver (ap), l&p
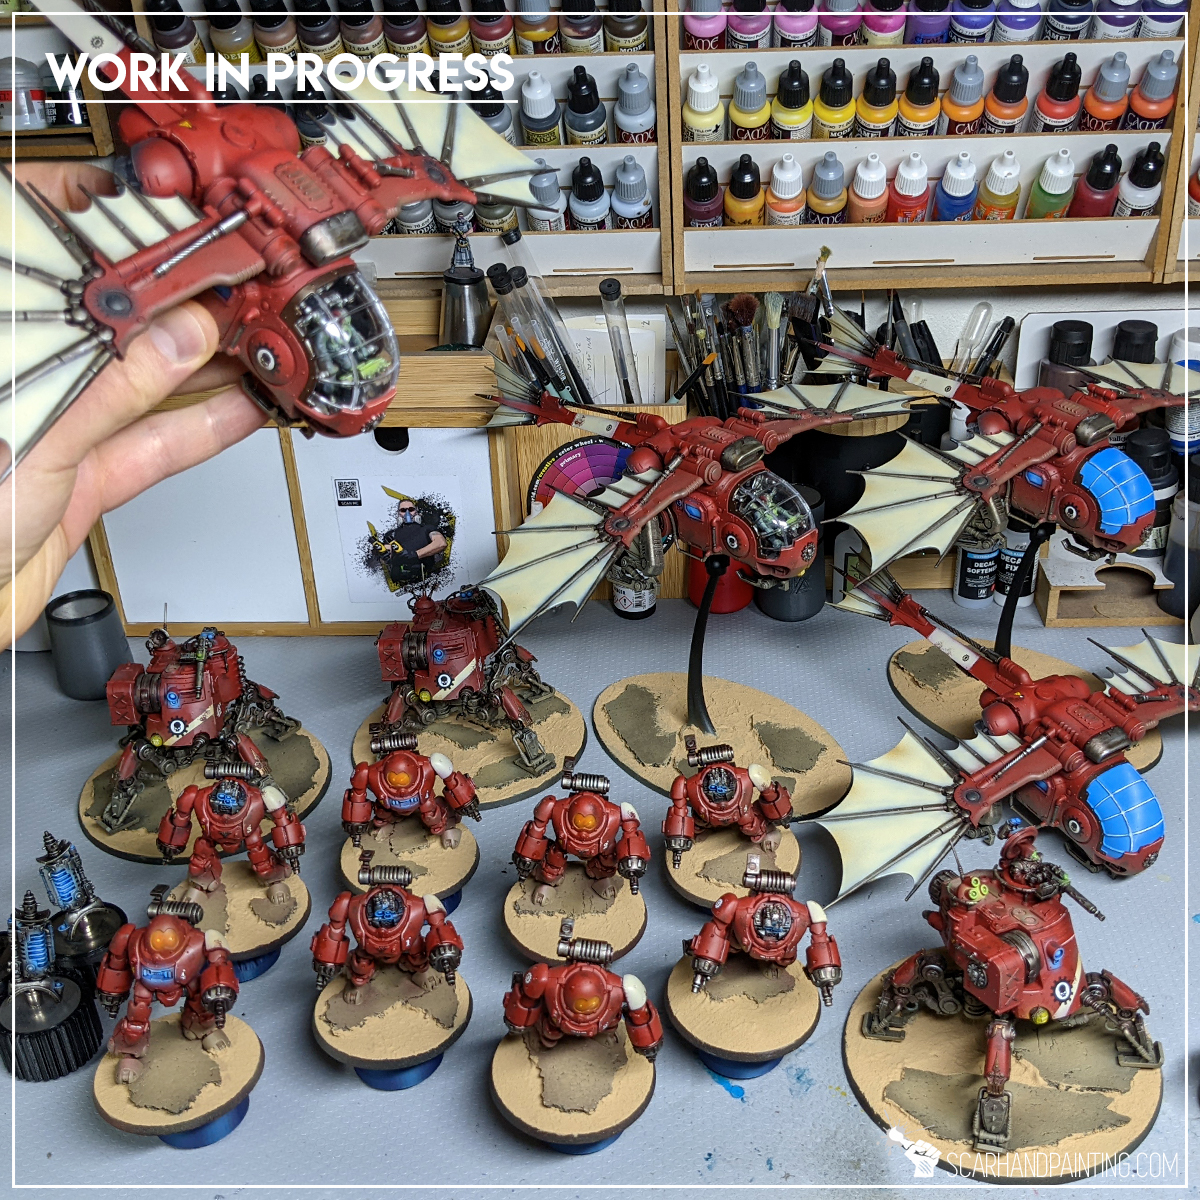
RED Vehicles:
German Red Brown (val primer), *
Desert Tan (val primer), *preshade
Mix: German Red Brown 1:1 Red RLM 23 (val a),*
Bonewhite (val a), stencil stripes
Smokey Ink (val), weathering
Red Clothes:
Hull Red (val),
Strong Tone (ap), wash / wash*
German Red Brown (val primer), flbr, bl
German Red Brown (val primer), bl, edges
Scarlet Blood (val), edges
Black Clothes:
Panzer Dark Grey (val a),
Fenrisian Grey (gw), flbr
Hero: Ghost Grey (val), l&p
Strong Tone (ap), wash
Hero: Ghost Grey (val), l&p
Hero: Off White (val), l&p
Blue Light:
Light Sea Blue (val a), *
White (val a), *
Guilliman Blue (gw), wash
Off White (val), l&p
Purity Seals:
Hull Red (val),
Strong Tone (ap), wash
Rosy Flesh (val), p
/
Flayed One Flesh (gw),
Pallid Wych Flesh (gw), flbr
Strong Tone (ap), wash
Black markings,
Skulls:
Ghost Grey (val),
Strong Tone (ap), wash
Ghost Grey (val), p
Skin:
Tan (val),
Dwarf Flesh (gw), flbr
Flesh (val a),
Strong Tone (ap), wash
Hero: Flesh (val), l&p
Hero: Pale Flesh (val), l&p
Bases:
Earth (val a), *
Light Brown (val a), *
European Dust (val), *
Sandy Desert (AK texture),
Ice Yellow (val), drbr, flbr,
TUFT: Wasteland Tuft (ap),
TUFT: Burned 6mm wild (gg),

l&p – lines and points,
p – points,
dl – deep lining,
bl – blend,
gl – glaze,
drbr – drybrush,
flbr – flatbrush,
lobr – loaded brush,
stpl – stippling,
*Airbrushed (with multiple layers and mixes)
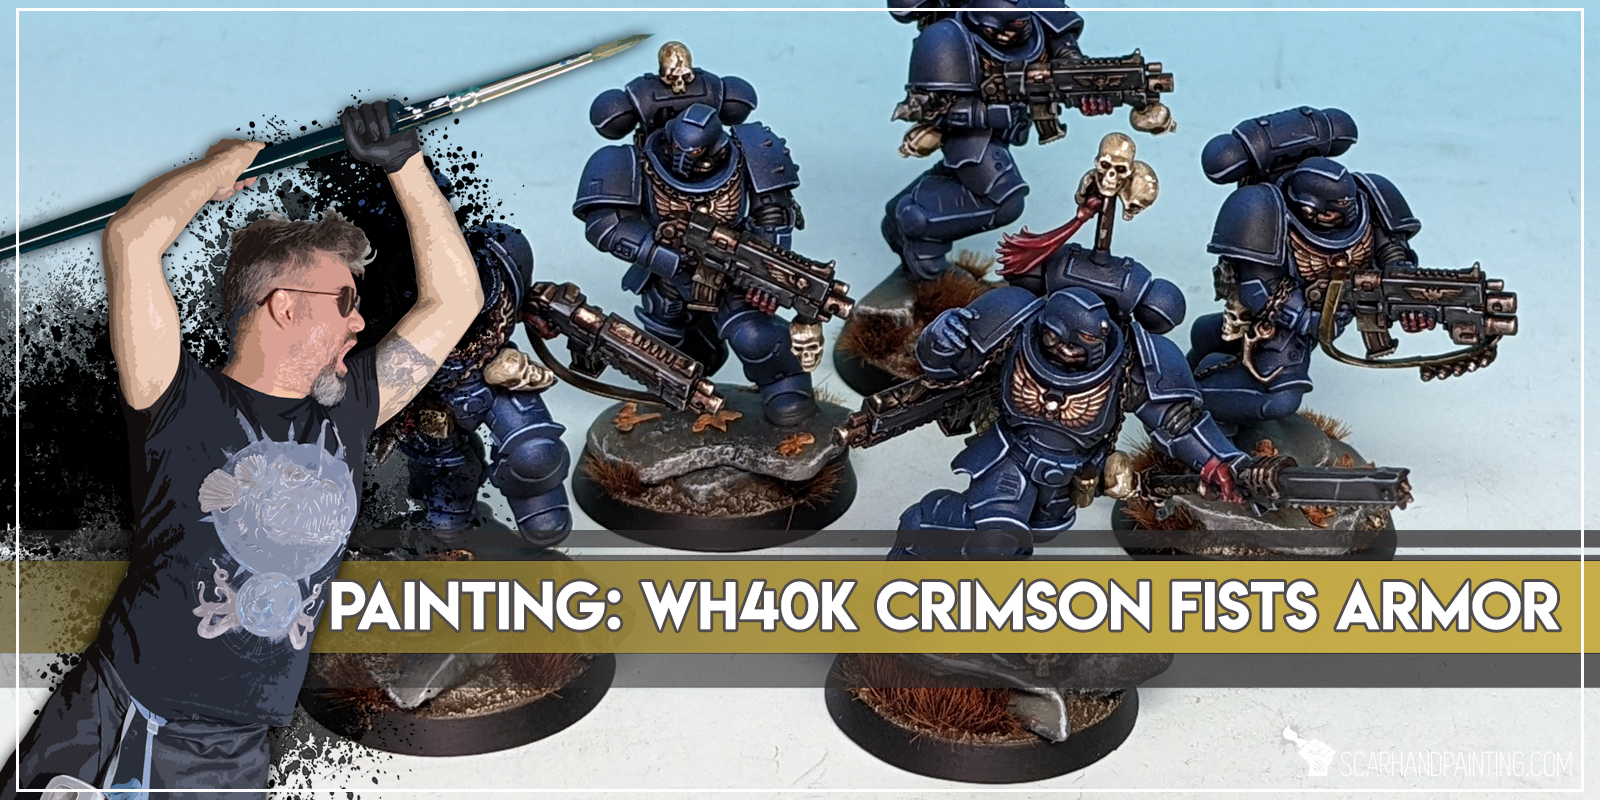
Welcome to Painting Warhammer 40,000 Crimson Fists tutorial. Here I will present to you a Step-by-step of an easy and fast painting process for Games Workshop Crimson Fists Primaris Marines armor as can be seen in Gallery: Crimson Fists.
Before we start, some notes:
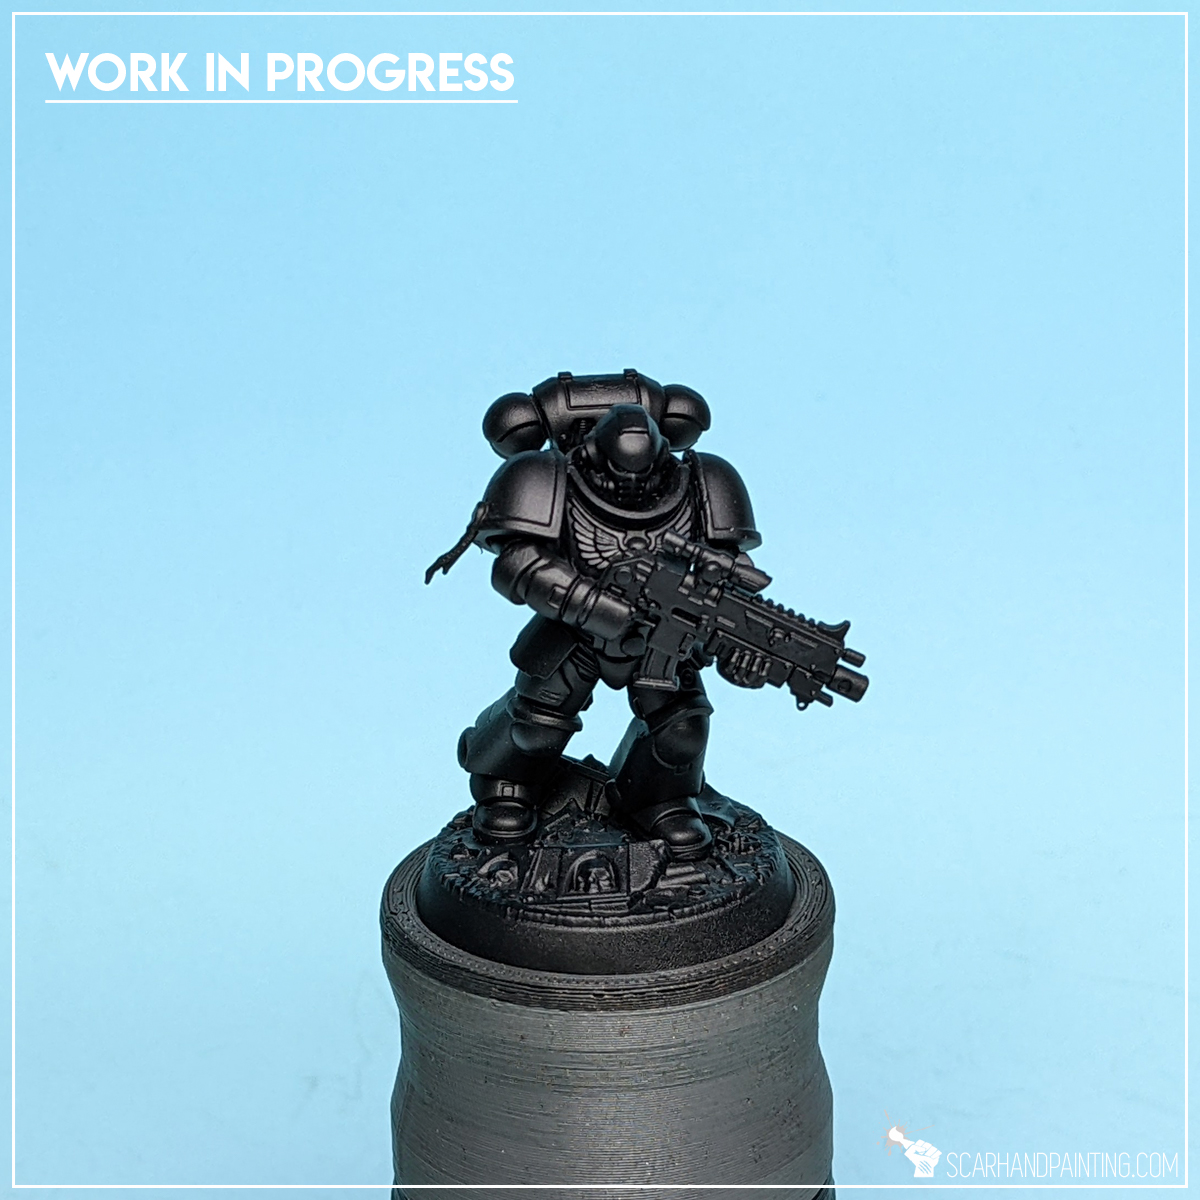
Step one: Undercoat
I started with a thorough layer of Games Workshop Chaos Black spray. This is a standard procedure for me. Chaos Black spray is my go to choice when it comes to undercoat.
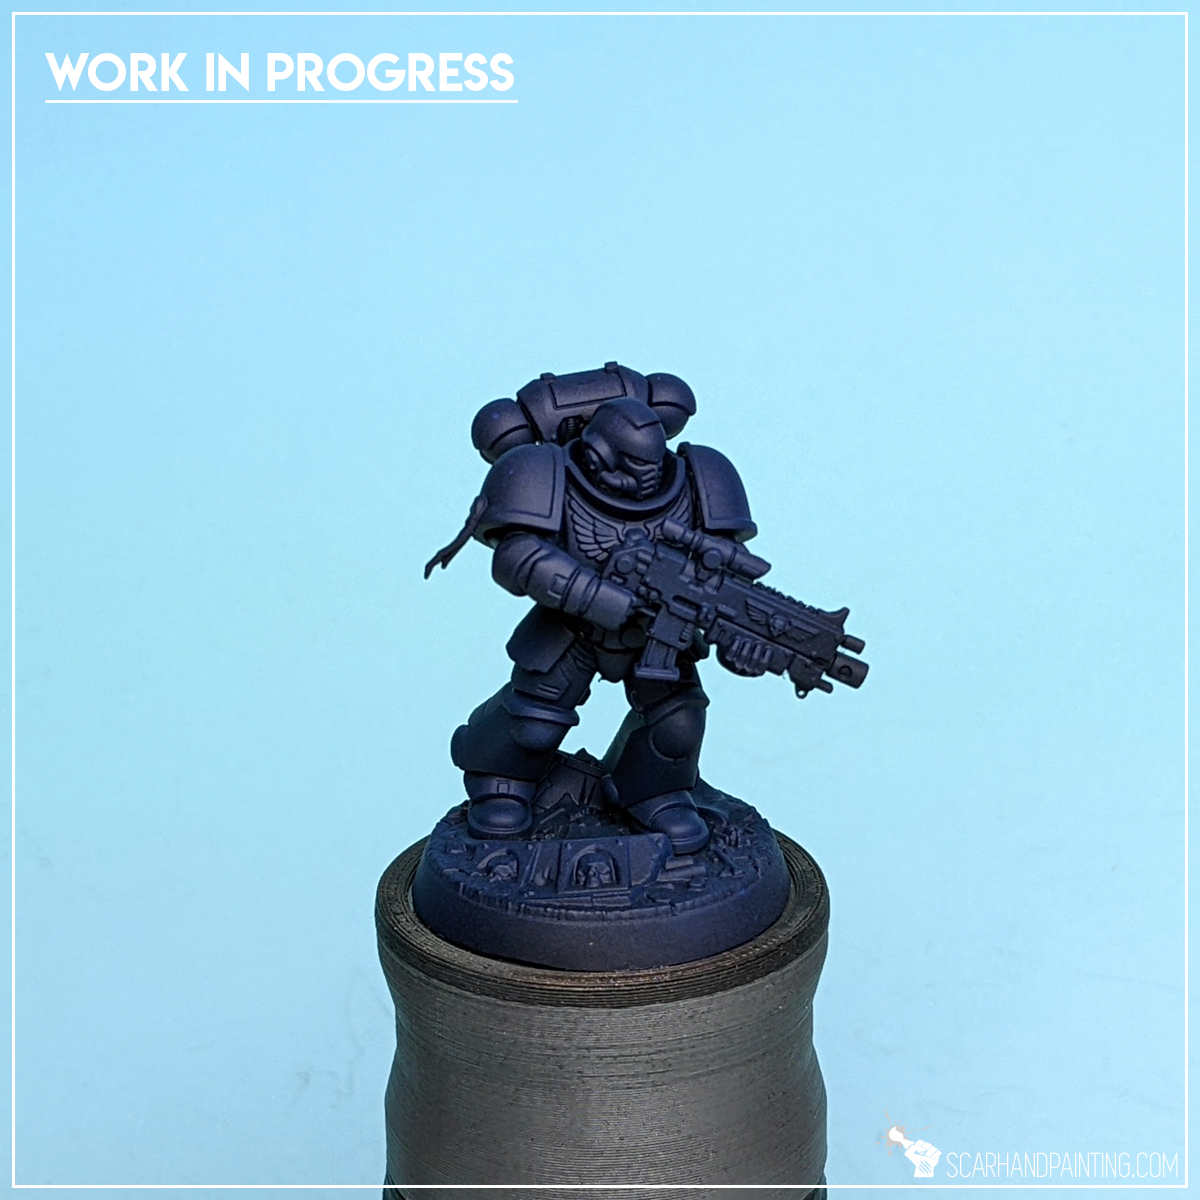
Step two: Base Color
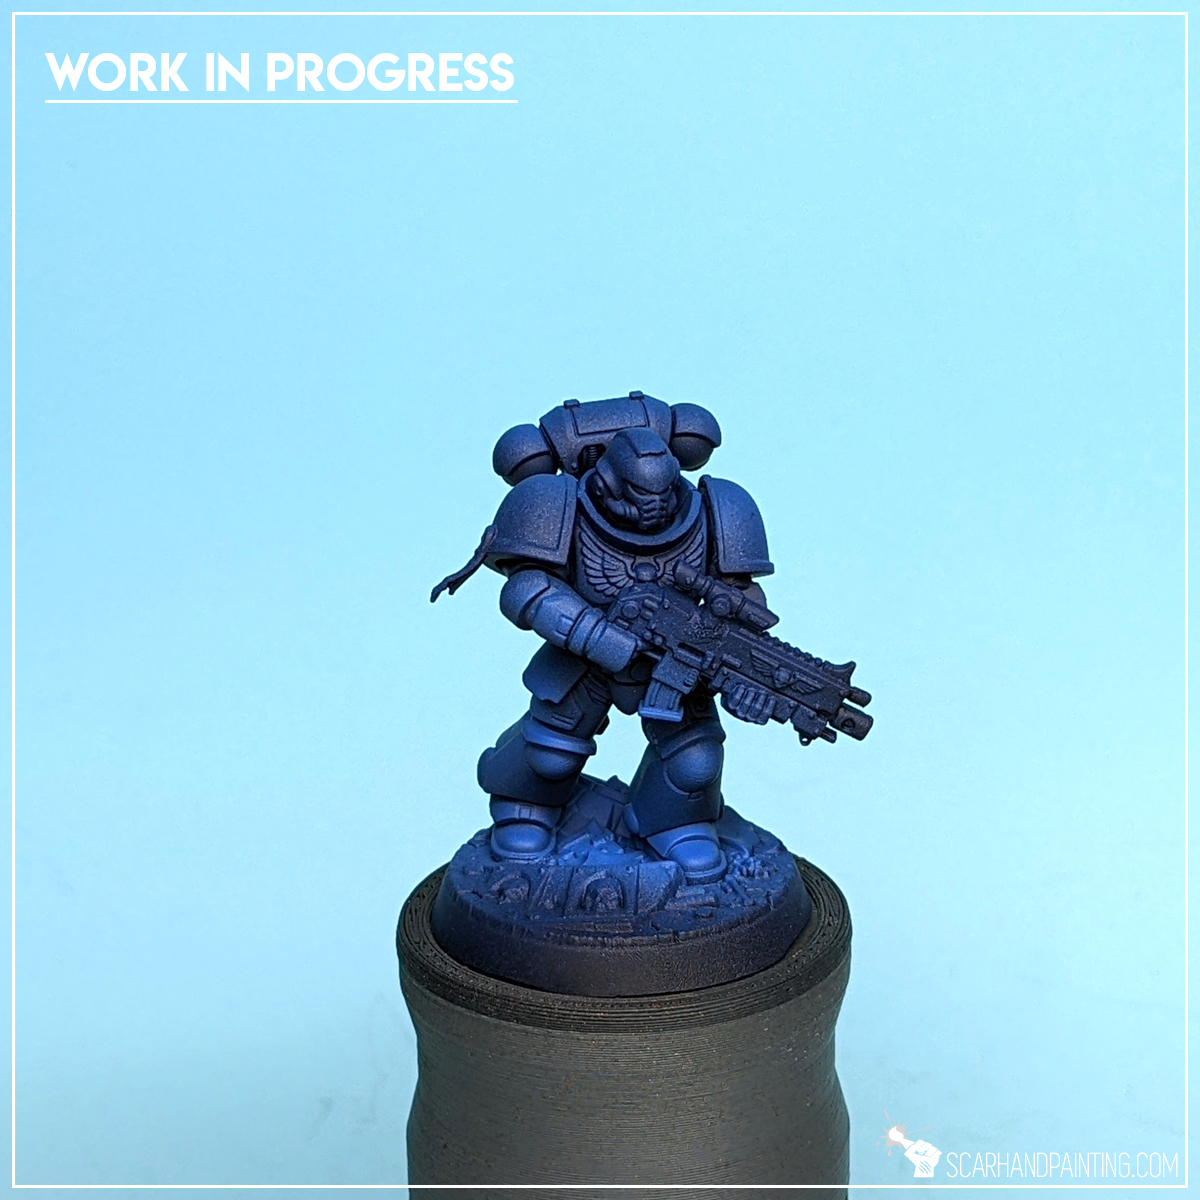
For the initial layer I chose Vallejo Model Air – French Blue (71.088). The color is a somewhere medium tone blue, with much vibrancy that got a bit toned down by black undercoat beneath. I applied a thin, dry layer of French Blue by airbrushing it on top and around the miniature. I took extra care not to make the layer too strong.
Step three: Highlight
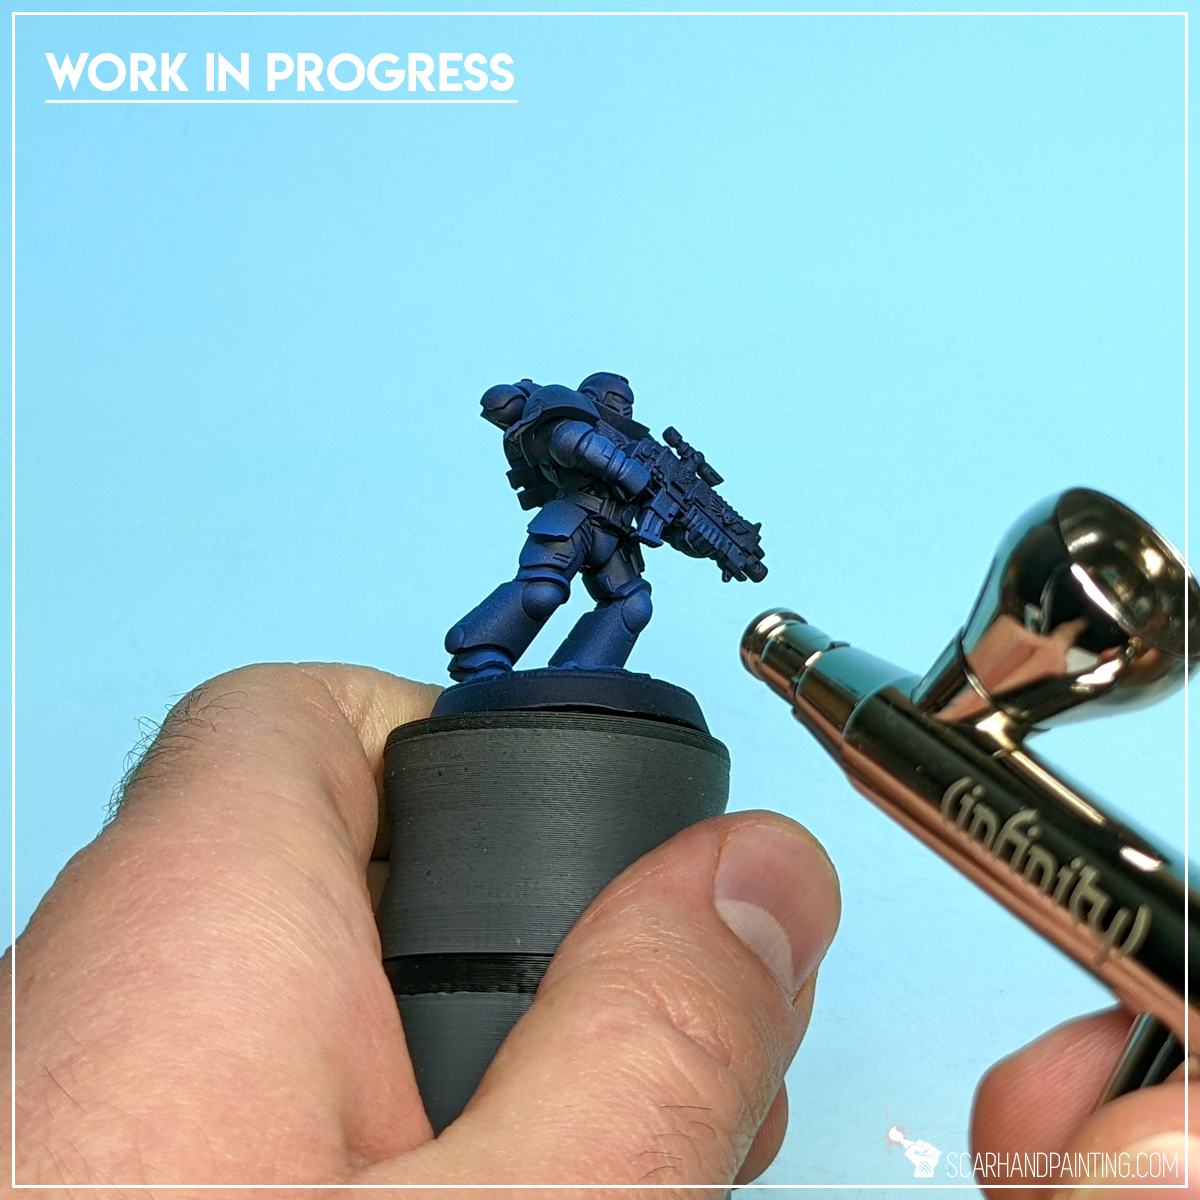
Next I applied a mix of Vallejo Game Air – Ultramarine Blue (72.722) proportioned 5:2 with Vallejo Model Air – Light Sea Blue (71.089). This layer was also airbrushed, but this time I applied it zenithally and on the most exposed areas of the armor. Once again I took extra care to keep the layer dry and soft.
Step four: Shading
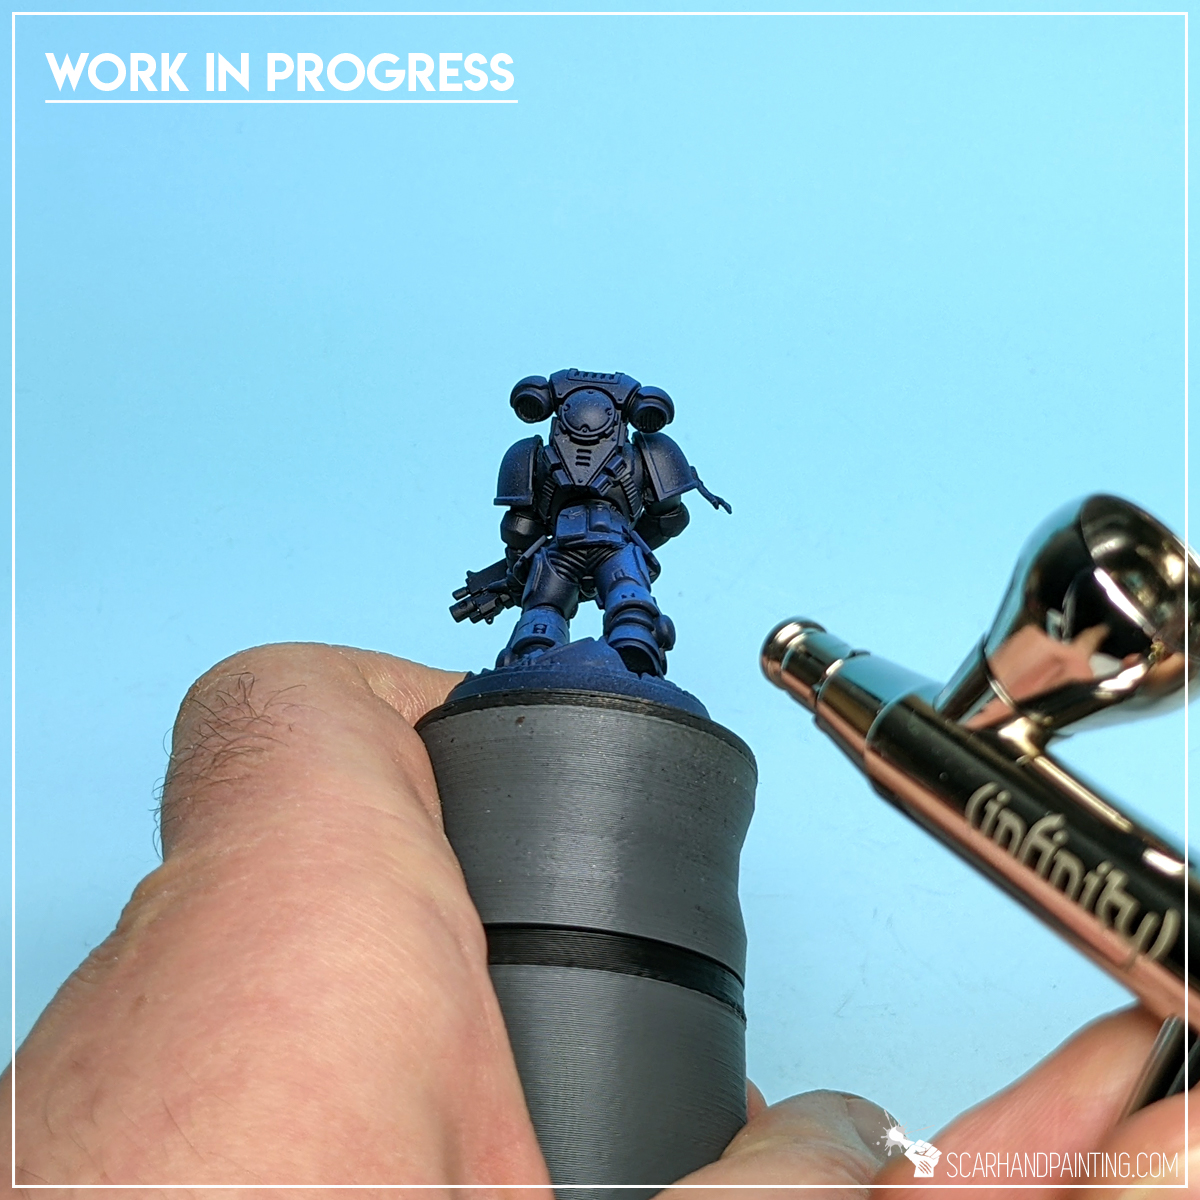
I then applied Vallejo Wash for Dark Vehicles (76.518) by airbrushing it from the bottom of the miniature (reverse zenithal) and onto low parts of large areas, including lower shoulder guards, sides of leg armor and lower part of the backpack. This particular paint is very thin, forcing me to apply it by multiple tiny, mist-like “puffs”, that dried out almost instantly. It significantly toned down all the armor and blended any dry specks leftovers from previous layers.
Step five: First Highlight
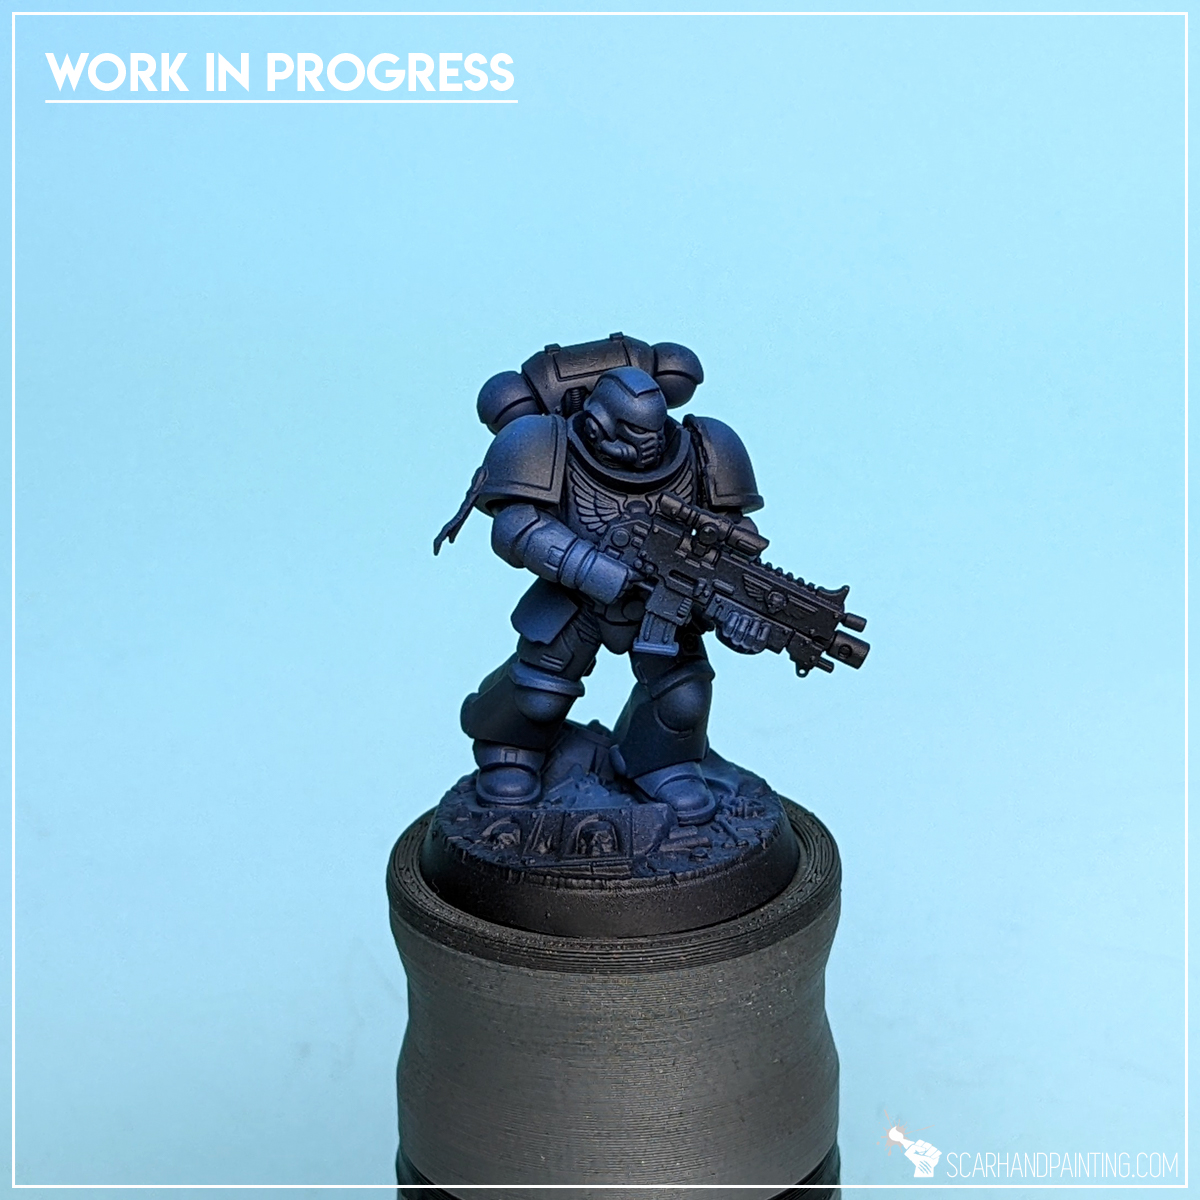
Next I switched to manual brush and applied an edge highlight of Citadel Layer – Hoeth Blue. I picked only the most exposed edges, skipping all places that were too difficult to reach or hidden from sight.

Step Six: Second Highlight
Finally I applied an edge highlight with Vallejo Game Color – Glacier Blue (72.095). Contrary to previous layer, I kept this one concentrated on top areas and corners, adding extra focus and depth to the exposed armor detail.
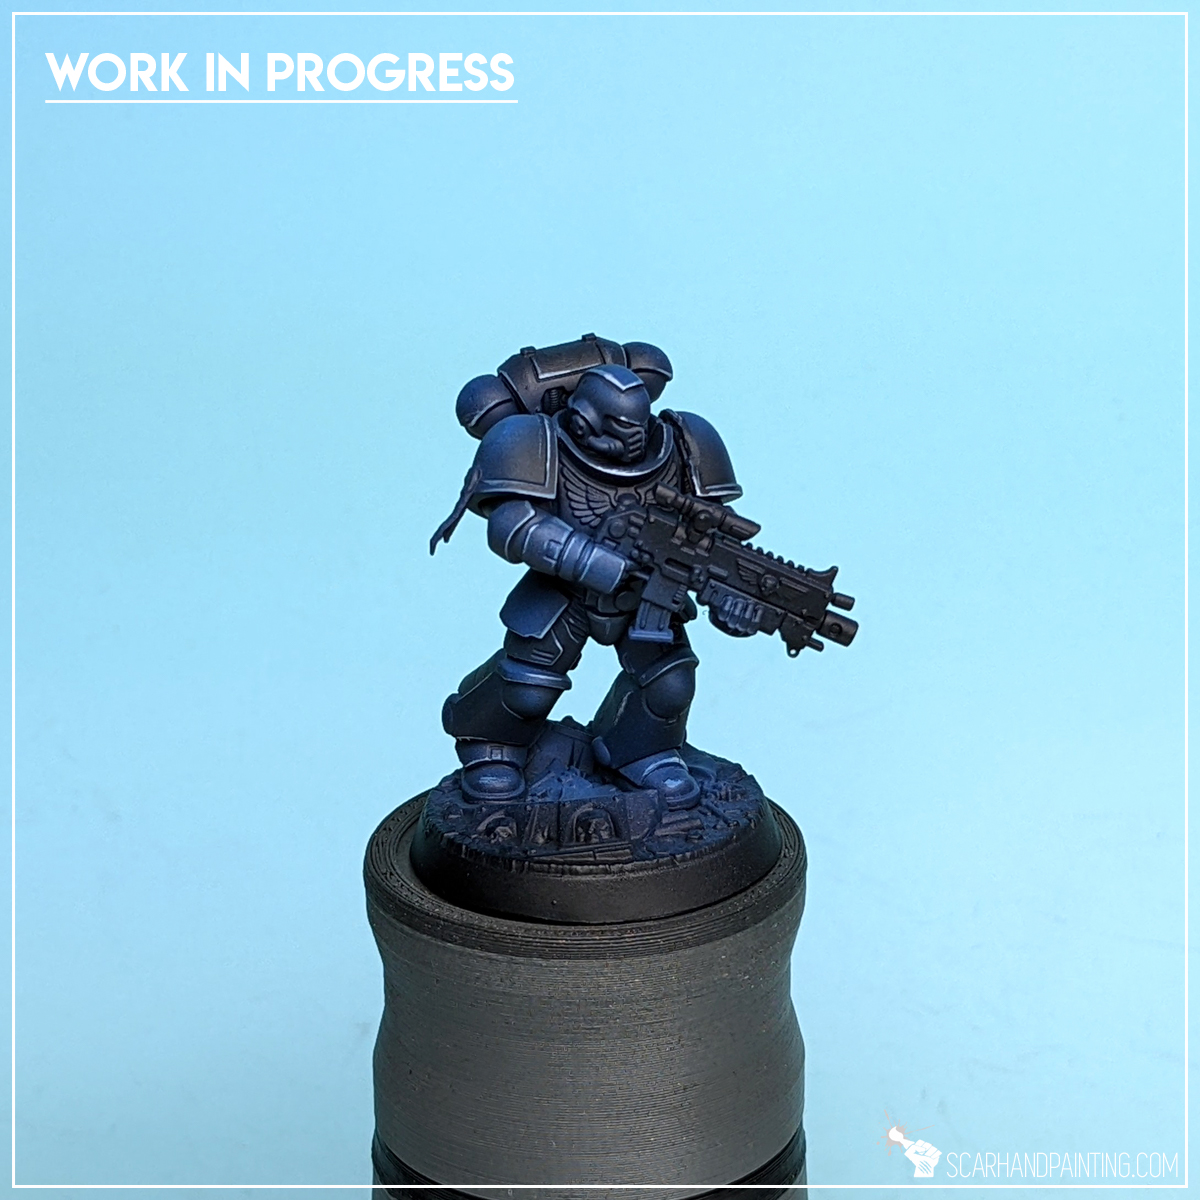
That wraps up the armor. Only five layers of paint for an eye catching effect of dark blue armor, that stands out on the gaming board. Now with this solid base out of the way, we can start building character of the miniatures, by adding more colors and enriching the overall feel of the miniatures – but that is a topic for another day. Stay tuned for part two of the tutorial.

I hope you’ve enjoyed this article. Be sure to let me know your thoughts in the comments below or via Facebook or Instagram. I would also appreciate it if you considered sharing this content with your friends, who might find it interesting. Finally if you are looking for a professional miniatures painting service, be sure to contact me with this contact form. I always reply within 24 hours, after which please check out your spam folder.
Here are some Colour Recipes for Warhammer 40,000 Crimson Fists from Gallery: Crimson Fists. Please take note that this is a simple colour scheme, not covering multiple overlapping layers and blends in between, that lead to the final product. It is supposed to be used as guideline not a step-by-step.

BLUE armor:
Black undercoat,
French Blue (val a), * around
Mix Ultramarine Blue (val a) 5:2 Light Sea Blue (Val a), * from top, points focused
Black Wash for Vehicles (val), * from bottom, points focused
Hoeth Blue (gw), l&p
Glacier Blue (val), p
RED armor:
Hull Red (val),
Burnt Red (val)
Flat Red (val), l&p, highlight flbr (x3)
Lugganath Orange (gw), l&p
Vehicles: Flat Red (val), stpl (large areas)
DARK mesh:
Panzer Dark Grey (val a),
Fenrisian Grey (gw), l&p
Dark Tone Ink (ap),
Glacier Blue (val), l&p / Ghost Grey for vehicles)
METAL:
Warplock Bronze (gw),
True Copper (ap) / Gun Metal (ap), flbr
Shining Metal (ap), l&p
Strong Tone Ink (ap),
Shining Metal (ap), l&p
BROWN detail:
Burnt Umber (val a),
Karak Stone (gw) l, detail filling,
Off White (val), l&p
Dark Olive Drab (val a), bl
Flayed One Flesh (gw), l&p
Mix: Strong Tone Ink (ap) 1:1:1 Soft Tone Ink (ap), Flesh Tone Ink (ap),
Flayed One Flesh (gw), l&p
SKULLS & PAPER:
Karak Stone (gw),
Flayed One Flesh (gw), flbr
Mix: Off White (val) 1:2 Skeleton Bone (ap), flbr
Strong Tone Ink
Off White (val), l&p
ORANGE OSL:
White (val a), *
Hot Orange (val a), *
Off White (val), l&p
Hot Orange (val a), bl
EYES:
Flat Red (val),
Lugganath Orange (gw), dots
Hot Orange (val a), glaze

l&p – lines and points,
p – points,
dl – deep lining,
bl – blend,
gl – glaze,
drbr – drybrush,
flbr – flatbrush,
lobr – loaded brush,
stpl – stippling,
*Airbrushed (with multiple layers and mixes)