- contact@scarhandpainting.com


My hype for Guild Ball is pretty strong. The game looks like a lot of fun and miniatures have a great feel to them, that makes me want to leave everything else and just start painting. My Mortician’s team being currently on hold I decided to focus all the Guild Ball related inspiration around another project – Mortician’s Pitch.
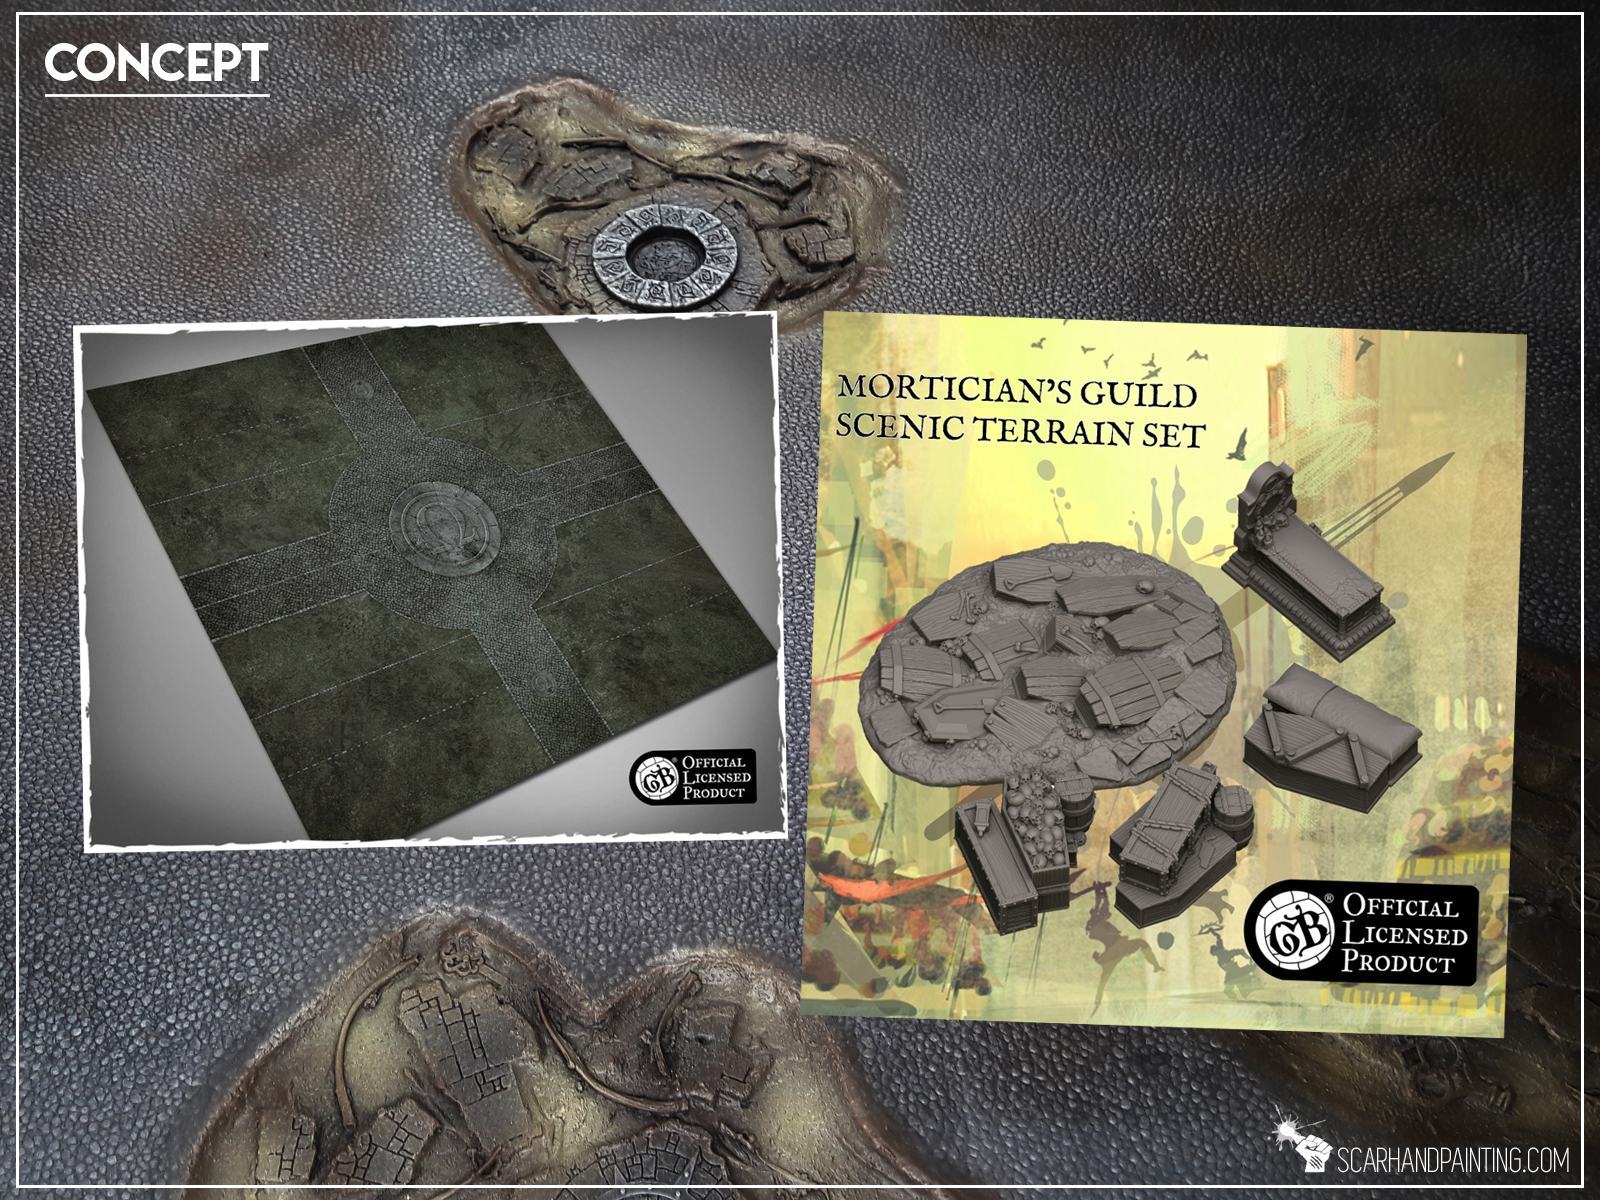
At first I thought about something blunt, like cobblestone texture with pitch features airbrushed on top. Thing would be both playable and looking nice. It all changed once I accidentally bumped into this magnificent piece of scenery by Brokentoad. Those half buried coffins almost catapulted me out of a chair. Such a nice idea. I knew I will order this piece, but first I just had to implement a similar feature to the project. This made “Mortician’s Pitch” evolve from a simple flat cobblestone into a more 3d design. Still, how to insert irregular shapes on top of what is meant to be a playable surface… and then I thought about clear resin…

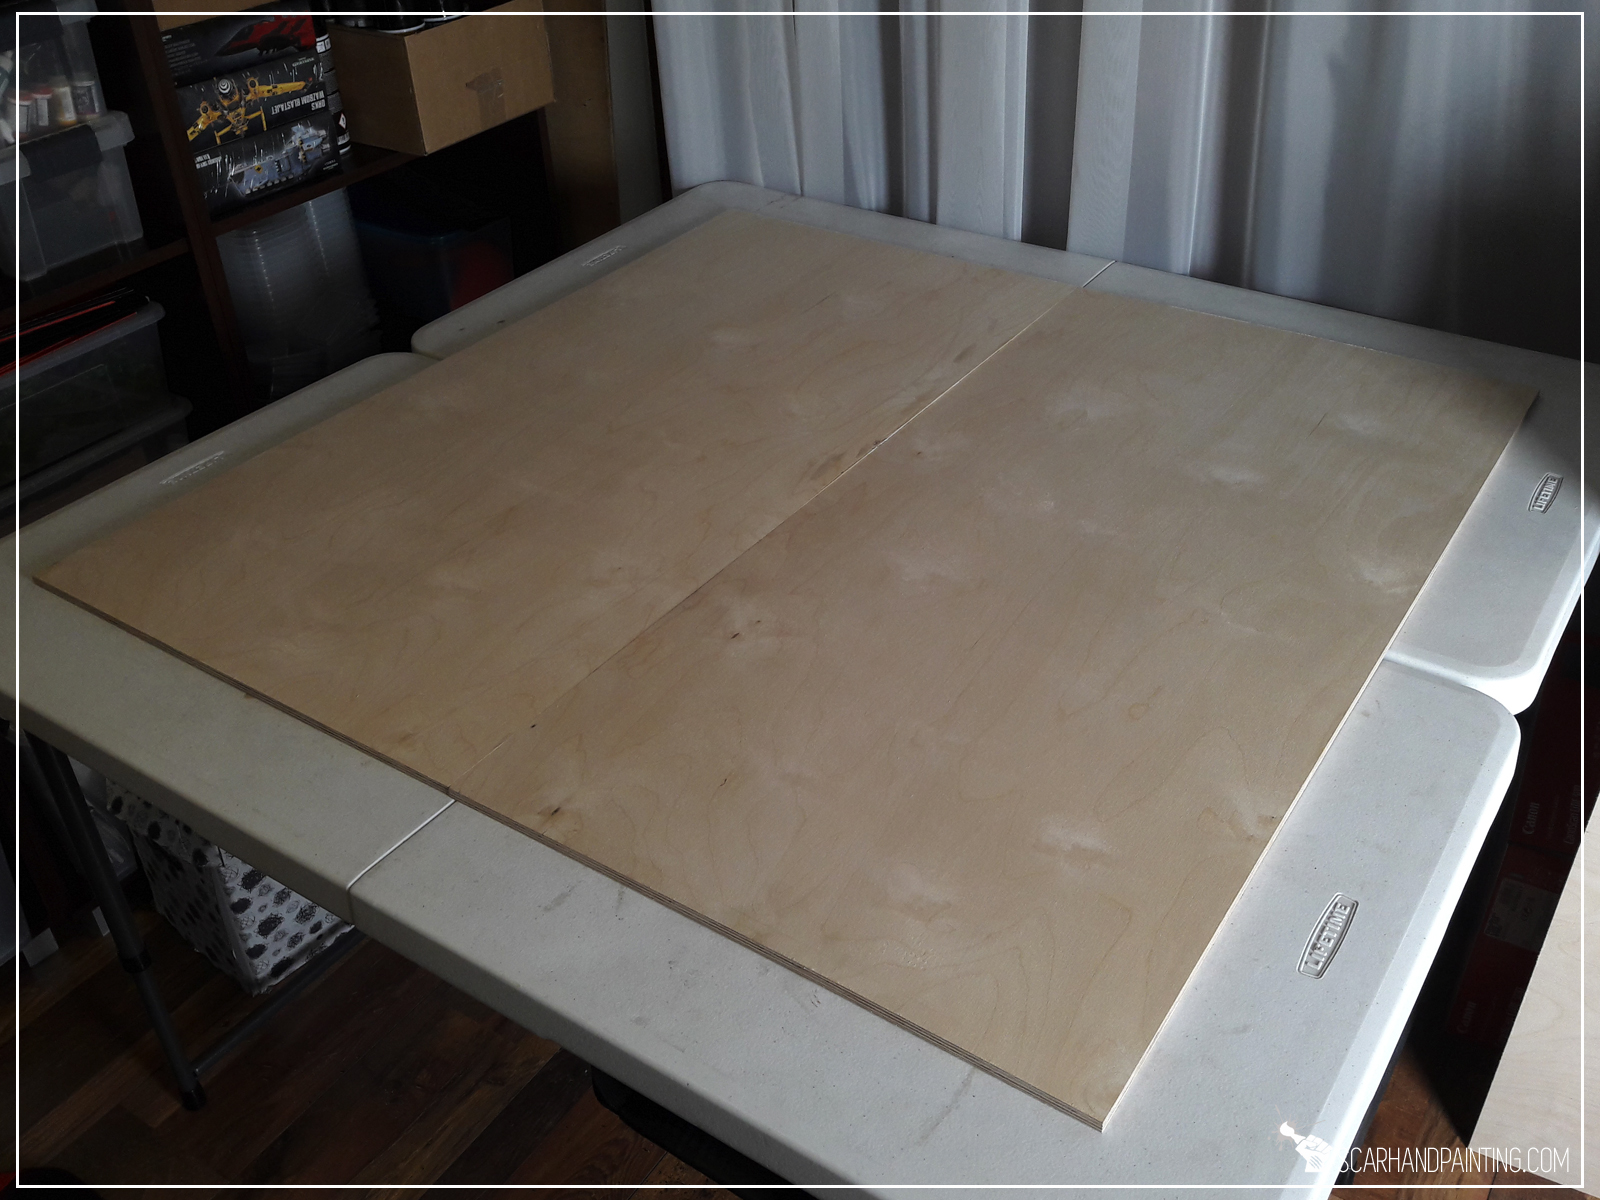
Off course a man gotta pick a right spot to dig a grave, not to mention placing an entire graveyard. I decided to go with two 10mm thick, 100x50cm wide meshed wood planks as a base for the pitch. These are a bit wider than necessary, but playing different games throughout the years taught me to leave some spare space around the proper gaming area. This way if anything gets damaged it wouldn’t impact playability of the board. 10mm thickness means these would stay flat and be durable enough to withstand any random fuckups that might happen some day.

In order to allow me to “work” with the surface and nest any 3d elements I chose to cover the boars with additional layer of 5mm thick styrofoam.
I carefully planned the layout of the board. Figured that it would be cool to have goals and the middle point of the pitch additionally detailed. I have a huge amount of random stuff scattered around my hobby room and as it happened I had a perfect match for these features.
With goals in place I covered entire board with styrofoam, leaving only certain spots to reveal detailed elements from underneath. I also left two holes for the most important feature – coffins. Additionally I reinforced the edges of the board with thin planks of wood – just in case. I just like my scenery durable and sturdy.
For base texture I picked a trusted wallpaper that helped me with other fantasy projects in the past. Being easy to work with a wallpaper is a great way to texturize large areas, plus it helps keep wobbling models safe in case of a fall.
I glued the wallpaper on top of entire board. No measuring required – I removed excess wallpaper with a giant file. Fast & simple.
I uncovered all the detailed features by cutting the wallpaper around them, leaving approximately 1-2cm surplus, to then cut it into smaller strips to be glued inside the holes.
Now was the time to bring in all the coffins. These were made using 3mm thick plasticard. In projects like this I tend to save time and leave perfect measurements out. Once I measured and cut out a single coffin, I then used it as a template to cut all the rest. Fast & simple yet again.
These then got texturized using a medium sized stone. Plasticard is a durable material, but with enough force it gives in and stones are great to provide an uneven texture.
Next step was to insert the coffins and some additional detail elements into the holes. I used white plaster to partially fill the holes, then arranged all the detail inside.
With all the features arranged to my liking I textured the insides of the holes with Games Workshop Martian Ironcrust texture paint. Once dried I placed some dry twigs here and there and sealed everything with PVA glue. This last step was very important to ensure resin stays in once used.
Everything modeled it was time to undercoat entire board with trusted acrylic black paint. Two thin layers of a black wall paint followed by a spray coat of Chaos Black.
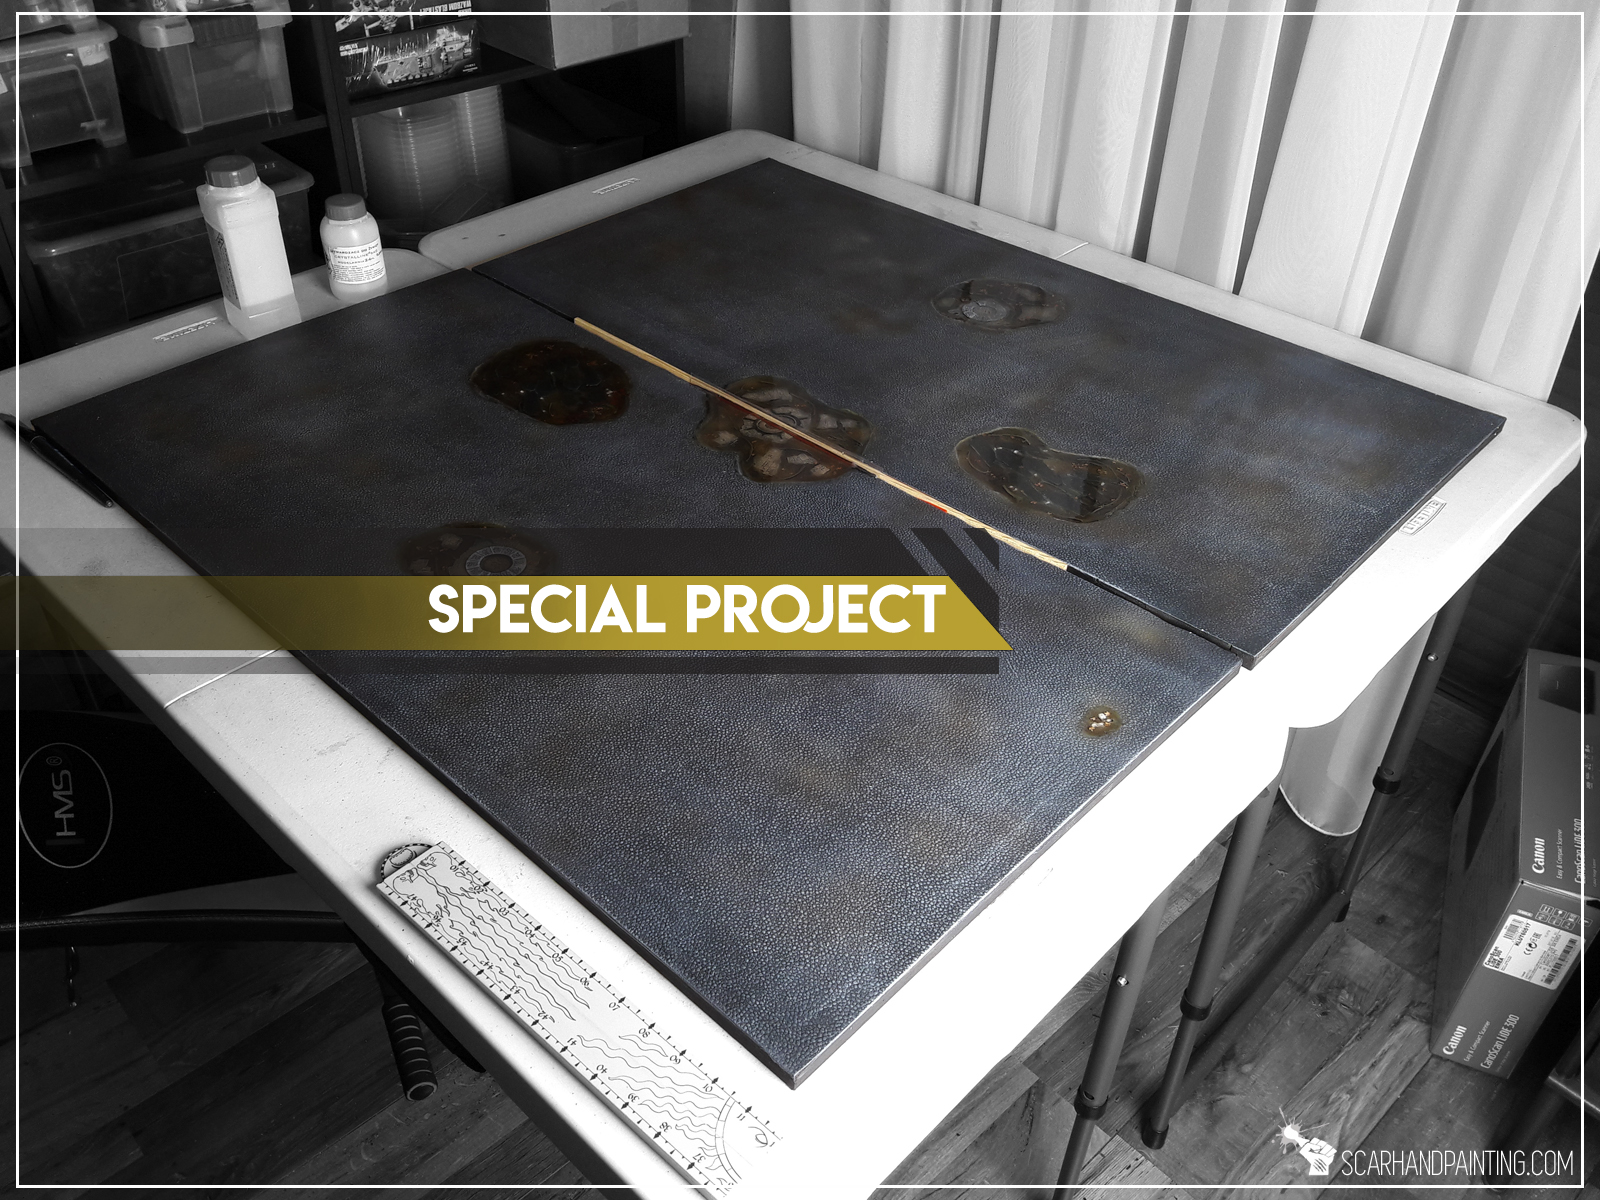
This project was planned to last approximately 48hrs, but working with clear resin can sometimes lead to unexpected (and messy) complications. More than a week into the project and some of the resin didn’t coagulate properly. I decided to scrape it off and apply another layer. This is also why I decided to divide this article into two. Undercoat seems like a great place to finish part one.
If you like the article and find it interesting – be sure to let me know either in the comments or at my Facebook page. See you in the next article, hopefully soon. Here’s a little sneak peek:

1 comment so far
GoldmungPosted on9:14 am - Jul 28, 2019
Great article, thanks for sharing