- contact@scarhandpainting.com


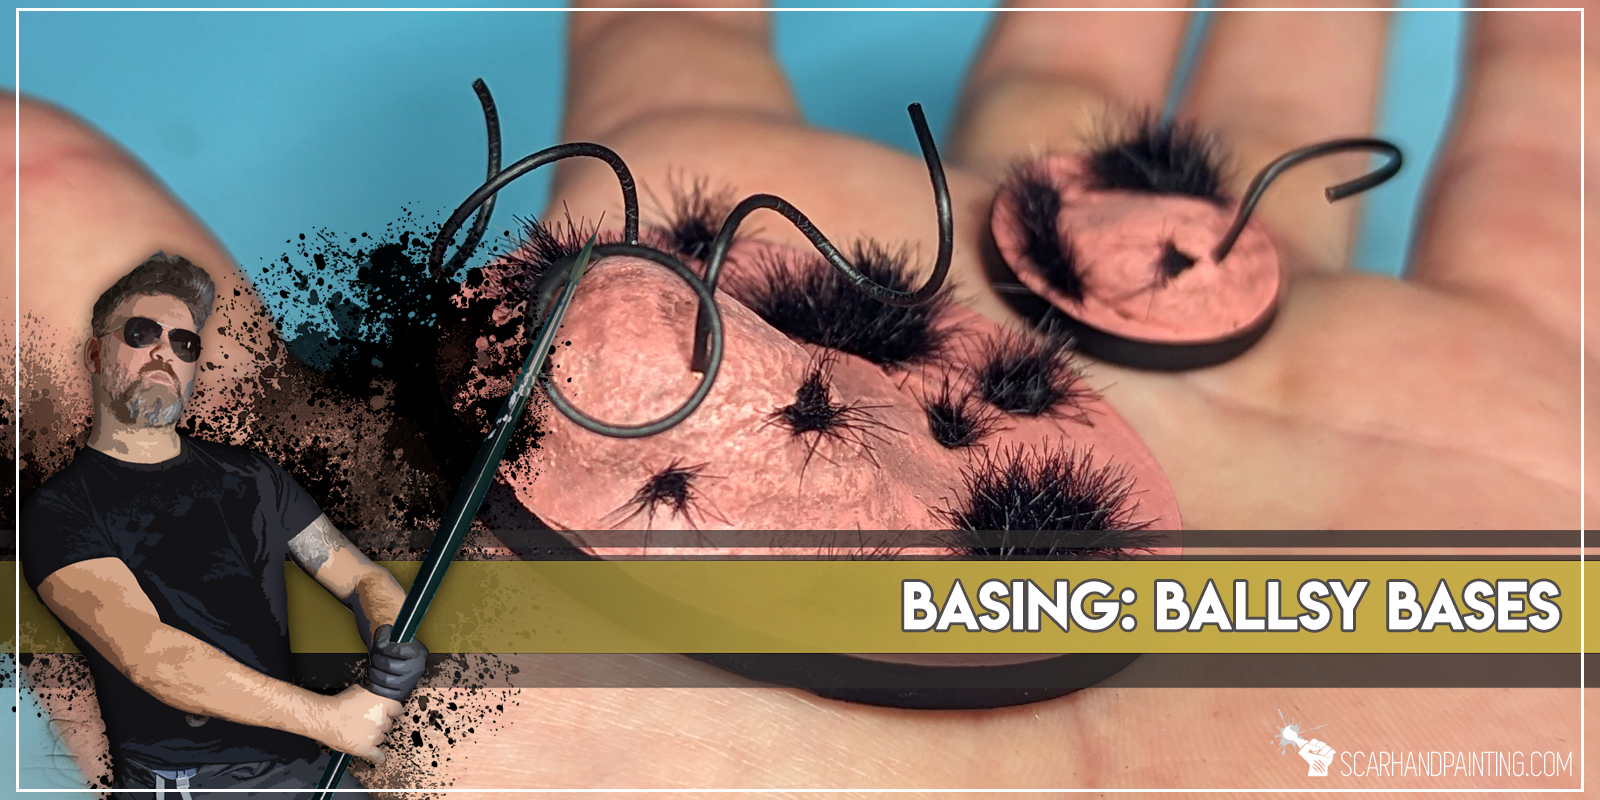
Welcome to Ballsy Bases tutorial. Here I will take you on a Step-by-step trip through the process of creating Ballsy Bases that, although might not seem like it, were always canon, since the first of the Ten Thousand…
Before we start, some notes:
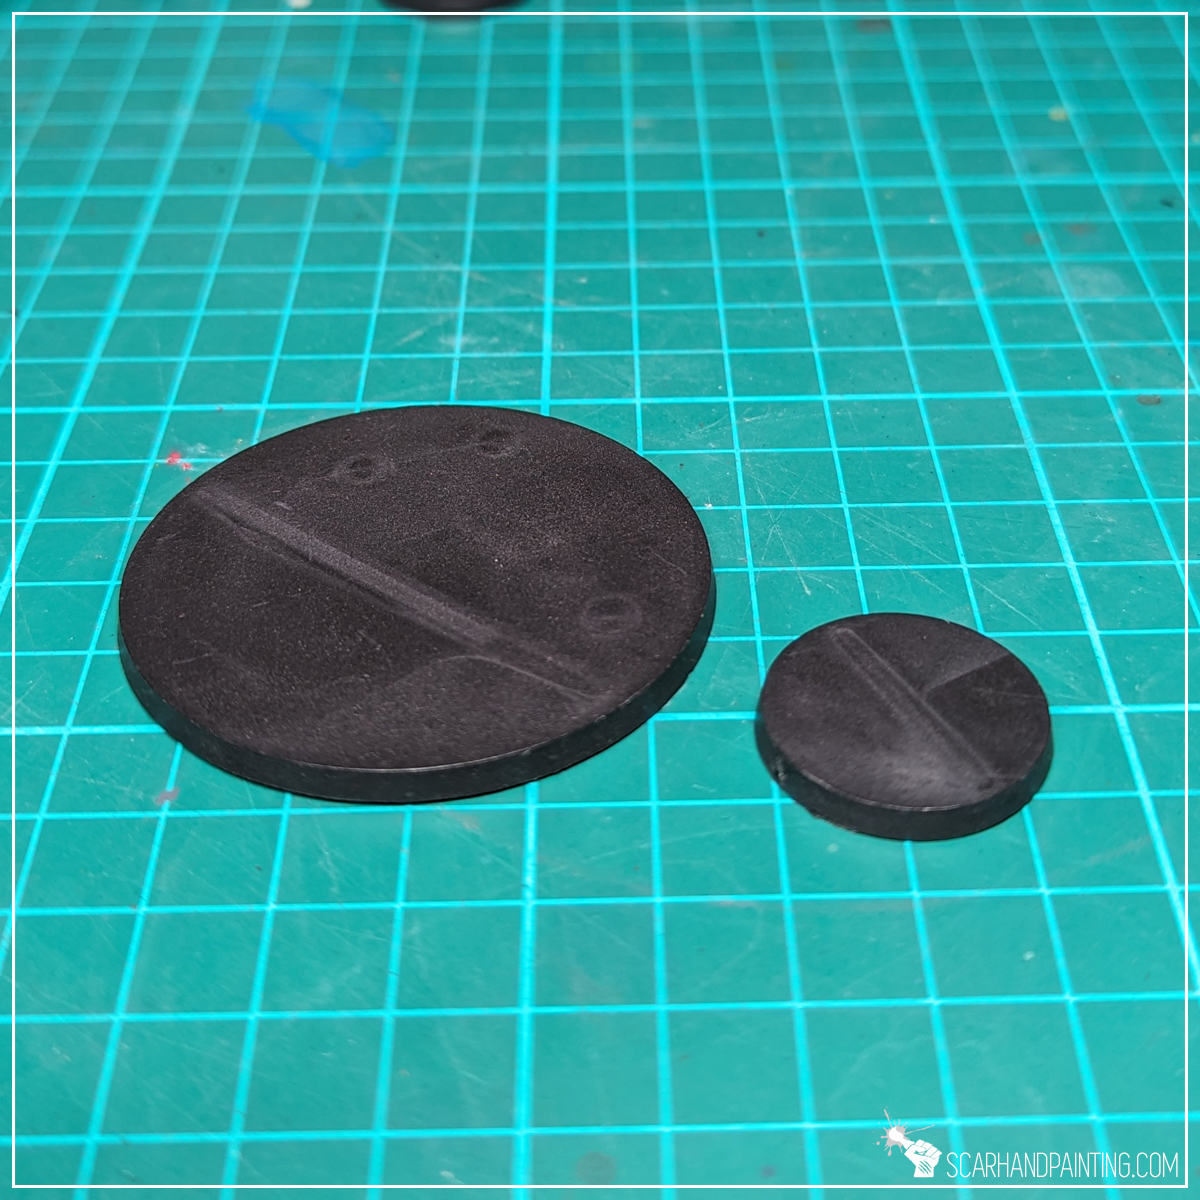
For this tutorial I will be using:
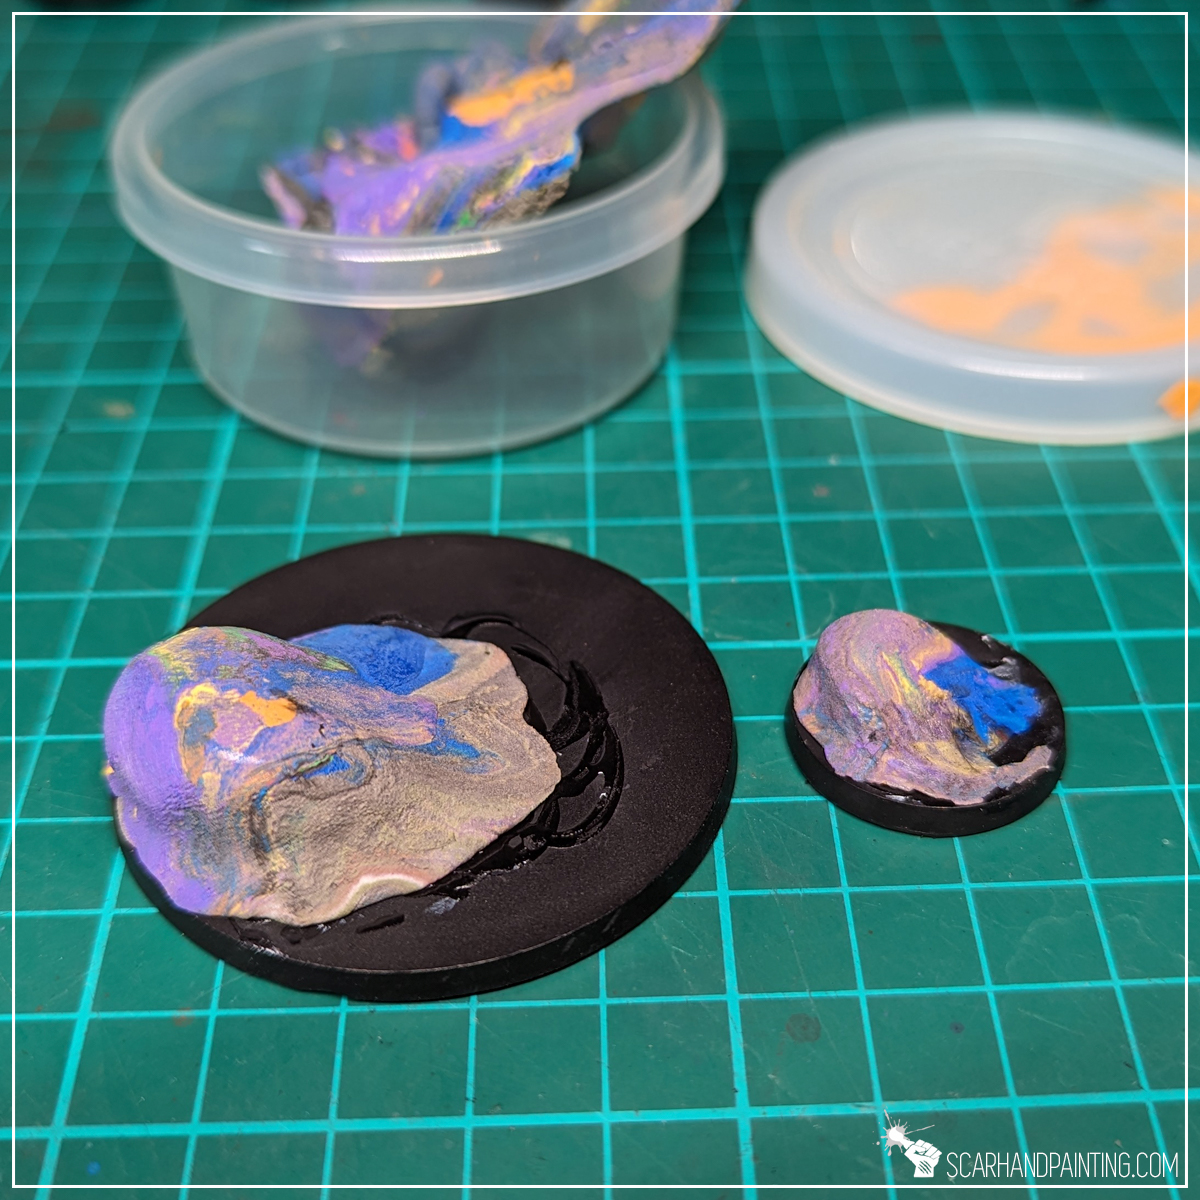
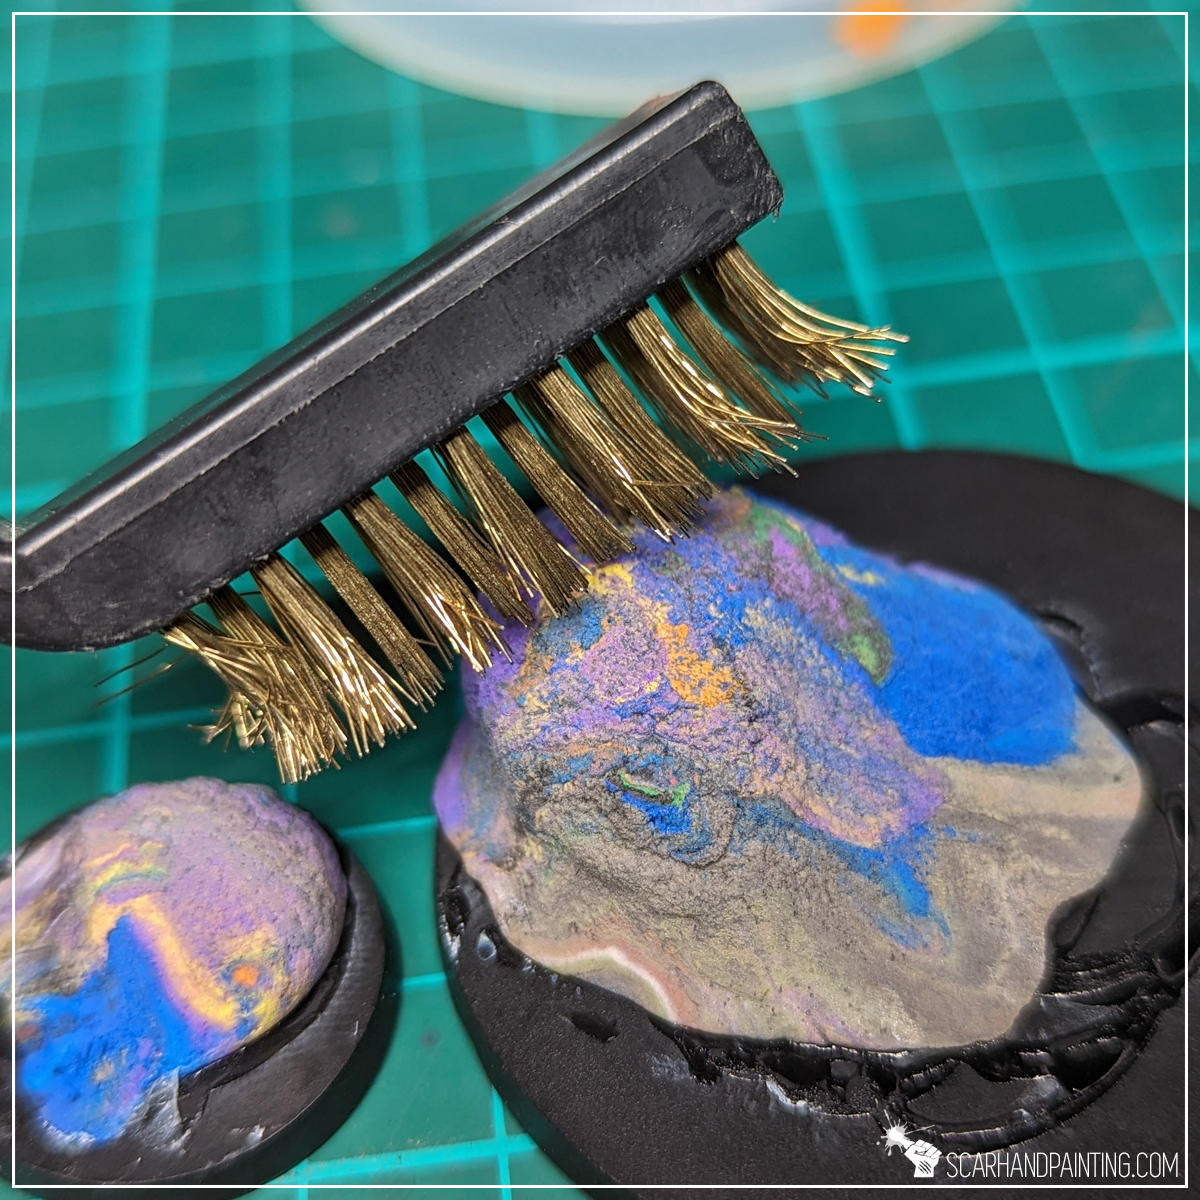
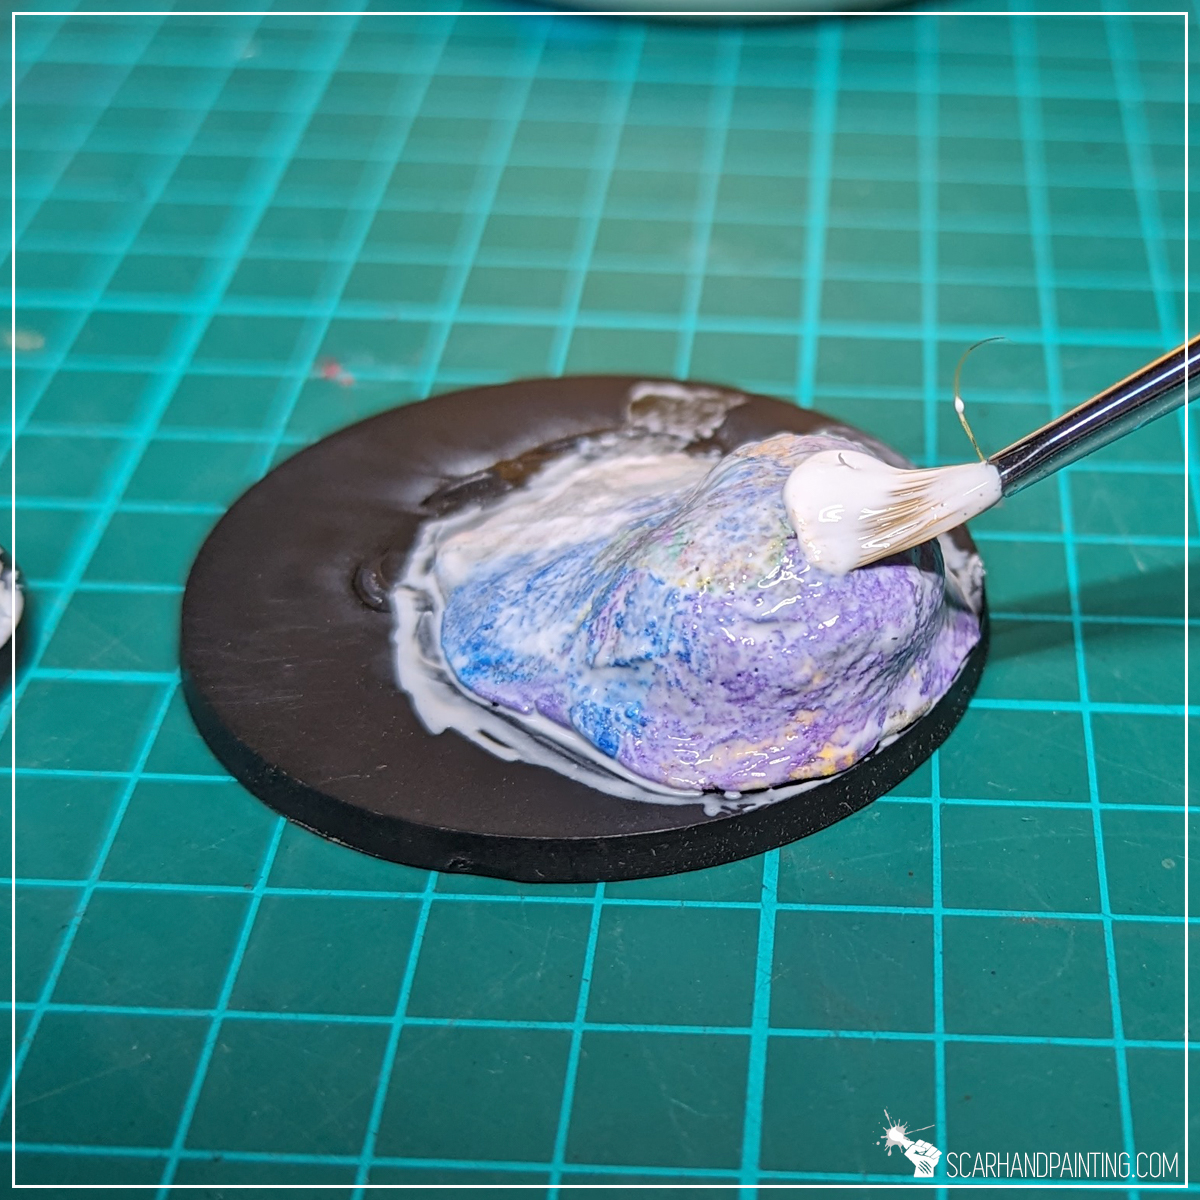
Step one: Landscape
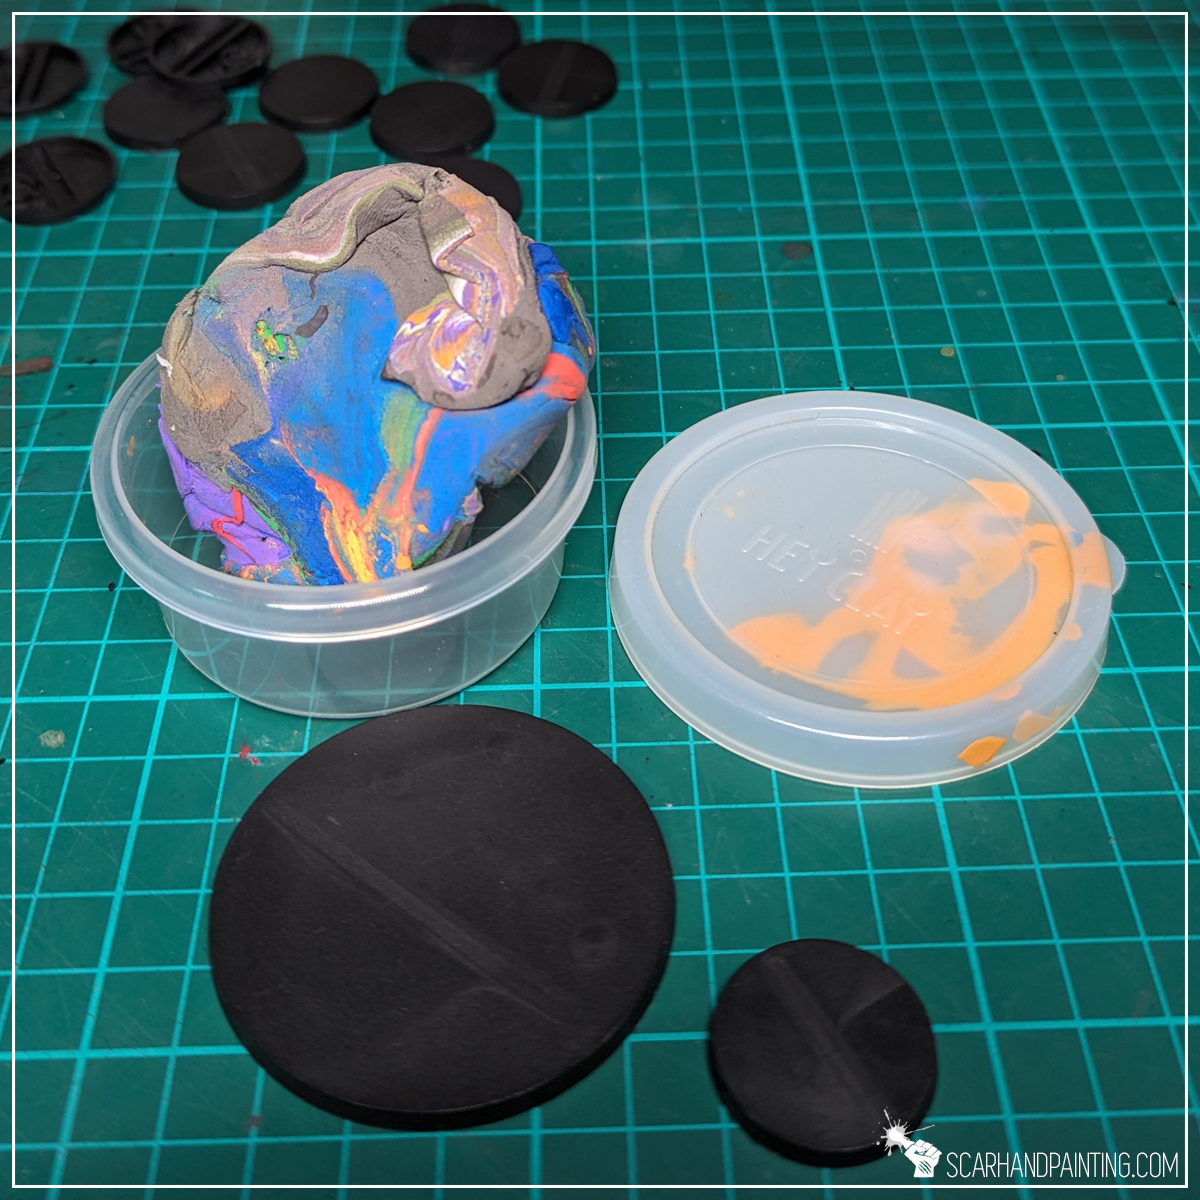
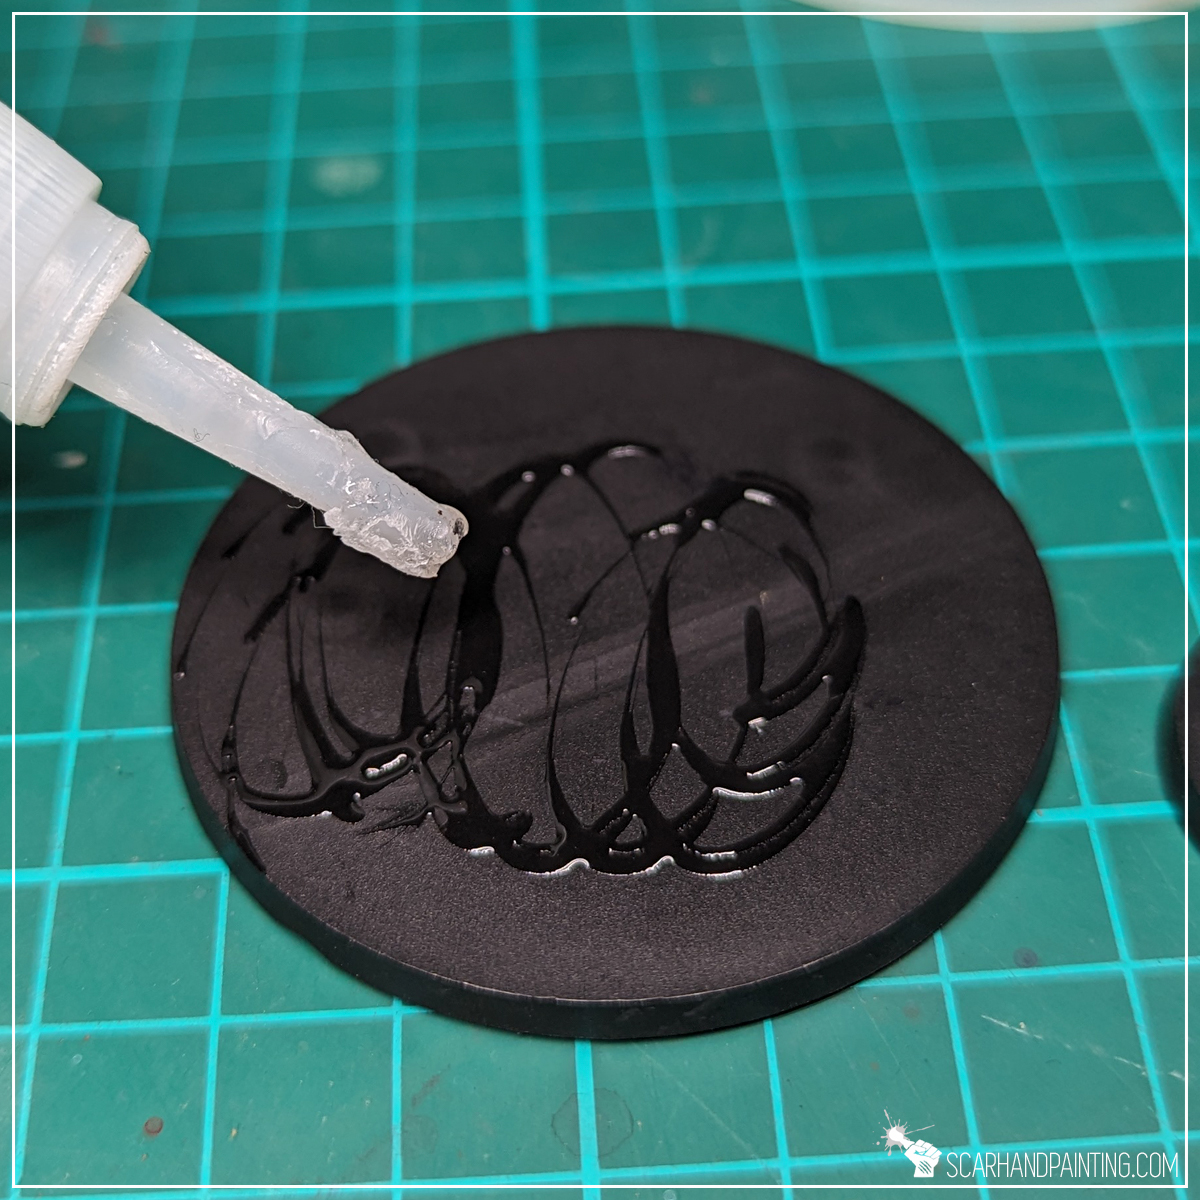
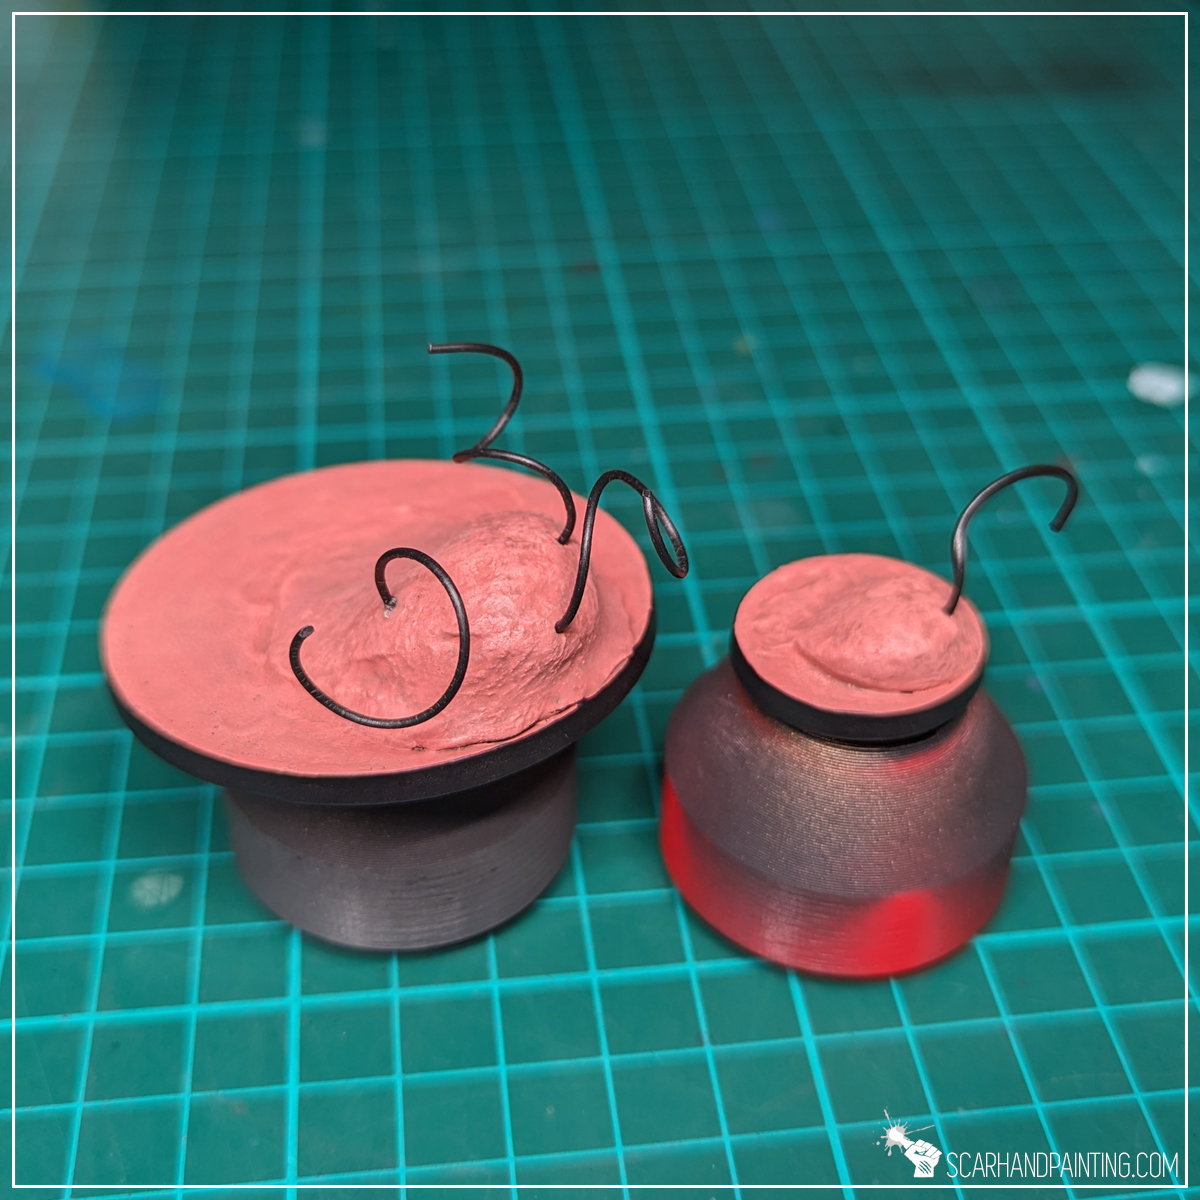
I started by applying Super Glue onto a base then adding a small ball of Hey-Clay on top. I then used my fingers to gently caress the ball and shape it into a sack-like lump. Next I used a steel brush and applied pressure to add additional texture. I let it dry for approximately six hours, then went back and used a long, hard brush to smear the thick white PVA glue all over the base and seal it.
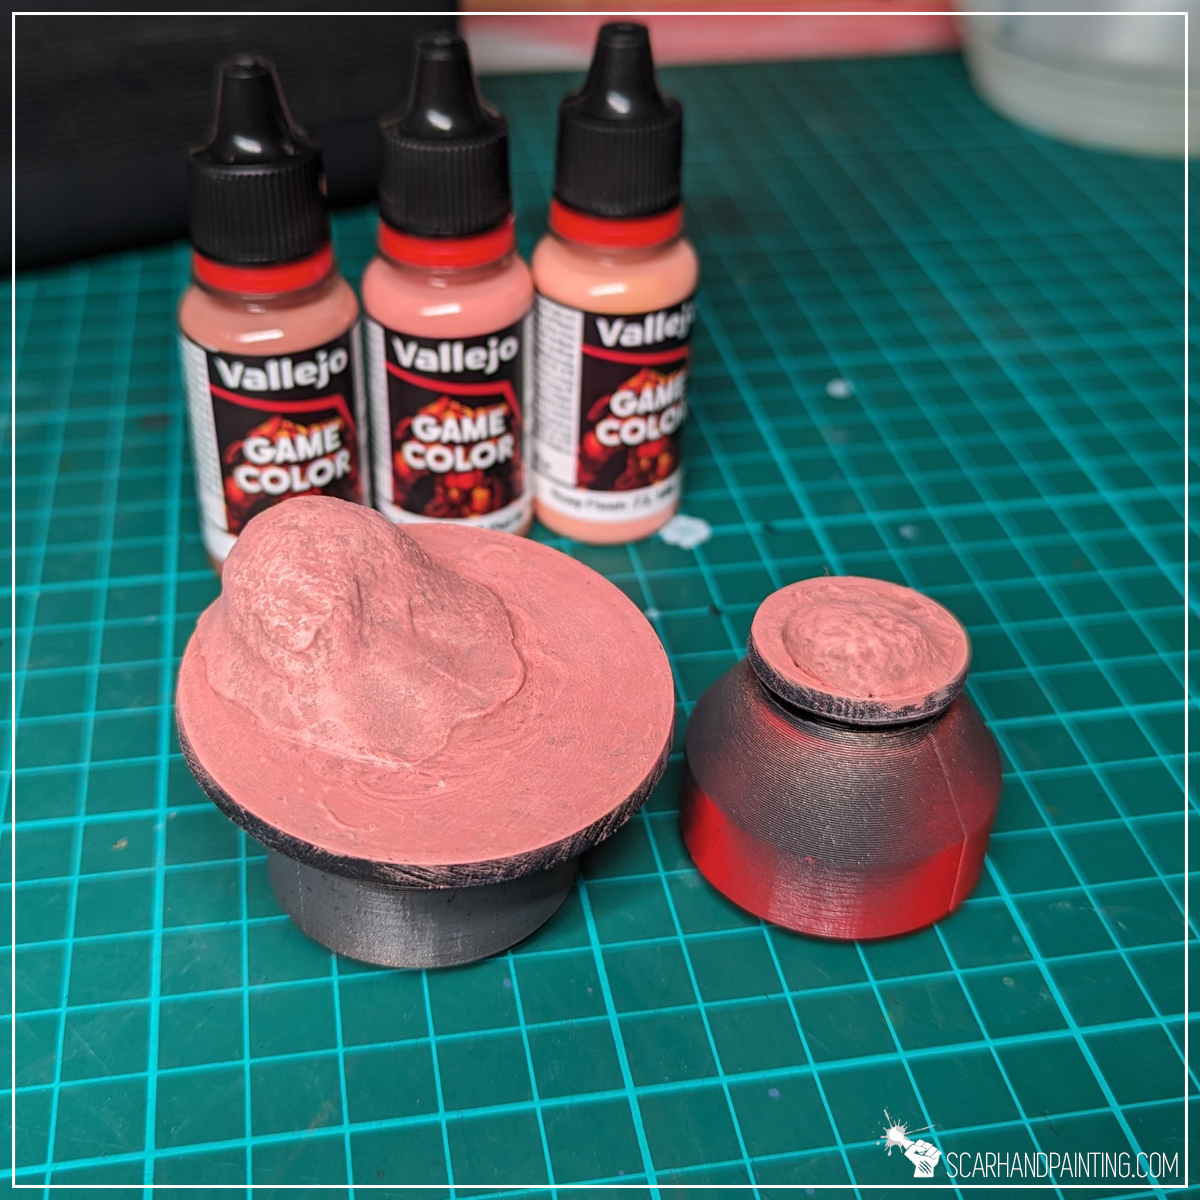
Step two: Fleshy Colors
I applied a matt black undercoat then painted the entirety of the base with a thick layer of Vallejo 72.107 Anthea Skin. Next, I grabbed a thick brush right in the middle, then drybrushed the whole thing with Vallejo 72.100 Rosy Flesh hard, then again with Vallejo 72.099 Skin Tone.
Step three: Curly Hair
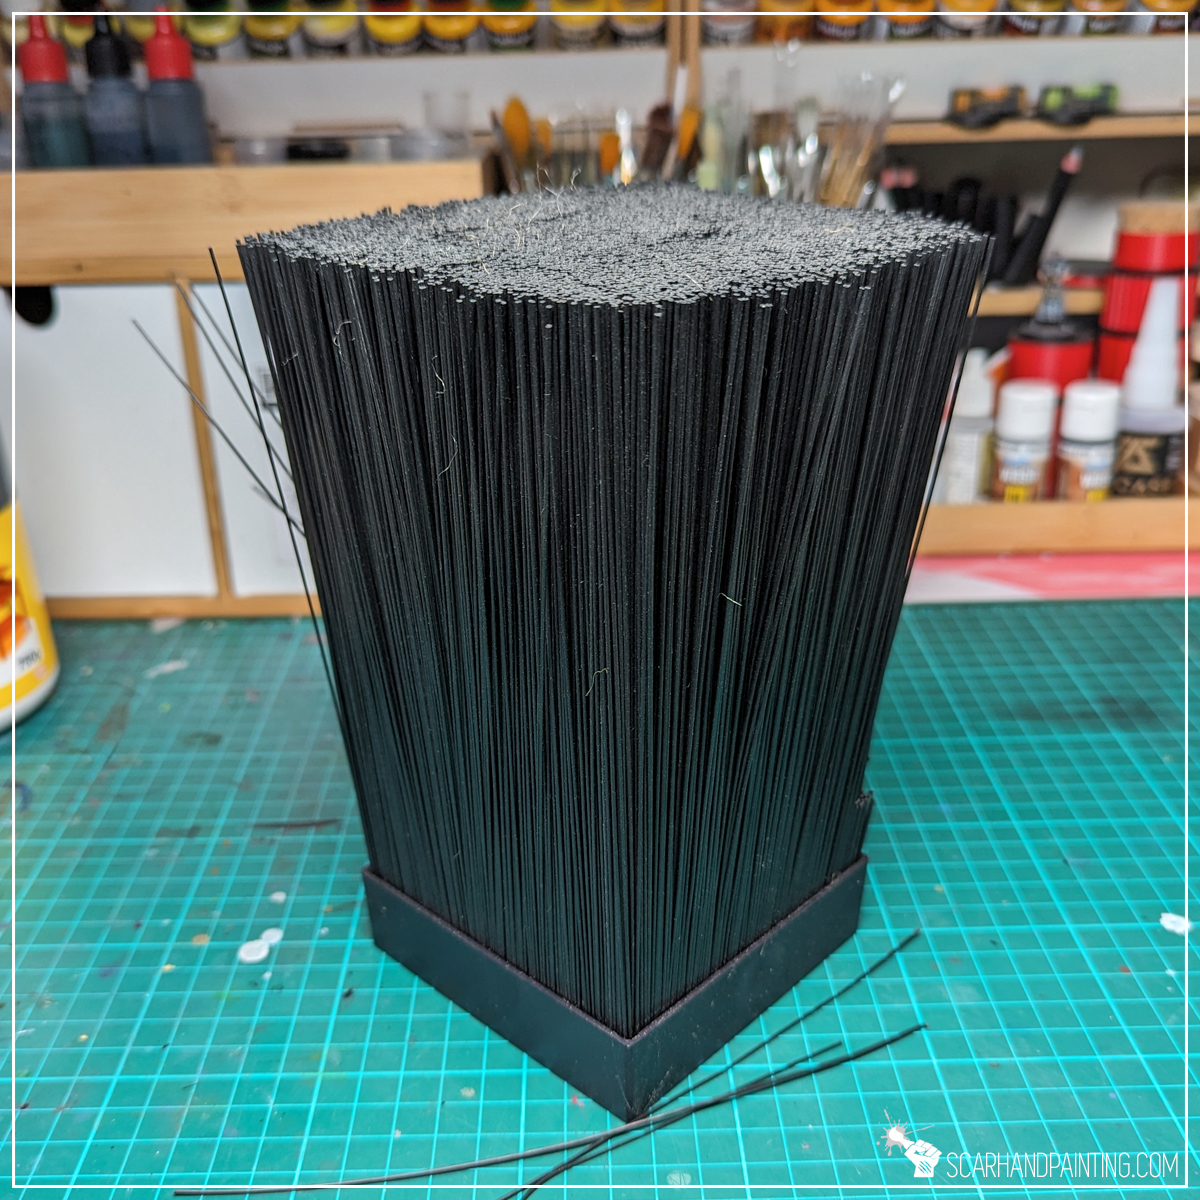
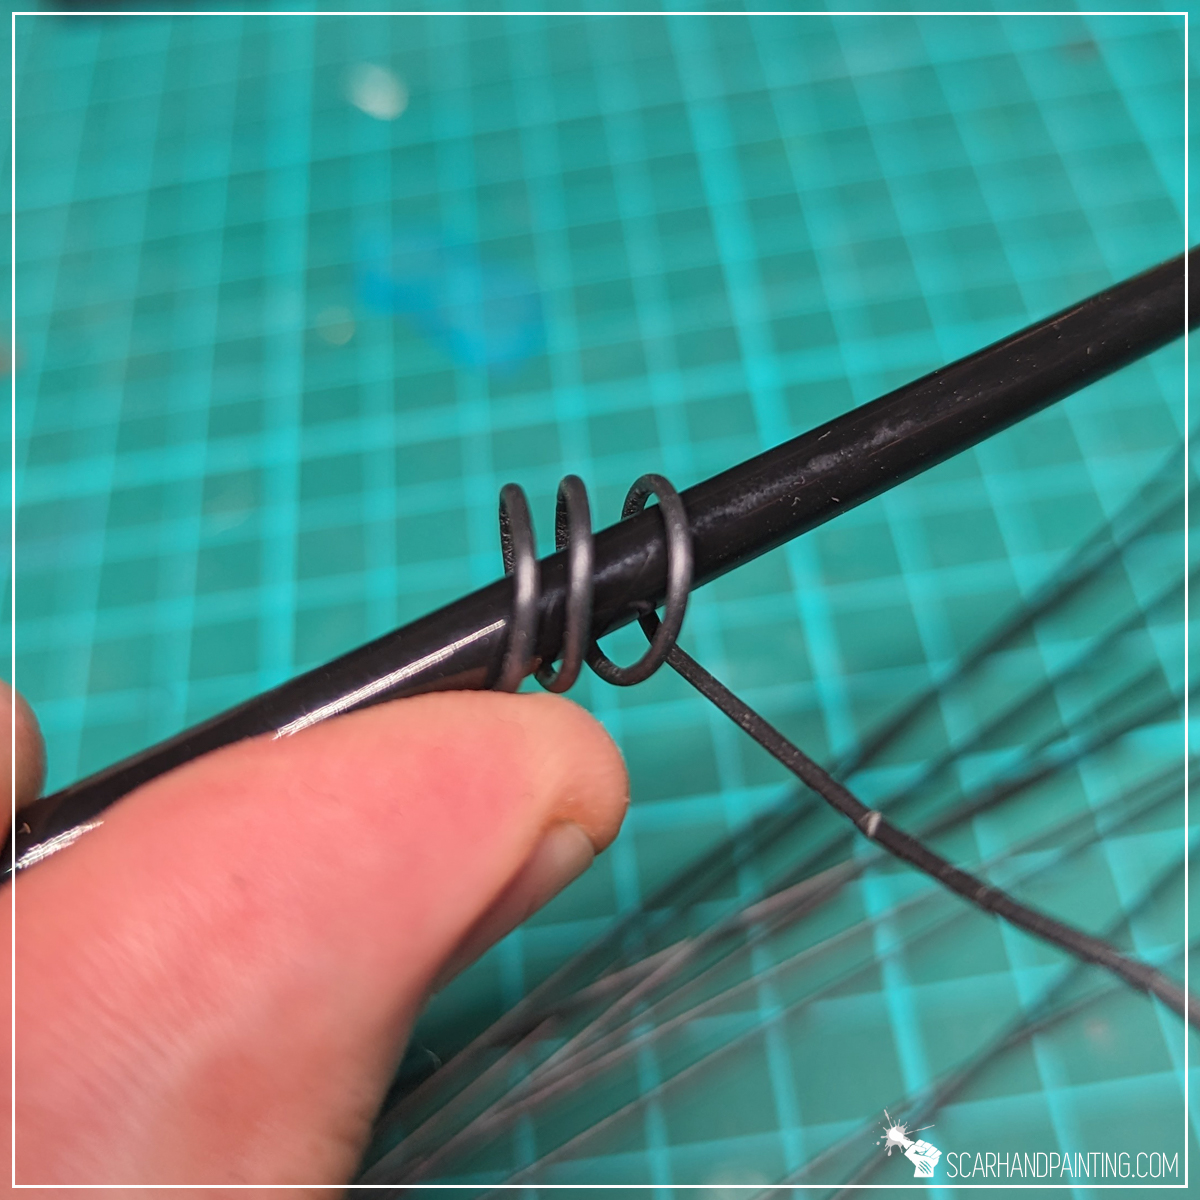
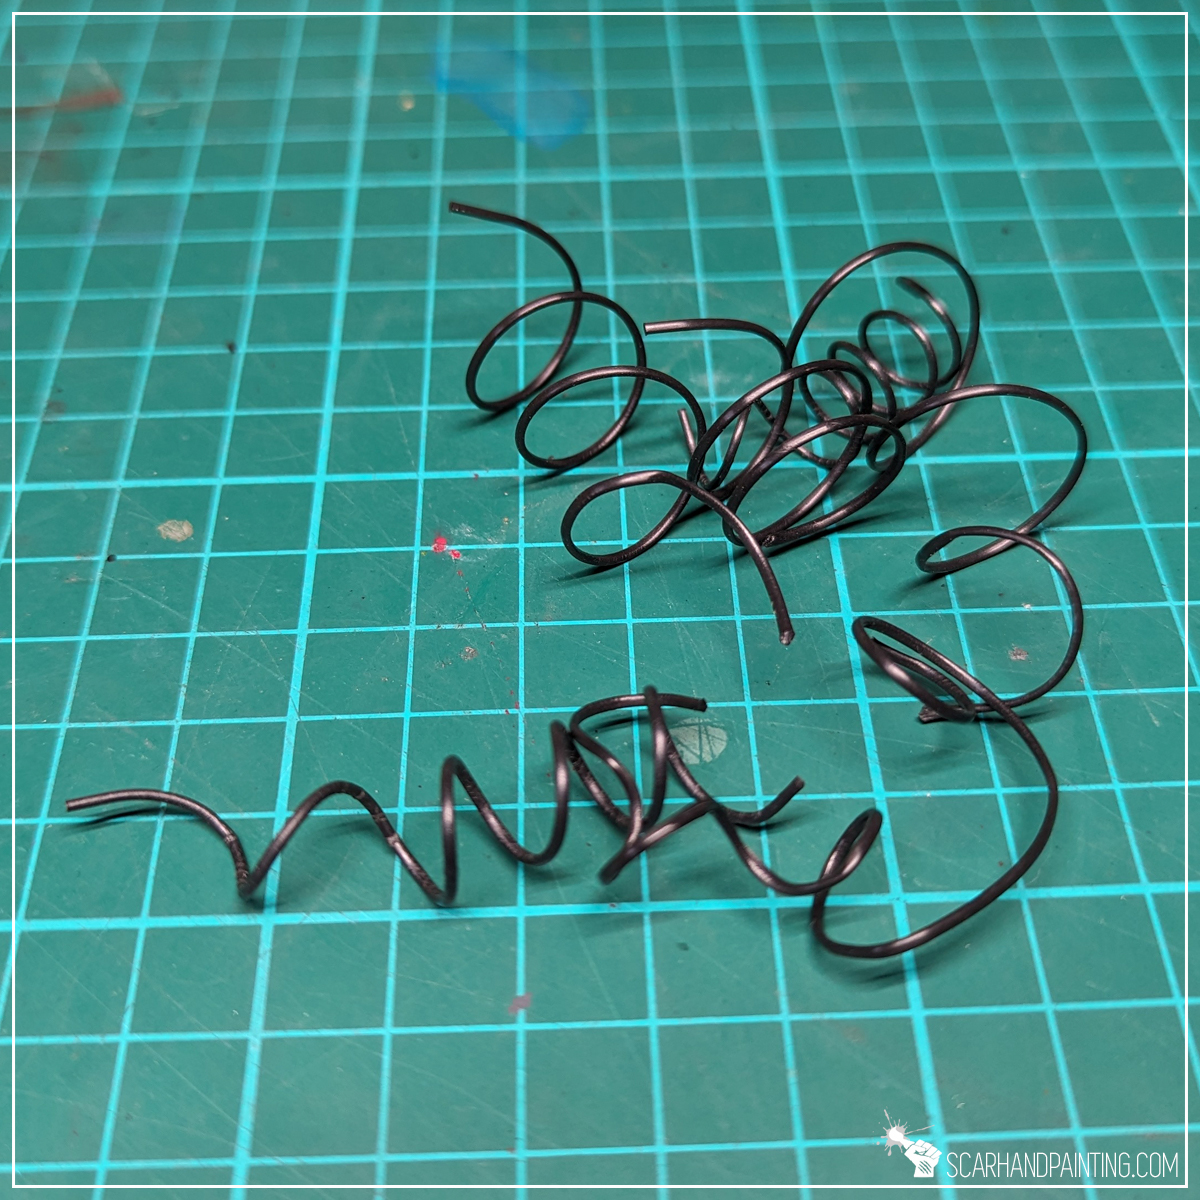
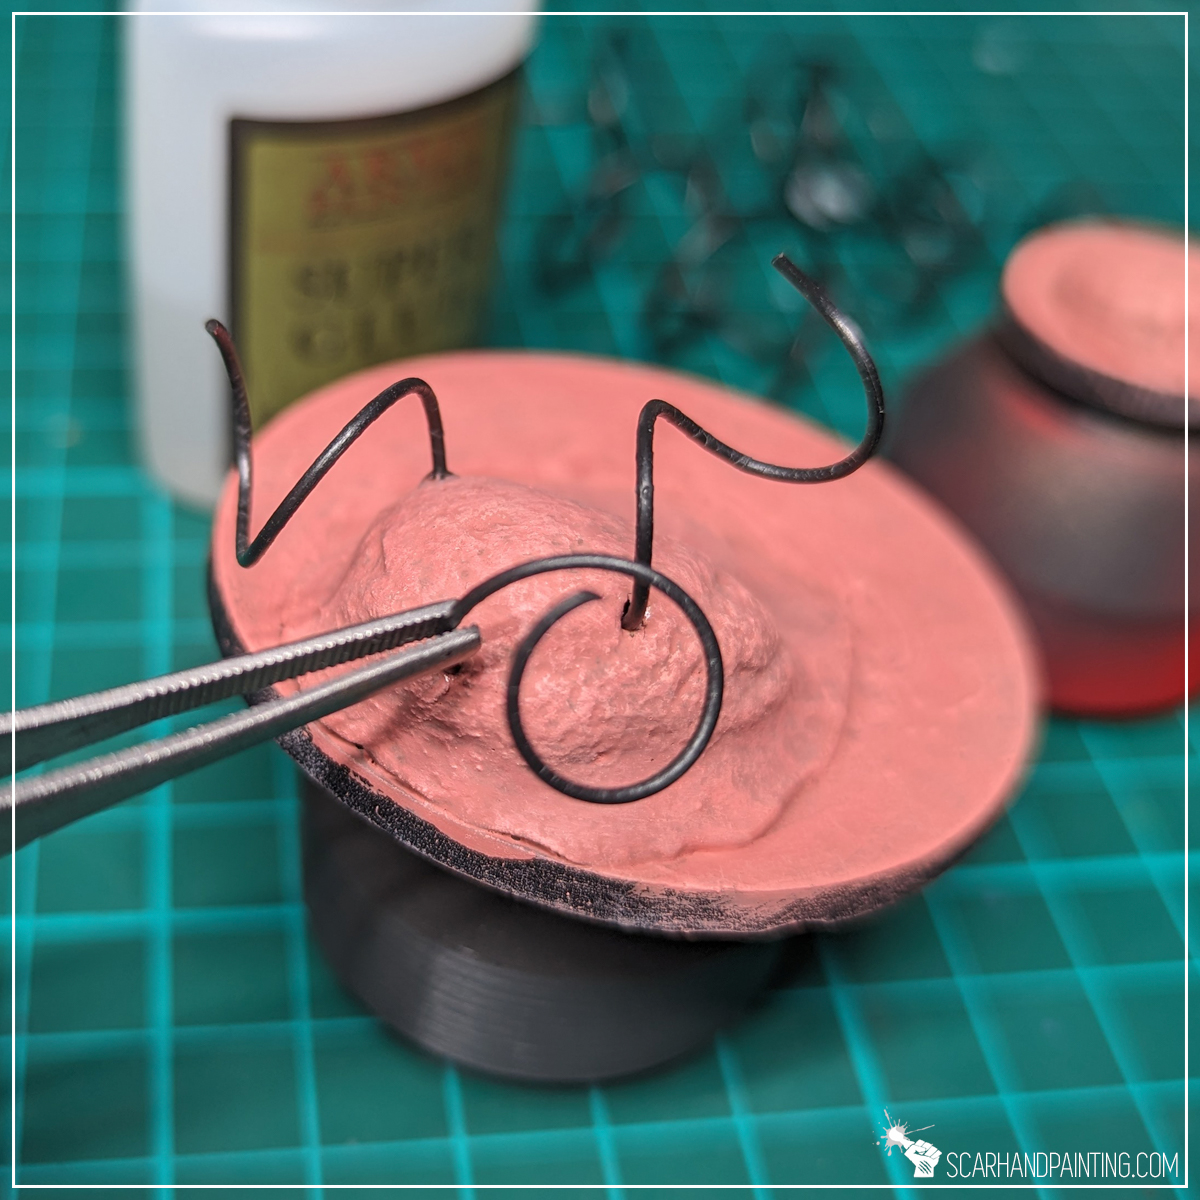
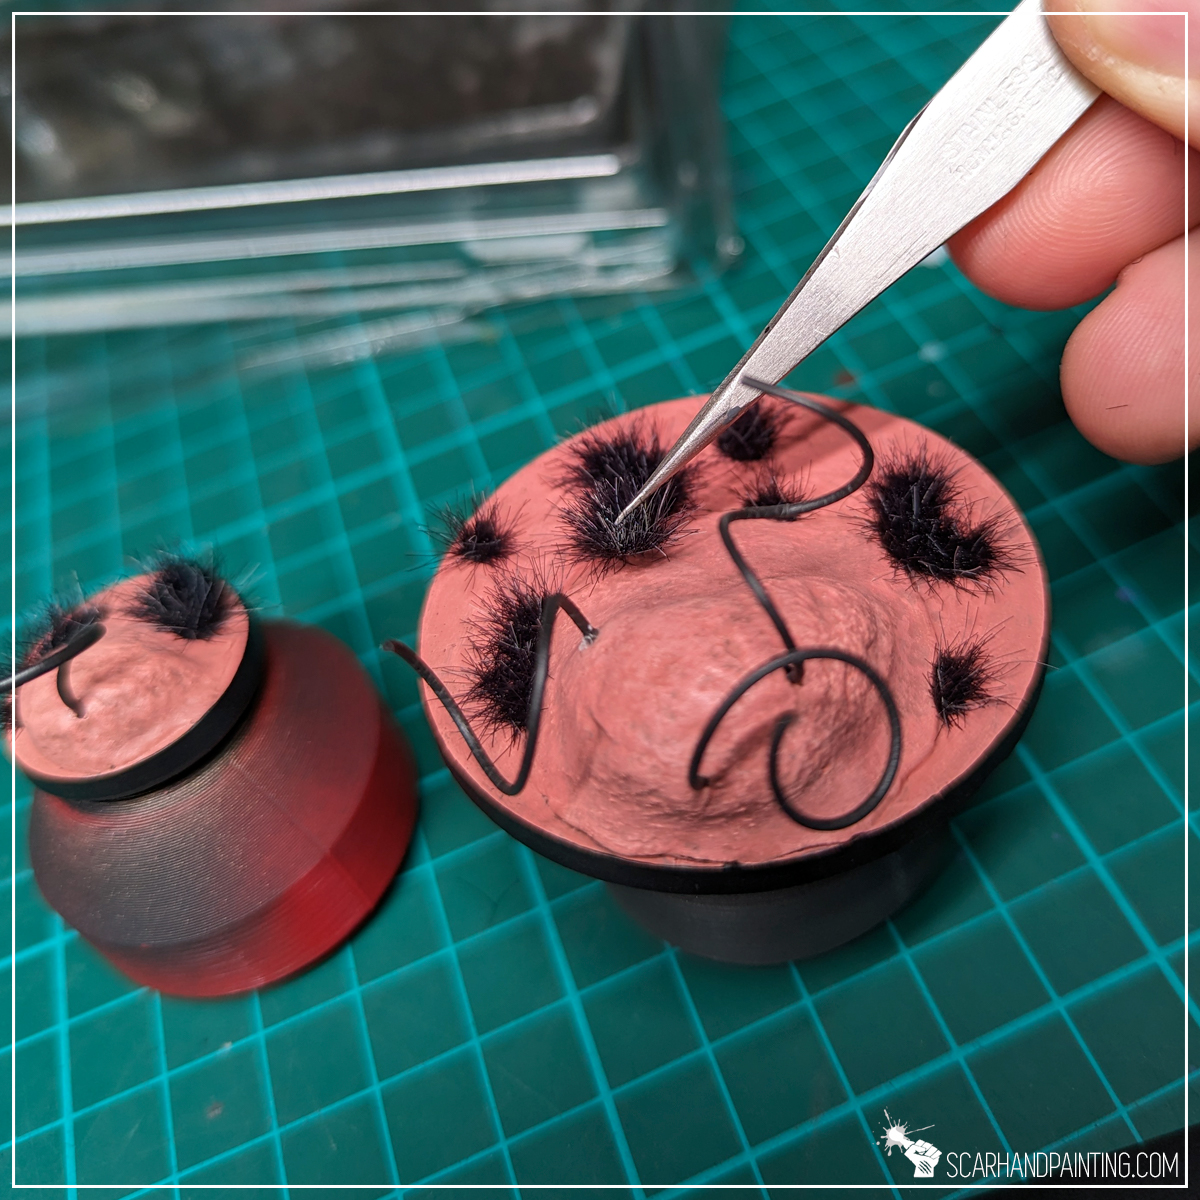
There are multiple sources of natural and synthetic curled hair. For this tutorial I used the inside of a kitchen knife stand, but I recommend experimenting a bit with brushes or whatever you might come across during brave hobby exploration. I pulled a few single plastic rods out of the knife stand and wrapped them over a brush handle. I then cut them into, about 4cm long, small springs. These I have gently pushed into the ‘meat’ of the sack, followed by a small droplet of Super Glue to seal the deal.
Step four: Shag
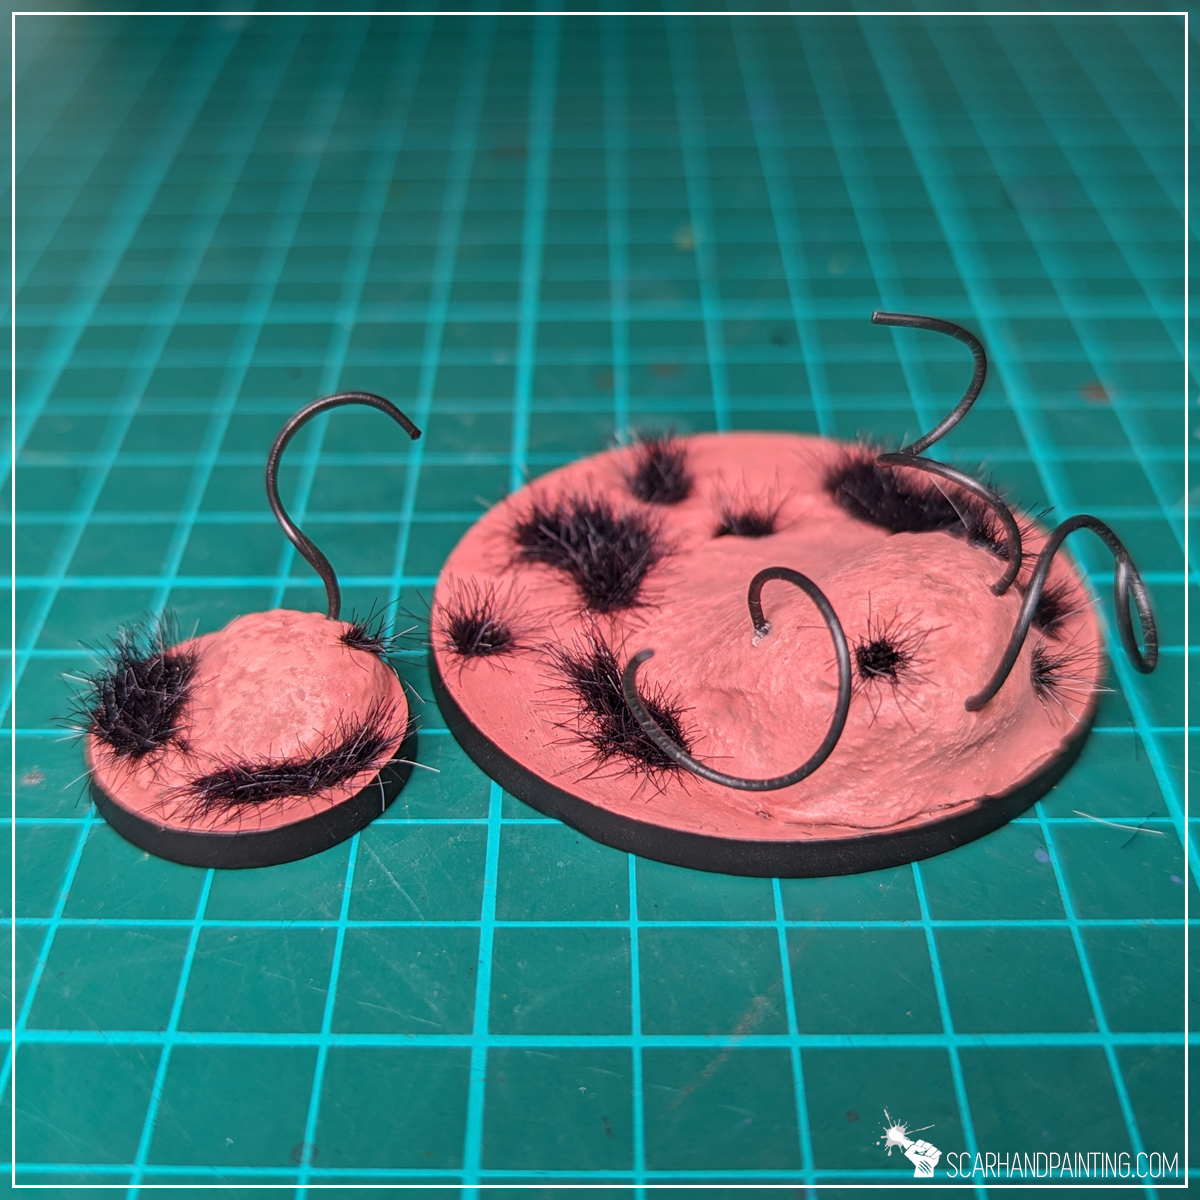
Finally I glued a few Gamers Grass Alien Void tufts on top in seemingly random places. After repainting the edge black, the job was done. ‘perfection’
Thanks to Wargamingowy Shitposting for indirectly sponsoring this material.
I hope you find this tutorial interesting. Be sure to let me know your thoughts in the comments below, or at Facebook or Instagram. I would also appreciate it if you considered sharing this content with your friends, who might find it useful. Finally if you are looking for a professional miniatures painting service, be sure to contact me with this contact form. I always reply within 24 hours, after which please check out your spam folder.
1 comment so far
Randy BobandyPosted on1:18 pm - May 7, 2024
Sztos, zainspirowany zrobię takie podstawki pod demony!