- contact@scarhandpainting.com


Necromunda: Underhive is a game full of nicely detailed plastic miniatures. As much as I hate endorsing Games Workshop – It should be mentioned that in terms of miniatures – they did a really nice job, extending the set so that it includes 25 industrial themed plastic bases. I appreciate this move from GW, even tho the variety of Necromunda bases designs is scarce. For example my own set came with just two versions among a total of ten bases. This is where I come in with a Tutorial on how to Enchance Necromunda bases in a fast, simple way. Below you will find few ideas on how to do it – but let me say this in advance: keep an open mind cause there’s plenty of awesome stuff that can be used to differentiate your Necromunda bases set (and actually any Industrial bases).
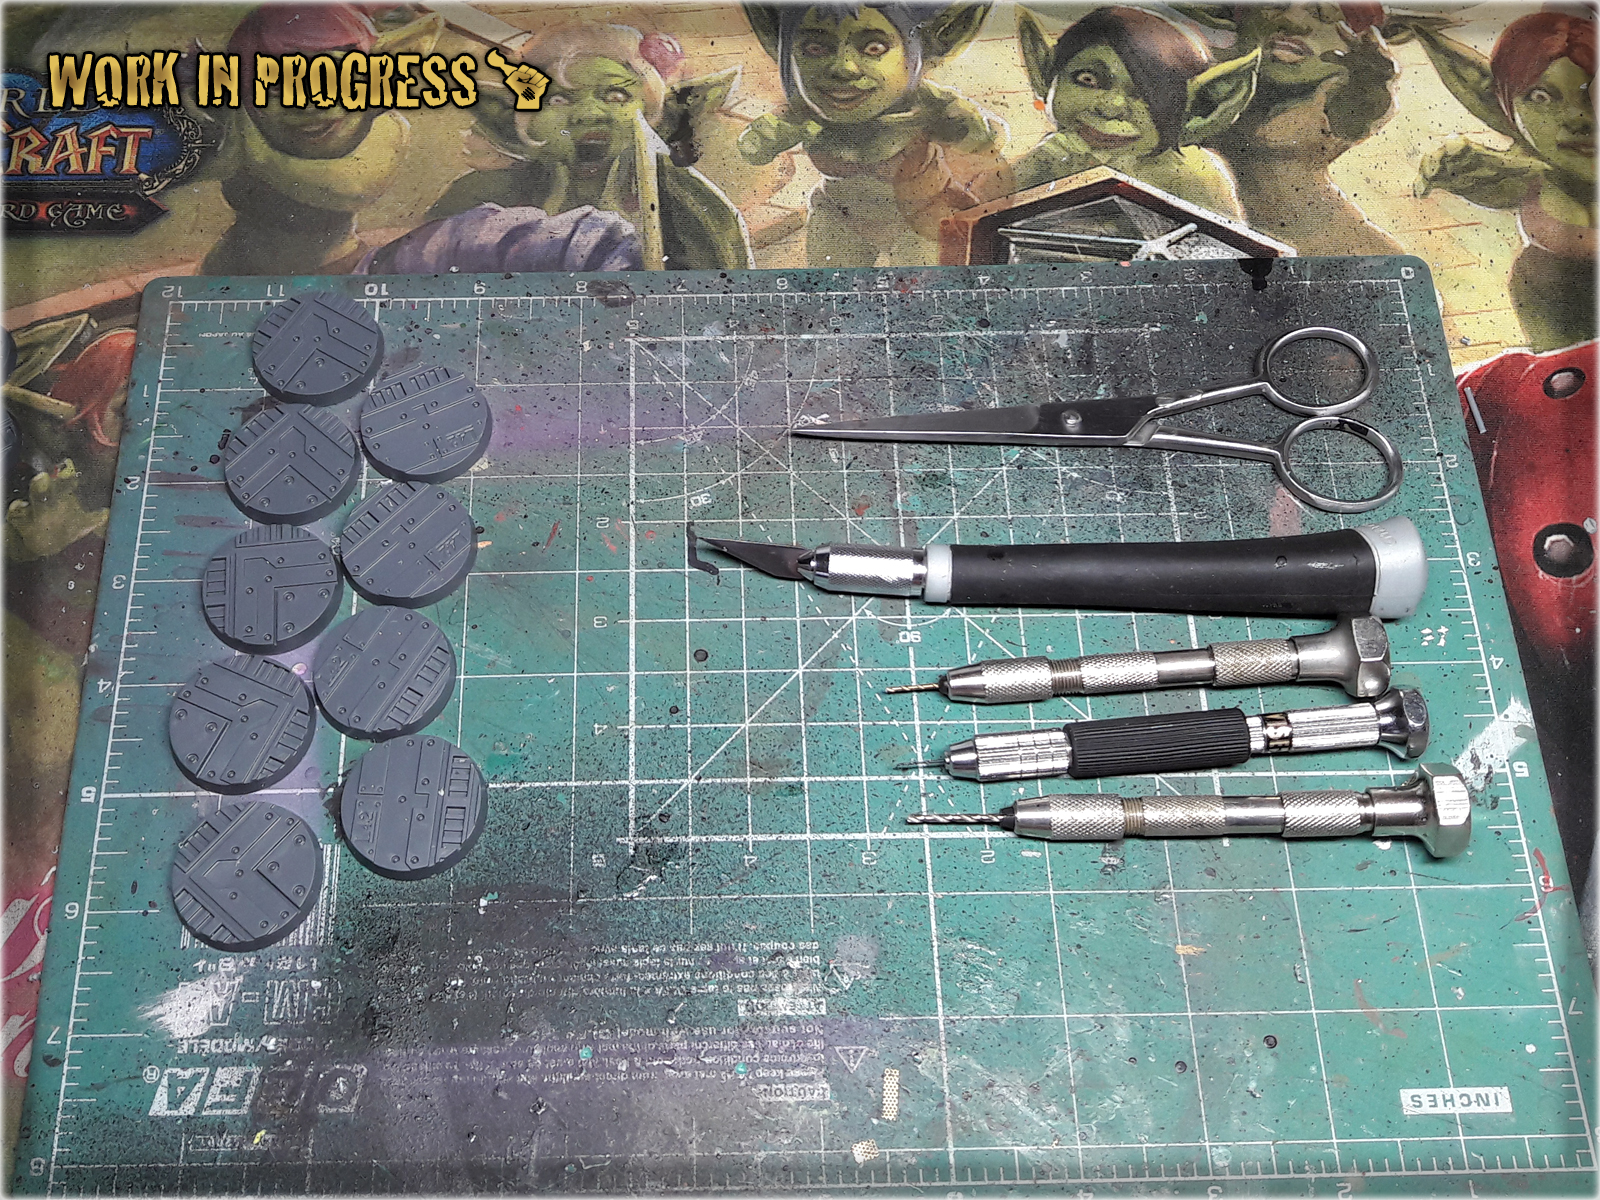
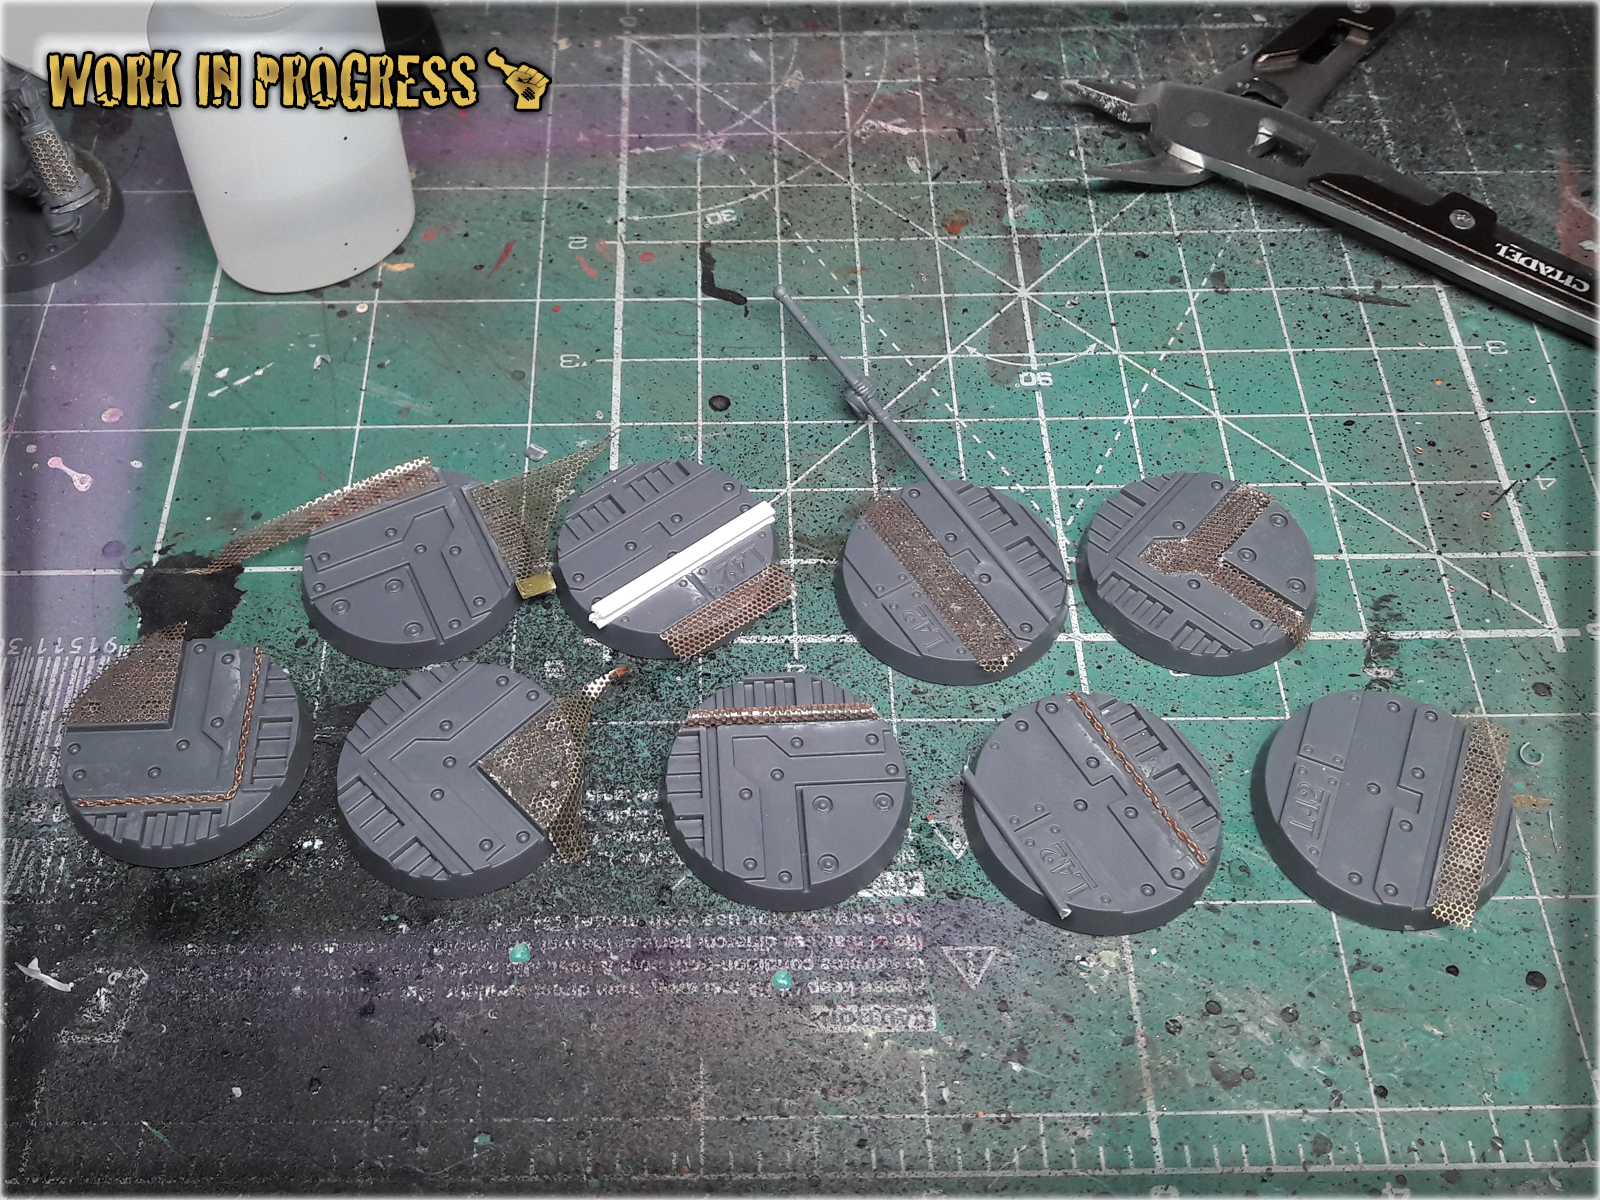
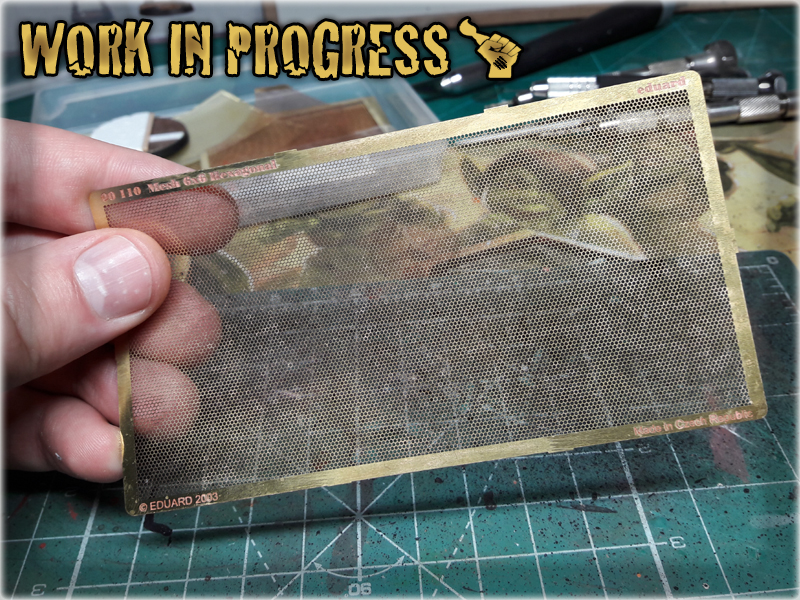
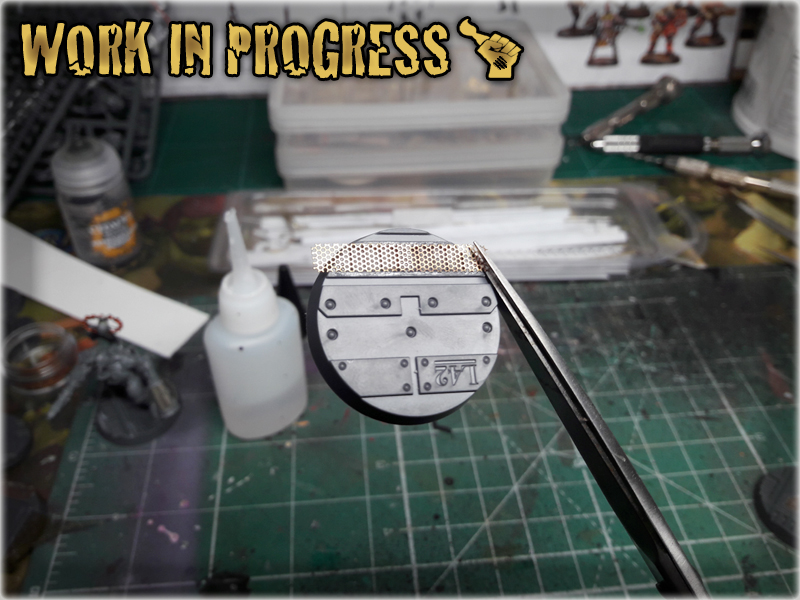
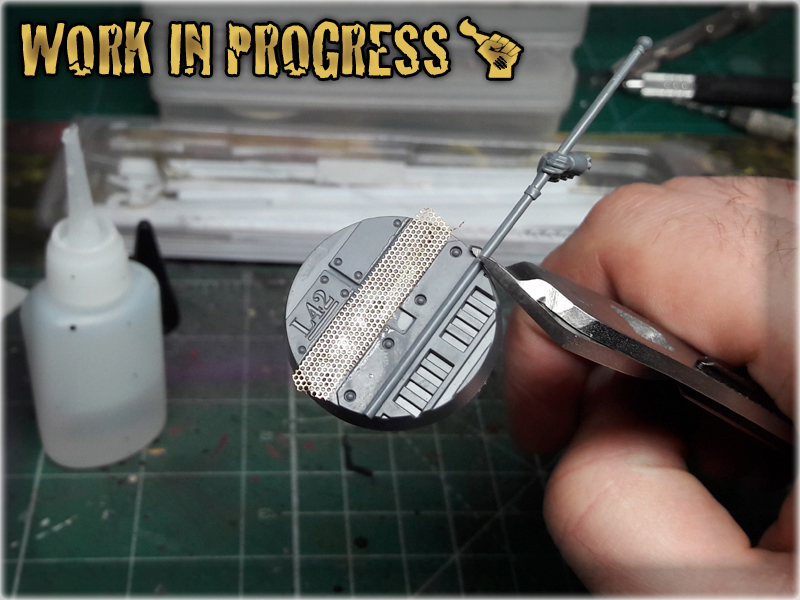
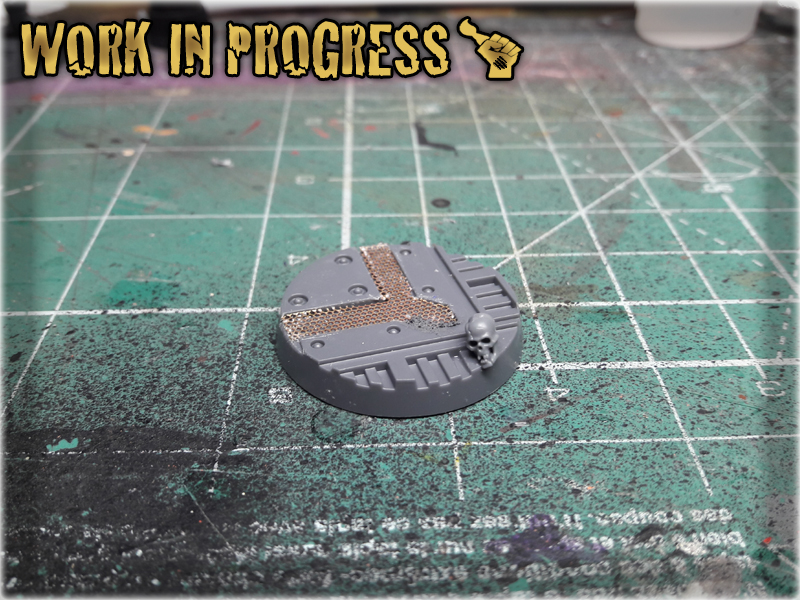
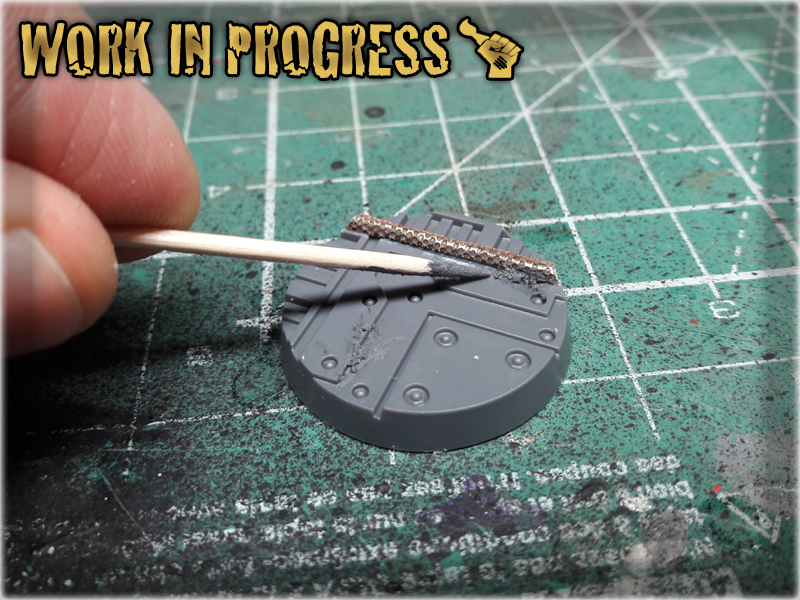
This stuff can be found in most modellers hobby stores. Personally I love it, cause it let’s me add awesome texture to the bases. It is very easy to use. I tend to cut a piece of mesh with scissors and glue it onto a designated surface, leaving an excess to hang outside the base. Once Super Glue dries out I just cut the excess mesh with scissors and file it on the edge – driving a file from top to bottom of the bases edge. This keeps the mesh glued onto the base, but smoothers the edge nicely.
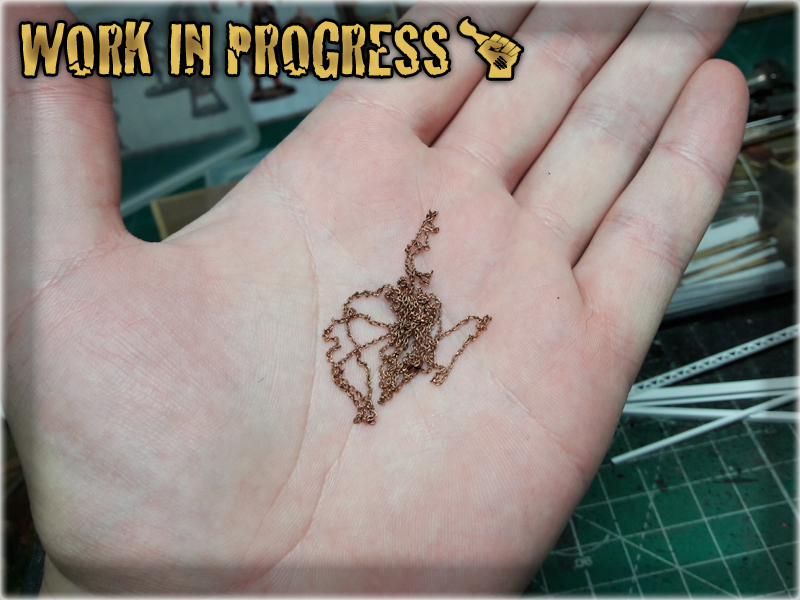
Another item from a hobby store. I just glue it onto the base and cut the excess with plastic cutters. Brass Chain is thin and rather frail so it does not damage the cutters.
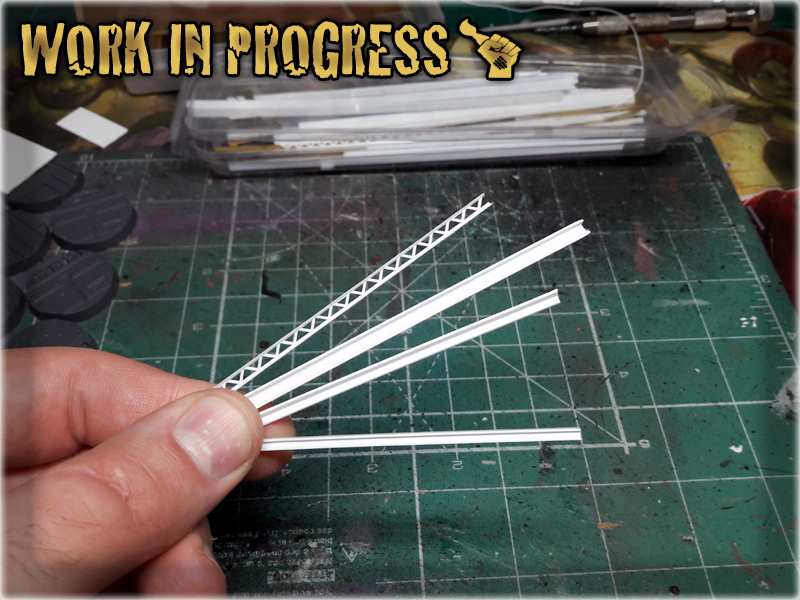
Awesome, hobby friendly and easy to use material. It comes in either flat sheets of different thickness, or in prefabricated shapes. For bases I usually use flat sheets, gluing them onto the base, then cutting to fit the edge. In case of Necromunda bases – there’s plenty of industrial texture already, so I uused a prefabricated piece of PCV to add here and there. Same technique – glue onto the base, then cut to match the edge.
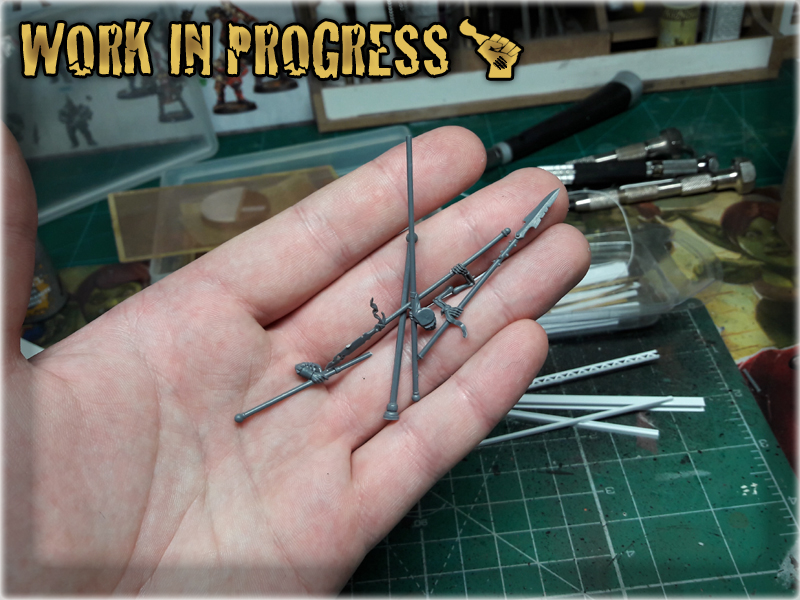
Everybody has some. For Necromunda bases I preffered thin, long spears and banner poles. I just glued them over certain areas and cut with a plastic cutters to match the edge of the base and add variety to the base’s surface.
Games Workshop’s Skulls set is something that everyone should get. If you haven’t got yours – damn – just go and order one. For what you get the price is just insane. Either way – some Skulls on the base would certainly make it stand out.
Actually any grain-texture paint would do just fine. I used Astrogranit Debris cause I don’t have many uses for this particular colour and here it is meant to go under a black undercoat anyway. I applied small amount to certain places, just to add texture.
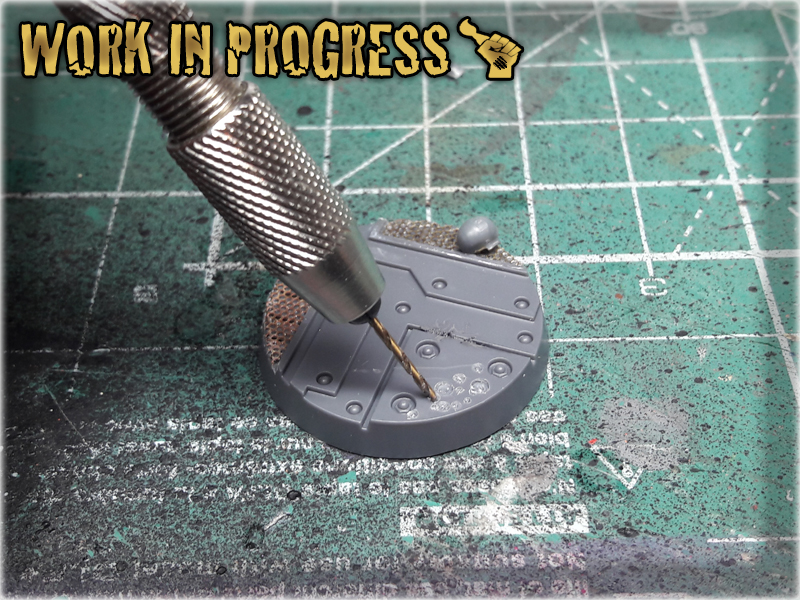
I drilled some holes in different sizes here and there to look like corrosion or some form of acid damage. Easy to do – looks cool once painted.
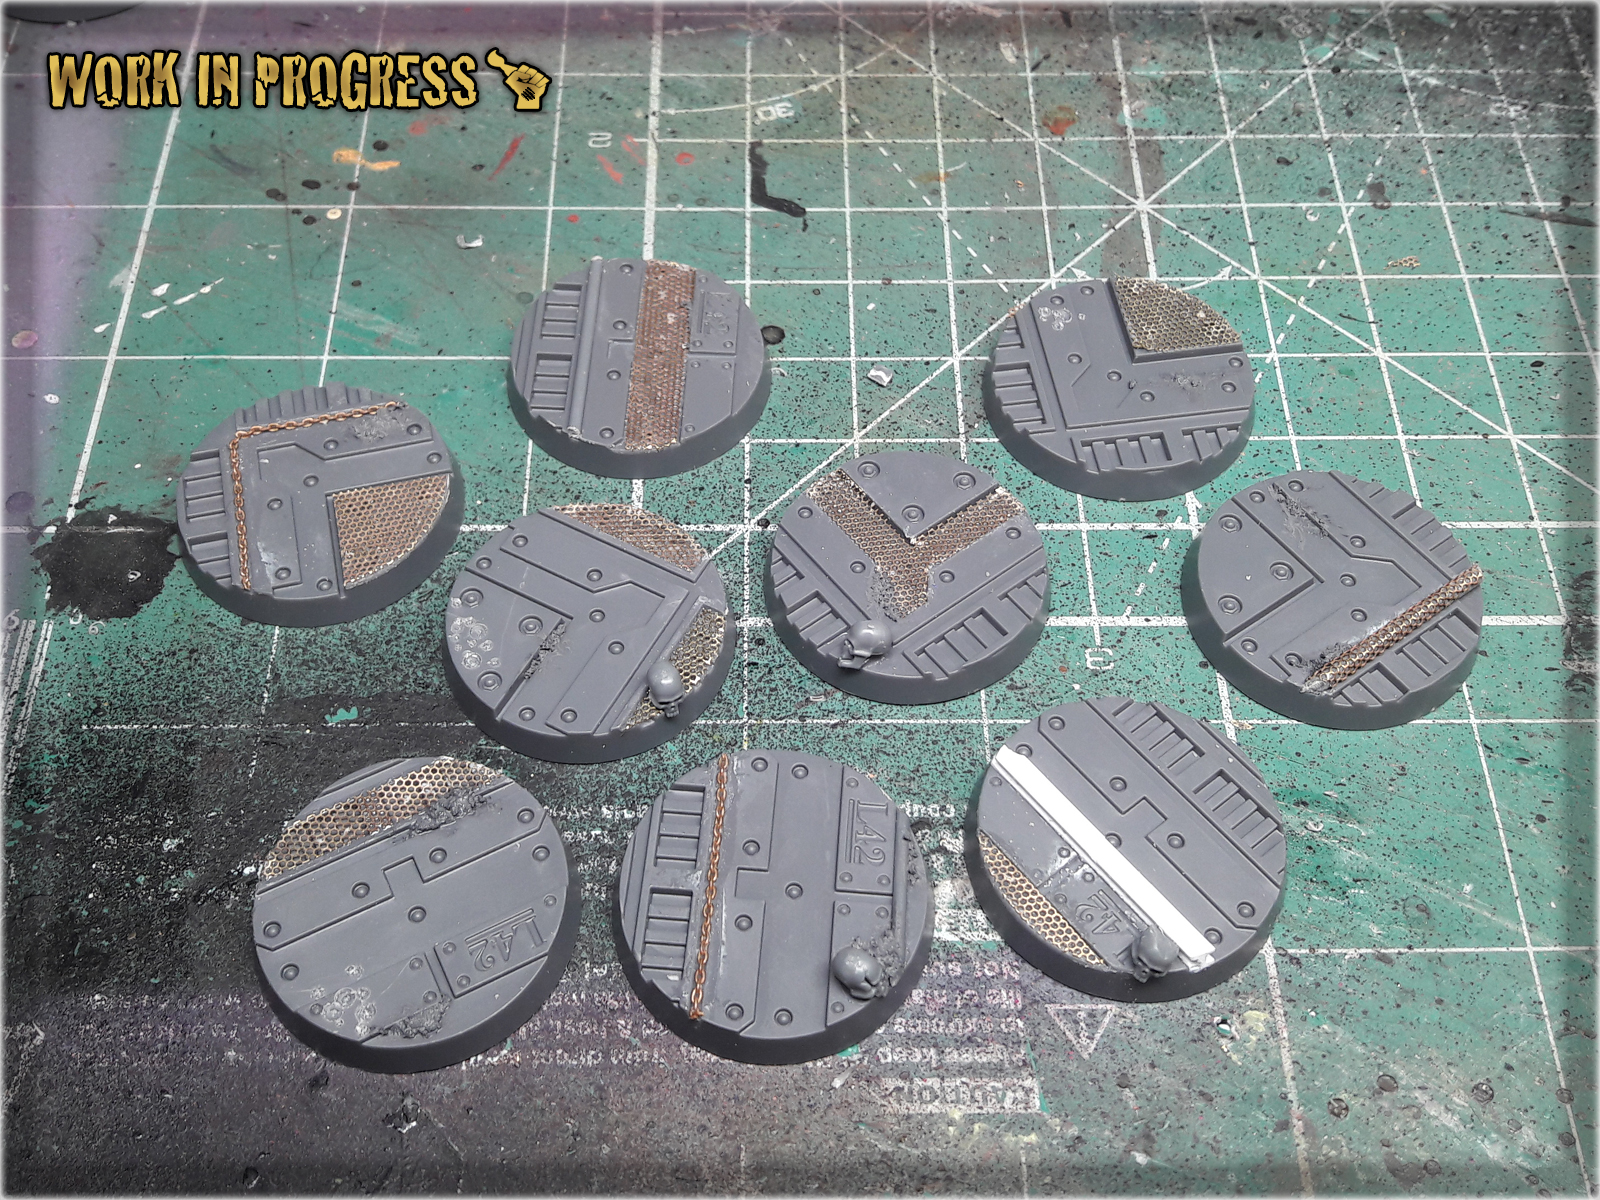
So, there’s that. These are just few ways to enchance Necromunda bases. I bet you can find a lot more ways to differentiate the set. Here’s how mine looks like after the above additions: