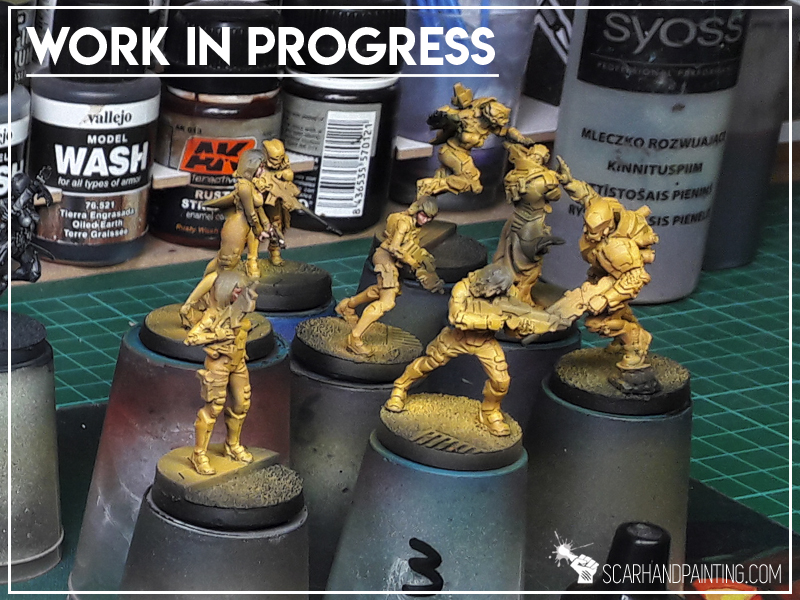
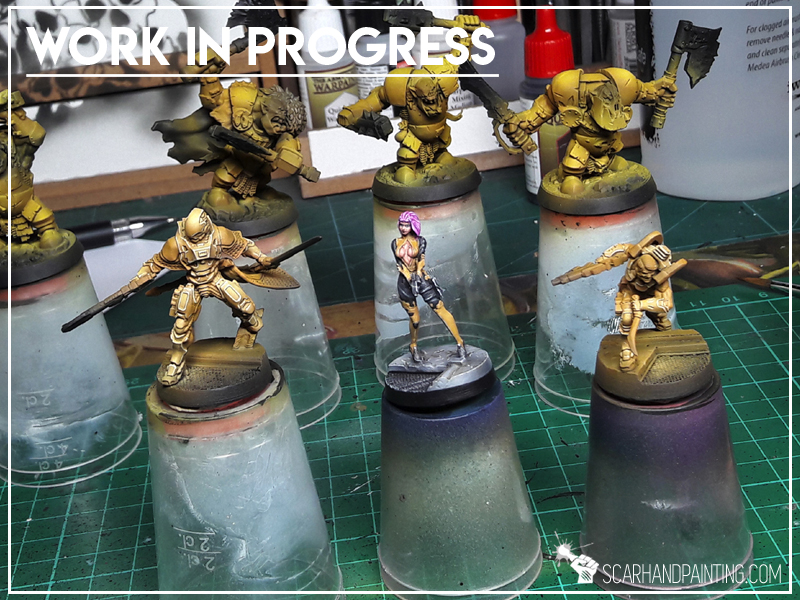
- contact@scarhandpainting.com


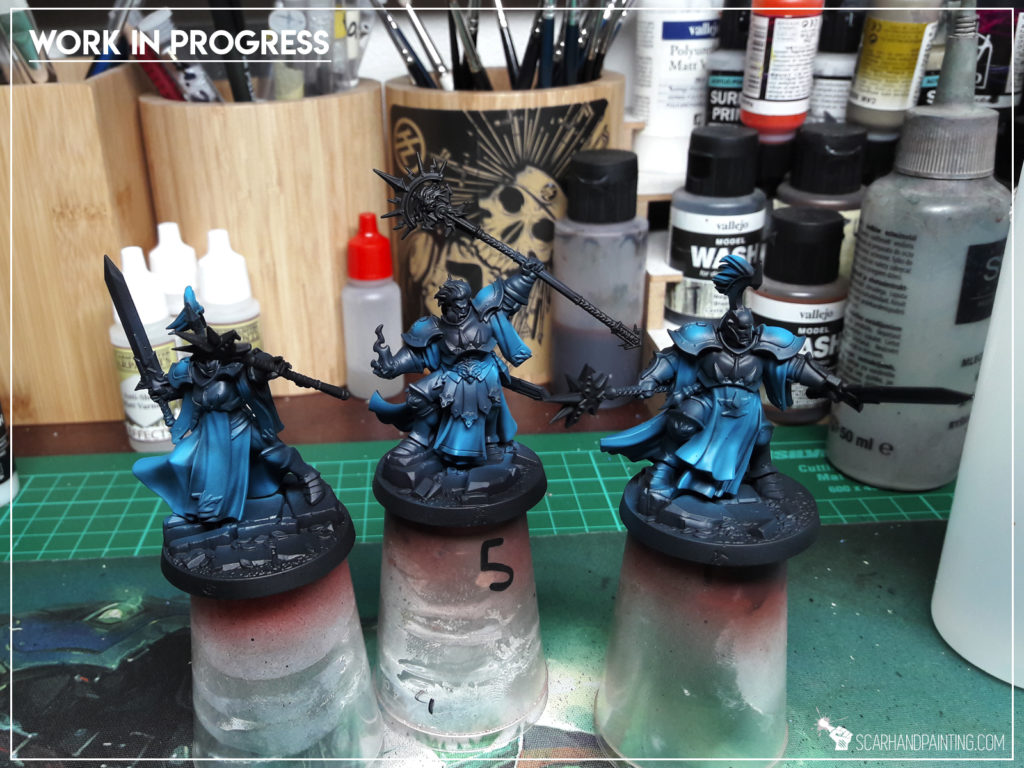
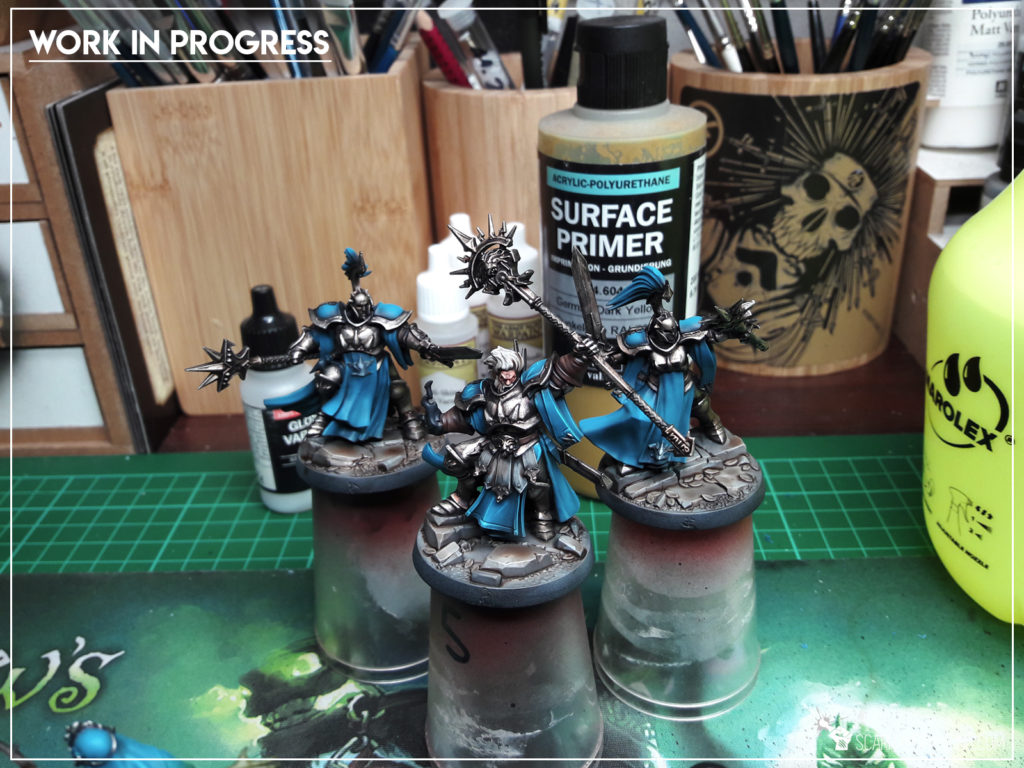
Here are some Colour Recipes for Haqqislam from Gallery: Shadespire Stormsire’s Cursebreakers. Please take note that this is a simple colour scheme, not covering multiple overlapping layers and blends in between, that lead to the final product. It is supposed to be used as guideline not a step-by-step.
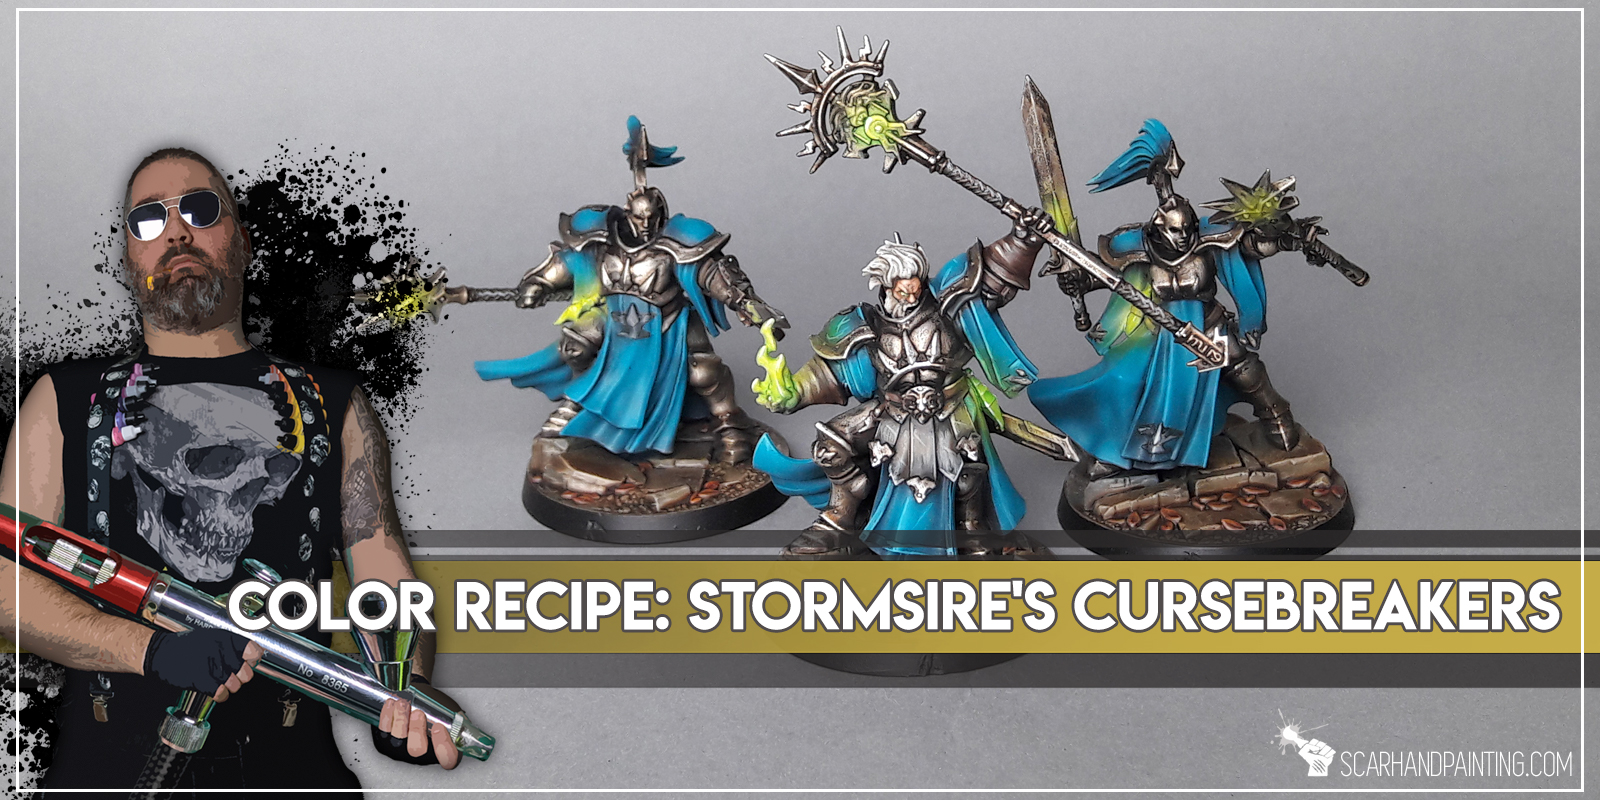
TURQUISE clothes:
Coal Black (P3), *
Turquise (Val), *
Mix Turquise (Val) 2:1 White, *
Arcane Blue (P3), l&p
METAL armour:
See: Tutorial: Painting “Five Layers” Metal
Warplock Bronze (GW),
Gun Metal (AP), flbr
Shining Metal (AP), flbr
Strong Tone Ink (AP),
Shining Metal (AP), l&p
GREEN light:
Duck Egg Green (Val),*
Light Livery Green (Val),
Waywatcher Green (GW),
Off White (Val), l&p
Grey handles:
Panzer Dark Grey (Val),
Fenrisian Grey (GW),
Dark Tone Ink (AP),
Off White (Val), l&p
BASES:
Medium Sea Grey (Val), *
Light Grey (Val)*,
Pale Grey (Val),*
Mix Strong Tone Ink (AP) 1:1 Soft Tone Ink (AP),
Off White (Val), l&p
Dirt (Val), bl
Mix Strong Tone Ink (AP) 1:1 Soft Tone Ink (AP), bl
l&p – lines and points,
p – points,
bl – blend,
gl – glaze,
drbr – drybrush,
flbr – flatbrush,
lobr – loaded brush,
stpl – stippling,
*Airbrushed (with multiple layers and mixes)
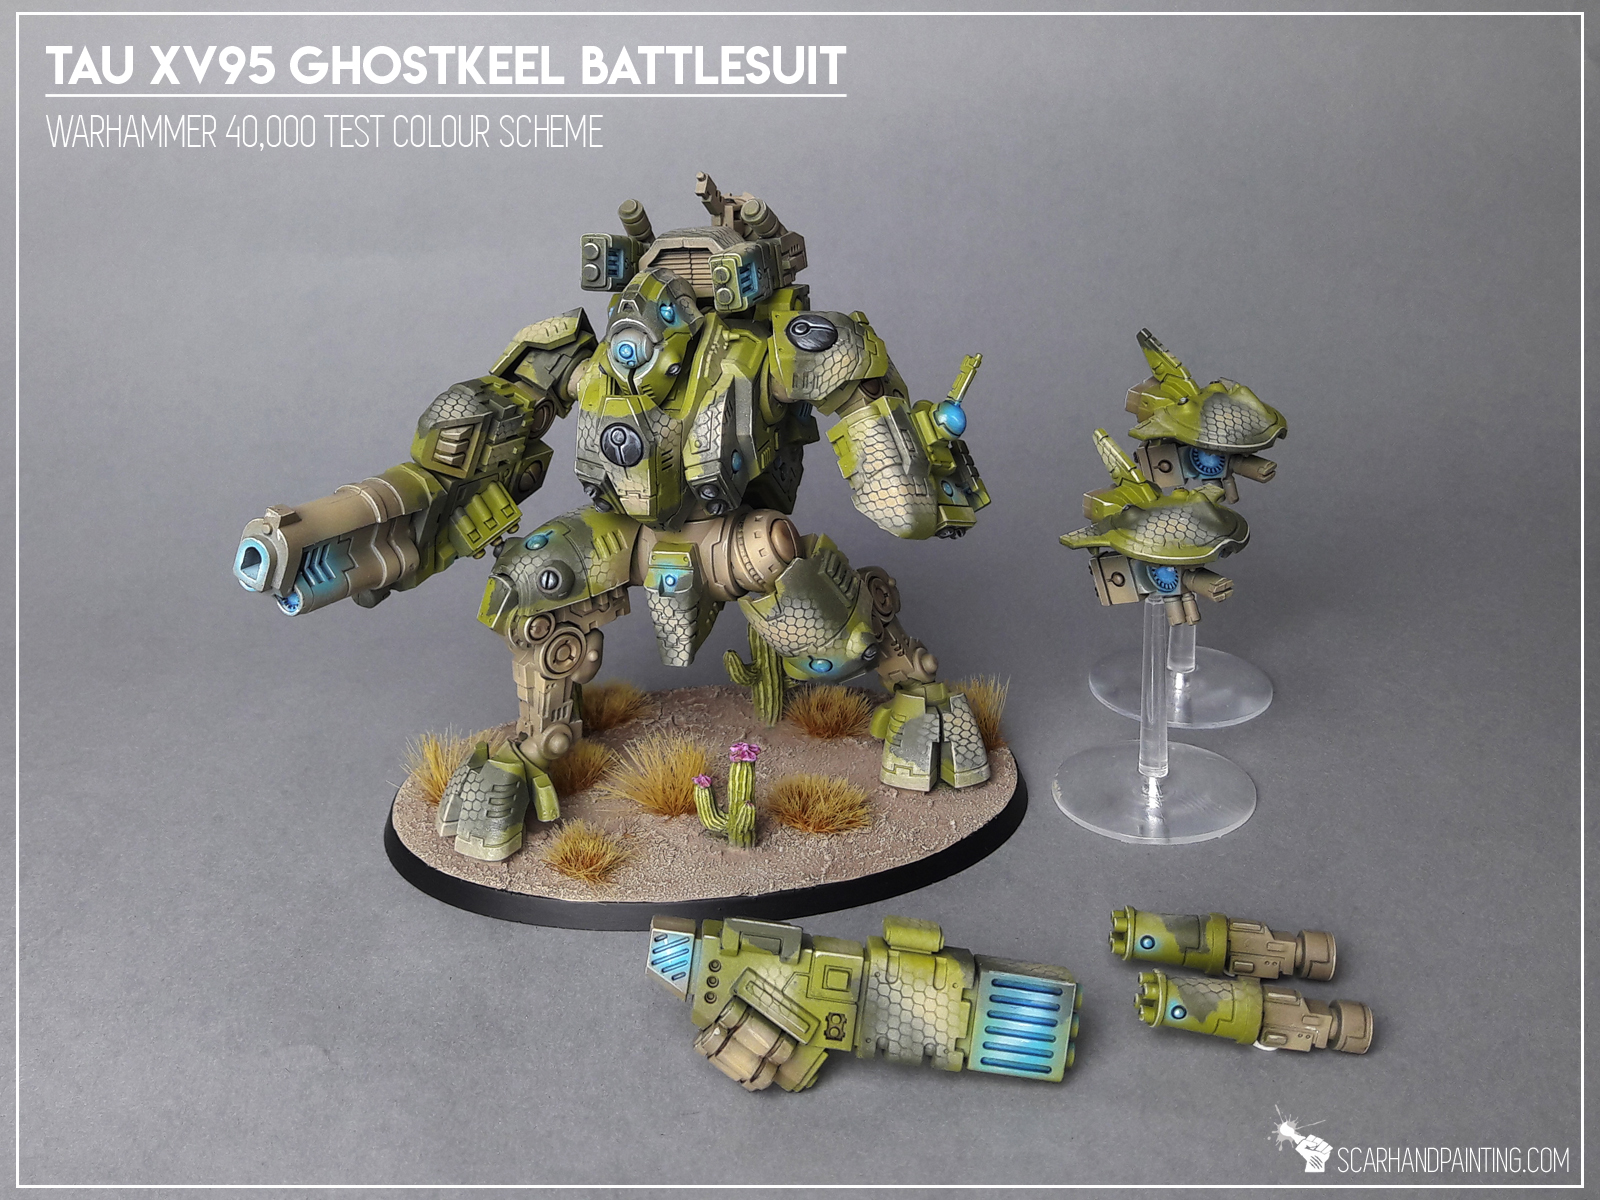
Here are some Colour Recipes for Haqqislam from Gallery: Tau XV95 Ghostkeel. Please take note that this is a simple colour scheme, not covering multiple overlapping layers and blends in between, that lead to the final product. It is supposed to be used as guideline not a step-by-step.
CAMO pattern:
Castellan Green (GW),*
[Painting tape masking]
Elysian Green (GW)*
HEX pattern:
Mix Sand Yellow (Val 1) 4:1 Bonewhite (Val a),*
INNER mesh:
Earth (Val a), *
Sand Yellow (Val a), *
European Dust (Val),
Flayed One Flesh (GW), l&p
Light Brown (Val a), *
BLUE LIGHT:
Light Sea Blue (Val a), *
White (Val a), *
White, l&p
Guilliman Blue GW), glaze
Gloss Varnish,

CACTUS:
Camo Green (GW), *
Camo Green (GW), fltbr
Mix Camo Green (GW) 2:1 Pale Wych Flesh (GW), fltbr
CACTUS Blossom:
Warlord Purple (Val),
Squid Pink (Val), fltbr
l&p – lines and points,
p – points,
bl – blend,
gl – glaze,
drbr – drybrush,
flbr – flatbrush,
lobr – loaded brush,
stpl – stippling,
*Airbrushed (with multiple layers and mixes)
Here are some Colour Recipes for Haqqislam from Gallery: Infinity Operation Red Veil. Please take note that this is a simple colour scheme, not covering multiple overlapping layers and blends in between, that lead to the final product. It is supposed to be used as guideline not a step-by-step.
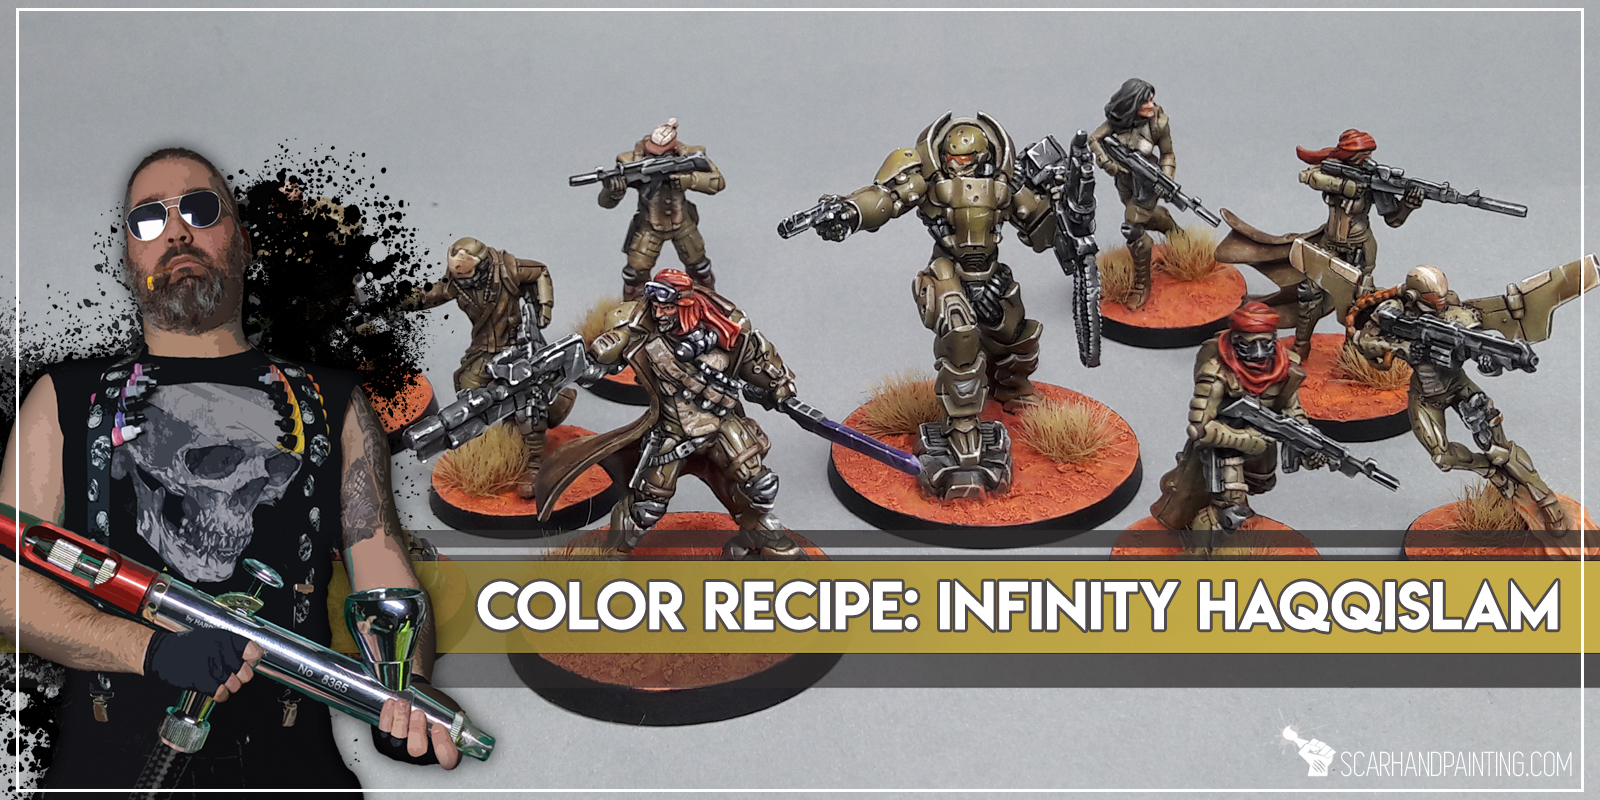
MILITARY armour:
Interior Green (Val a),*
Mix Interior Green (Val a) 2:1 Desert Yellow (Val a),*
Mix Interior Green (Val a) 2:1:1 Desert Yellow (Val a), Bonewhite (Val a),*
Mix Strong Tone Ink (AP) 1:1 Soft Tone Ink (AP),
Flayed One Flesh (GW), l&p
Off White (Val), l&p
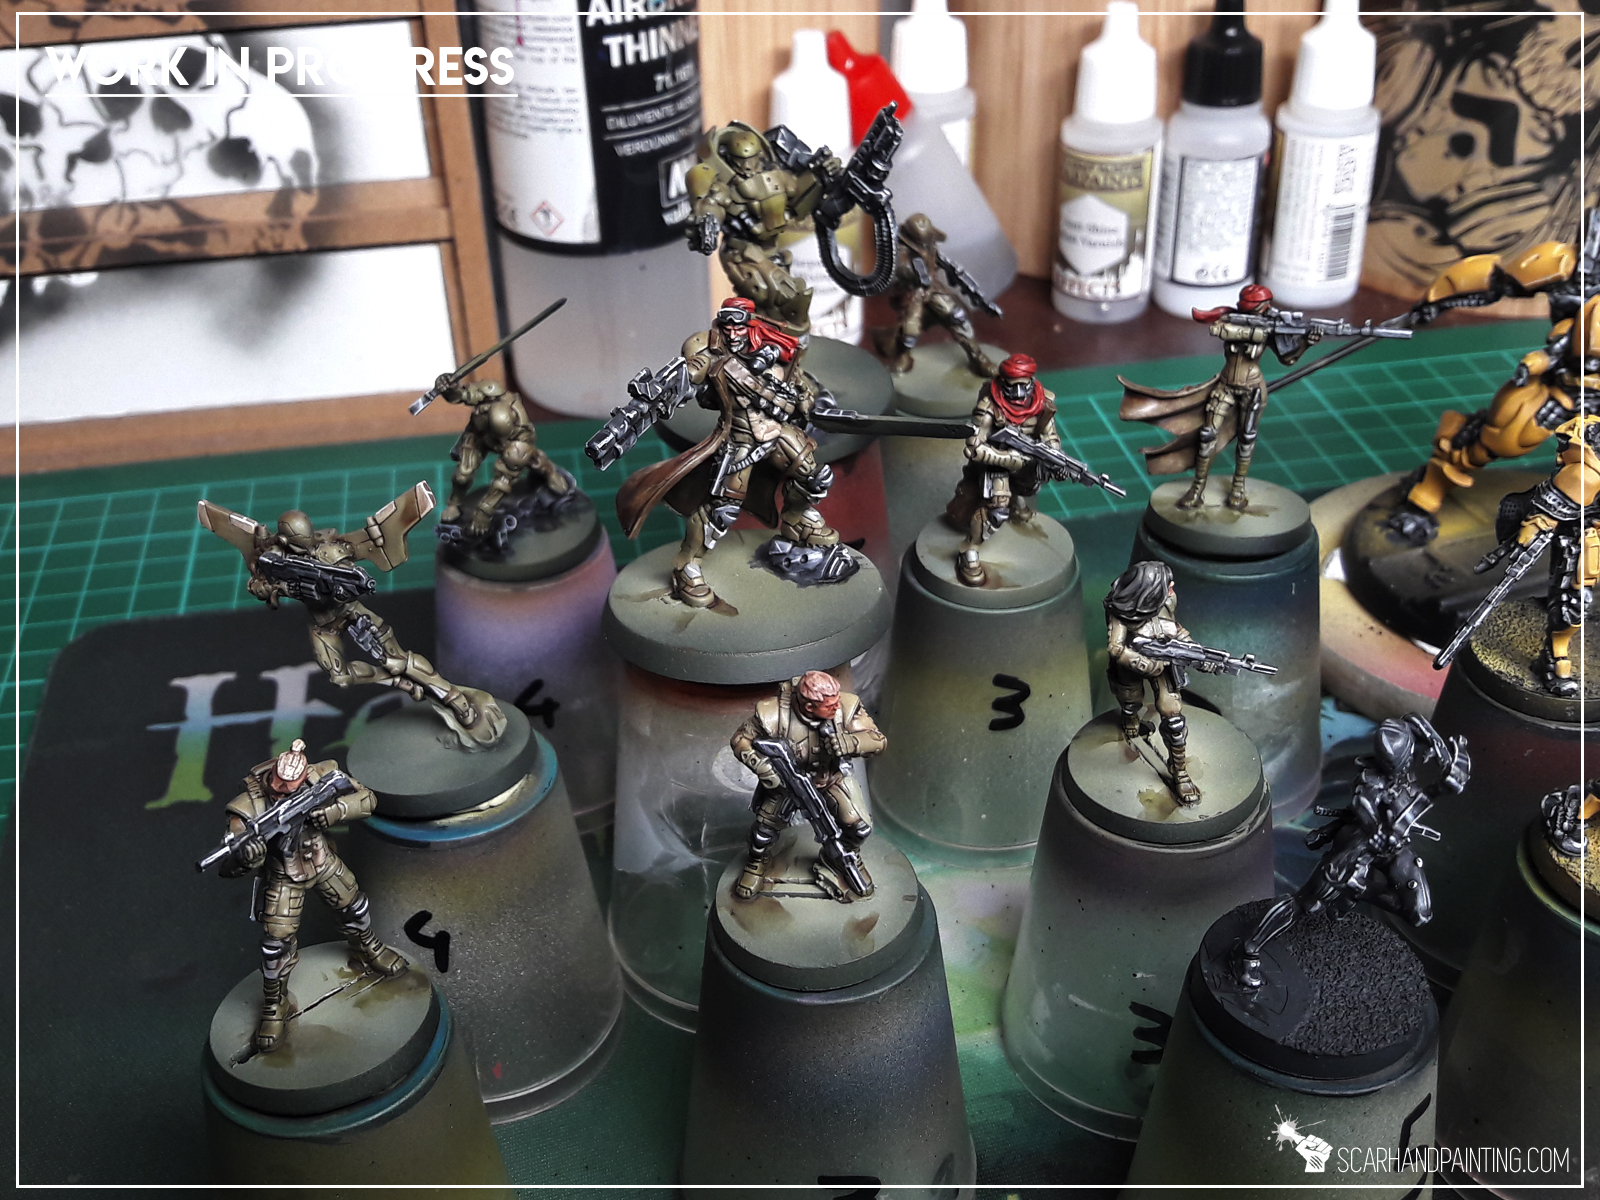
CREEME leather armour:
Mix Olive Drab (Val a) 1:1:1:1 Dark Fleshtone (Val a), Strong Tone Ink (AP), Soft Tone Ink (AP),
Bonewhite (Val a),
Flayed One Flesh (GW), l&p
Mix Strong Tone Ink (AP) 1:1 Soft Tone Ink (AP),
Pale Wych Flesh (GW), l&p

BLACK/GREY outfits & weapons:
Black Undercoat, Mix Black 1:X Panzer DK Grey (Val),
Panzer DK Grey (Val),
Fenrisian Grey (GW),
Pallid Wych Flesh (GW), l&p
Dark Tone Ink (AP)
Fenrisian Grey (GW), blend
Pallid Wych Flesh (GW), l&p
Off White (Val), p
MARTIAN bases:
Cavalry Brown (Val), *
Martian Ironcrust (GW) & Martian Ironearth (GW), texture
Fire Dragon Bright (GW), flbr

l&p – lines and points,
p – points,
bl – blend,
gl – glaze,
drbr – drybrush,
flbr – flatbrush,
lobr – loaded brush,
stpl – stippling,
*Airbrushed (with multiple layers and mixes)
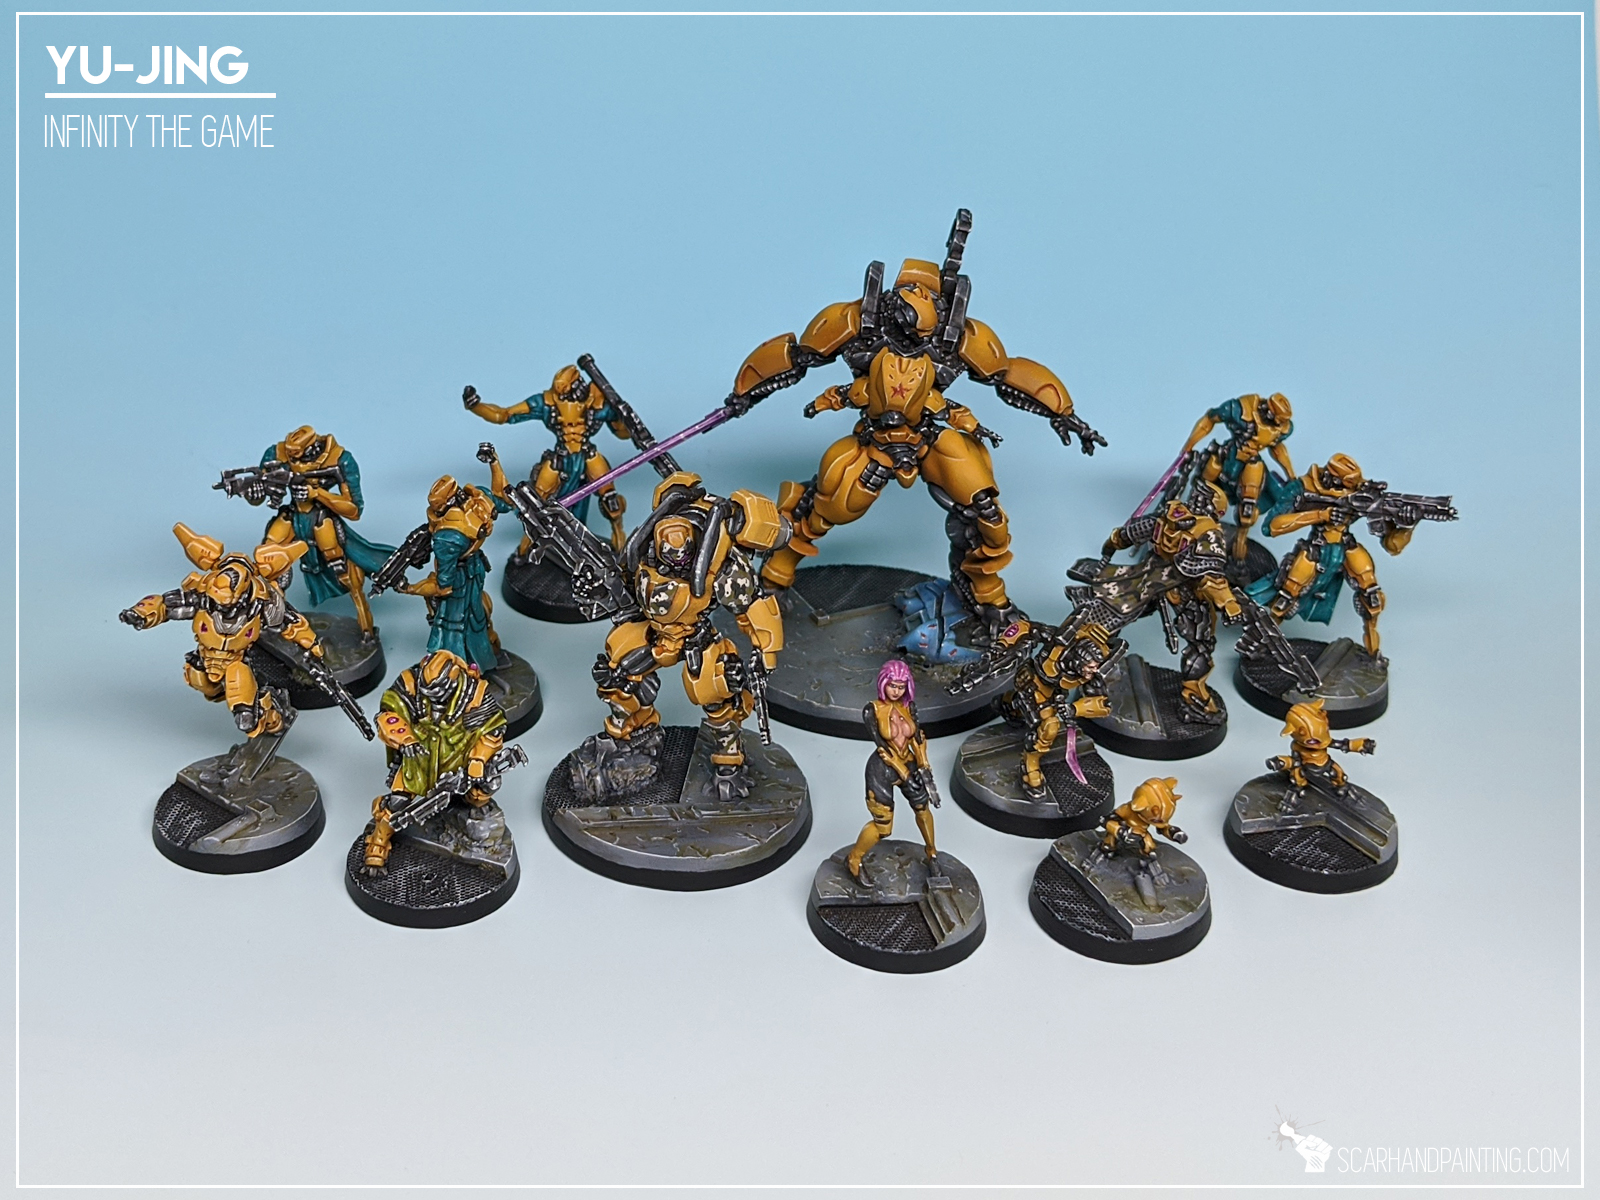
Here are some Colour Recipes for Yu-Jing from Gallery: Infinity Yu-Jing lvl 5. Please take note that this is a simple colour scheme, not covering multiple overlapping layers and blends in between, that lead to the final product. It is supposed to be used as guideline not a step-by-step.

YELLOW armour:
Orange Brown (Val), *
Scrofulous Brown (Val), *(horizontal)
Mix Scrofulouus Brown (Val) 4:1 Off White (Val), *
Ice Yellow (Val), l&p
Light Tone Ink (AP), inner lining
BLACK/GREY outfits & weapons:
Black Undercoat, Mix Black 1:X Panzer DK Grey (Val),
Panzer DK Grey (Val),
Fenrisian Grey (GW),
Pallid Wych Flesh (GW), l&p
Dark Tone Ink (AP)
Fenrisian Grey (GW), blend
Pallid Wych Flesh (GW), l&p
Off White (Val), p
TURQUOISE clothes:
Coal Black (P3),
Scurvy Green (Val),
Mix Scurvy Green (Val) 3:2 Hydra Turquoise (AP), lobr
Hydra Turquoise (AP),
Arcane Blue (P3), l&p
Coelia Greenshade (GW),
Arcane Blue (P3), l&p
SKIN:
Carne Marron Tan (Val),
Dwarf Skin (Val a),
Dwarf Skin (Val) + Pale Flesh (Val a),
Pale Flesh (Val a), l&p
Pale Flesh (Val),
Mix Strong Tone Ink (AP) 1:1 Soft Tone Ink (AP), inner lining
Pale Flesh (Val),
l&p – lines and points,
p – points,
bl – blend,
gl – glaze,
drbr – drybrush,
flbr – flatbrush,
lobr – loaded brush,
stpl – stippling,
*Airbrushed (with multiple layers and mixes)
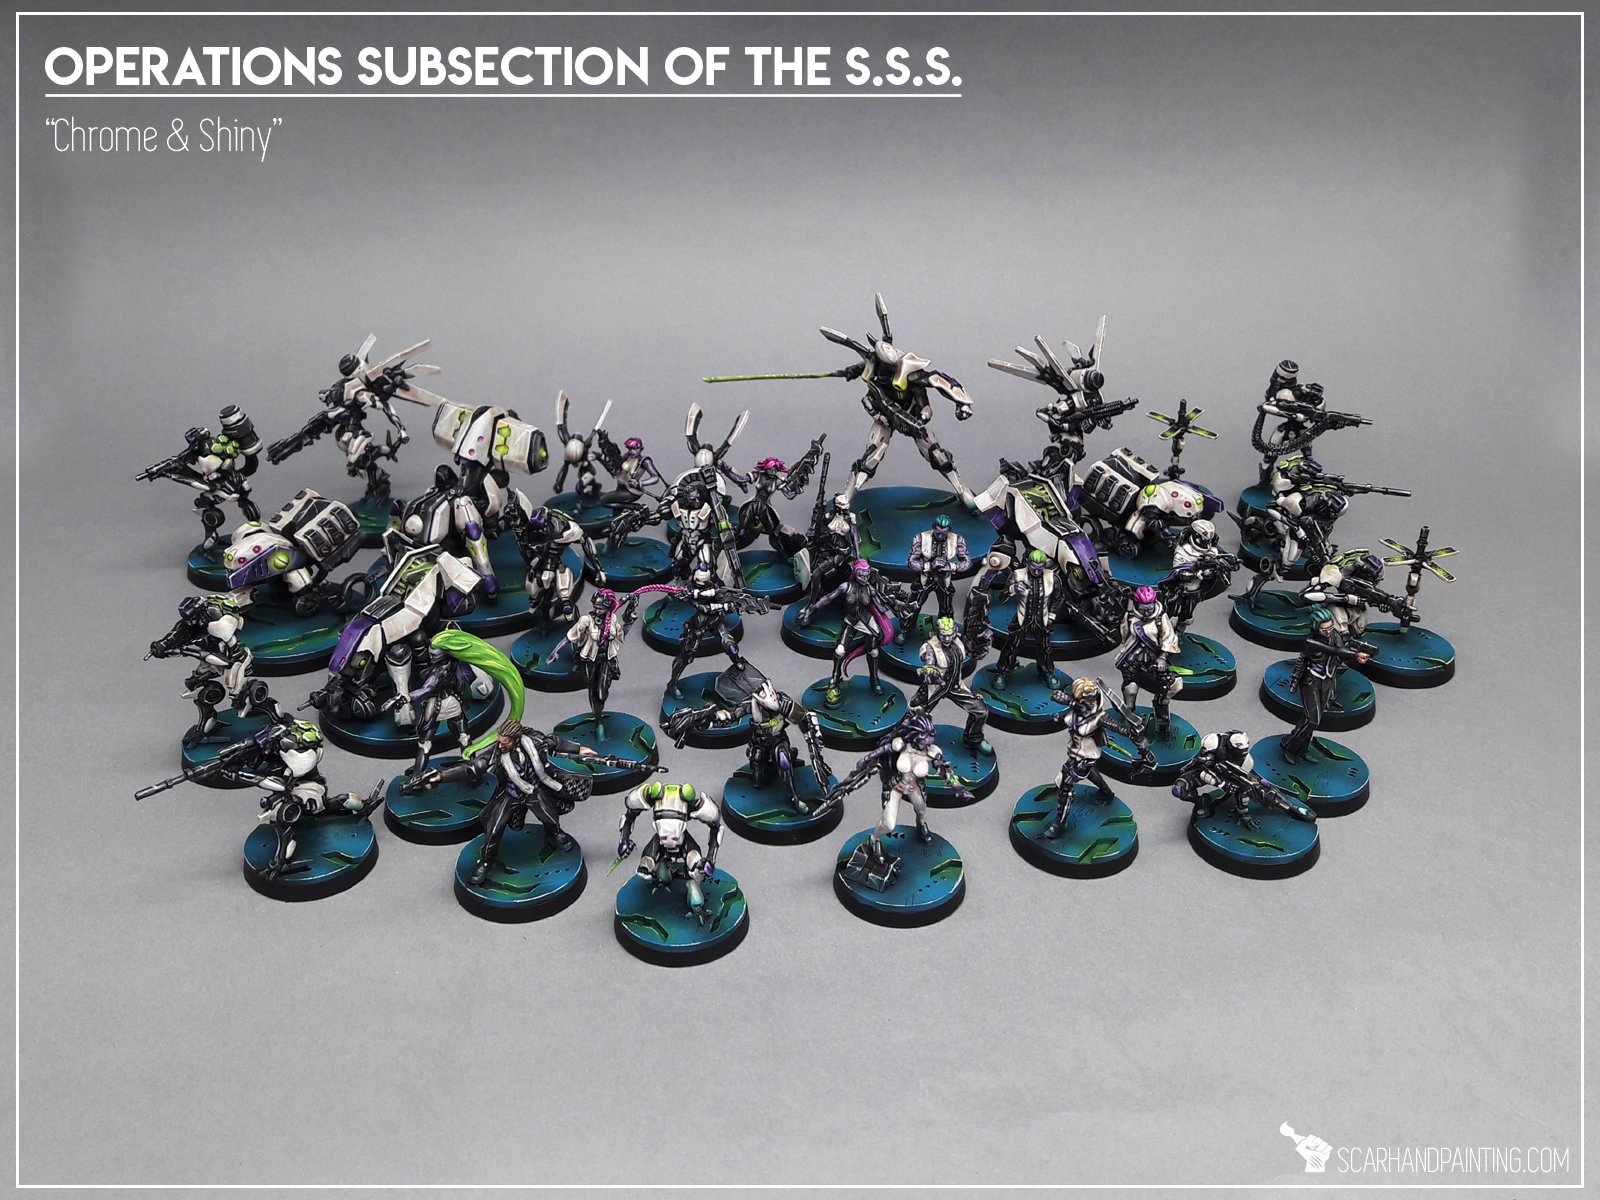
Here are some Colour Recipes for Aleph from Gallery: Infinity Aleph S.S.S. lvl 4. Please take note that this is a simple colour scheme, not covering multiple overlapping layers and blends in between, that lead to the final product. It is supposed to be used as guideline not a step-by-step.
BLACK/GREY armour & weapons:
Black Undercoat,
Panzer Dark Grey (Val),*
Fenrisian Grey (GW), l&p
Pallid Wych Flesh (GW), l&p
Dark Tone Ink (AP),
Pallid Wych Flesh (GW), l&p

PURPLE skin:
Warpfiend Grey (GW),
Slaanesh Grey (GW),
Mix Purple Tone Ink (AP) 2:1:1 Strong Tone Ink (AP), Medium,
Slaanesh Grey (GW), l&p
Mix Slaanesh Grey (GW) 1:1 Pale Wych Flesh (GW), l&p
CREAM armour:
Mix Wolf Grey (Val) 1:1 Fenrisian Grey (GW),
Ghost Grey (Val),
Mix Strong Tone Ink (AP) 1:1:1:1 Soft Tone Ink (AP), Flow Improover, Medium,
Off White (Val), l&p

PURPLE armour:
Hexen Lichen (Val),
Genestealer Purple (GW), flbr
Dechala Lilac (GW), l&p
Purple Tone Ink (AP),
Dechala Lilac (GW), l&p
Pale Wych Flesh (GW), l&p
l&p – lines and points,
p – points,
bl – blend,
gl – glaze,
drbr – drybrush,
flbr – flatbrush,
stpl – stippling,
*Airbrushed (with multiple layers and mixes)

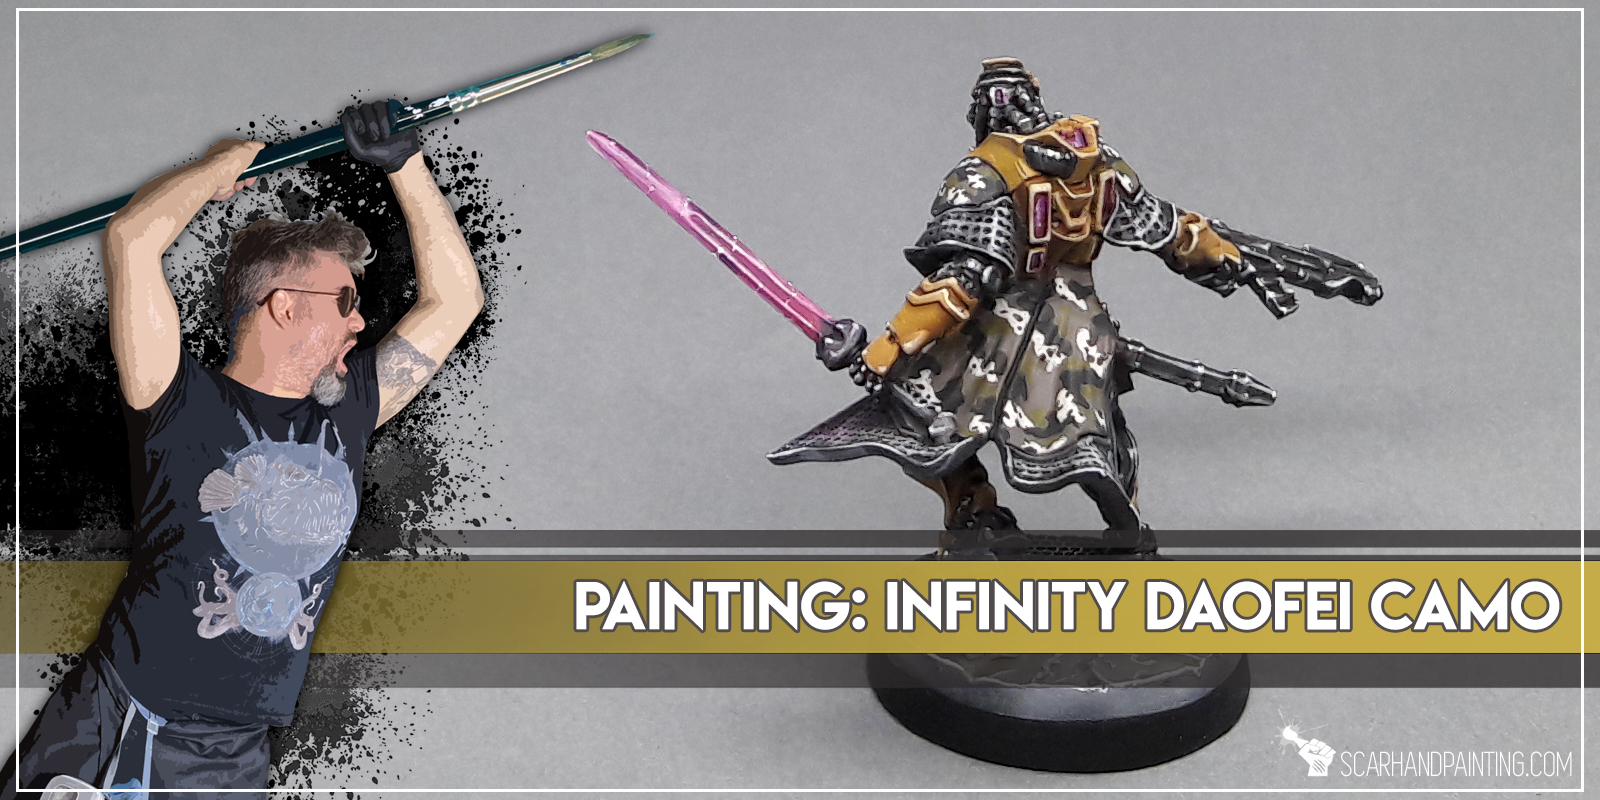
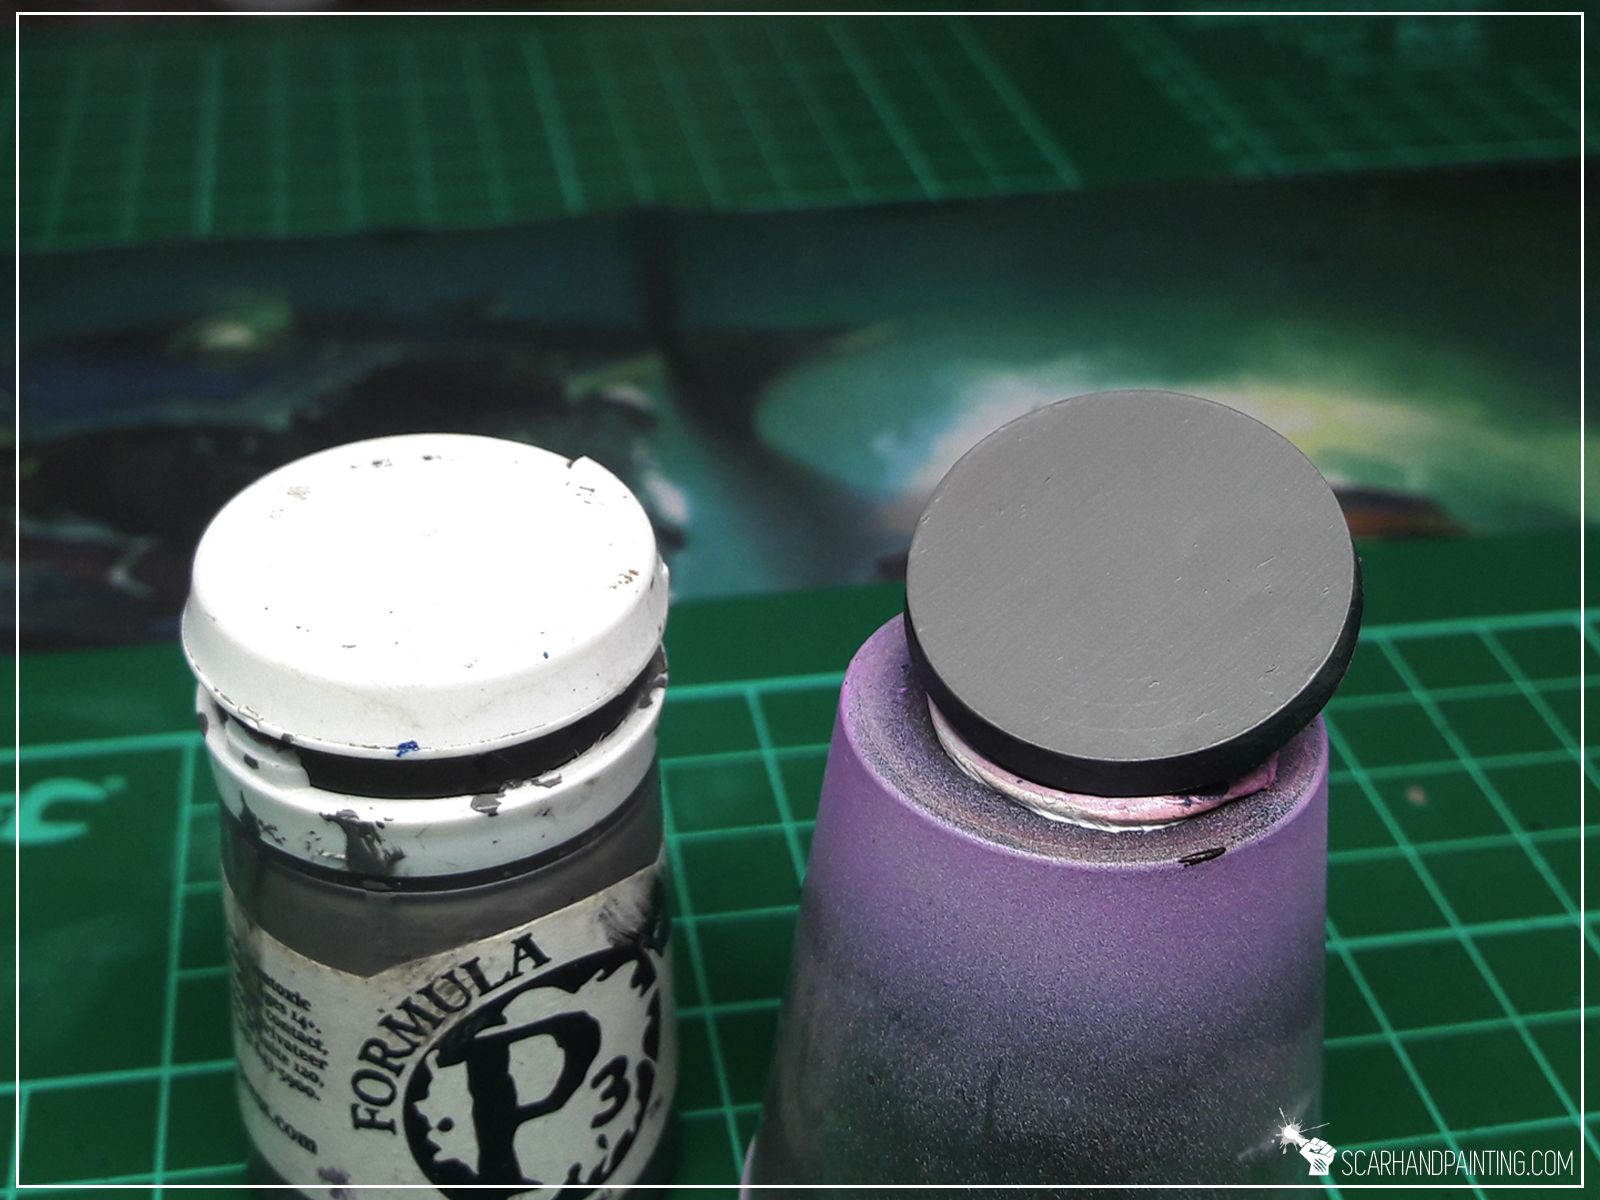
Welcome to Painting Infinity Daofei Camo tutorial. Here I will take you on a Step-by-step trip through the process of painting Daofei Camo the same way as seen at: Gallery: Yu-Jing.
Before we start, some notes:
* This one requires no Airbrush.
* For better visibility there are two different sizes of the pattern.
* What works for me might not necessarily work for you.
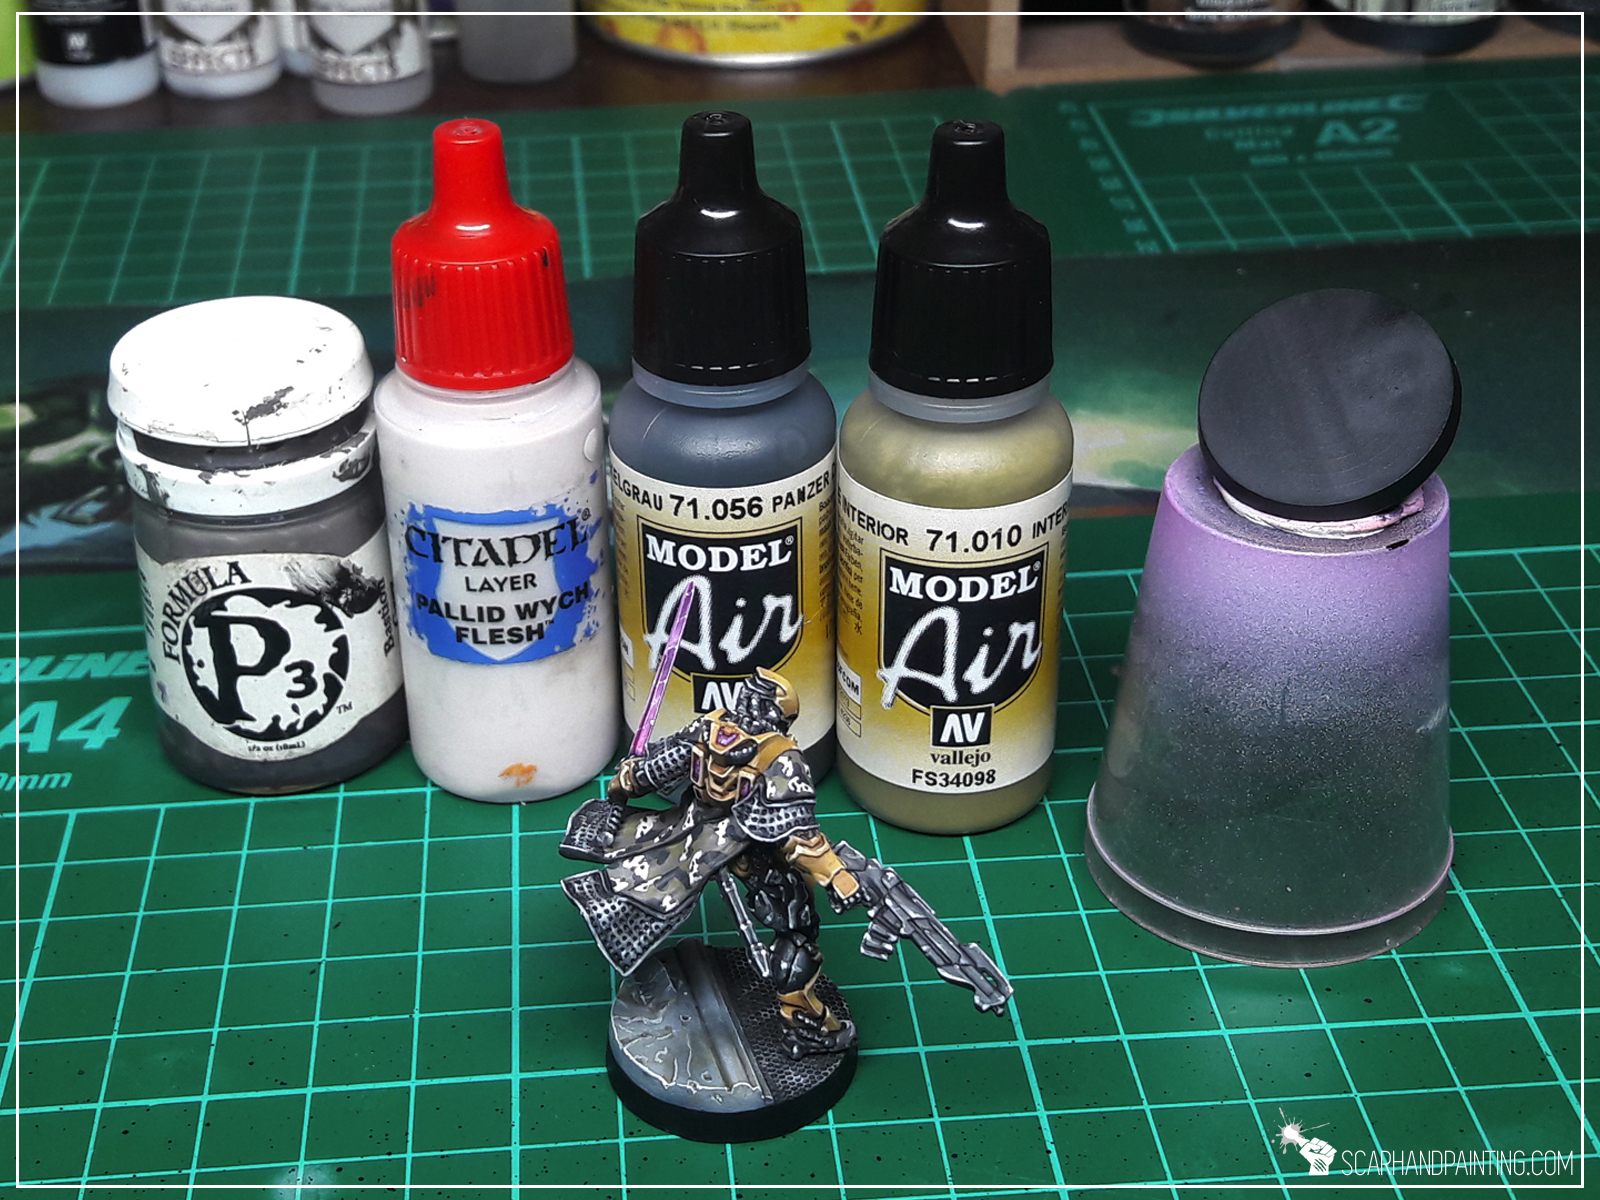
* Start by applying a smooth layer of P3 Bastion Grey.
* Create basic pattern, applying Pale Wych Flesh spots leaving similar sized gaps inbetween .
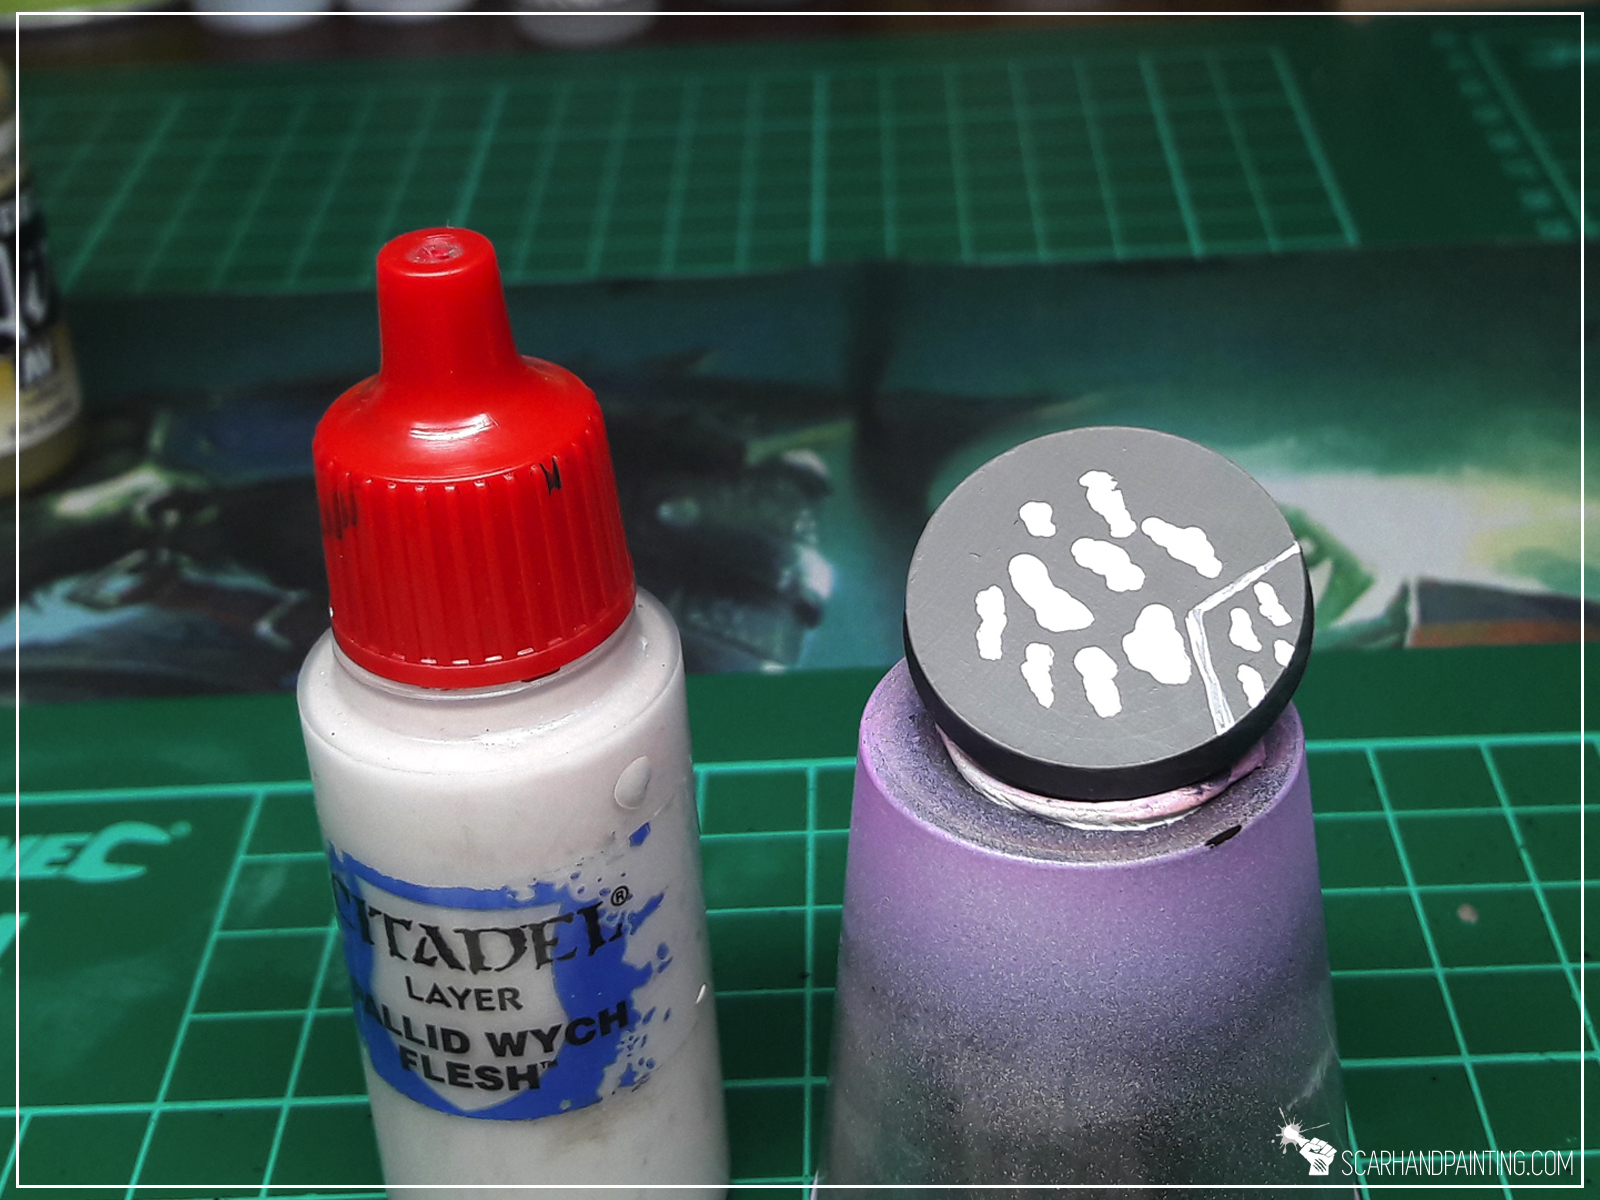
* Next apply Panzer Dark Grey spots between Pale Wych Flesh, so that every new spot touches at least one from the previous layer.
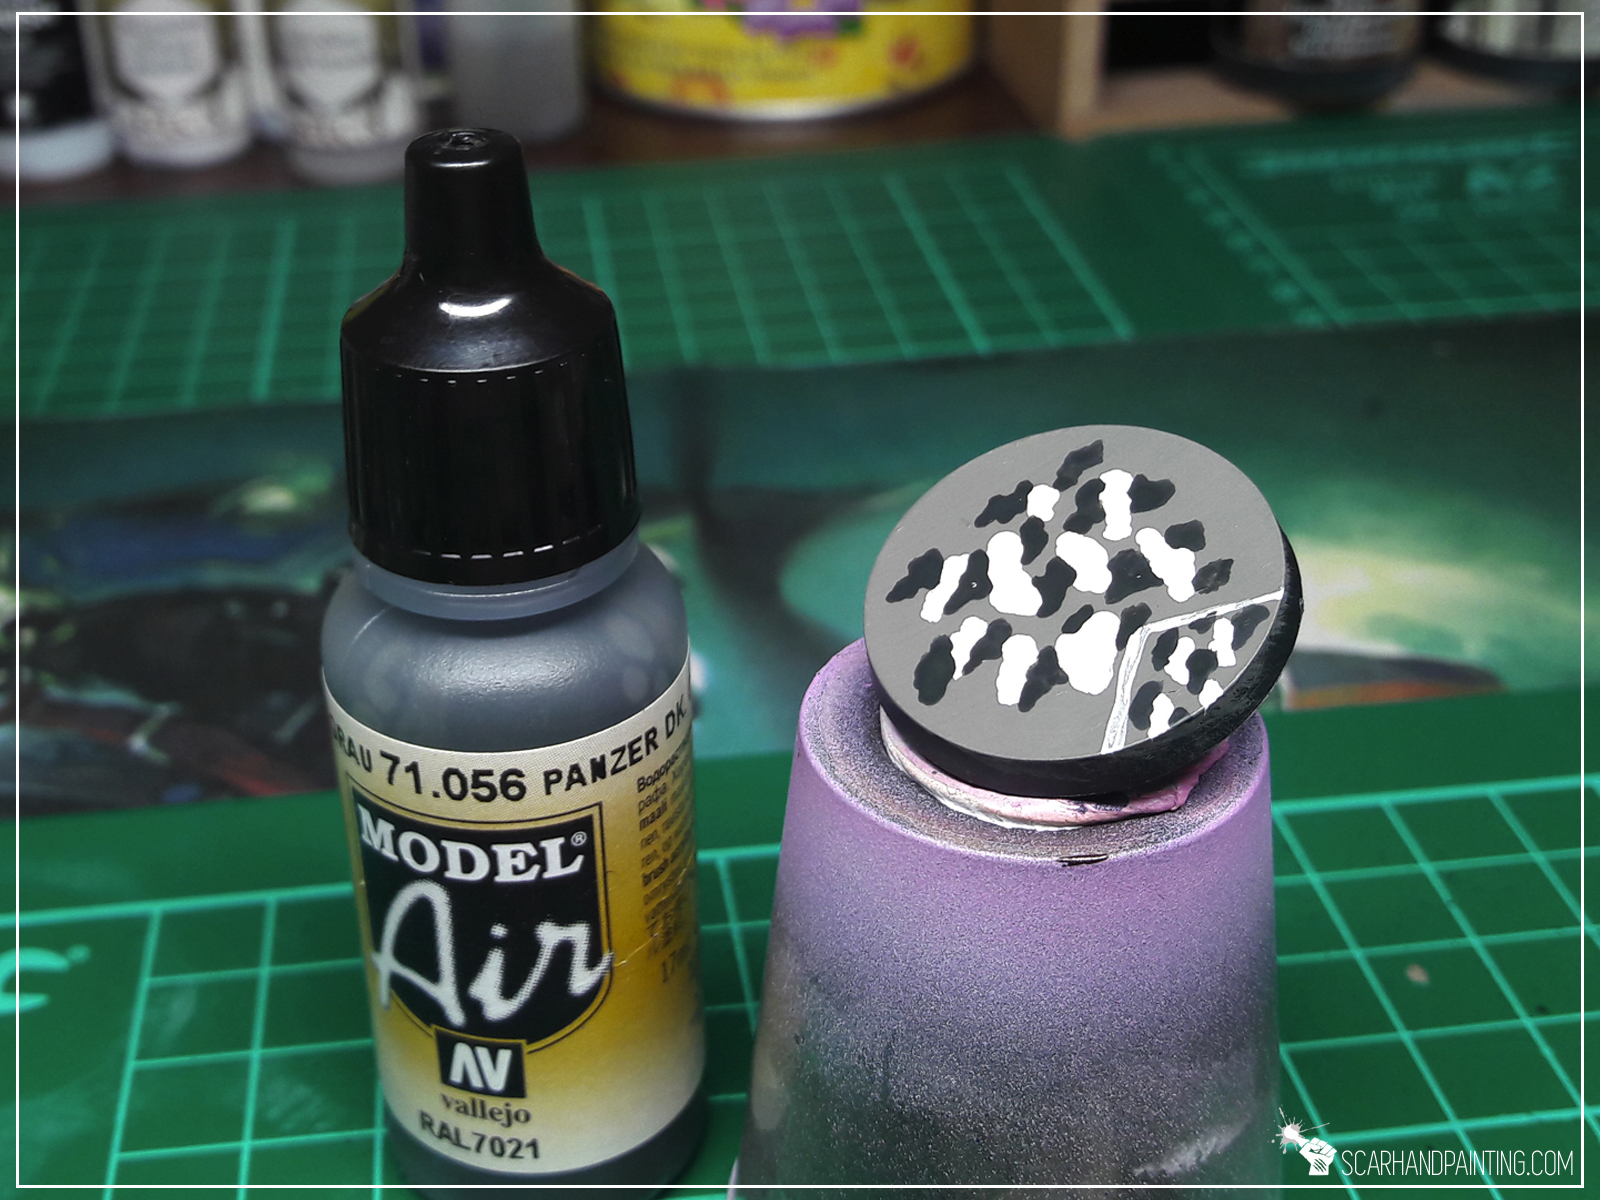
* Follow up with a third layer of pattern, using Interior Green and following the same rules. Be sure to leave some spots of Bastion Grey visible.

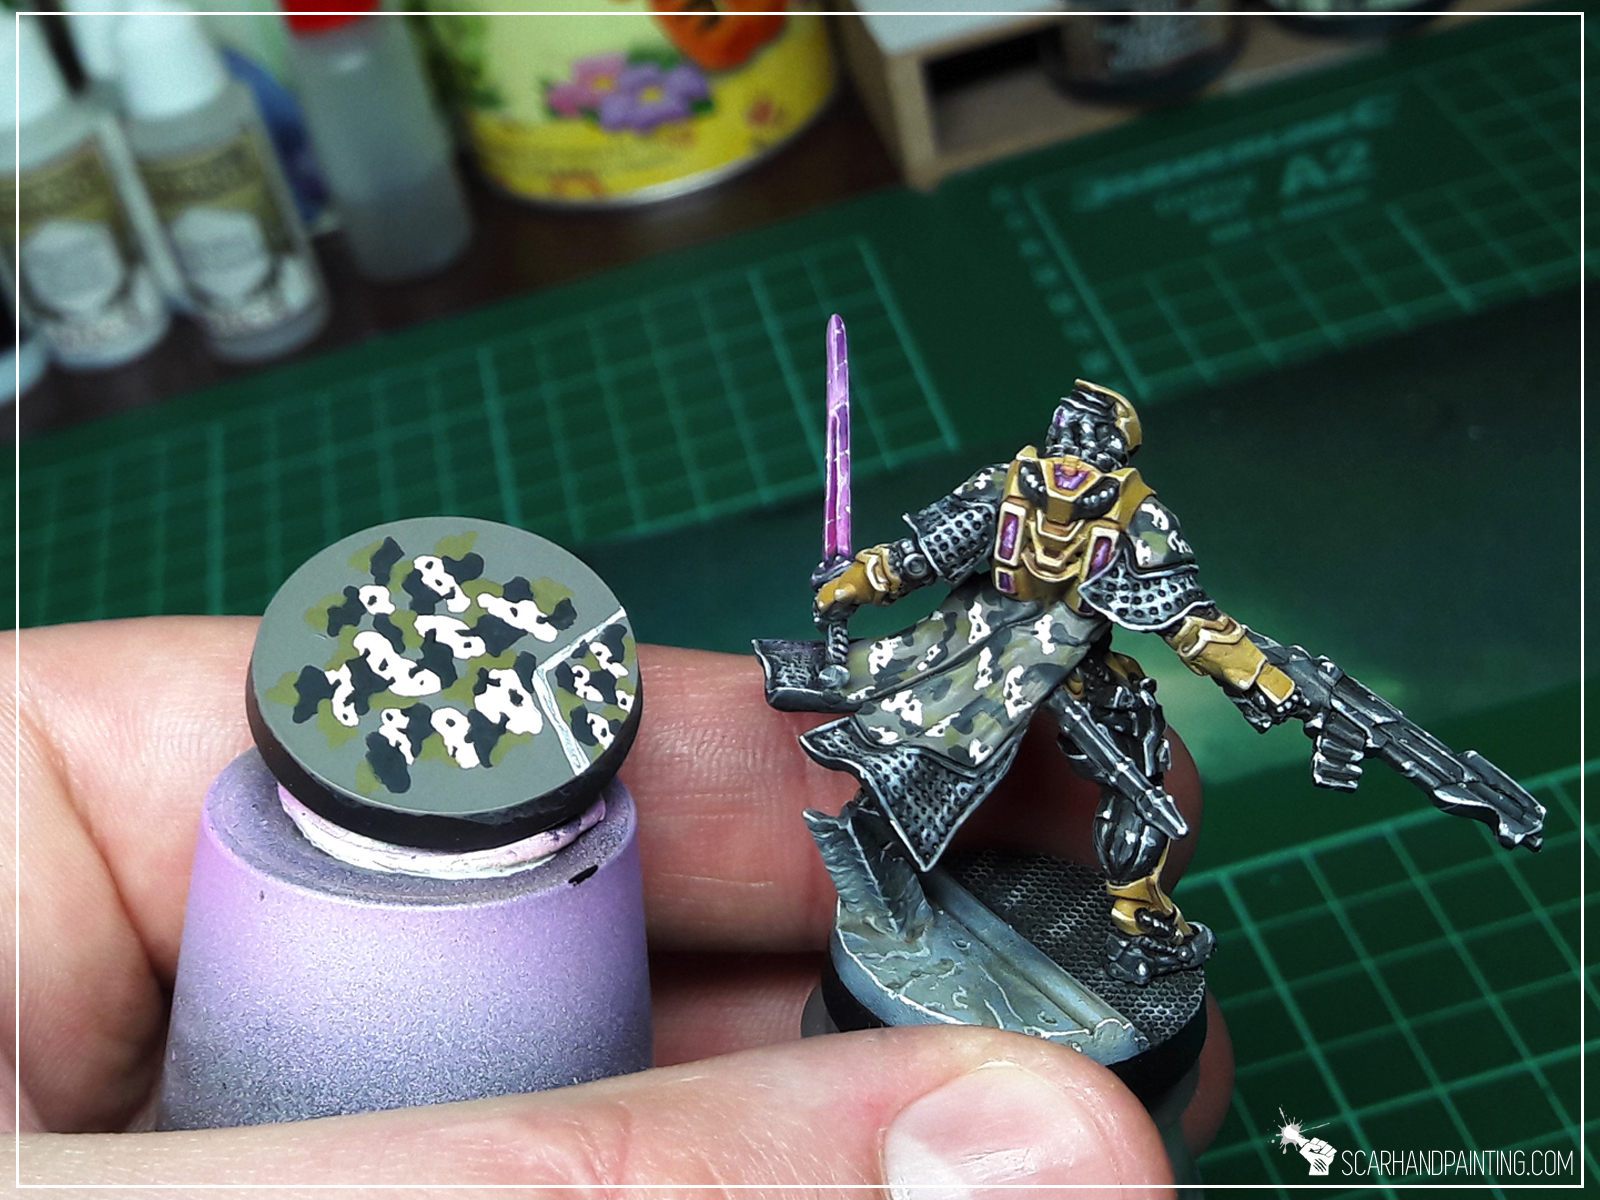
* Lastly add tiny spots of Panzer Dark Grey on top of Pale Wych Flesh pattern. Some might touch the edges.

That’s it, you have painted the pattern. Congrats! Be sure to visit Infinity Yu-Jing gallery for further inspiration if need be 😉
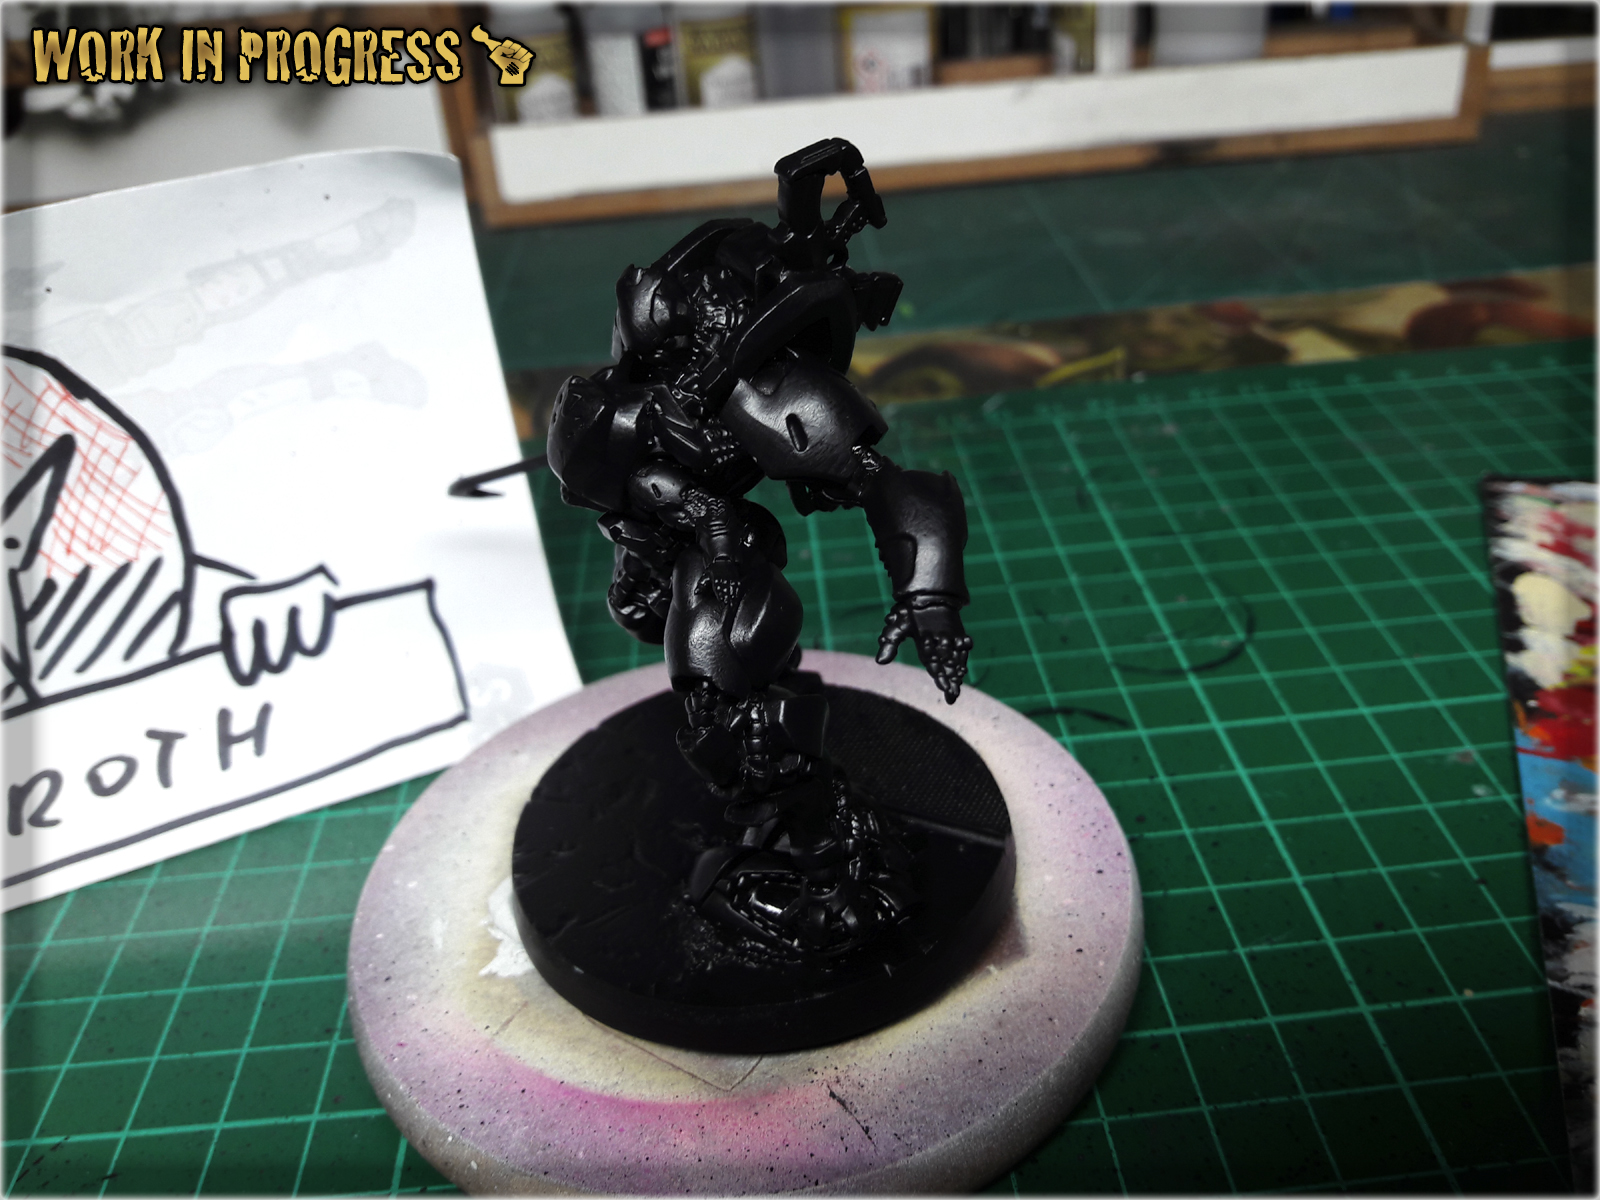
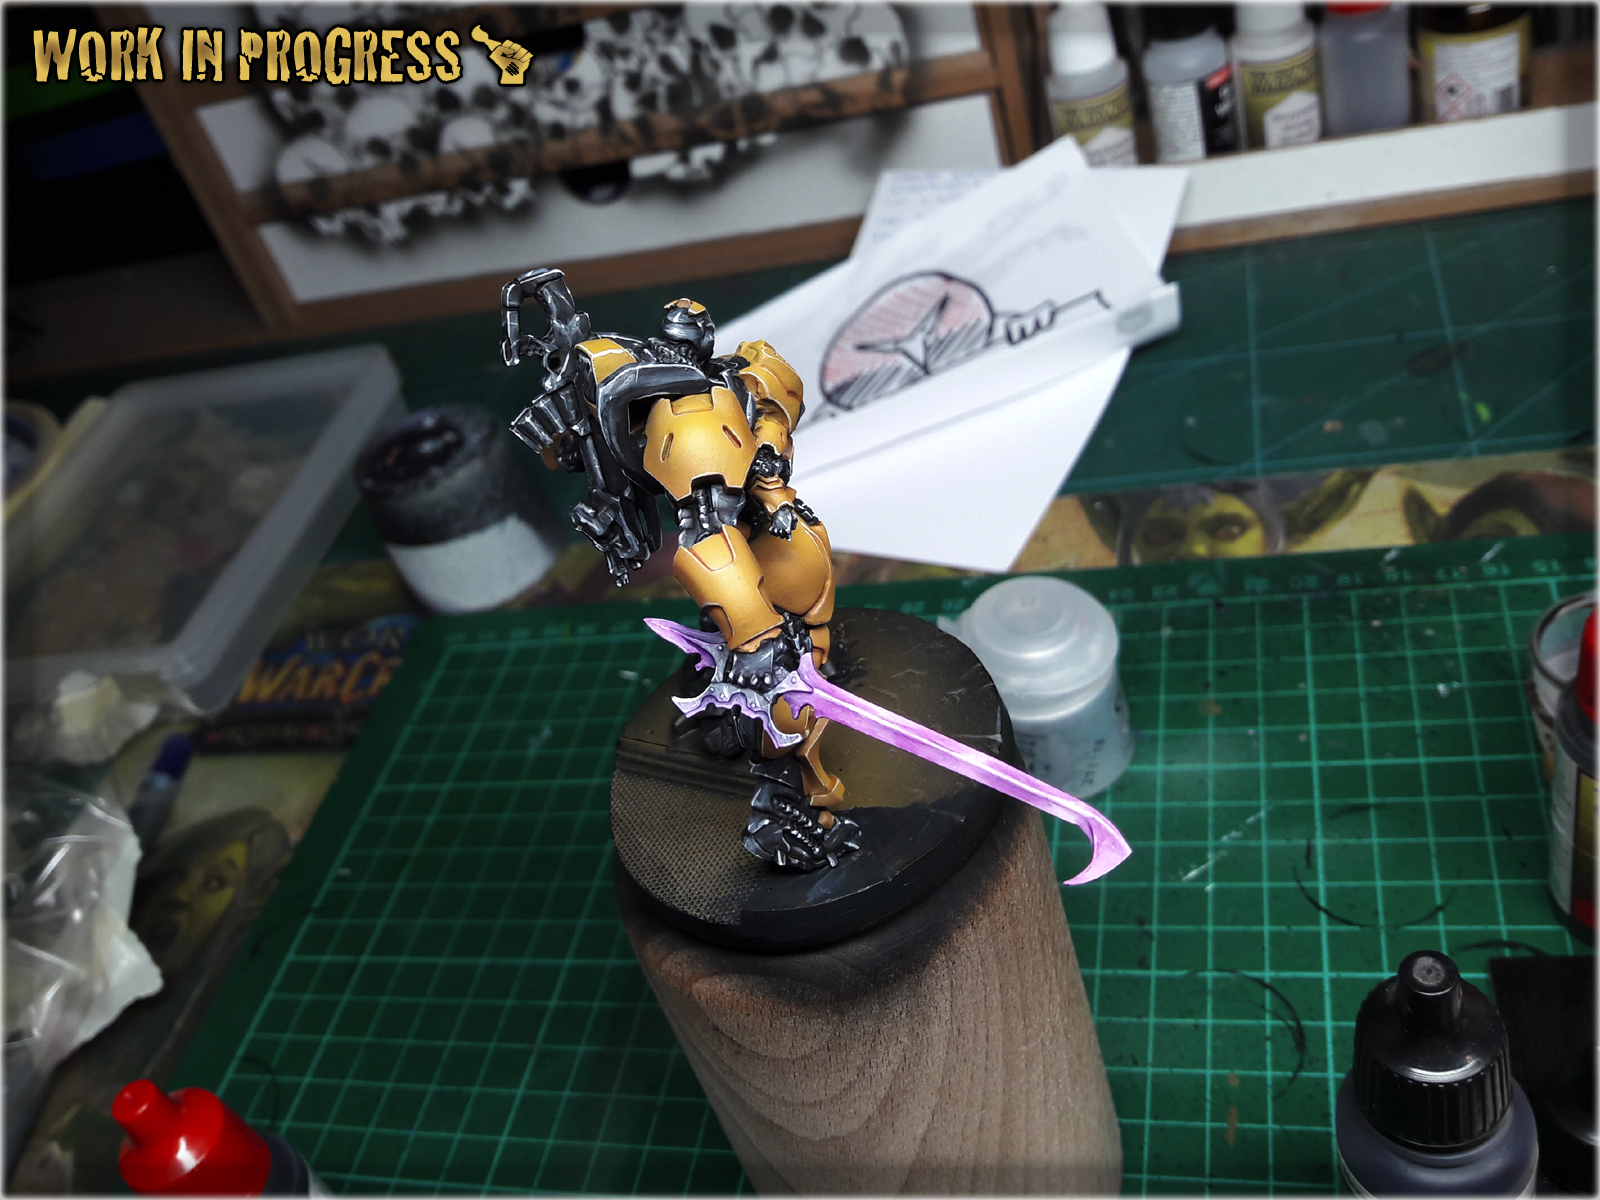
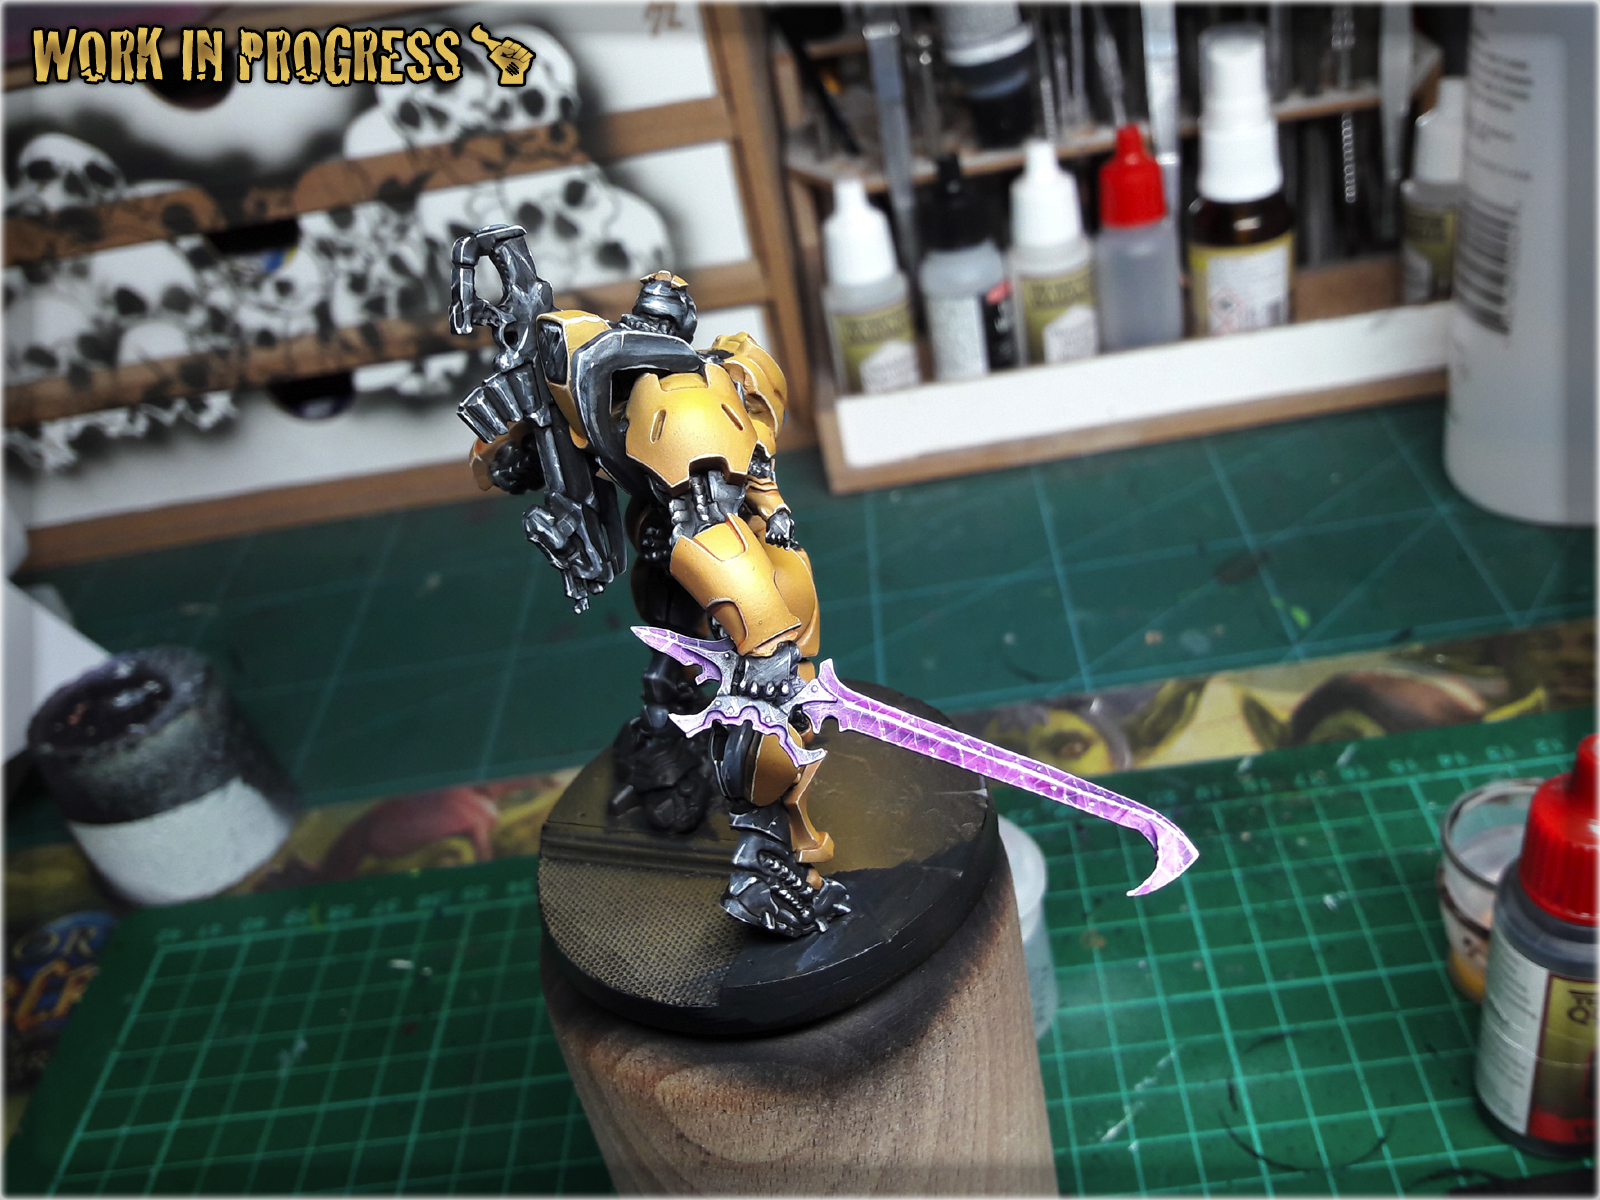
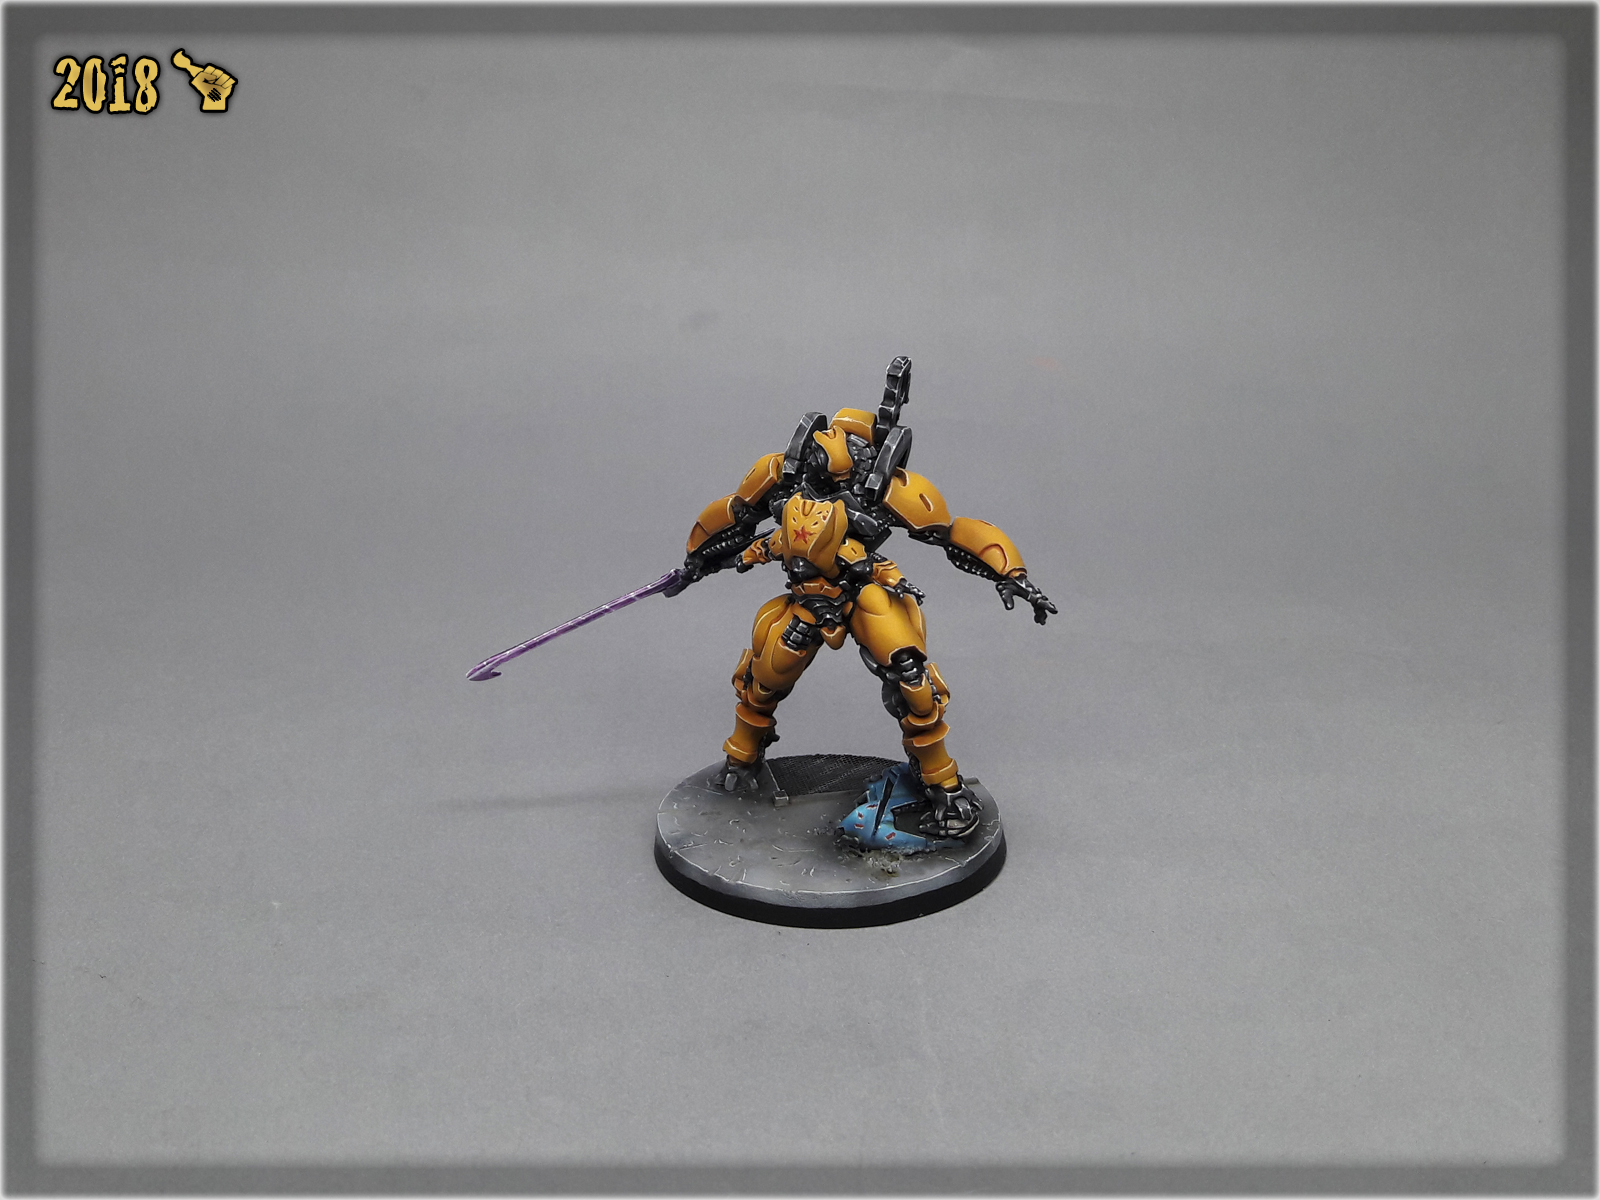
Welcome to Painting “Guijia” tutorial. Here I will take you on a Step-by-step trip through almost entire process of painting Infinity the Game “Guijia” Special Project.
Before we start, some notes:
* This one requires an Airbrush.
* Paints are to be properly thinned before airbrush application.
* As usual, please take note that what works for me might not necessarily work for you.

Allright! Undercoat the miniature with black, check your gear and let’s do this!
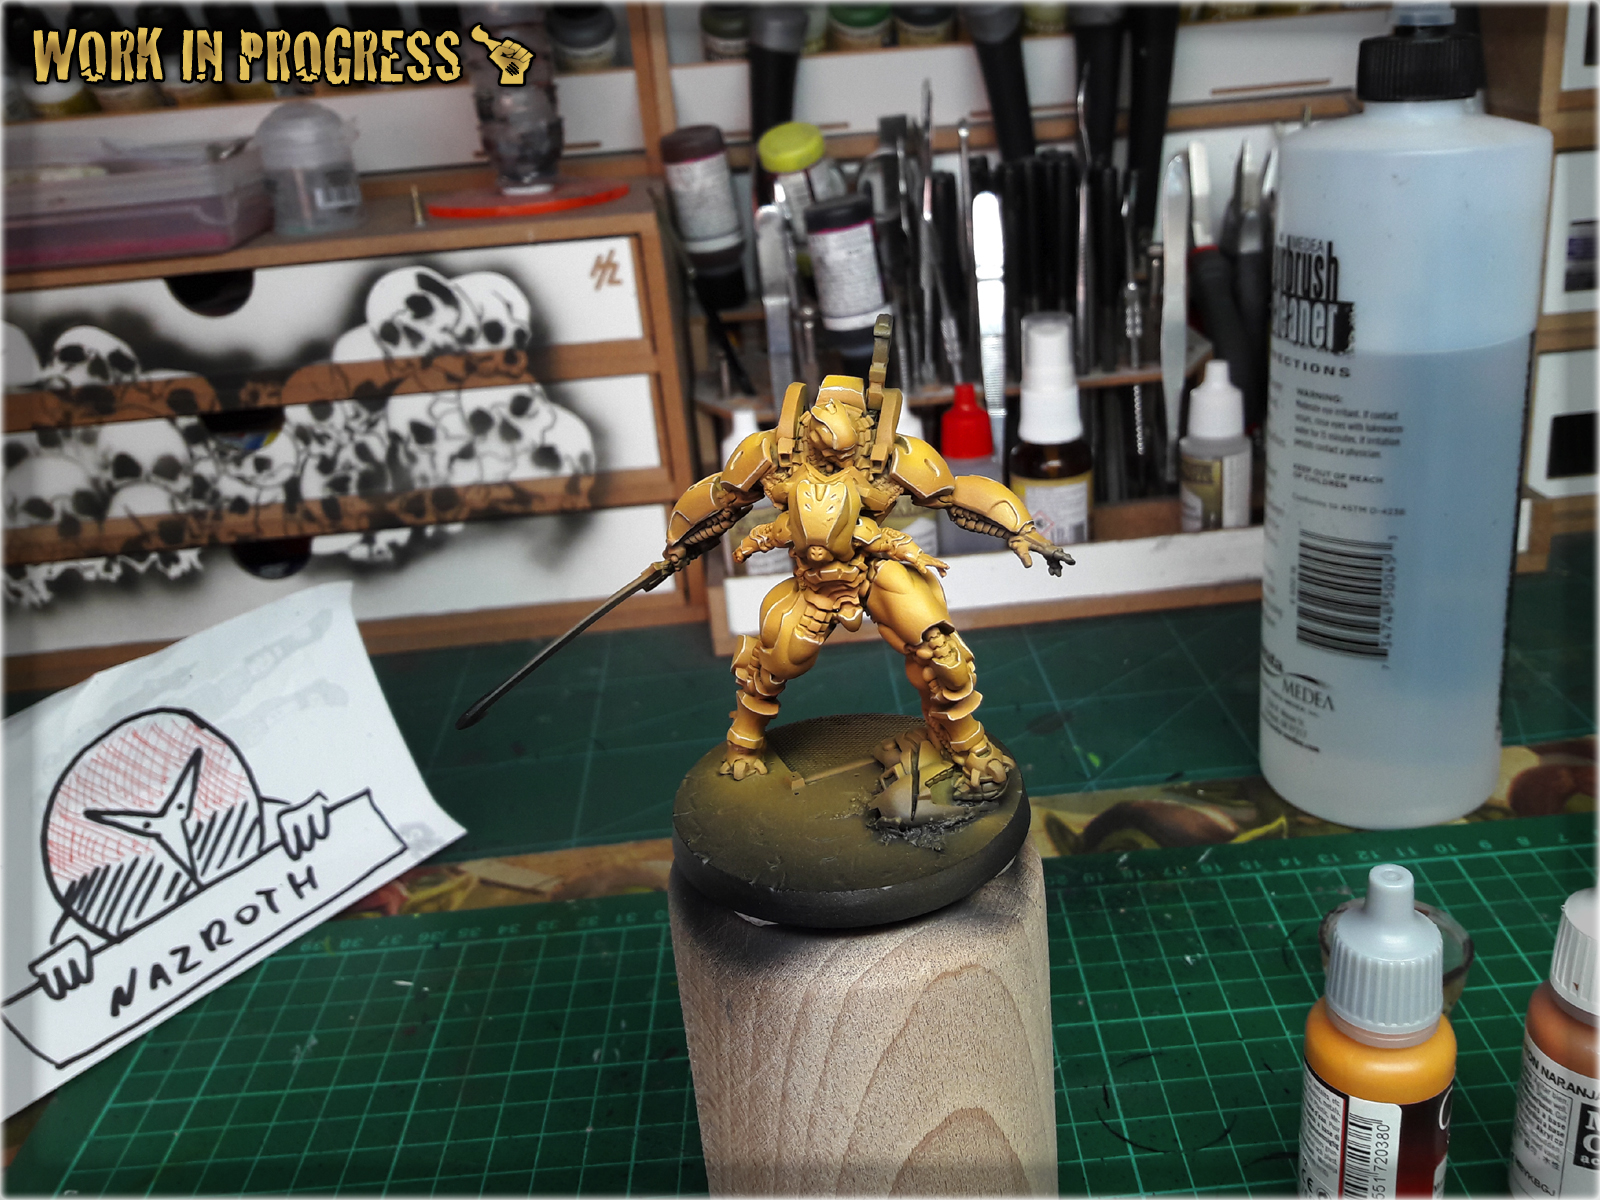
* Start with a solid layer of airbrushed Val. Orange Brown. I applied mine in three delicate, overlaping layers. I went around the miniature, with top and bottom, focusing on Armor Plates areas.

* Next, airbrush Val. Scrofulous Brown. Mostly from the top and up to 45* degree, focusing on the most exposed areas. You can start building transitions to previous layer avoiding shadowed areas.

* I forgot to take a picture of this layer. That's on me. Fortunatelly the result can be seen on the next picture. The layer is a mix of Val. Scrofulous Brown and Val. Off White, applied from top onto the center of all exposed areas.
* Next, outline all the edges with Val. Ice Yellow
* Lastly, underline armor plates with Army Painter Soft Tone Ink. I also used strongly dilluted Soft Tone to apply some more shadow in certain 'over the edge' areas.
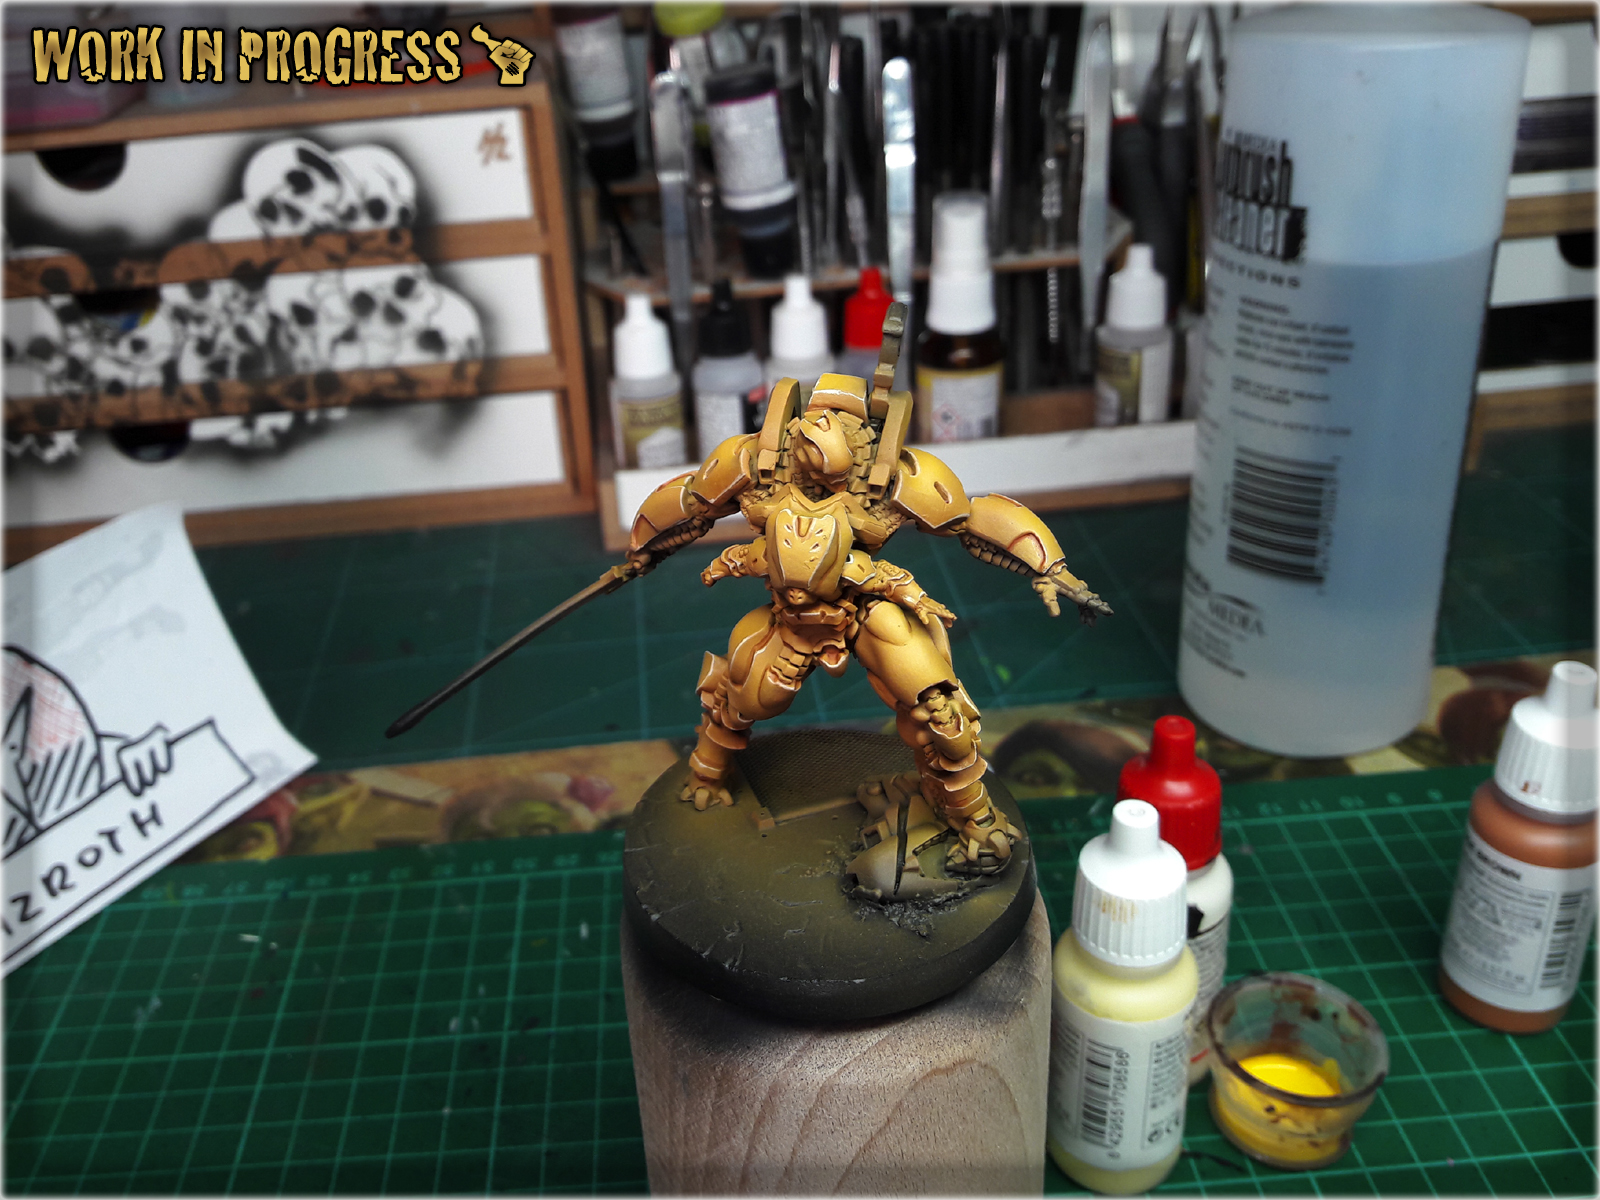
* This is the most difficult part of the process. Mix Val. Black (air) 1:5 with Val. Panzer Dark Grey (air) and apply it to everything, that is not external armour plates and blade. The difficult part is to not mess up all these sexy Orange-to-Yellow armour plates. If you do, you can try out Erasing Bloopers following one of my tutorials, still the airbrushed nature of the layer will make it extremely difficult.
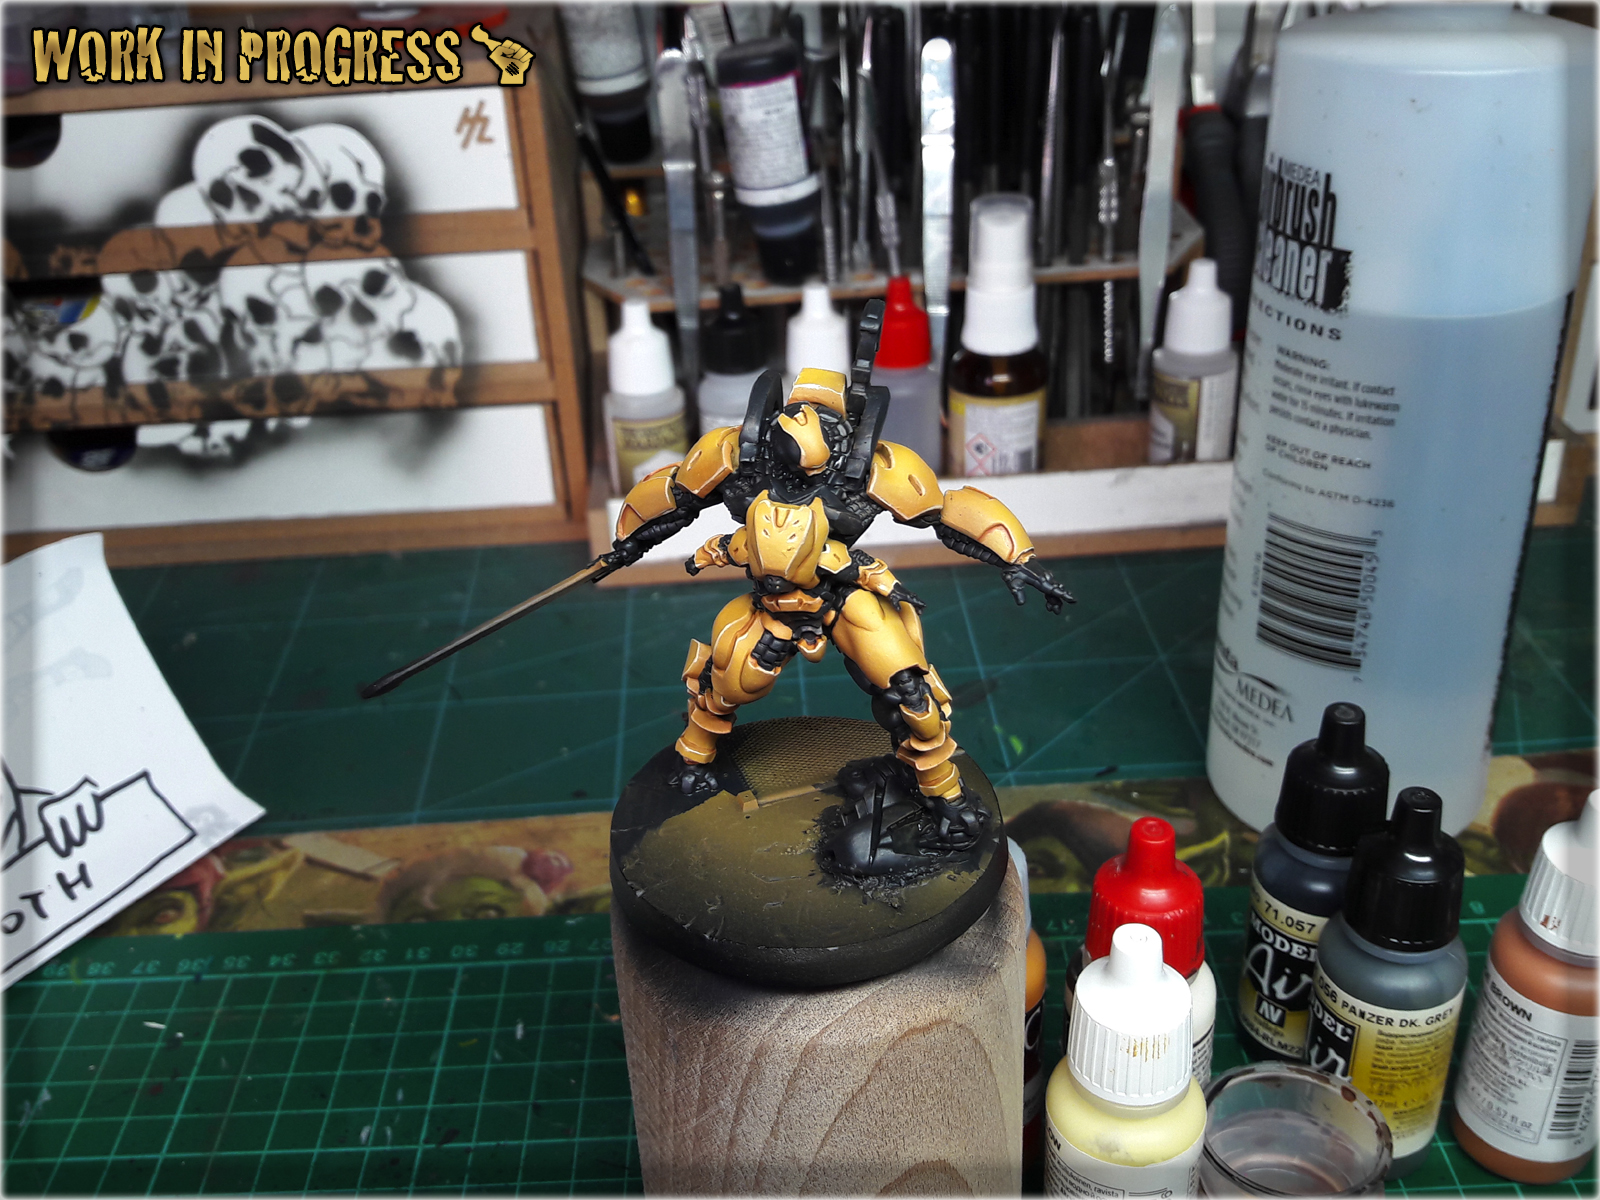
* Next apply a watered down GW Fenrisian Grey over black areas. It is important not to fill any recesses. You can apply more than one thin layer, overlaping each other and even leave some irregularities - this will work to the overall paint job's advantage.

* Next, higlight edges with GW Pale Wych Flesh. This time no thinning down the paint. You can imitate some scratches, reflexions etc.


* Now wash it all with a thinned down Army Painter Dark Tone Ink. Once again be extra carefuul not to paint over finished armour plates.

* Now it's time to make it POP! Using GW Pale Wych Flesh and Val. Off White, highlight the edges and create some points of focus, scratches, reflections etc.

* Start by masking the Guijia's leg. I used a piece of foil and masking tape to cover areas that I didn;t wanted to get dirty. Then manually applu a layer of Val. Prussian Blue, avoiding areas of Black Mesh.

* Next airbrush a layer of Light Sea Blue, focusing on the most exposed areas of armour.
* Next, airbrush a mix of Val. Light Sea Blue with a bit of Val. White focusing on middle areas, creating a transition from previous layer.
* Next highlight the edges with GW Pale Wych Flesh.

* To seal Blue, wash it with thinned down GW Guilliman Blue Glaze. You can see that I have also painted some battle damage. I did it using Val. Cavalry Brown, underlined with Val. Off White.

I leave adding Black Under Armour and additional details to you. Now to the Sword… To be honest, because of strong light, pictures taken during this one’s painting process did not captured how the sword looked like and I really don’t like how they turned out. That being said – I will still show you the Sword and name the paints used, but instead of a Step-by-step tutorial, let’s just call it a BONUS.
List of paints:
Val. Warlord Purple,
Val. Off white,
GW. Pale Wych Flesh,
AP. Purple Tone Ink,


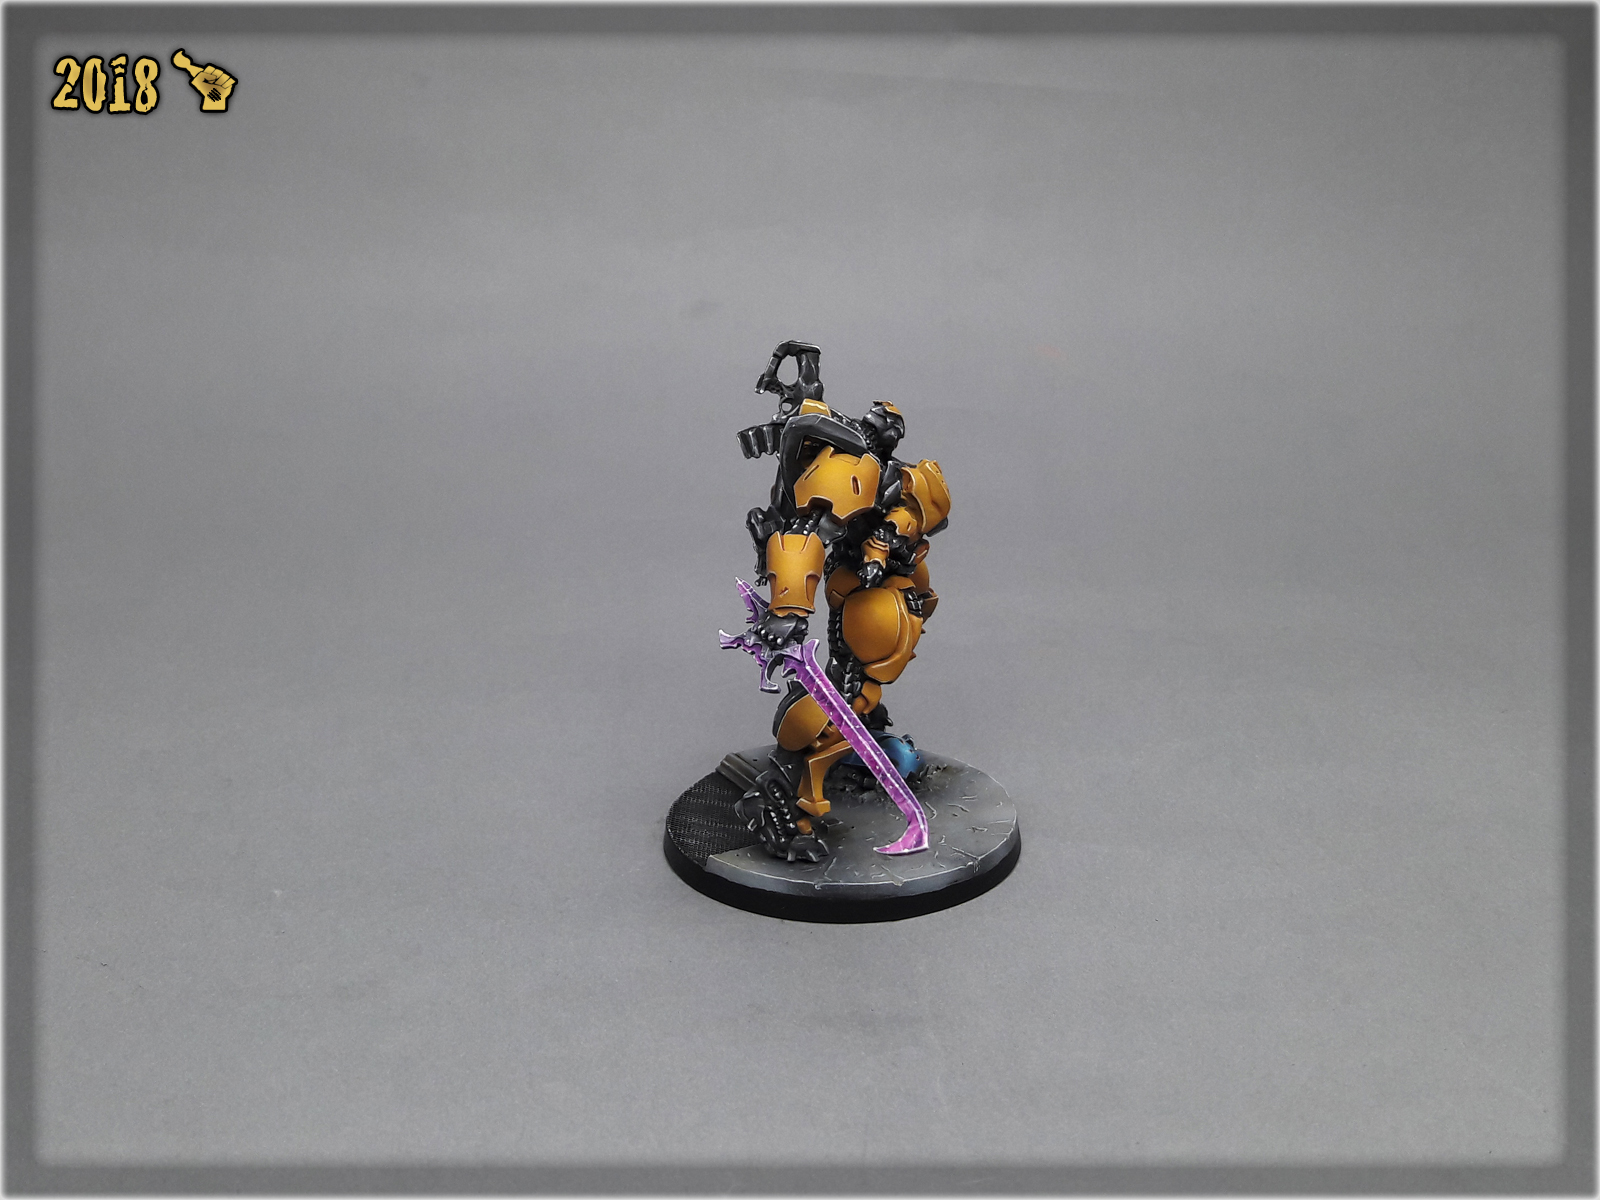
I leave the base and additional detail to you. Congratulations, you have painted a Guijia 🙂
Was this tutorial helpful? Did you enjoyed it? Leave me a comment 😉
I hope you find this tutorial interesting. Be sure to let me know your thoughts in the comments below or via Facebook or Instagram. I would also appreciate if you considered sharing this content with your friends, who might find it useful. Finally if you are looking for a professional miniatures painting service be sure to contact me with this contact form. I always reply within 24 hours, after which please check out your spam folder.

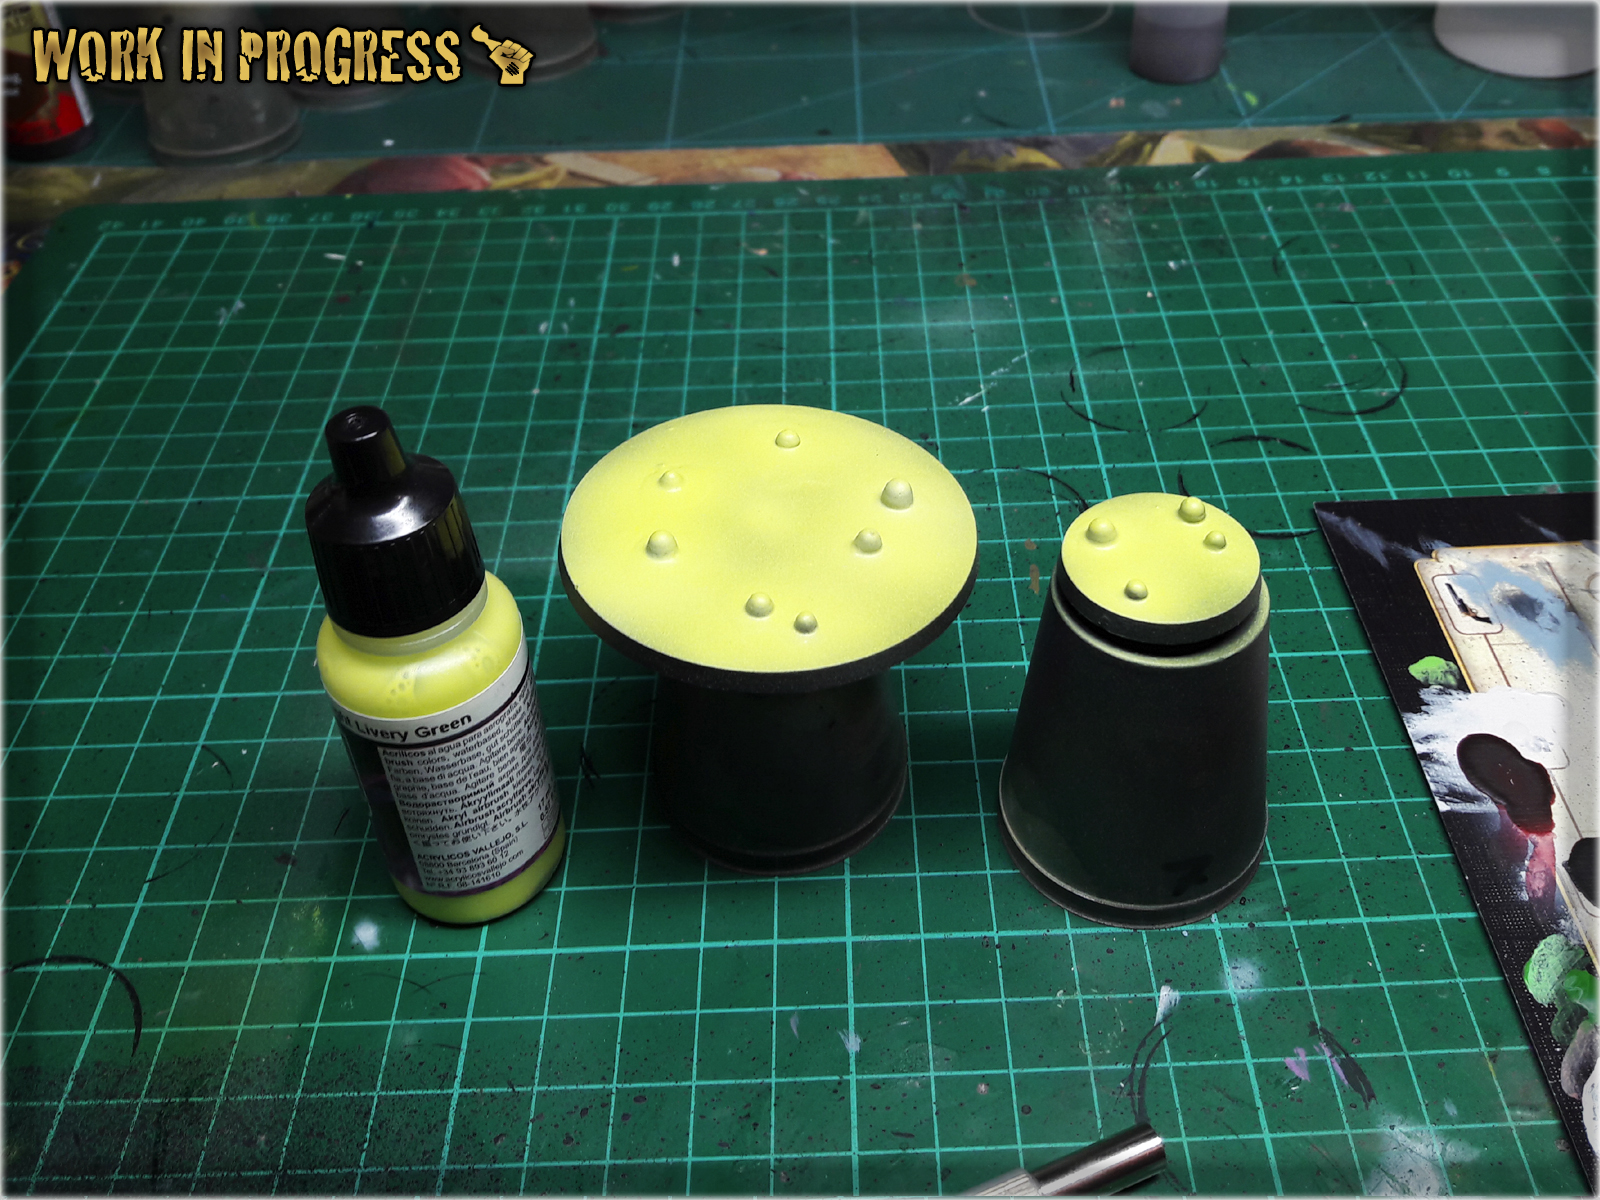
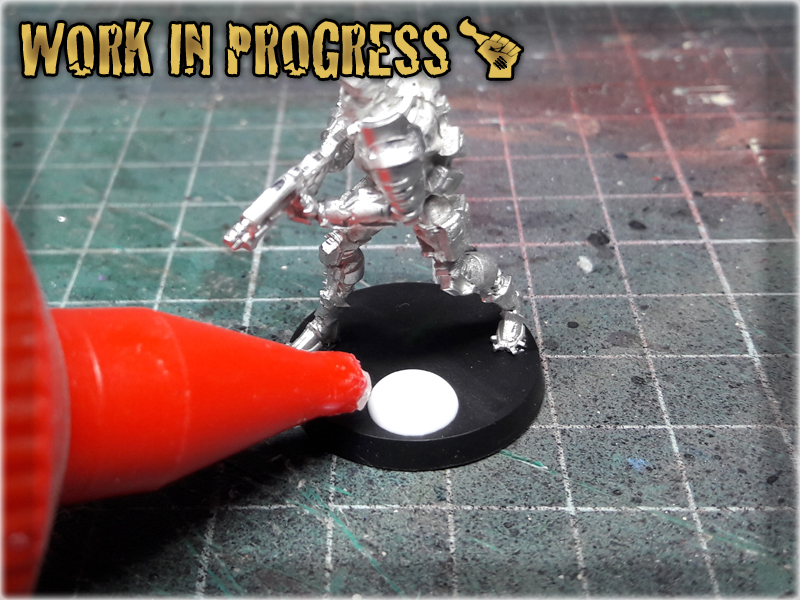
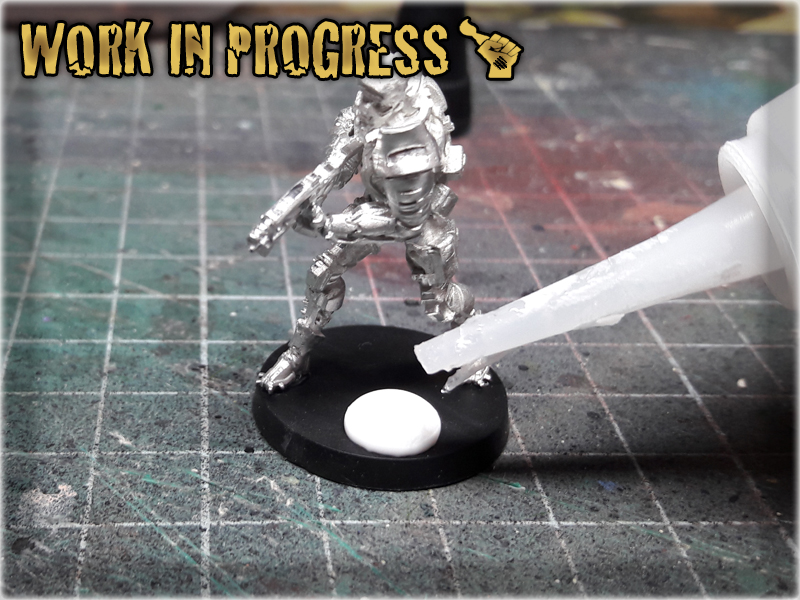
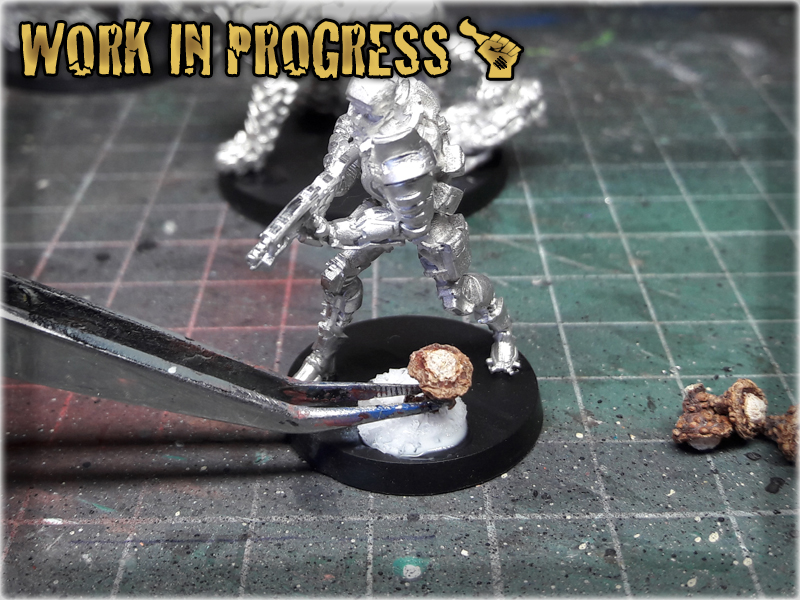
In this easy, step-by-step tutorial I’m going to show you how to create a Toxic Sludge Base. I designed these bases for Warhammer 40,000 Death Guuard Plague Marines.

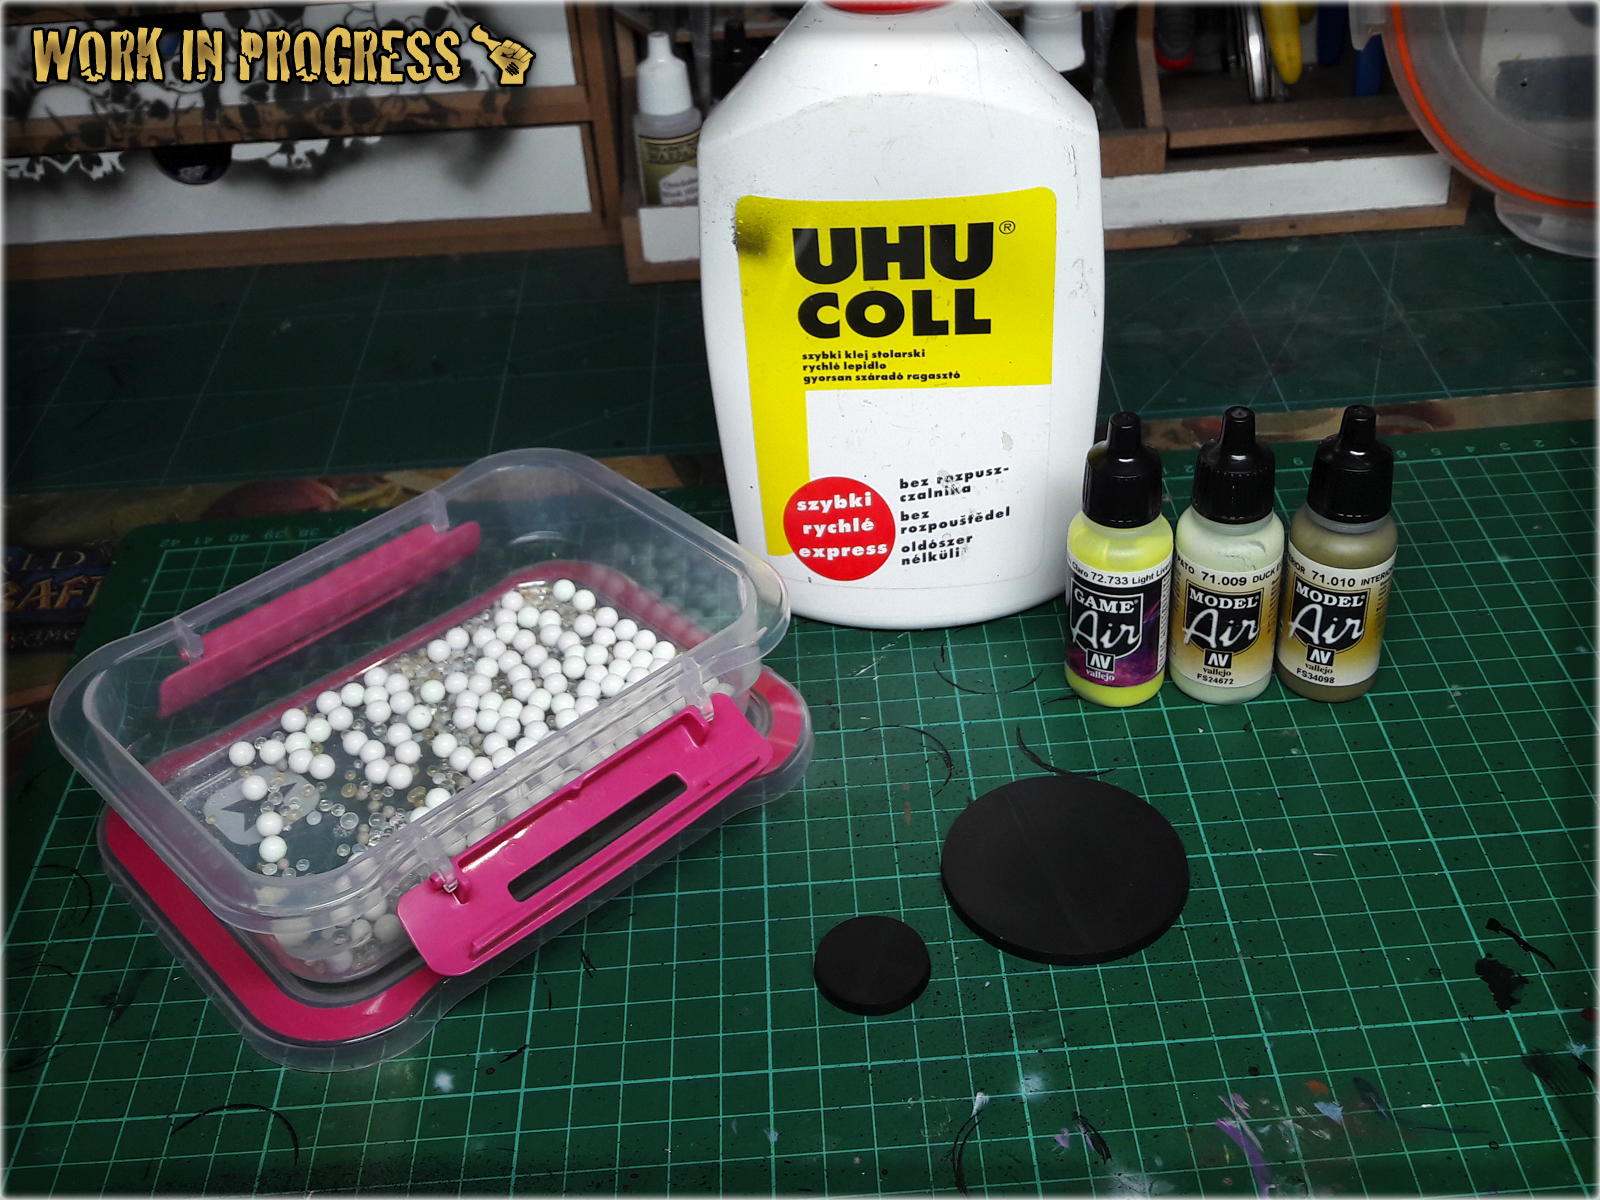
**Where I’m from there’s a small paper bag filled with moist absorbsion balls in every shoe box. If you can’t get that, just use some grains or make small balls out of green stuff or modeling clay.
* I started by covering entire base with a layer of basing glue.

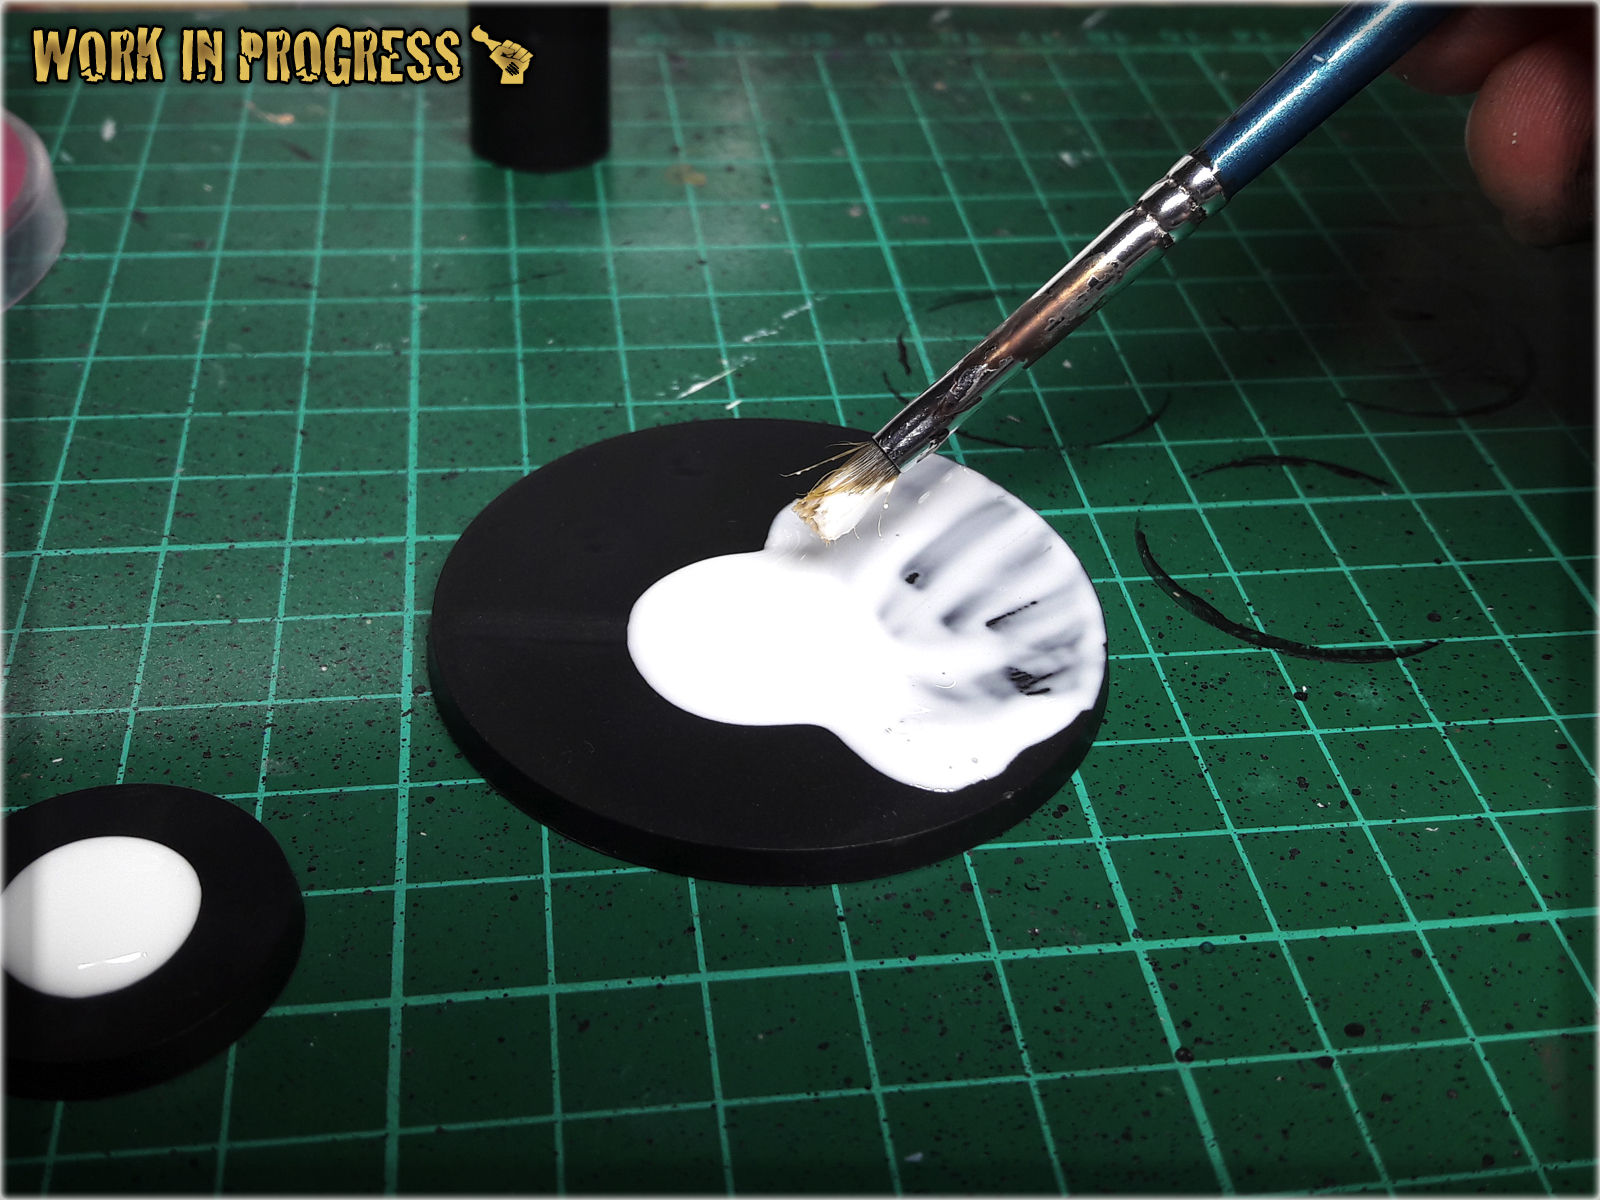
* I then put couple of tiny balls onto the base, creating 'buubbles' and let it all dry.

* Once dry, I covered are around the bubbles with another layer of basing glue.

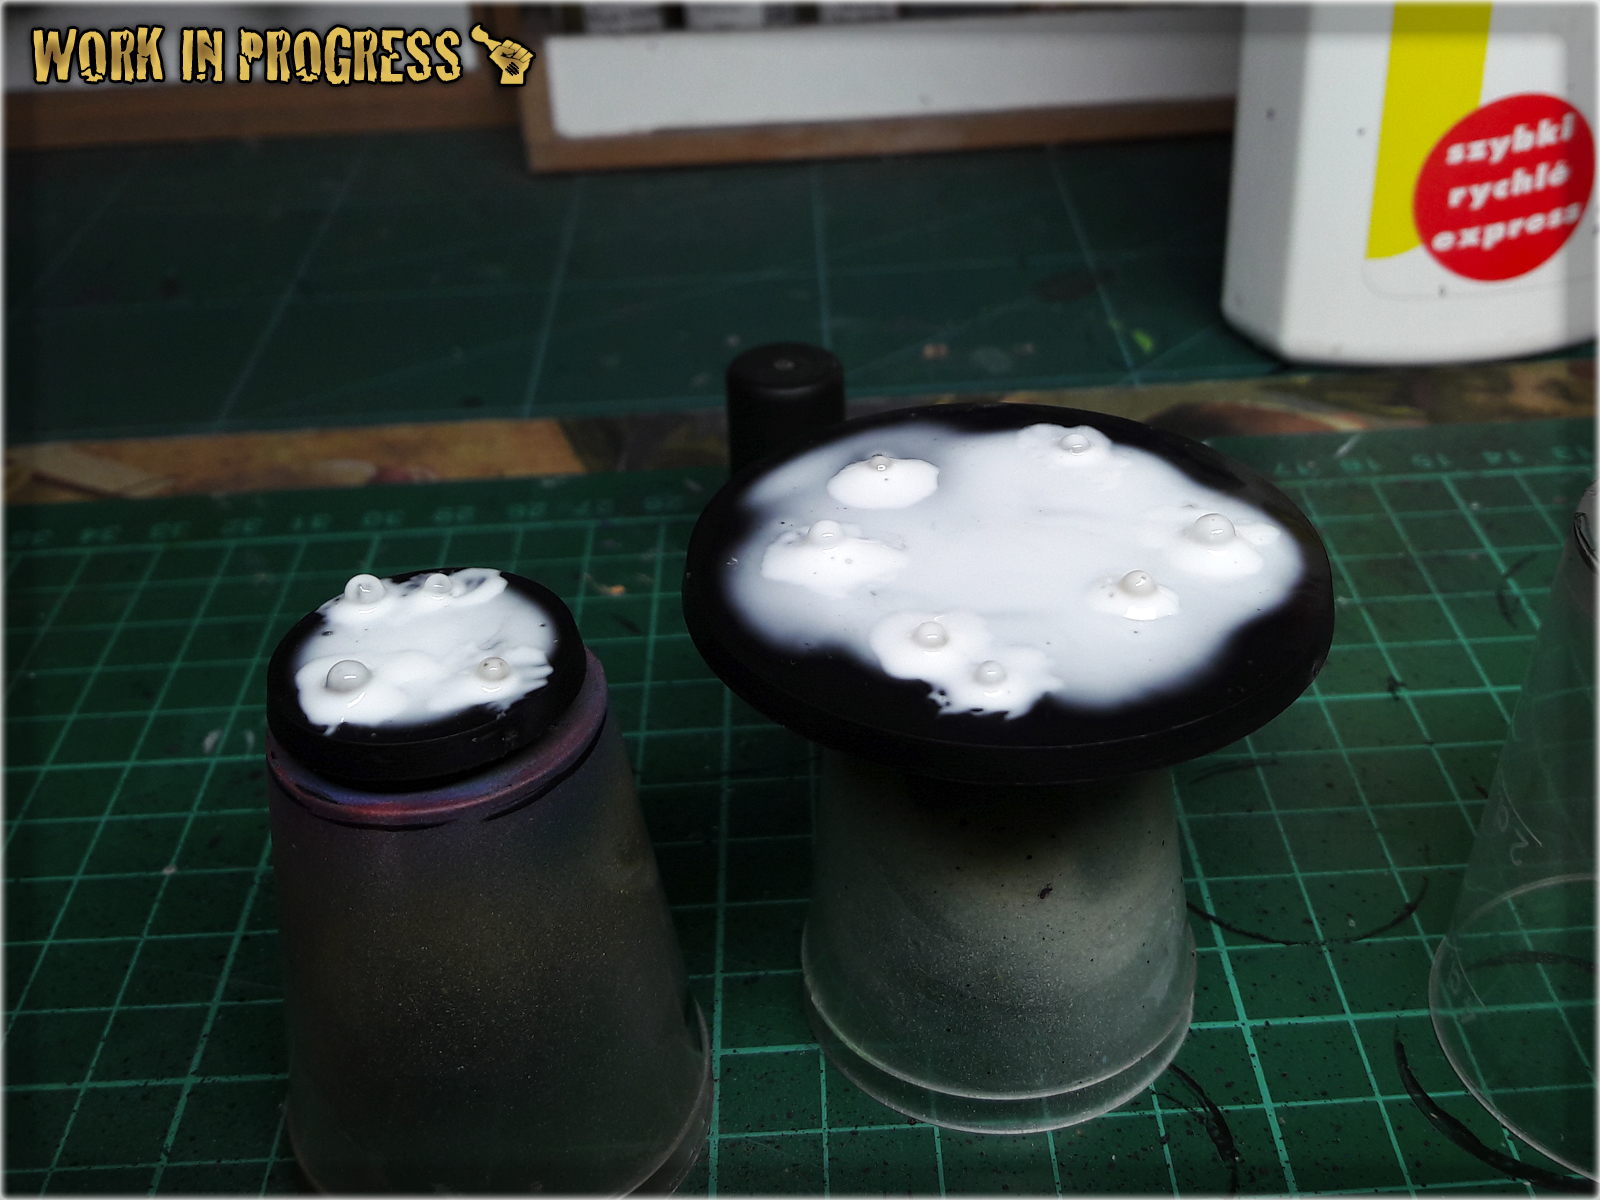
* I let it all dry for about an hour, then undercoated entire base black.
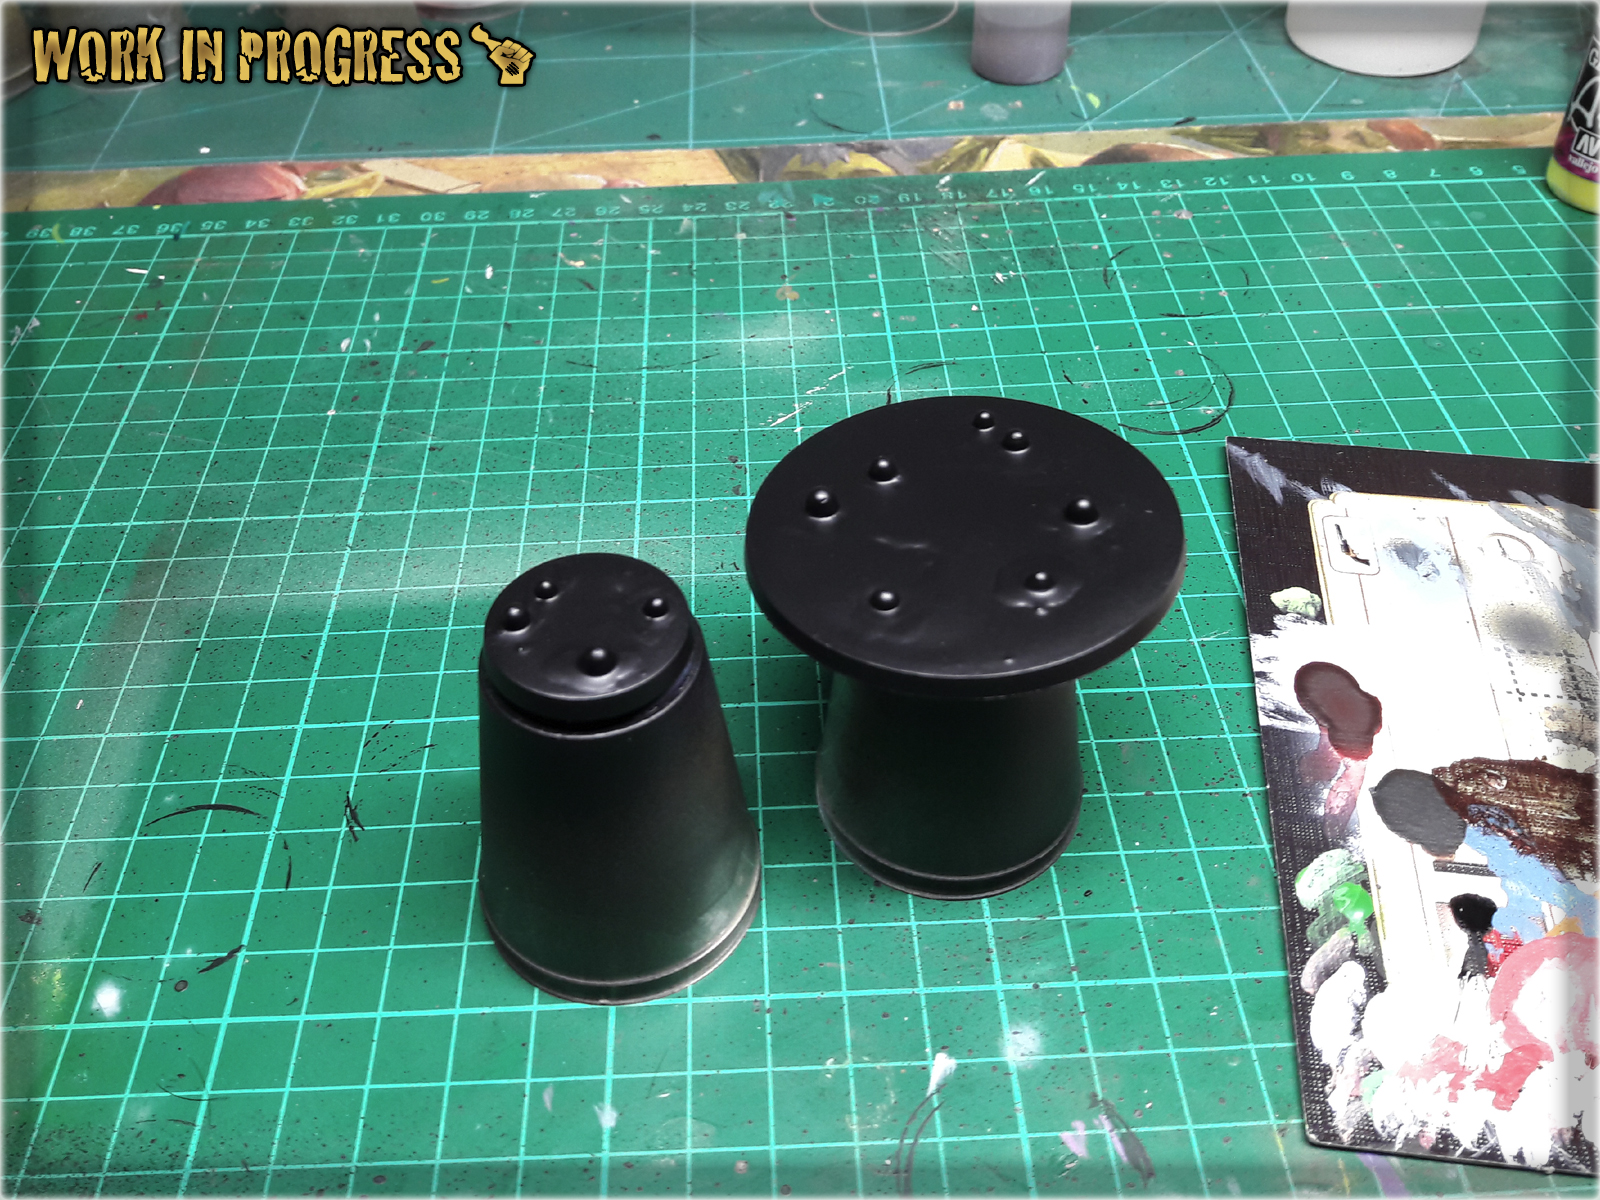
* I then airbrushed a layer of Vallejo Interior Green over entire base.
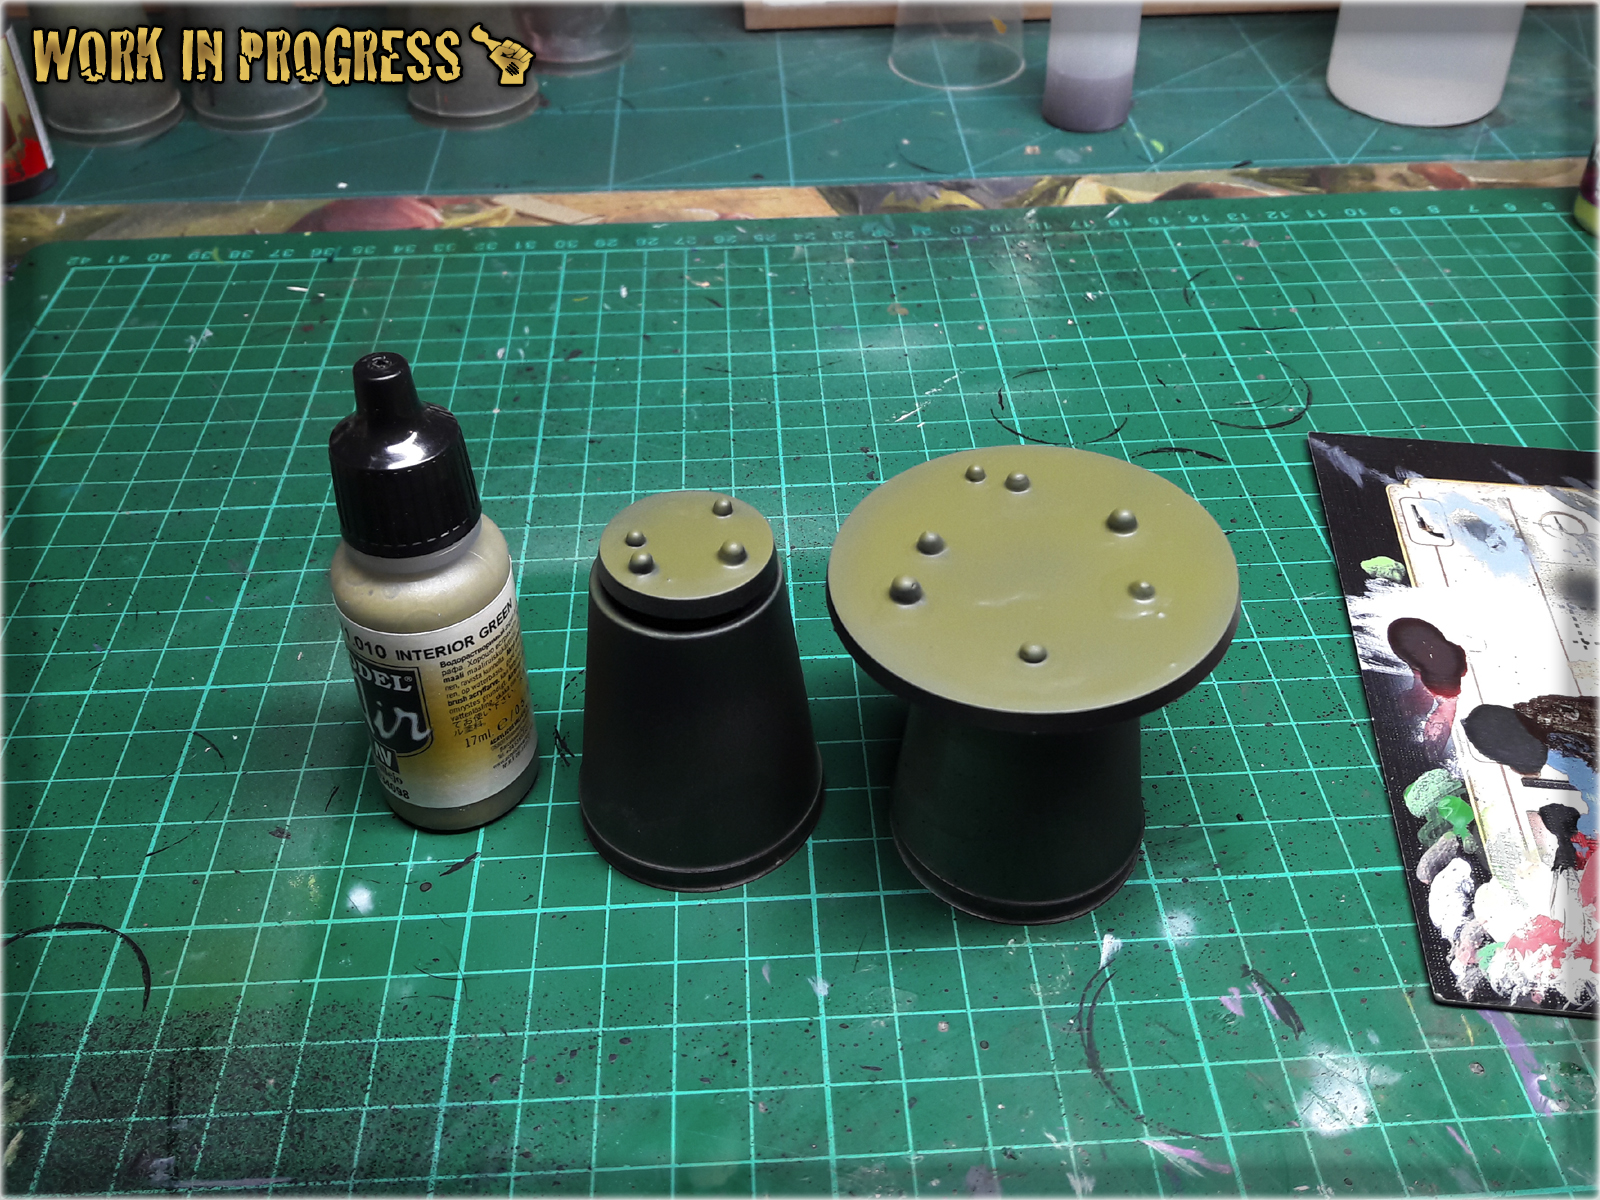
* Next I airbrushed a layer of Duck Egg Green concentrating on bubbles and surrounding areas.

* Last thing to do was to airbrush two layers of Light Livery Green over entire bases and paint the sides black.

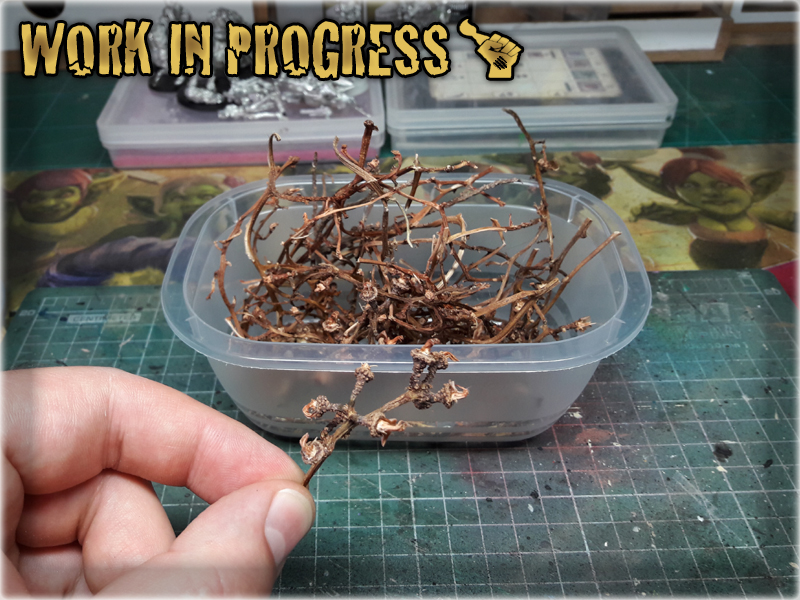
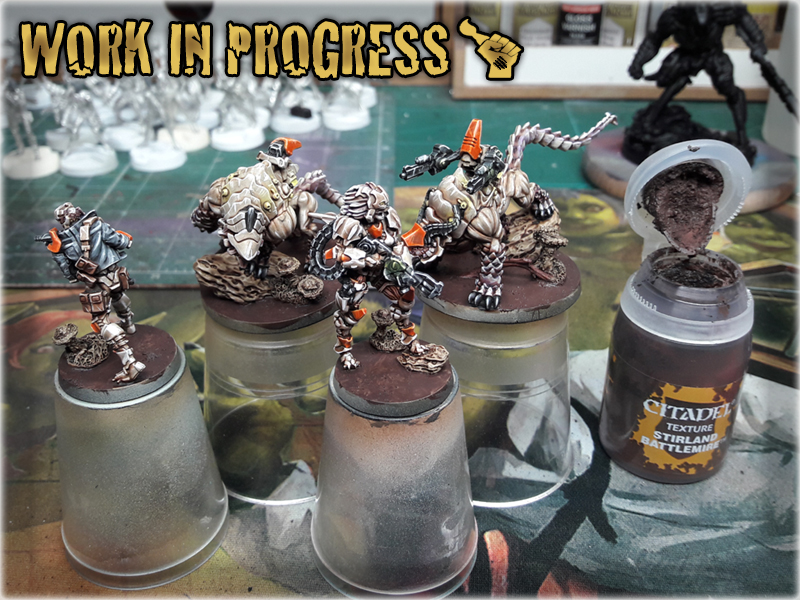
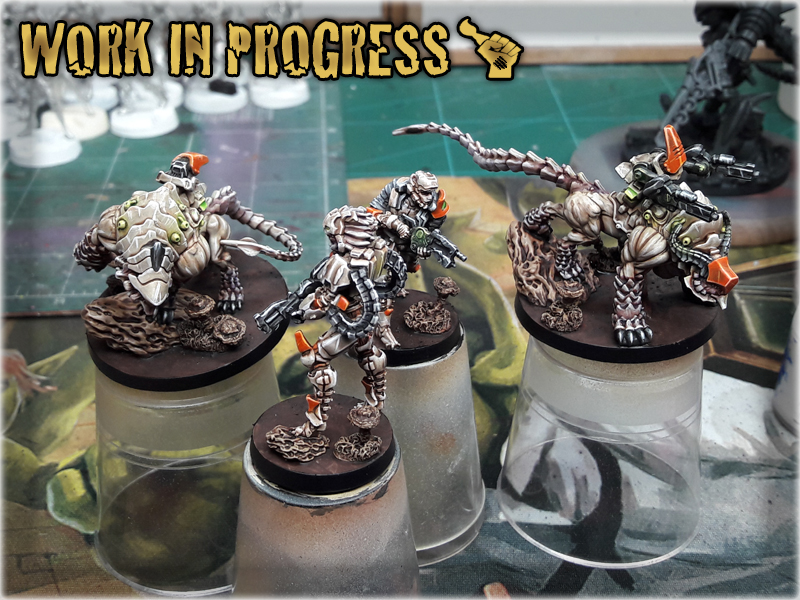
In this easy, step-by-step tutorial I’m going to show you how to create a Lush Base. I designed these bases to fit Infinity the Game Tohaa ‘tactical rocks’ – you can see how it turned out at Infinity TOHAA ‘Witness Me!’ gallery.
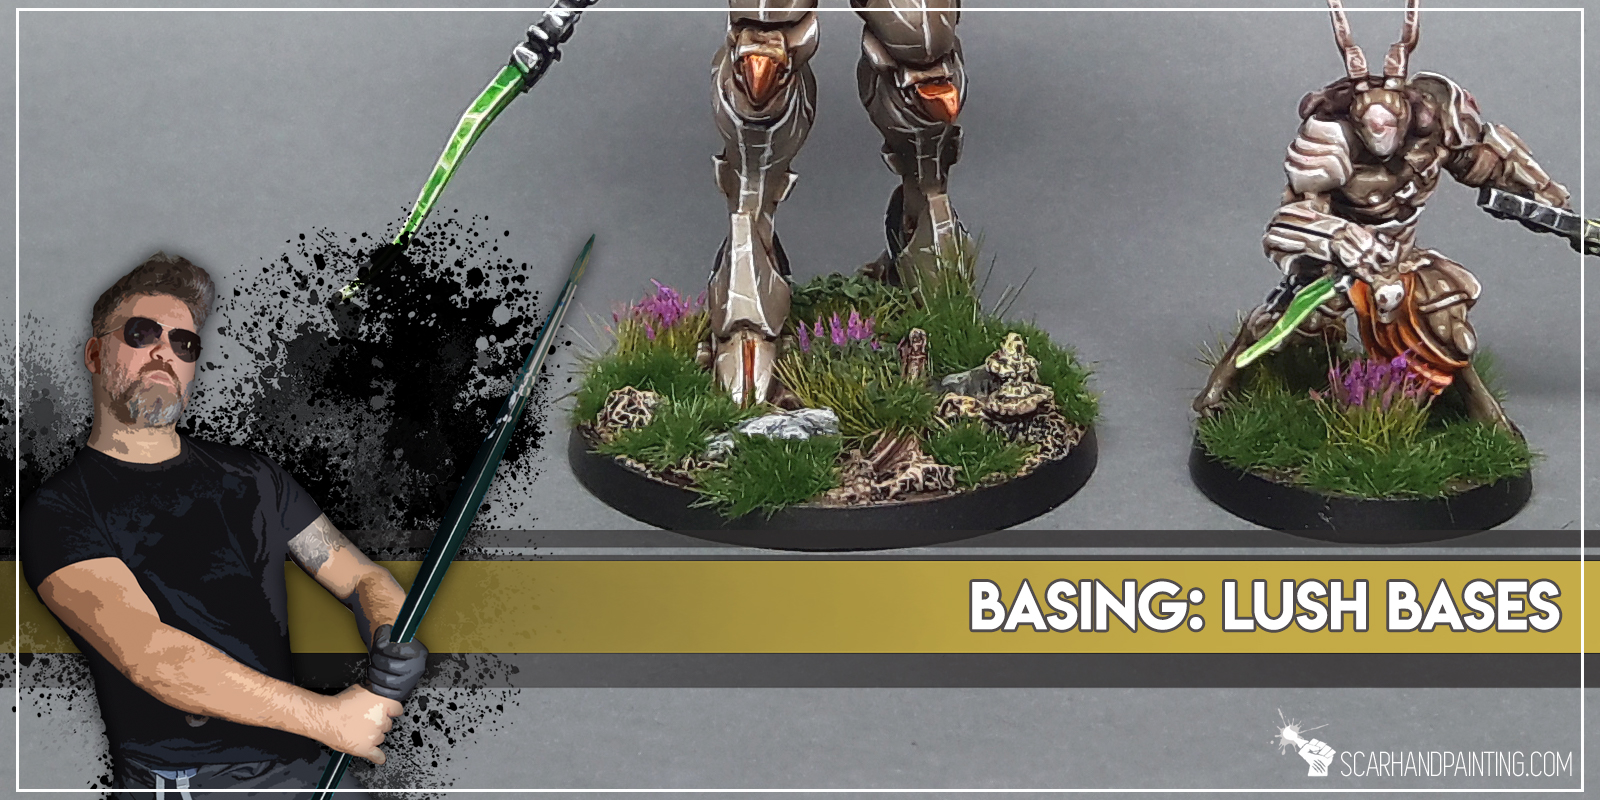

* I started by separating Grape mounts from the dried out Grape branch. Being rather soft, their topf have been removed to improove durability and shape.
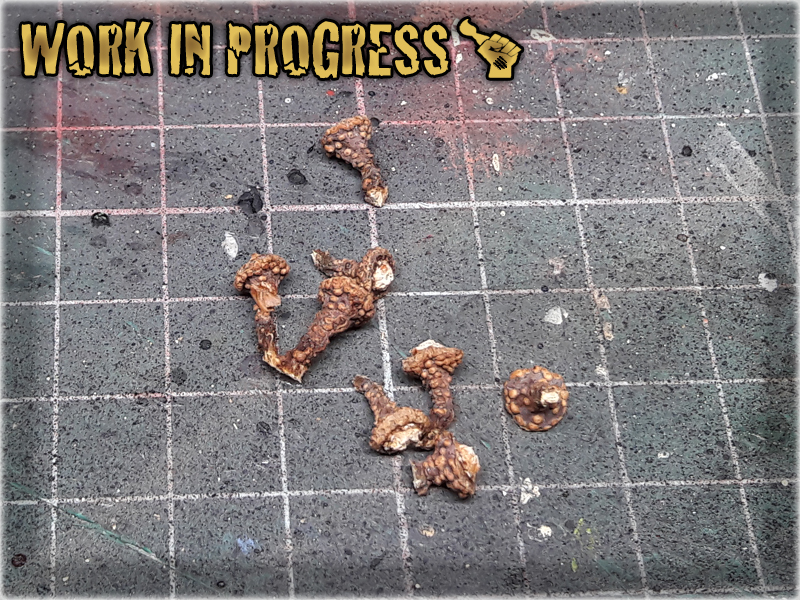
* I then applied a drop of basing glue onto the base, followed up shortly by another drop - this time super glue.
* Before mixed glue drop was able to dry out I've planted Grape mount on top of it, creating strange looking plant.
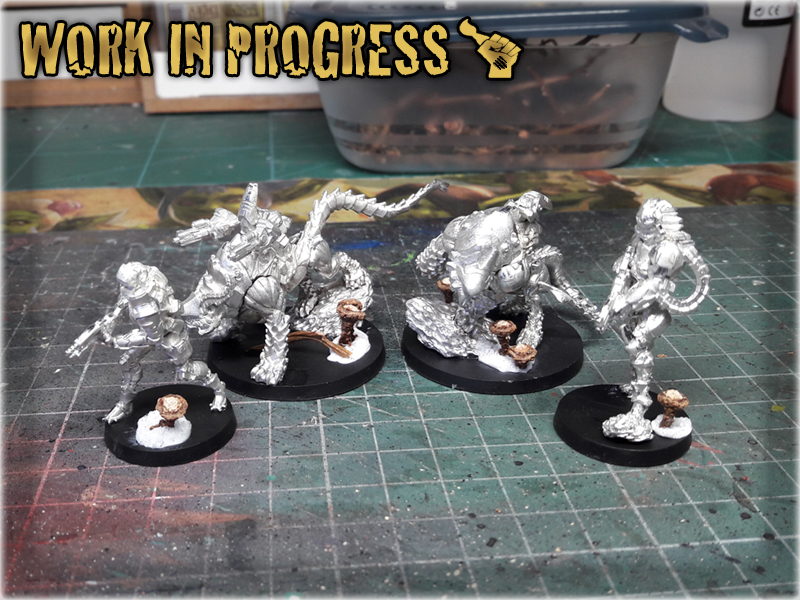
* Once glue dried up I've painted the bases following choosen colour scheme (see below). I then added some texture on top of them with Stirland Battlemire texture paint.
* orem ipsum dolor sit amet, Integer commodo tristiqu odio, aliquet ut. Maecenas sed justo imperdiet bibendum. Vivamus nec sapien imperdiet diam. Aliquam erat volutpat. Sed onsectetur suscipit nunc et rutrum. Lorem ipsum dolor sit amet,volutpat. Sed onsectetur suscipit nunc et rutrum. Lorem ipsum dolor sit amet, volutpat.

* Last step was to apply regular tufts. I used some noname tufts in large numbers filling most of the flat areas. Job done.


Black Undercoat,
Stirland Battlemire (GW), texture
Karak Stone (GW), stones & plants
Flayed One Flesh (GW), flatbrush stones & plants
Mix Strong Tone Ink (AP) 1:1 Soft Tone Ink (AP), wash
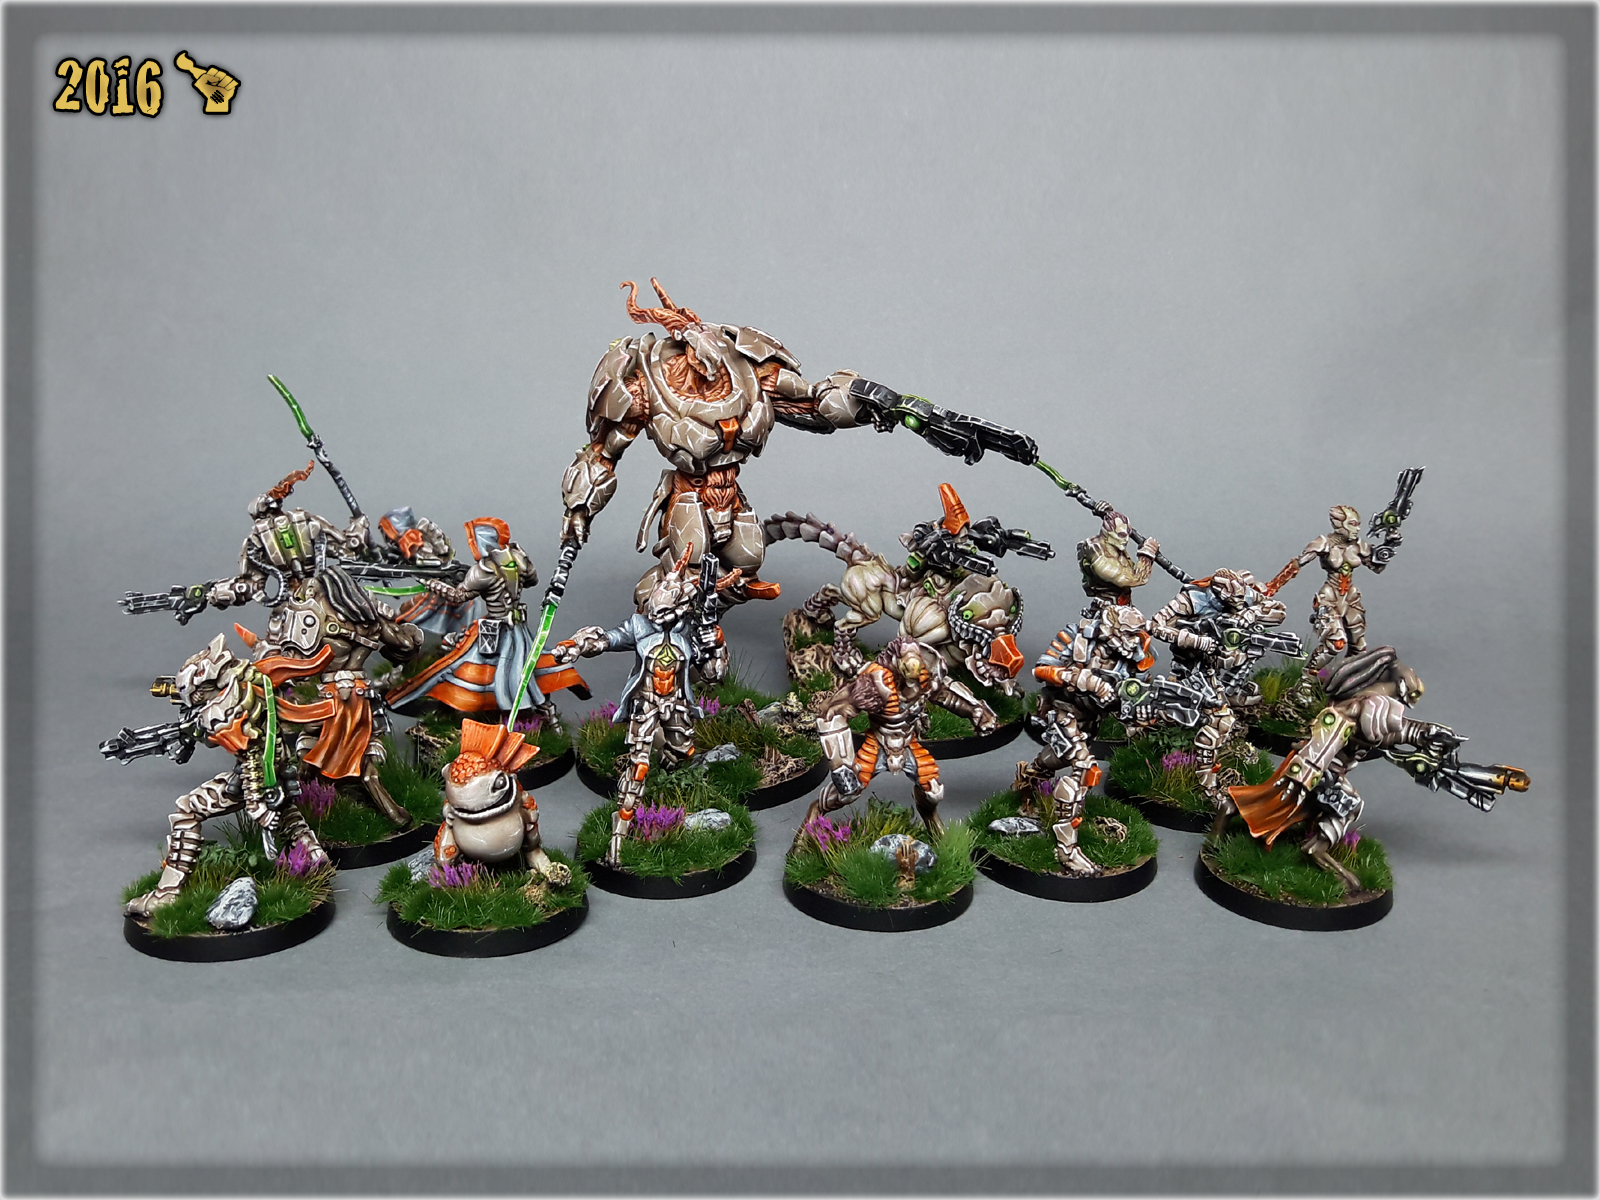
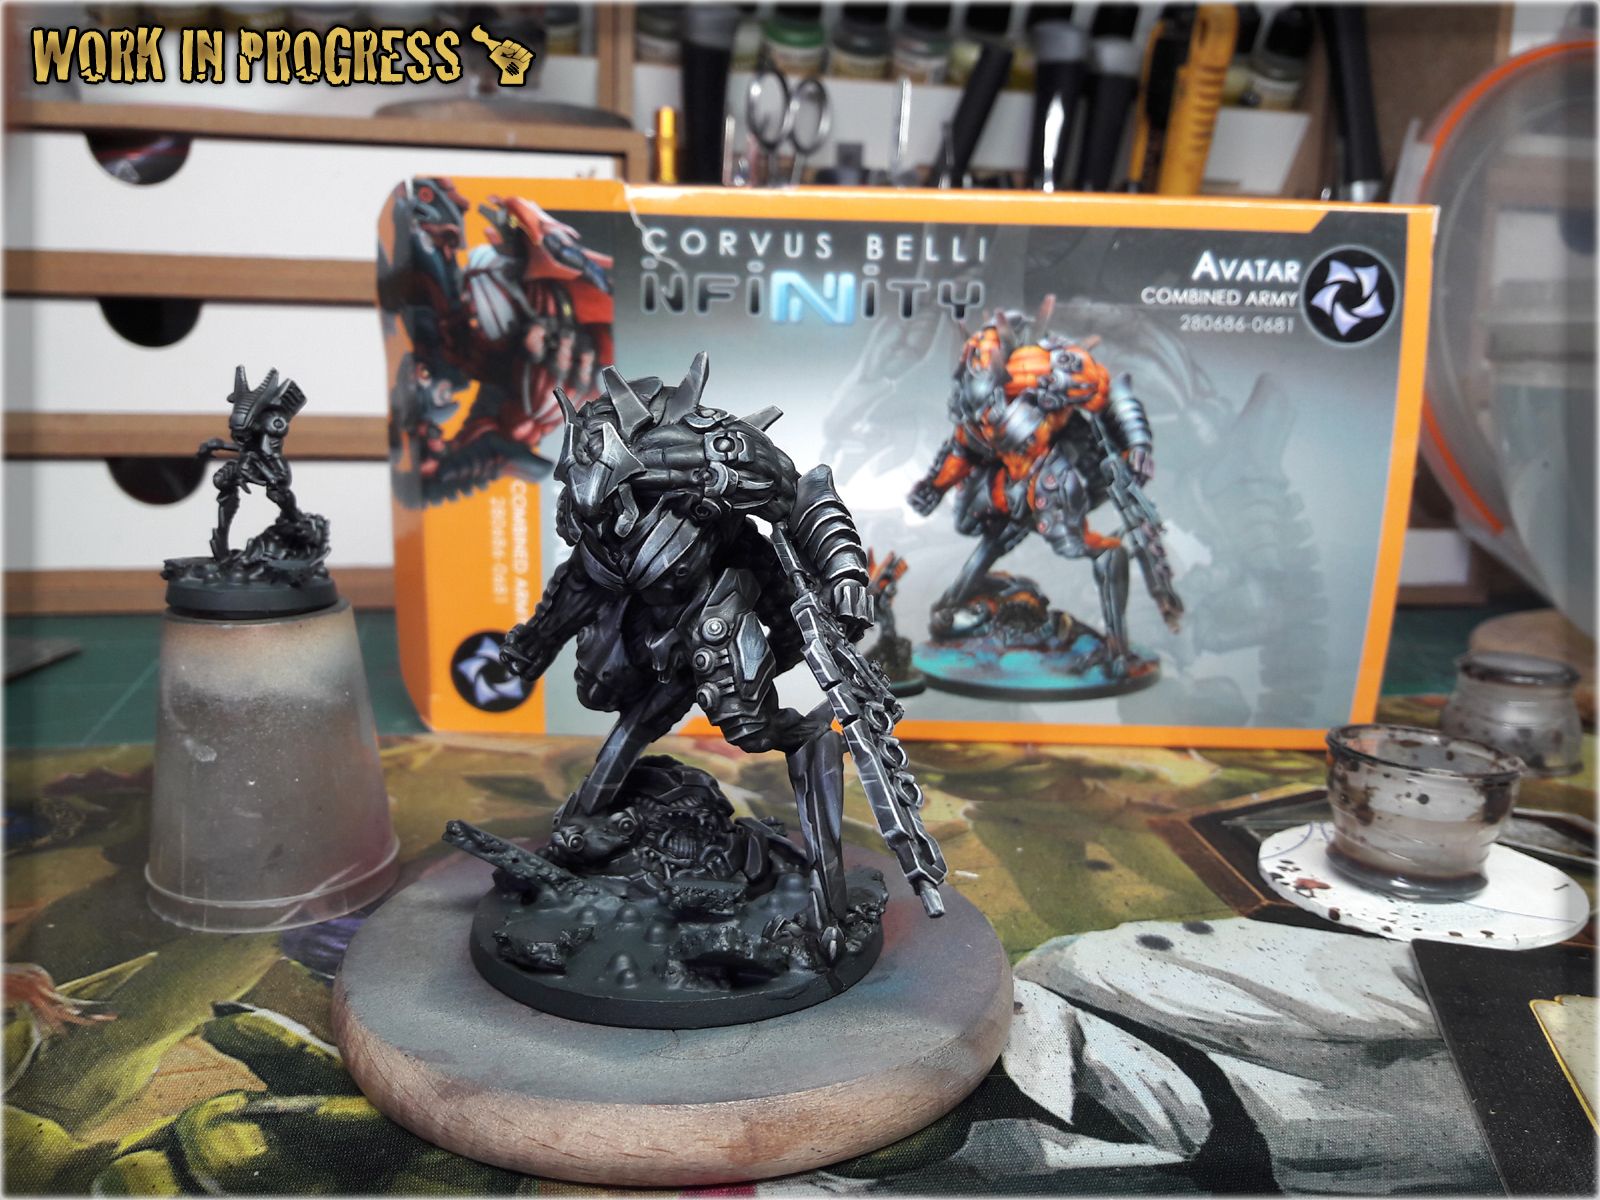
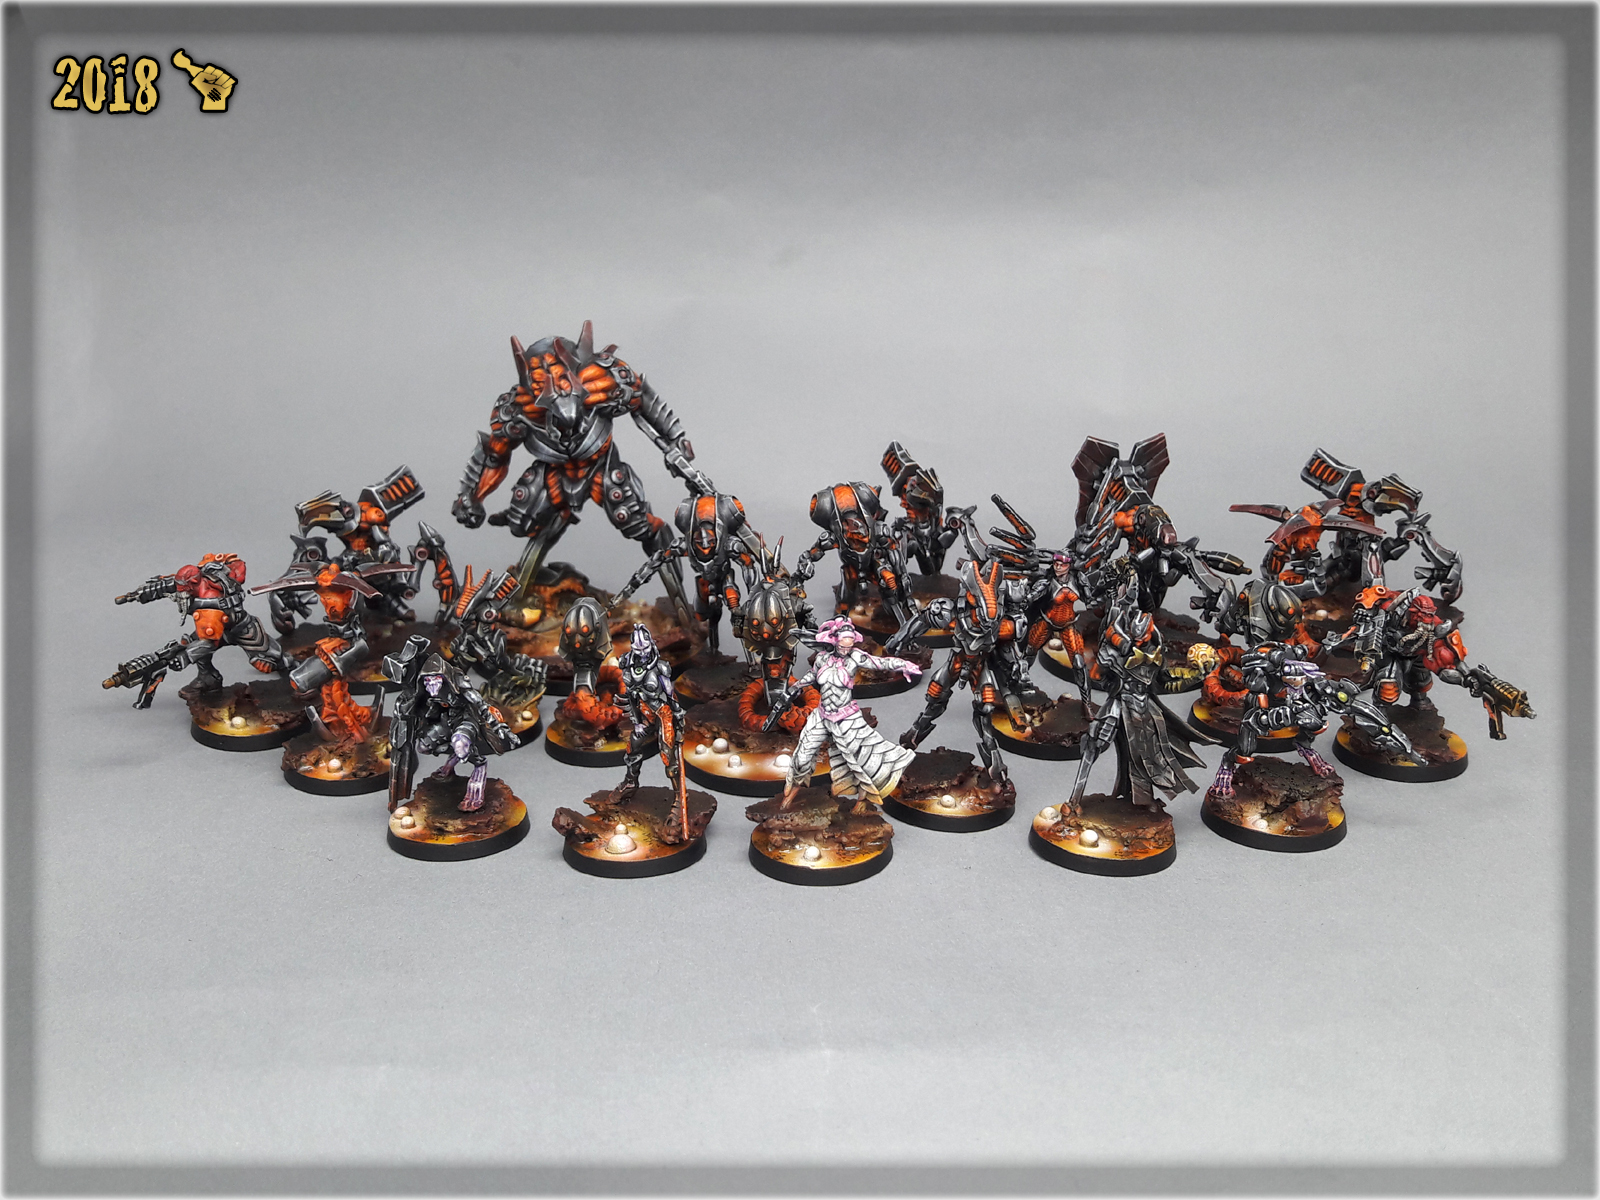
Here are some Colour Recipes for Combined Armys from GALLERY: INFINITY COMBINED ARMY lvl 5. Please take note that this is a simple colour scheme, not covering multiple overlapping layers and blends inbetween, that lead to the final product. It is supposed to be used as guidline not a step-by-step.
BLACK/GREY armour & weapons:
Black Undercoat,
Panzer Dark Grey (Val),*
Light Grey (Val),*p
Fenrisian Grey (GW), l&p
Pallid Wych Flesh (GW), l&p
Dark Tone Ink (AP),
Wolf Grey (Val), blend
Pallid Wych Flesh (GW), l&p
Red Terracota (Val), blend
Off White (Val), l&p
ORANGE fibers:
Mix Hot Orange (Val) 9:1 Troll Slayer Orange (GW), wash
Mix Hot Orange (Val) 1:1 Troll Slayer Orange (GW), wash
Mix Troll Slayer Orange (GW) 9:1 Mix Hot Orange (Val),
Mix Troll Slayer Orange (GW) 9:1:X Mix Hot Orange (Val), Pale Wych Flesh (GW), l&p
Pale Wych Flesh (GW), p
Mix Strong Tone Ink (AP) 1:1:1:1 Soft Tone Ink (AP), Bloodletter (GW), Medium,
Hot Orange (Val), blend
RED lights:
Lugganath Orange (GW), l&p
Gory Red (Val), glaze
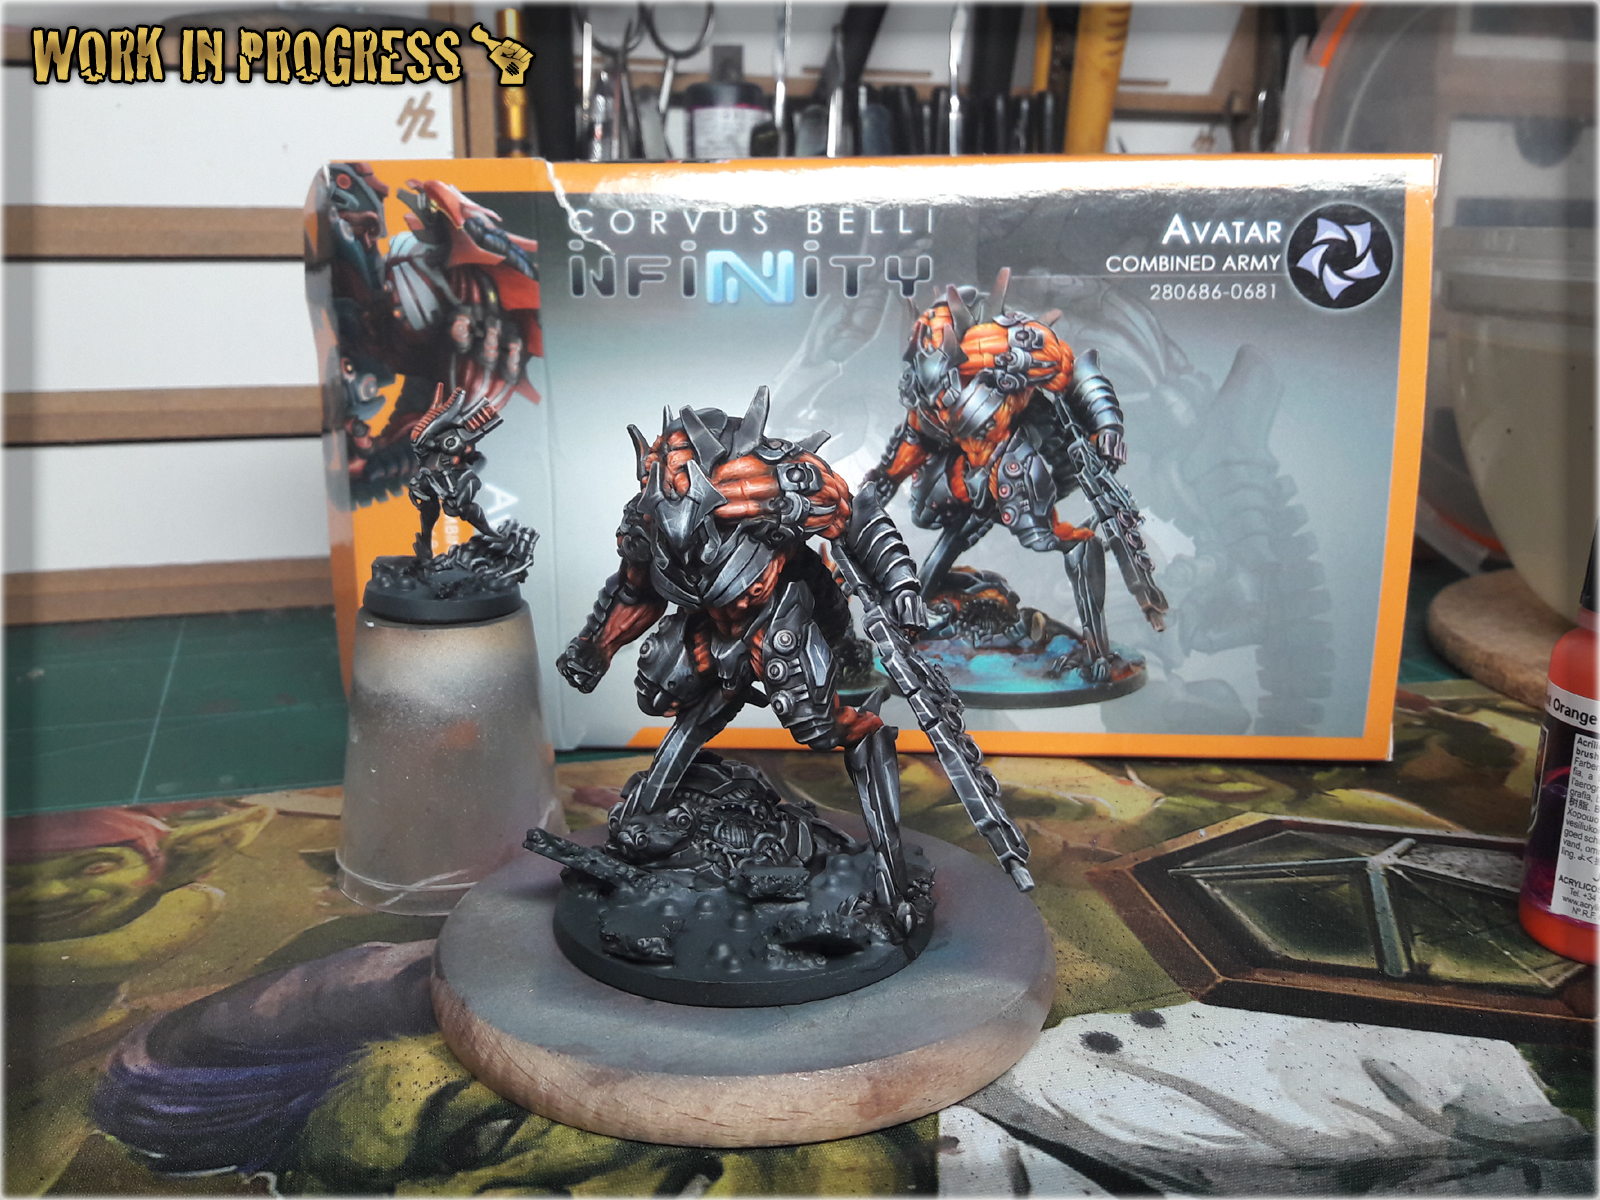
LAVA bases:
Mahogany (Val), *
Gorthor Brown (GW), drbr rocks
Gory Red (Val), * lava
Scrofulous Brown (Val), * lava
Mix Scrofulous Brown (Val) 2:1 White, * lava
Black, p lava
Scrofulous Brown (Val), *p lava
Lamenters Yellow (Val), * lava
Hot Orange (Val), * lava
White, * bubbles
Mix Scrofulous Brown (Val) 5:1 Black, * rocks
Black, blend rocks
Gloss Varnish, lava
l&p – lines and points,
p – points,
bl – blend,
gl – glaze,
drbr – drybrush,
flbr – flatbrush,
stpl – stippling,
*Airbrushed (with multiple layers and mixes)