- contact@scarhandpainting.com


Welcome to tutorial for modelling Flames. Here I will present to you a Step-by-step guide on how to create fantastic, highly detailed flames for miniatures in a matter of seconds.
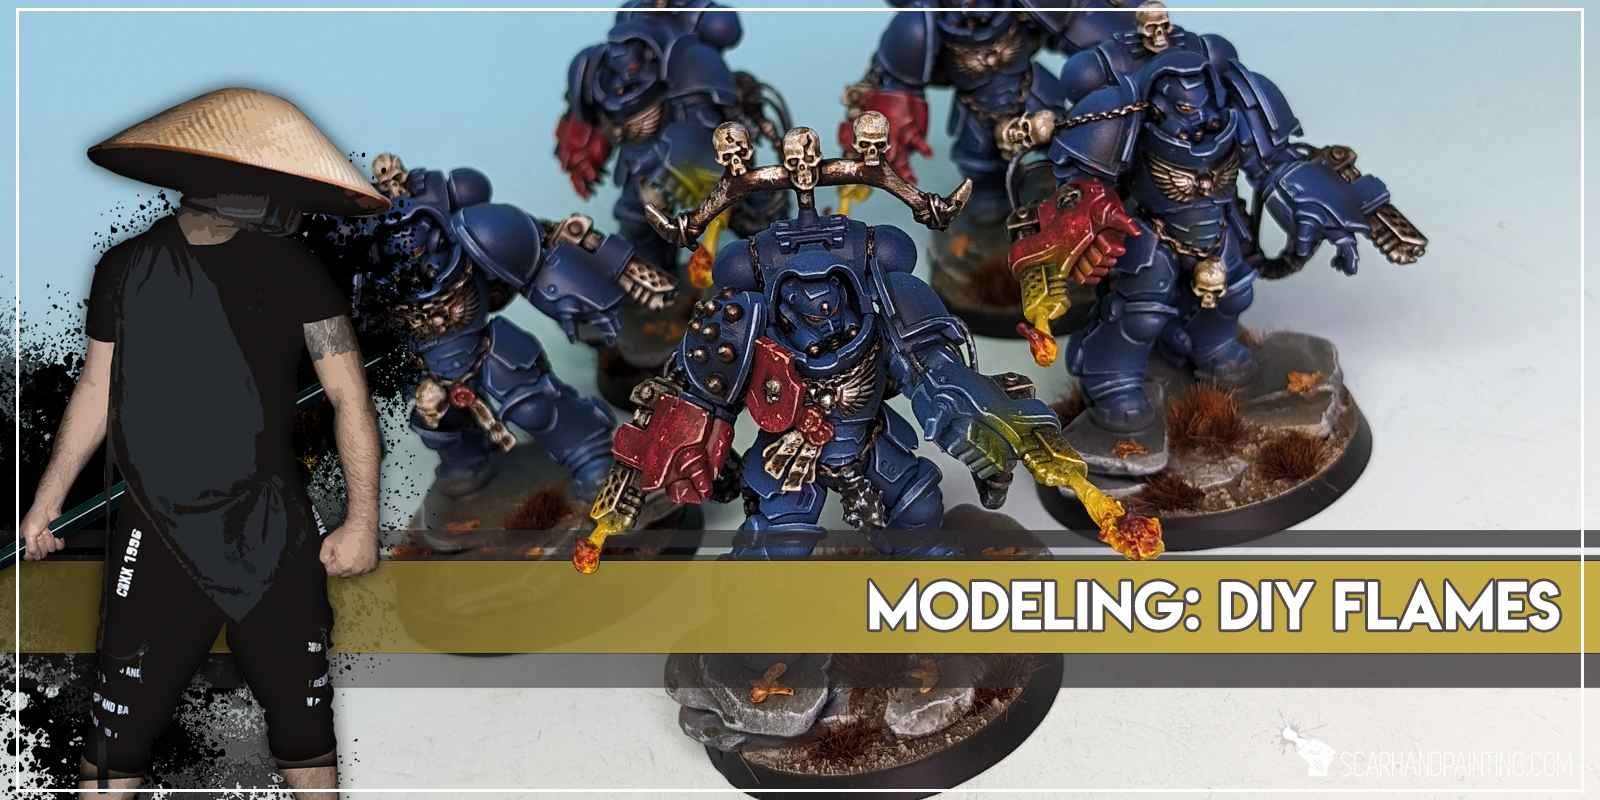
Blazing flamethrowers, crackling braziers, torches or balls of magical fire – in the world of miniatures wargames flames add a lot of character and dynamic to our favorite tiny characters. With 3d printing prevalence and a lot of bitz selling companies getting your hands on some awesome parts has never been easier. Still why pay and wait, when you can make your own flames of chosen size and shape in a matter of seconds and from materials you probably already have at home!
Before we start, as usual, please take note that what works for me might not necessarily work for you.

Step one: Foundation
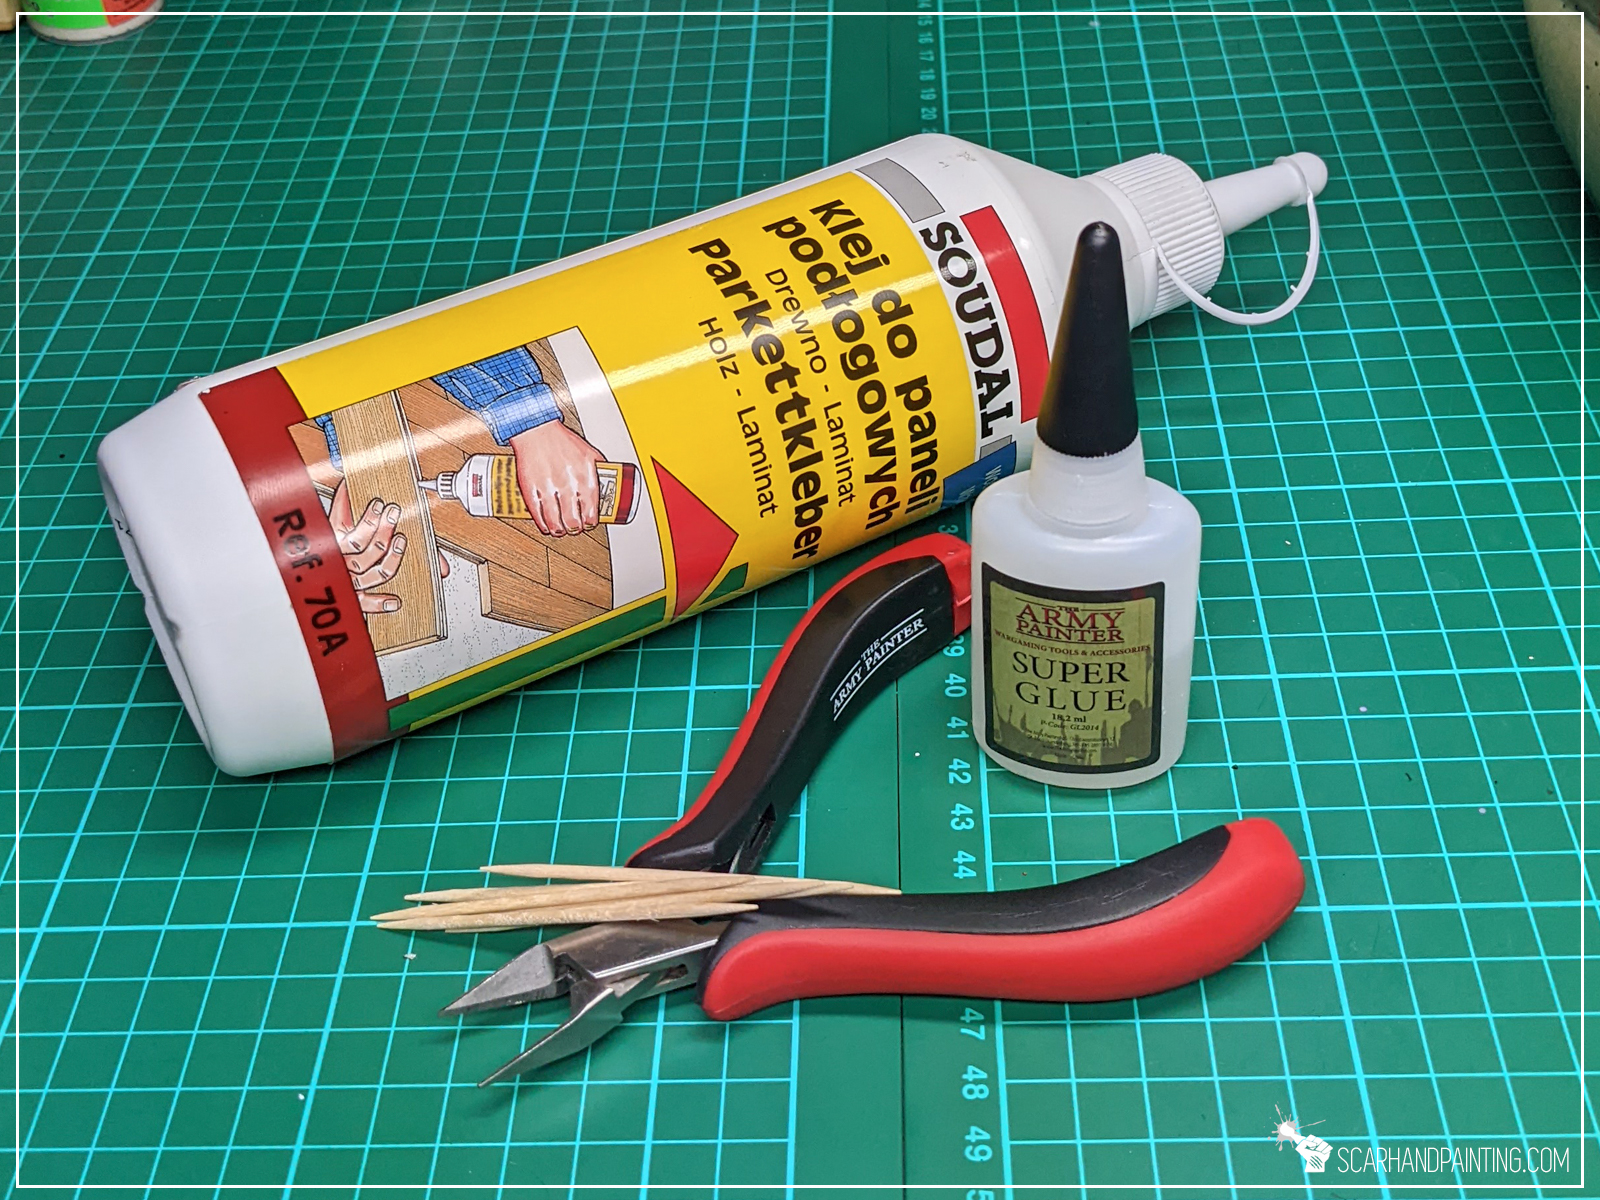
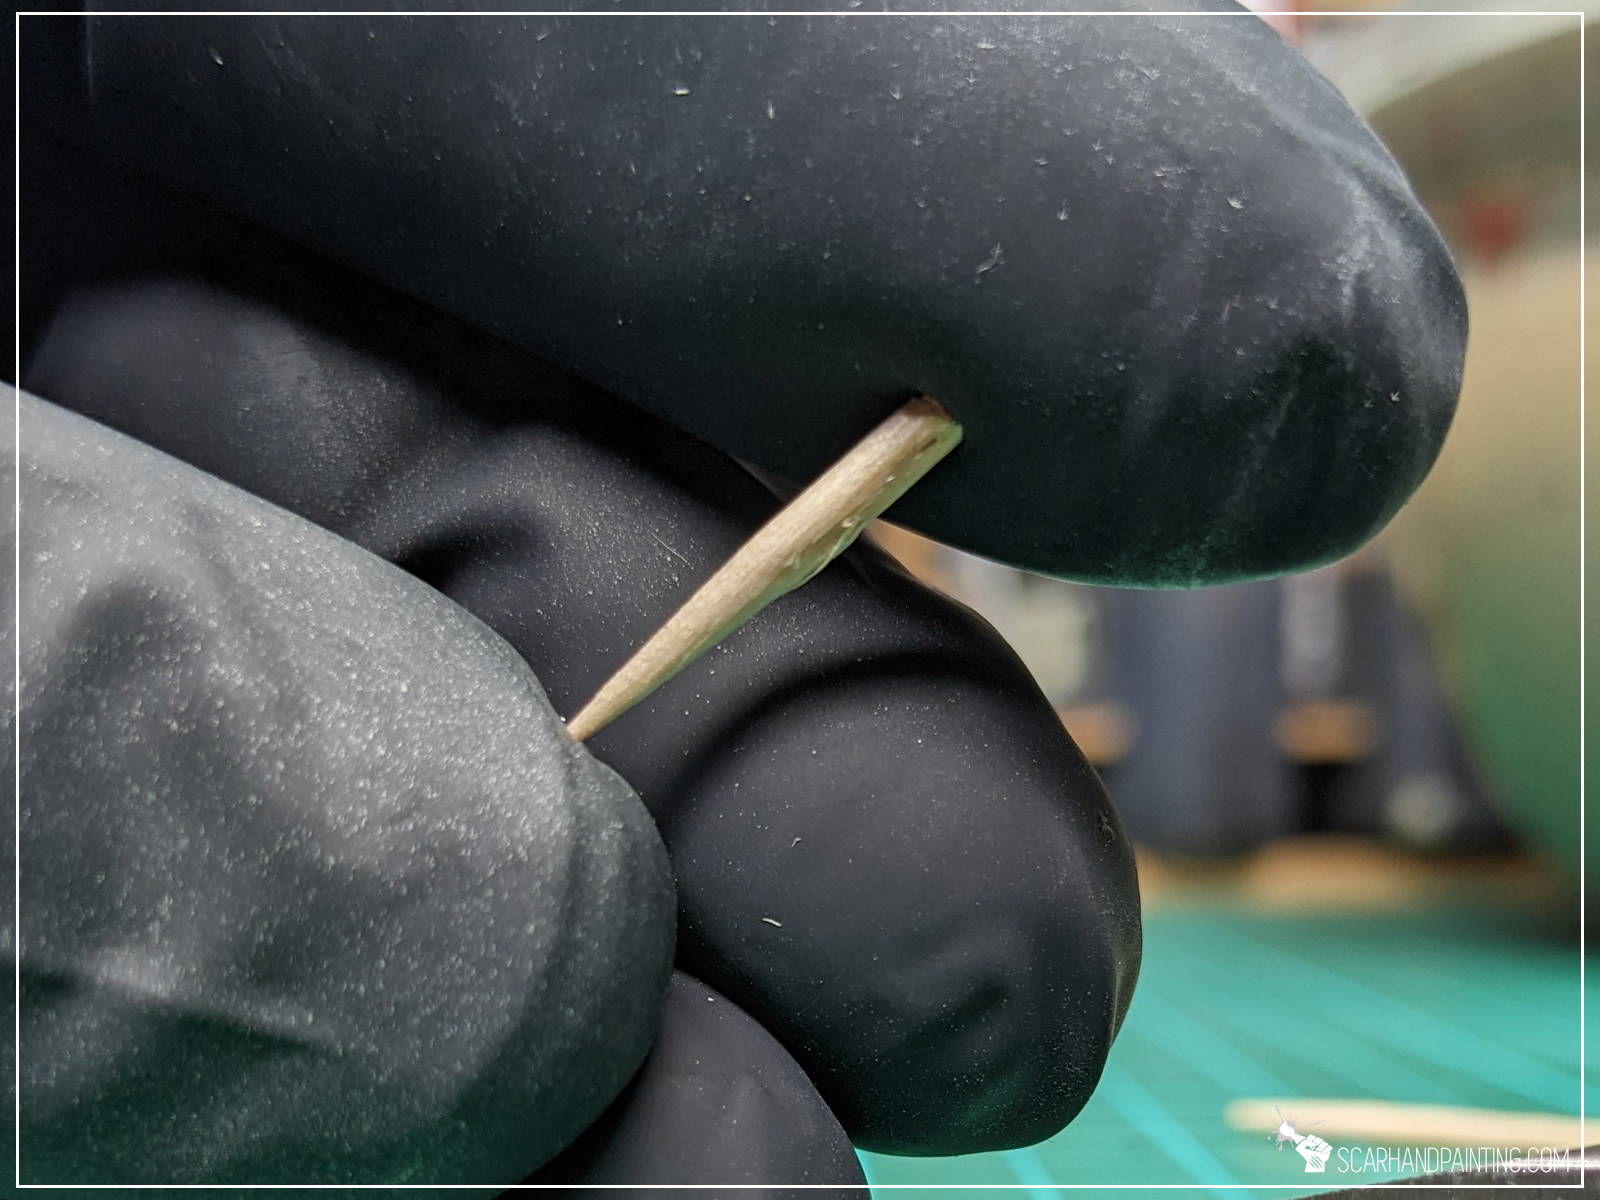
It is best to start by finding a base shape to build the flame around. It can be anything solid including toothpick, wire, piece of plastic, or even the miniatures themselves. In this case, with an idea of flames gushing out of a flamethrower, I cut a small piece of a toothpick.

Step two: Ingredients
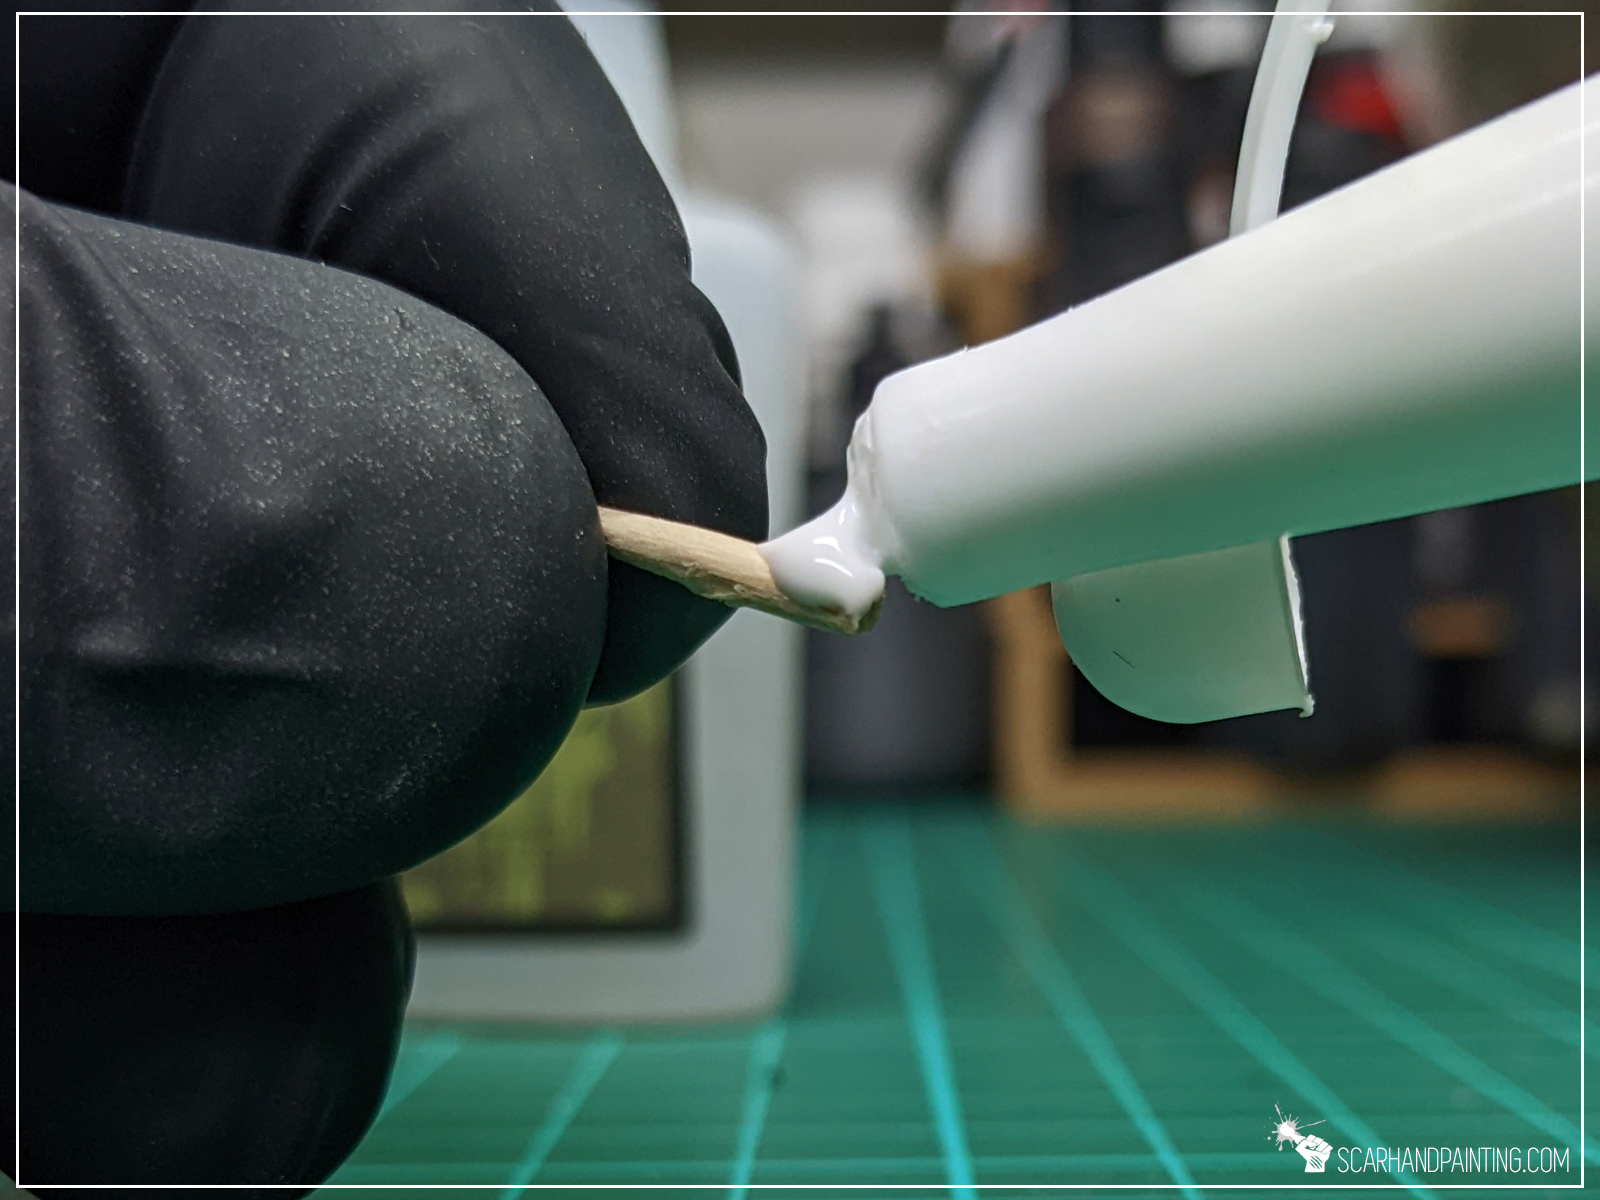
Next I poured few small drops of PVA glue onto the piece of toothpick. Just enough to cover the wider end. Right after that, while PVA was still wet, I poured Super Glue on top and moved the shape around so that Super Glue covered entire PVA beneath.
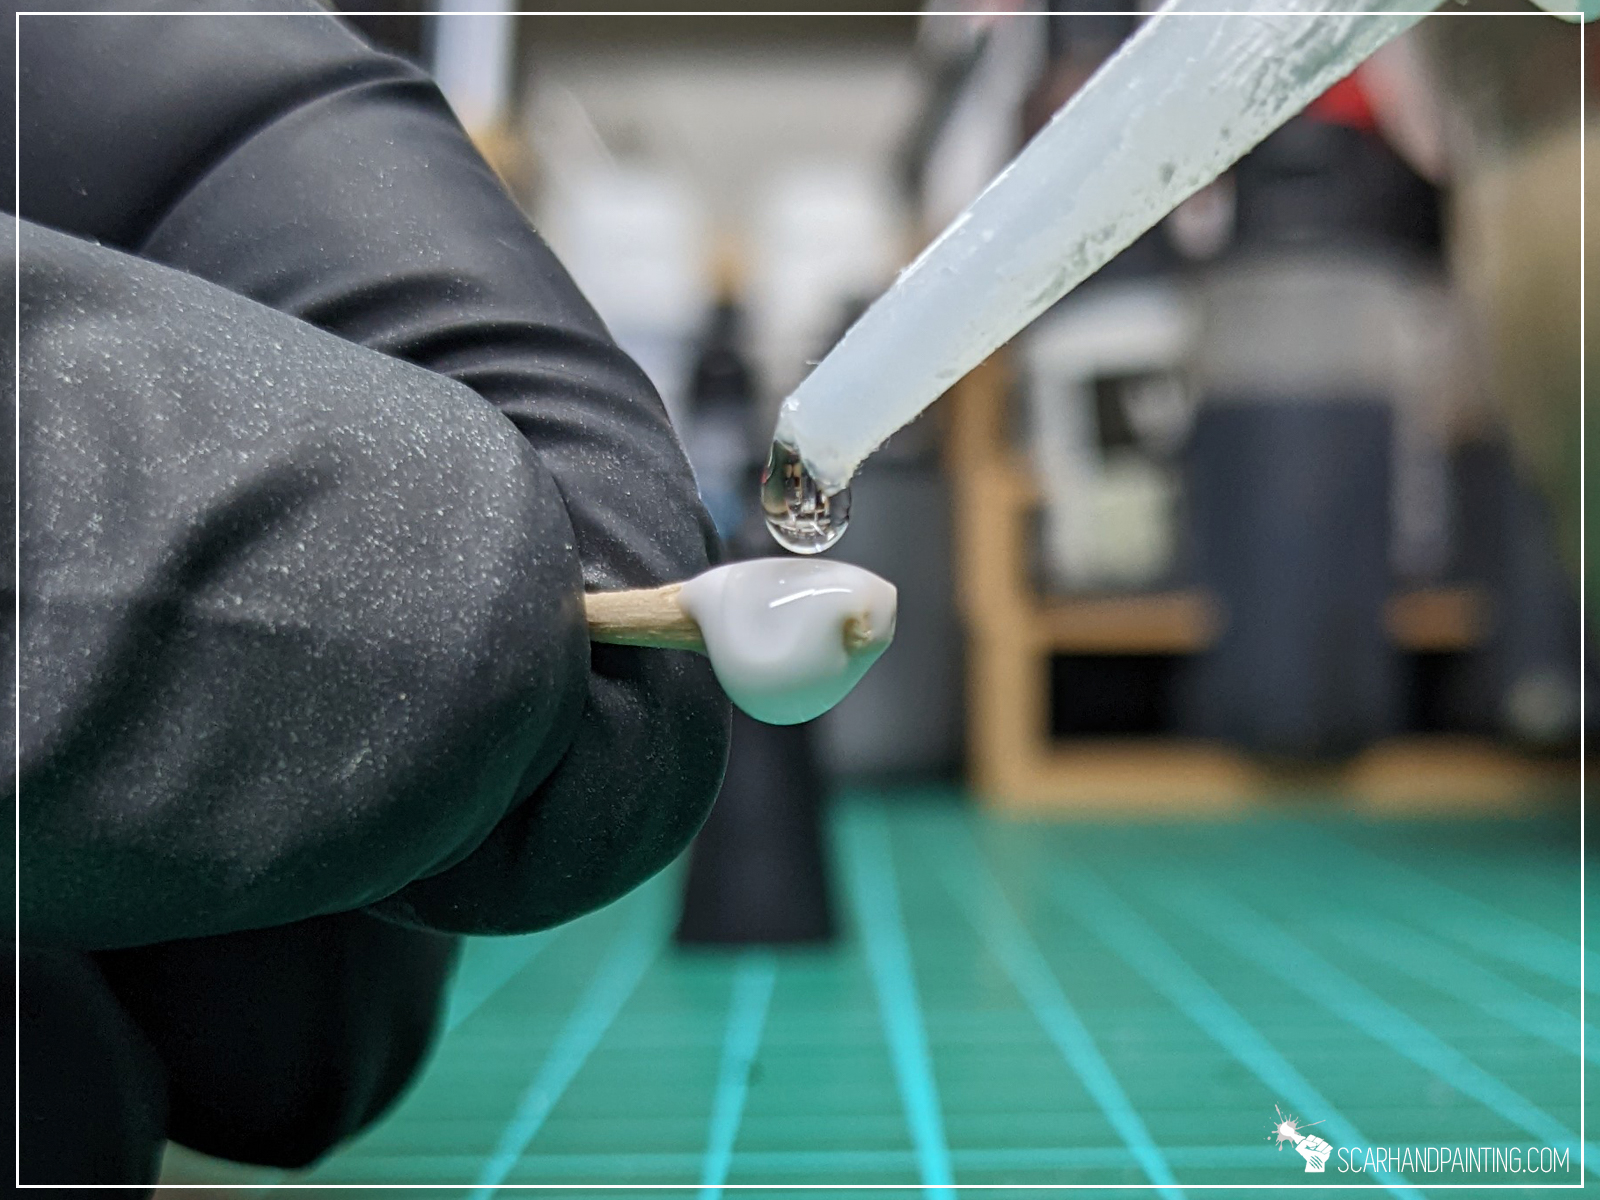
Step three: Shape
Here’s where modelling kicks in. I used another toothpick to mix both glues and guide a quickly hardening ‘paste’ around and finally in one direction to form a cone. The mix creates an organic, irregular texture when drying, which provided additional detail to the flame.
It might seem difficult at first, but once you get how the ‘paste’ behaves it will be as simple as barely few moves of a toothpick to get a desired cone.

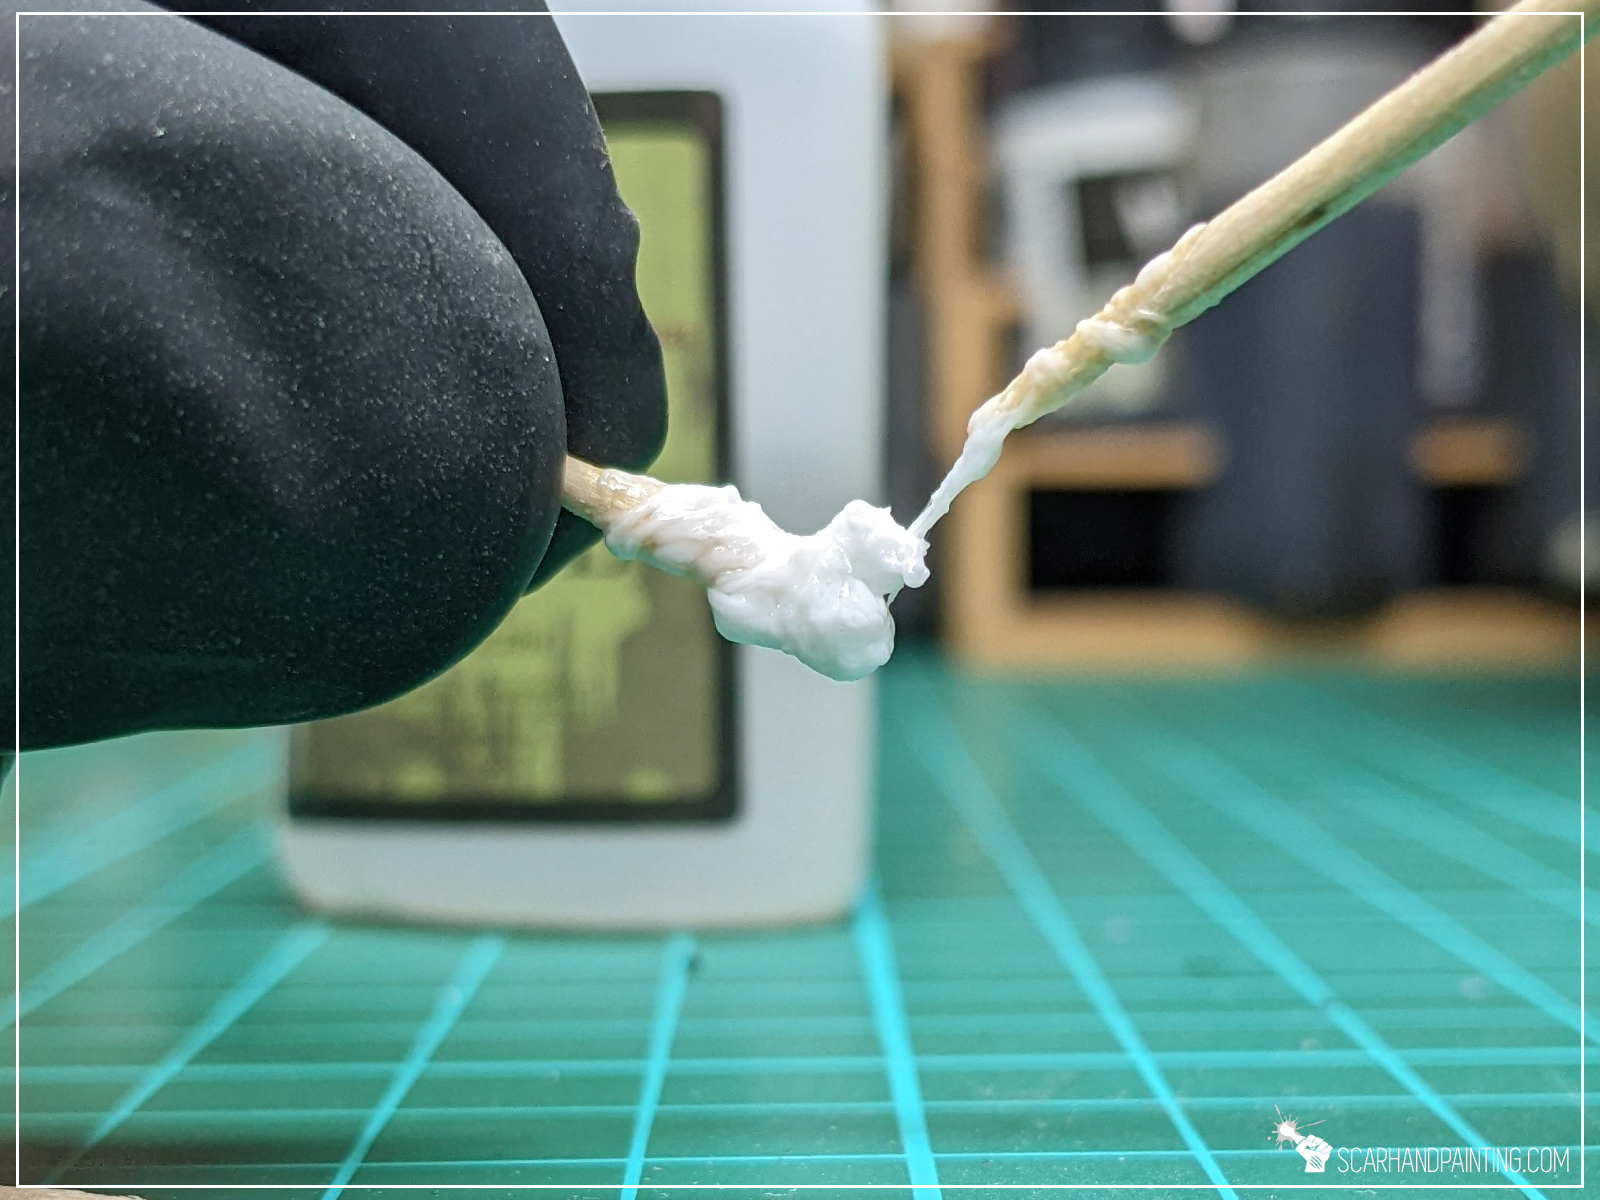
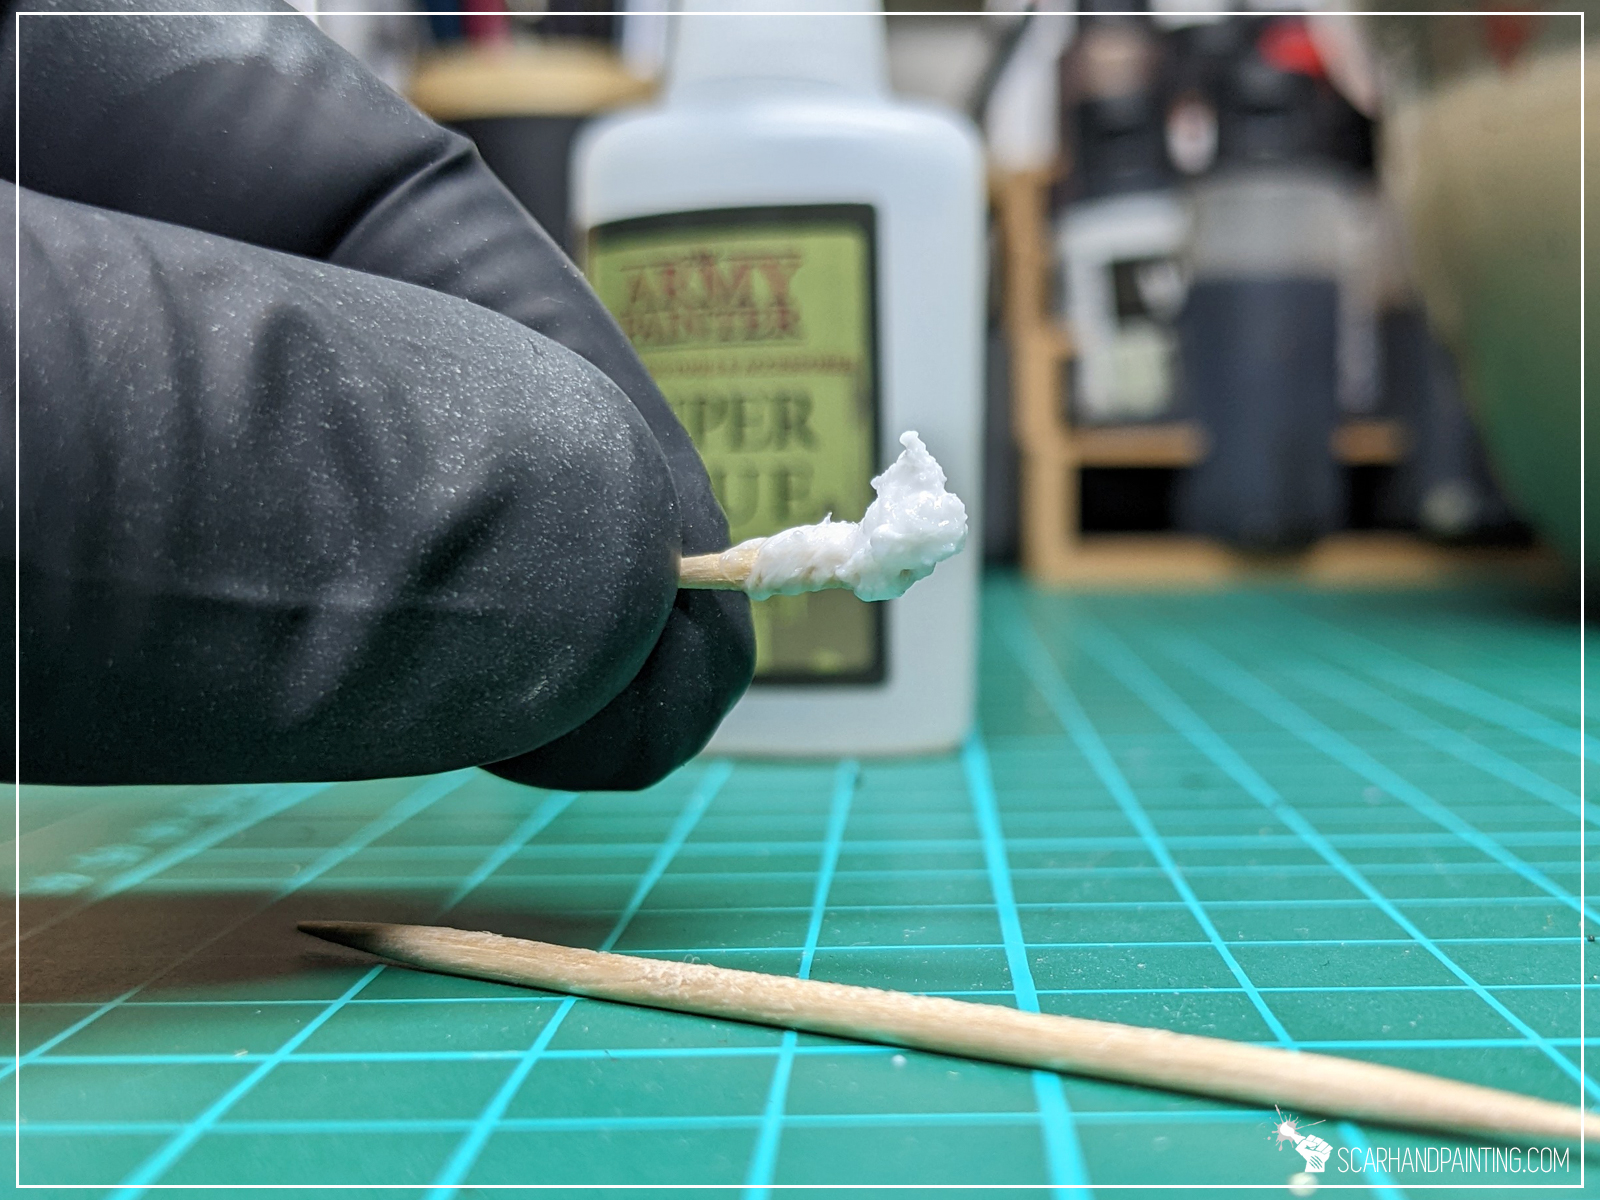
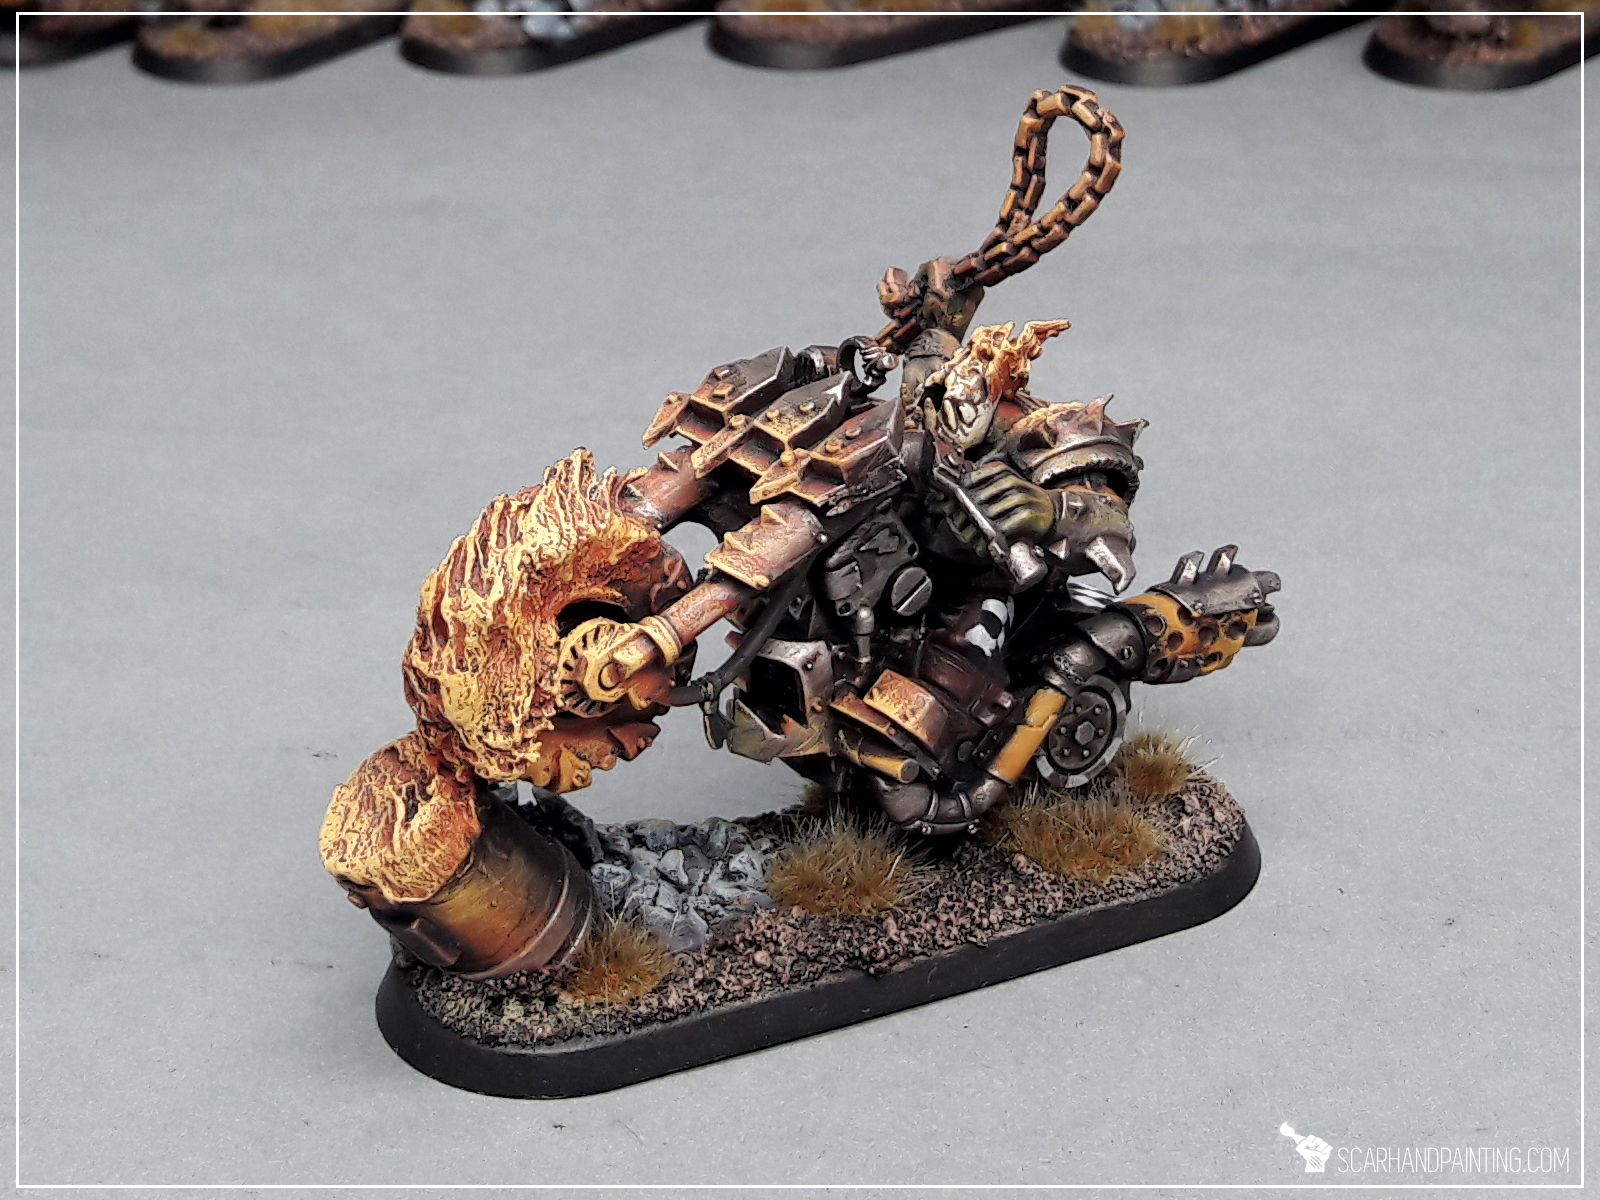
Three steps, that’s all it takes. With a bit of practice the process takes less than a minute and can be applied to any surface. Below are just some examples of the results:
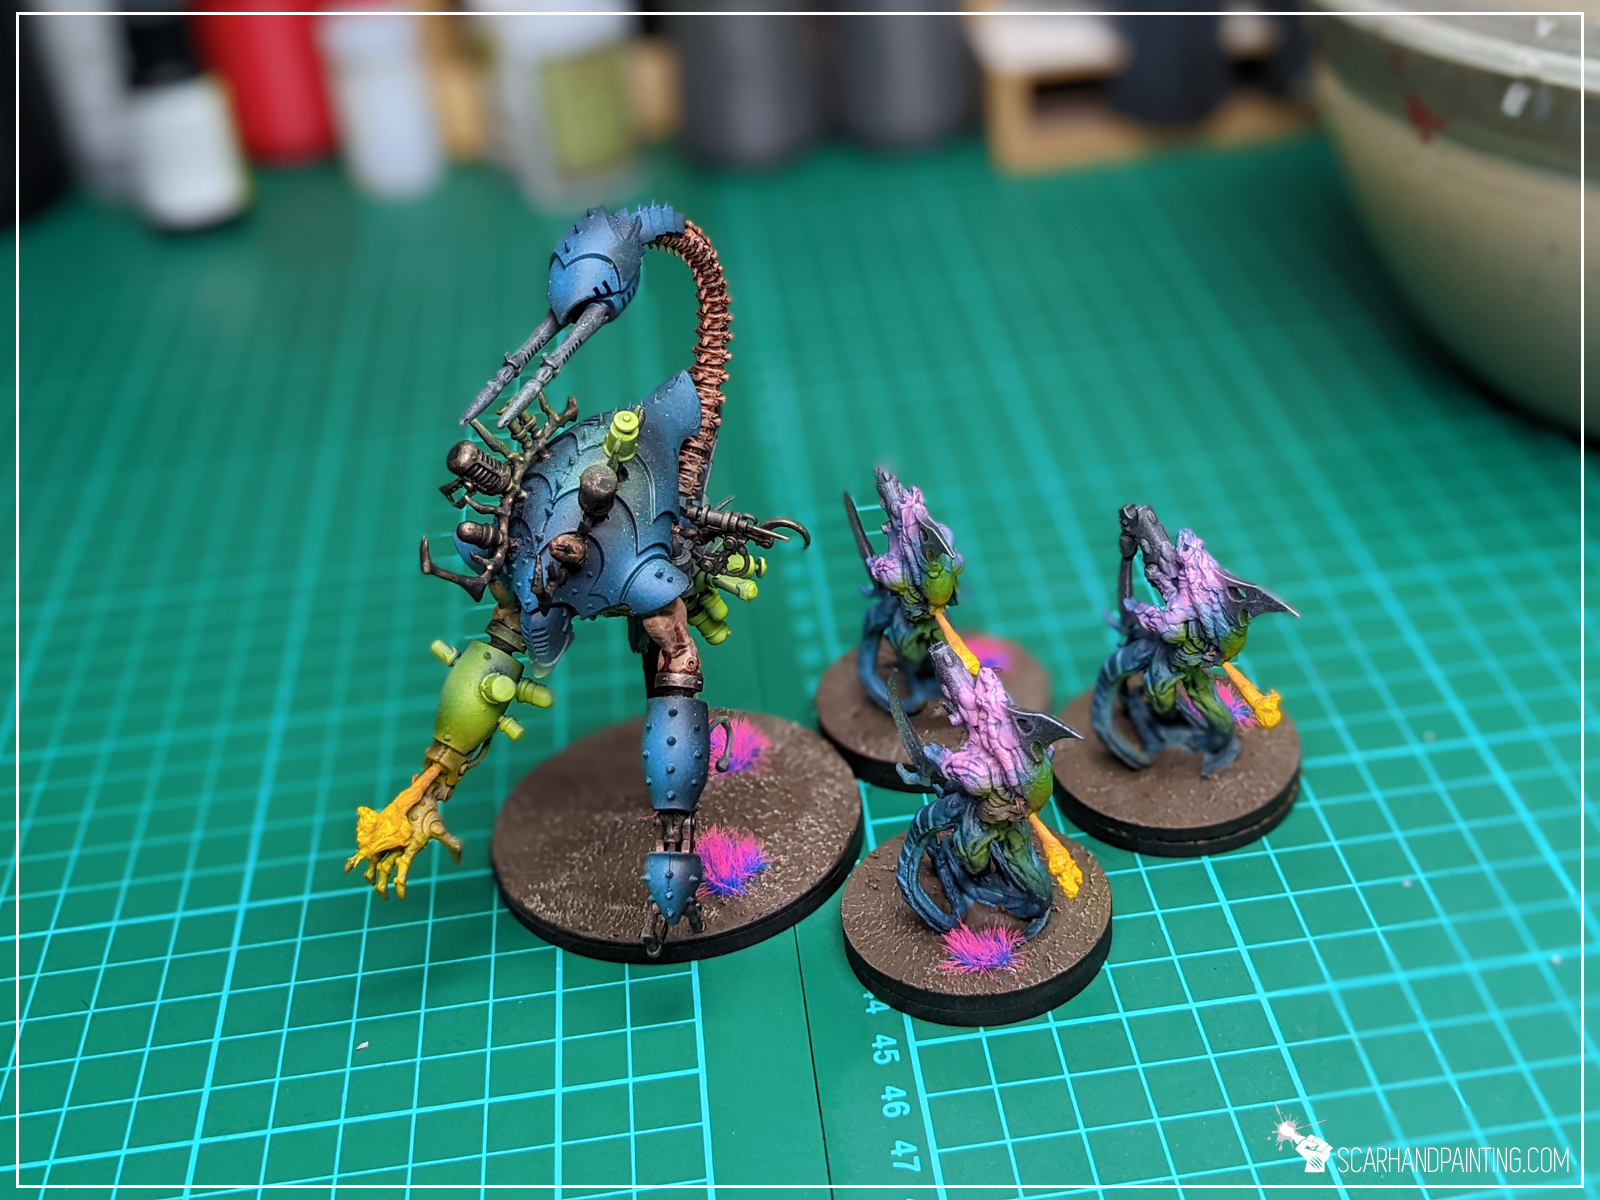


I hope you find this tutorial interesting. Be sure to let me know your thoughts in the comments below or via Facebook or Instagram. I would also appreciate if you considered sharing this content with your friends, who might find it useful. Finally if you are looking for a professional miniatures painting service, be sure to contact me with this contact form. I always reply within 24 hours, after which please check out your spam folder.

Removing Flash and Seam Lines – a pain of a task, yet such important one. You can be a painting god, but all your fancy brush work will be ruined if miniature wasn’t prepared properly. Running a miniatures painting service I have prepared thousands of miniatures. Below I will share with you some tricks I learned along the way.
Before we start, the usual note
I know, I know – theory is such a pain – “where are real life examples?!”. I will keep this short and easy.
Hobby Knife:

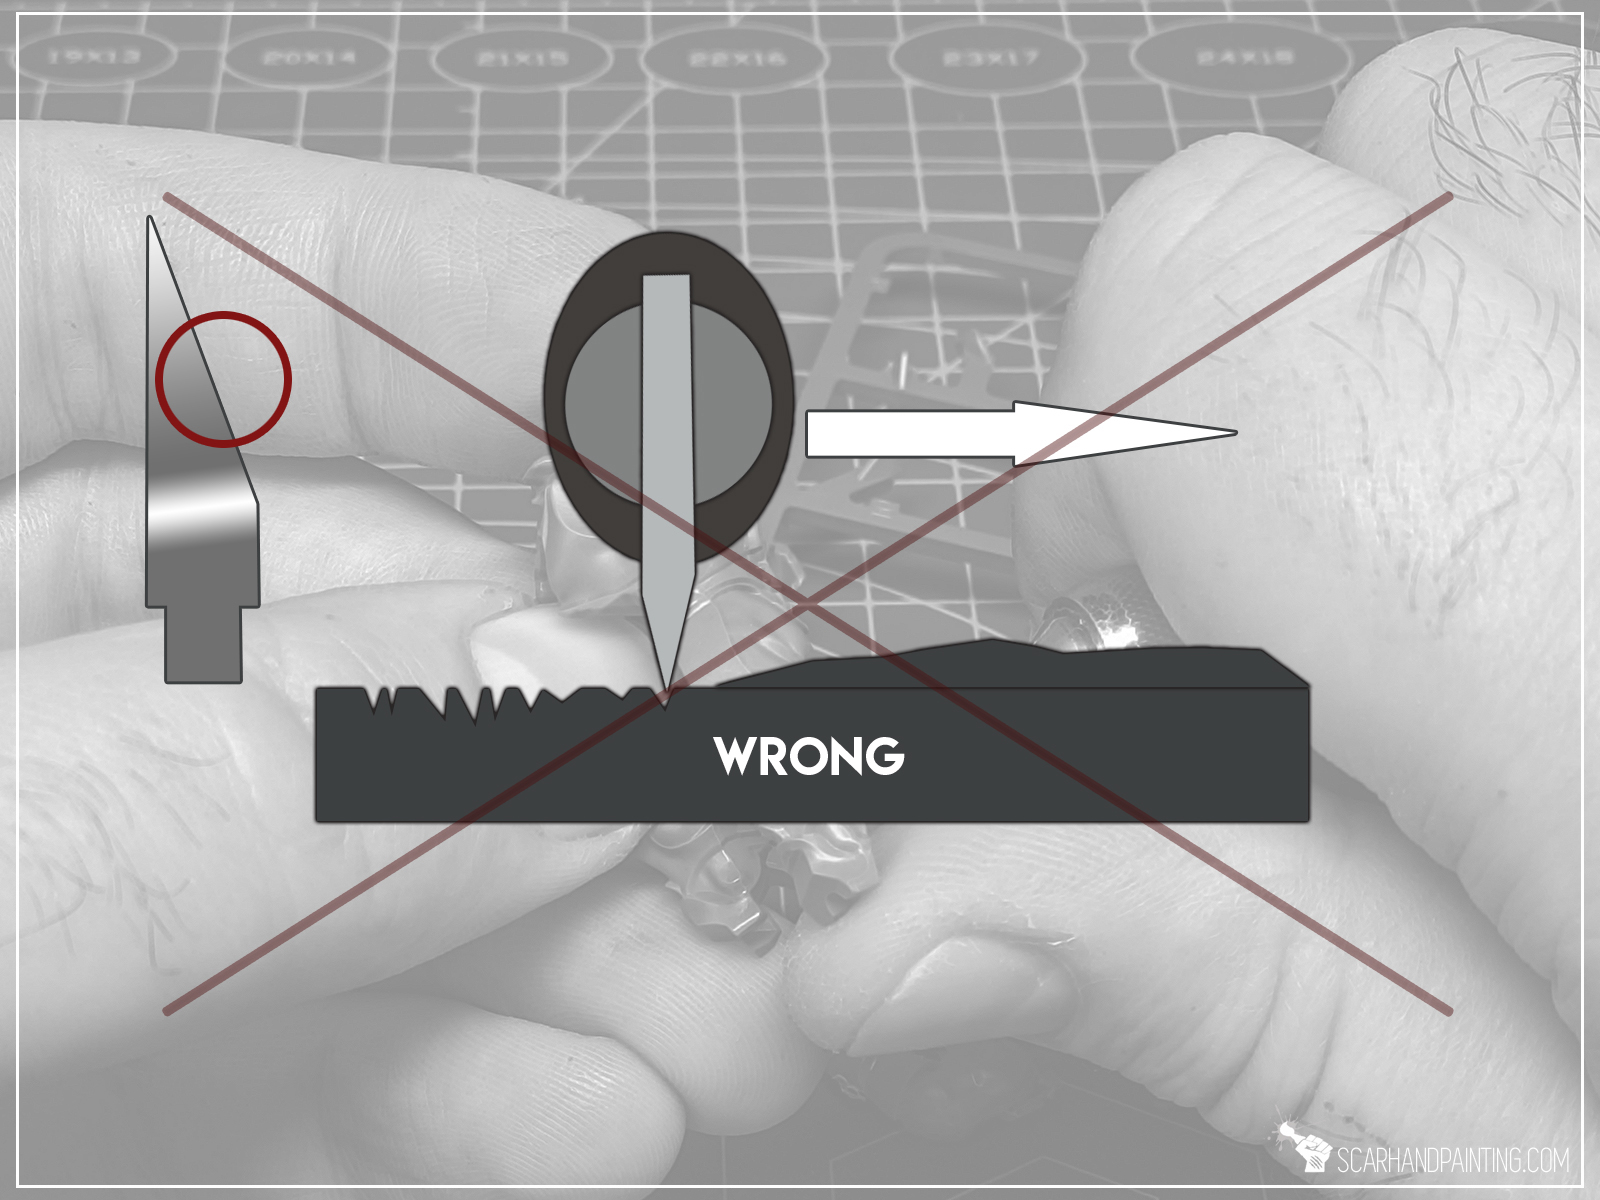
A Hobby Knife is my go to, when it comes to Seam Lines removal. When using a Hobby Knife I hold it in the fold of all fingers, except for thumb, which will be used to support a miniature and allows me for better control over the knife itself. I don’t want to cut myself so I tilt the blade about 45 degrees outwards from the thumb. This also prevents smooth surface from being scrapped (and roughed) by the sharp edge. Tiny consecutive movements are better than one smooth movement, unless I deal with long smooth areas. Somewhere in the middle of the blade is my sweet spot for cleaning accessible Seam Lines.
When dealing with sharp recesses, I put the edge inside, tilt it and go back along one edge, then do the same for the other side. Again I use the middle of the blade (if possible) to do this.
When dealing with rounded elements like inside of a wheel, or in a fold of a cloak, I switch the angle so that the blade faces direction of movement. I then make sure to hide my thumb behind the miniature and use the very tip of the blade to peel off the excess material. I do this with a single rounded movement of the blade.
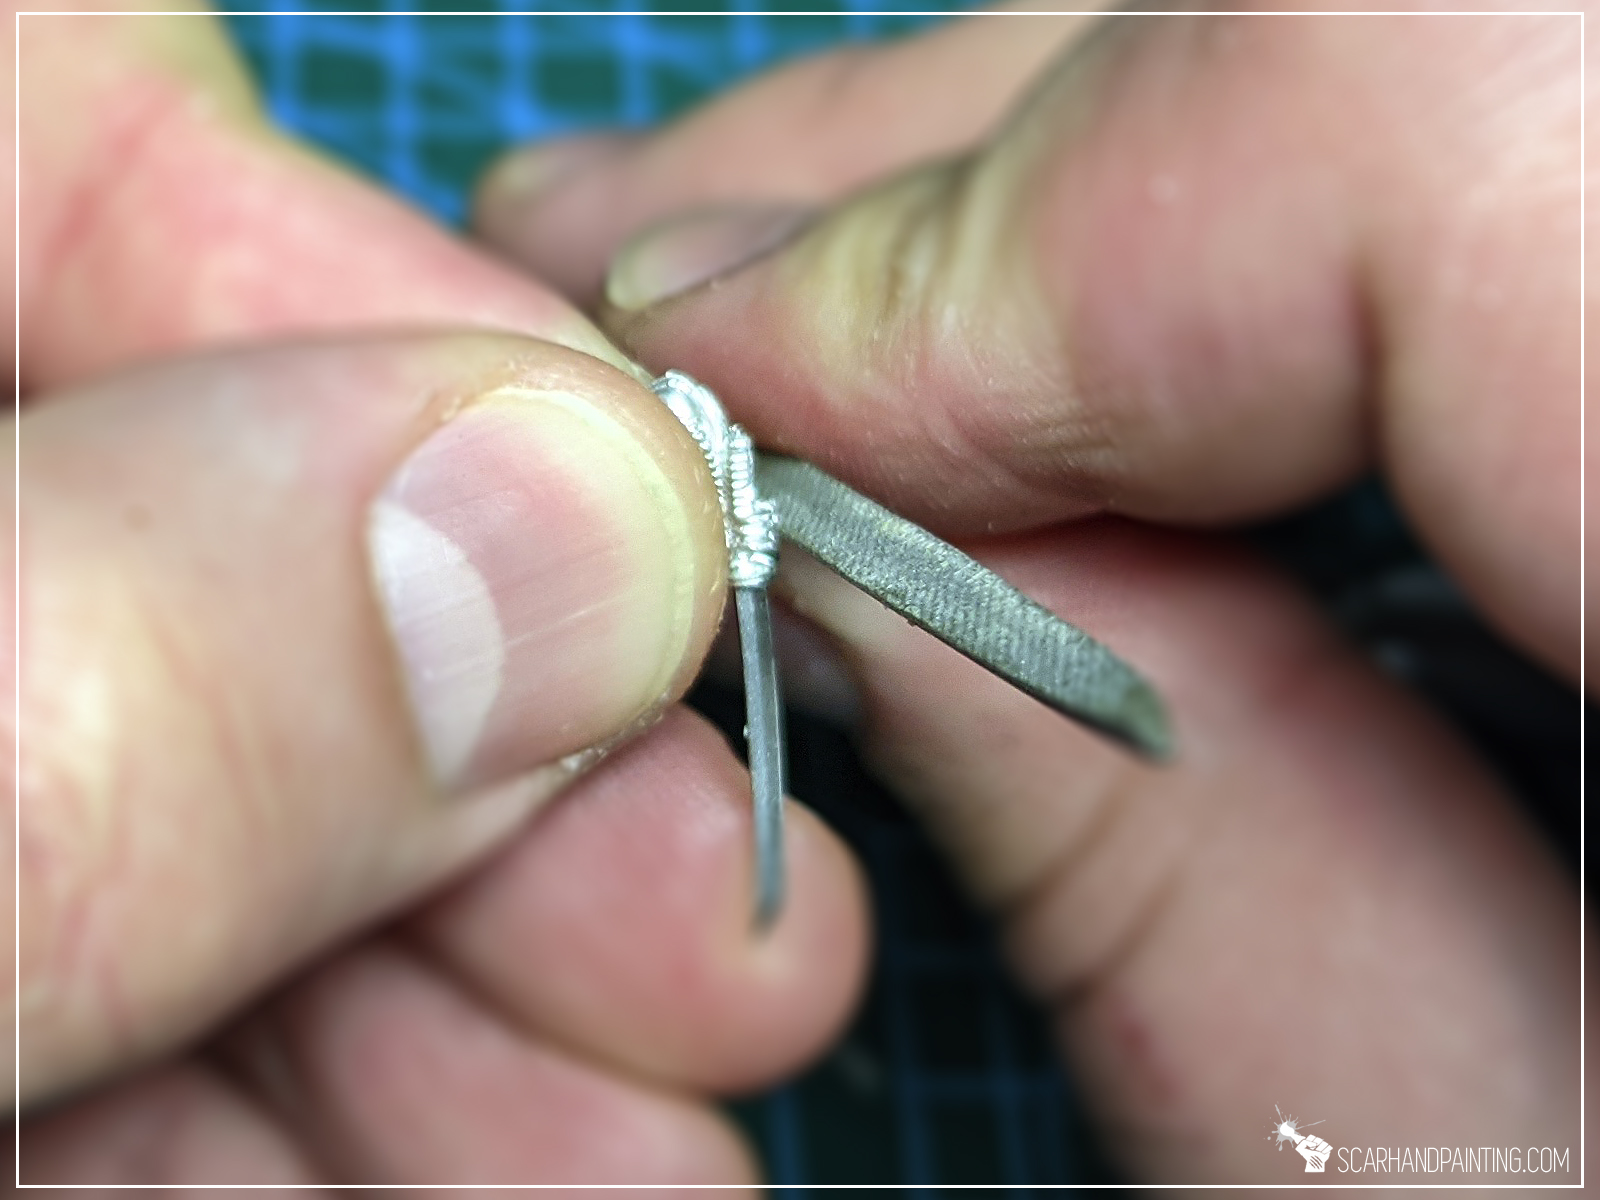
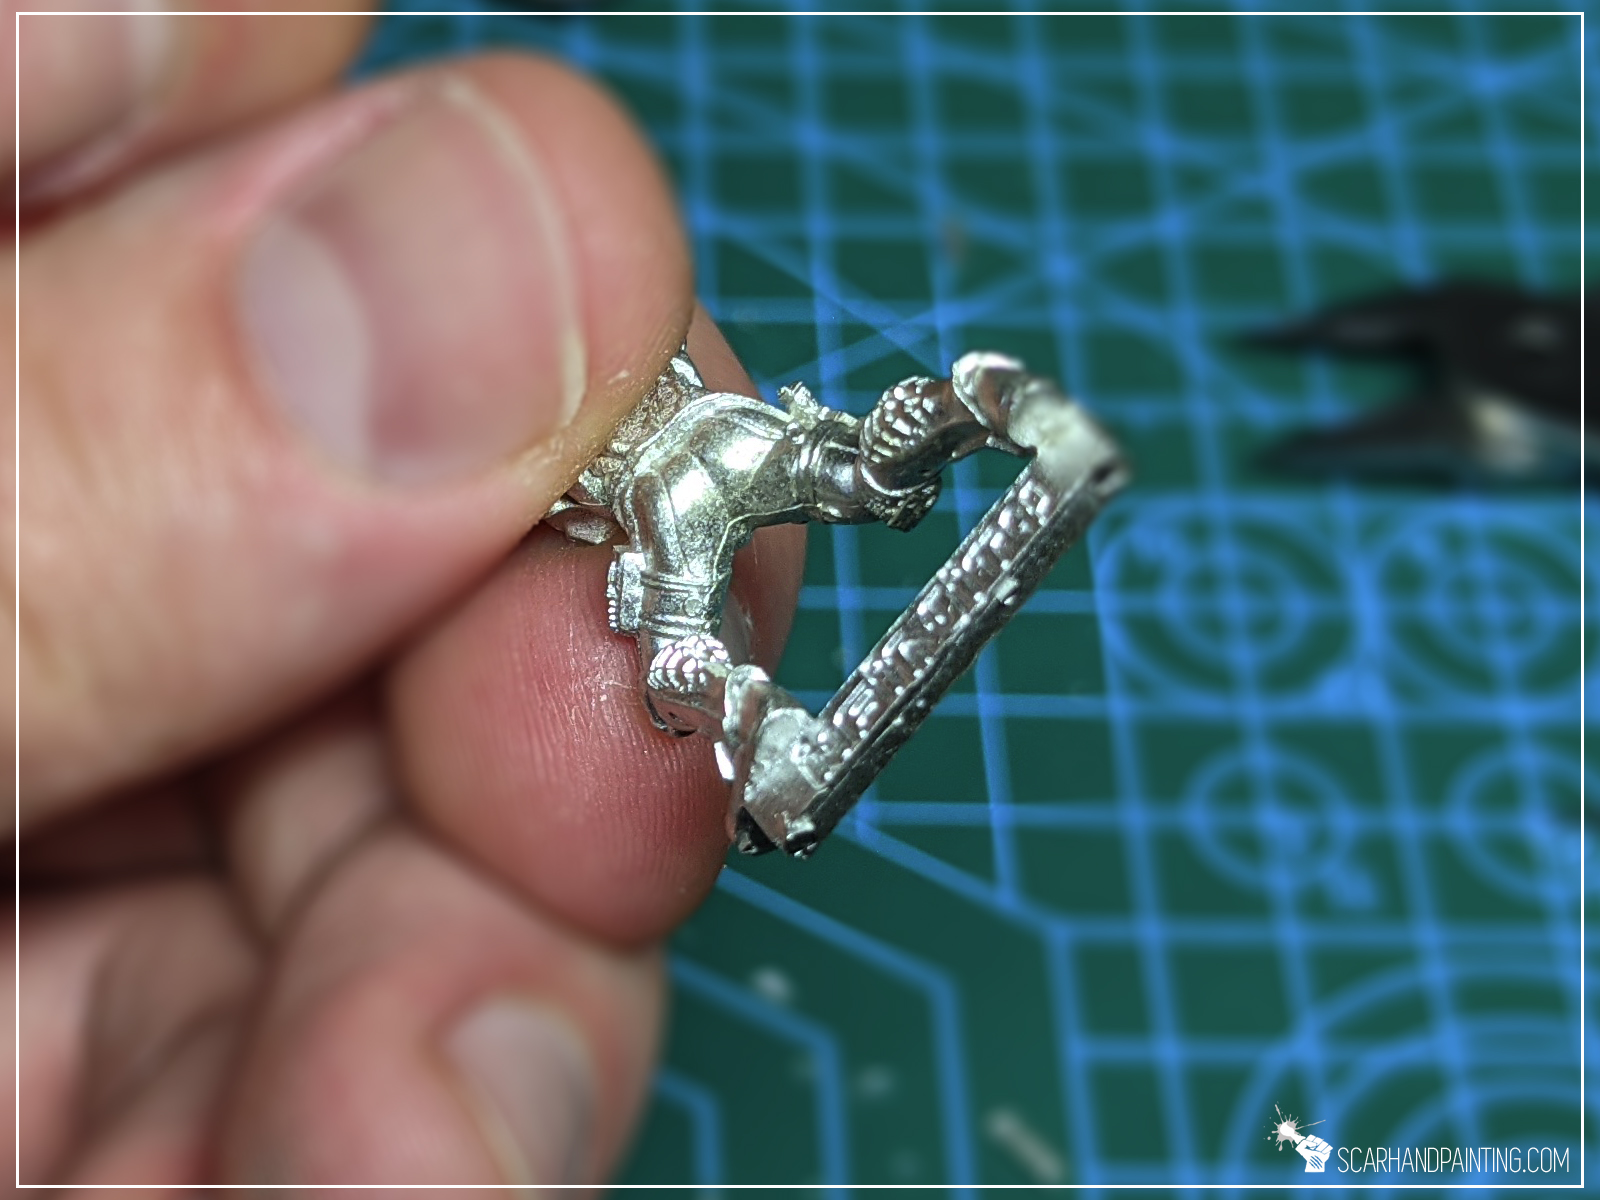
Finally, when dealing with tiny rounded bumps (like fingers of a fist for example) I start with a single, light movement of a blade, then switch to a sharp edge file…
Hobby File:
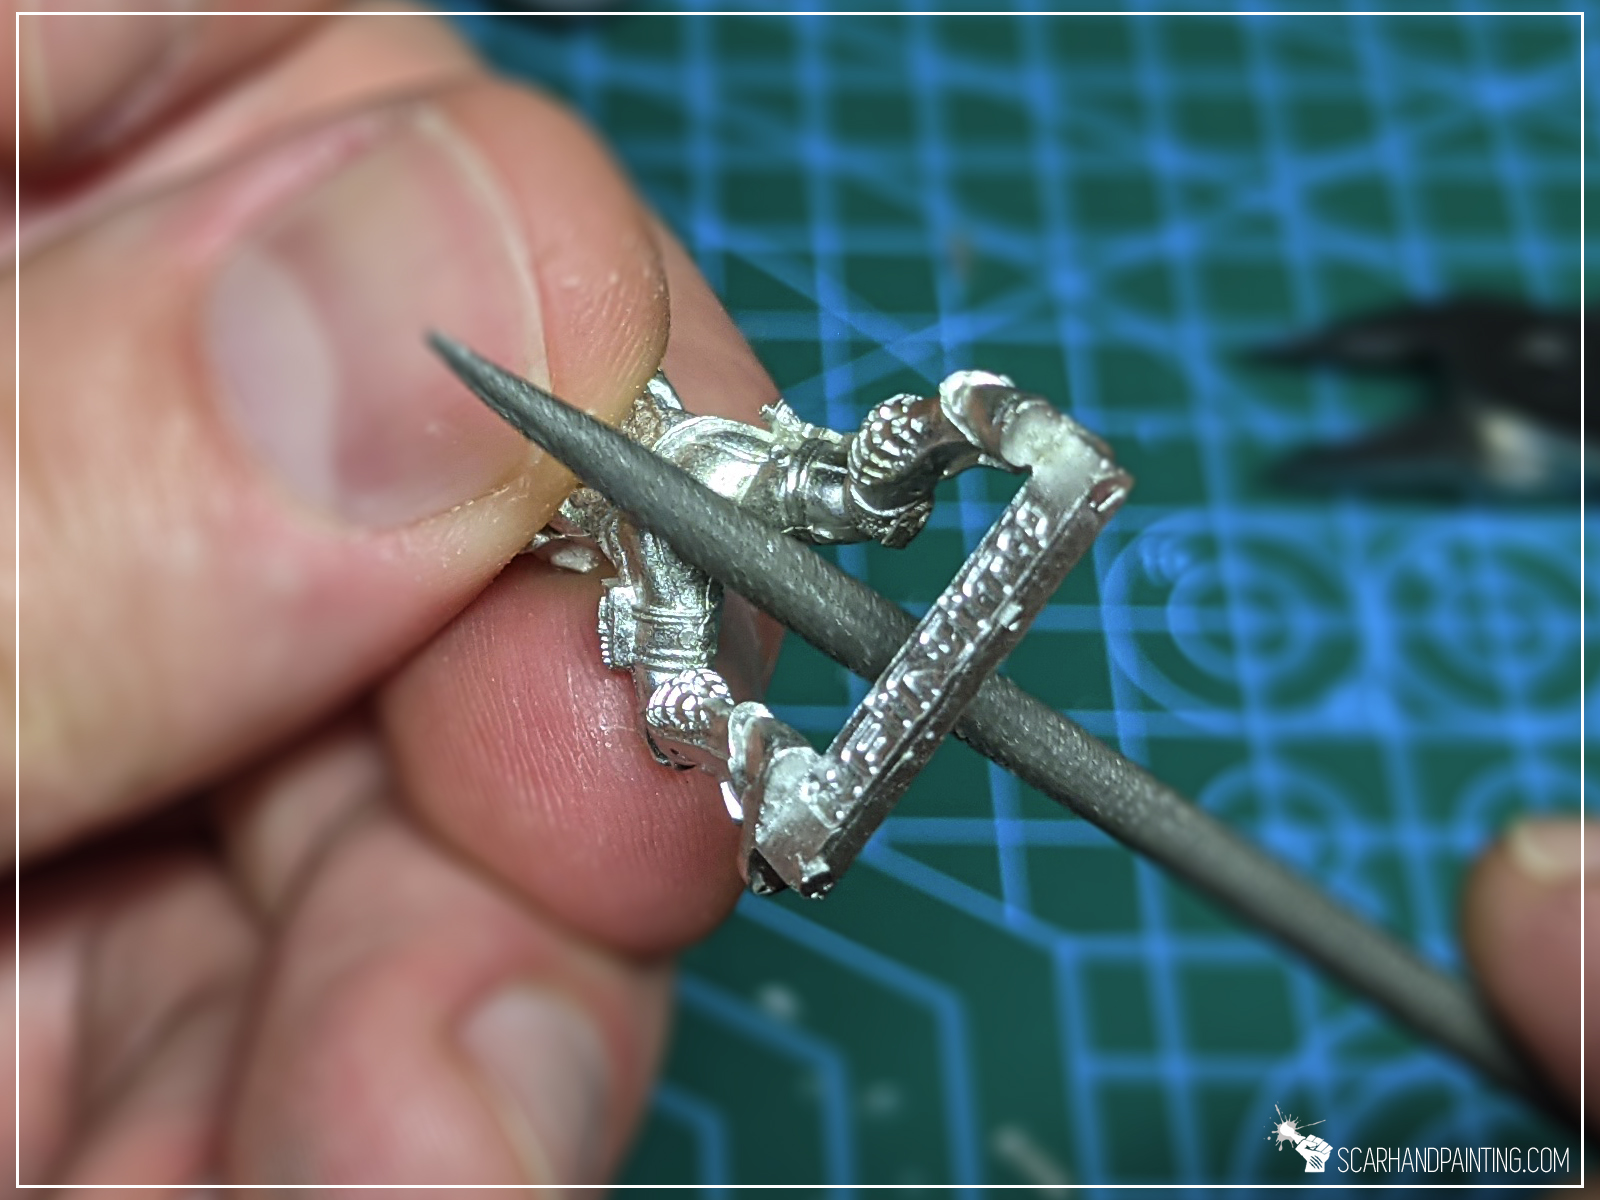
I have a lot of Hobby Files, but when I think of it – only two of them are what matters. Fully Rounded and Triangle Sharp Edged.
Back to the example picture above, I use Triangle Sharp Edged file to make a single, long, smooth movement between each bump.
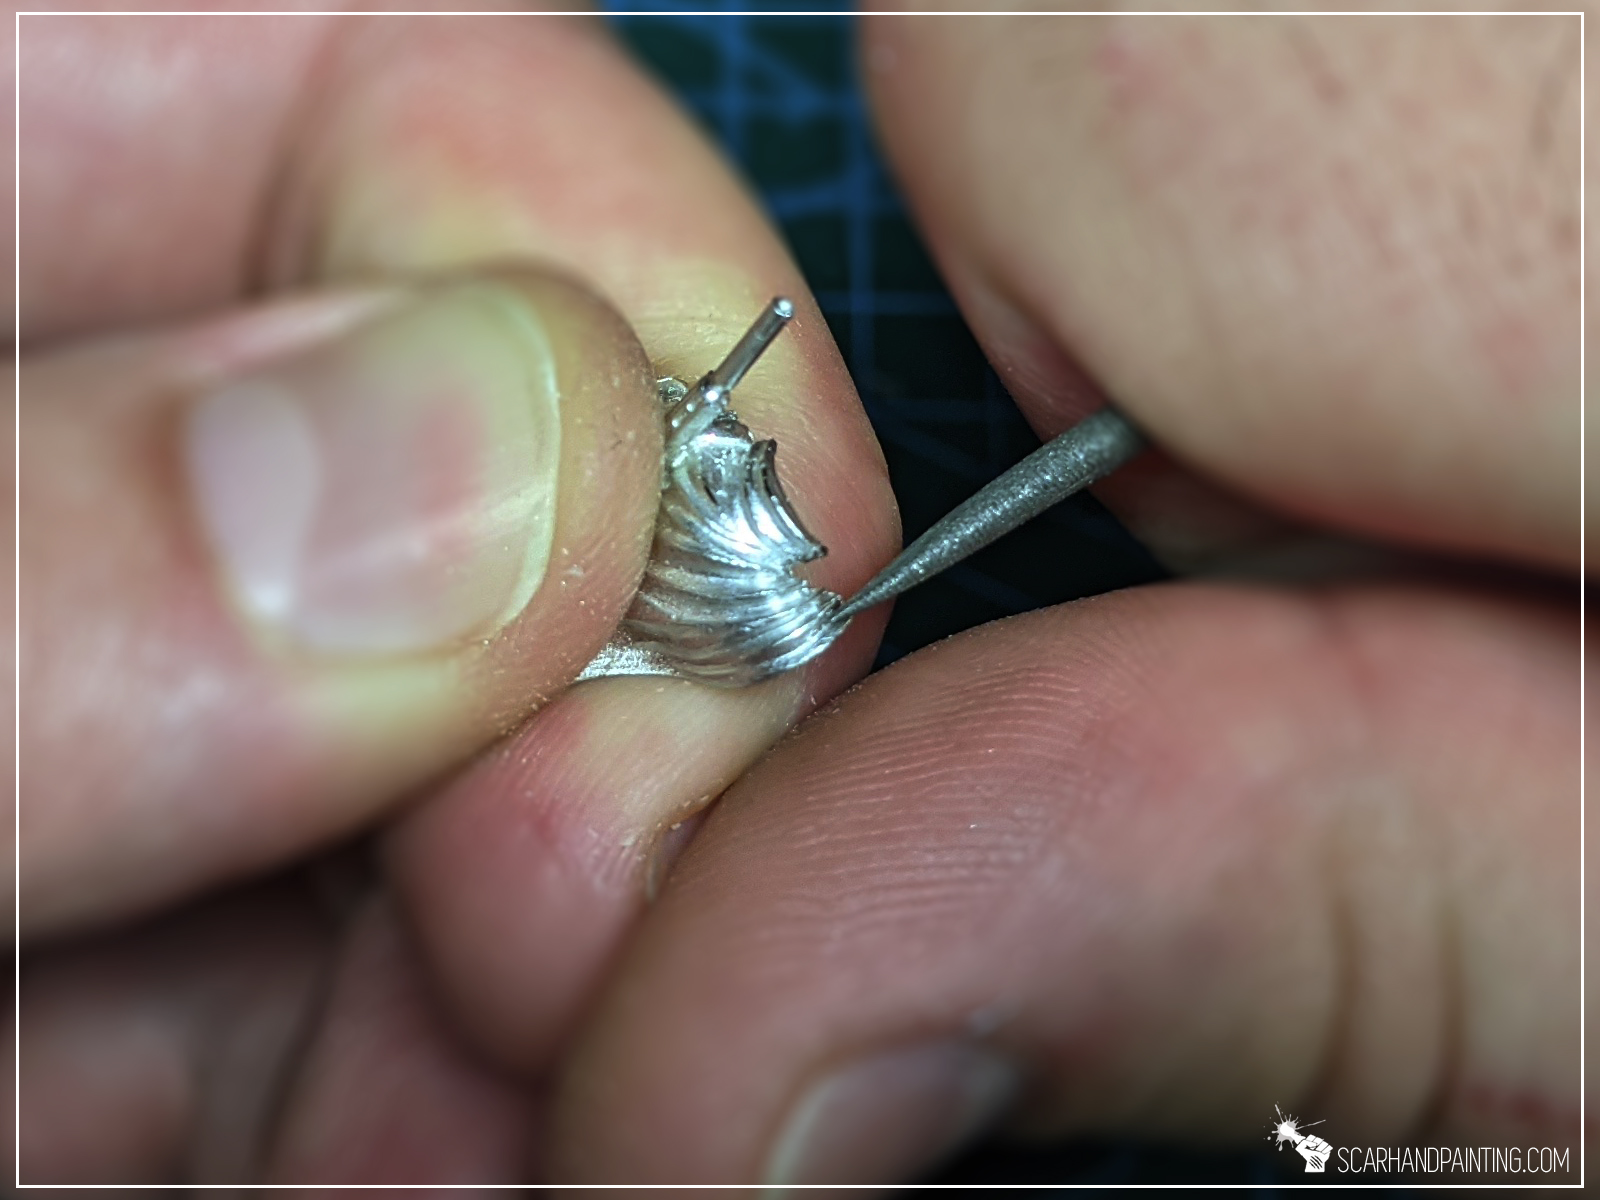
Finally Fully Rounded file is being used to smooth up any Mold Lines irregularities (when two halves of a miniature does not align properly).
Hobby Cutters:
These are pretty straightforward. I use them to cut pieces of miniatures off the sprues and to cut off any large chunks of excess material. One thing to remember is to align a flat side of the cutting edge with the area you want to cut stuff off from. This will keep the surface smooth.
Plastic: is the most common material one might face while toying with miniatures, so let’s start with this one. There are two main kinds of plastic. Standard Plastic, which can be colored, is a high quality durable and elastic material with crisp detail and no bubbles. Worst issues are mold halves not aligned properly, but this can usually be dealt with by applying more force to a hobby knife. I rarely use files to deal with plastic and prefer to work with Hobby Cutters ands Knife instead.
Board Game Plastic, which is a total gummy disaster and cannot be filed (leaves tiny strains) unless put to a refrigerator for couple of hours. My personal rule is to leave it be, bad material and I just do not prep it at all.

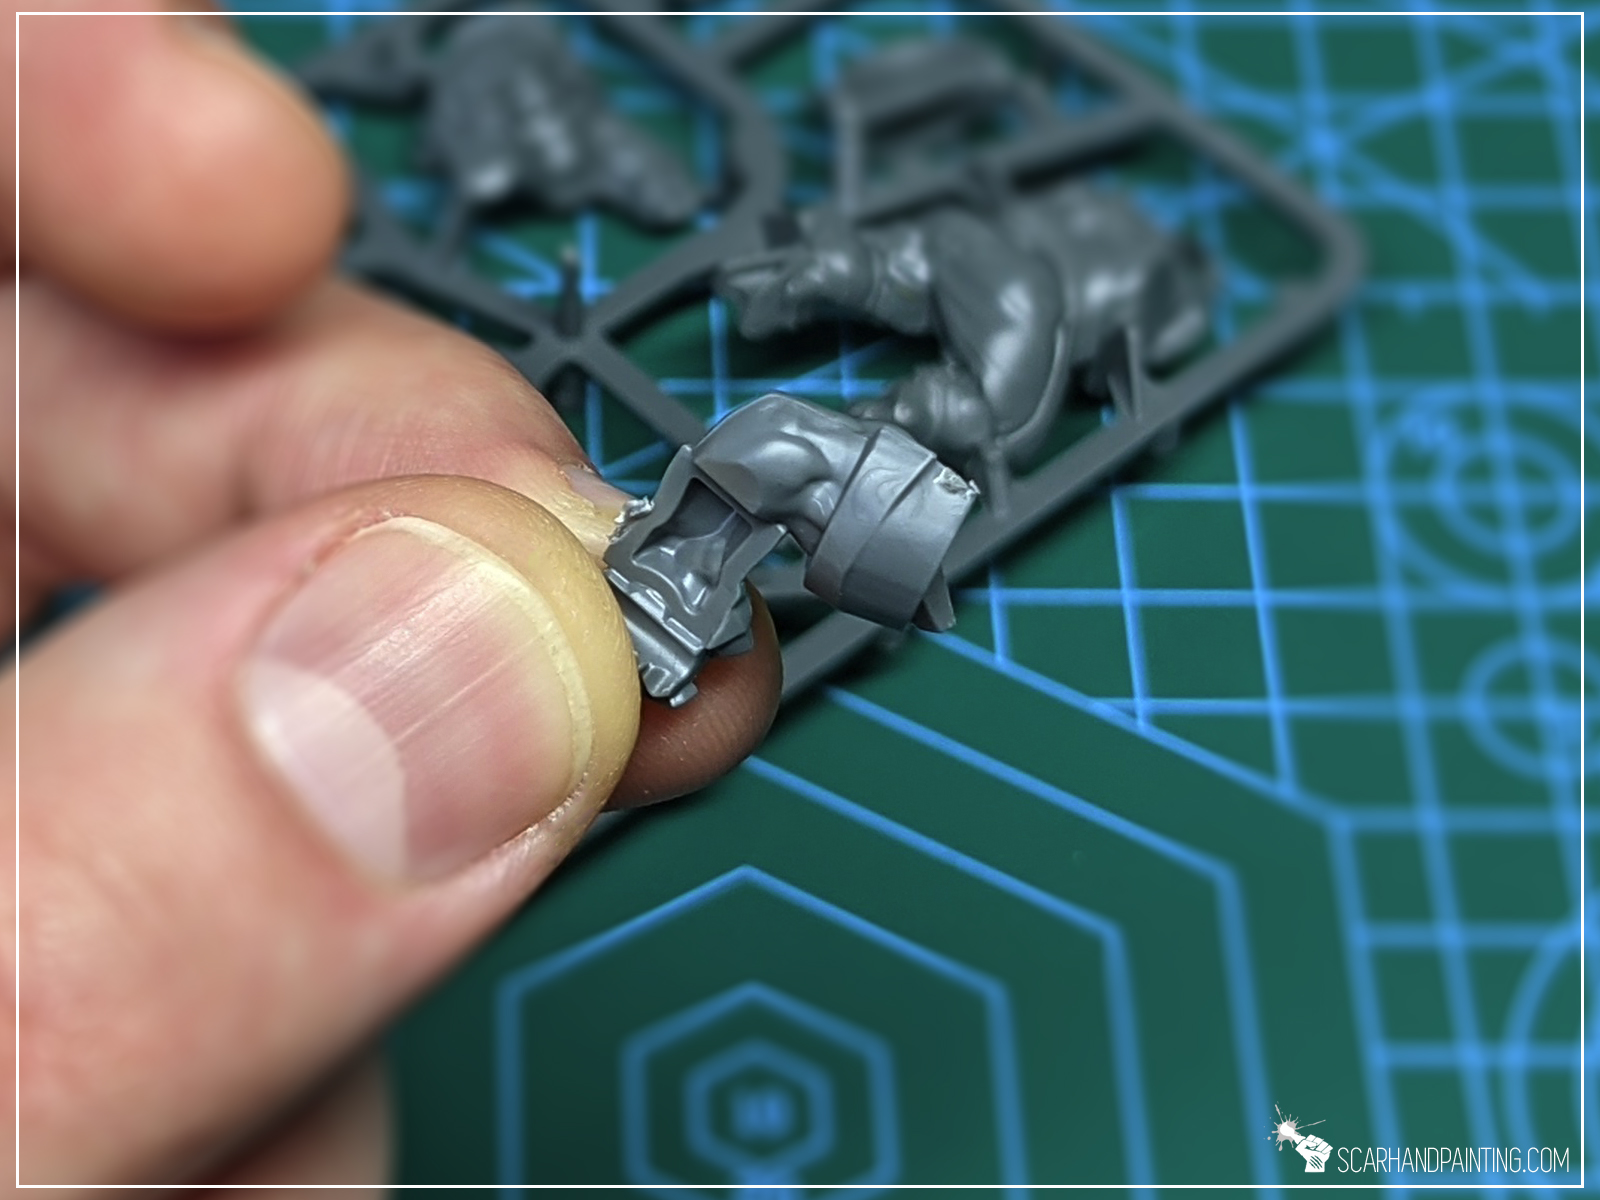
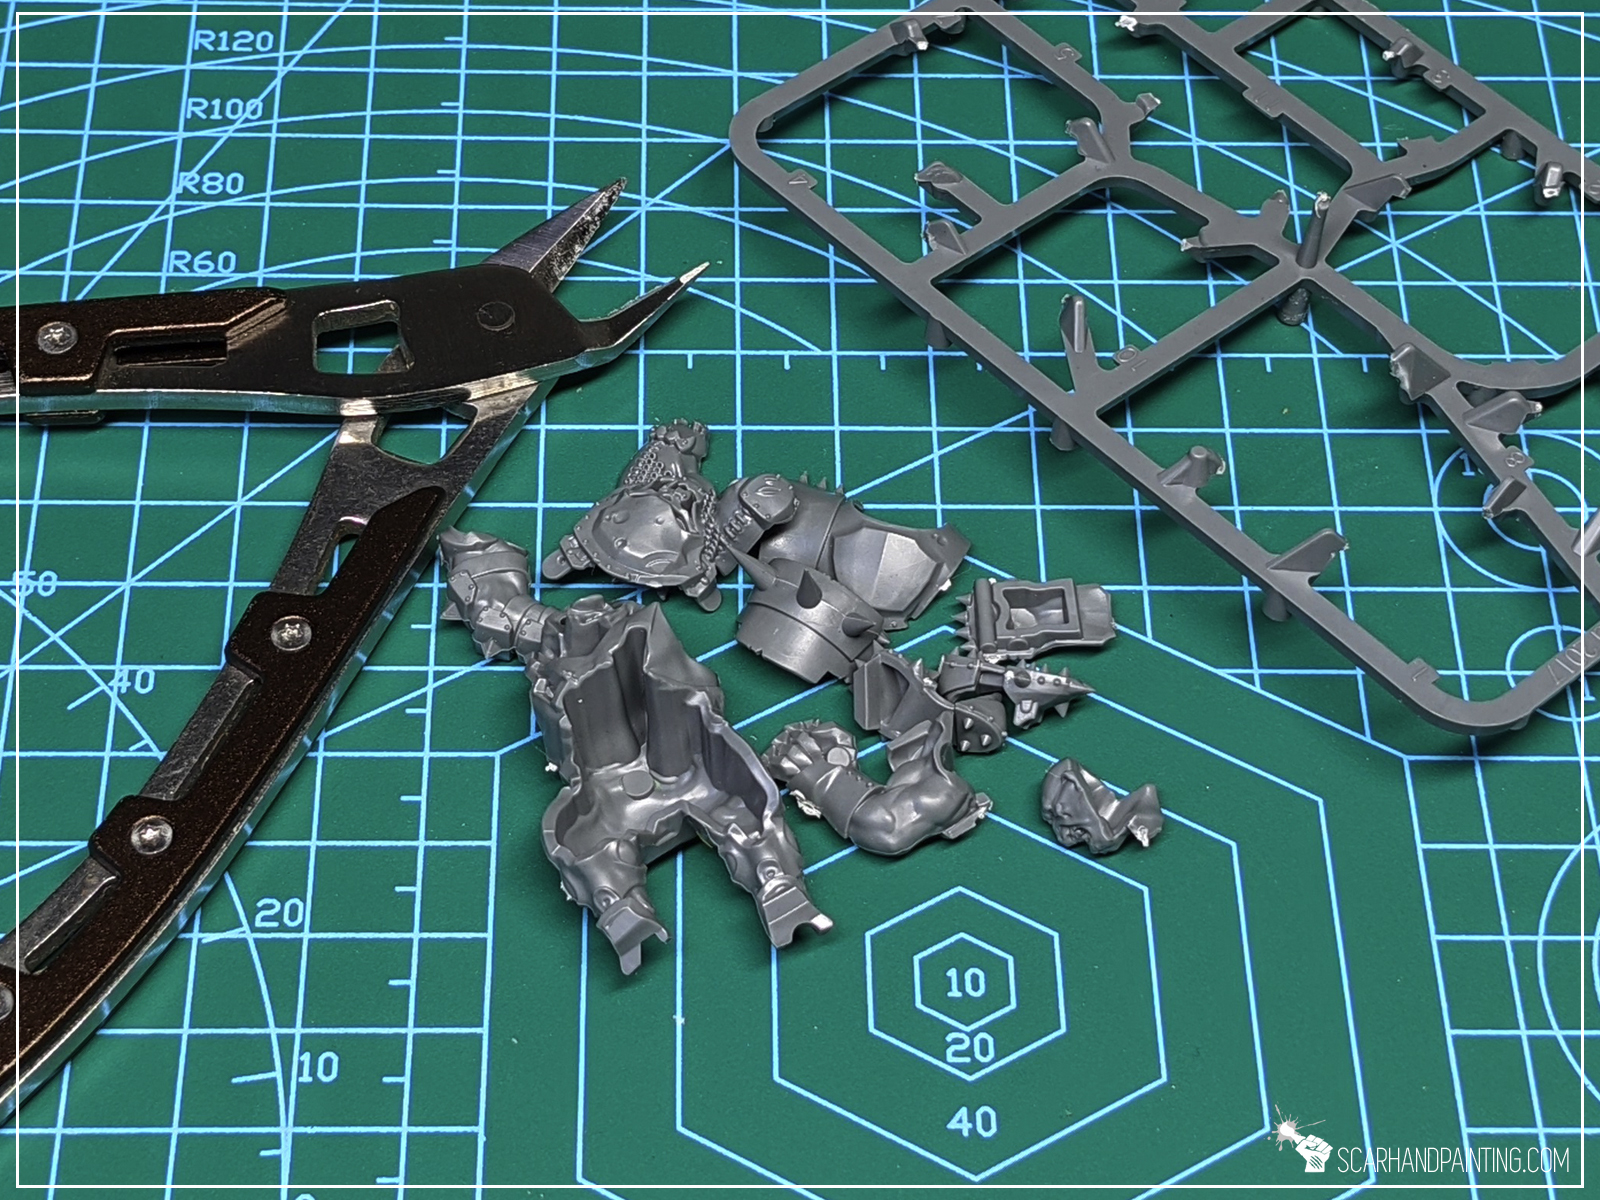
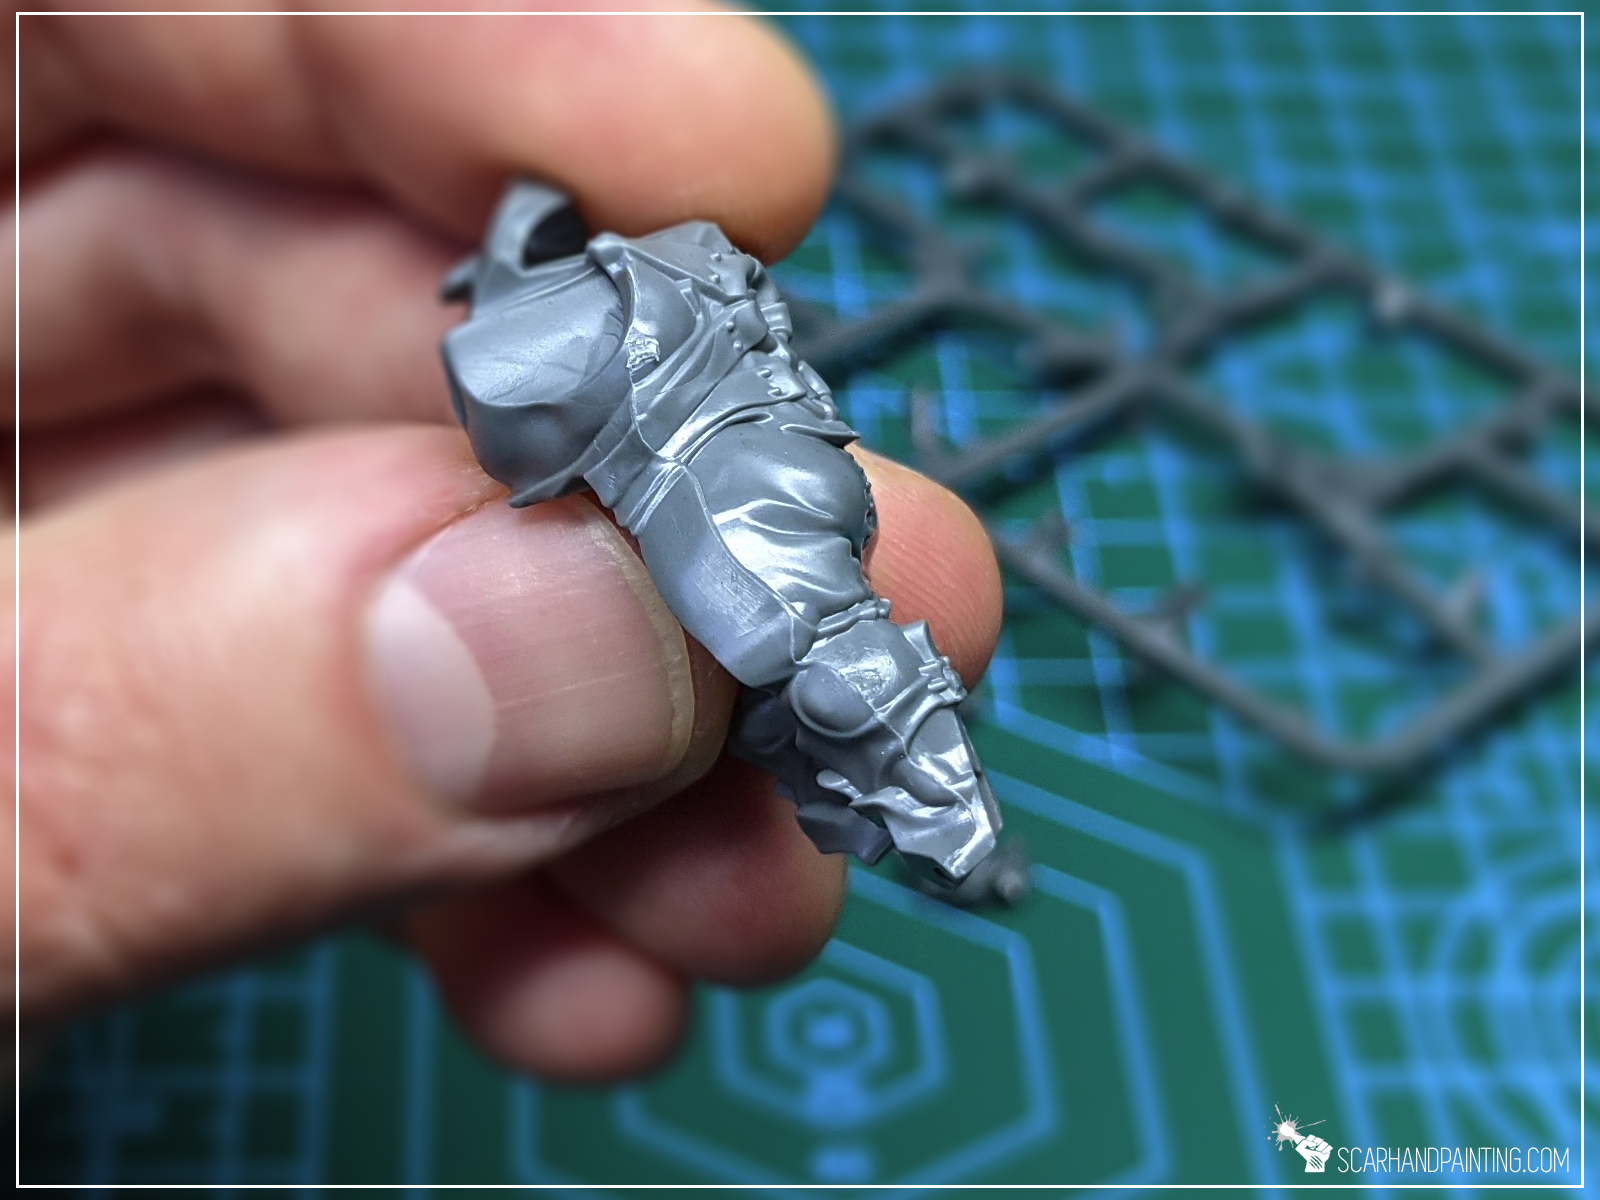
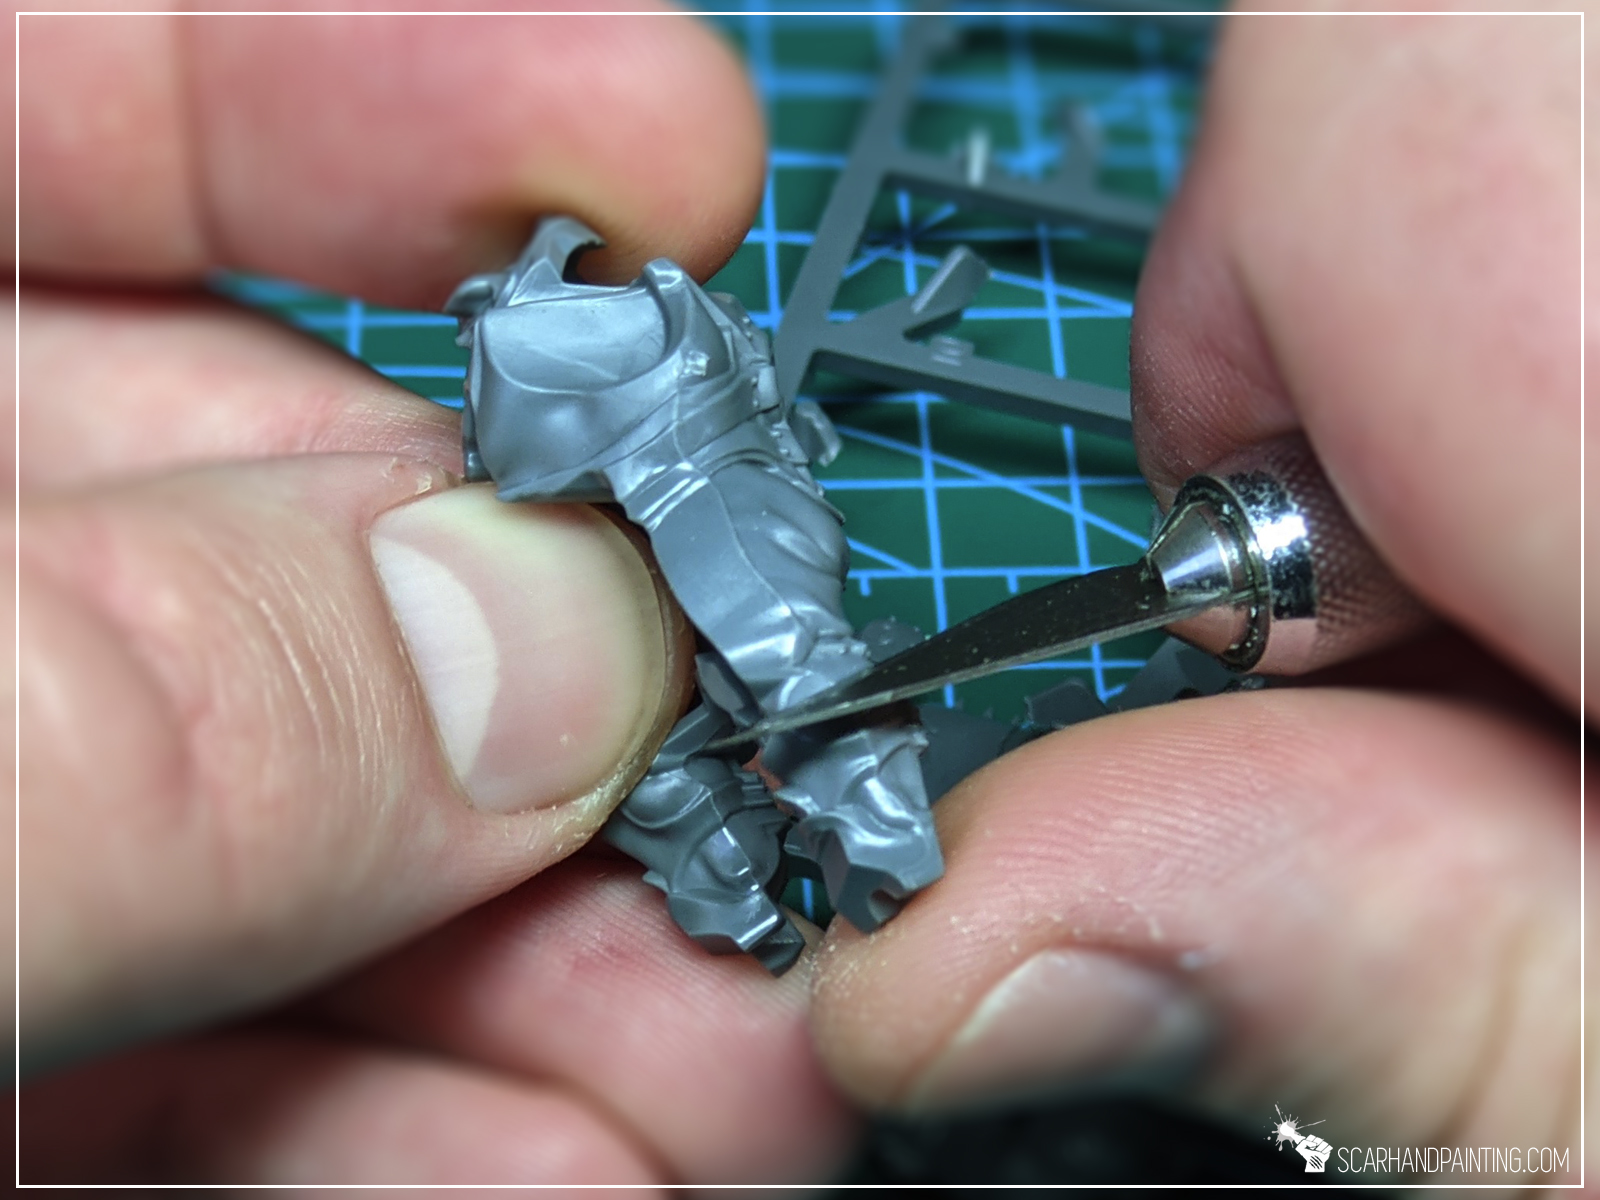
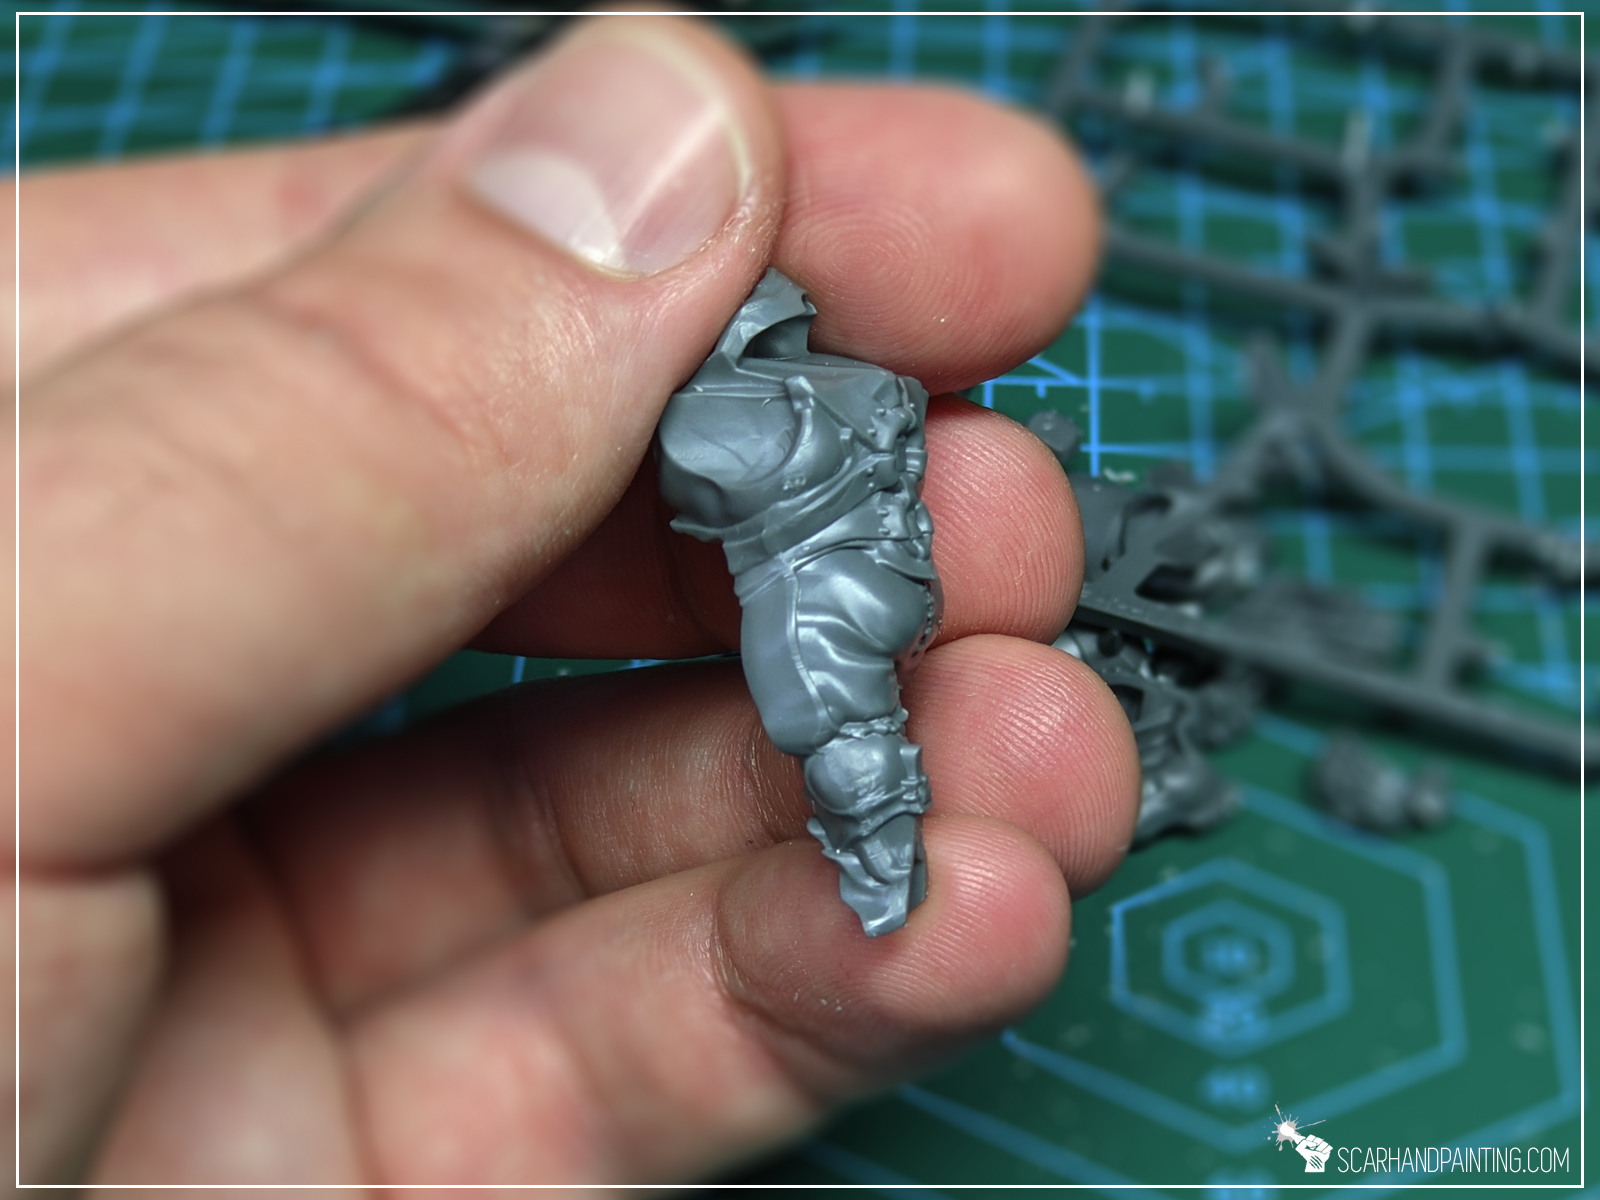
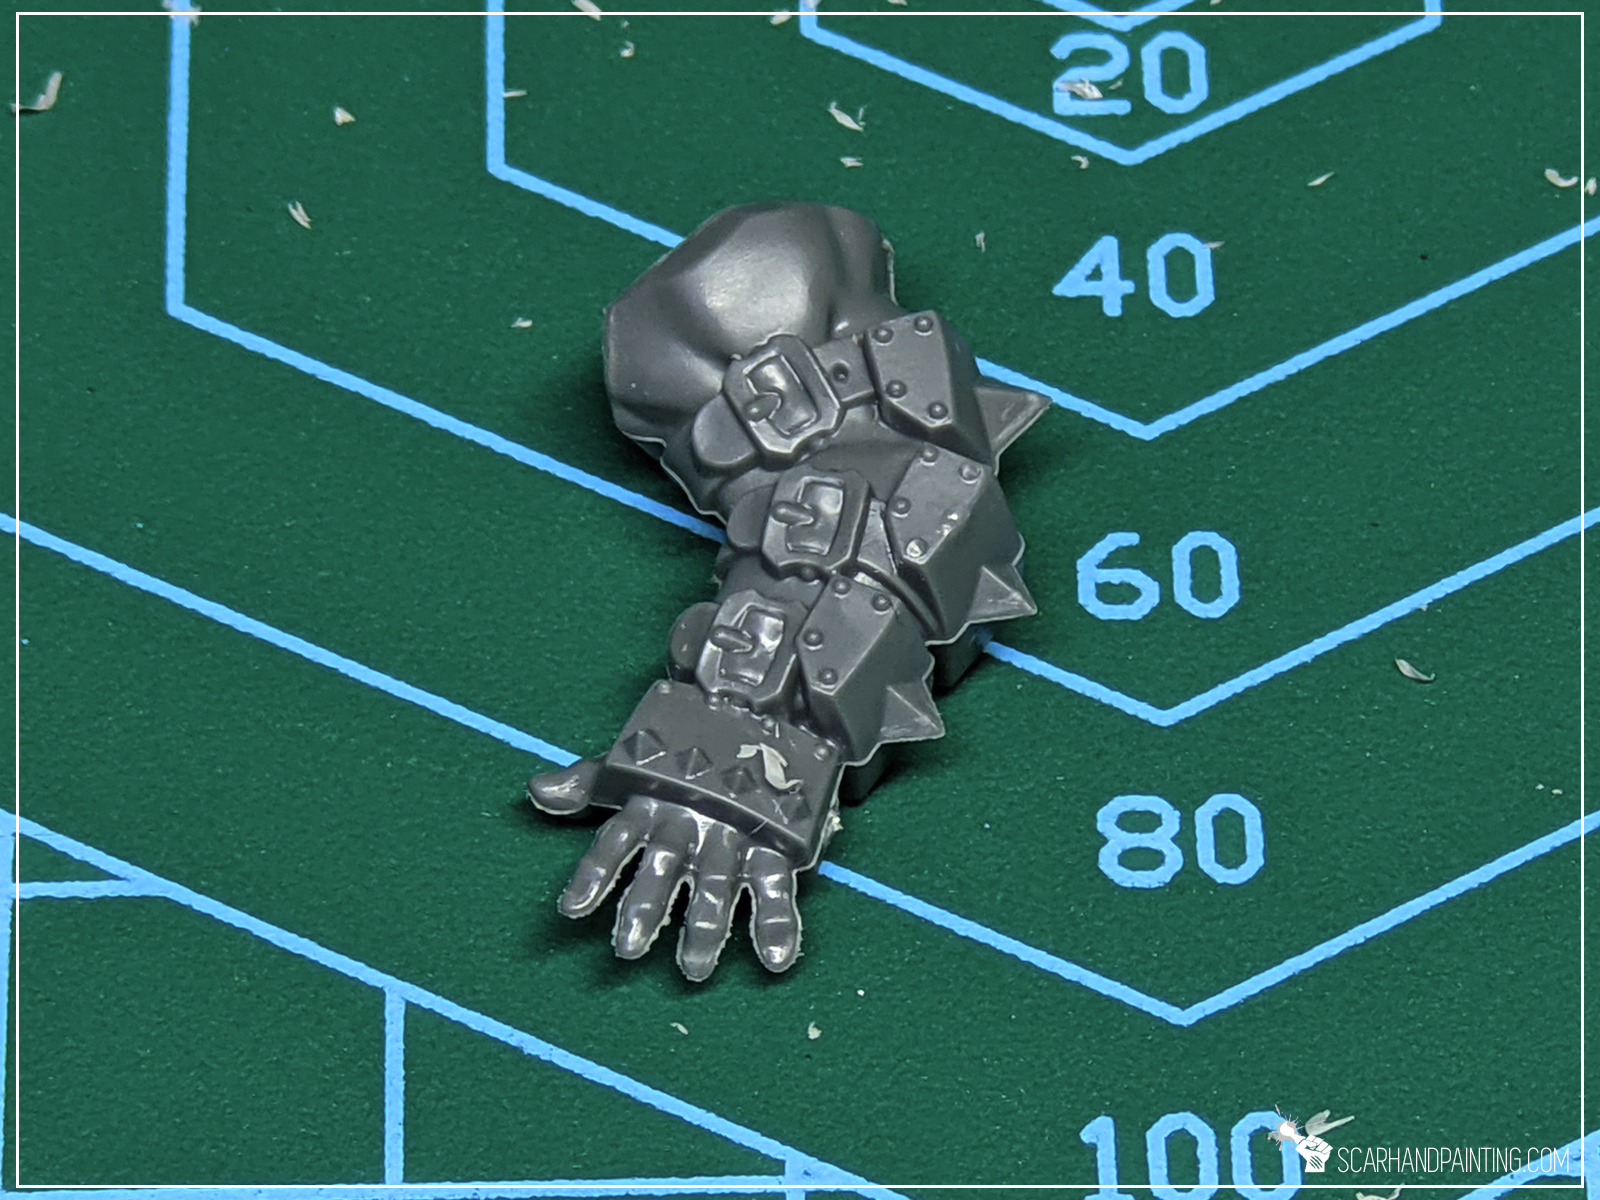

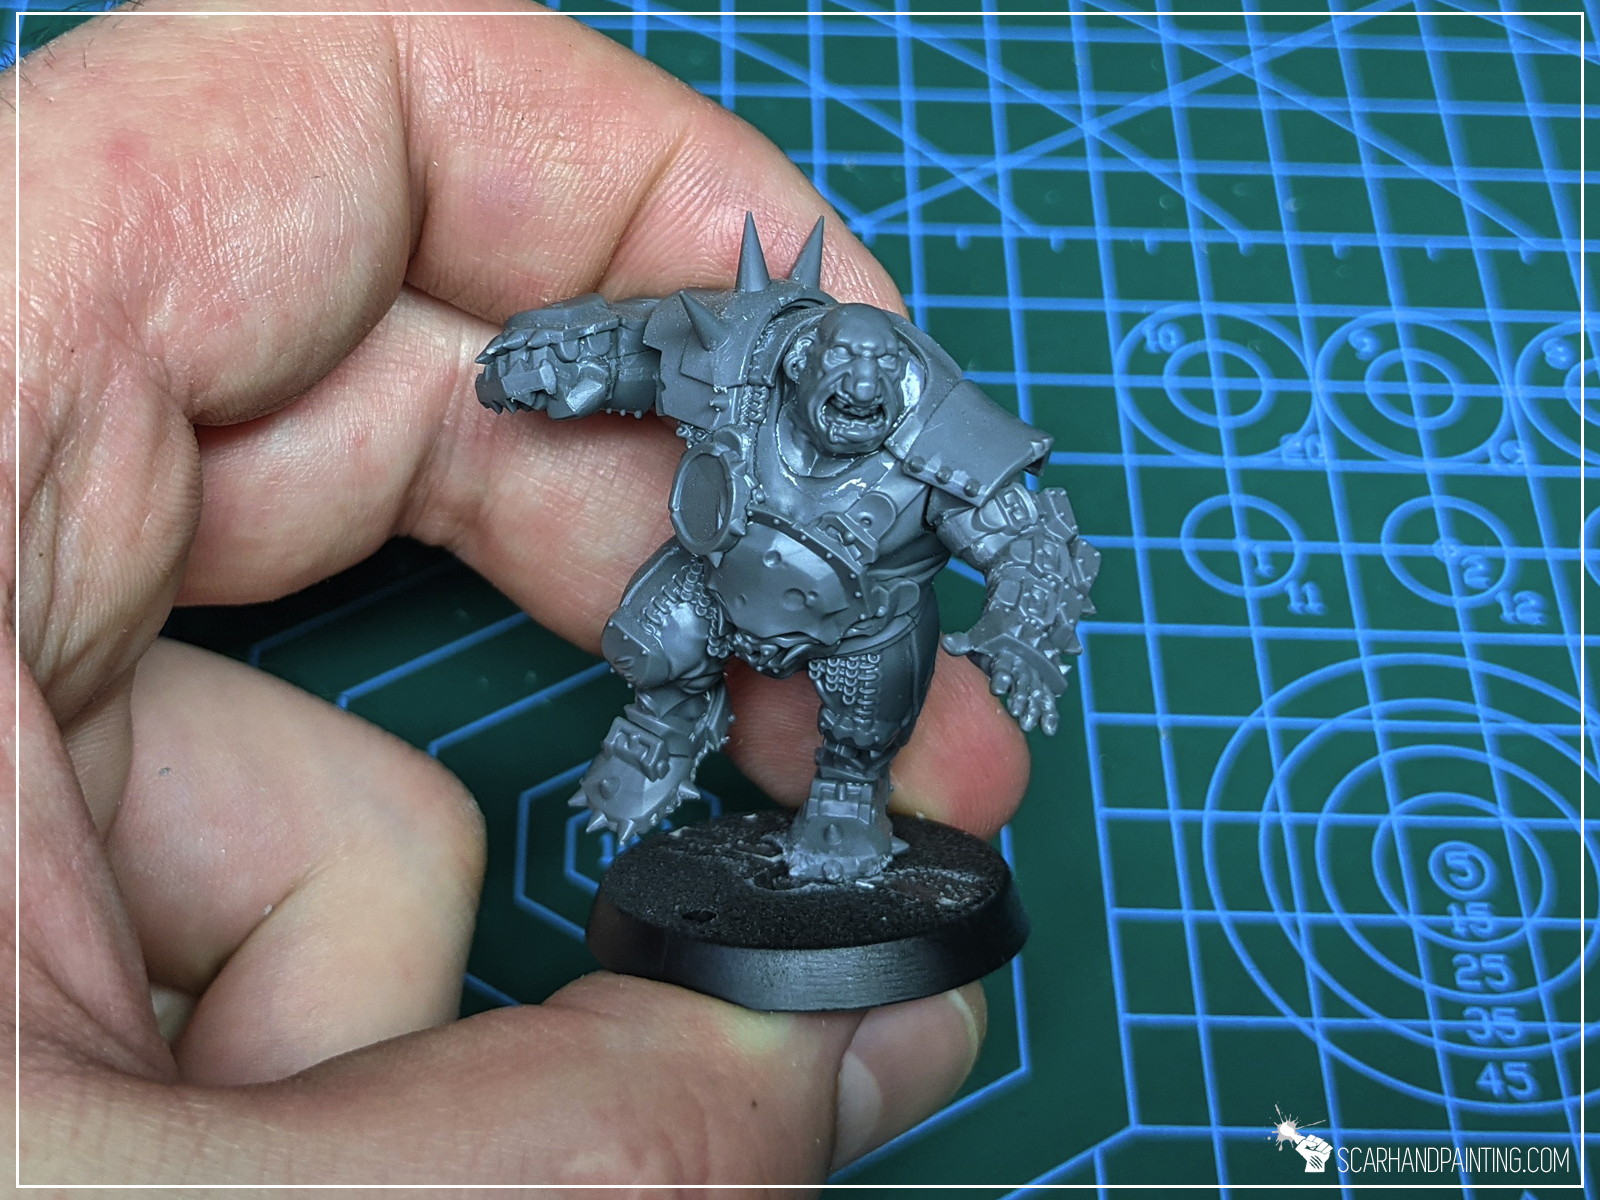
Resin: is the most problematic of the three main materials I have worked with. Resin is fragile, easy to break, tends to have hidden air bubbles plus it is common for mold halves to not be aligned properly. On top of that resin miniatures are sparkled with a lot of supports (tiny excess elements). On a bright side, a properly casted resin has a very sharp detail and texture, is easy to glue together if broken and can be modelled easy with a knife.
When dealing with resin I prefer Hobby Cutters and Knife over files, using the latter only in case of emergency.
Important note: wear a face mask when filing resin. You don’t want to breathe it in.
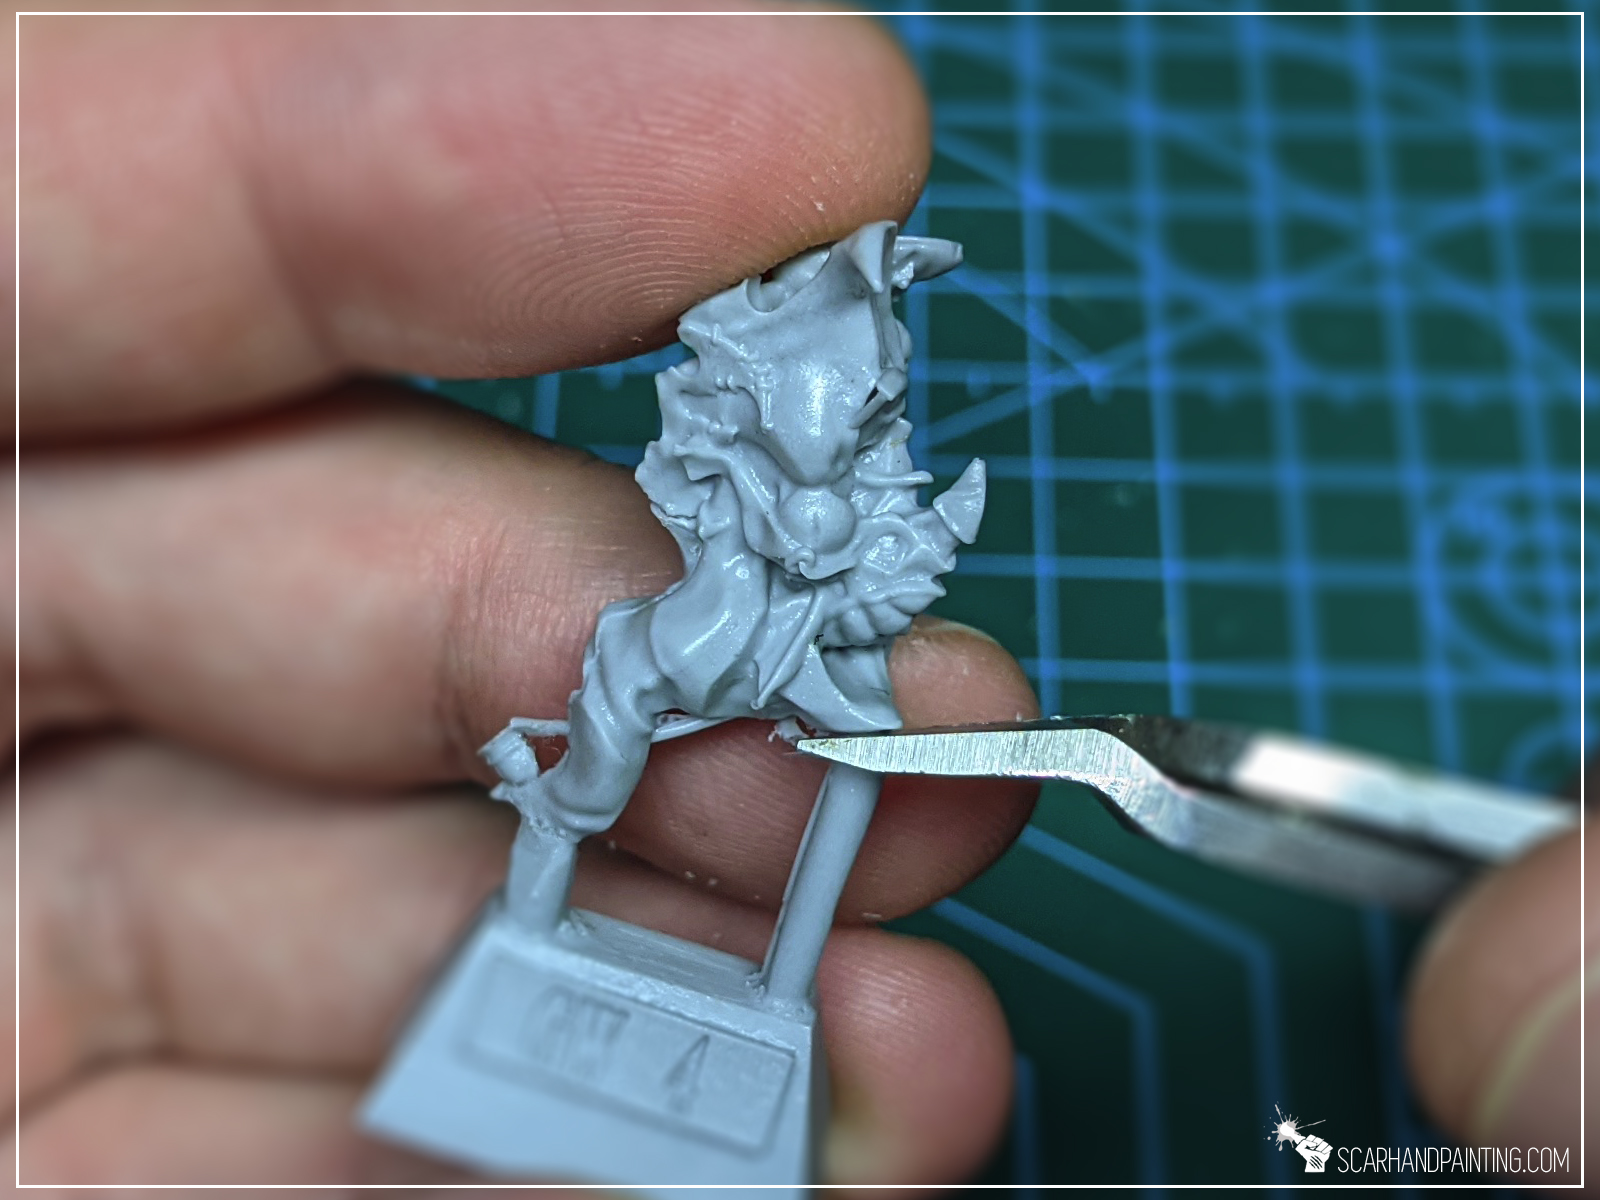
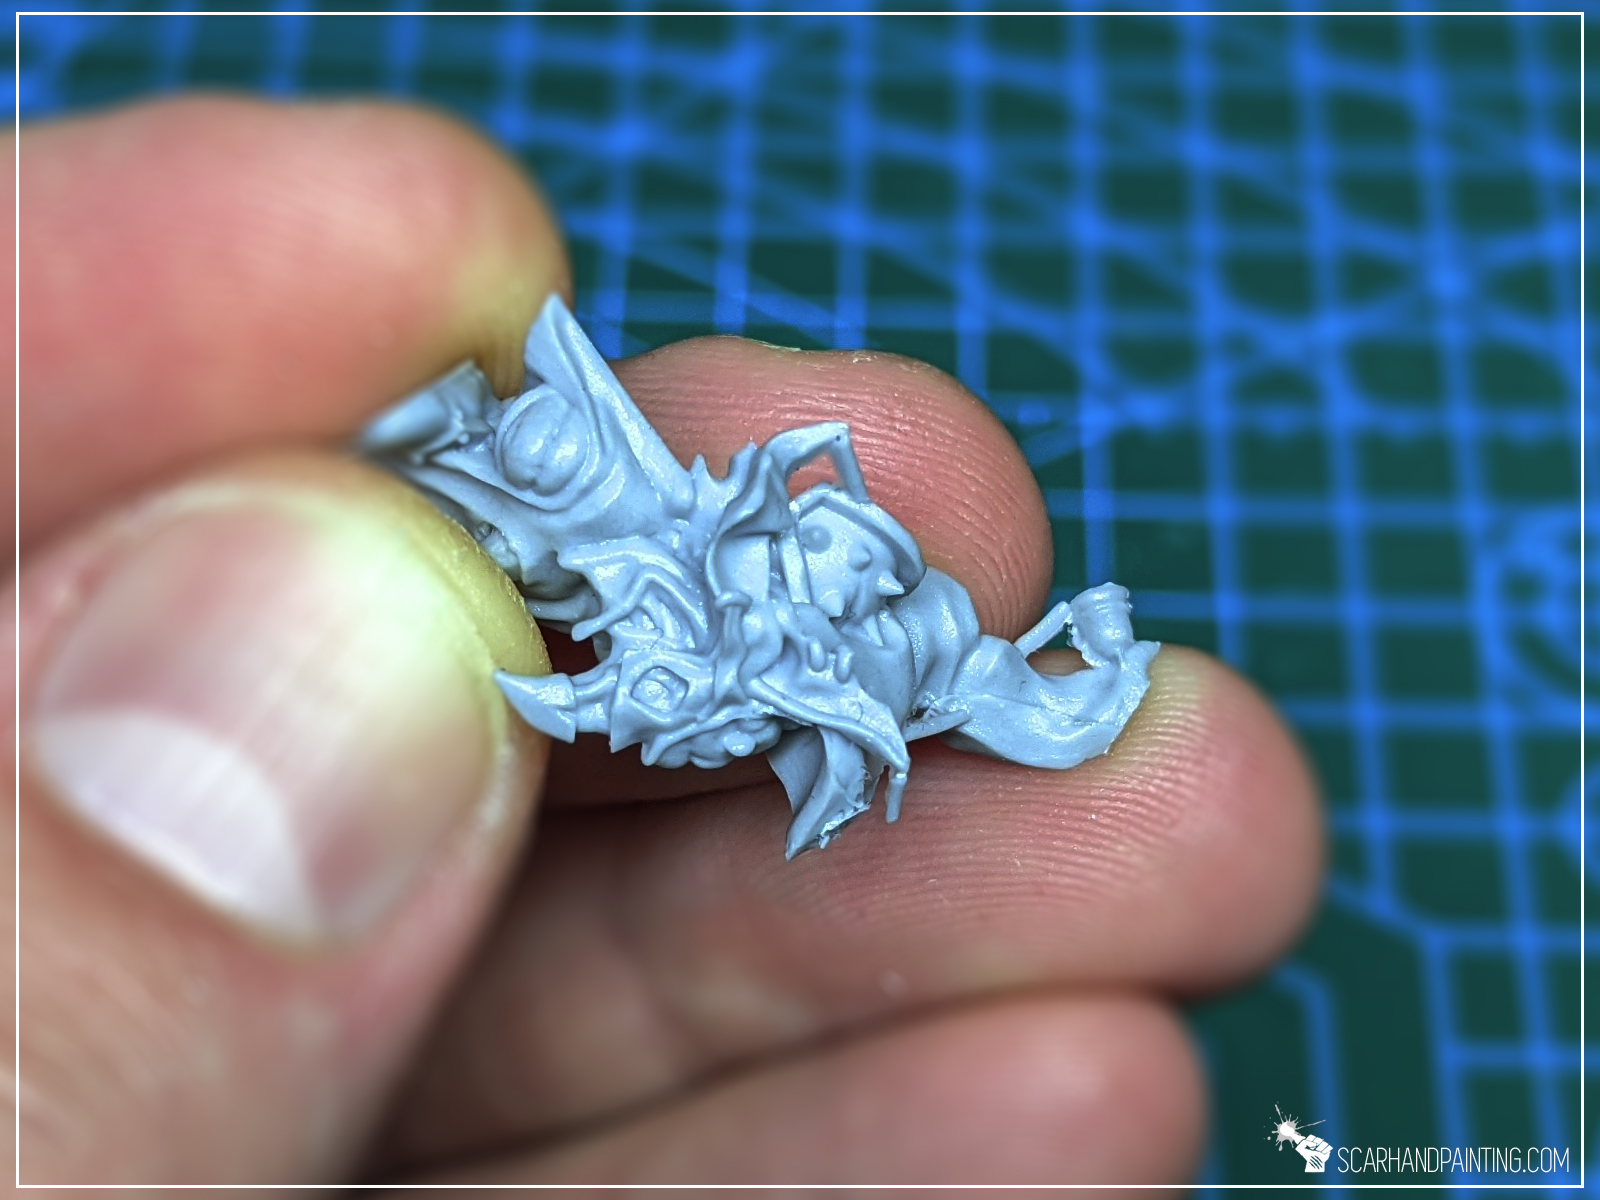
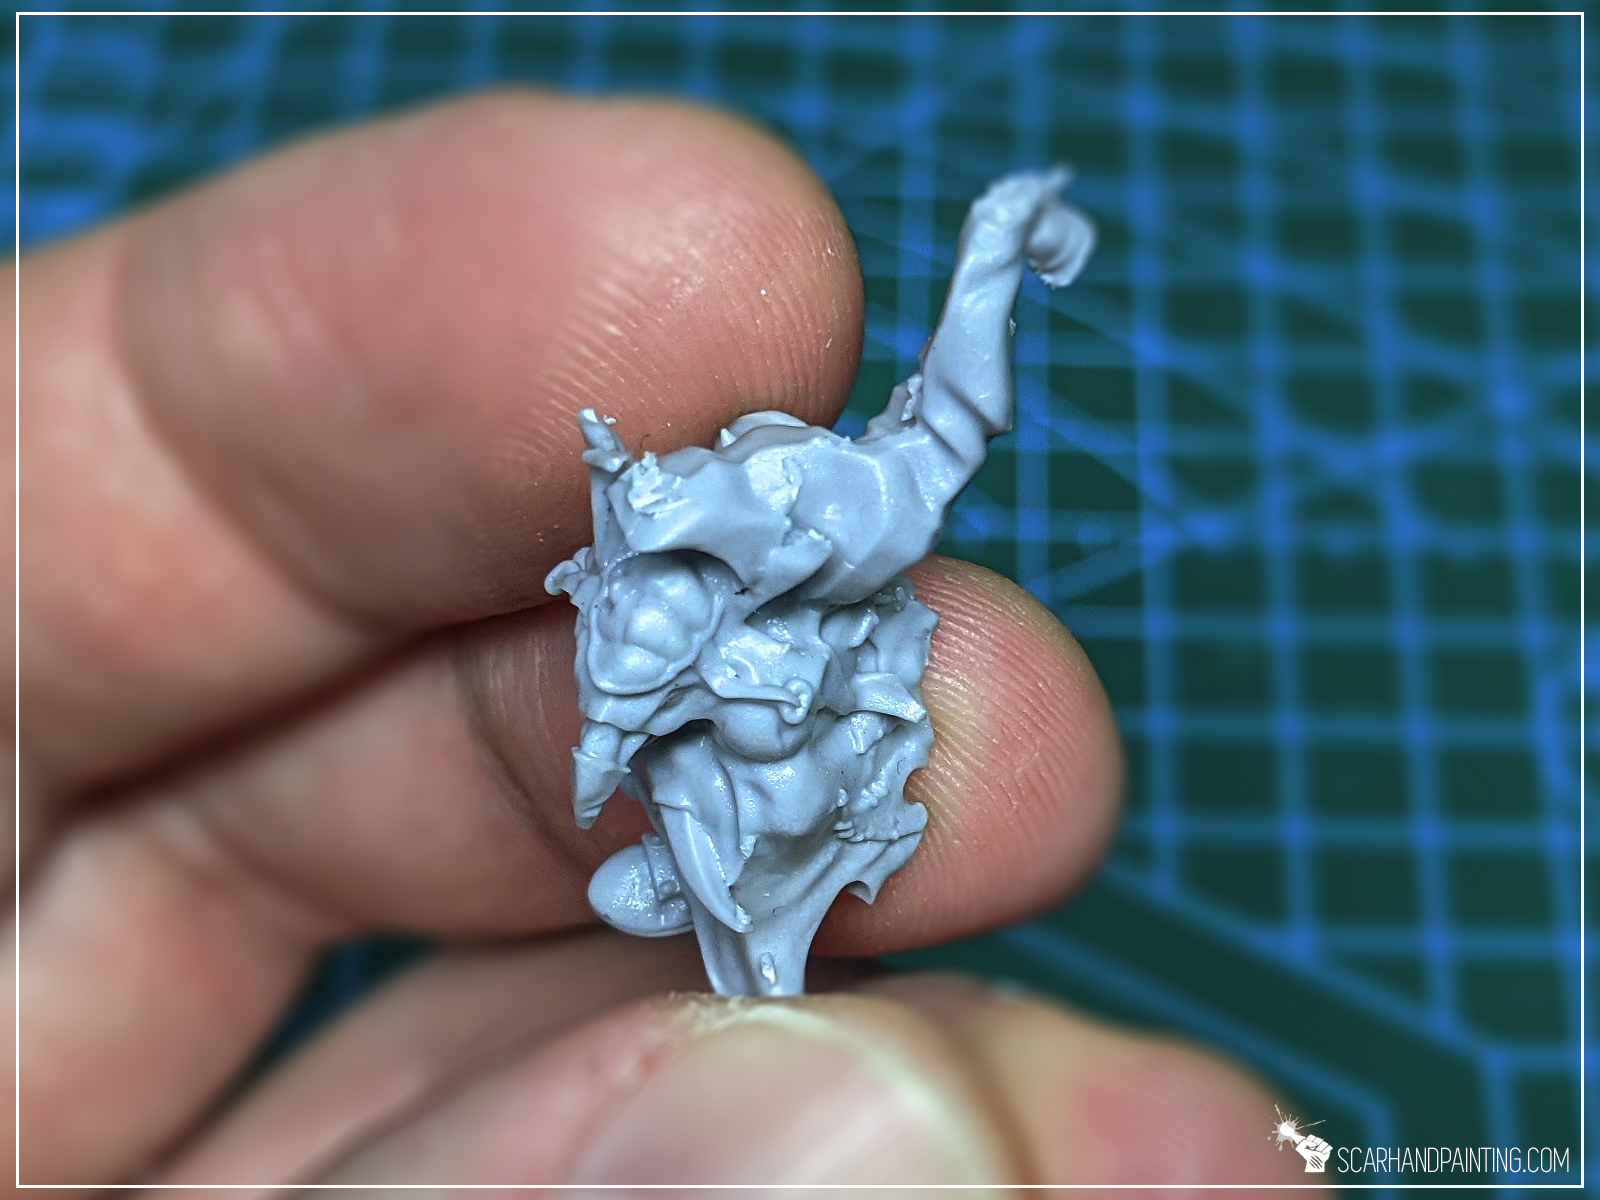
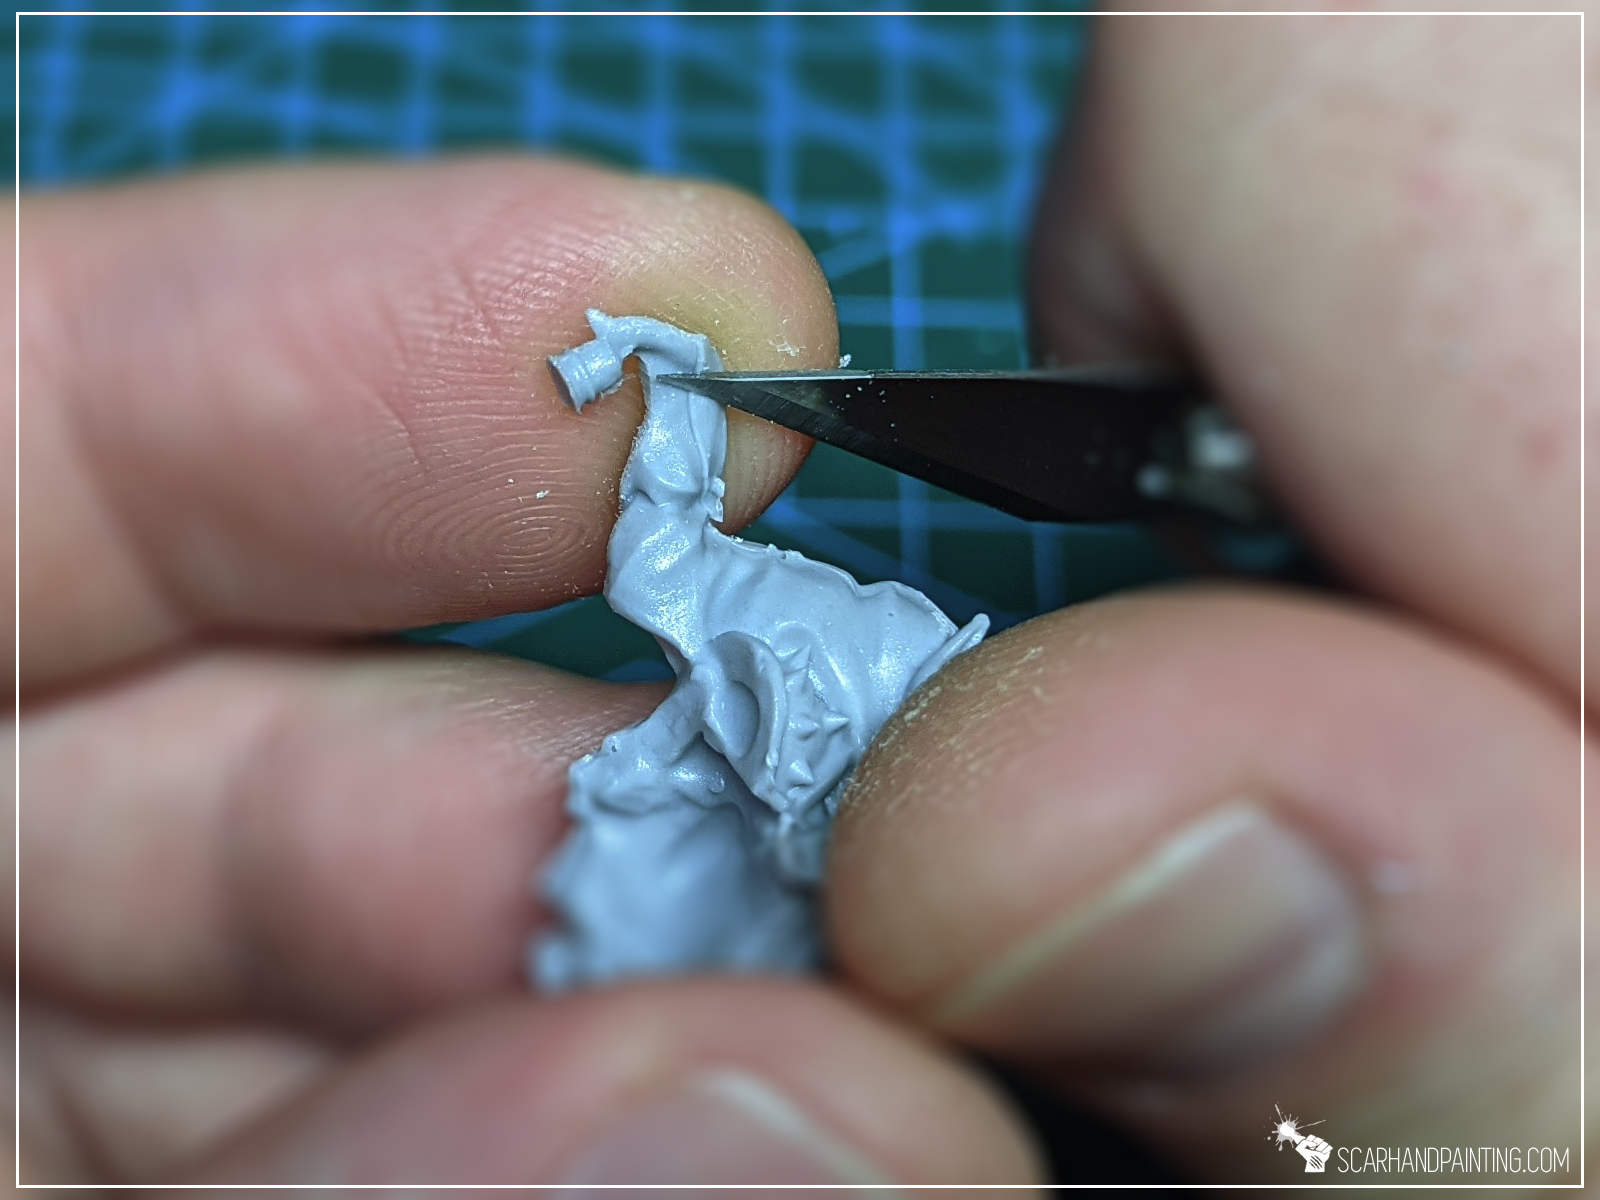
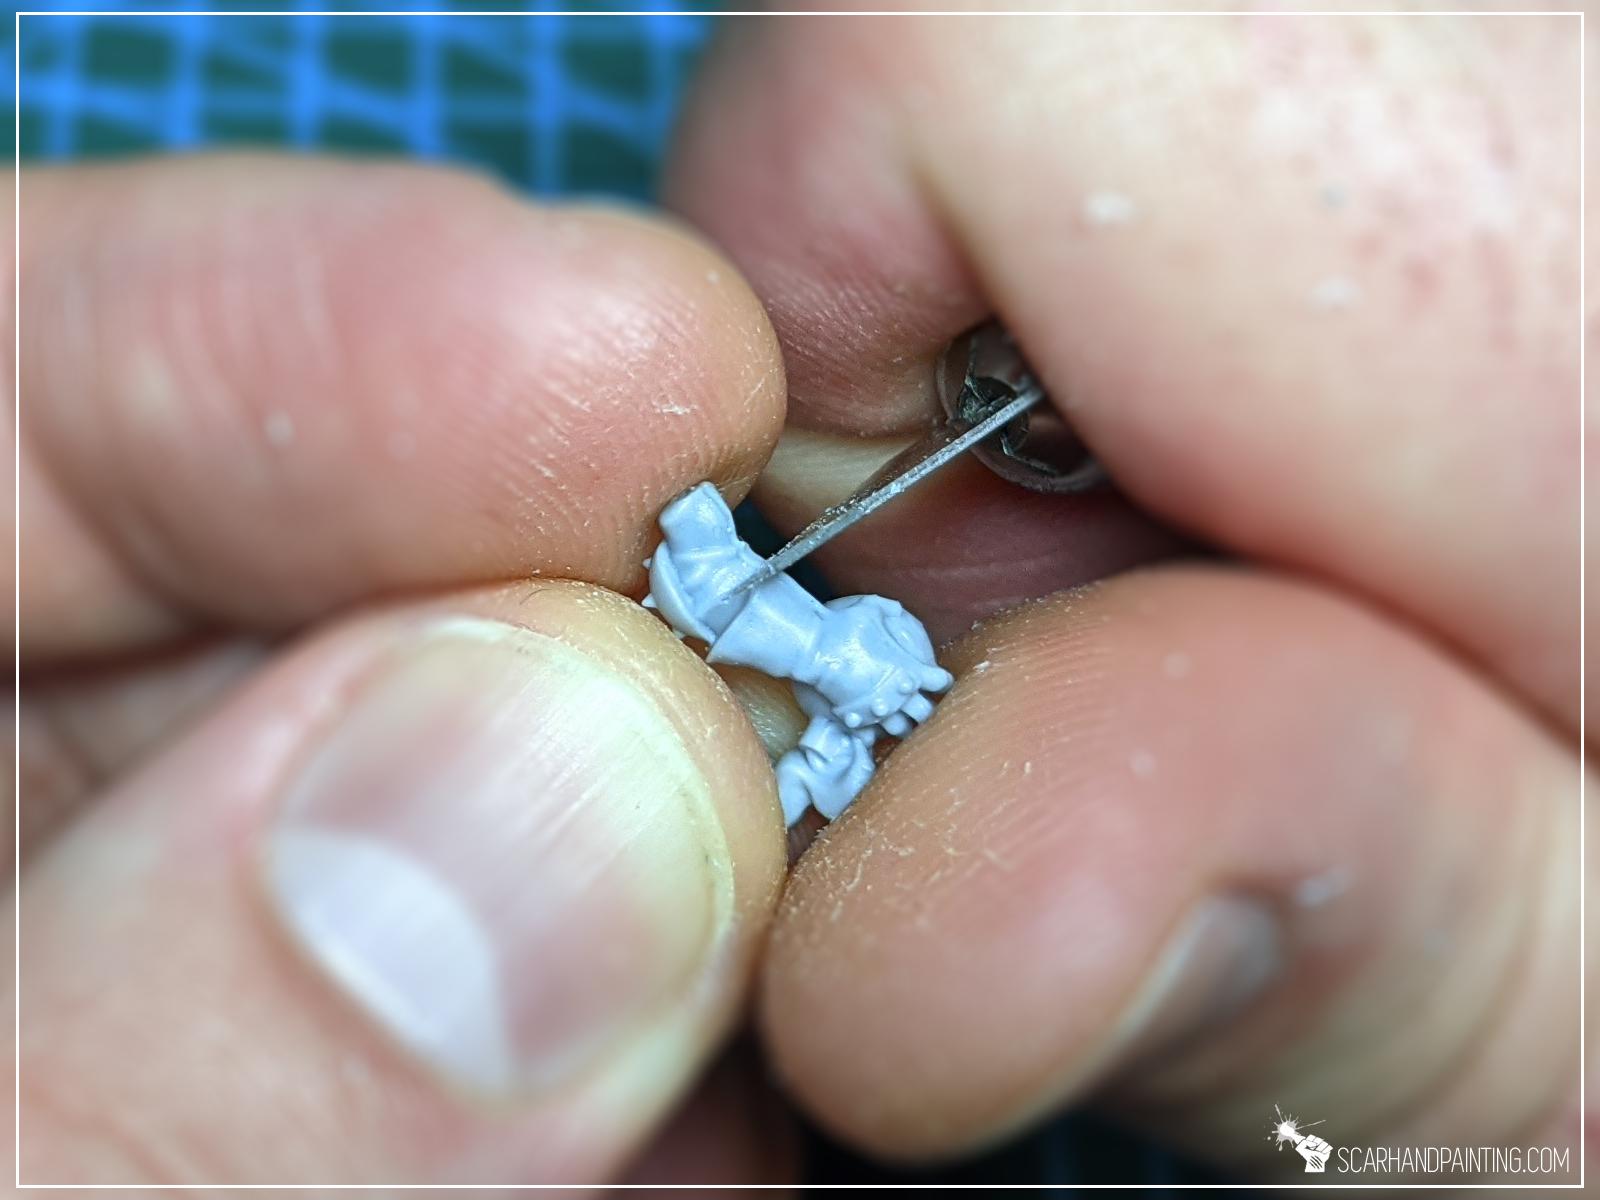
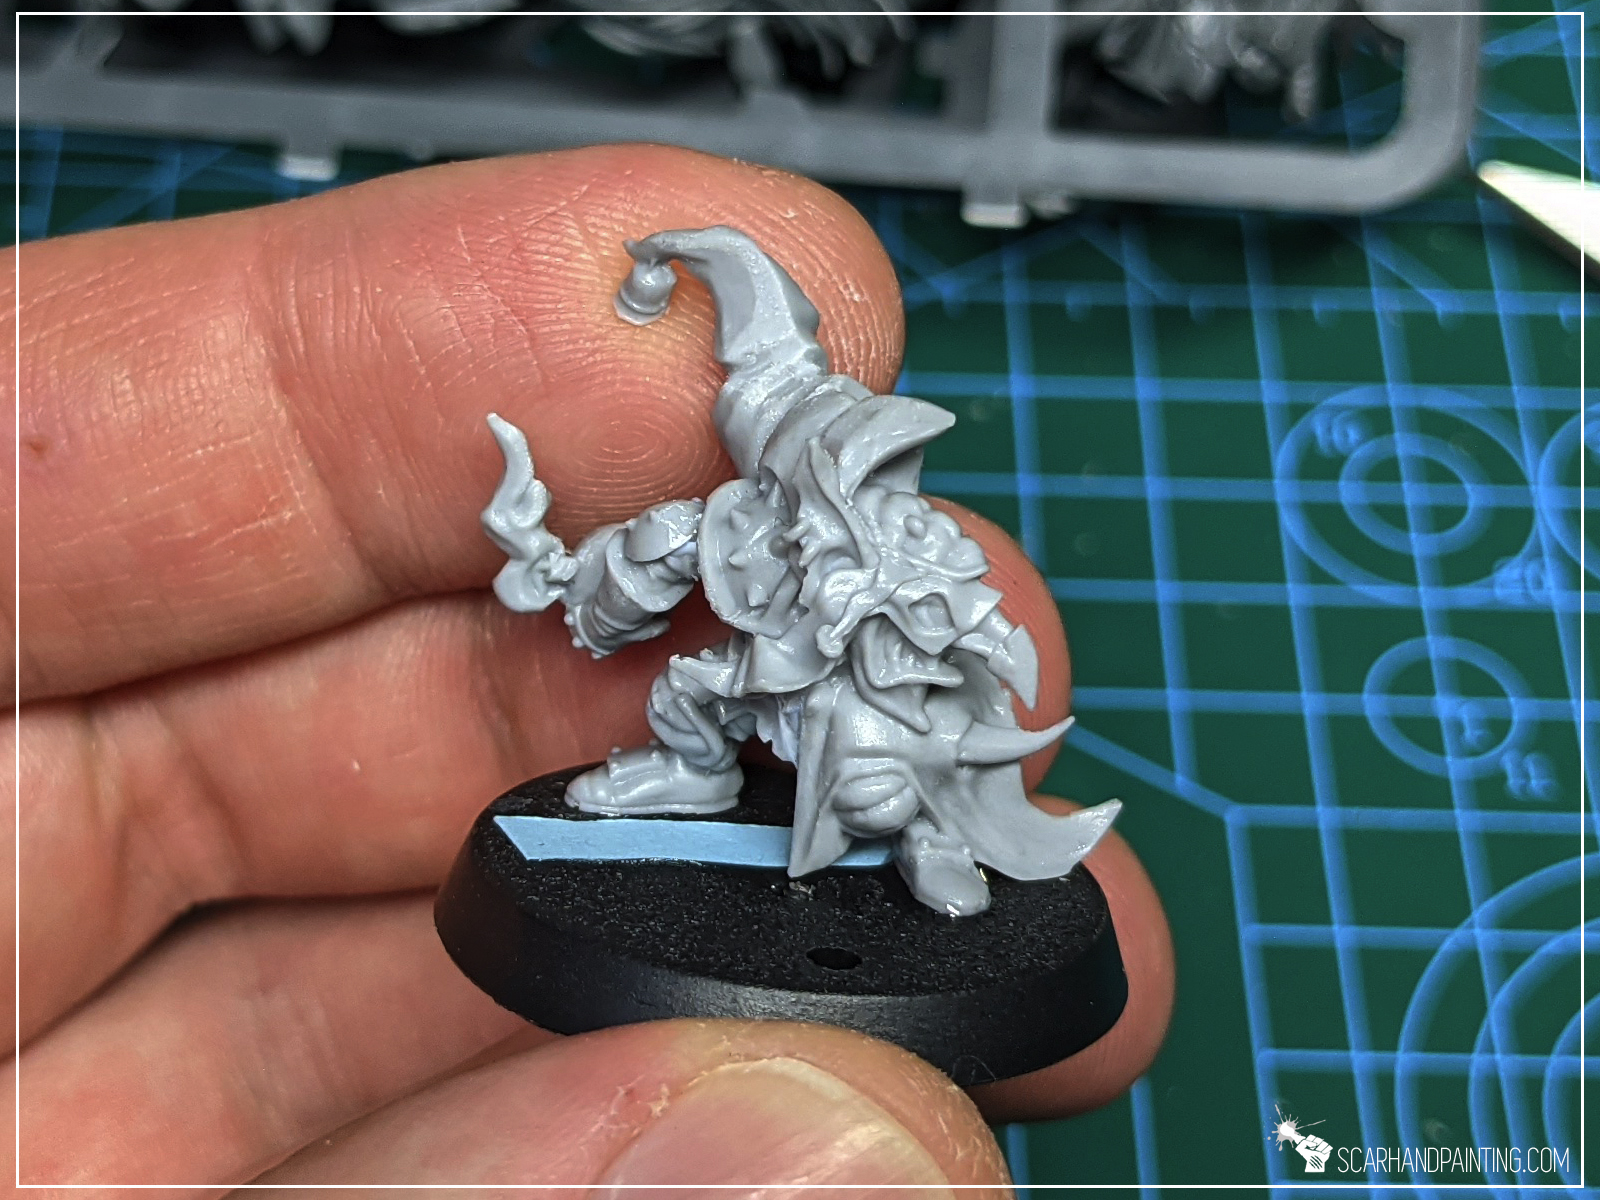
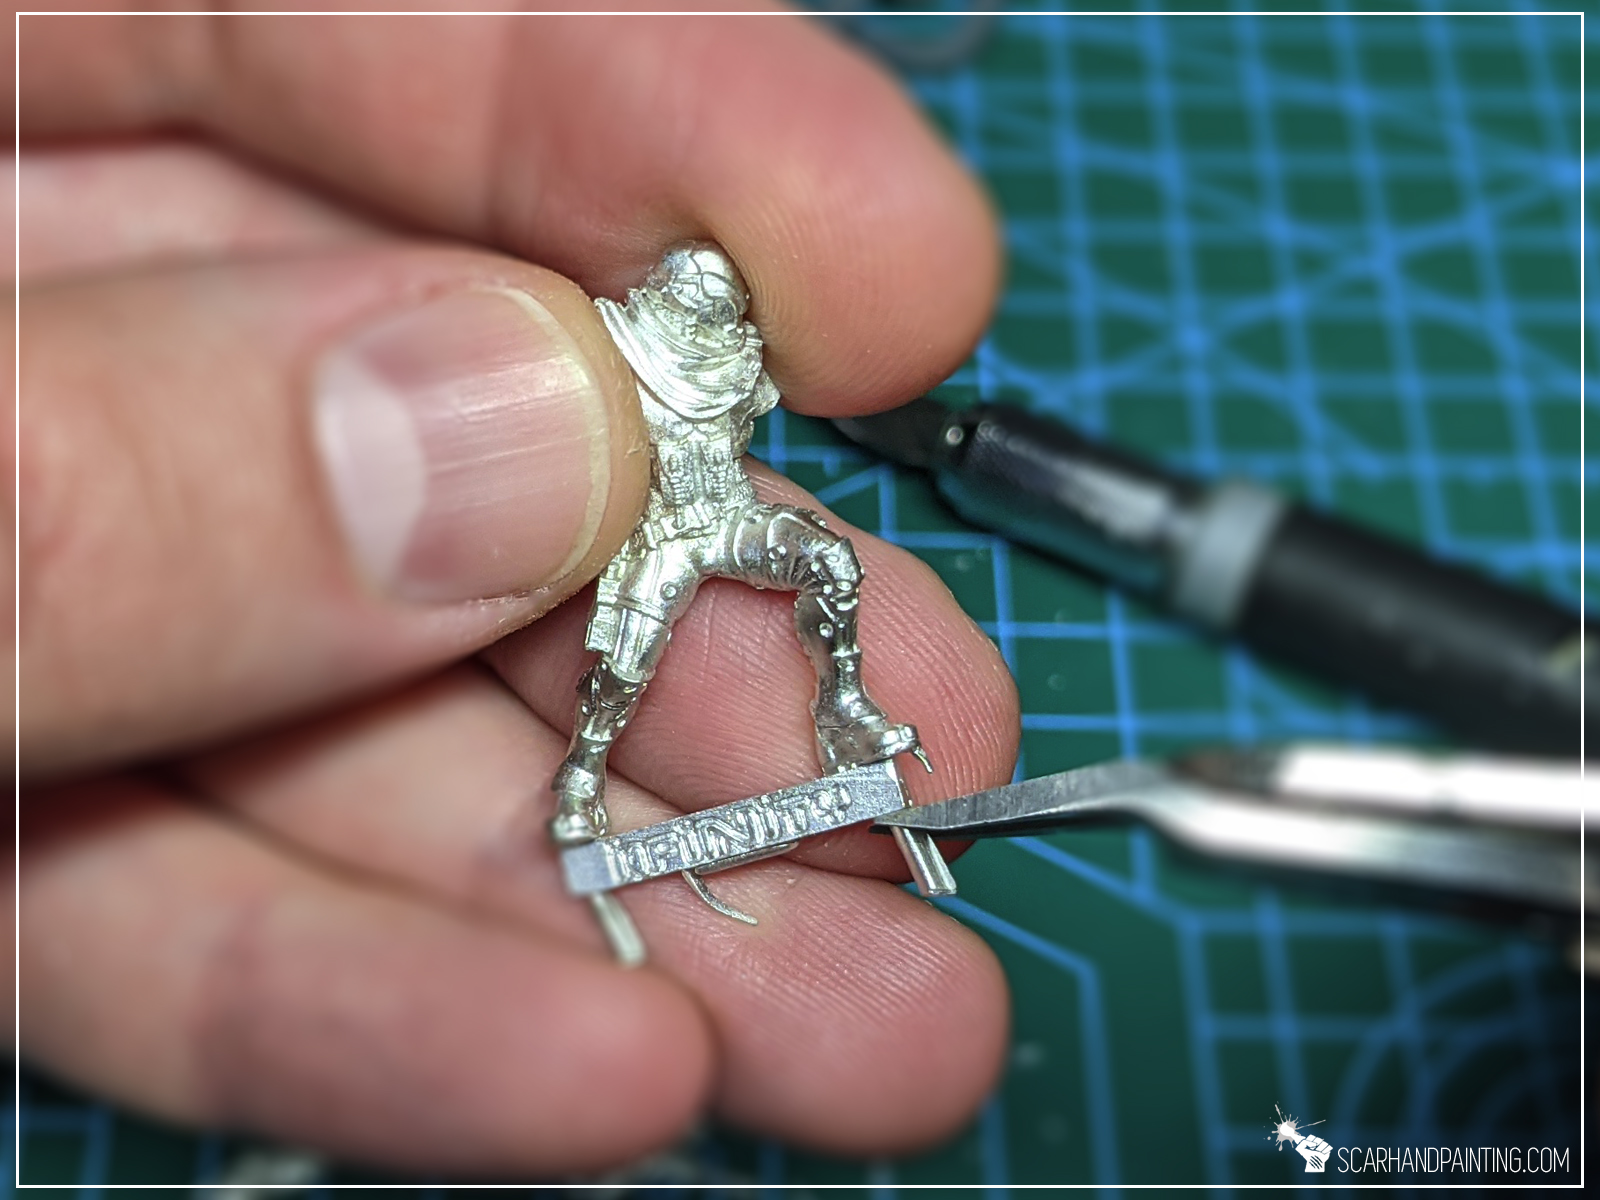
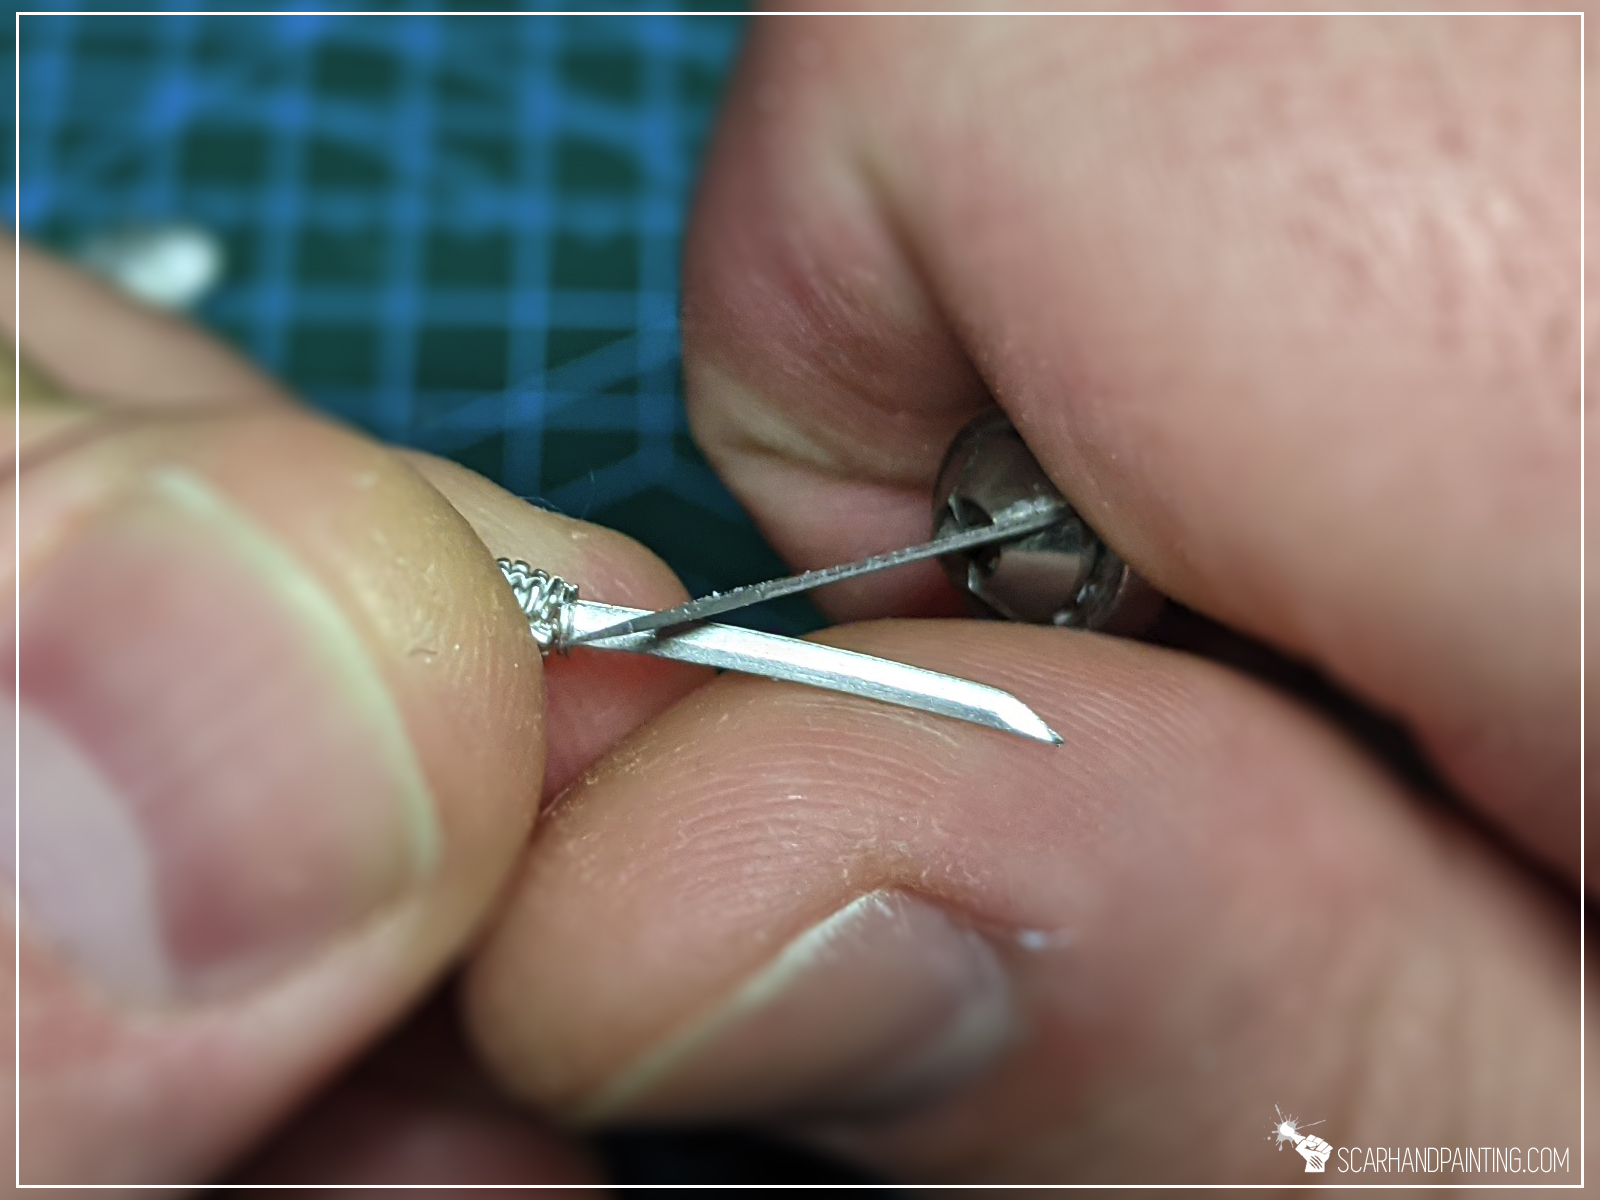
Metal: is pretty easy to work with. It is usually the softest of all three, can be bent easily, is very easy to file. I do prioritize Files over Knife when working with this material, except for long flat areas and fragile elements (swords etc.). Whereas scratches on plastic and resin are prominent, metal can be intentionally scratched with a tip of a File to remove Seam Lines from detailed surfaces like between hair and on a face.
Apart from pics, you can see me in action in this Youtube video:
Thanks for reading. If this tutorial helped you, be sure to let me know either in the comments below or at my facebook profile.
Please link this tutorial to anyone who likes to learn new hobby tricks.
Lastly I also invite you to follow me at Instagram, where I drop some nice pictures from time to time.

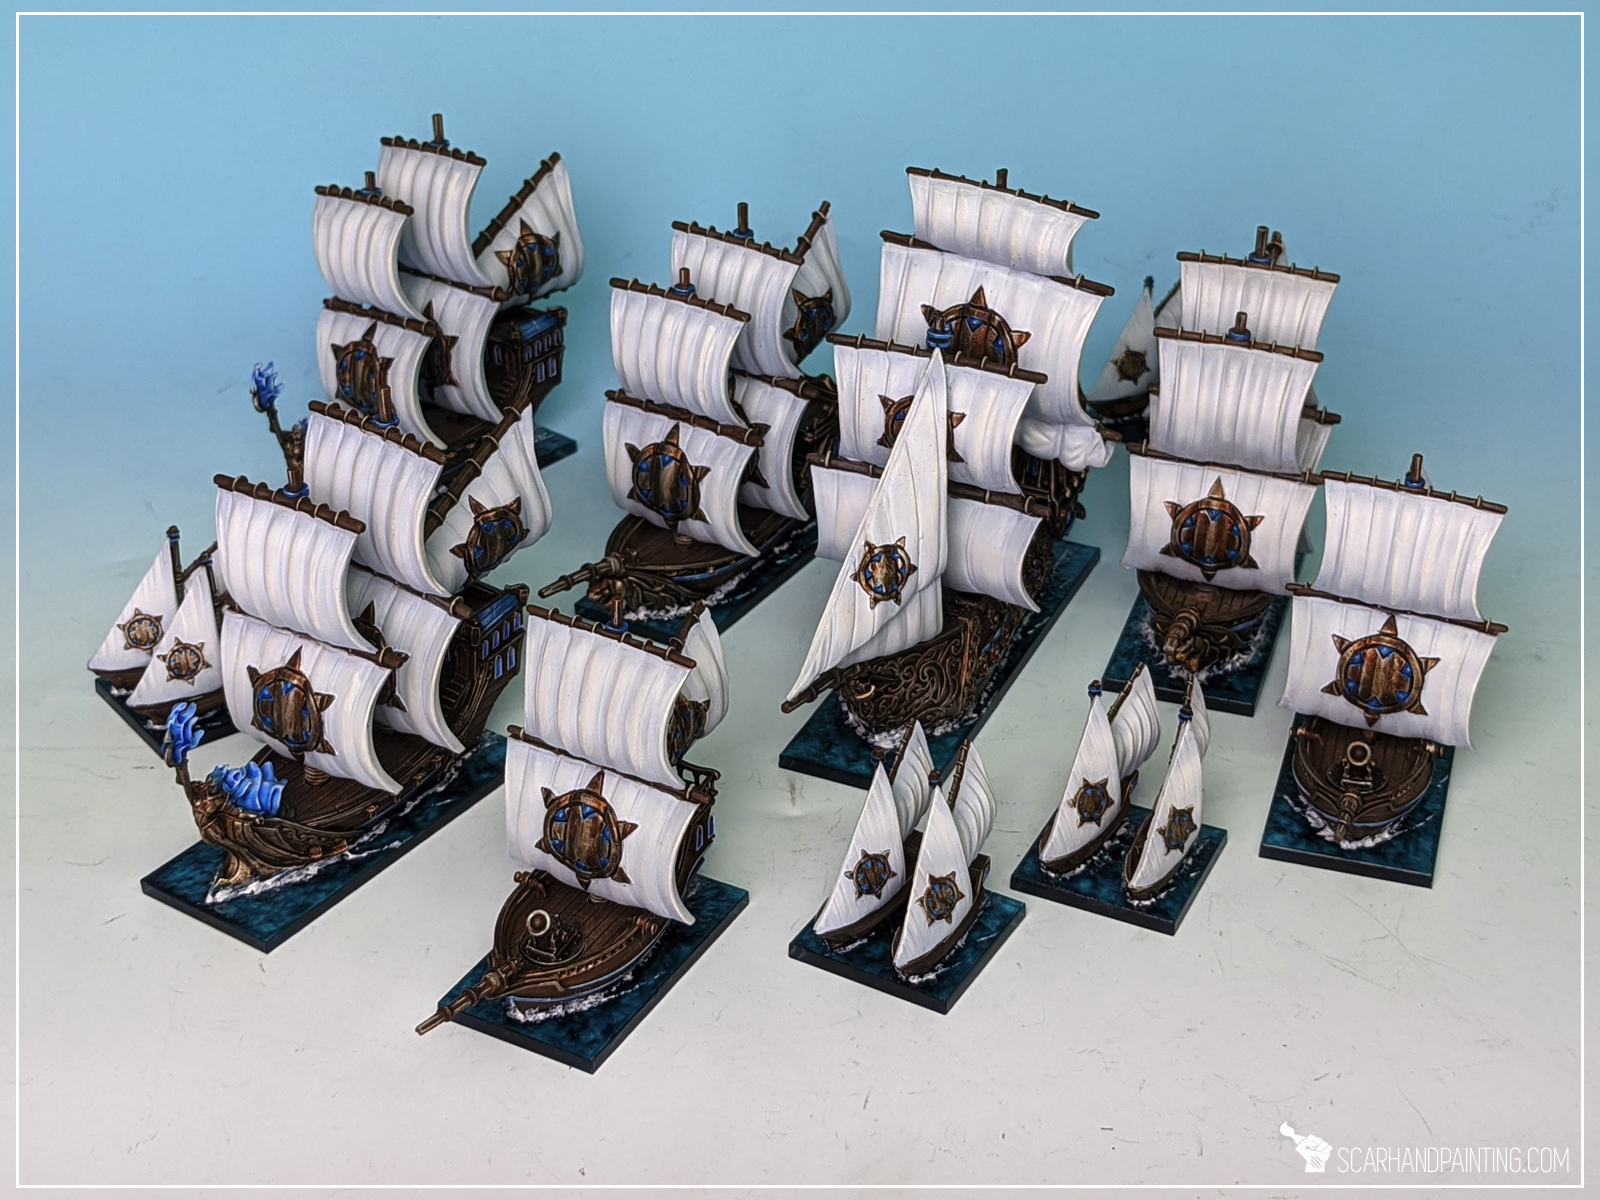
Welcome to Kings of War Armada Water Bases tutorial. Here I will take you on a Step-by-step trip through the process of creating and painting bases as can be found in the Gallery: Armada Basileans from Mantic Games Kings of War Armada.
Before we start, some notes:

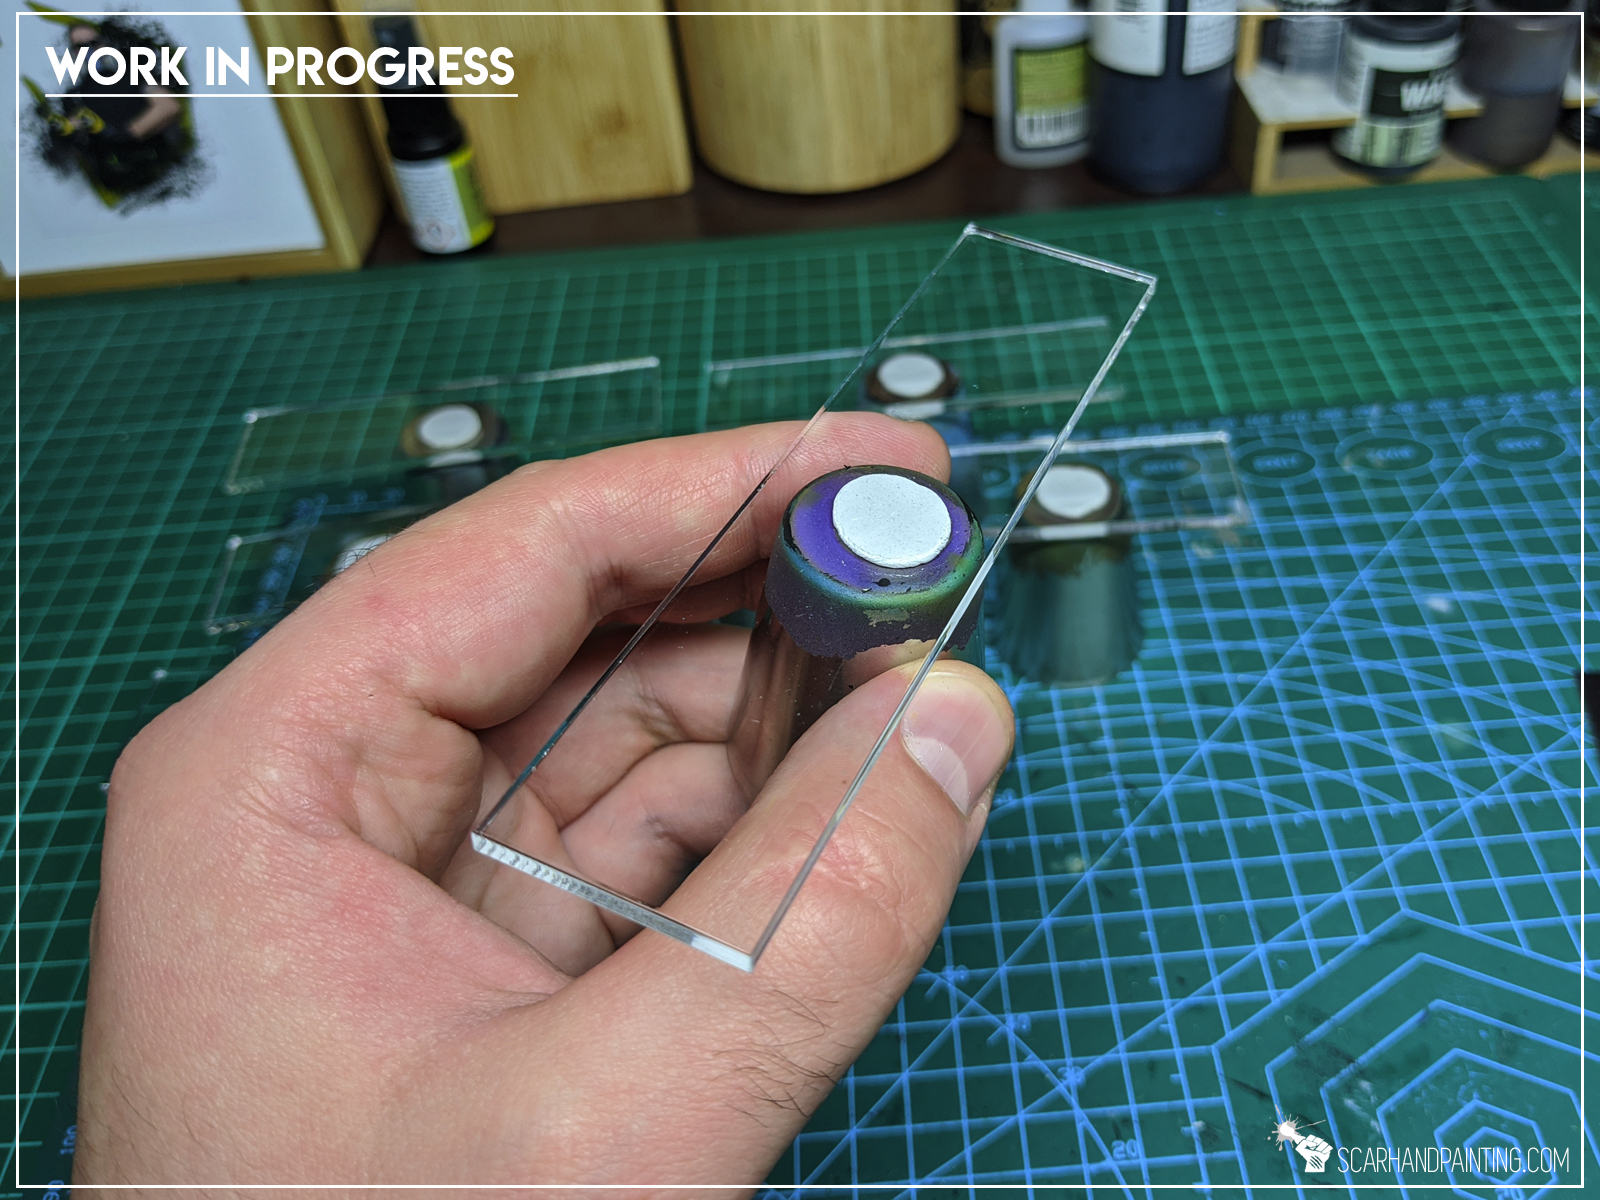
I plan to go all-in with Mantic’s KoW: Armada. This means a lot of ships from across numerous fleets. To keep my bases easy to paint and visually coherent I decided to limit myself to some water effects and simple tricks. Instead of going through a lot of effort, trying to build multiple layers of transparent water, I switched out standard MDF bases for clear acrylics.
That doesn’t mean the method wouldn’t work with MDF’s. If you’d rather stick with Mantic’s bases – undercoat them white, then paint sides with some dark blue and you’d be ready to go. That being said, this method was developed with clear acrylic bases in mind so please take that into account when trying different approaches.
Without further ado, let’s get these bases wet!
I used:

Step one:
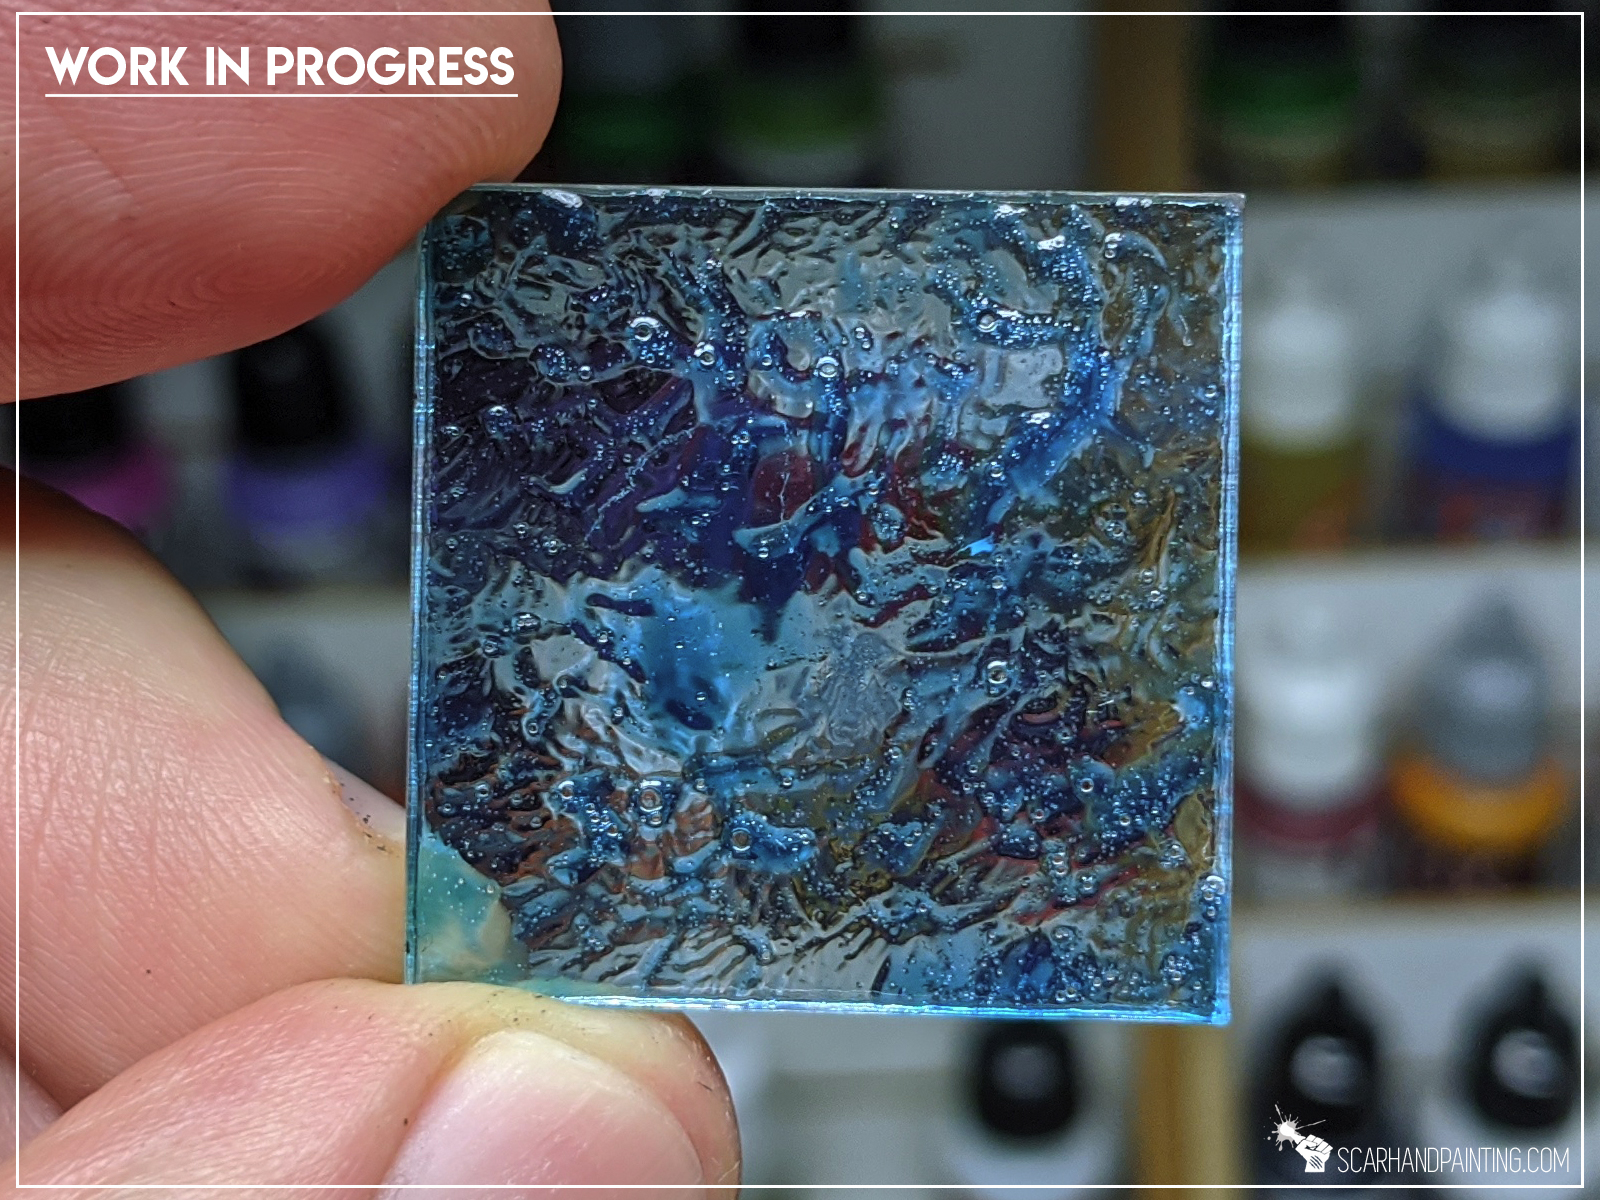
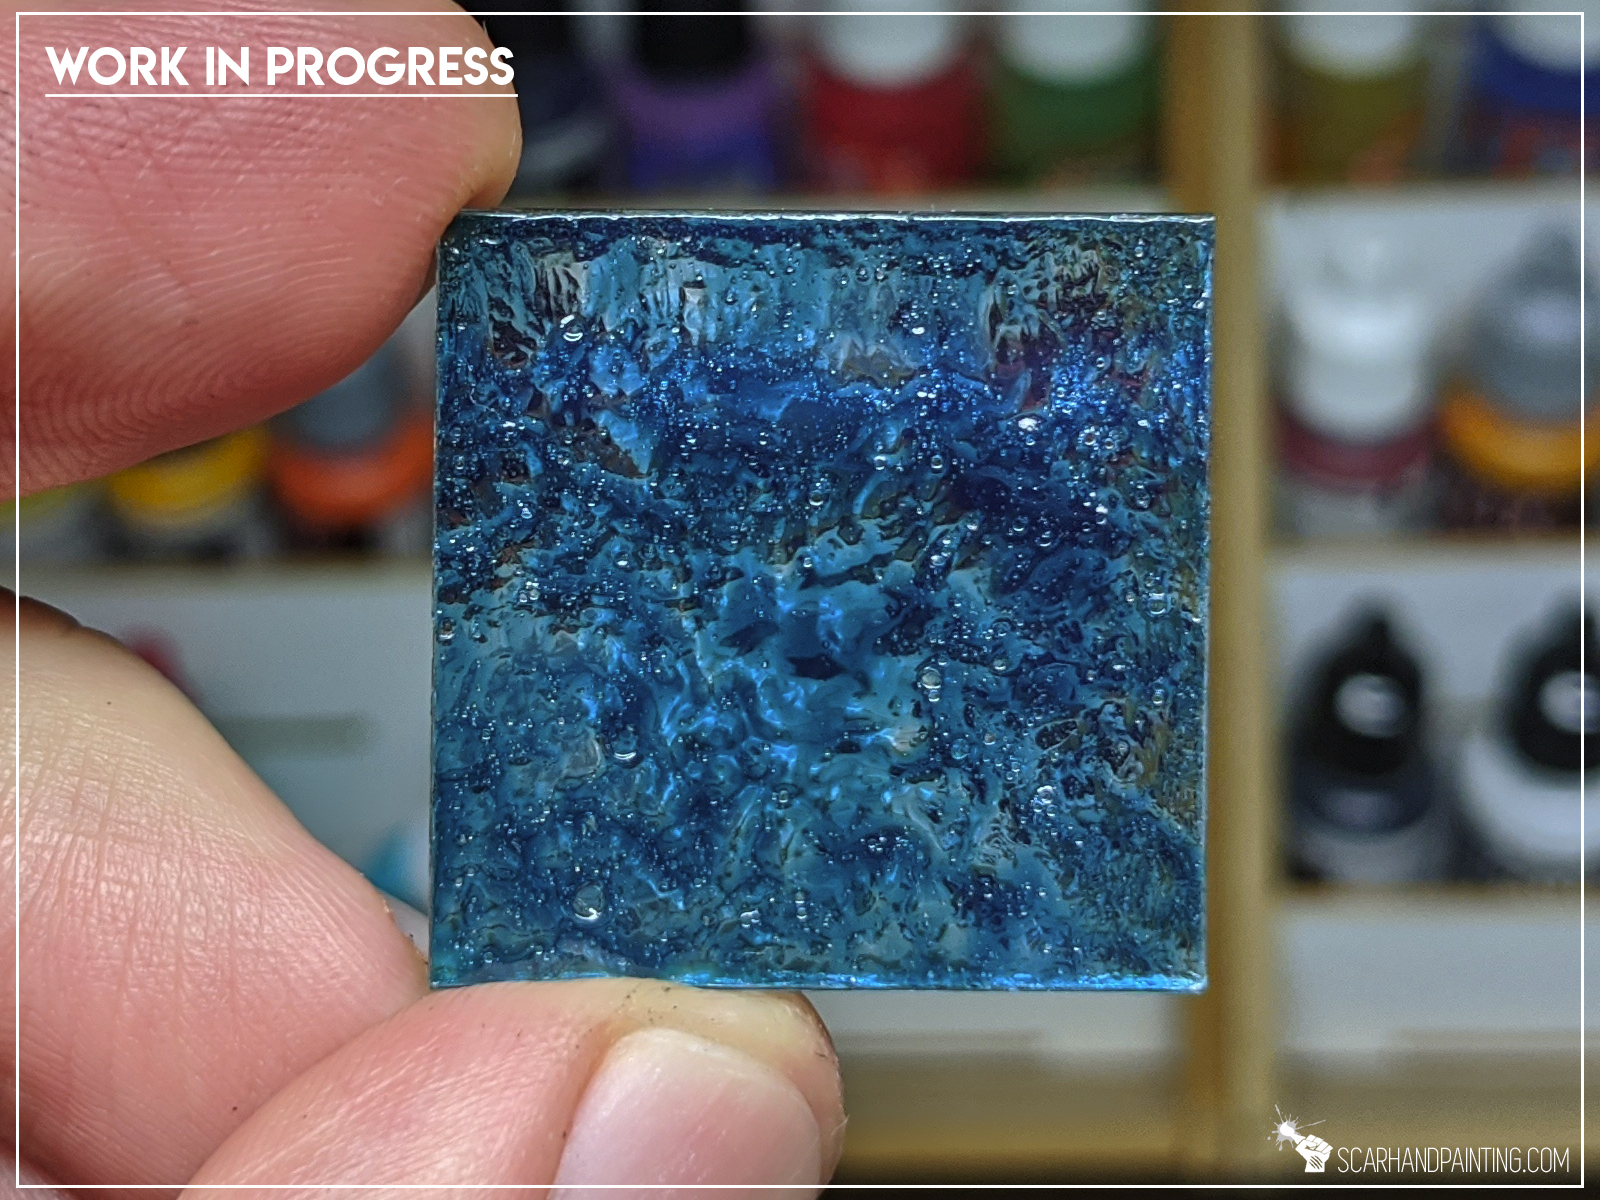
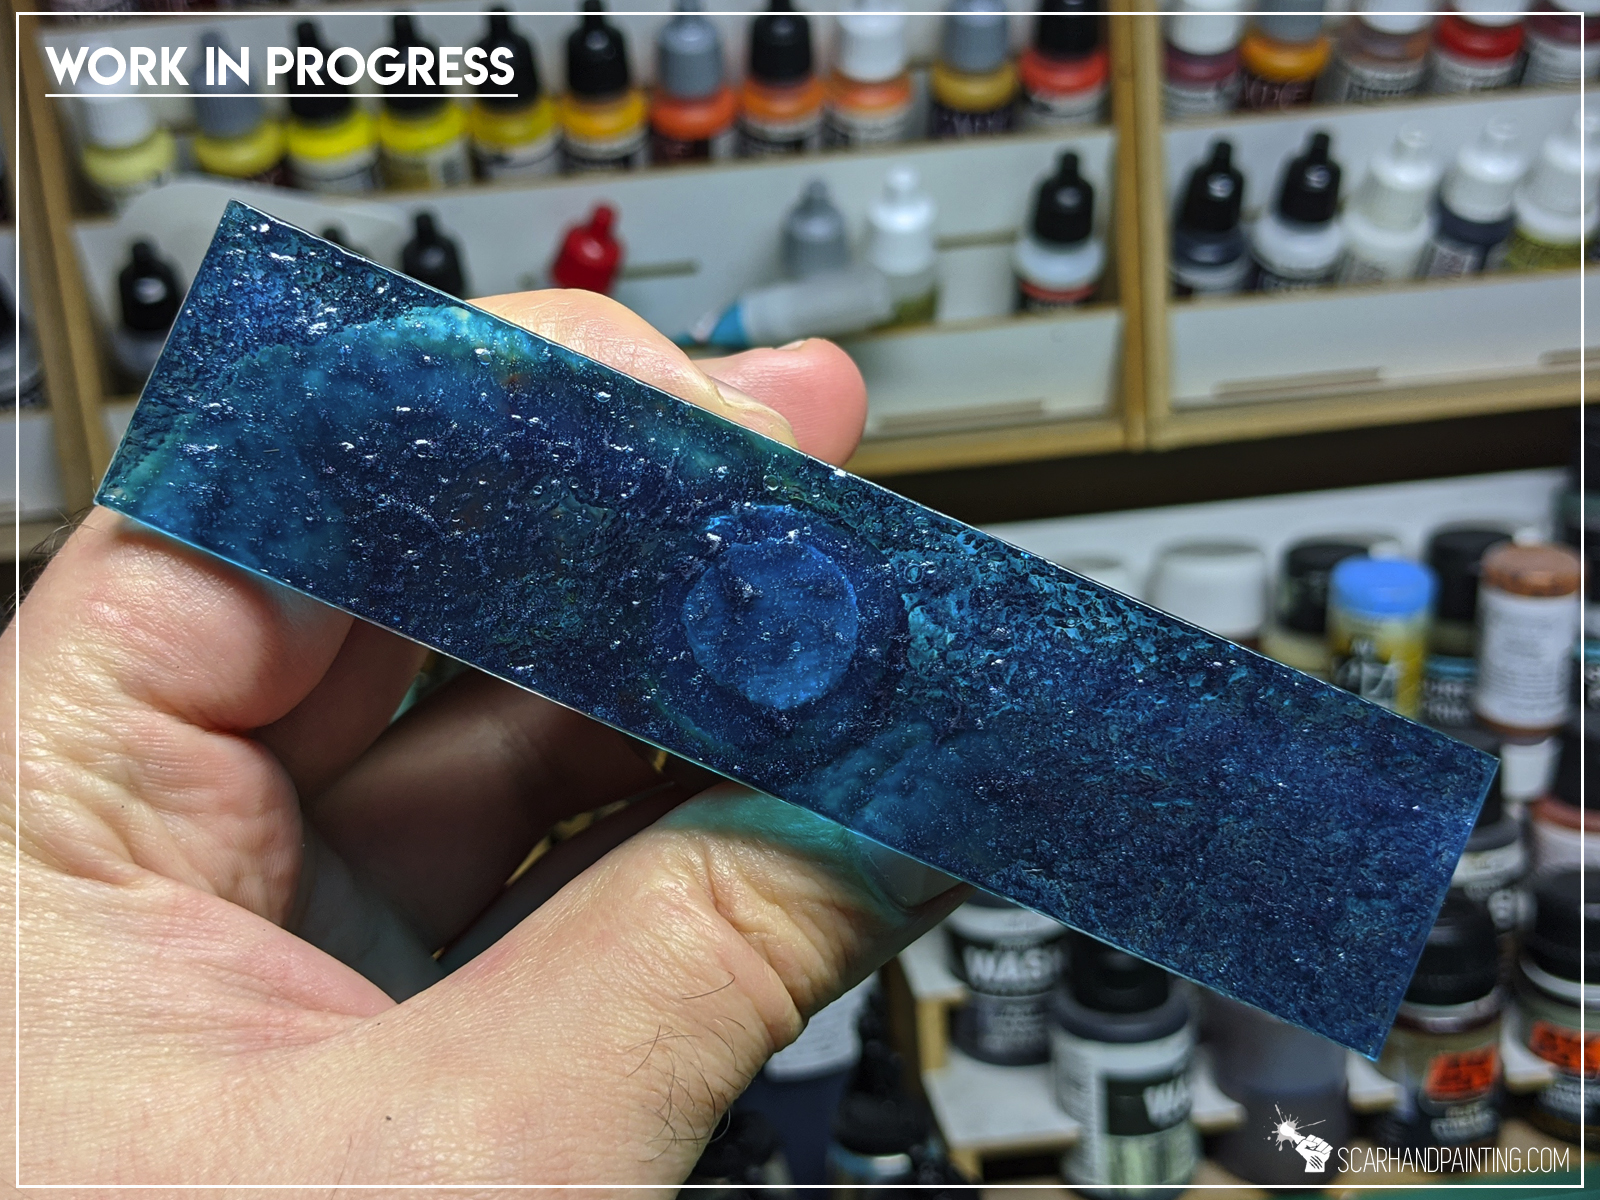
I used a large brush to apply AK Interactive Diorama Series: Pacific Blue Water Gel onto entire surface of the base. I then stippled a bit to create an uneven surface. Lastly I used a finger to remove the excess gel from the sides of the base.
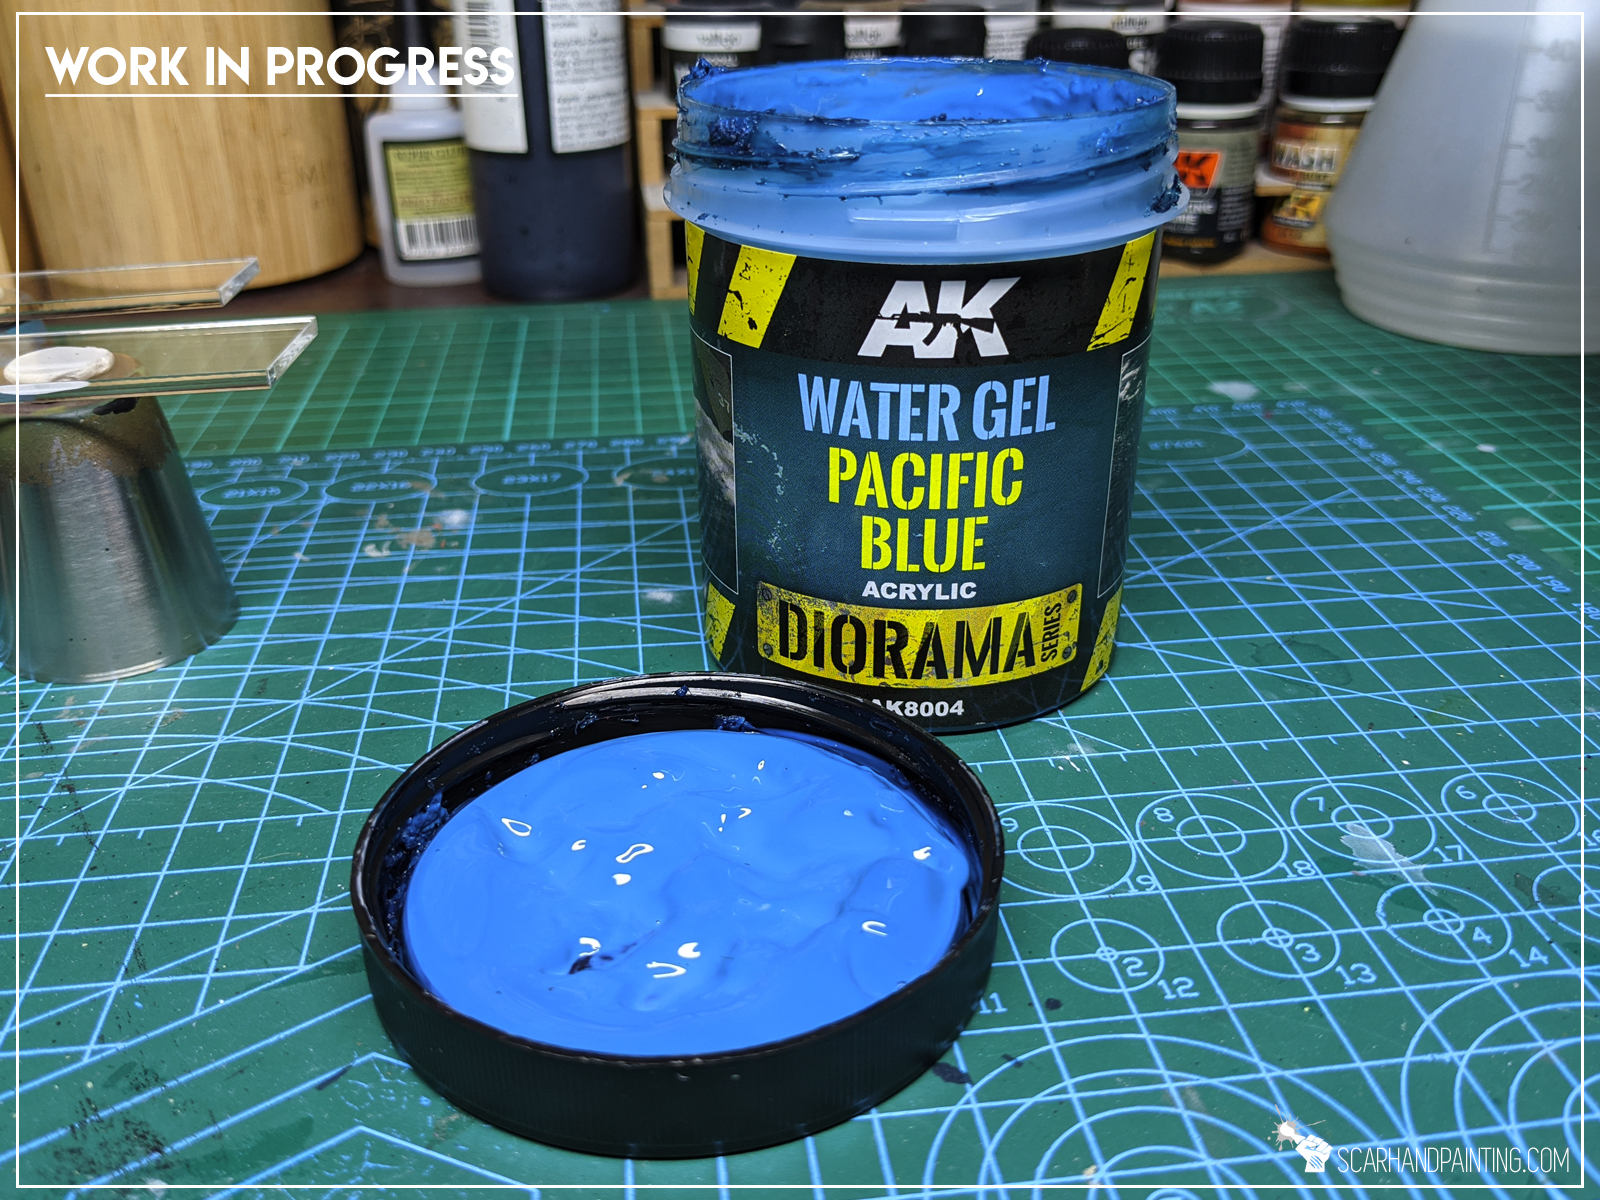
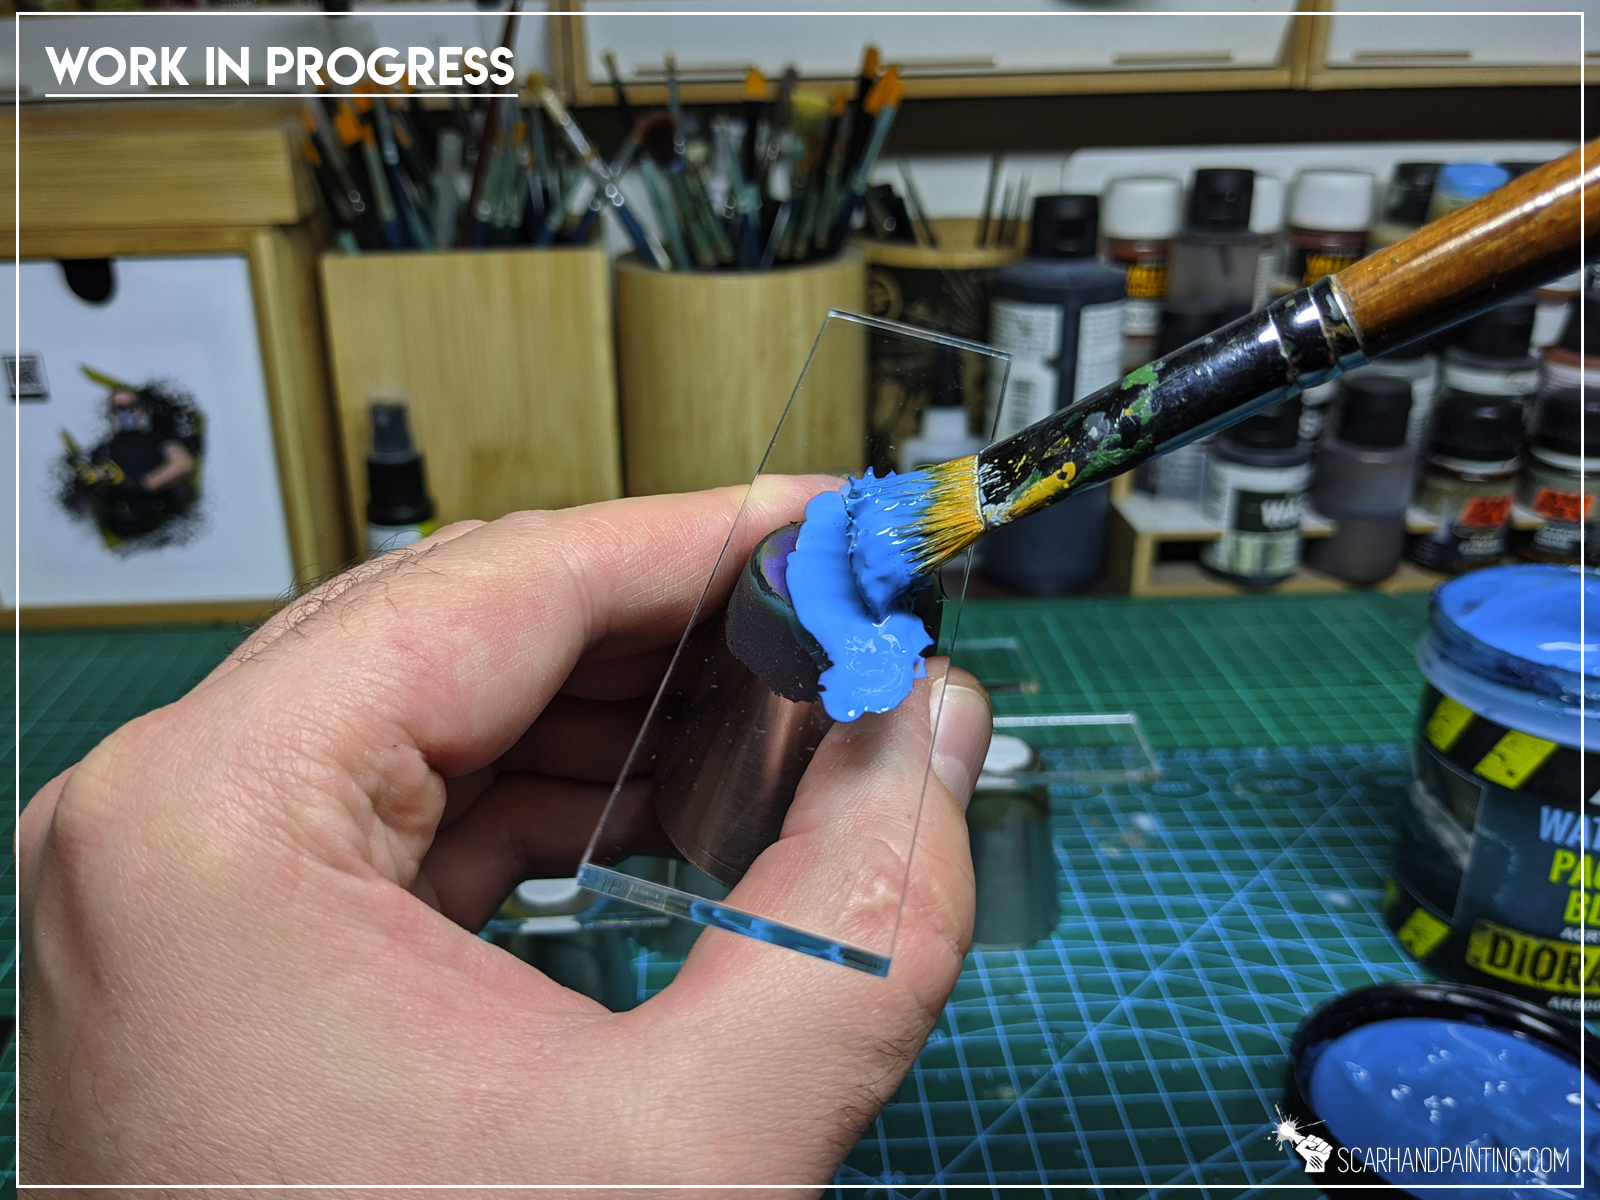
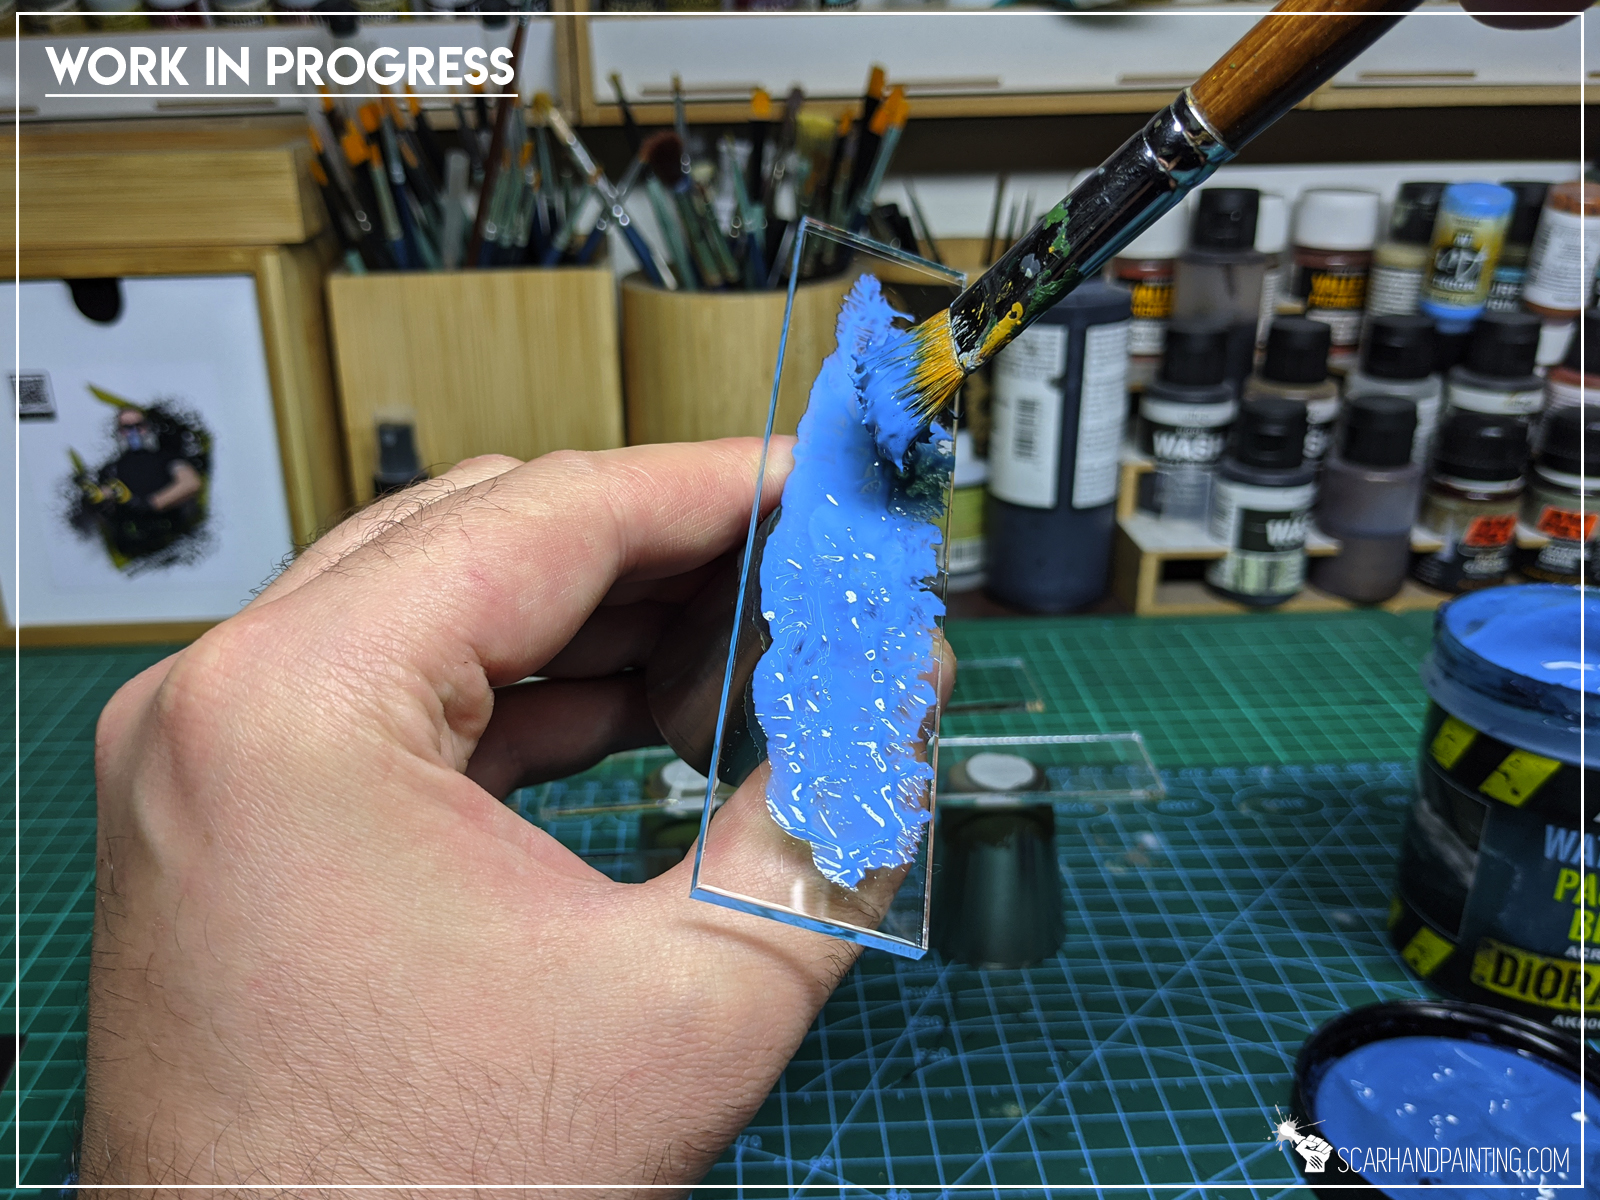

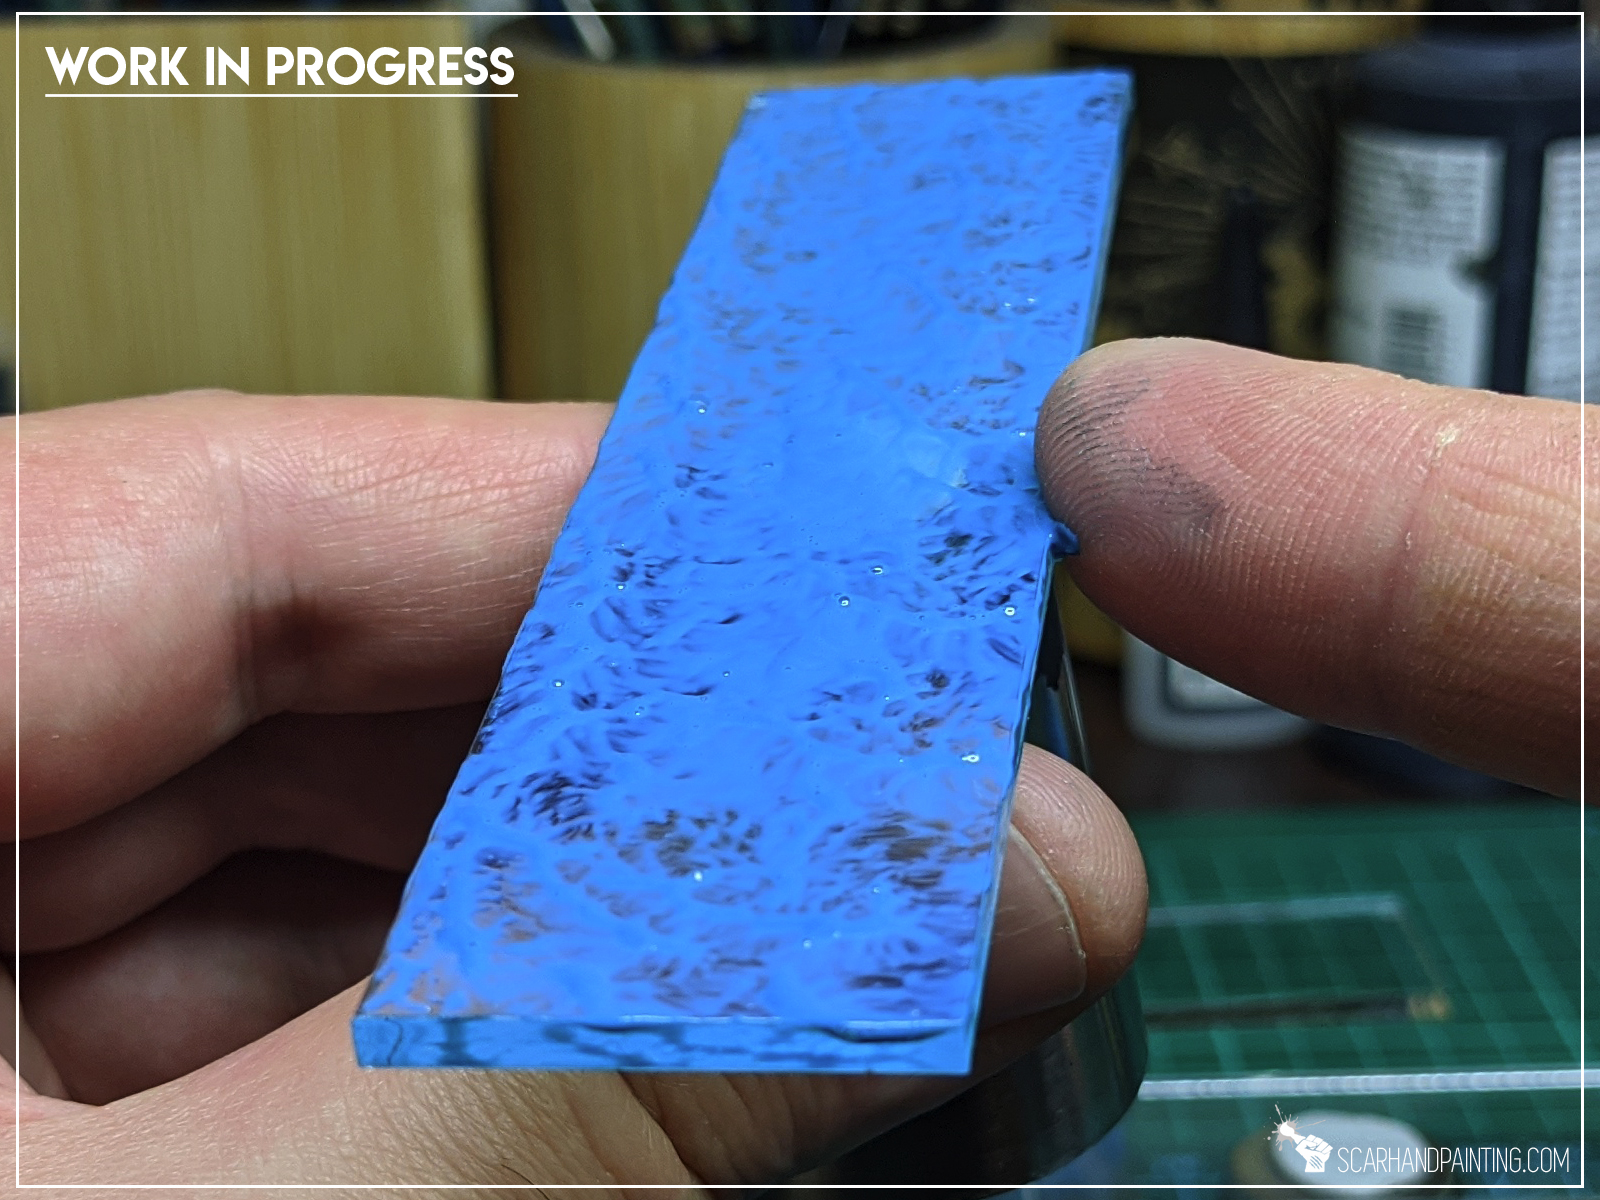
Step two:
I repeated first step two more times, leaving the paint to dry between each repeat. This darkened the base significantly and resulten in a nice solid layer with a lot more detail on top of the first one.

Step three:
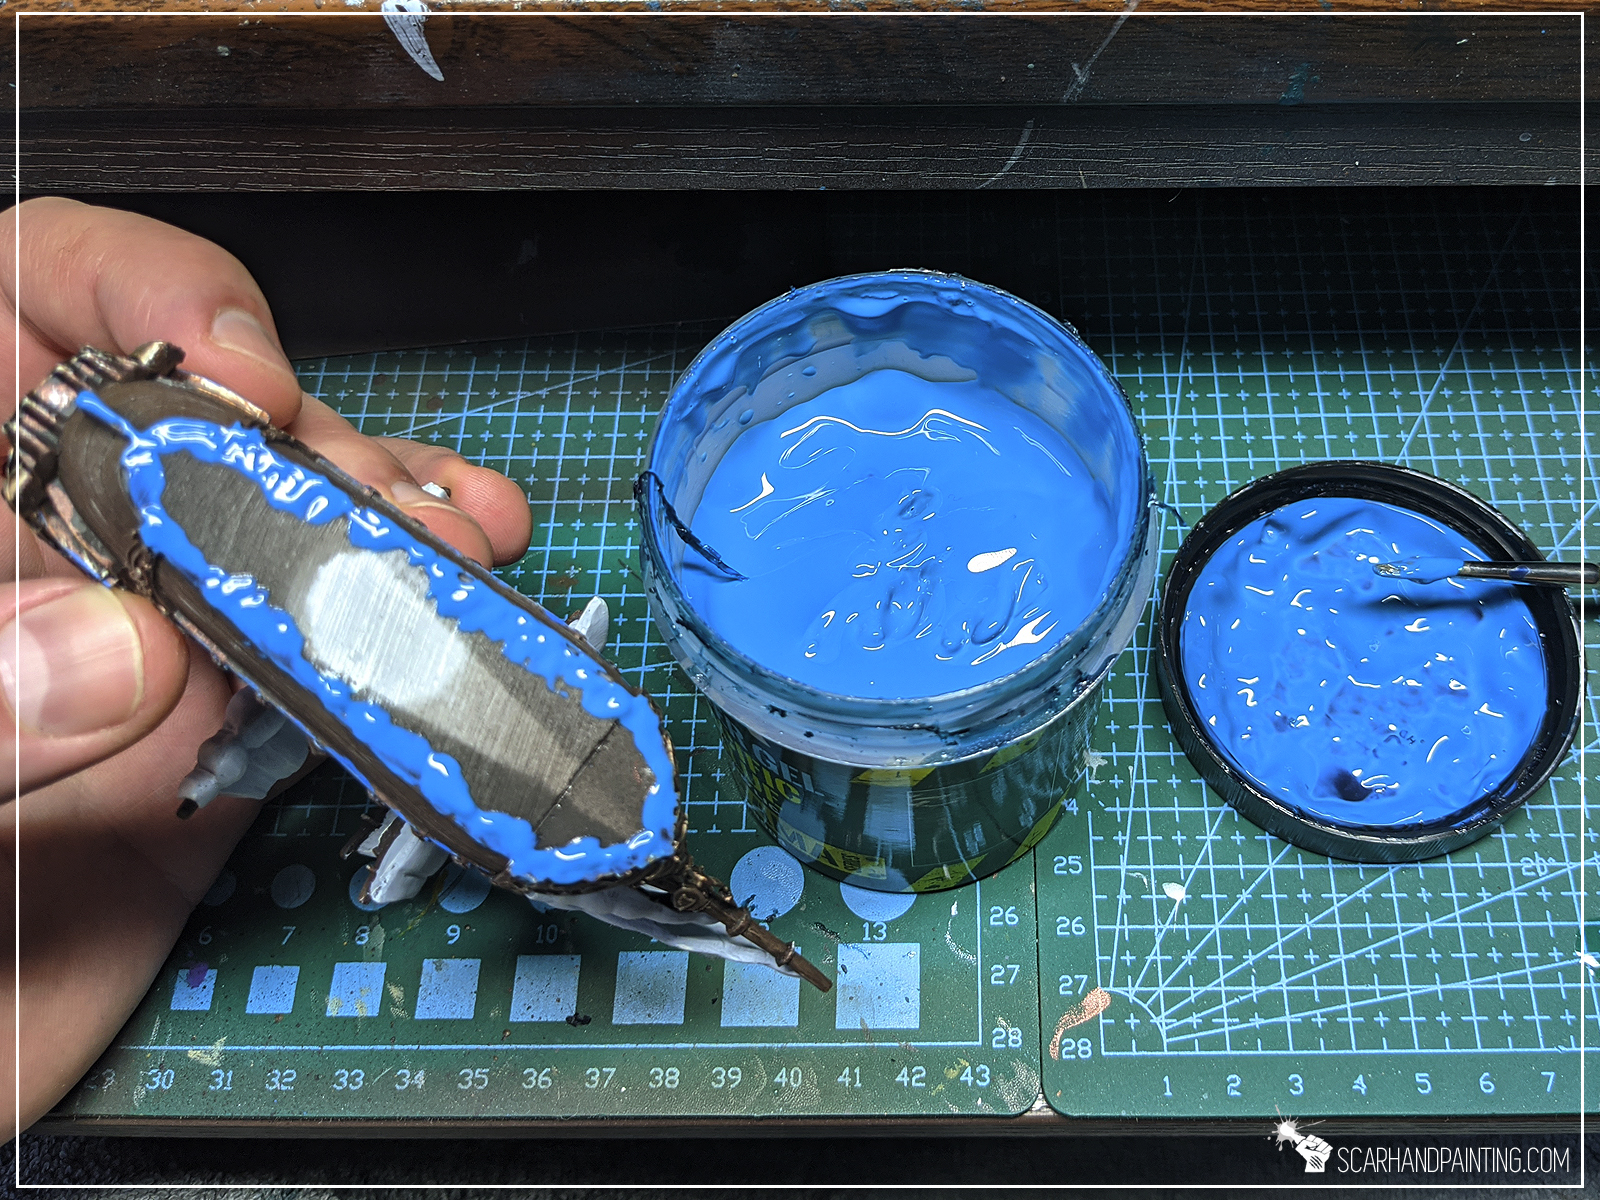
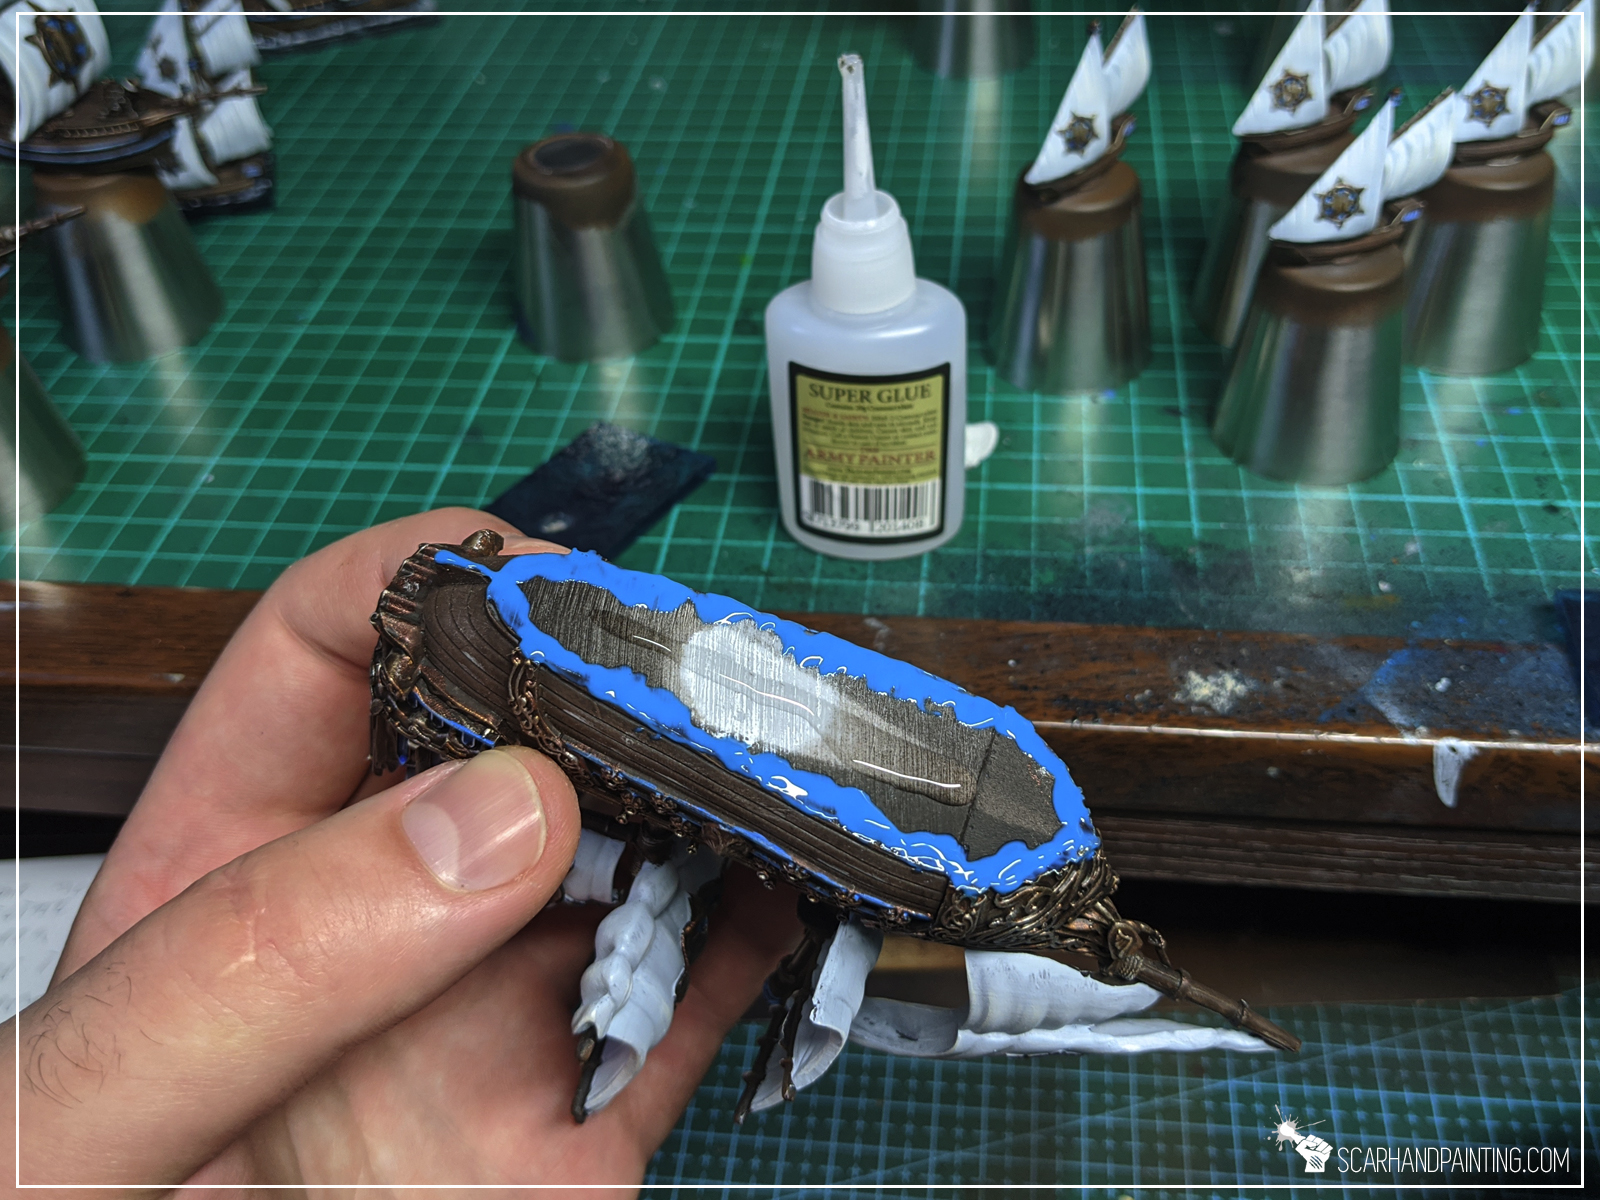
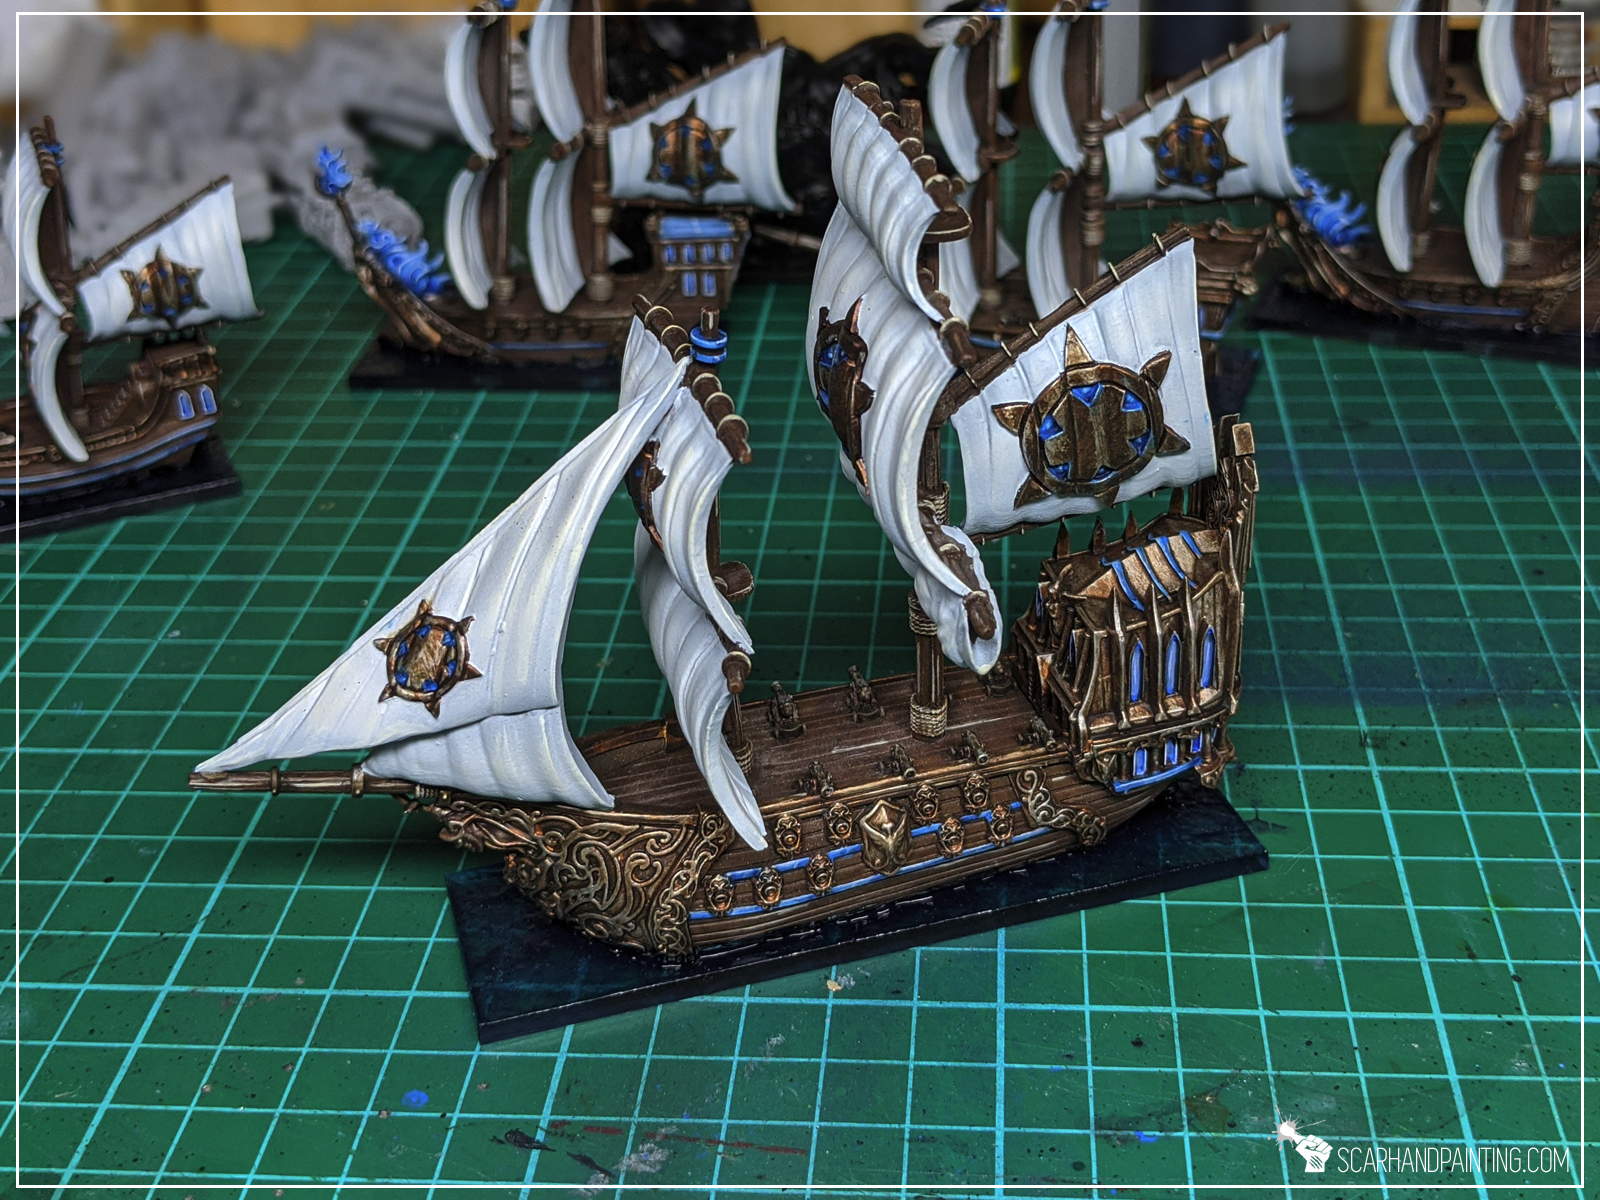
Once I was done painting ships I applied AK Interactive Pacific Blue Gel at the edges of each ship’s underside. I then followed with Super Glue through the middle and glued the ship on top of a base. Excess gel was queezed out and filled any holes between the ship and the base.

Step four:
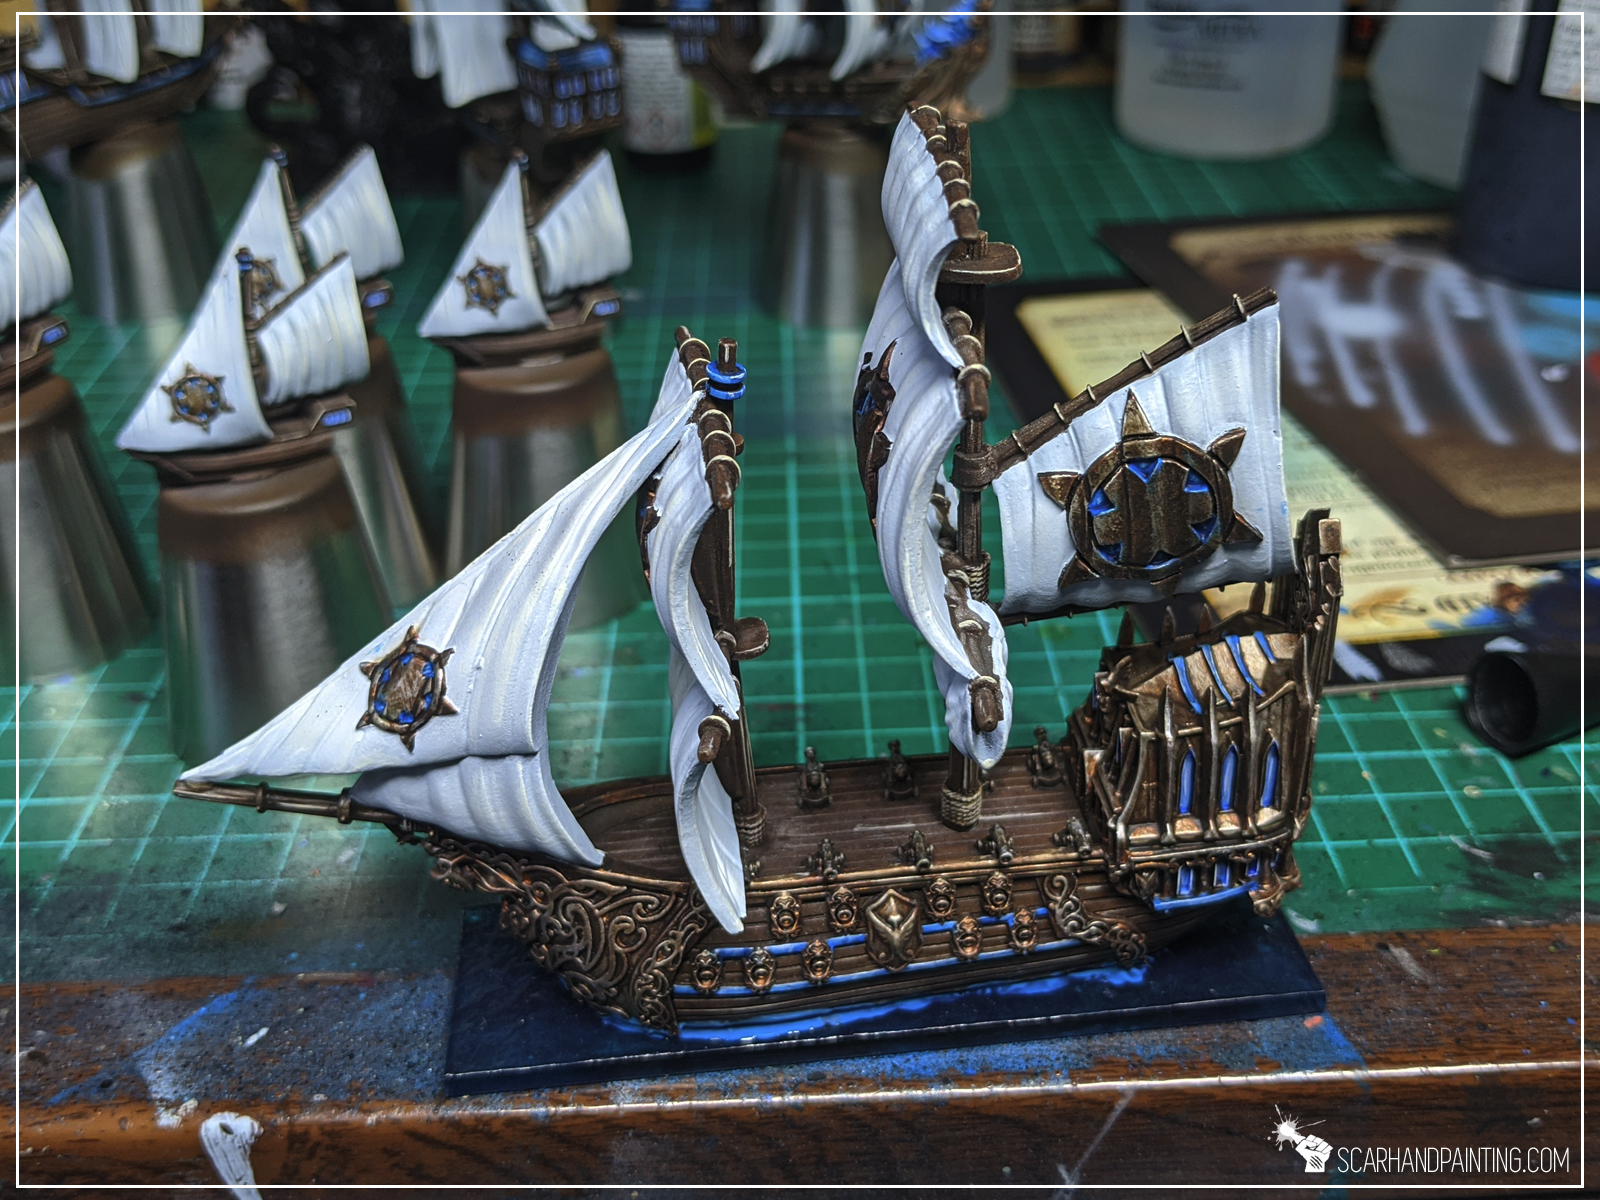
I then applied more Pacific Blue Gel around the ship. It was a bit messy so I used a clean flat brush to move any excess gel from the ship’s sides and onto the base.

Step five:
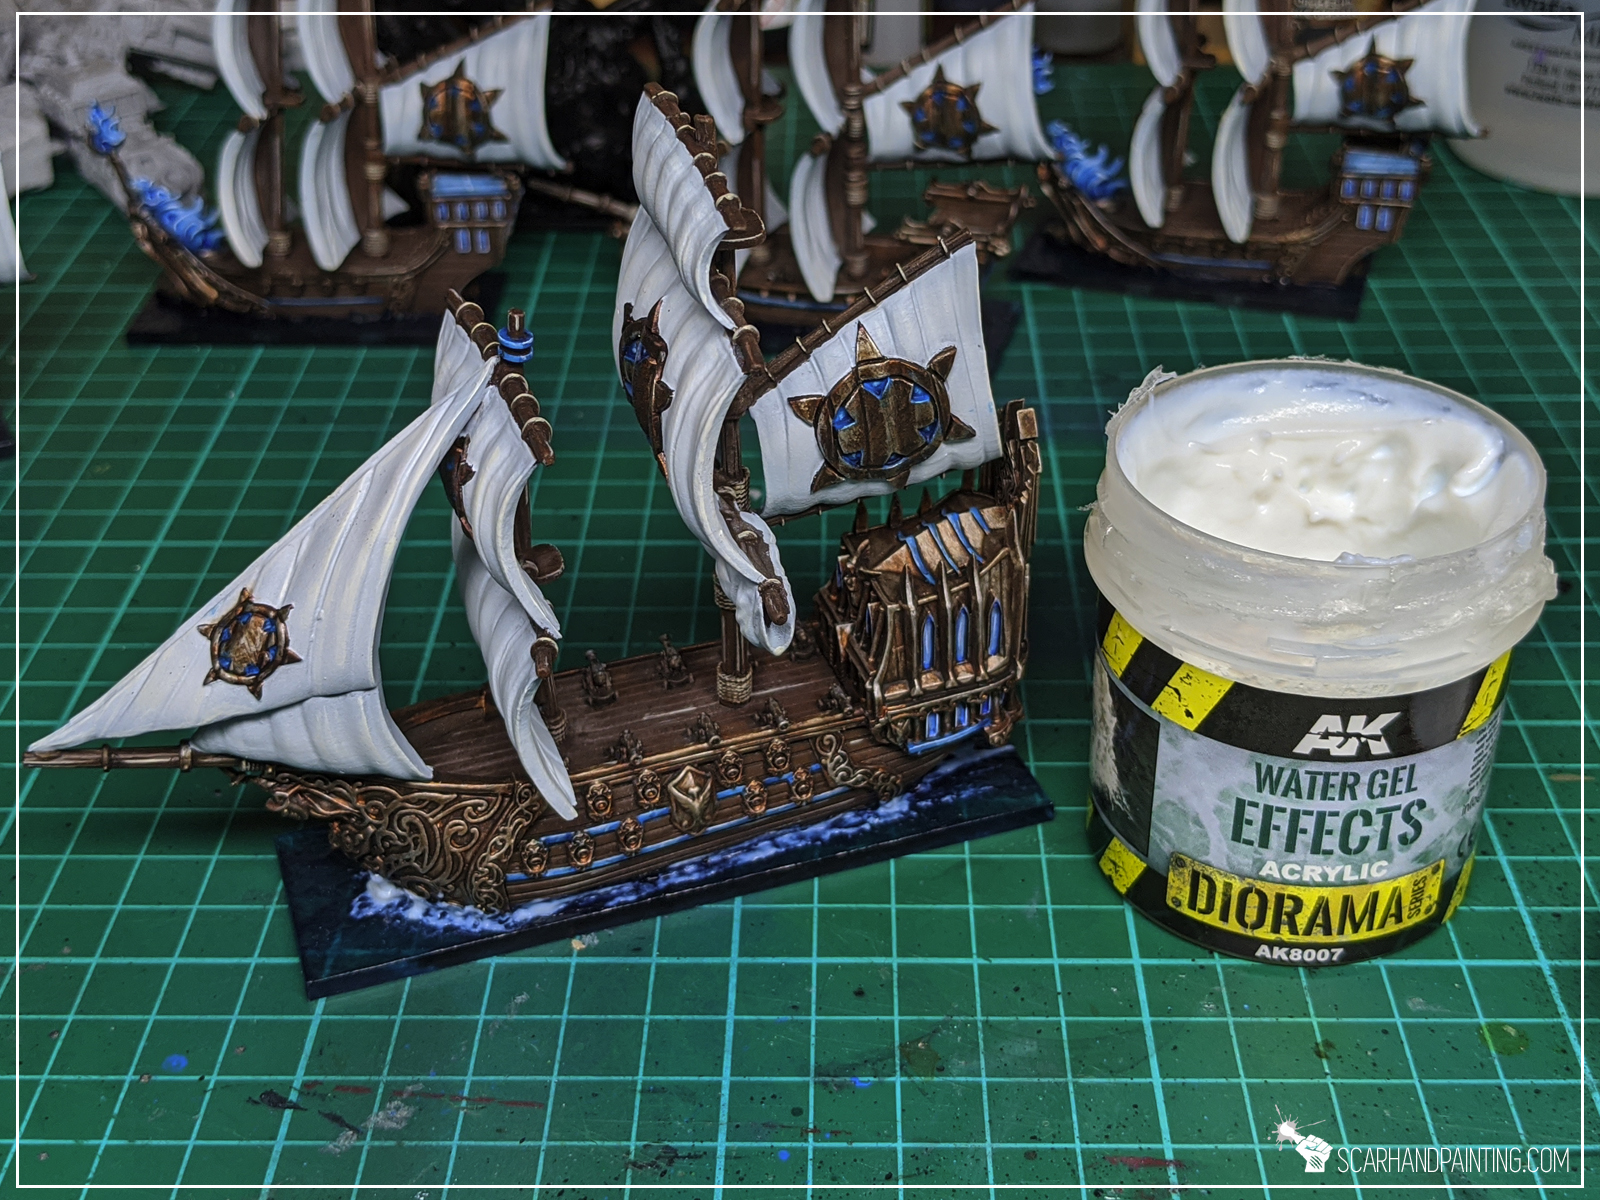
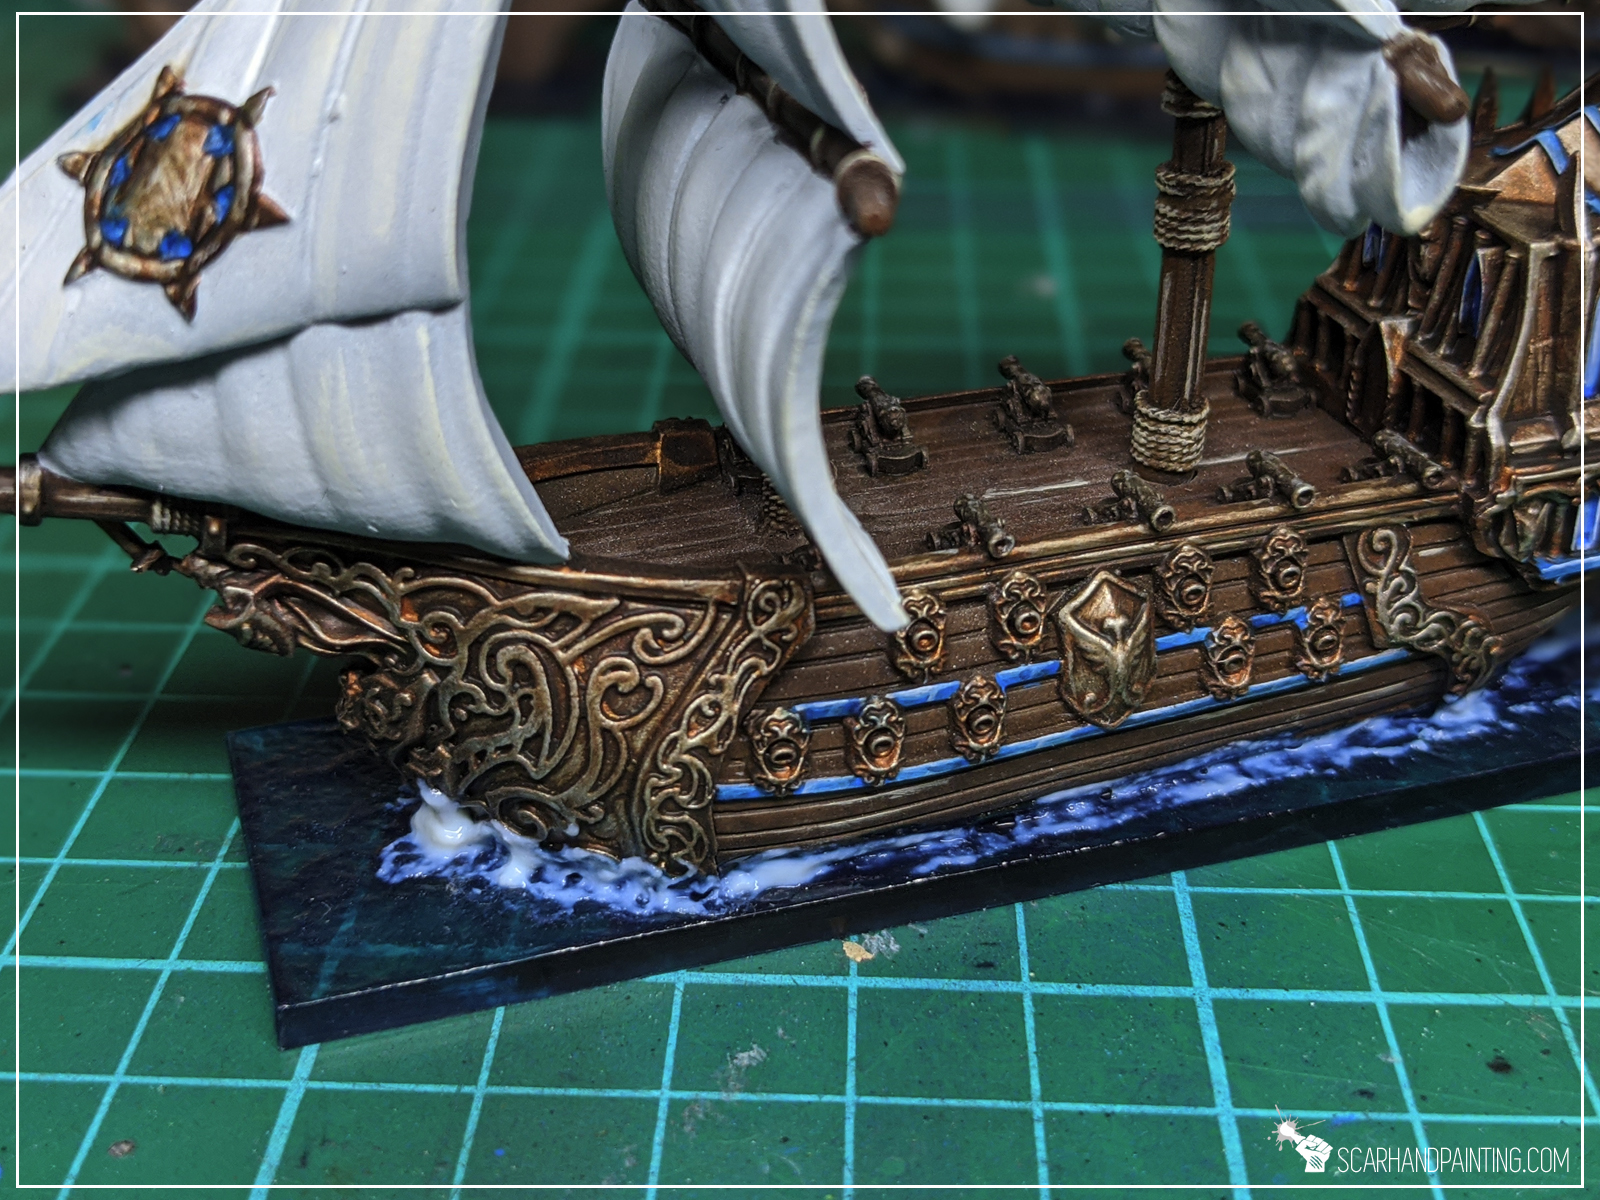
Some time later I applied AK Interactive clear Water Gel effects around the ship. I used a small brush and slowly built the mass of splashing water at the front and on the sides of the ship. This time I didn’t care about messing up the hull.
Step six:
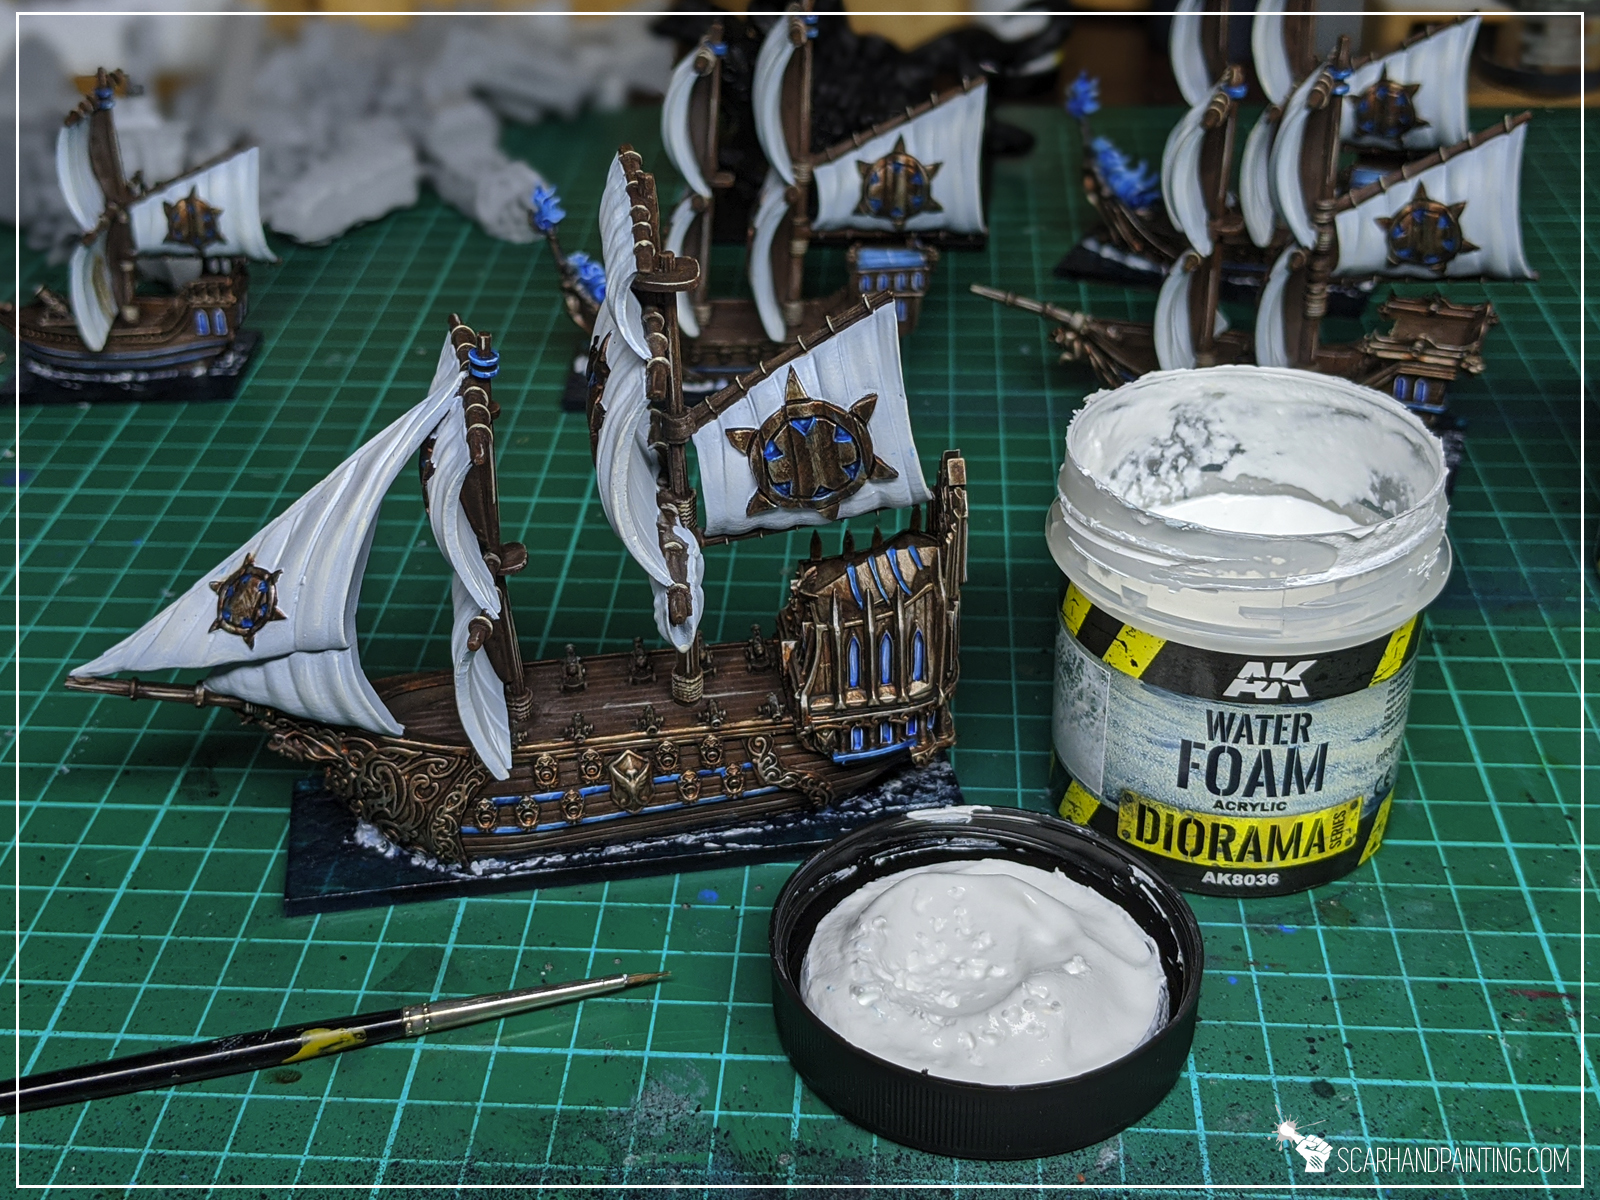
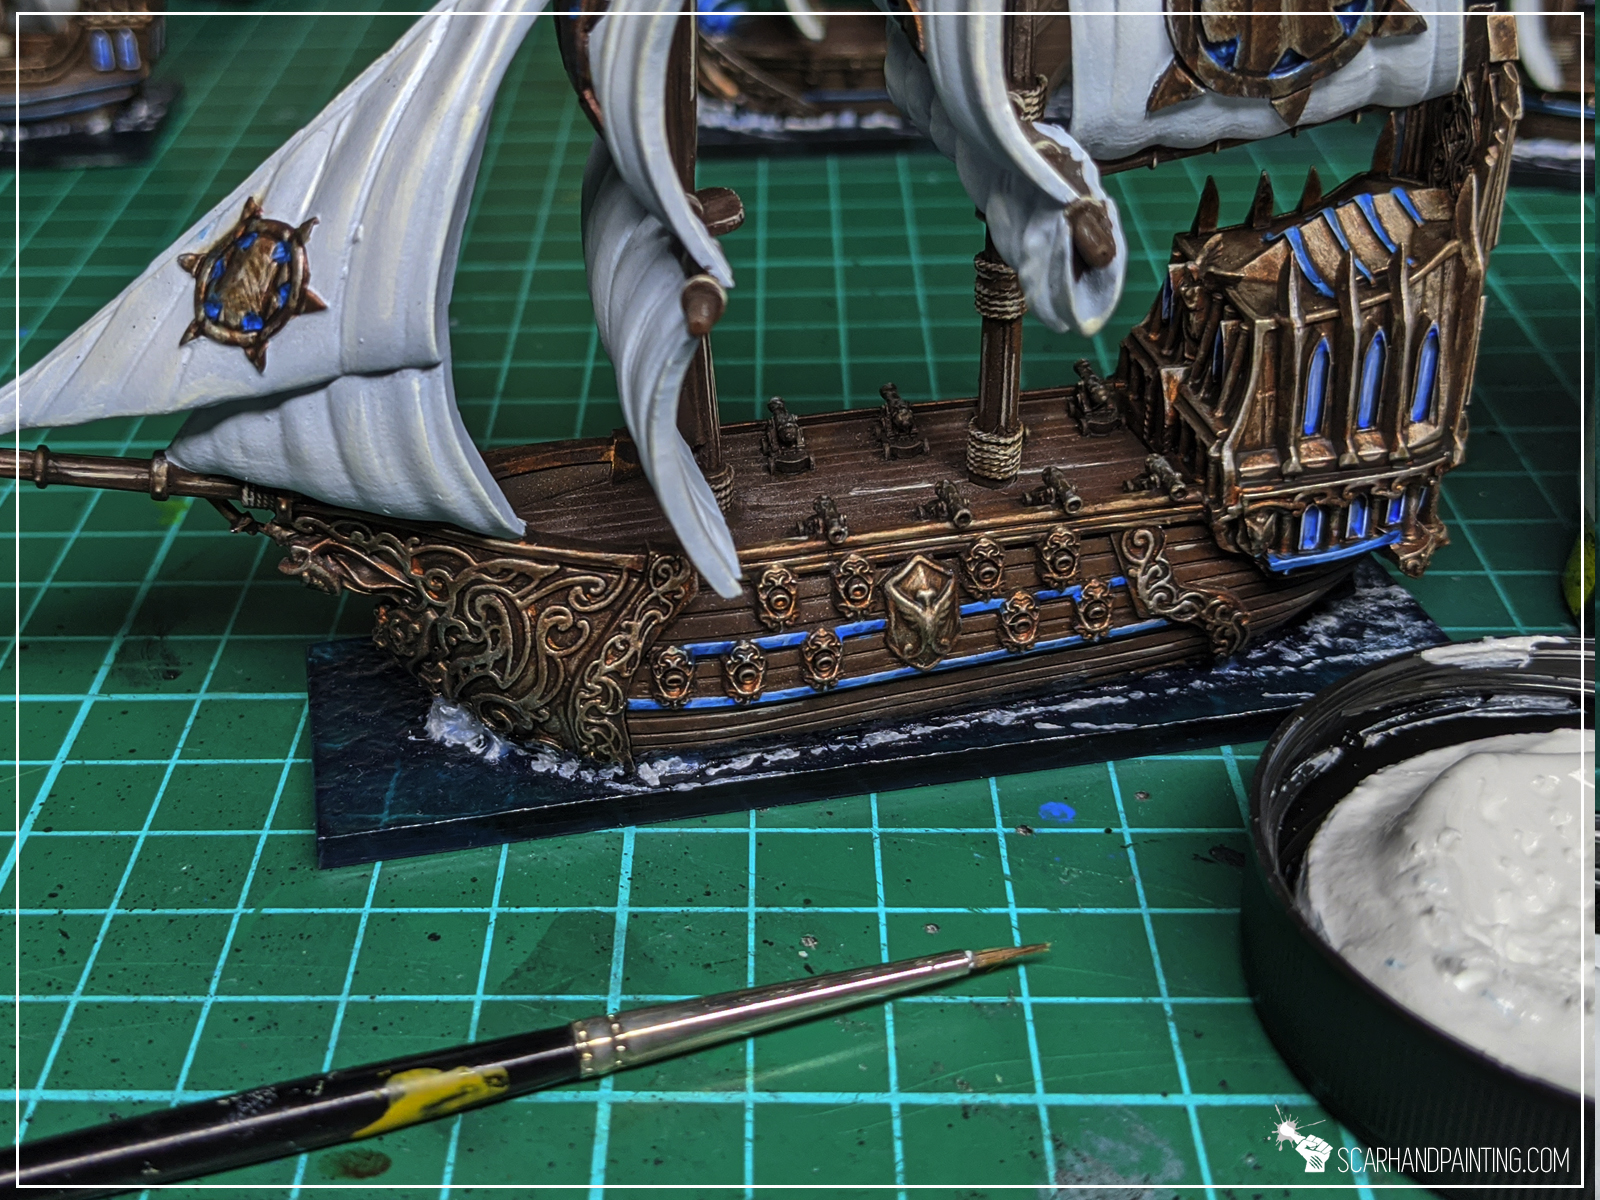
Next I applied AK Interactive Water Foam. Using a small brush I applied small dots of the effect on top of previous layer. This one is very white so I tried to avoid applying to much. Mistakes were removed with a clean flat brush – pushed into more tight lines, where necessary.
Step seven:
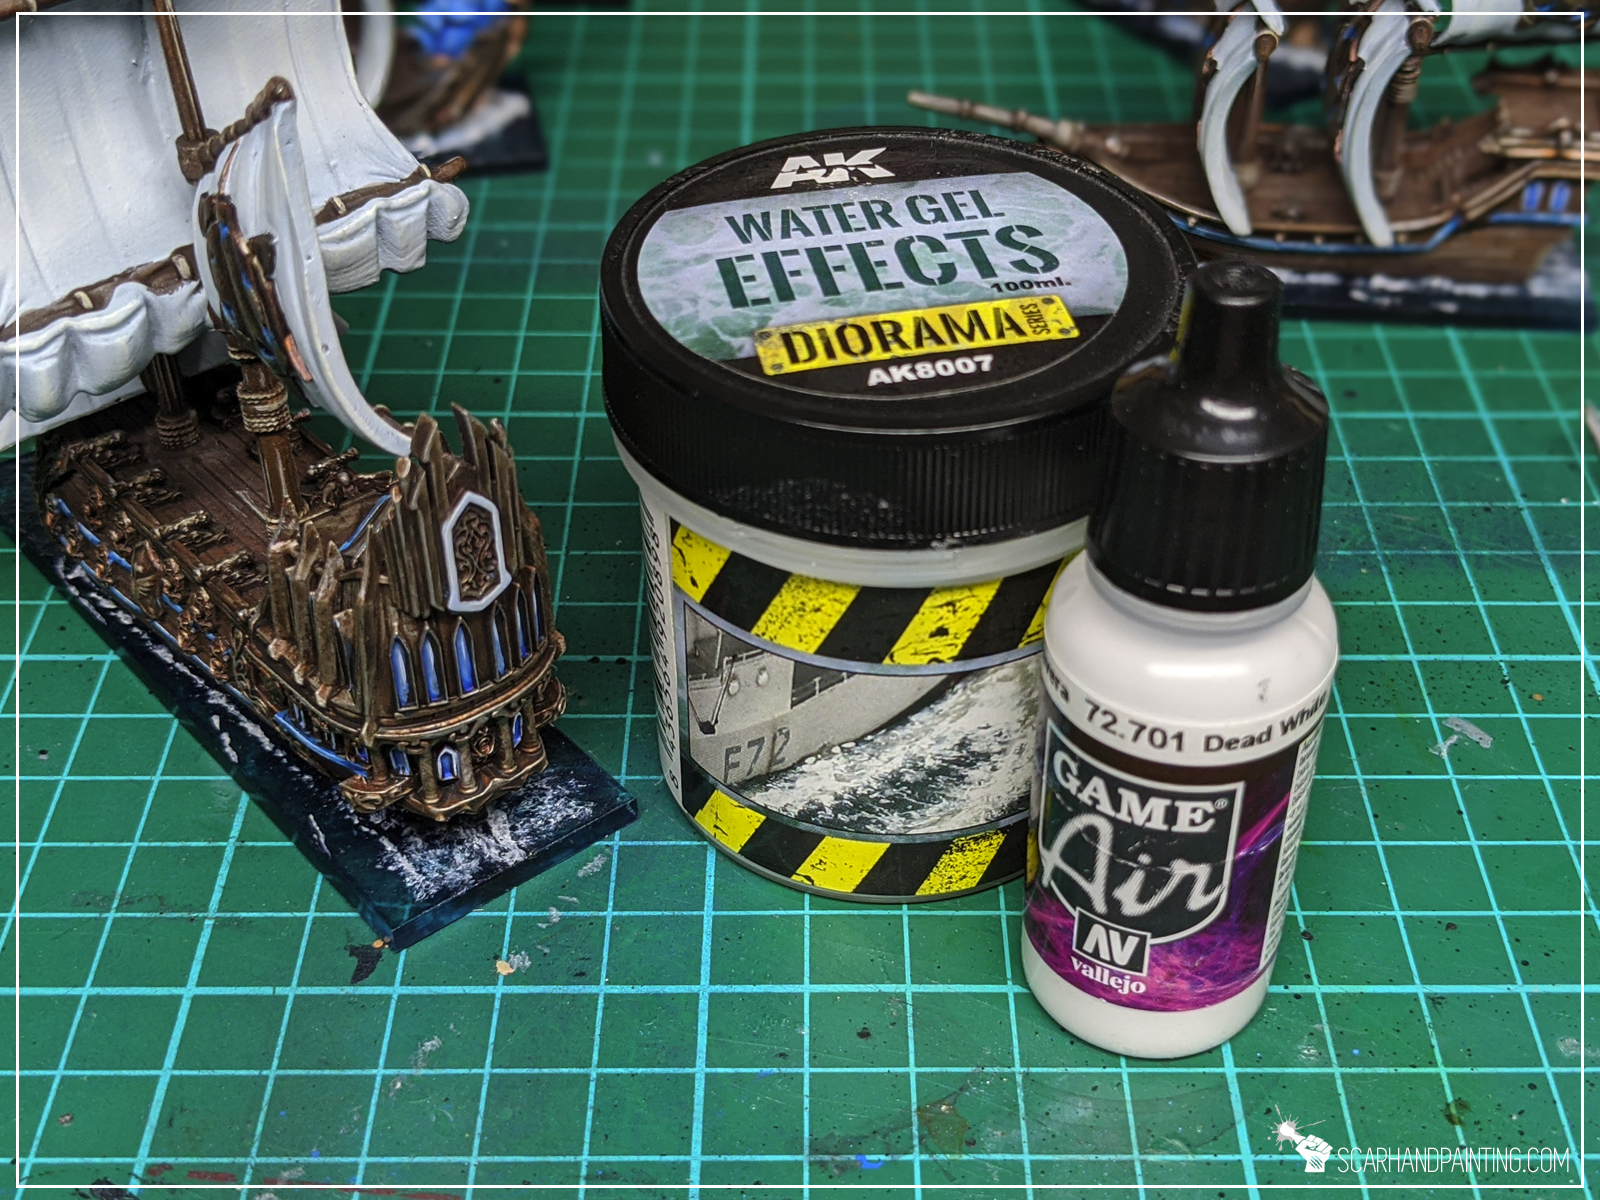
Lastly I mixed white paint, water and AK Interactive clear Water Gel effect and stippled a bit behind and around the ship to create a nice effect of dissolving water foam.

Task complete! The fleet is now sailing into the unknown. I hope you like this tutorial. For more pictures of finished fleet visit Gallery: Armada Basileans
Be sure to let me know your thoughts on the method either in the comments below or at my facebook profile.
Please link this tutorial to anyone who likes to learn new hobby tricks.
Lastly I also invite you to follow me at Instagram, where I drop some nice pictures from time to time.
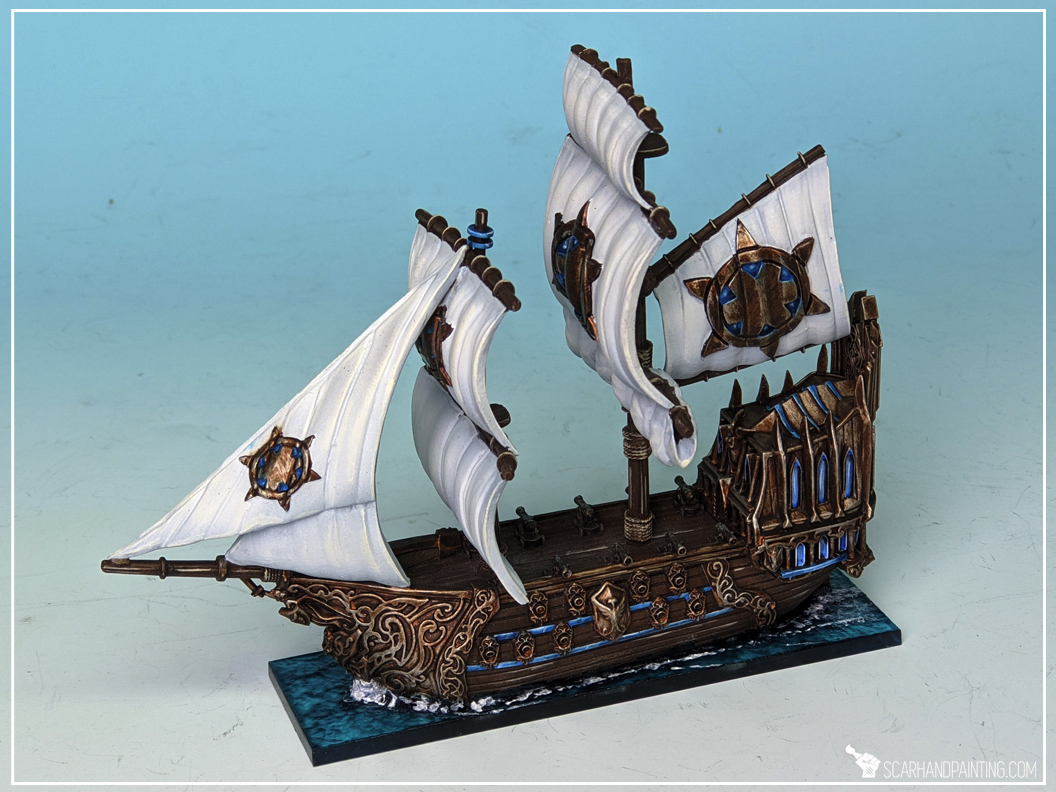
All speed ahead and see you in the next article!

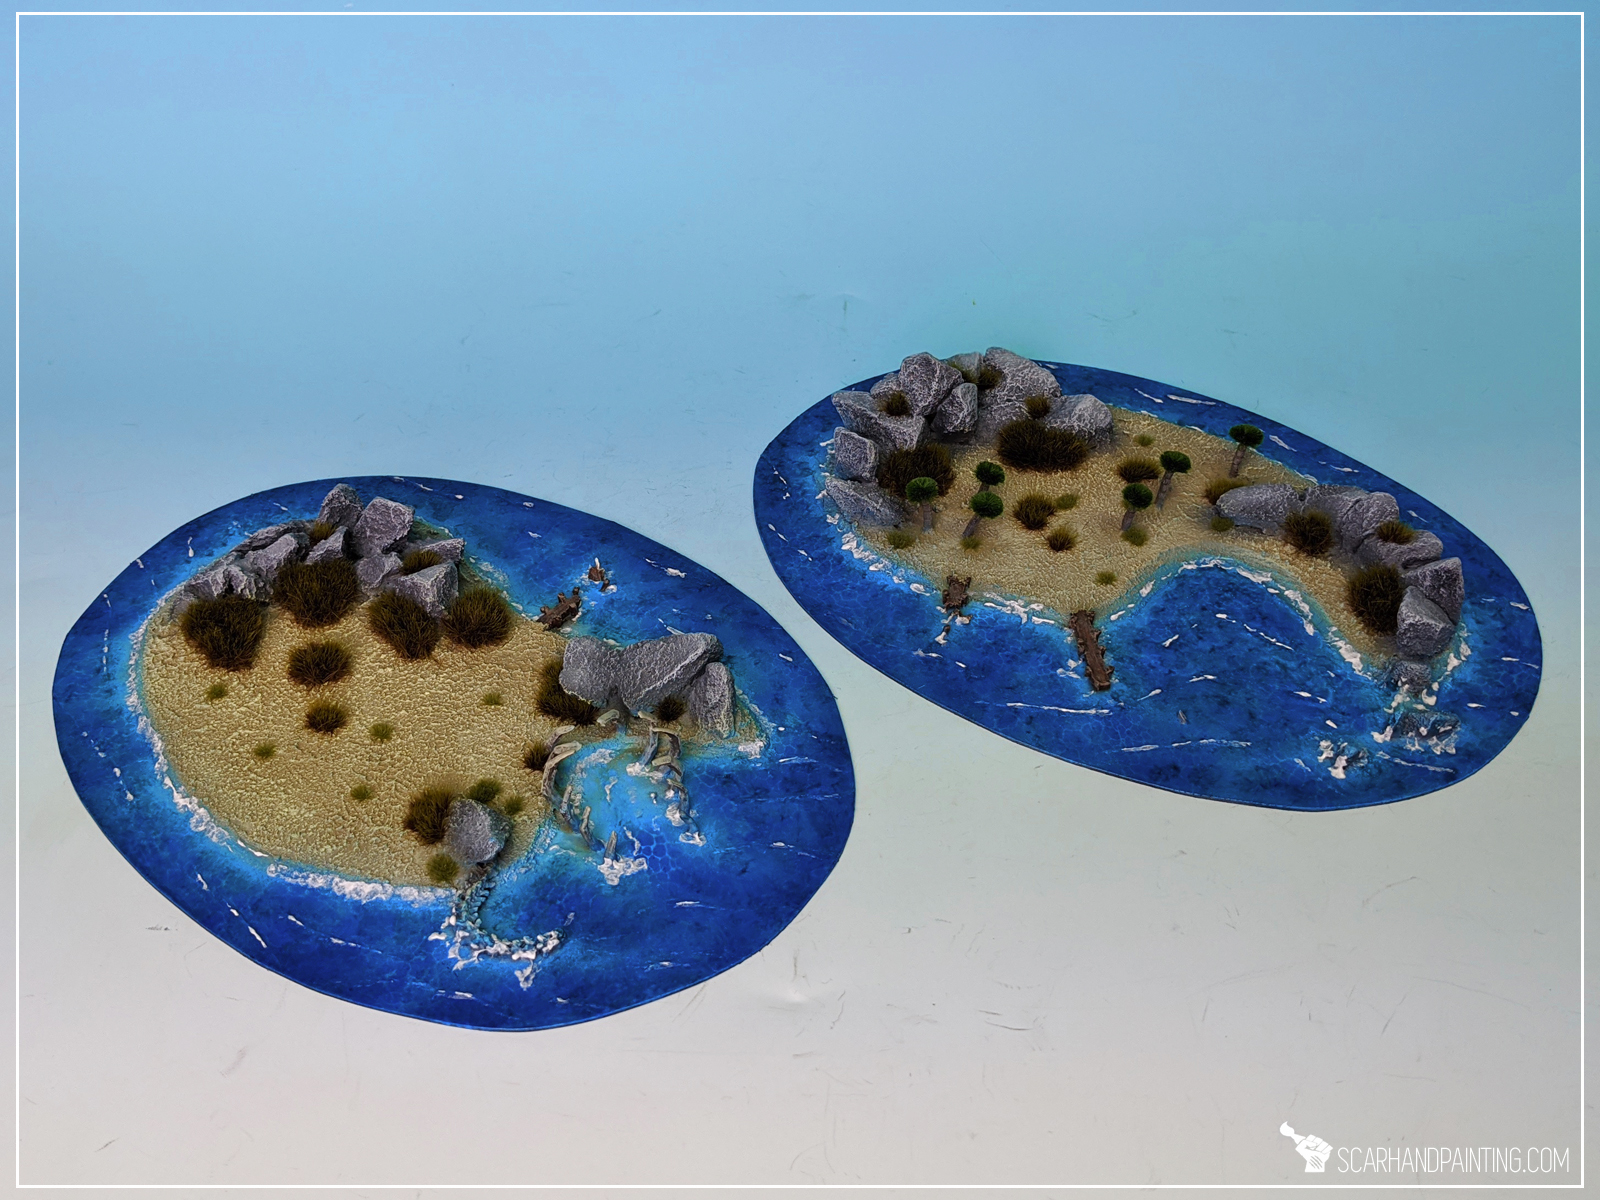
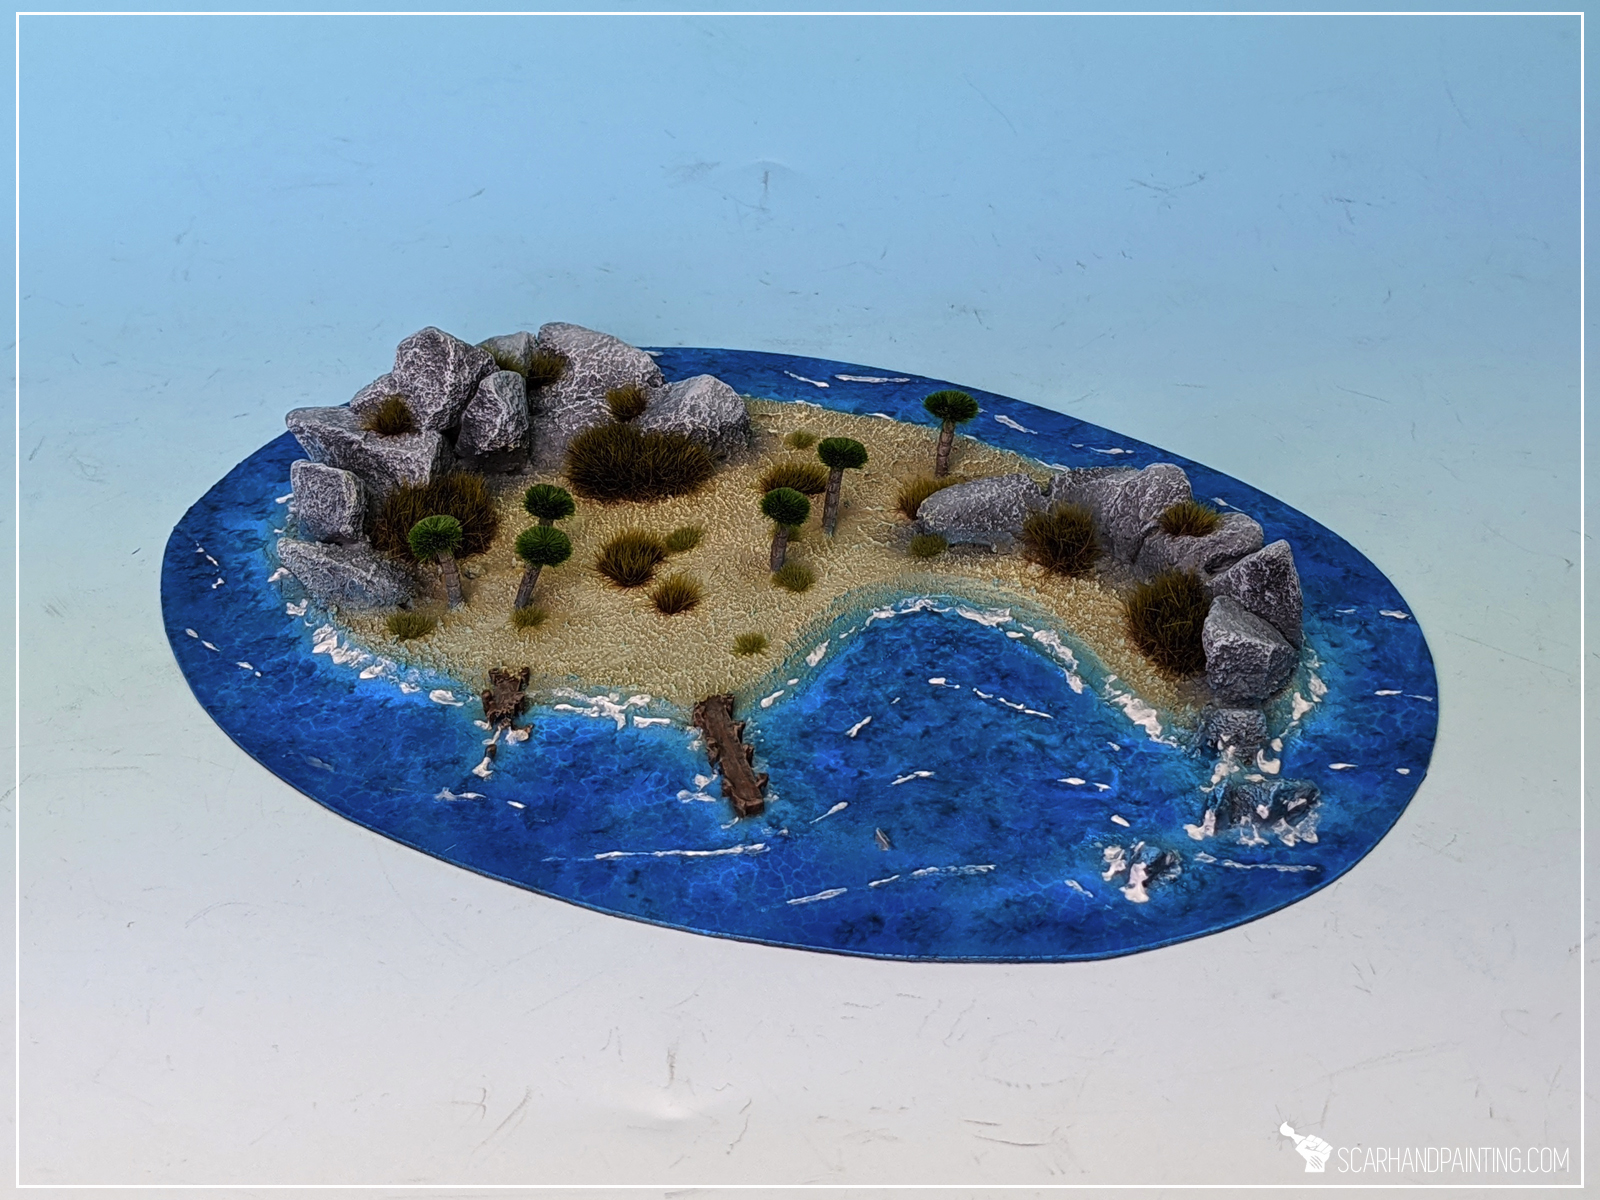
Welcome to Kings of War Armada Islands tutorial. Here I will take you on a Step-by-step trip through the process of creating and painting DiY islands scenery for Mantic Games Kings of War Armada as presented in the picture below.

Before we start, some notes:

Playing a friendly game on a set of fully painted and modeled scenery is always a great experience. In my opinion there’s nothing better than to let yourself go “full immersion mode” during a game of plastic dudesmen, or in this case – resin boats. That’s why I decided to create a set of appropriate scenery and use this opportunity to let you in on some of my hobby secrets.
When planning the set and how to make it my priorities were ease of build (and copy), durability, stability and obviously cool looks! Thus choice of material being mostly PCV and stones. PCV sheets are easy to work with, stay flat and are very glue friendly, whereas stones provide cheap and easy to use terrain features that will add weight and improve stability of the scenery pieces. With that in mind – let’s begin!
Step one: Basic shapes
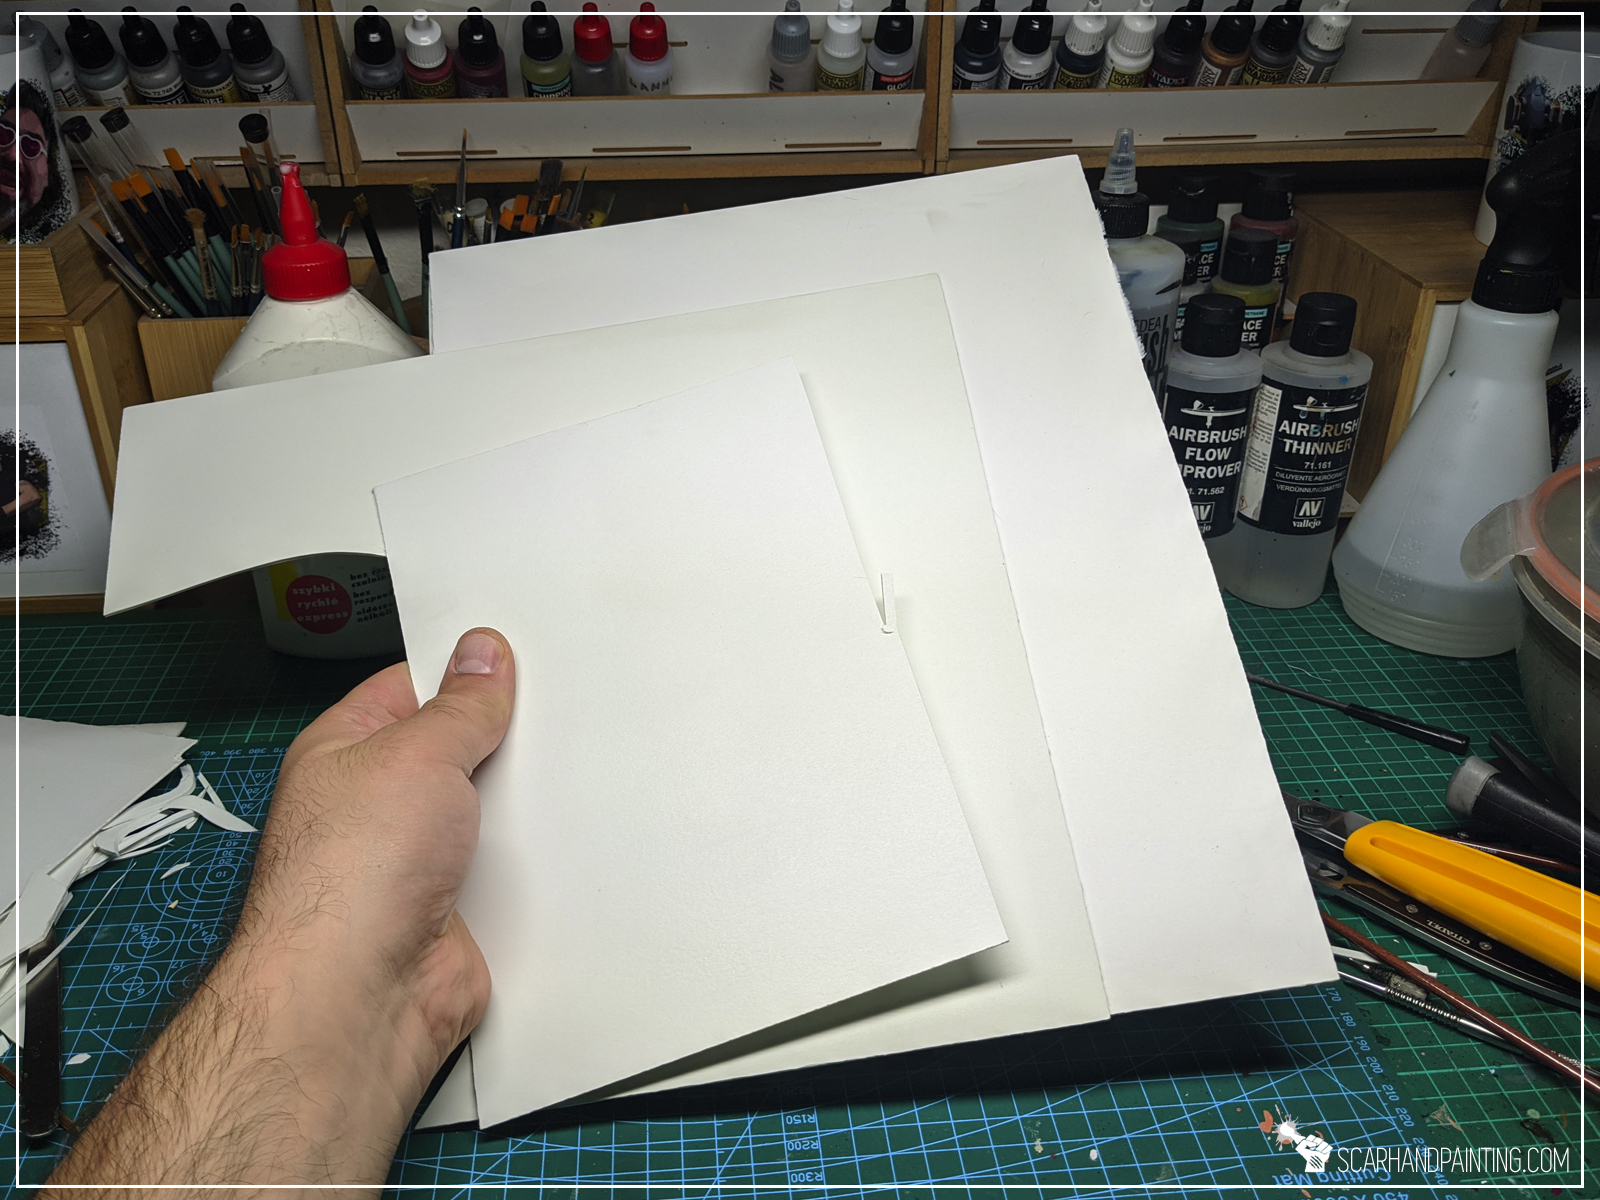
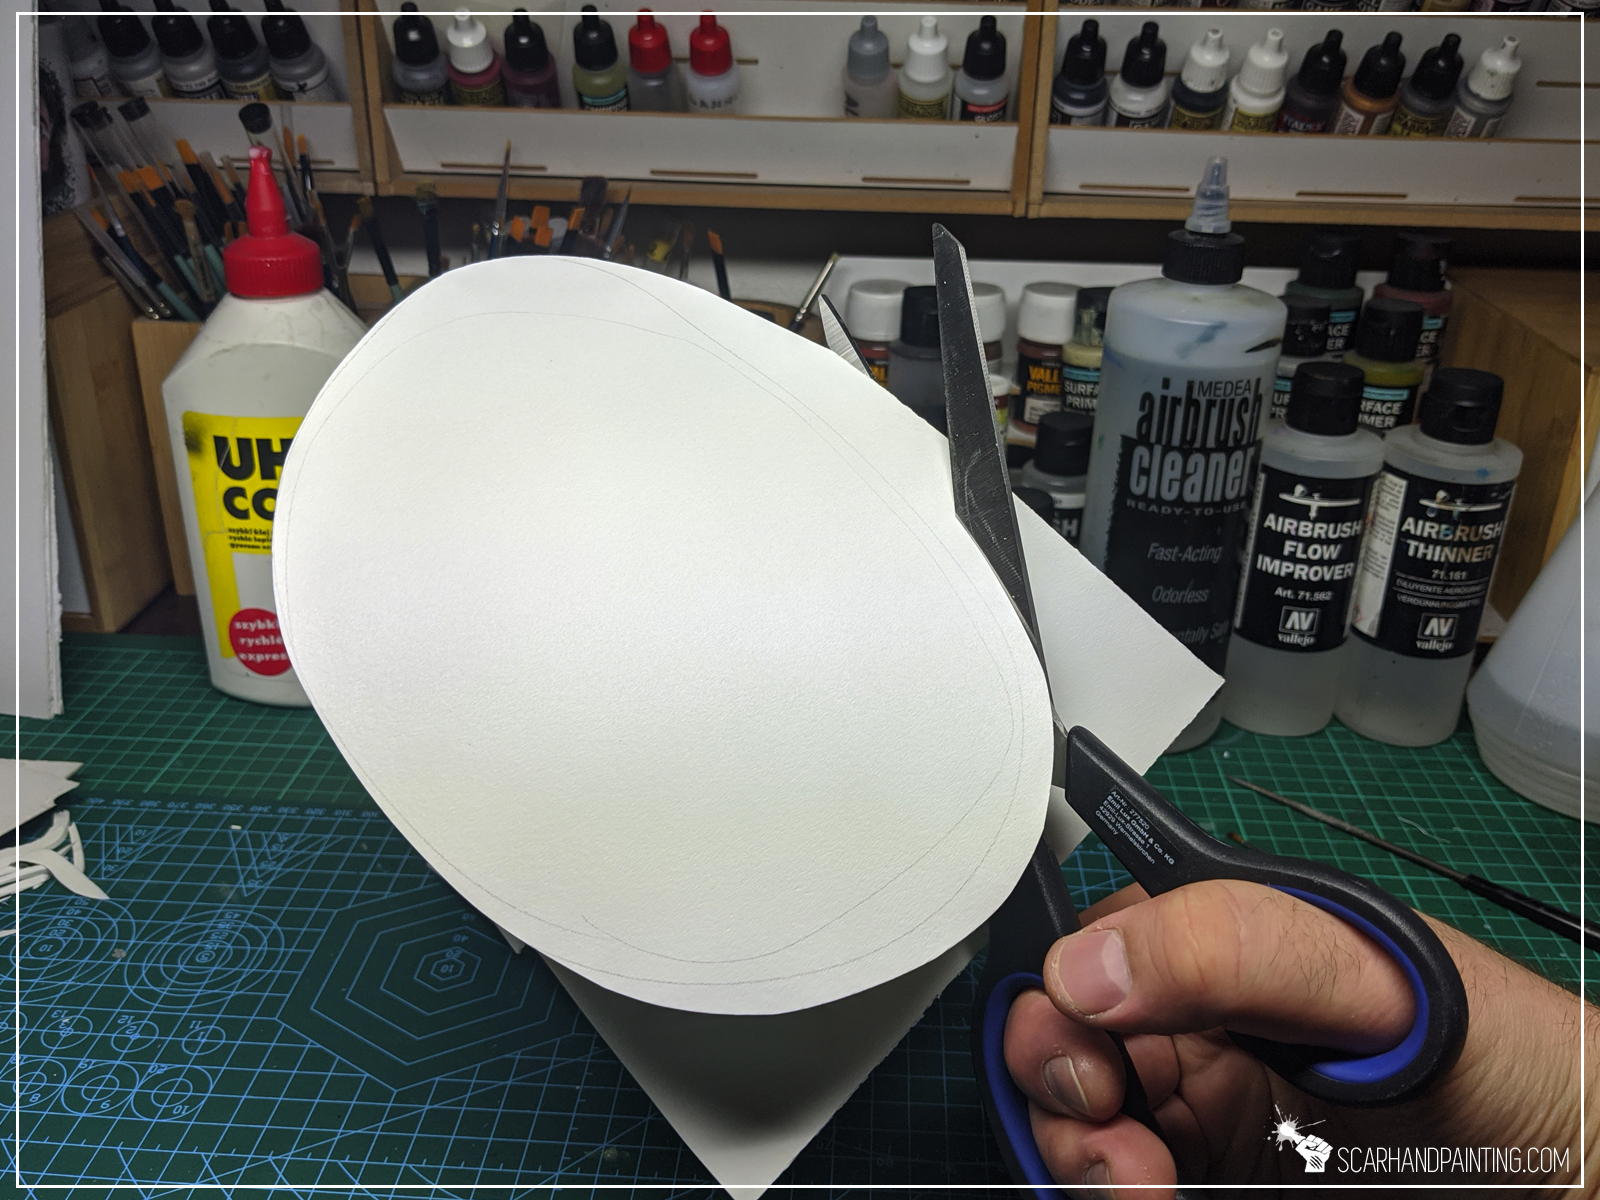
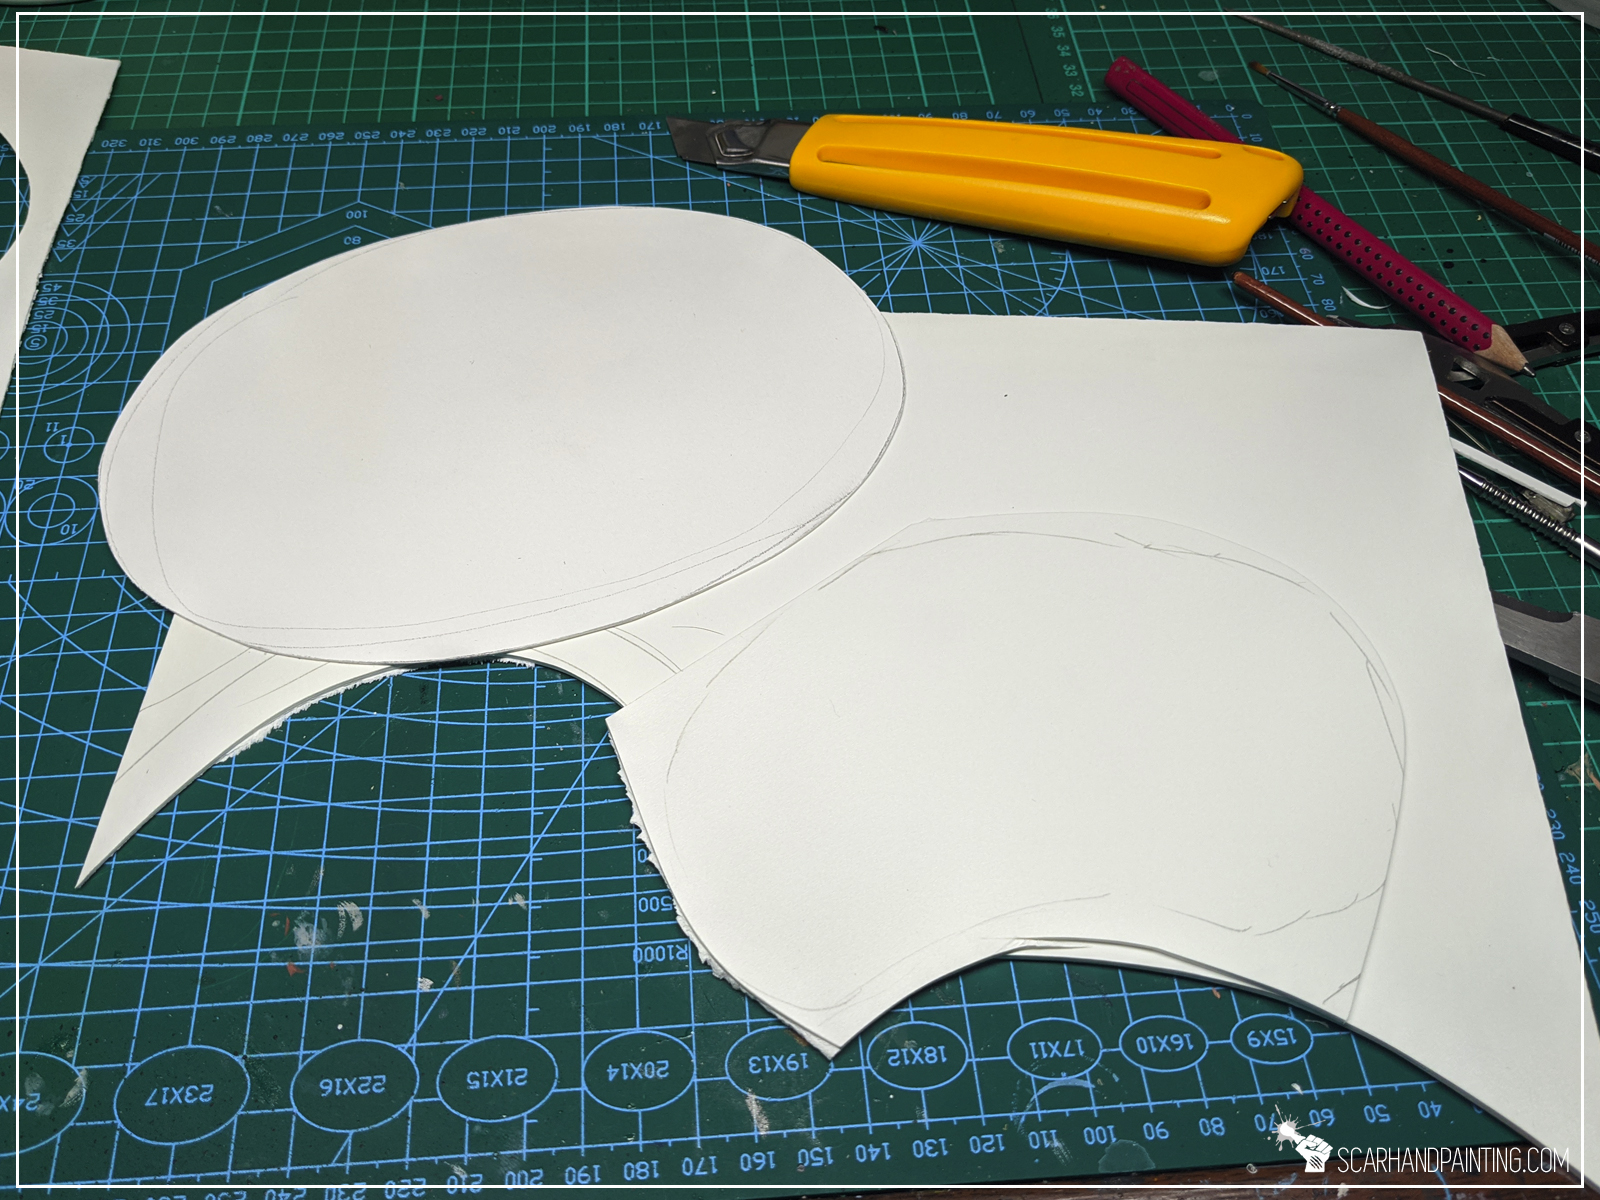
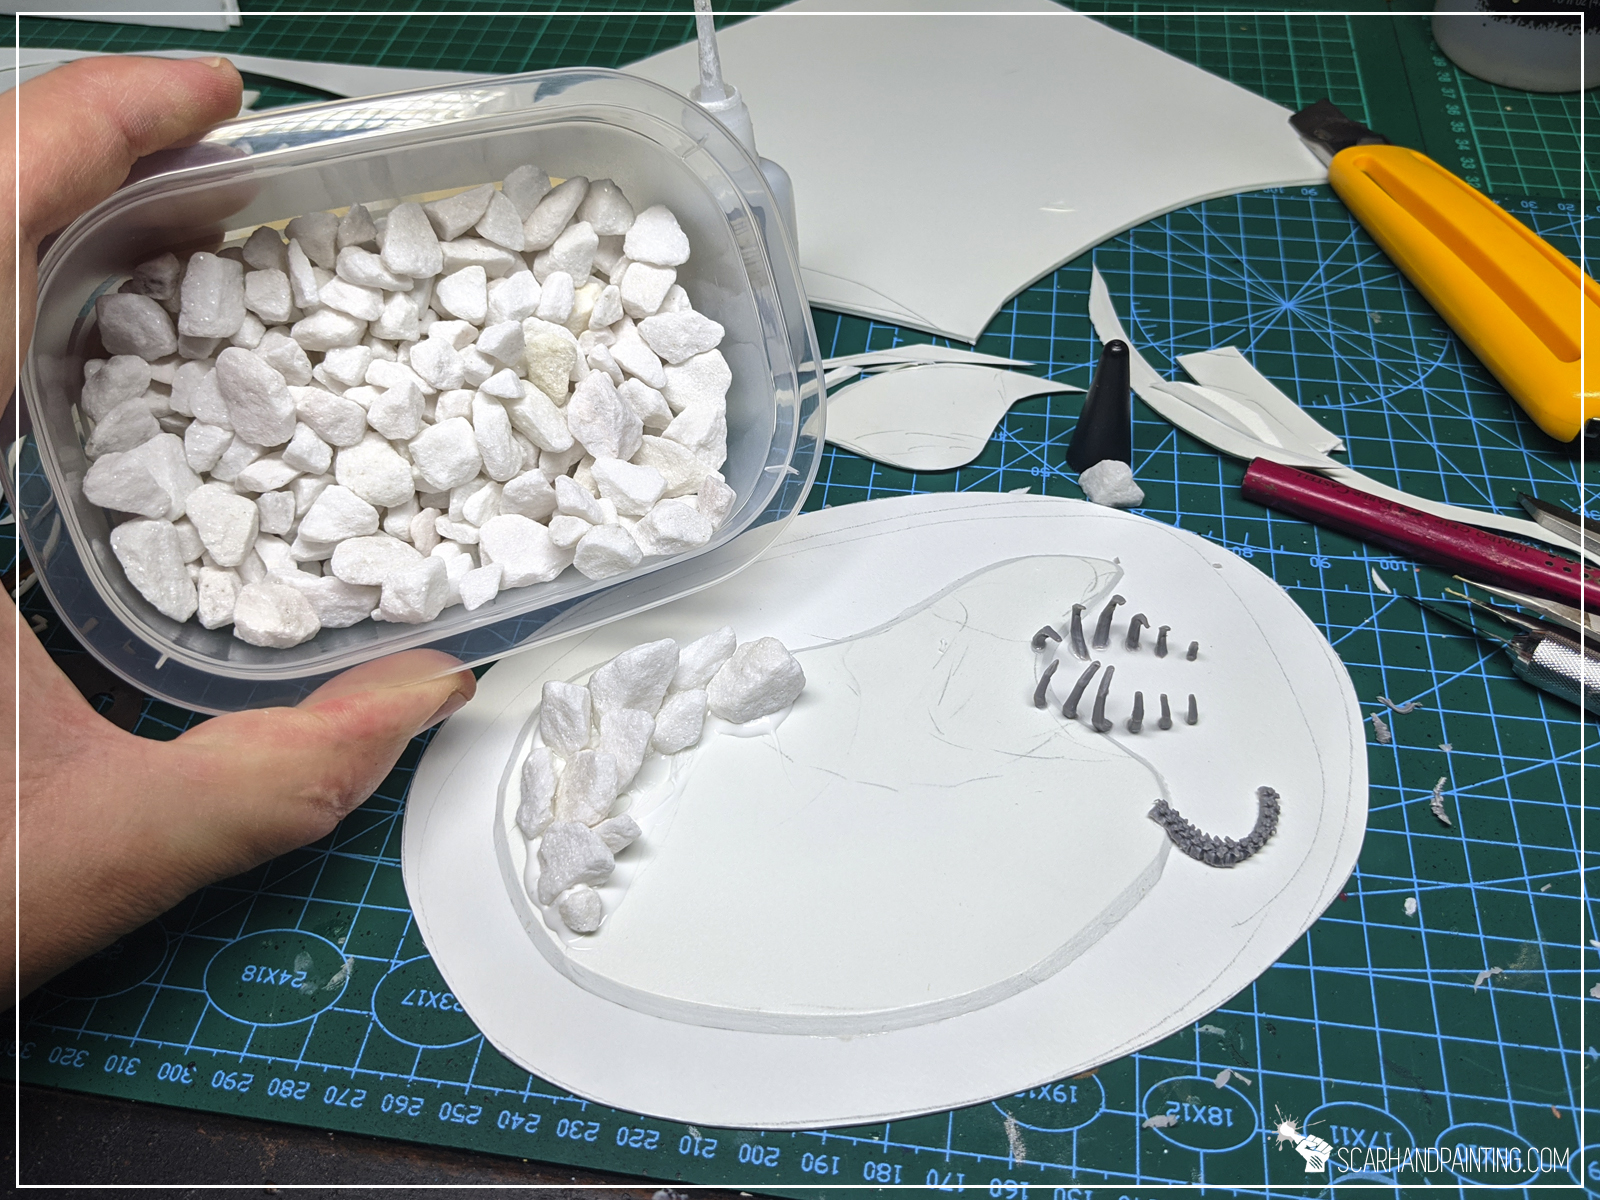
I started by cutting a island’s base out of 1mm thick PCV sheet with a pair of scissors. I then smoothed the edges with a piece of sandpaper.
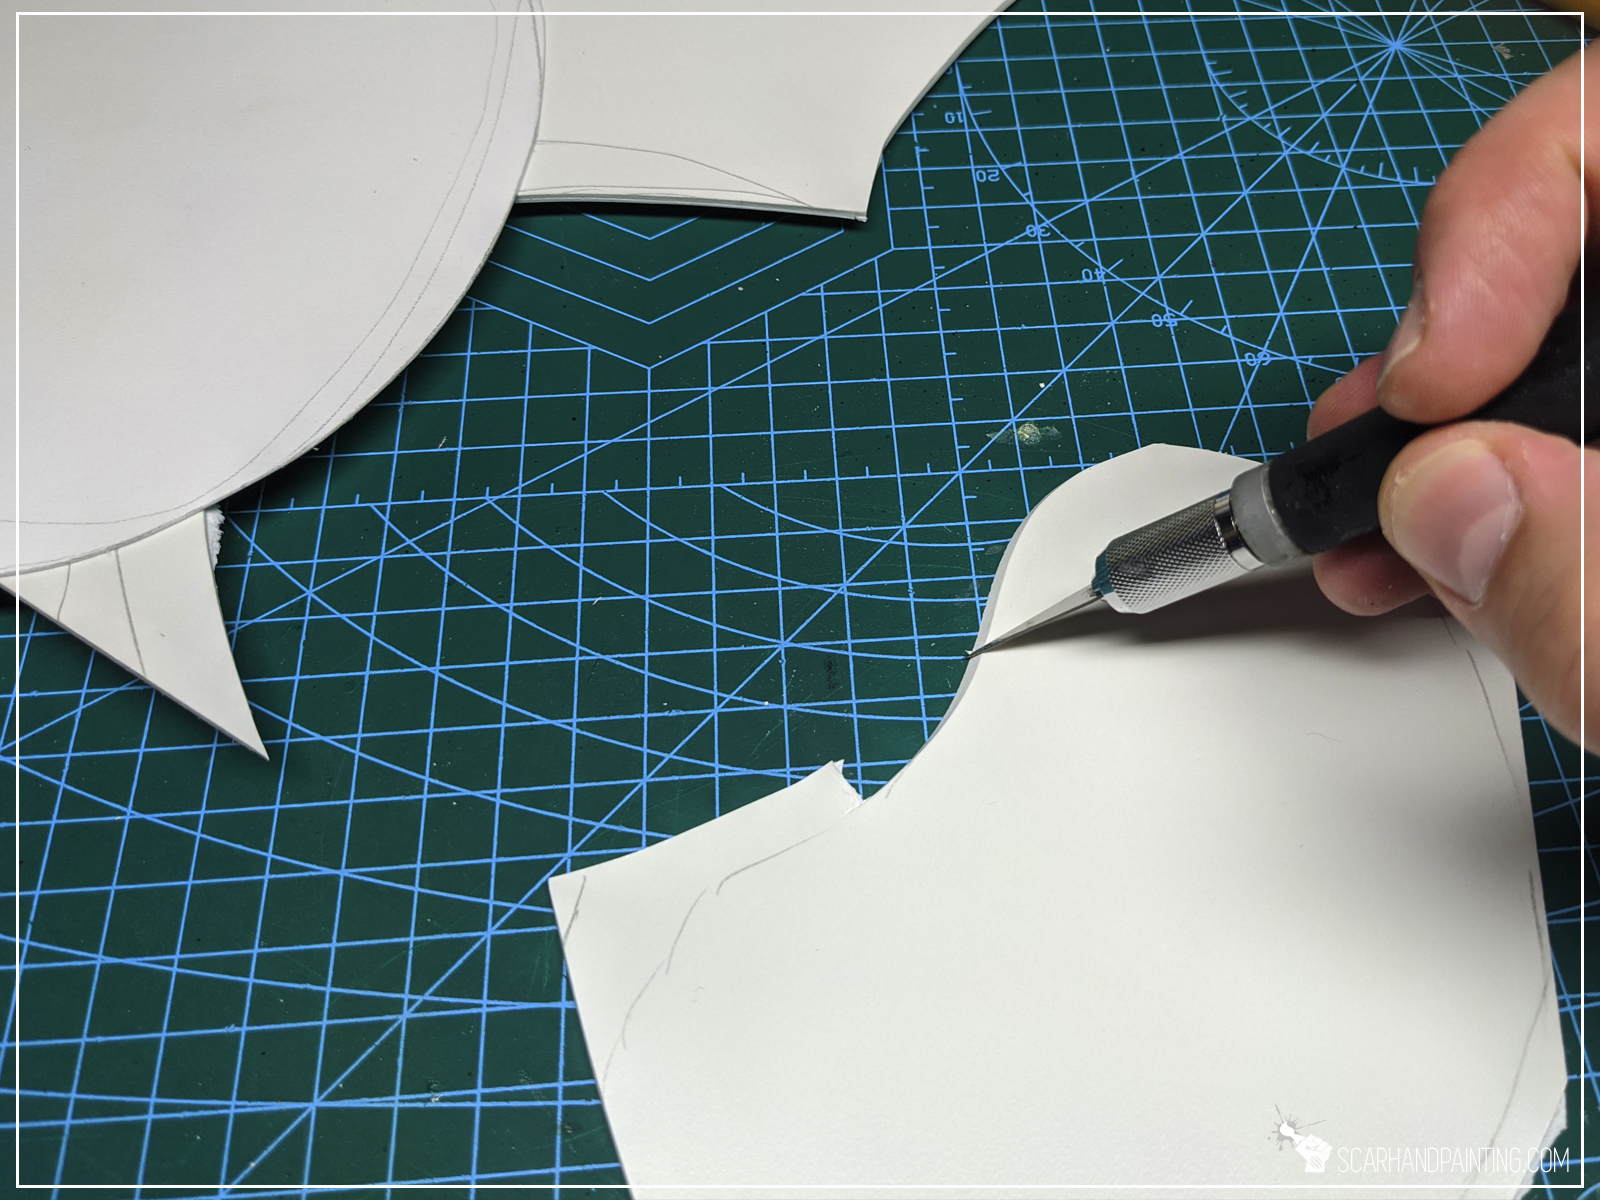
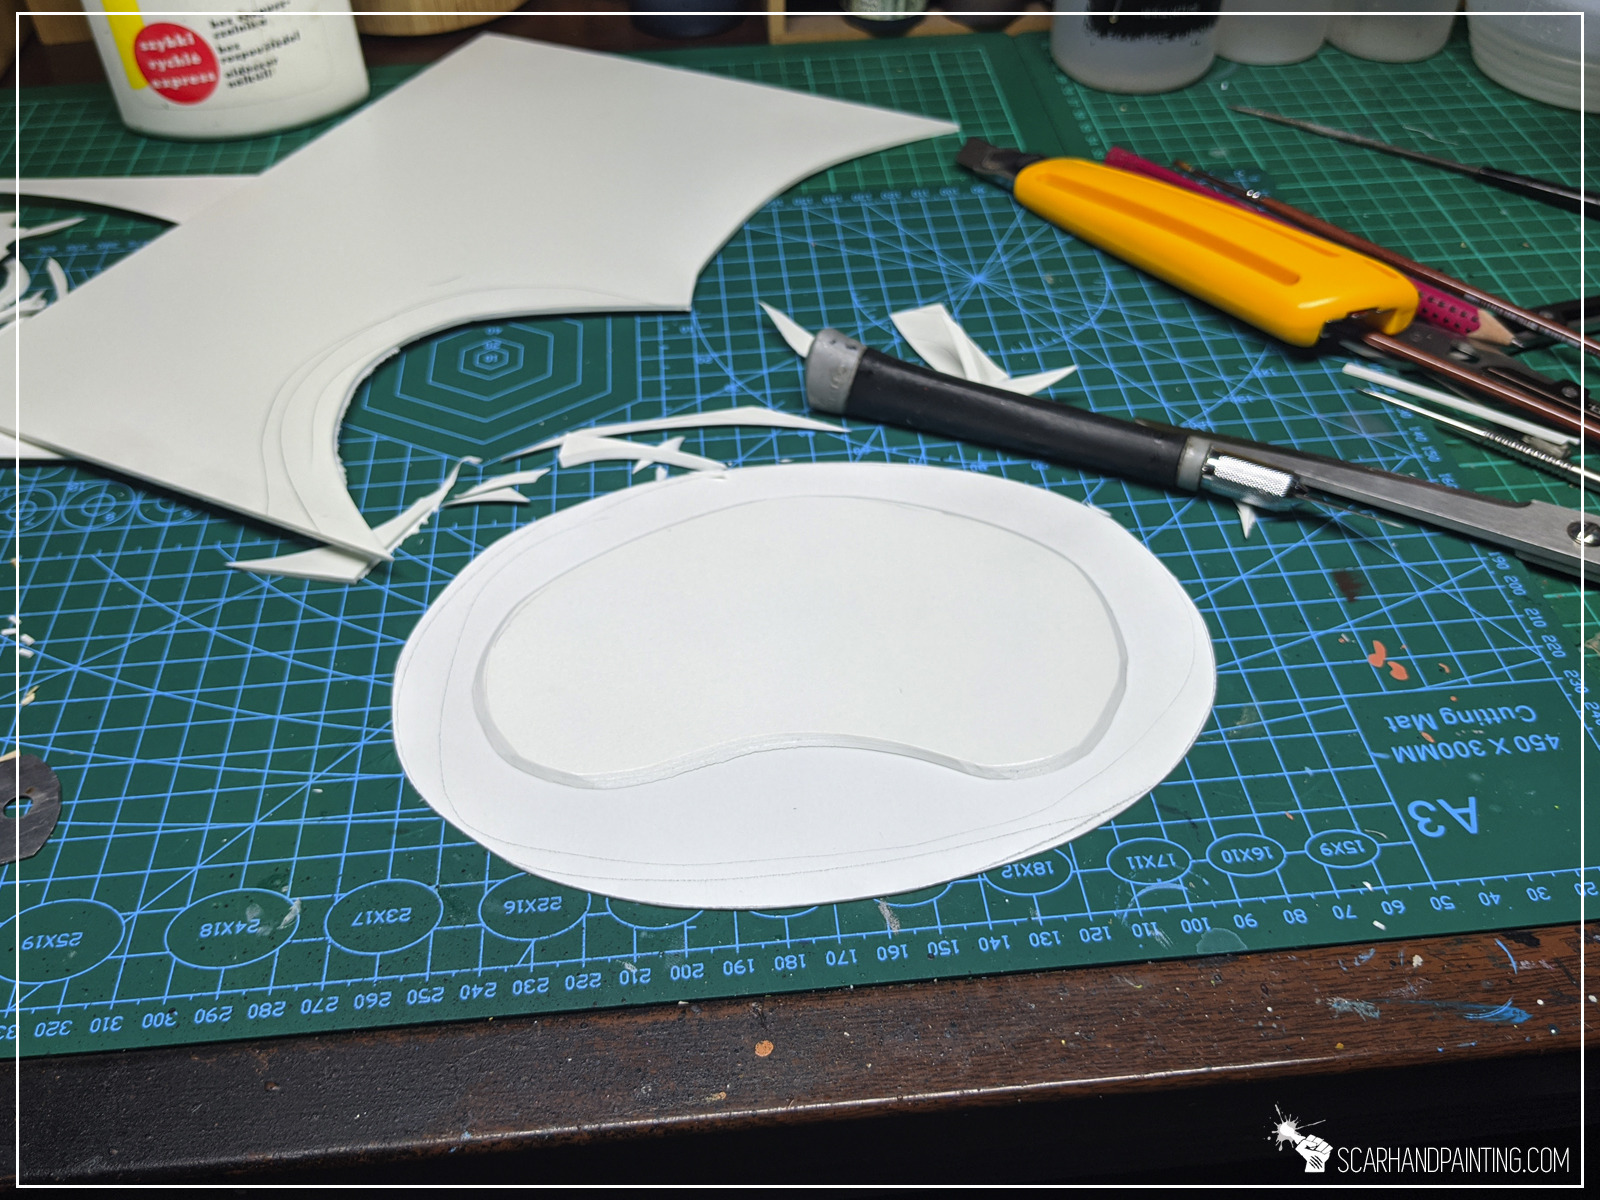
Next, using a hobby knife, I cut the island itself. This time I used 3mm thick PCV and cut the edges at a 30-45* angle, leaving approximately 1,5cm of the base all around the island. Once done I glued both pieces together, using Army Painter’s Super Glue.
Step two: Rocky features
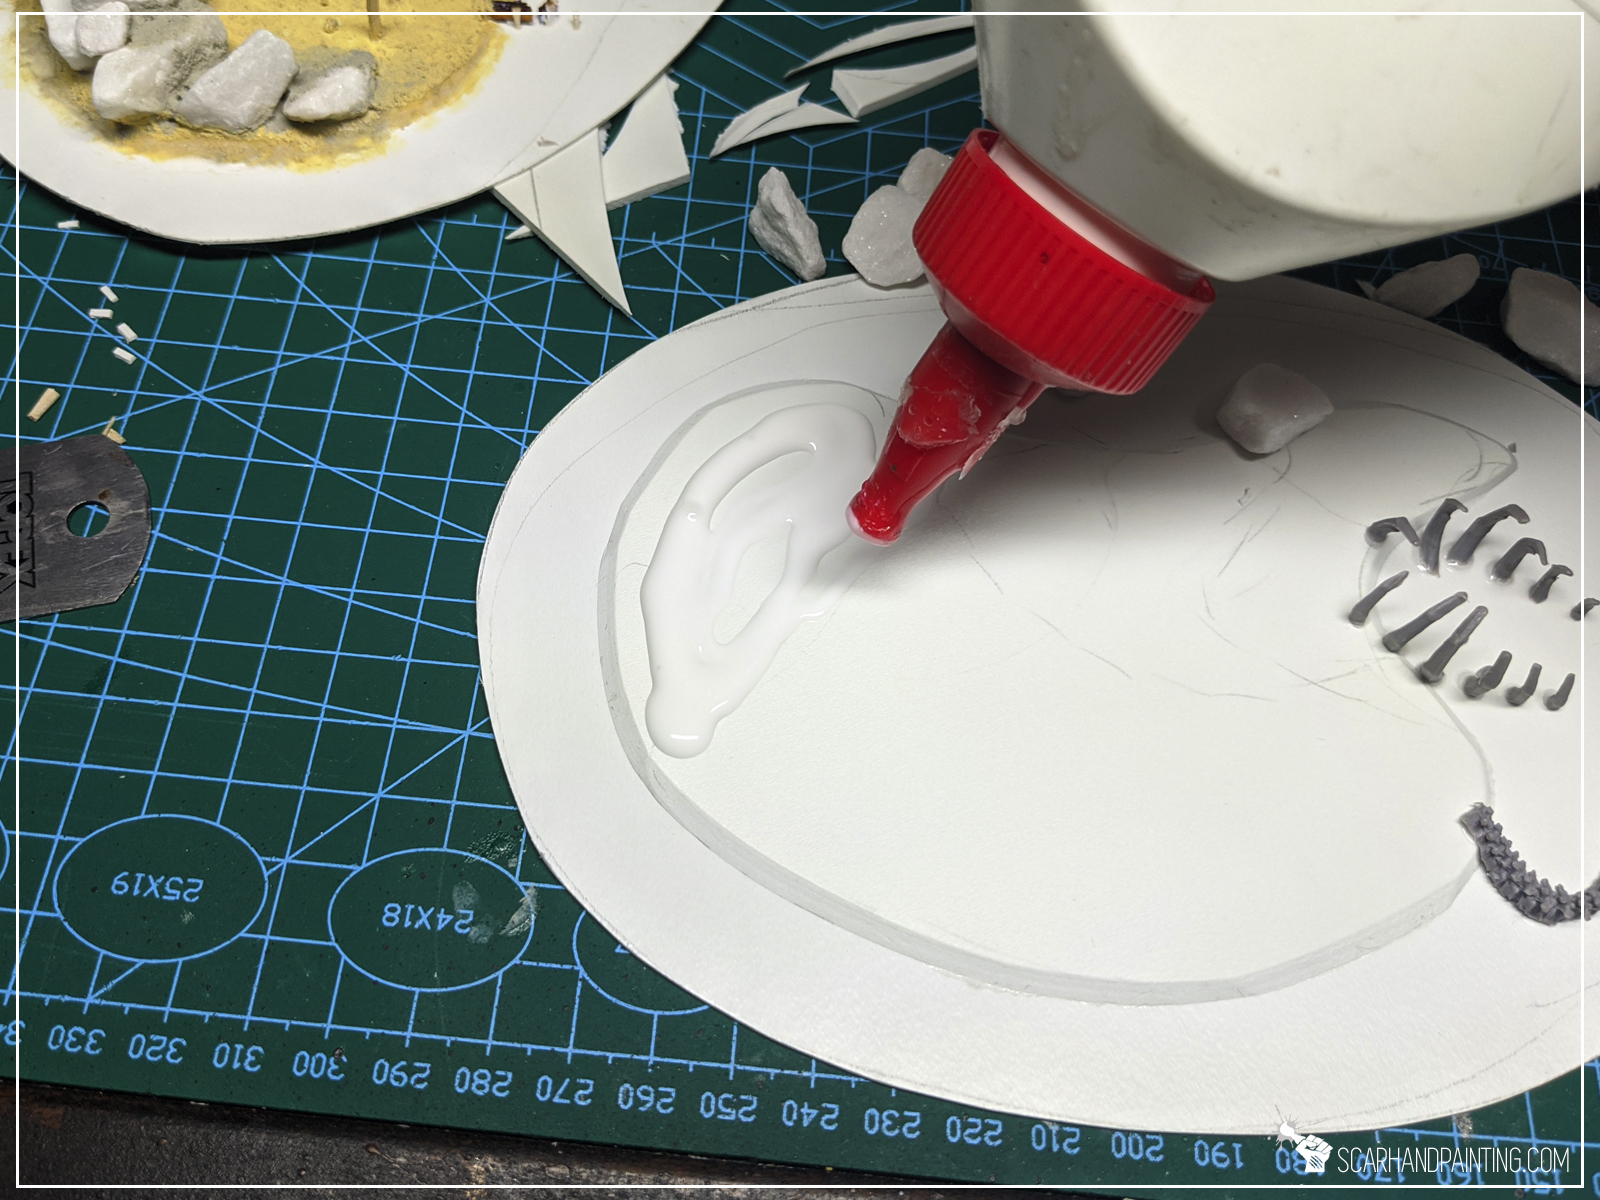
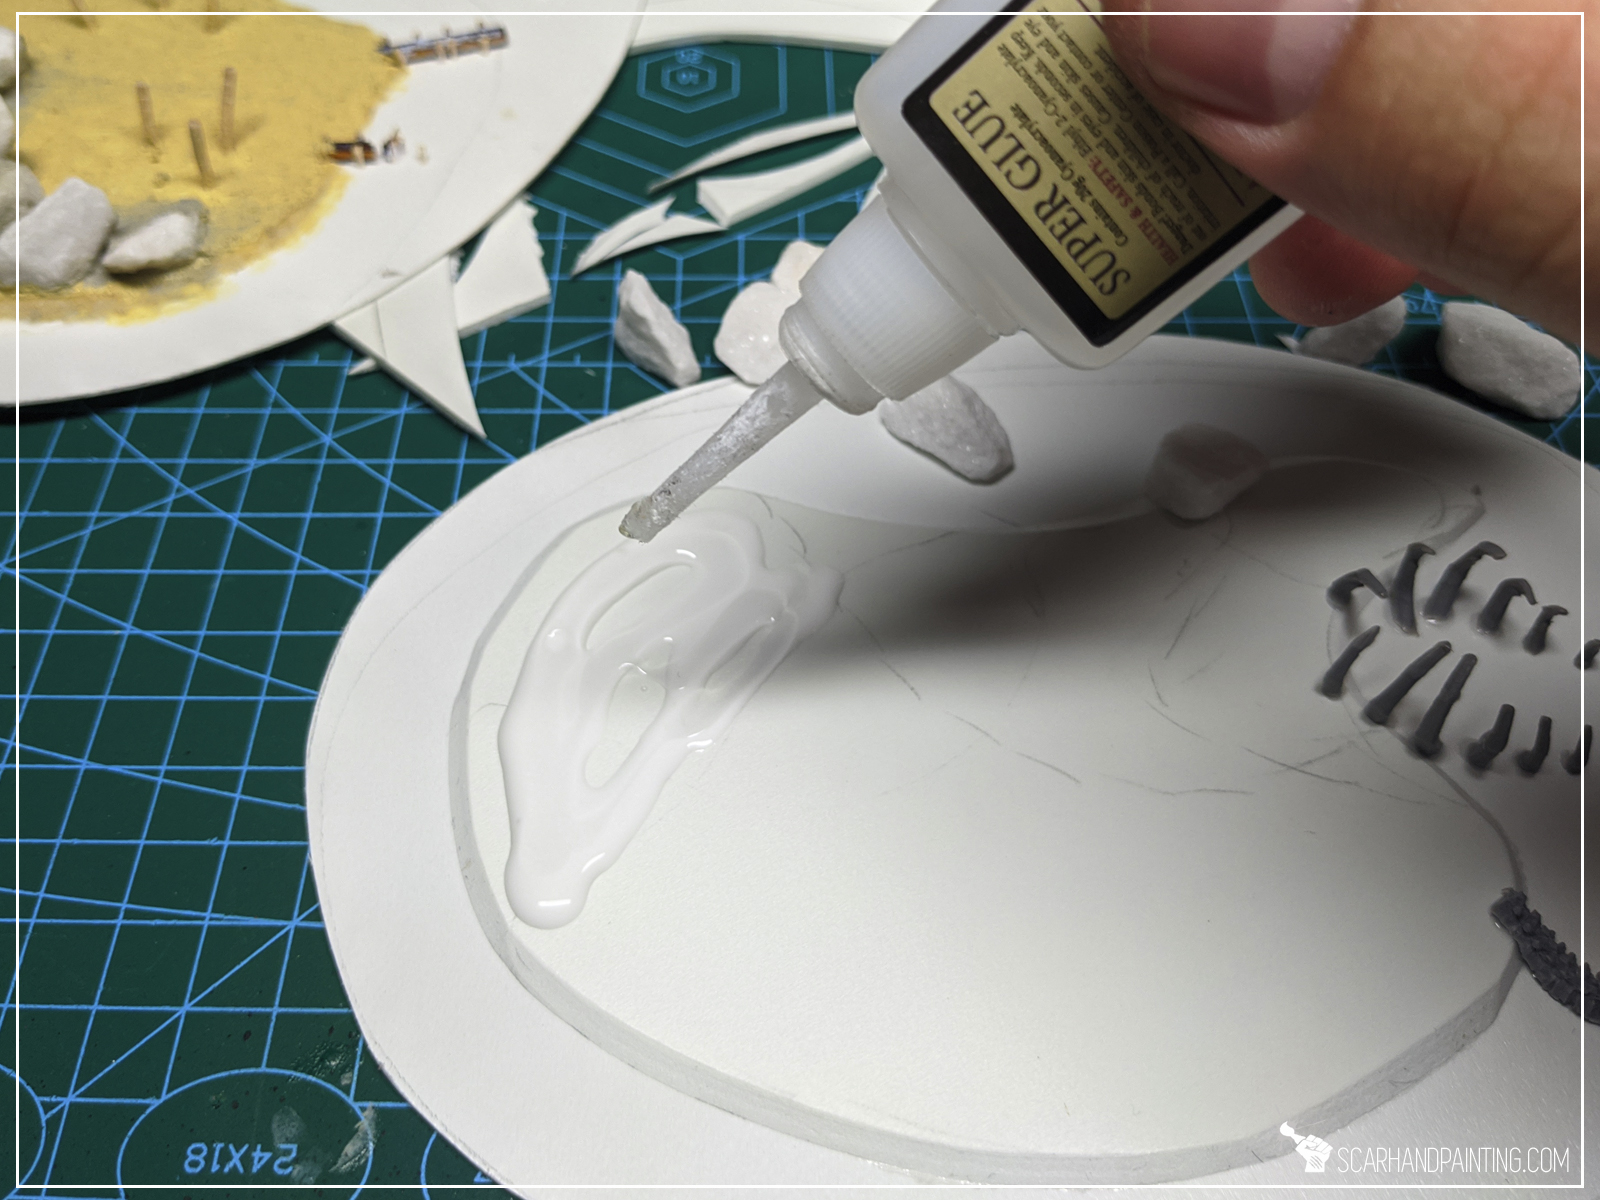
I then applied PVA glue to some areas on the island, followed by AP’s Super Glue and finally Rocks – repositioned to look interesting. I also added some bitz, but I leave it up to you to decide if you want to do the same.
Step three: Wooden piers
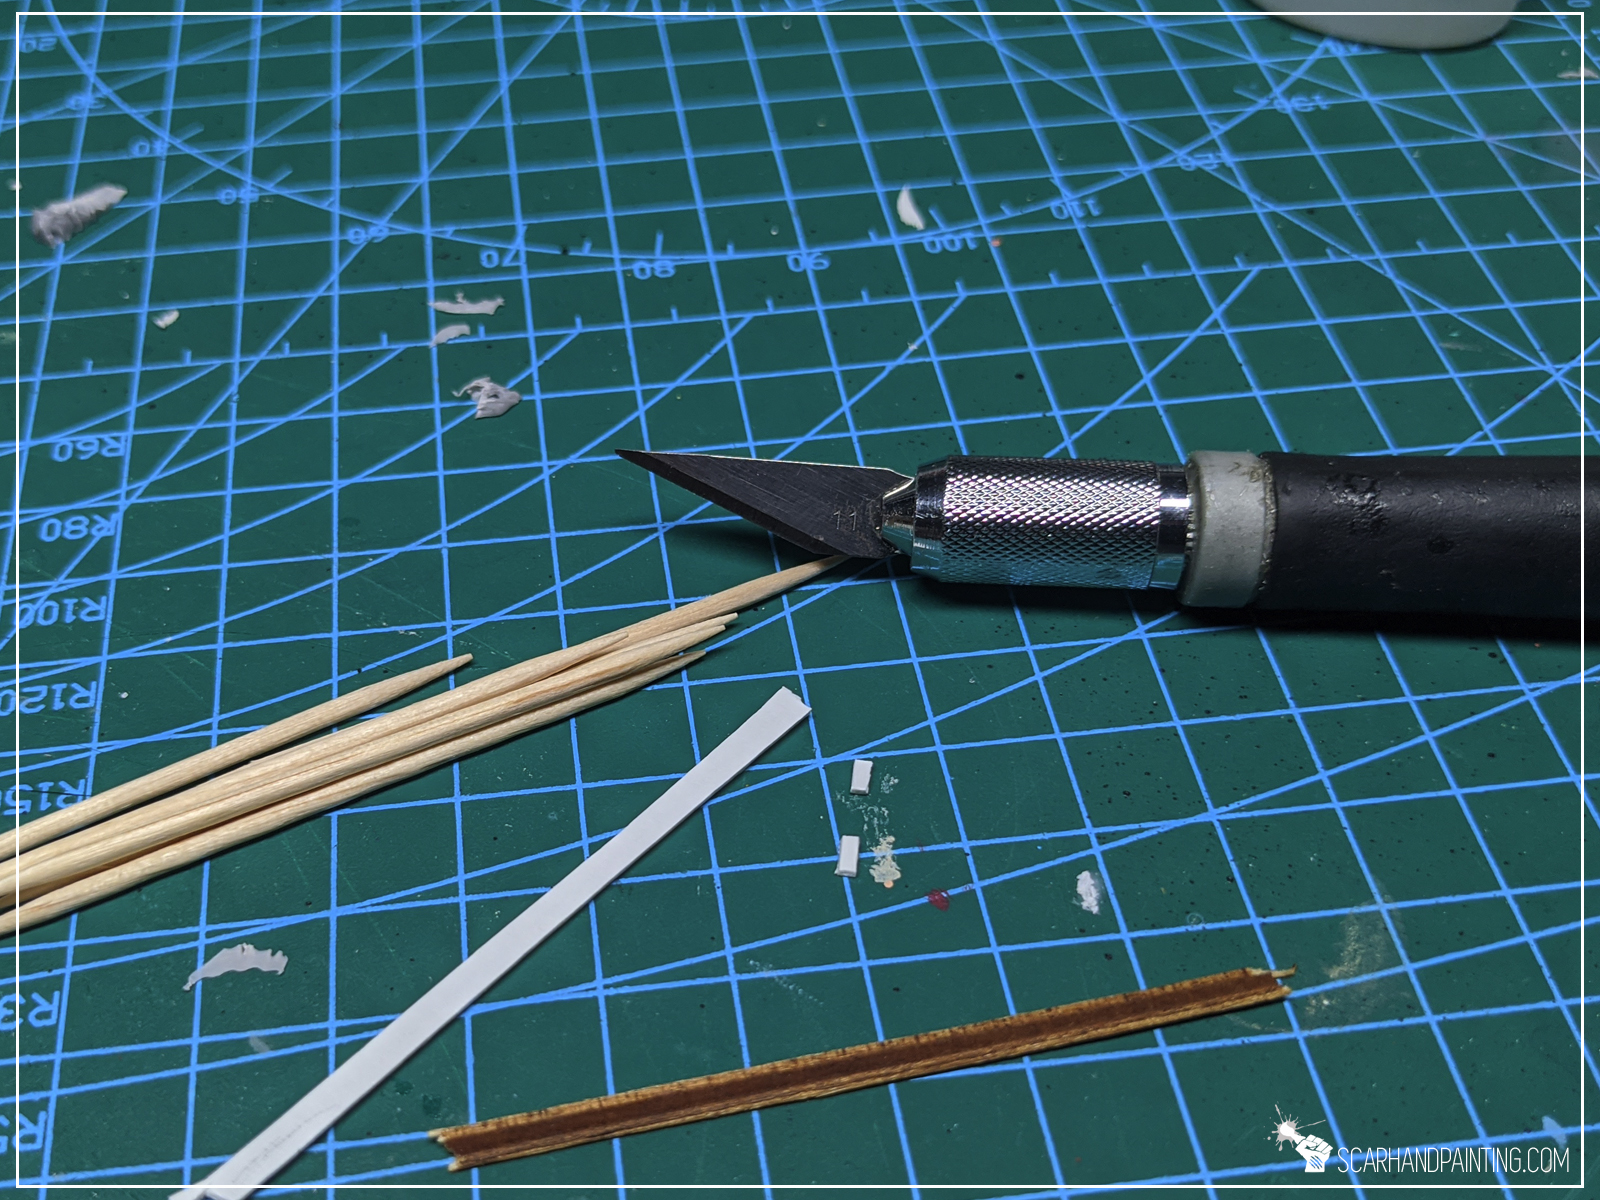
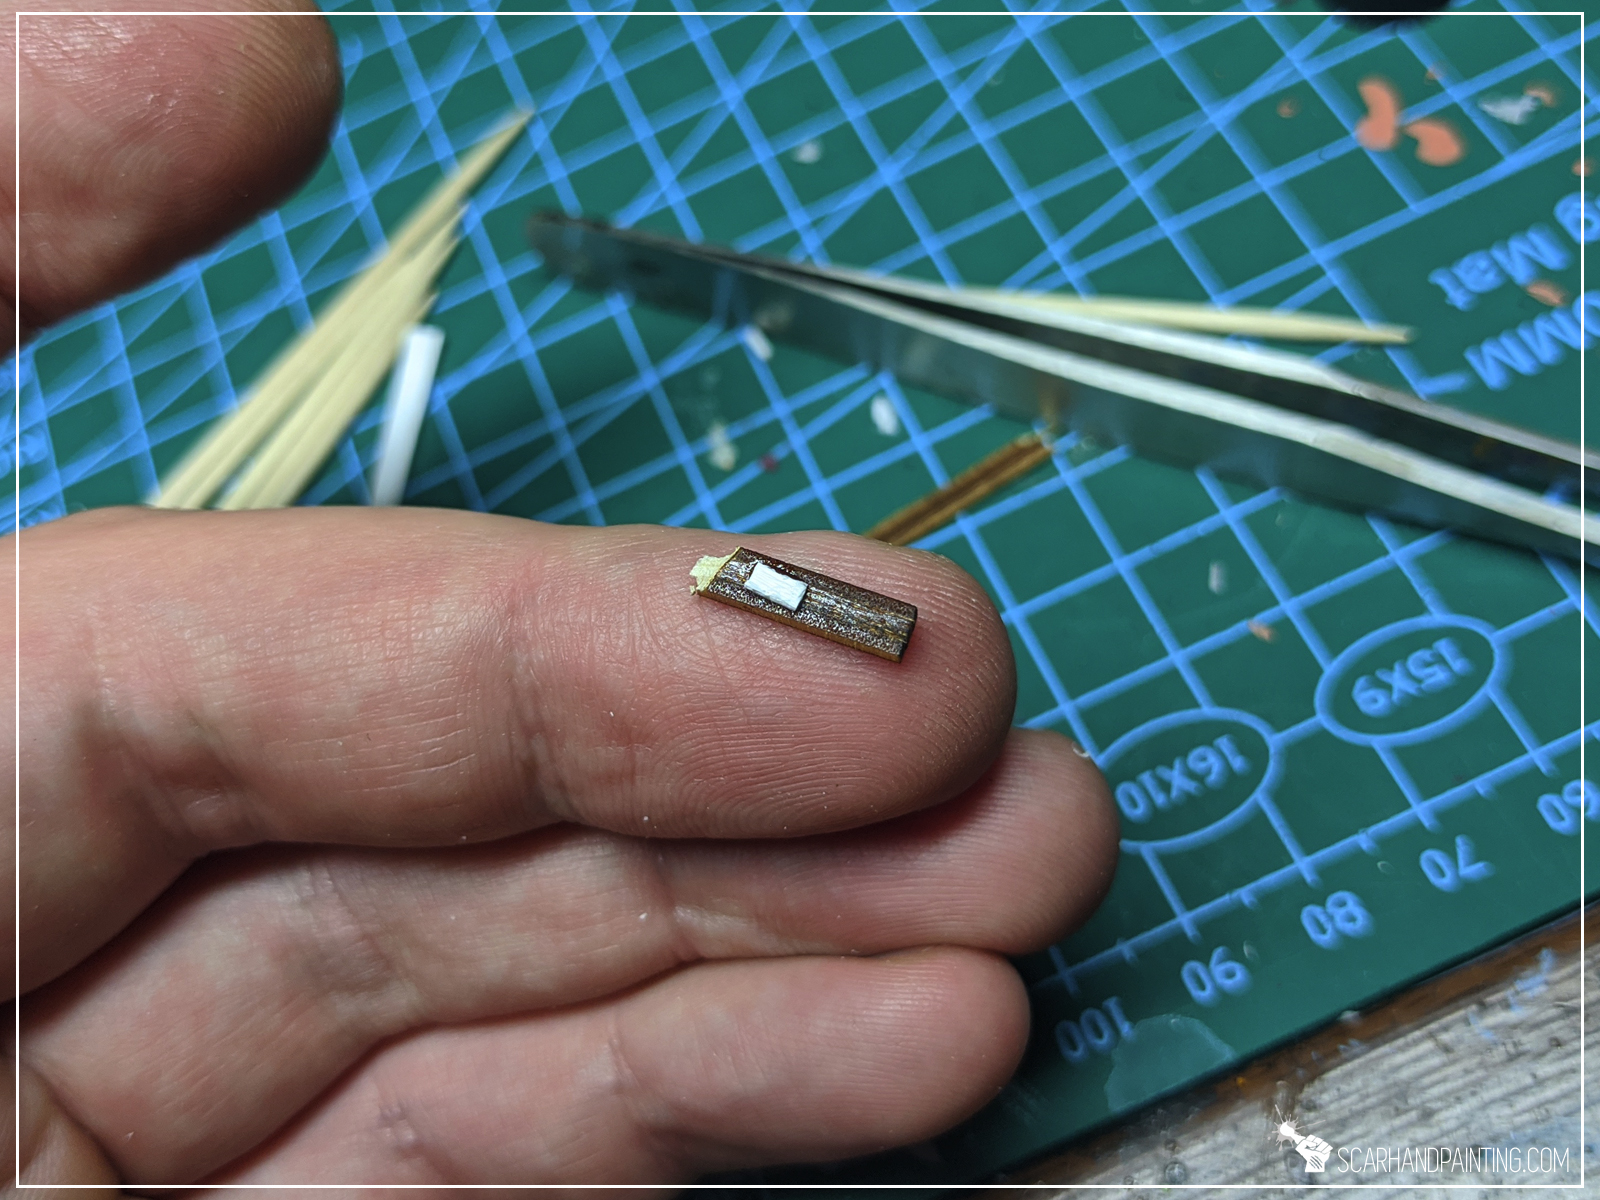
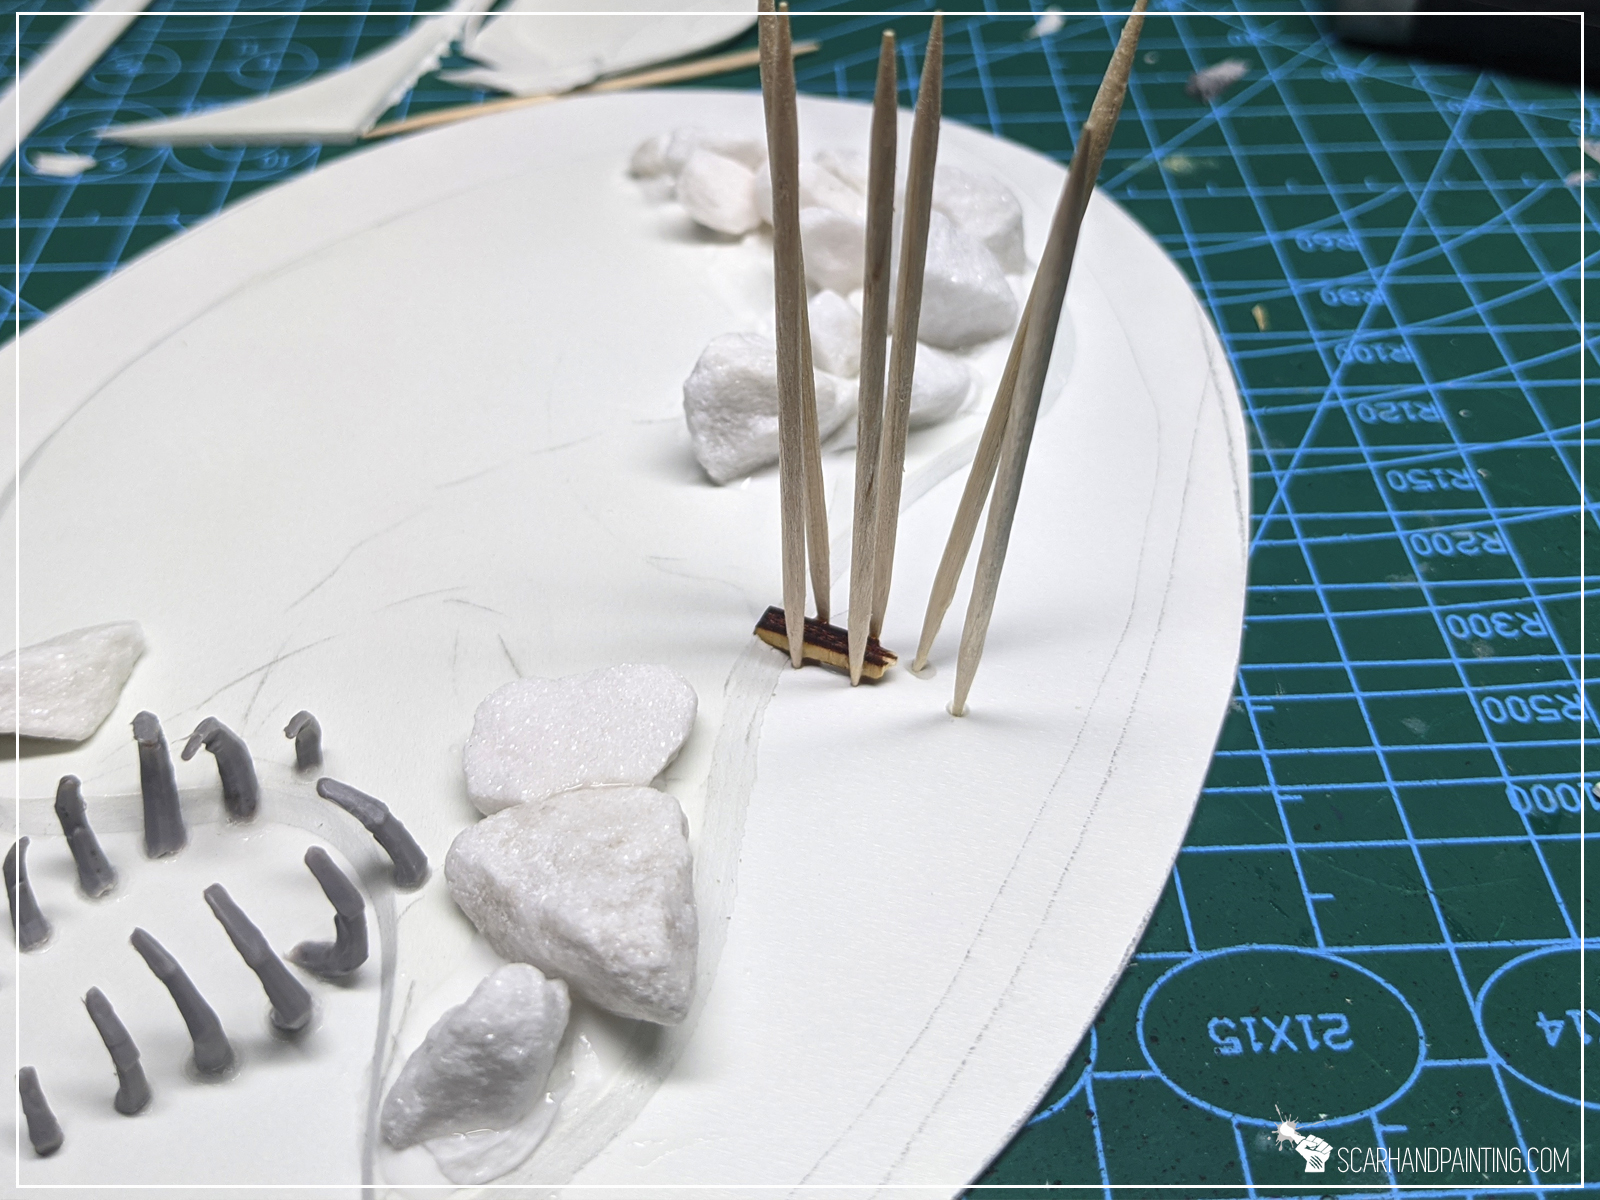
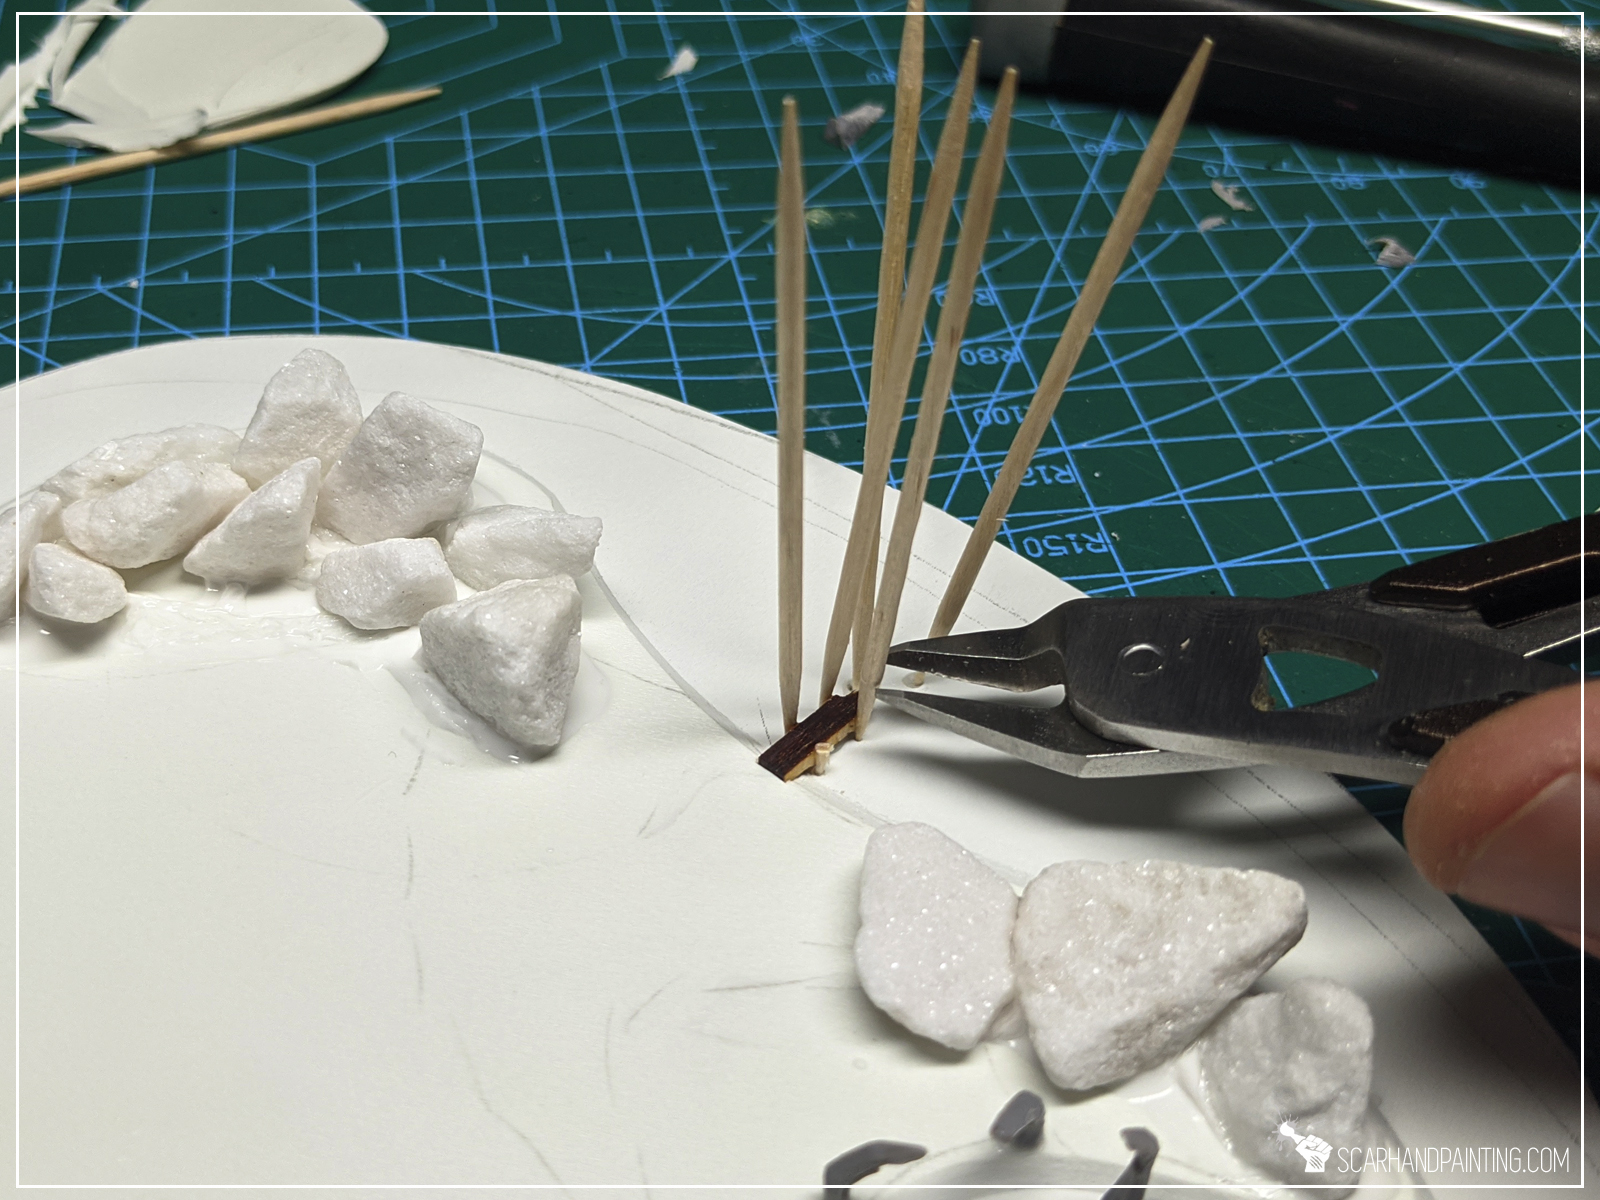
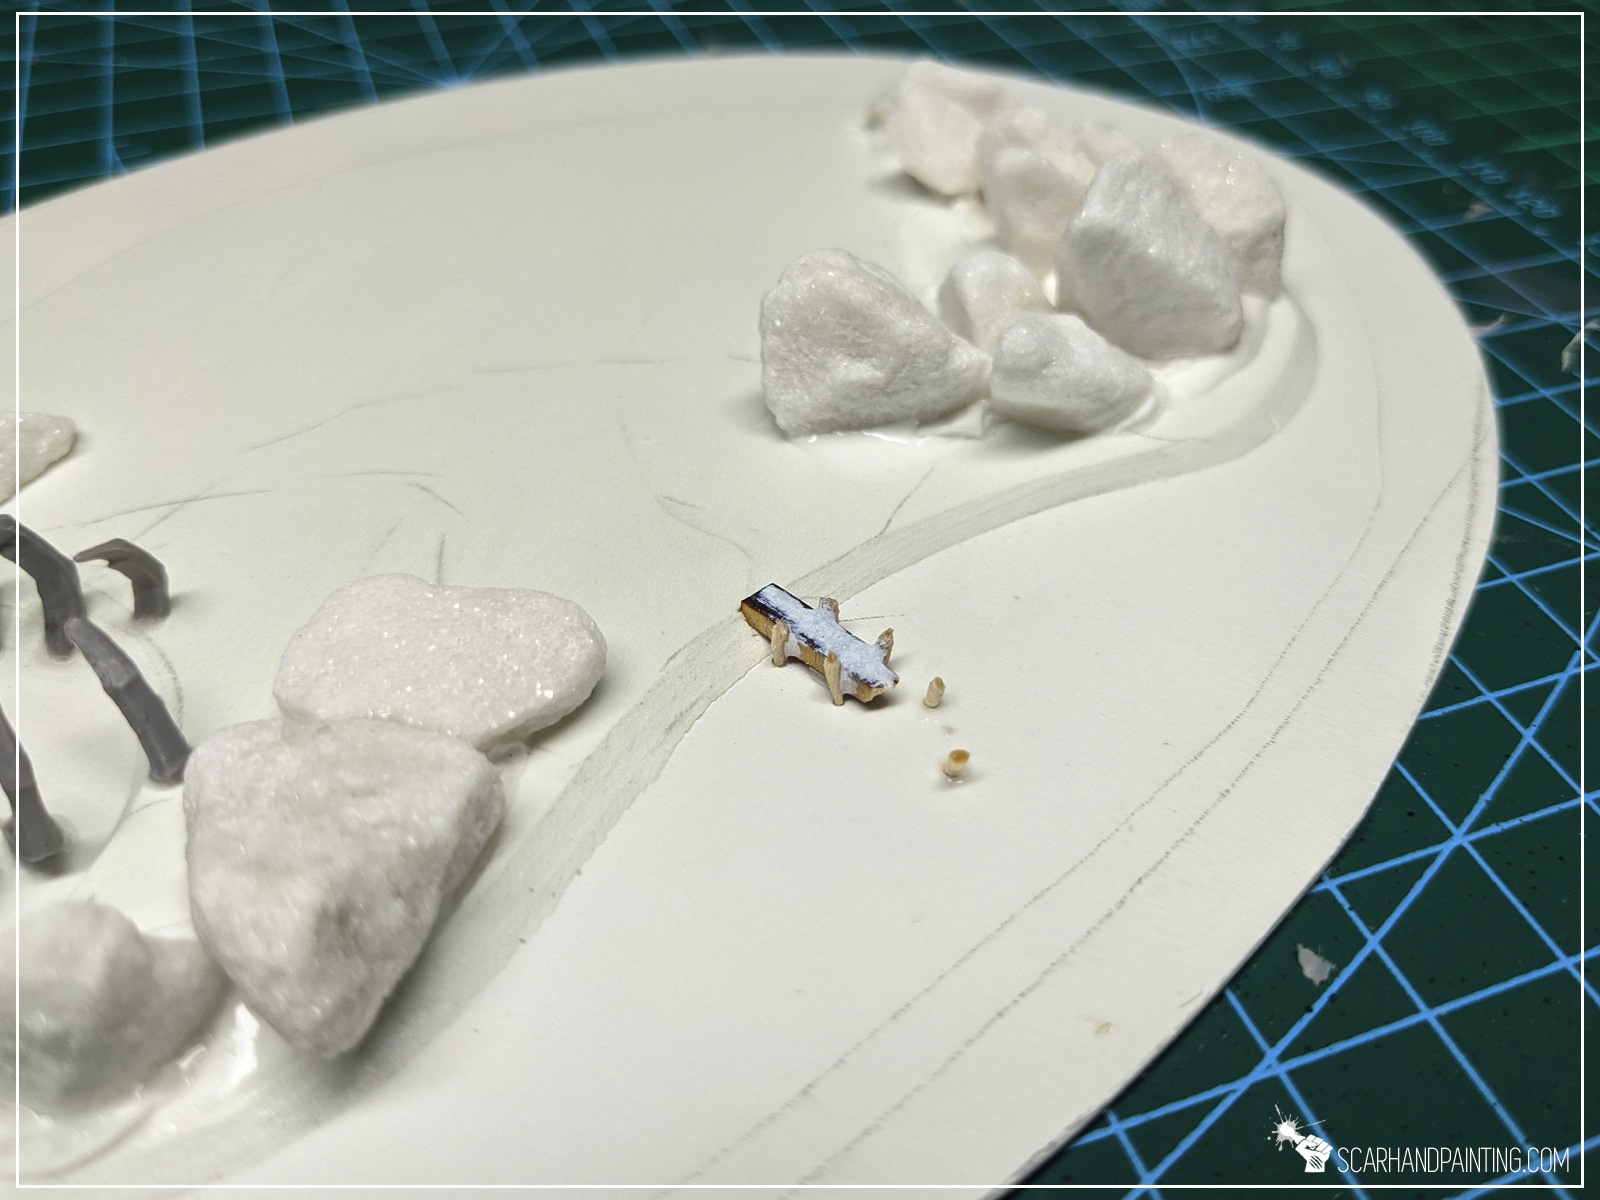
Next I decided to add a bit of character with an old, damaged wooden pier jutting into the sea. I used a piece of MDF cut into a thin strip as a base for the pier, but you can really use anything – including 1mm thick PCV. Just cut a strip, glued tiny bit underneath, then glued it on top of the island and it’s base. Finally marked tiny holes along the sides of the pier and ‘superglued’ toothpicks in place, just to cut them off close to the pier’s level. Done.

Step four: Palm trees
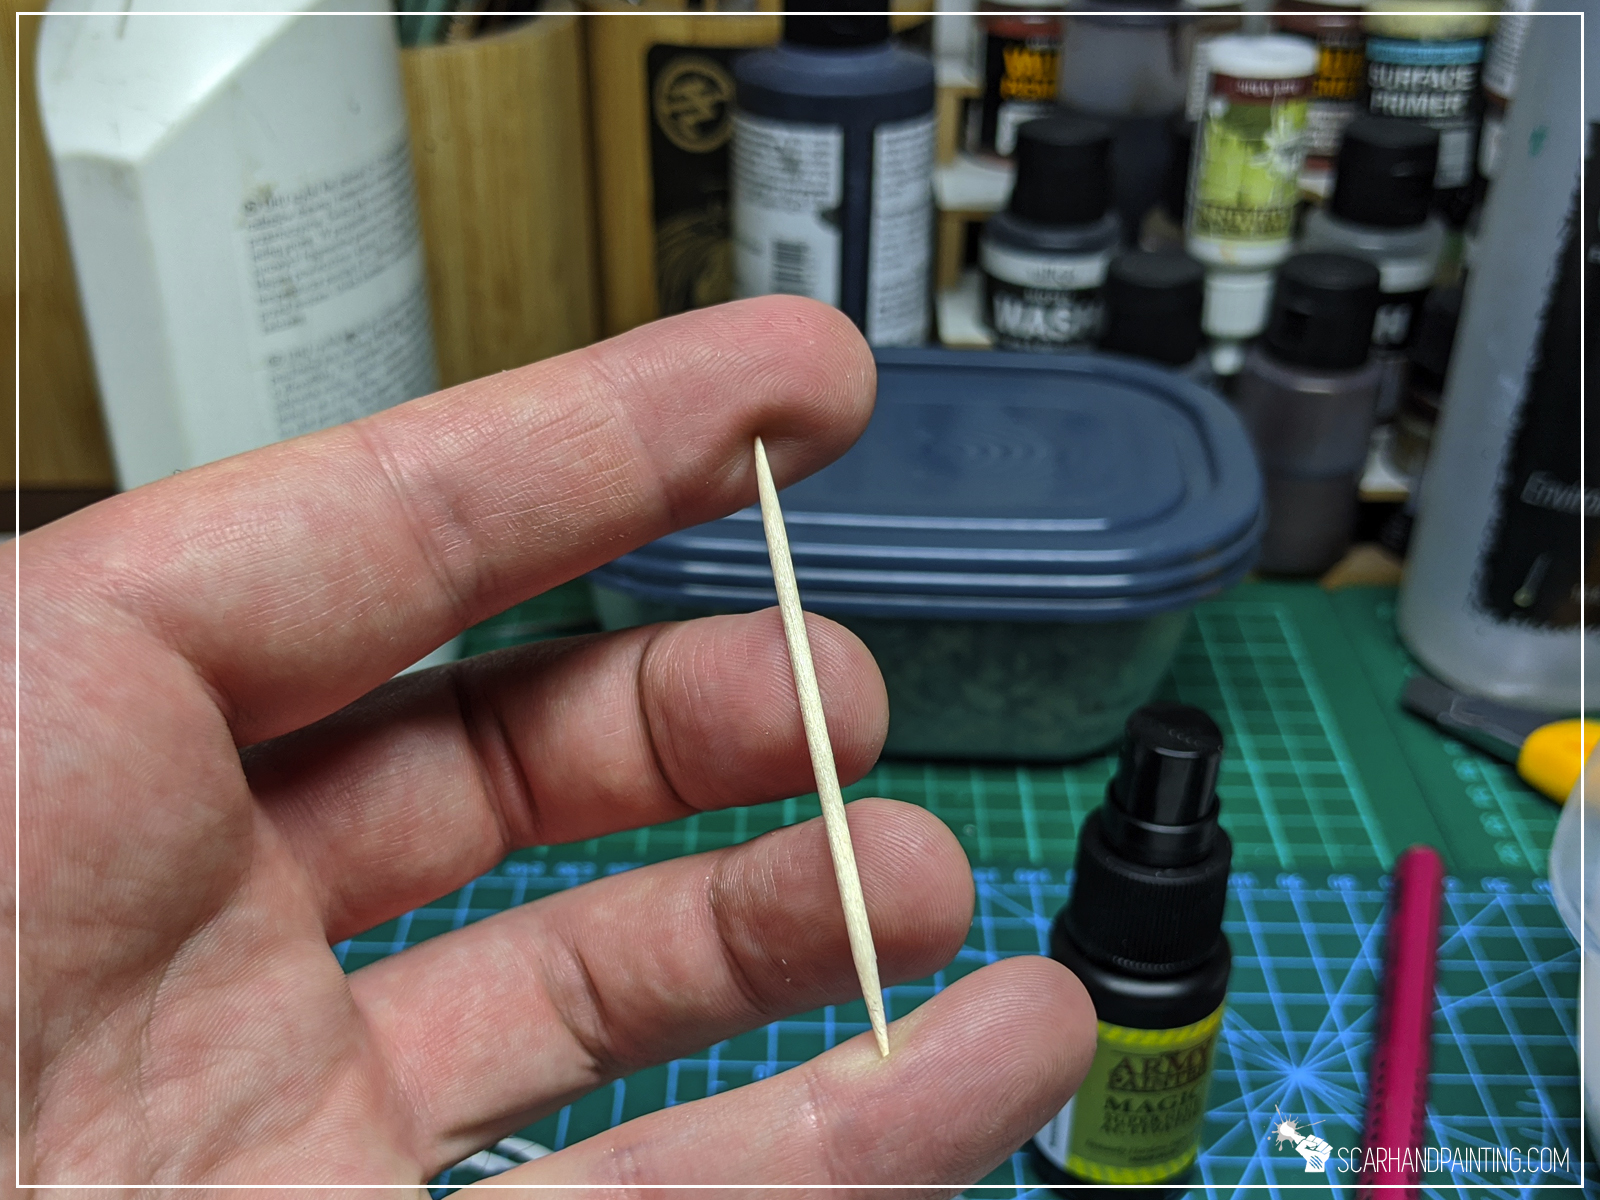
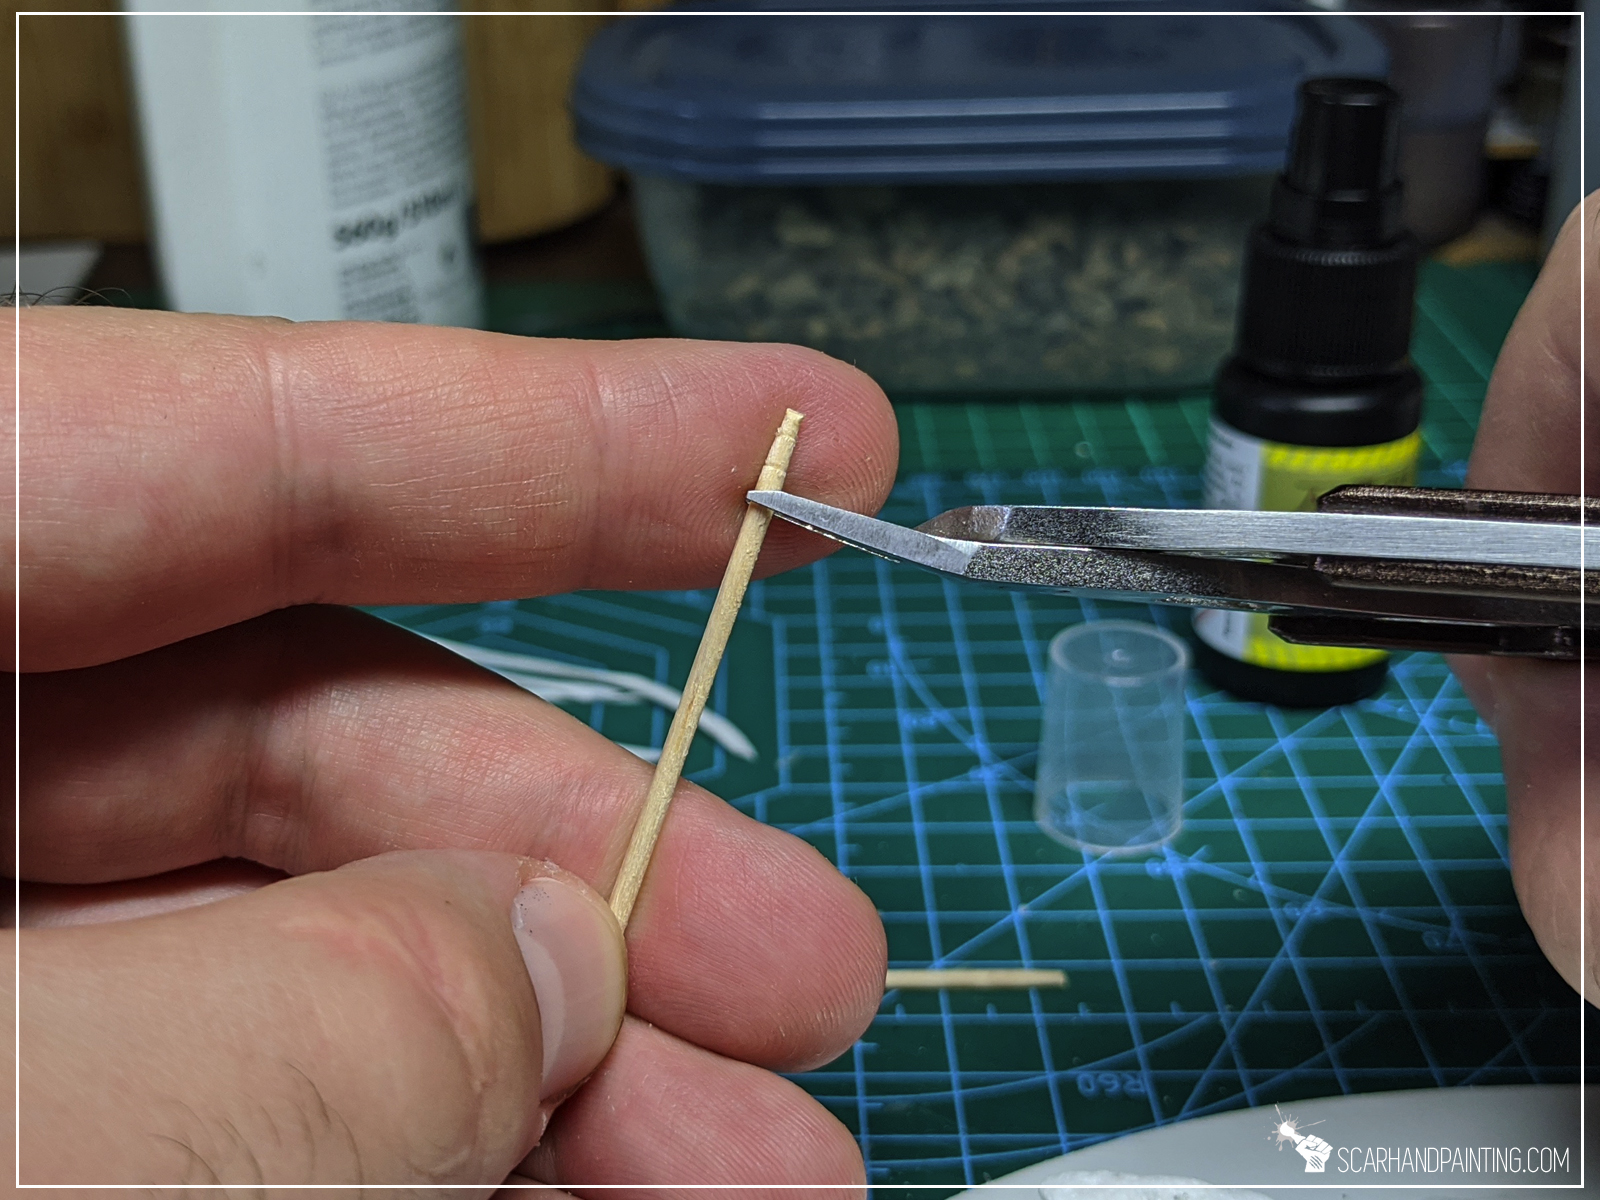
At that point I didn’t wanted to waste good toothpicks and here’s where palm trees idea originates from. I gently squeezed the blunt tip of a toothpick with cutters and moved it around. I made this every two or so mm on the length of the toothpick. I then cut a piece off and gently bent it. With palm trees trunks ready to be added on top to the island, I just pushed a sharp tool into the PCV to create tiny holes and glued the trunks into it.



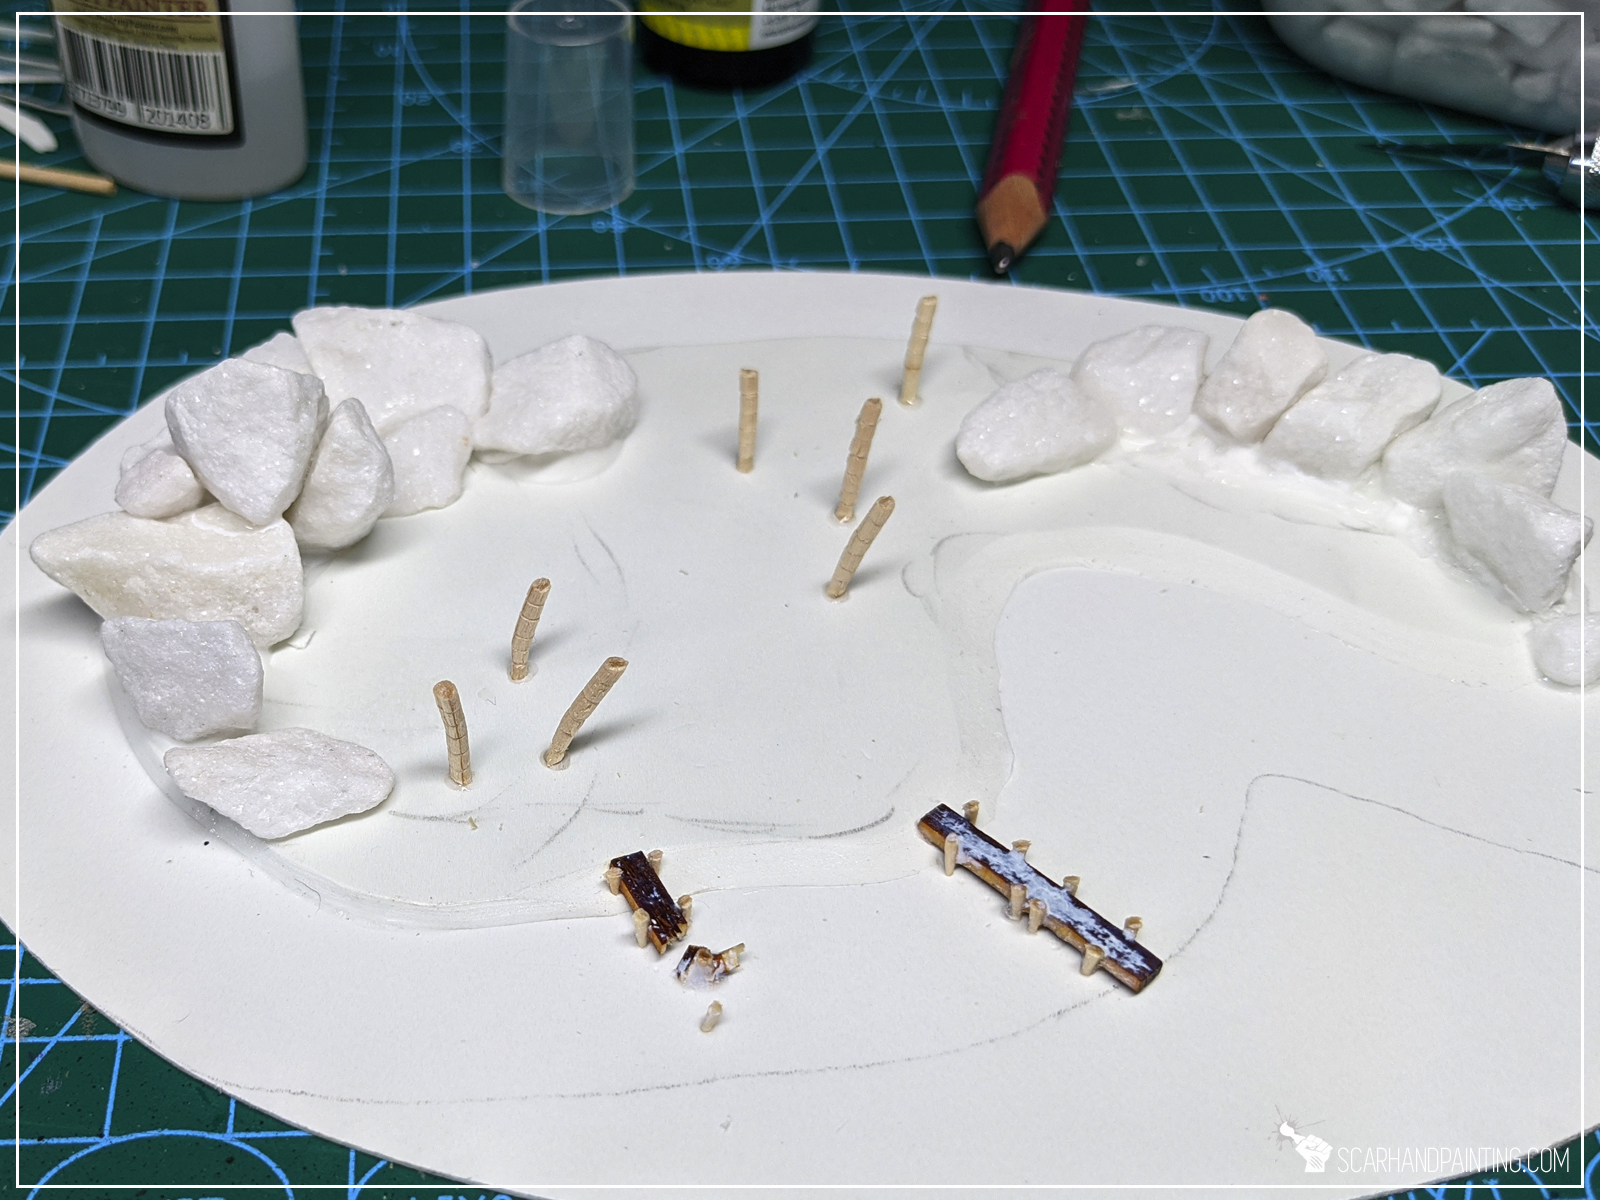
Step five: Textures
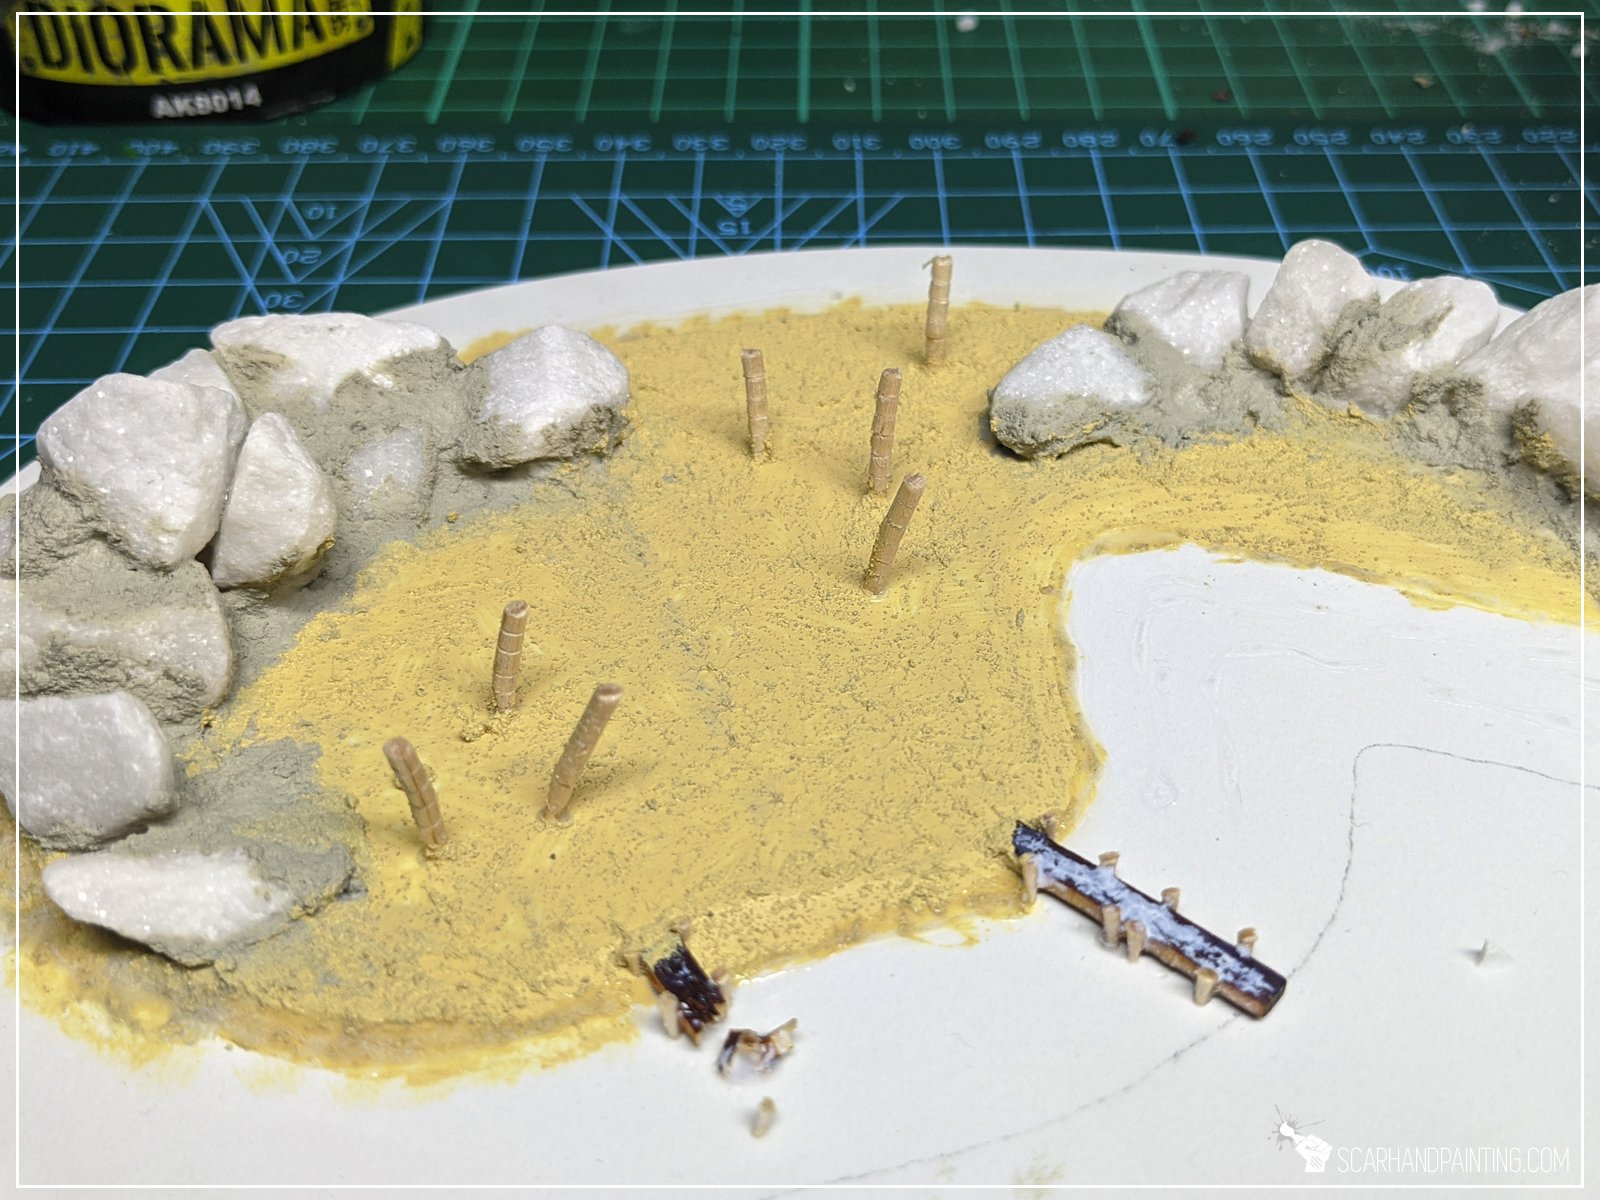
Final modelling step was to apply textures. First I filled gaps and surrounding areas between stones with AK Interactive Concrete from diorama series. I then covered rest of the island with Vallejo Desert Sand texture.
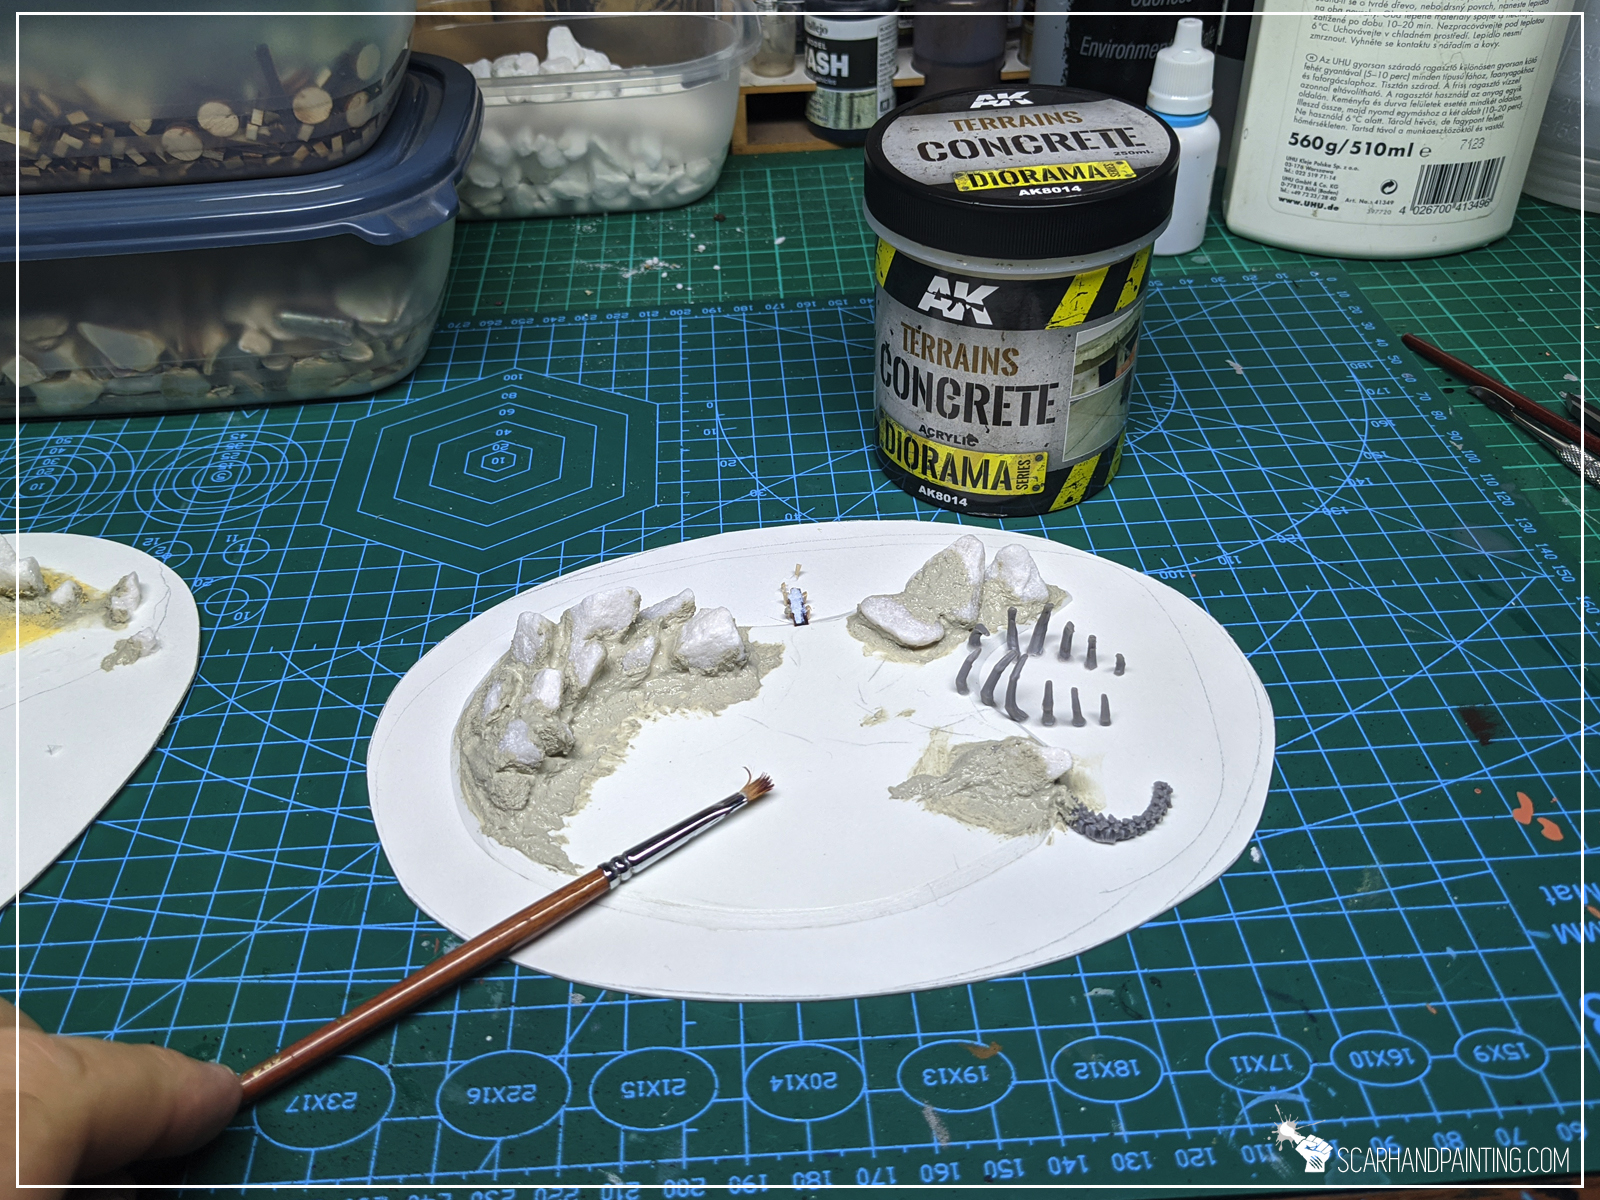
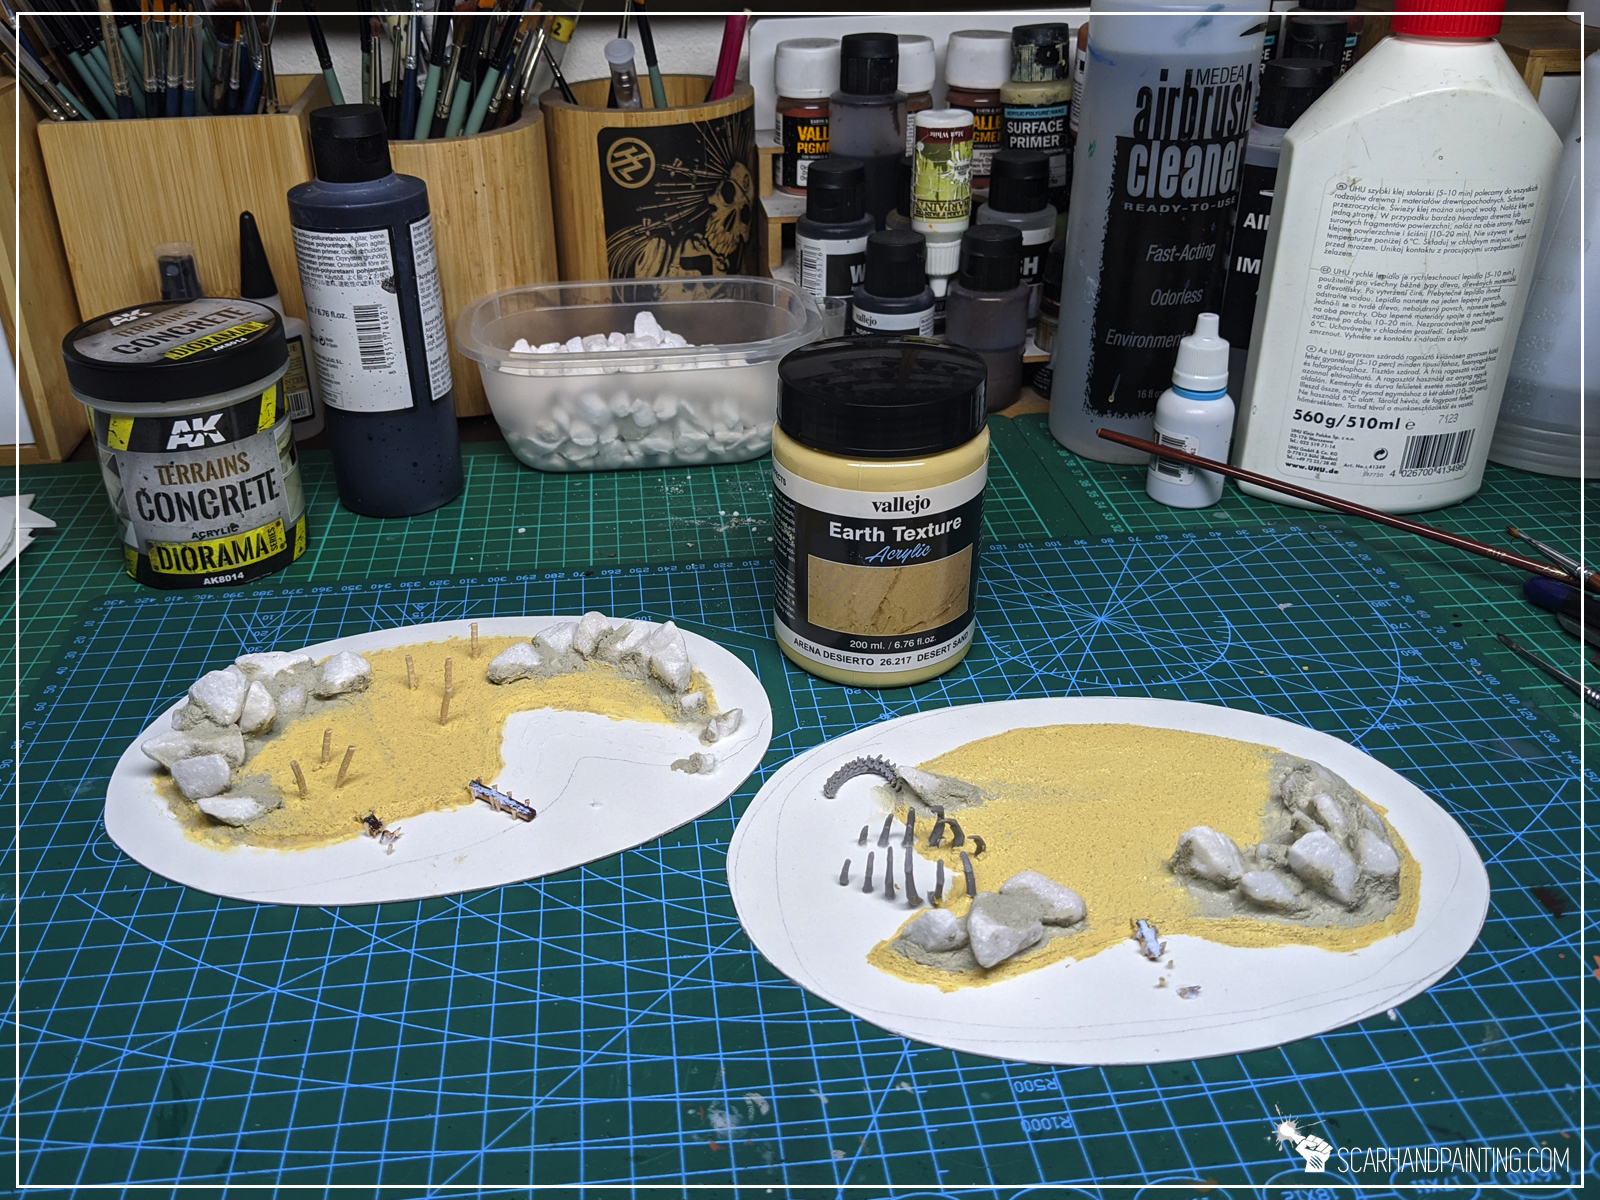
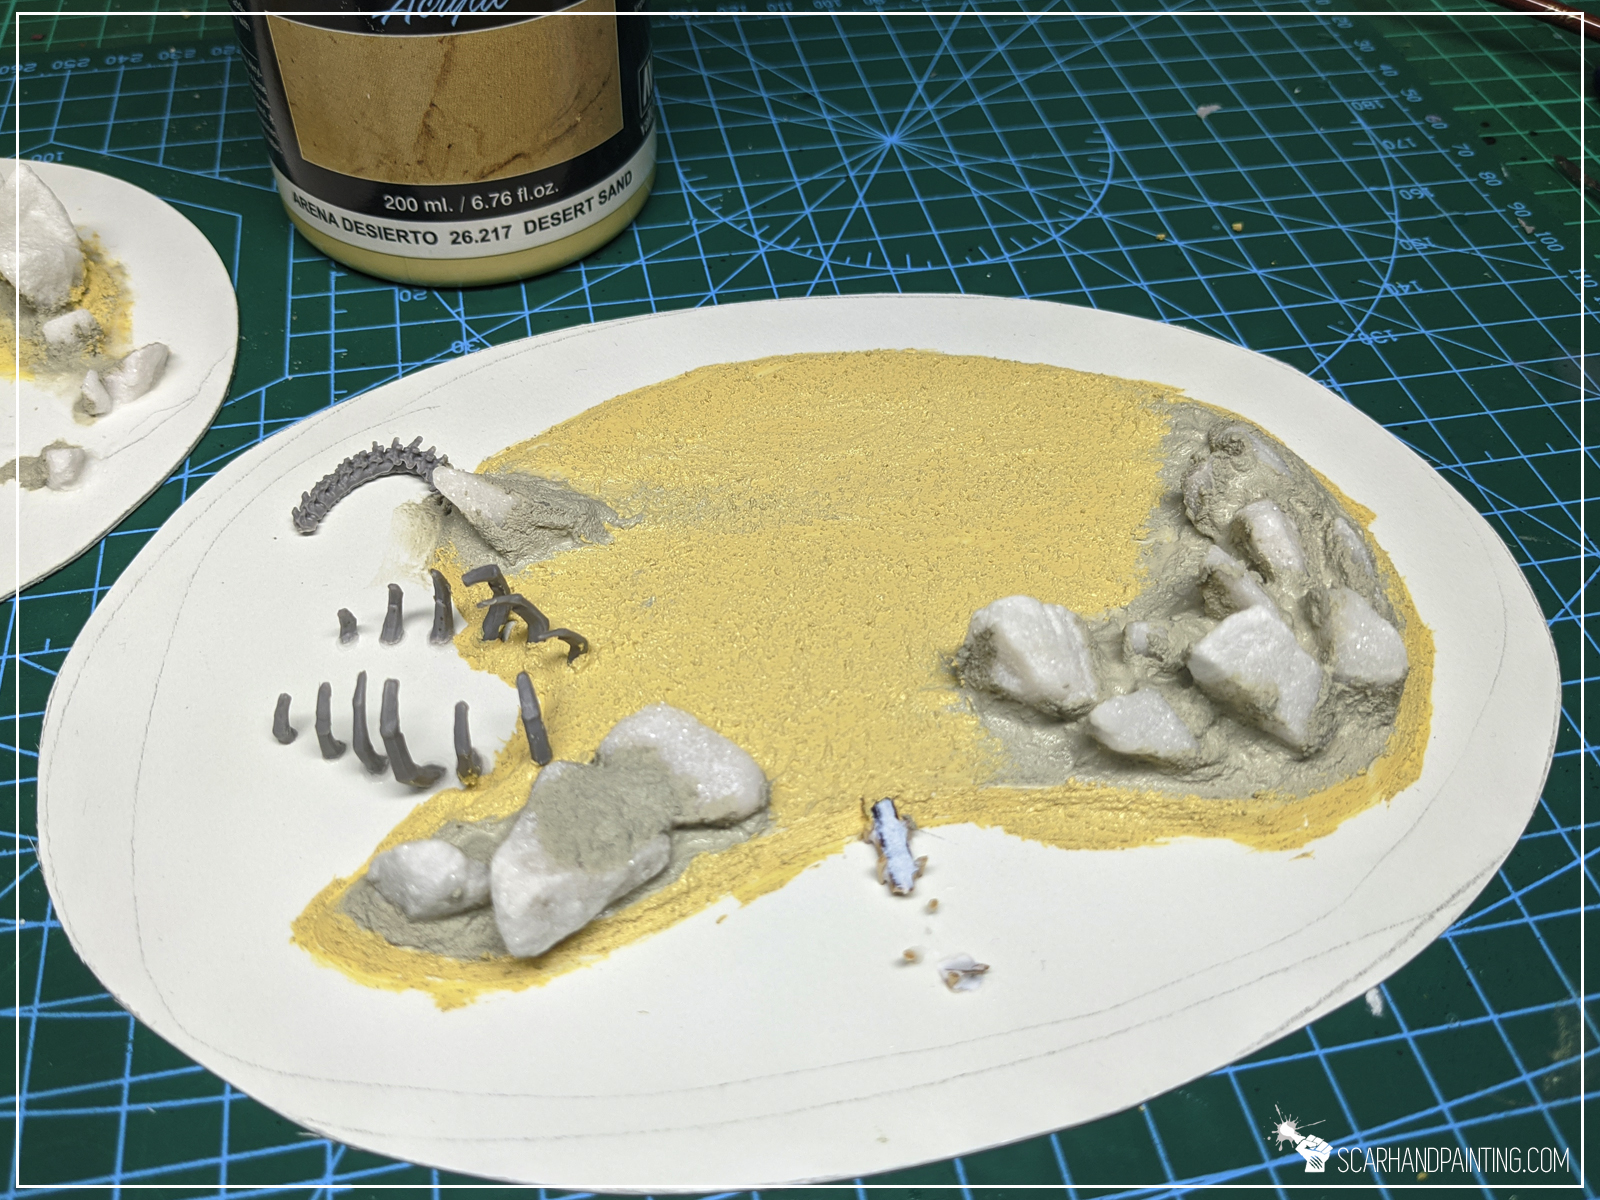
Sandy beaches, rocky coast and vibrant blue water around. With such theme in mind I started the paint job.
Basics:
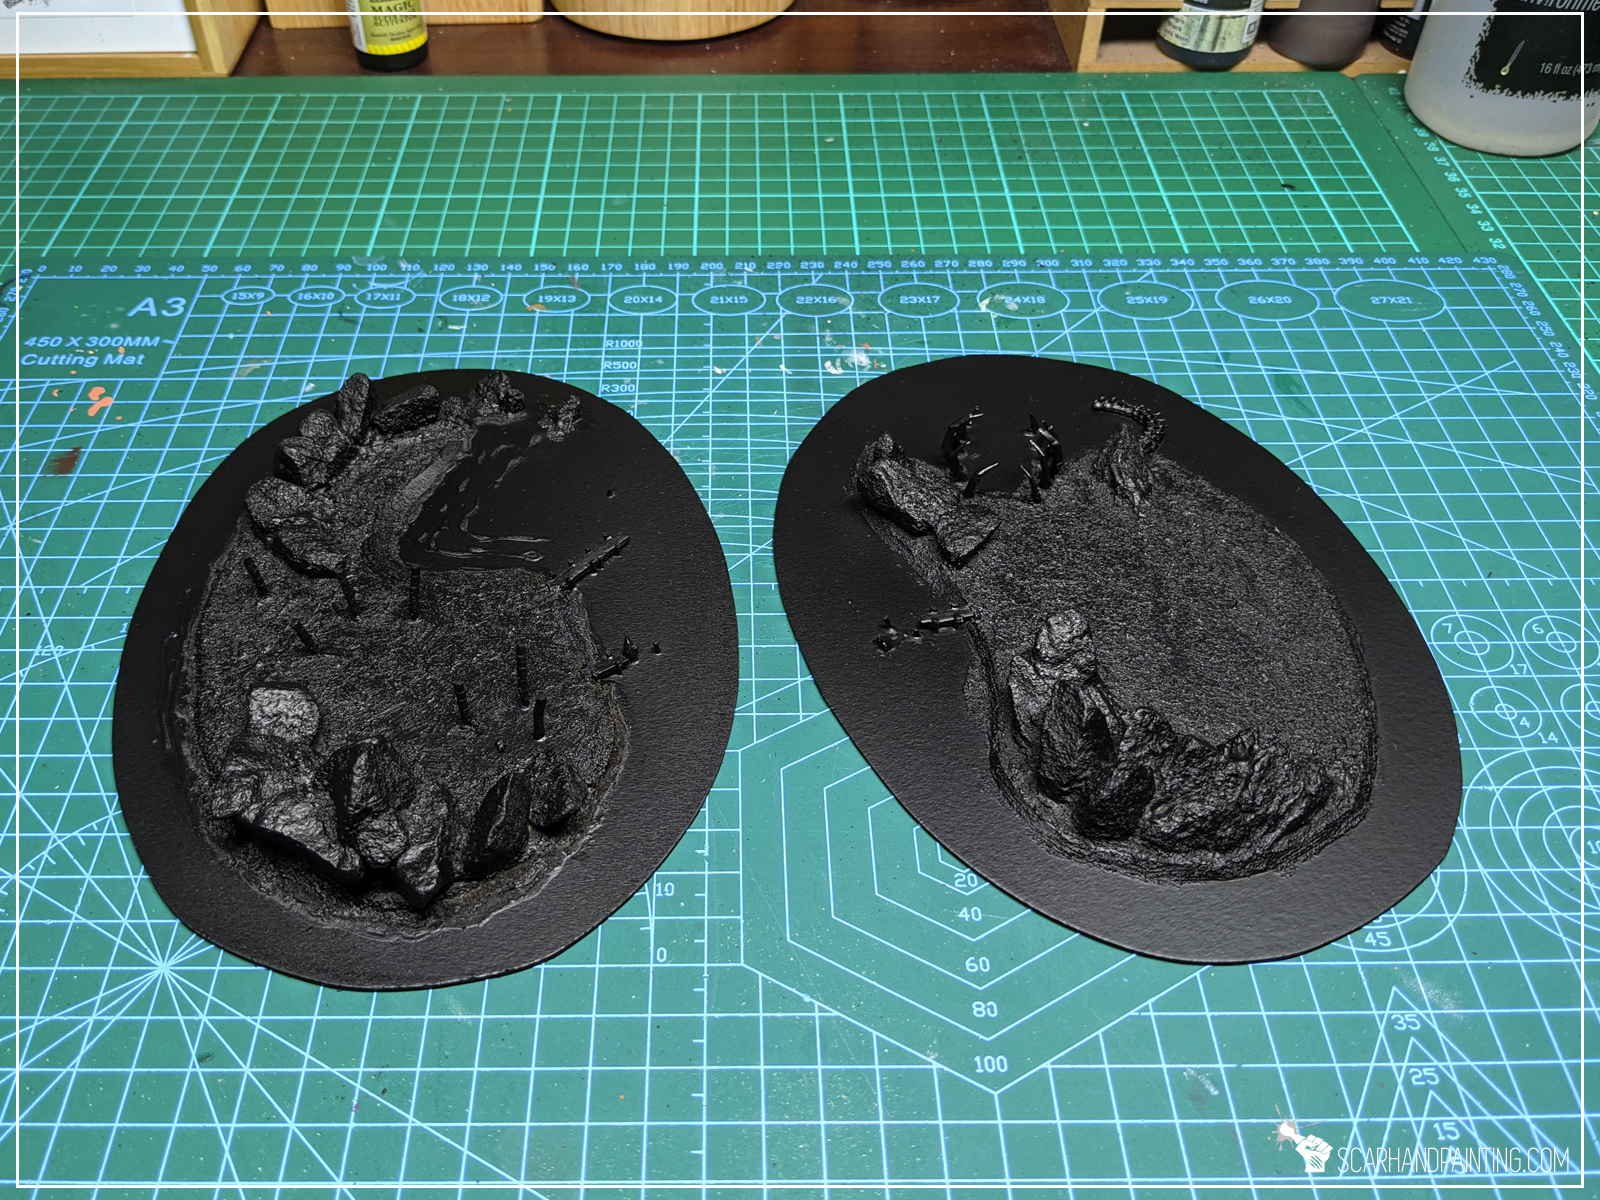
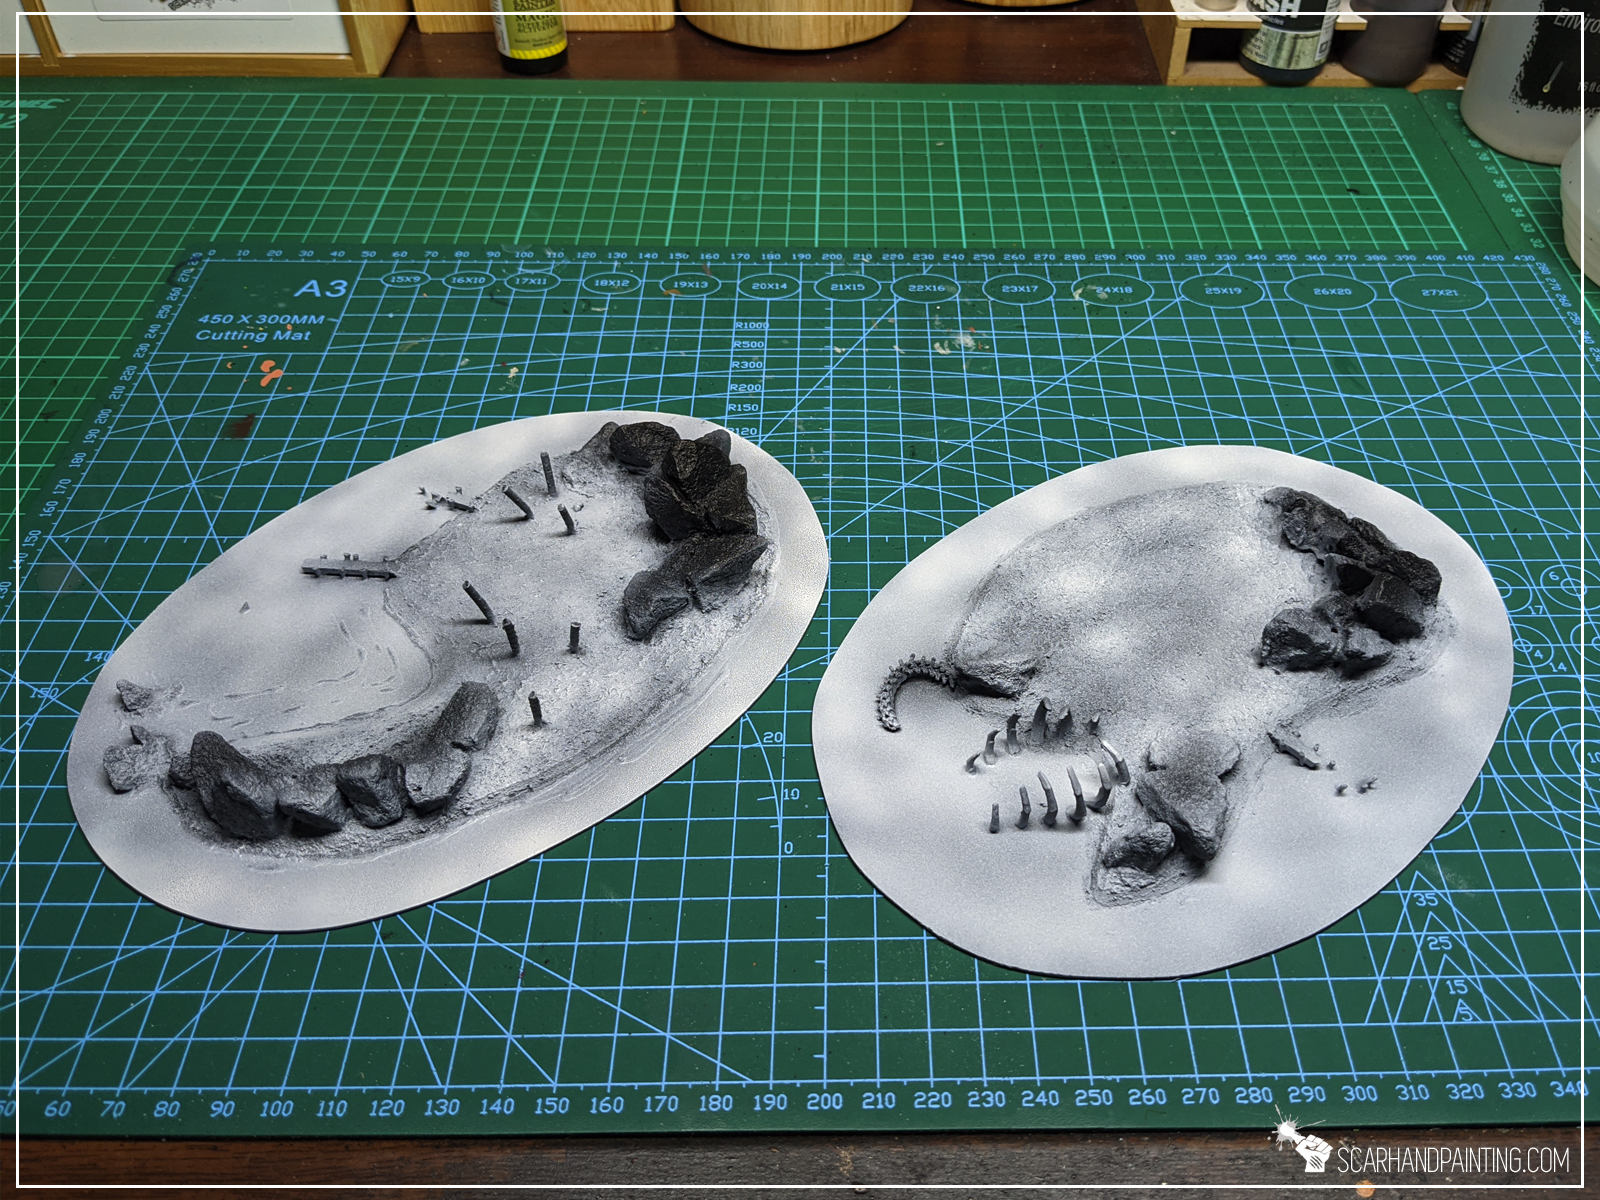
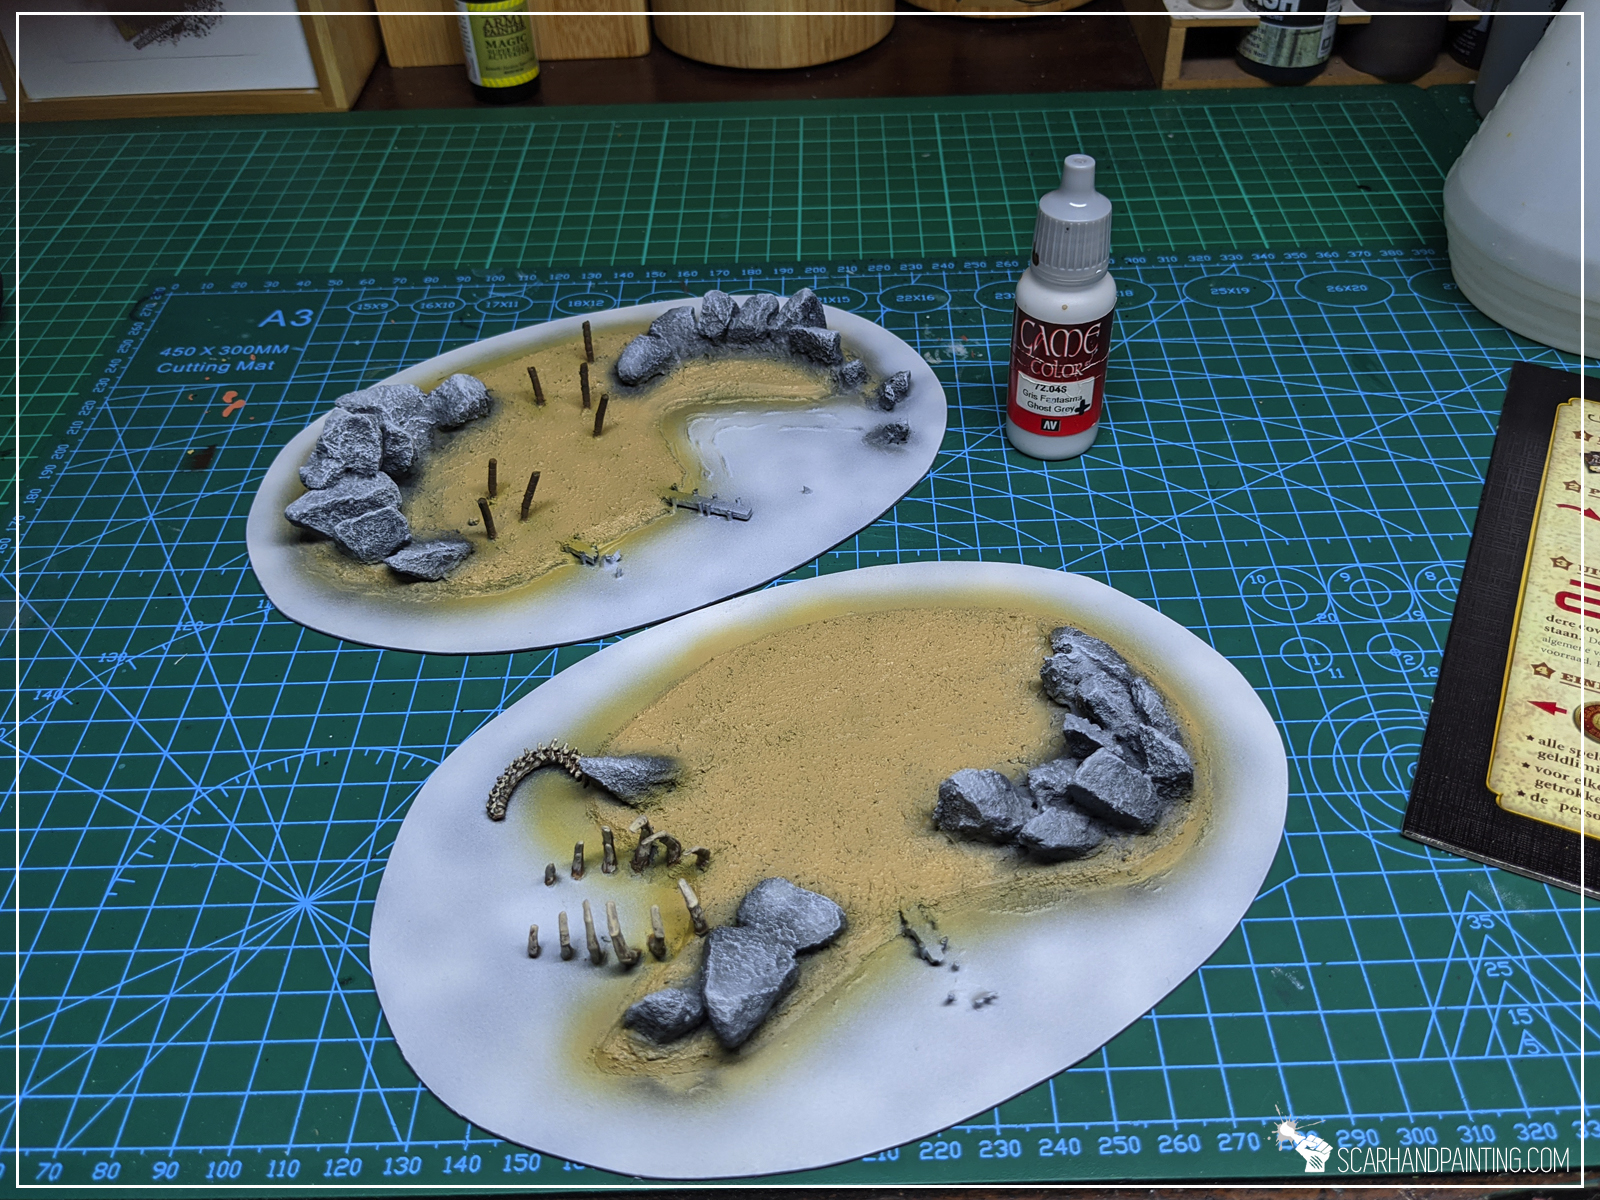
First step was to undercoat the islands black and then airbrush white all over it to create a nice base for both water and sand colors.
Sand:
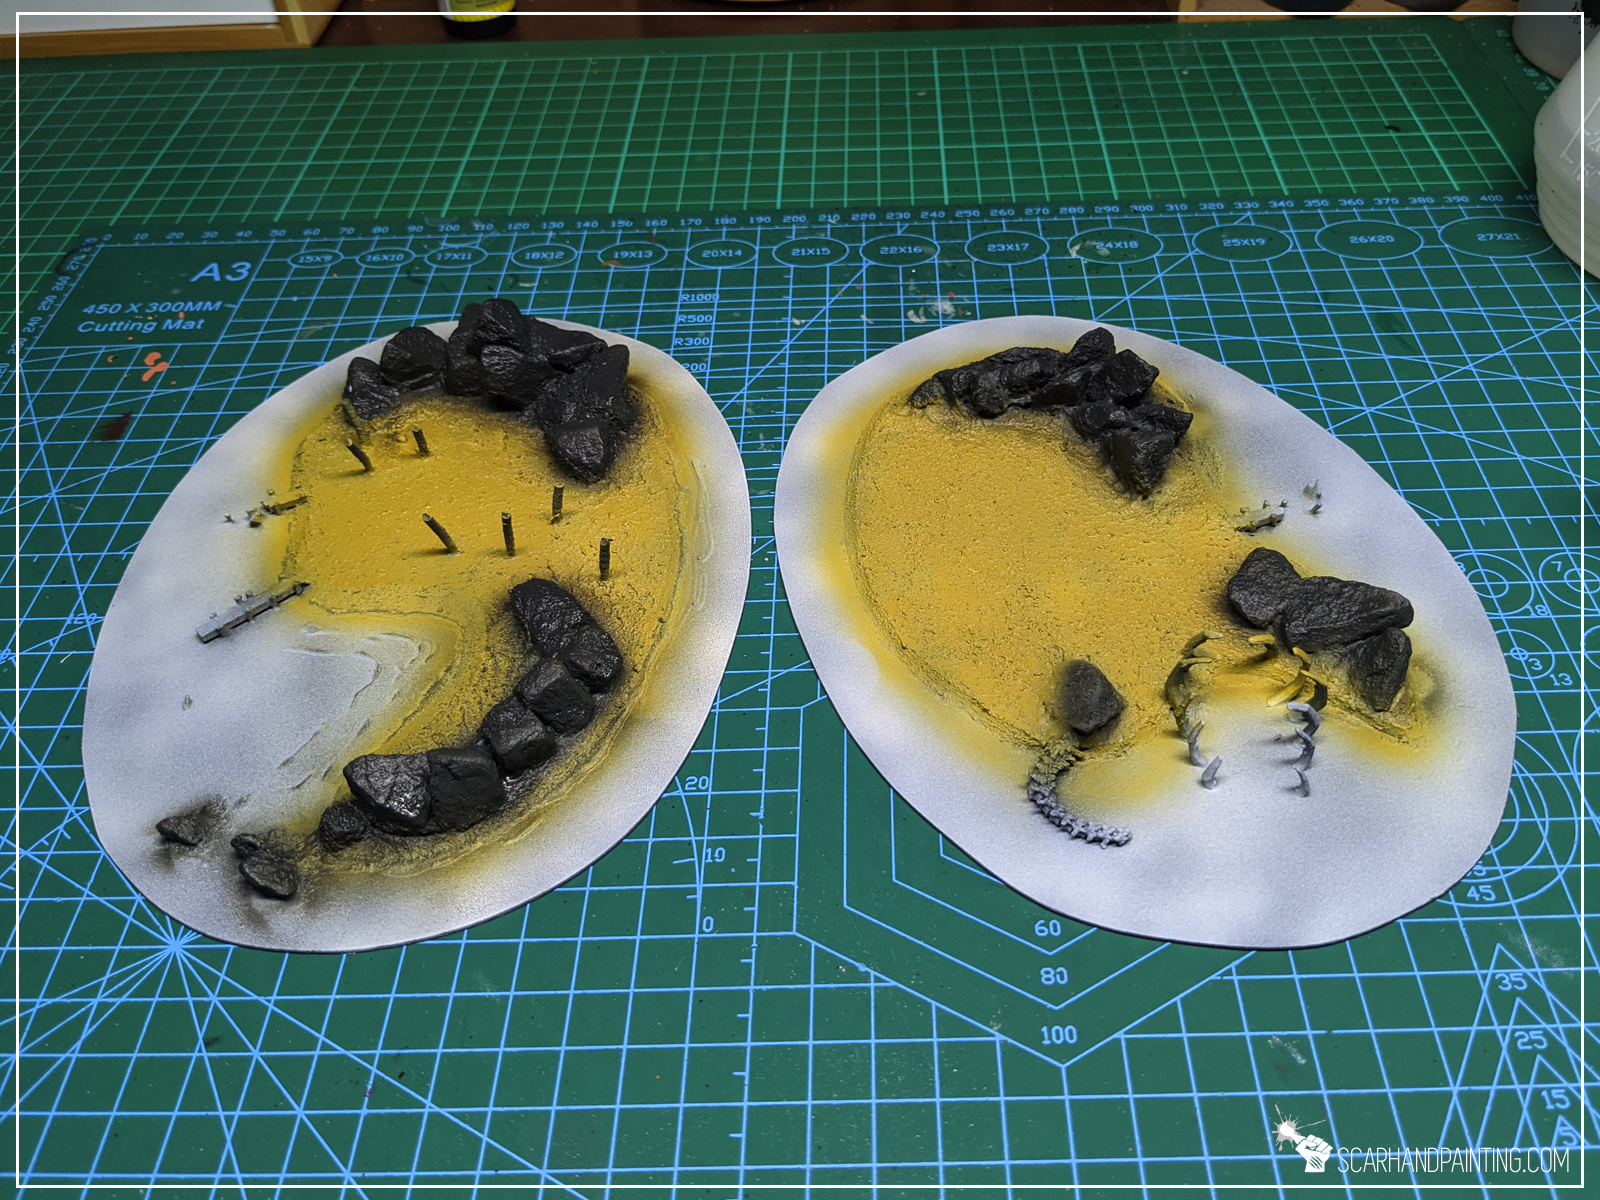
Sand was painted using airbrushed Vallejo Desert Sand, followed by Light Brown and finally drybrushed with Ice Yellow.
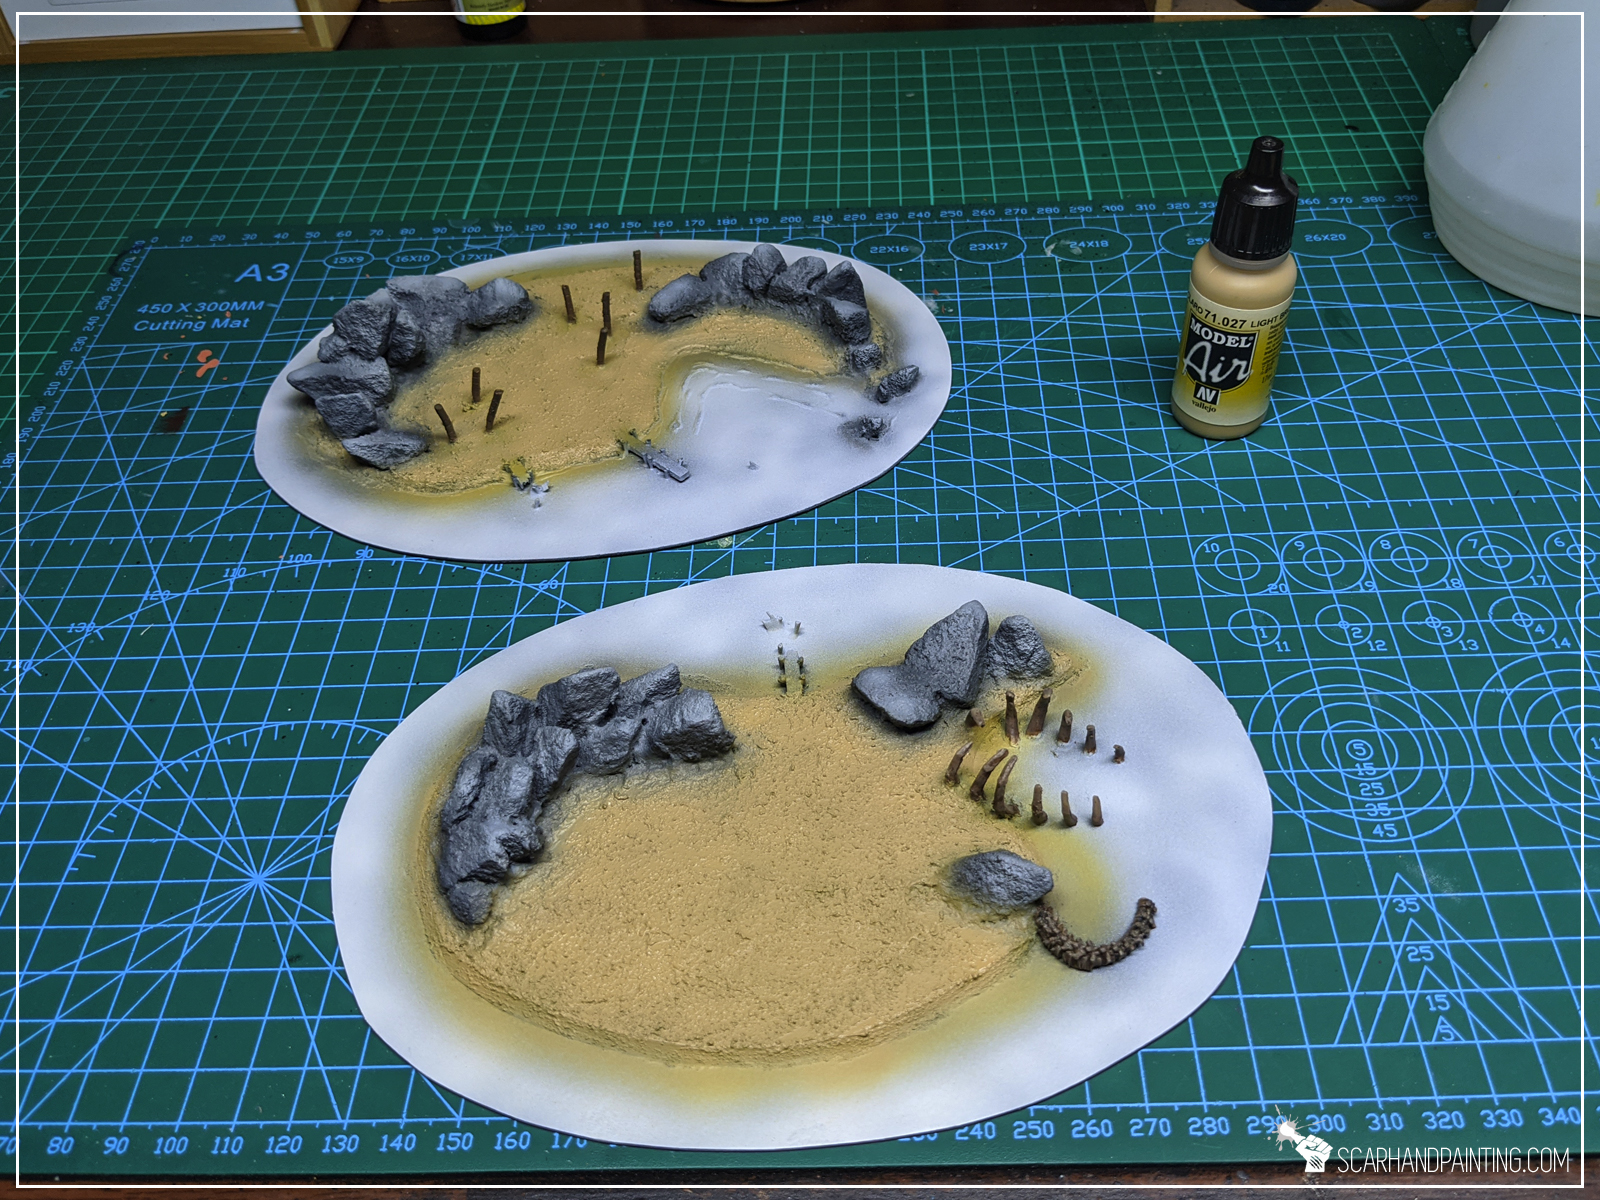
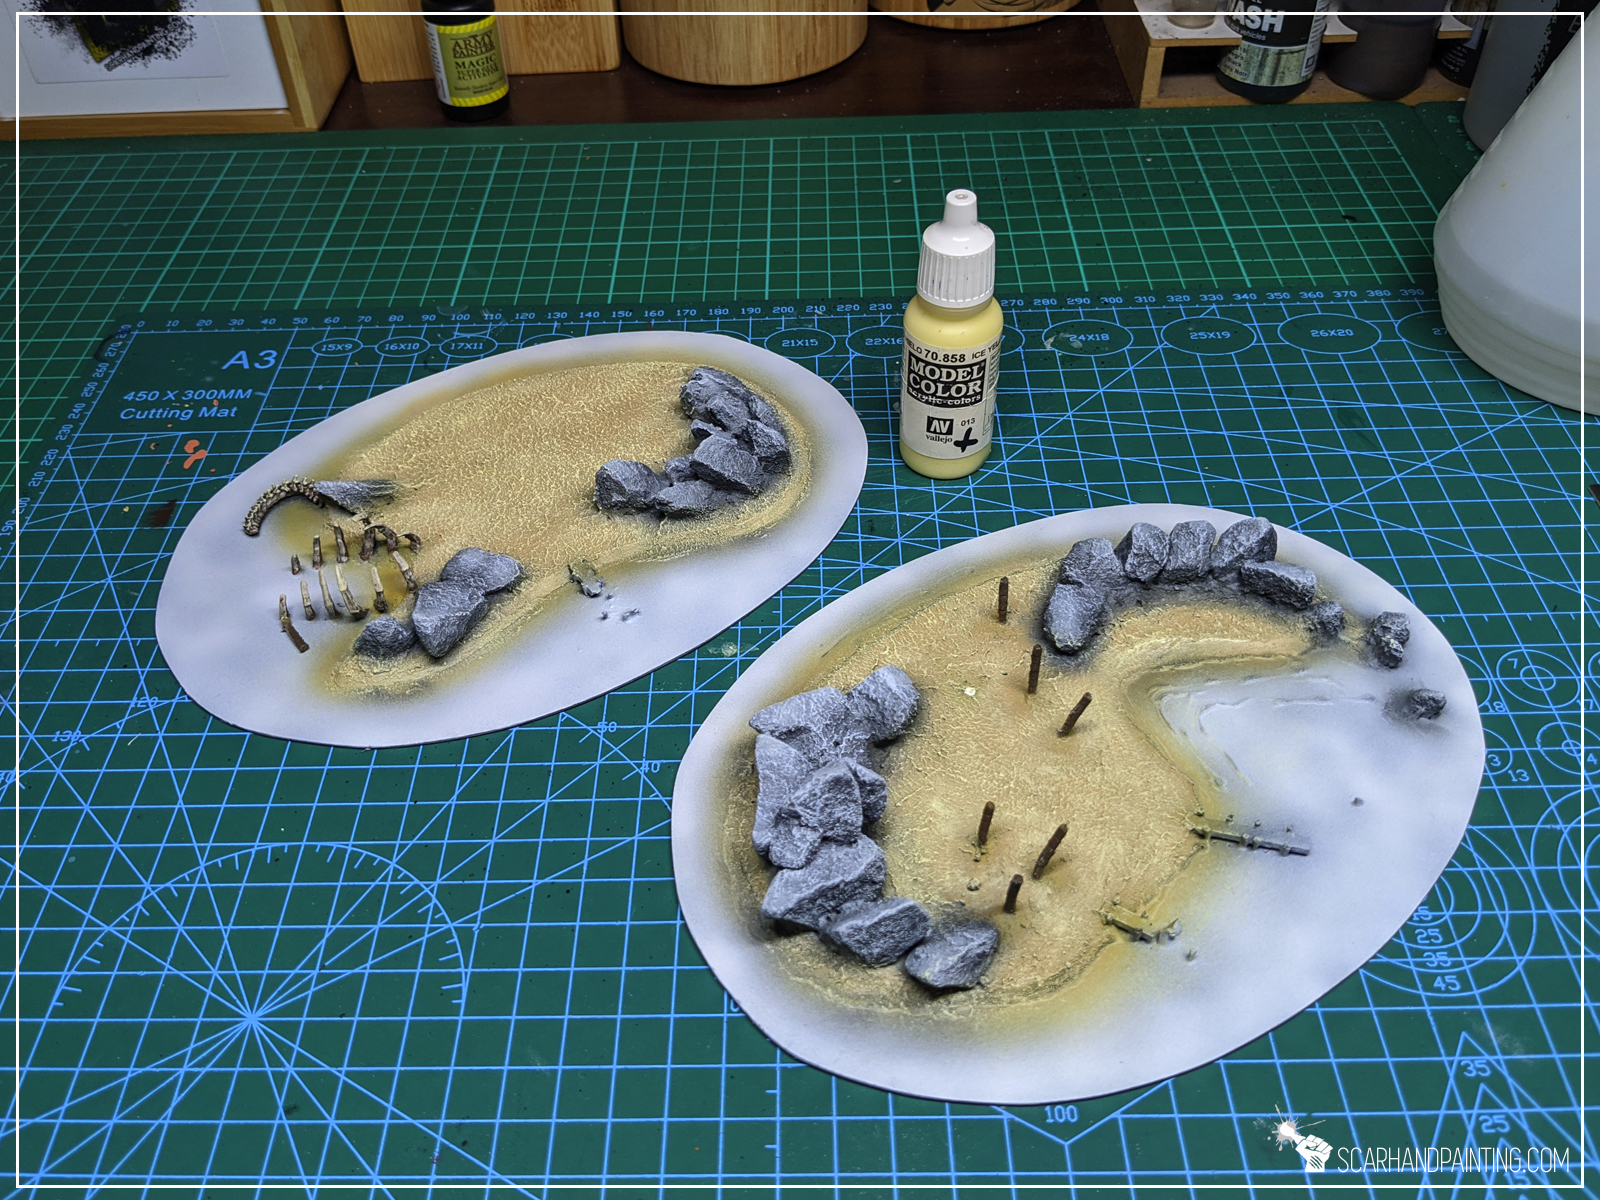
Rocks:
Rocks followed with a similarly easy recipe being airbrushed Vallejo Dark Panzer Grey, Cold Grey, Pale Grey Blue and drybrushed Ghost Grey.

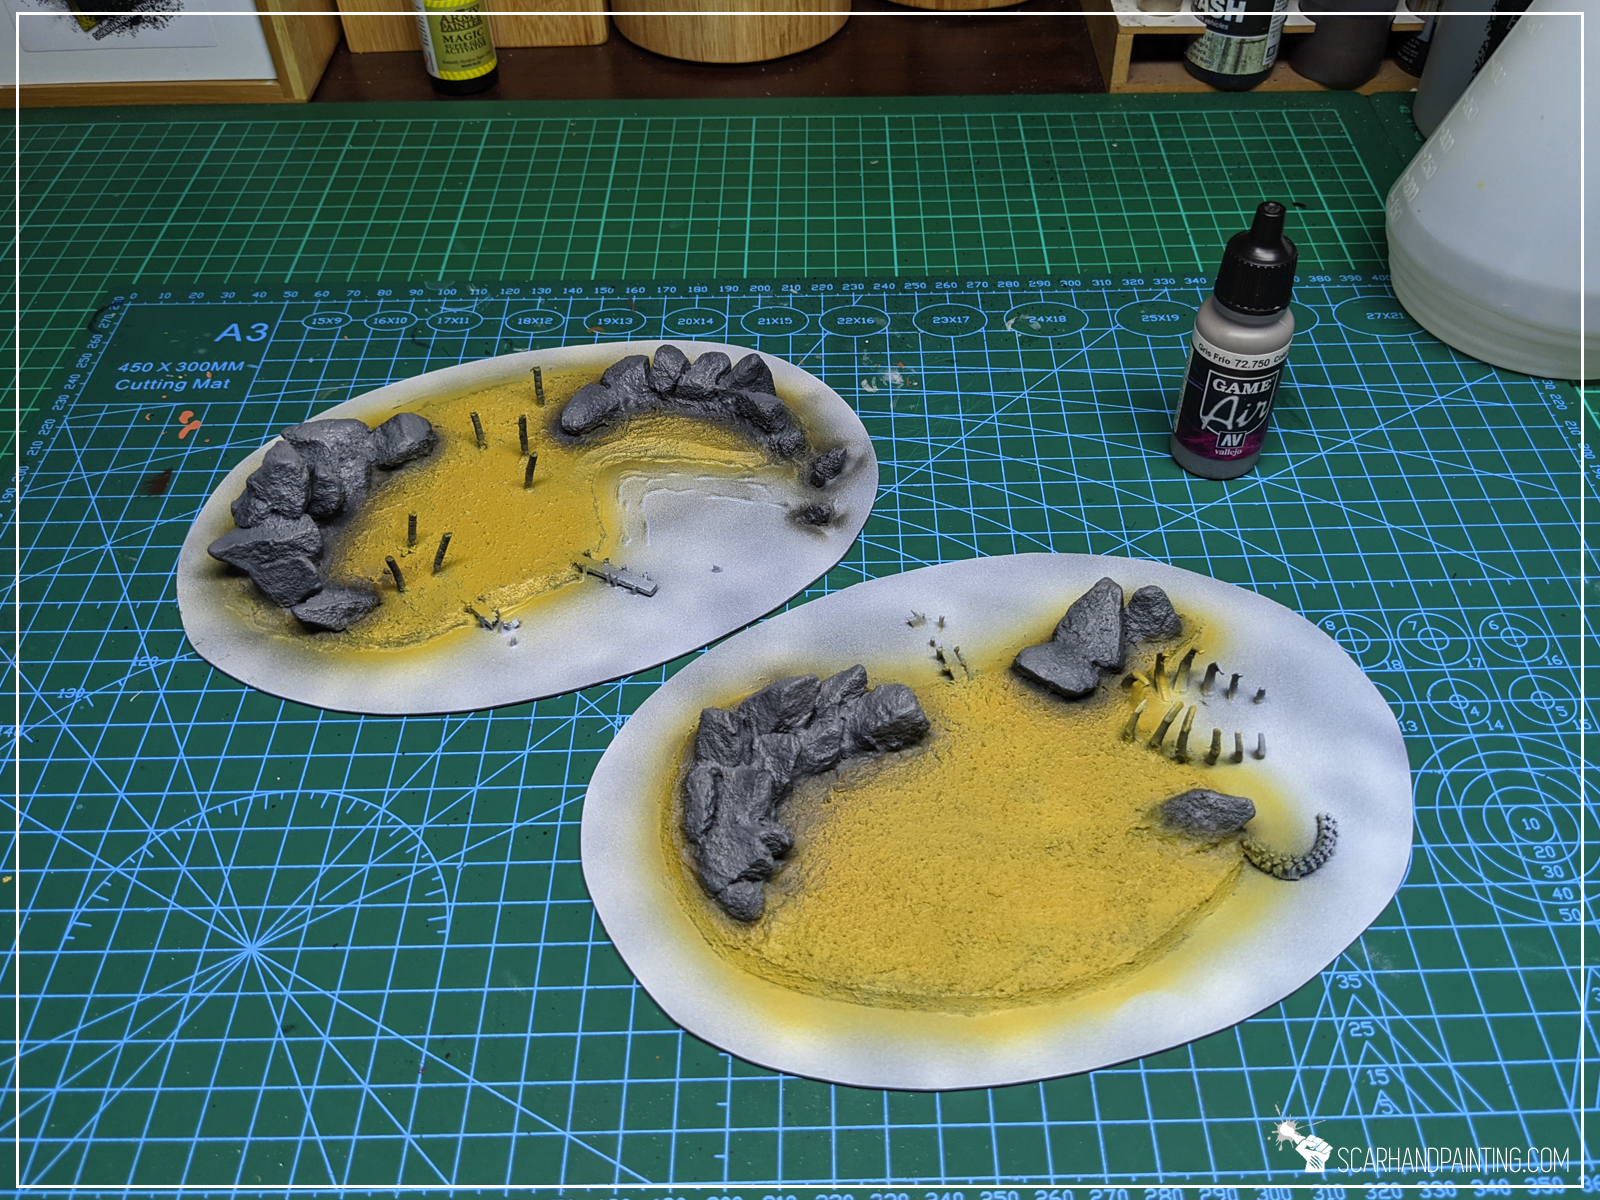
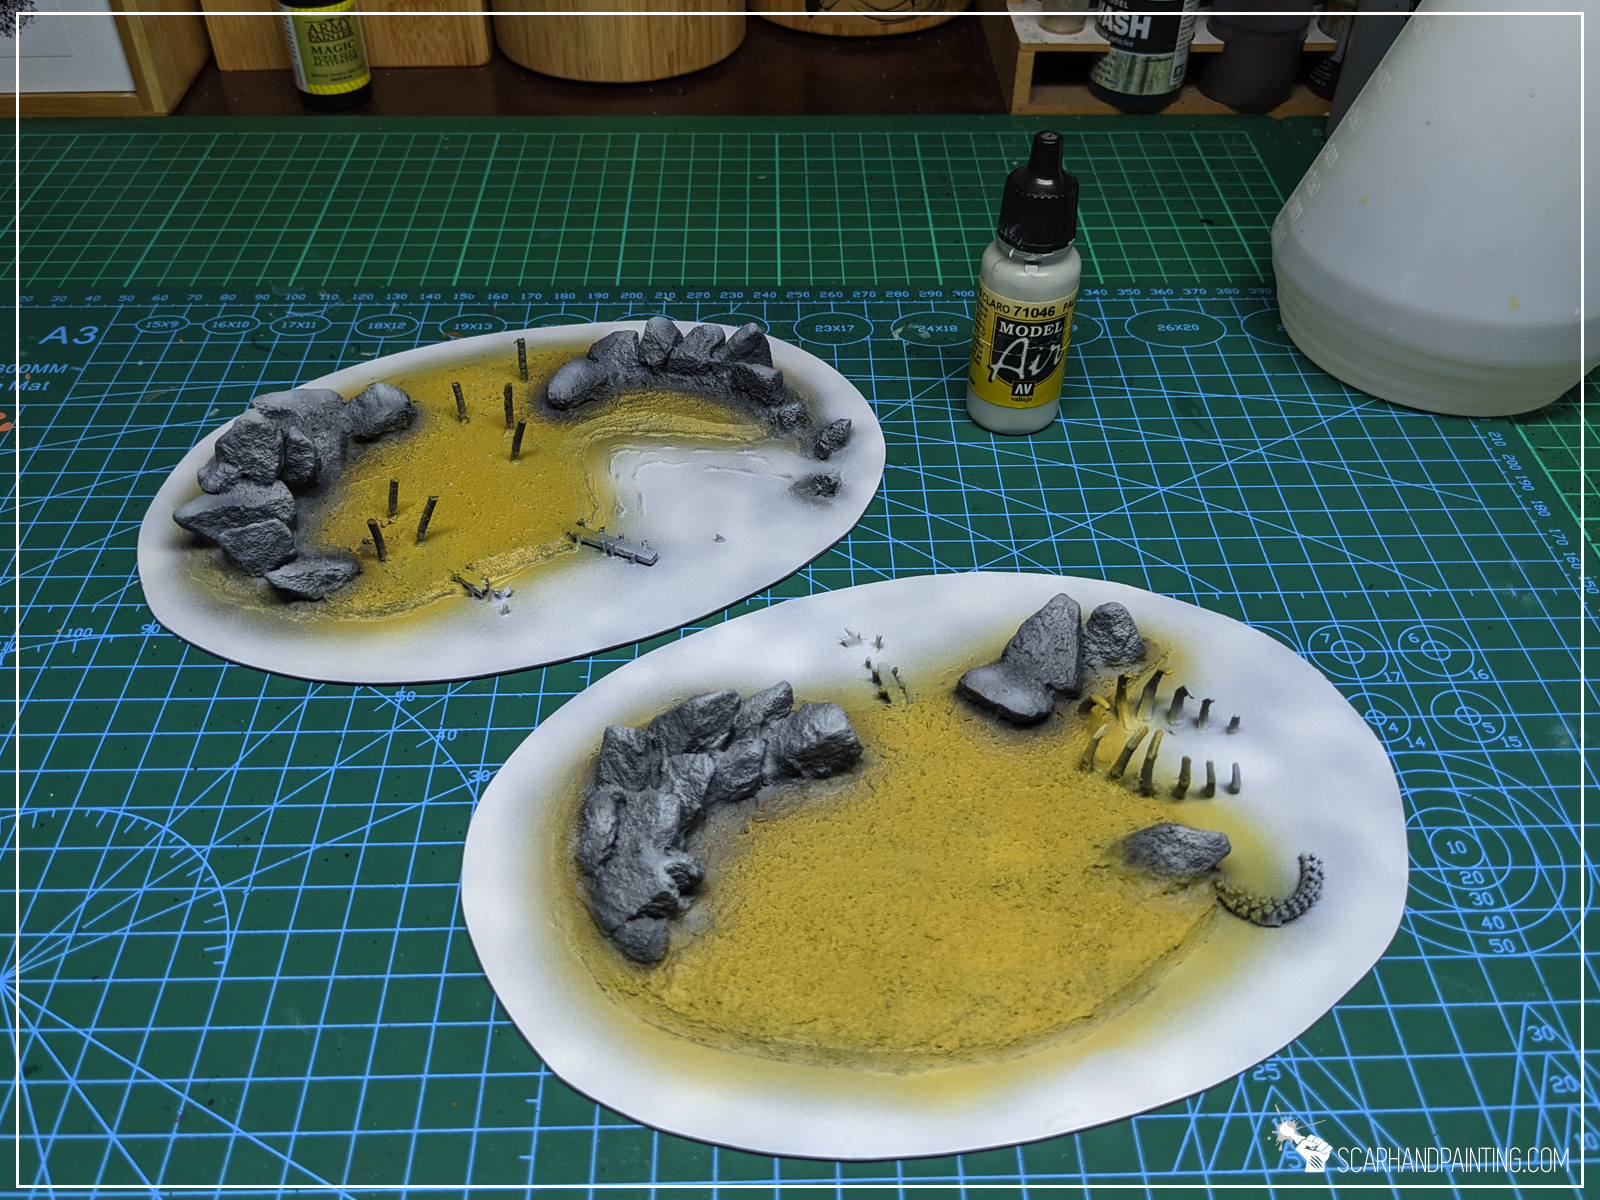
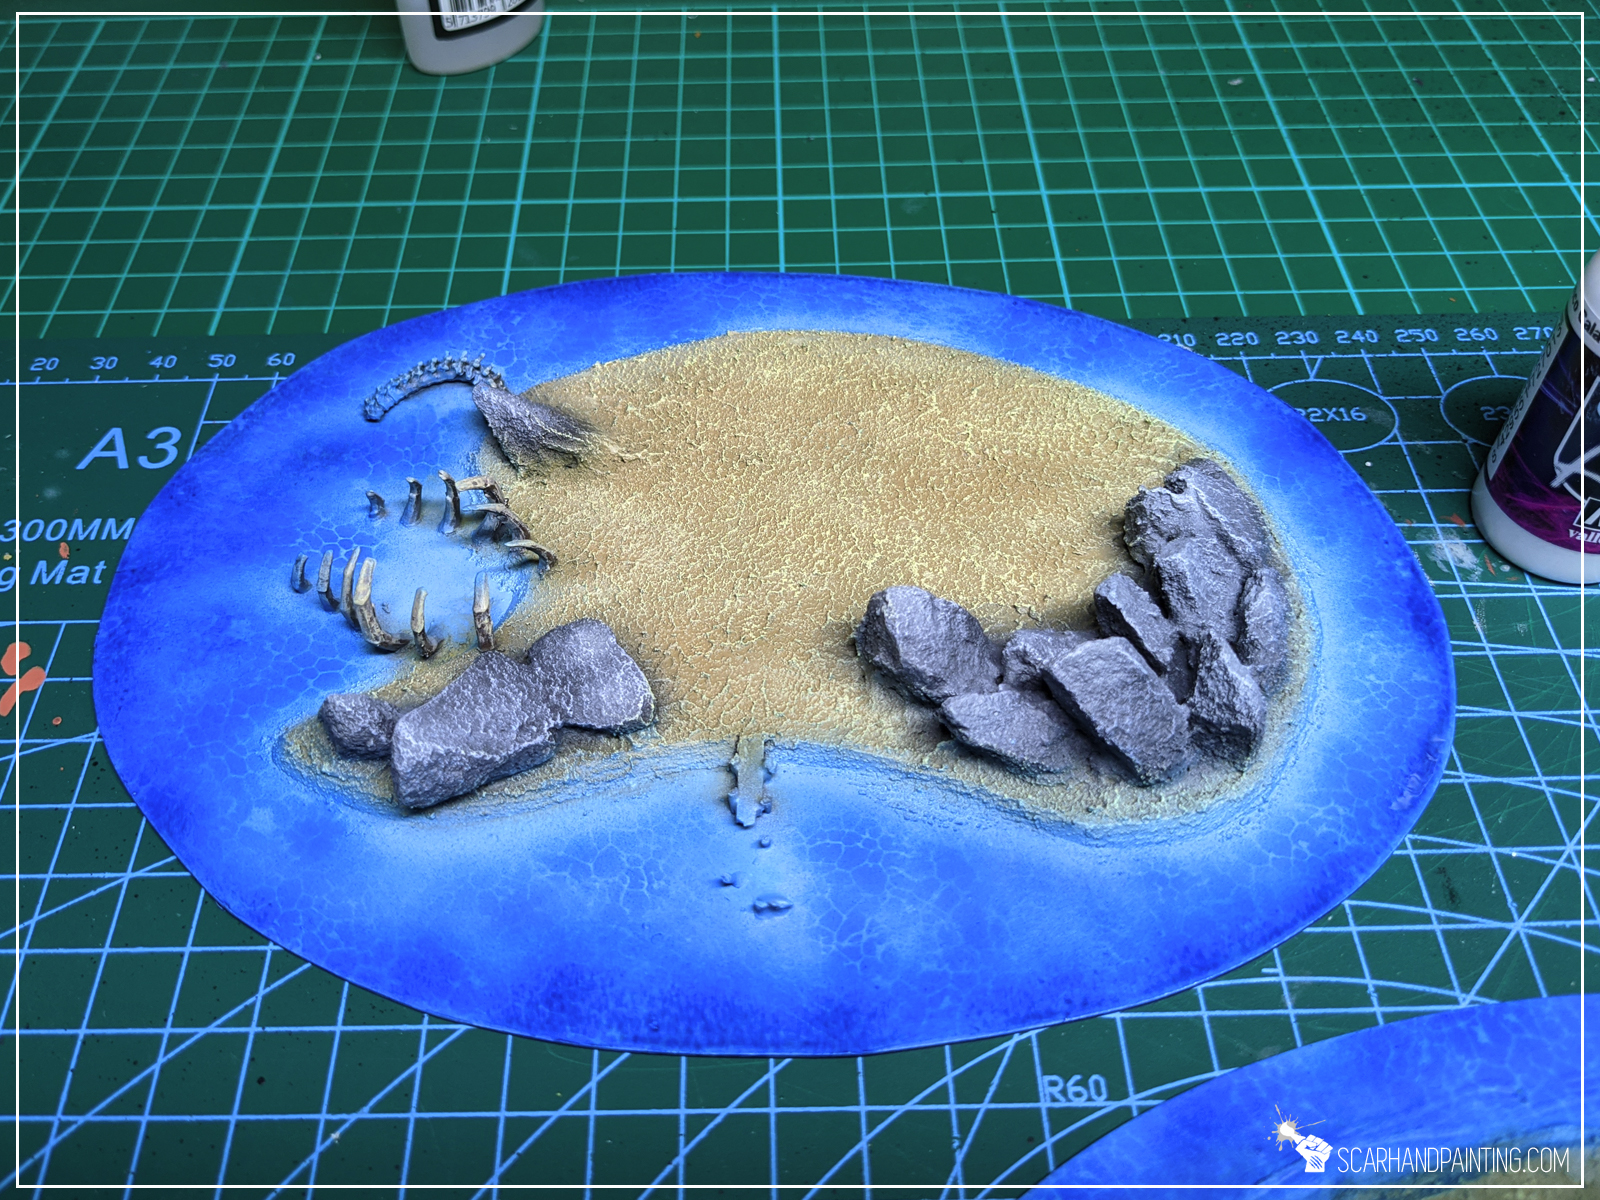
Water:
Here’s the tricky one. I decided to go hard with stencil airbrushed Vallejo Light Sea Blue, Magic Blue and spots of airbrushed Army Painted Blue Ink. I then sealed it with airbrushed Gloss Varnish.


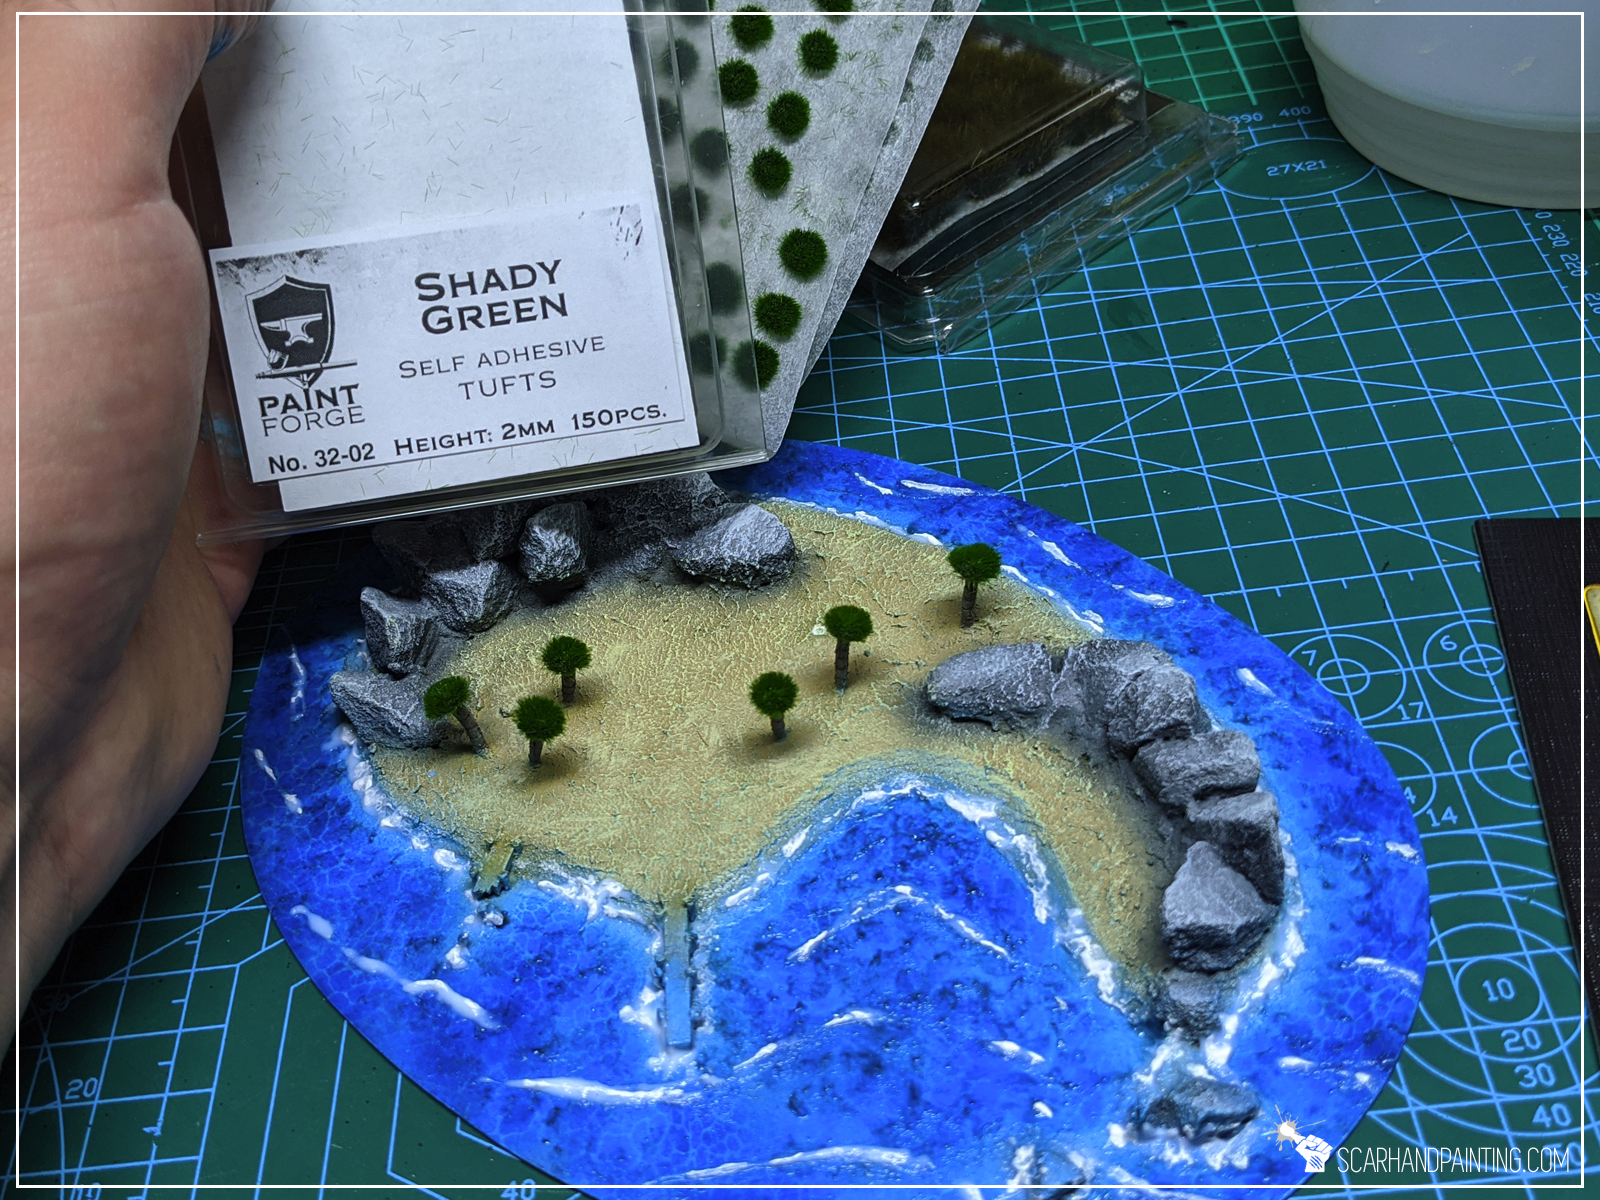
I added some final touches by manually applied AK Interactive effects creating waves and water foam. To add a nice color diversity on top of the island I also applied Gamers Grass Dry Green and Swamp tufts. Pal trees got finished with Shady Green tufts from Paint Forge.
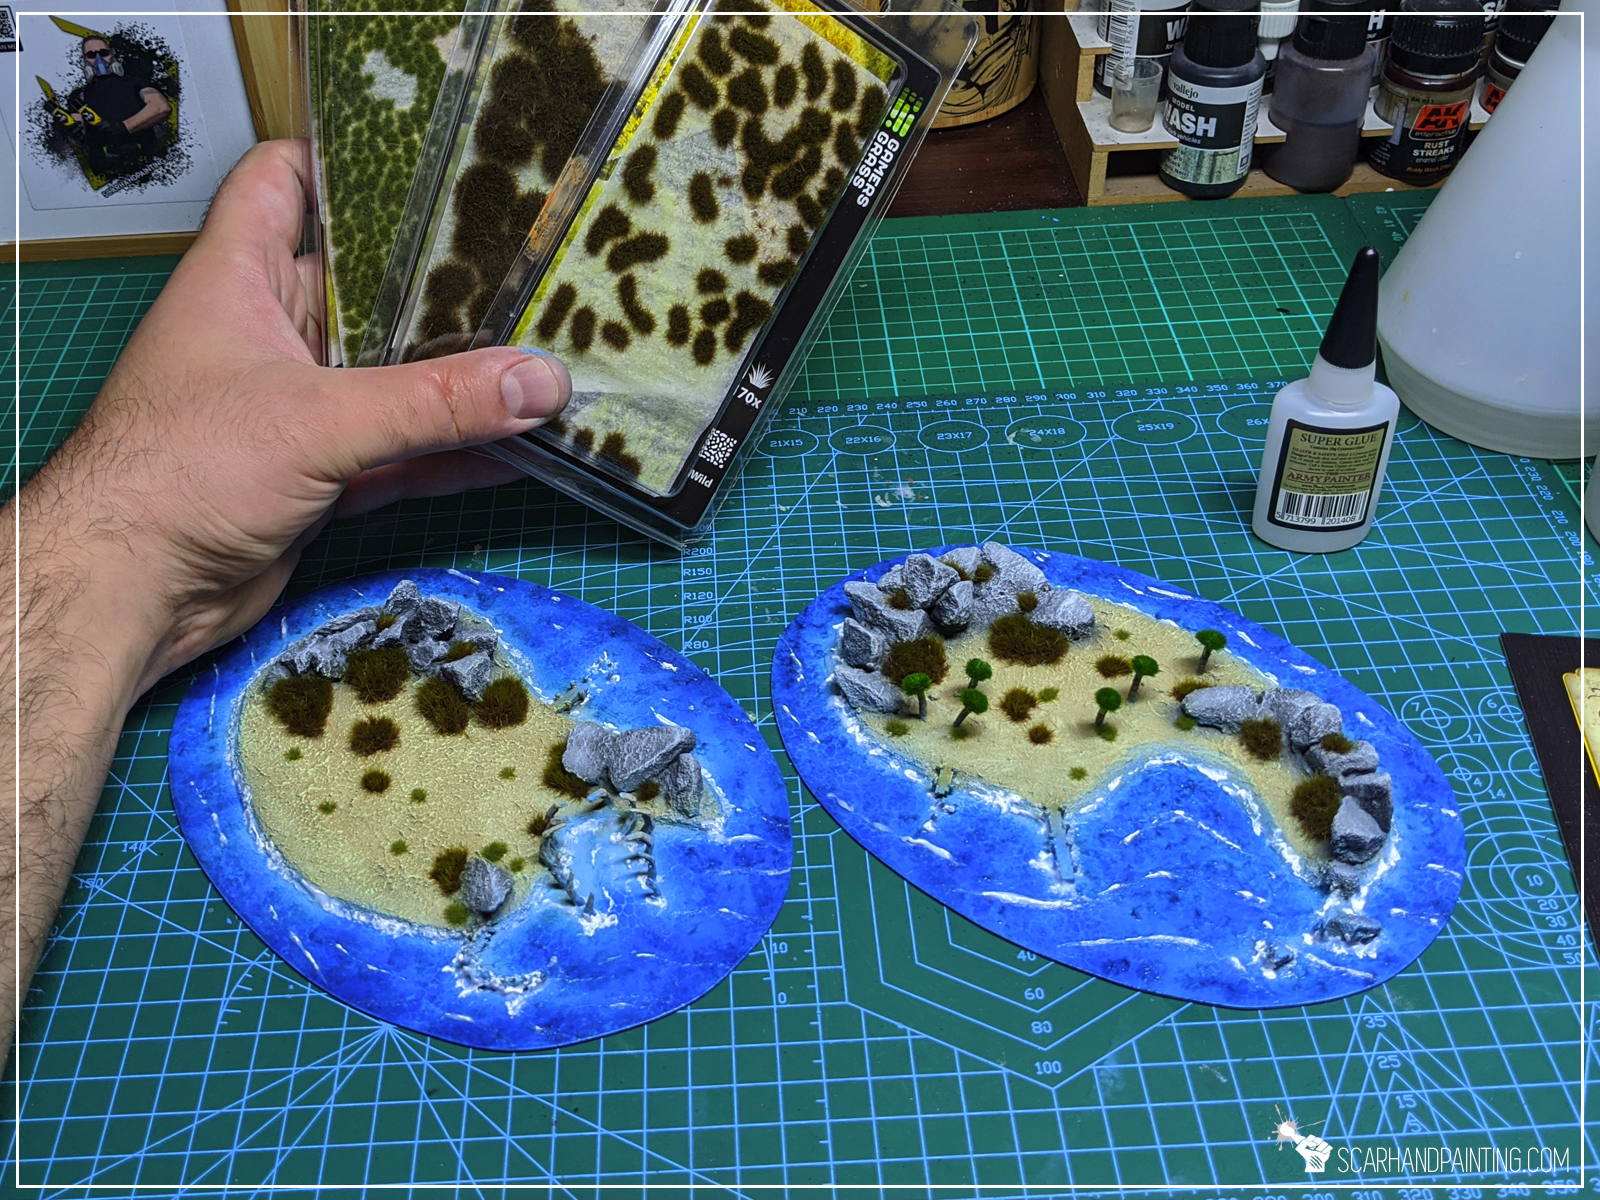
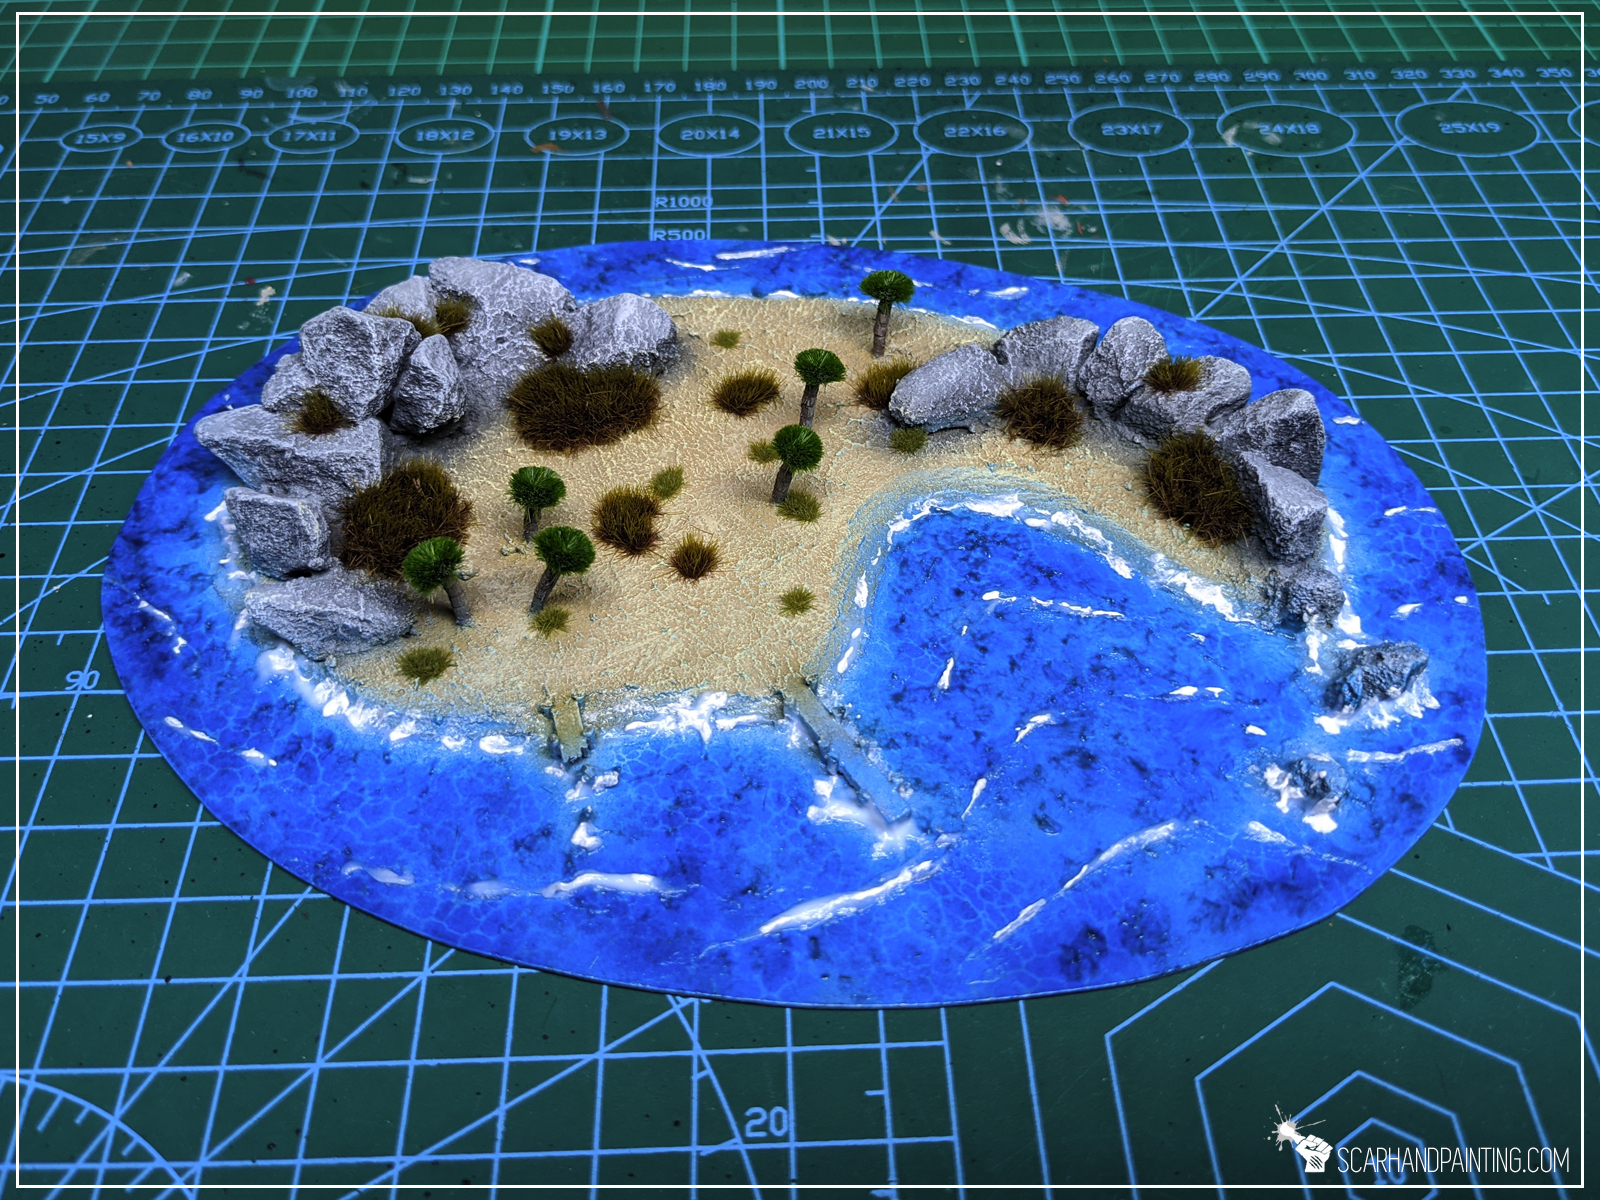
First two islands discovered, I’m ready to head up for the unknown waters. More scenery to come, following the same template. If you stick a while at my blog you’re bound to see more islands and other scenery types, including deadly rocks and shipwrecks. Be sure to visit Scarhandpainting next time you hit a port! Ahoy!


AK – Interactive – a Spanish company behind a well established series of products for modelers. They managed to become one of the most recognized brands in the modeling world with continuously evolving range of paints, brushes, weathering products and effects. I have been a fan of their products for years now. Recently I decided to take another step and expand a range of texture paints at my disposal. Knowing the quality of AK’s products and lured by sweet pricing I went berserk and got a lot of Diorama Series textures.
Now I’m here to share my impressions.
Usually I do the entire Quality, Visuals, Functionality thing. This time though I decided to take a different approach and just jump right into testing the actual products, with pictures taken at every step. Consider this to be a Review/Tutorial hybrid. I will share my thoughts in the summary, so no worries 😉
Very happy with this one. Not too grainy. Perfect coloration. Two steps process with a final touch of white markings airbrushed through a stencil. End result – very satisfactory.
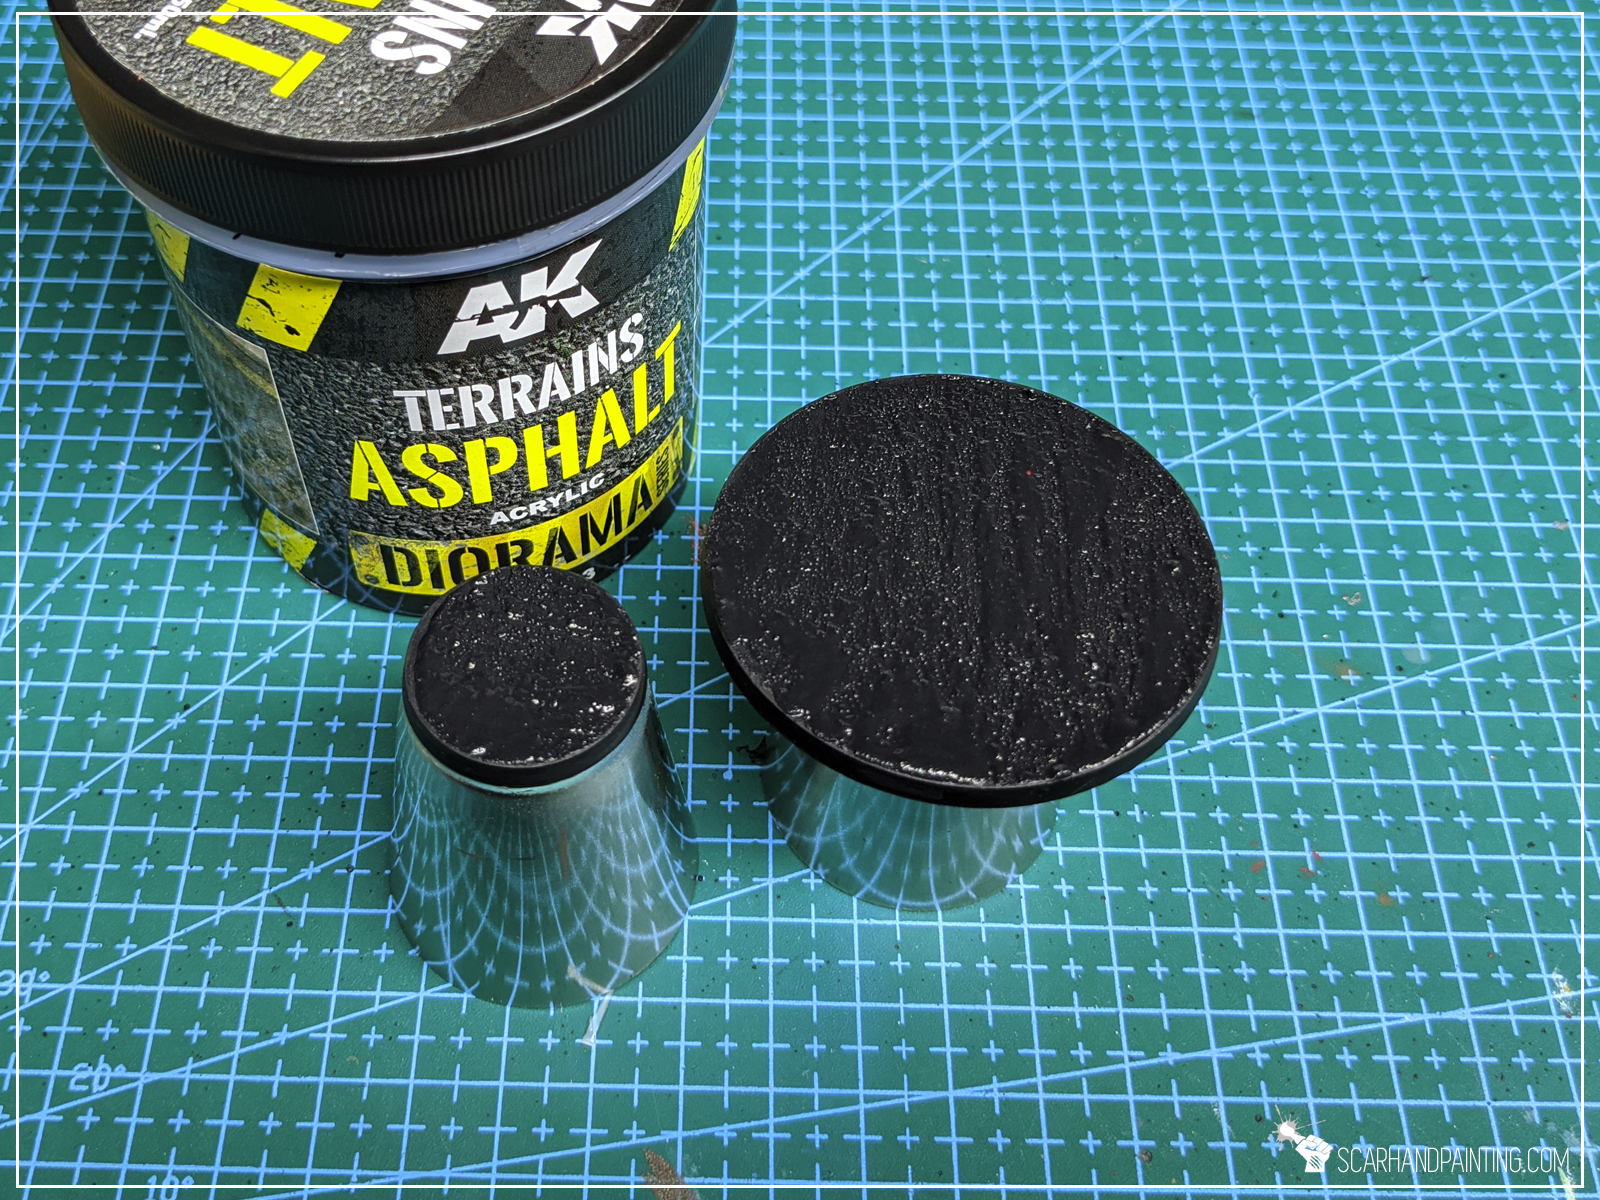
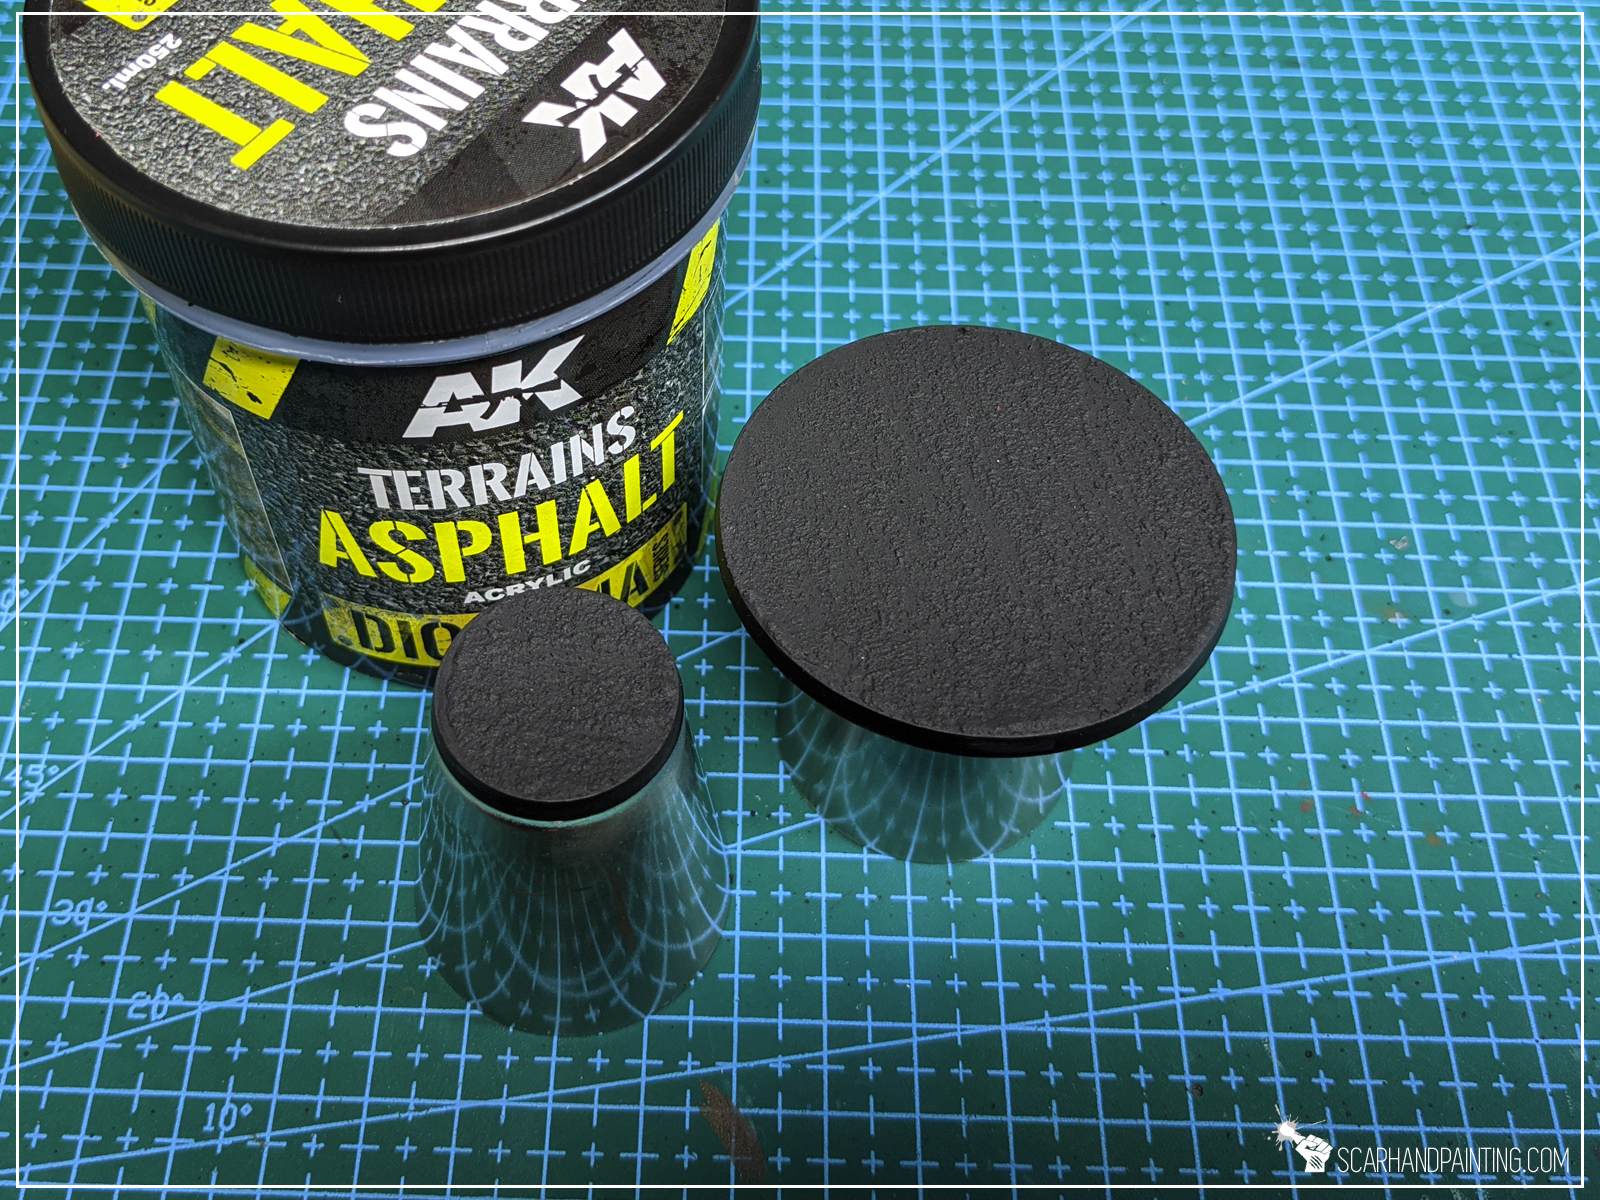
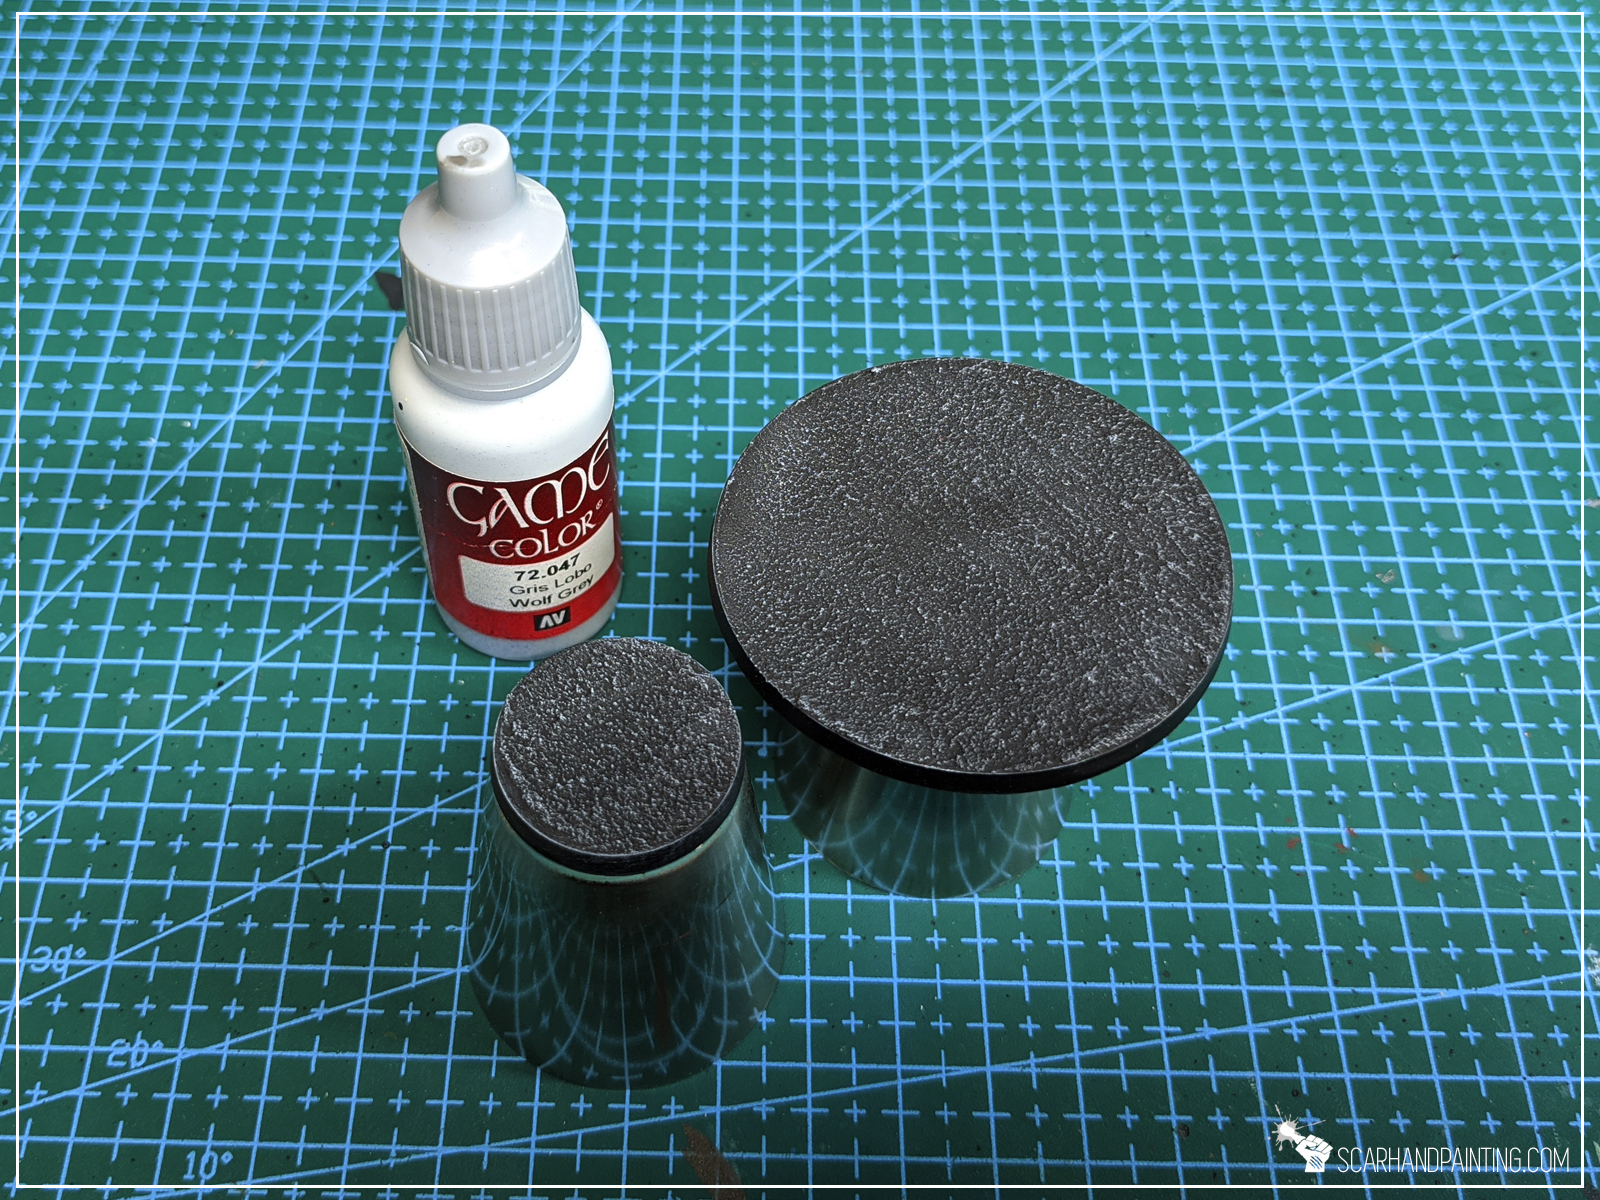
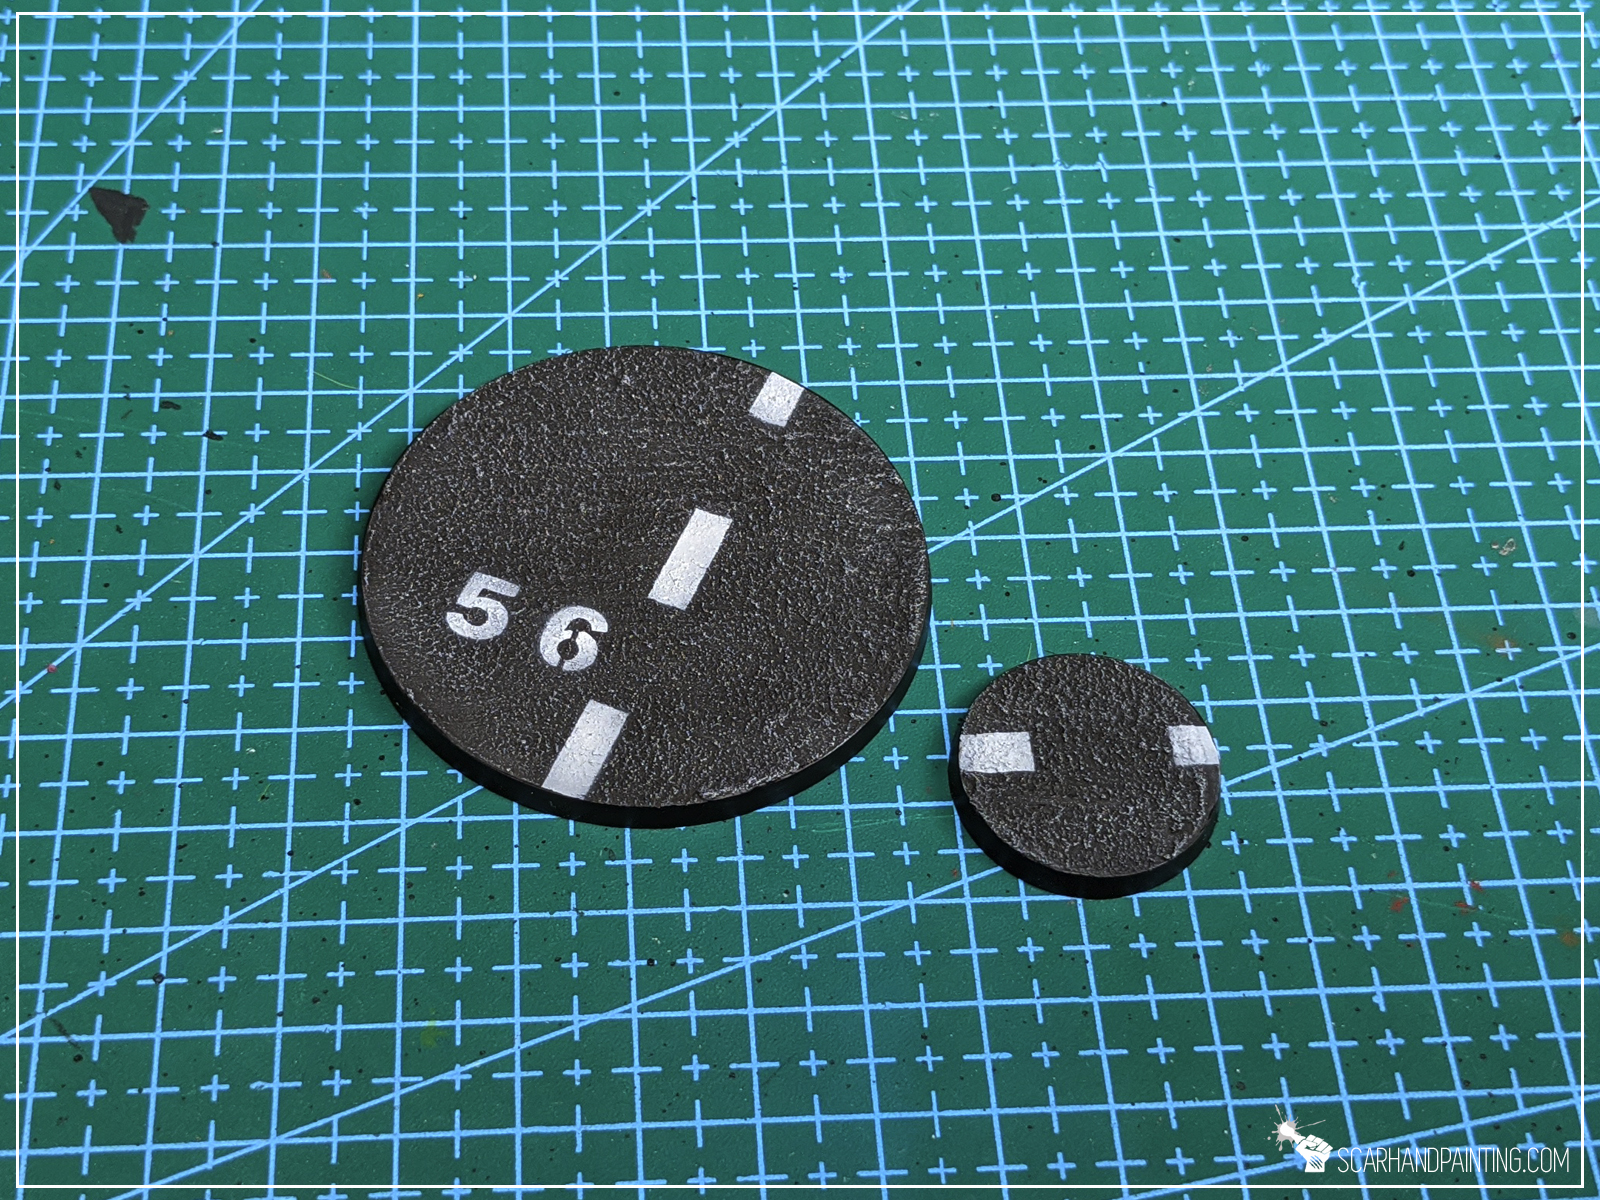
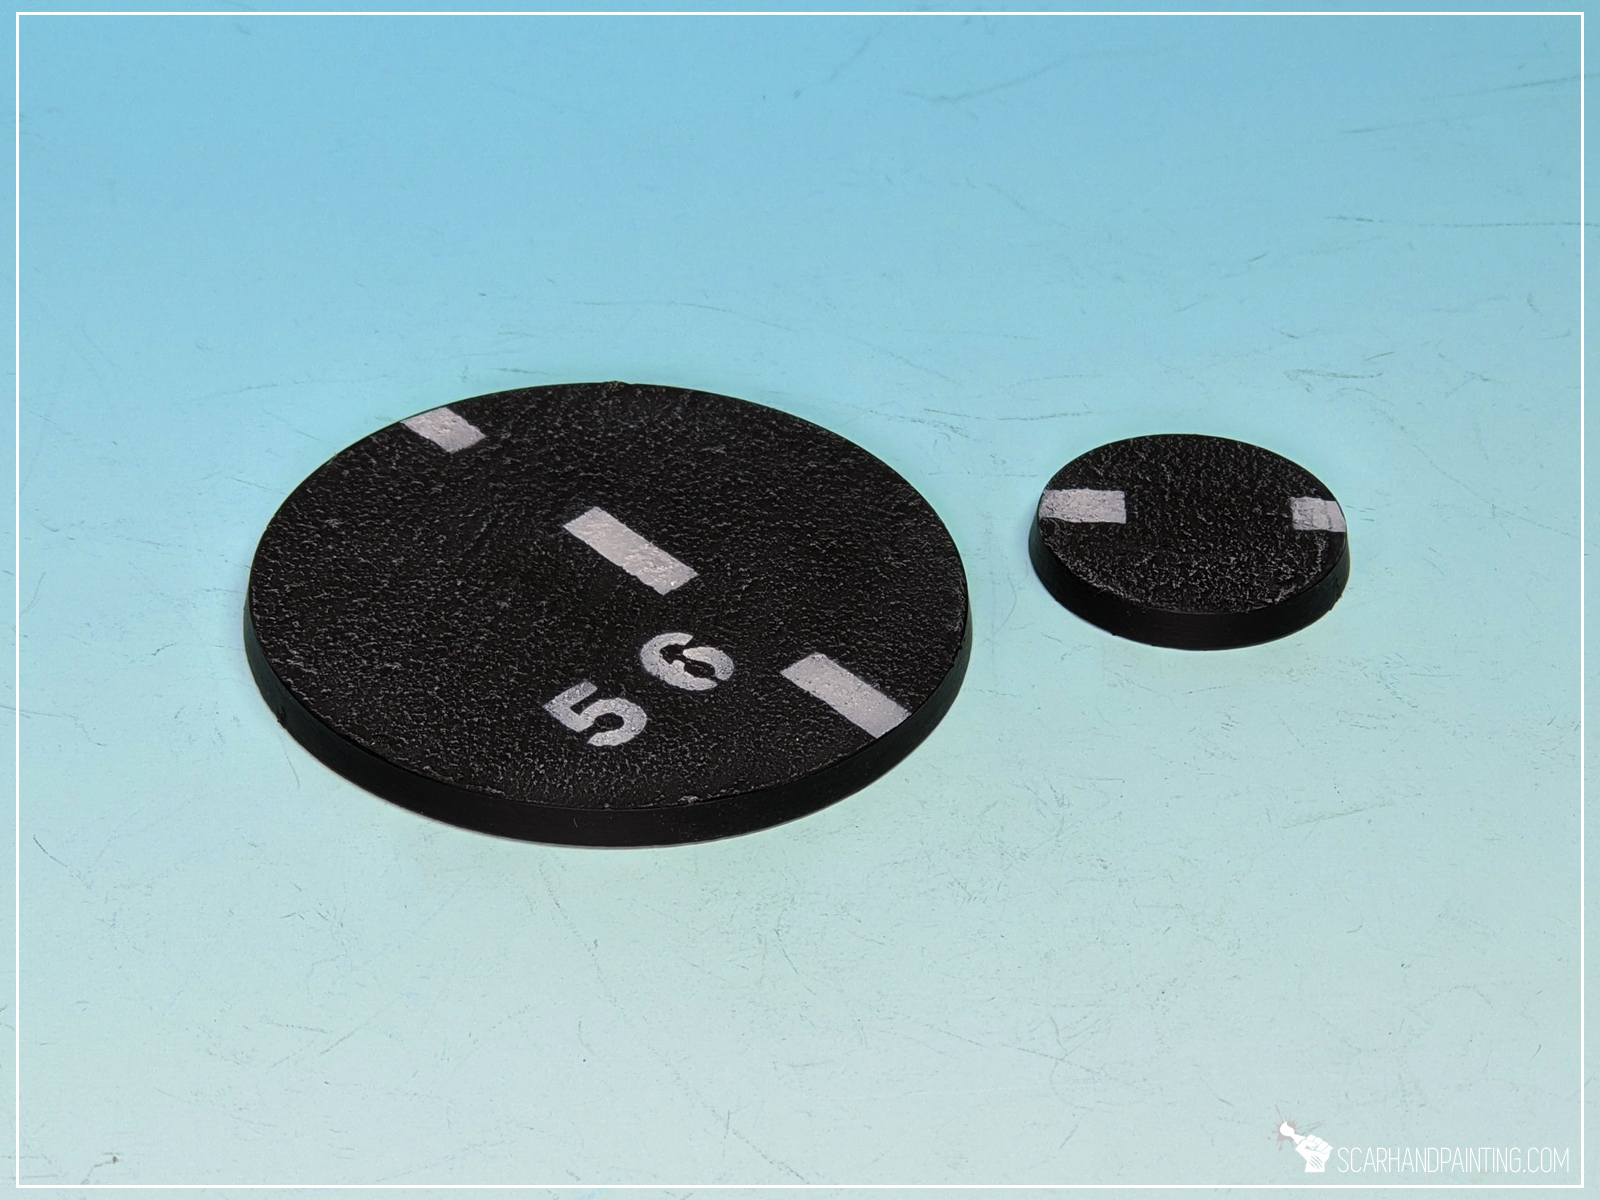
Say goodbye to sand on PVA glue! This puppy is now my favorite two-steps basing for fantasy miniatures!
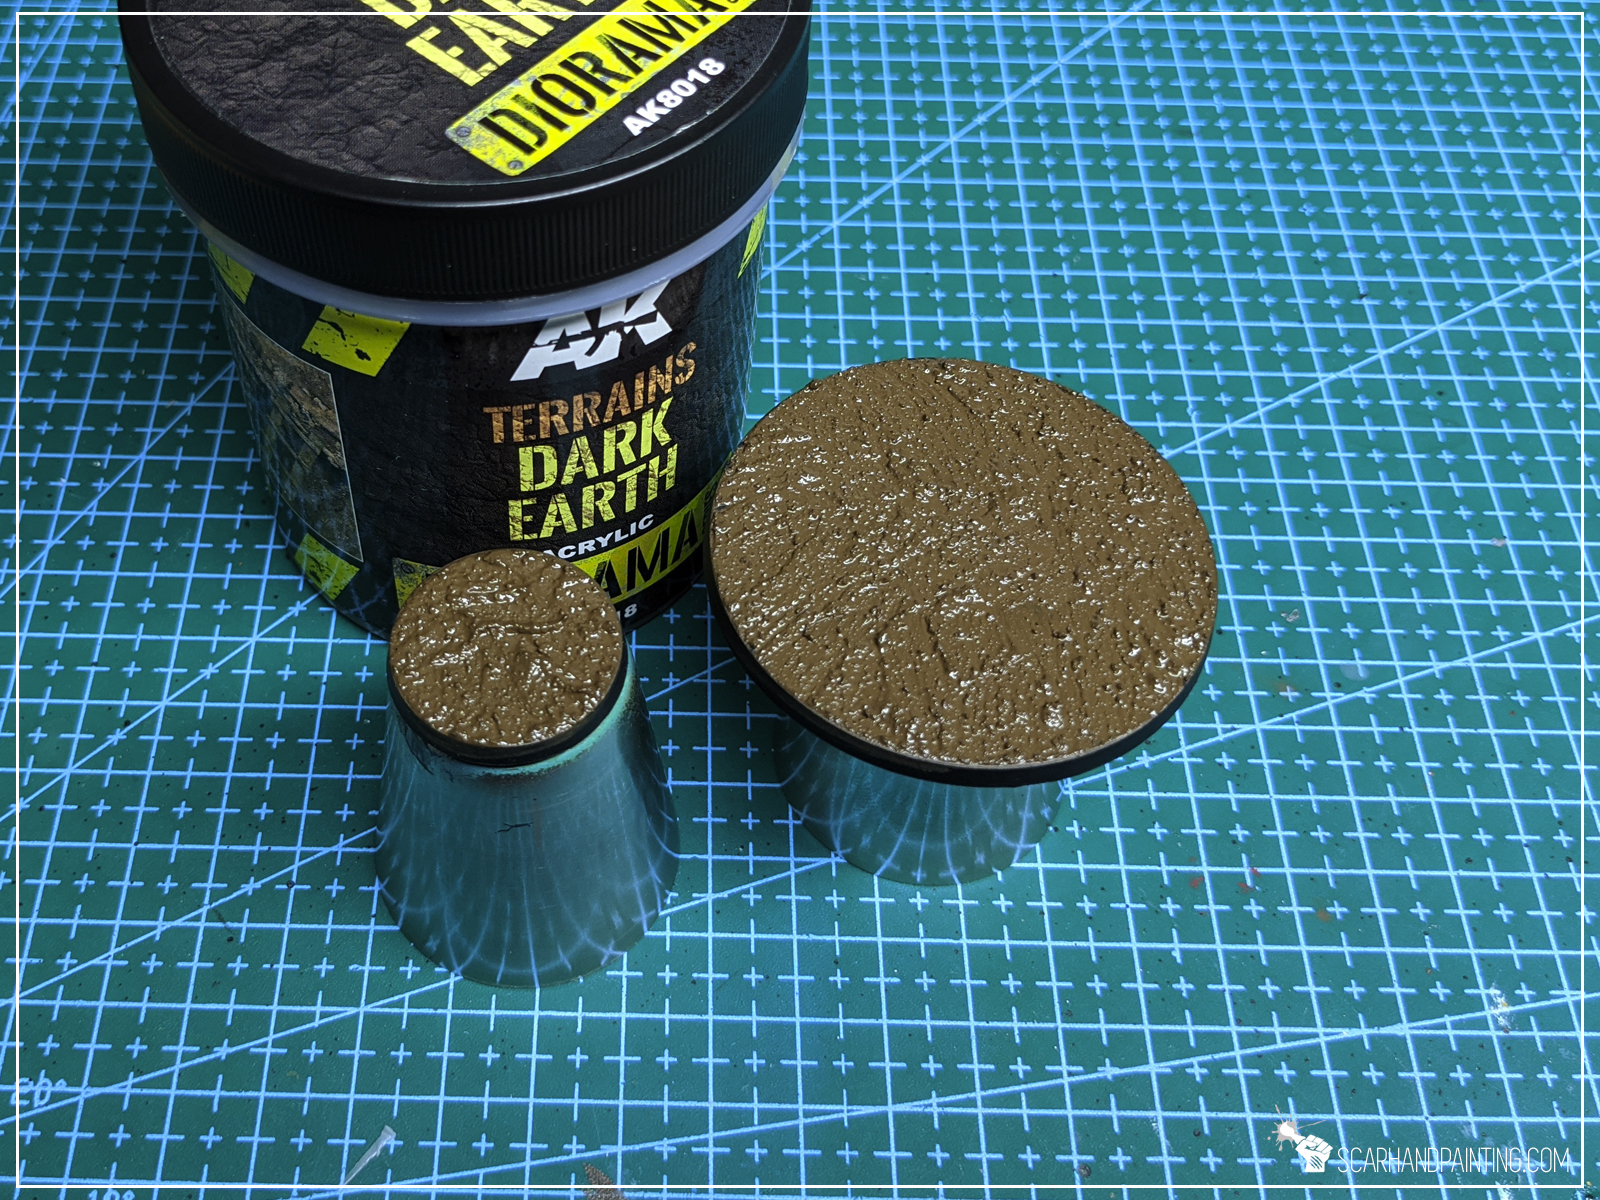
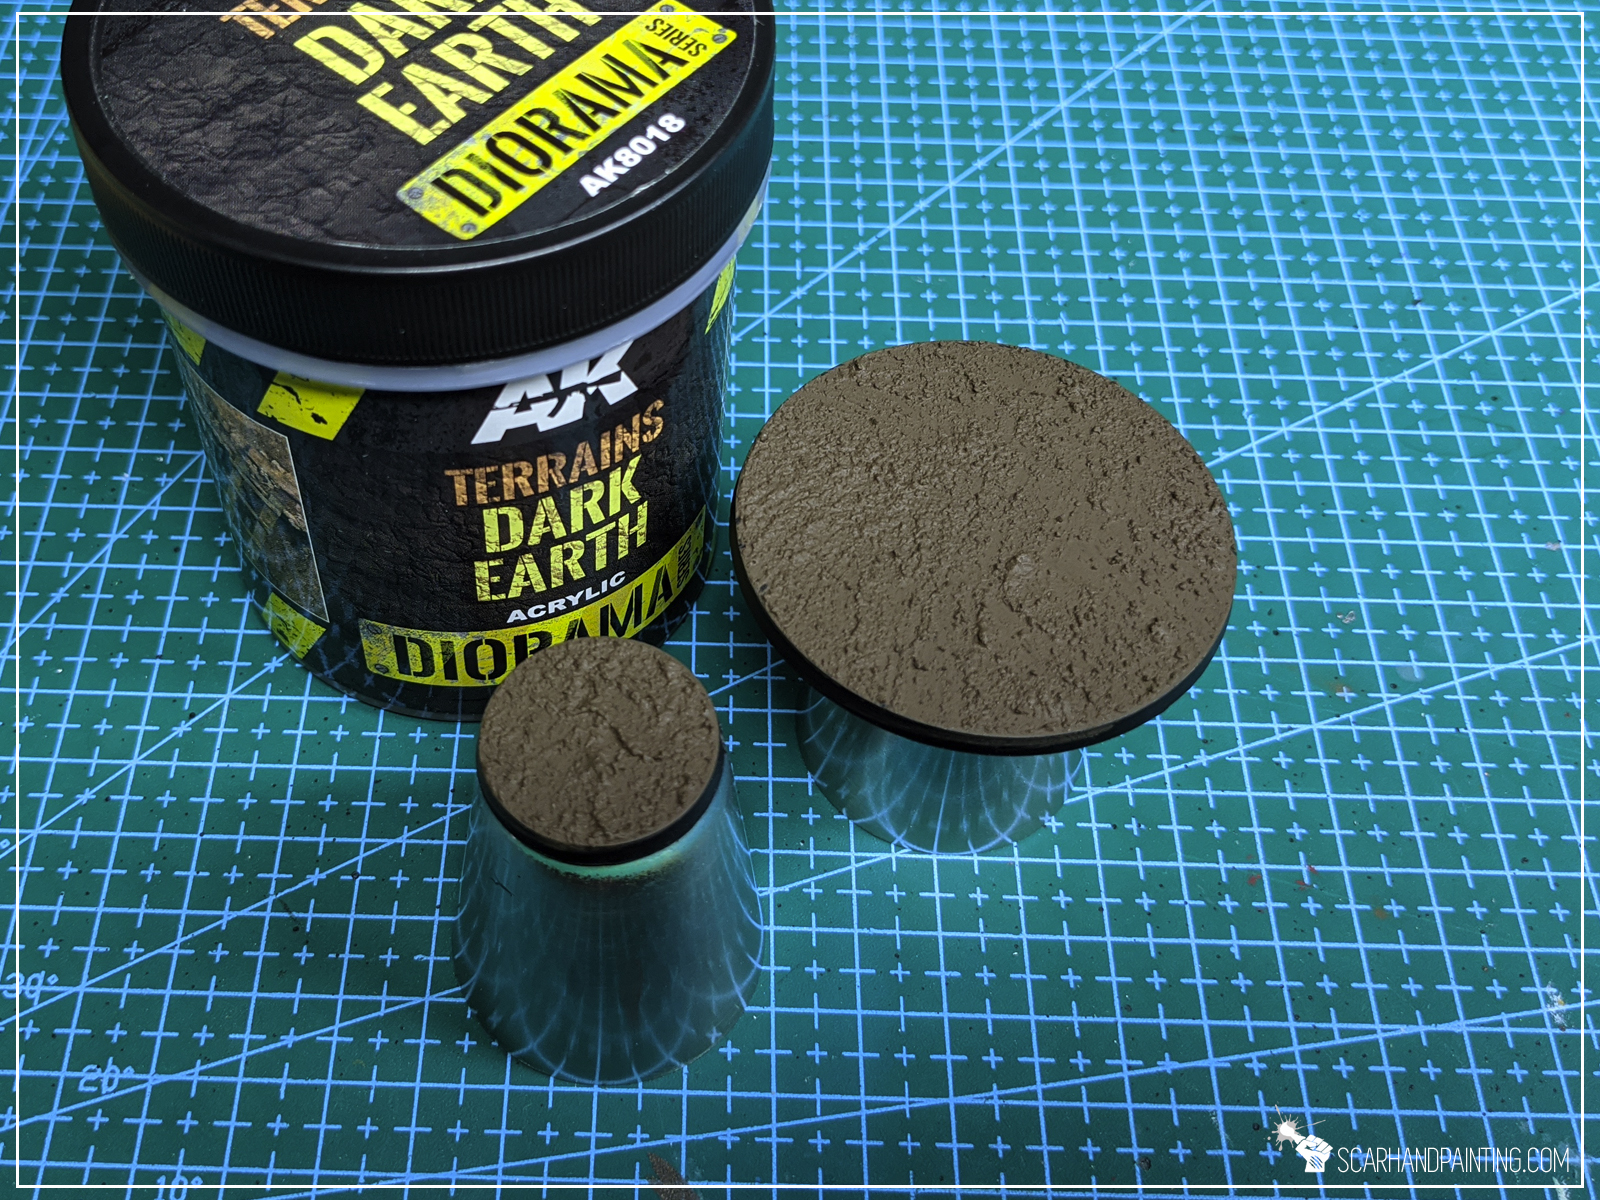
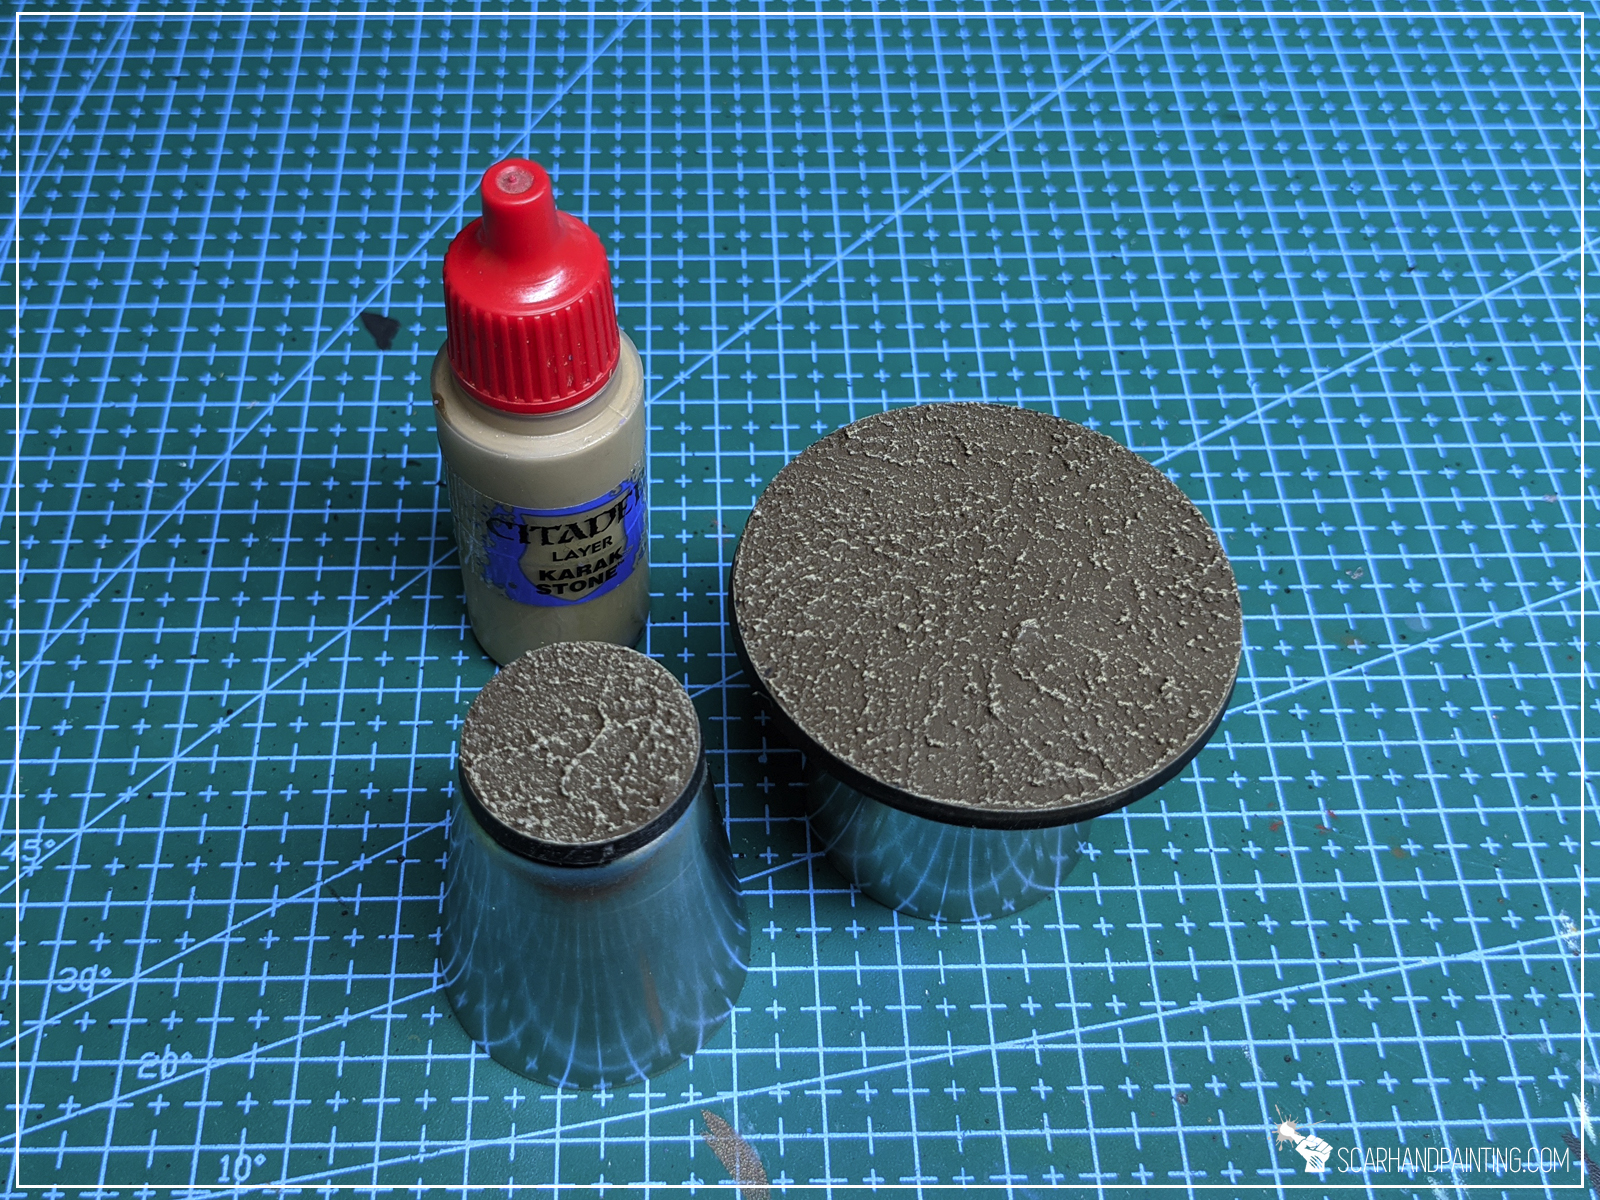

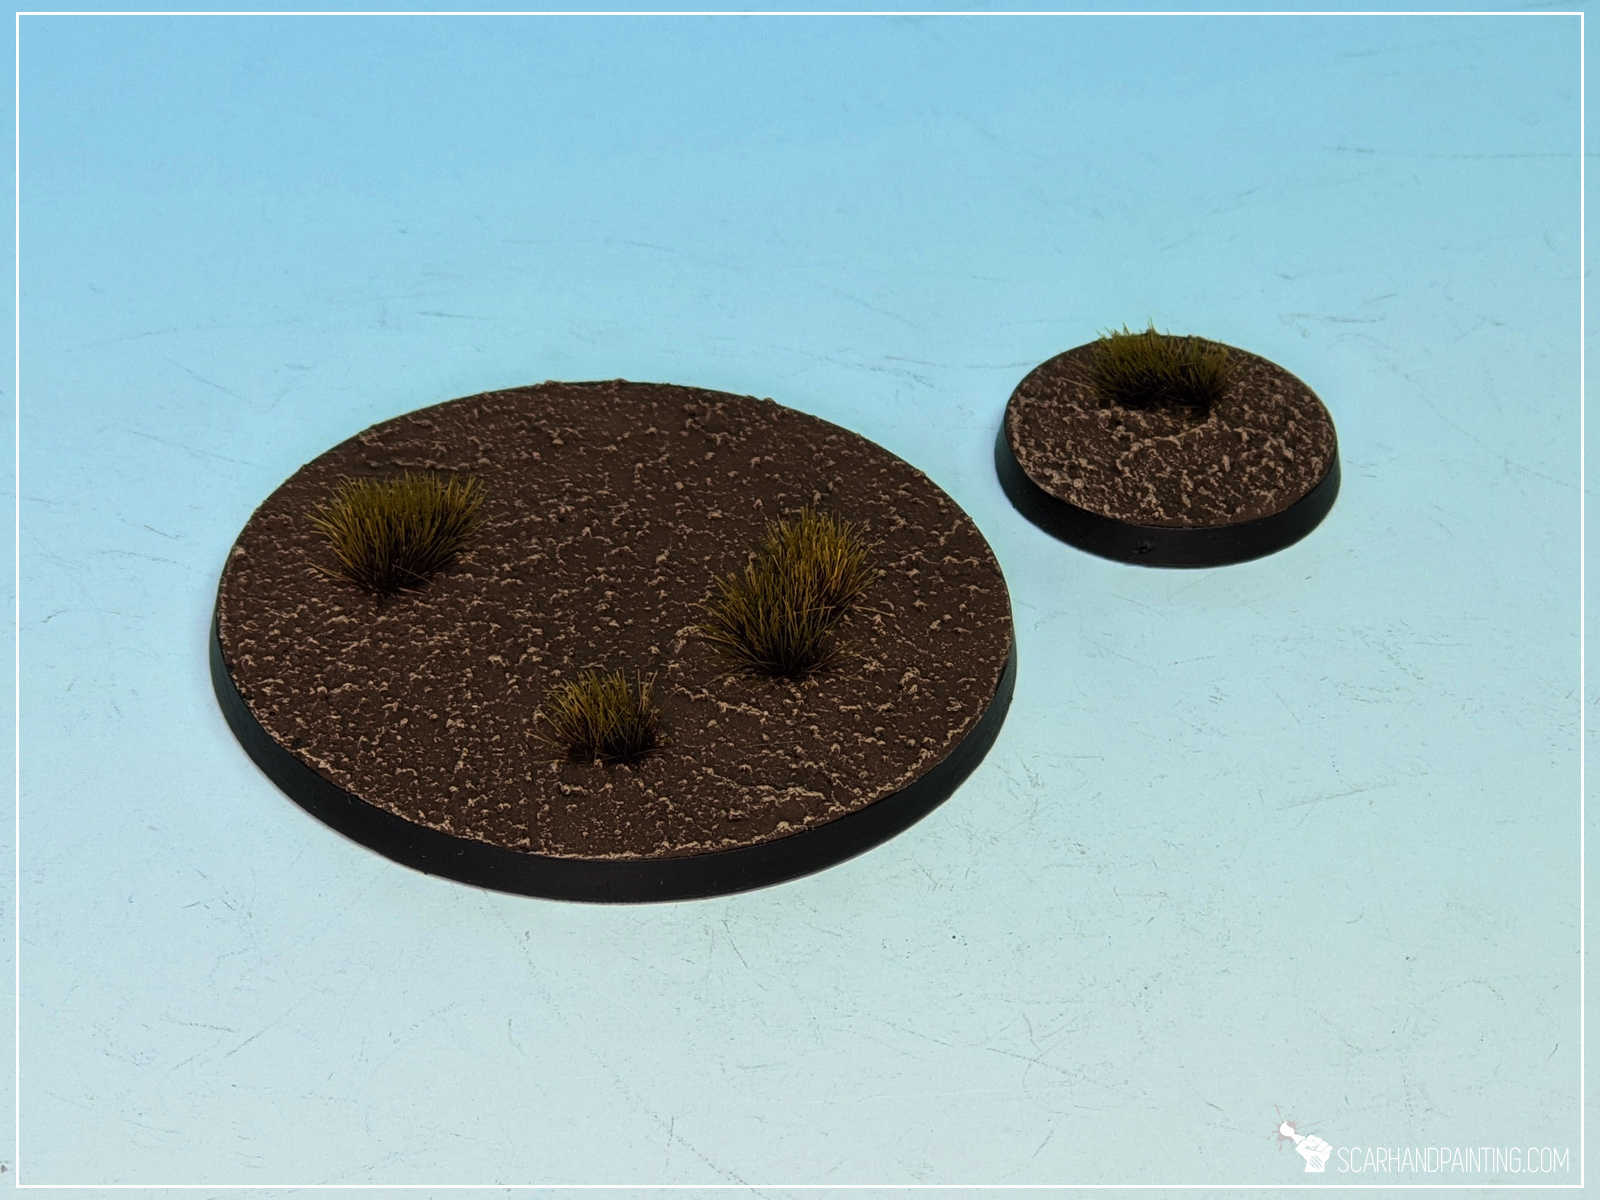
Would have never expected to go with such a color, but seeing the end result I’m getting strong Star Wars The Last Jedi / Mad Max Salt Planes vibes… many possibilities!
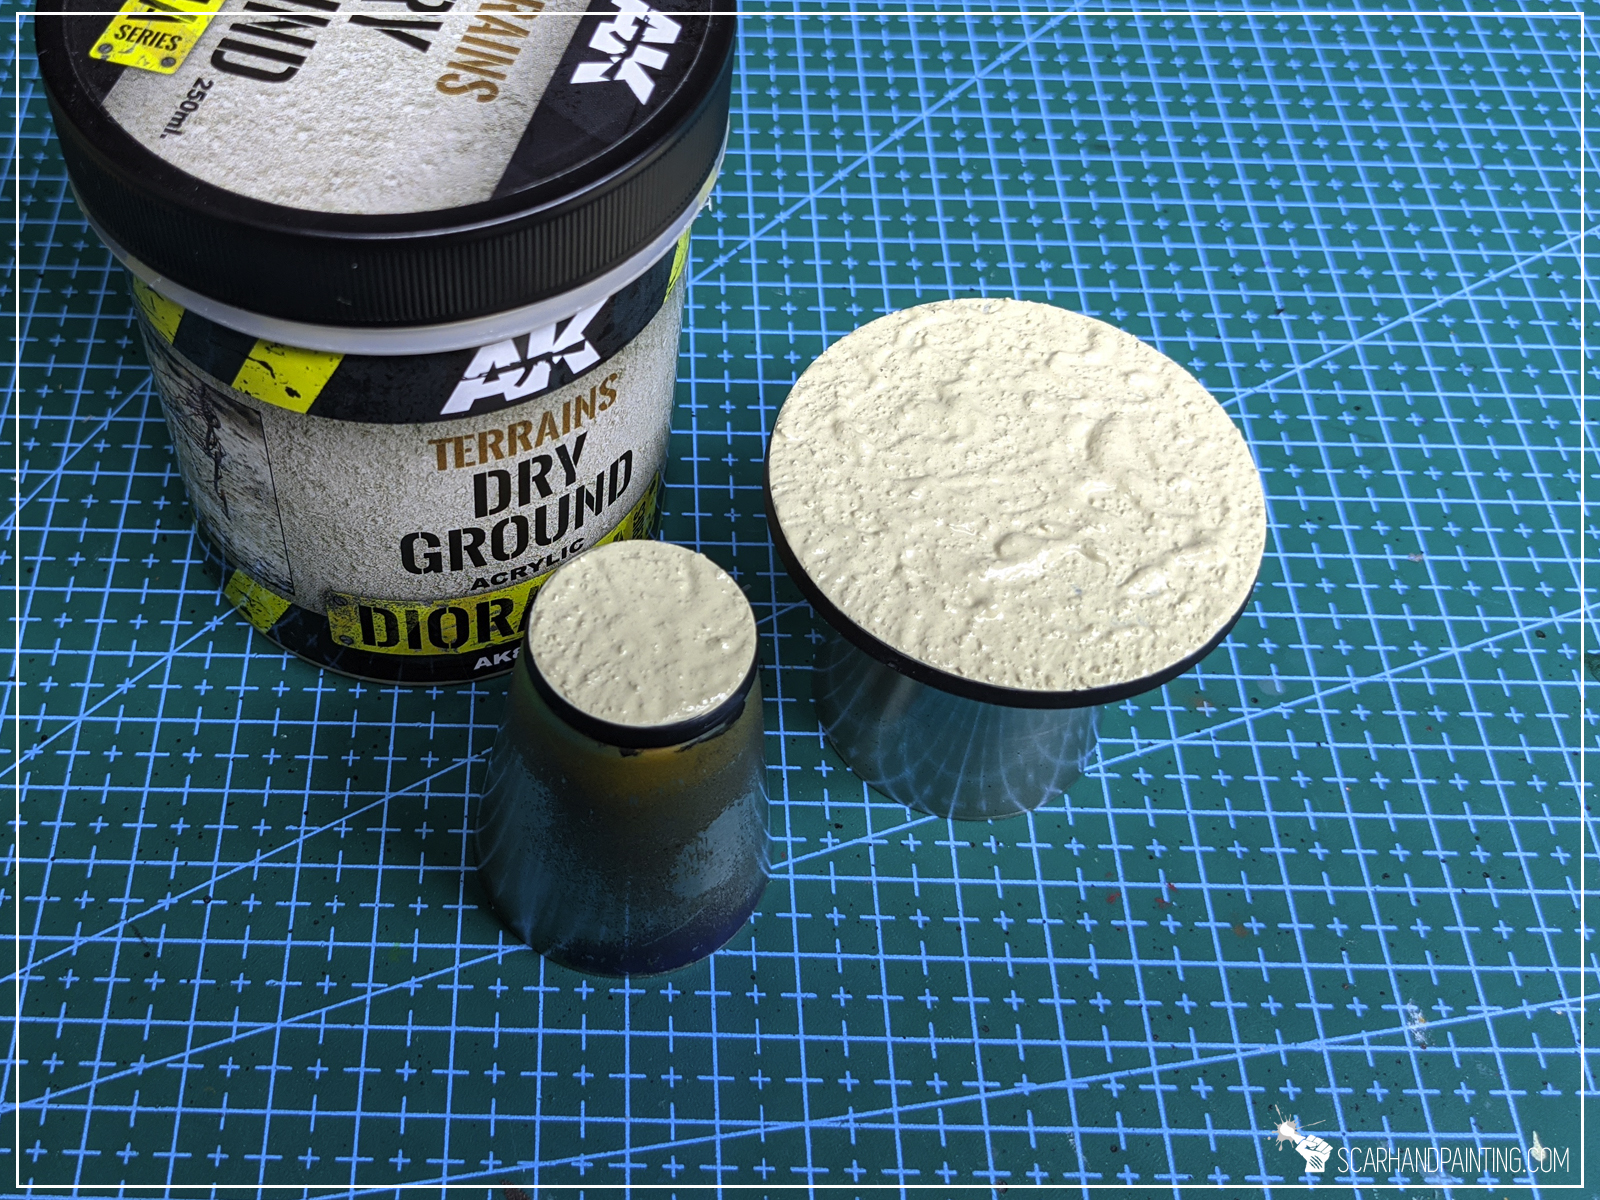
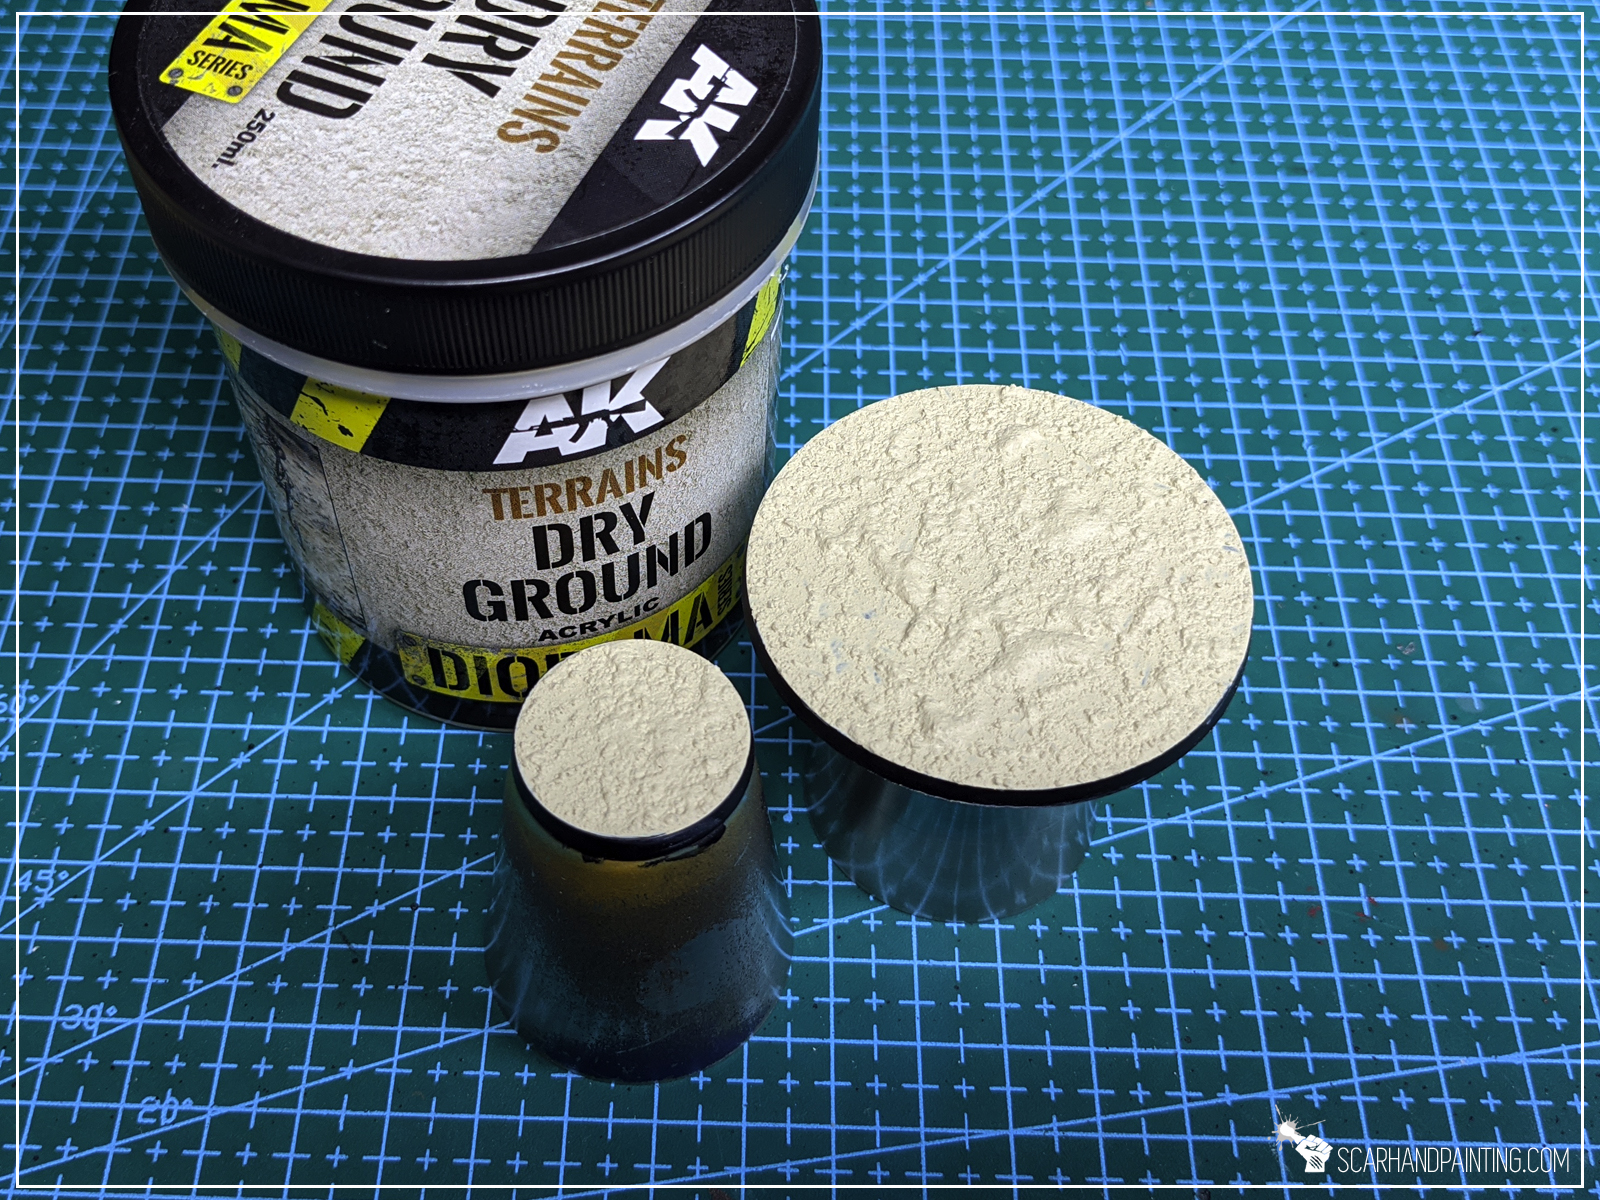
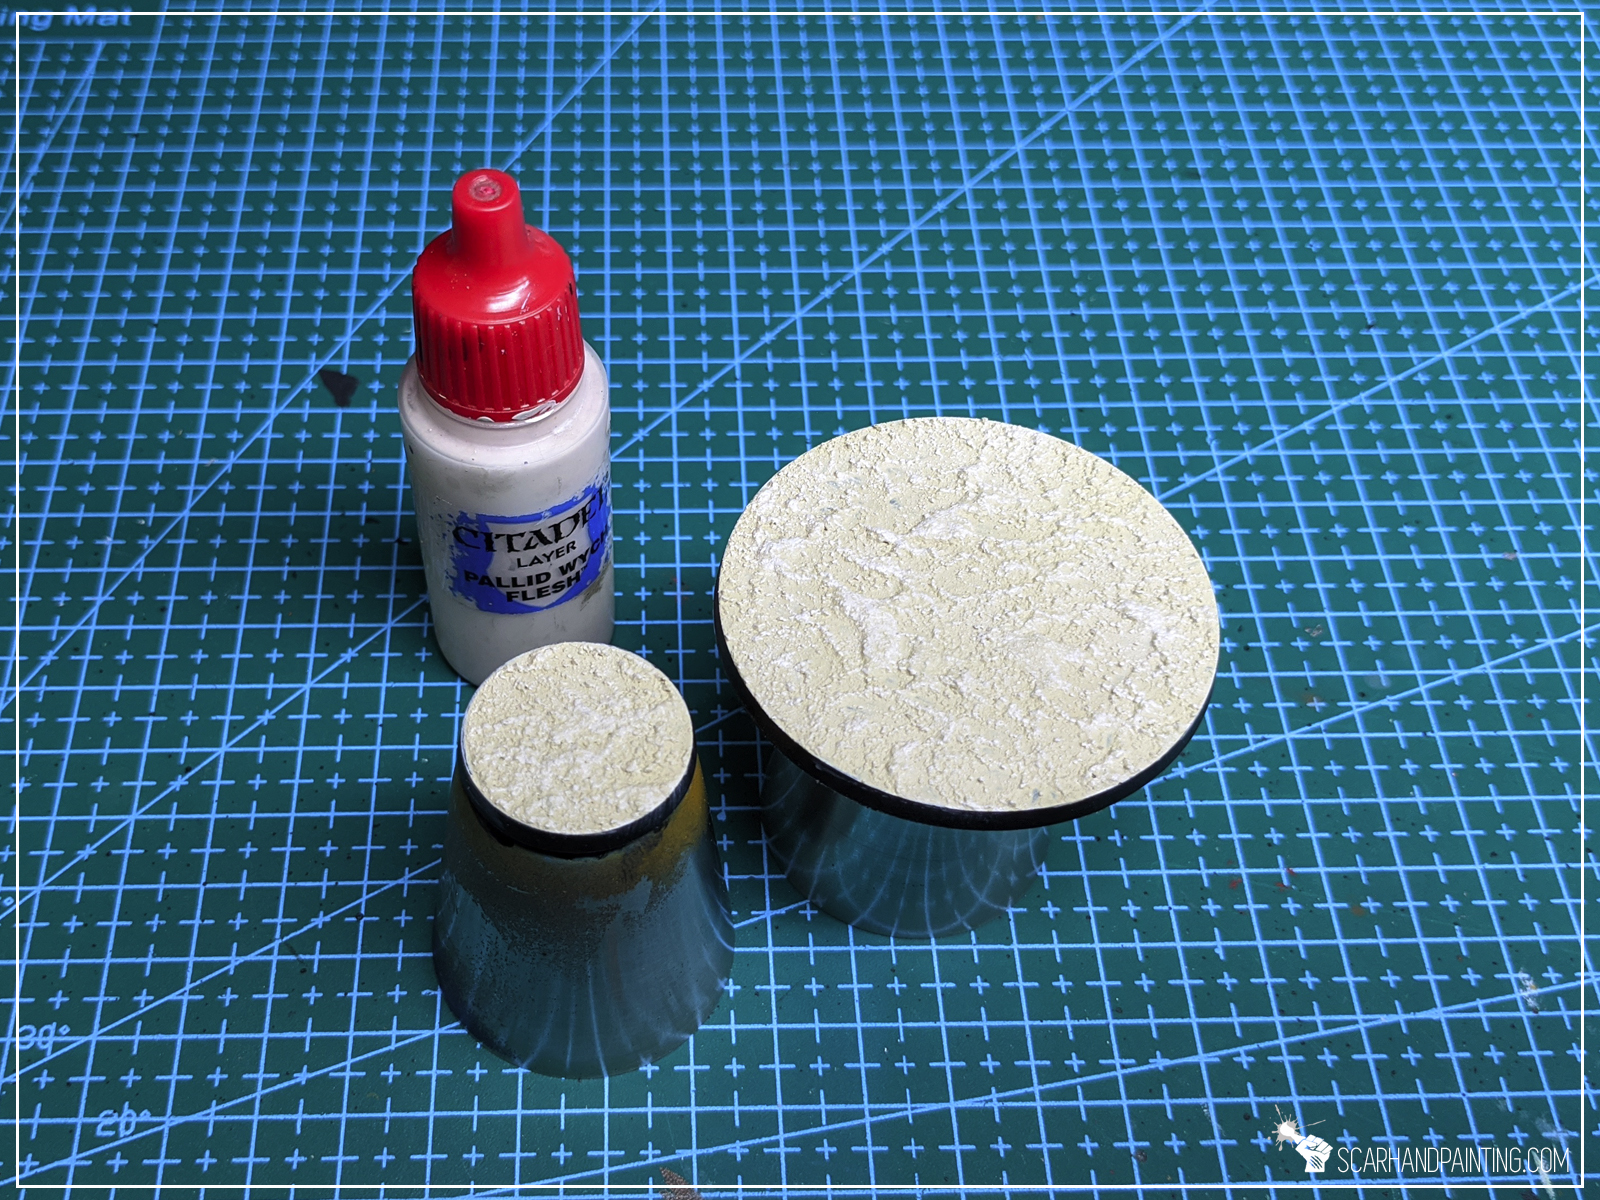
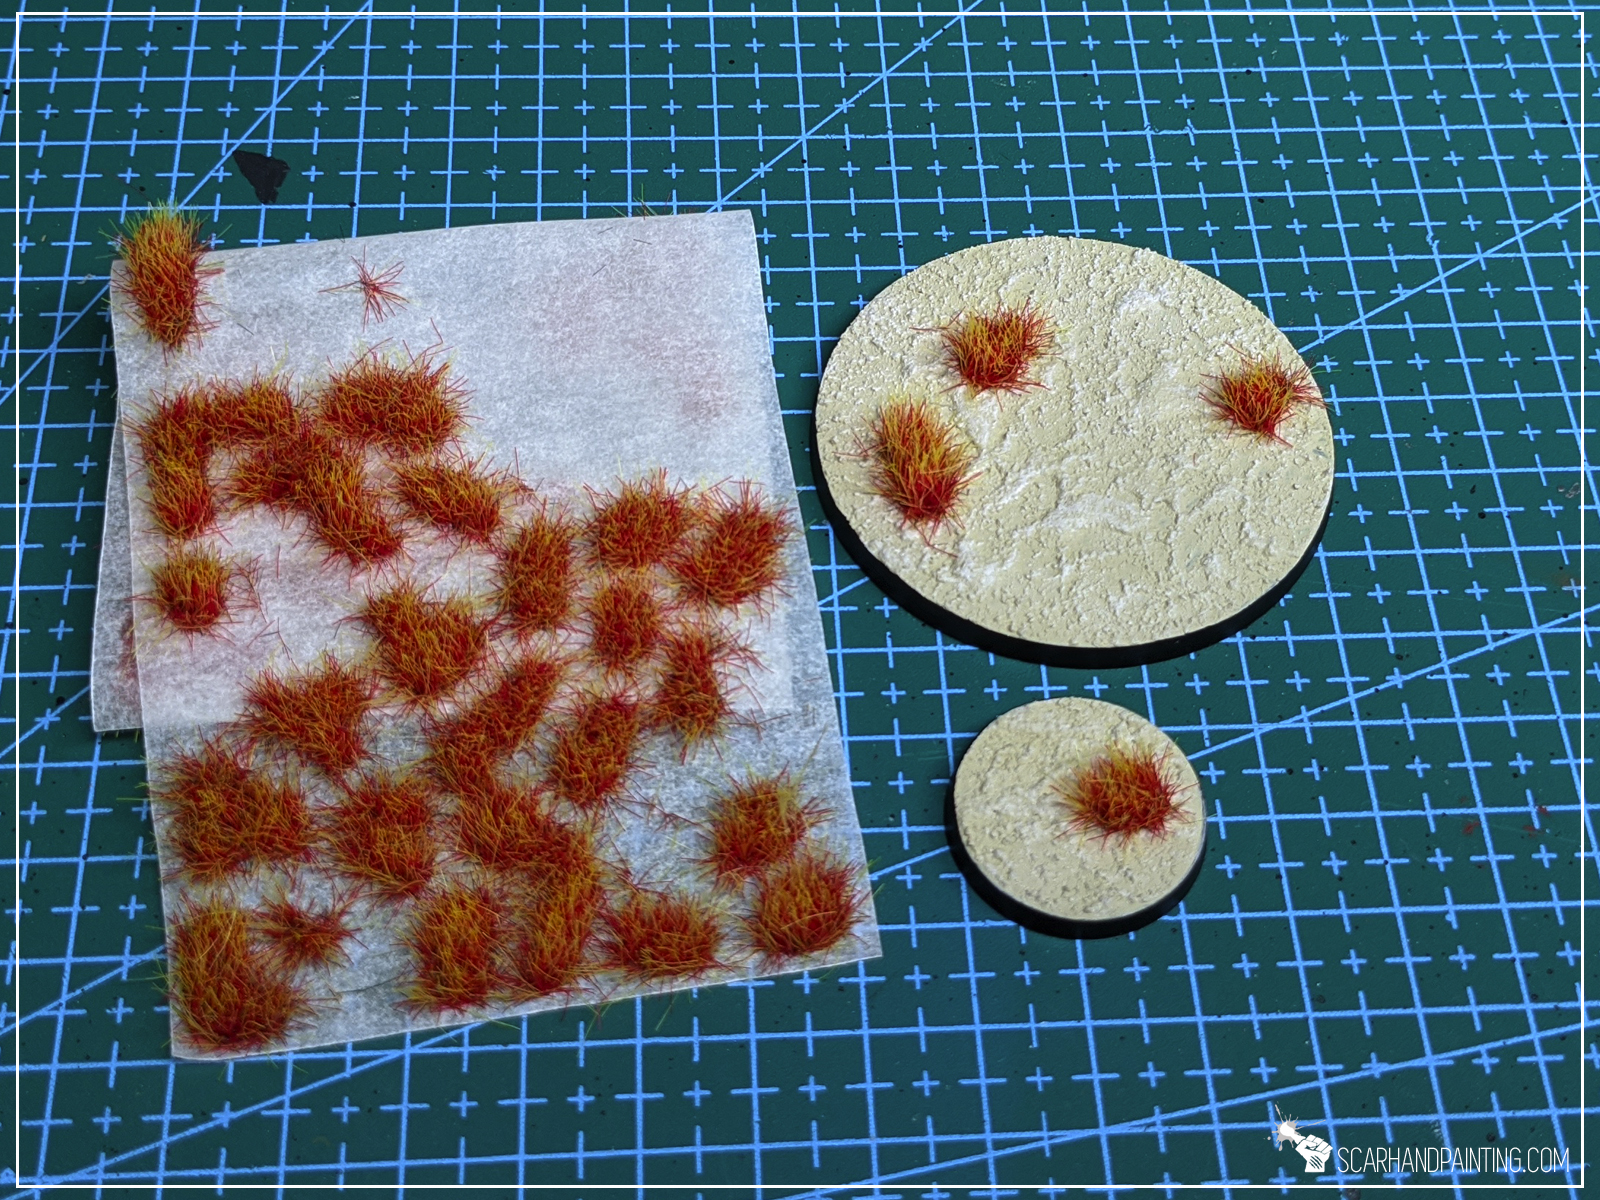
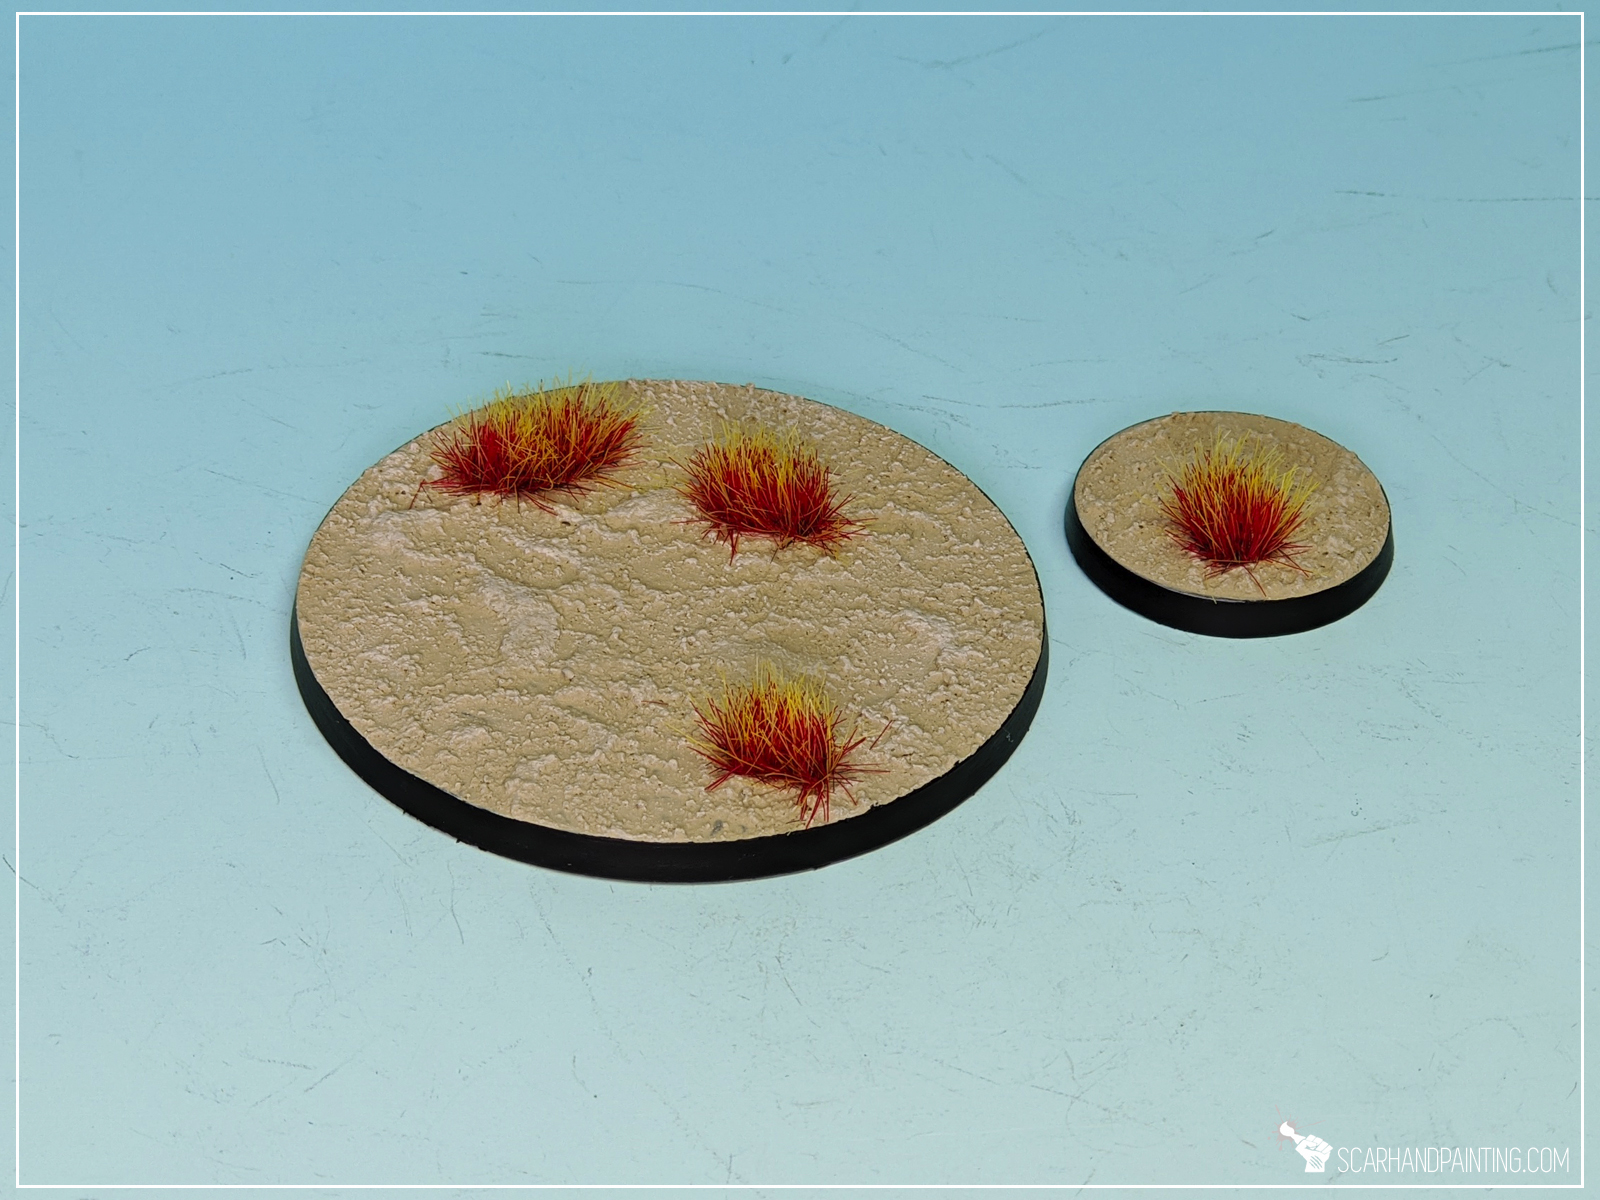
No need to explain – just look at this! Two steps and your miniature is based on a desert!
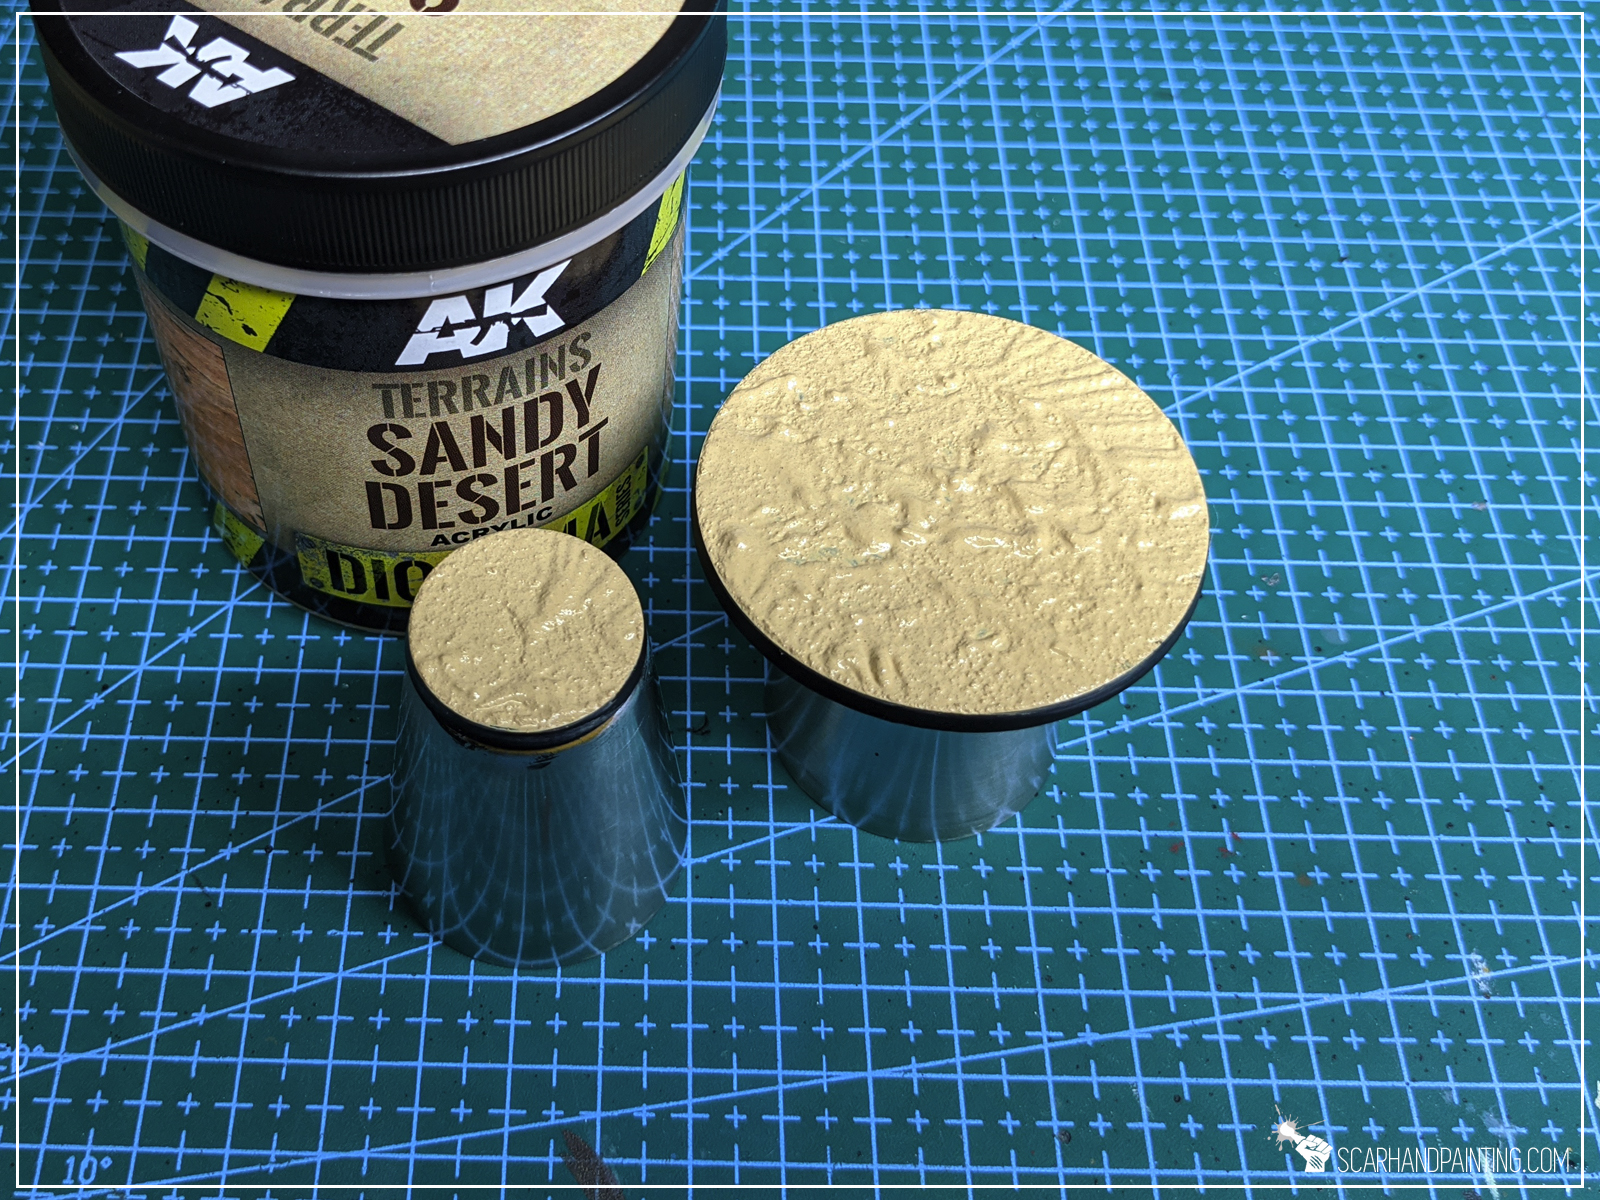
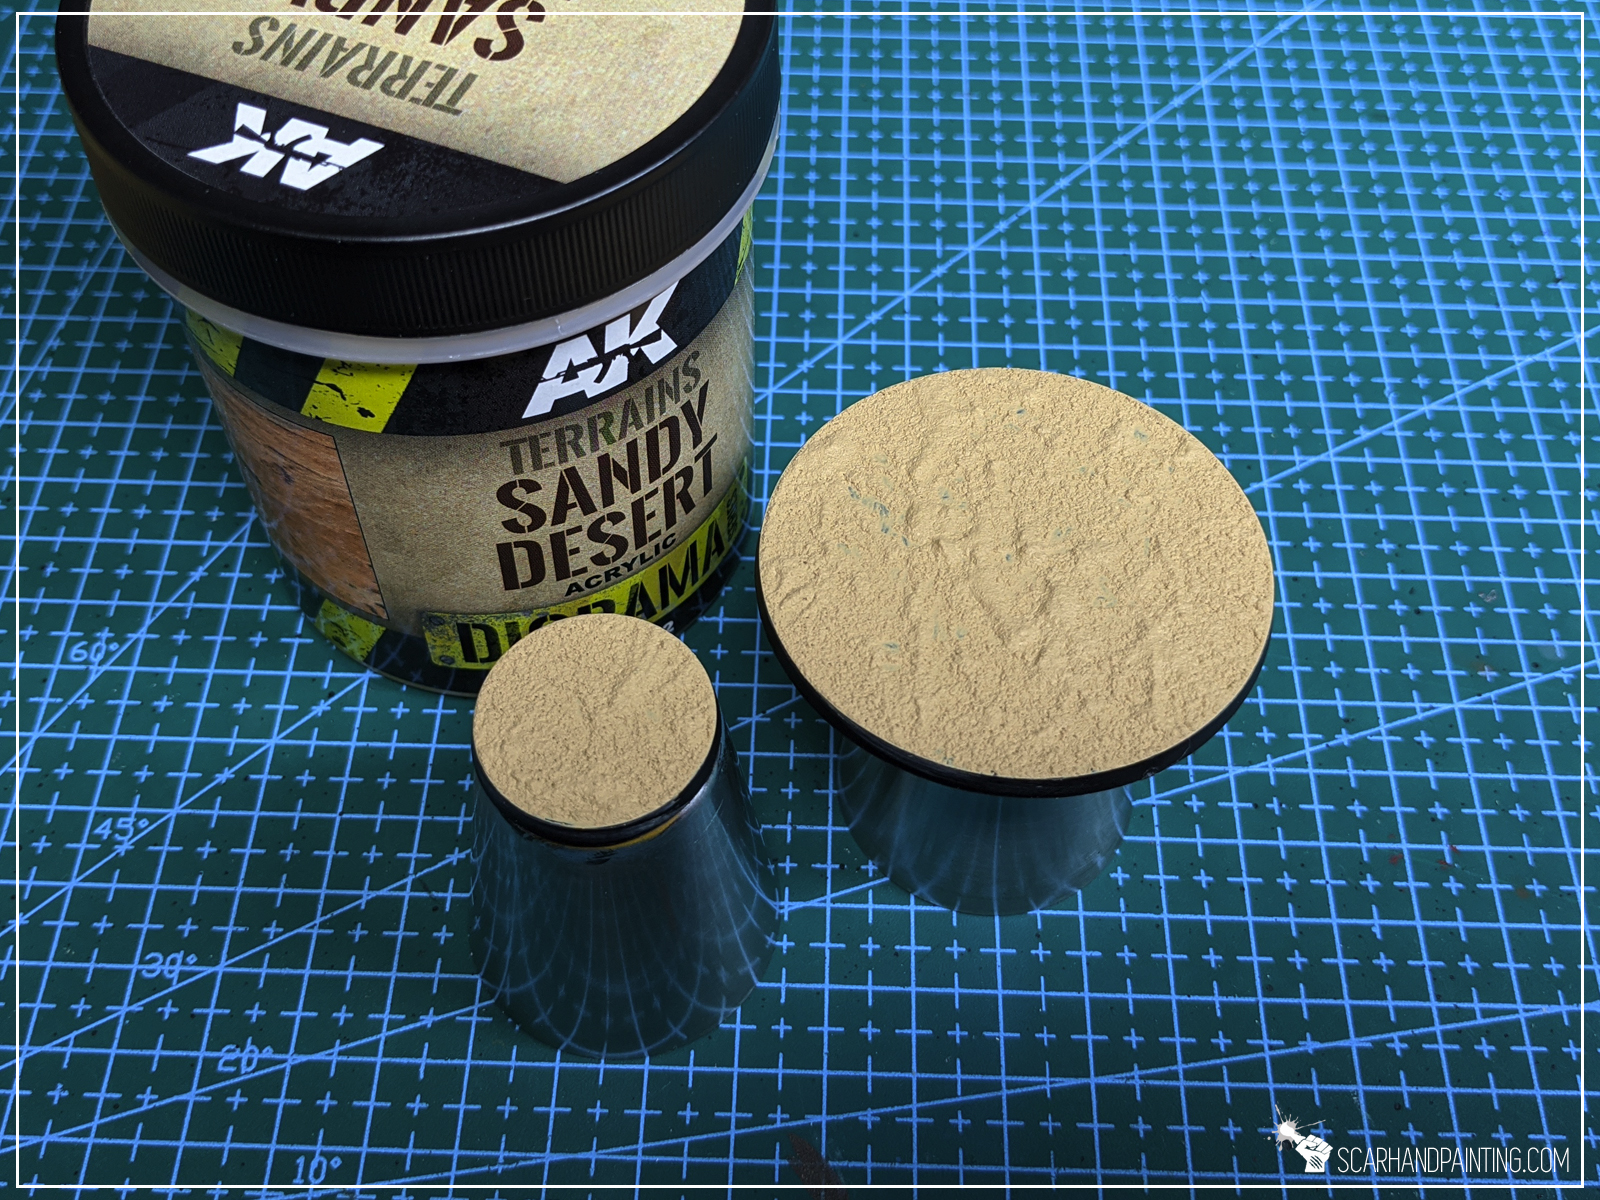
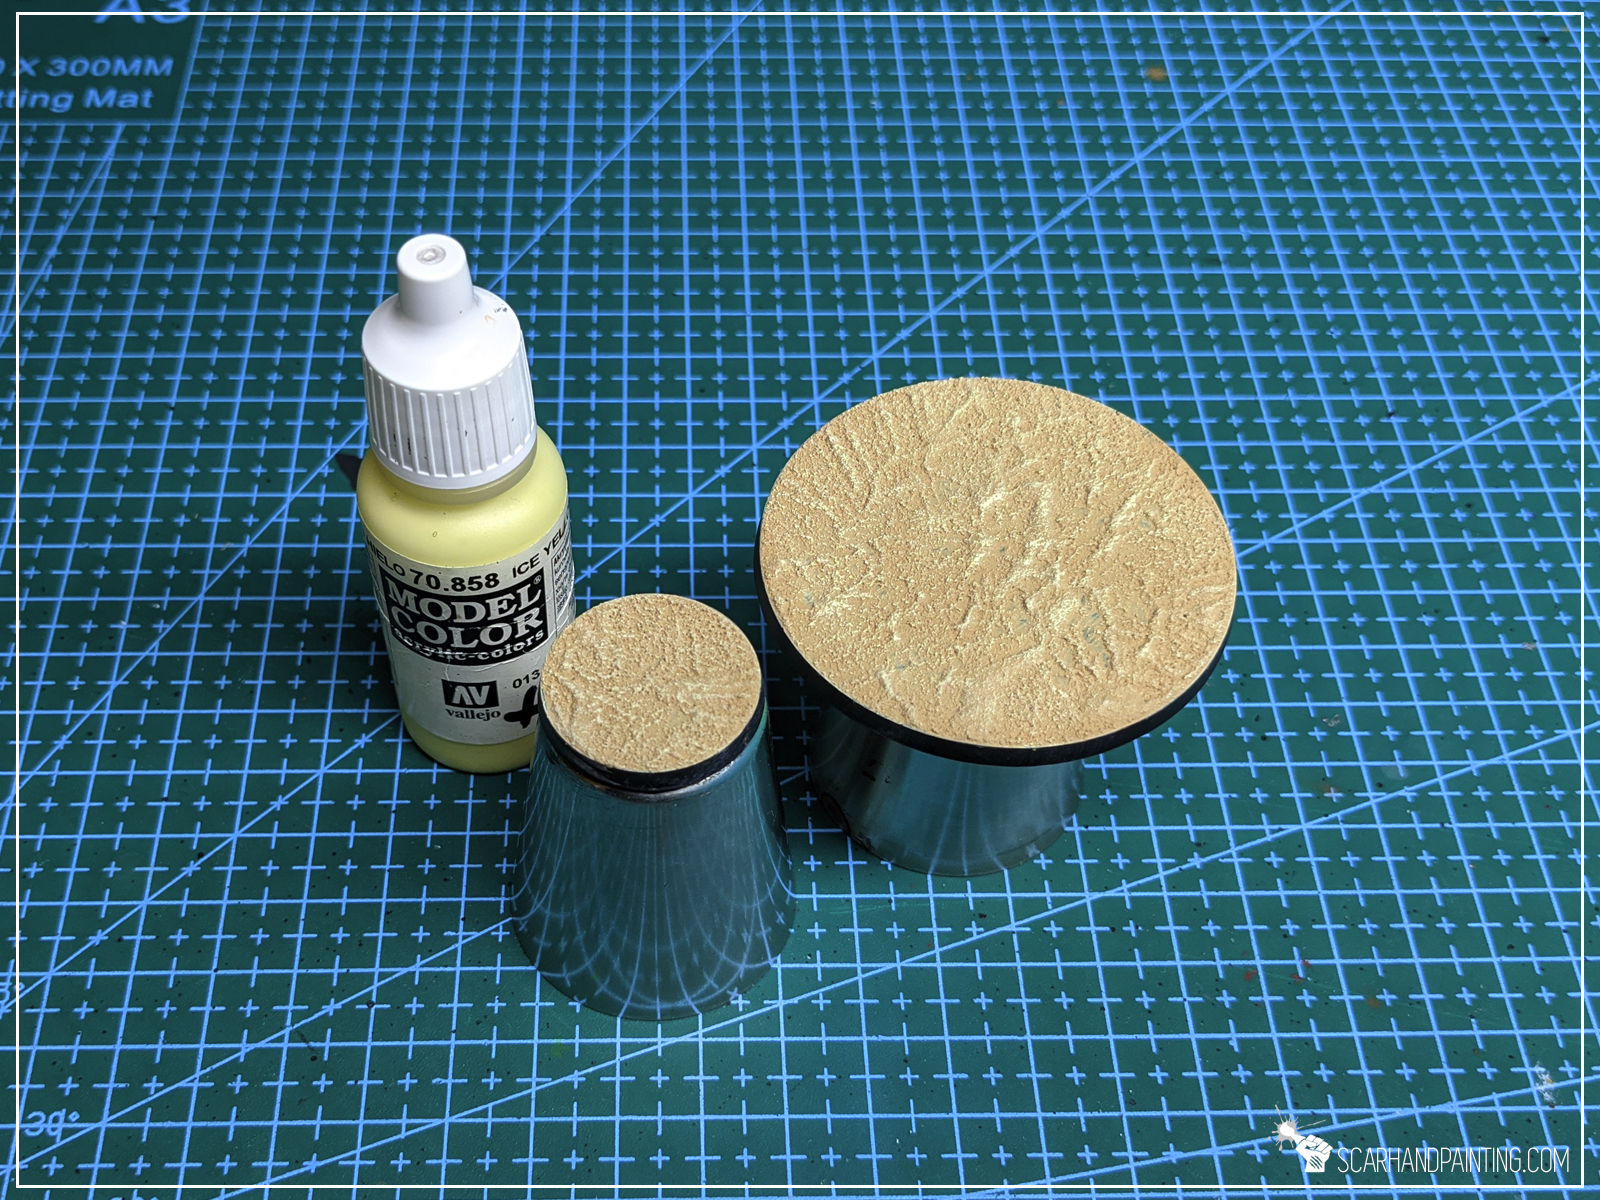
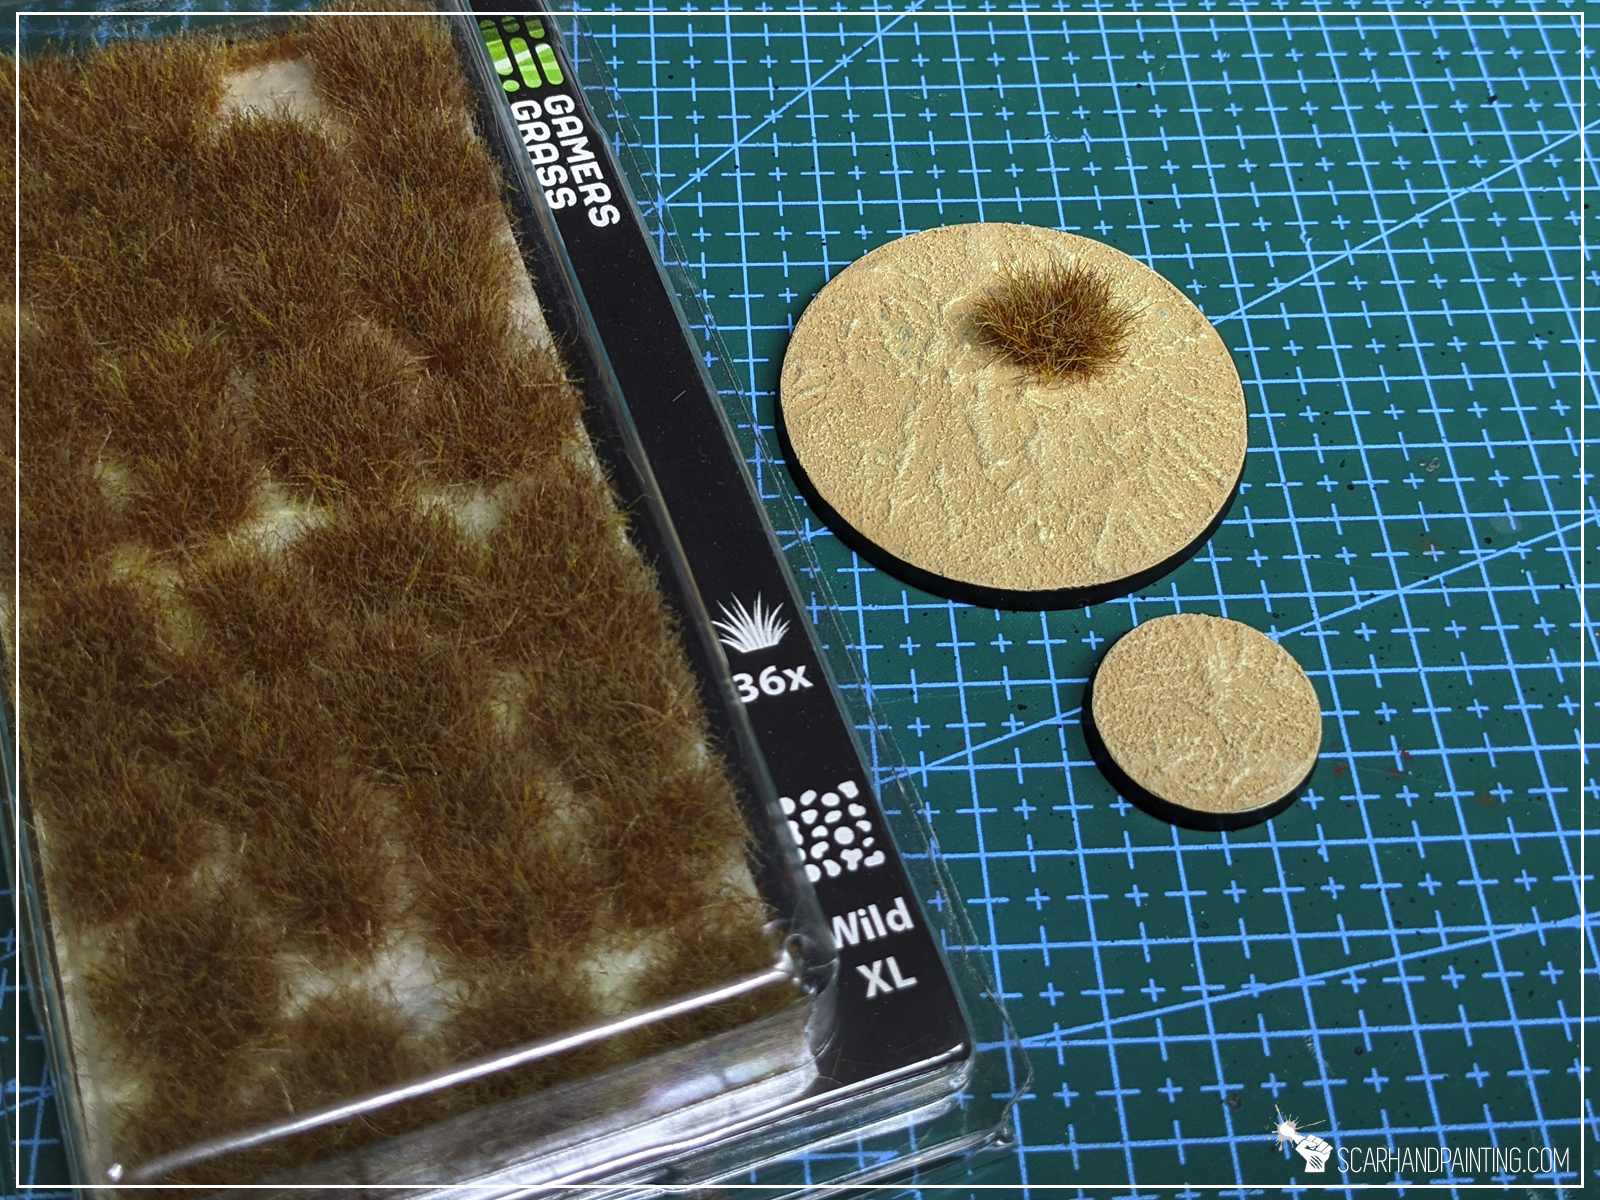
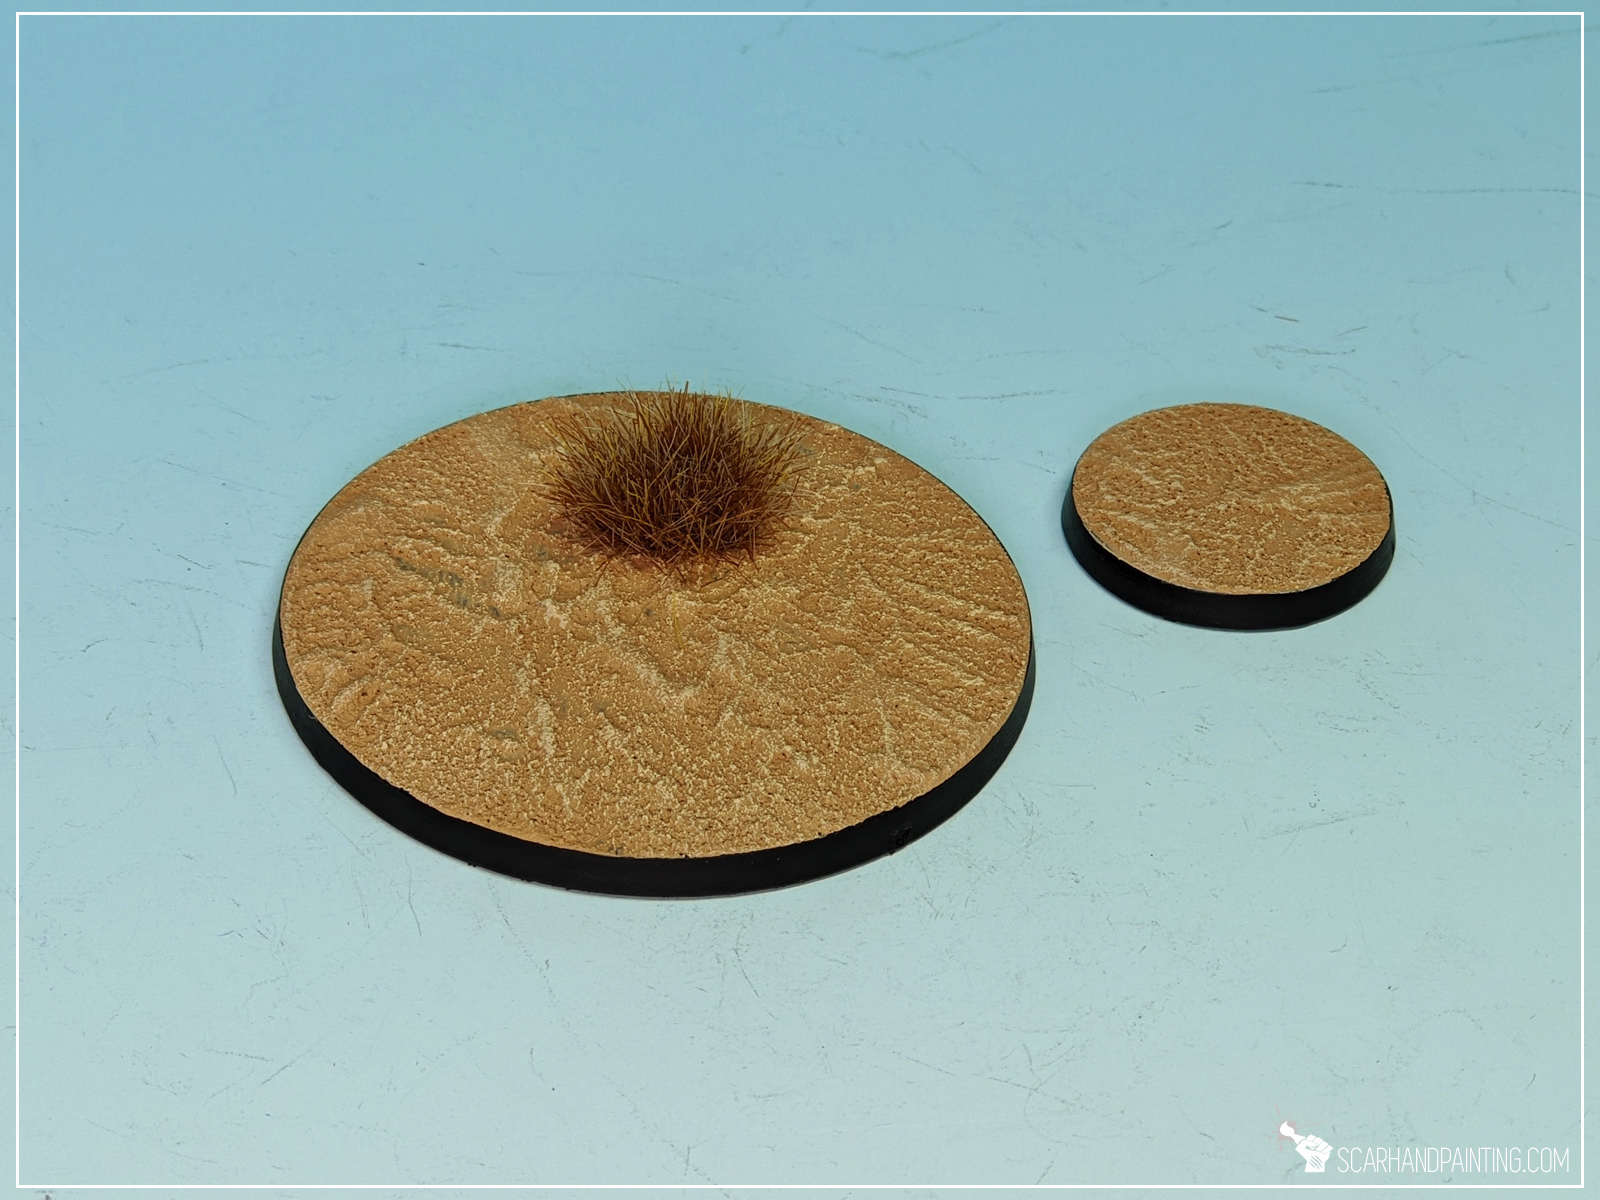
This one didn’t hit the mark for me. I expected a more paste-like, smooth surface. More of a Dark & Dry Crackle end result (below). Either way the product itself is solid, just not what I expected, thus once dried, I didn’t follow up on it. I plan to give it another go on my next project so who knows…
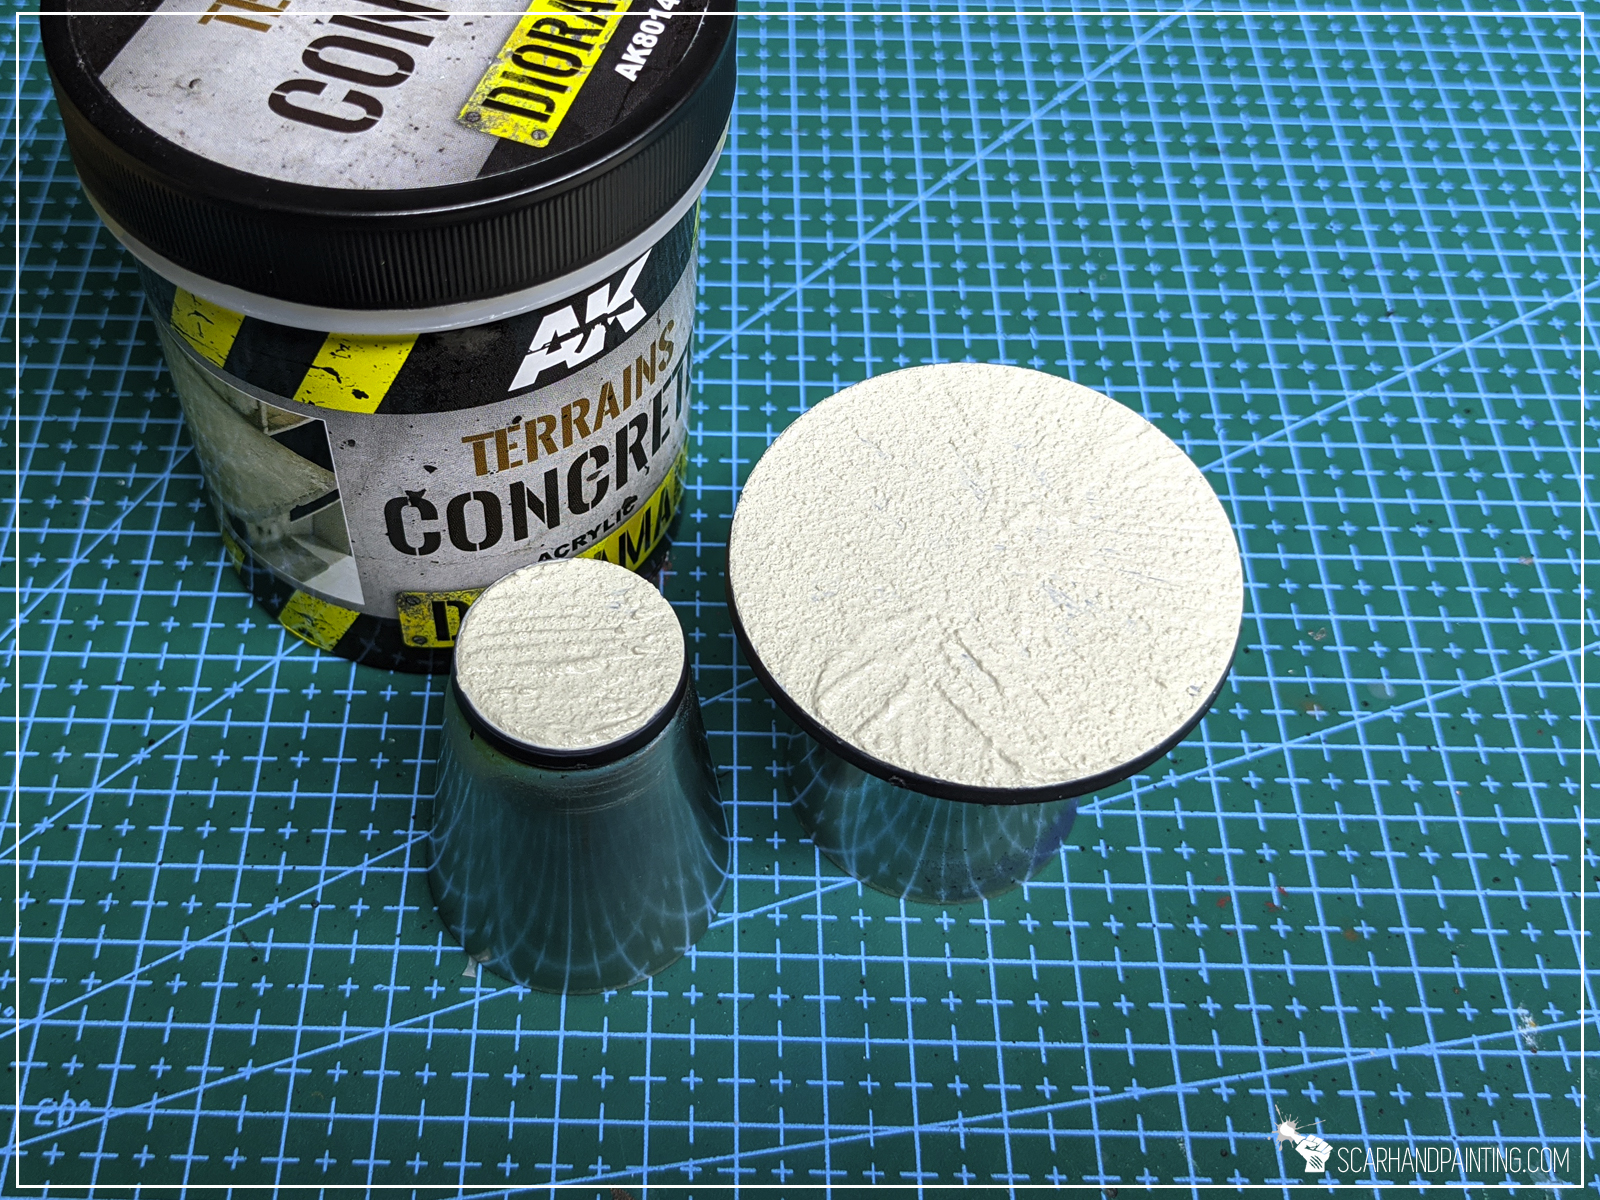

This one required a third step to bring out the cracks as they are super tiny. The end result is very interesting. I’m sure that a mix with Dark Earth will bring magnificent results. Right now it looks like a trampled ground, or a road. Will definitely use.
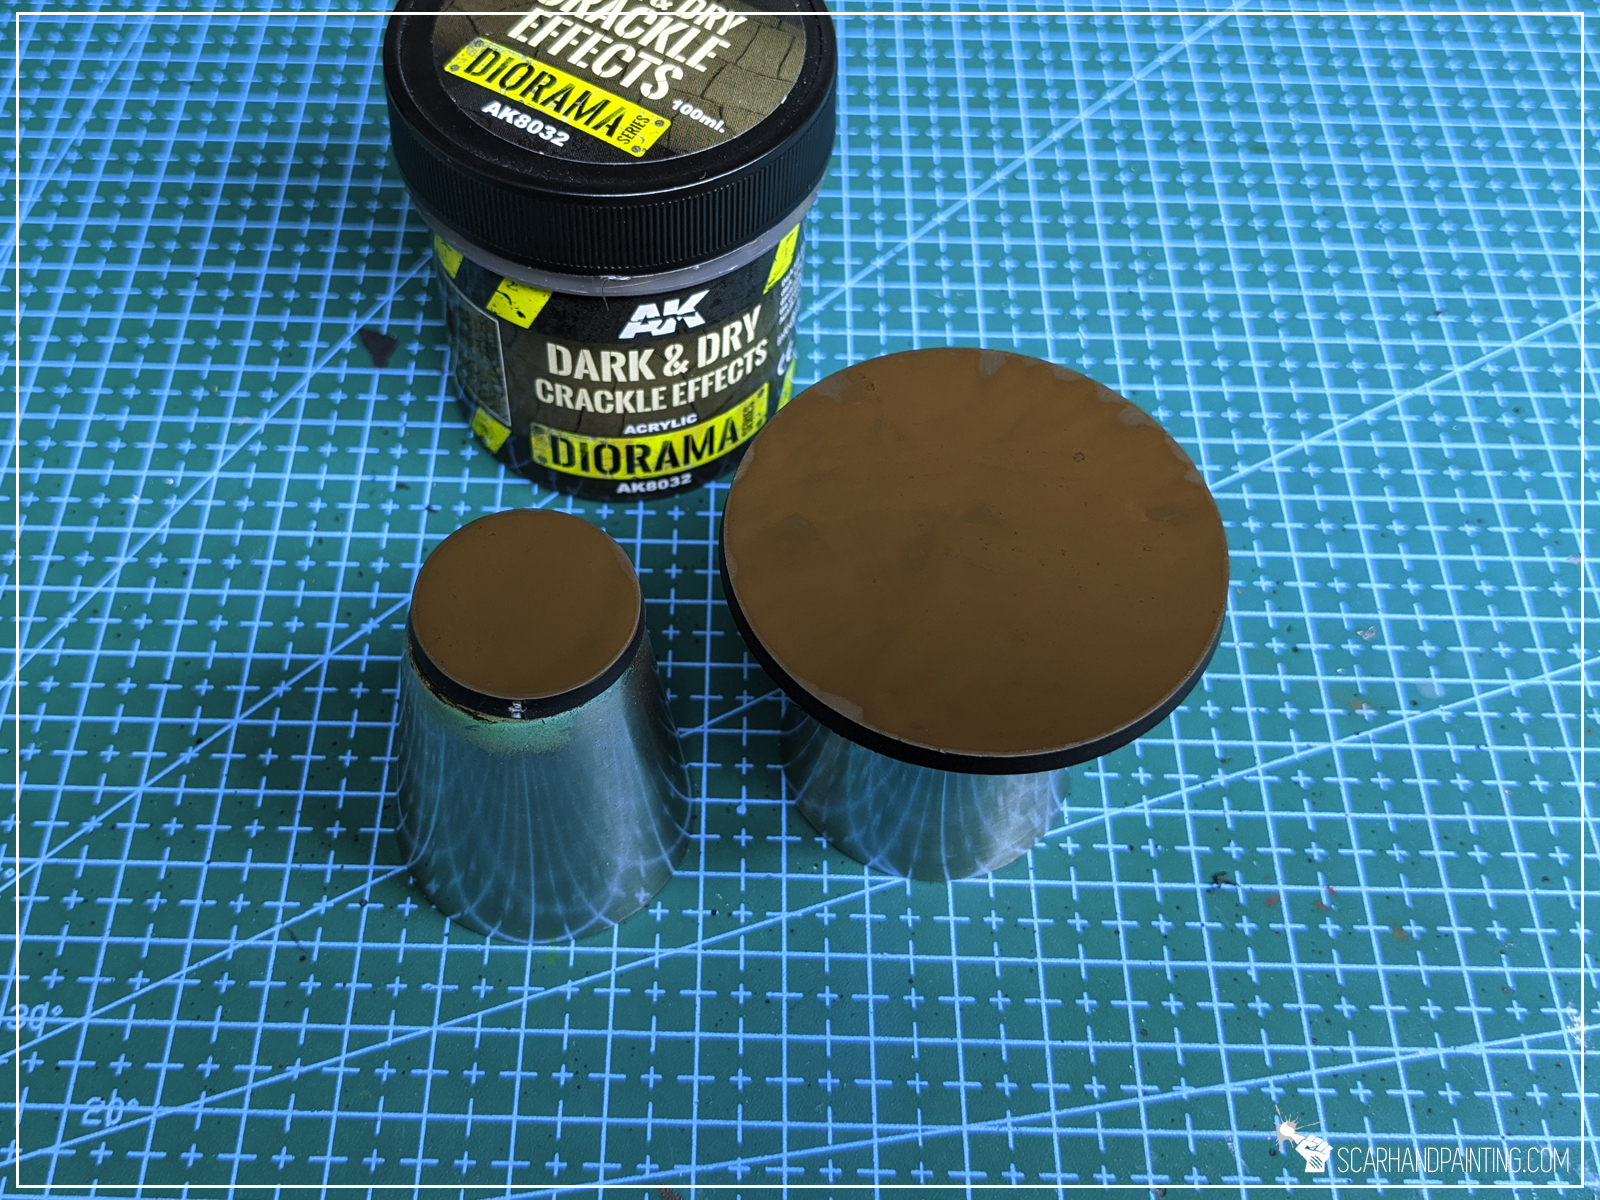
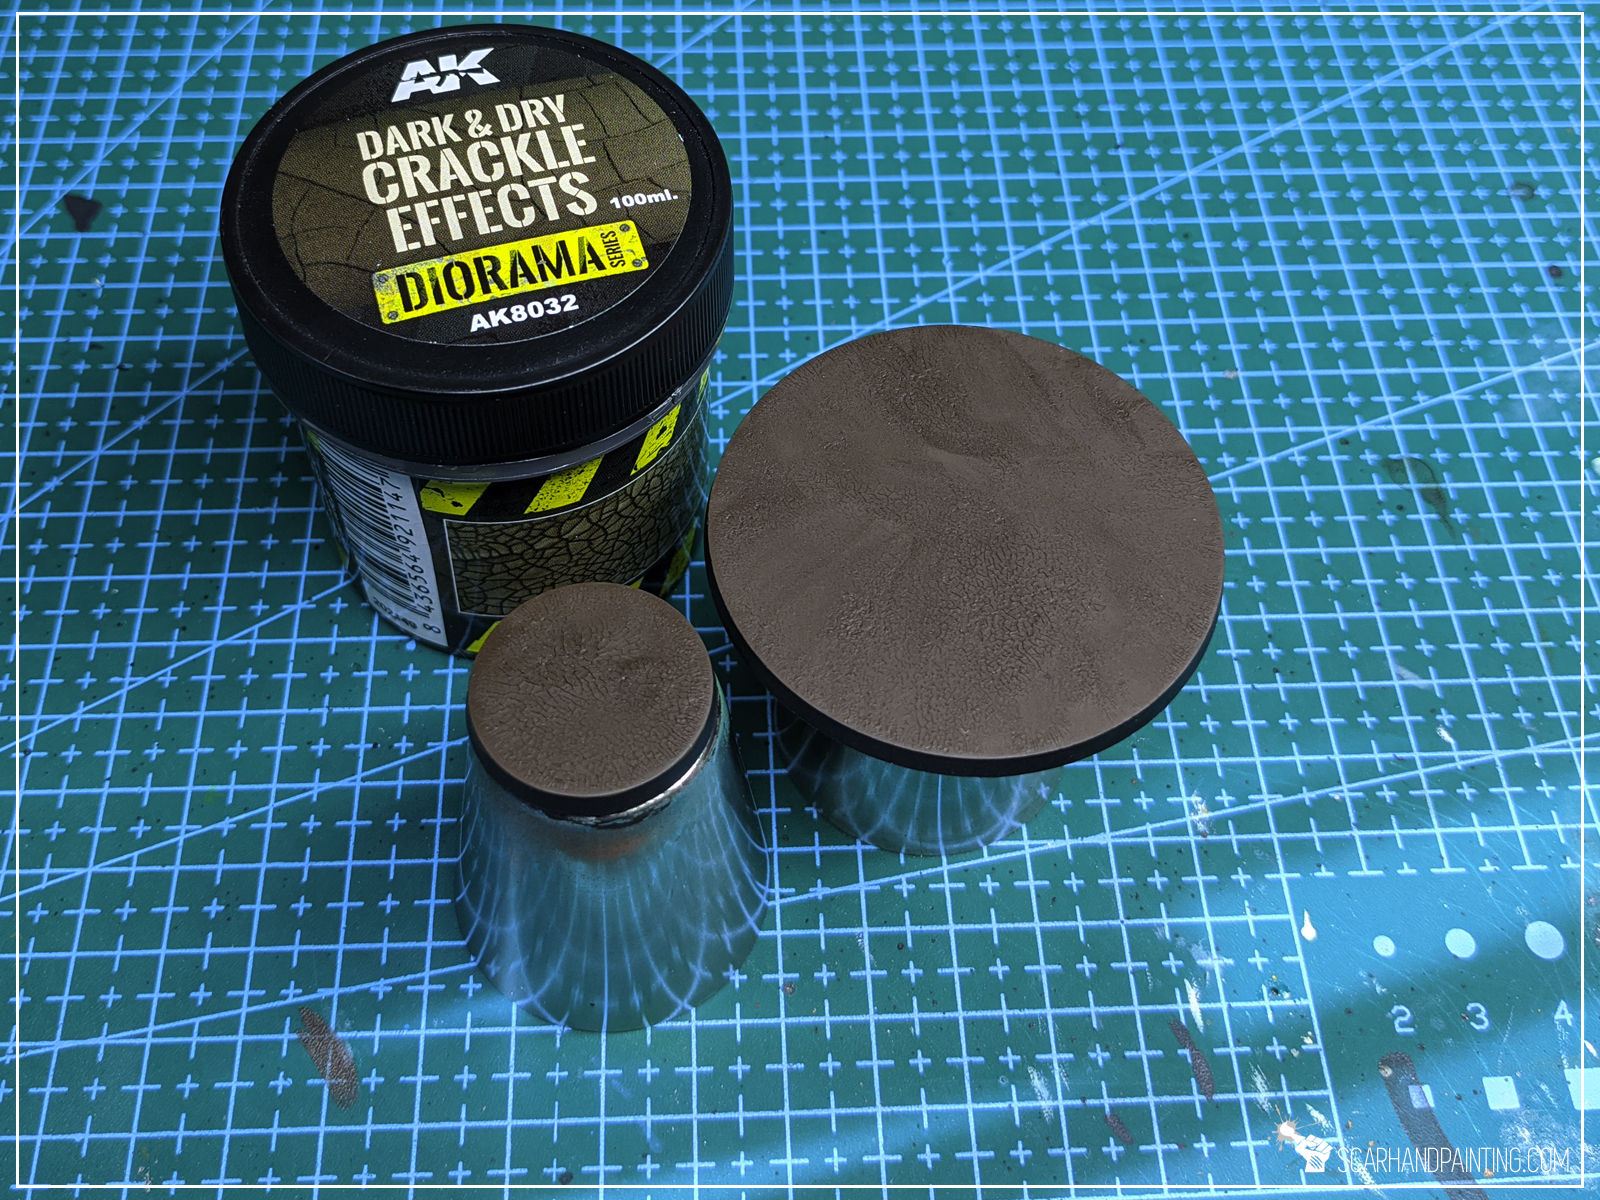

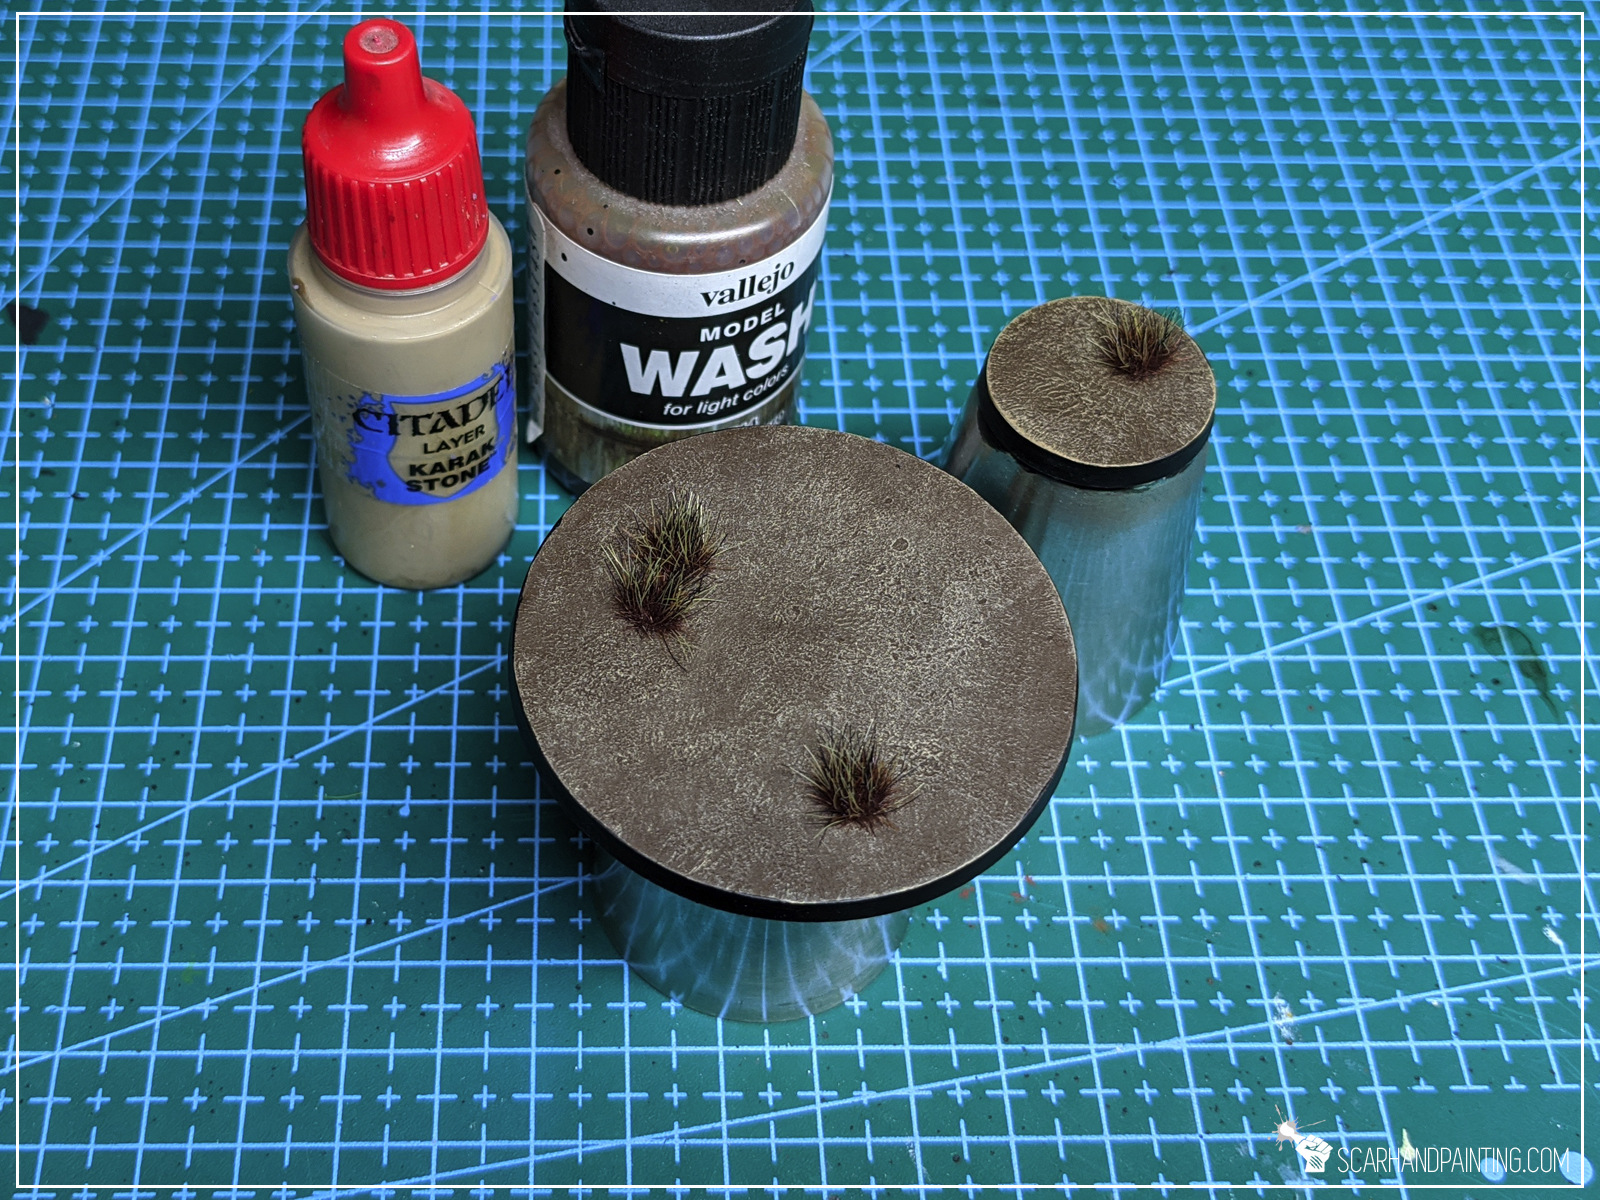
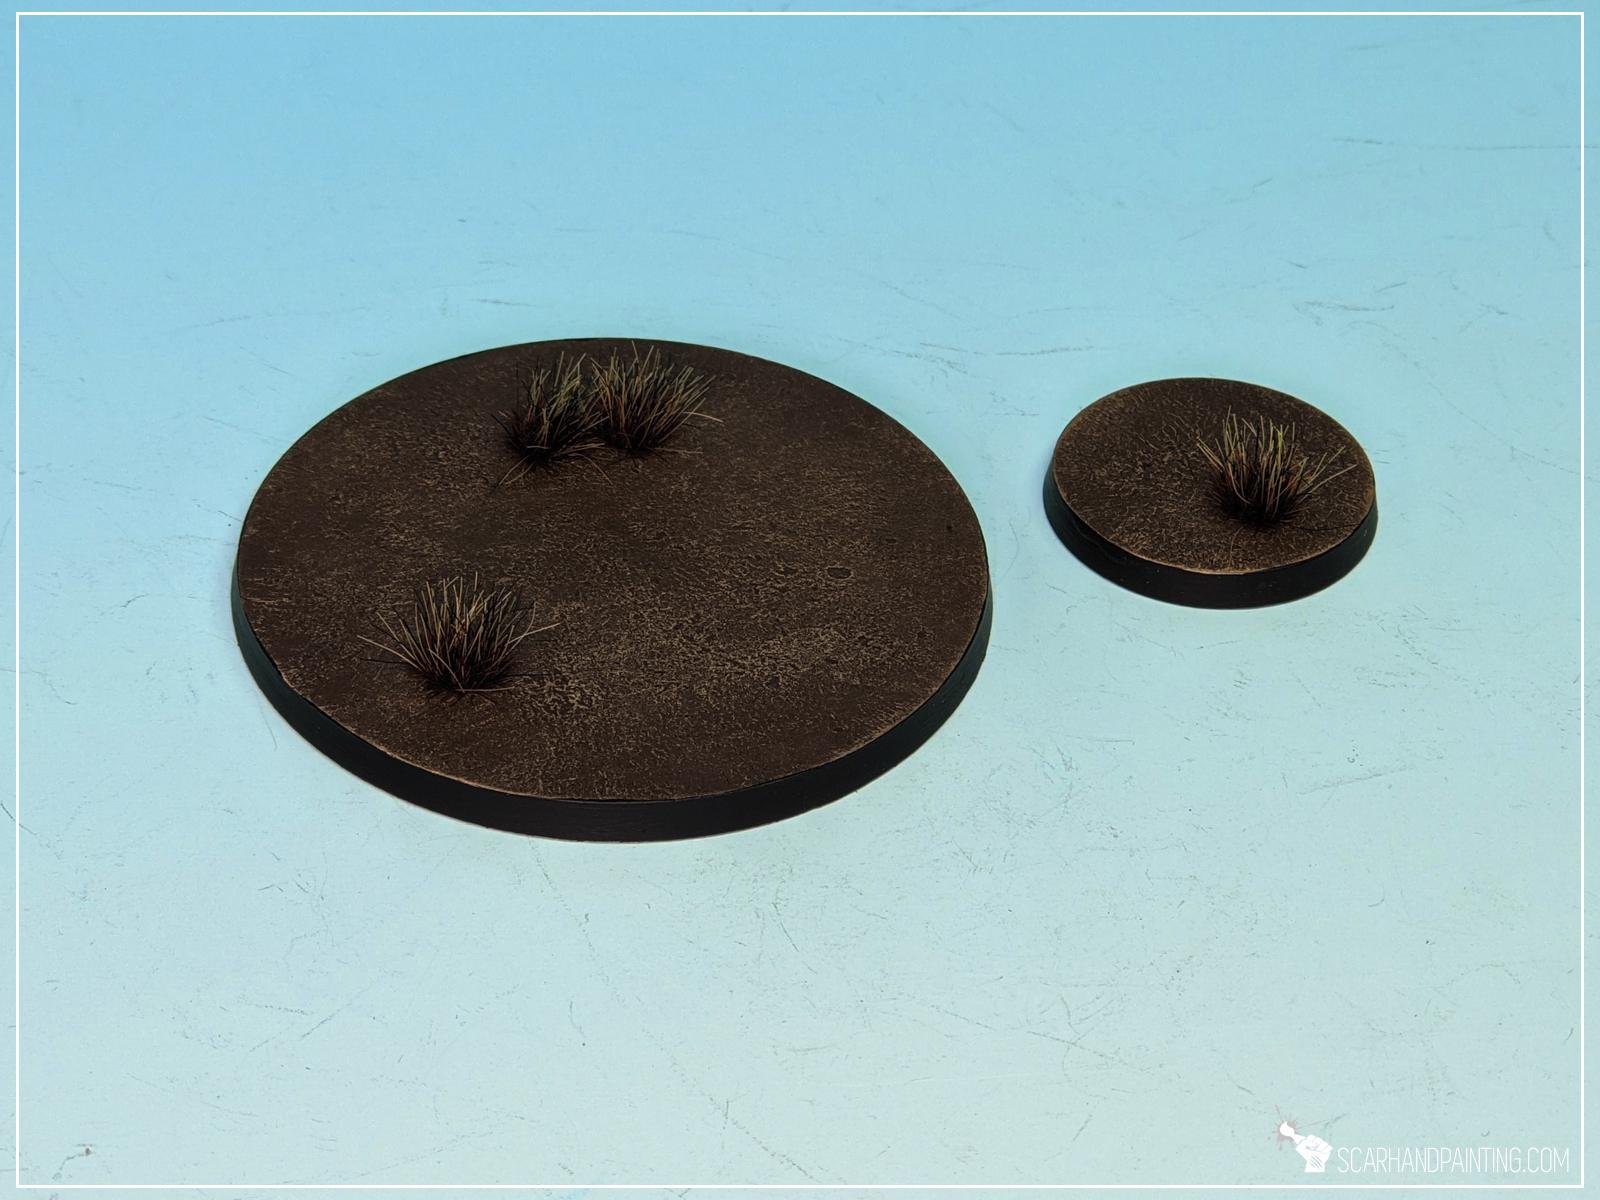
Well… not what I’ve expected. Tried few times, taking different routes. End result is pretty disappointing. So much so that I just skipped further work with this.
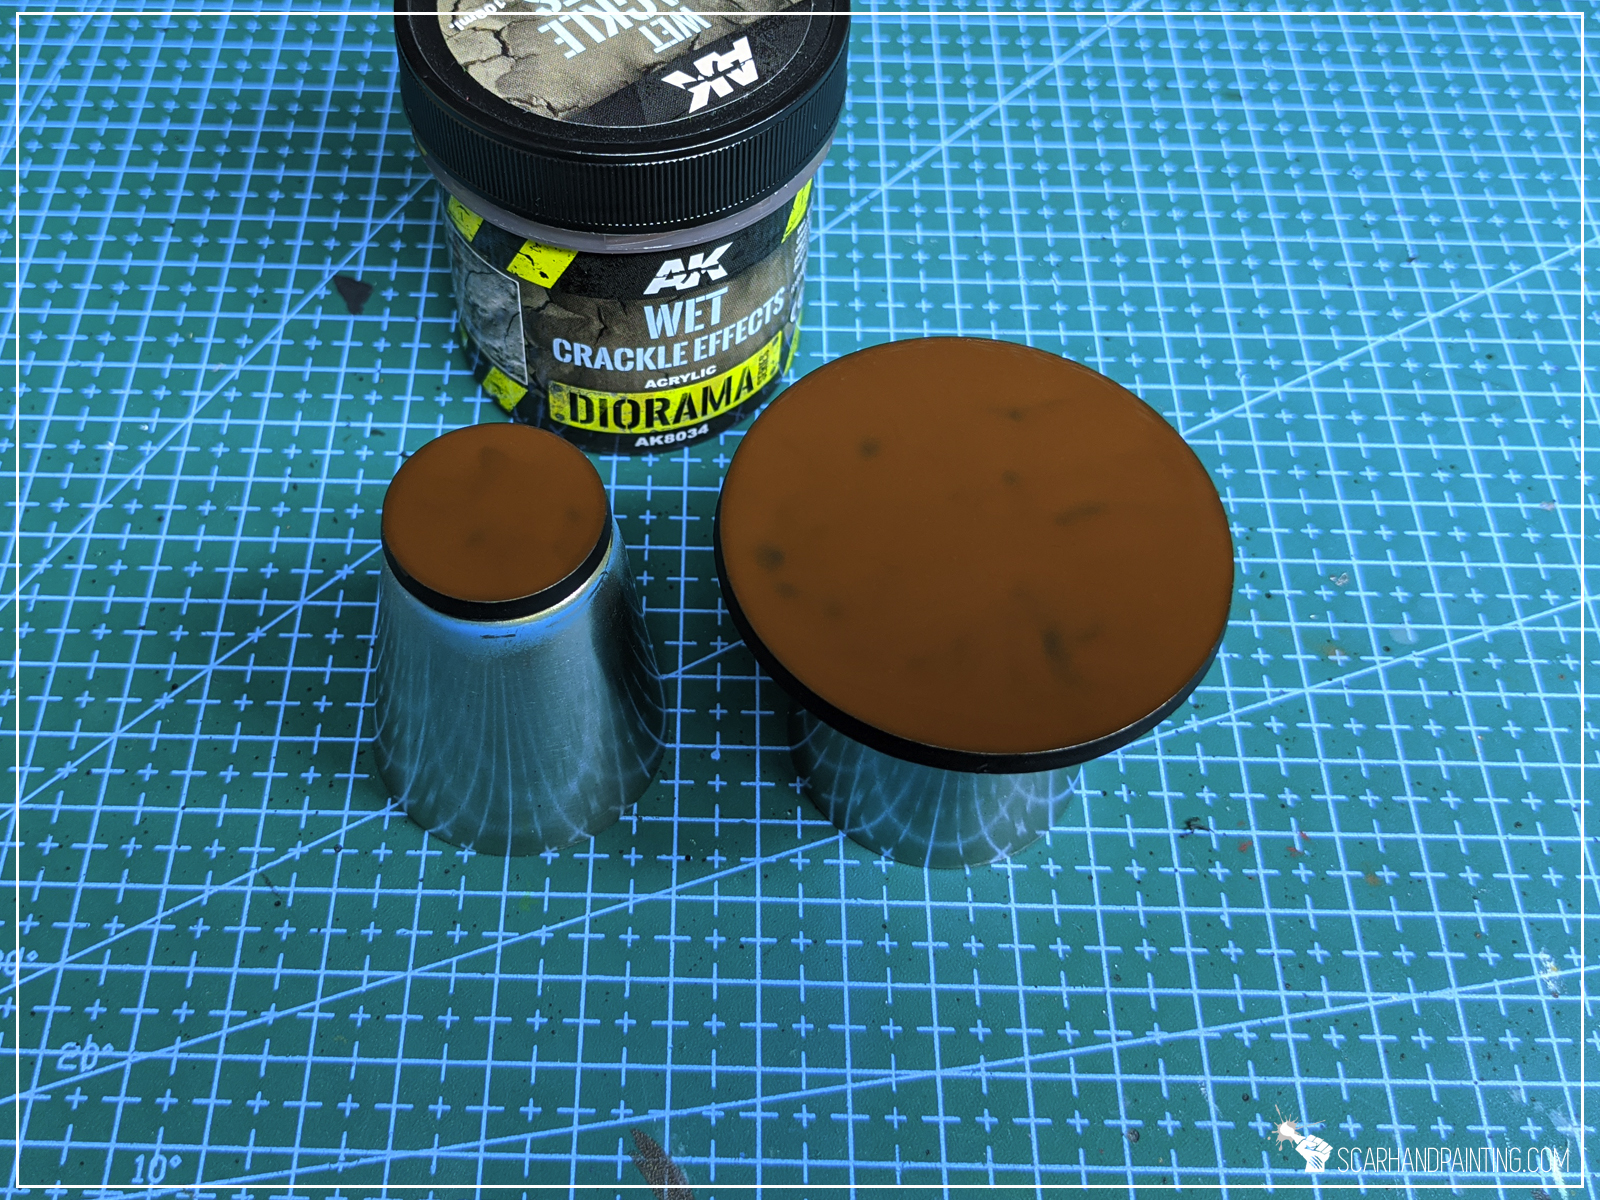

Now that’s “crackled”! Three steps and it looks great! I bet it would look even better with Terrain Dry Ground. Count me in babe!
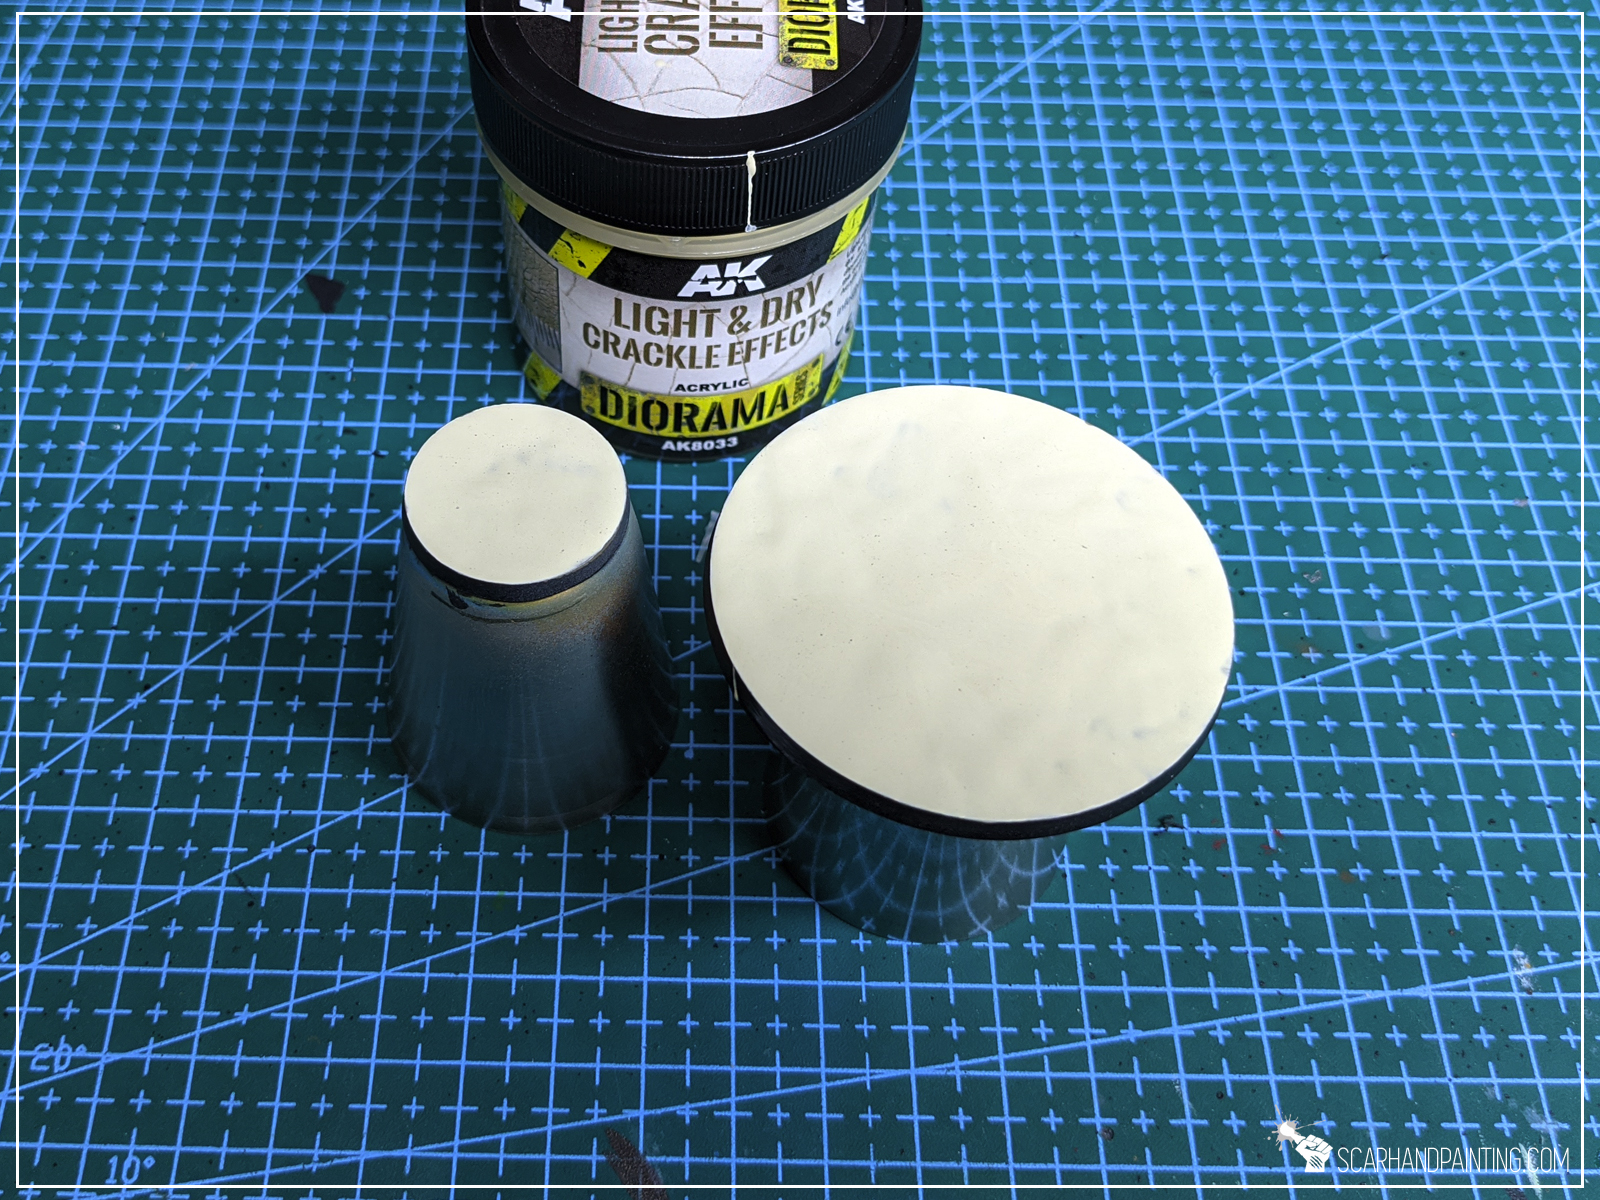
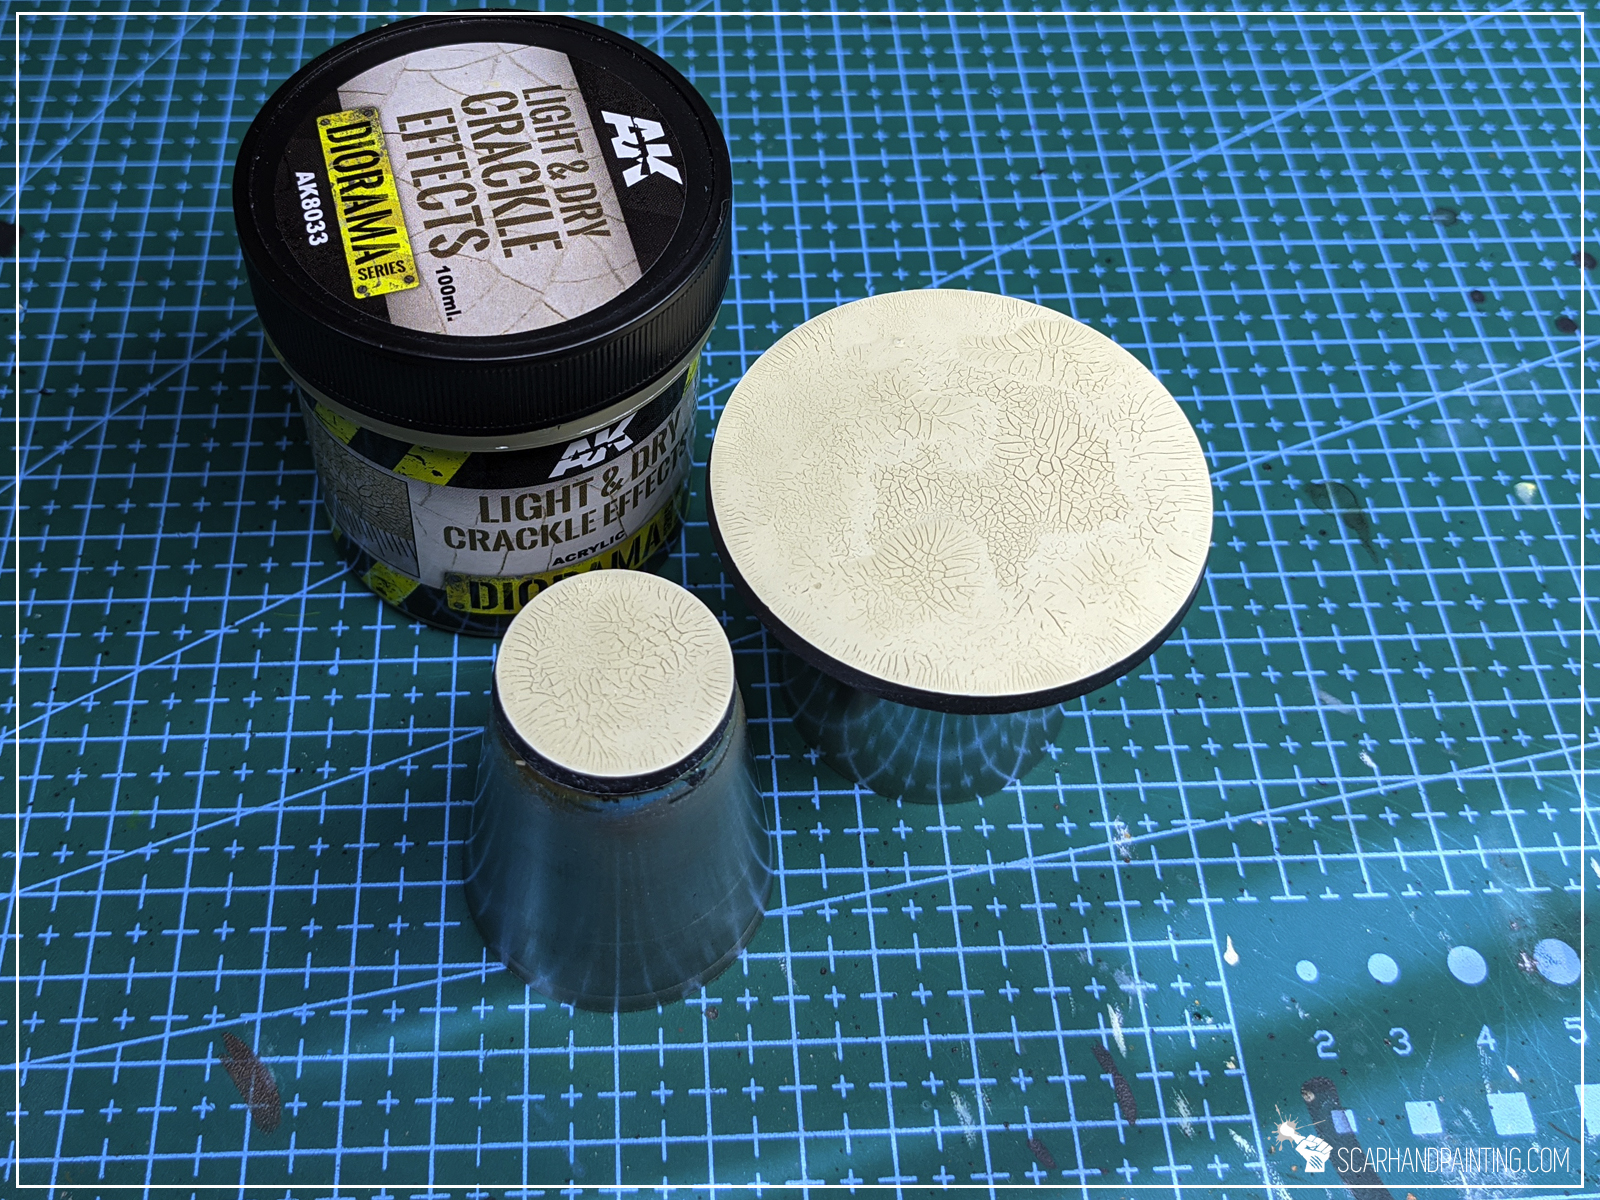
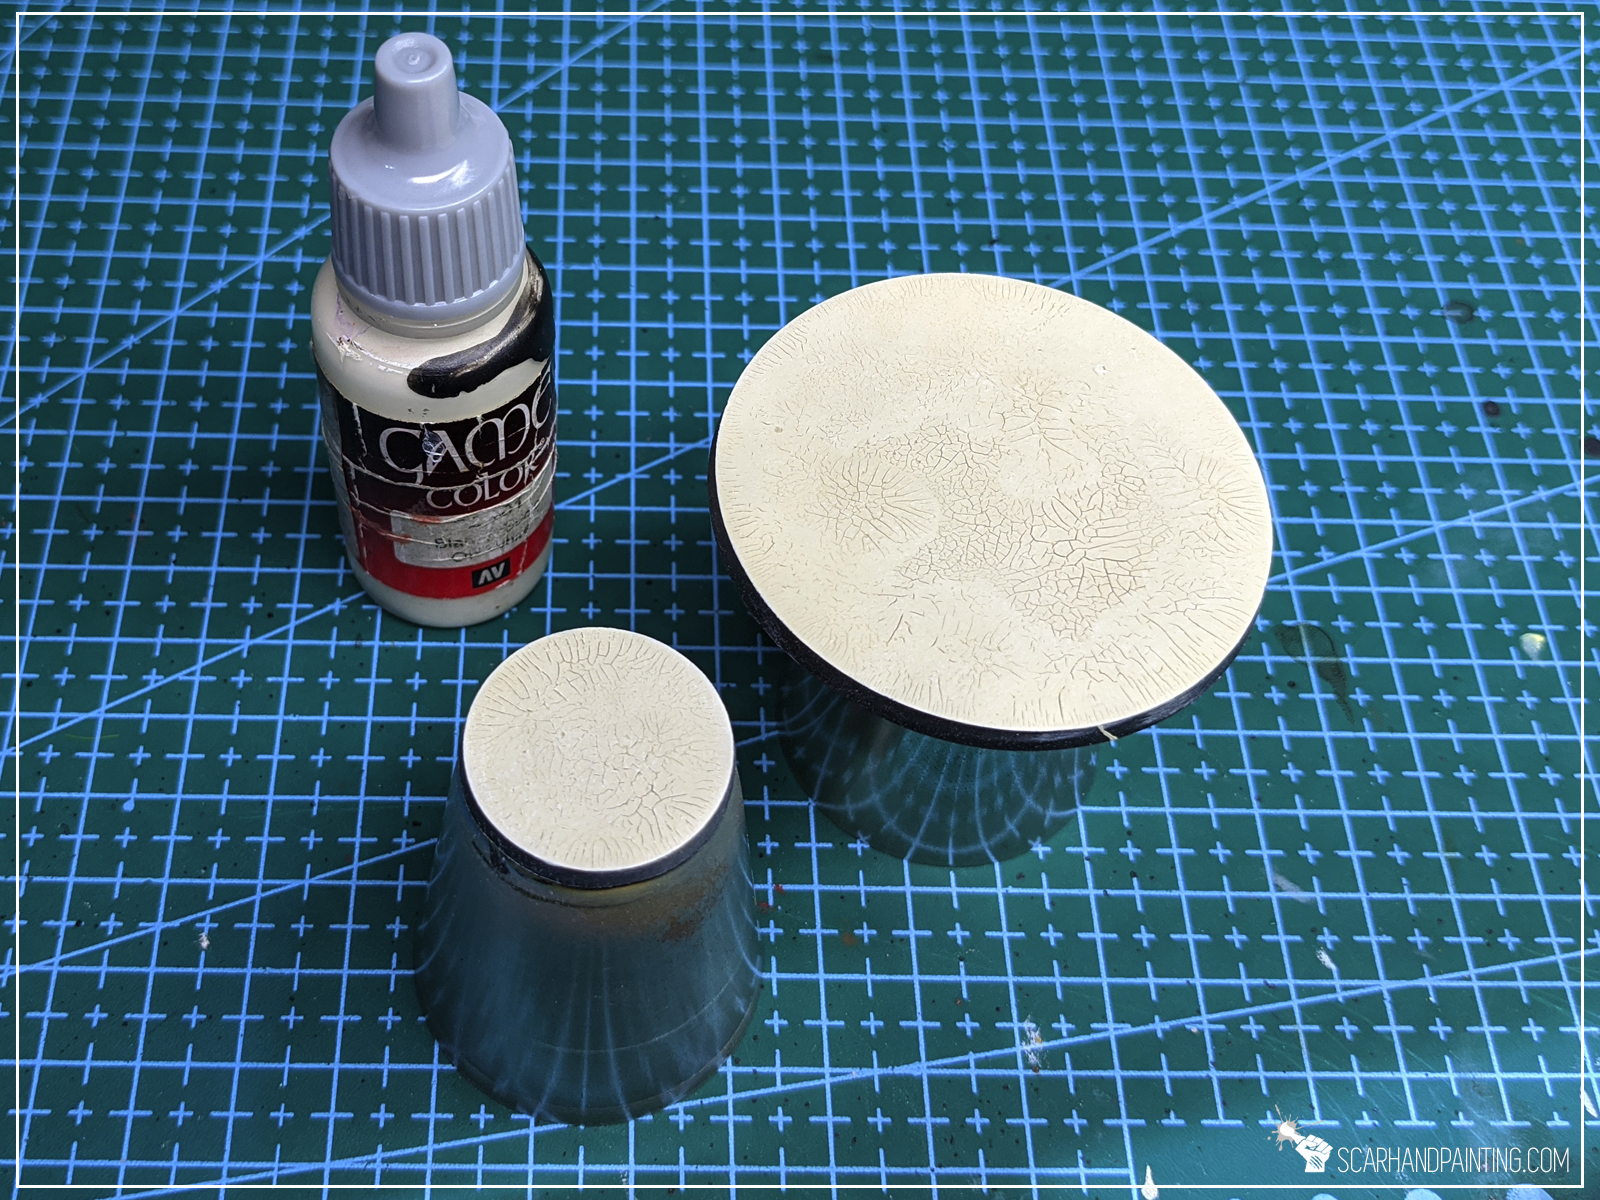
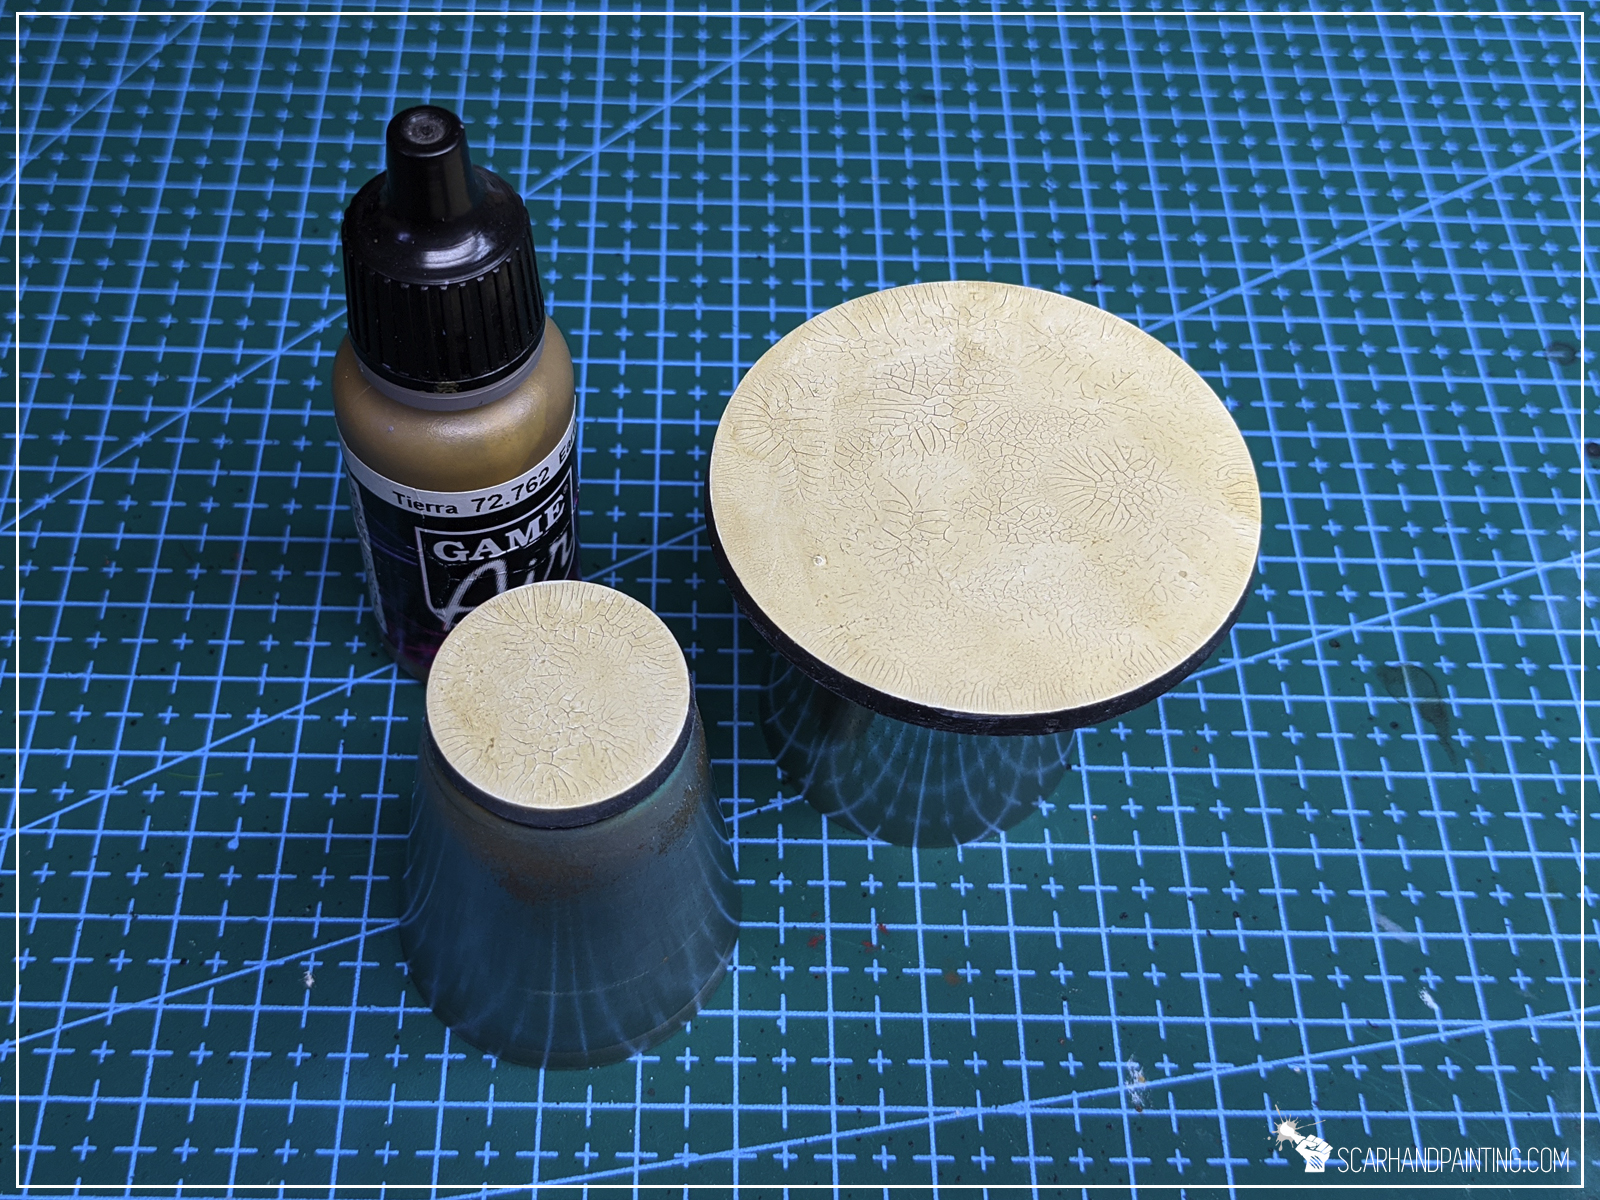
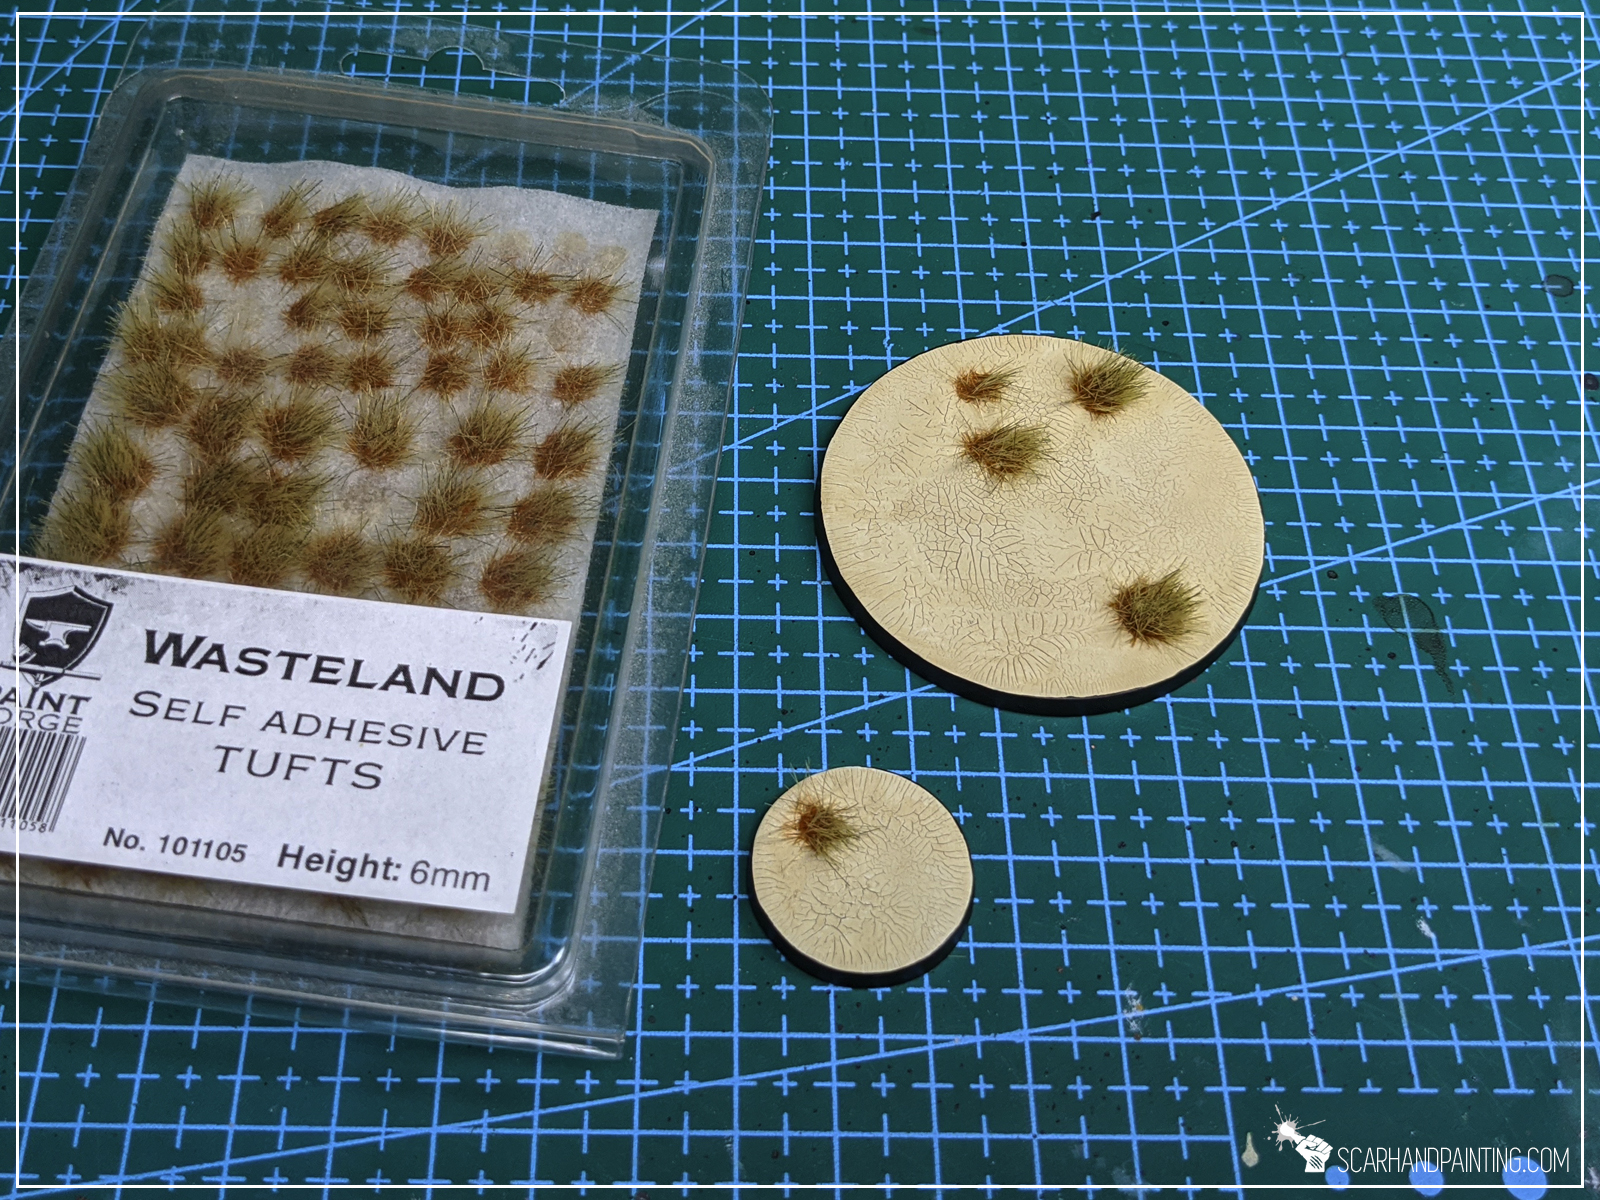
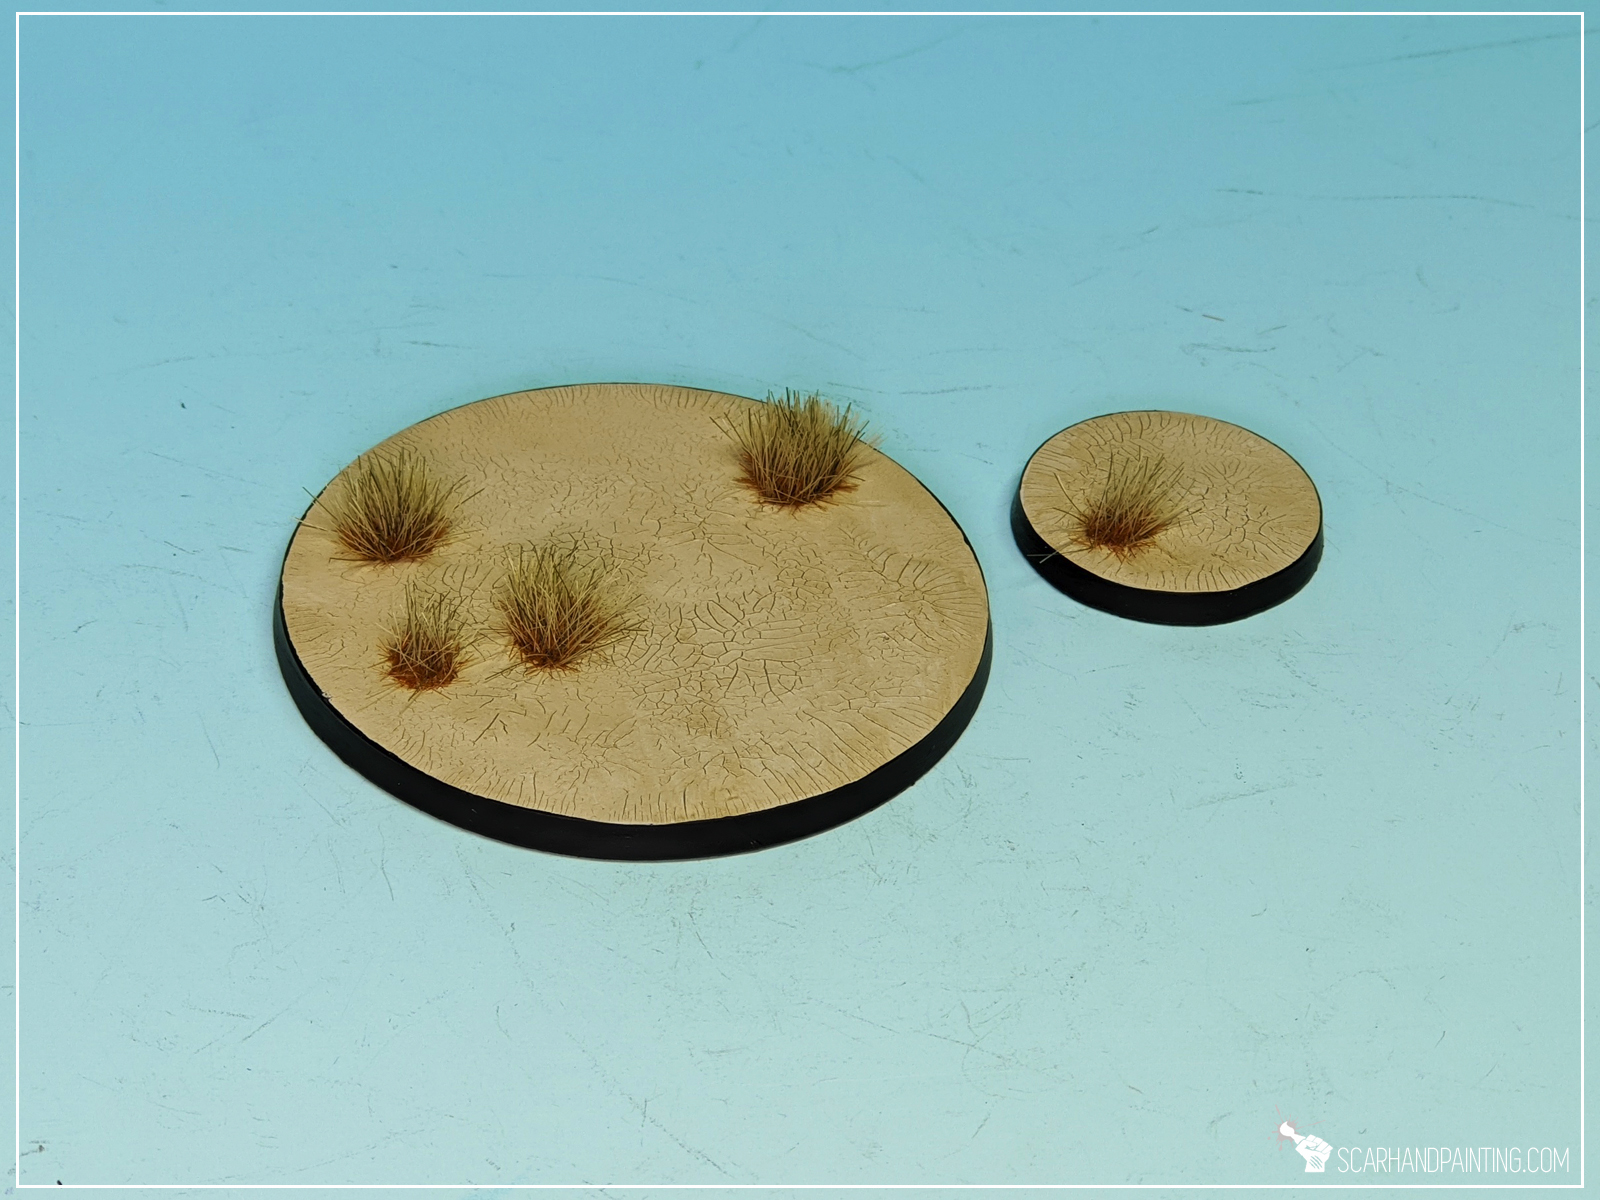
Working with these products was very comfortable. These are definitely high quality and very user friendly. I used a large brush to apply all the effects and simply cannot stress enough how great and easy it was! Growing up on Games Workshop’s products, moving onto these I felt like if I switched a worn out car for a new one, straight out of the factory! No more “fishing” for dry’ish conglomerates of grains to try and smear them onto a base. Nothing of the sort! Smooth. Great to use. Very easy. Zero stress. Just awesome!
Now Wet Crackle Effect turned out to be a disappointment, but all the rest behaved as they should and brought awesome results. The rest is so good that I’m willing to give Wet Crackle a benefit of a doubt and assume I’ve used it incorrectly. Will go back to it at some point and try to bring forth it’s full potential.
Other than that – these are pure gold! I love them. I will be working with them from now on and definitely prefer them over other products that I used until now.
Price factor is very important, especially with paints. You know how it is – you spill half of it, then use up like a one third and the rest dries out 😛 Just kidding, still I’m sure we can all agree that for many hobbyists pricing matters a lot. Just take a look at this:
What else is there to add? 🙂
Except for the Wet Crackle, the AK – Interactive’s Terrains series is a solid 10/10. On top of being extremely easy to use and very efficient, the effects look great. Full recommendation on my end.
I hope you enjoyed this little Review/Tutorial. Share your thoughts in the comments below. Cheers!
You can get these straight from AK’s web store, or if you happen to live in Poland, go to a well equipped Vanaheim online store.

Welcome to Rocky Bases tutorial. Here I will take you on a Step-by-step trip through the process of creating and painting Rocky Bases as presented in the picture below. This adventure is possible thanks to generosity of Gamers Grass and their easy to use, fantastic products.

Before we start, some notes:

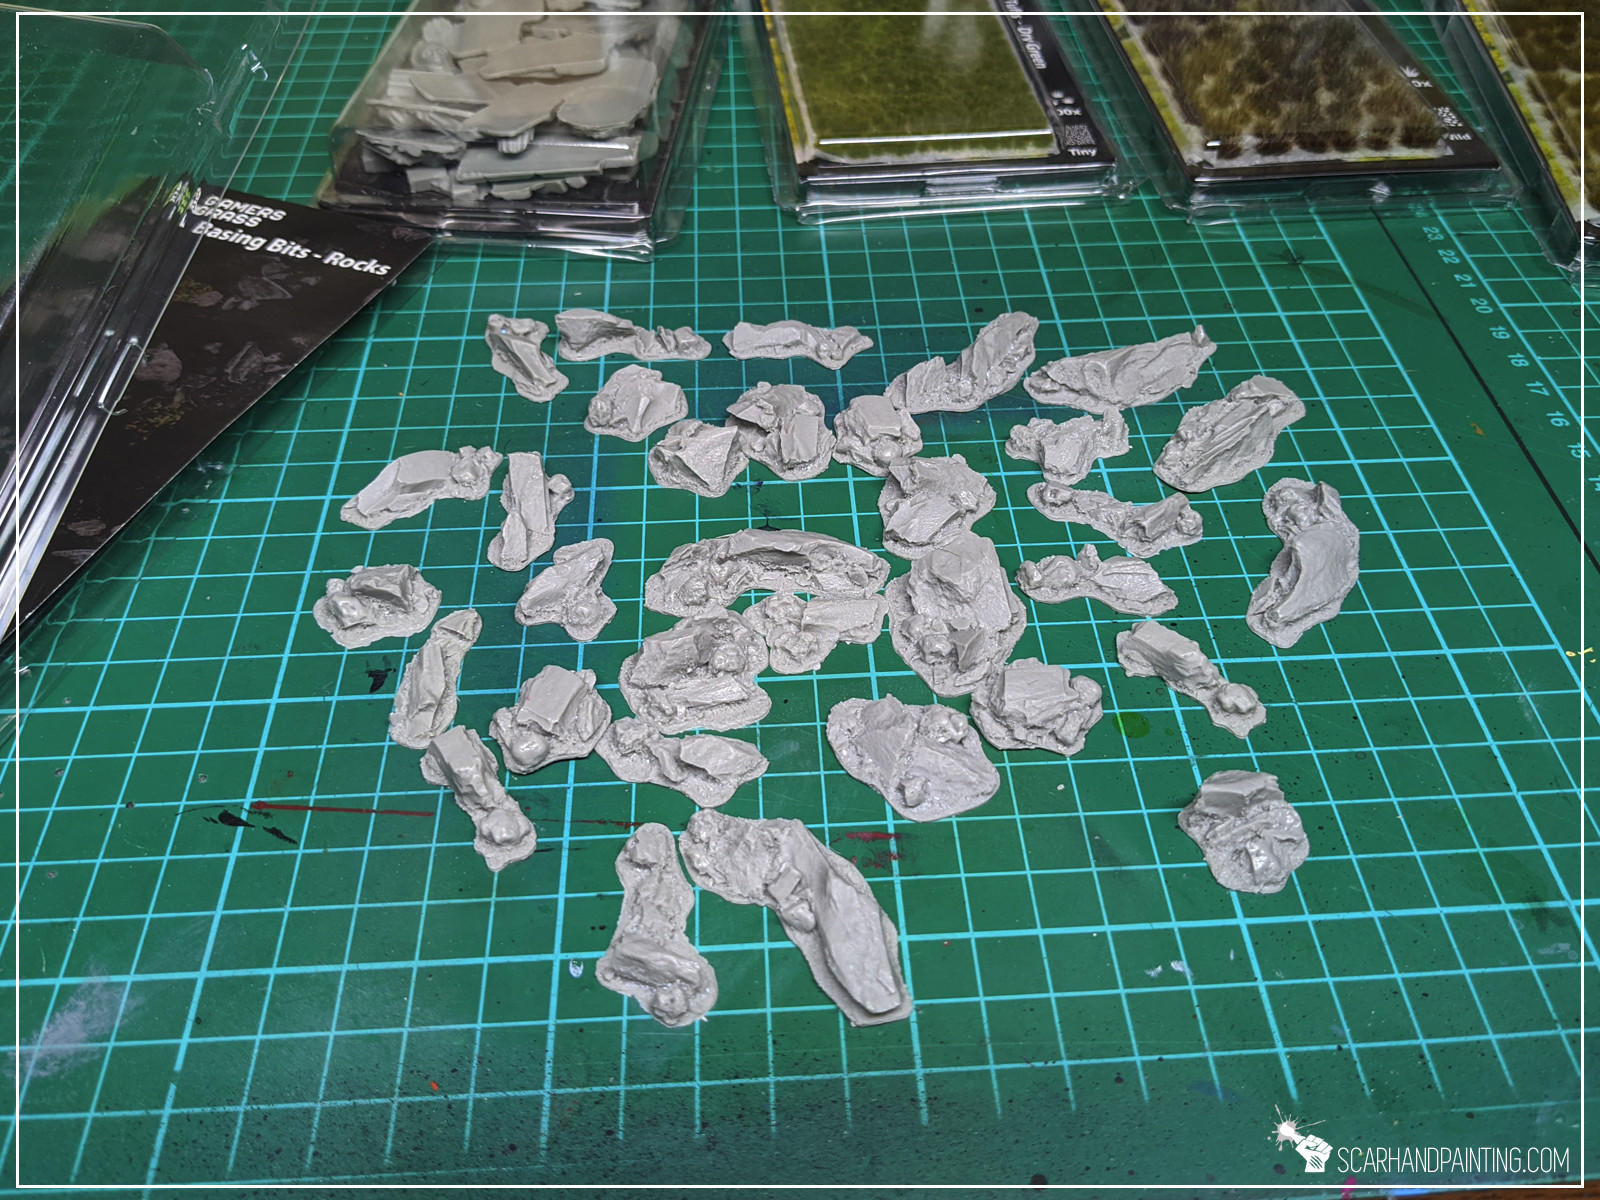
As mentioned in previous Tutorial, when making bases, I usually aim for fast, simple, yet effective solutions. It is important to pick a basing method that is easy to copy onto large quantities of miniatures or coming back to a project. This is why I consider Gamers Grass Basing Bits a perfect solution. Nicely textured, ready to use straight out of the box – glue them on, add some texture around – you’re ready to paint. All that being said – for this particular base type I choose Gamers Grass “Rocks” basing bits.
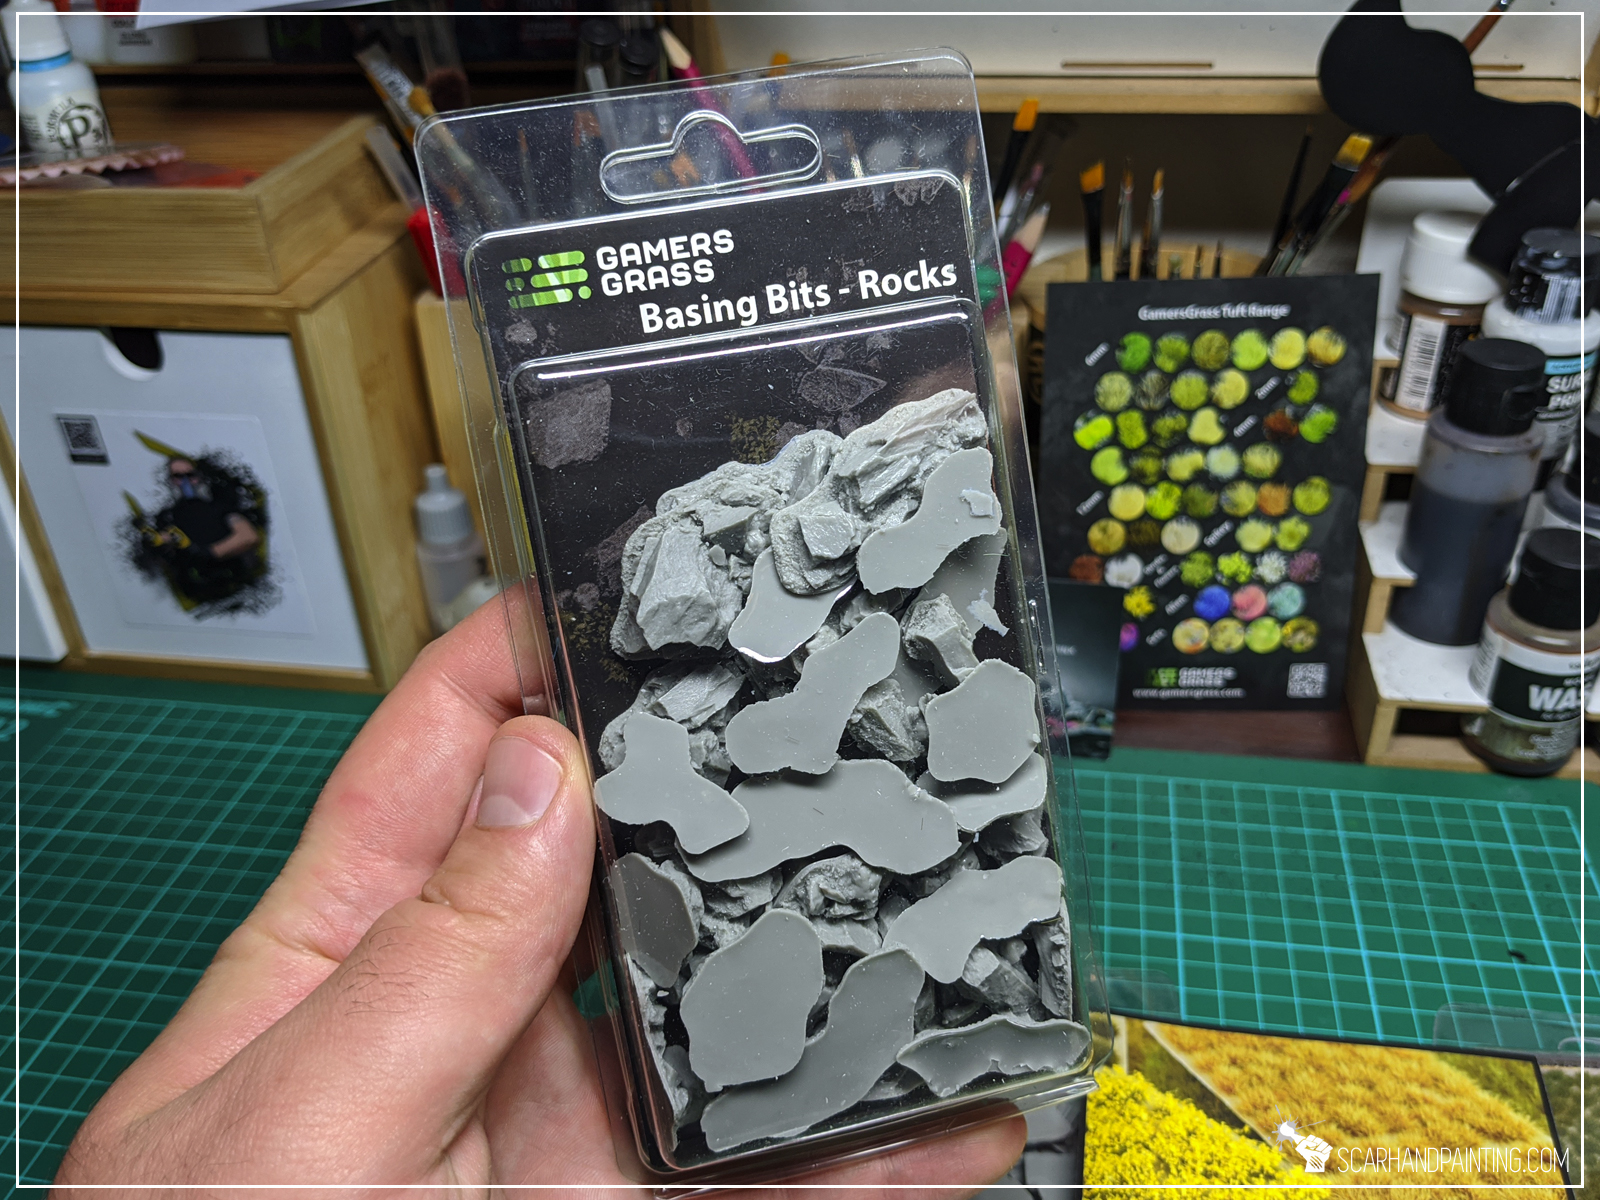
Step one: Applying basing bits
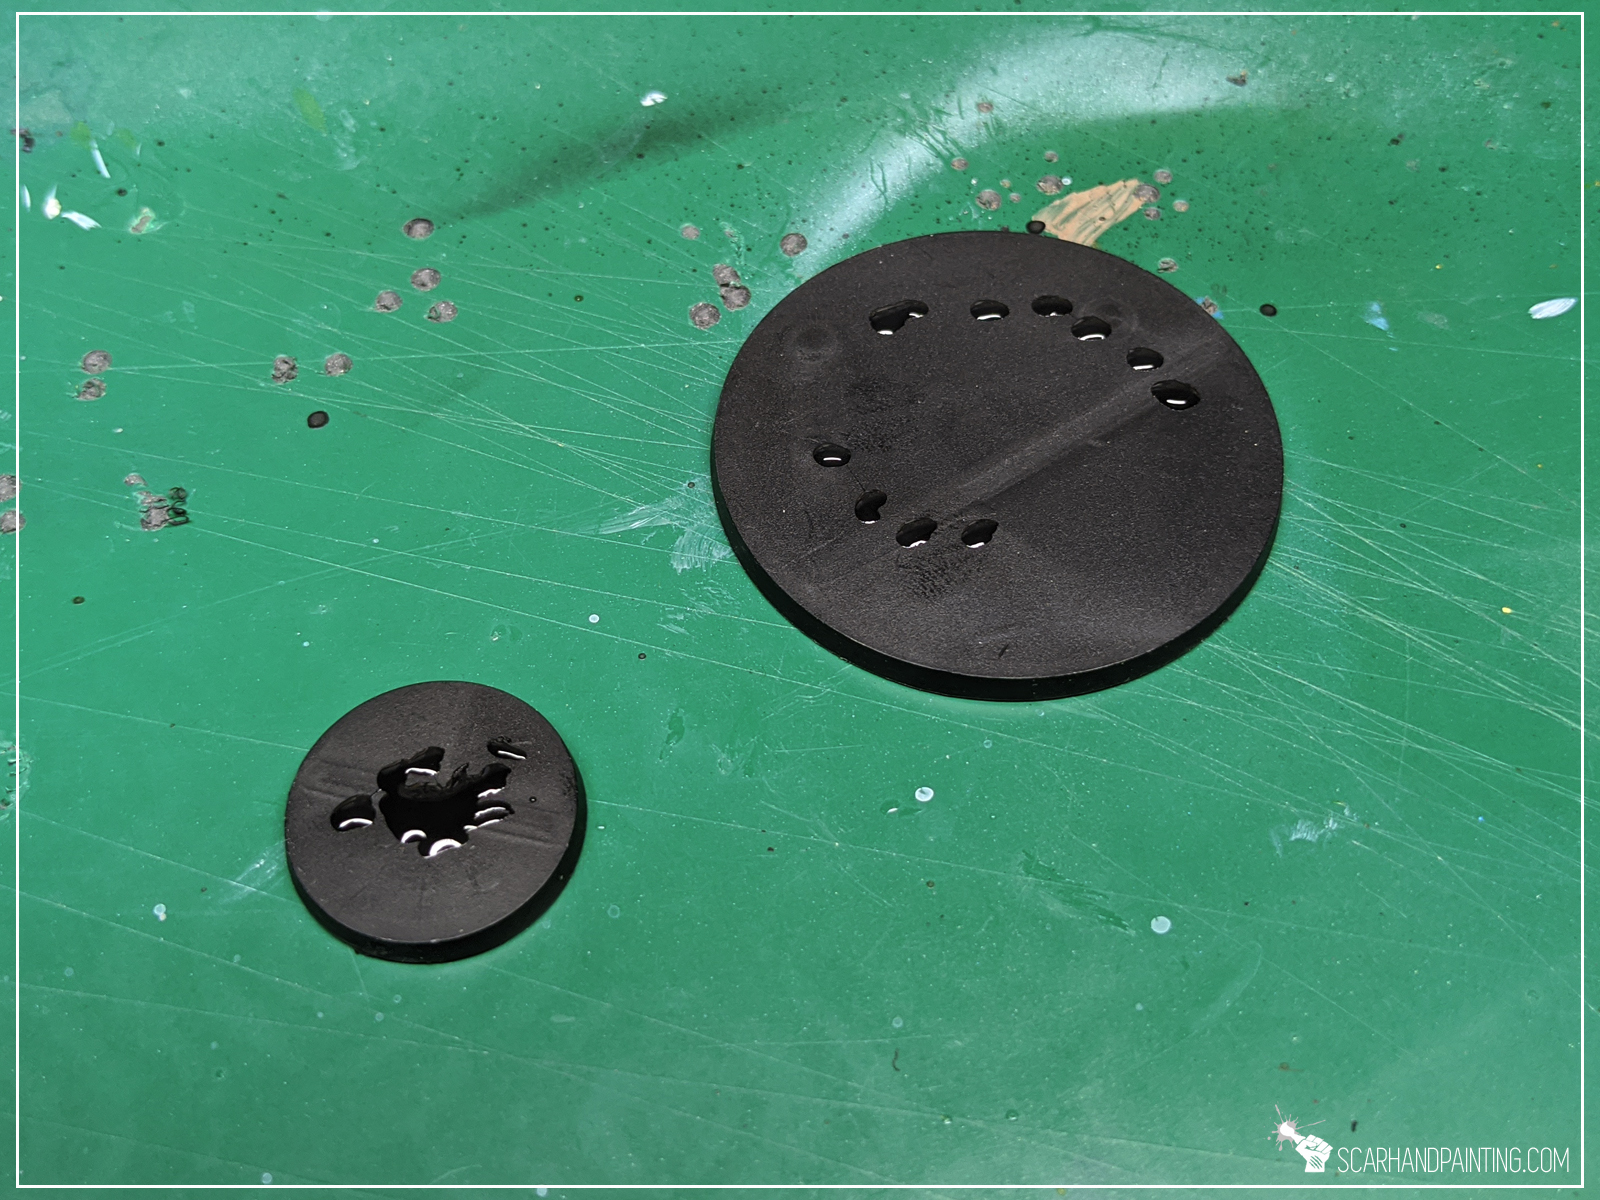
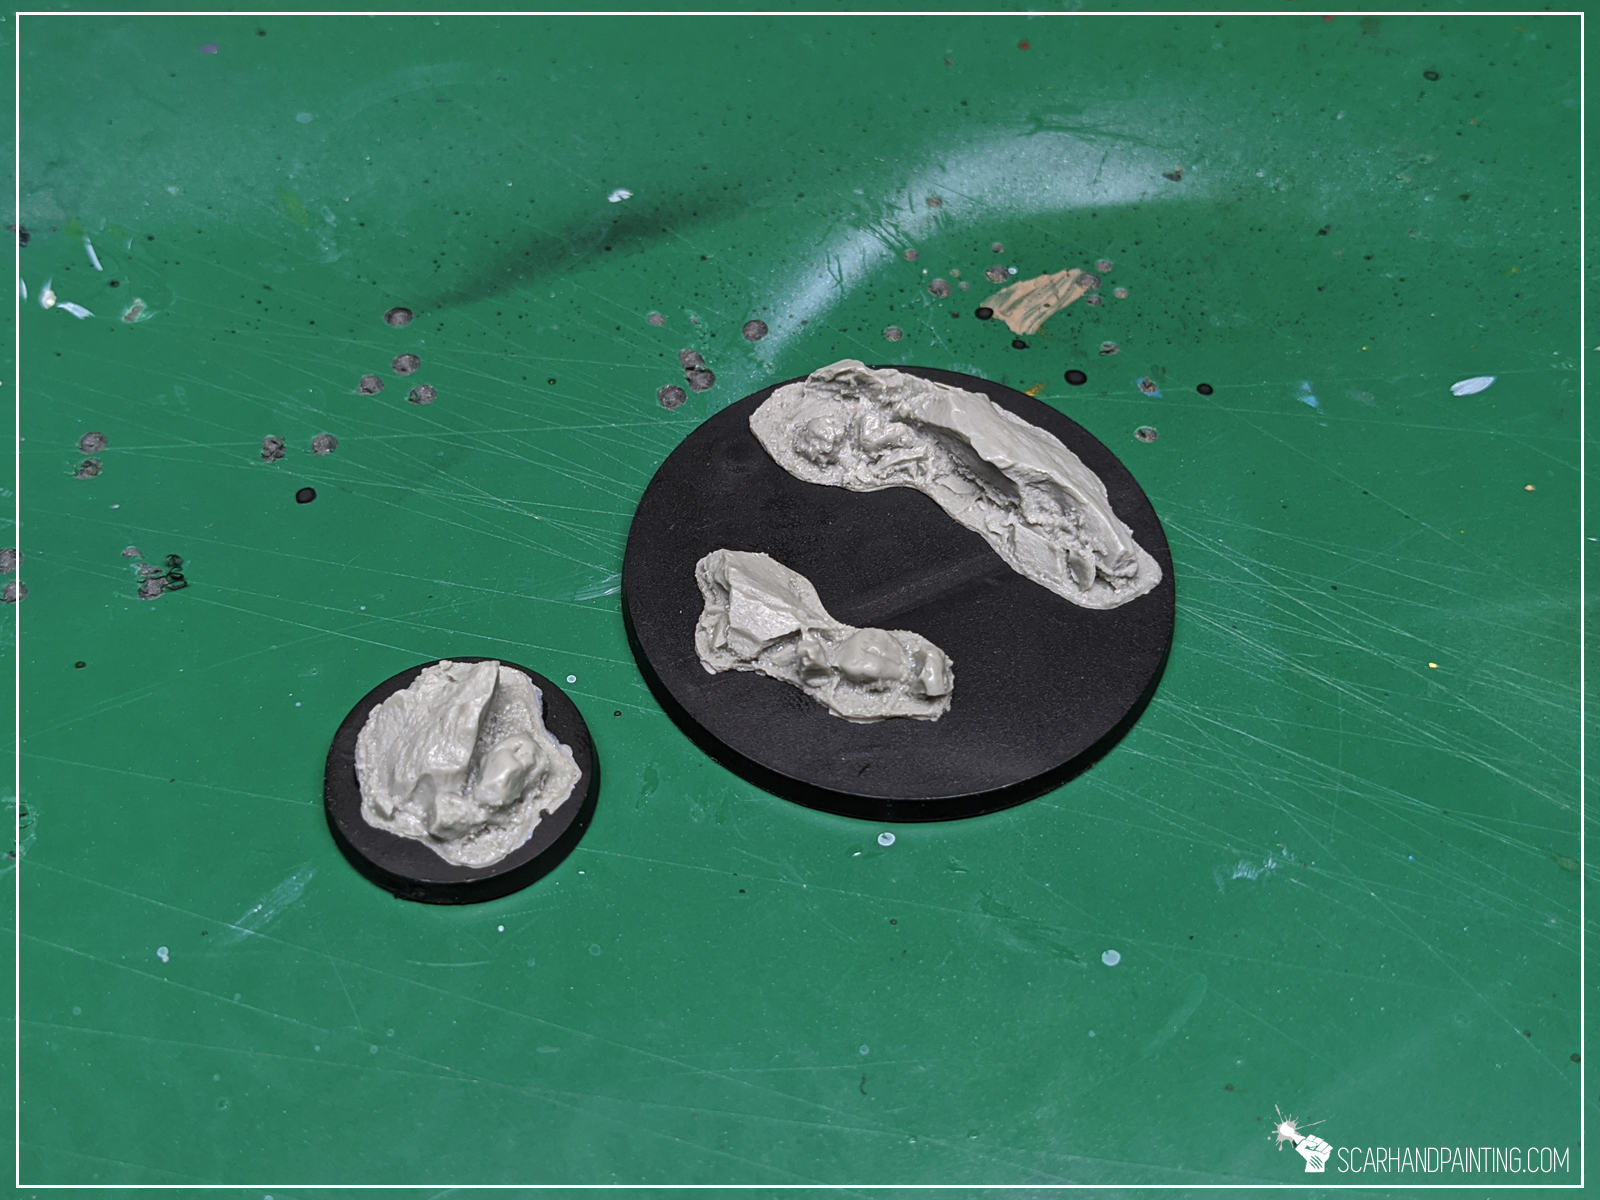
I started by applying glue onto the base and gluing few basing bits on top.

Step two: Applying texture
I then applied texture with Games Workshop Stirland Mud.

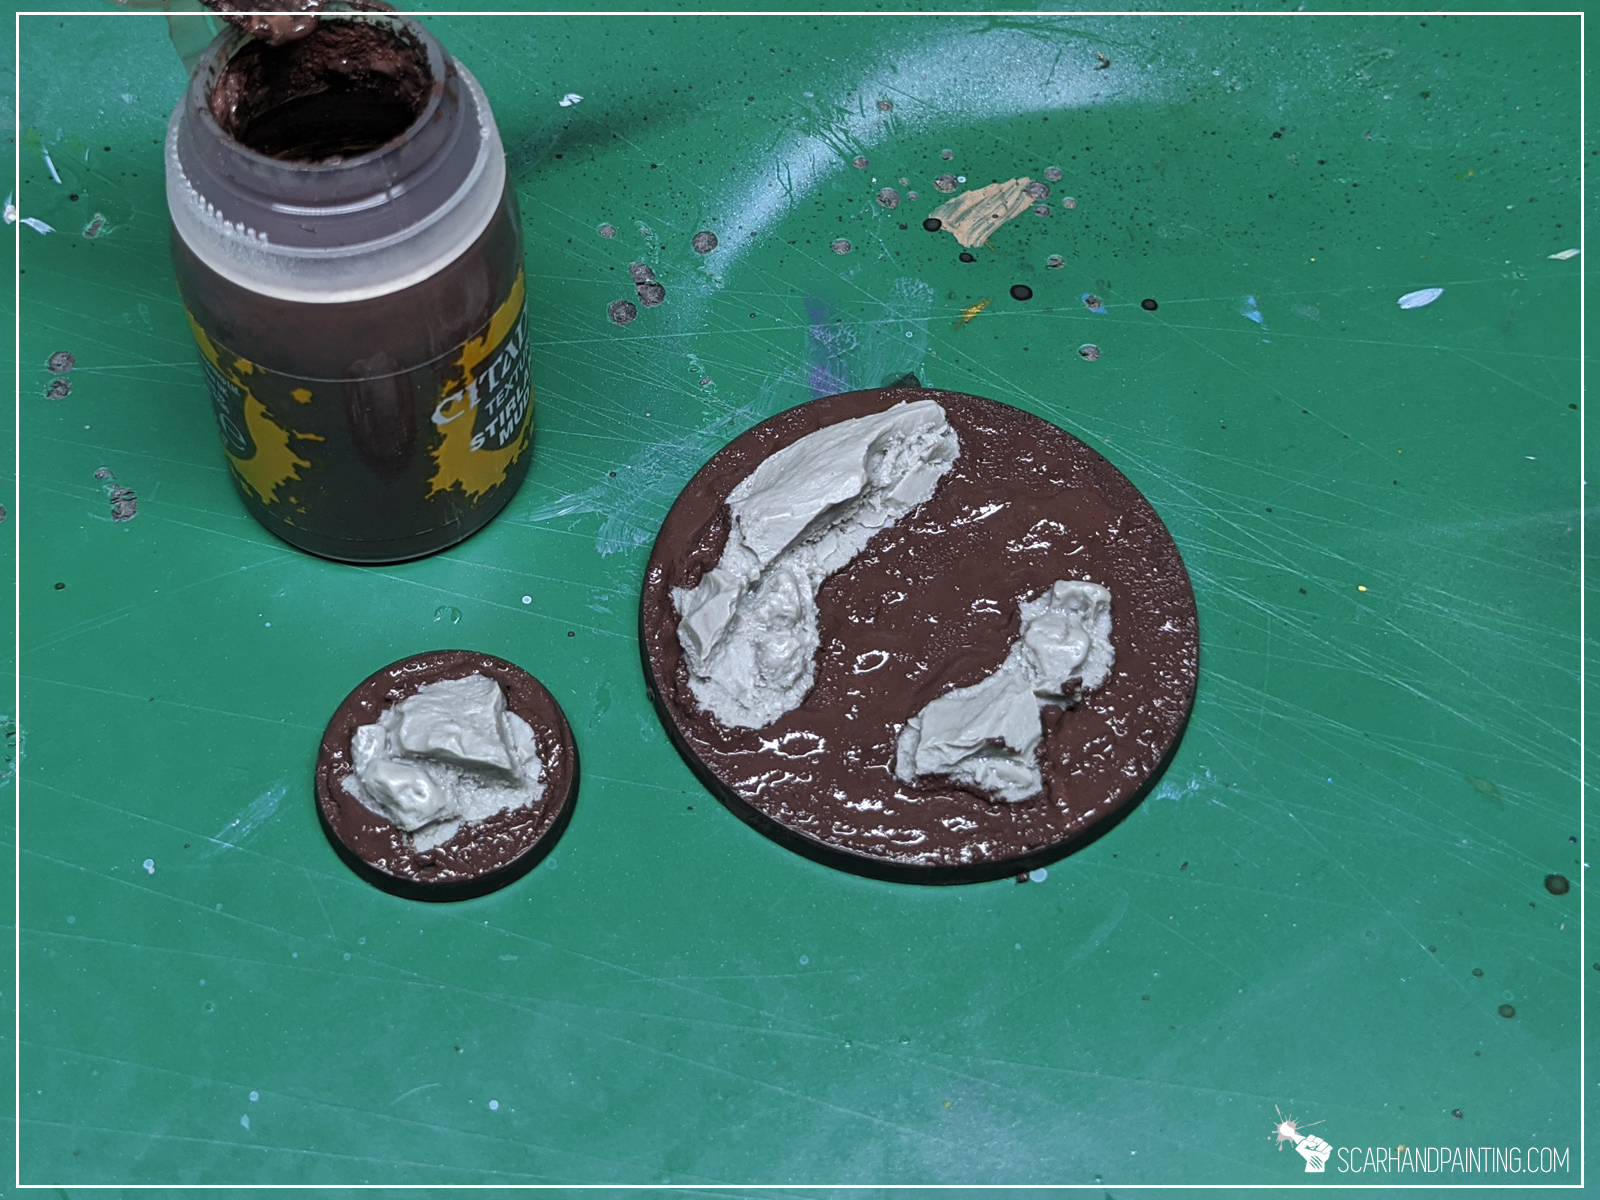

At this point entire “Modelling” part is done. If it seem fast it’s because it really is. Just two steps and you’re ready to paint!

I choose to paint these Rocky bases in a classic Bron plus Grey style. Assuming these are meant to be used for a large collection, I want to keep things simple. Would be perfect to close in about three layers per color, with a single type of tufts on top. Just your everyday nice looking, coherent bases. Here’s how I went about it…
Step two: Undercoat
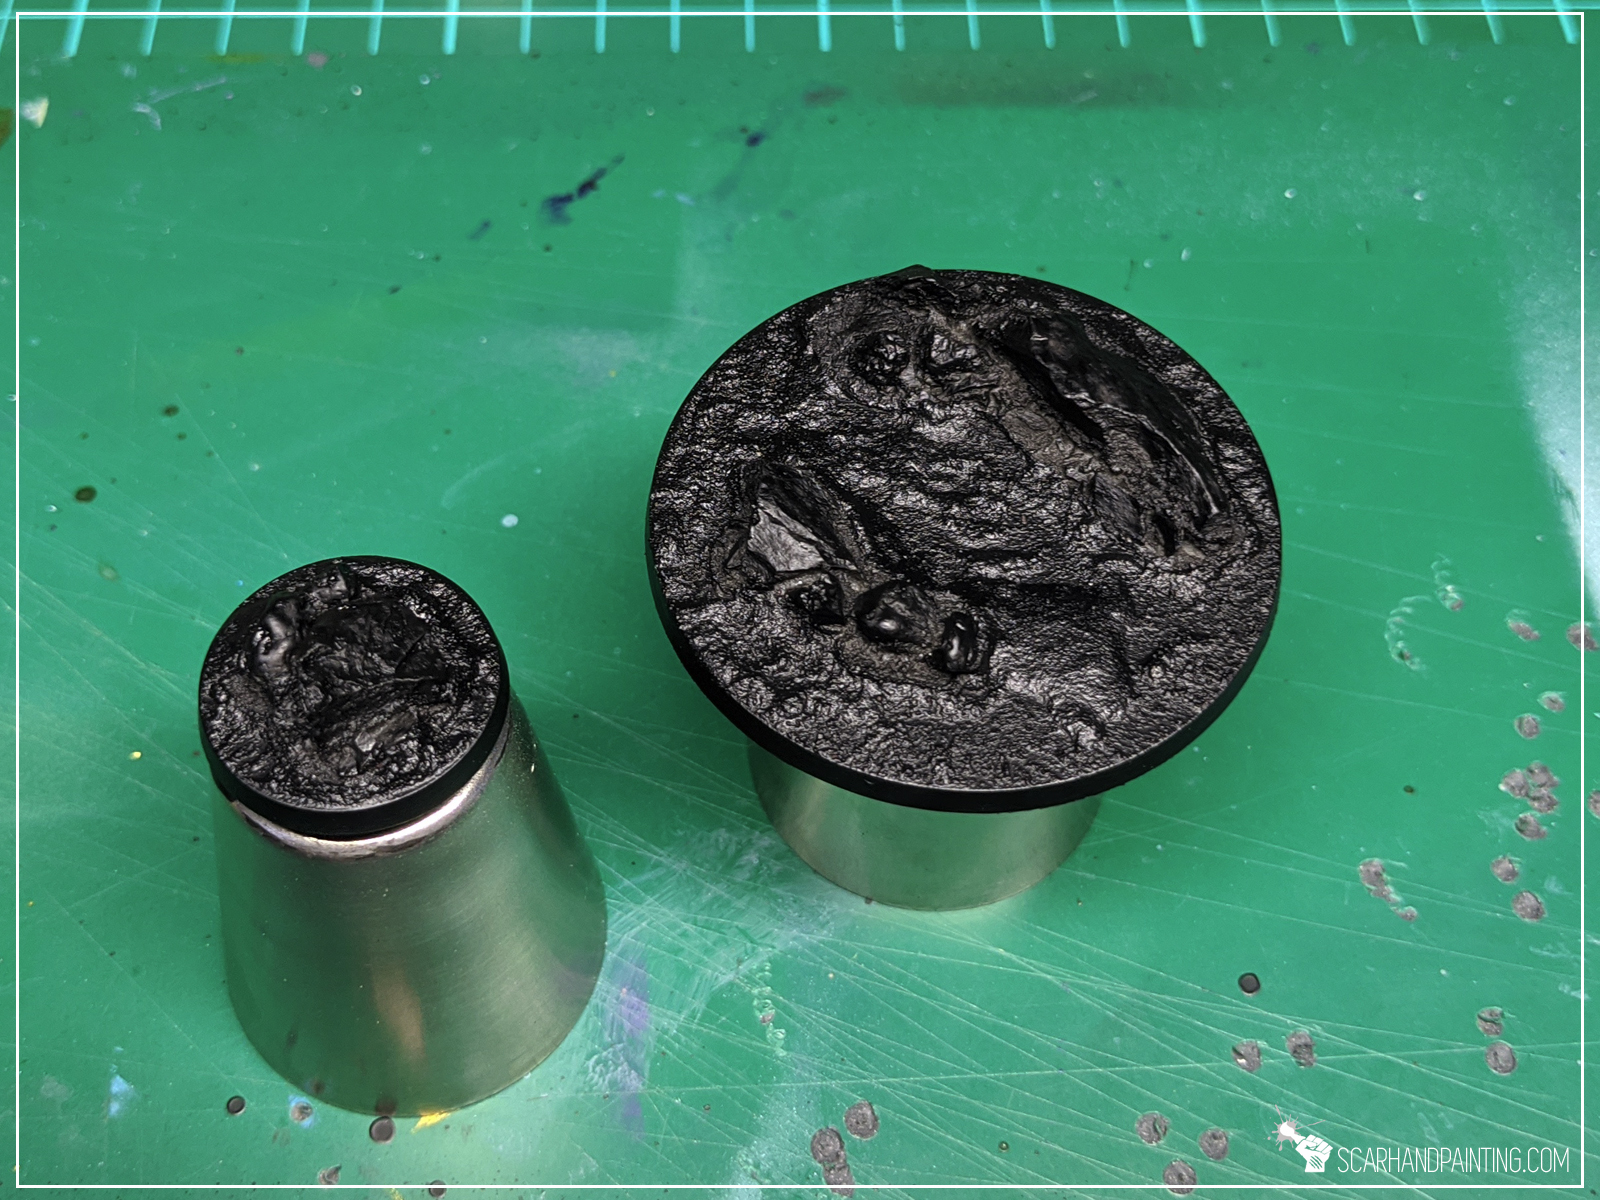
I applied a black undercoat.
Step two: Main color
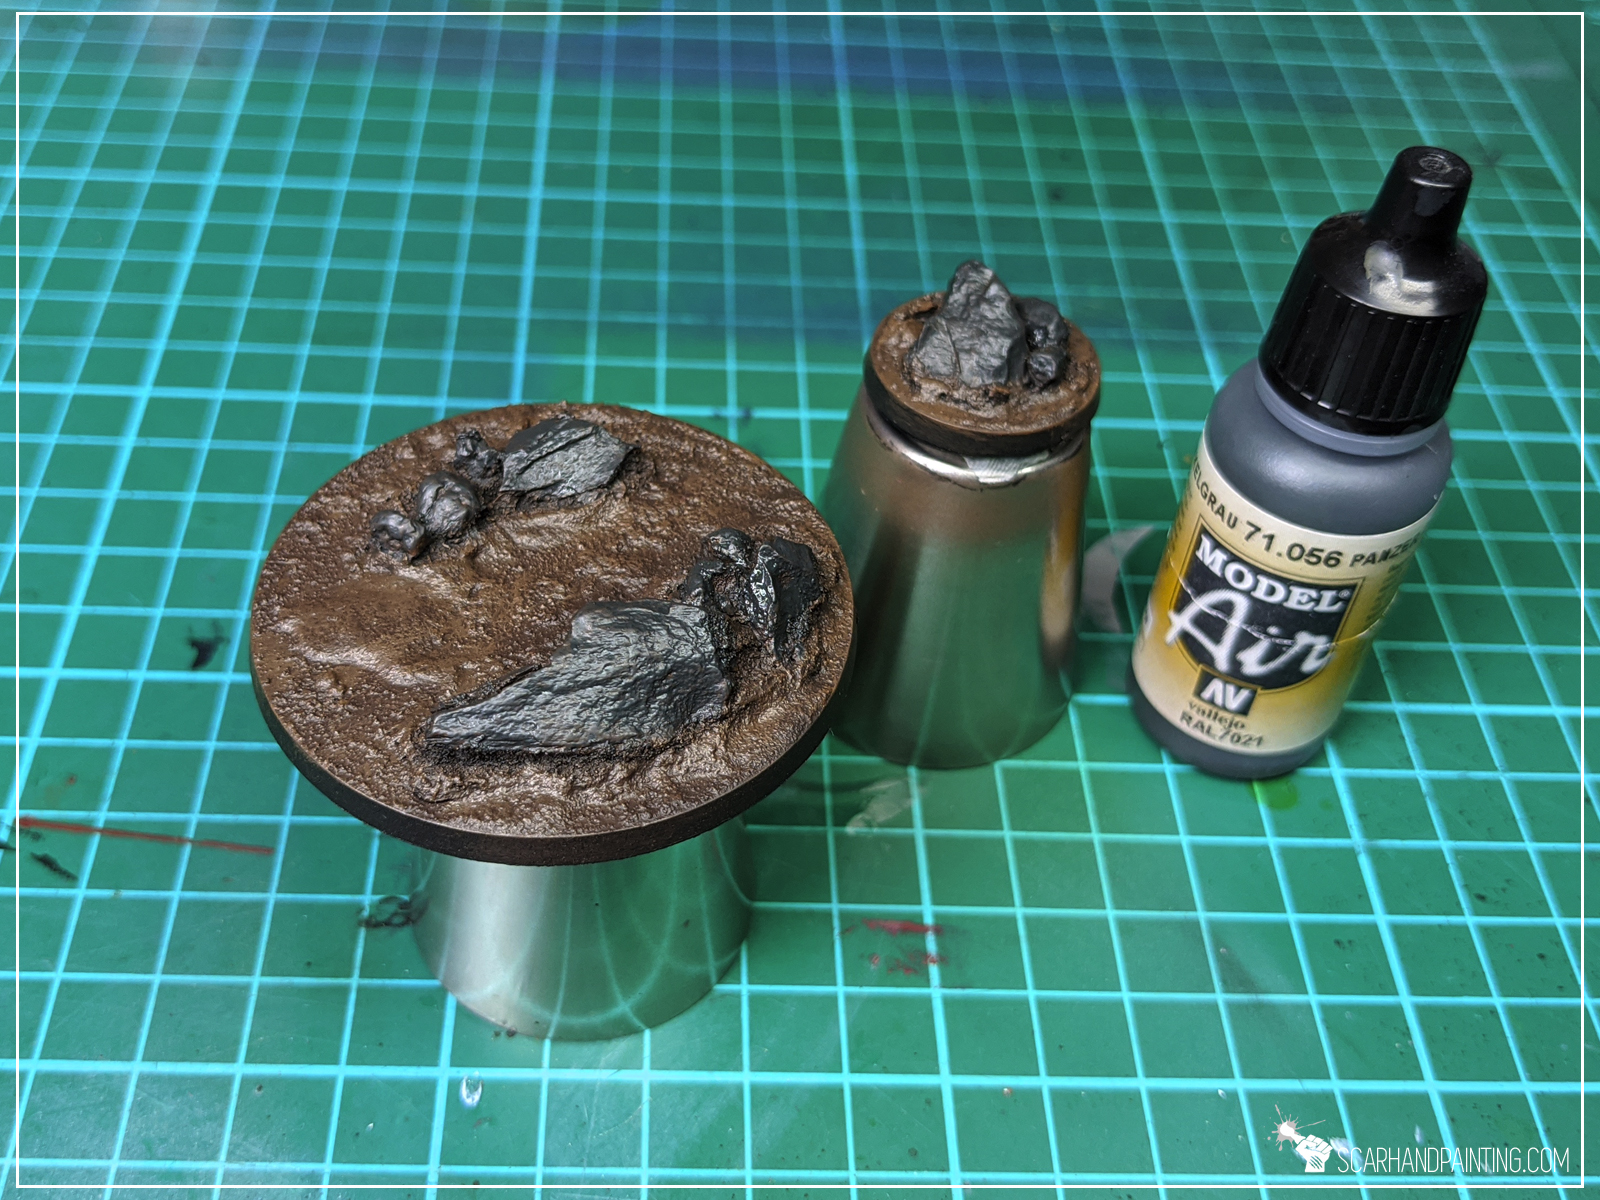
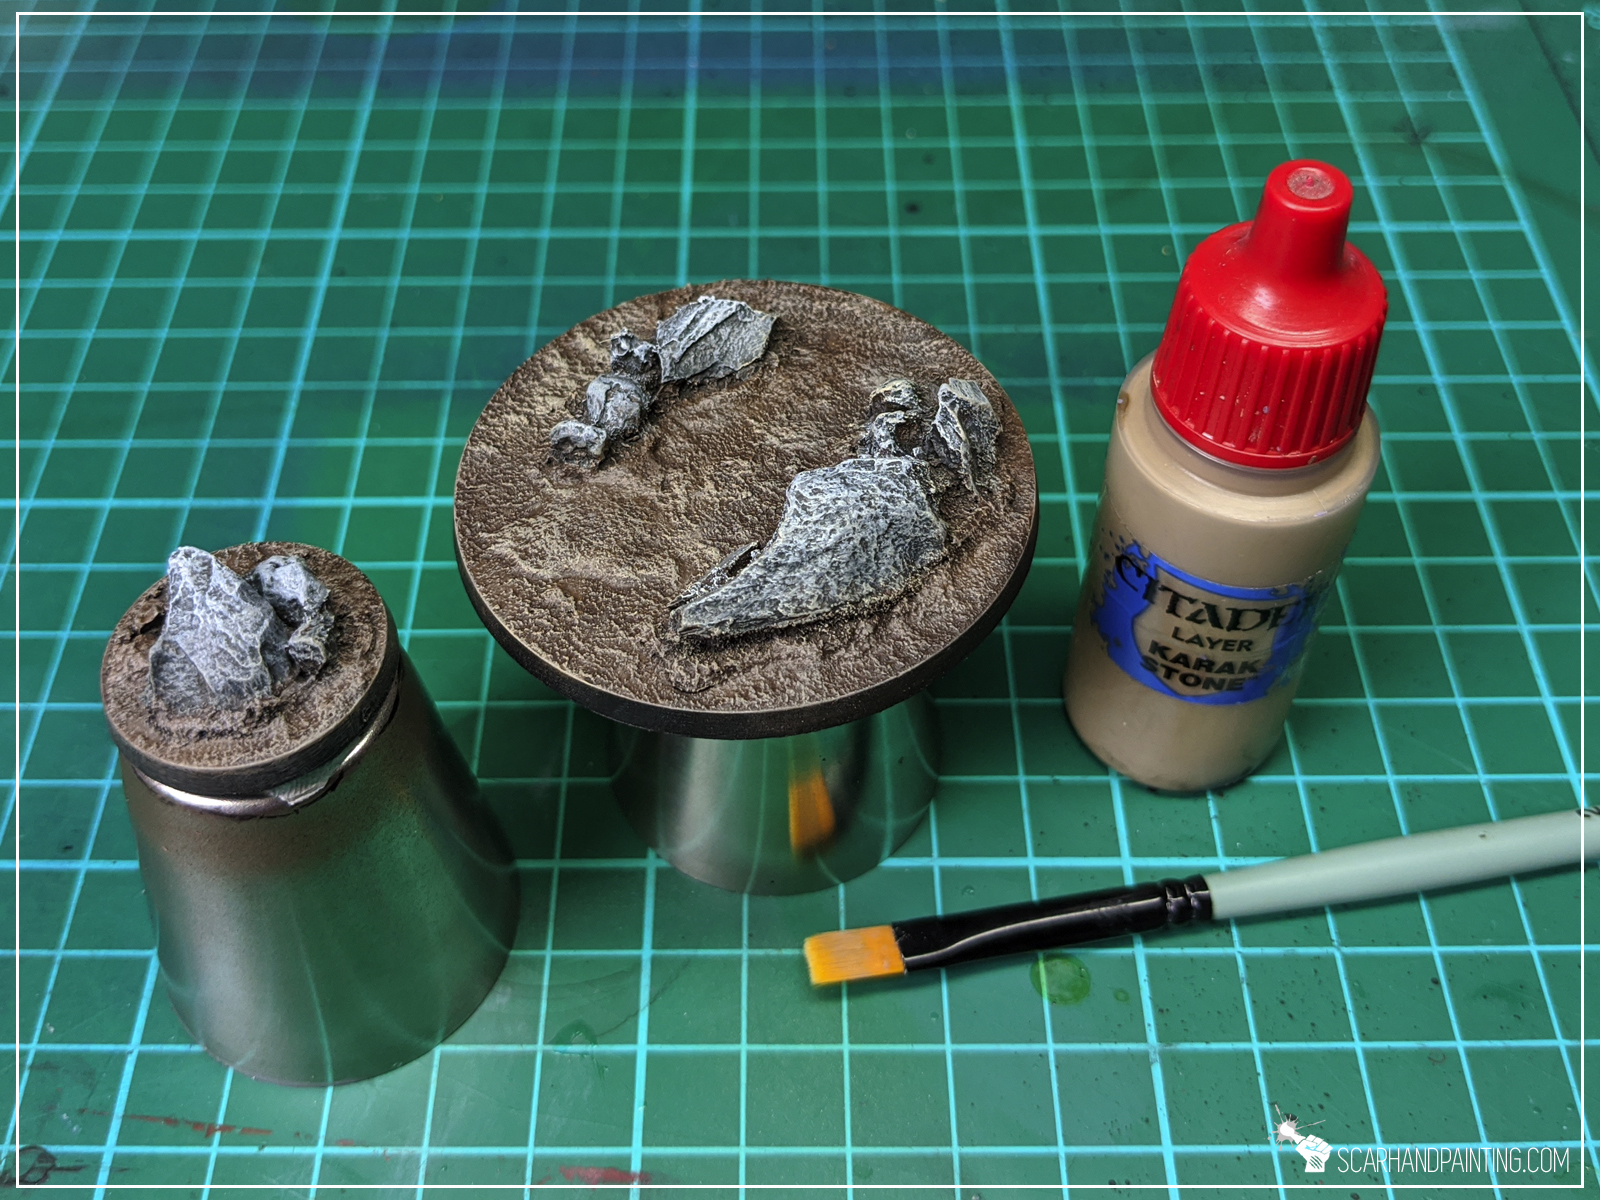
I then painted entire base with Vallejo Charred Brown. Once dry I drybrushed Games Workshop Calthan Brown on top.


Step two: Secondary color
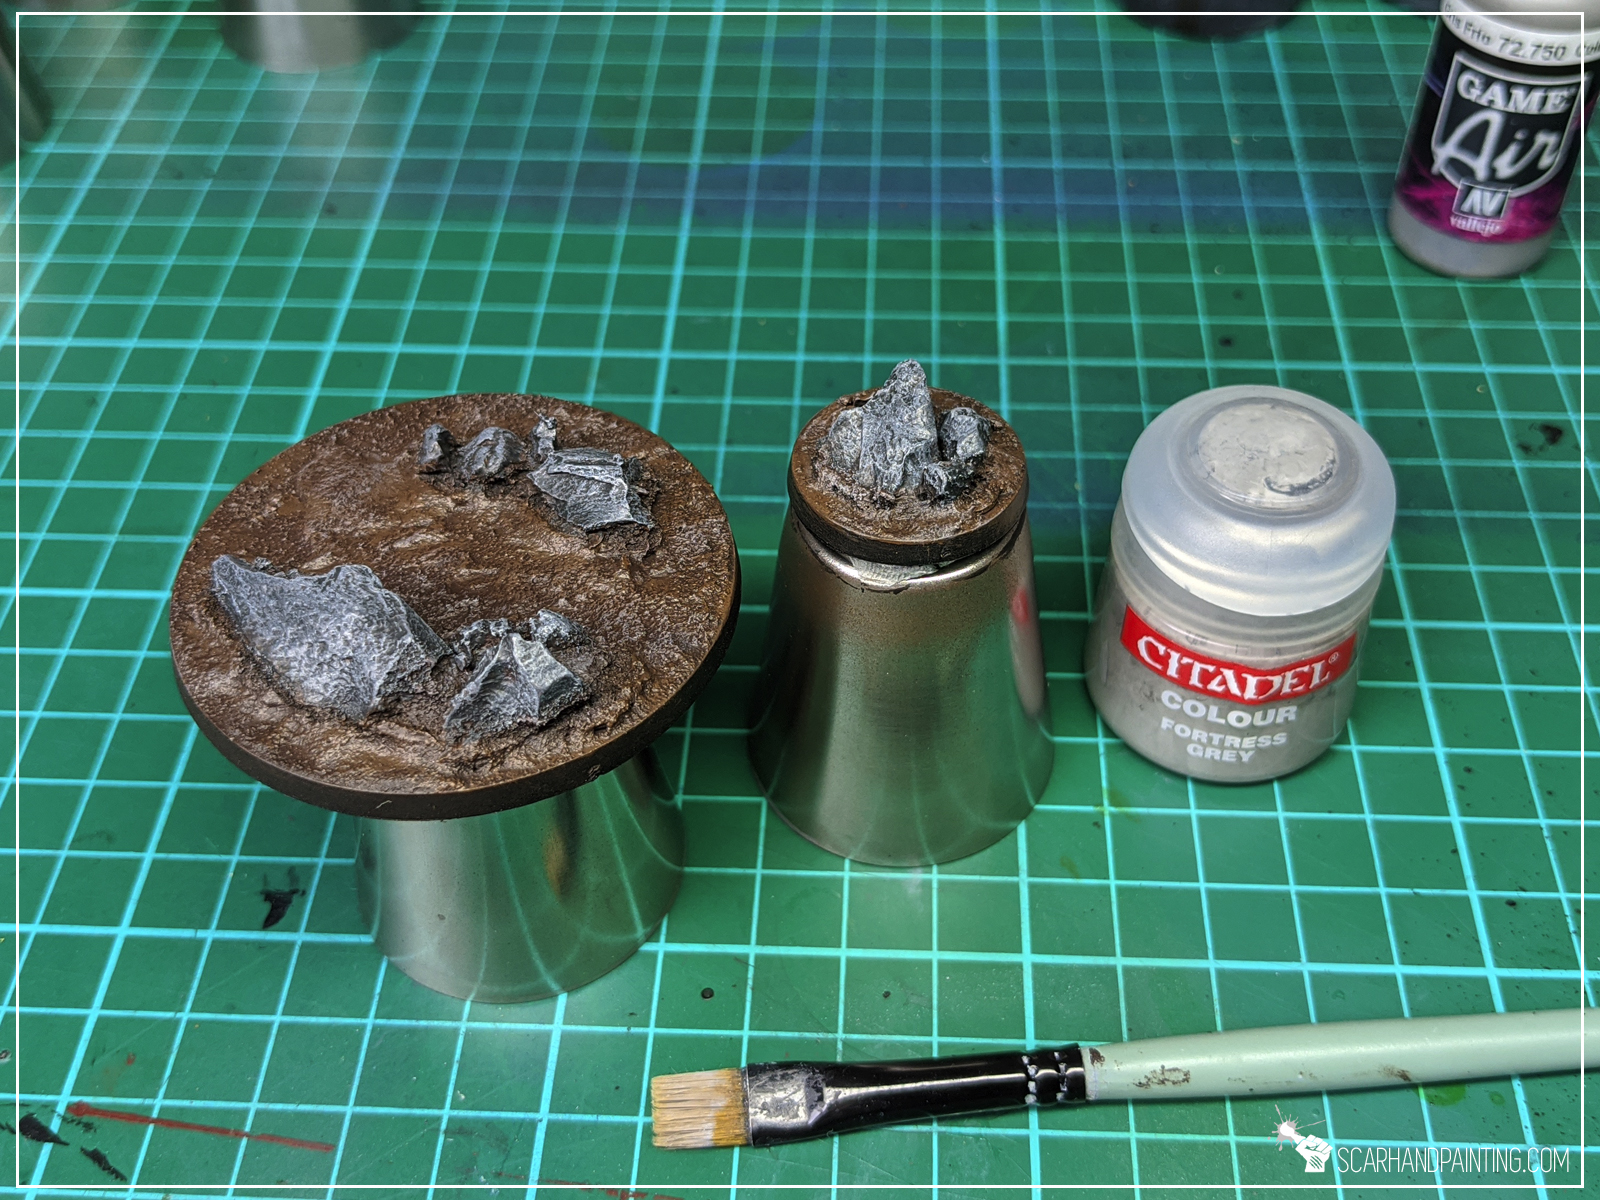
For rocks I went with Vallejo Panzer Dark Grey, followed by a drybrush of Games Workshop Fortress Grey.
Step tree: Highlights
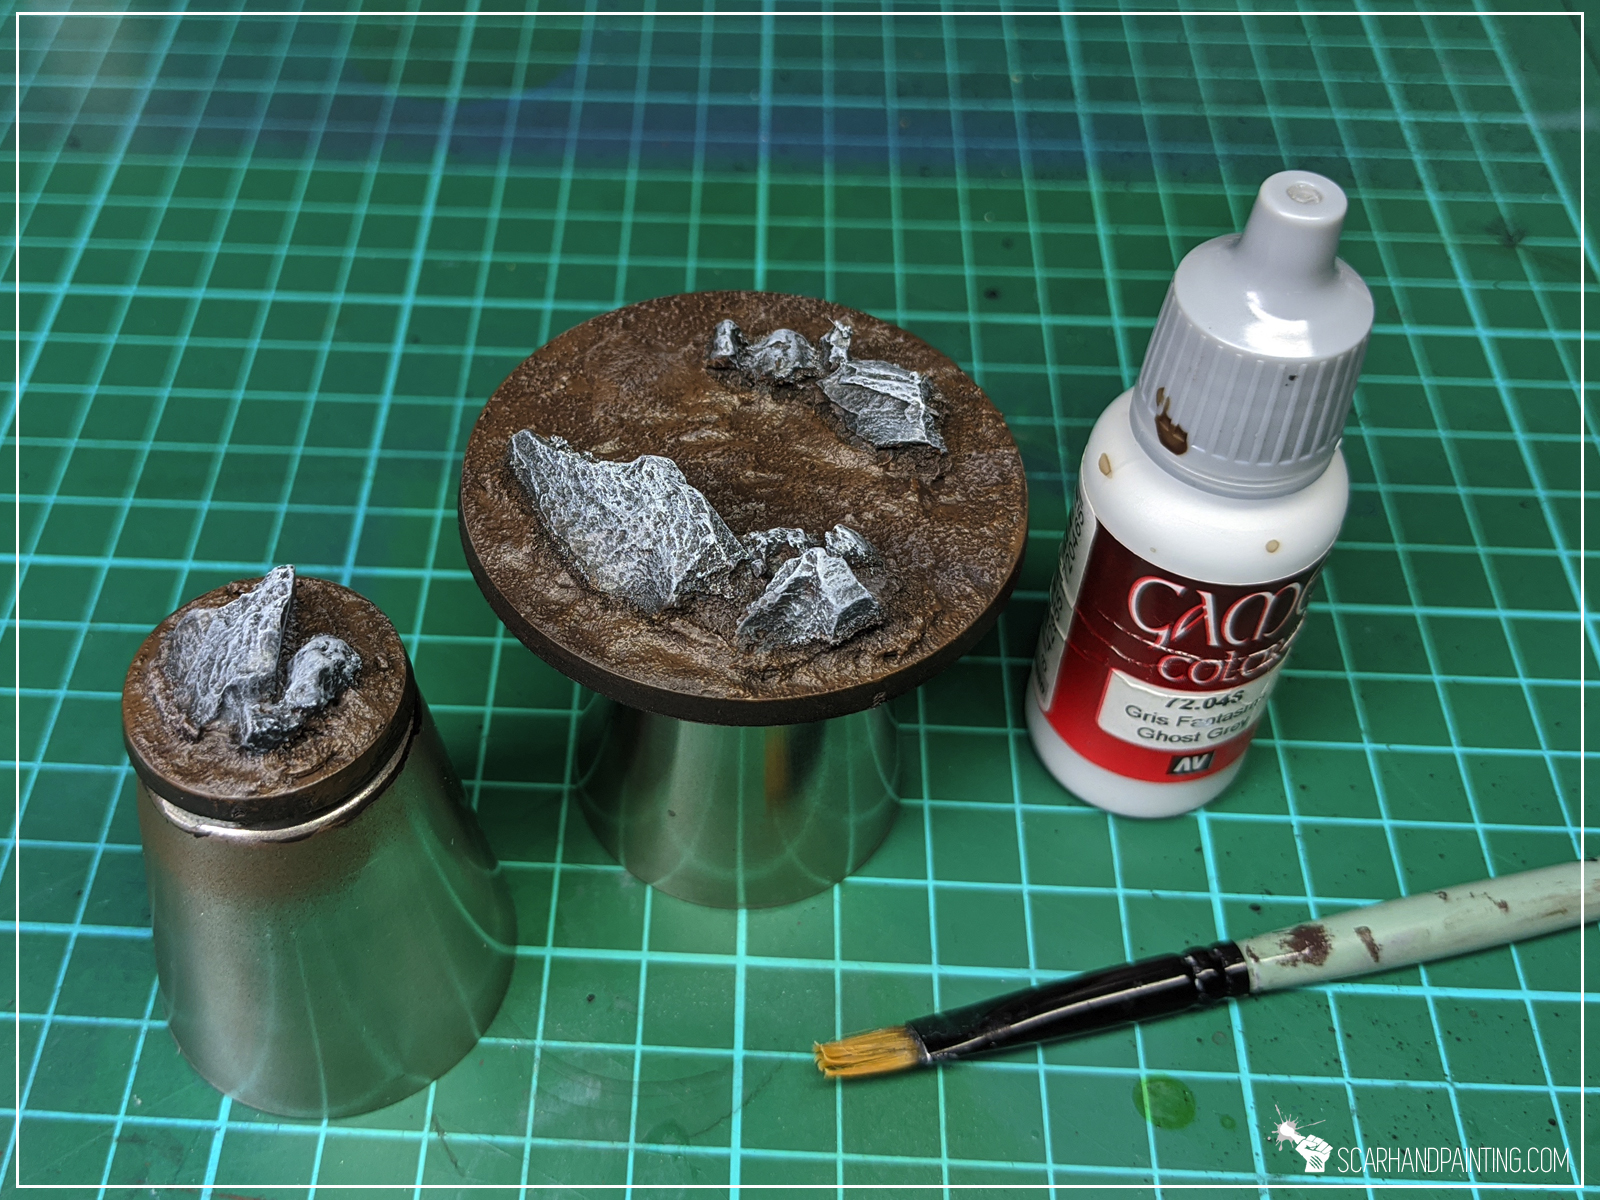
Final highlight was done with a drybrush of Games Workshop Karak Stone for brown and a drybrush of Vallejo Ghost Grey for rocks.
Step tree: Tufts
Finally I applied Gamers Grass Swamp Wild Tufts.
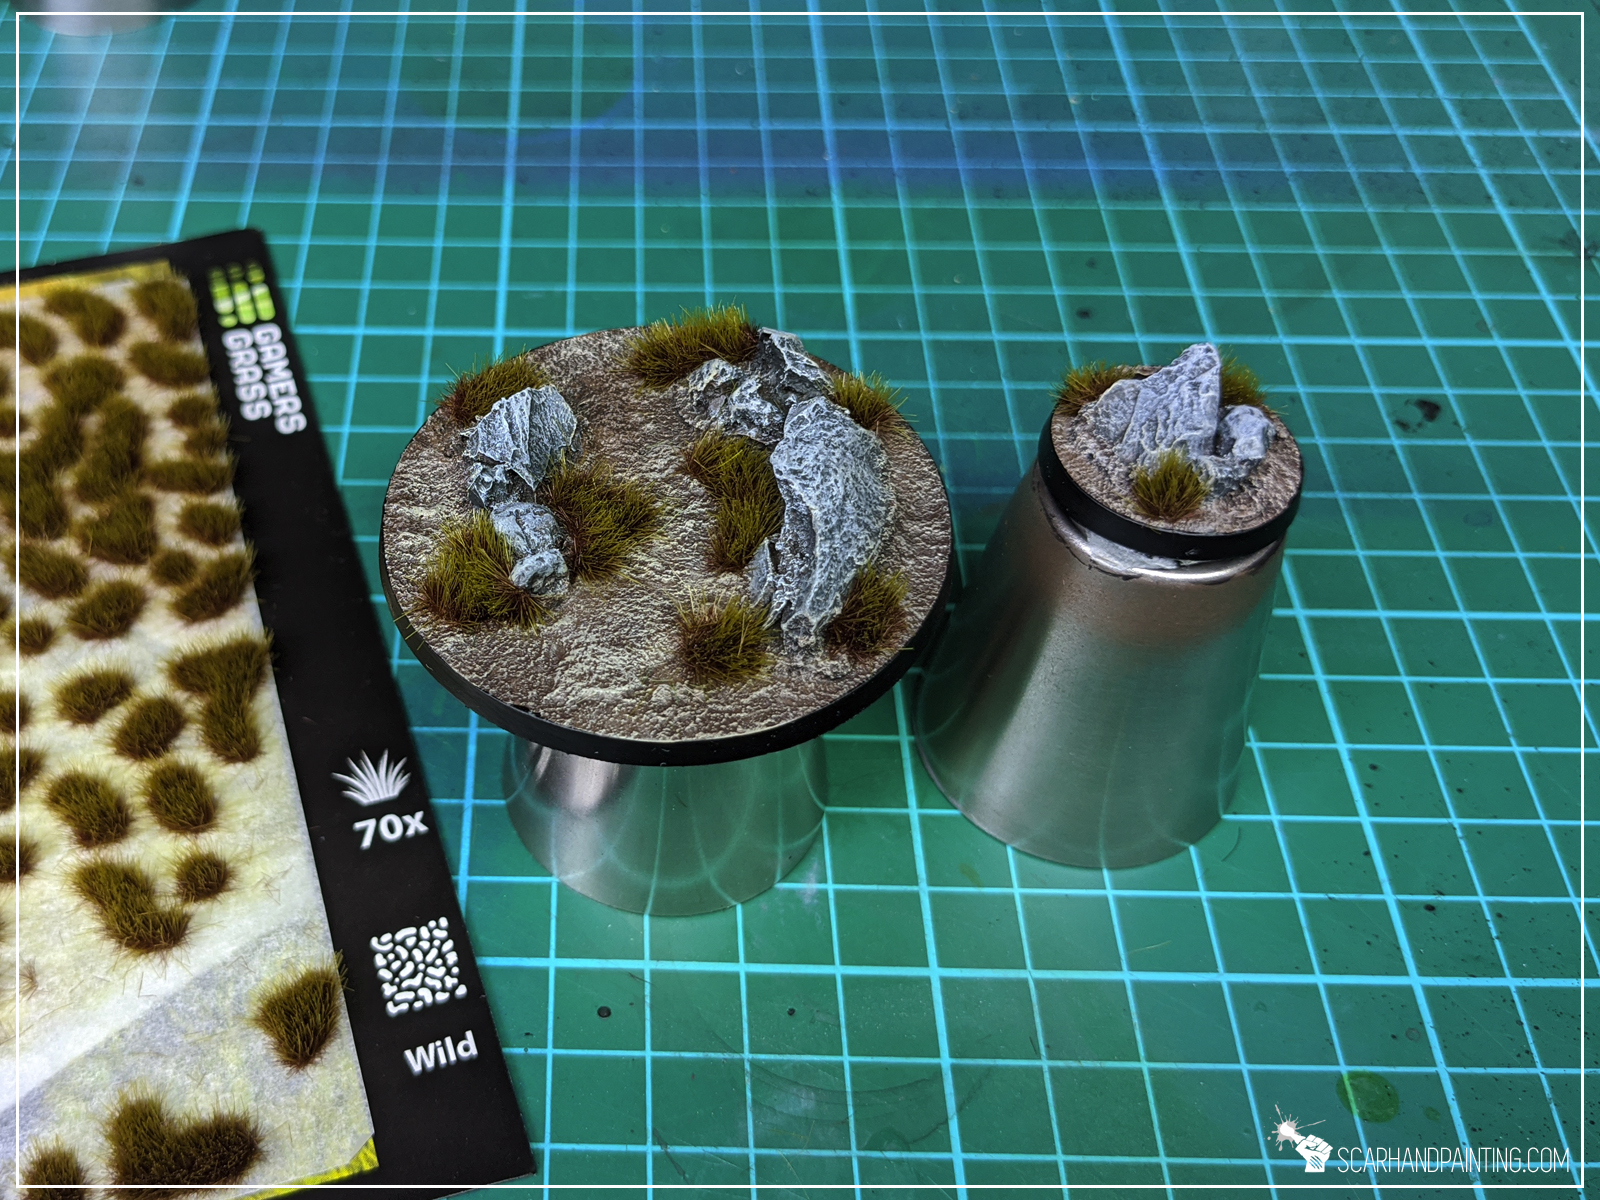


And with that the job was done! Fast and easy – as all bases should be. I hope this was a pleasant tutorial and that you saw how simple the process is. If you want to learn more about Gamers Grass products – here’s my review:

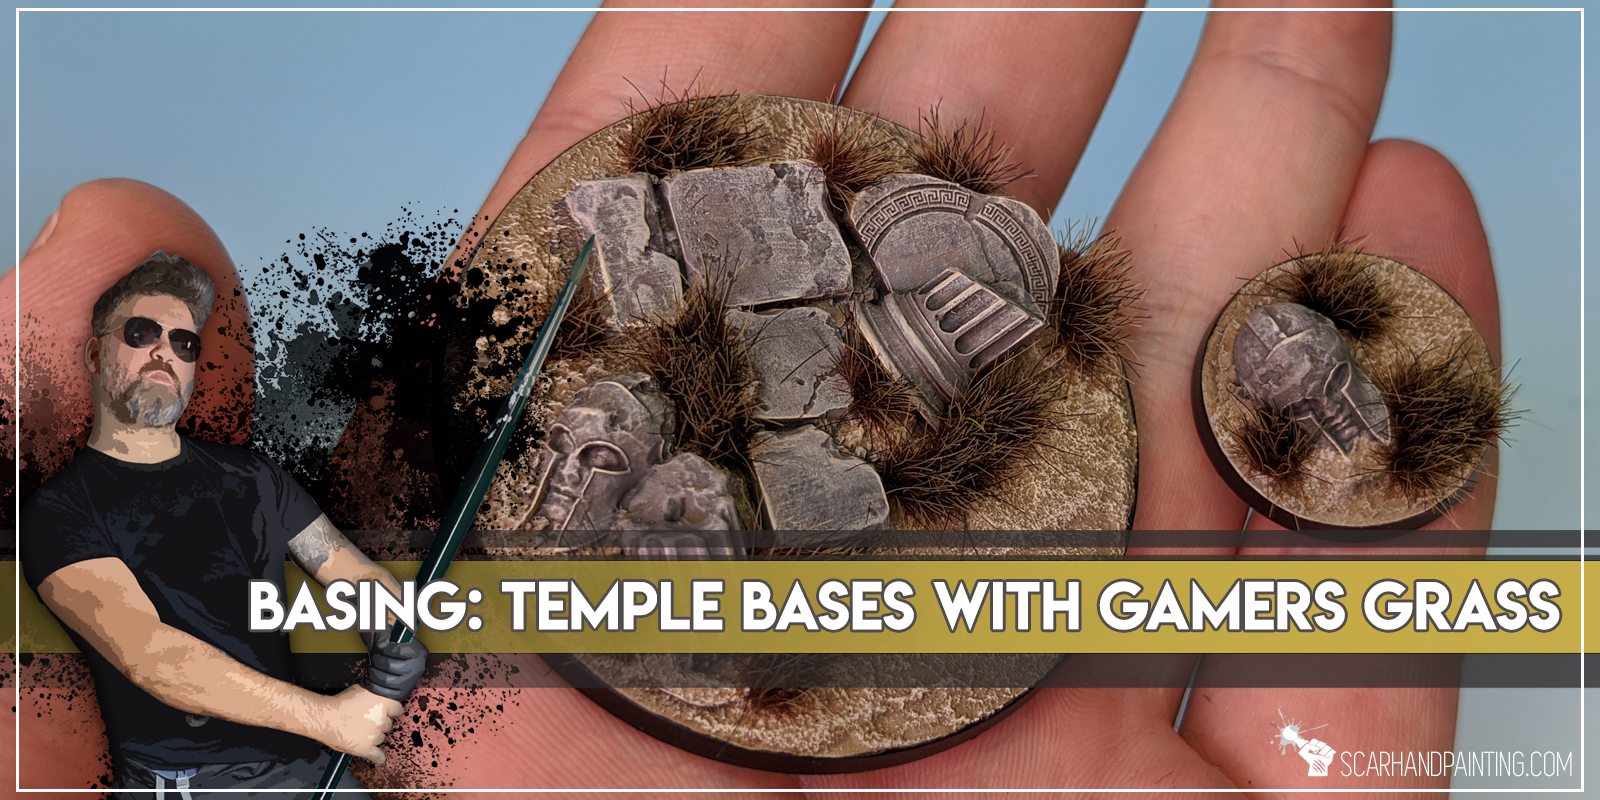
Welcome to Temple Bases tutorial. Here I will take you on a Step-by-step trip through the process of creating and painting Temple Bases as presented in the picture below. This adventure is possible thanks to generosity of Gamers Grass and their easy to use, fantastic products.
Before we start, some notes:

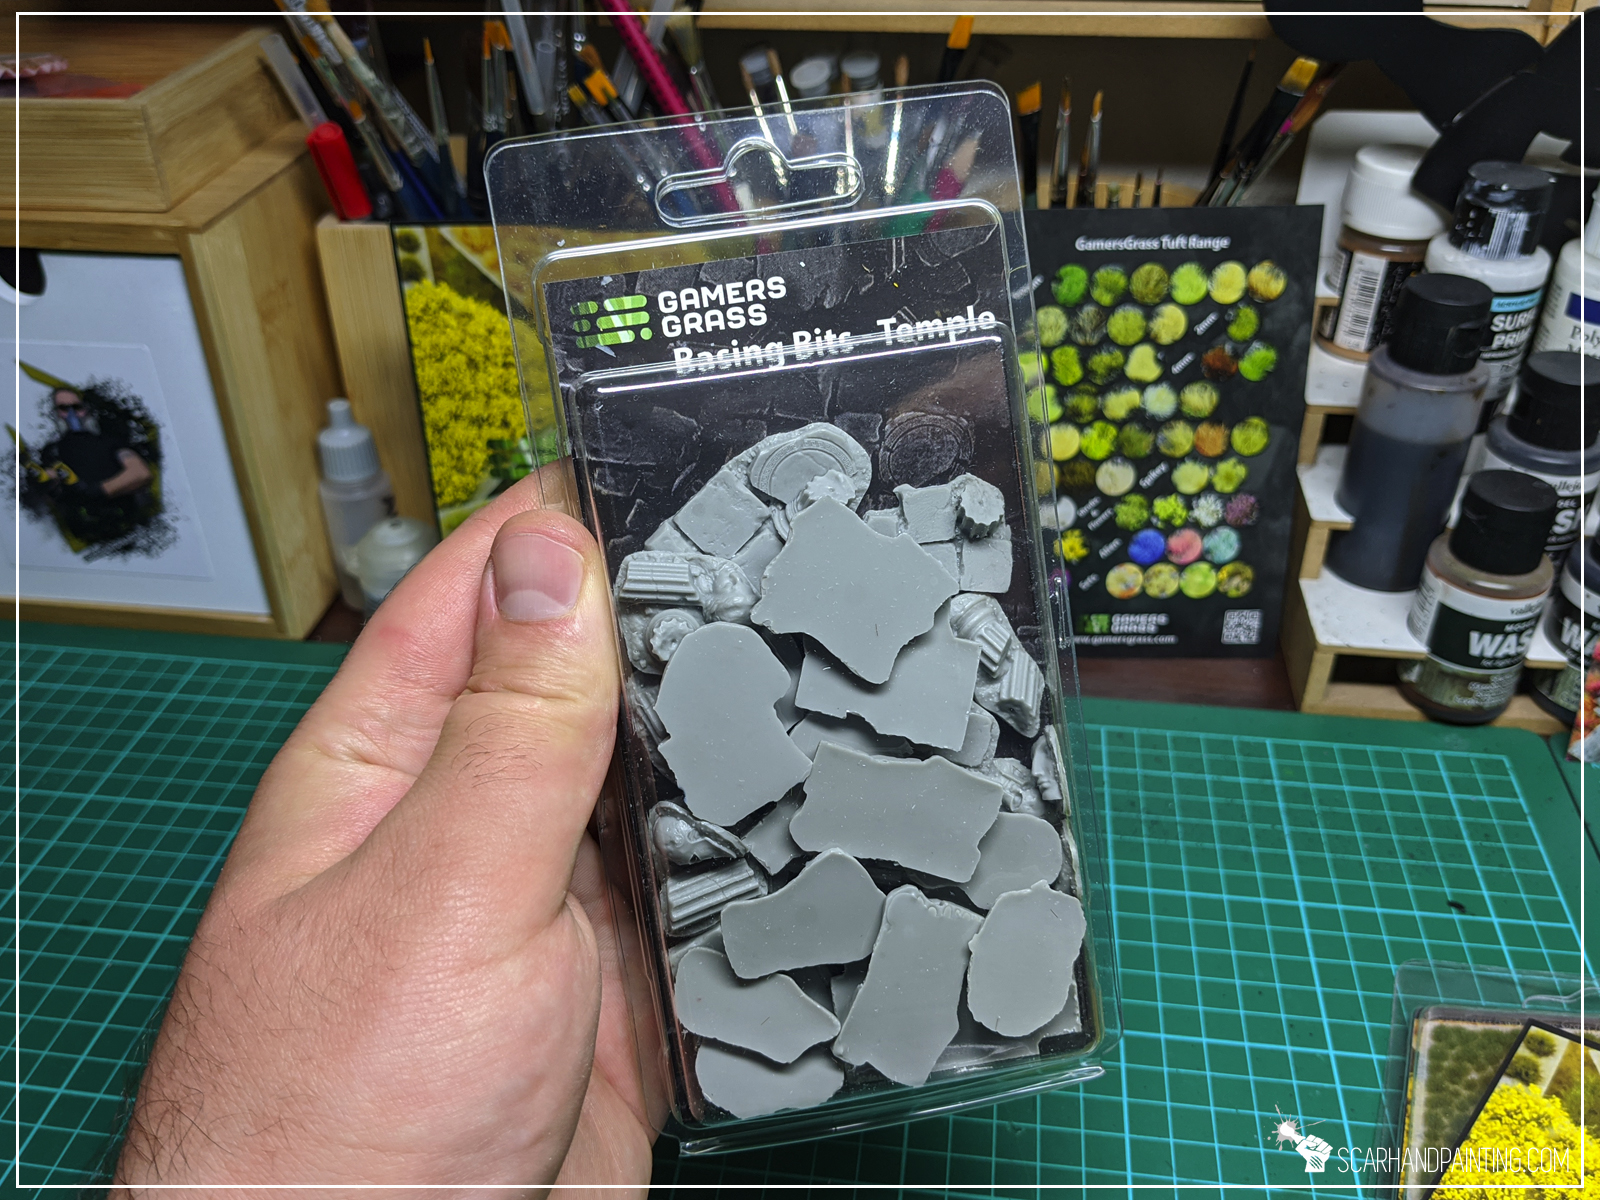
In my opinion base is supposed to complement a miniature, not steal the spotlight. For this reason, when making bases, I usually aim for fast, simple, yet effective solutions. Important thing to note when deciding on what to use for your bases is to pick a method that is easy to copy. This is why I consider Gamers Grass Basing Bits a perfect solution. Nicely textured, ready to use straight out of the box – glue them on, add some texture around – you’re ready to paint. All that being said – for this particular base type I choose Gamers Grass “Temple” basing bits.
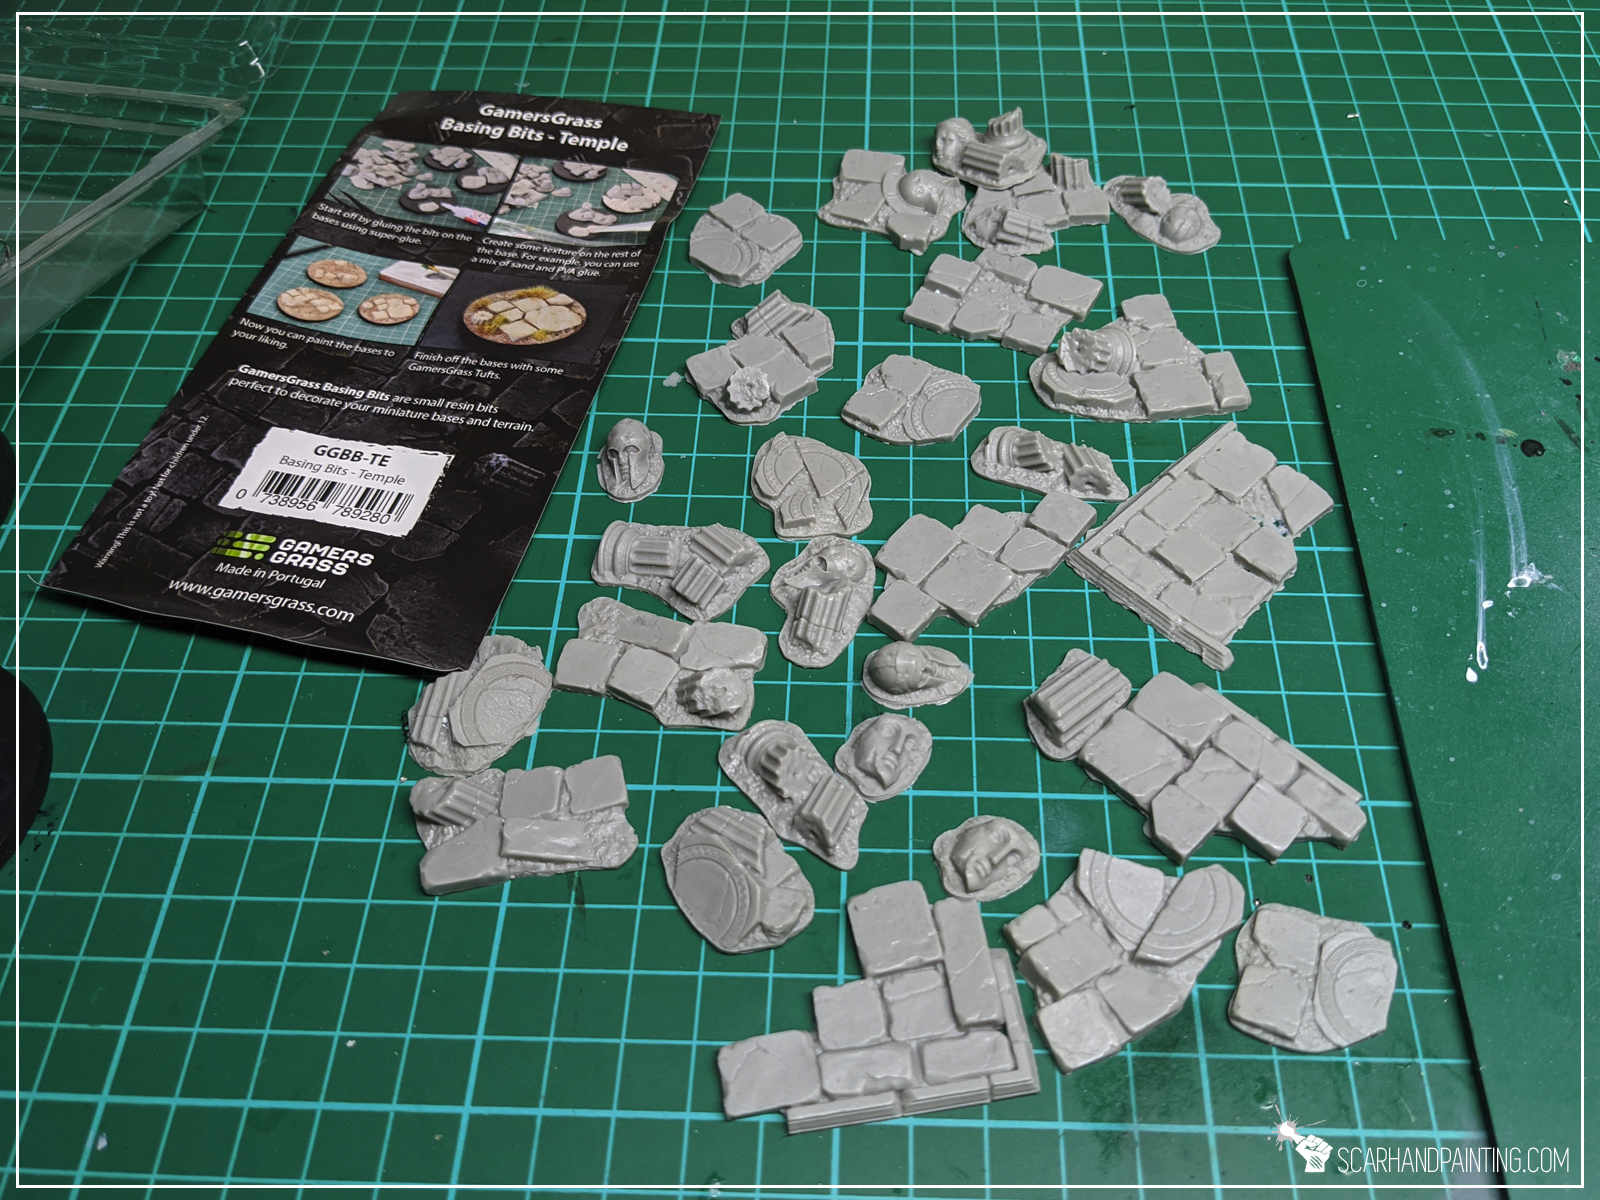
Step one: Applying basing bits
I started by applying glue onto the base and gluing few basing bits on top.

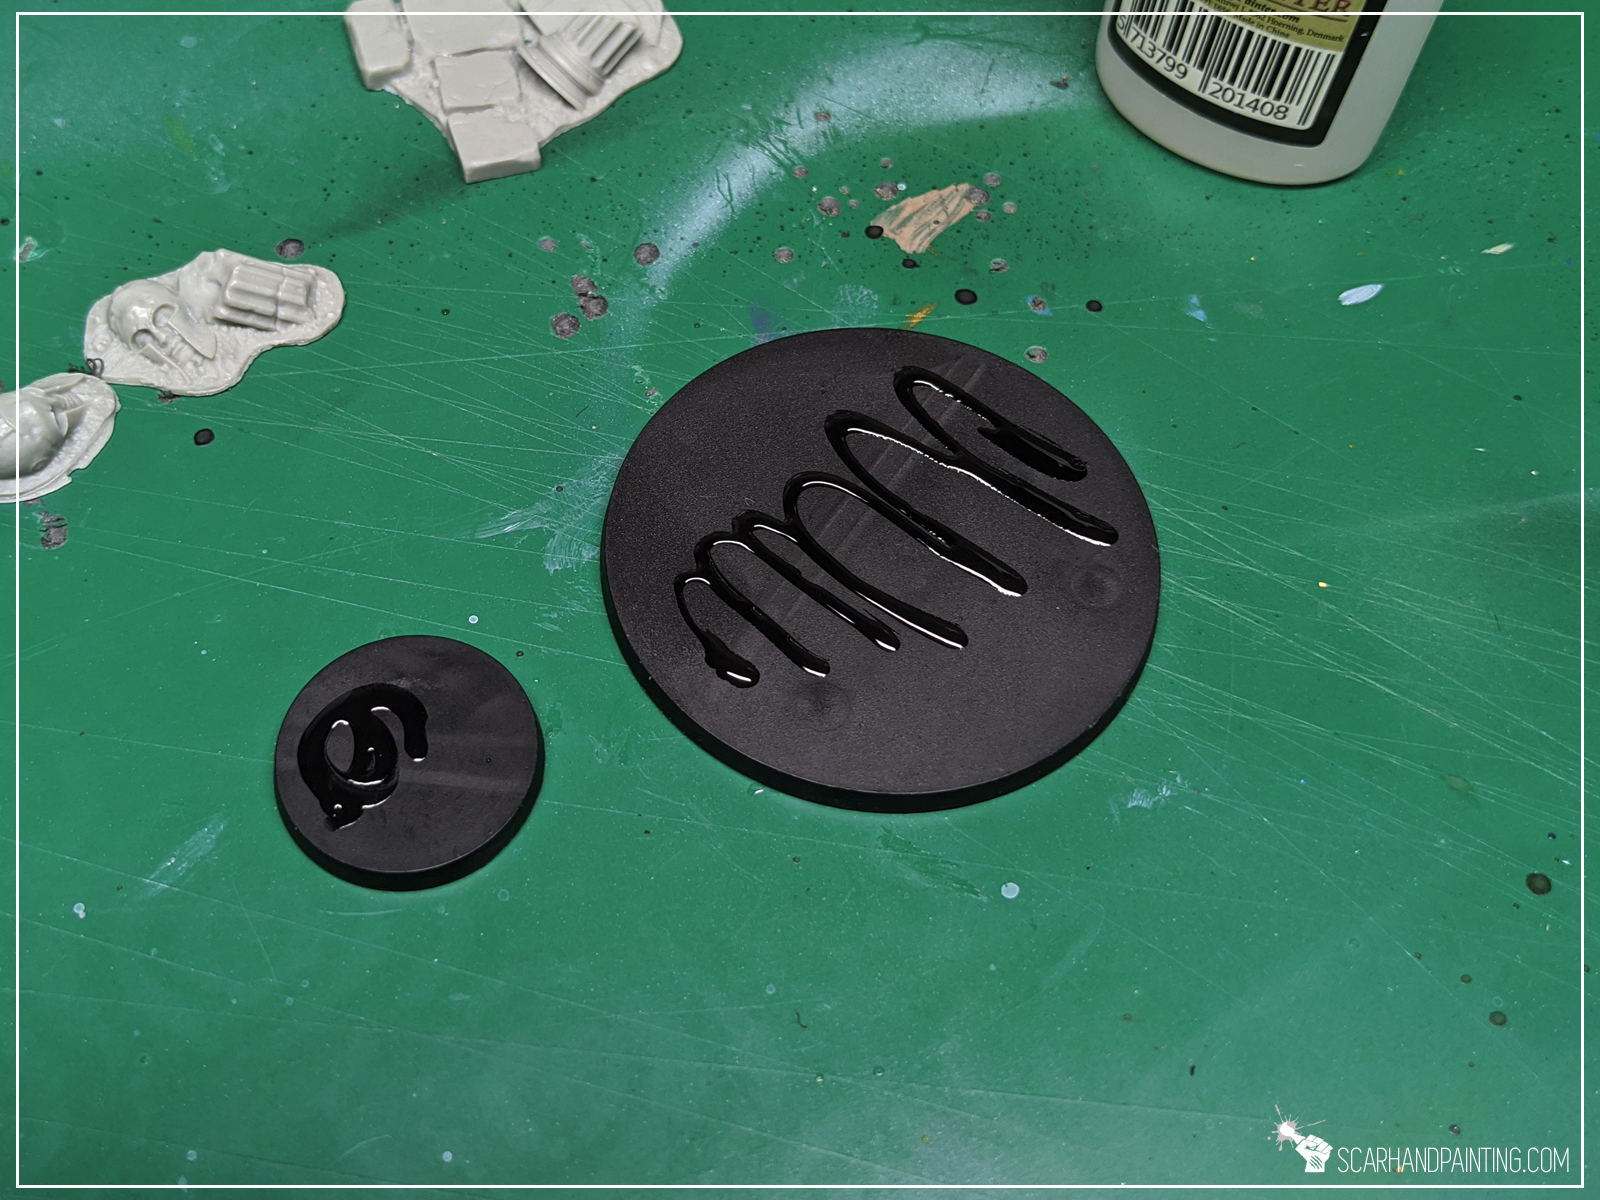
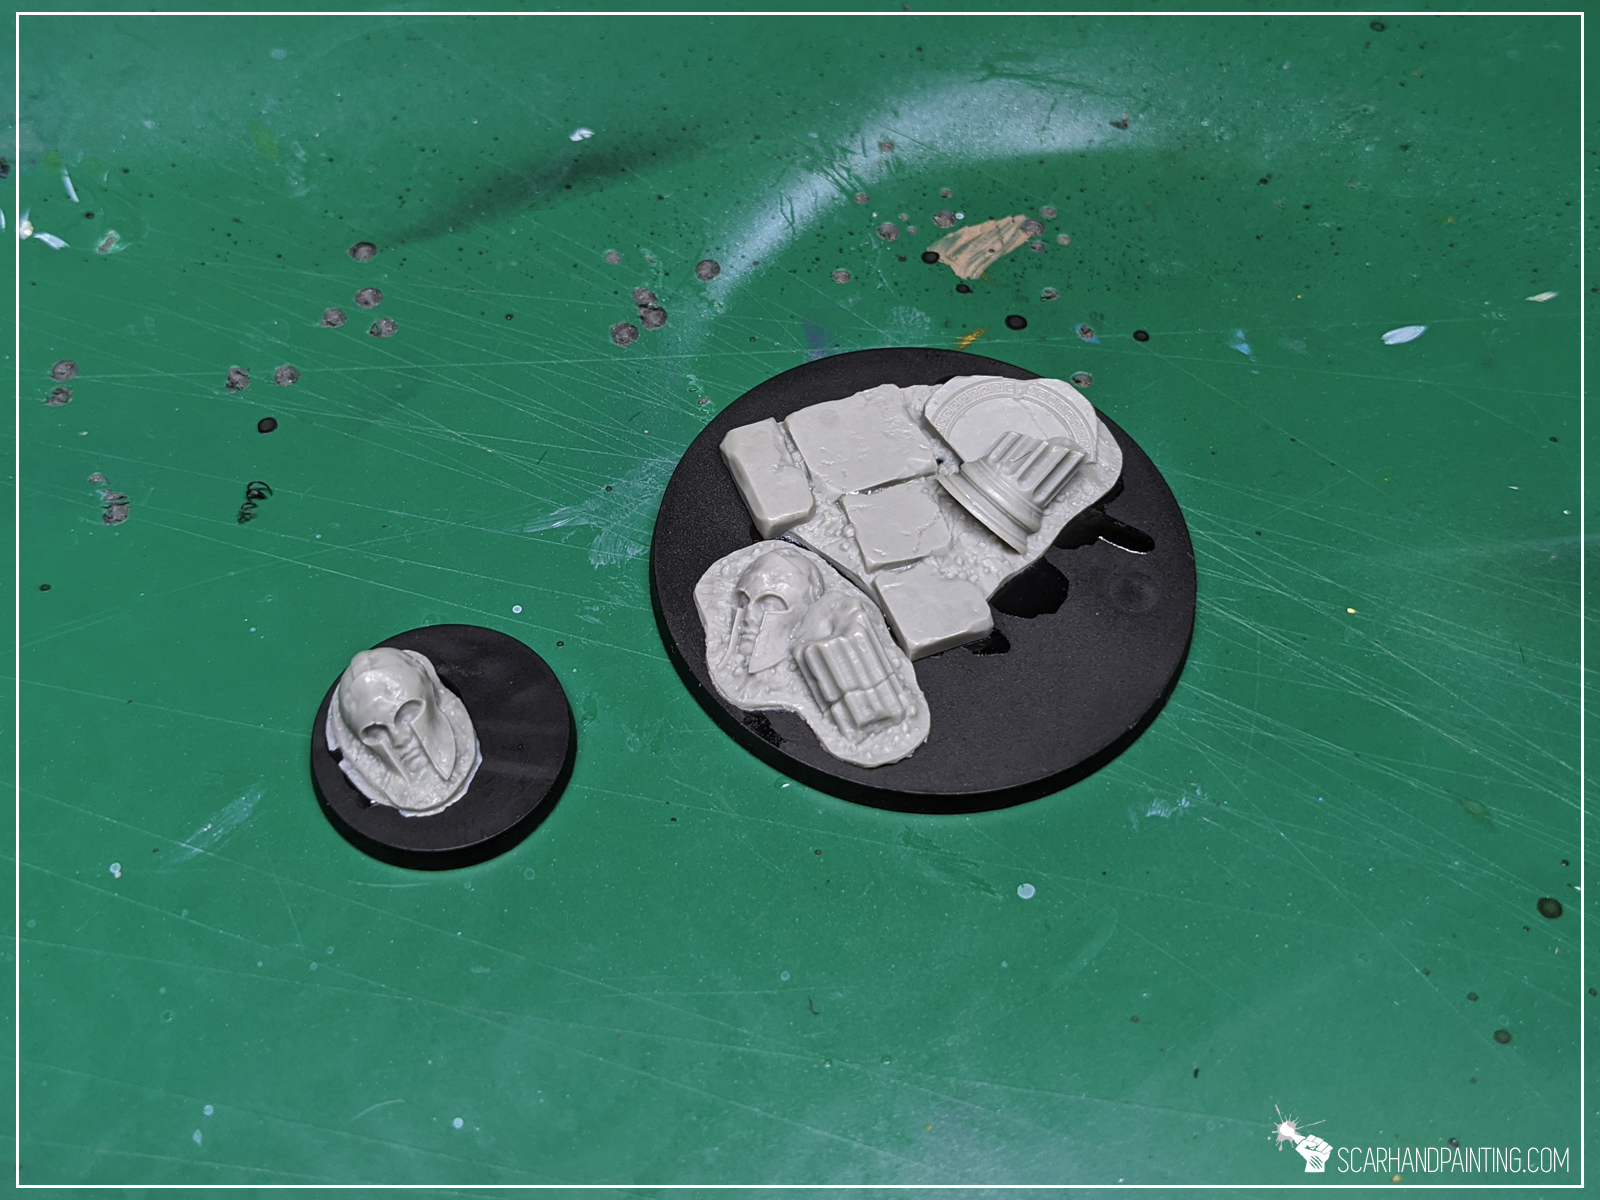
Step two: Applying texture
I then applied texture with Games Workshop Stirland Mud.
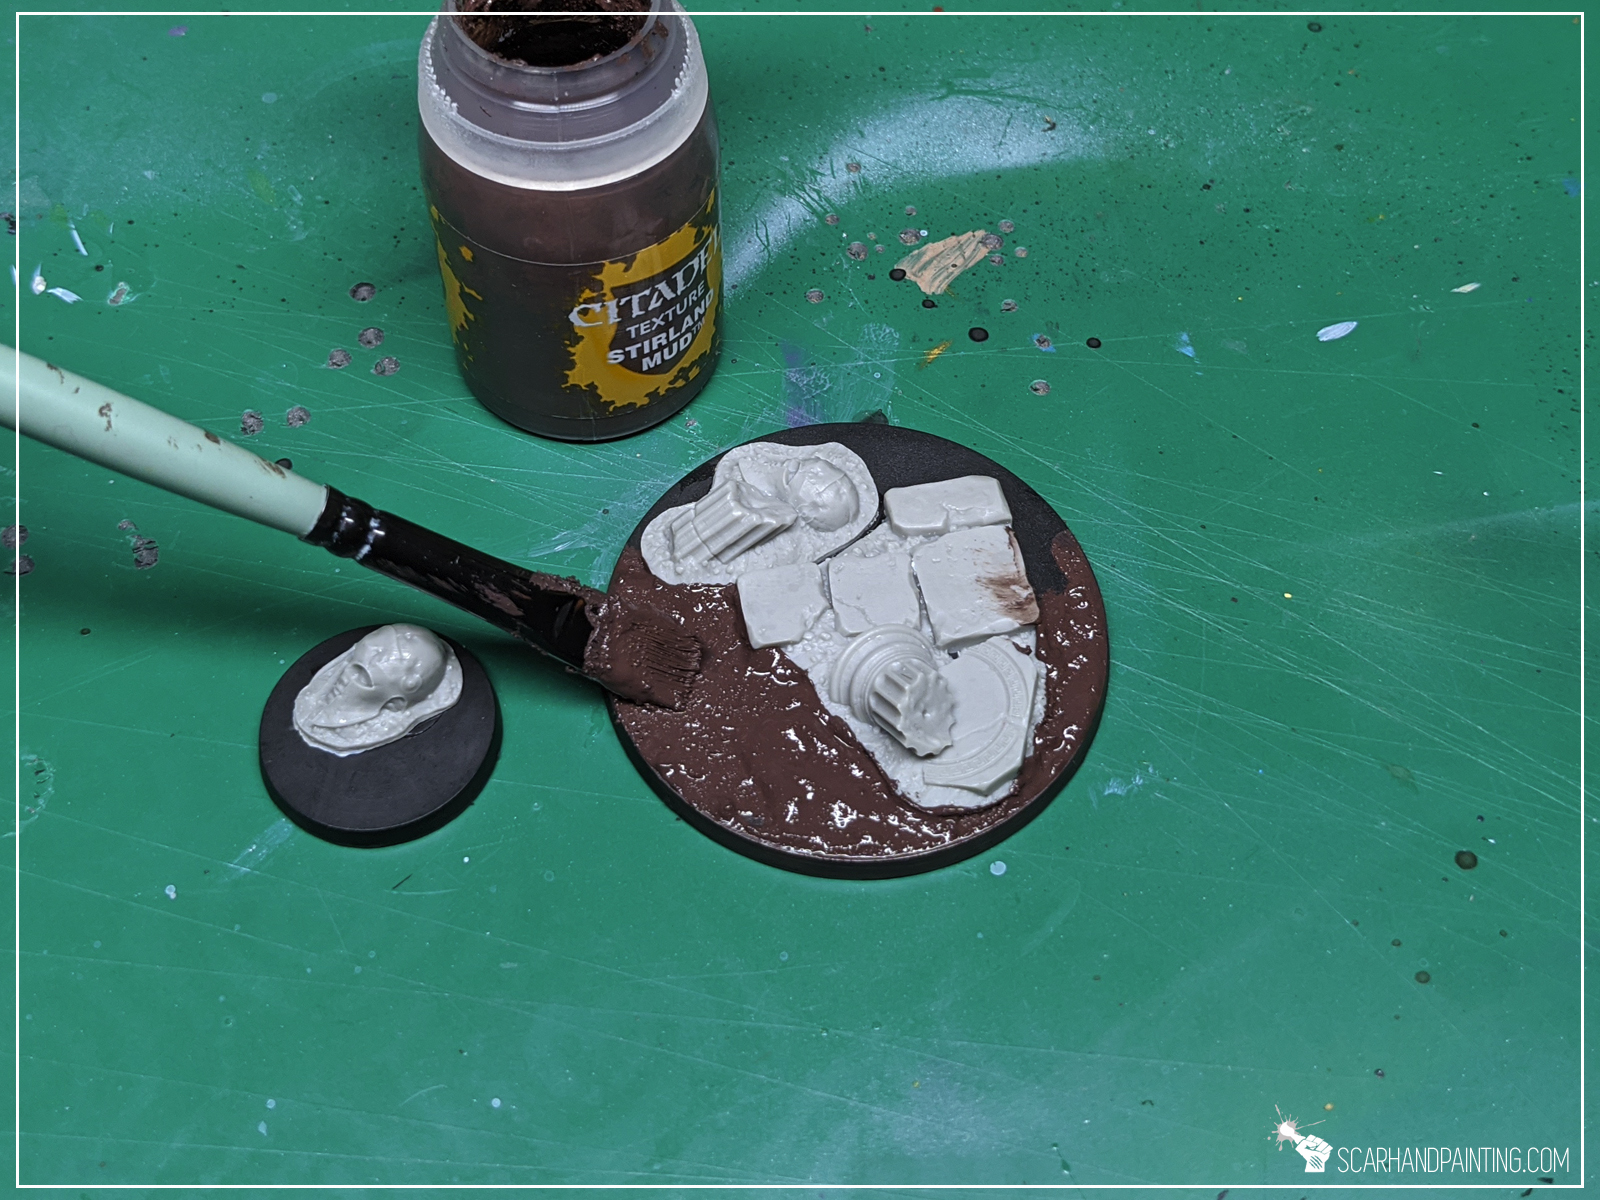
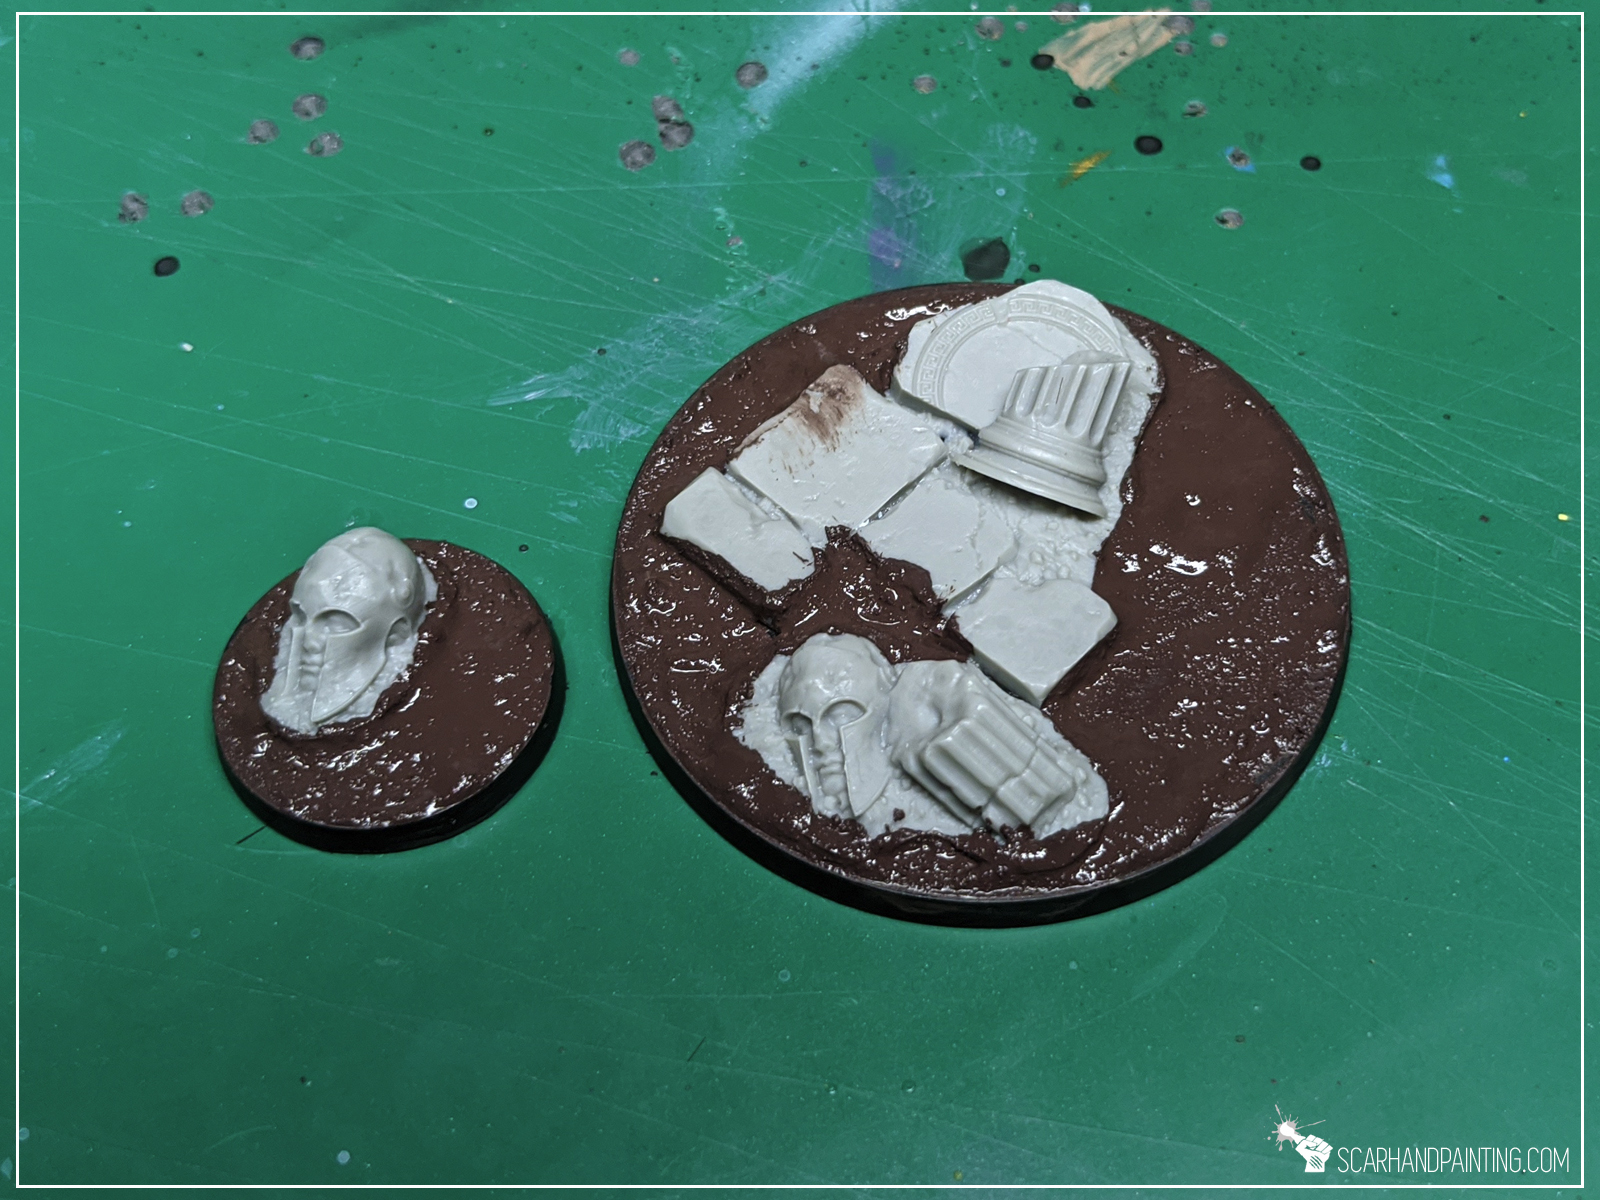
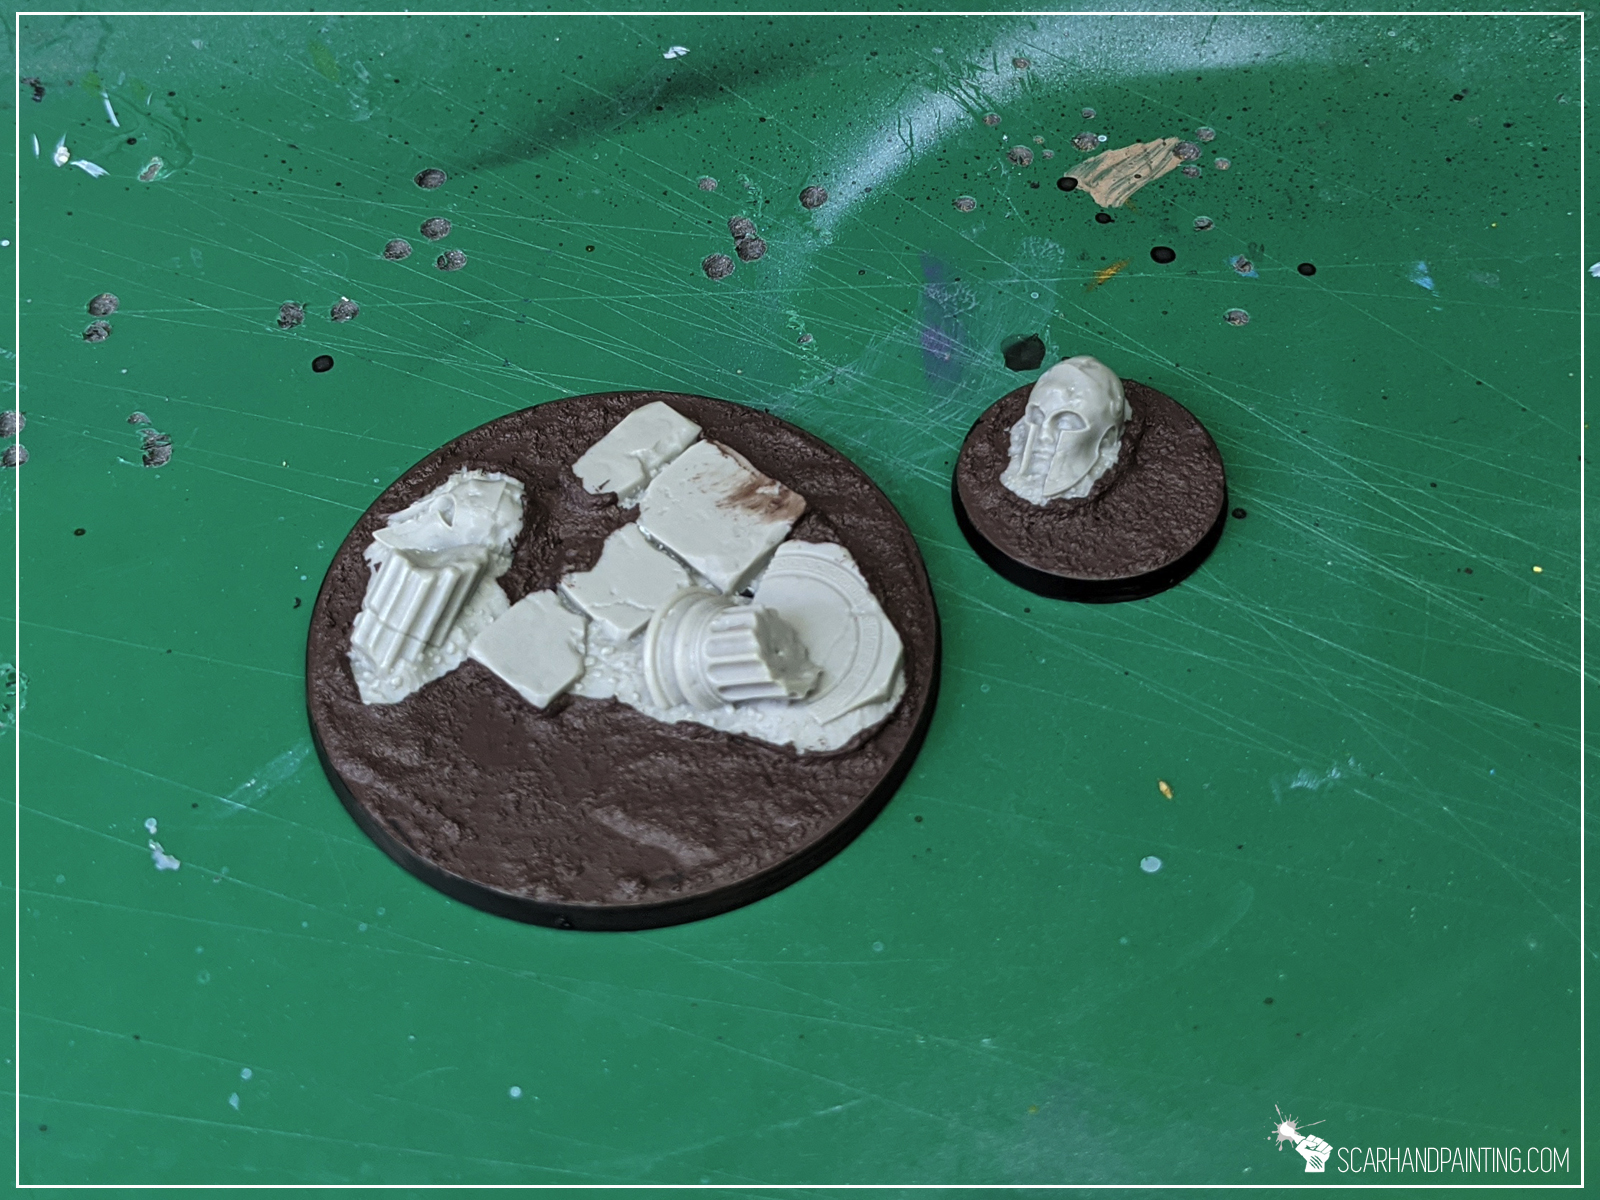
At this point entire “Modelling” part is done. If it seem fast it’s because it really is. Just two steps and you’re ready to paint!

I choose to paint these Temple bases in a bit of a Desert’ish style. Let’s say these are meant to be used for a large army. I want to keep things simple, best if within three layers per color, crowned with a single type of tufts. Nothing fancy, just nice looking, coherent bases. Here’s how I went about it…
Step one: Undercoat
I applied a black undercoat. This is my usual start for everything 😛
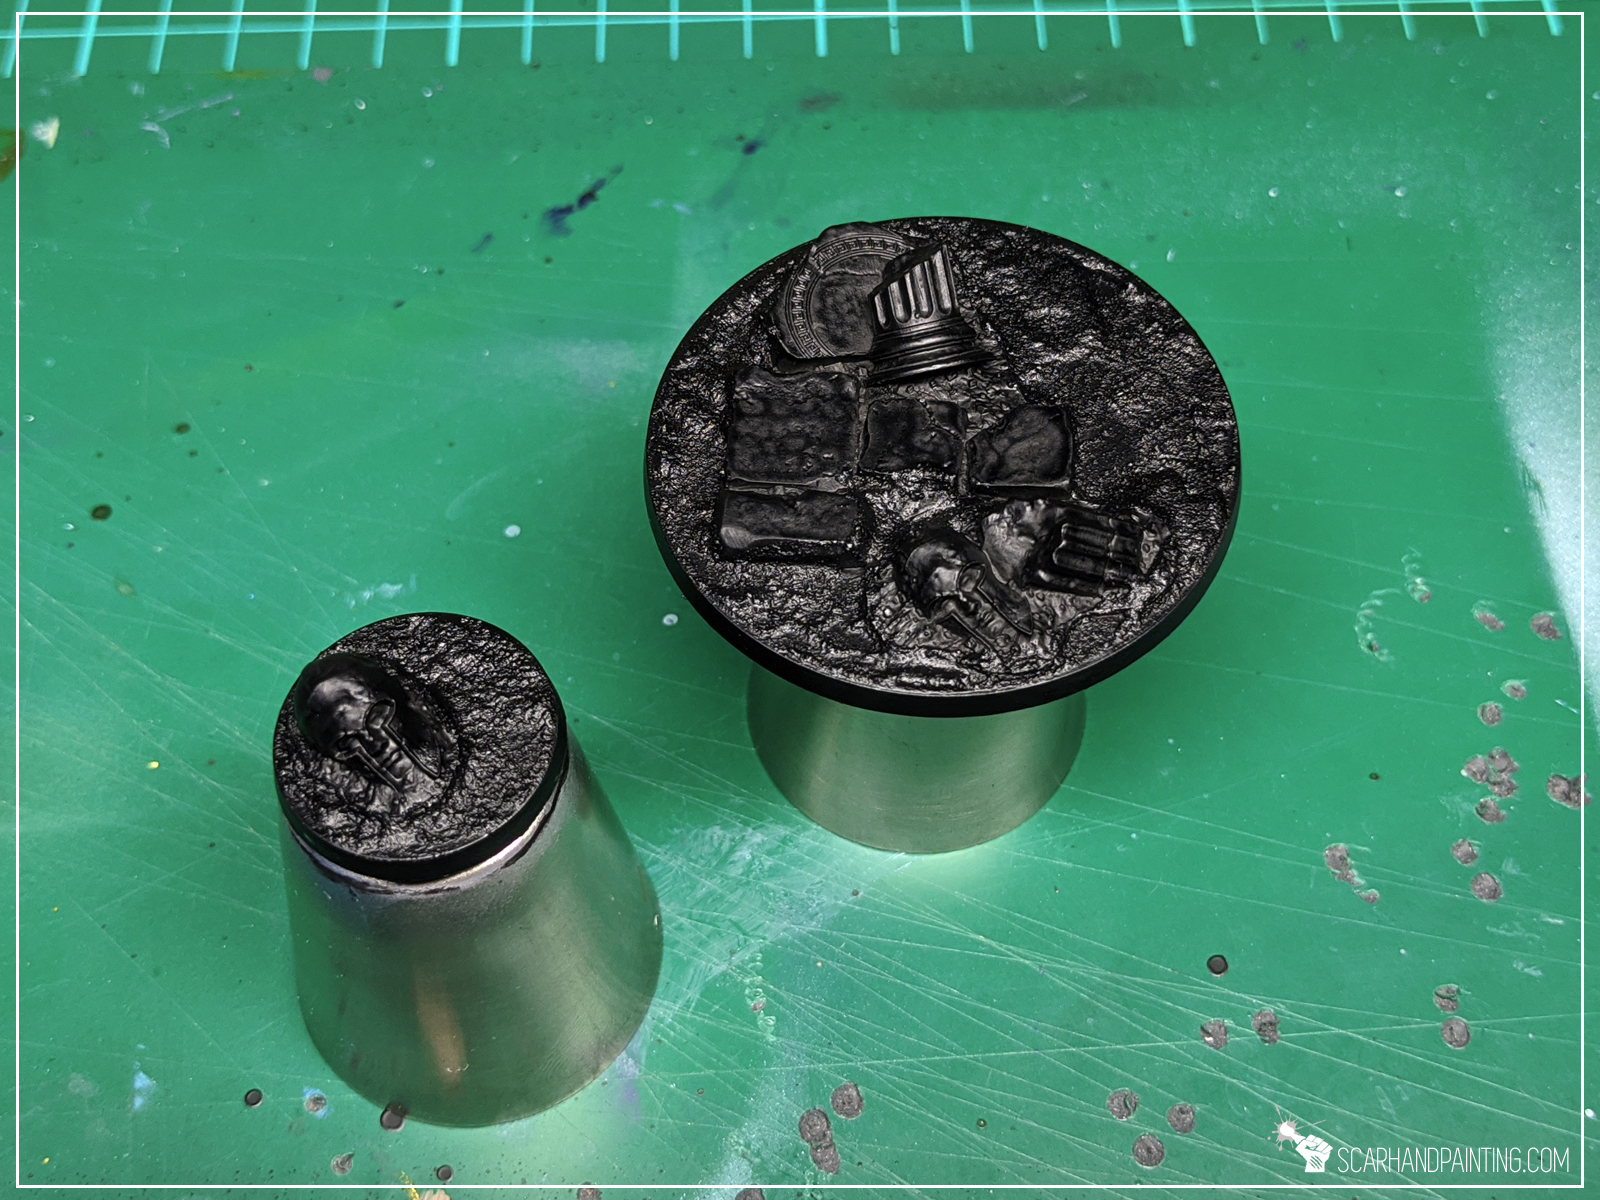
Step two: Main color
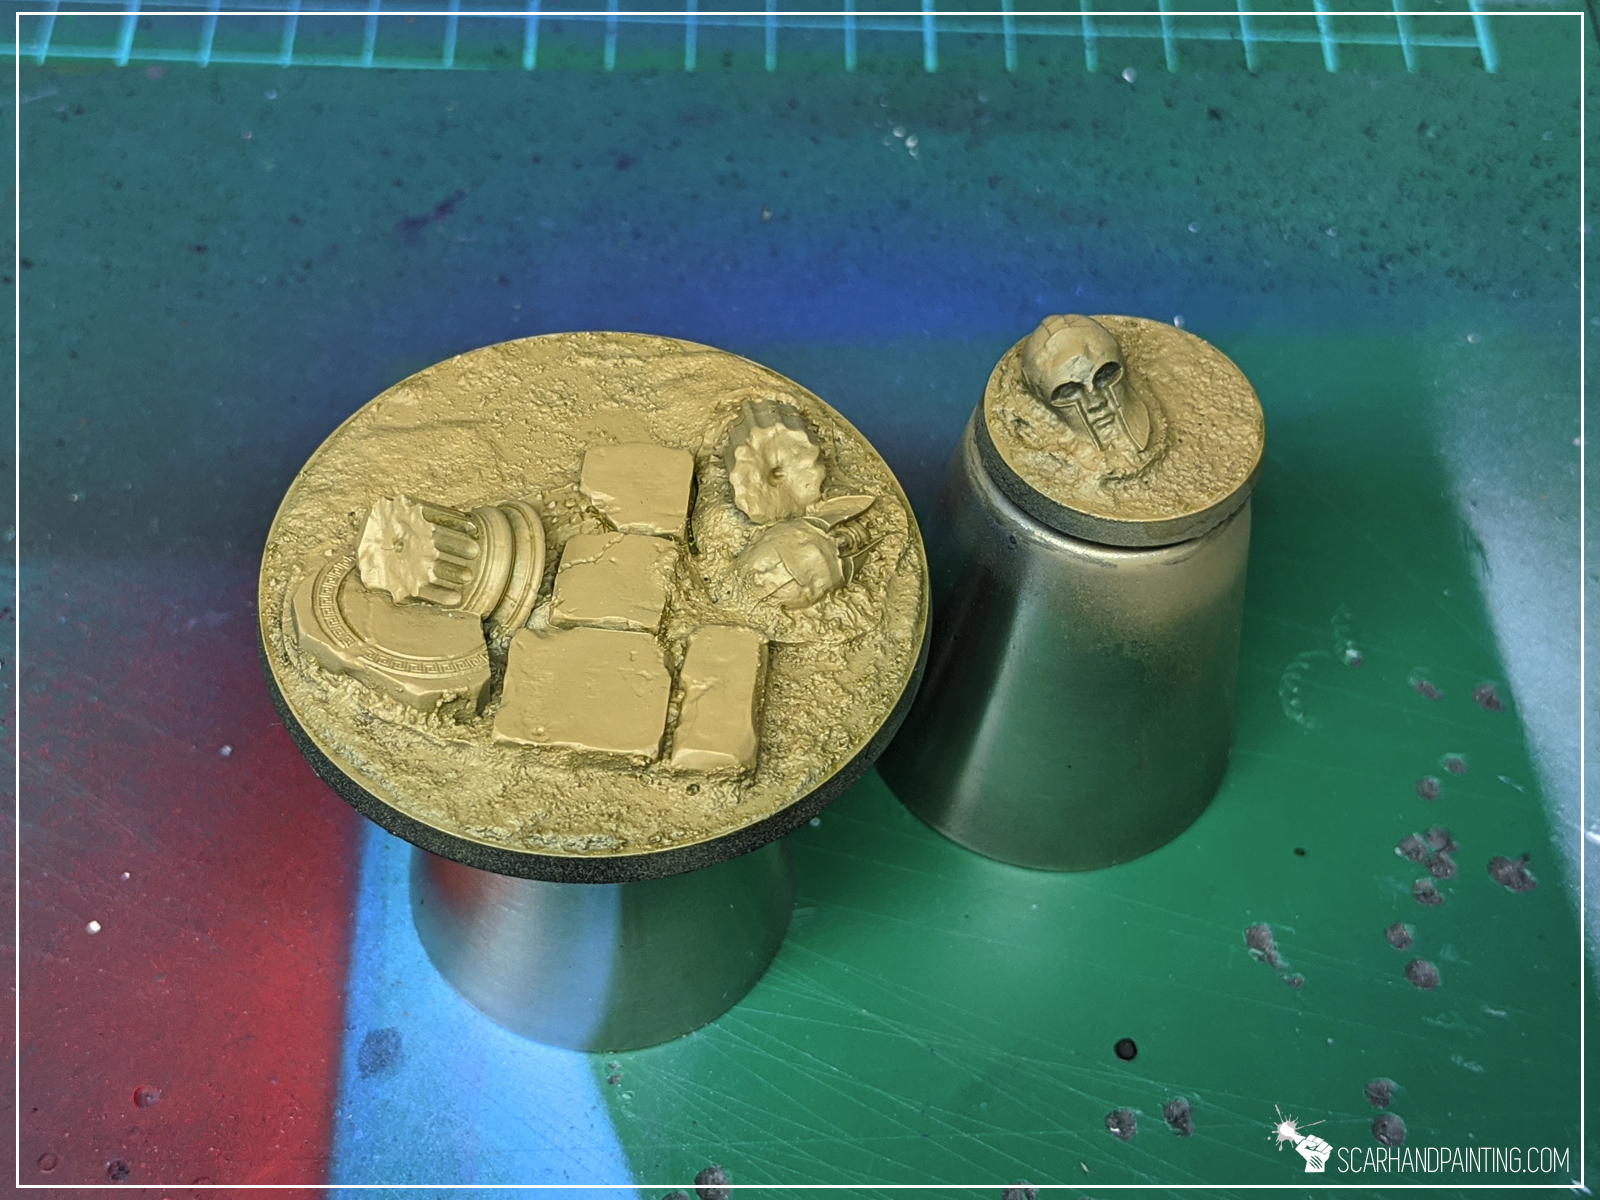
I then airbrushed Vallejo Desert Yellow over entire base. Once dry I applied Vallejo European Dust Wash.
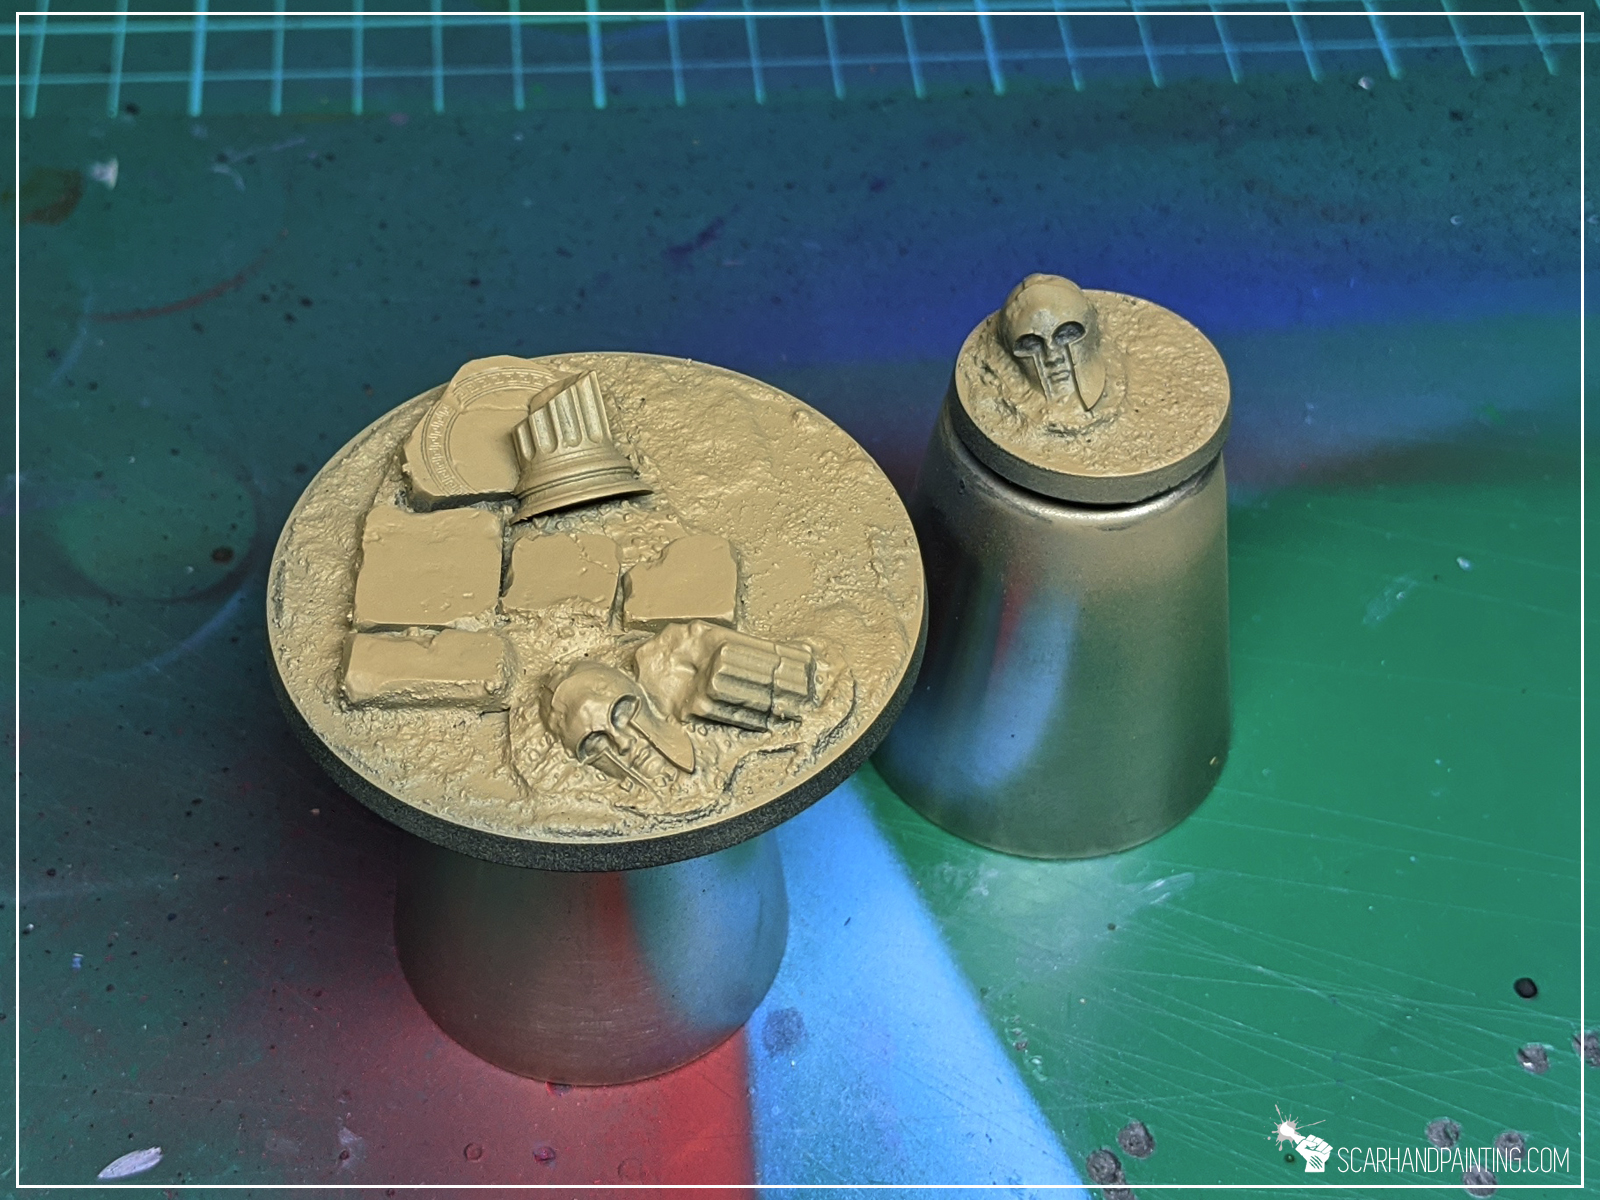
Step two: Secondary color
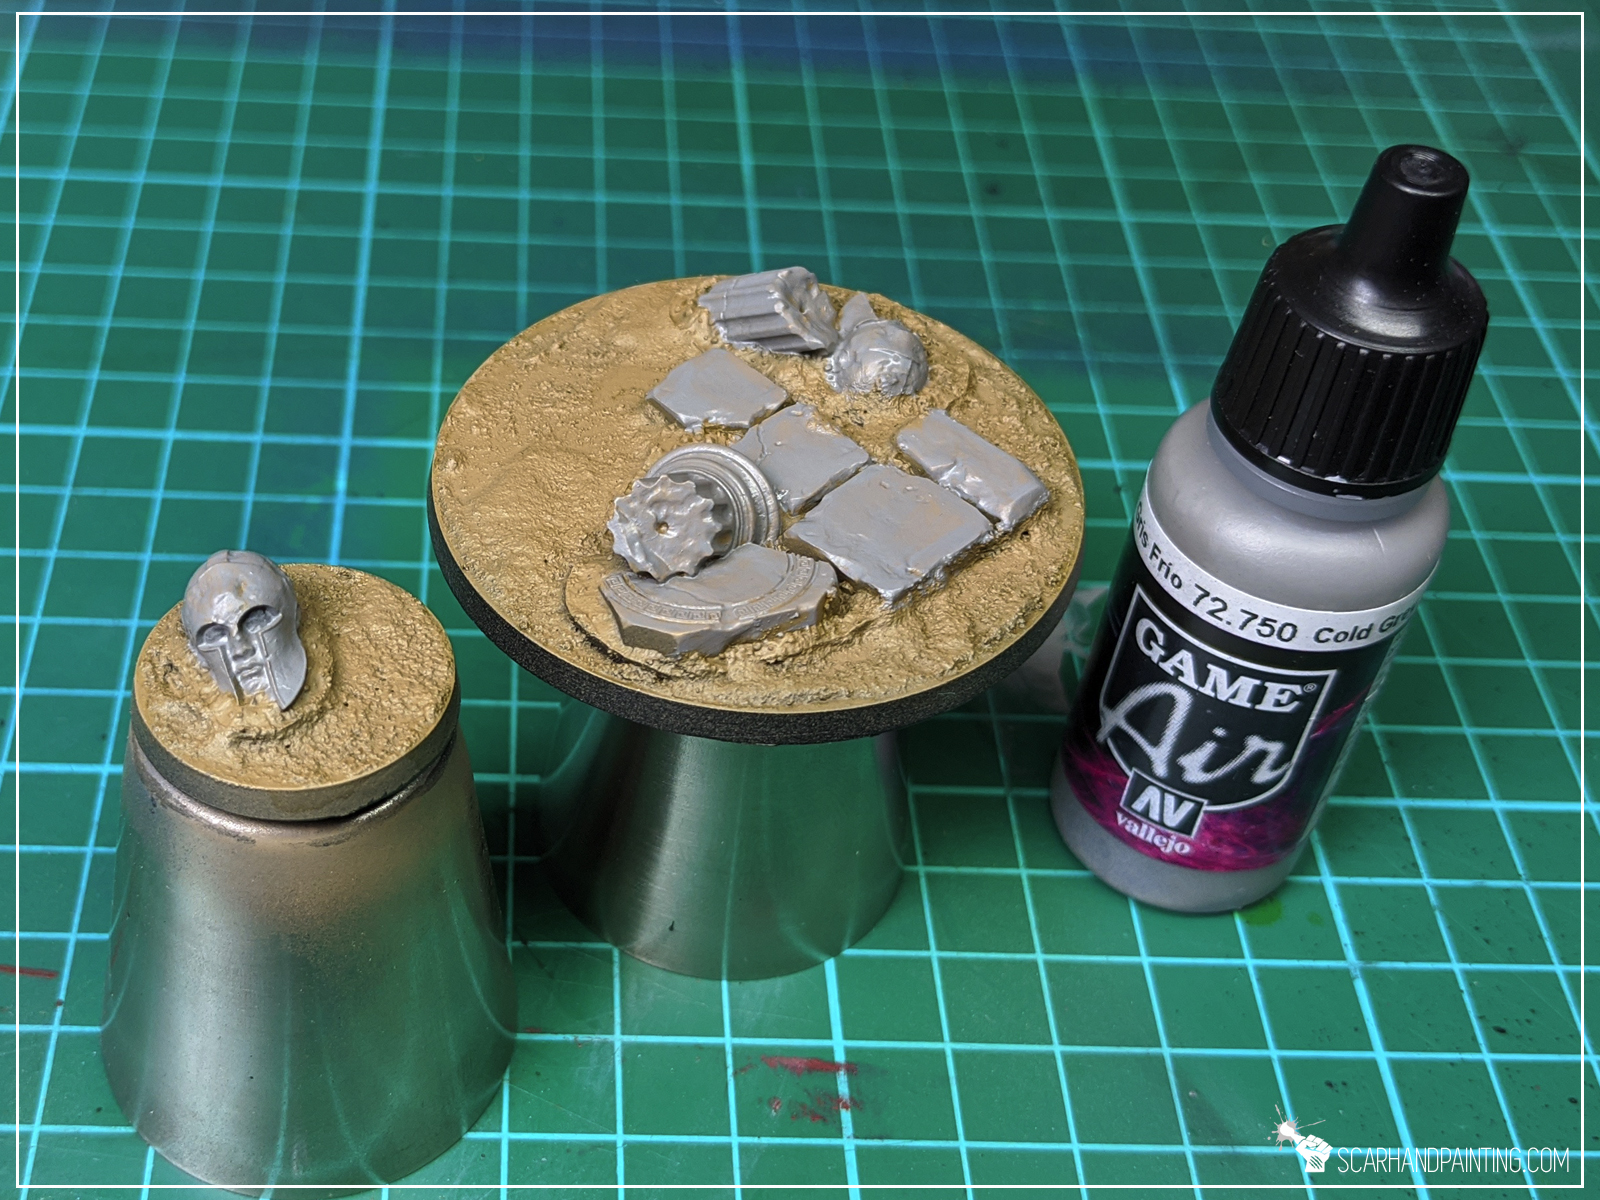
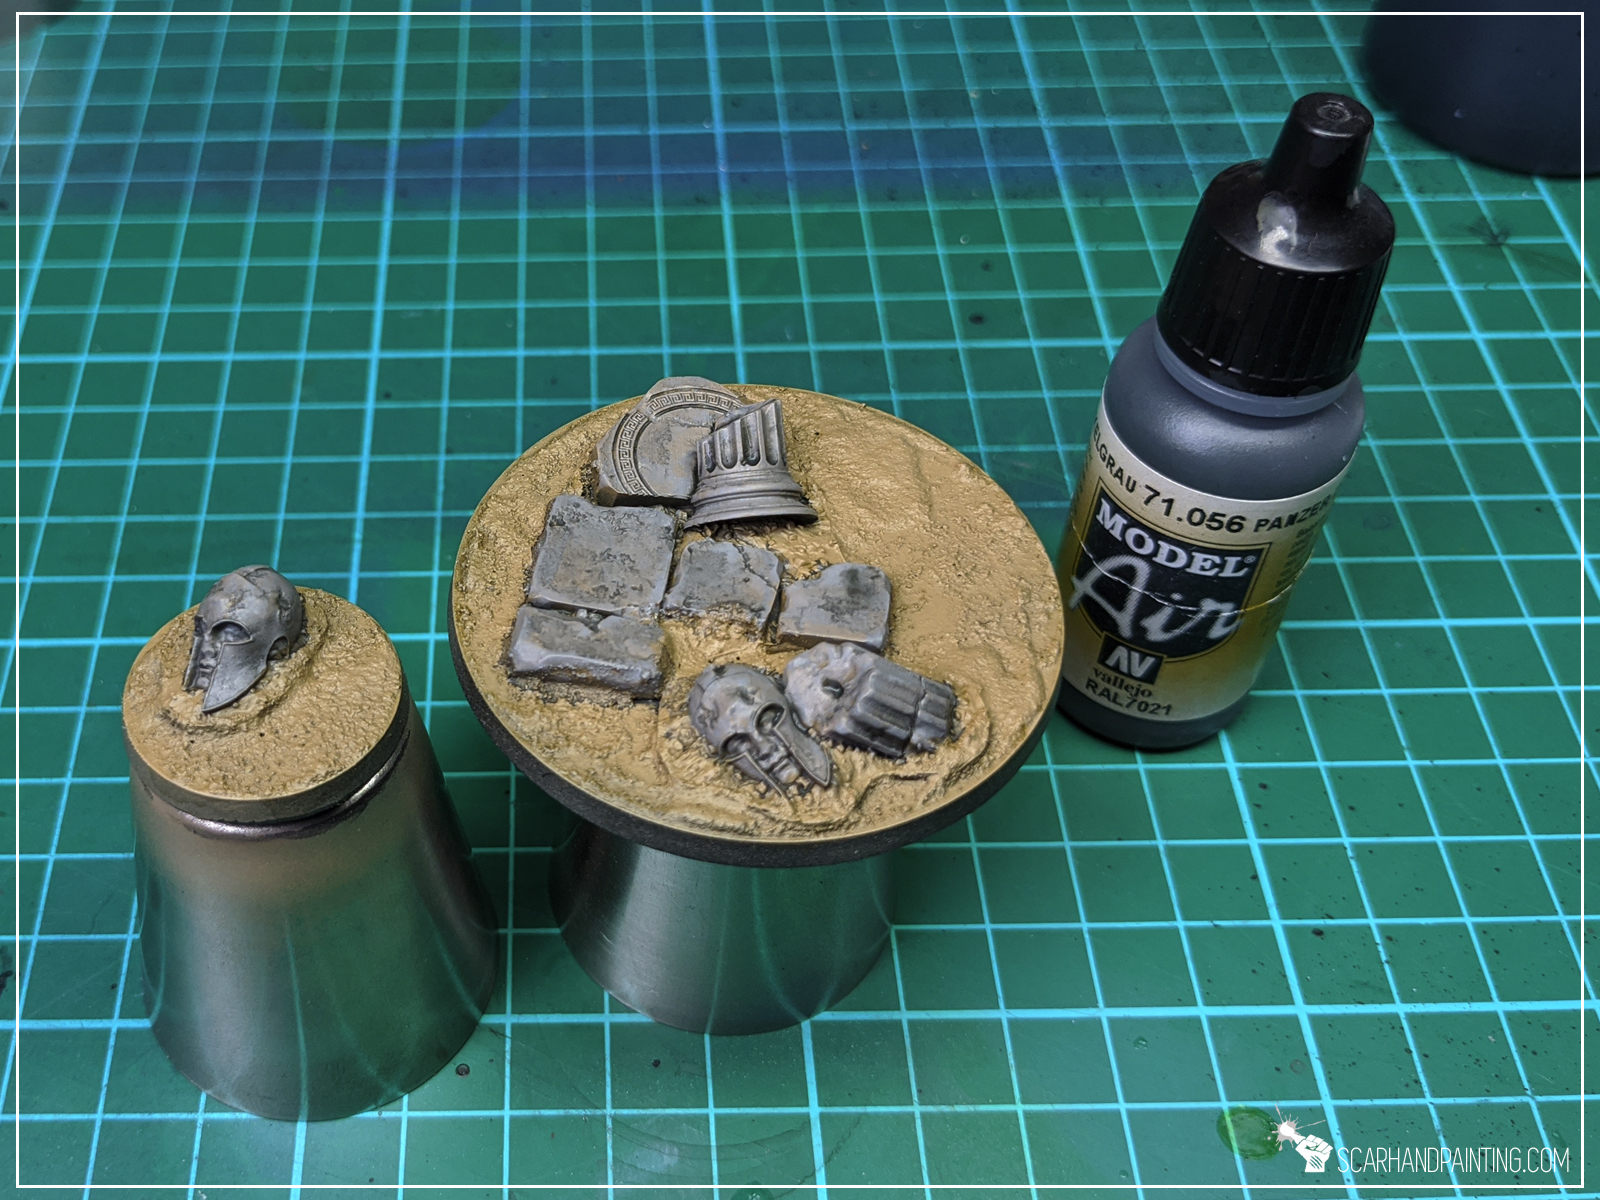
For ruins I choose Vallejo Cold Grey, followed by a wash of water thinned Vallejo Dark Panzer Grey.
Step tree: Highlights
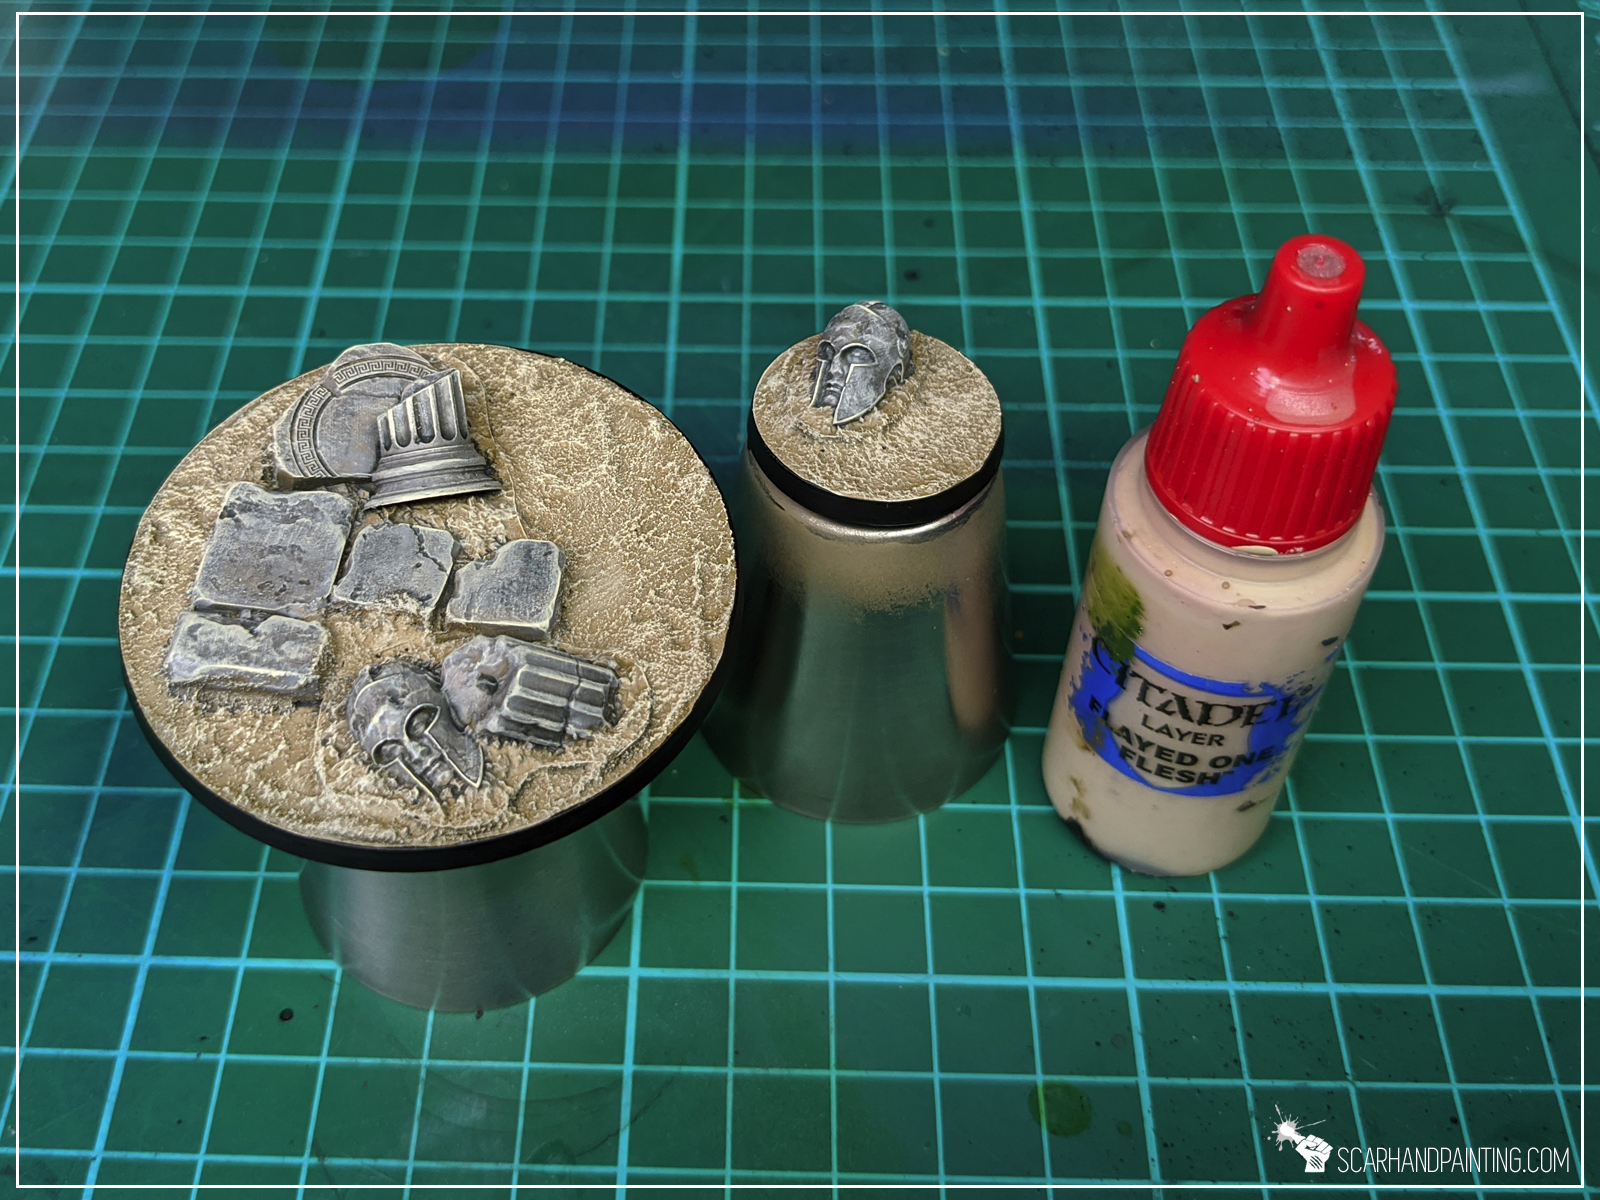
I then highlighted both colors with a soft drybrush of Games Workshop Flayed One Flesh. I also applied some highlights with the same color on the edges of ruins – just a bit to make them pop.

Step tree: Tufts
Finally I applied Gamers Grass Burned Wild Tufts.
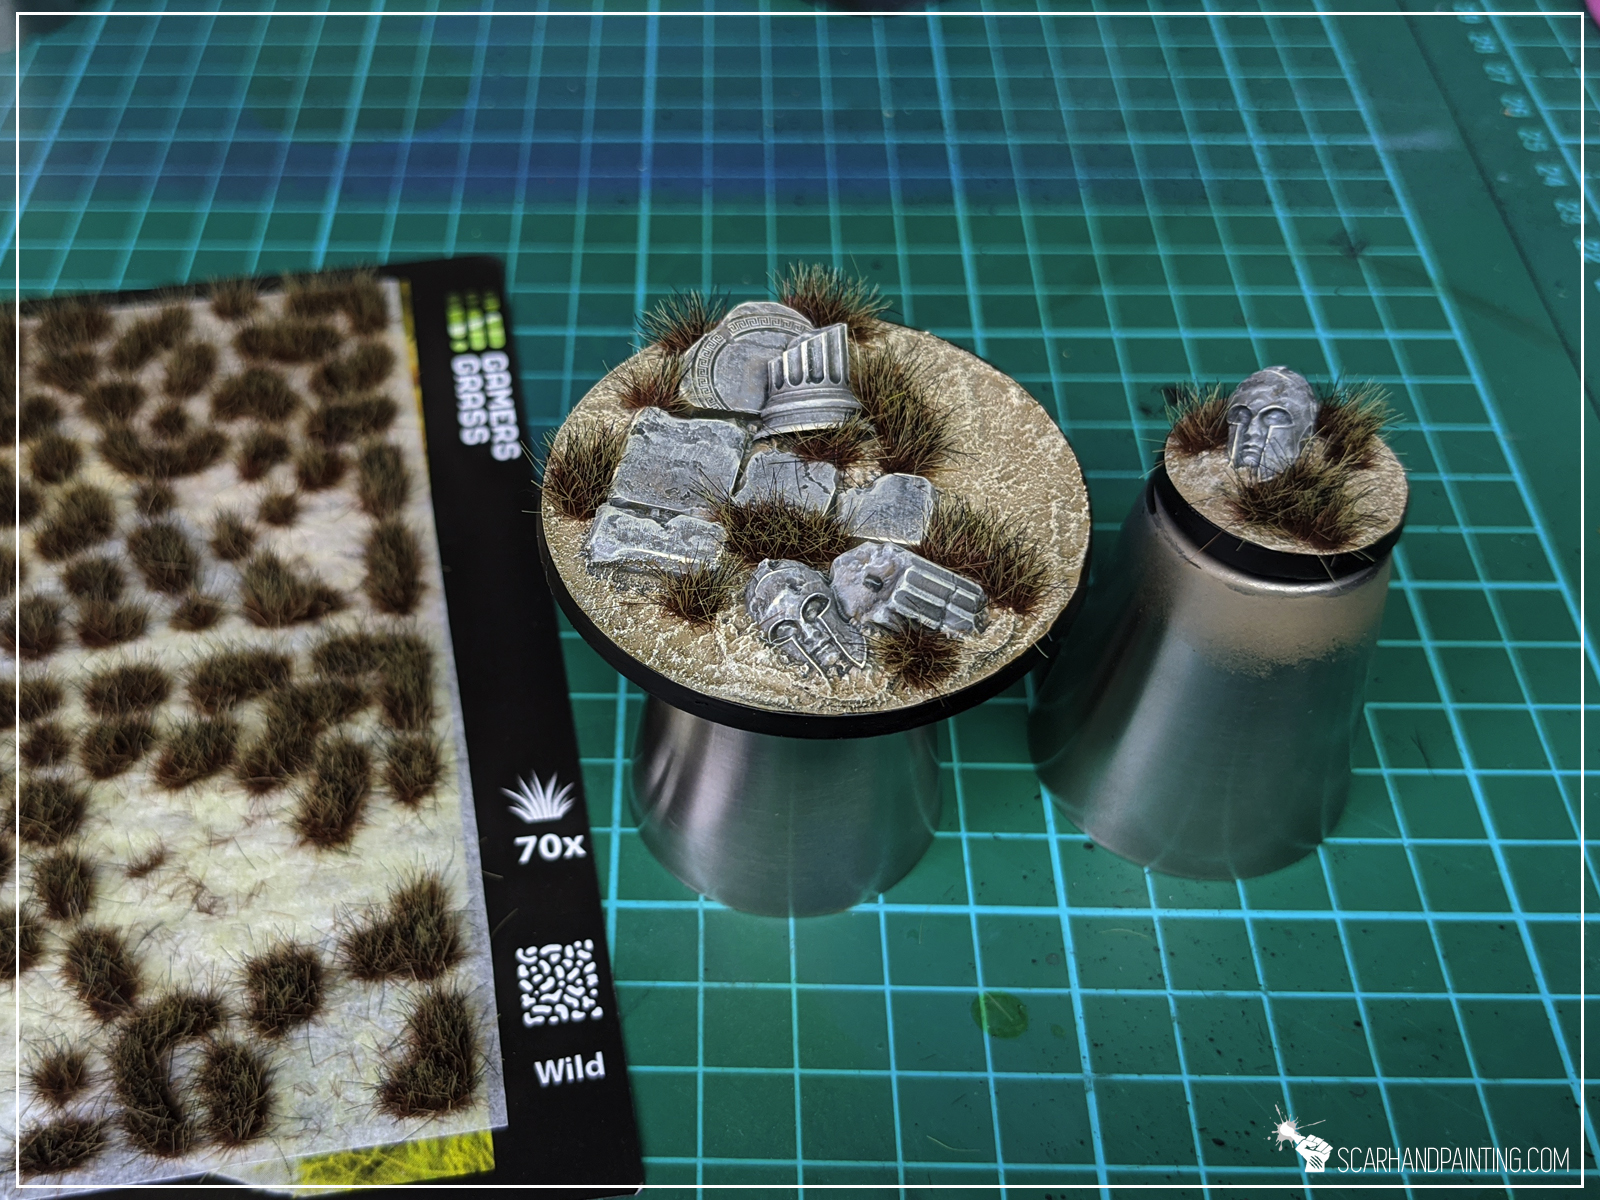


Job done! There’s some poetry in both starting and finishing a base using products from the same company 😛 Either way – I hope this was a pleasant tutorial and that you saw how simple the process is. If you want to learn more about Gamers Grass products – here’s my review:

In this step-by-step tutorial I’m going to show you how to create Cityfight bases same way I did for Gallery: Tau Sa’Cea.

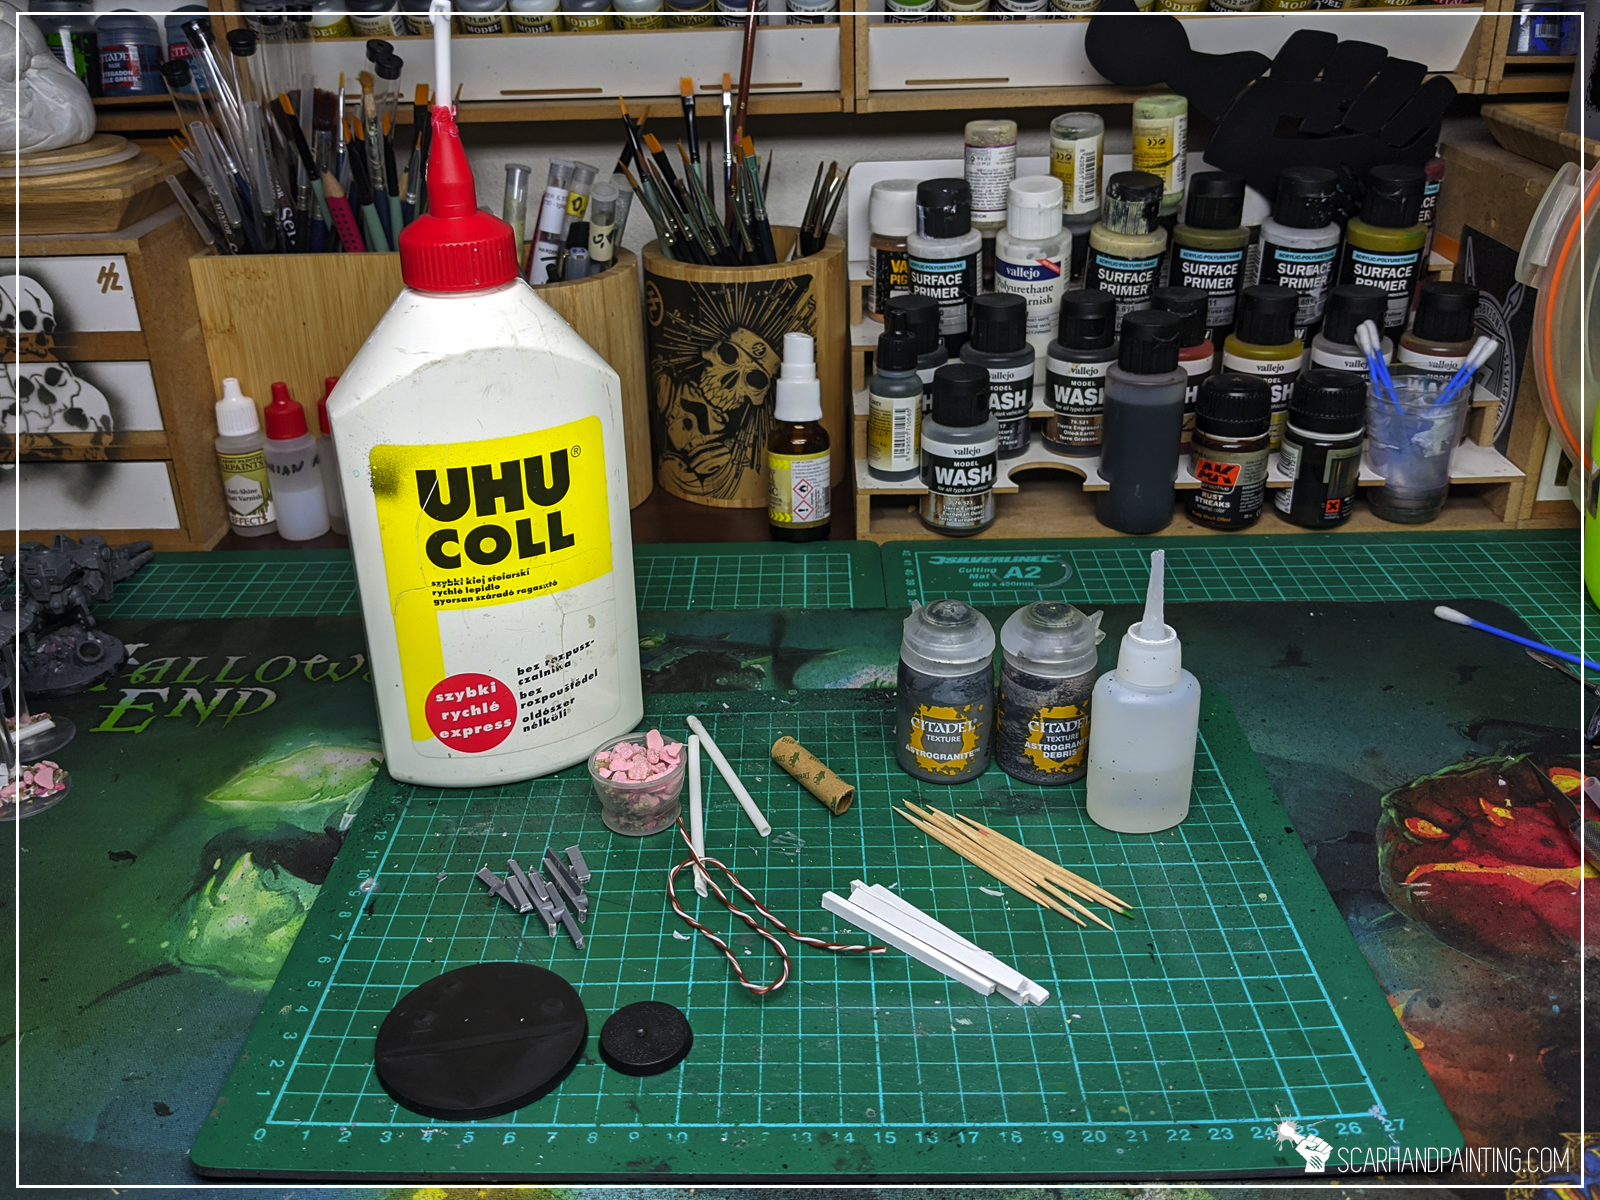
I used:
Step one: Special detail
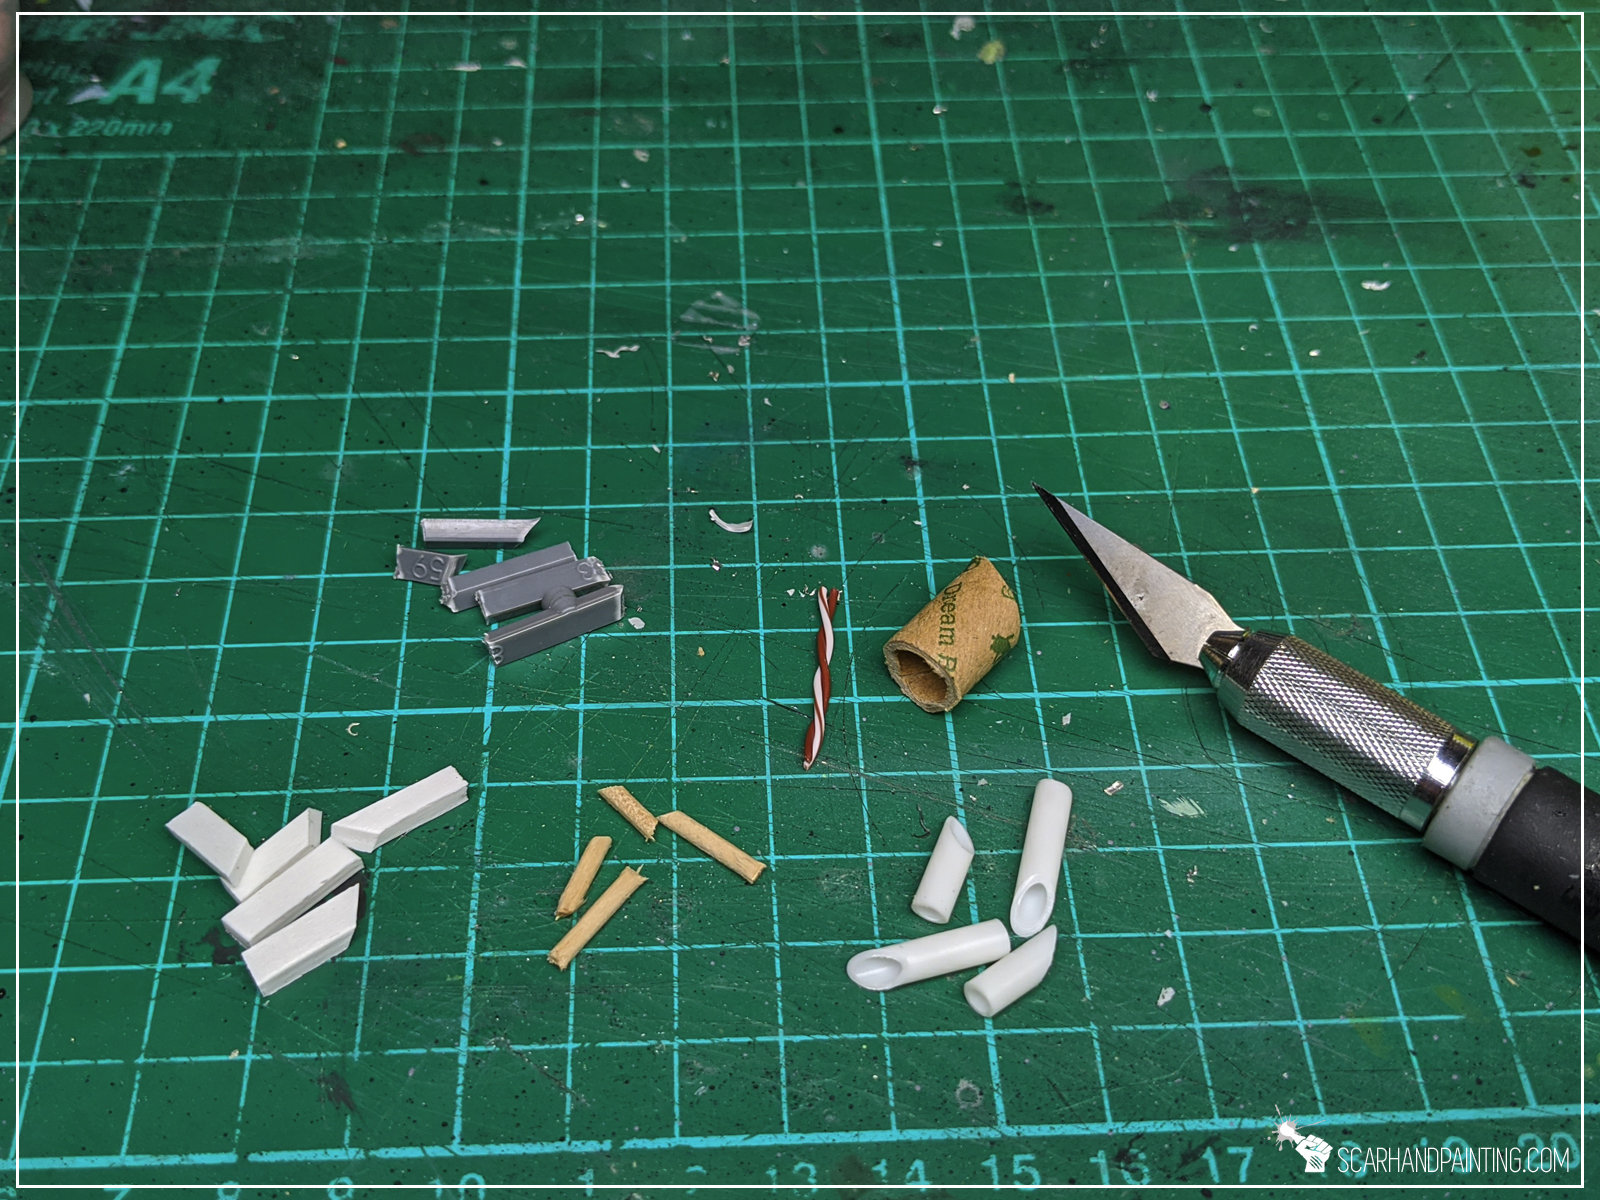

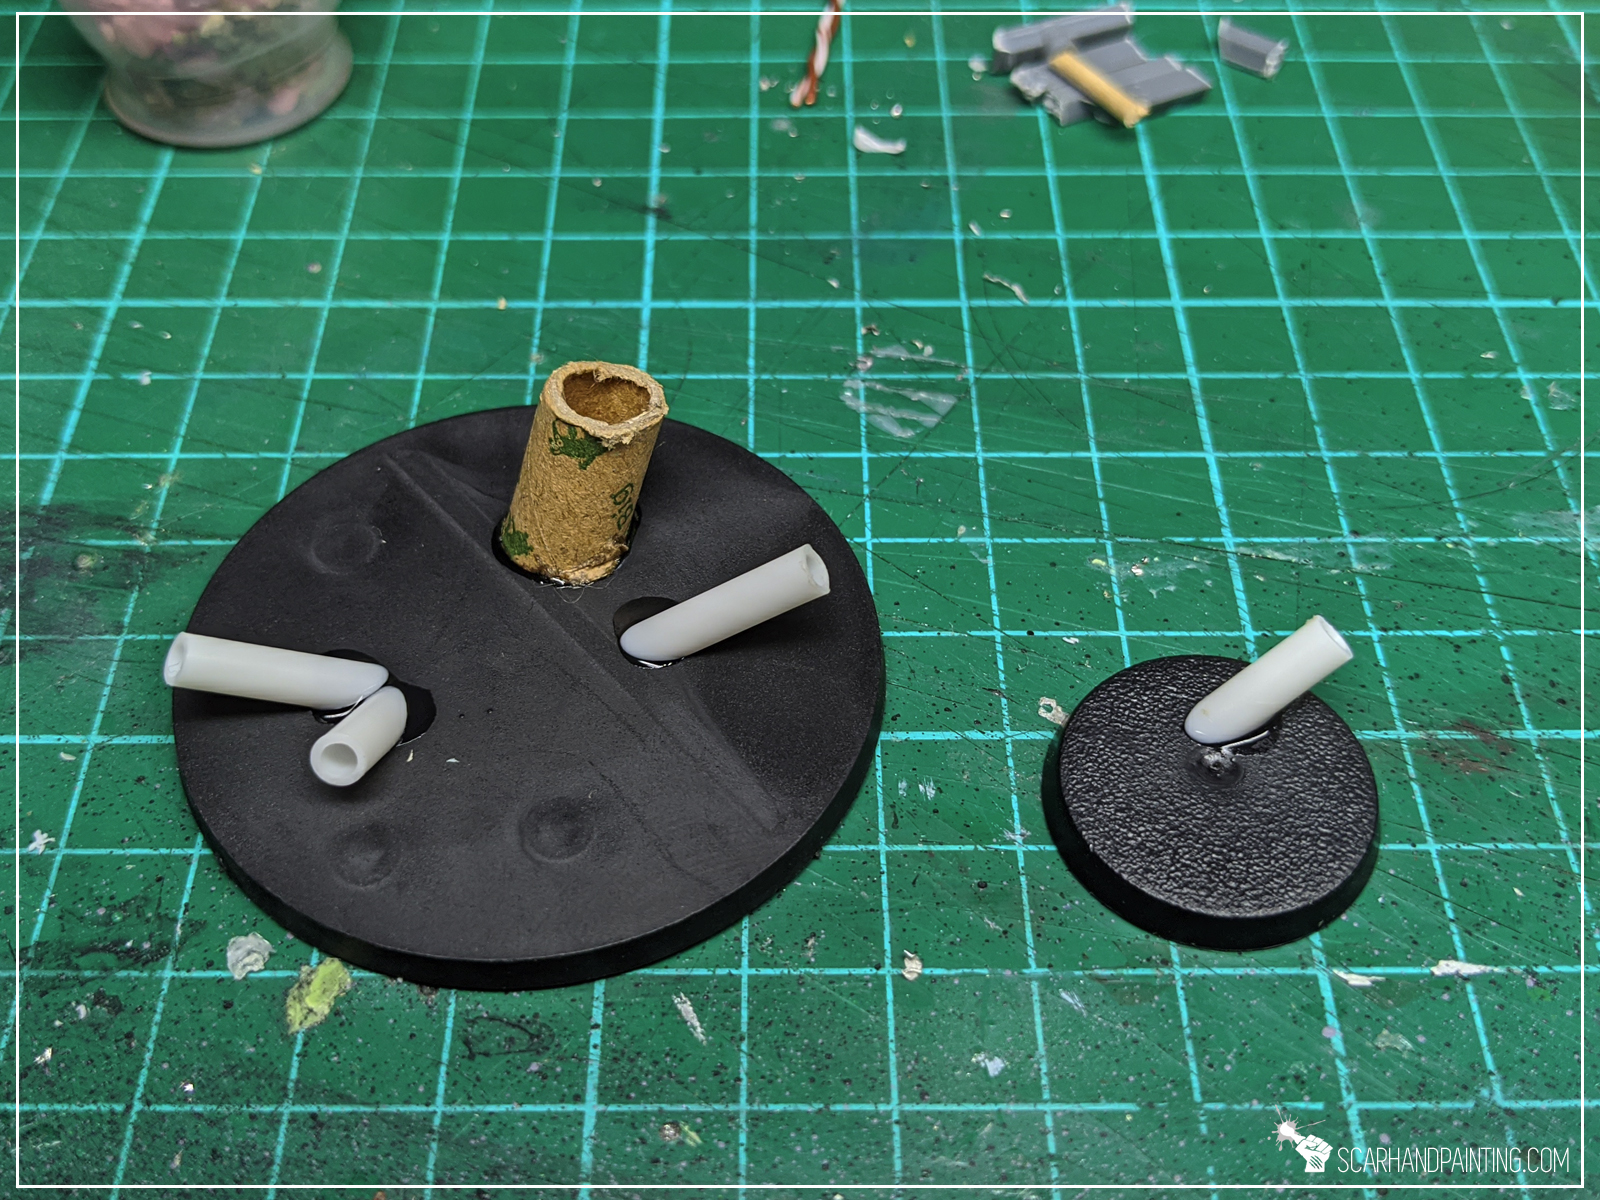

Using a hobby knife I cut all the sticks, sprues, toothpicks, plasticard and tube into small pieces. I made sure to cut one side of each piece at an angle, to better position each piece on the base. I then glued random pieces on top of a base using Super glue.
Step two: Gravel
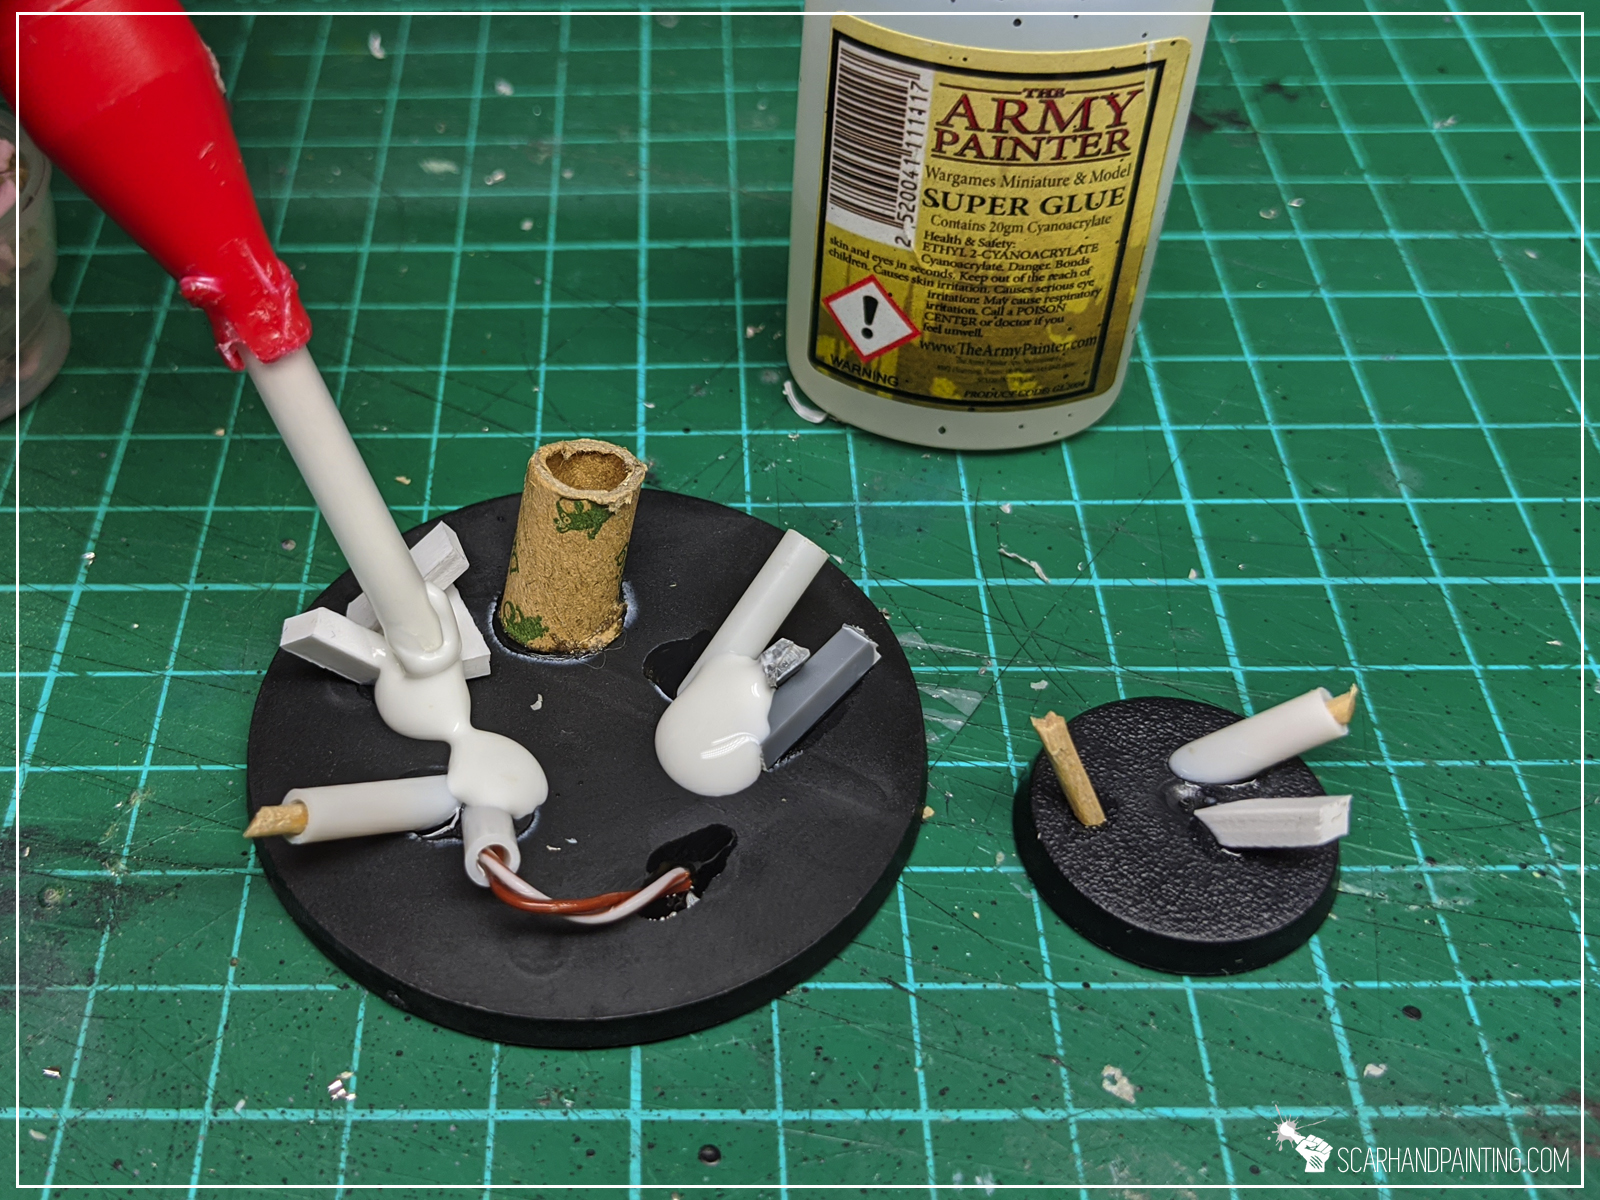
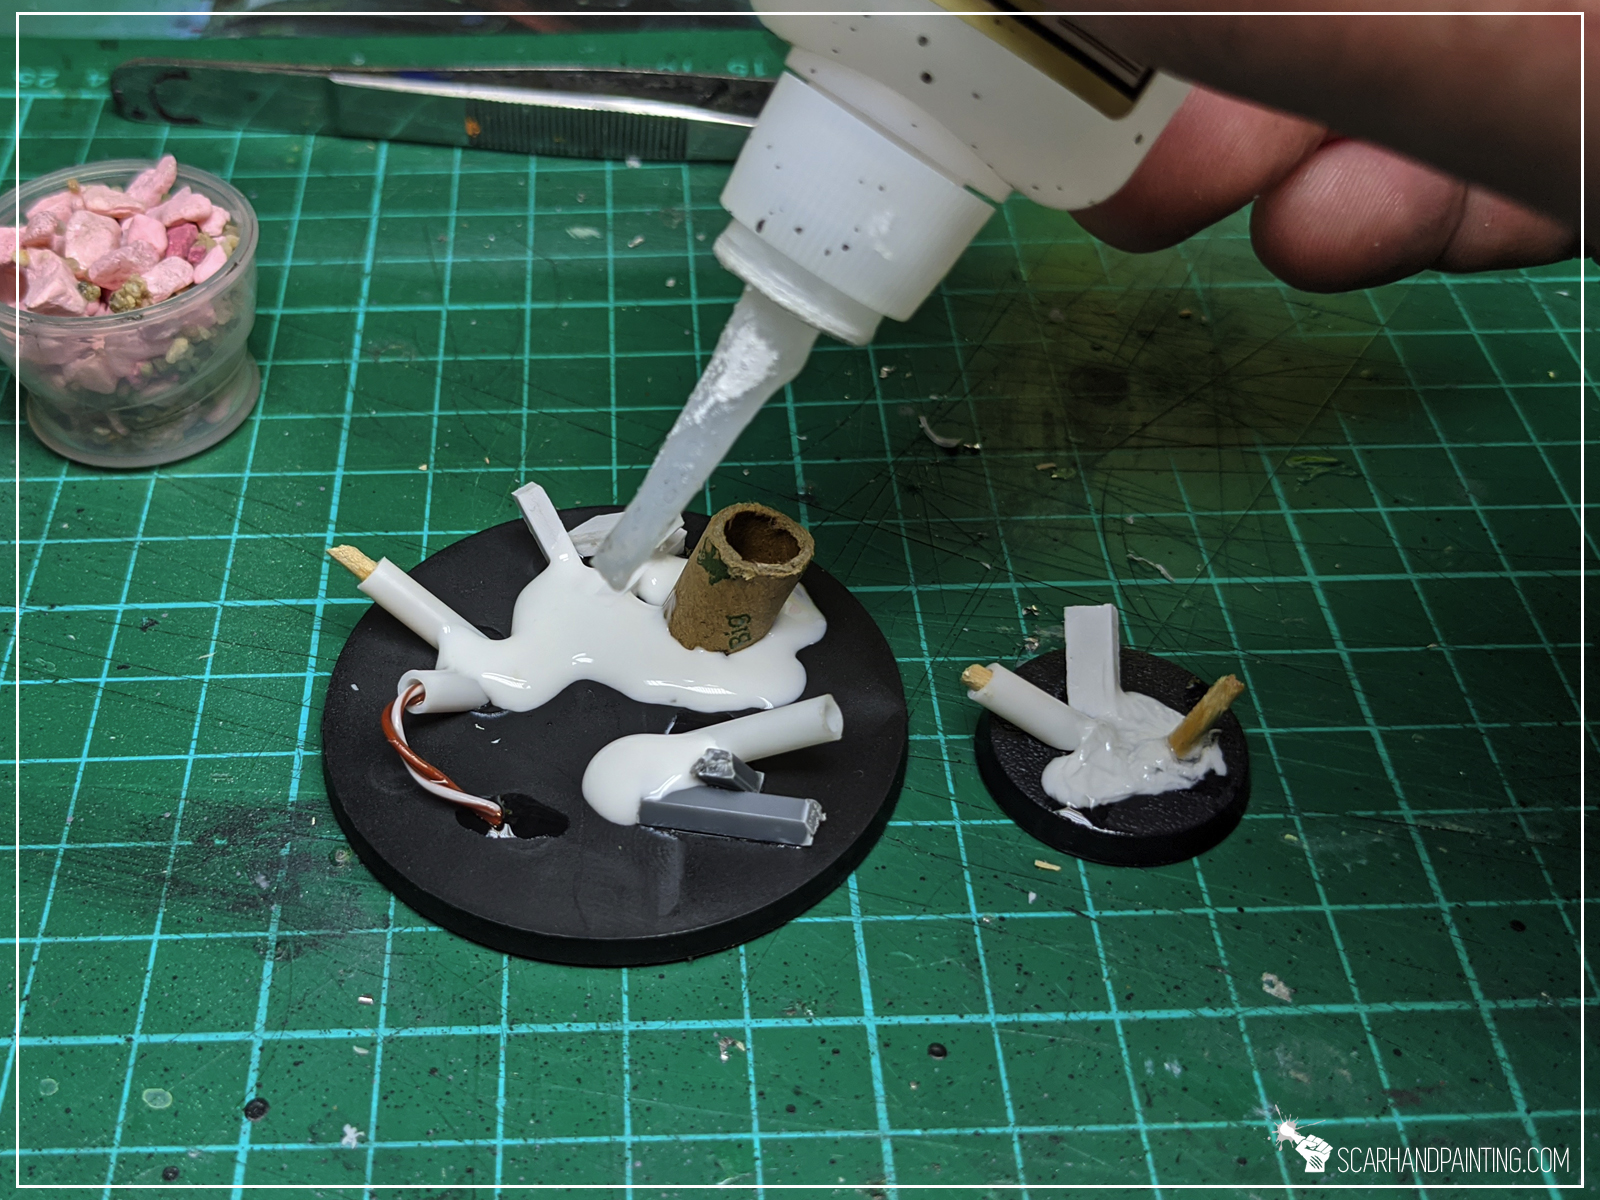


I applied PVA glue around previously glued pieces. I then applied Super glue on top of it and, before super glue hardened, covered entire thing with thick sand mixed with hobby gravel.
Step three: Texture
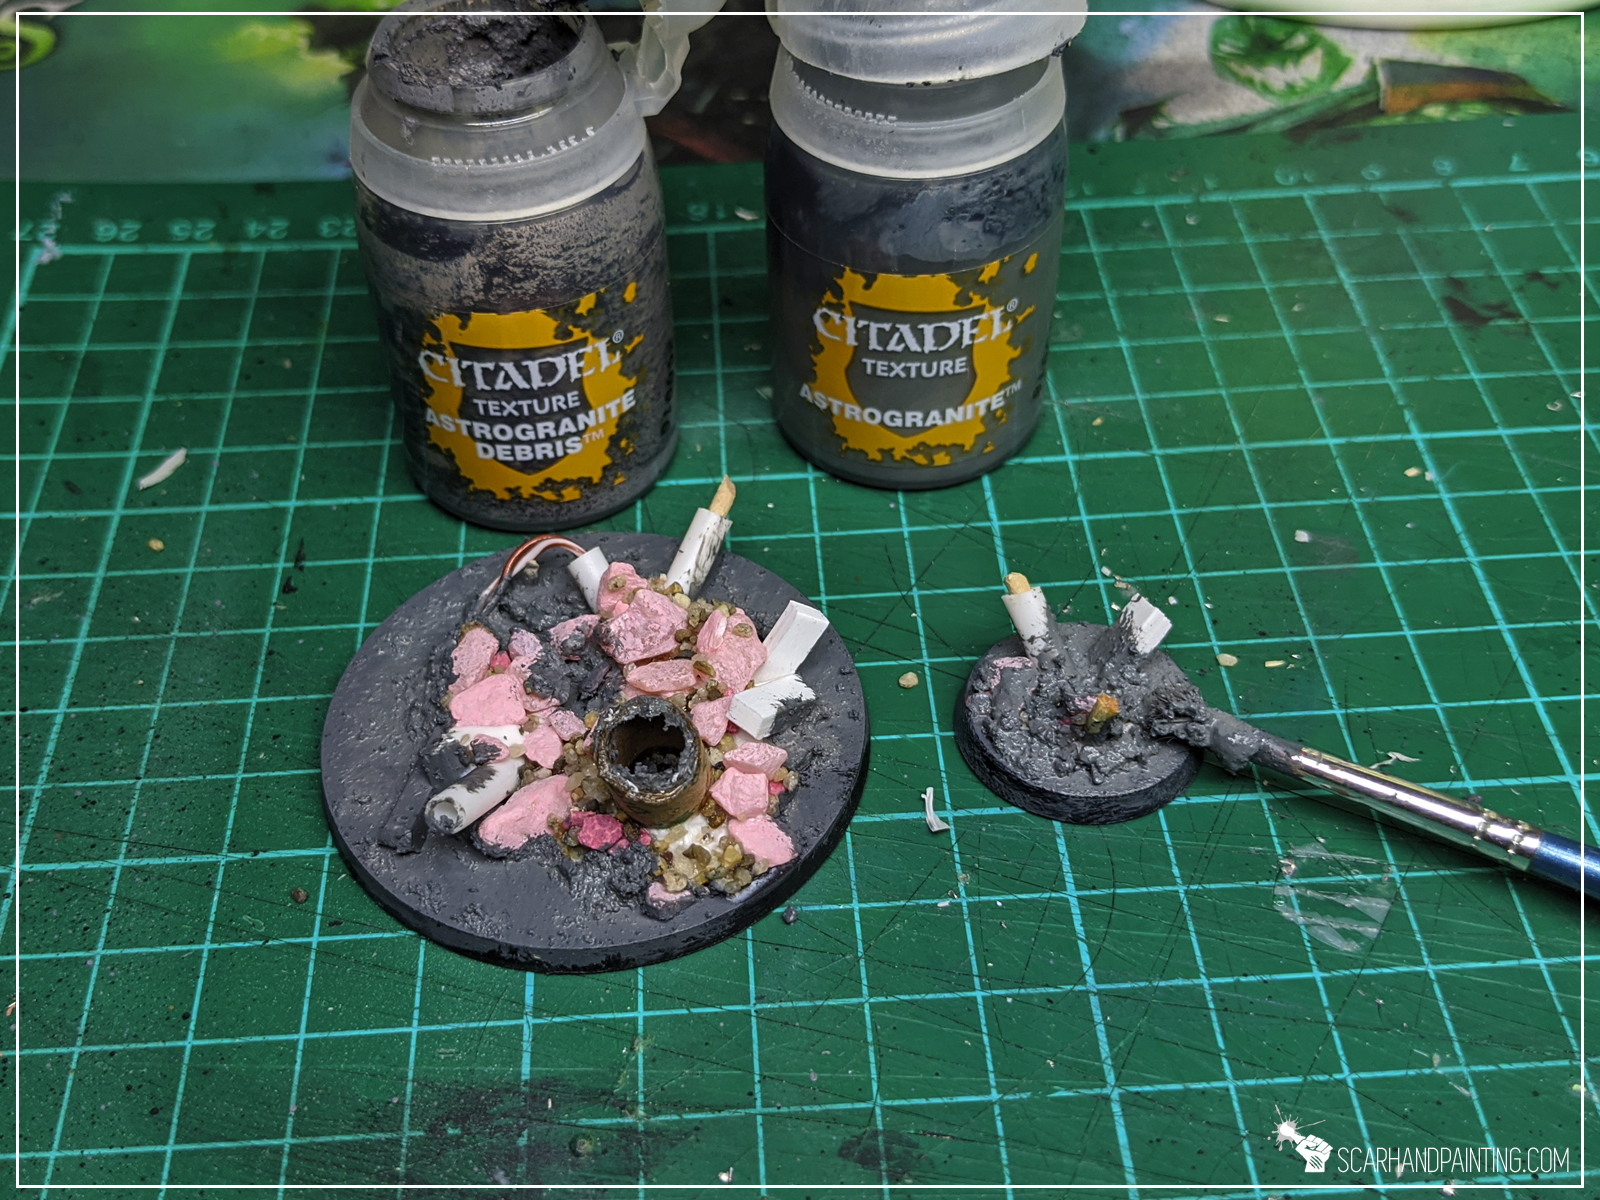
I then textured rest of the base using Games Workshop Astrogranite and Astrogranite Debris paints.
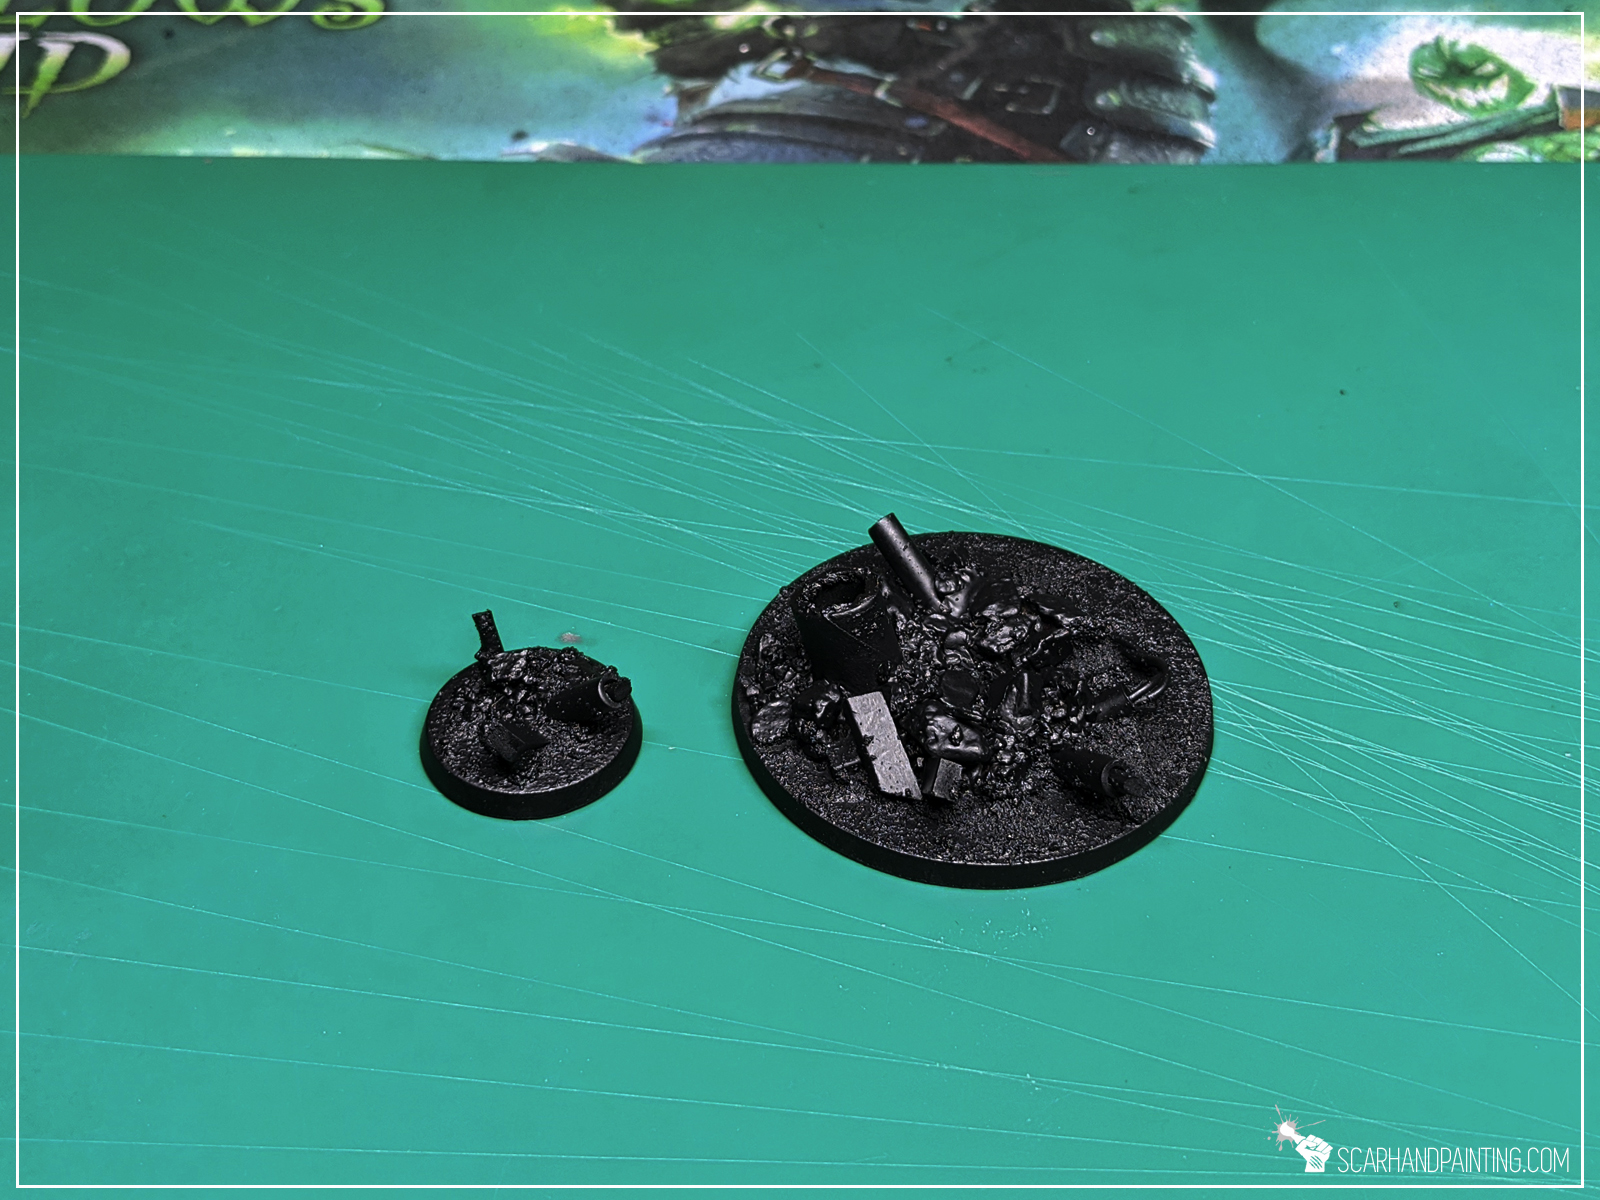
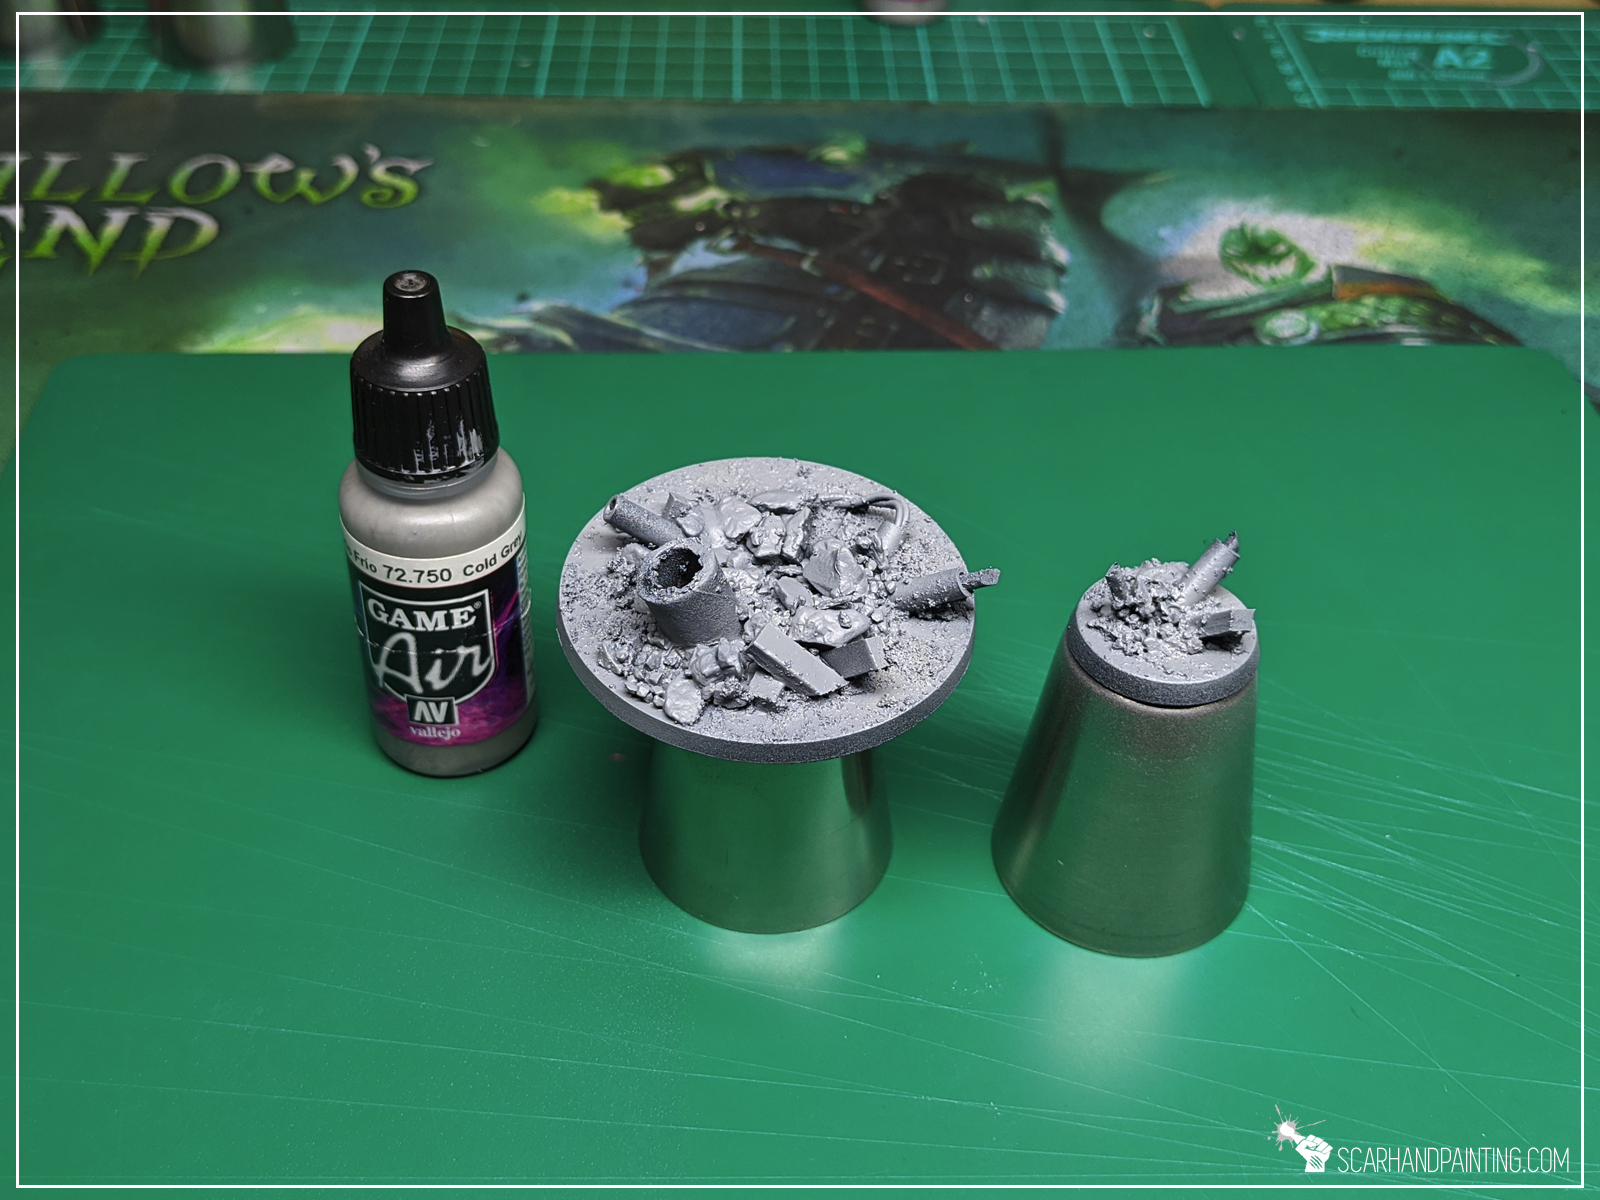

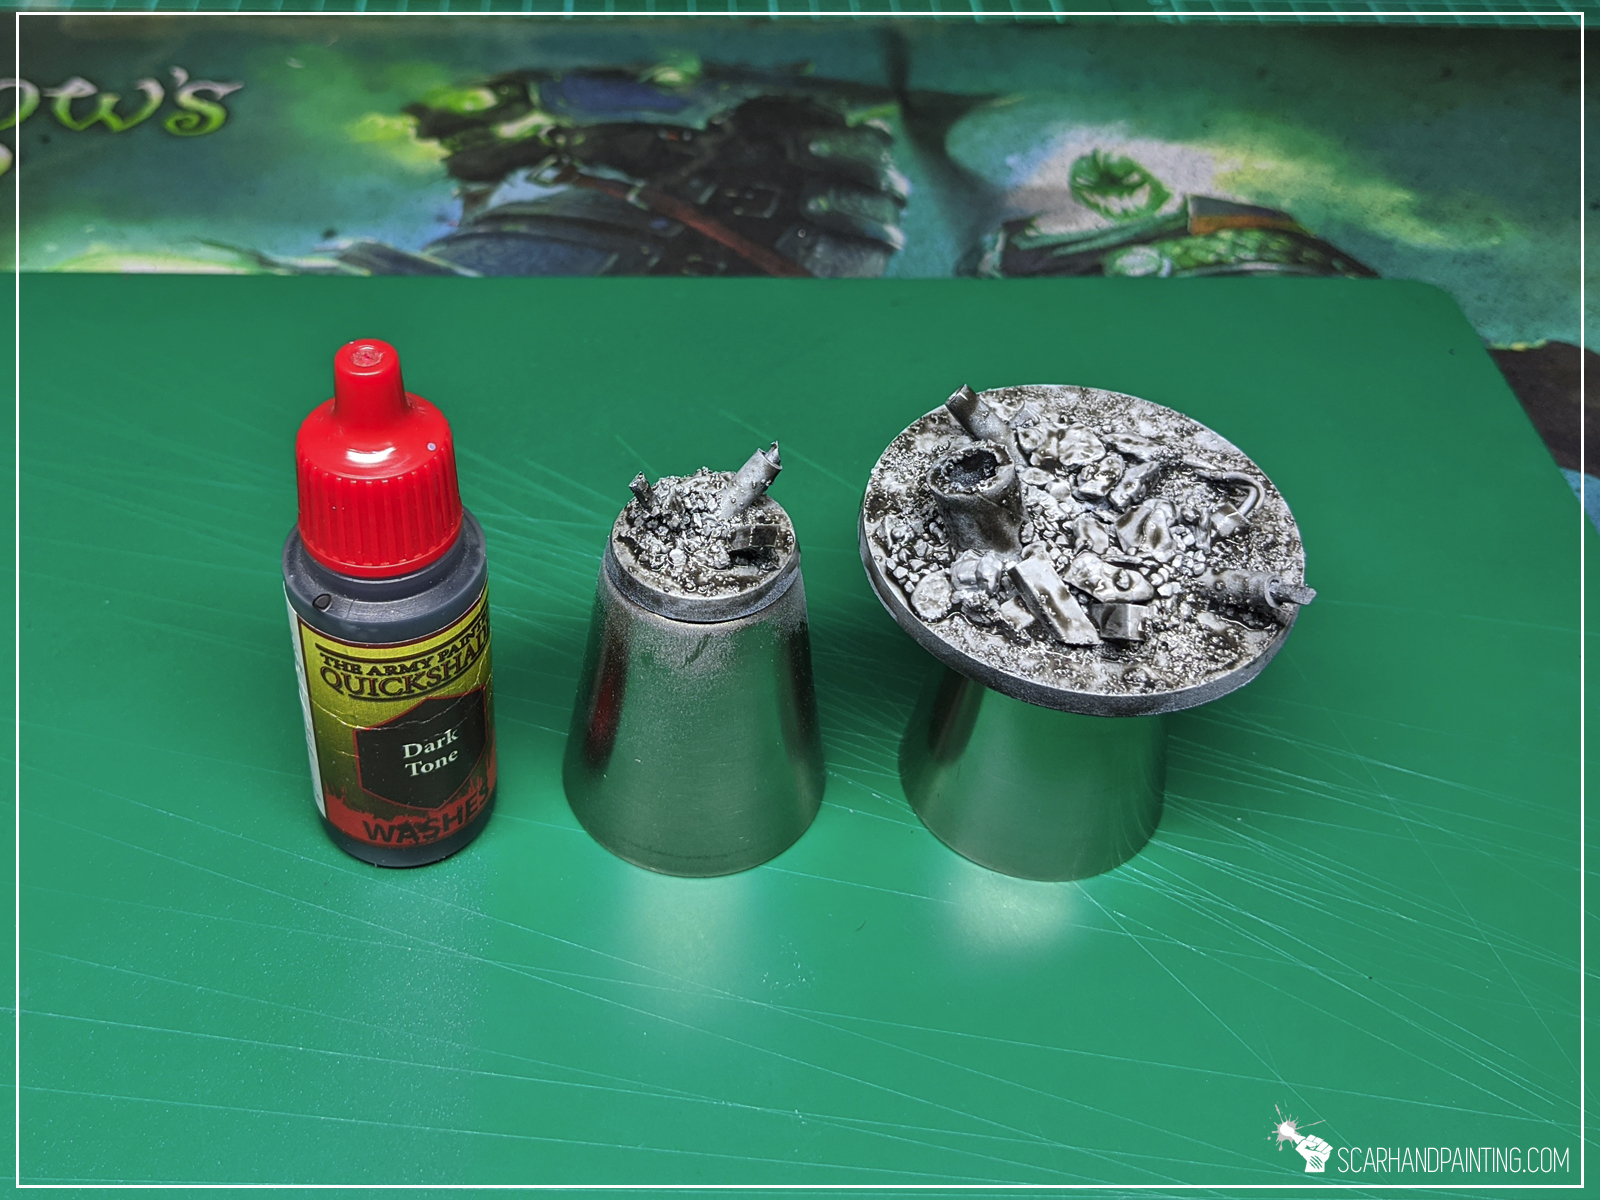
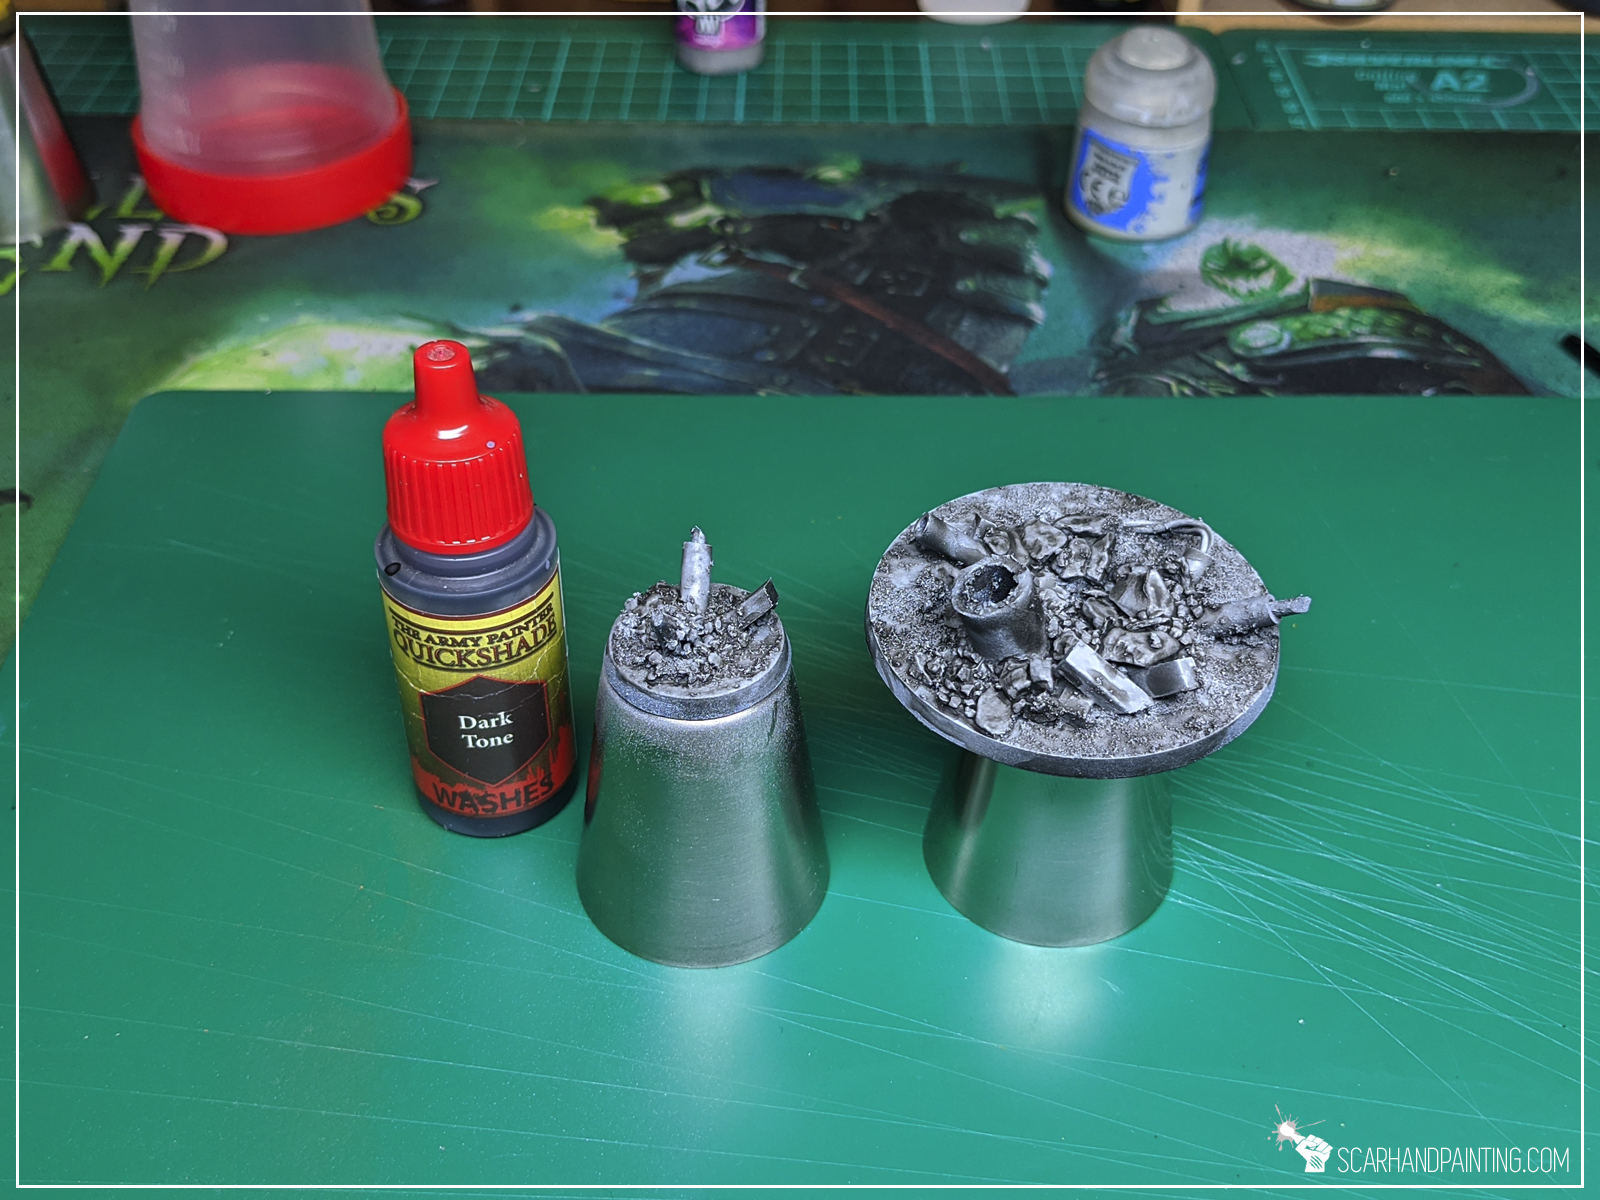
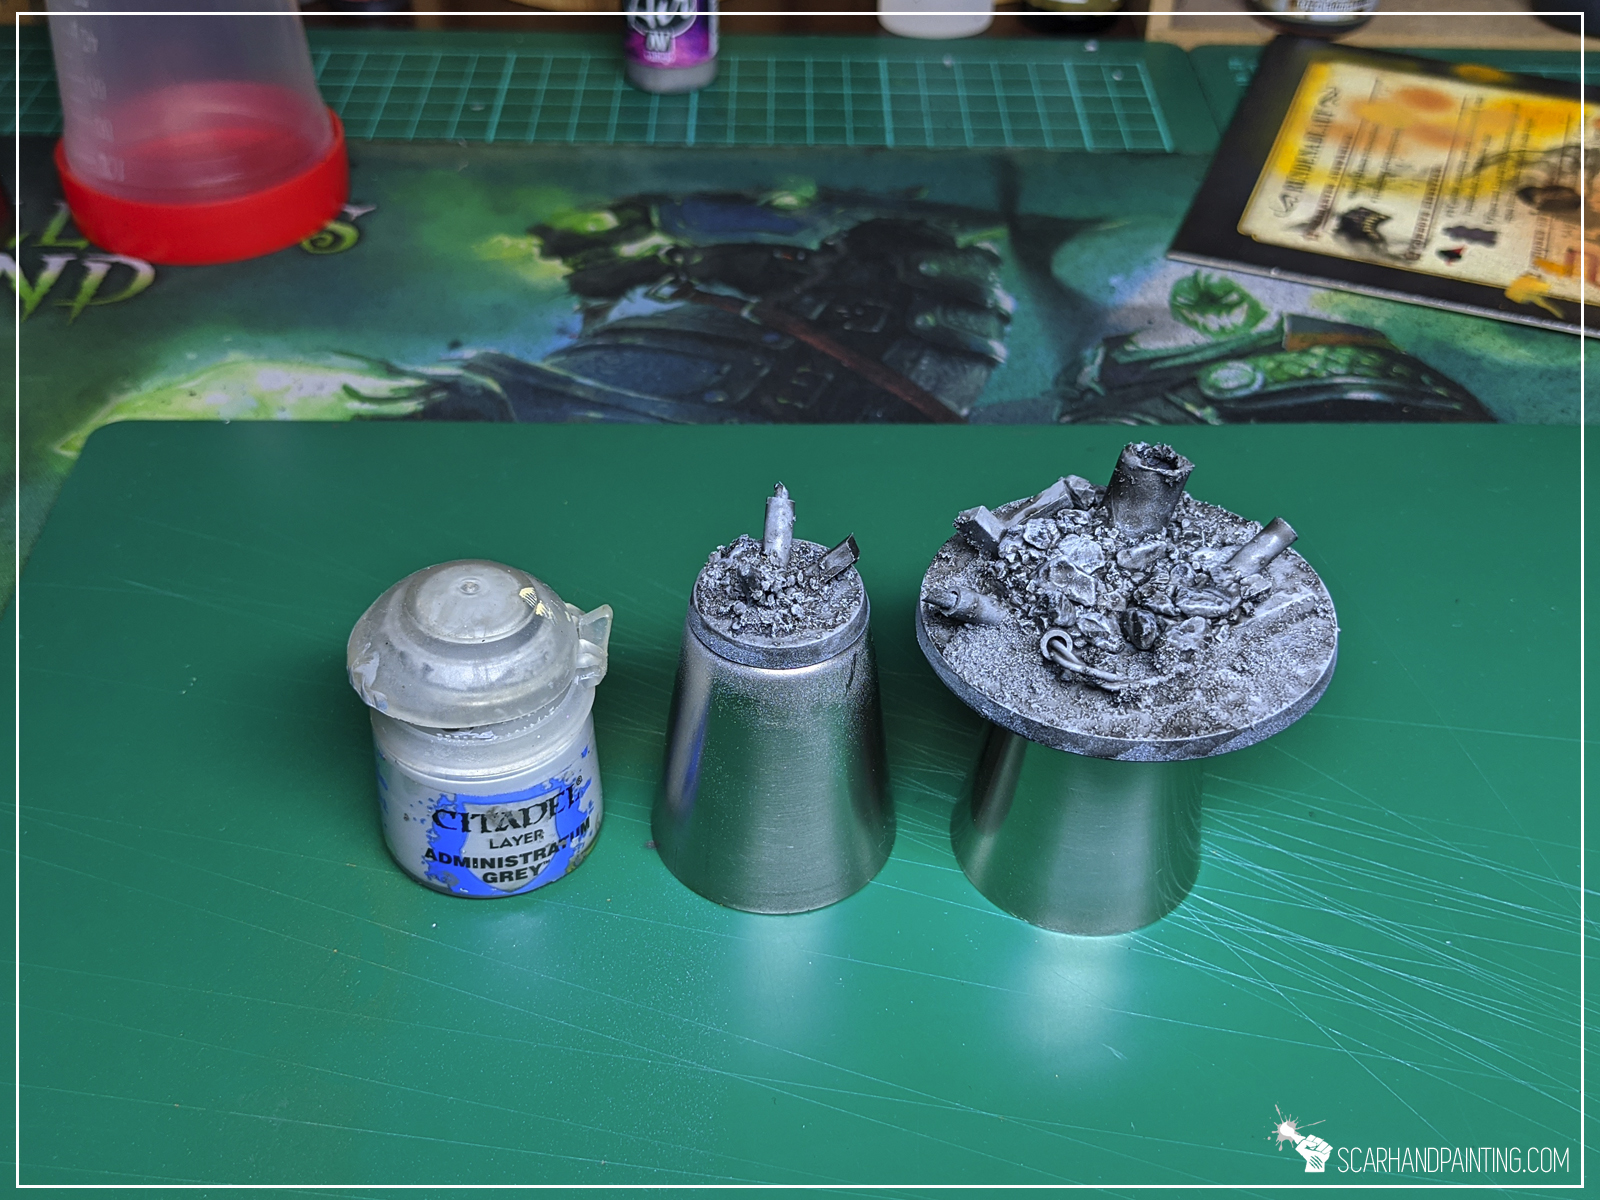
I started with Black Undercoat, then airbrushed a layer of Vallejo Cold Grey, followed short by Vallejo Stonewall Grey. I then washed everything black using Army Painter Dark Tone Ink and once it dried I drybrushed entire base with Games Workshop Administratum Grey.


For metal debris elements I used a mix of Games Workshop Warplock Bronze and Army Painter Gun Metal, followed by a highlight of Army Painter Shining Silver. I then washed all the pieces brown with Army Painter Strong Tone Ink.
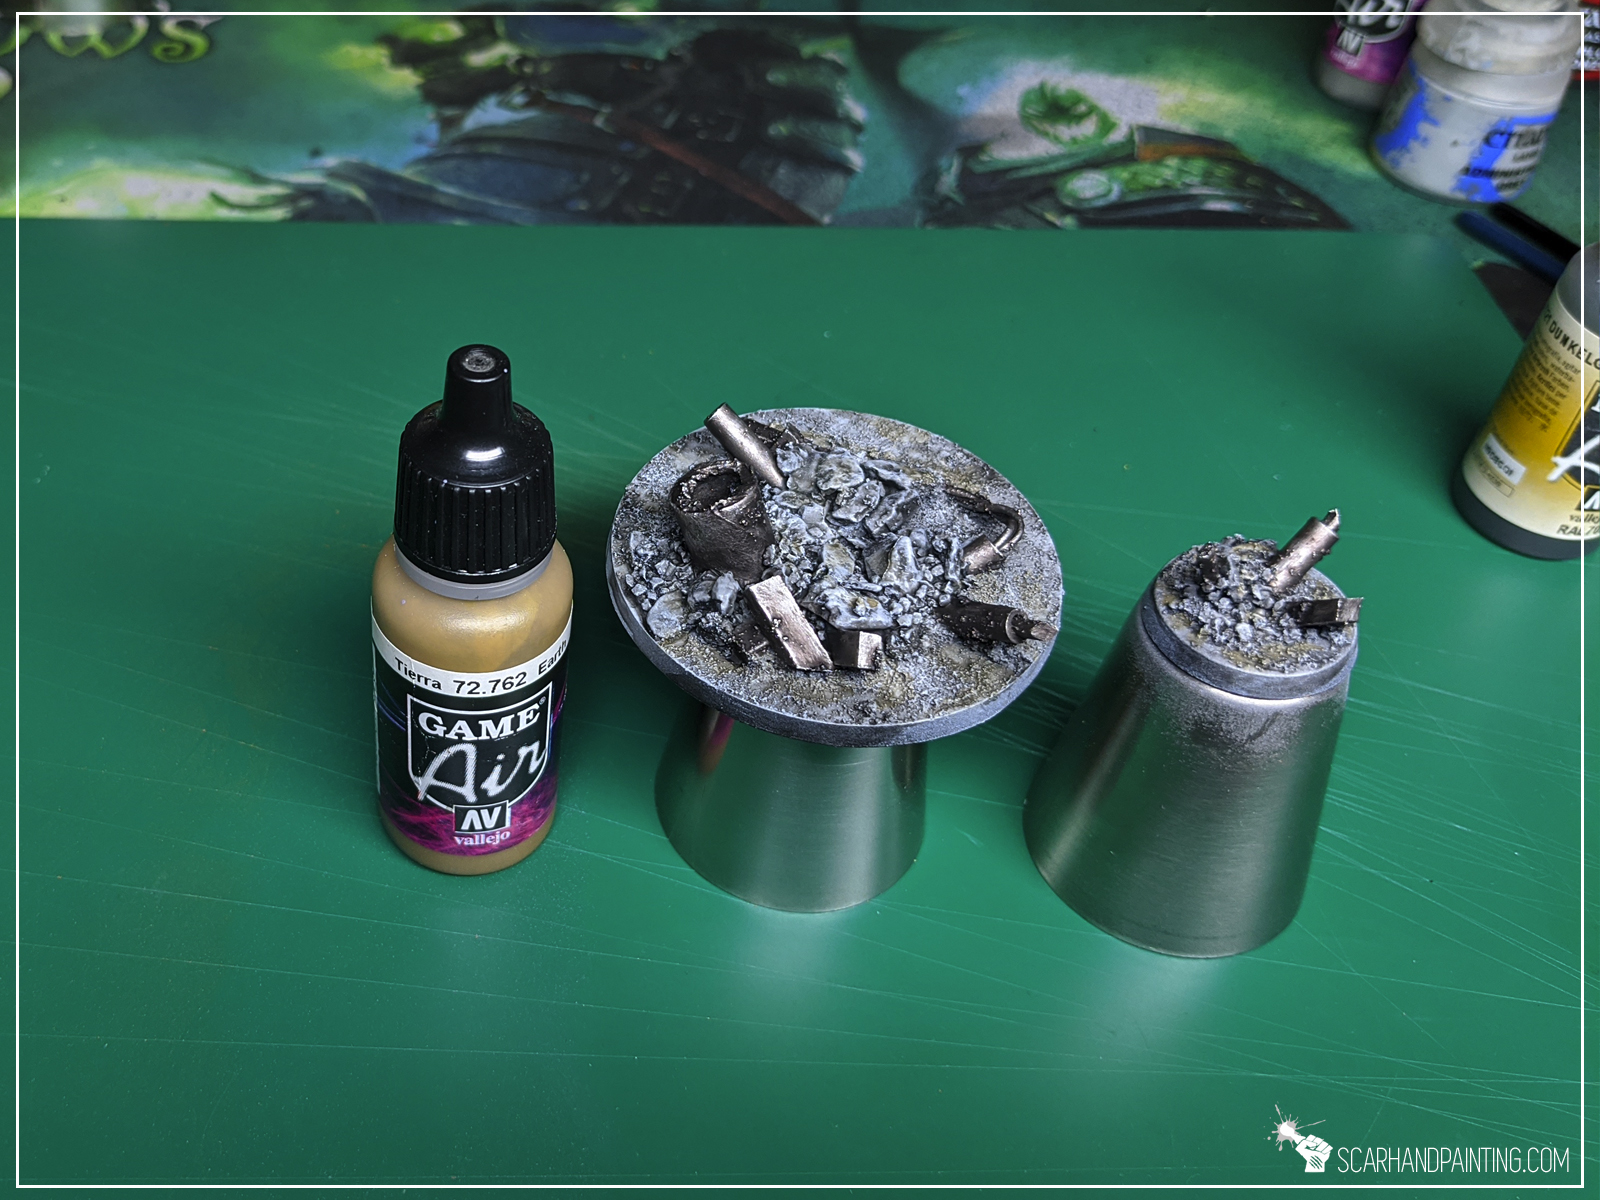
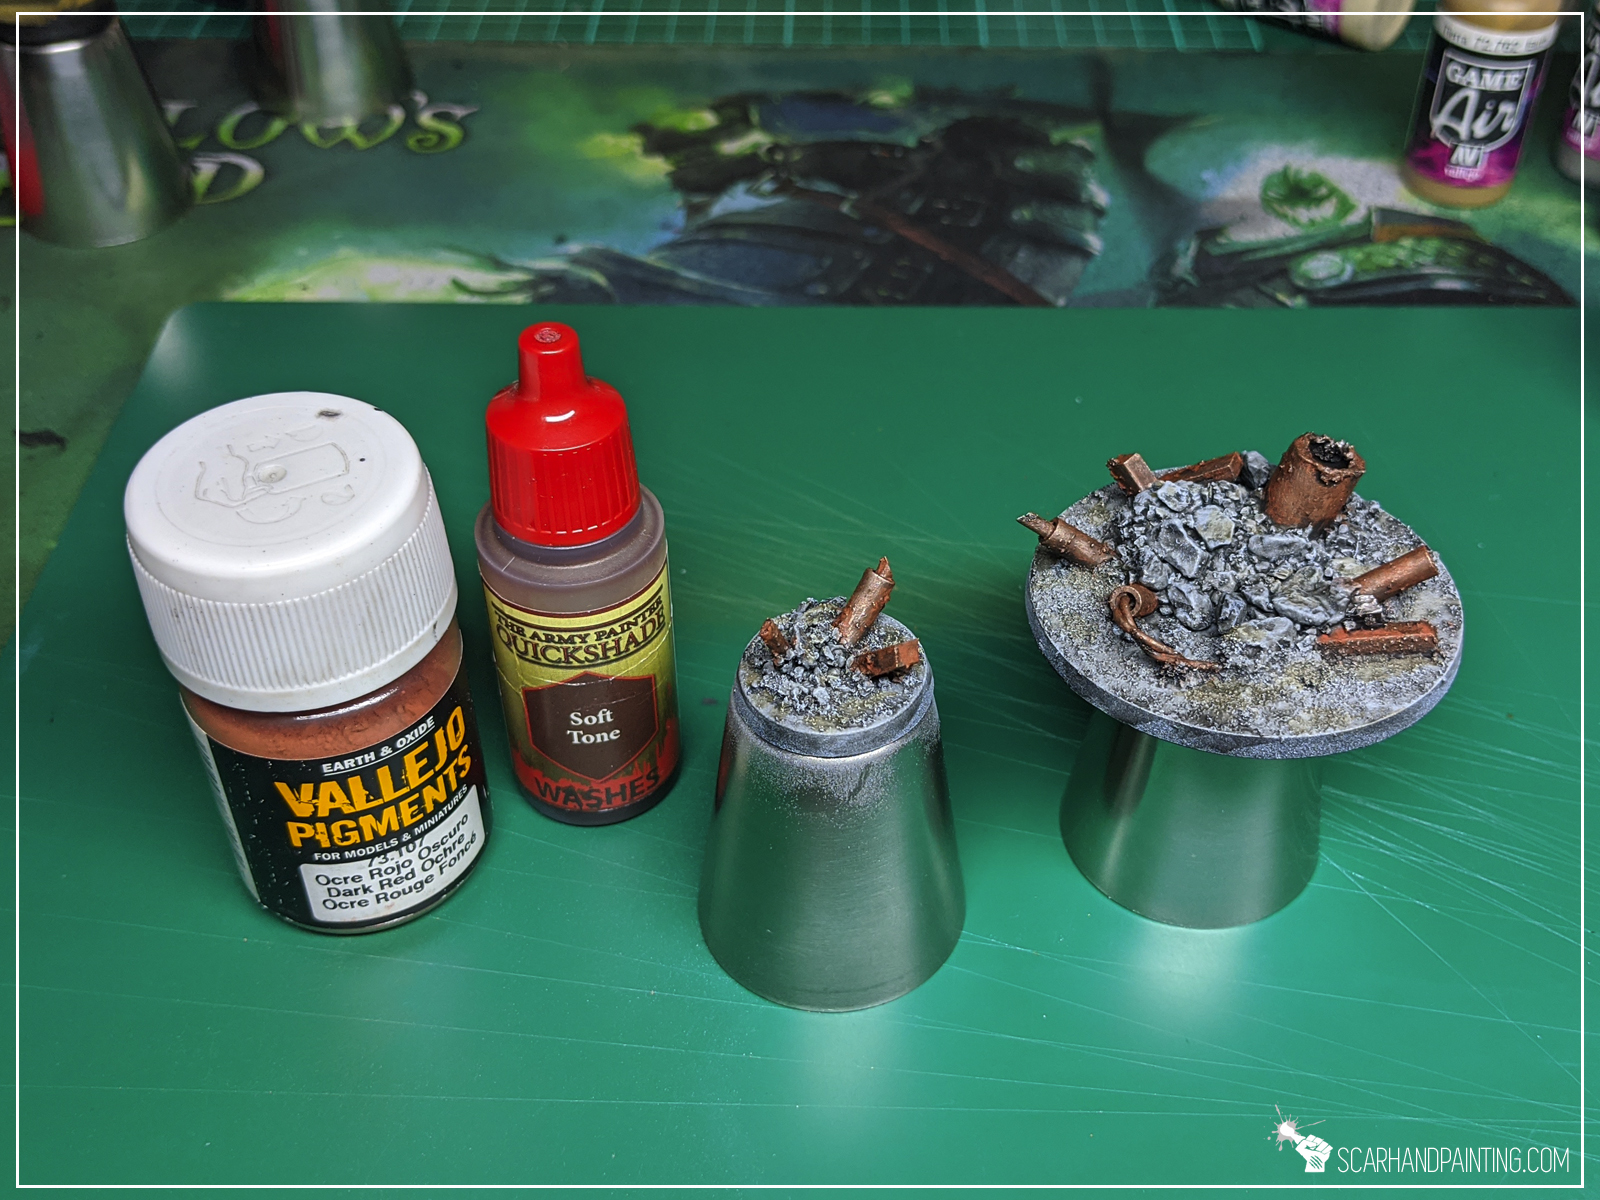

For additional depth and effects I blended in some watered Vallejo Earth. Next I washed all metal debris with a mix of Vallejo Dark Red Ochre Pigment and Army Painter Soft Tone Ink. Lastly I drybrushed grey areas with Vallejo Ghost Grey.
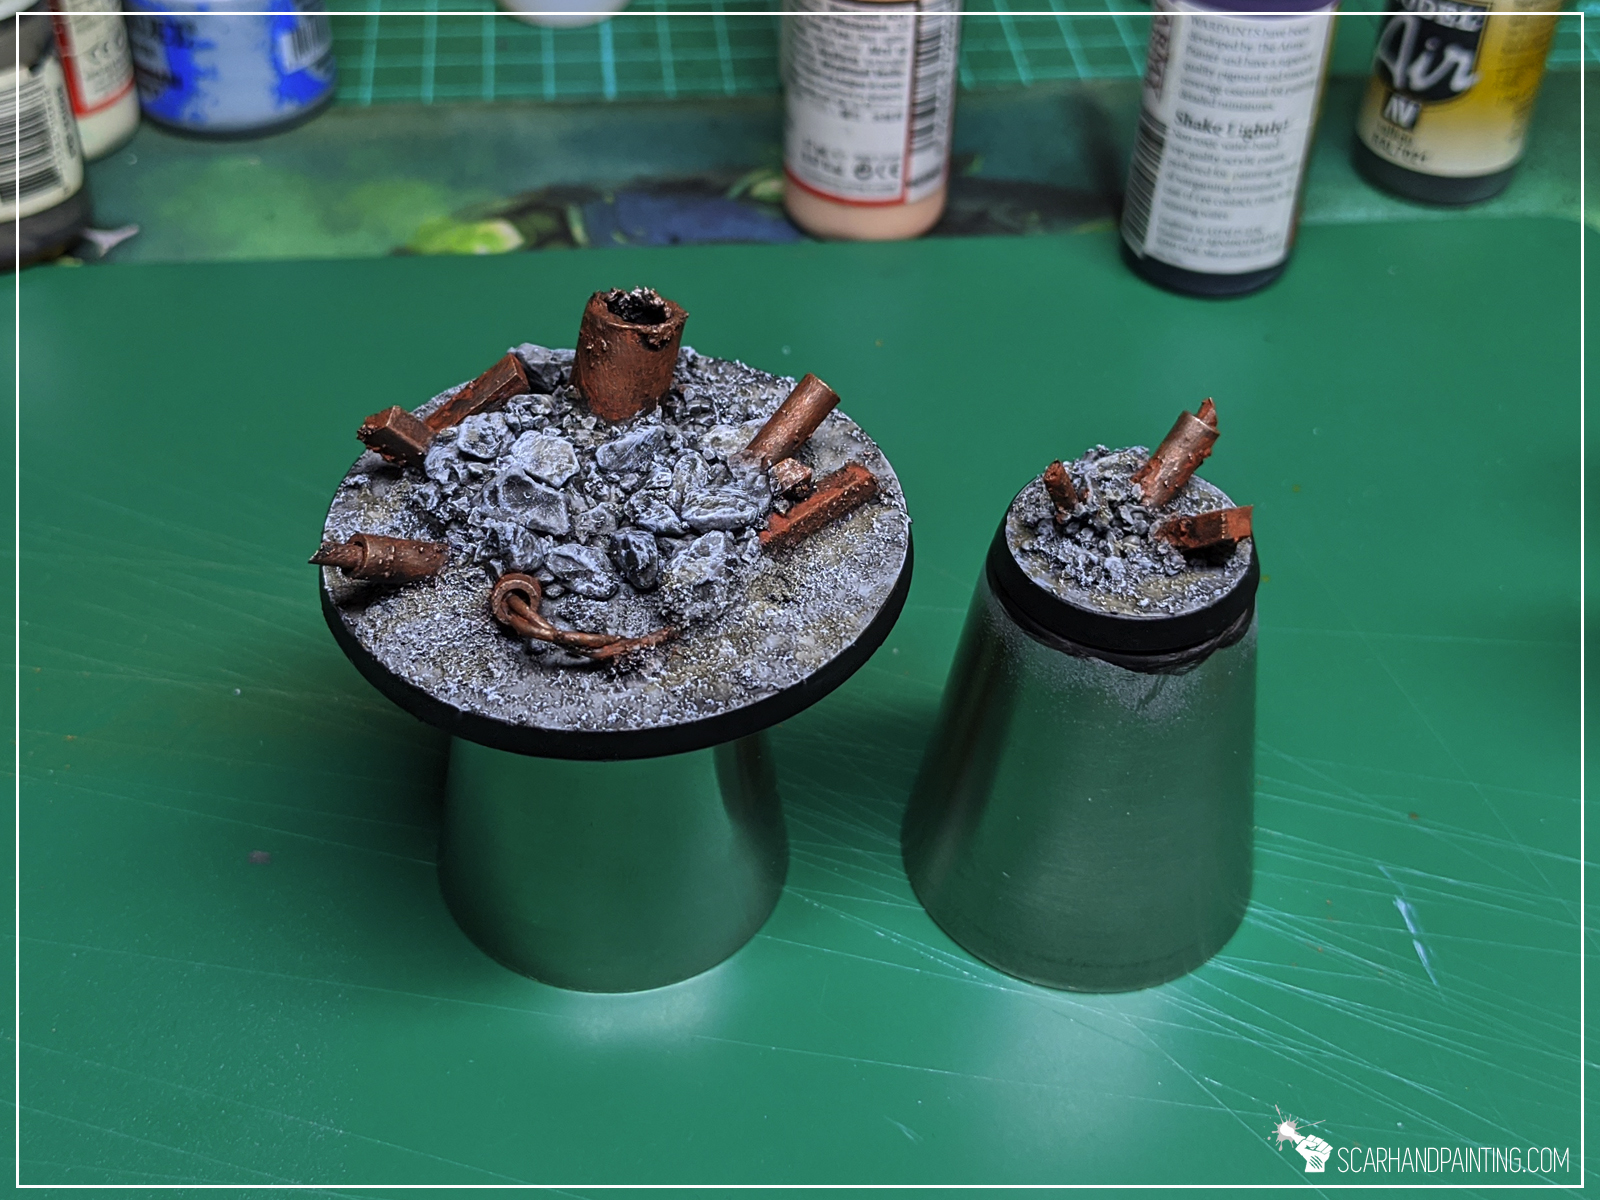
Edges repainted black and job done!
You like this article? Don’t be a stranger! Let me know what you think in the comments below or at my Facebook profile! Cheers!

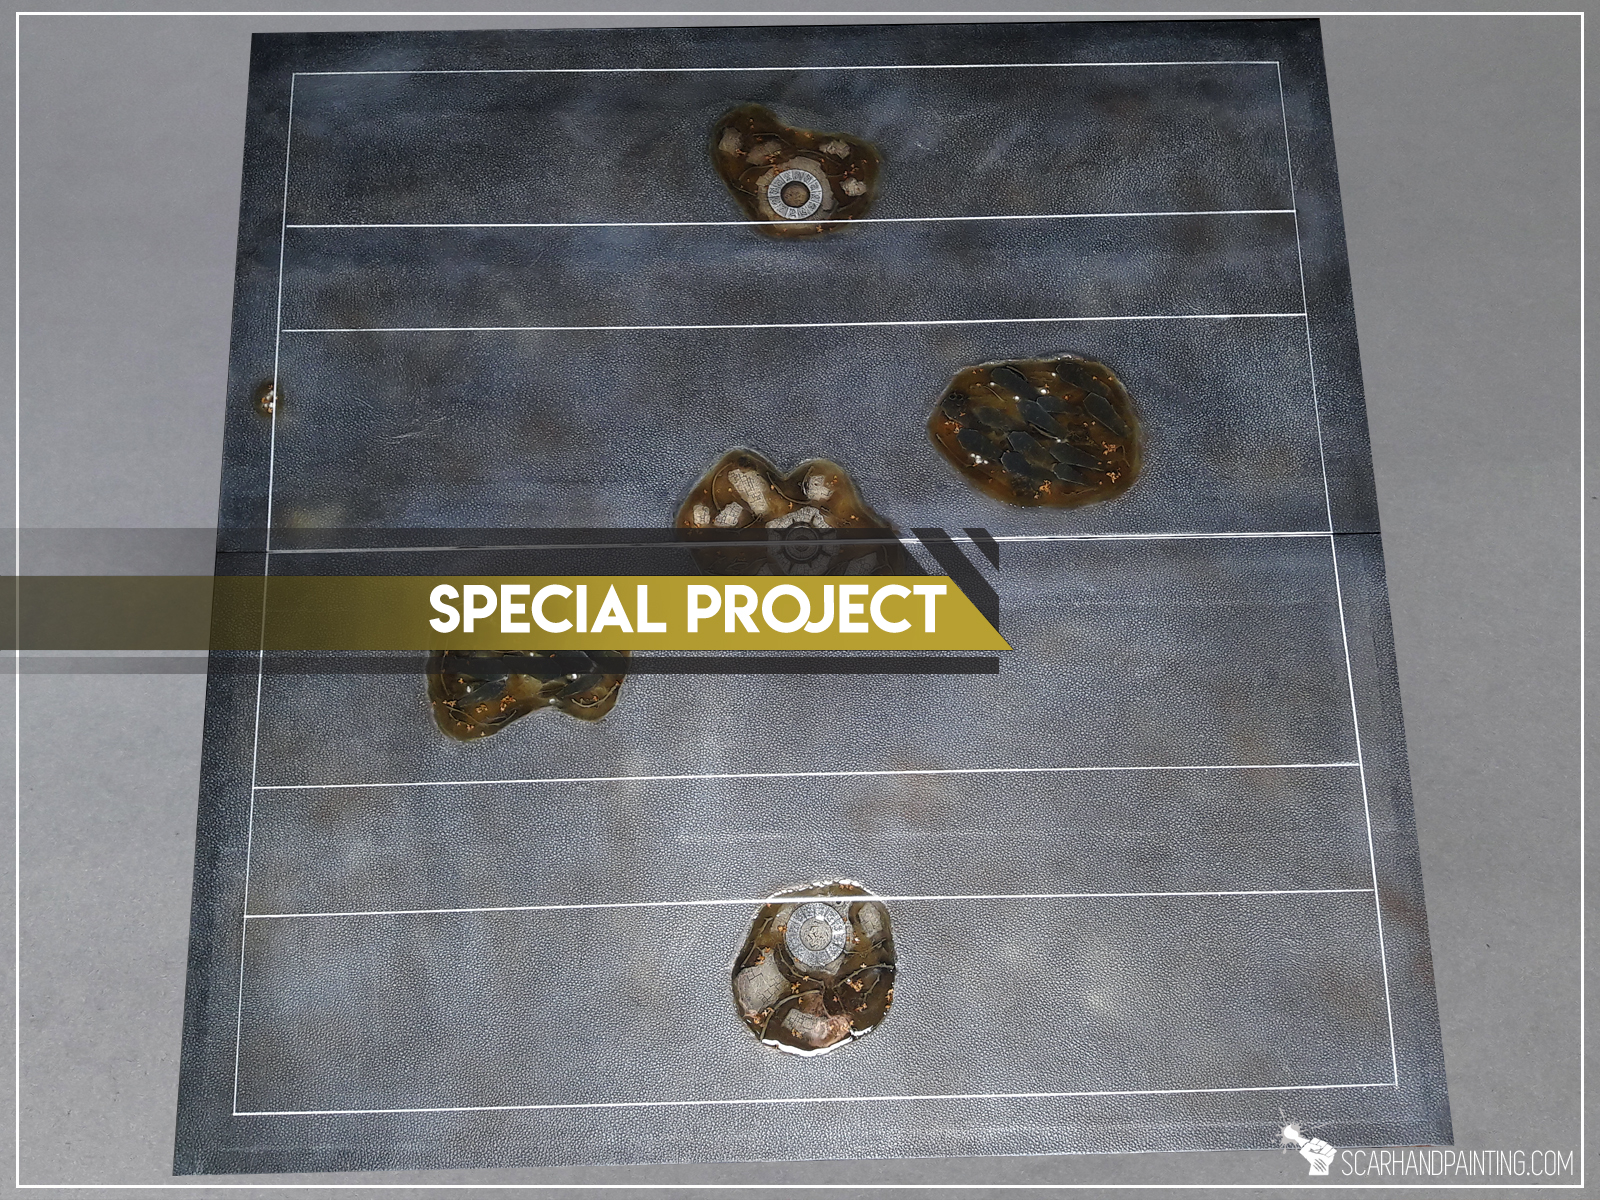
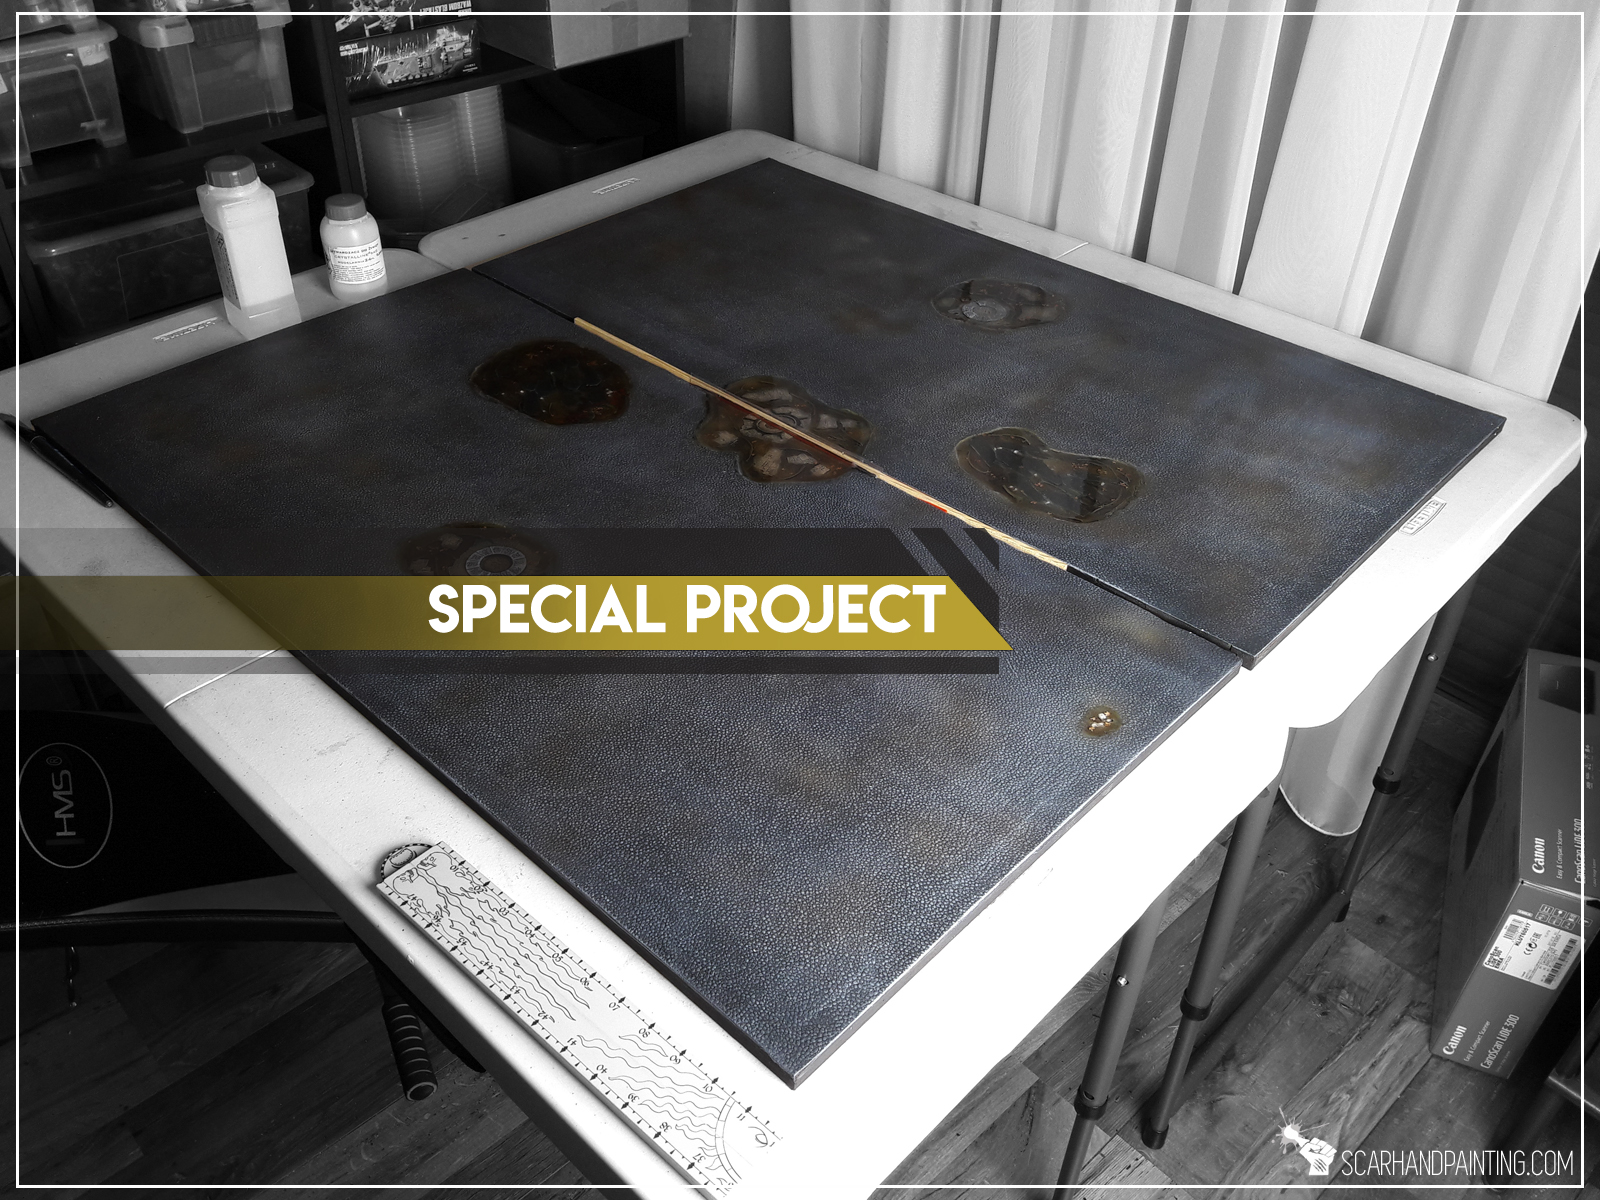
Welcome to second part of the “Mortician’s Pitch” Special Project part 1 article in witch I take you on a ride from bare meshed wood planks to a finished Guild Ball pitch. Stick around and see how “Mortician’s Pitch” came to being.
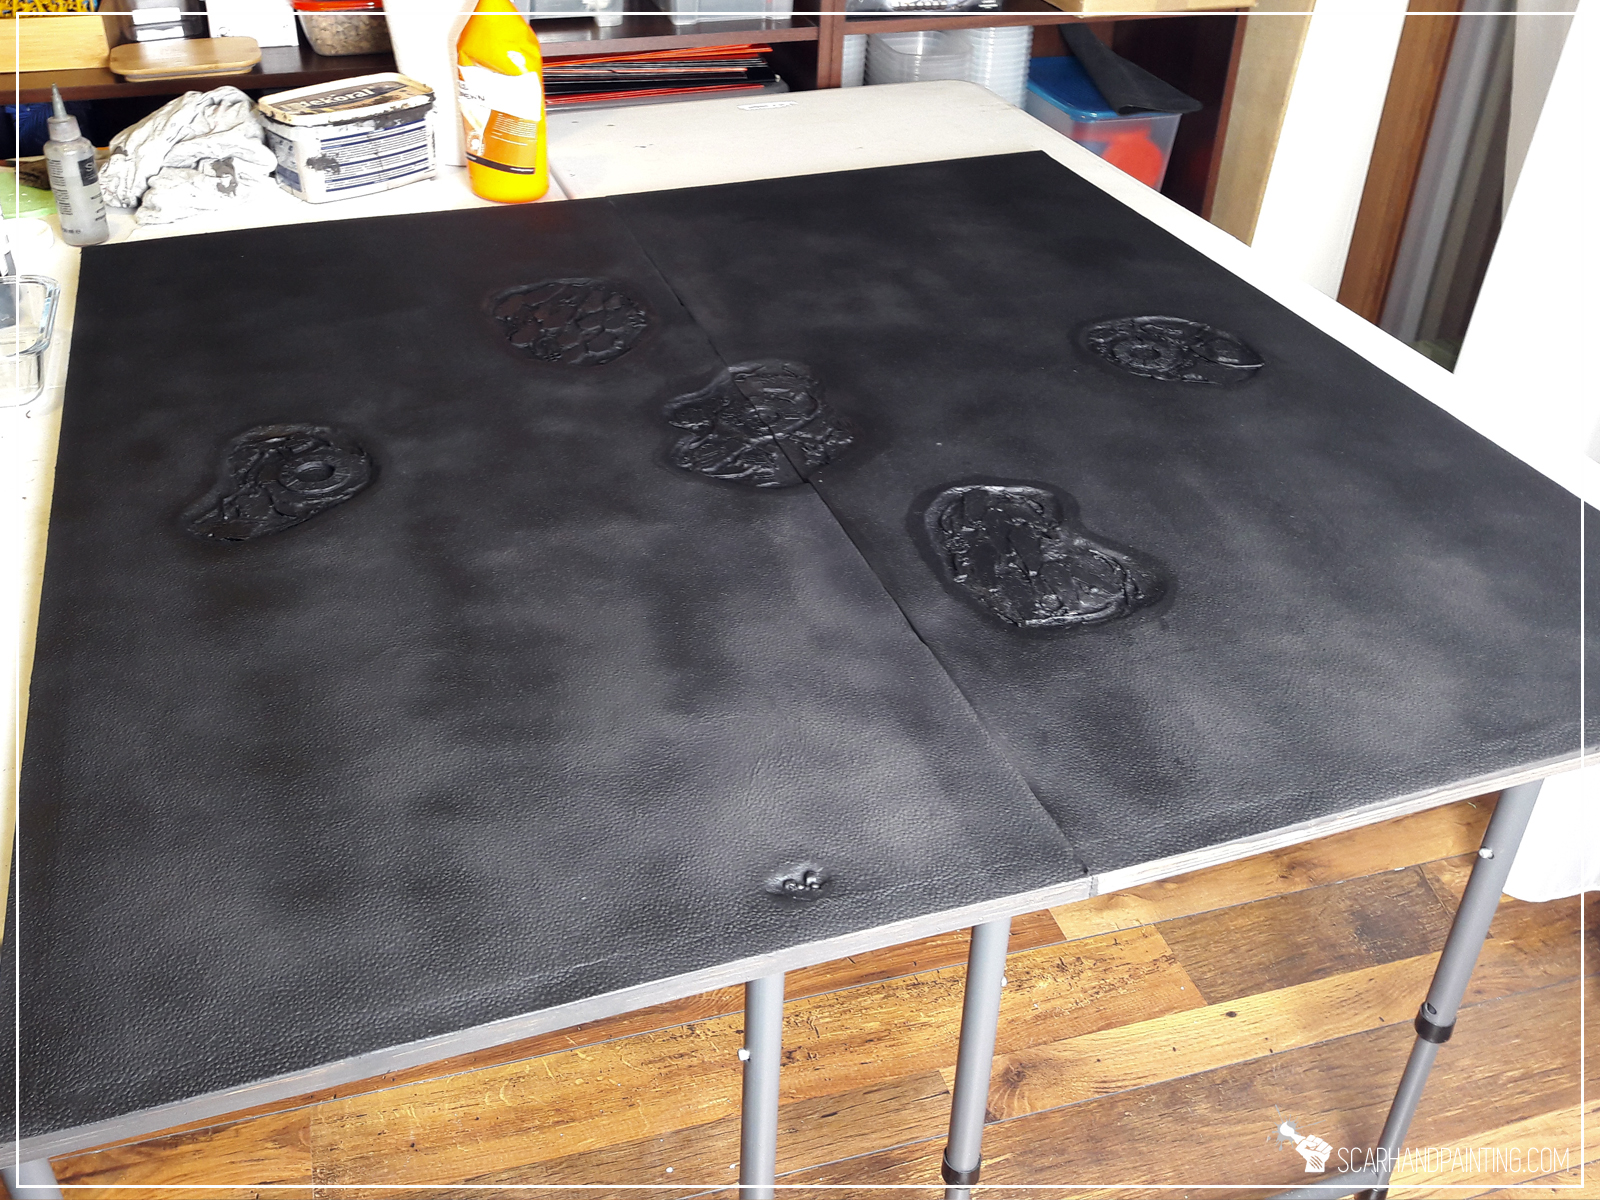
Let’s pick up where the previous article ended: Two thin coats of black wall paint followed up by a Chaos Black sprayed undercoat. All to reinforce the surface and prep it for a paint job. The paint job itself was divided into three parts: “paving stones”, “grave holes” and “pitch lines”.
This part was pretty easy. A solid coat of Vallejo 74.603 German Panzer Grey, followed by a 1:1 mix with Vallejo 74.601 Grey drybrush and then with pure Vallejo 74.601 Grey drybrush. All done with a 4″ wide brush. With these three layers done some brown haze was airbrushed here and there with Vallejo Air 71.133 Dirt and Vallejo Air 71.042 Cam. Black Brown.
Next part was to paint the insides of the detailed holes. I airbrushed most of it with a mix of browns, and then grays. A soft bright grey drybrush over stone elements, one layer highlight of the coffins and bony paint job of skulls – all complicated a bit due to the sheer size of the board pieces, but other than that simple and easy. That is because I planed for water effect to be darkened with few drops of brown ink. Paint job just didn’t need to be intricate.
Most dangerous part of the project was Resin. Working with resin is very difficult. The thing is messy AF, sticky, gotta be carefully prepared and poured in, but most importantly – a single tiny hole and entire thing ends up on the floor and all over the underside of a project. I know this, because it happened in the past with. More so, a tiny drop on your hand and you can be sure of glossy stains everywhere! With Mortician’s Pitch I actually came prepared. I prepped solid plastic barriers for the half-holes at the middle of the board. I also sealed any potential holes with a thin layer of PVA glue. The resin got poured in and the long wait started…
… and it all went to shit when over 24hrs later I realized that resin is still sticky. I gave it another day to coagulate with no positive result. If you worked with resin you probably know what that means – if resin is still sticky after 48 hours it will stay this way forever. I must had messed up proportions when mixing two ingredients with colored ink. A revitalization process started, with me spooning gummy “goo” out, carefully not to damage paint job underneath. Was very difficult and took few days to accomplish, but I finally landed at a point where it was possible to apply another (this time properly mixed) layer and seal it.
Last part of the paint job, finally possible due to resin being properly hard. I carefully measured distances around the board, covered resin parts with paper thin plasticard and used painting tape to mask most of the board. I then airbrushed the lines with pure white paint.
Revealing the final effect was hell of an excitement. Now I gotta play some games on this troublesome new board!
I hope you like the article. Don’t be a stranger and let me know what you think either in the comments or at my Facebook page.

My hype for Guild Ball is pretty strong. The game looks like a lot of fun and miniatures have a great feel to them, that makes me want to leave everything else and just start painting. My Mortician’s team being currently on hold I decided to focus all the Guild Ball related inspiration around another project – Mortician’s Pitch.
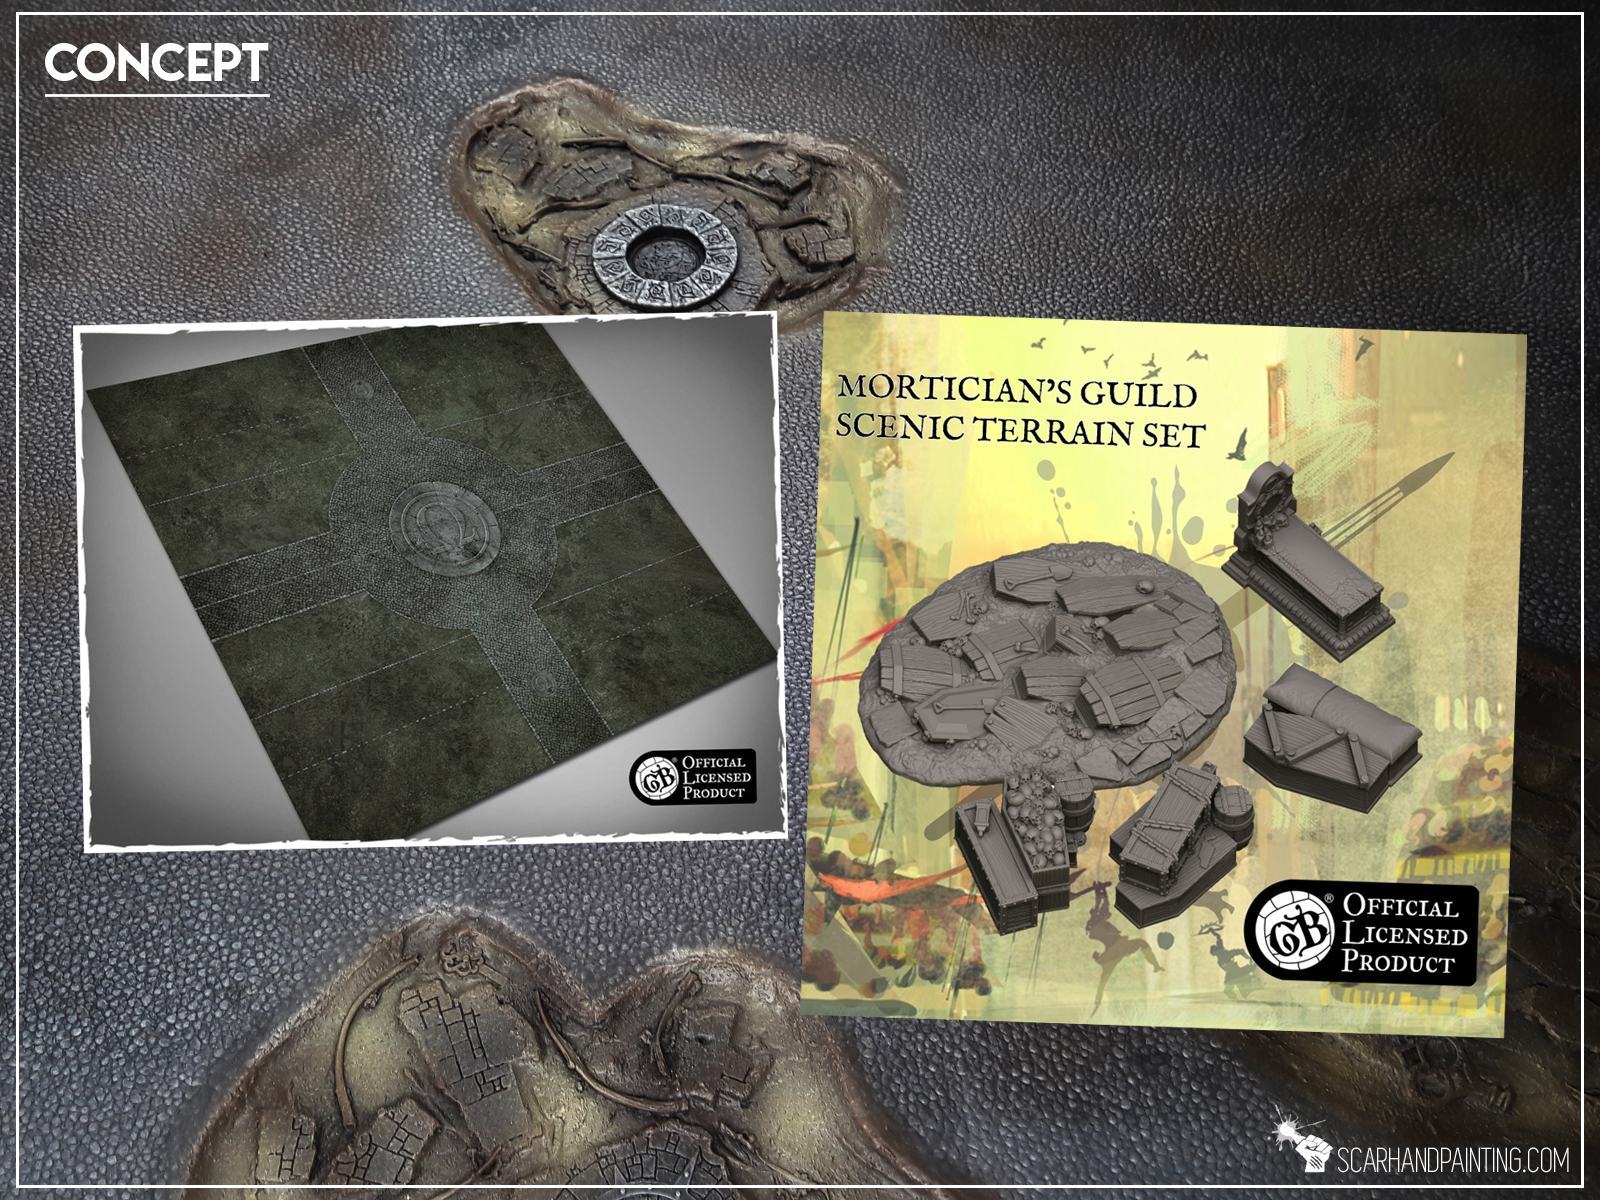
At first I thought about something blunt, like cobblestone texture with pitch features airbrushed on top. Thing would be both playable and looking nice. It all changed once I accidentally bumped into this magnificent piece of scenery by Brokentoad. Those half buried coffins almost catapulted me out of a chair. Such a nice idea. I knew I will order this piece, but first I just had to implement a similar feature to the project. This made “Mortician’s Pitch” evolve from a simple flat cobblestone into a more 3d design. Still, how to insert irregular shapes on top of what is meant to be a playable surface… and then I thought about clear resin…
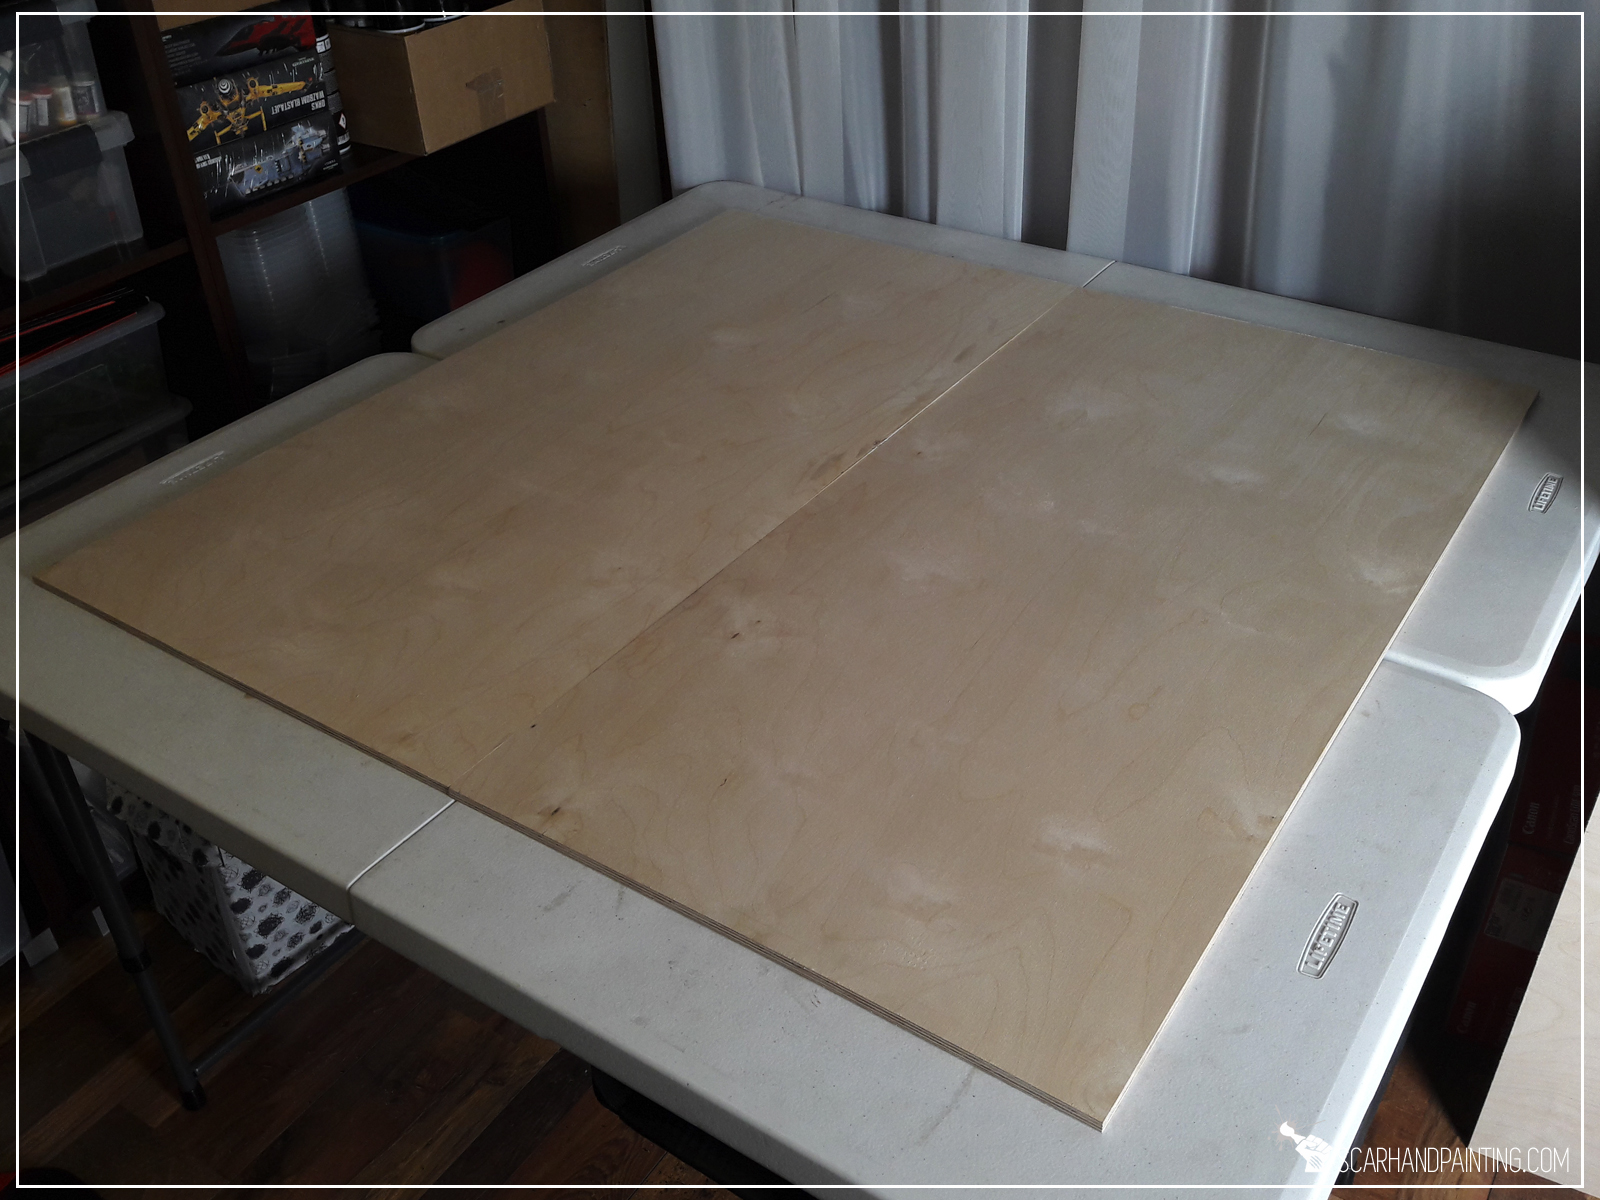
Off course a man gotta pick a right spot to dig a grave, not to mention placing an entire graveyard. I decided to go with two 10mm thick, 100x50cm wide meshed wood planks as a base for the pitch. These are a bit wider than necessary, but playing different games throughout the years taught me to leave some spare space around the proper gaming area. This way if anything gets damaged it wouldn’t impact playability of the board. 10mm thickness means these would stay flat and be durable enough to withstand any random fuckups that might happen some day.
In order to allow me to “work” with the surface and nest any 3d elements I chose to cover the boars with additional layer of 5mm thick styrofoam.
I carefully planned the layout of the board. Figured that it would be cool to have goals and the middle point of the pitch additionally detailed. I have a huge amount of random stuff scattered around my hobby room and as it happened I had a perfect match for these features.
With goals in place I covered entire board with styrofoam, leaving only certain spots to reveal detailed elements from underneath. I also left two holes for the most important feature – coffins. Additionally I reinforced the edges of the board with thin planks of wood – just in case. I just like my scenery durable and sturdy.
For base texture I picked a trusted wallpaper that helped me with other fantasy projects in the past. Being easy to work with a wallpaper is a great way to texturize large areas, plus it helps keep wobbling models safe in case of a fall.
I glued the wallpaper on top of entire board. No measuring required – I removed excess wallpaper with a giant file. Fast & simple.
I uncovered all the detailed features by cutting the wallpaper around them, leaving approximately 1-2cm surplus, to then cut it into smaller strips to be glued inside the holes.
Now was the time to bring in all the coffins. These were made using 3mm thick plasticard. In projects like this I tend to save time and leave perfect measurements out. Once I measured and cut out a single coffin, I then used it as a template to cut all the rest. Fast & simple yet again.
These then got texturized using a medium sized stone. Plasticard is a durable material, but with enough force it gives in and stones are great to provide an uneven texture.
Next step was to insert the coffins and some additional detail elements into the holes. I used white plaster to partially fill the holes, then arranged all the detail inside.
With all the features arranged to my liking I textured the insides of the holes with Games Workshop Martian Ironcrust texture paint. Once dried I placed some dry twigs here and there and sealed everything with PVA glue. This last step was very important to ensure resin stays in once used.
Everything modeled it was time to undercoat entire board with trusted acrylic black paint. Two thin layers of a black wall paint followed by a spray coat of Chaos Black.
This project was planned to last approximately 48hrs, but working with clear resin can sometimes lead to unexpected (and messy) complications. More than a week into the project and some of the resin didn’t coagulate properly. I decided to scrape it off and apply another layer. This is also why I decided to divide this article into two. Undercoat seems like a great place to finish part one.
If you like the article and find it interesting – be sure to let me know either in the comments or at my Facebook page. See you in the next article, hopefully soon. Here’s a little sneak peek:
