- contact@scarhandpainting.com


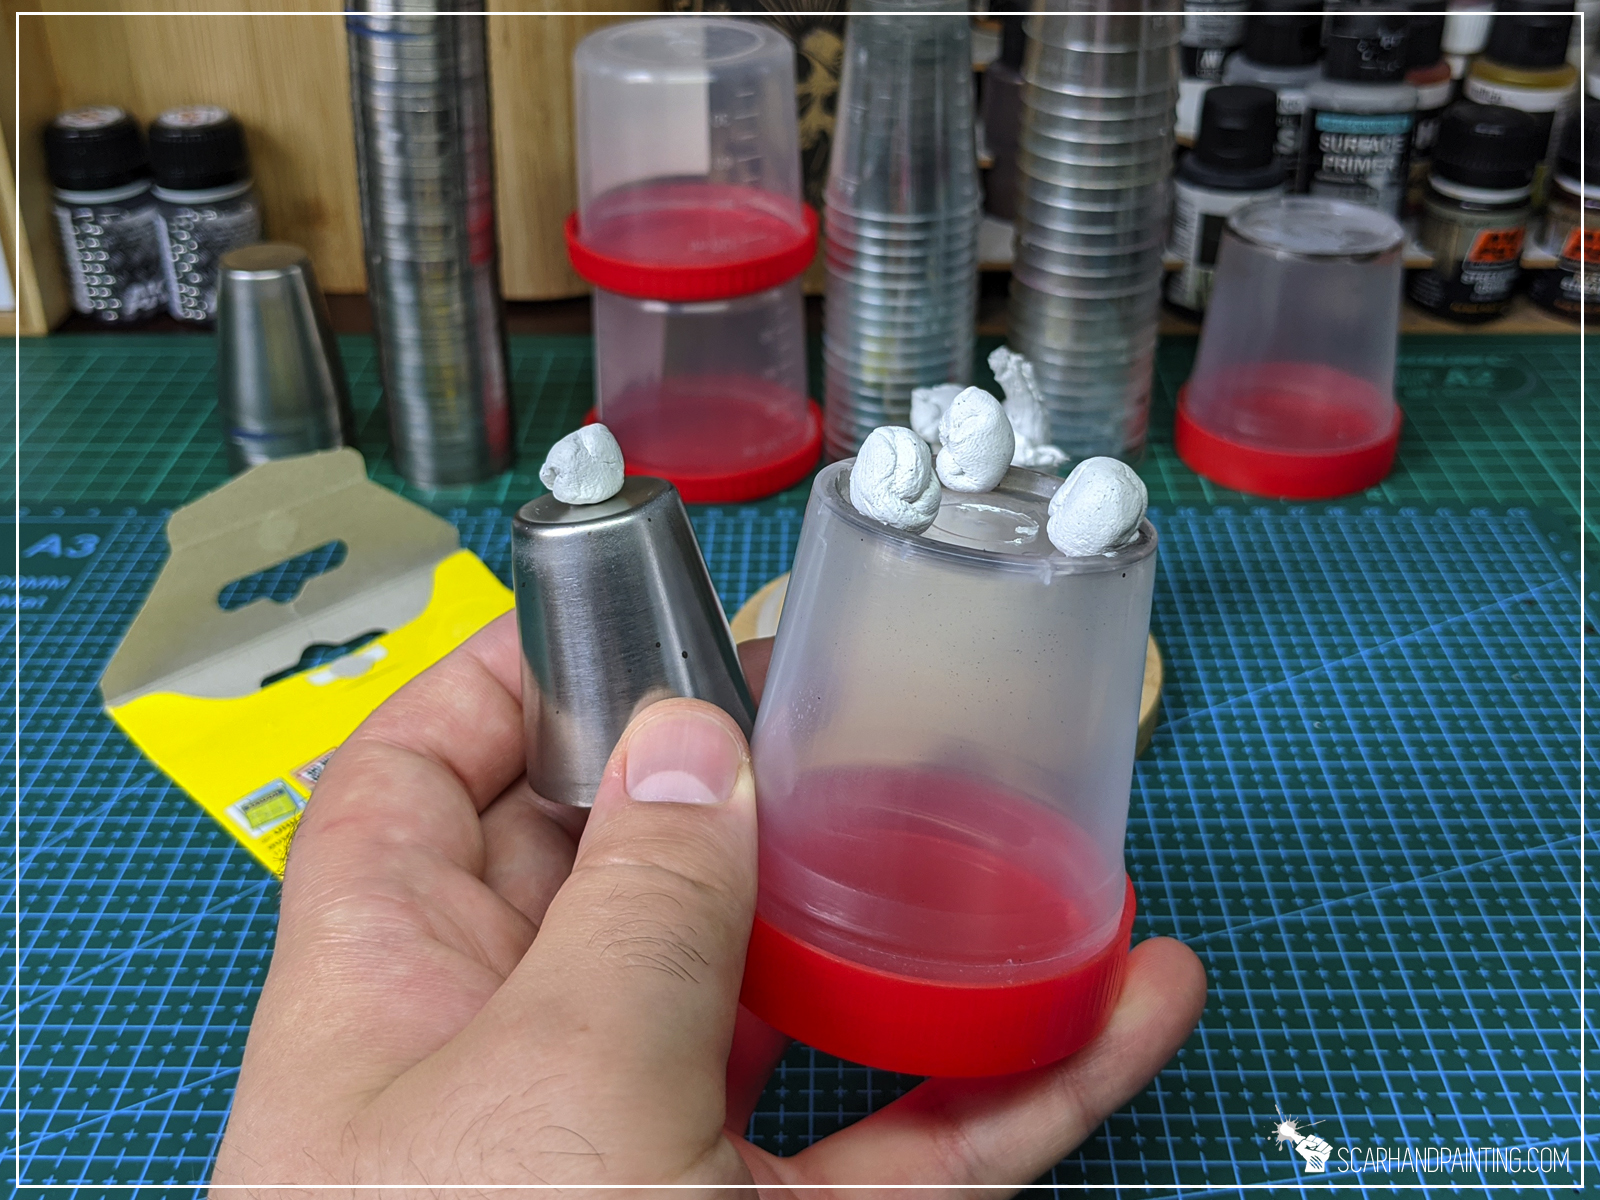
In this step-by-step tutorial I’m going to show you how to magnetize resin bases – easy and fast!
Magnetizing entire army for an upcoming delivery of a brand new A-Case carrying bag seem like a great opportunity for a tutorial, doesn’t it? The thing about resin bases is that they rarely come with magnet holes at the underside and even when they do (for example Warsenal) it’s still better to drill your own precise holes. Below are some of the shortcuts and hacks I use when magnetizing resin bases.
Step One: Drilling

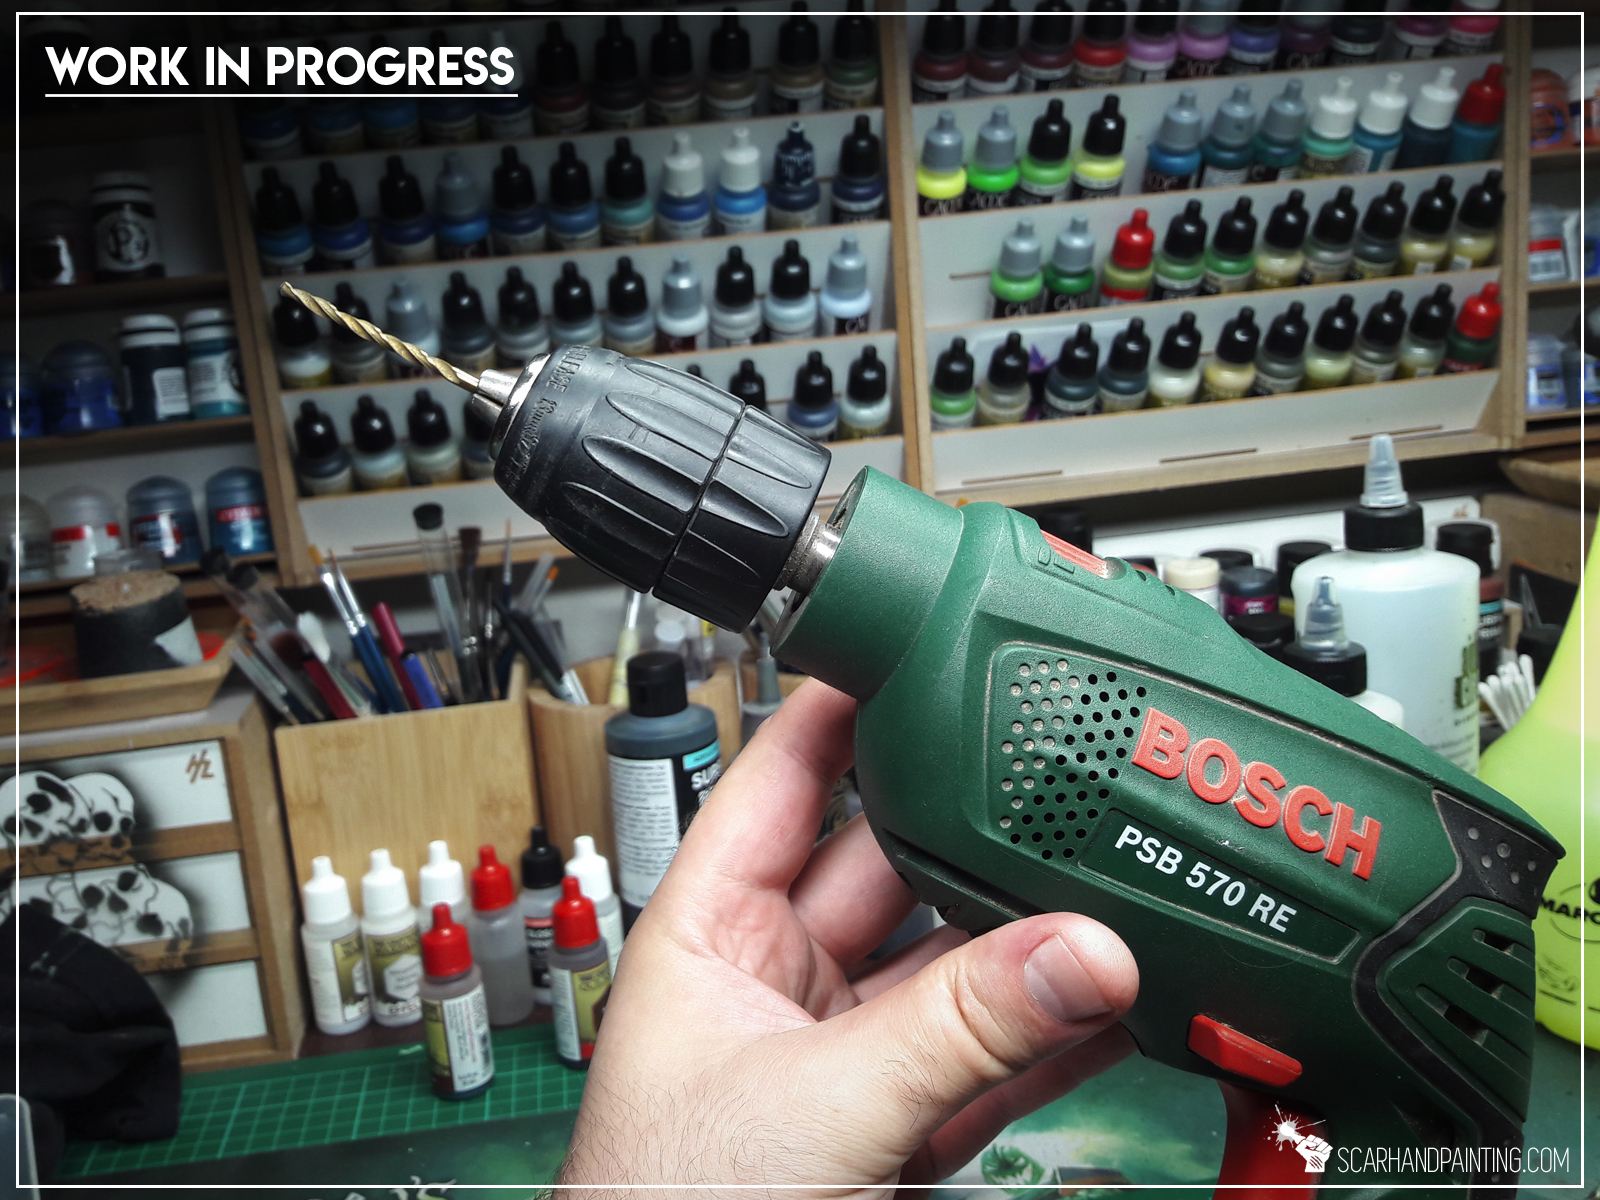
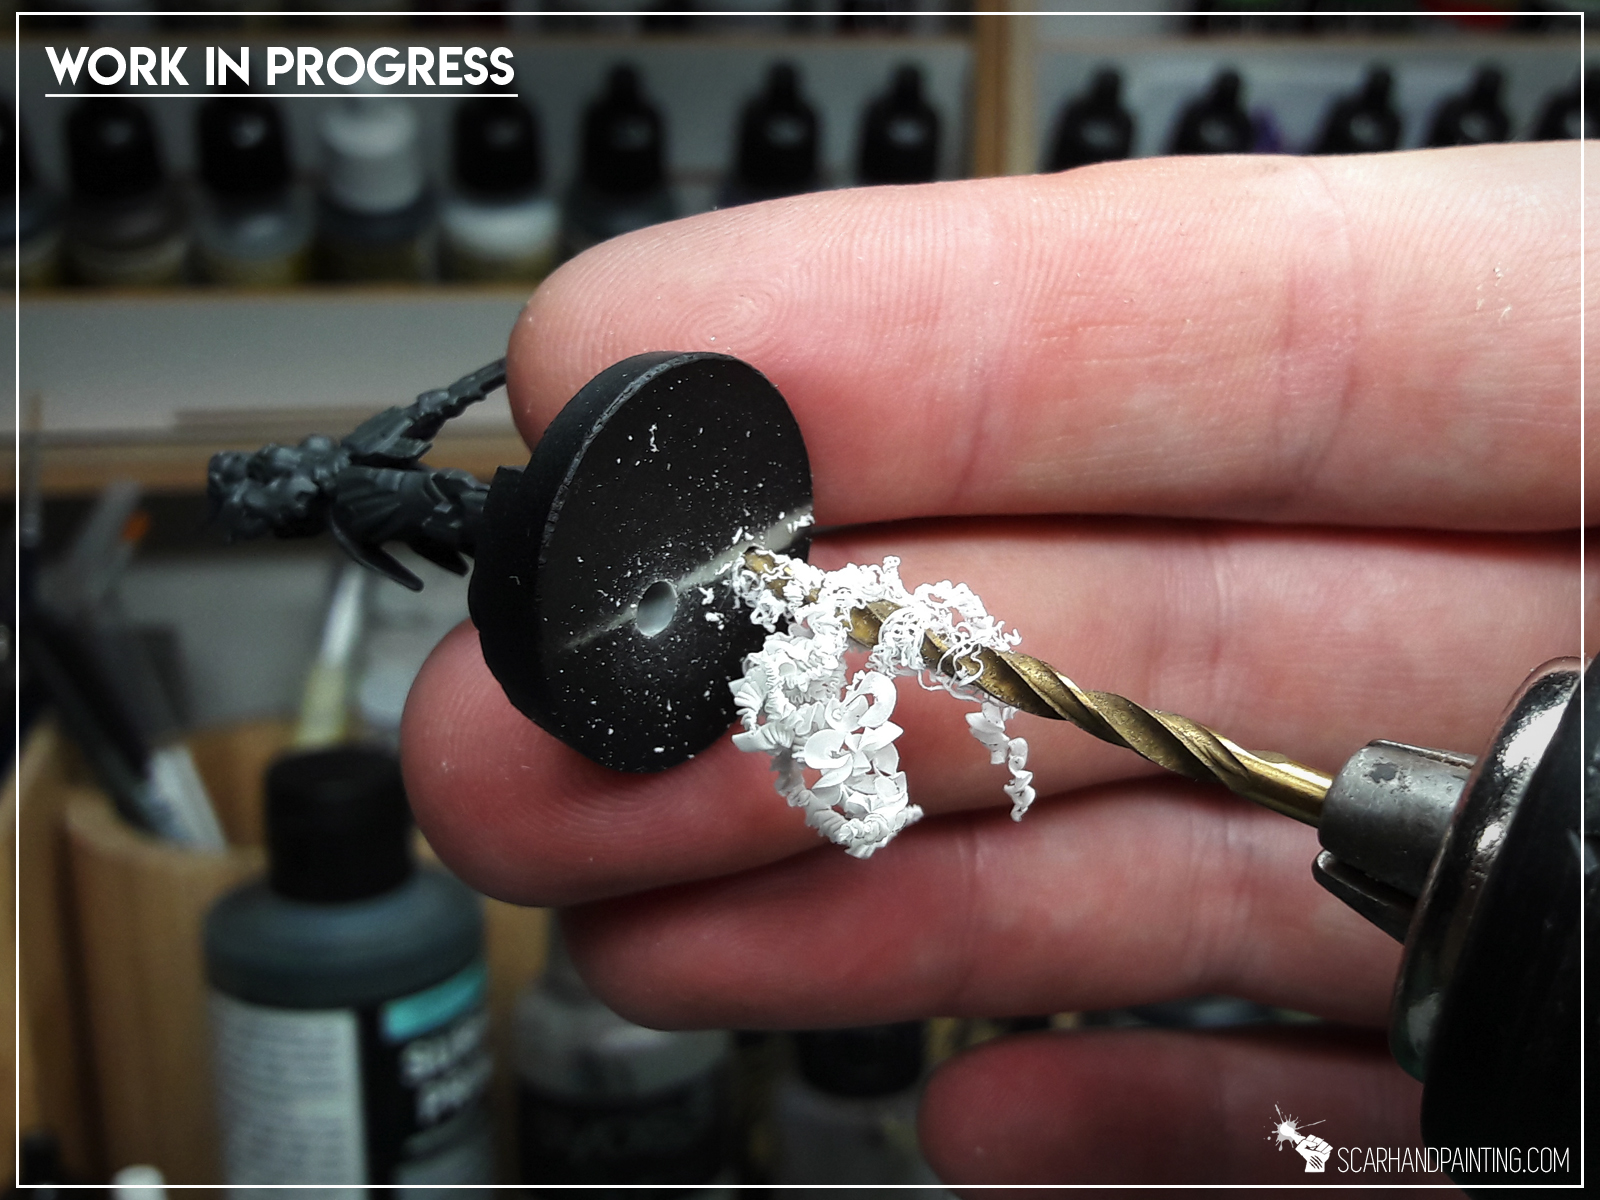
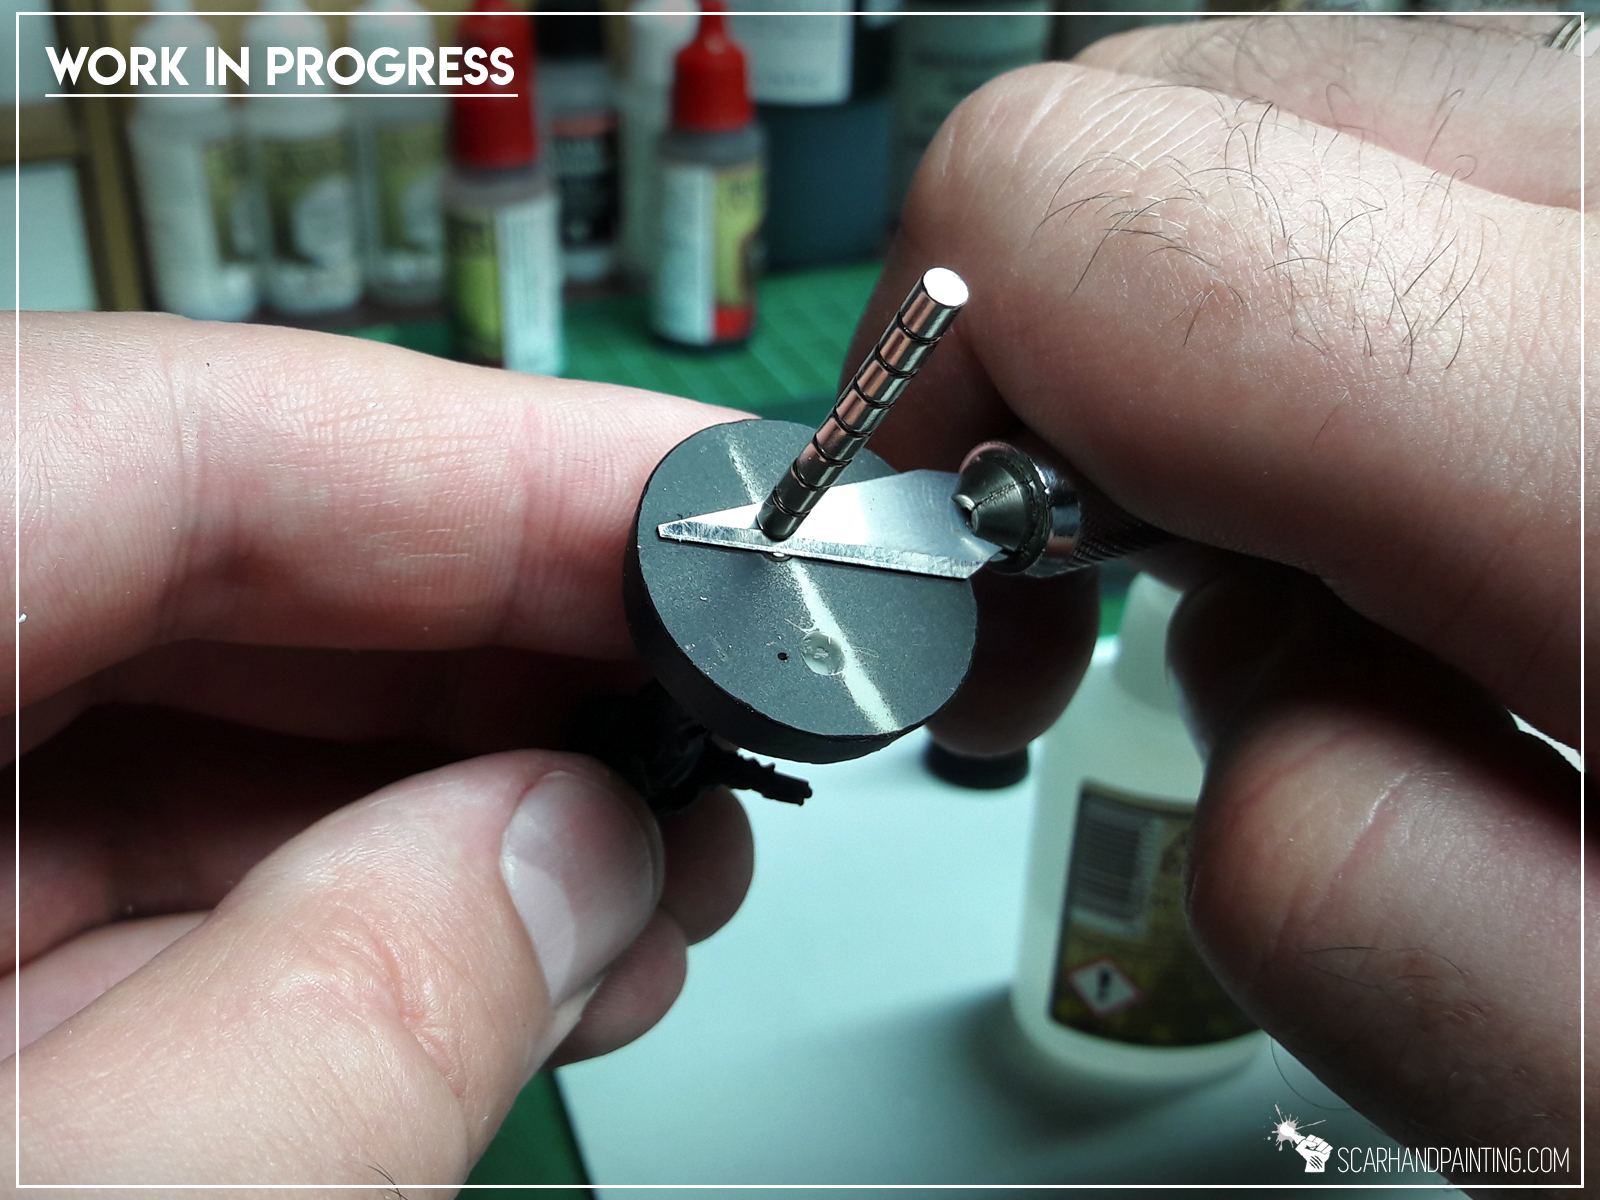
Tip number one would be to use a drill that is the size of the magnet you want to put into the base. This would usually be too big to use in a hand driller, thus we land on Tip number two – use a regular driller instead! I know this might come up as crude and a bit scary, especially when we’re talking fully painted miniatures, but with just a bit of focus it goes smooth. To ensure your miniature’s safety, hold the base firmly and avoid holding the miniature itself.
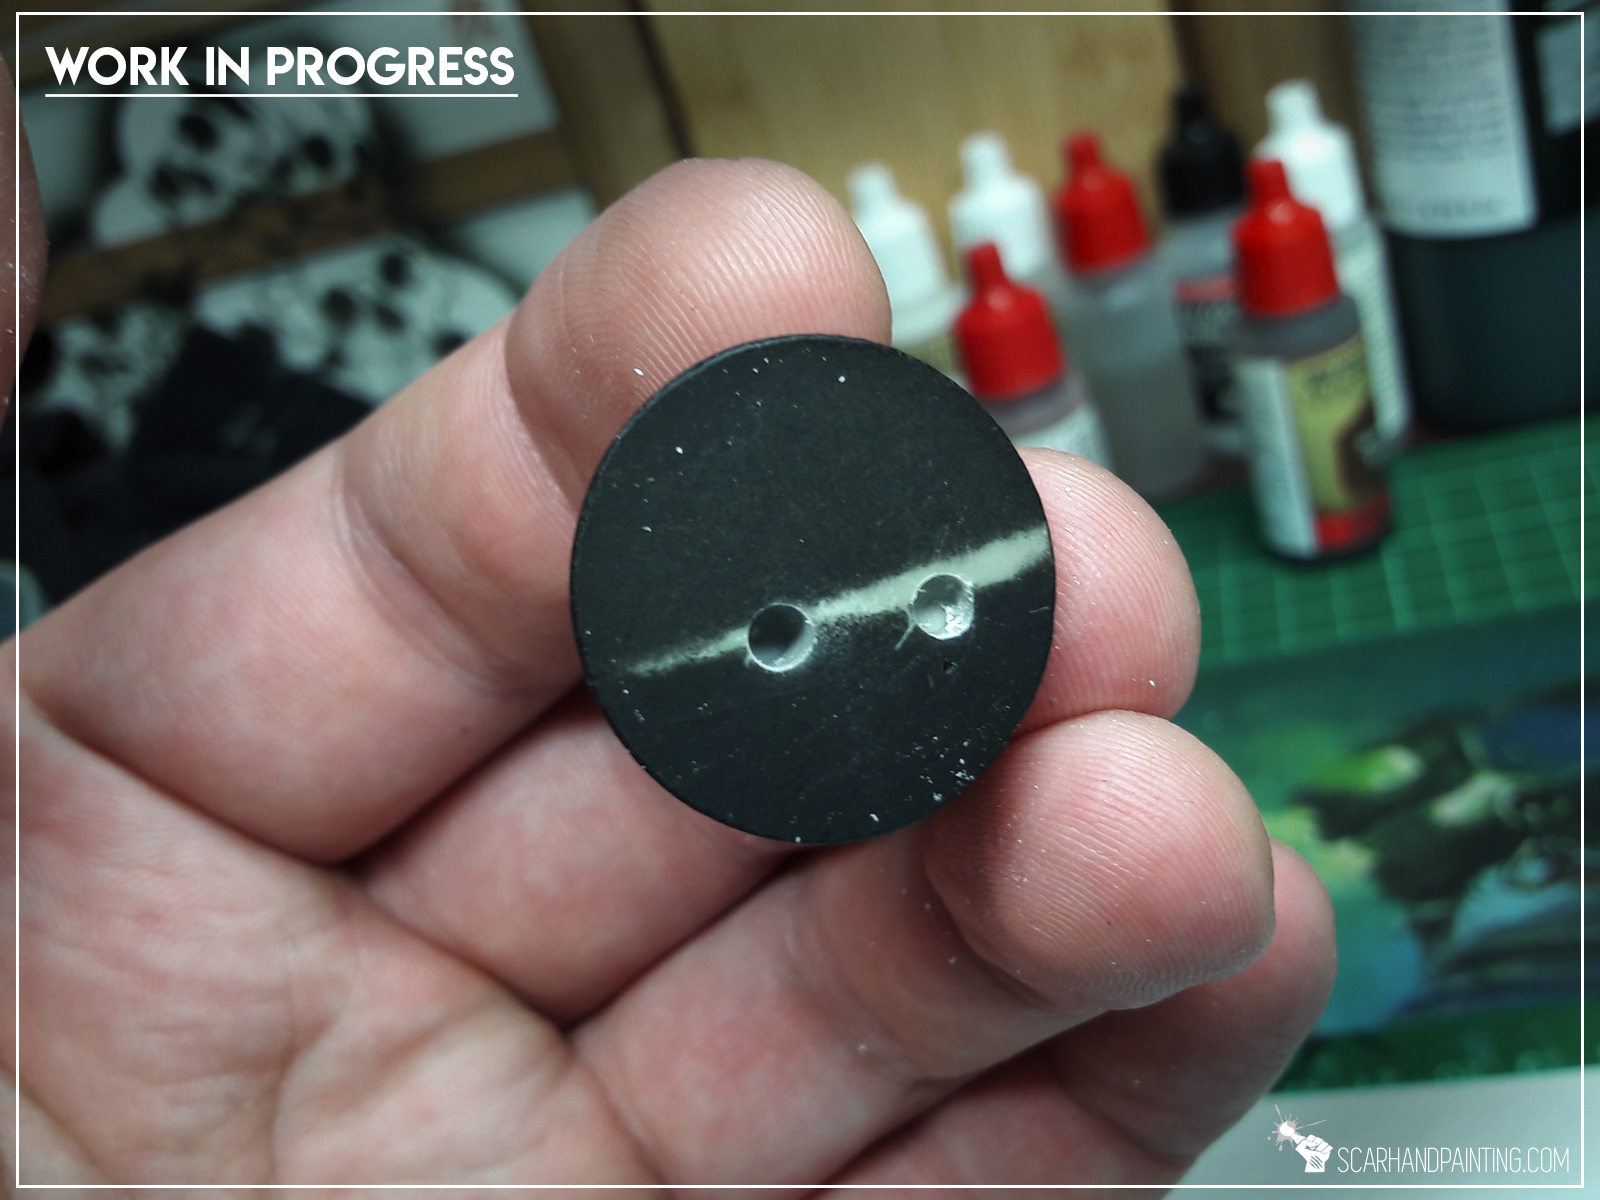
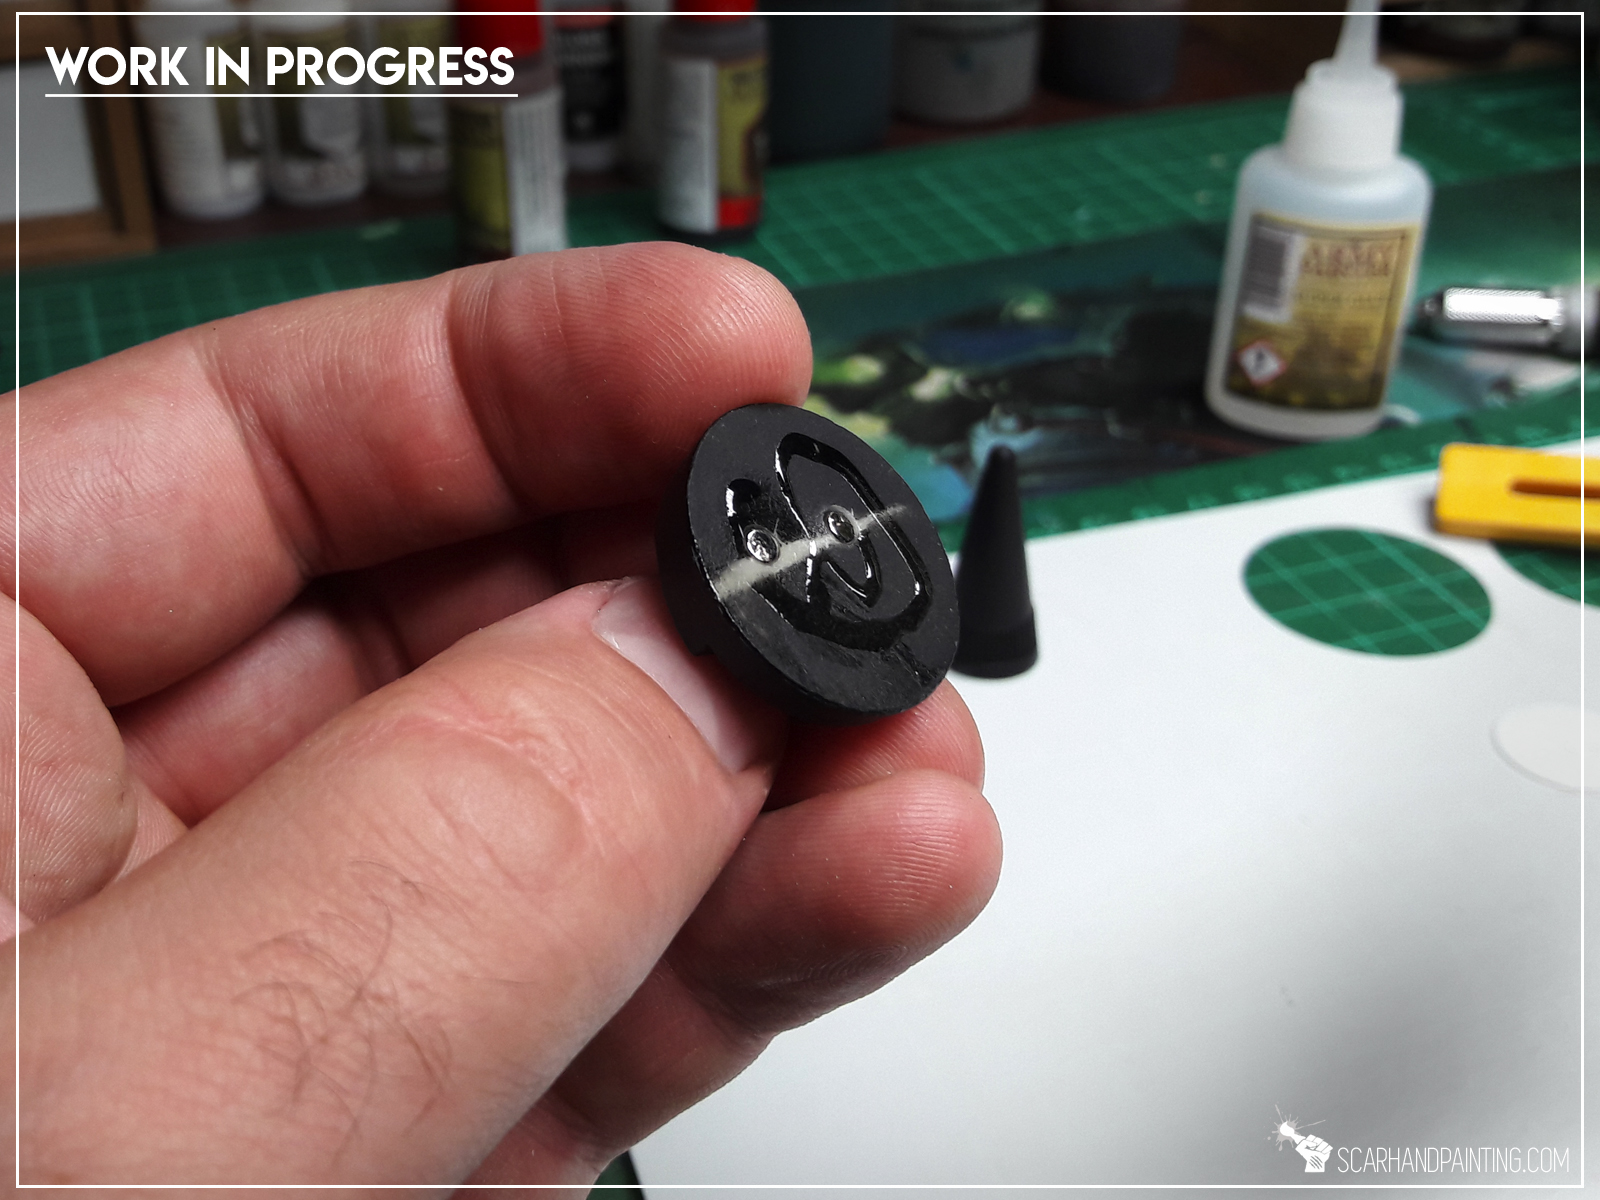
Step two: Inserting Magnets
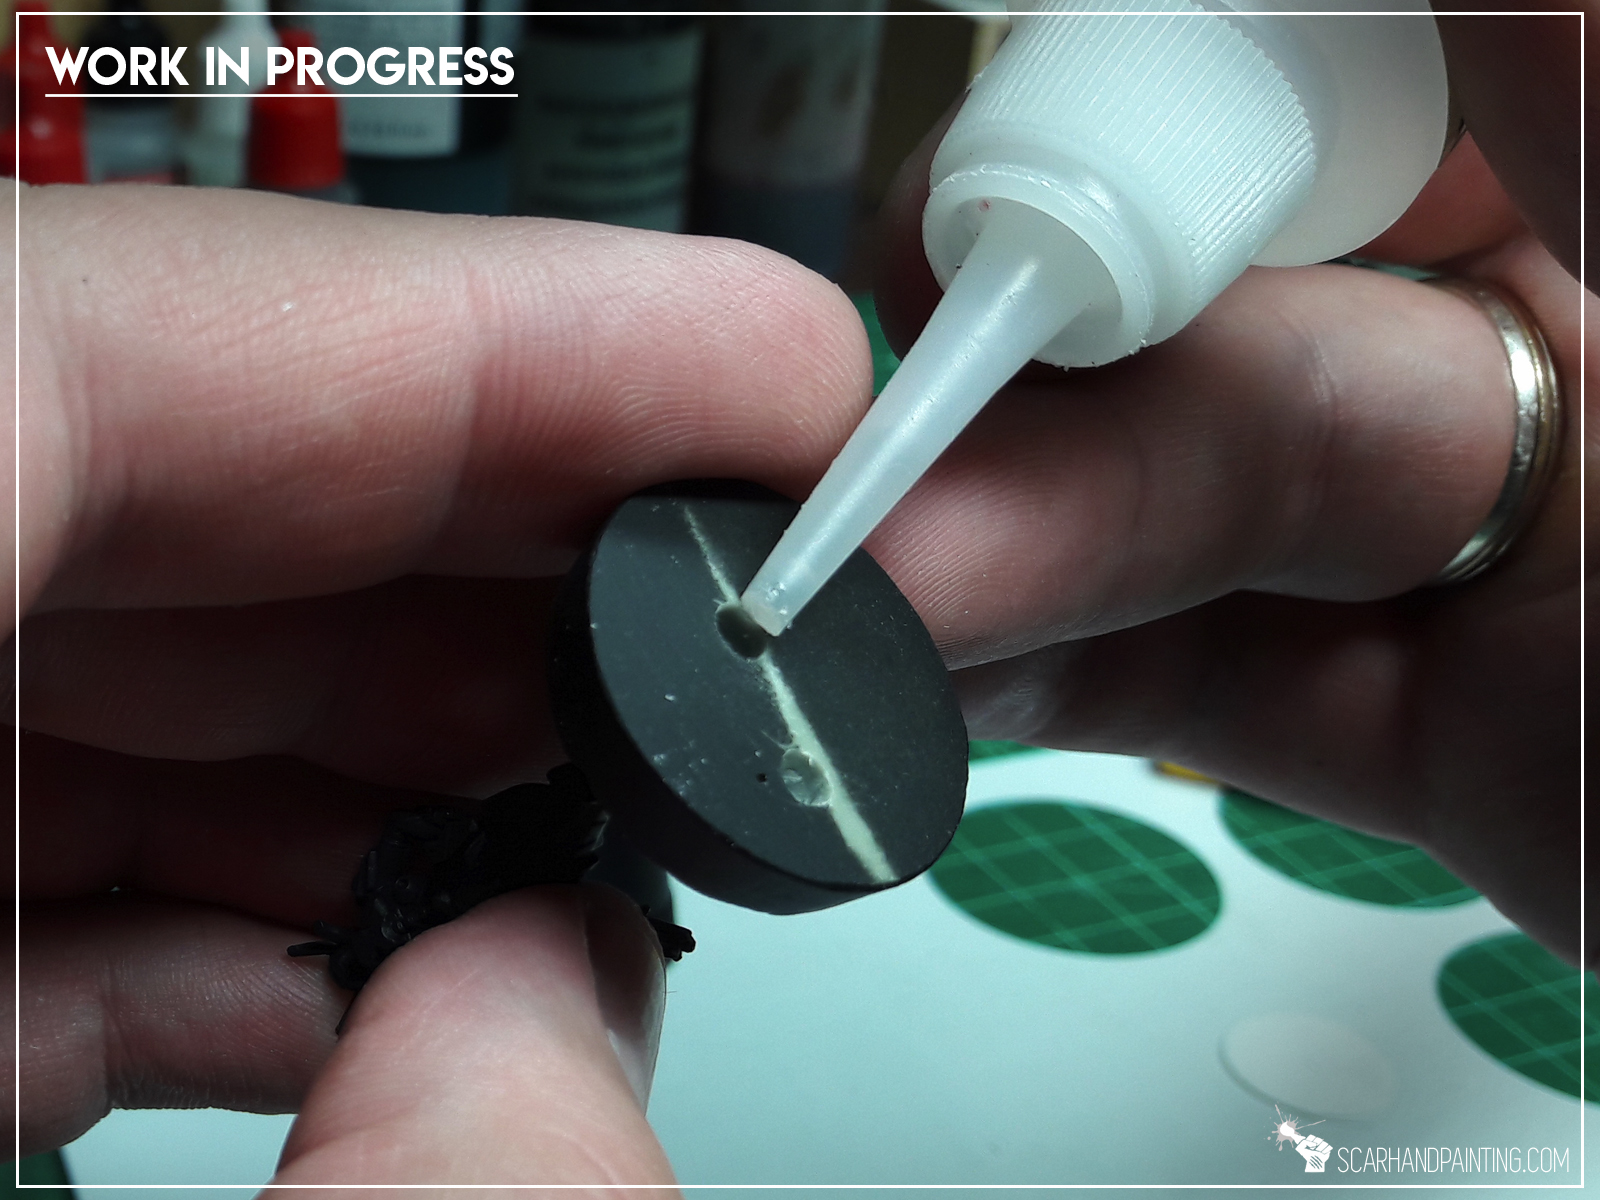


I recommend Army Painter Super Glue, or any similar glue to mount the magnets firm inside the holes. Tip number three would be to use a hobby knife. This way you can “cut off” a bottom magnet from the stack and simply insert it into the hole, using blades side to push the magnet in until it’s parallel to the bases bottom line.
Step three: Sealing Magnets
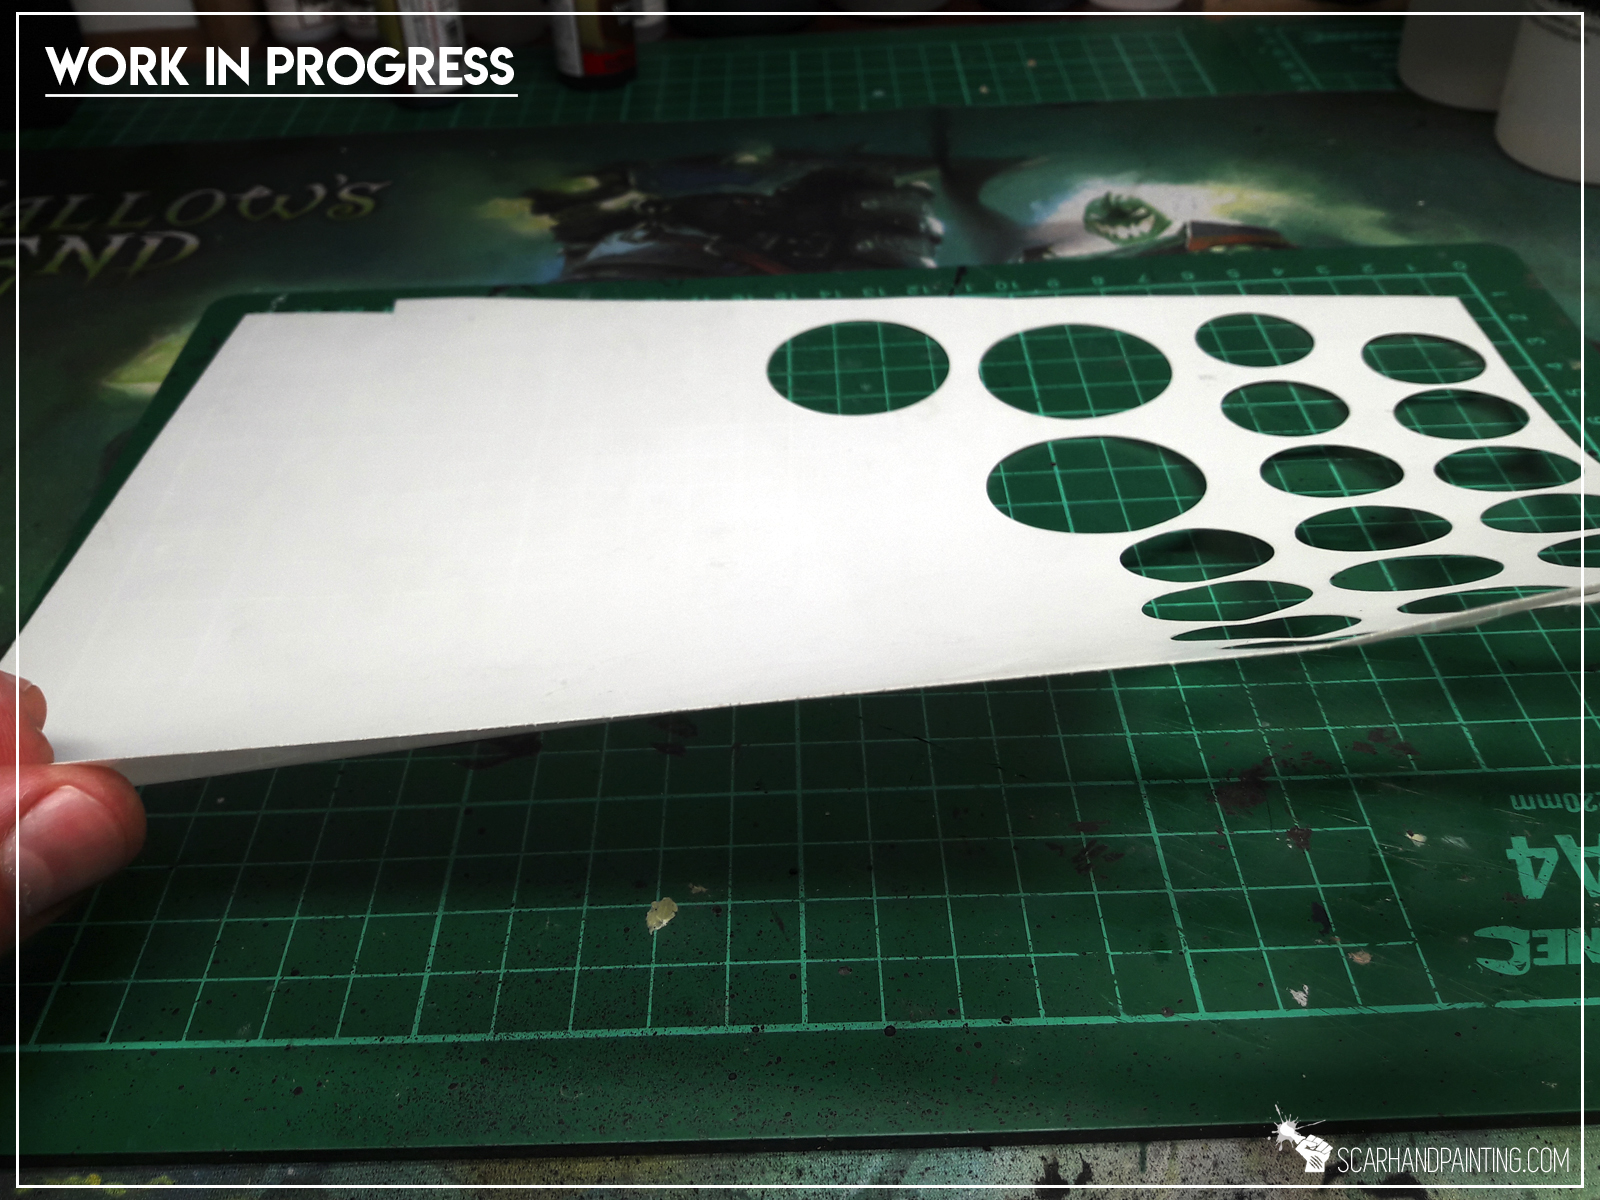
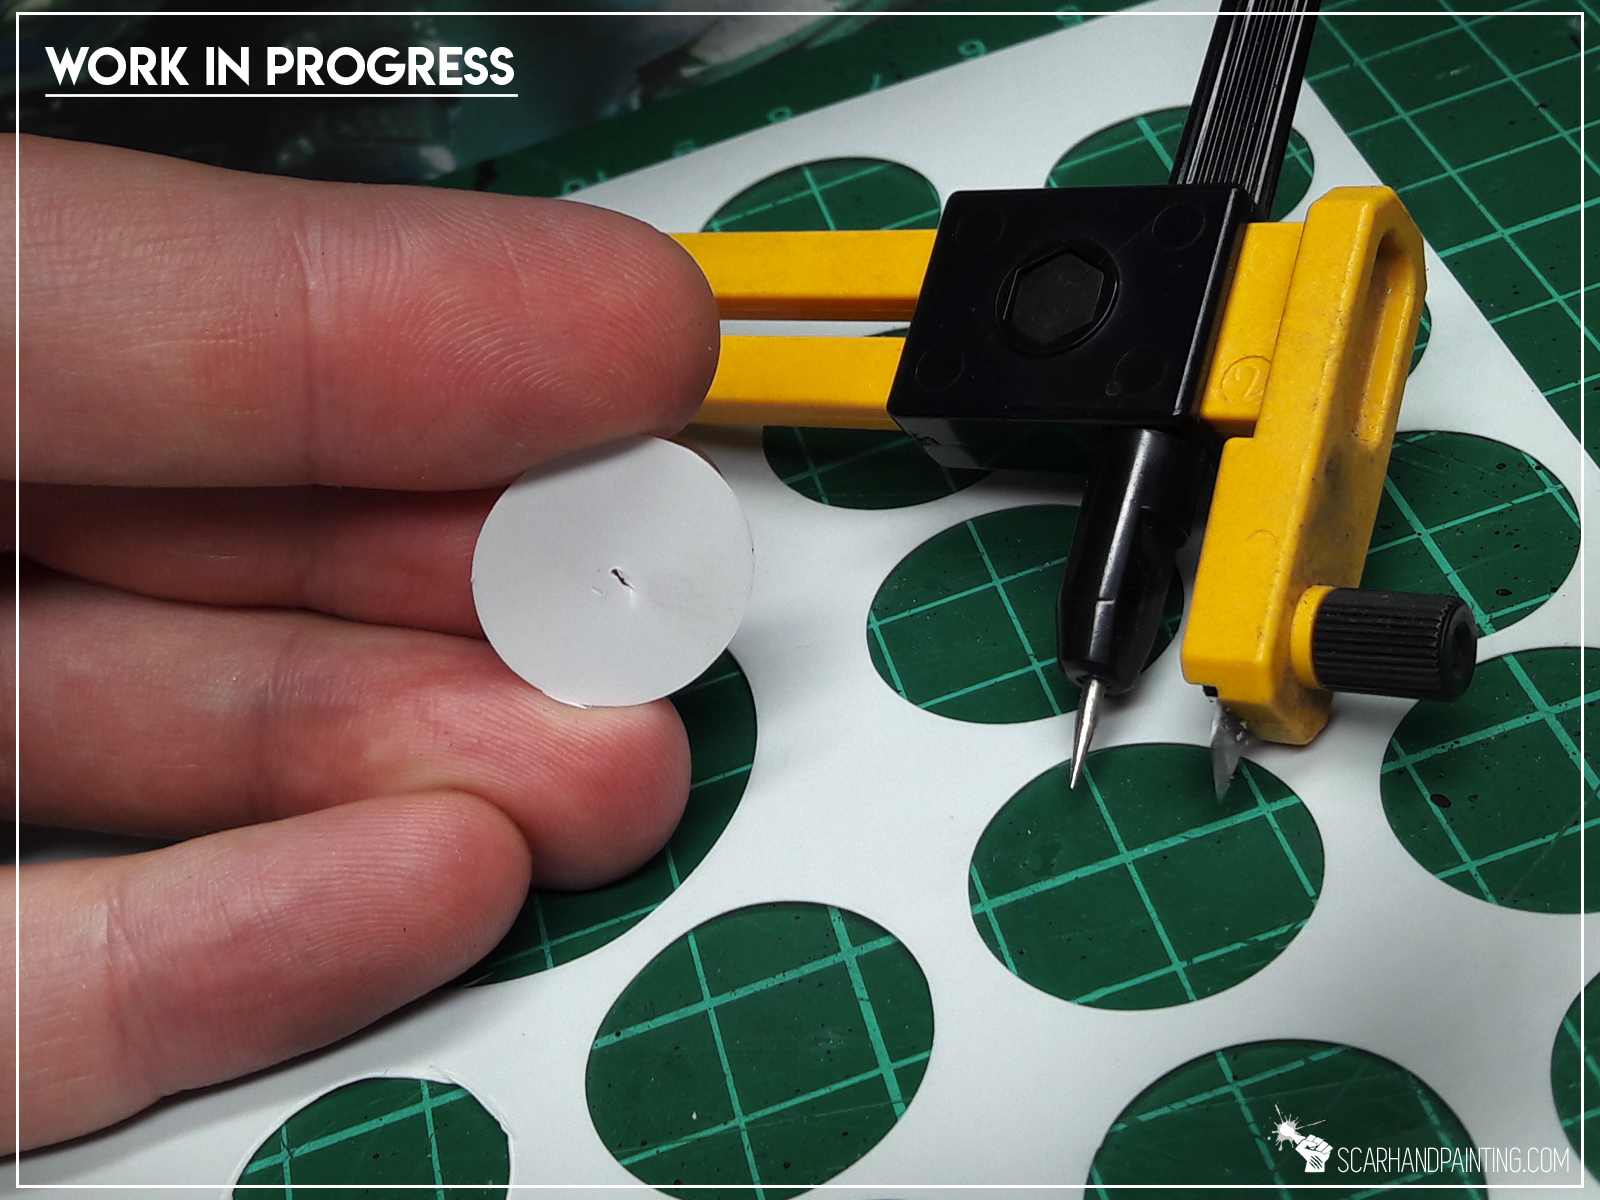
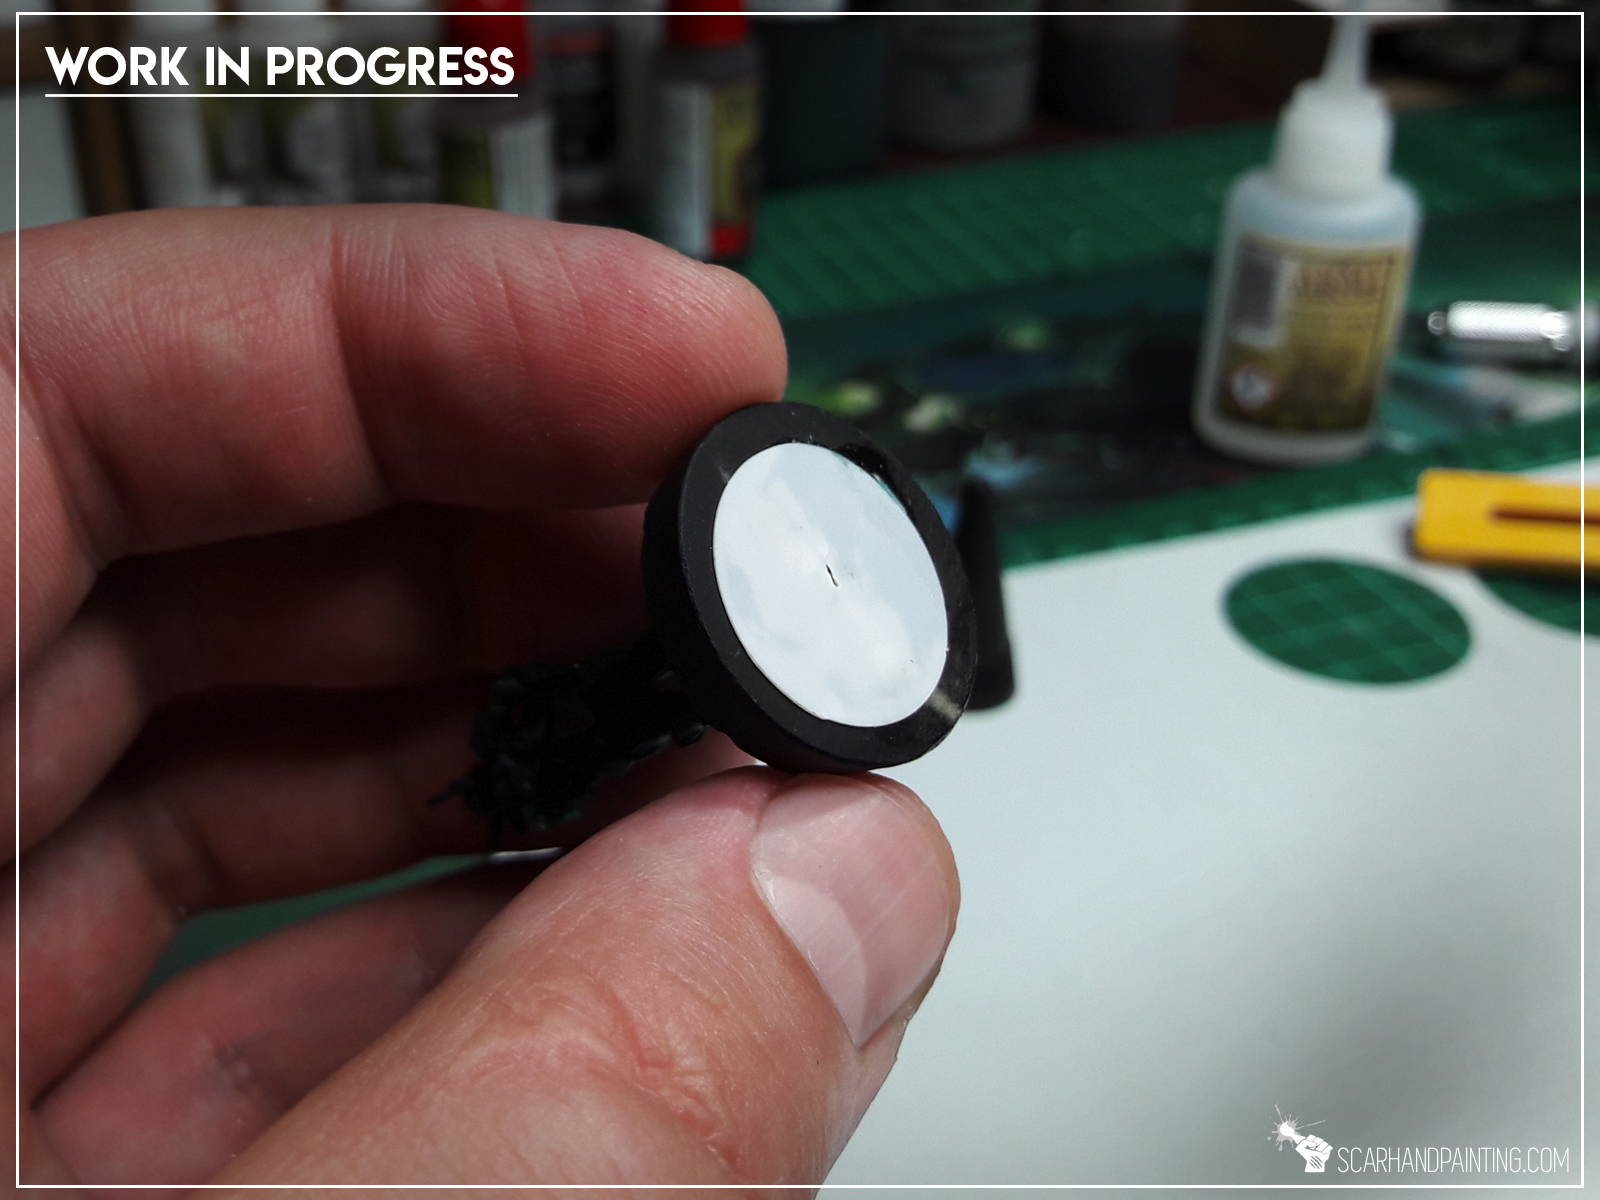
You can skip on this one, but if you want your magnets to hold firm inside the base and for the miniature to come off the case with it’s base attached you might consider this Hack. Simply glue a circle of paper thin plasticard on top of the magnets. This barrier won’t be as thick as to significantly weaken the pull, but will definitely make the transition onto and out off the metal surface smoother. It will also keep the magnets inside the holes – no matter what.
Do you find this article helpful? Please consider sharing it and/or dropping me some feedback down below or at my Facebook profile!
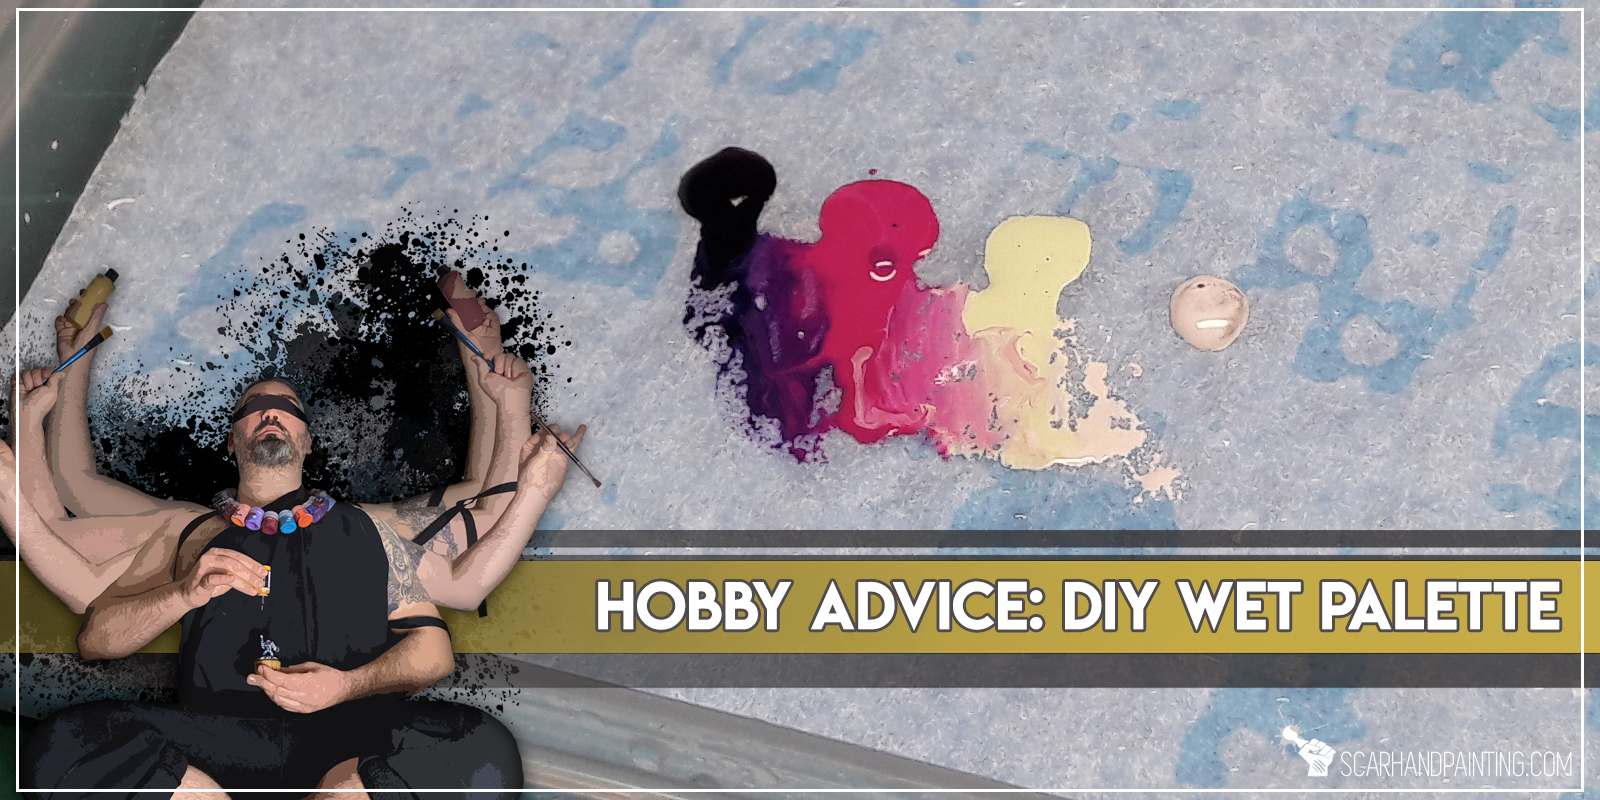
Wet Palette – a hobby tool every or at least a vast majority of pro painters has. A Wet Palette is simply a piece of parchment sitting on a wet sponge that keeps your paints thin and allows you to “save” a certain colour mix to go back to without the necessity to mix the paints anew in hope to achieve same results. In this article I will show you how to make your own Wet Palette.
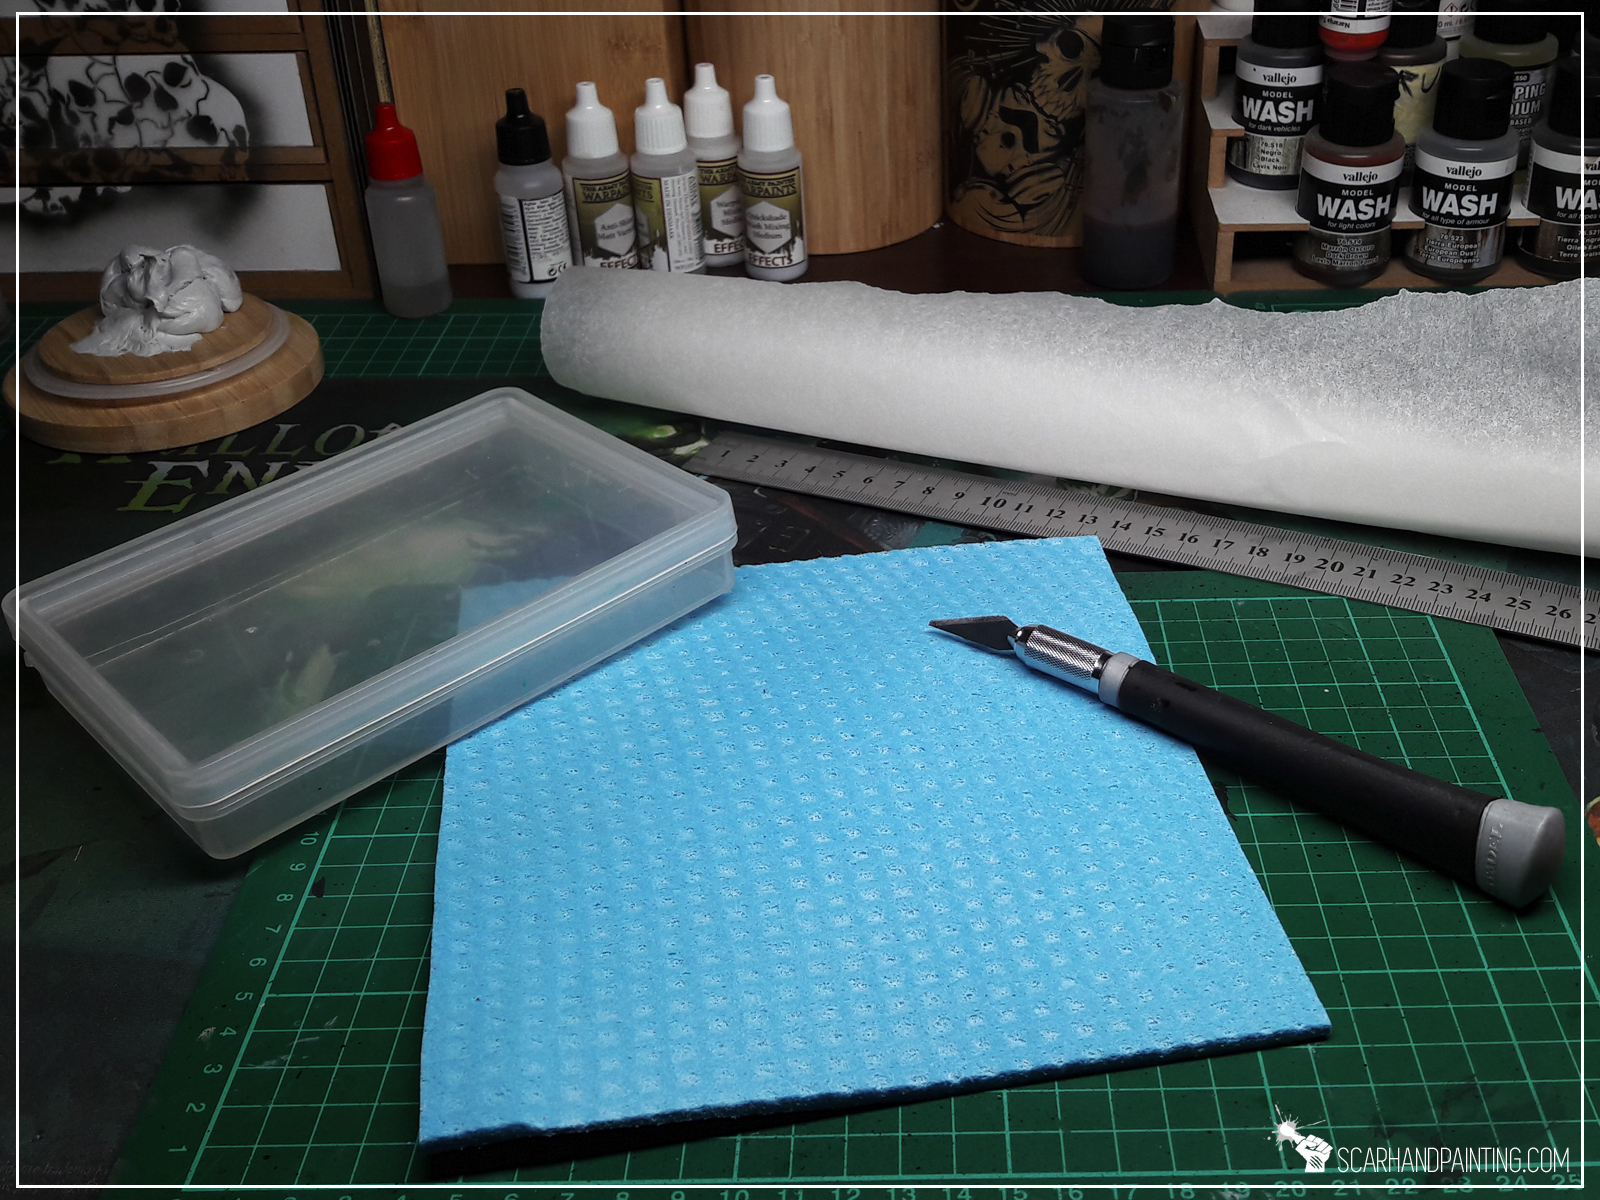

Picking a right box for the job is very important. For best results it should be hermetic, rather shallow and as wide and long as you prefer. I know a very good painter who uses a Ferrero Rocher box, I preffer to use a more hermetic and smaller Games Workshop Turf box. It suits my needs better, as I don’t use Wet Palette too often. Either way…
Step one:

I measured the insides of my box of choice and cut a piece of kitchen sponge to be approximately 5mm smaller. This is to leave some space for a sponge that might grow a bit once filled with water.

Step two:
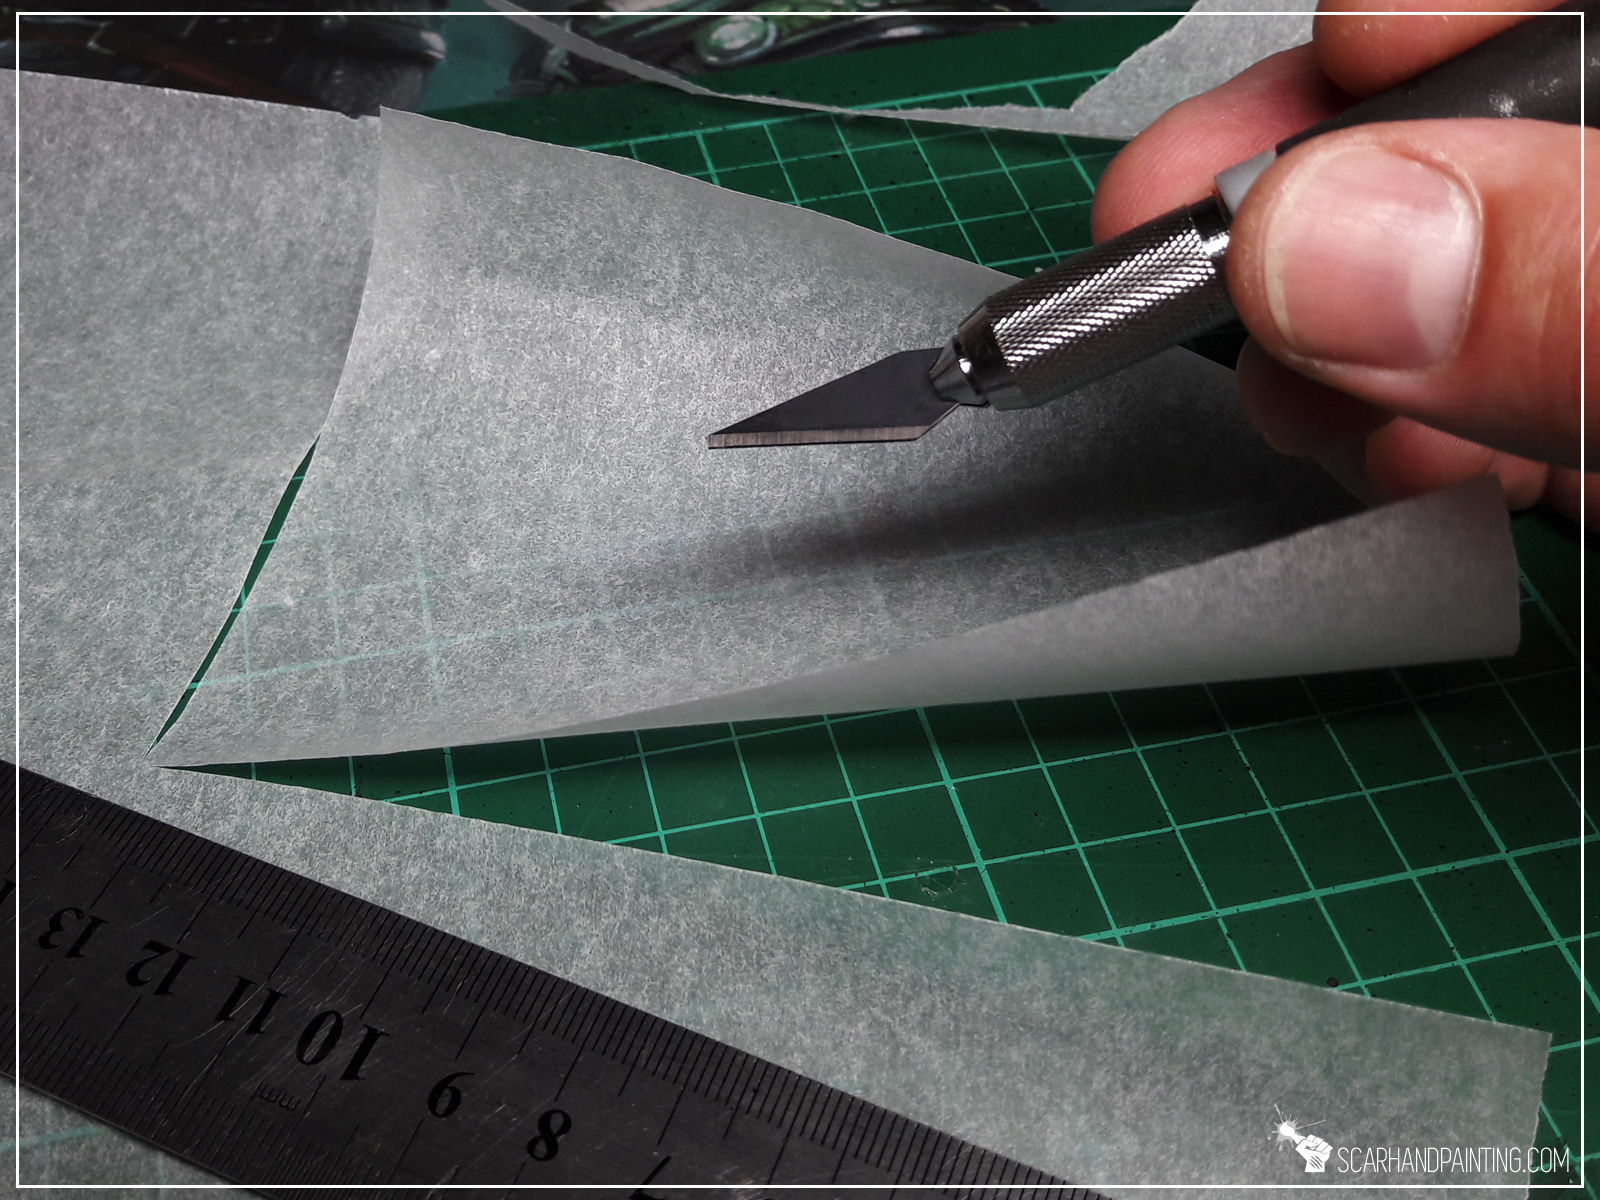
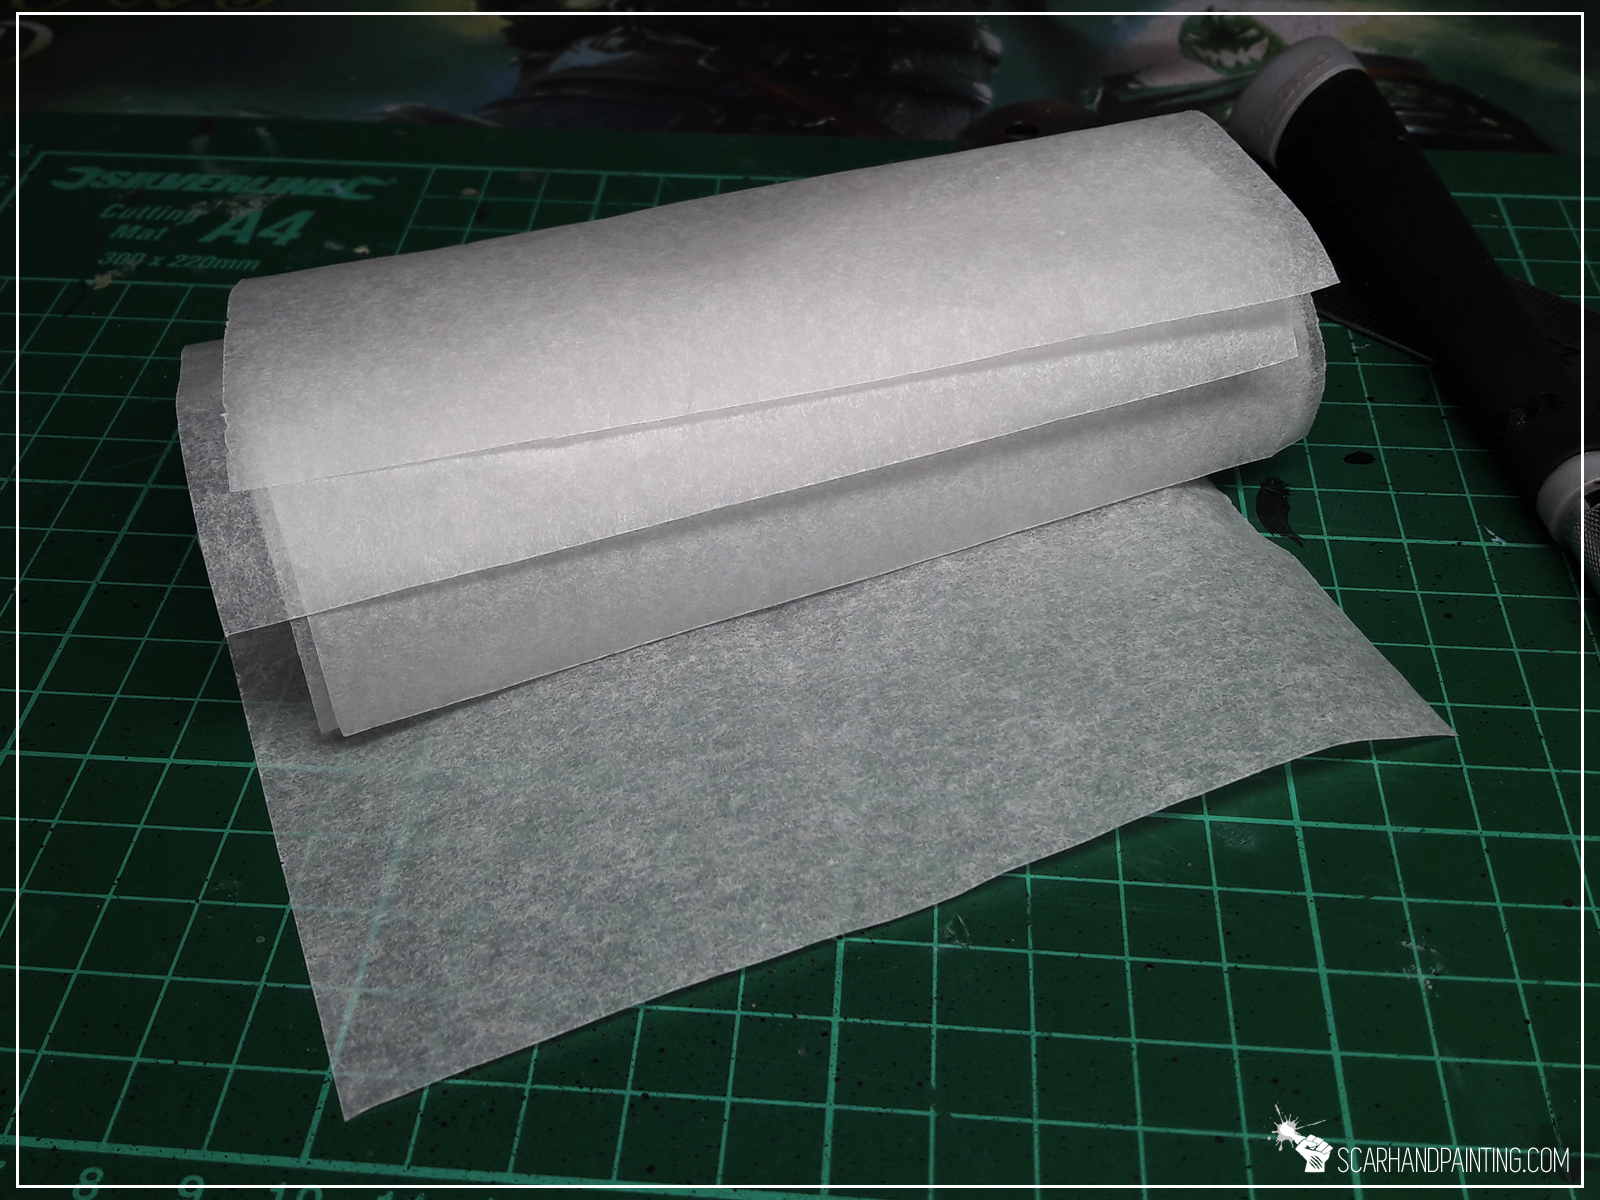
Next I cut a piece of baking paper to fit the sponge, again leaving about 5mm space between the edge of the sponge and the paper itself.
Step three:

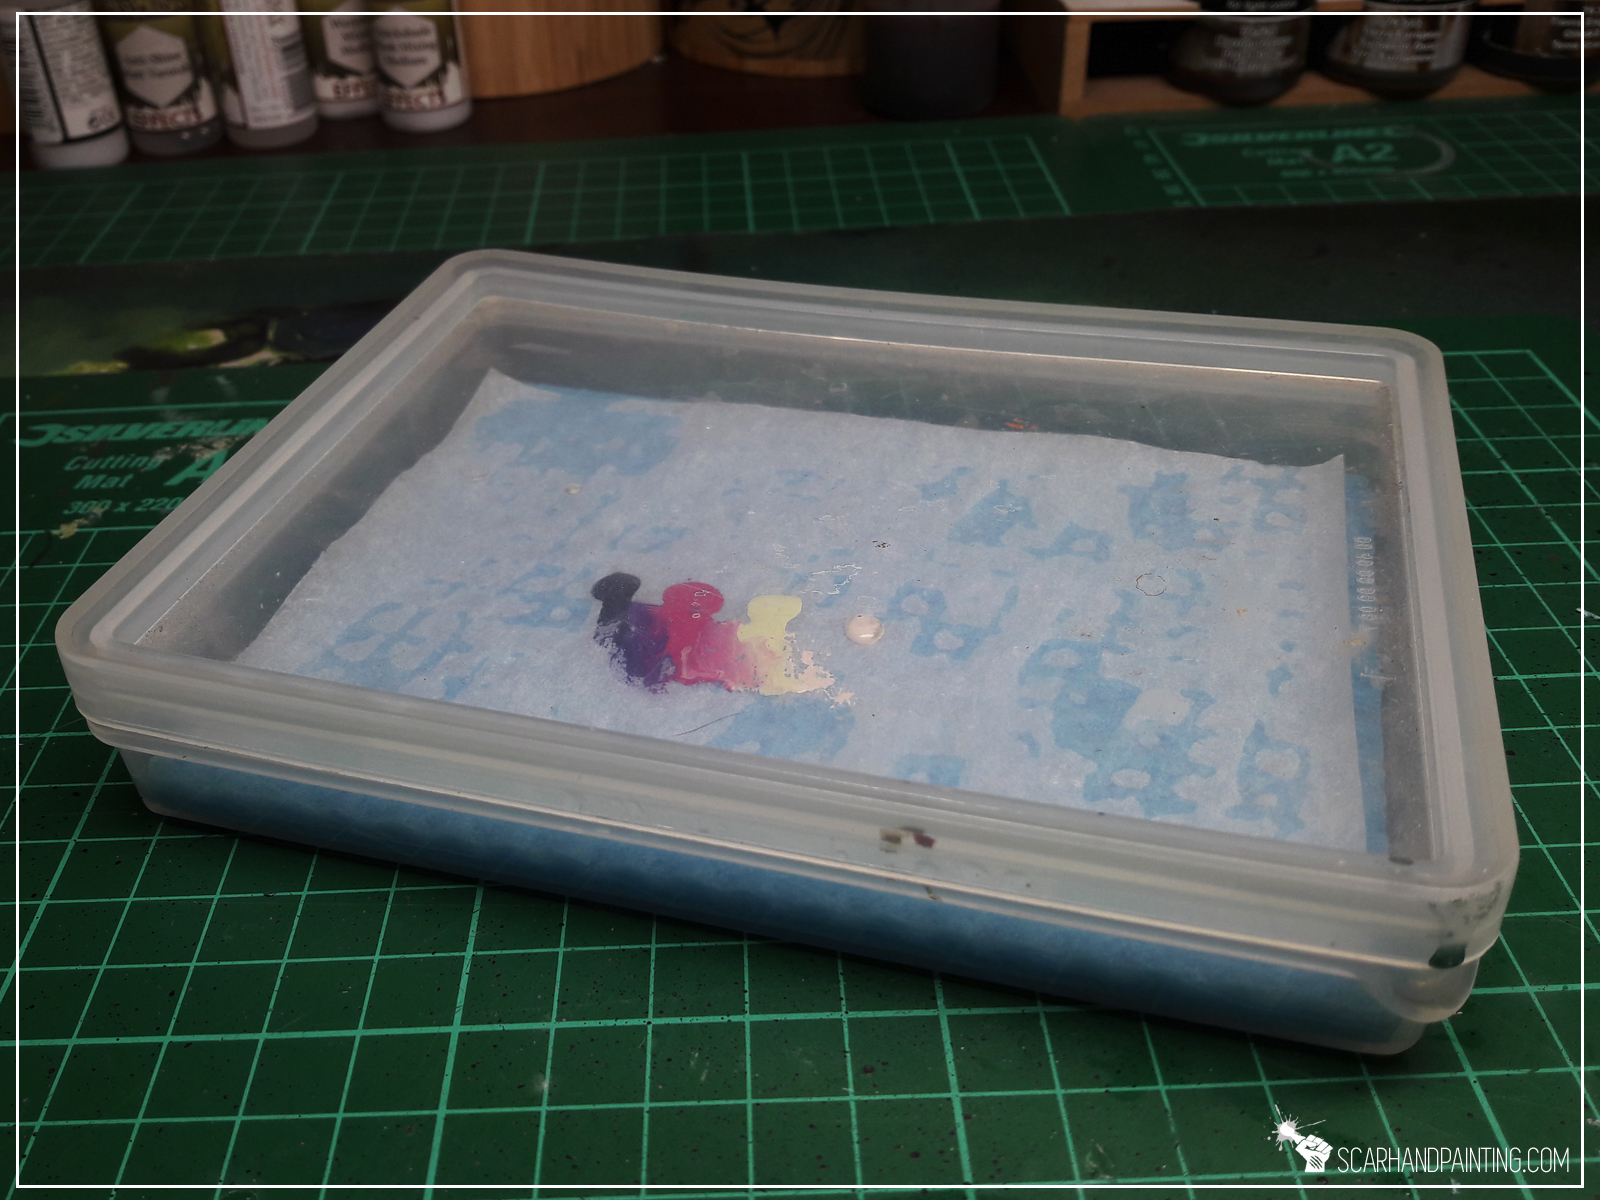
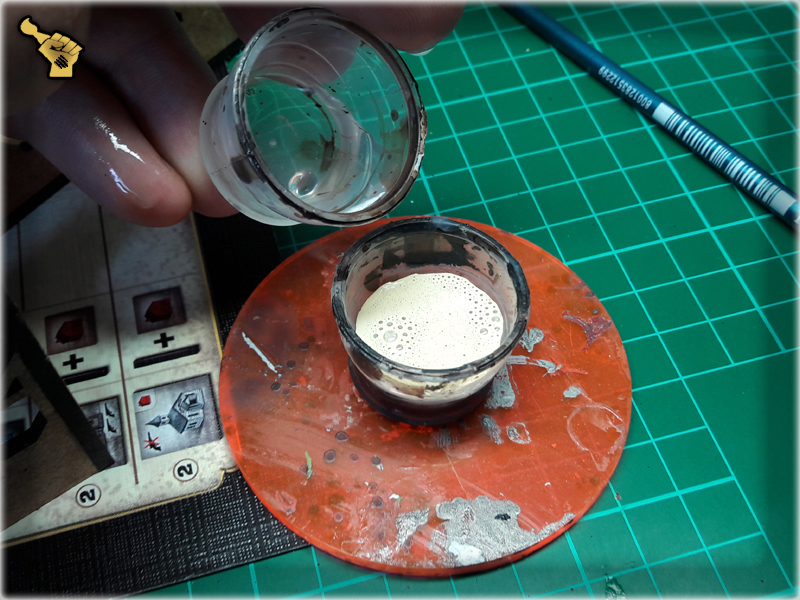
I filled the “palette” with water until the sponge couldn’t take anymore. The key is to avoid water outside the sponge.
Step four:
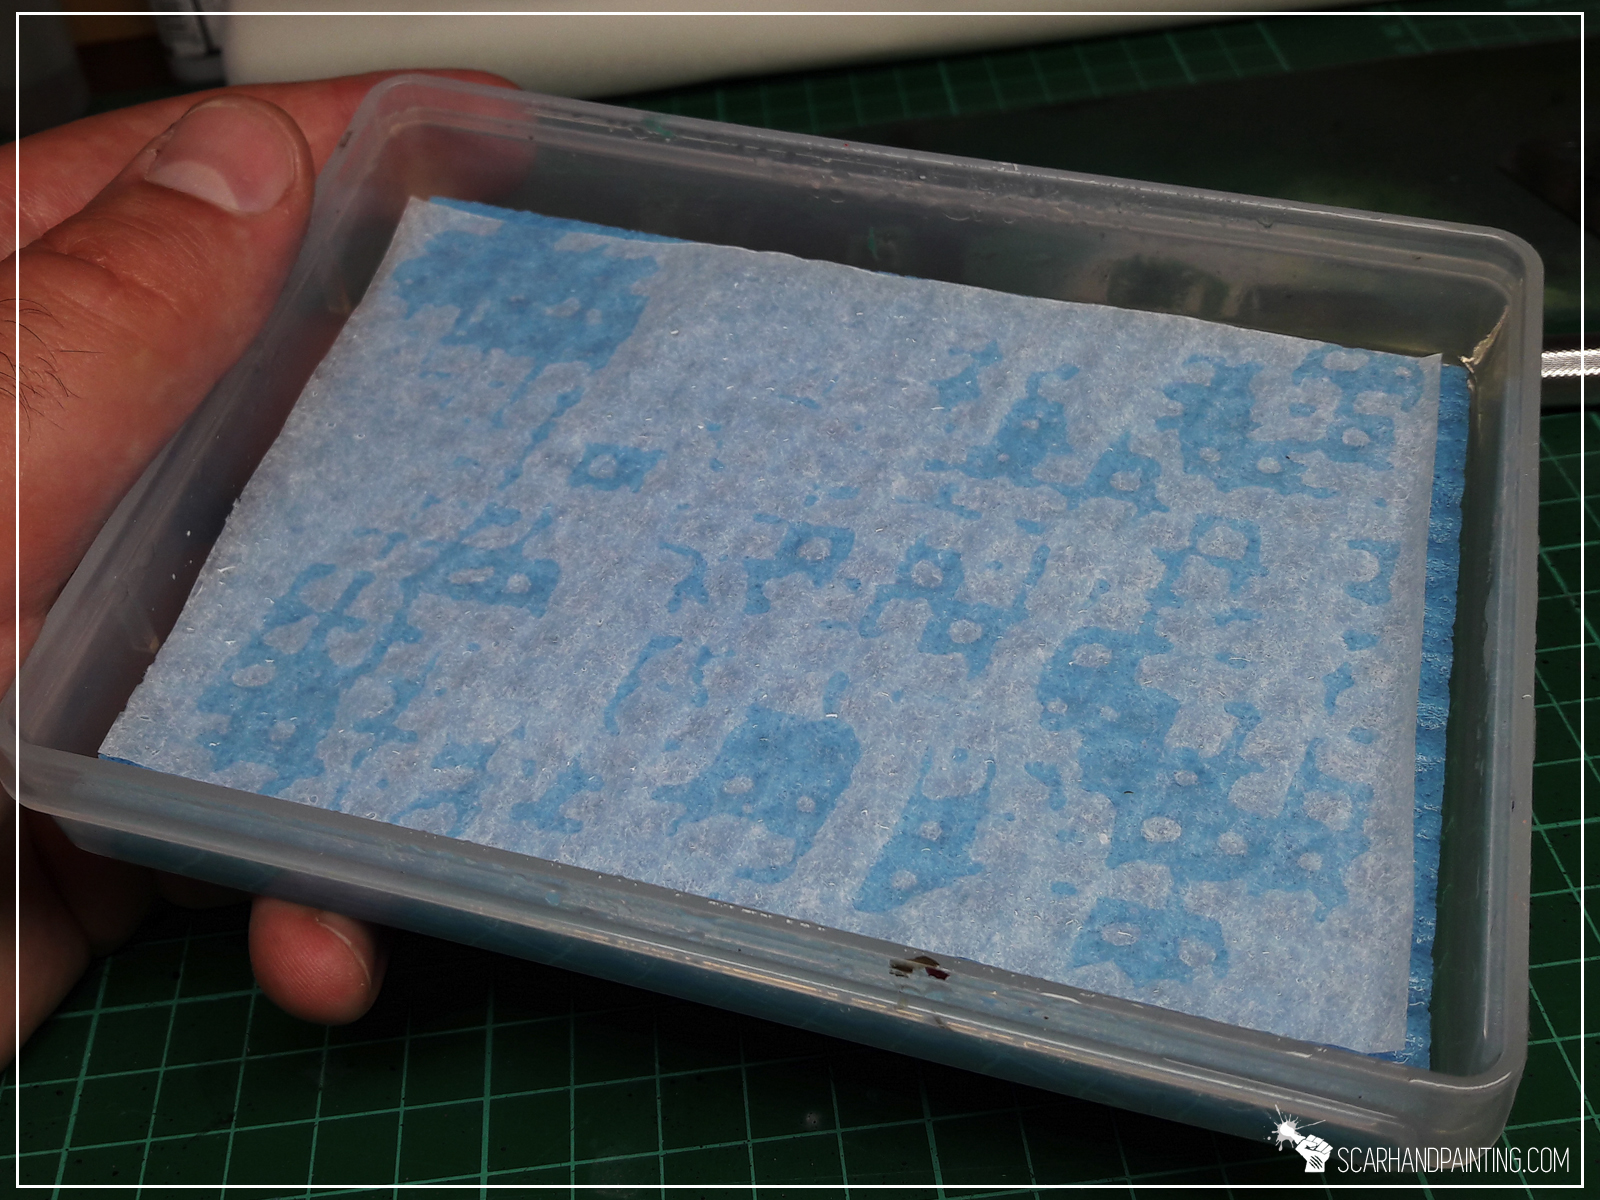
I then put a piece of baking paper on top of the sponge and held it in place, so that it took a little bit of water and flattened. That’s actually it – Wet Palette complete and ready for action!
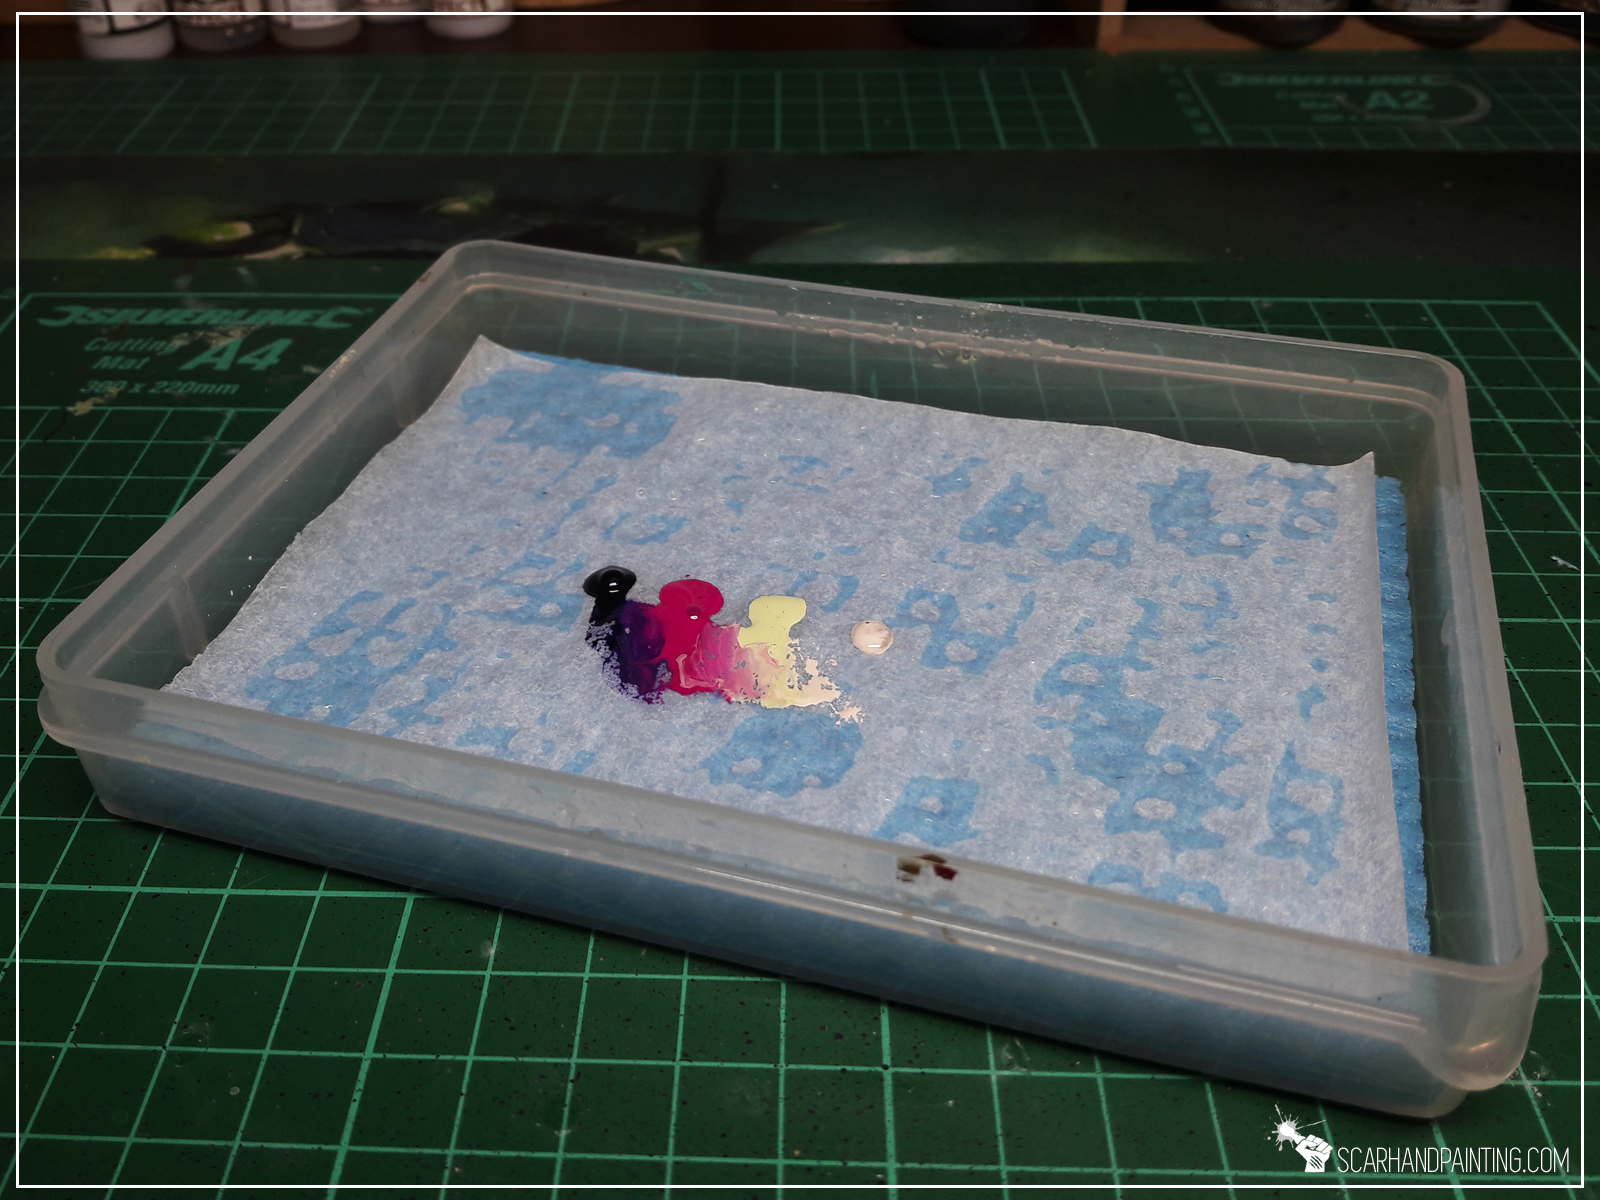
Now I can “save” the paints for later use…
Important tip: You will be switching the piece of baking paper every now and then, but I advise you to occasionally switch the sponge too. Depending on what kind of soft sponge you’ll use it might get smelly after long use. It’s because nowadays kitchen sponges are made out of algae and similar organic material. Just saying 😉
You find this article helpful? Don’t be a stranger and drop me a comment below!
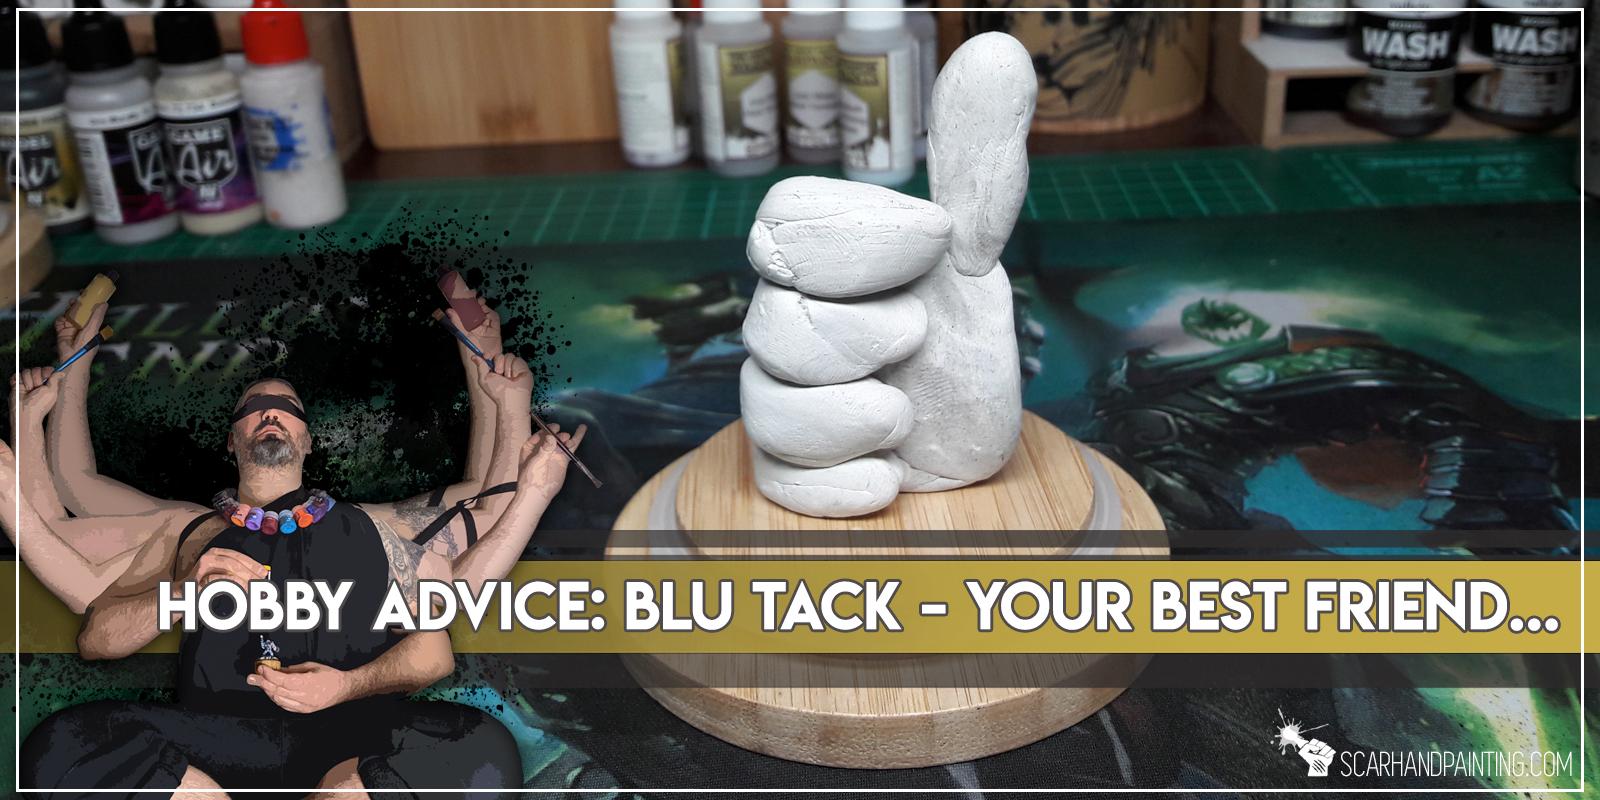
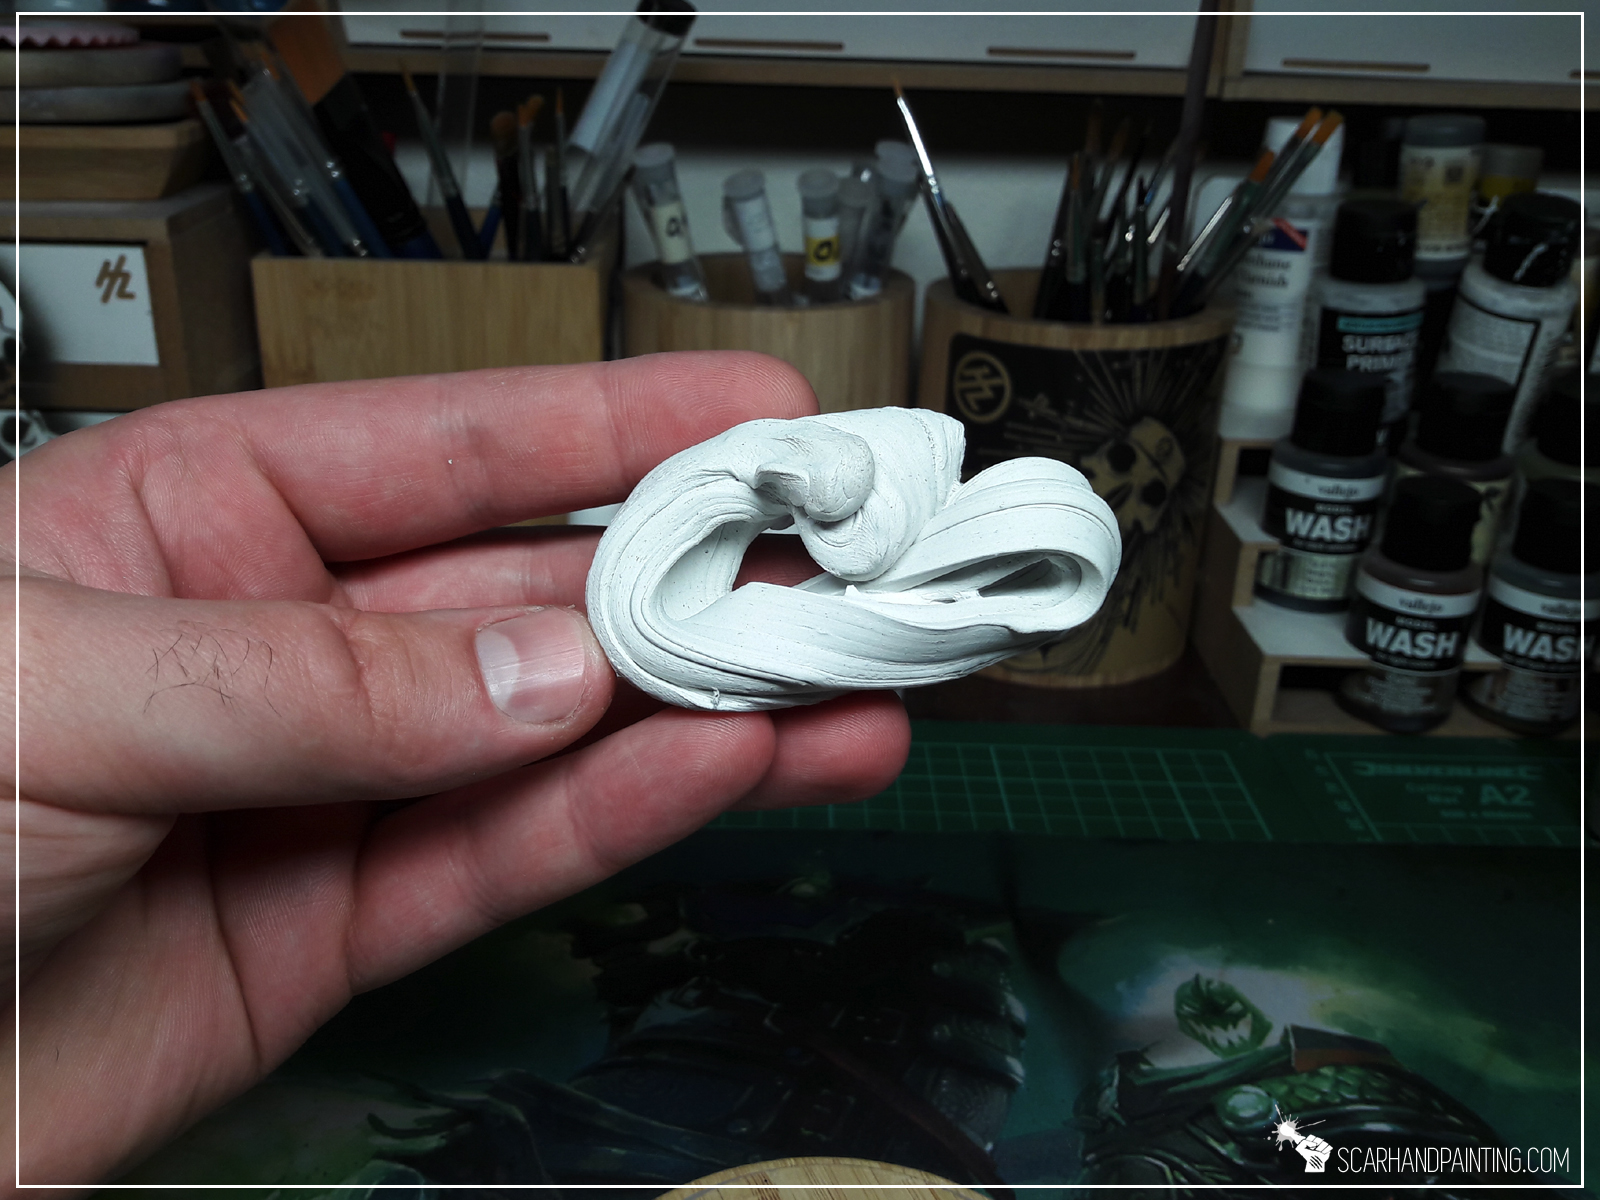
Brushes, paints, even entire hobby desks – they come and go. It doesn’t matter how much I like particular pot of paint or a hobby tool. At some point everything gets old and I simply got used to part ways with almost every hobby related item. There has ever been just one friend that stick and grew alongside me throughout the years. I dedicate this article to my fav support teammate. Let’s talk Blu Tack!
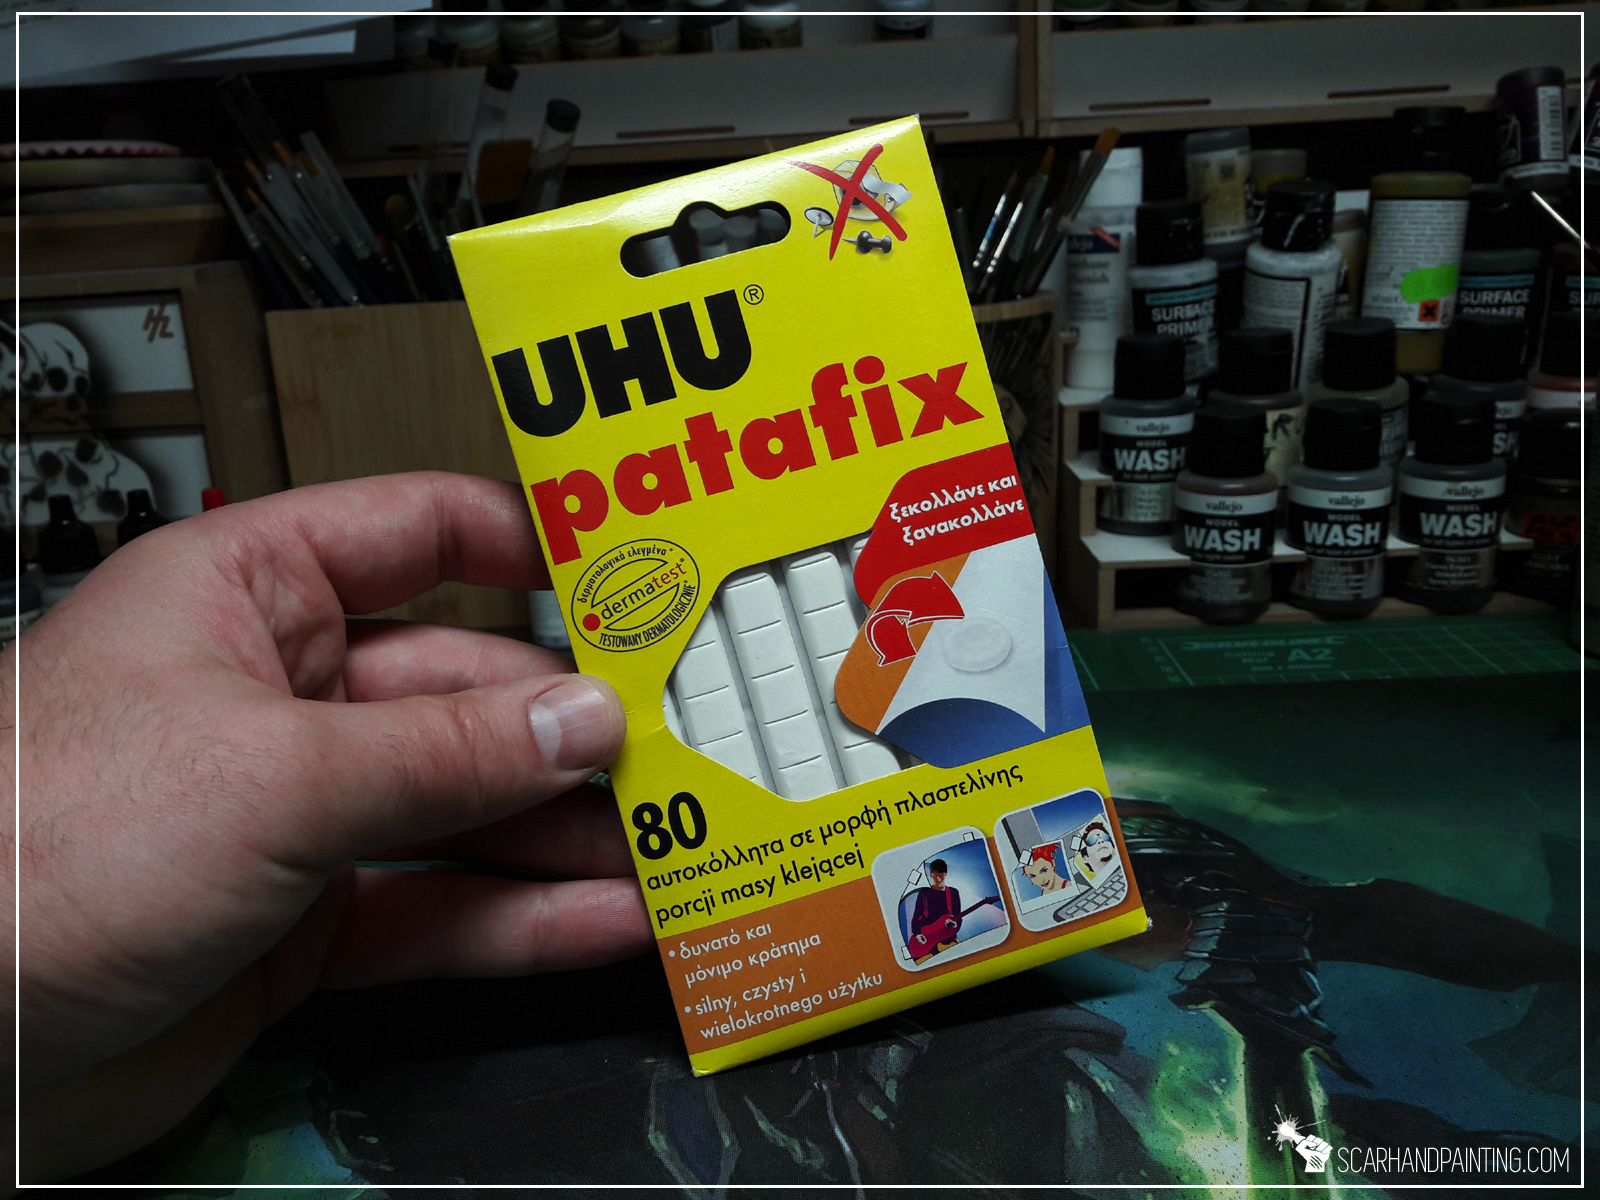
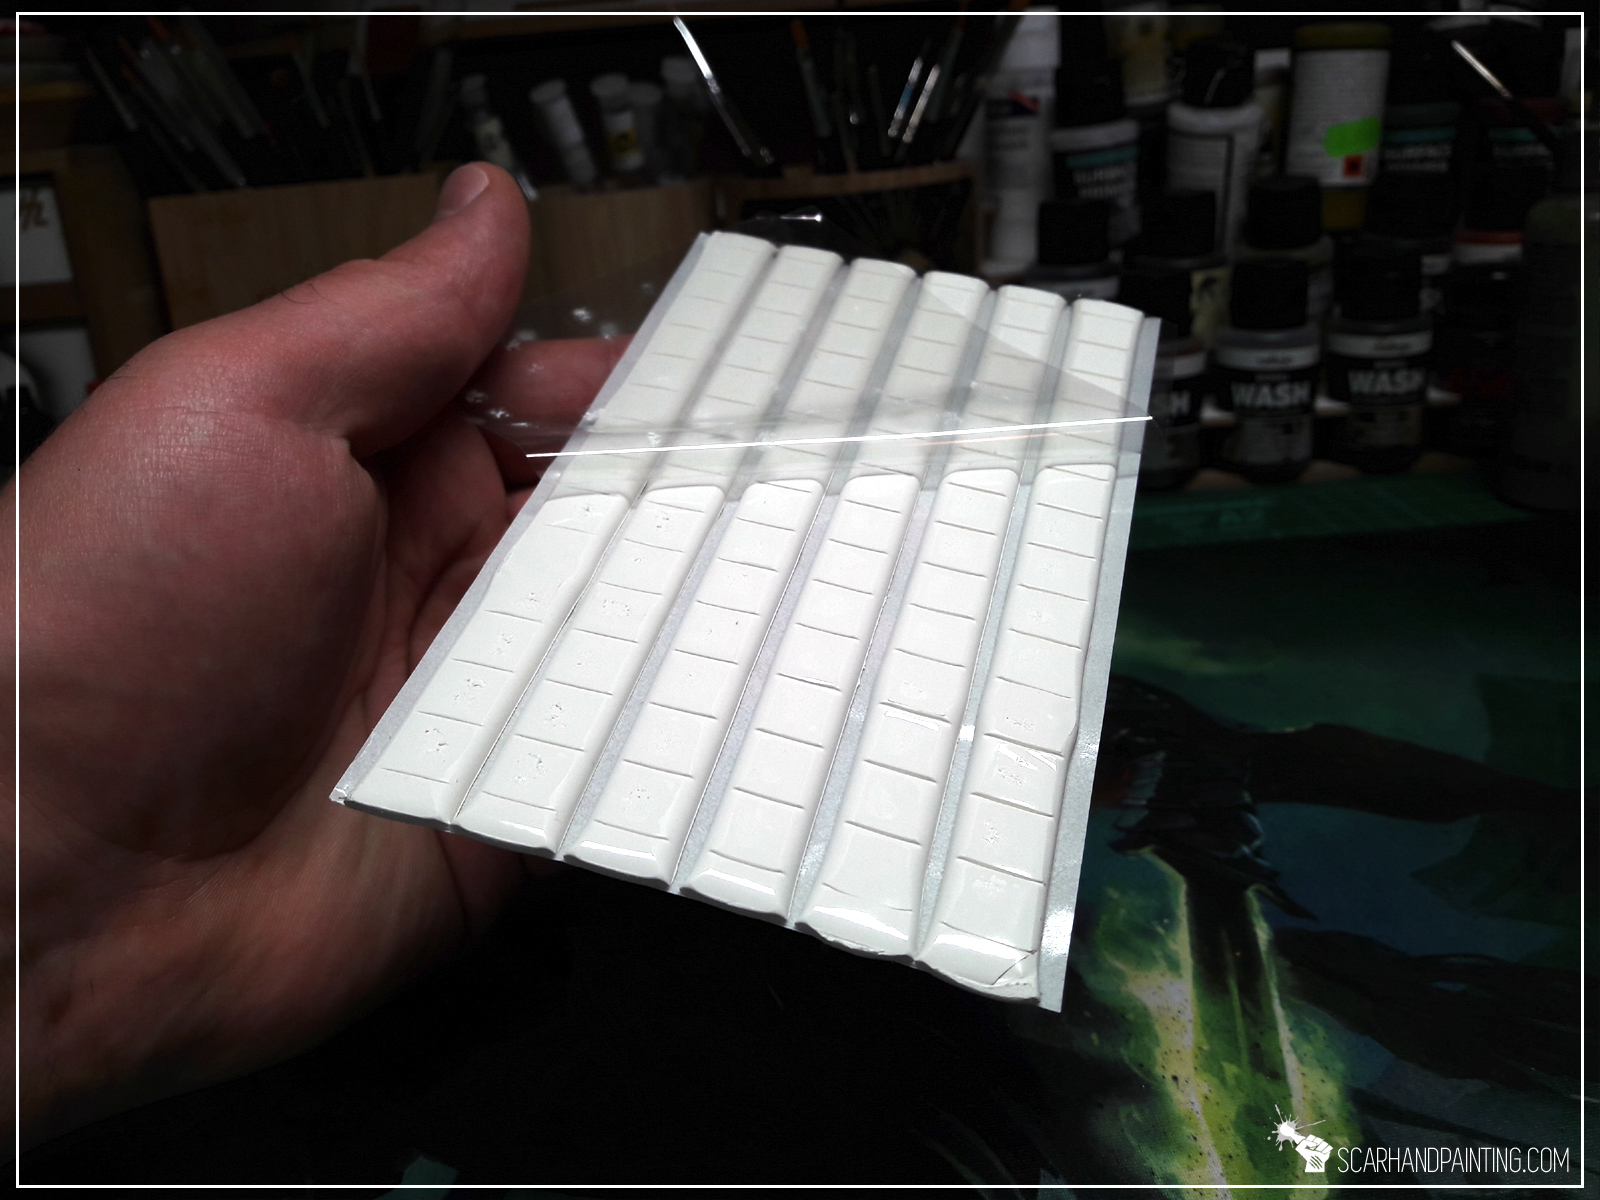
Blu Tack is an adhesive, reusable putty-like mass. The most known “original” comes by that name, but you can find different variations of the stuff all over the internet and not all come in traditional blue. It can be used to attach lightweight objects to any dry surfaces, but also as a painting tool.

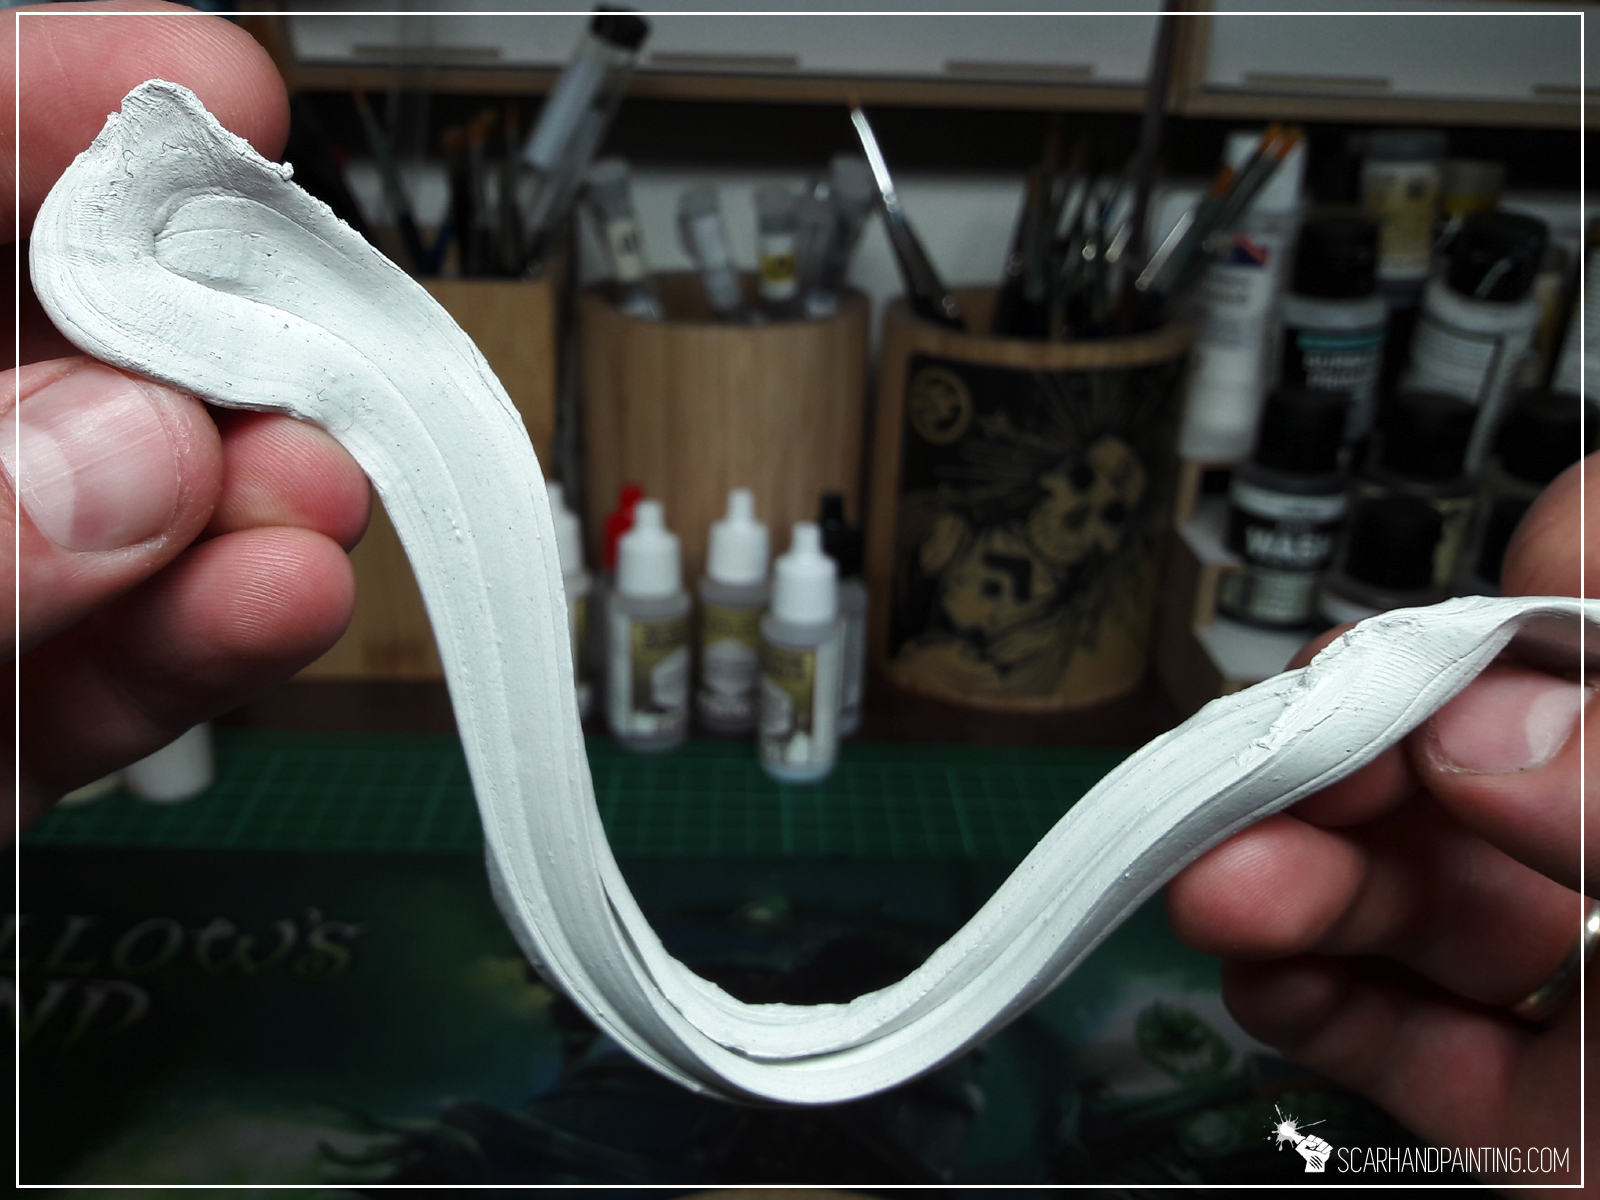
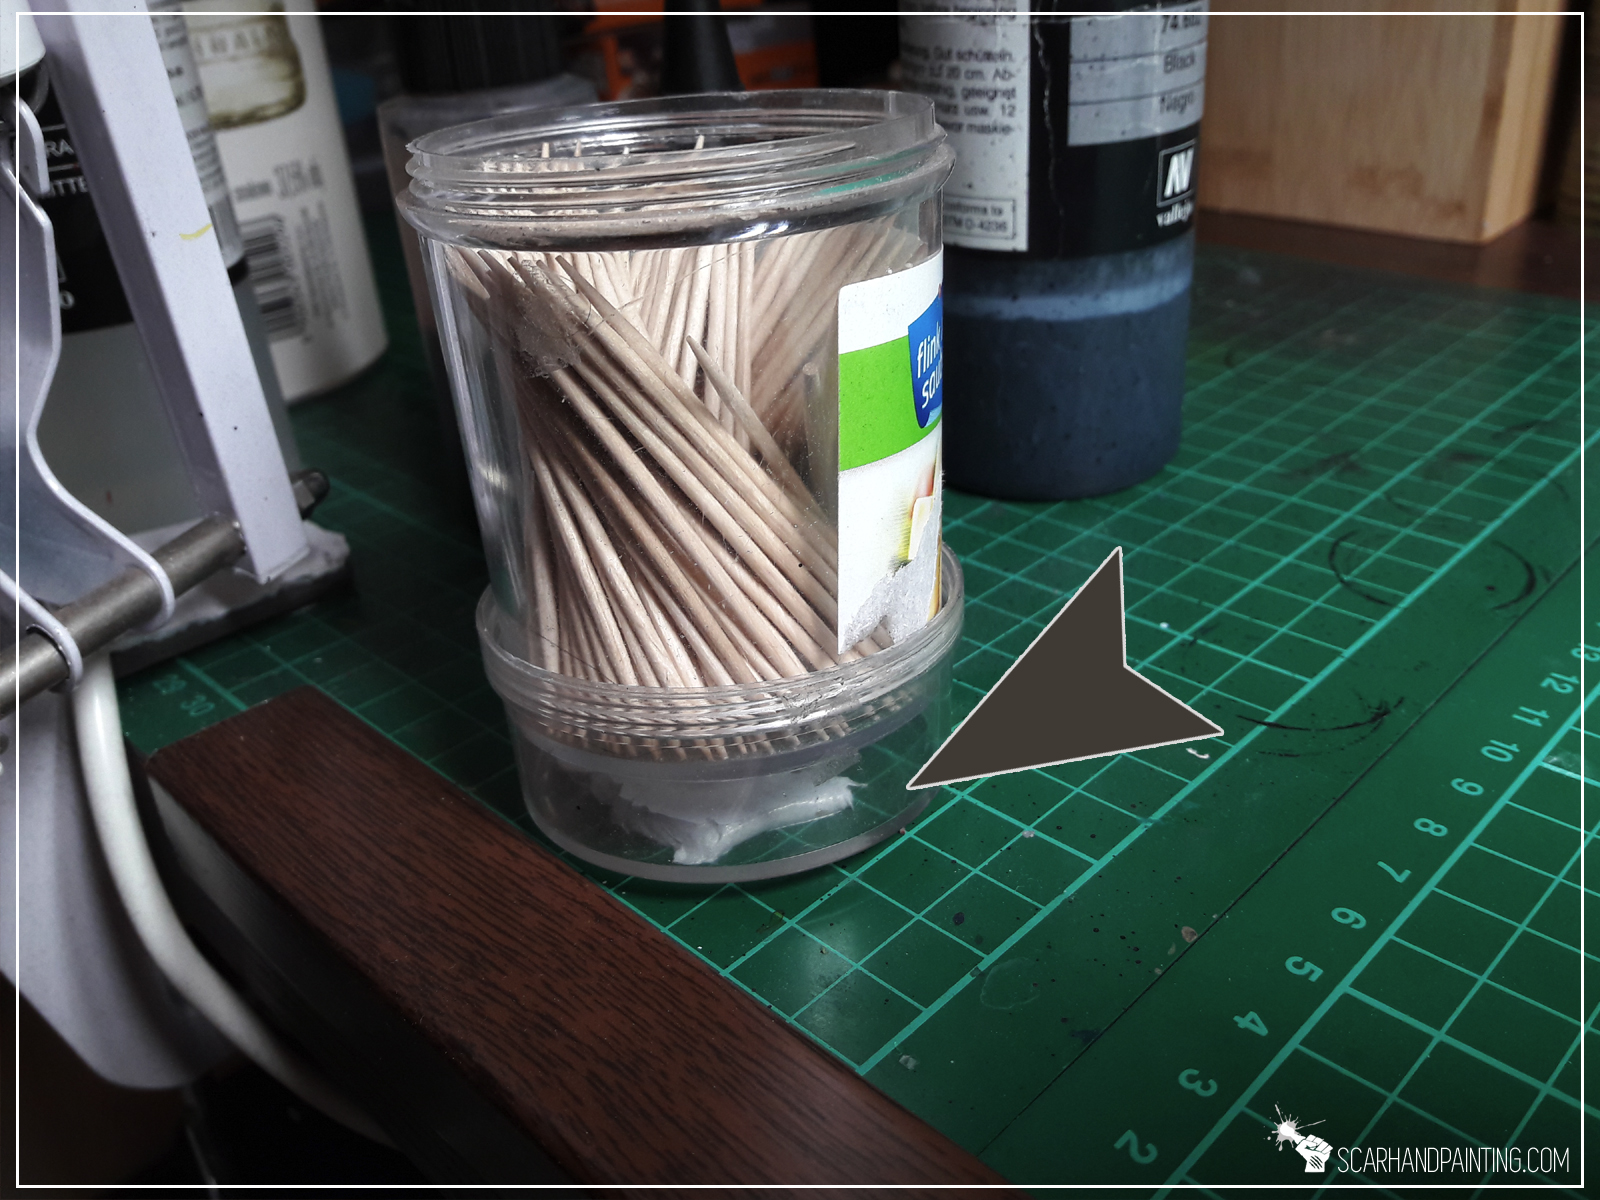
Spilled paint, toothpicks all over the place, airbrush on the floor in a pool of spilled exhaust waste… not for me. While I drown in righteous fury, punishing miniatures with relentless brush strokes, my friend Blu Tac holds the objective – keeping the surroundings in one piece. Literally…

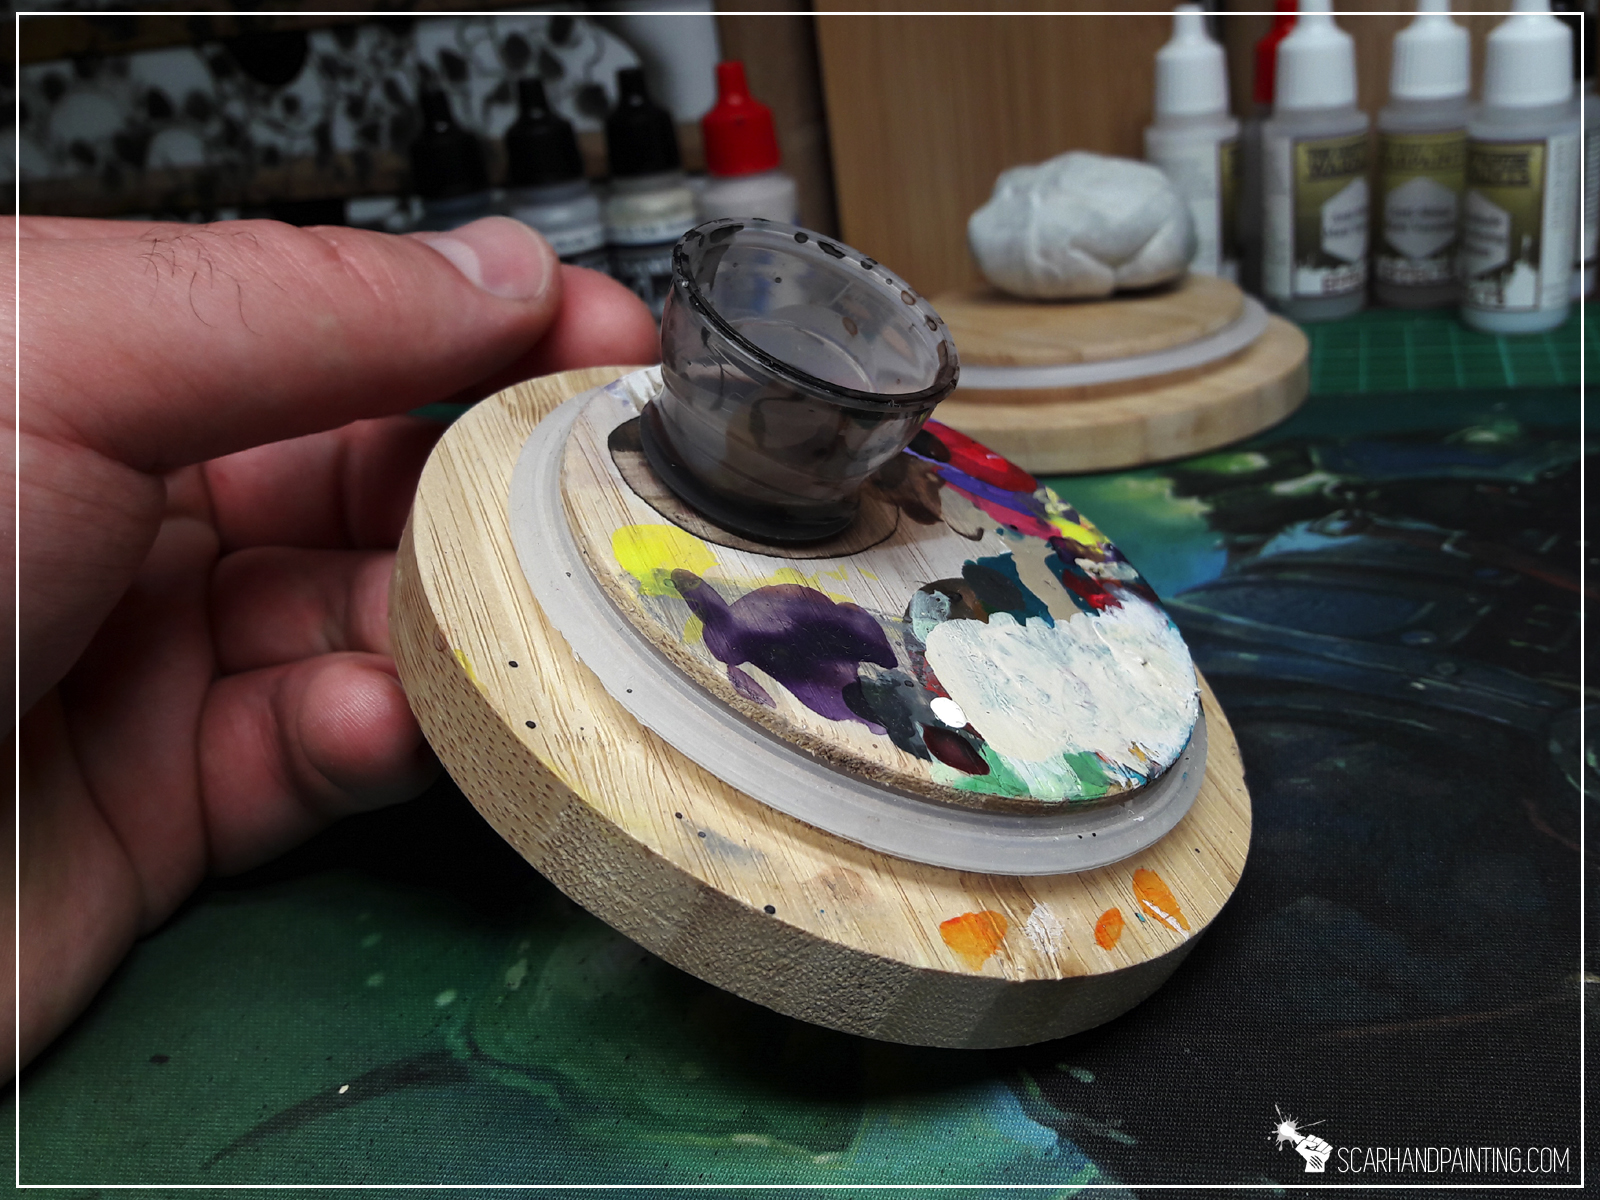
Once the creative fury abates, allowing me to paint with sniper-like calm, using both precision and cunning – Blu Tack takes the fight to the front line, lending me his strength by pinning targets in place and covering important areas…


Most importantly Blu Tack is like a mythological hero. It doesn’t die, it doesn’t get old. It builds mass with every new batch added to the body. It is a friend that throughout our painting adventure never let me down and always had my back. I know I can count on it, no matter what new challenges we will face next! Blu Tack is love. Blu Tack is god!

Do you know and use Blu Tack in your hobbying, or did you just learned of it through this article? Lemme know in the comments or at Facebook! Cheers!
Alright, so you decided to start with an airbrush. You’ve made some reconnaissance, picked an airbrush and compressor and the only question that stands between you and a lifetime of successful airbrushing is “what else do I need to start?”. This very question was asked to me a lot since I myself started airbrushing. It might be about time to turn the answer into a short article, in hope to support all the beginner hobbyists out there…
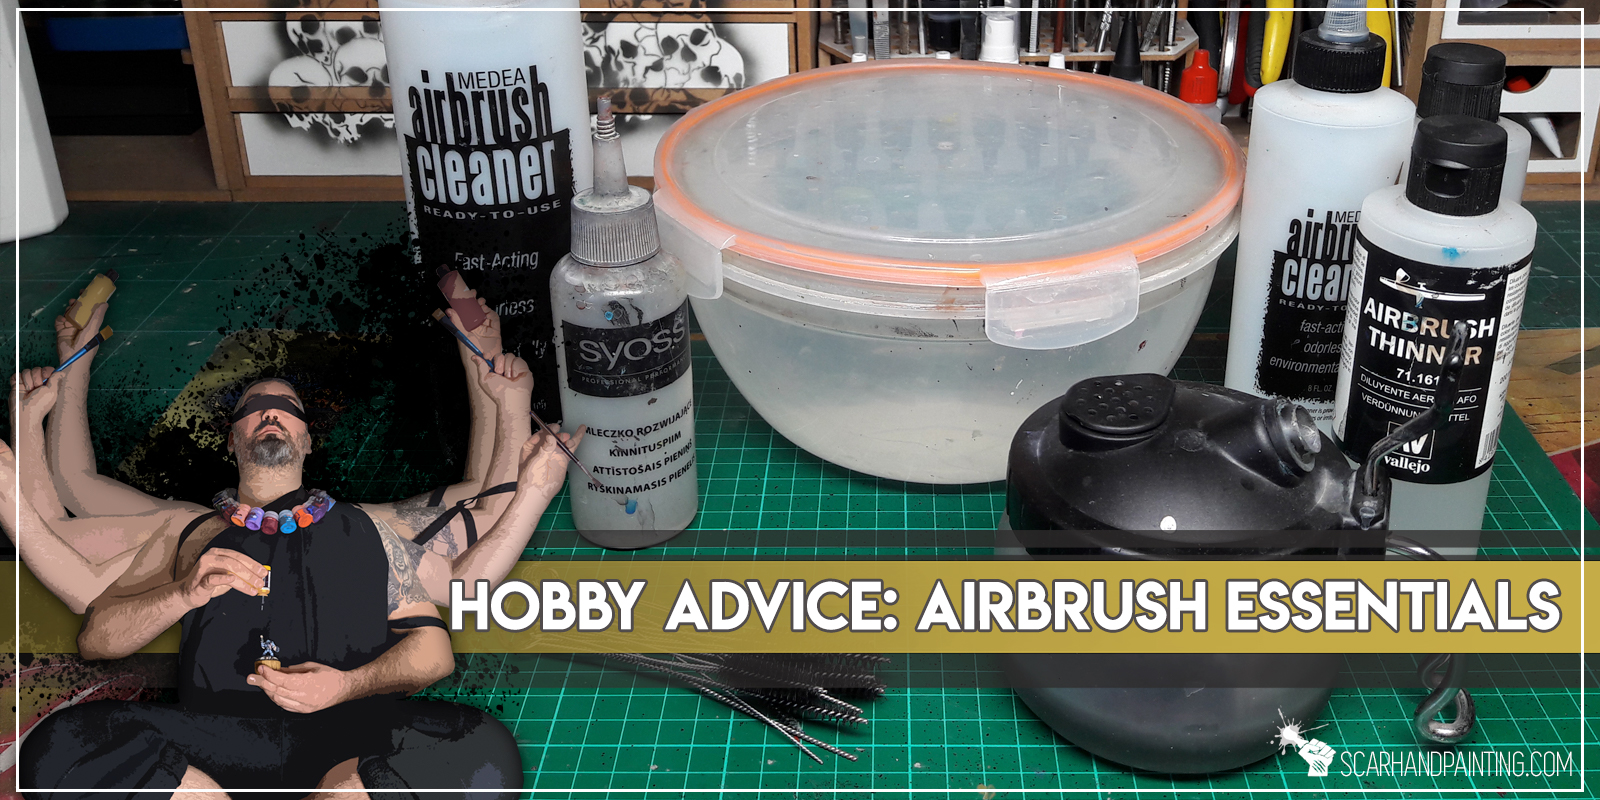
Assuming you’ve already picked an airbrush and a compressor, there’s still a list of items you should get before you’ll be able to start airbrushing. Let’s dive head on into the list of necessary items…

Air hose is used to link the airbrush with compressor. When picking an air hose it is important to check which models of airbrush / compressors it’s fitting is compatible with. The easiest way is to simply contact a store and ask them to recommend an air hose compatible with types of fitting of your airbrush / compressor.

In case your airbrush has different type of fitting than the compressor, you will also require an Adapter, or a Multi Way Valve Assembly with a proper type of connection. Take a look at E-Bay to see how many different types of fitting there are…

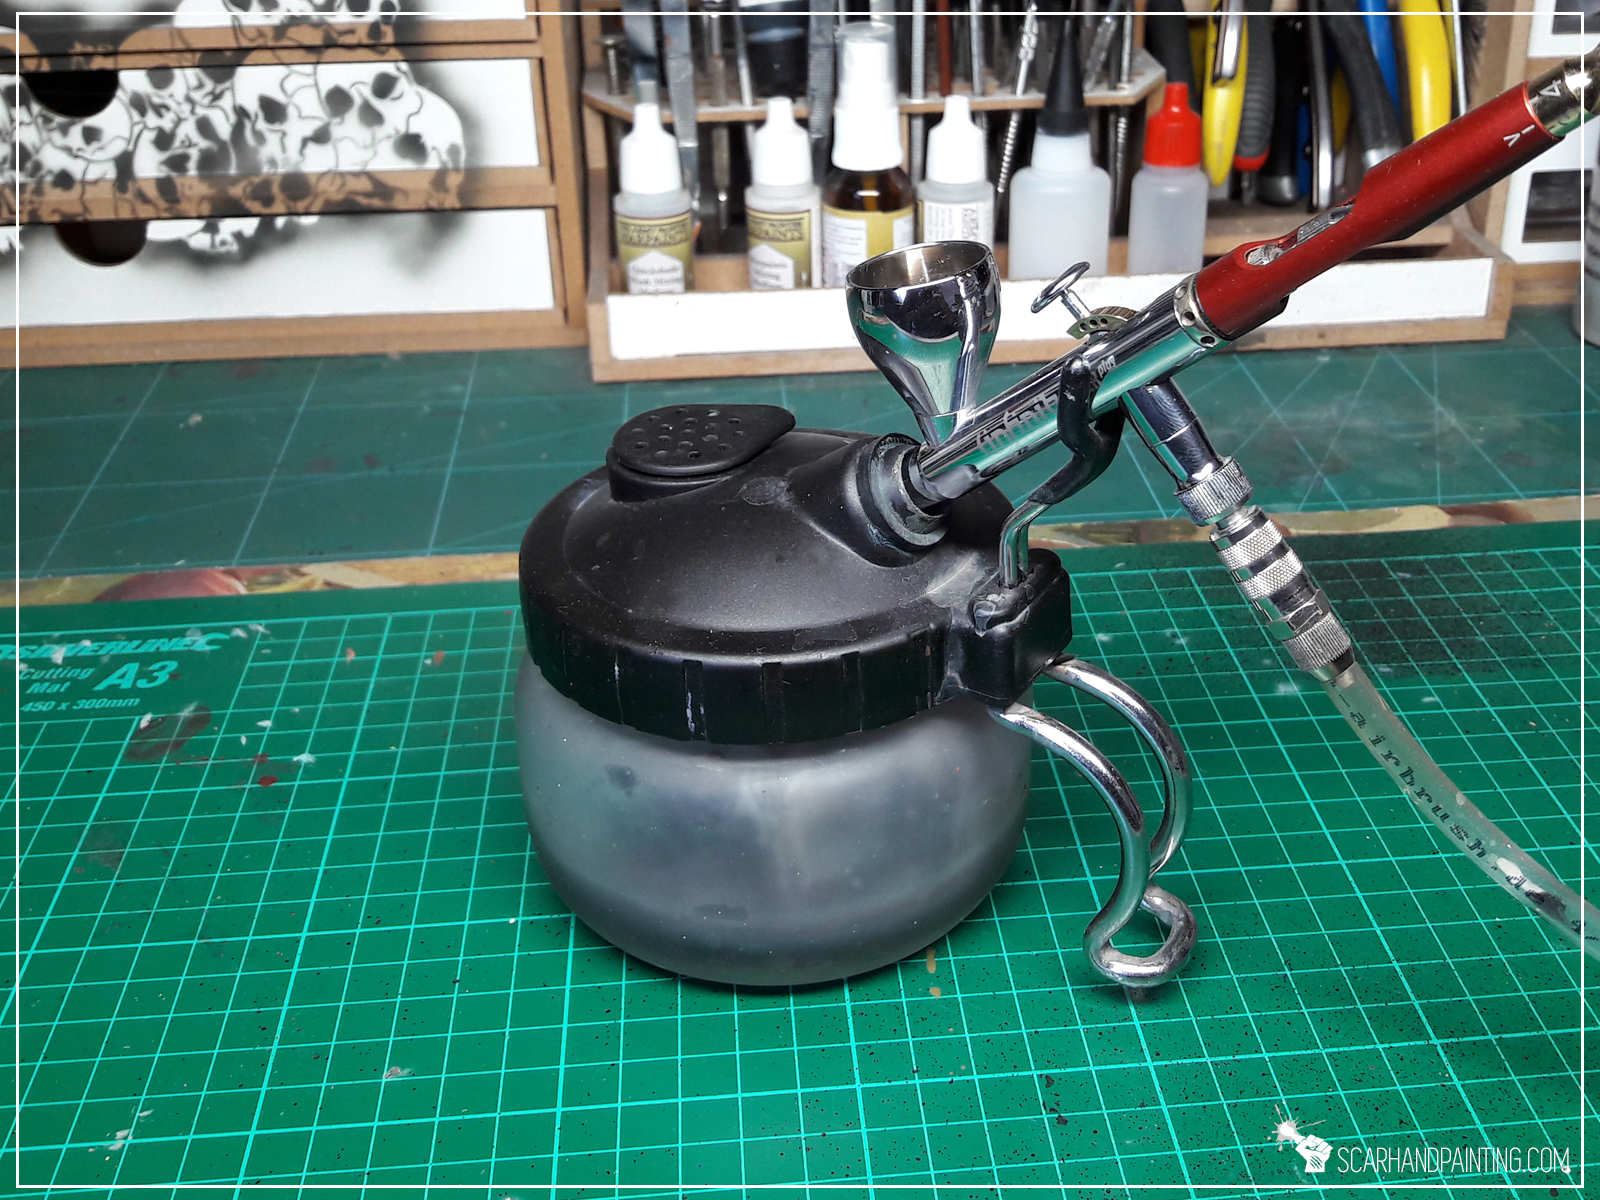
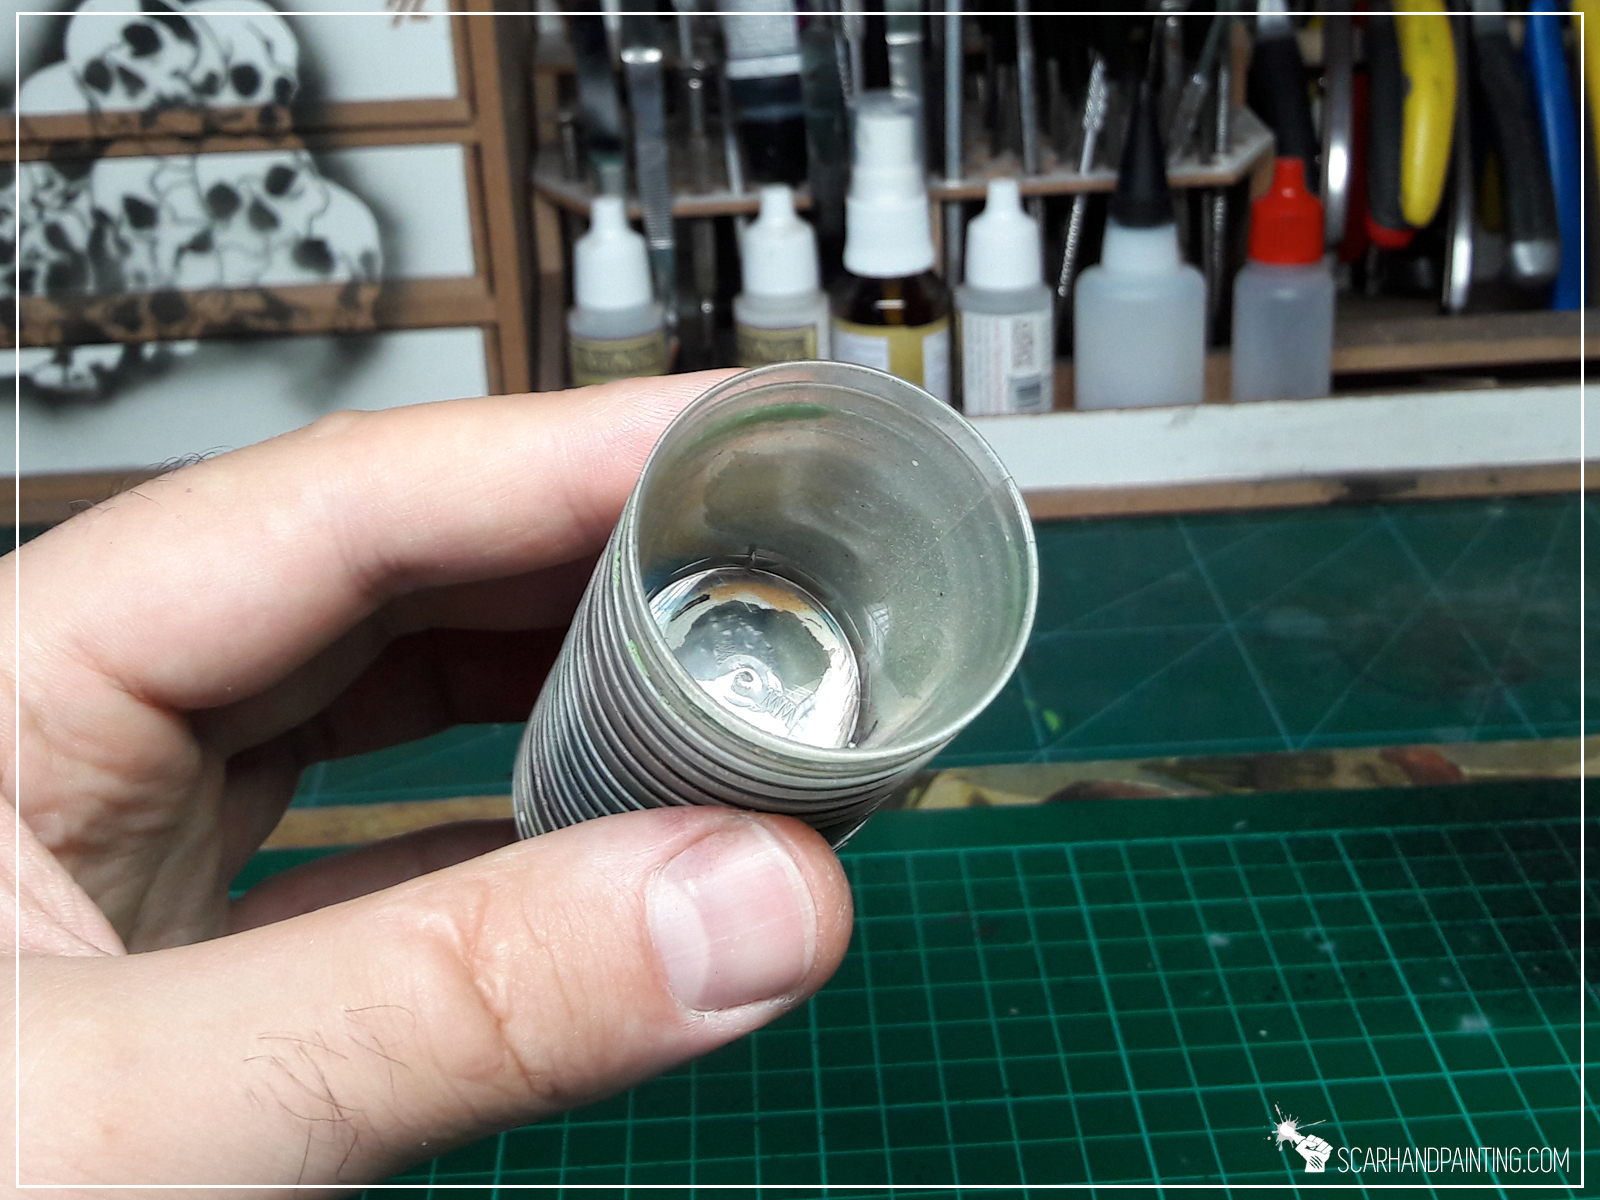
A filter equipped spray out airbrush pot and an airbrush holder (preferably 2 in 1 like below) are also necessary. Thanks to these you will have an option to rest the airbrush on a holder in-between different activities (like mixing paints, or even resting for a bit). Spray out airbrush pot will also keep the majority of paint waste contained in an easy to clean glass pot.

You will use these too clean up the insides of your airbrush.
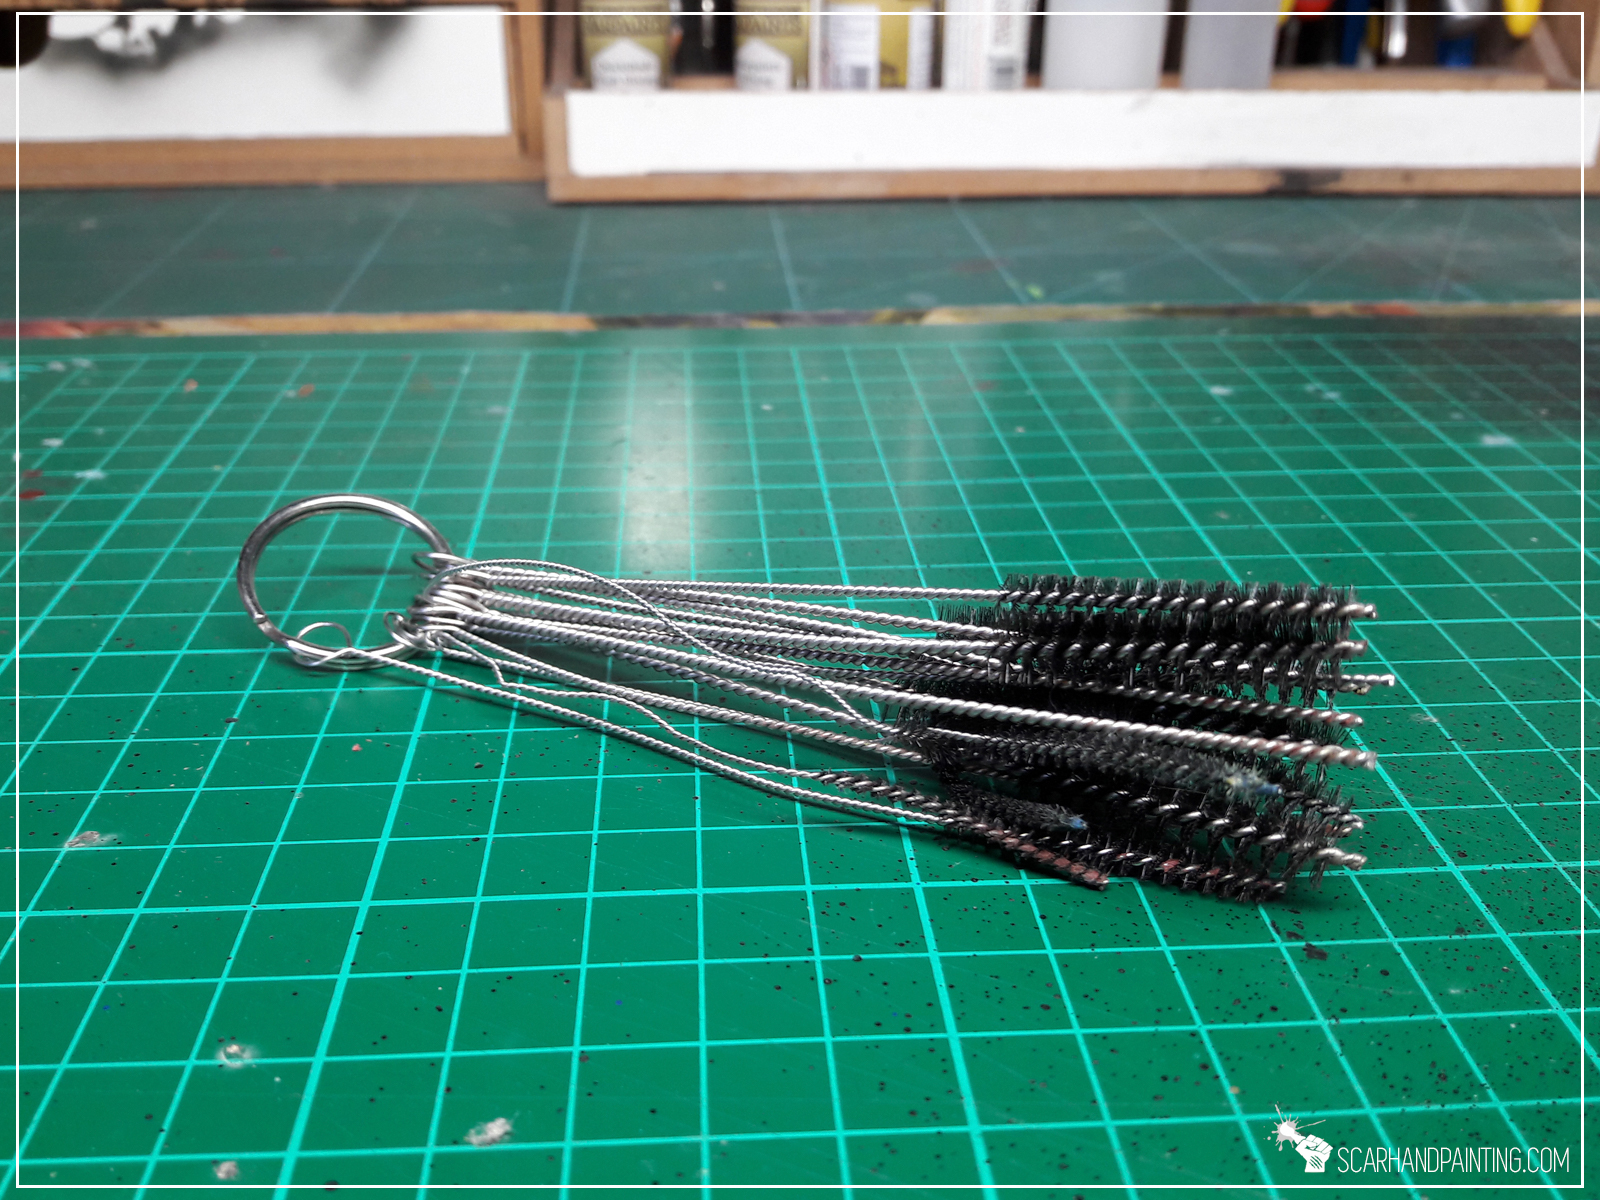
You will use this tool to clean up the nozzle. When picking one, make sure it is recommended for the type of nozzle of your airbrush. Too large tool may damage the nozzle from the inside.
Example: ALDER tool (top) damages H&S nozzles! H&S tool (bottom) is perfect for H&S nozzles

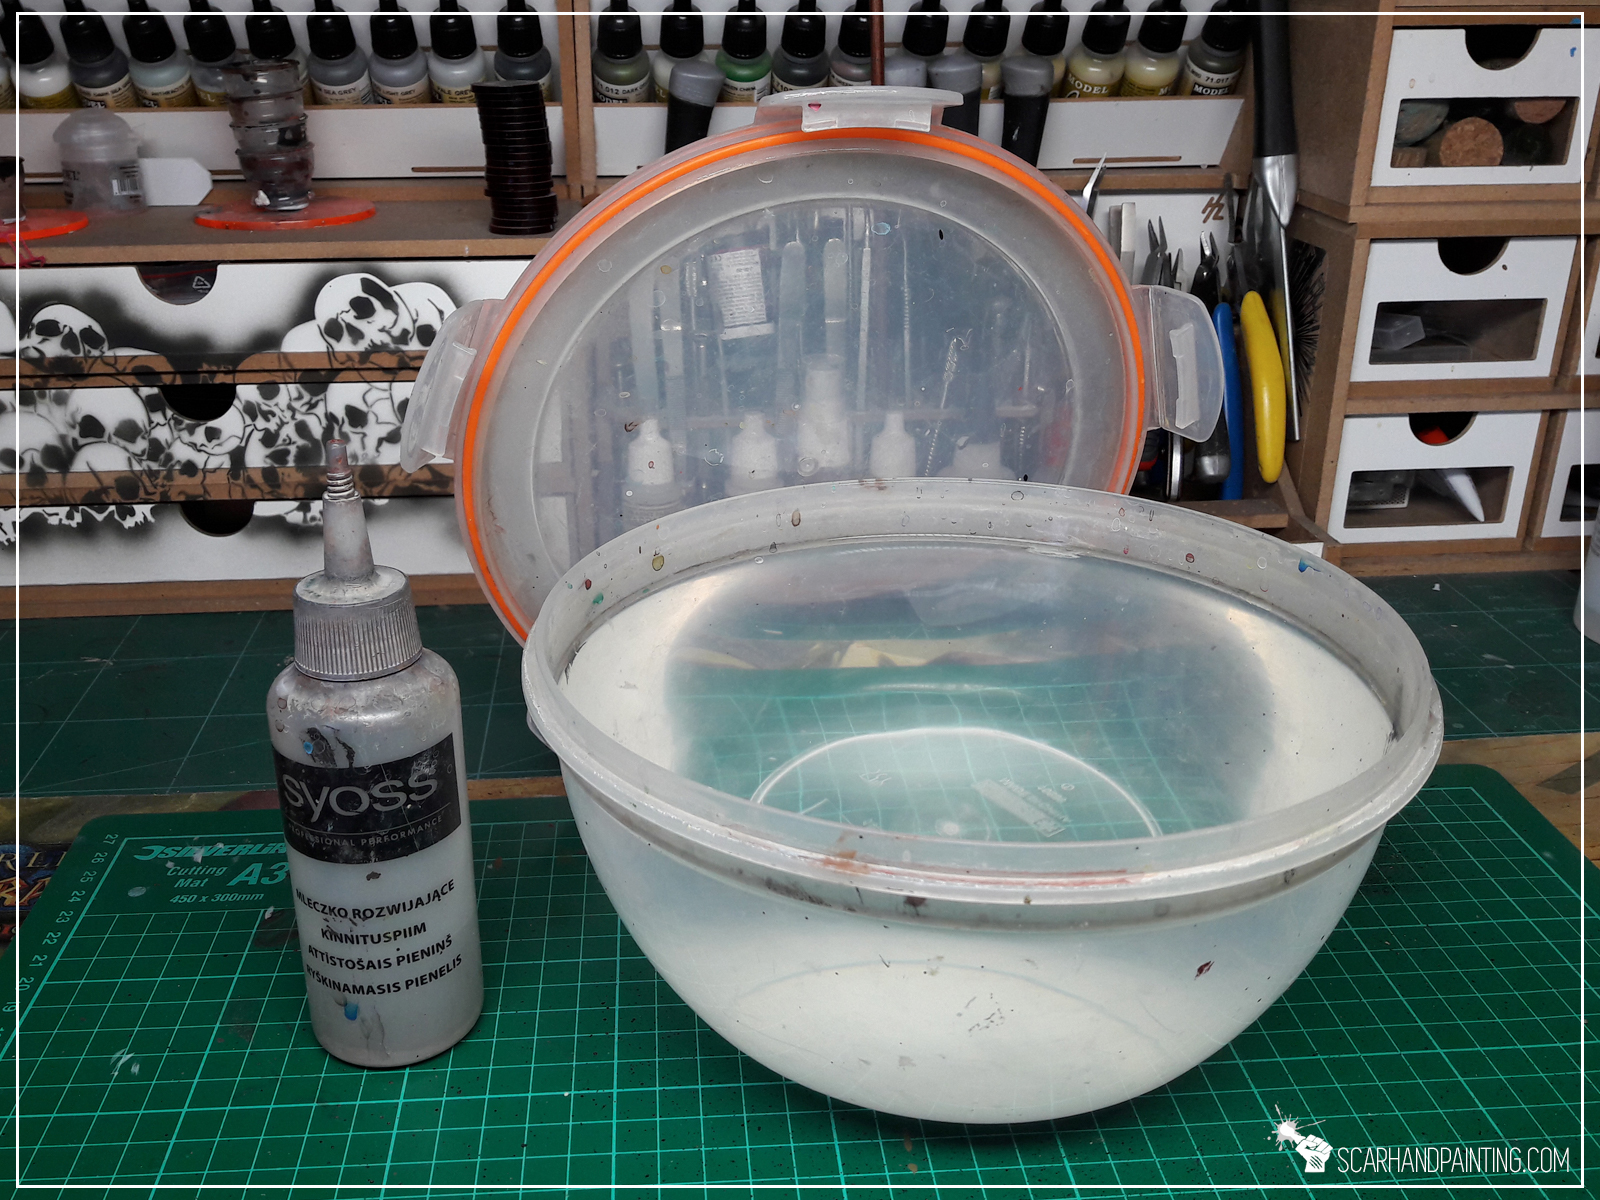
You will use this duo to remove the excess paint from your airbrush without the need to spray it all out.
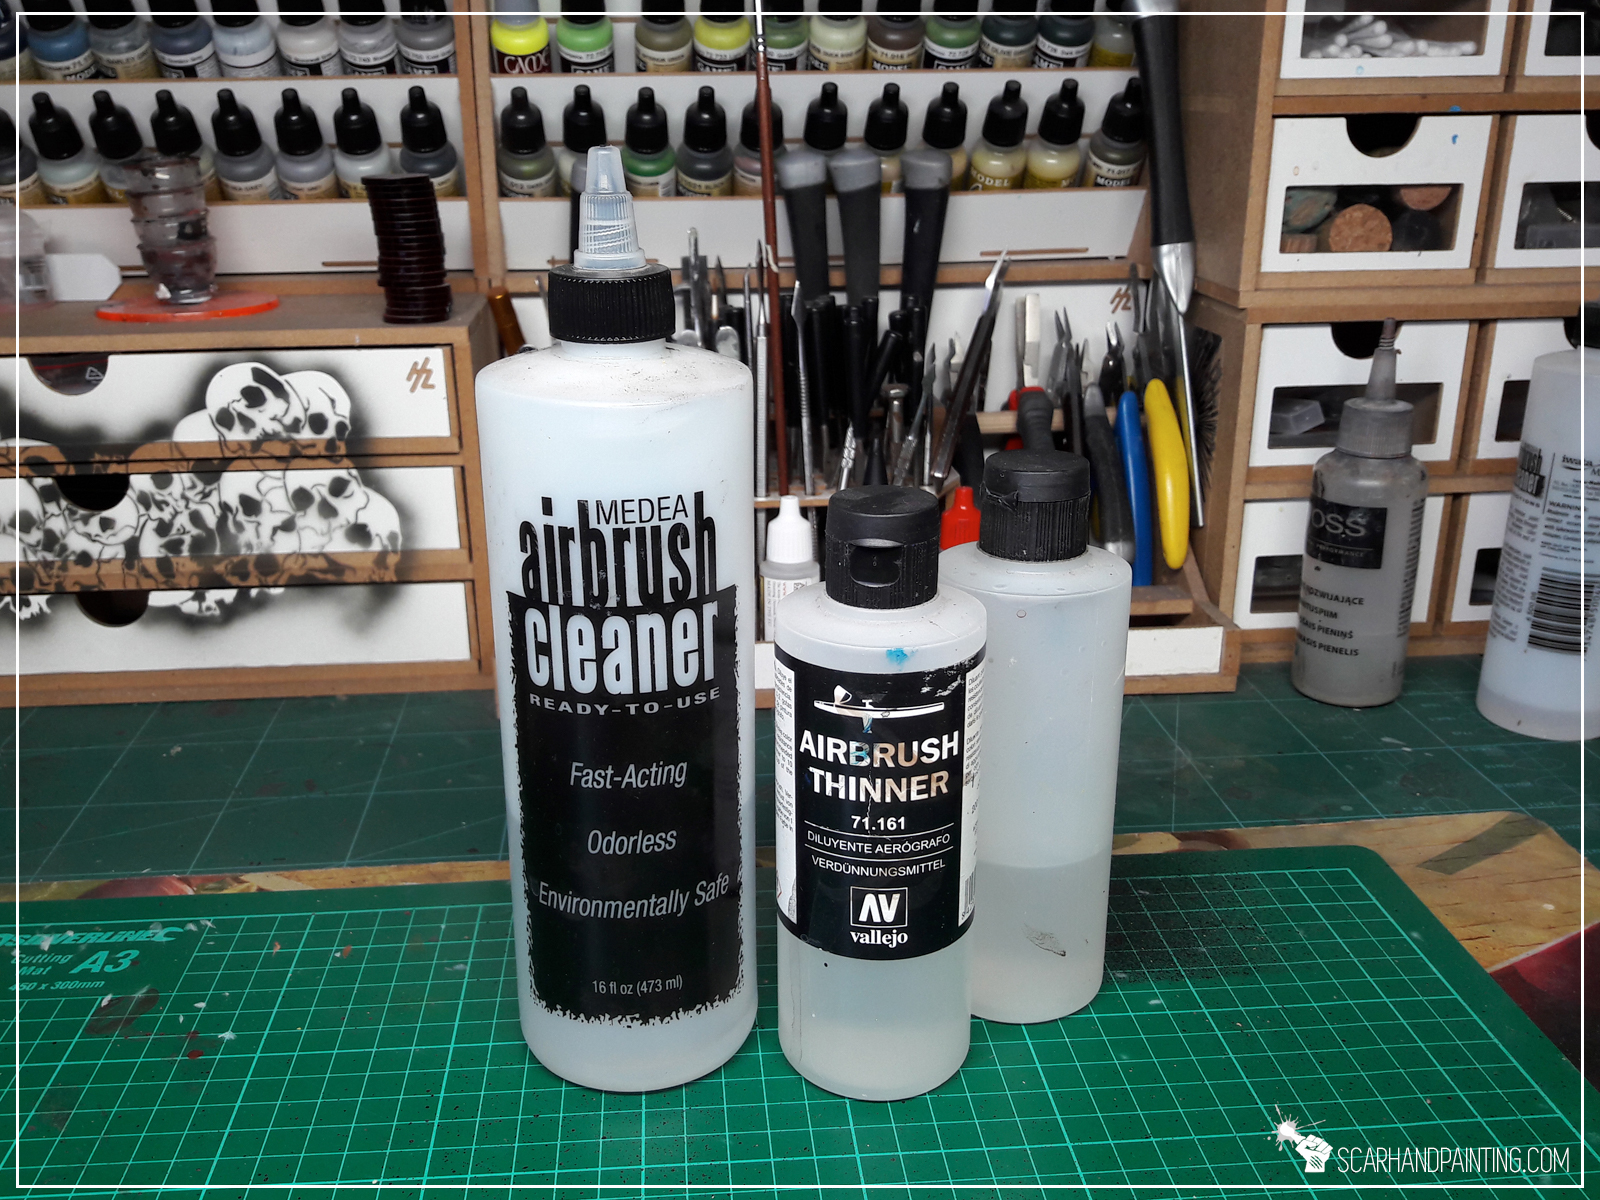
Airbrush Cleaner, Airbrush Thinner and Airbrush Flow Improver – these three liquids are a must have.
Below are some additional items that while not necessary, will come in handy once you start airbrushing your way to hobby glory.
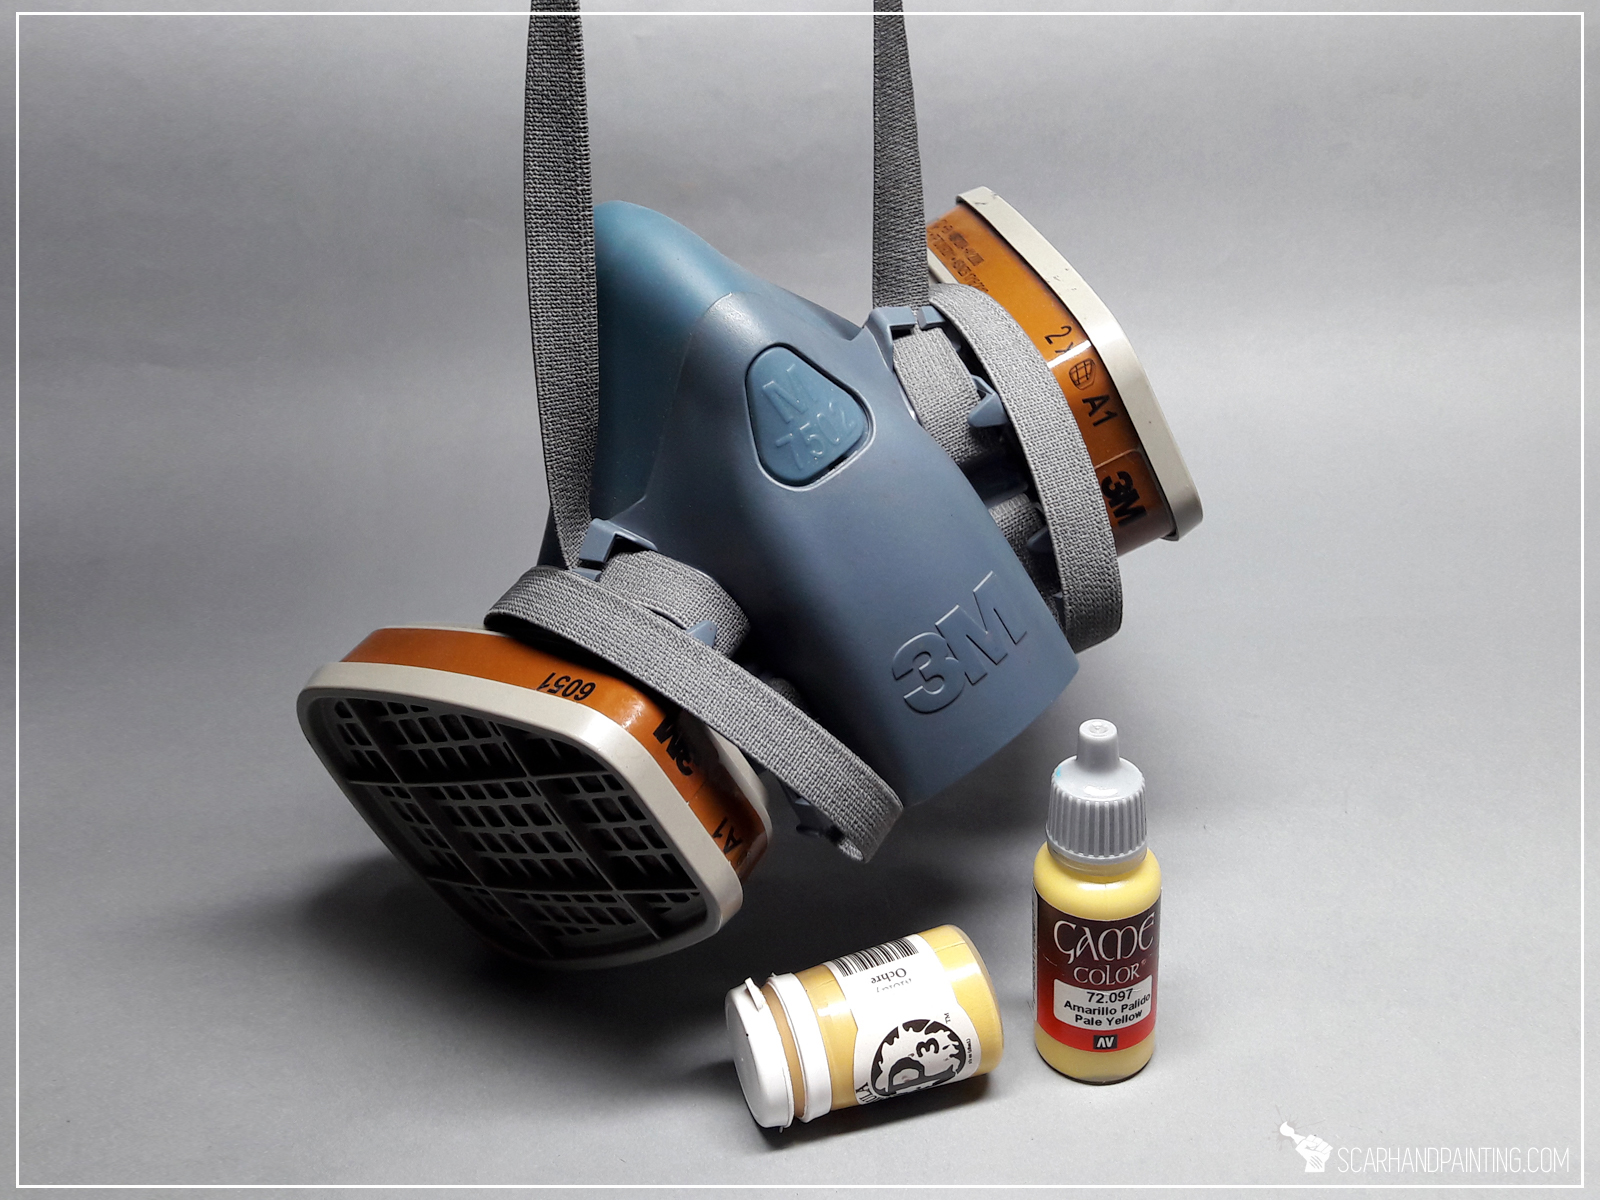
Unless you’re ok with lung damage, wearing a proper mask while airbrushing, is in order. With this one it is recommended to aim high, pick a high quality tool with strong filters – better safe than sorry.
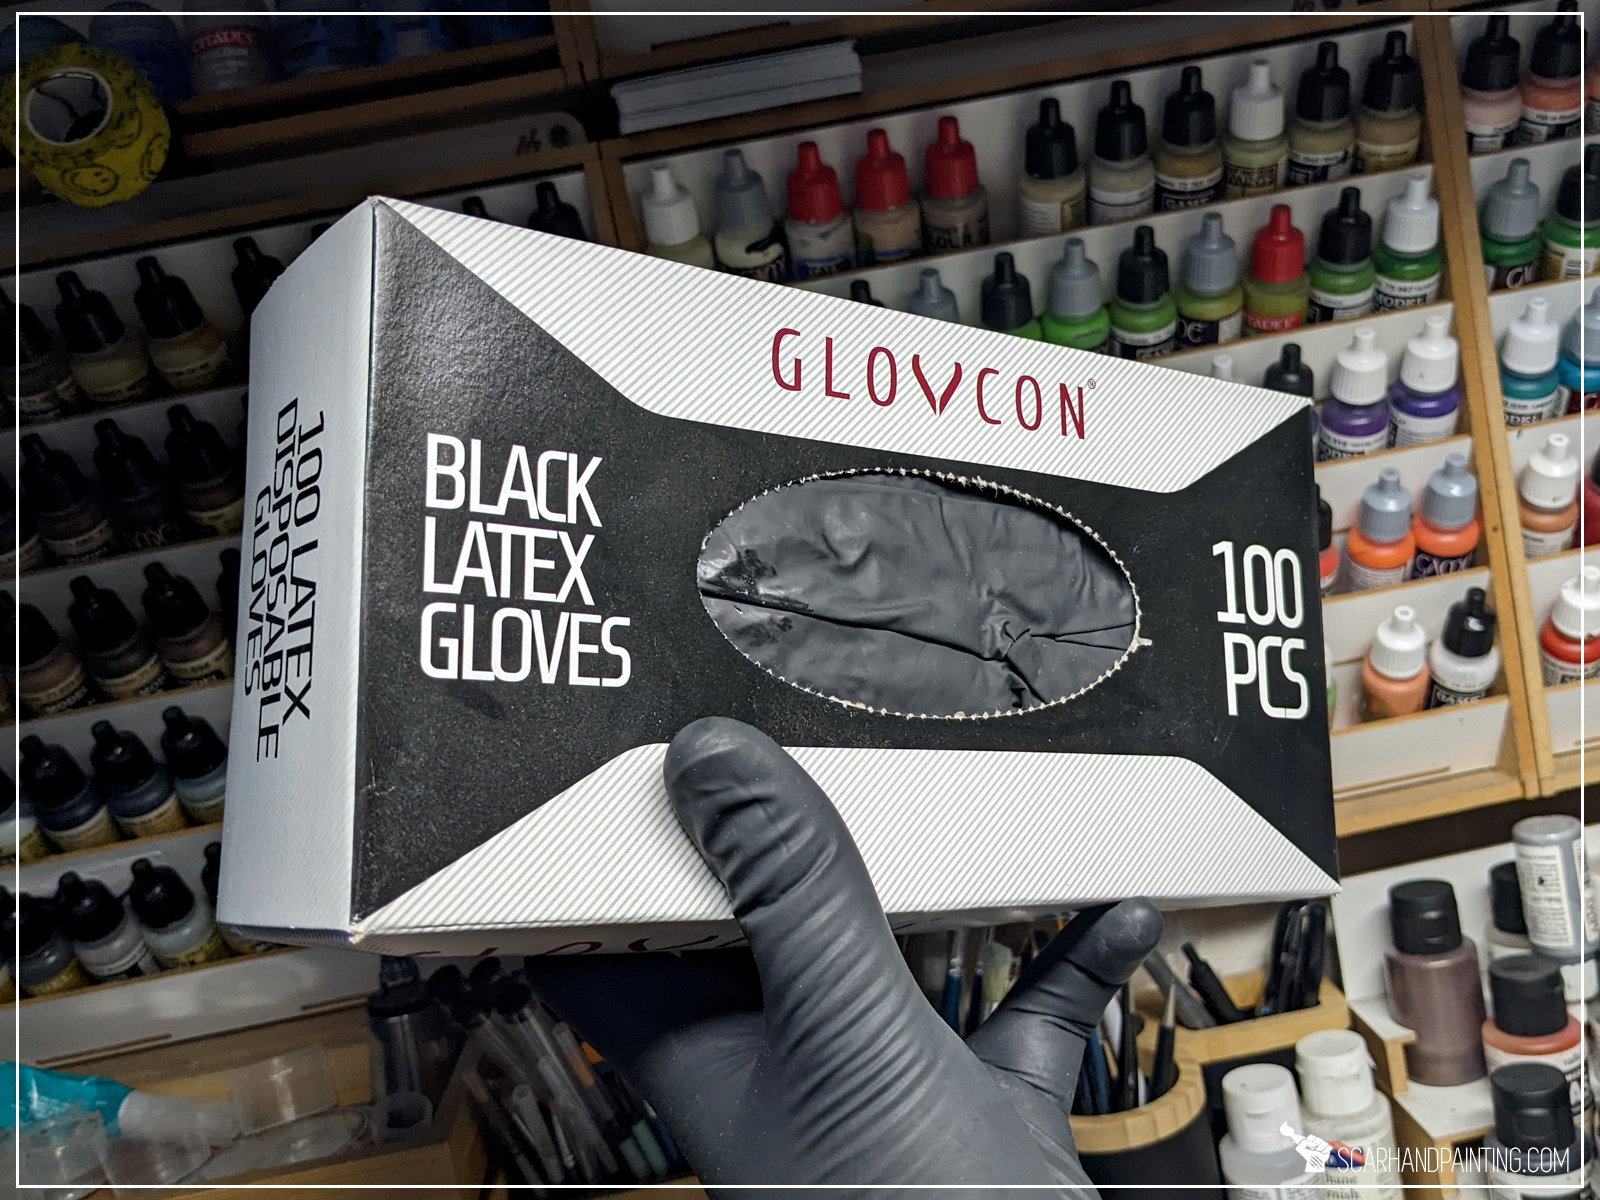
Protective latex gloves, while not essential, will help you keep your skin clean and healthy. Extensive airbrushing might lead to skin getting dry and irritated.
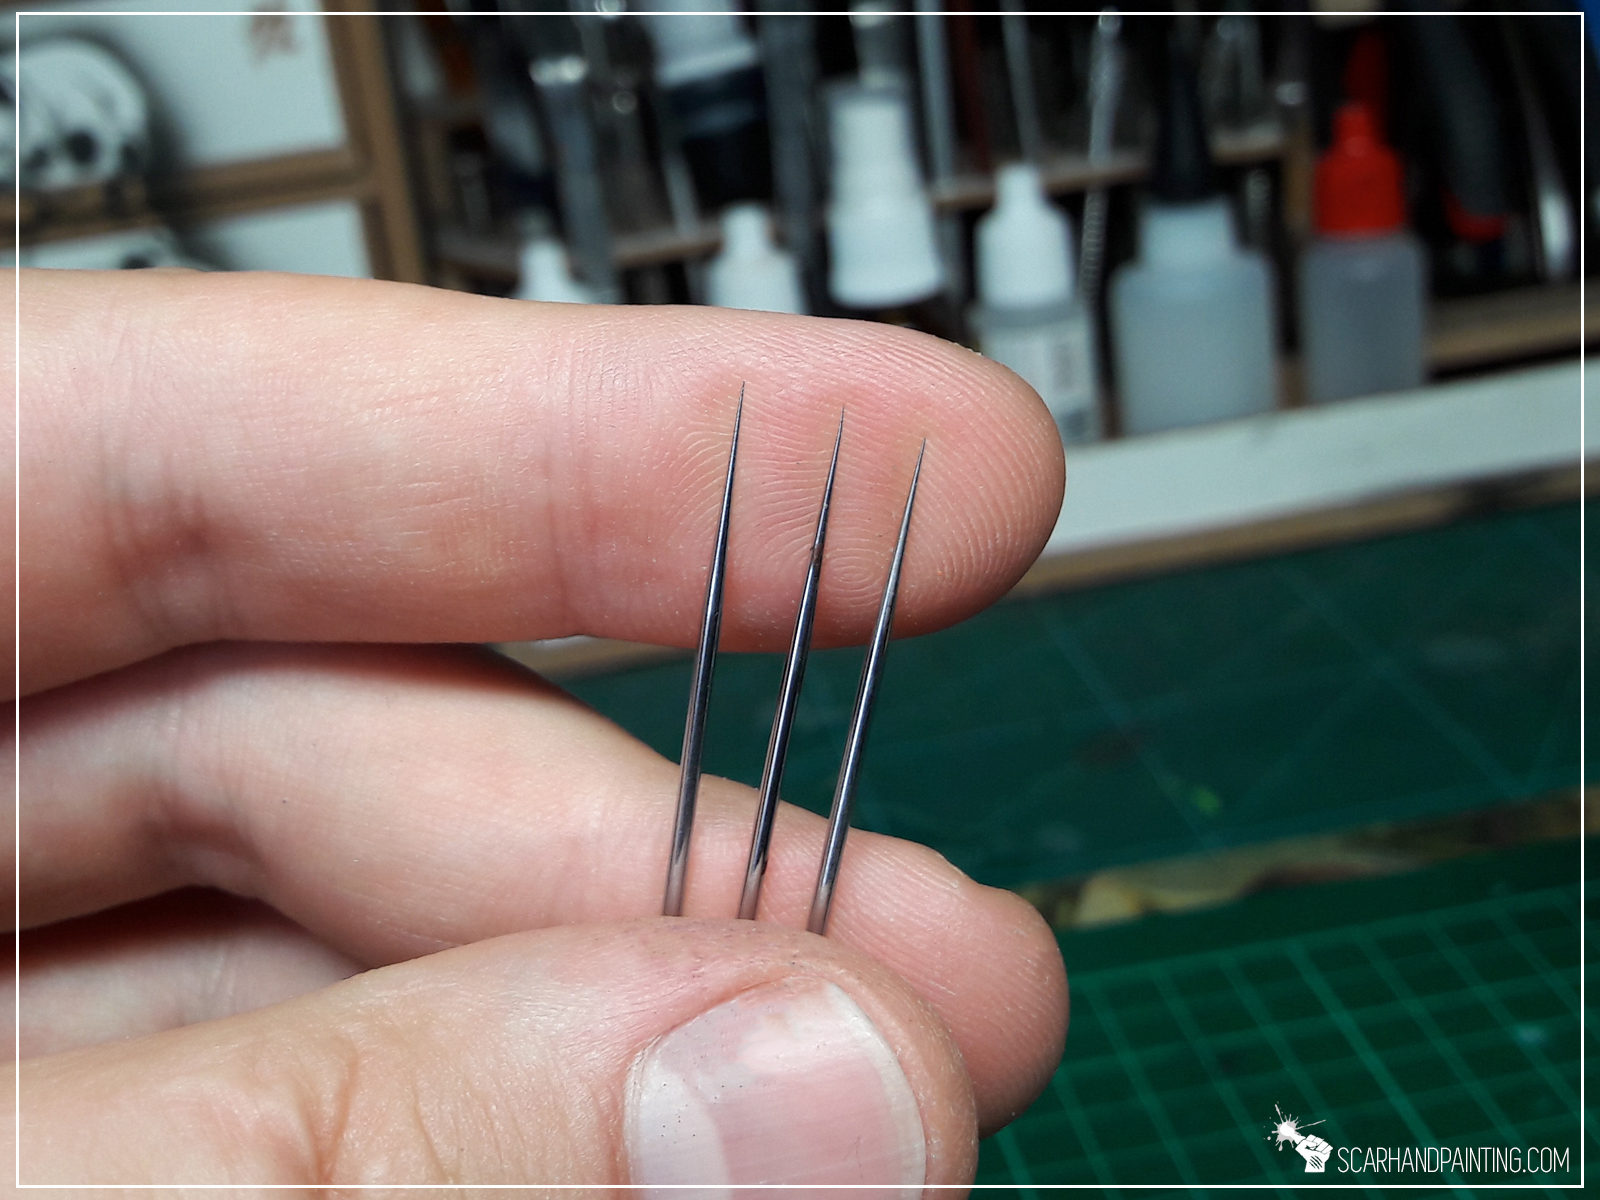
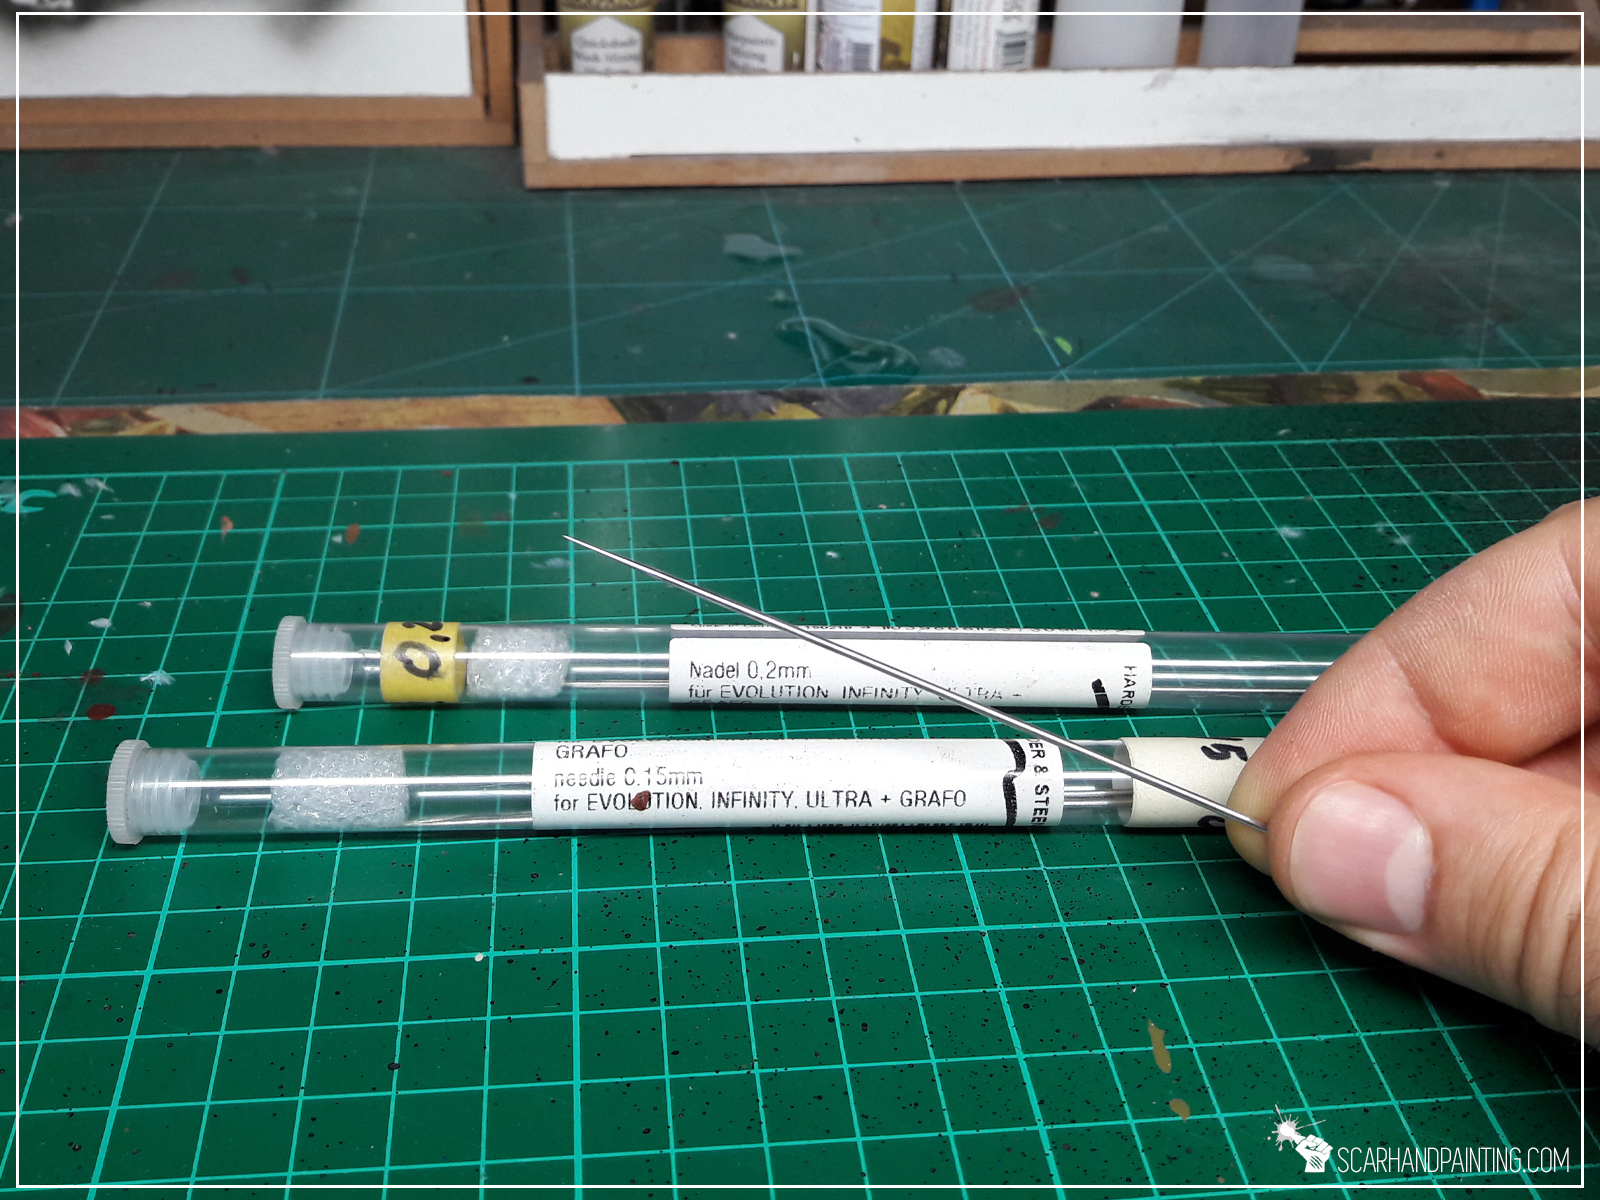
Airbrush needle is very delicate. A vast majority of beginners damage the needle during first few days of airbrush adventure. I advise you to get a spare needle outright, just in case.
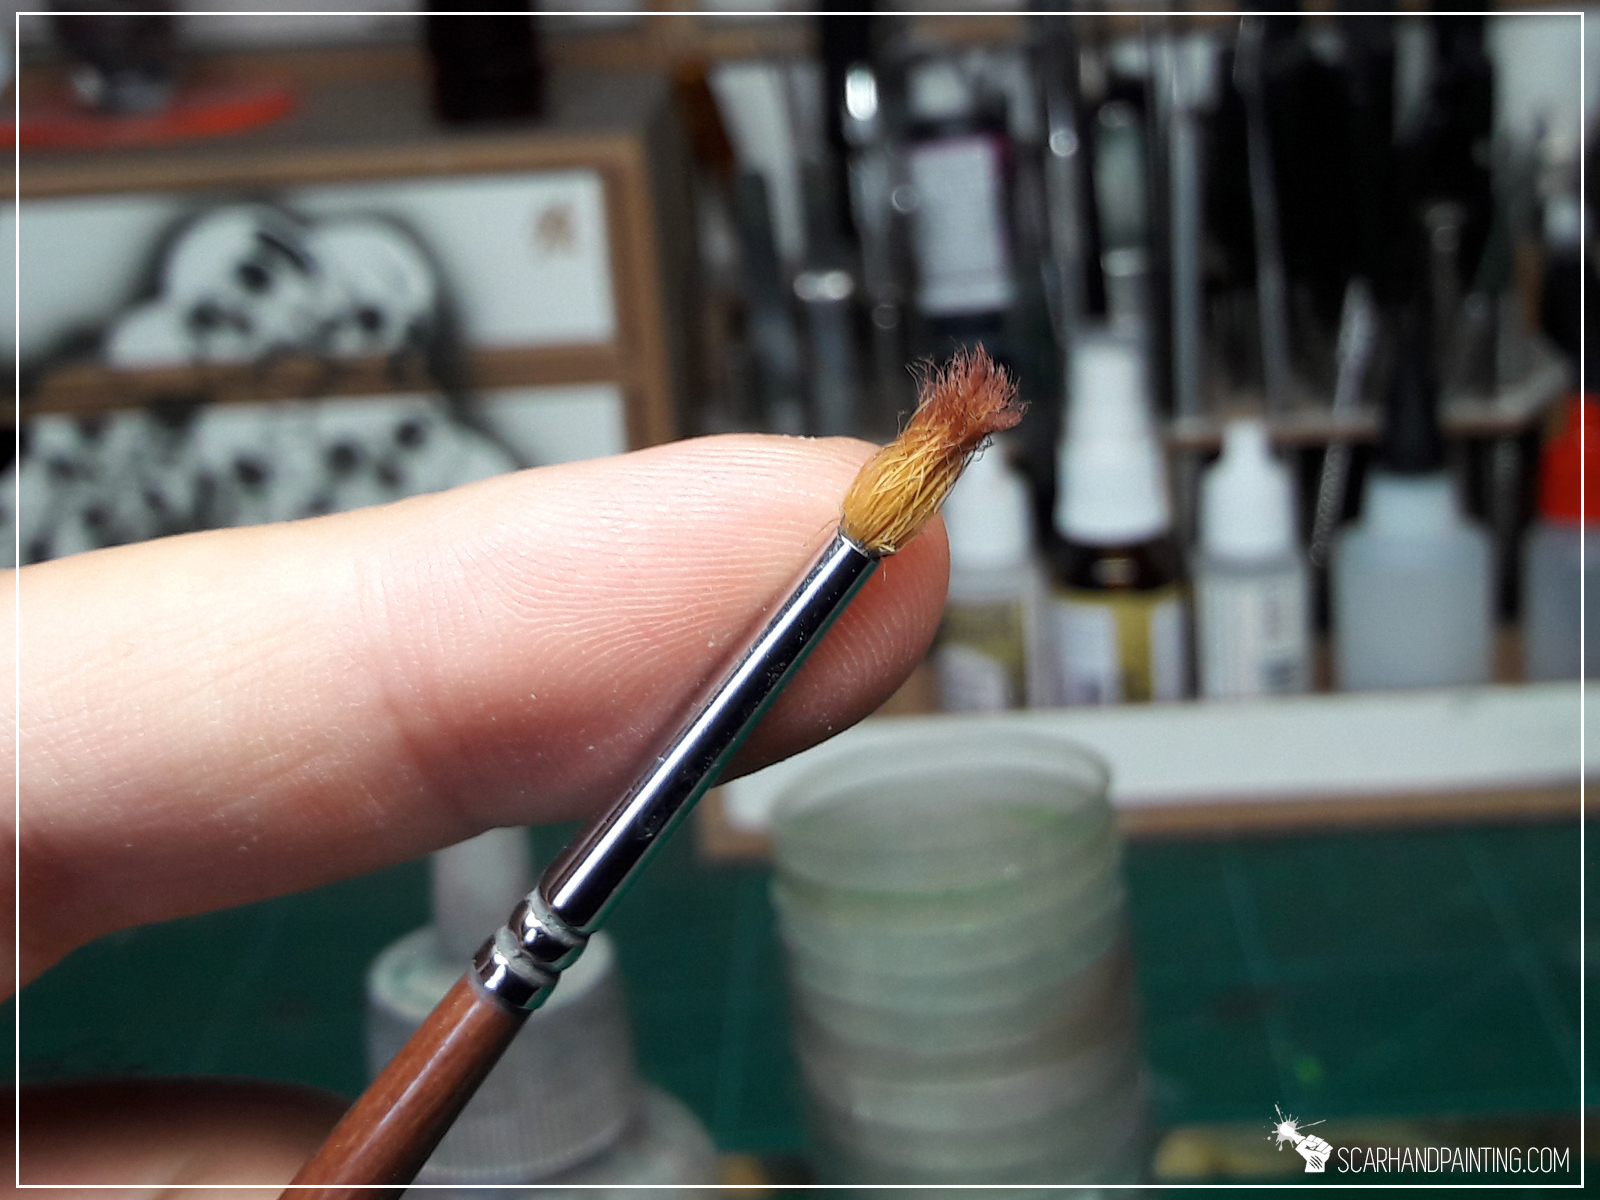
Long hair, medium size, round brush to remove excess paint from the tip of the needle without the need to dismantle entire airbrush.
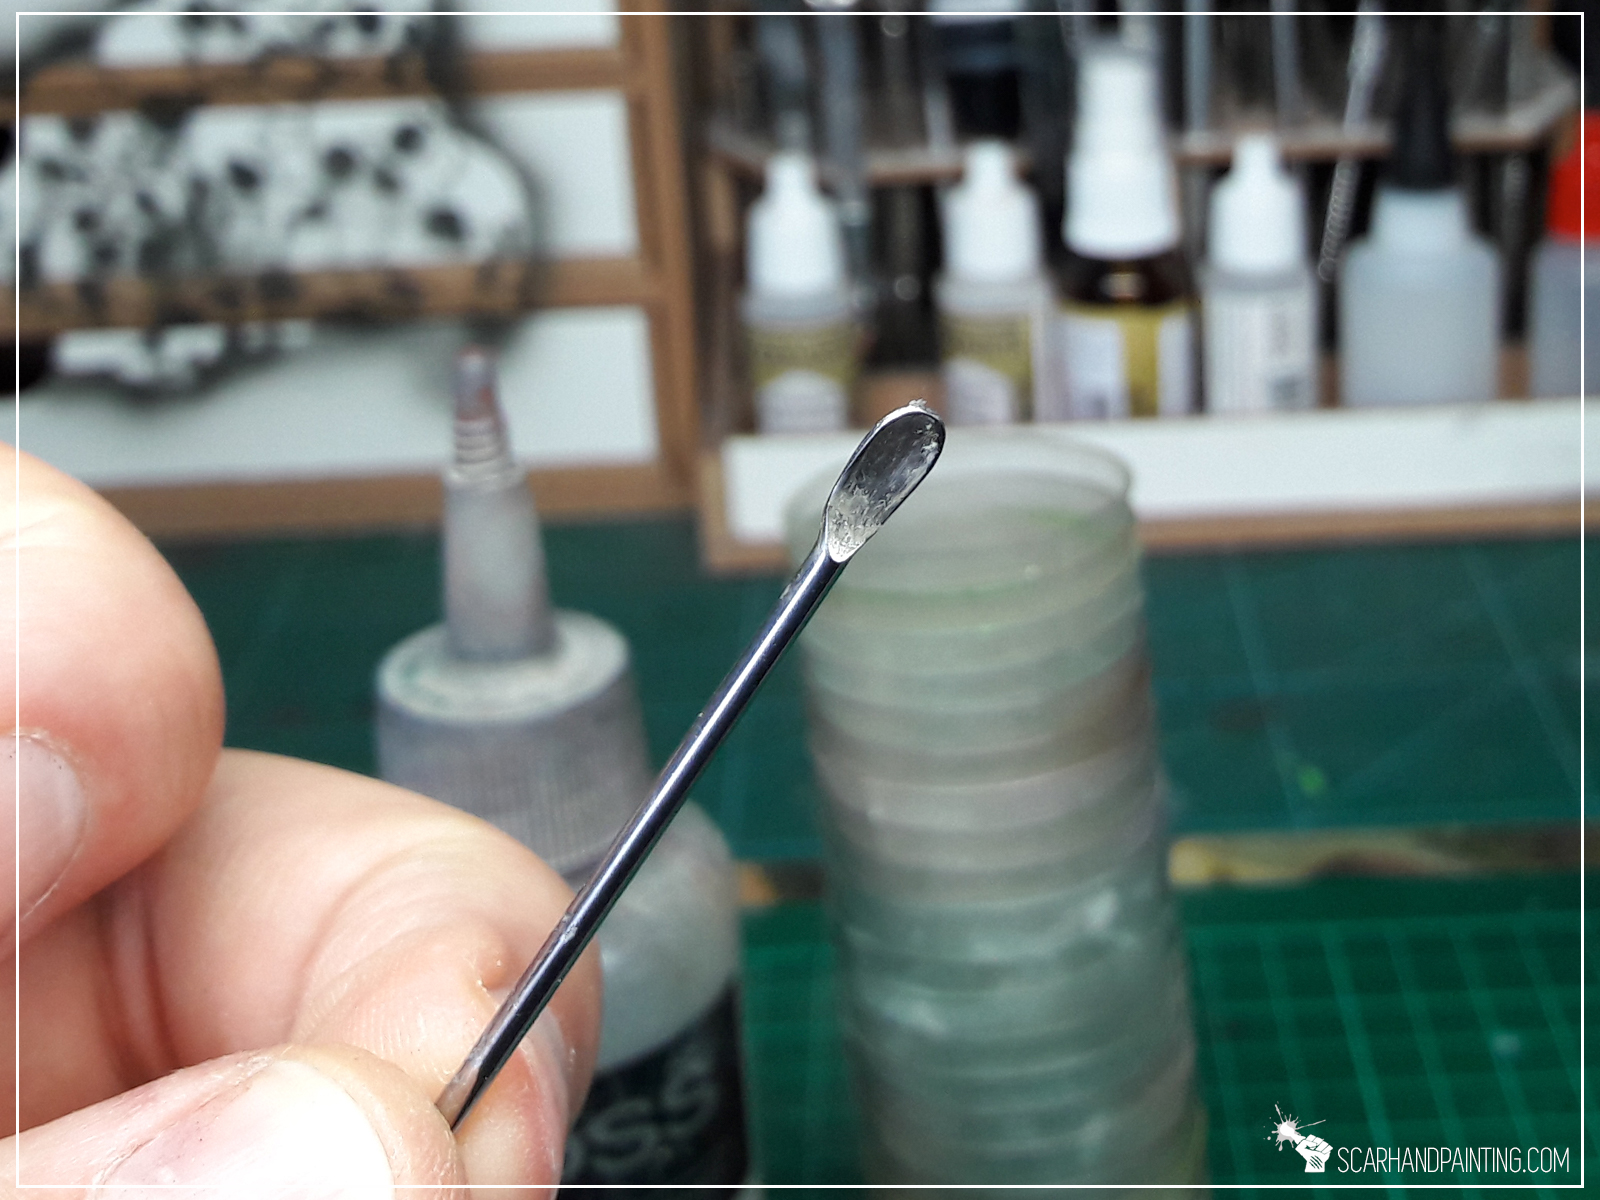
You might use these to mix paints before pouring them into the cup on top of an airbrush to avoid clods of paint to get inside.
Not really an essential, but a very useful tool to help you with avoiding overlapping paint on some areas.
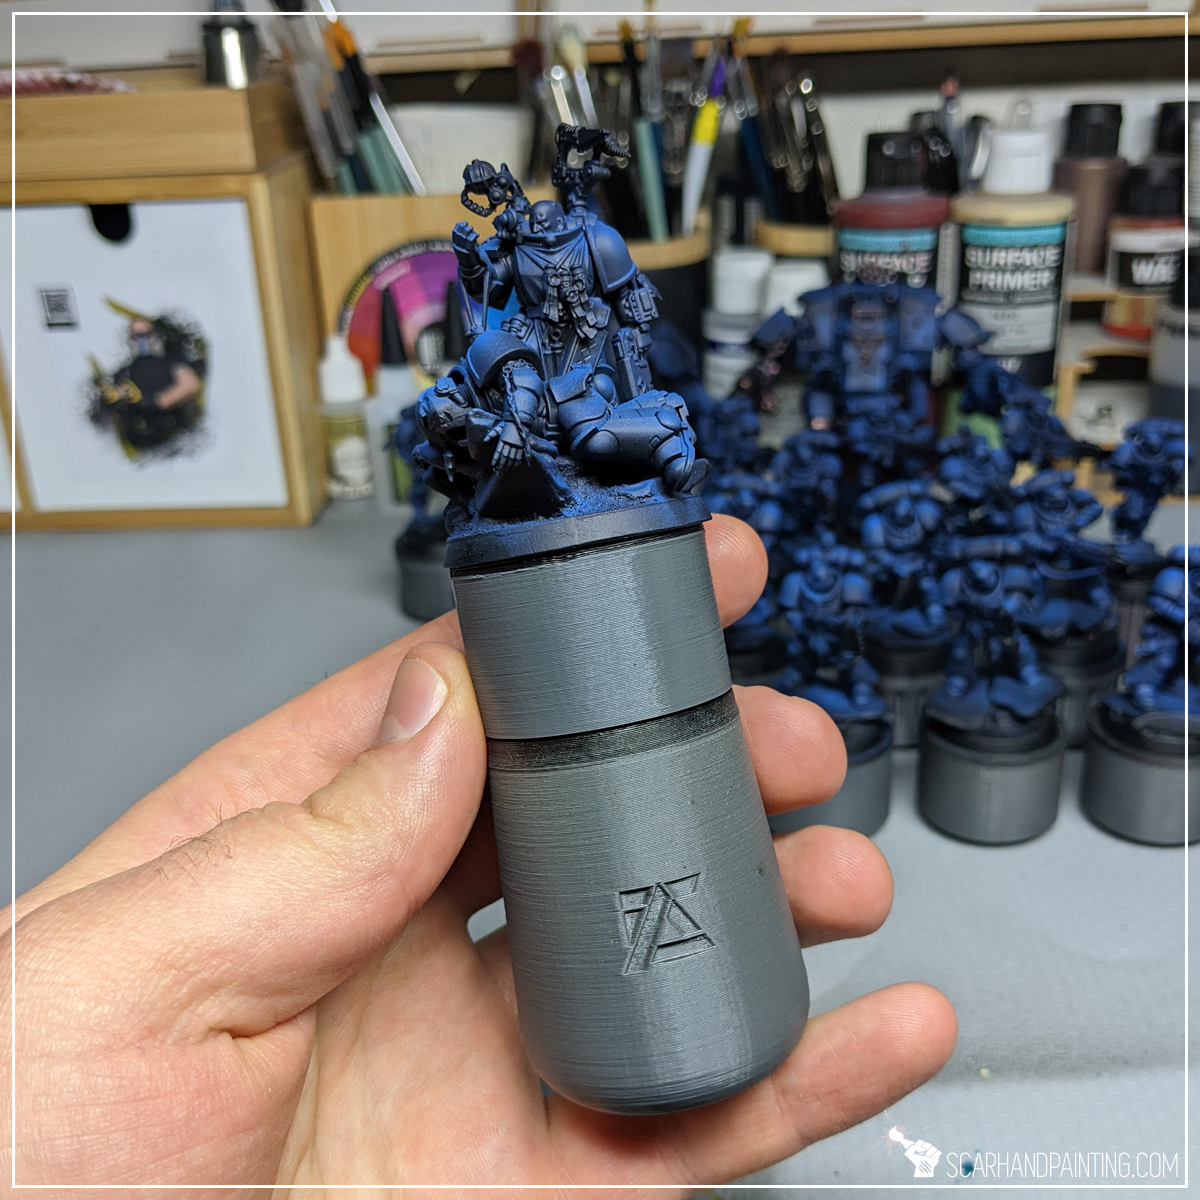
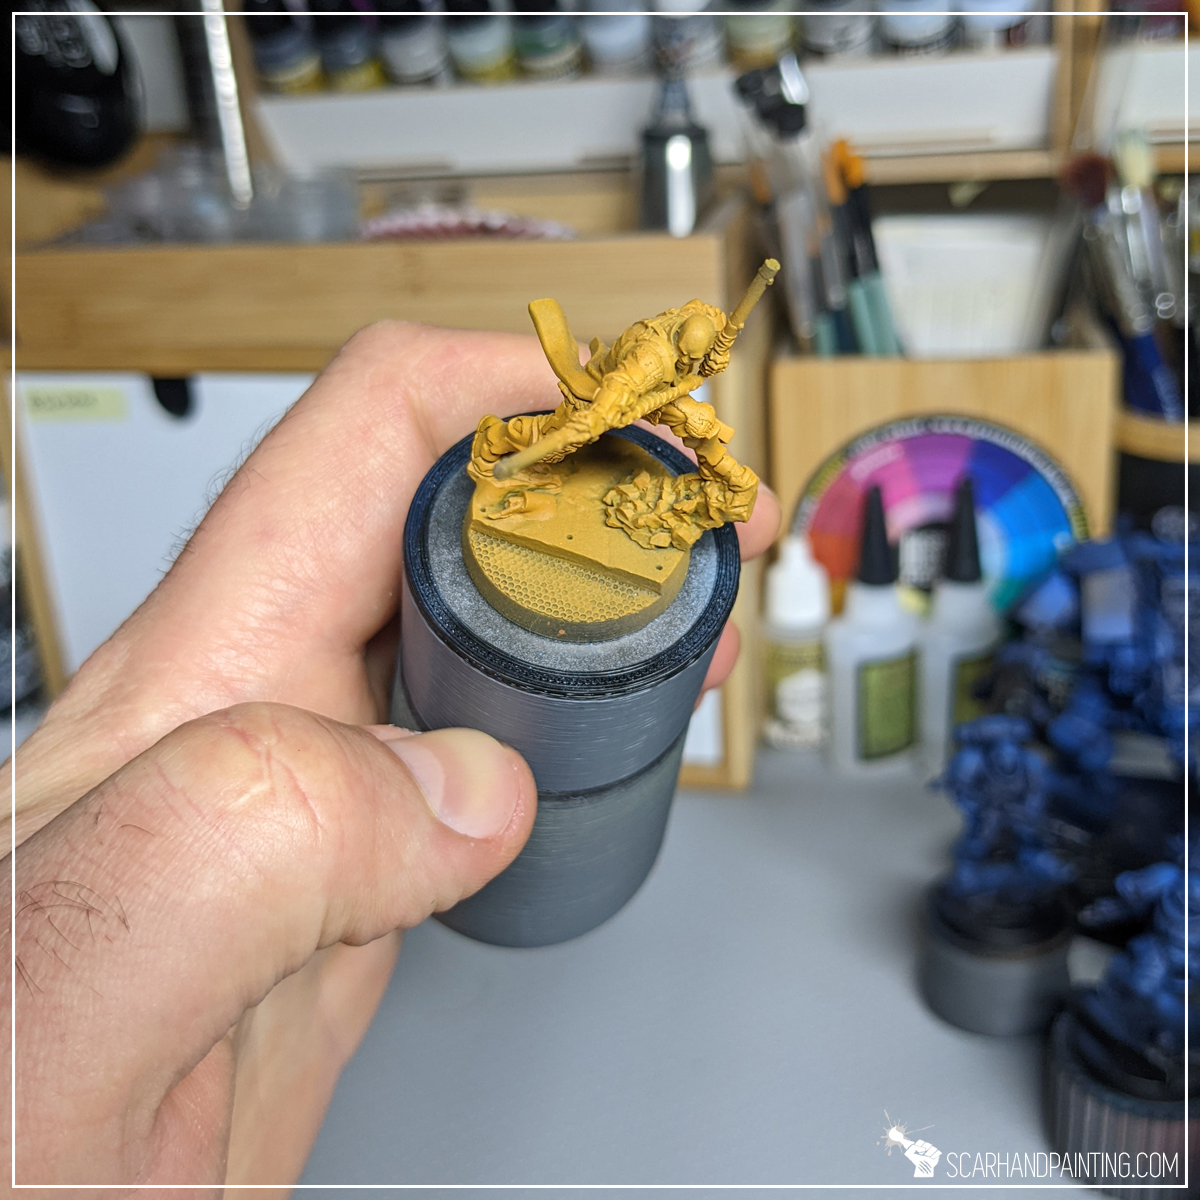
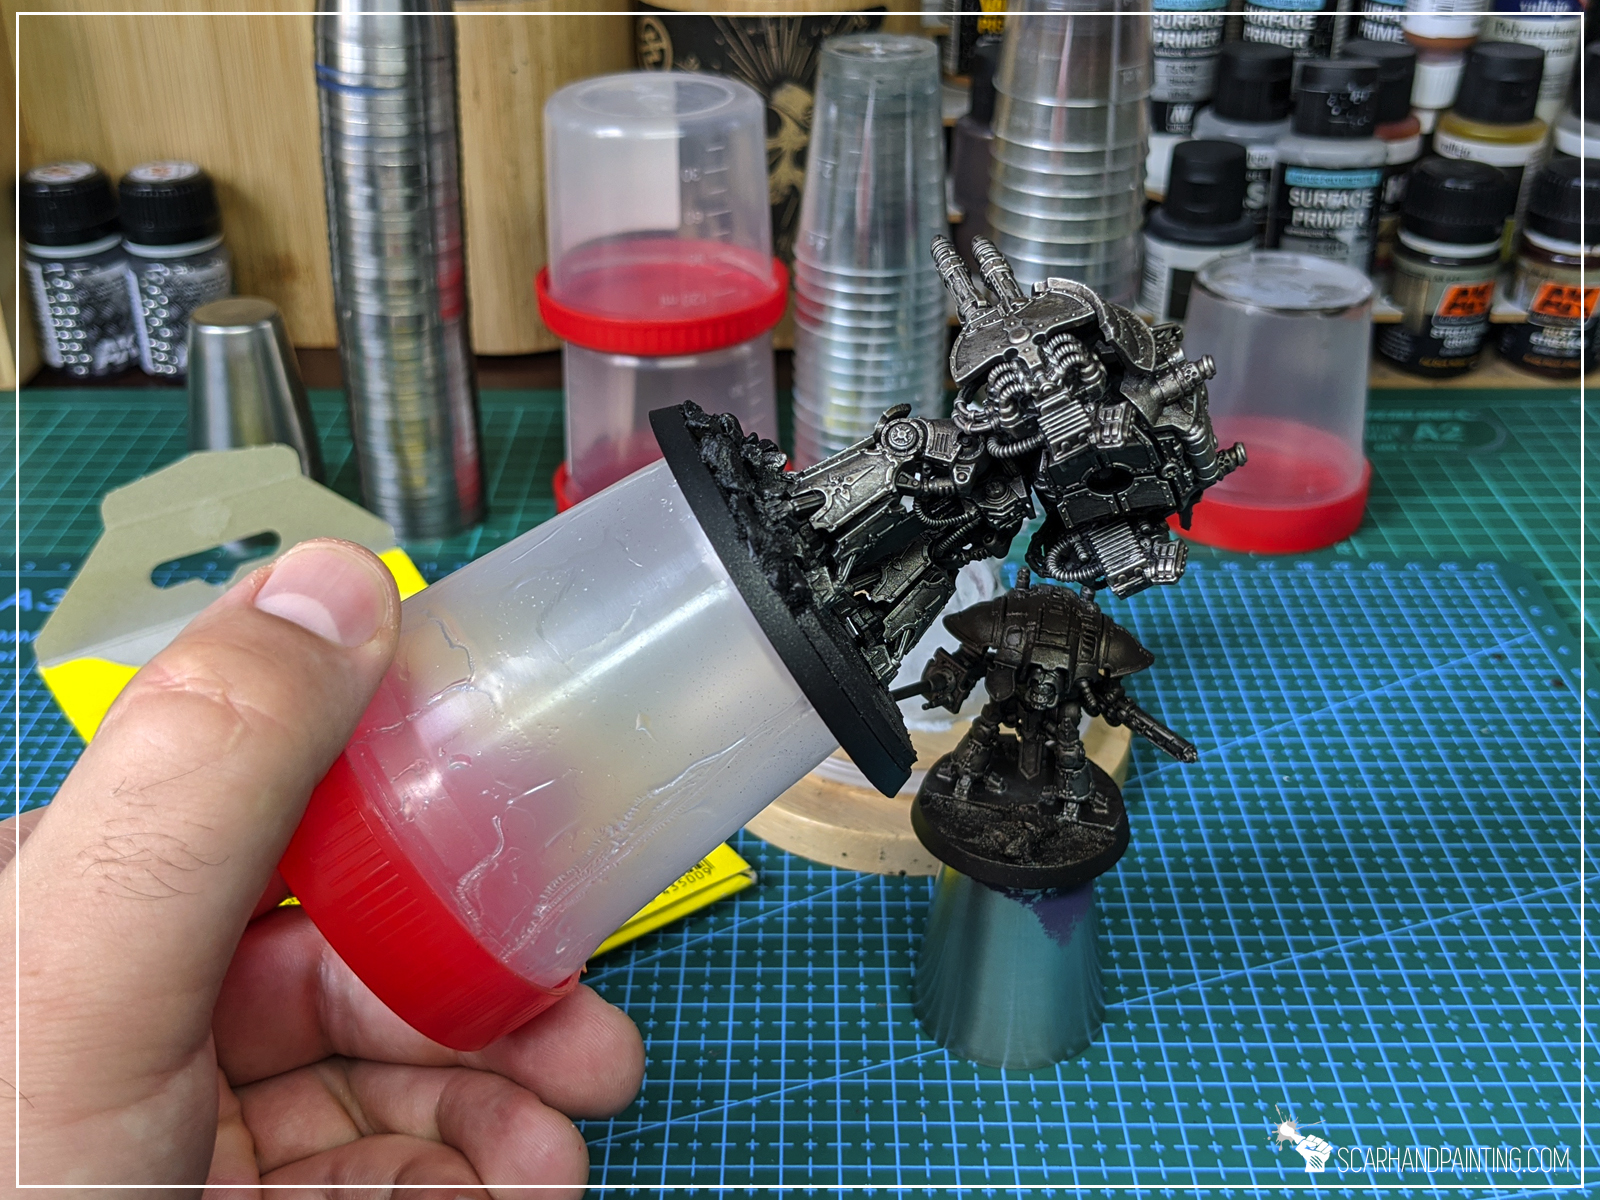
This can be anything between an original painting holder and a sole small cup with a ball of Blu Tack mounted on the underside. Such tool will let you airbrush without fear of messing up the paint job with your fingers. Plus it is just a very comfortable way of painting miniatures.
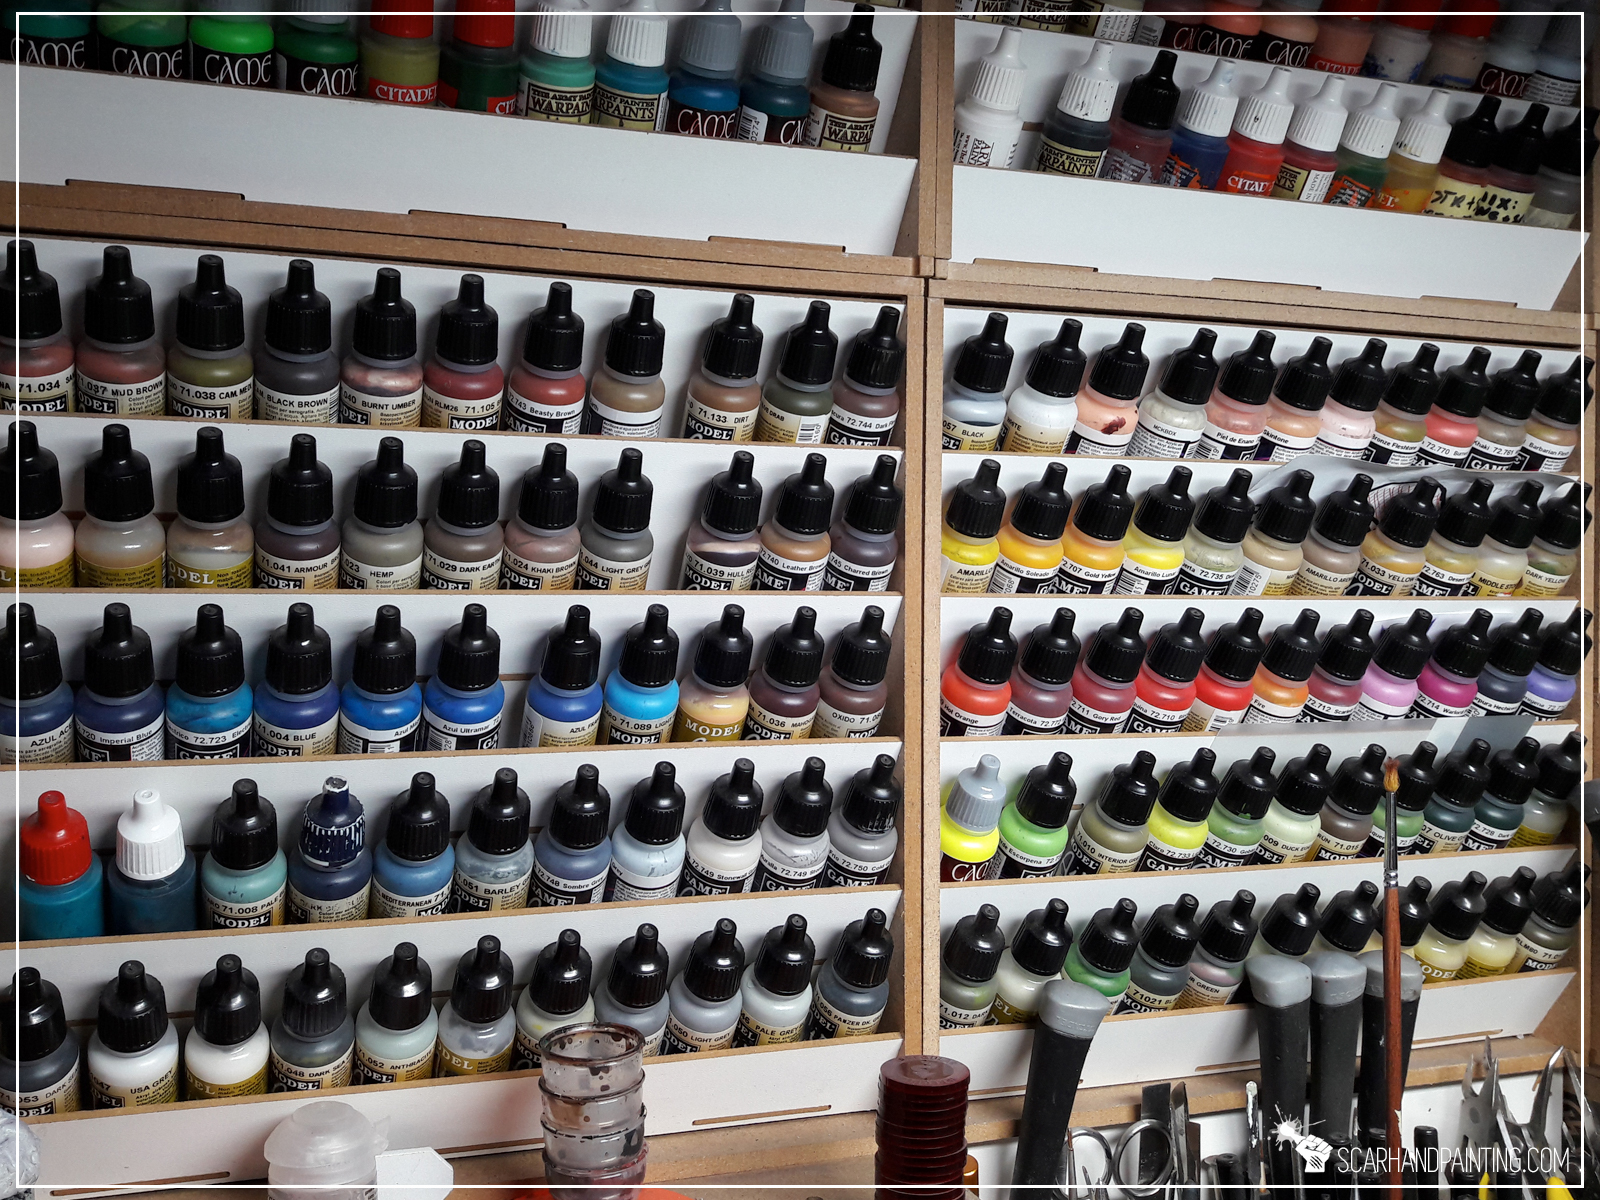
Obviously you will require paints. It is not necessary to get any type of special airbrush paints. Thanks to Flow Improver and Thinner regular paints will do, but that’s a story for another article. Personally I wholeheartedly recommend Vallejo Air series as I find them ready to use straight out of bottle.

Thanks for reading. If you think I skipped a necessary or useful item that a beginner airbrush users should get, let me know in the comments section or via Facebook or Instagram. I would also appreciate if you considered sharing this content with your friends, who might find it useful. Finally if you are looking for a professional miniatures painting service, be sure to contact me with this contact form. I always reply within 24 hours, after which please check out your spam folder.
During my long hobby journey I worked with a lot of HDF laser cut terrain. Many projects I was engaged with were not limited to products of a single company, thus I will speak from experience when I tell you that practically all HDF laser cut terrain shares a single flaw: Laser cut edges are scorched and that leads to the edge surface not being suitable for light color undercoat. Below I will show you a simple way to prepare HDF scenery for light color undercoat.

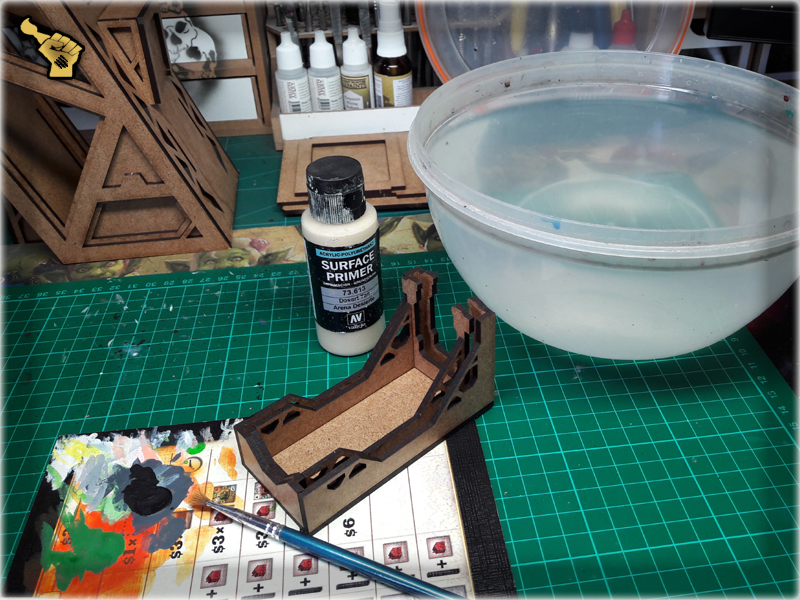
I picked Vallejo Desert Tan Surface Primer for two reasons. First it is a light, sandy color – compatible with light colors that I will be using afterwards, when trying to achieve a smooth white color of the scenery piece. Secondly, due to the paint being Acrylic-Poliurethane mix, which makes it fill any irregularities in the surface and still dry out into a solid, smooth layer.
* Step one: I mixed Desert Tan paint 3:1 with water to make it easier to apply.
* Step two: I applied the mix onto the HDF edge surfaces with an old, large brush.

* Step three: I removed the excess paint from the sides of the HDF and applied it to the largest edge areas.

Once dried up, it looked like this. Kind of messy, but it totally disappears after proper undercoat, leaving both the edges and the sides smooth…

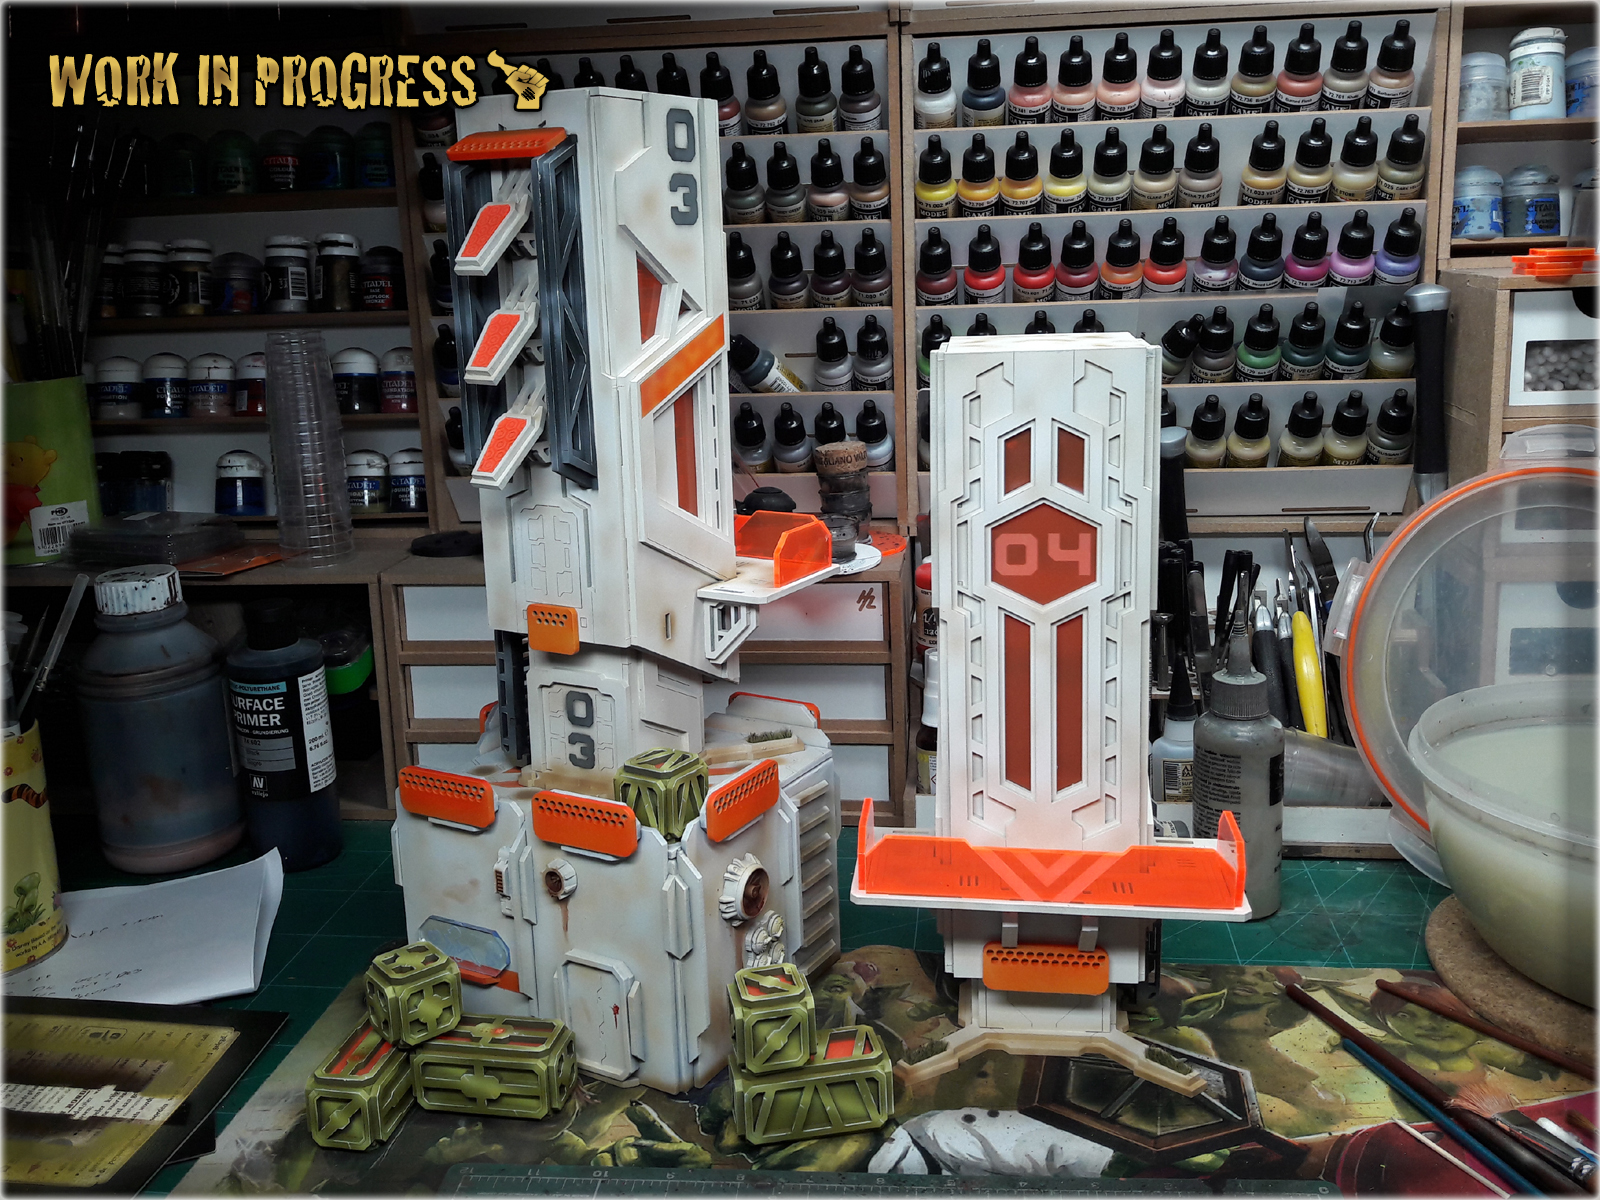
Here’s the same piece after one layer of Vallejo Desert Tan airbrushed all over it. Smooth…

And examples of finished scenery…
Hope this one is helpful. If you have your own methods of preparing HDF before undercoating – please drop me an e-mail at contact@scarhandpainting.com – I would love to learn new hobby stuff 🙂
Ever wandered how a brush graveyard looks like? Some of us seen this wast field of broken, damaged brushes – left aside without purpose. A truly sad sight to behold. Now you’re probably looking at the sharp tip of your favorite brush thinking “It won’t happen to you my dear friend. This doesn’t concern you.” Sorry to be a bringer of bad news, but brushes come and go – no way around it. The only thing we can do is to preserve their longevity as much as possible. How to it? The sole purpose of this article is to share some tips that might help you enjoy your brush till it’s late veteranship and avoid this:
On top of thorough cleaning after each use, the proper care is the key to preserve brush’s shape and thus function. It’s not something to repeat at daily basis, still every now and then a “brush spa”should be performed. Here’s how I do it:
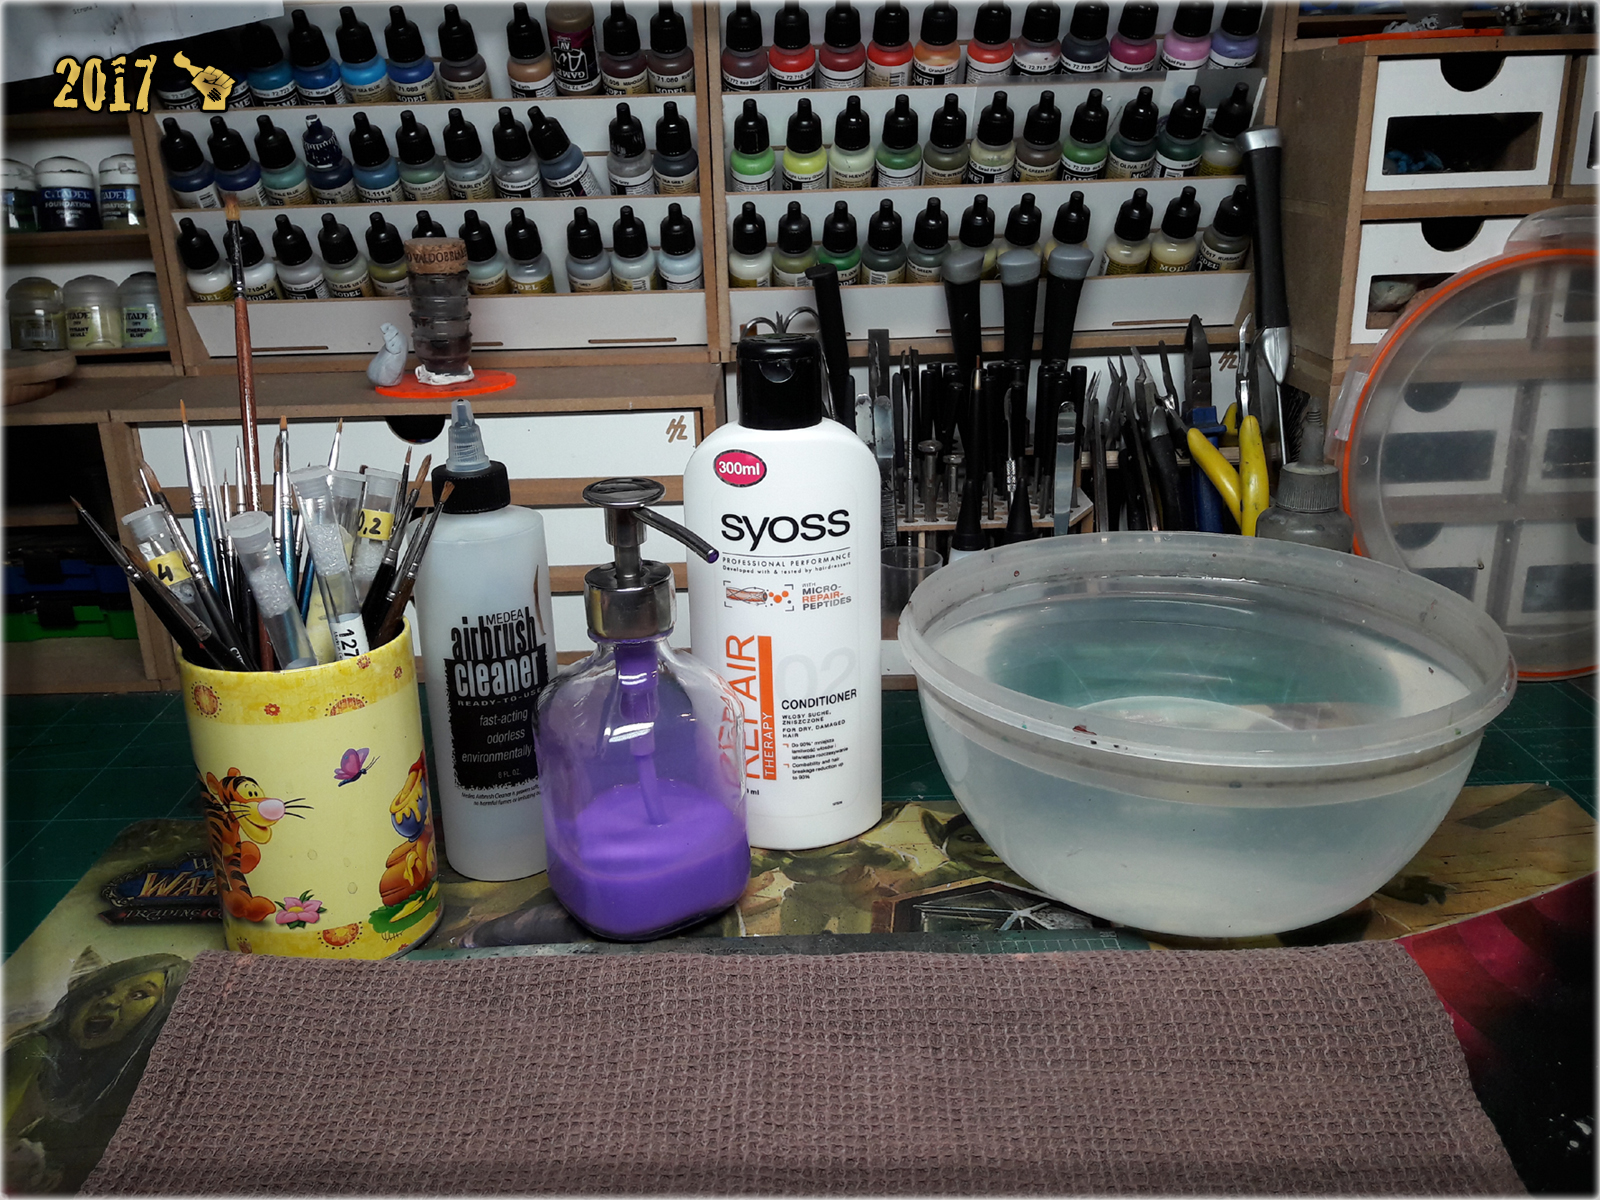
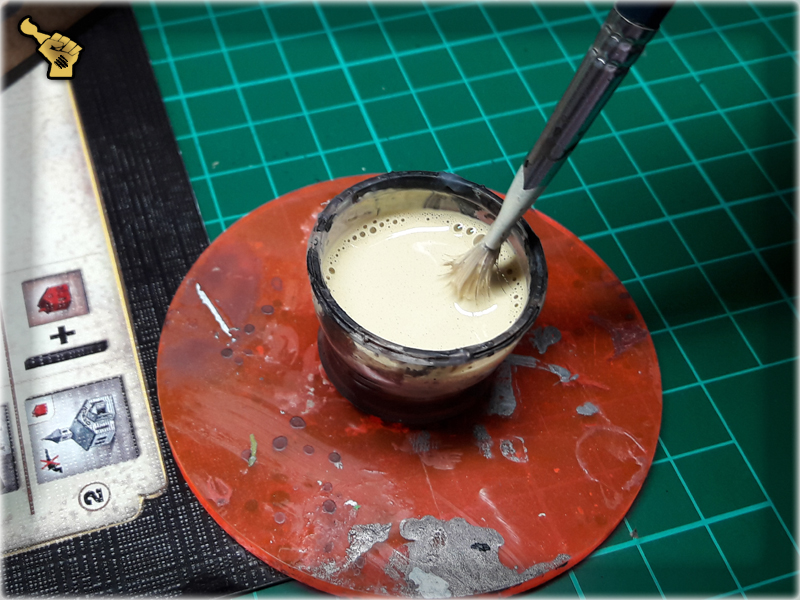
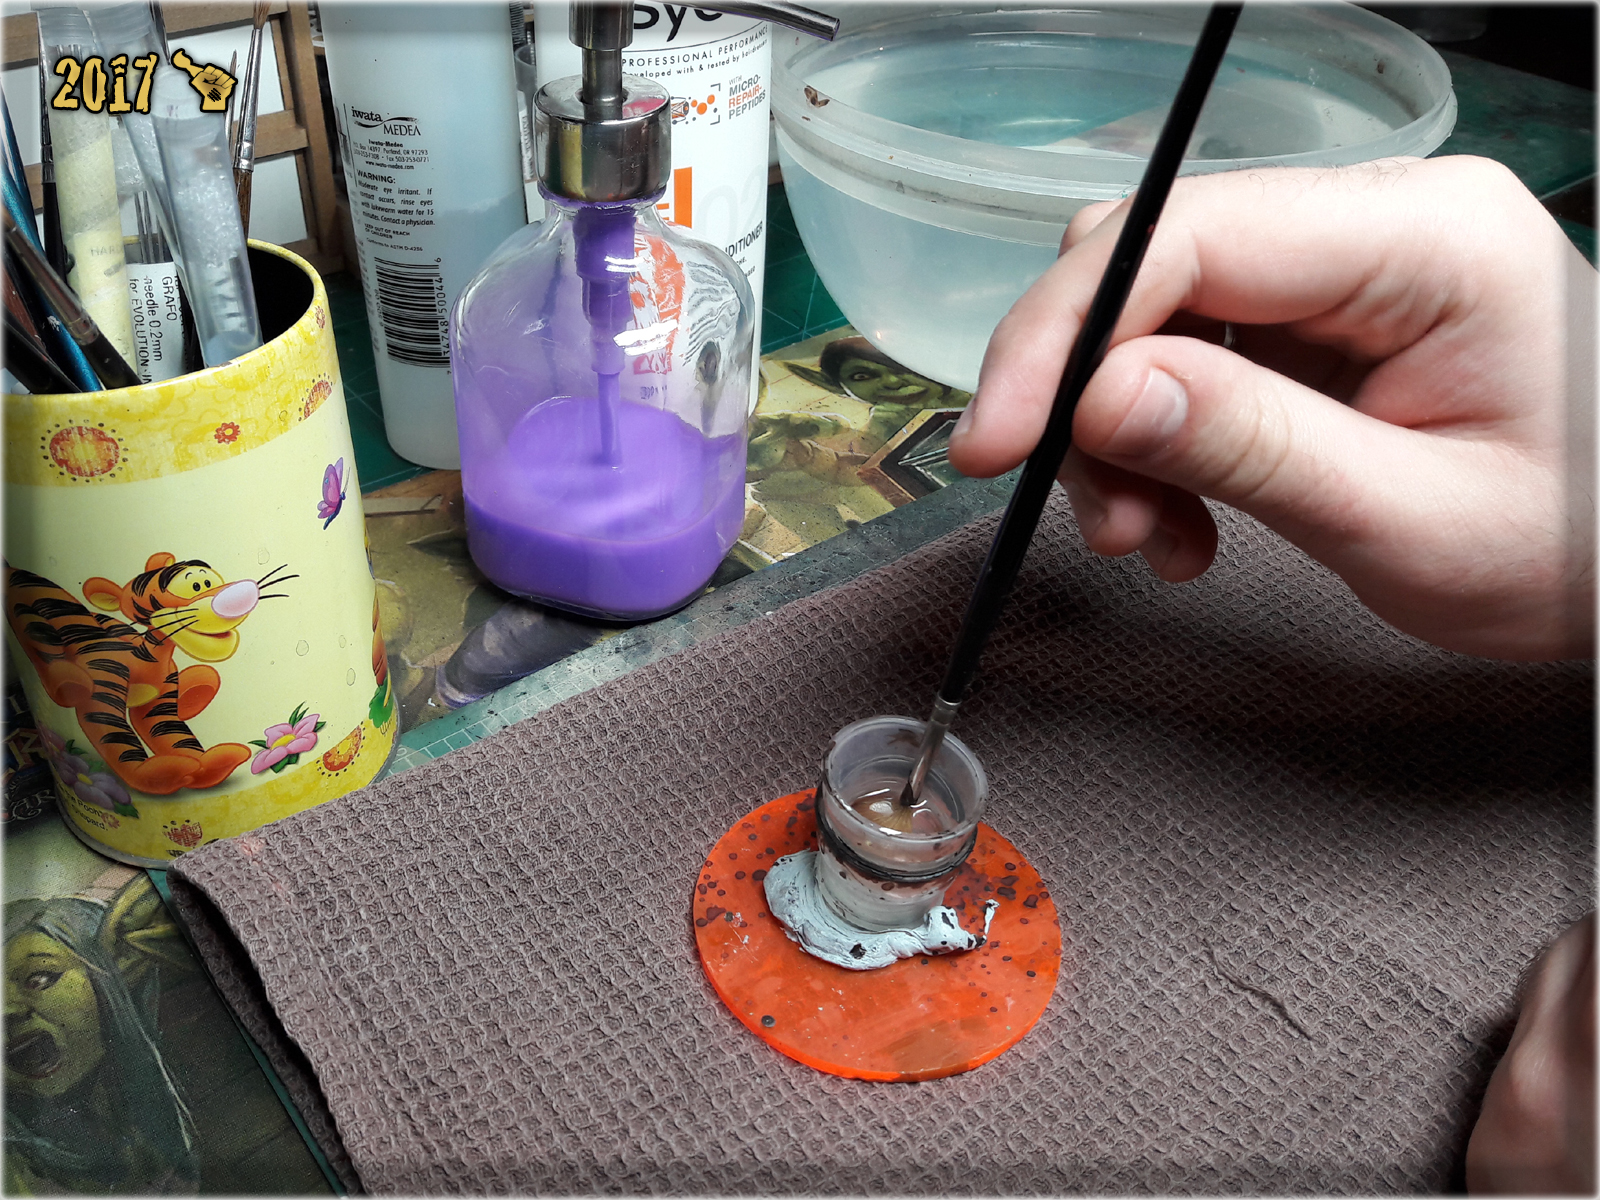
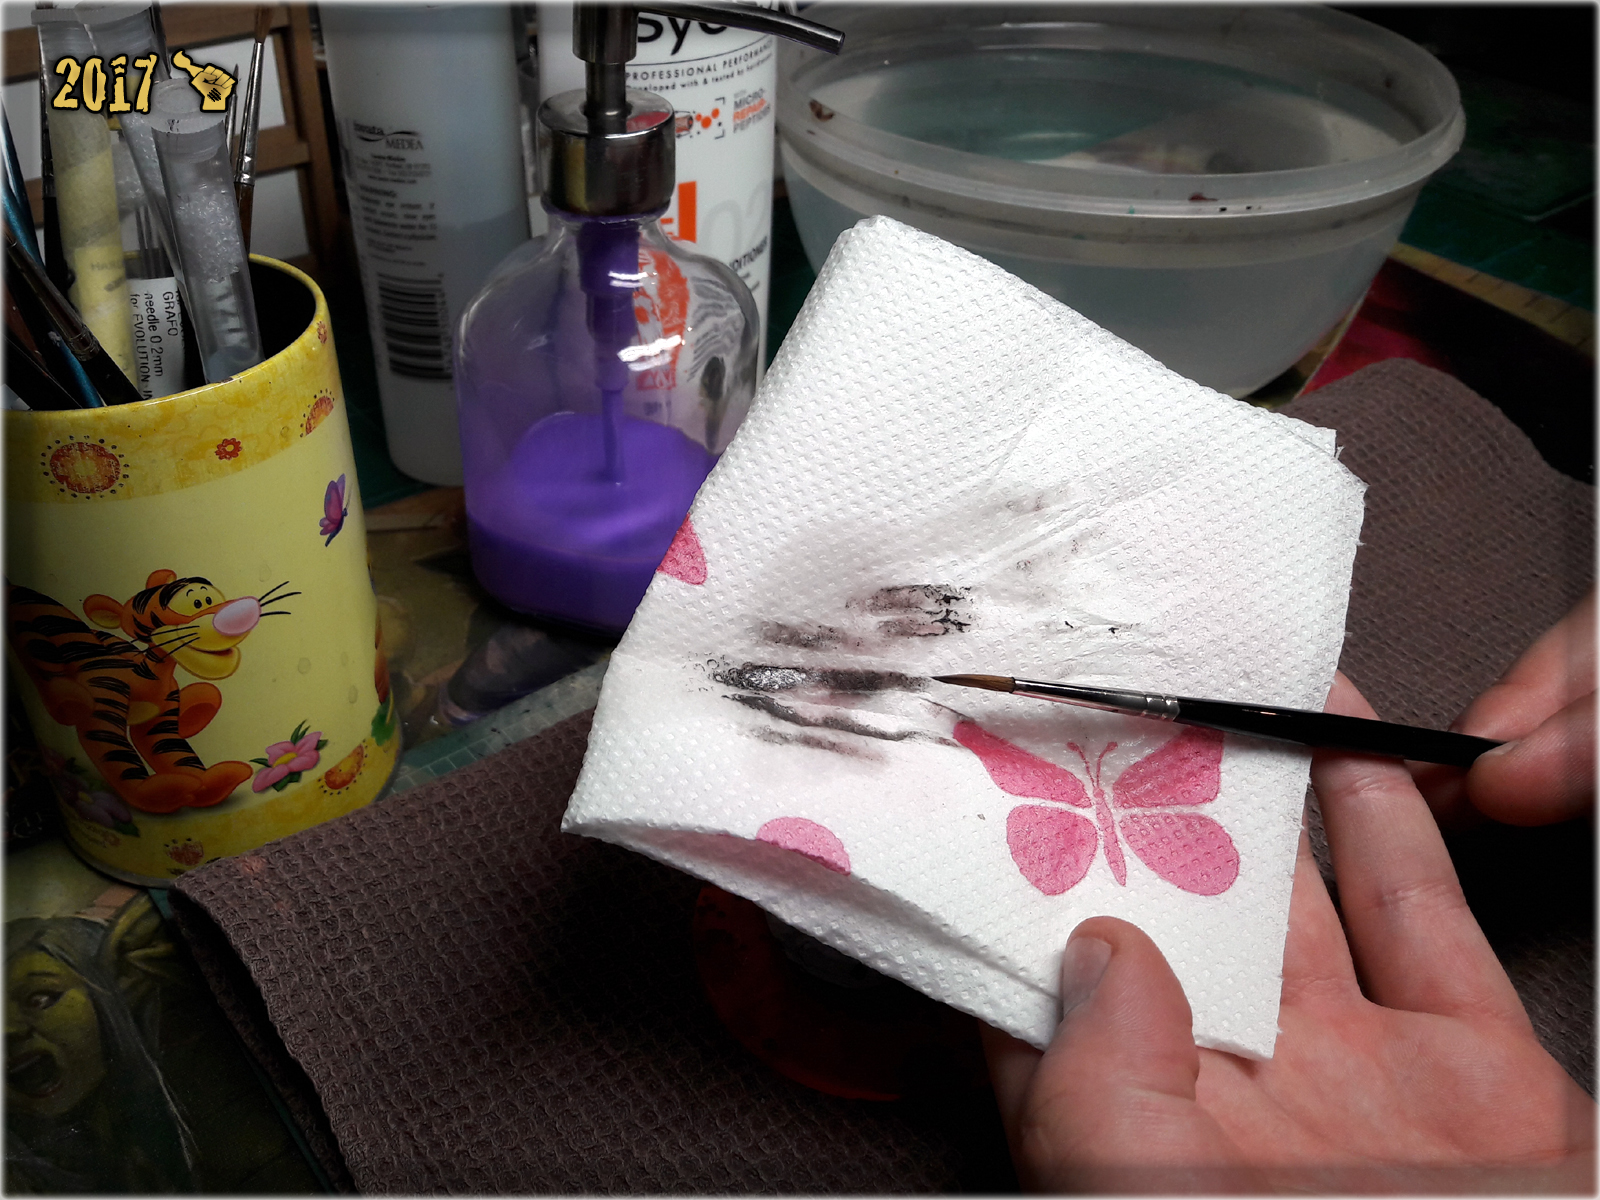
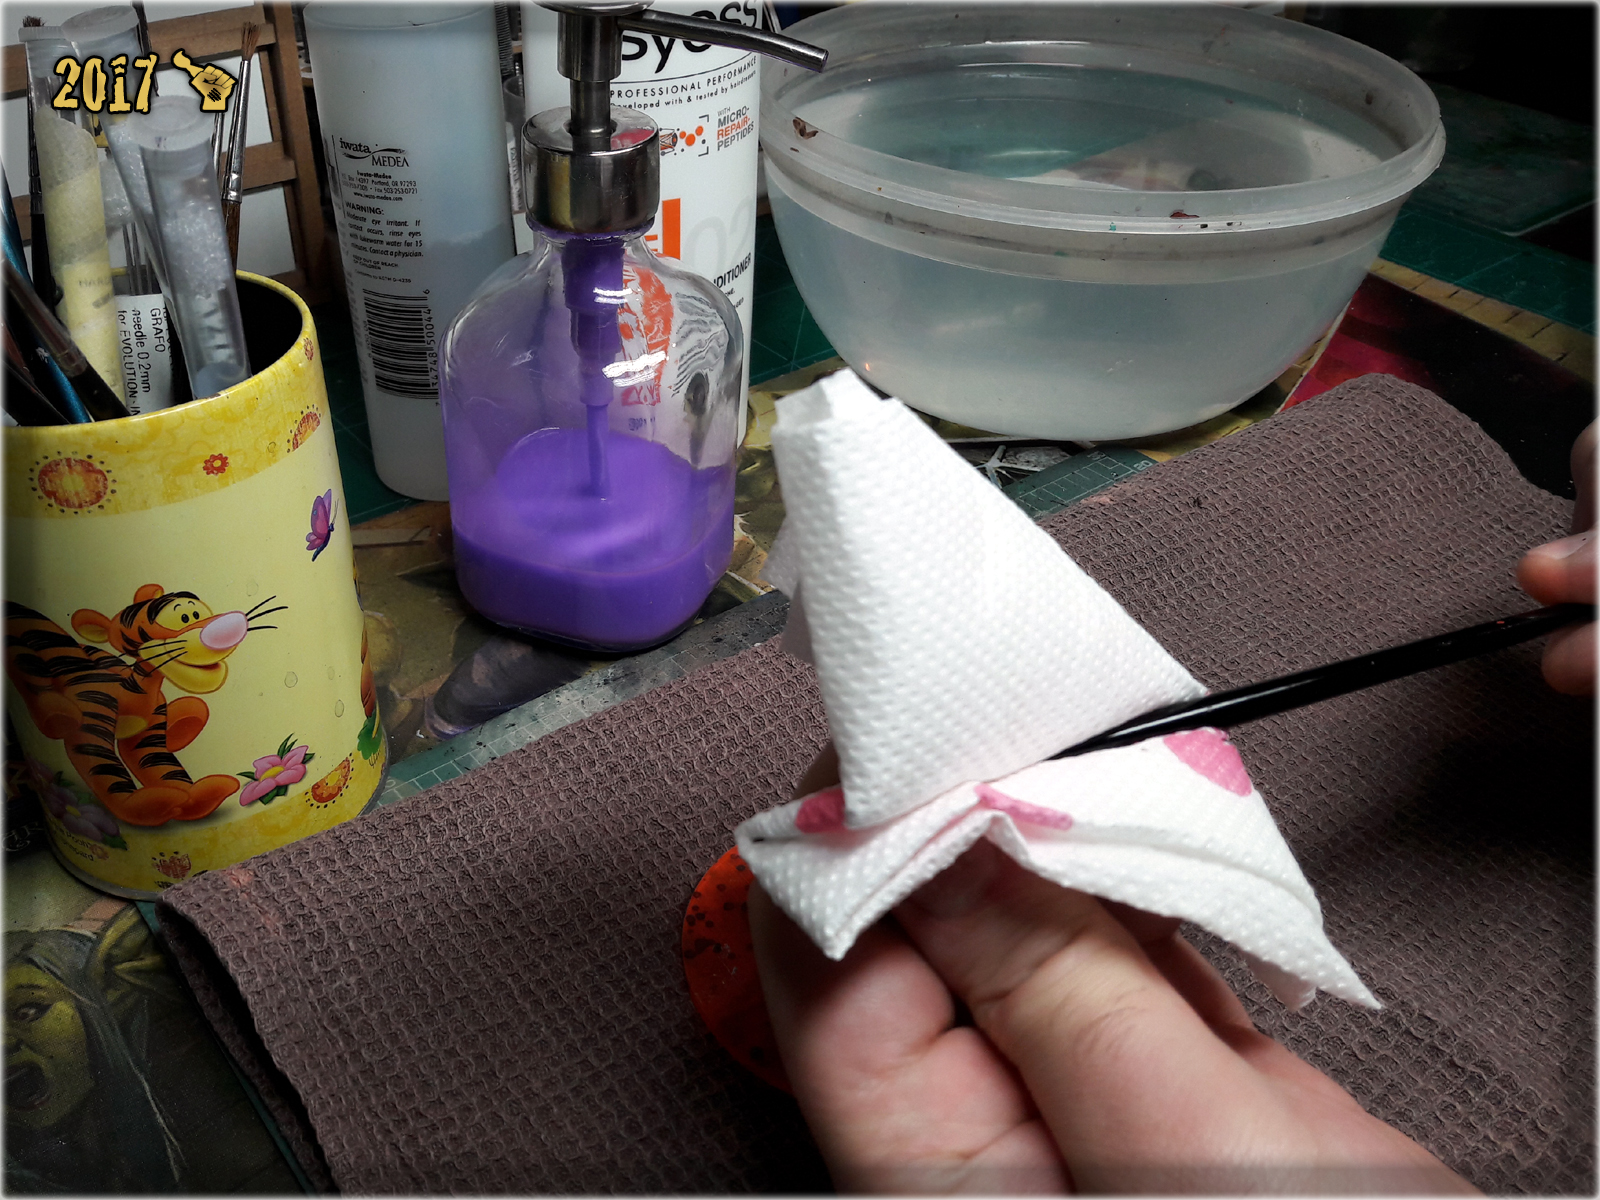
1 First I poured Airbrush Cleaner into a small cup. Next I dipped a tip of the brush, tapping it against a bottom of the cup. The purpose of this step is to ensure that any dried out paint leftovers would get removed from the brush's tip. Once done I cleaned up the tip and metal part of the brush's handle with a paper towel soaked in Airbrush Cleaner. I did this by slowly pulling the brush through the towel, forming it's tip.


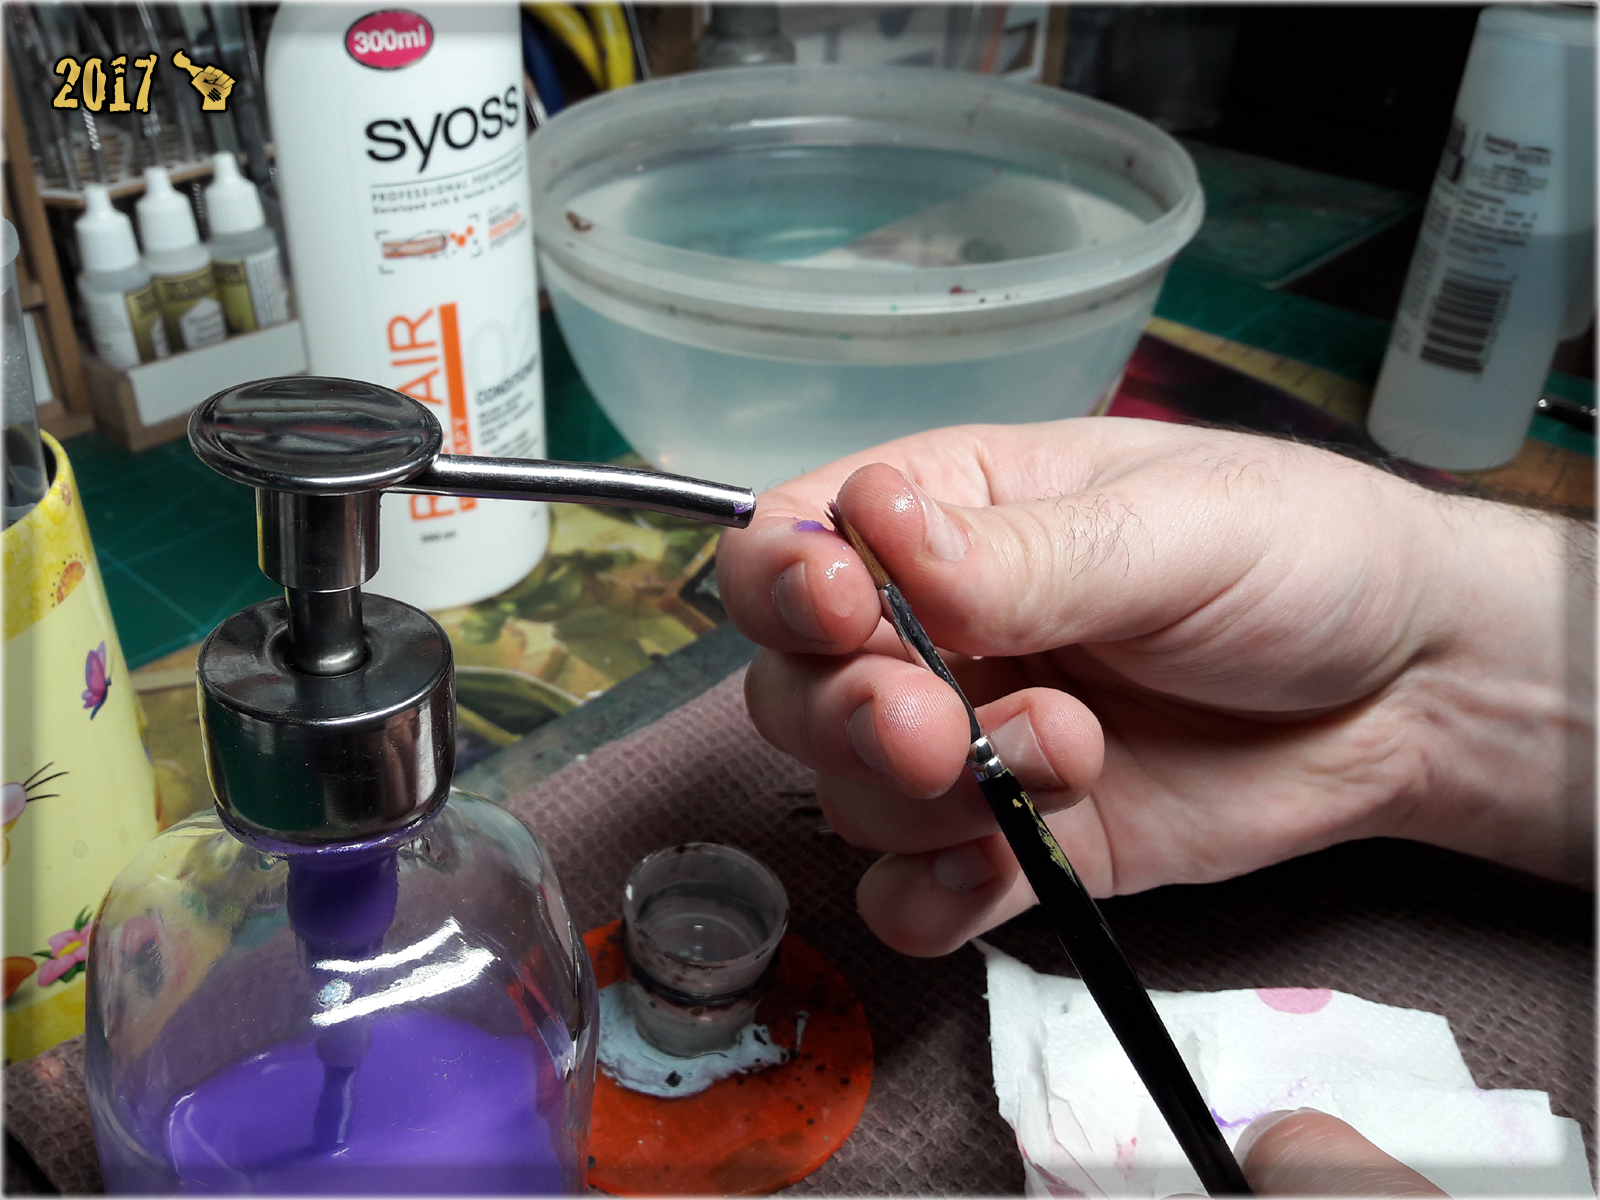
2 Step two was to gently clean the tip with soaped fingers and wash it with water.

3 Then I moved to step three, covering the tip with a hair repair conditioner. Then I left the brush to soak with conditioner for about 20 minutes.


4 The final step was to once again clean the brush with water and form the tip, using a paper towel.


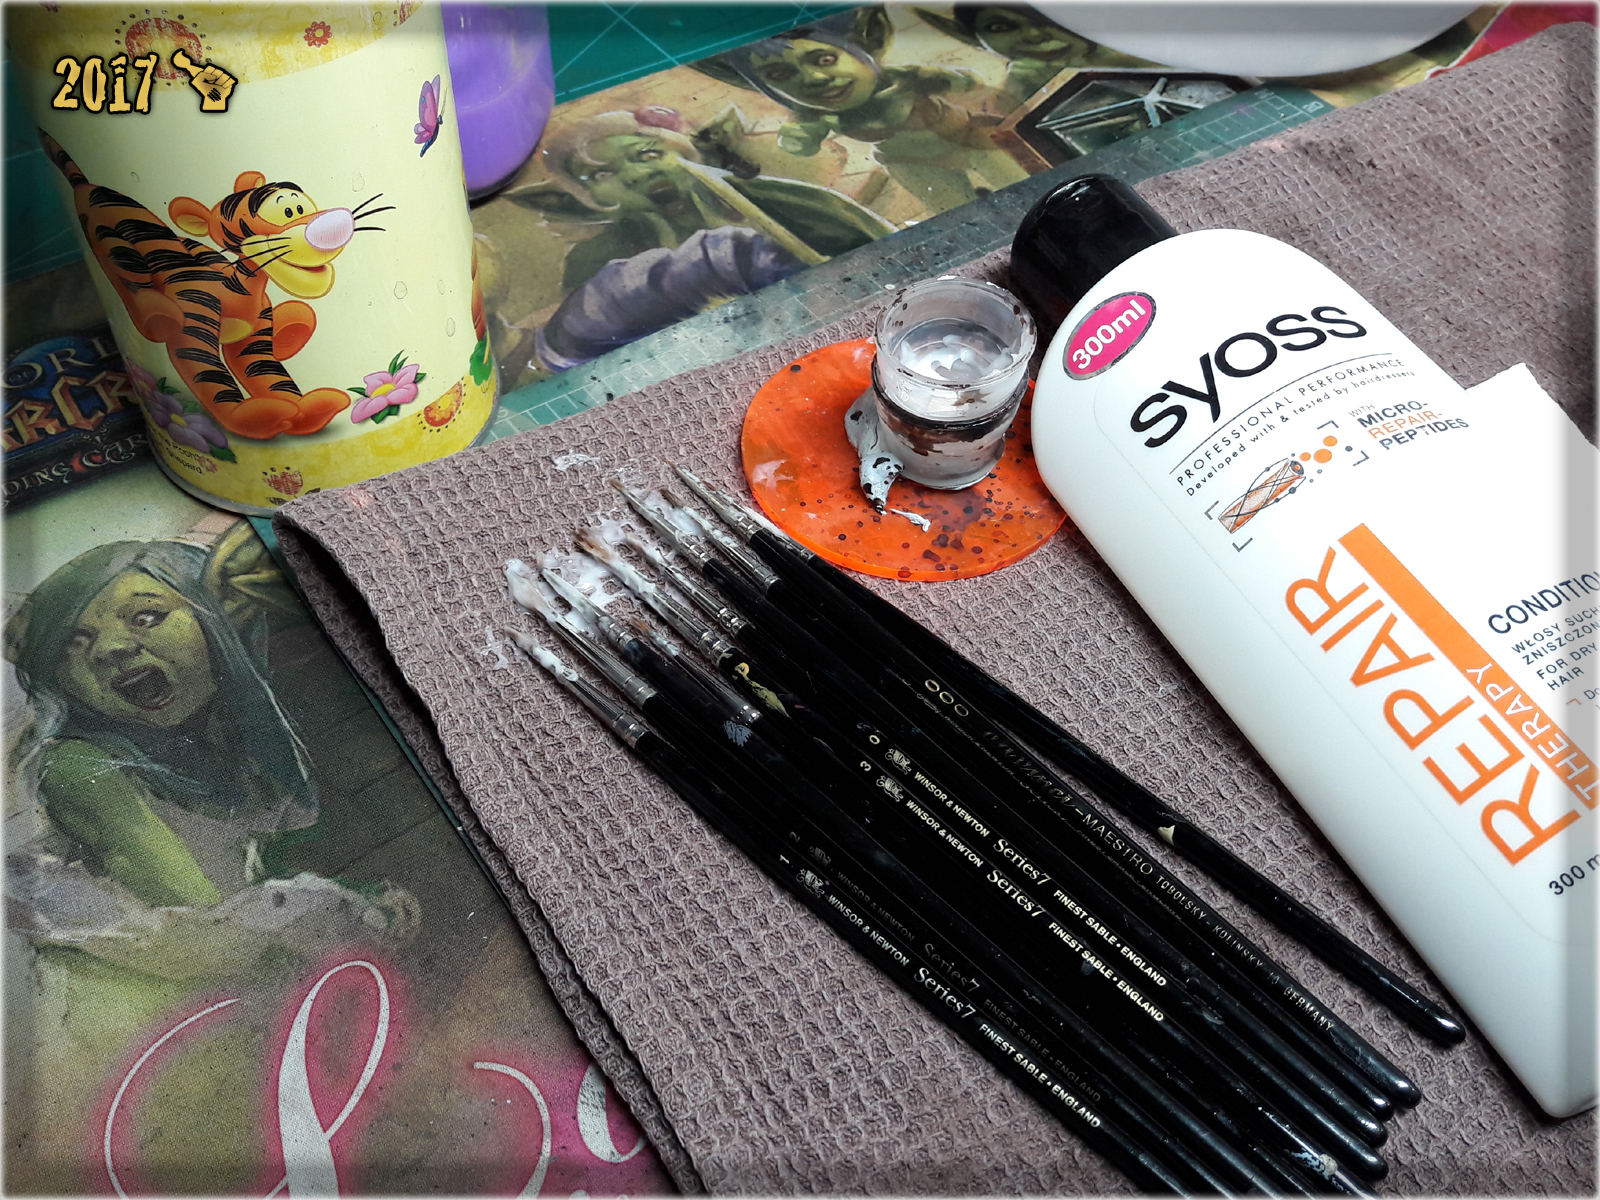
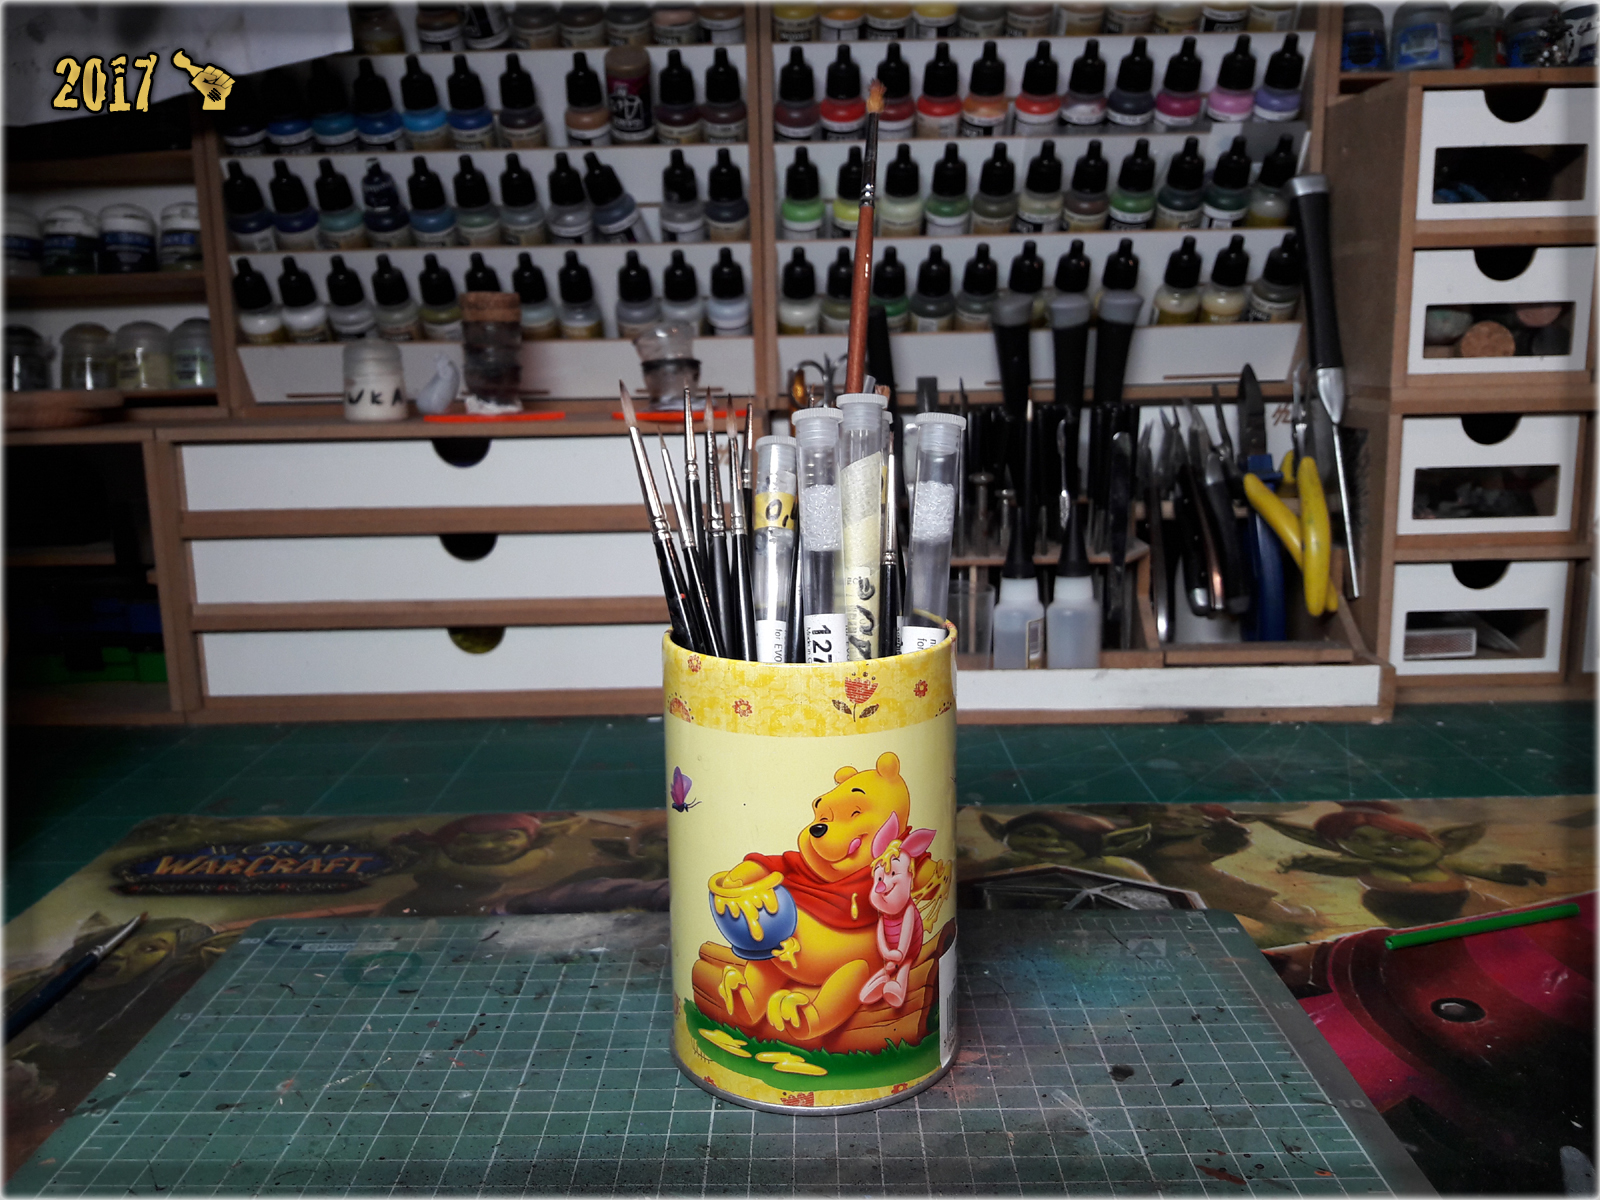
Now my brushes rest happily in a brush cup, smiling to me in wait for next project…
Ok, so you can take care of your brushes to keep them healthy, but what if they’re already ‘on the other side’? Untill recently I was sure that there’s no comming back from the brush’s afterlife, but I was prooven wrong by a friend who linked me a crazy awesome tutorial – and now I will share it with you.

1 I dipped the brush in water...
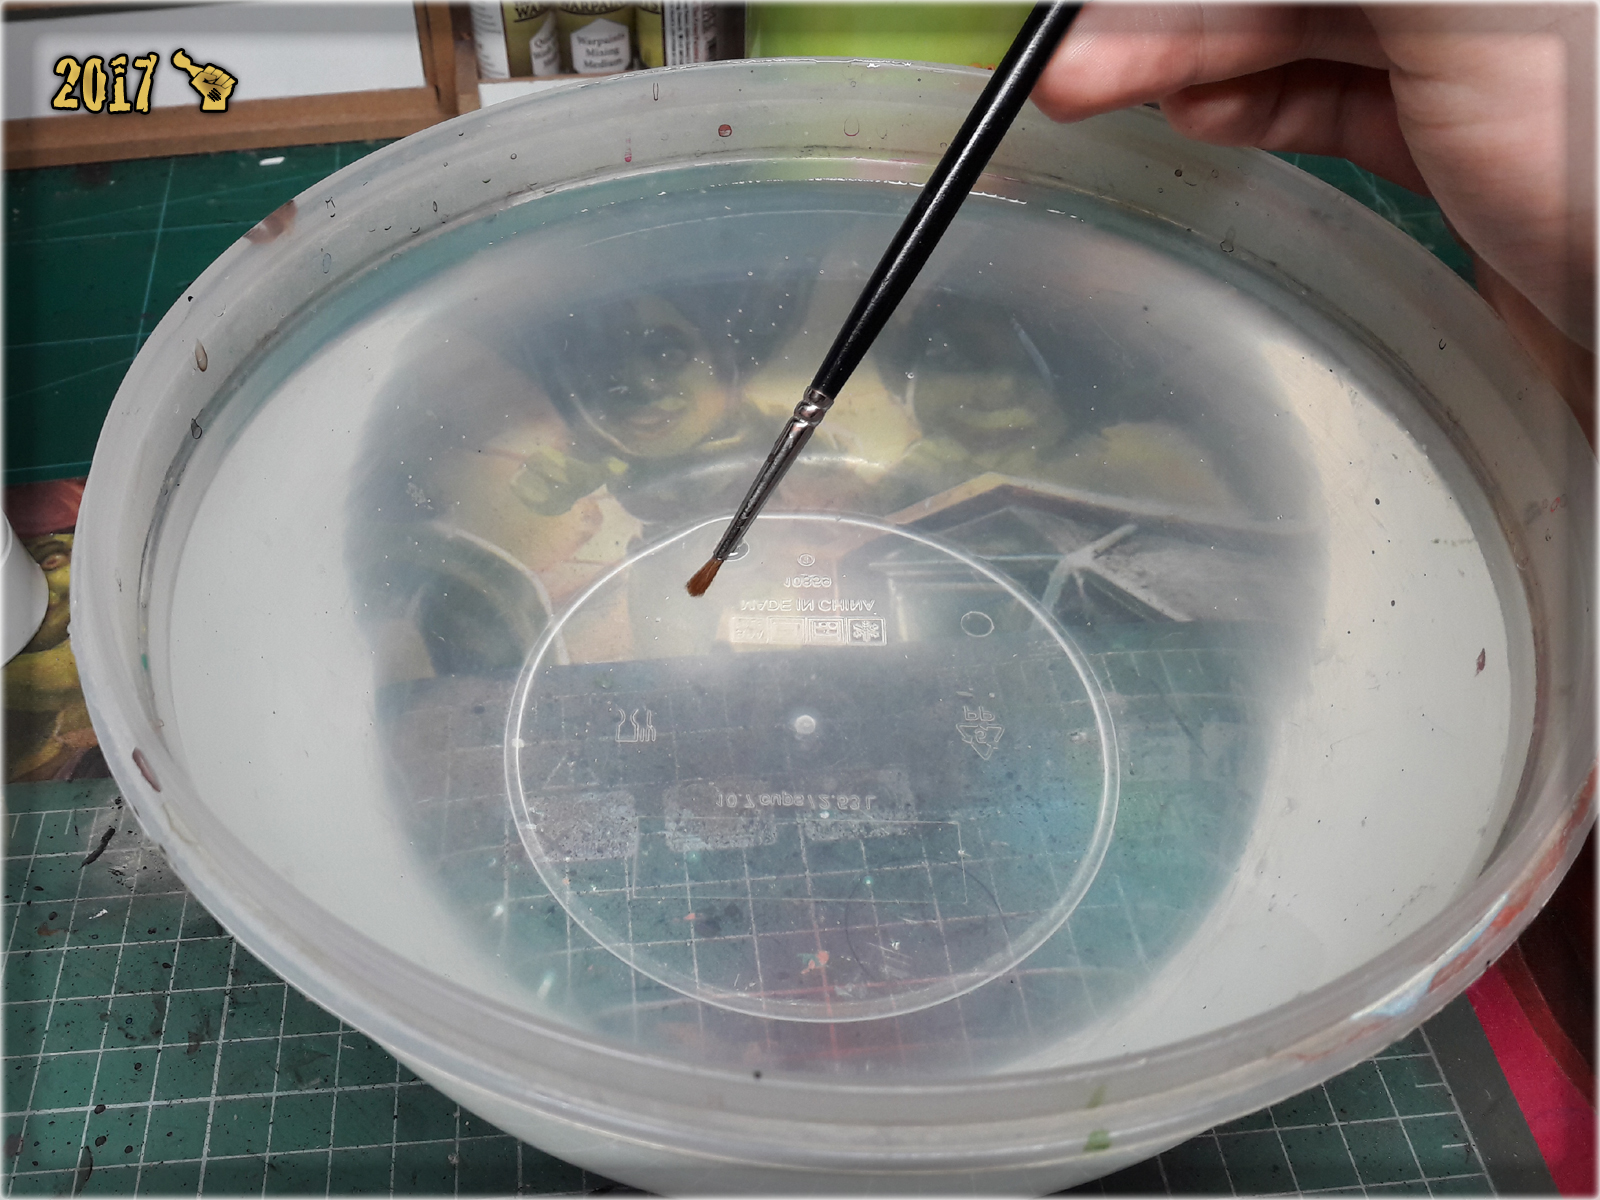
2 I touched a wet tip of the brush to the hot iron, then started moving it backwards, gently turning it in one direction.


Well – that’s it! Sounds easy? It actually is XD Just take a look at this video…