- contact@scarhandpainting.com


In this easy, step-by-step tutorial I’m going to show you how to create a Desert Scenery as could be found in “Gallery: Gaslands”.

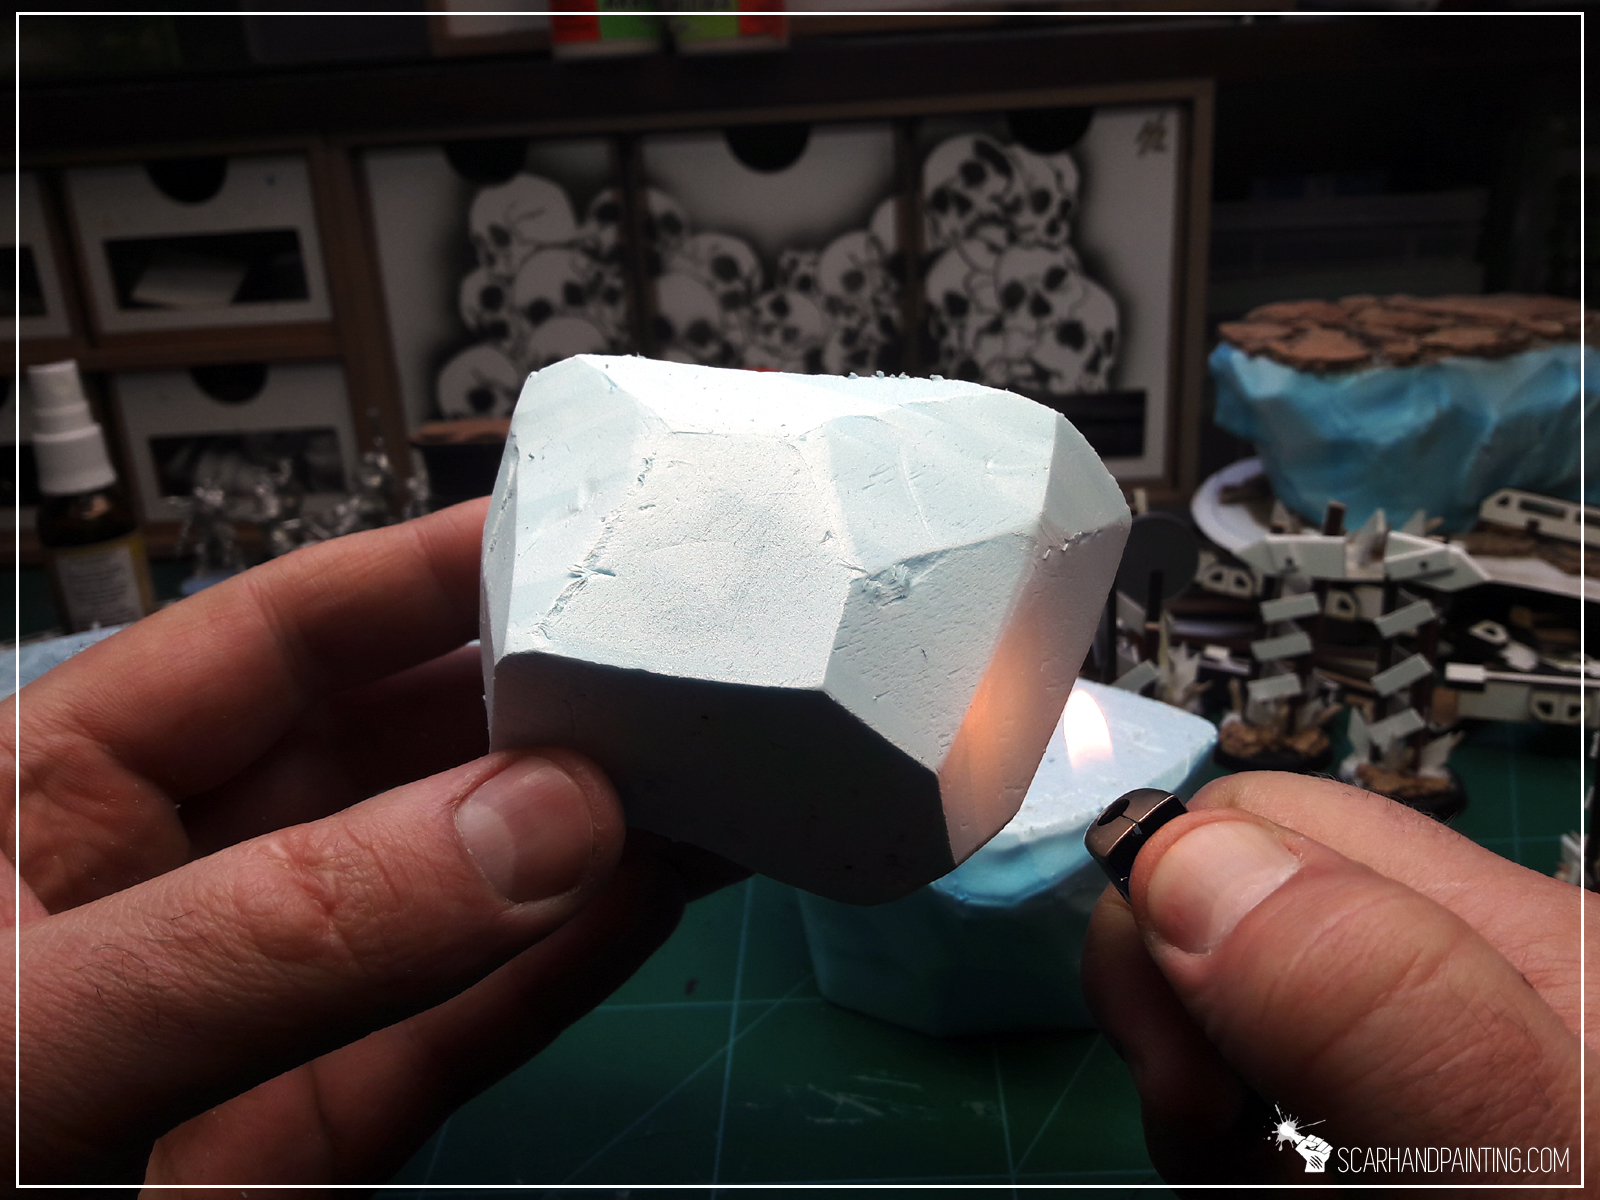
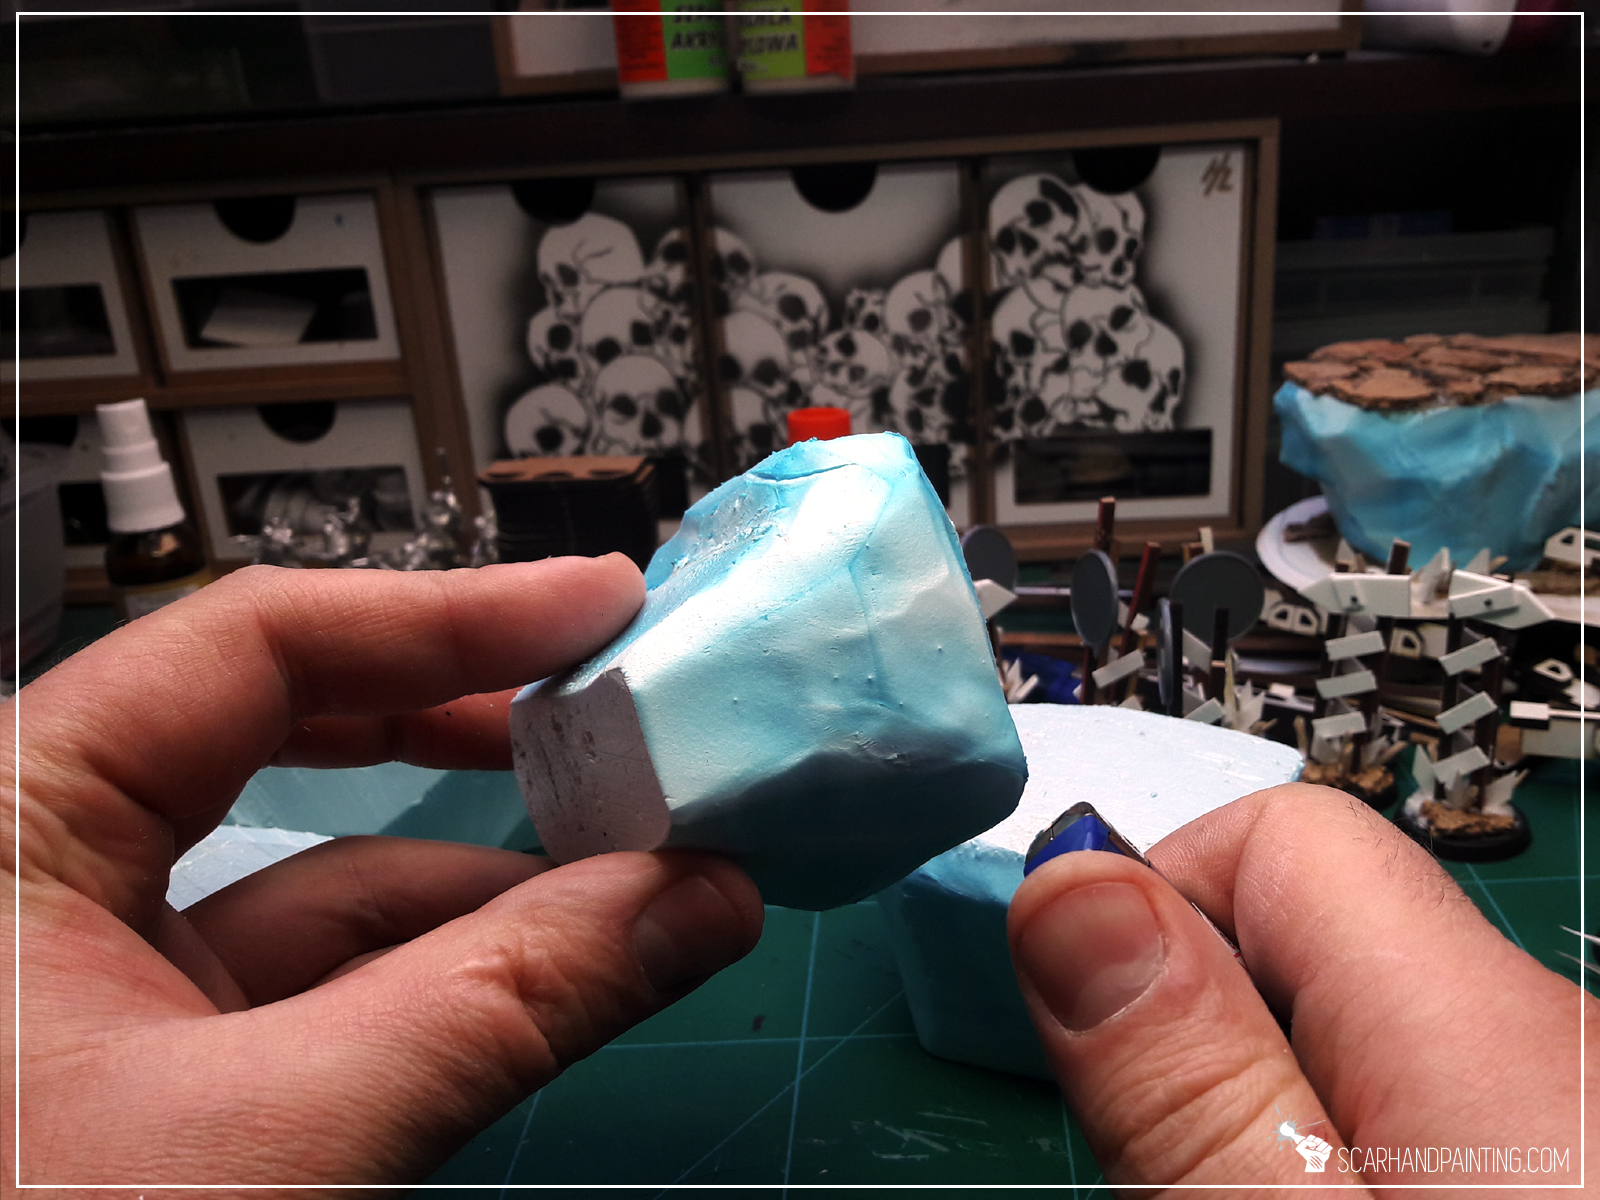
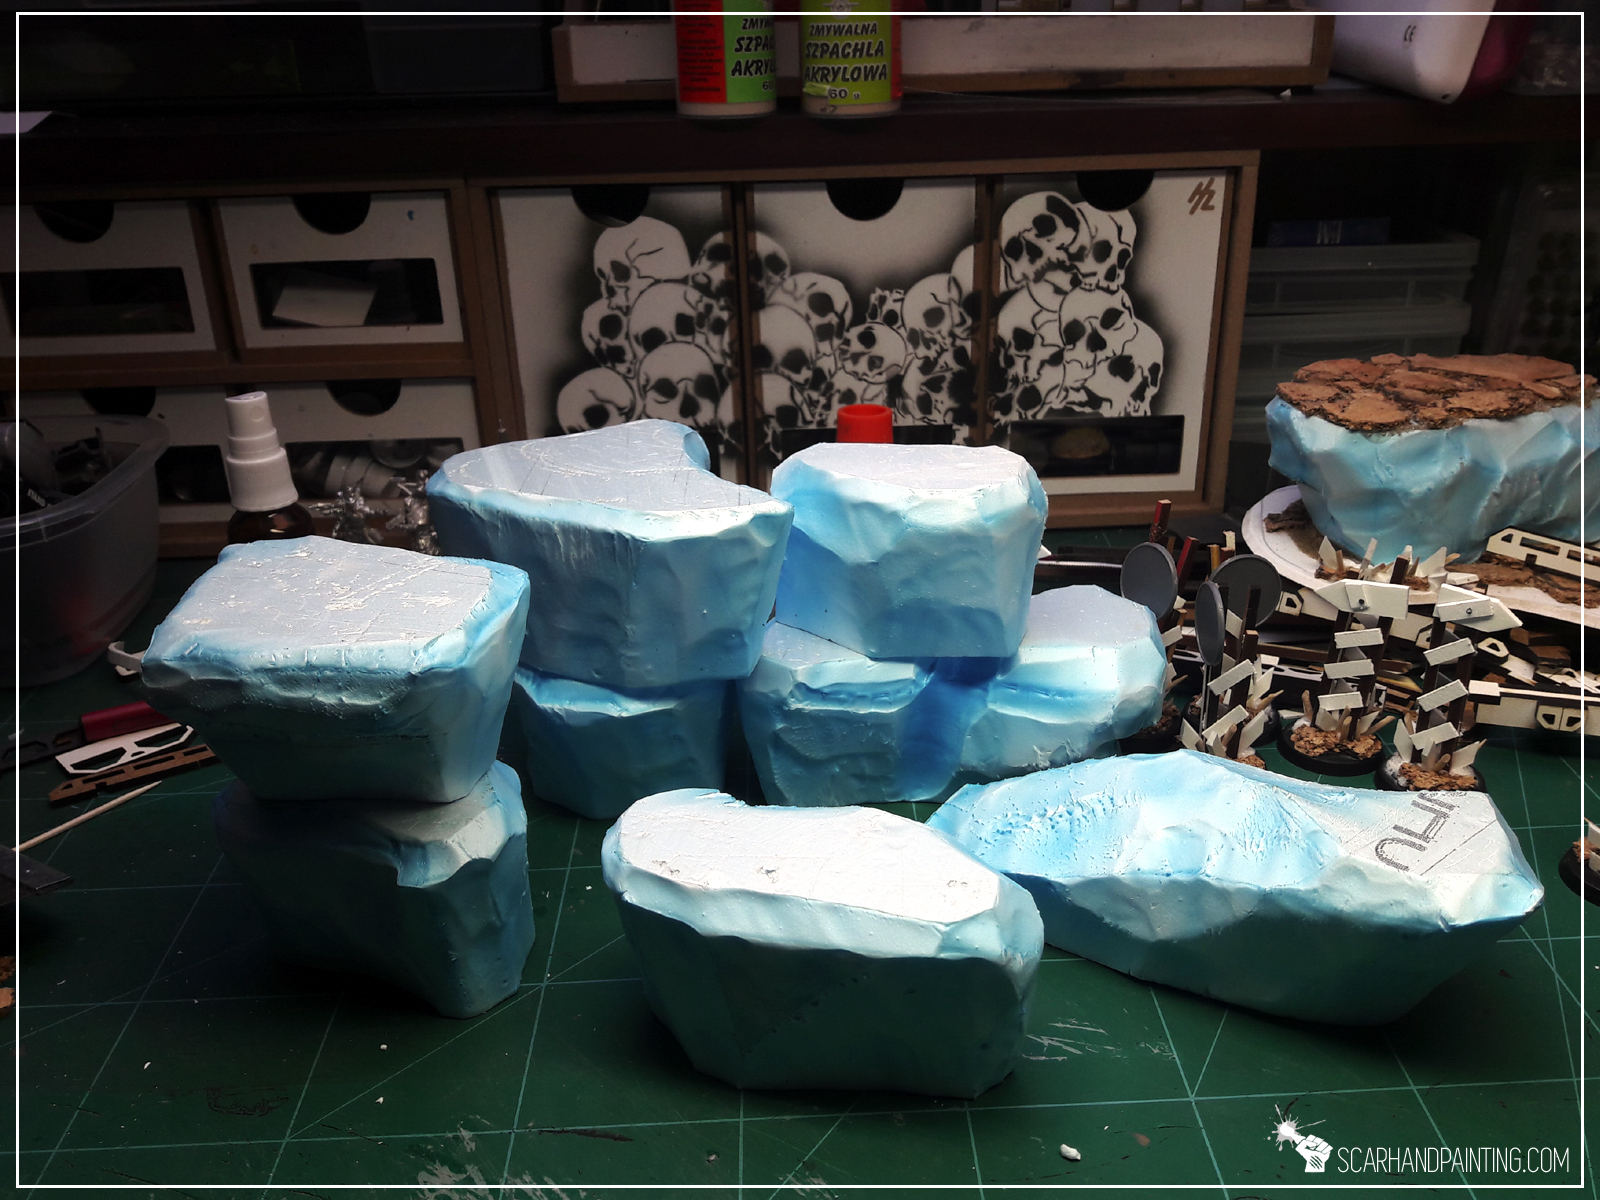
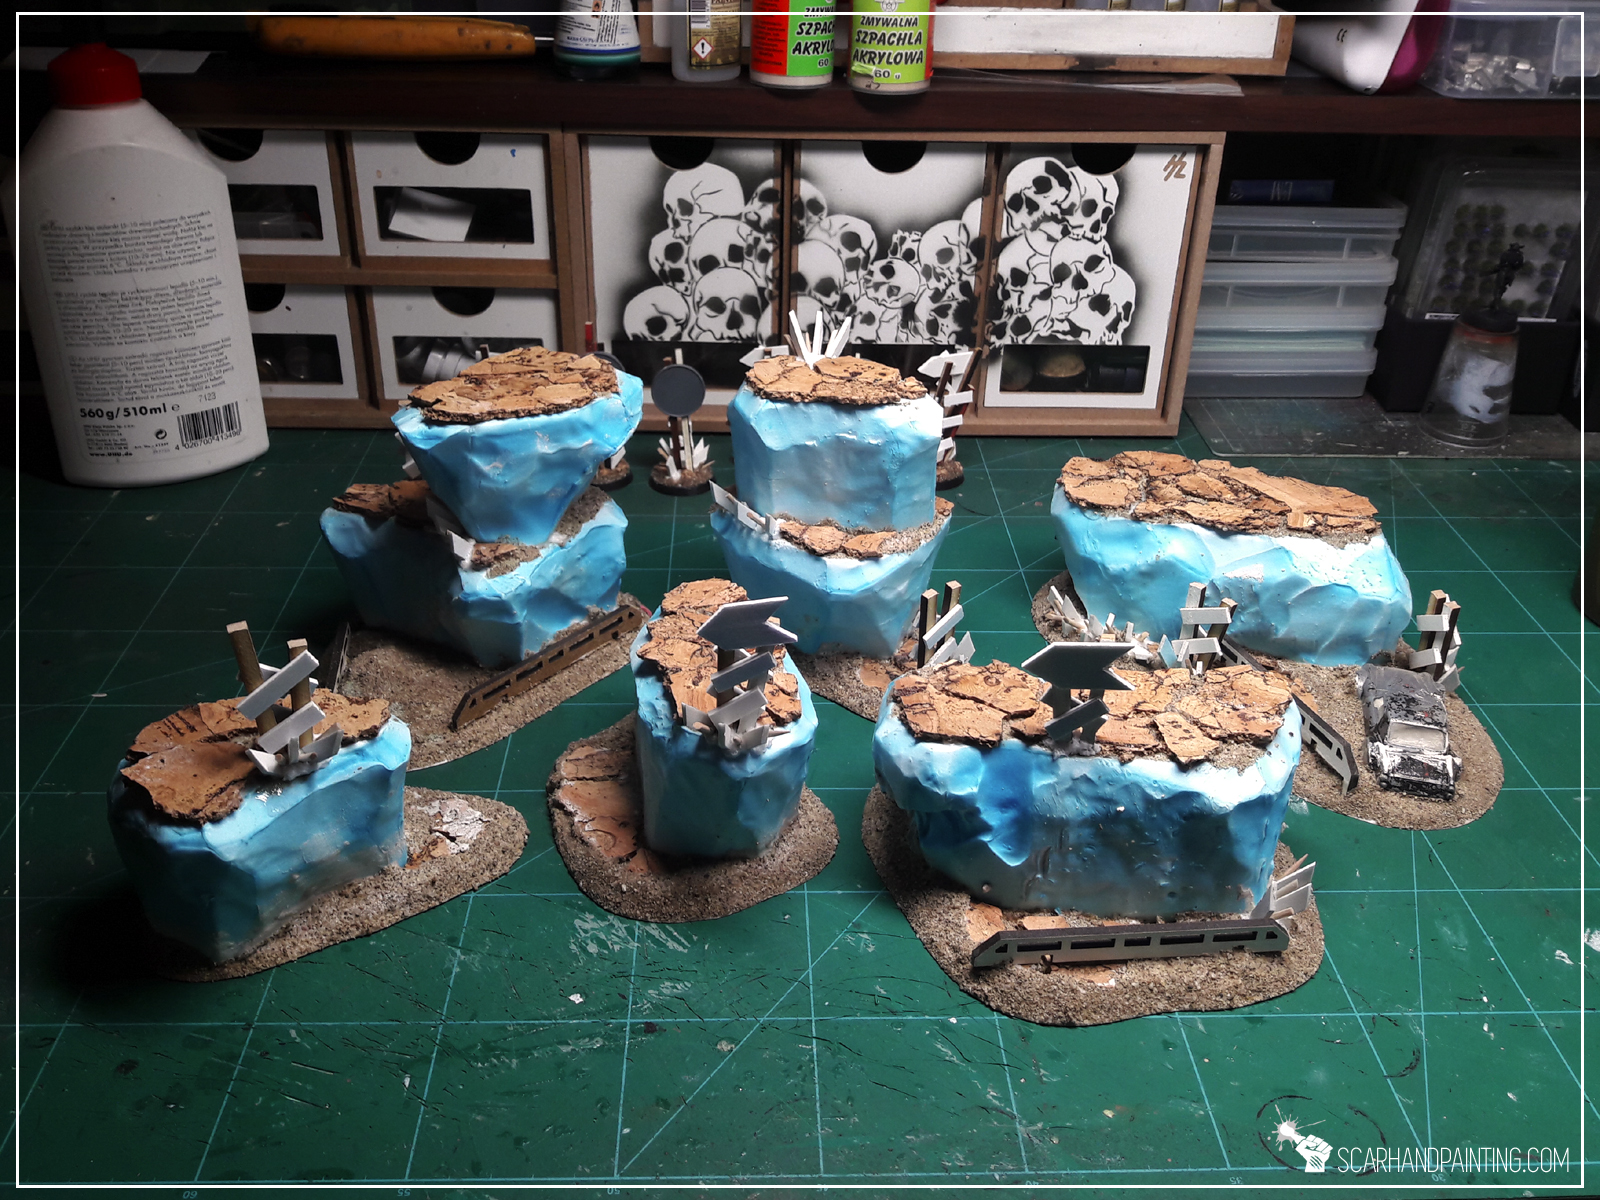
* I started by cutting foamed PCV (or styrofoam) into basic rocky blocks.
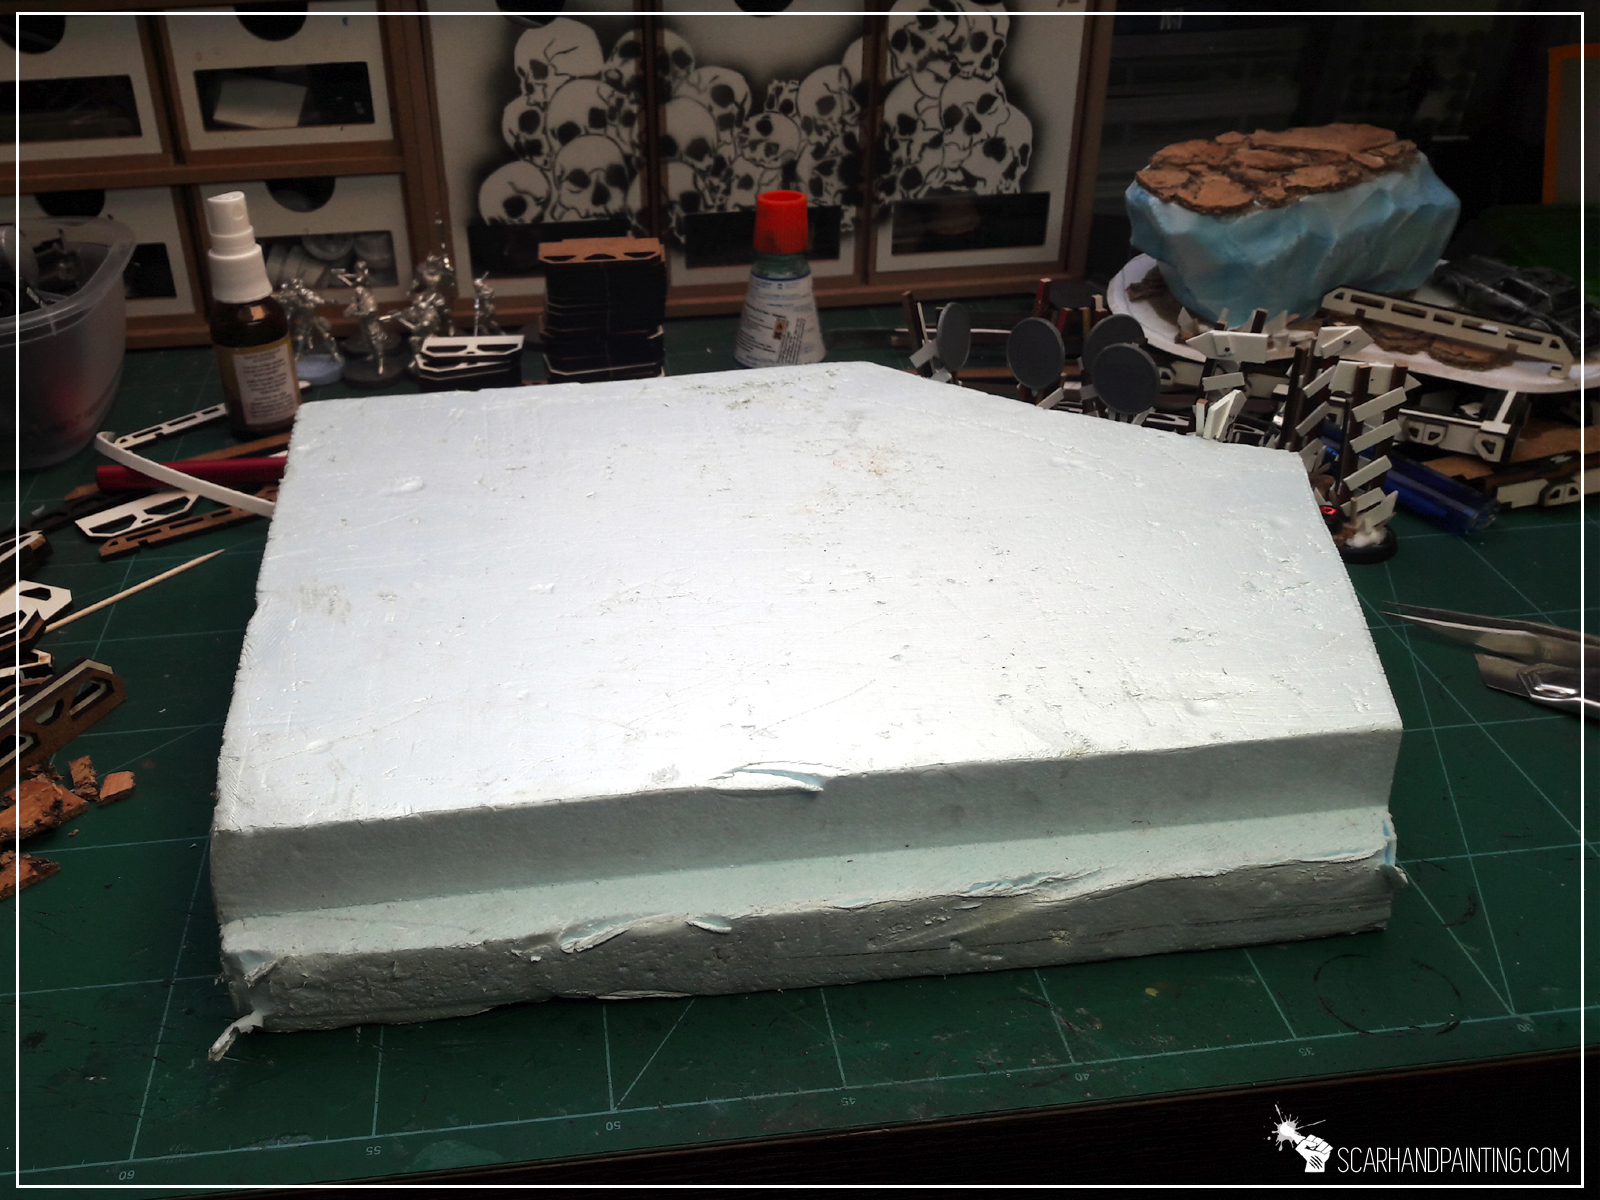

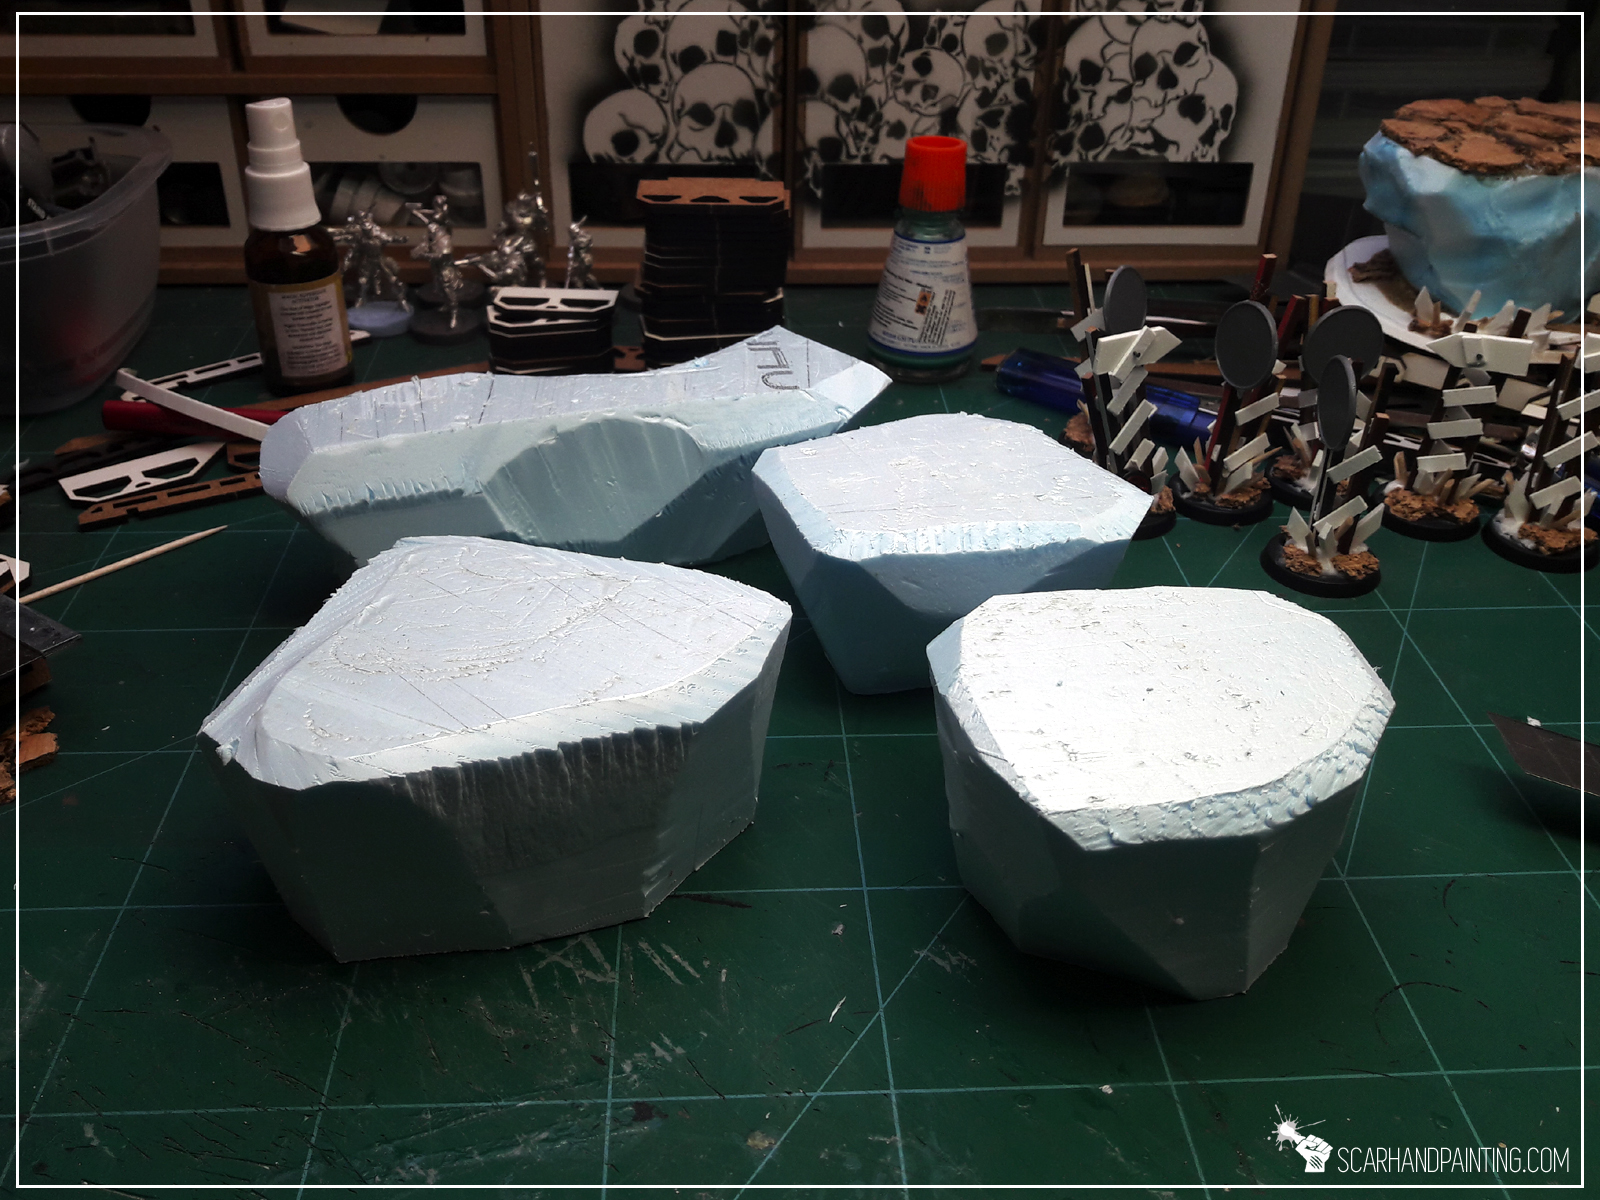
* I then used lighter to gently heat blocks on the sides, avoiding heating up top and bottom surfaces.
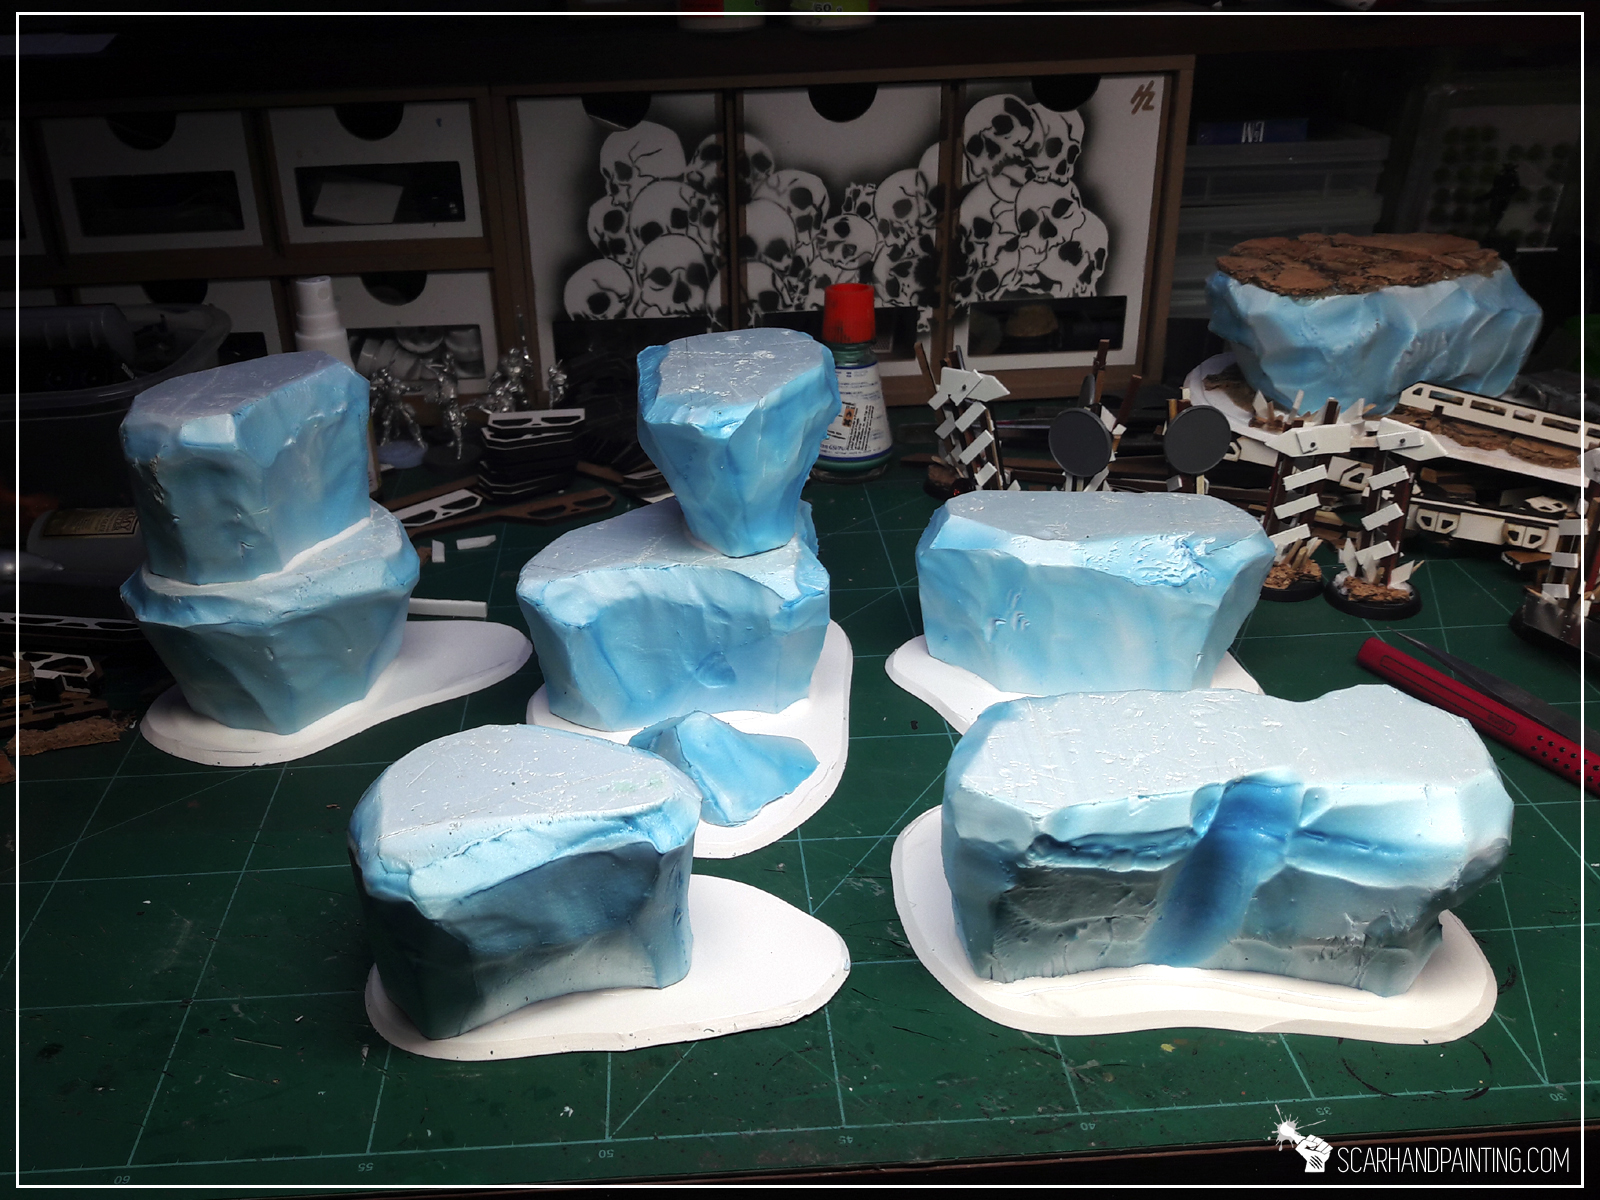
* Next, using a hobby knife, I cut bases from 3mm thick plasticard.

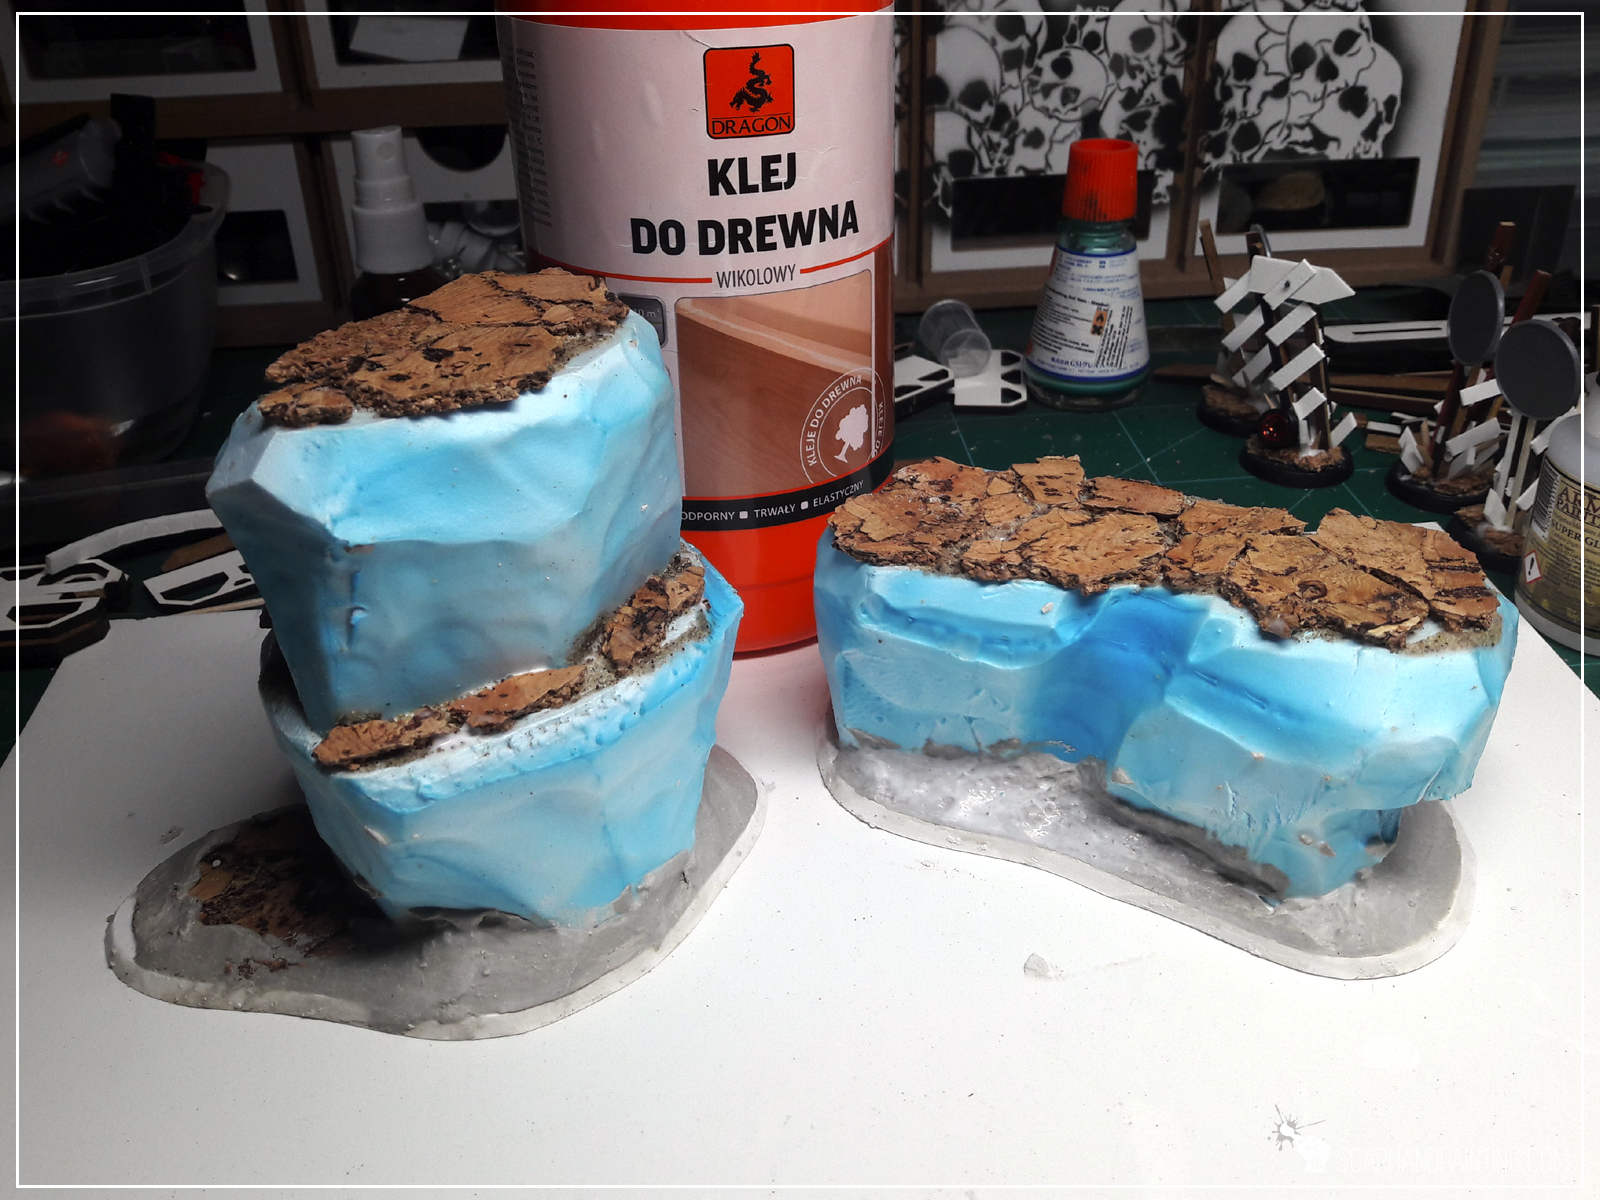
* I then glued rocky blocks on top of the bases with basing (PVA) glue. I also glued some blocks on top of one another for the scenery to look more diverse and interresting.
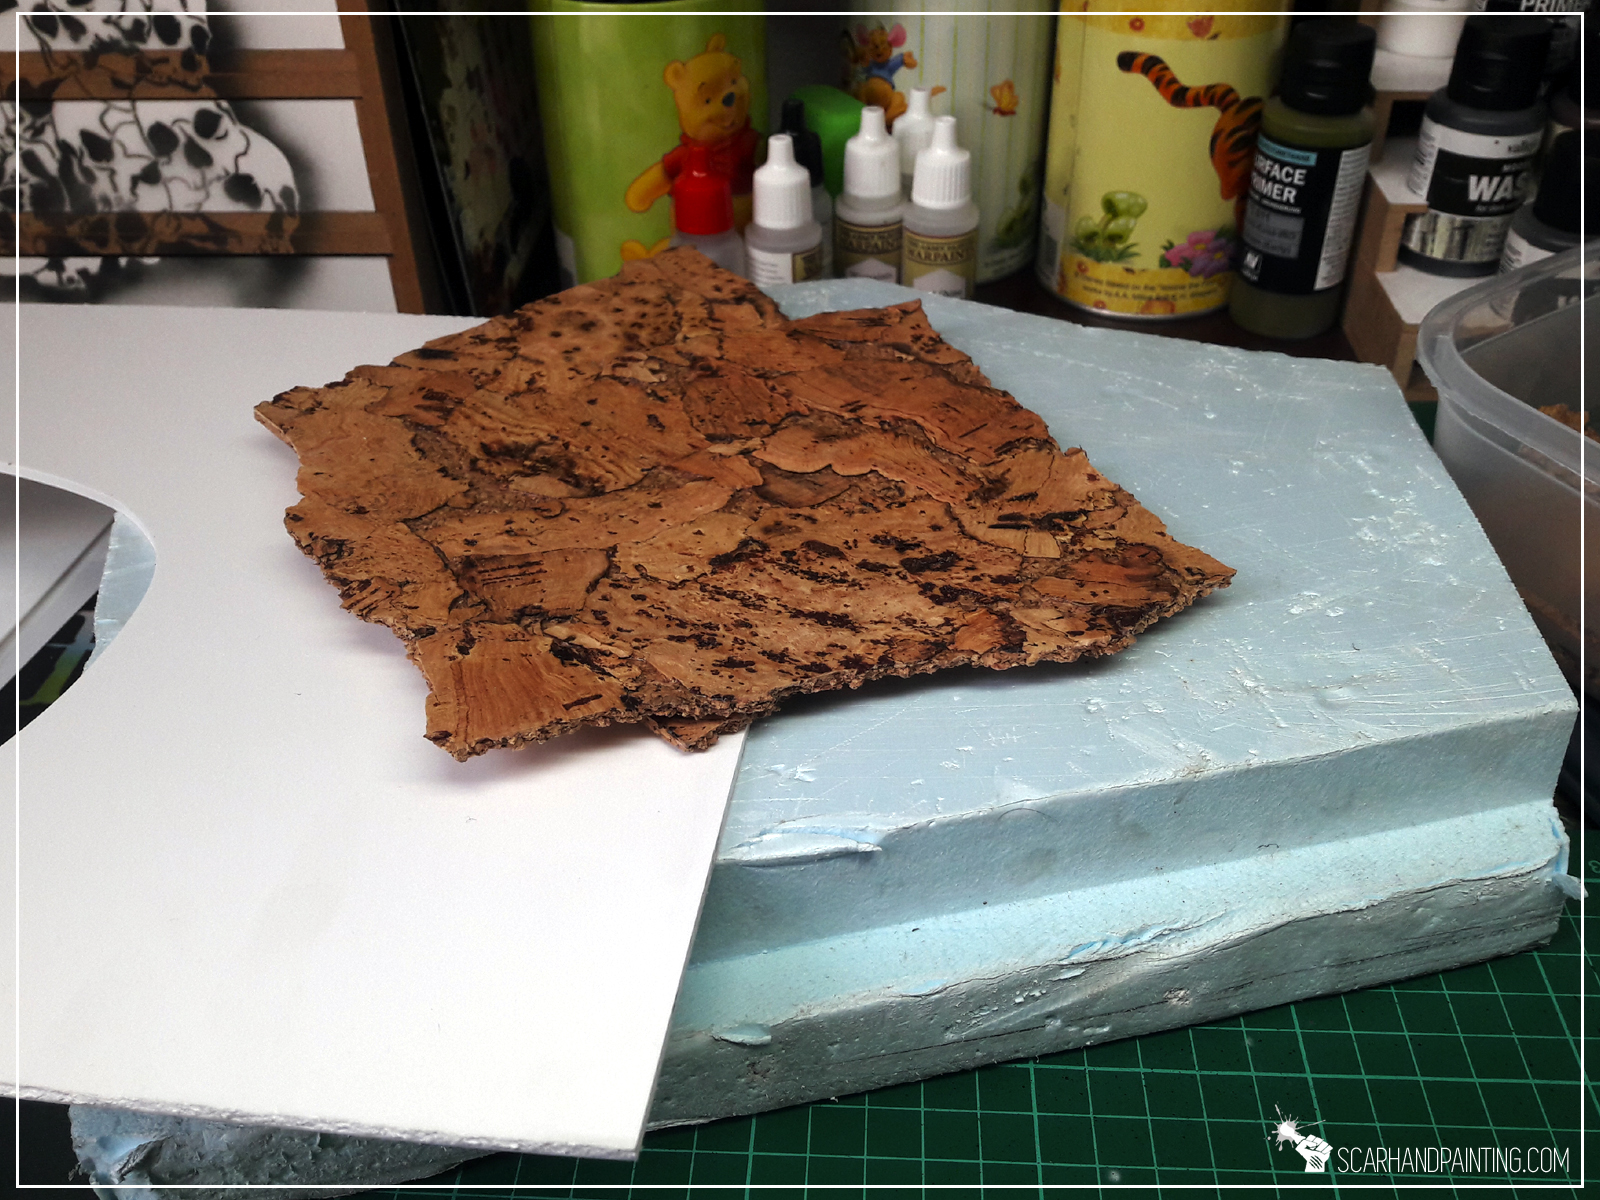
* Next I crumbled a sheet of cork into small pieces and glued them on top of the blocks with basing glue, sanding them before glue dried out to fill the gaps inbetween separate cork pieces.


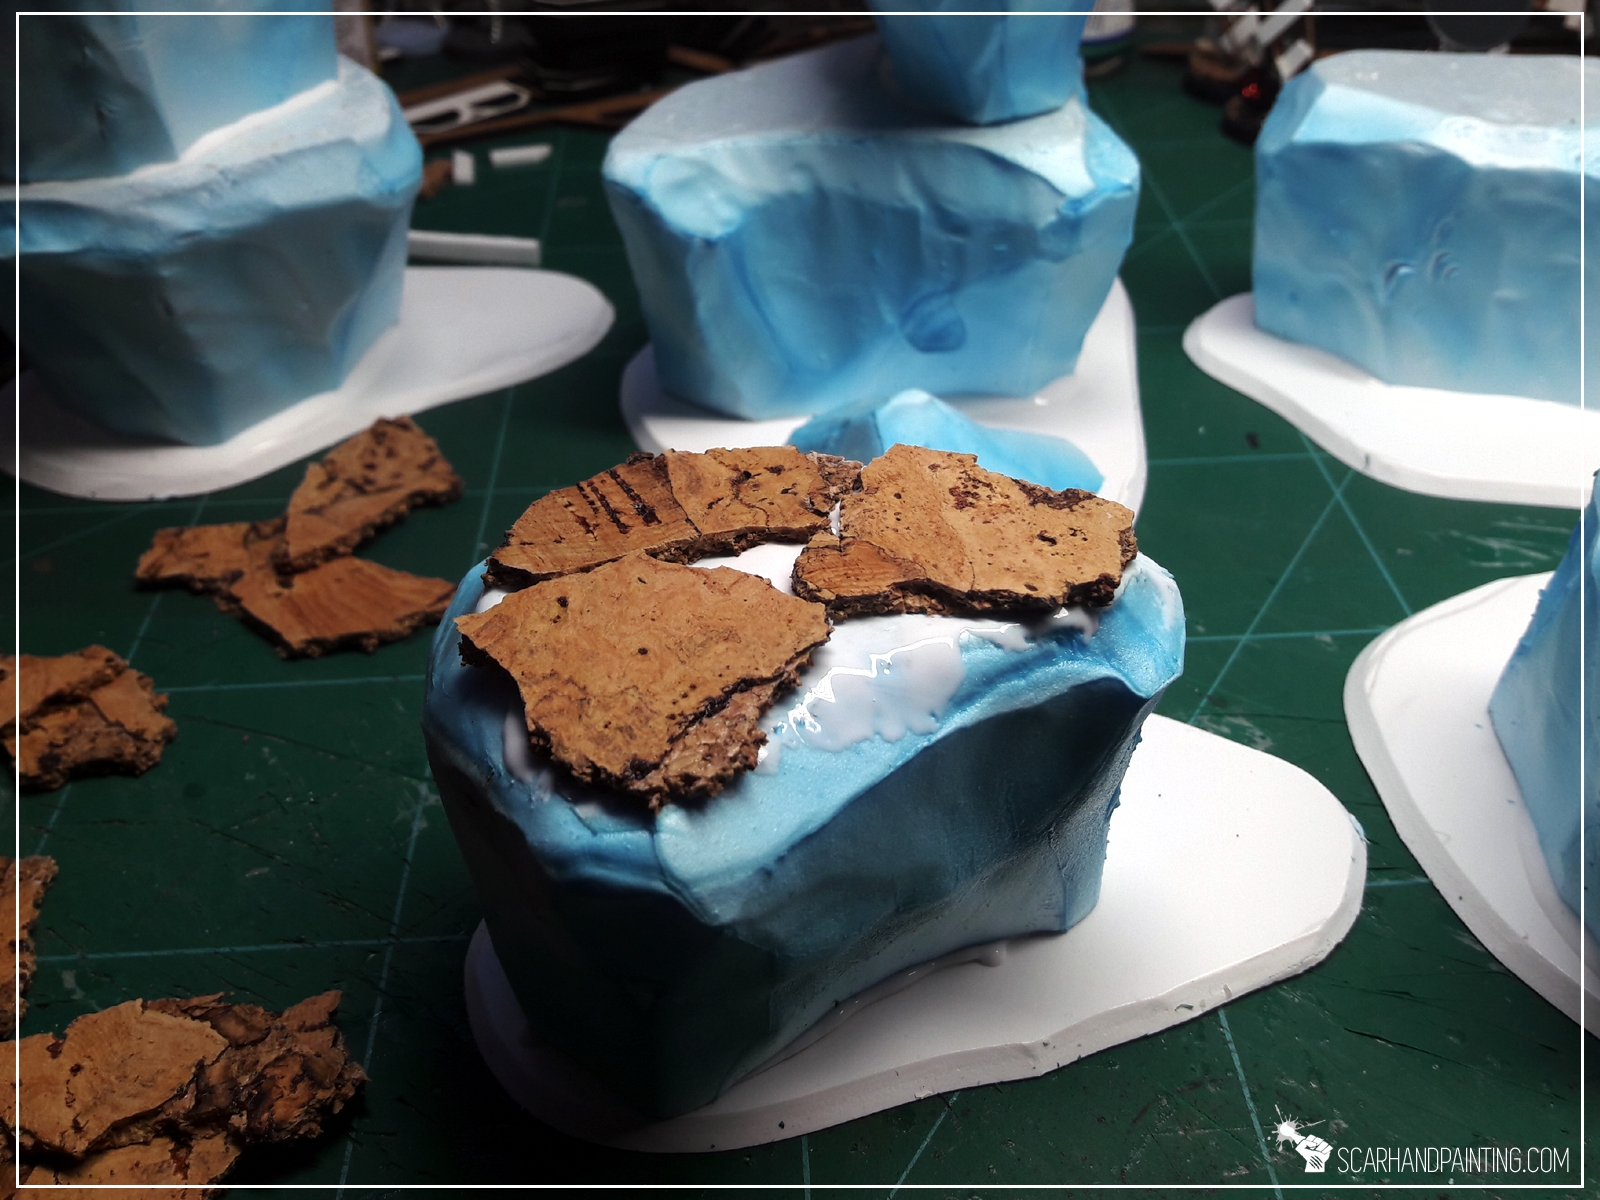
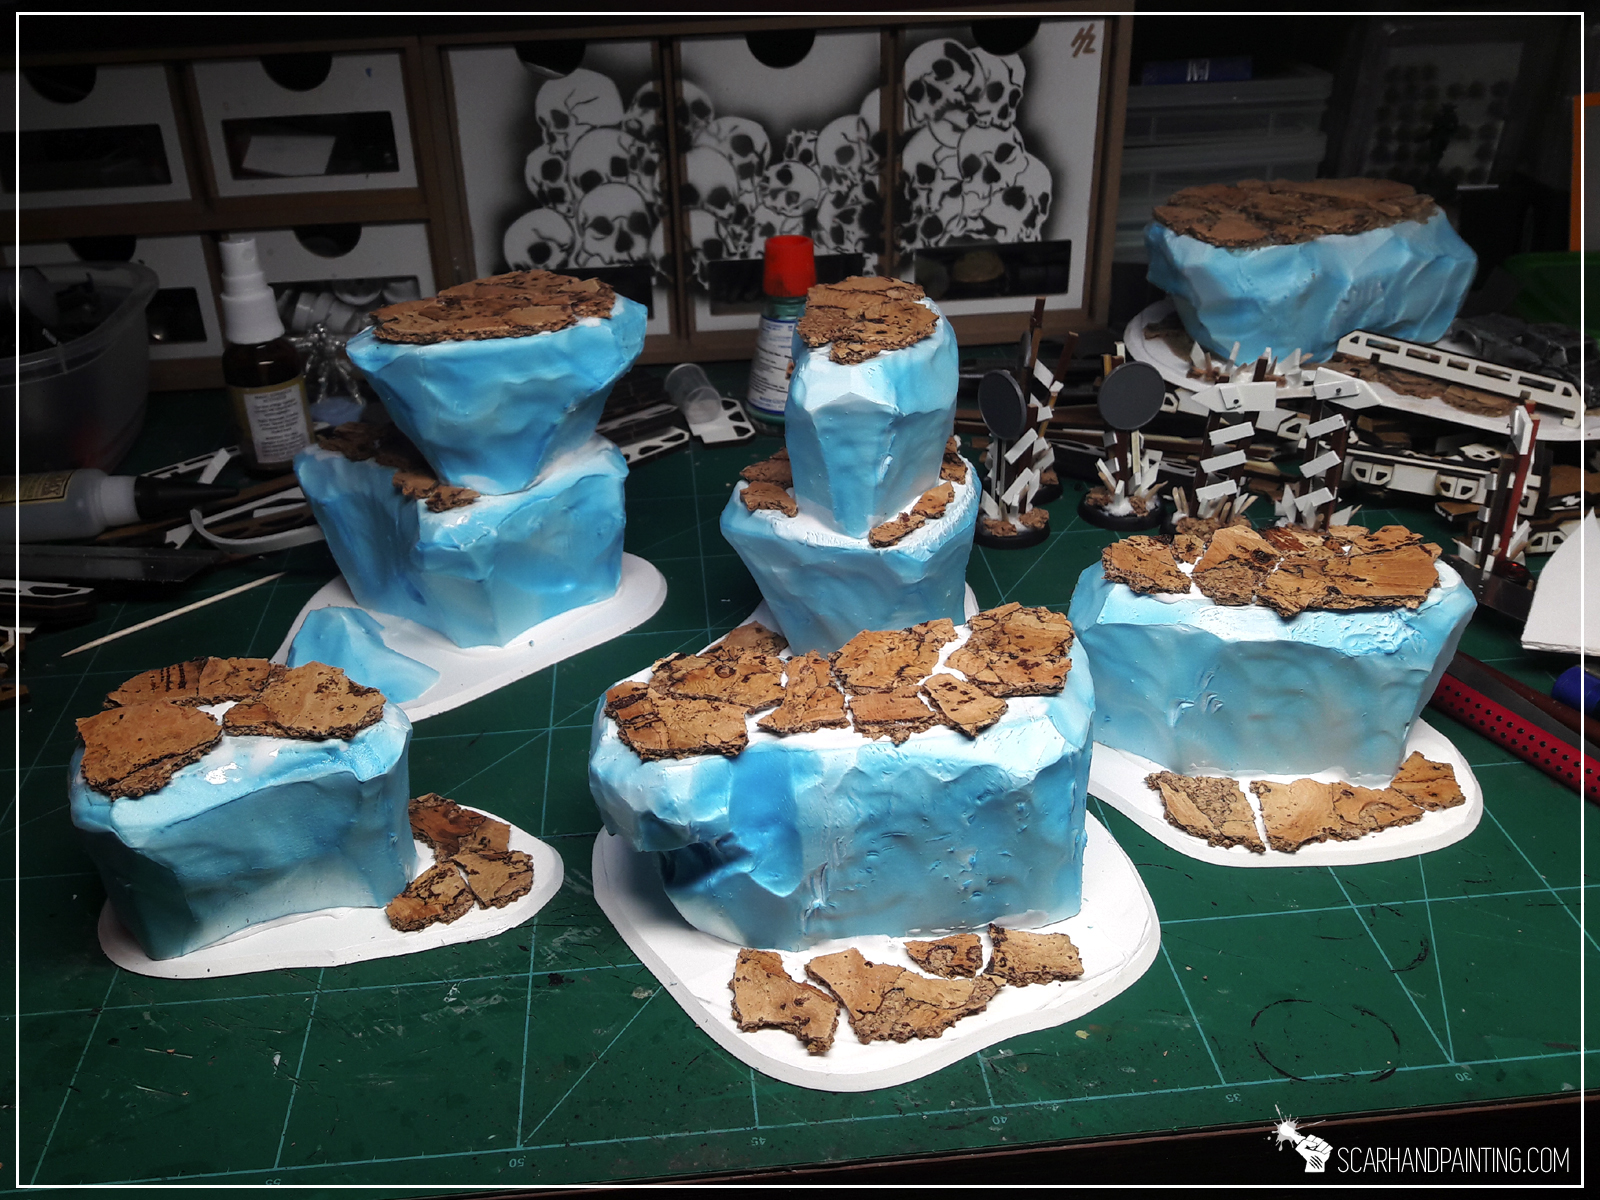

* I then used plaster (gypsum) to build a gentle transition between bases and blocks.
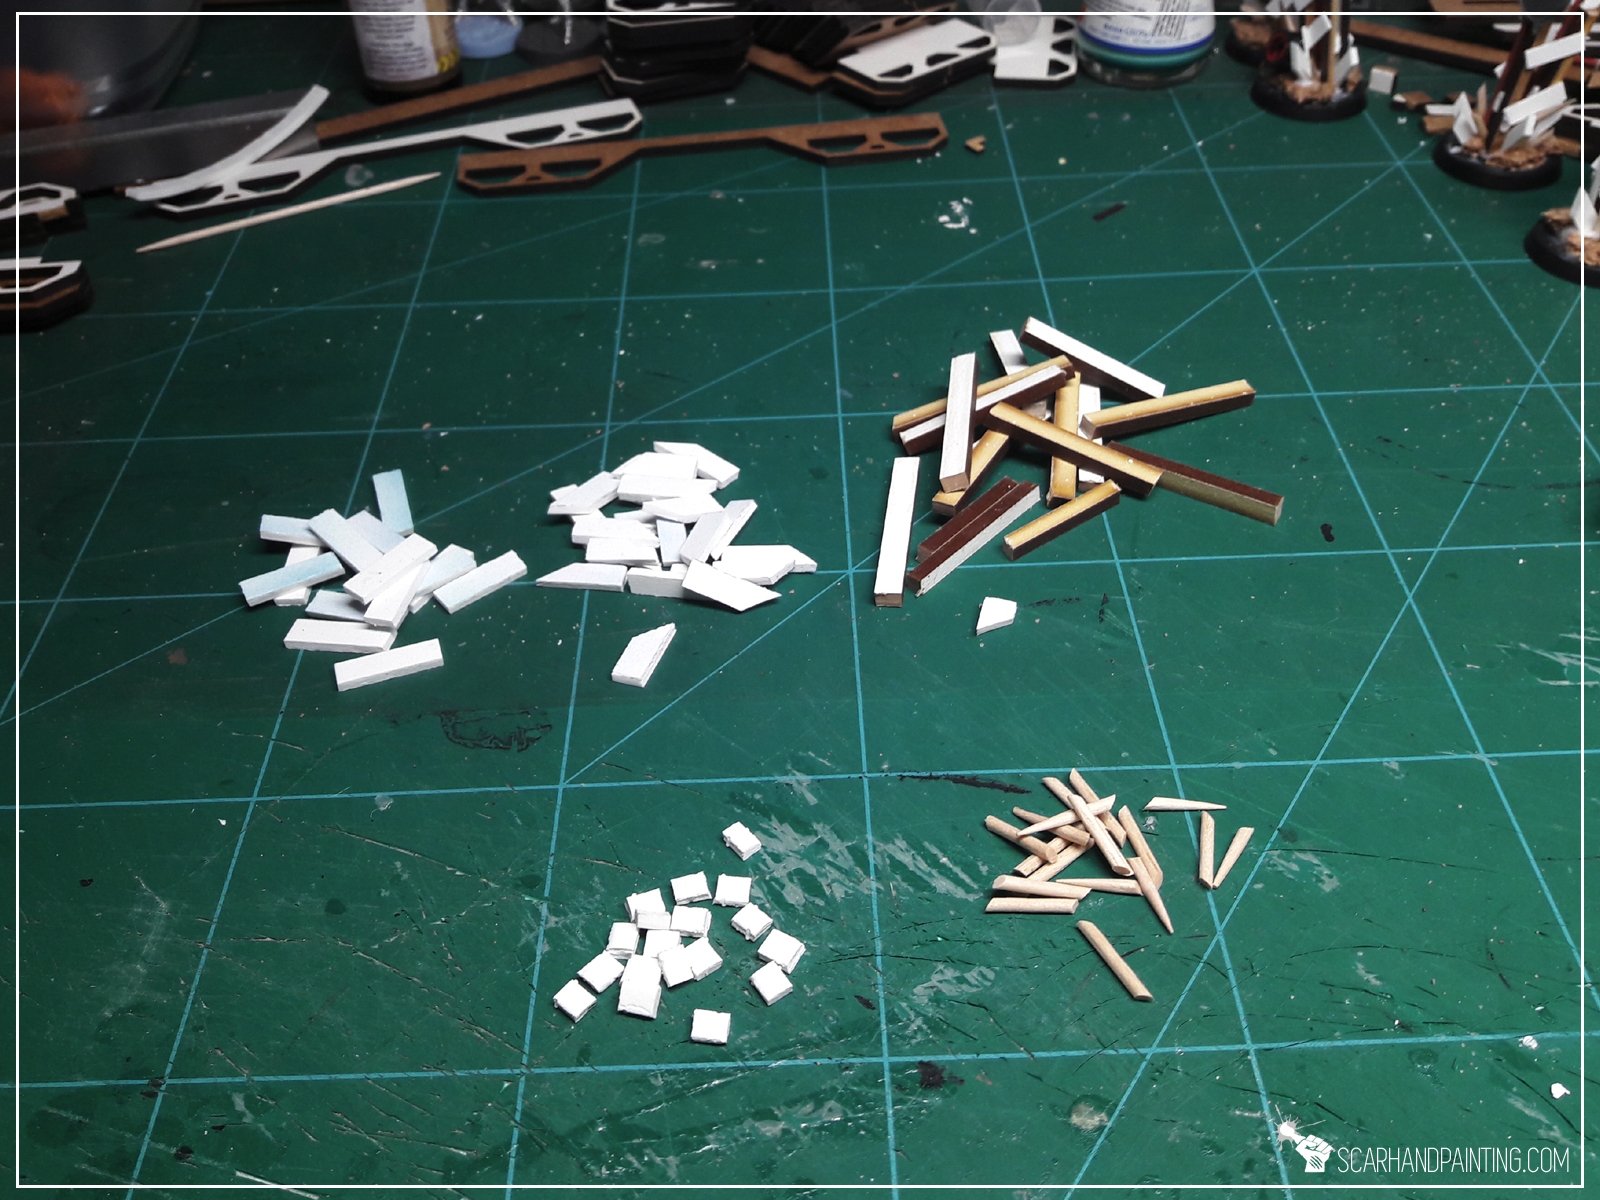
* A time has come for me to add some detail. Not much, just some texture to bring more life to the wasteland. I cut pieces of plasticard and used toothpicks, MDF leftovers and a toy car to create ragtag barricades and post-apo racing signs.
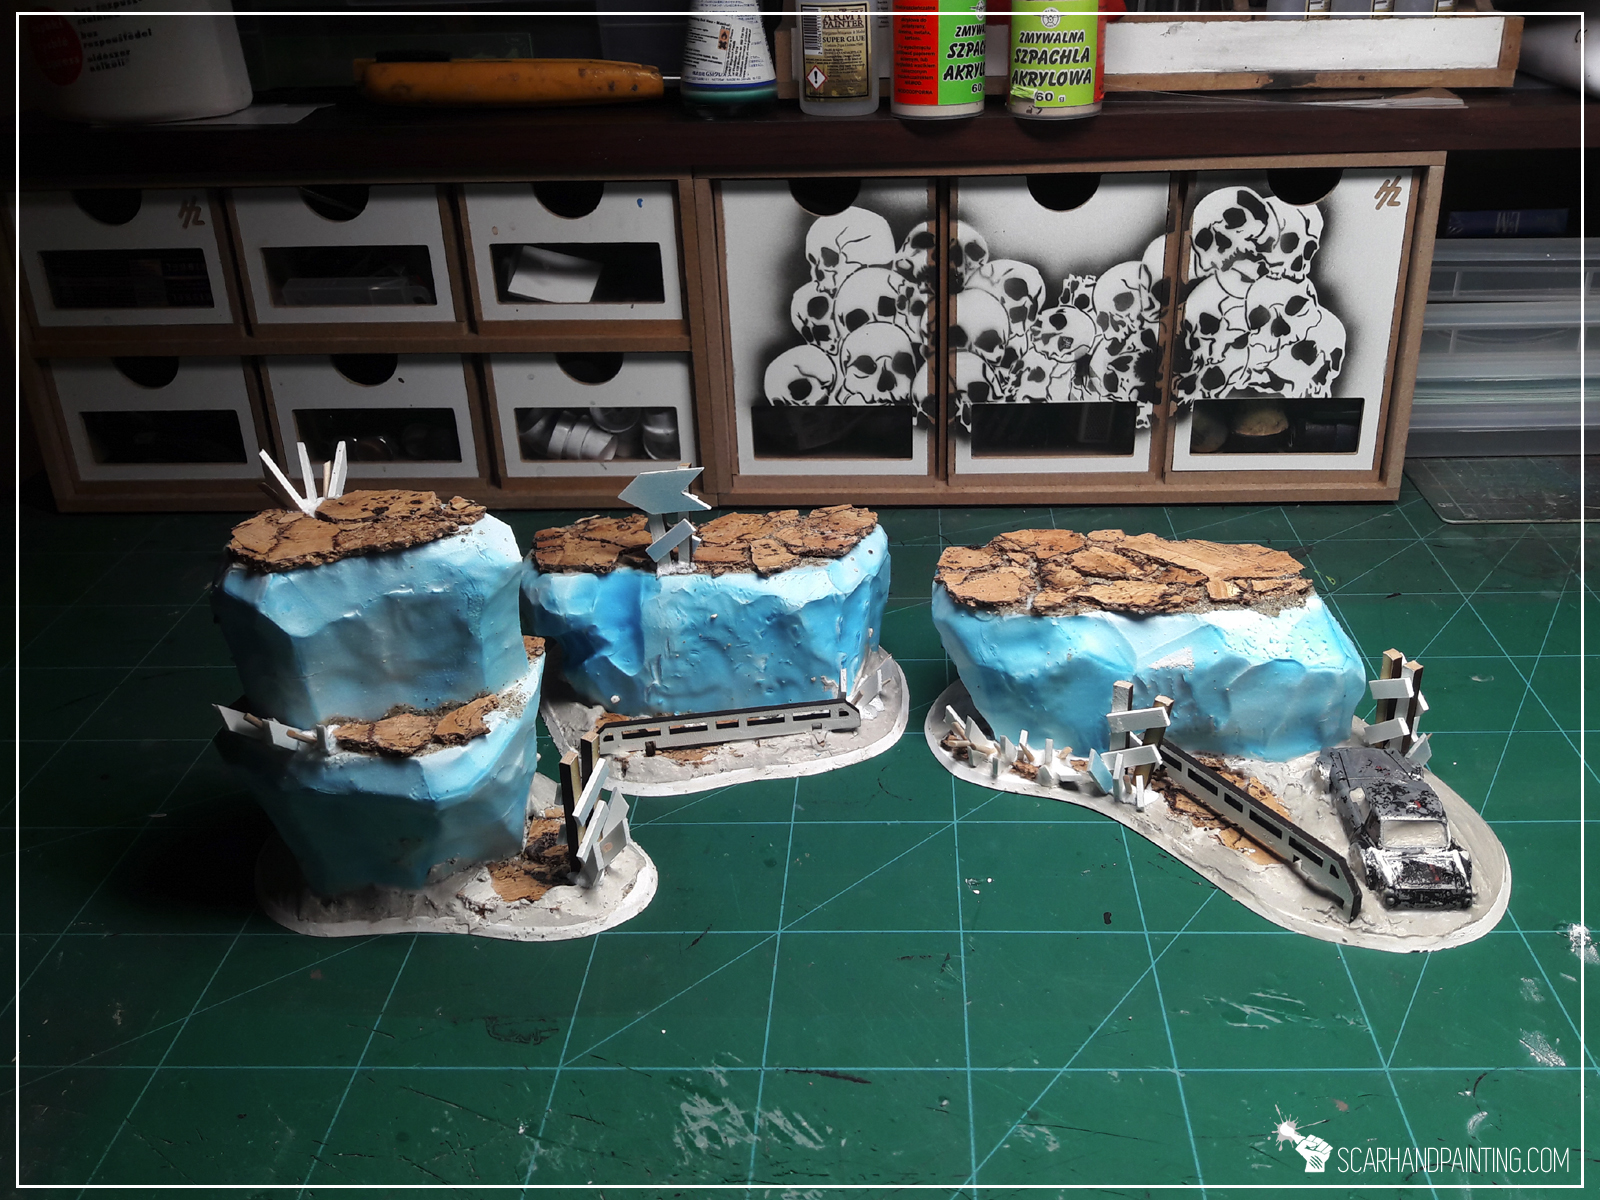
* Lastly, with a regular brush, I applied basing glue then sanded all the plaster, sides of the bases and some areas around cork pieces on top of the blocks.
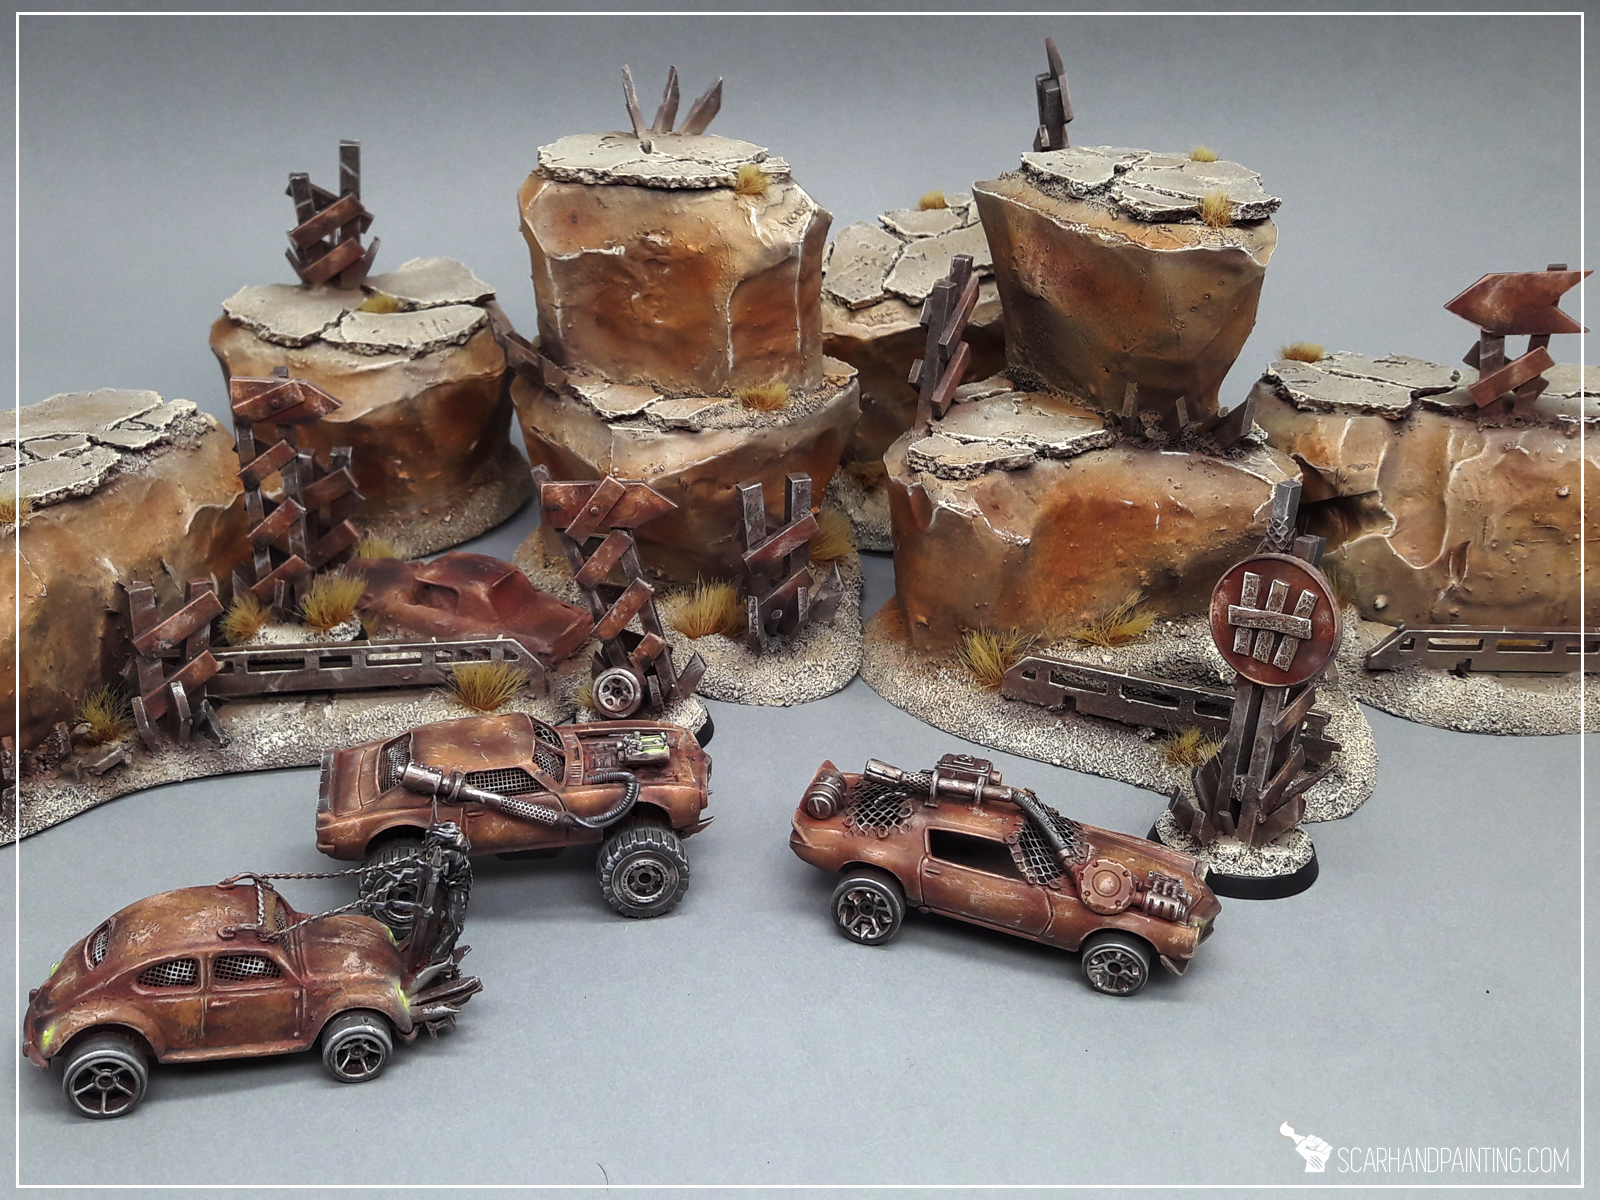
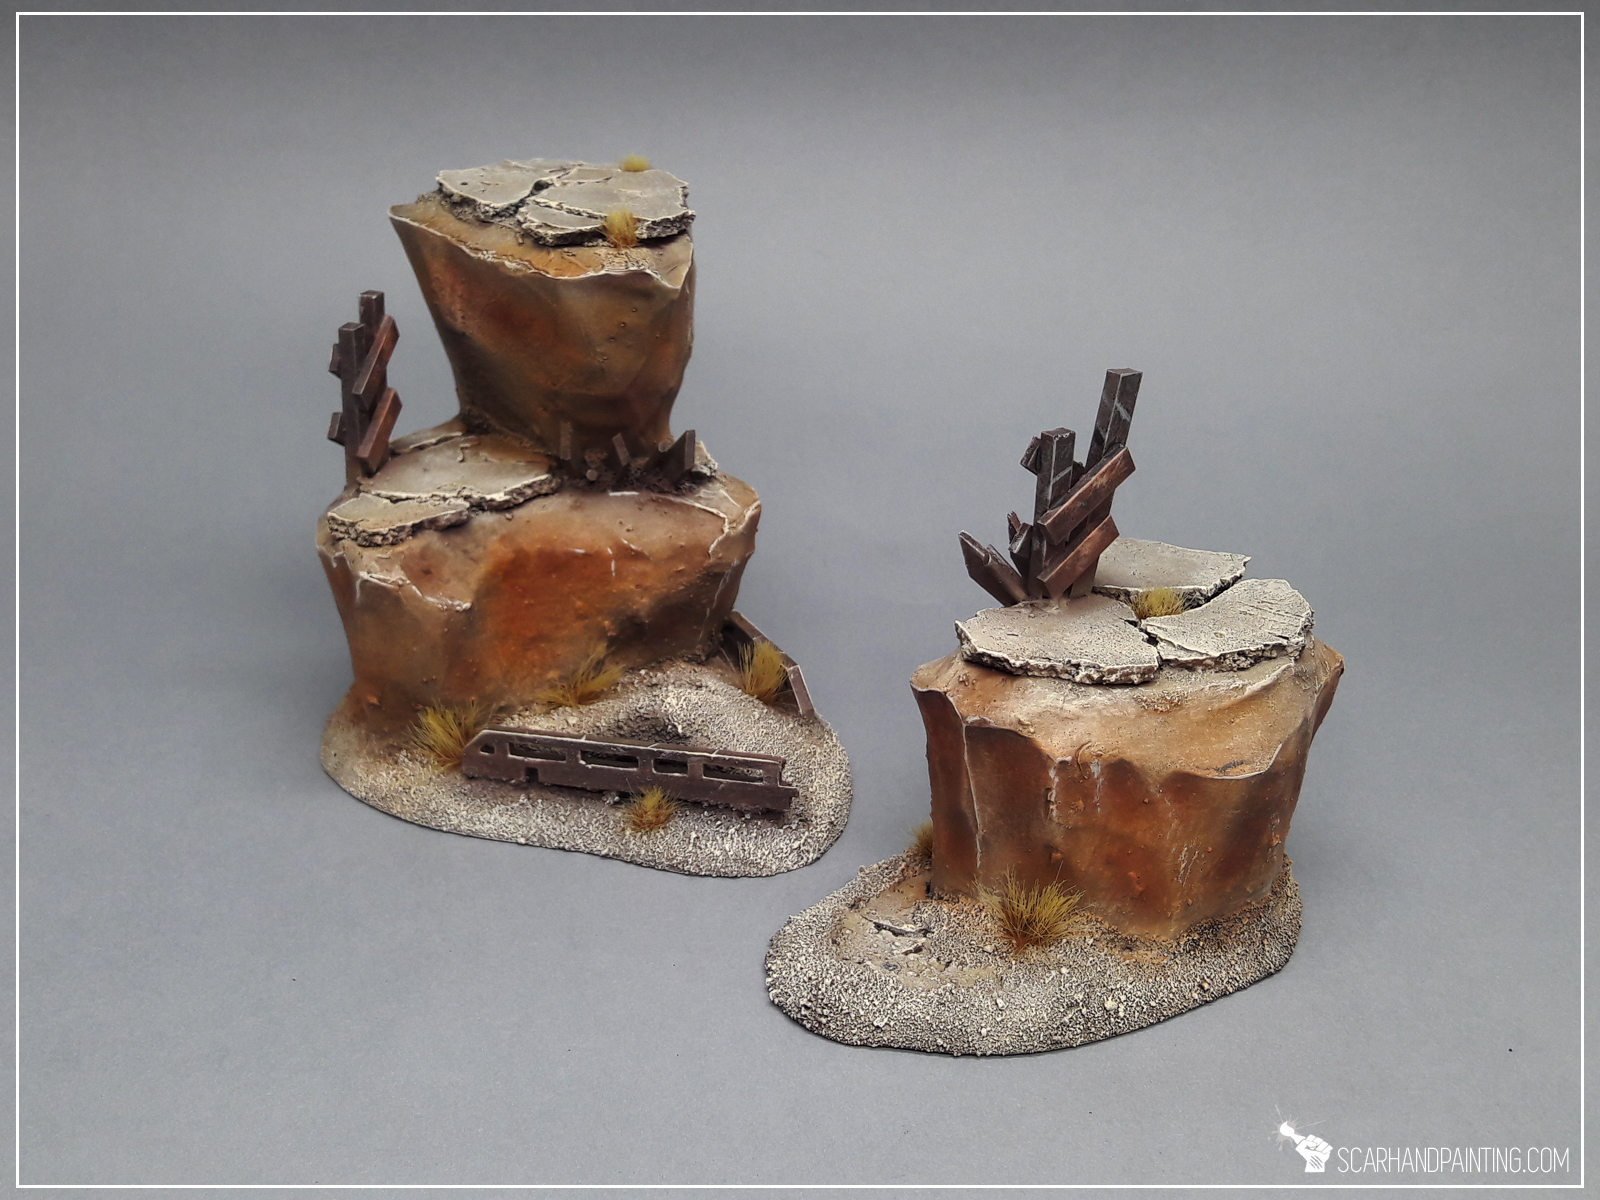
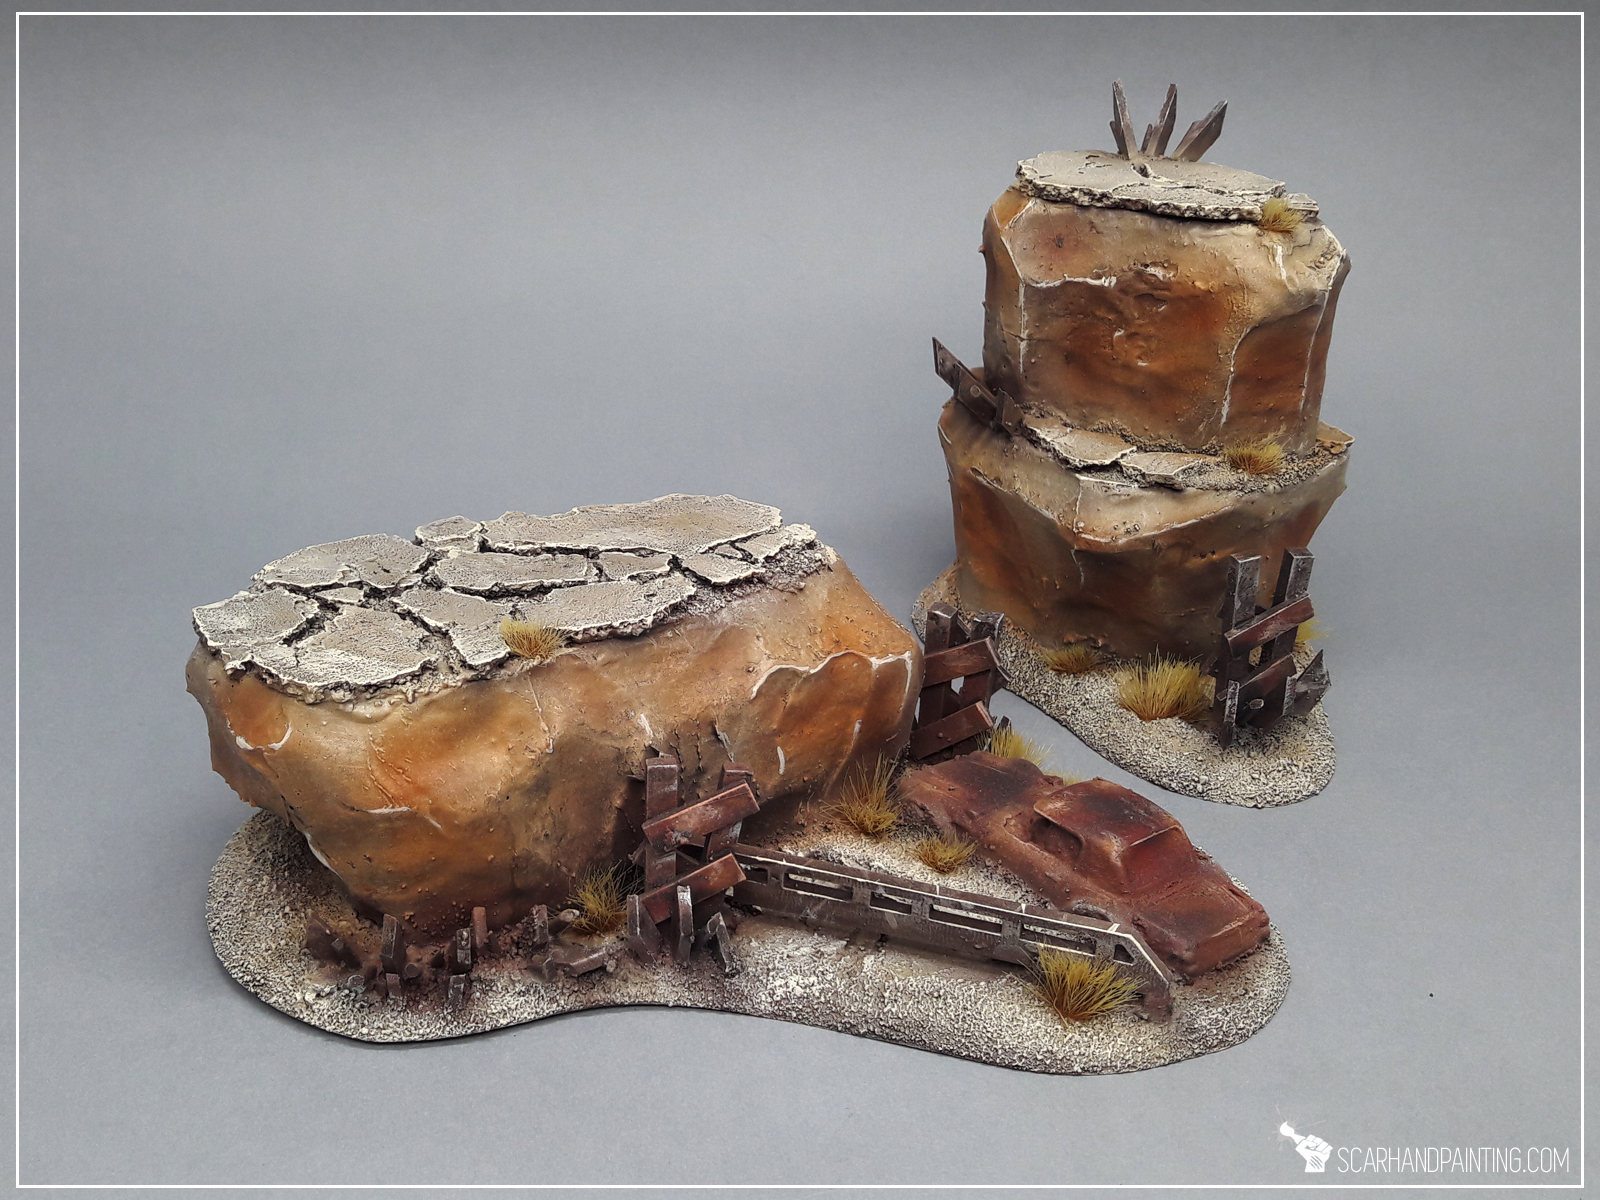
Couple of hours later I have painted this stuff and added some tuftsthe end result looks like this:

3 comments so far
OscarPosted on6:40 pm - Jan 28, 2019
Fantastic tutorial, thanks a lot.
It´s a pleasure look at your page.
ThorPosted on10:19 pm - Jan 29, 2019
That looks awesome. Great work.
Jeffery KelpPosted on6:40 am - Jan 30, 2019
Thank you for the taking the time to give us the step by step. The terrain looks amazing!