- contact@scarhandpainting.com


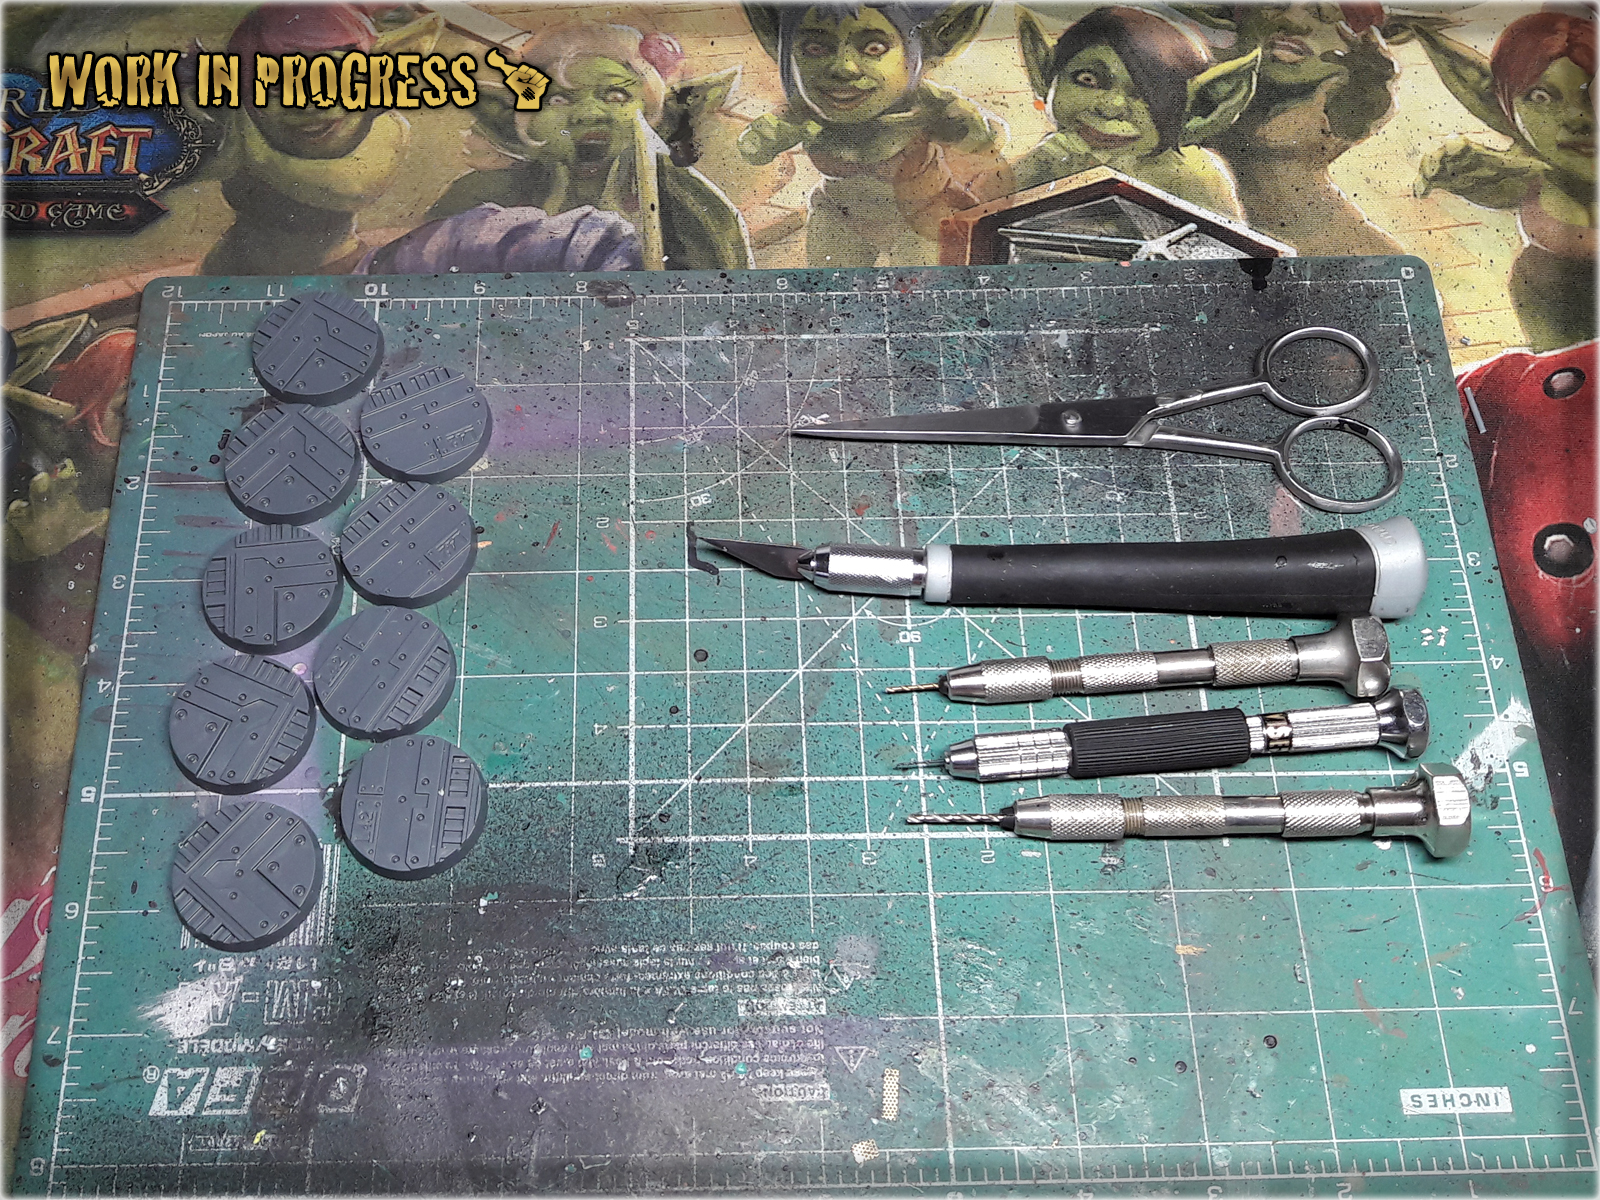
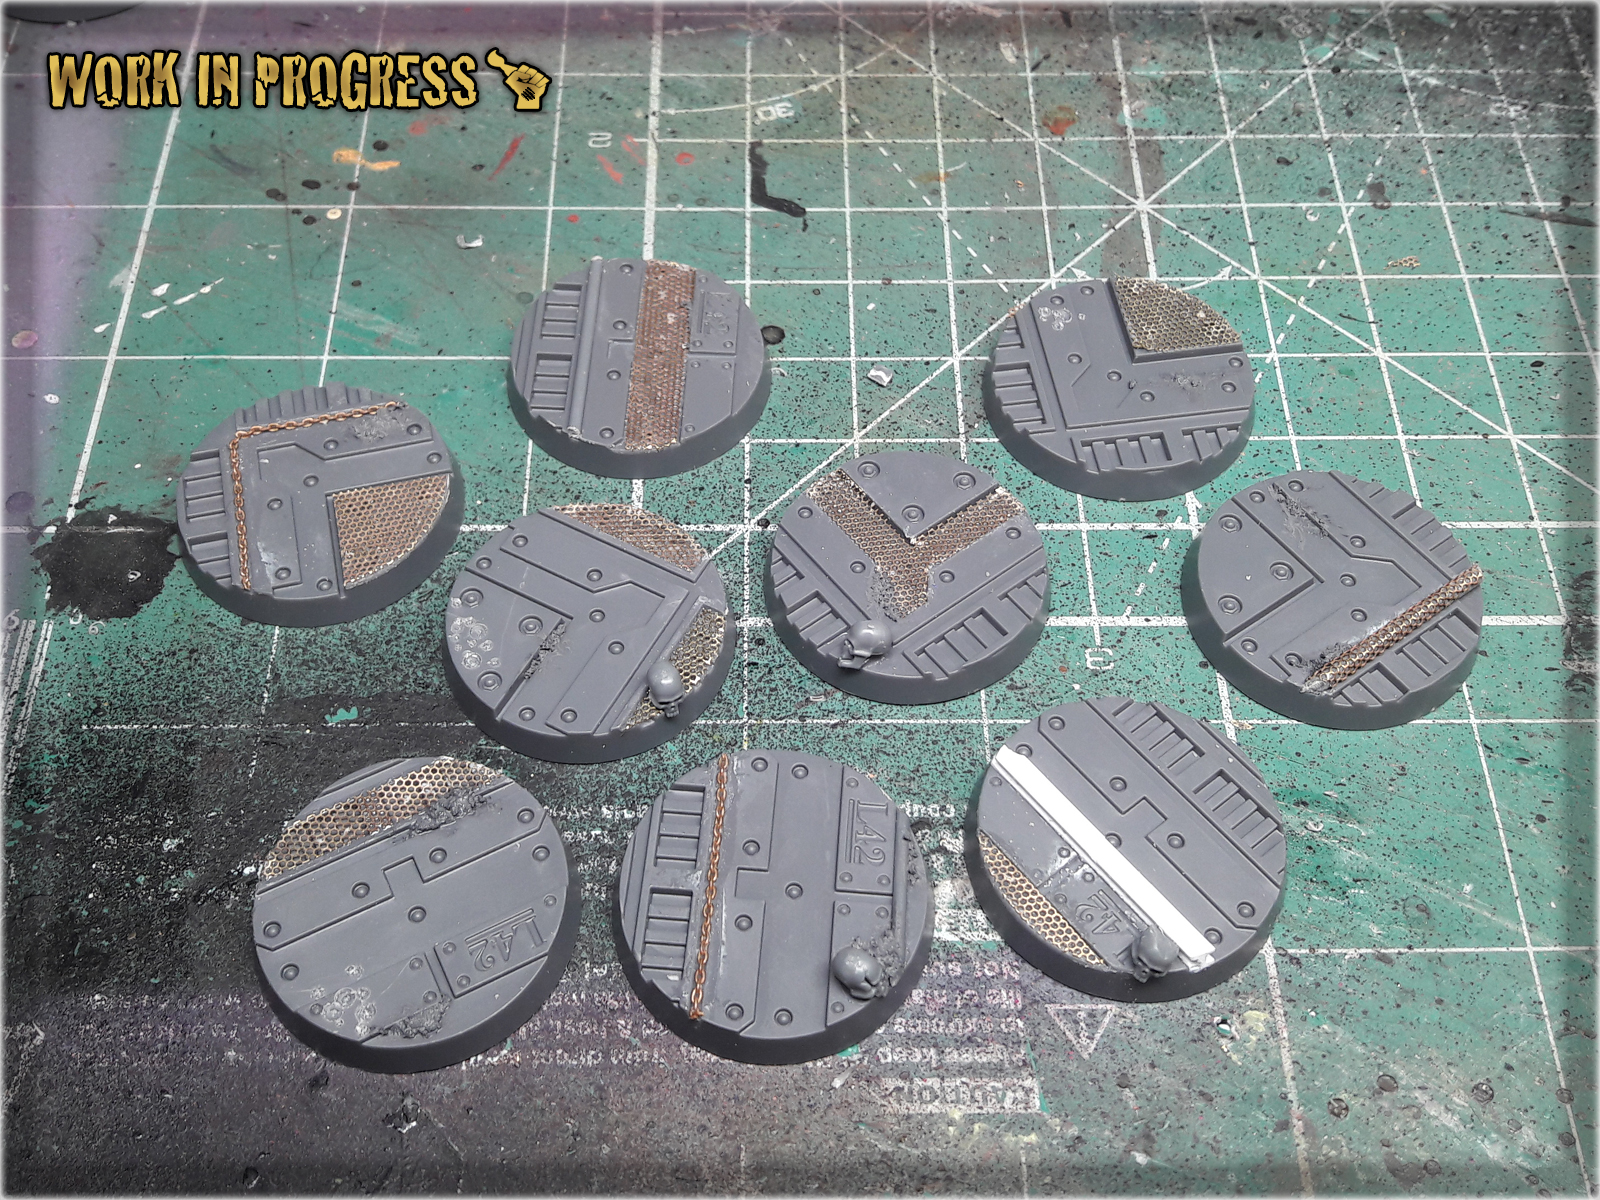
Necromunda: Underhive is a game full of nicely detailed plastic miniatures. As much as I hate endorsing Games Workshop – It should be mentioned that in terms of miniatures – they did a really nice job, extending the set so that it includes 25 industrial themed plastic bases. I appreciate this move from GW, even tho the variety of Necromunda bases designs is scarce. For example my own set came with just two versions among a total of ten bases. This is where I come in with a Tutorial on how to Enchance Necromunda bases in a fast, simple way. Below you will find few ideas on how to do it – but let me say this in advance: keep an open mind cause there’s plenty of awesome stuff that can be used to differentiate your Necromunda bases set (and actually any Industrial bases).
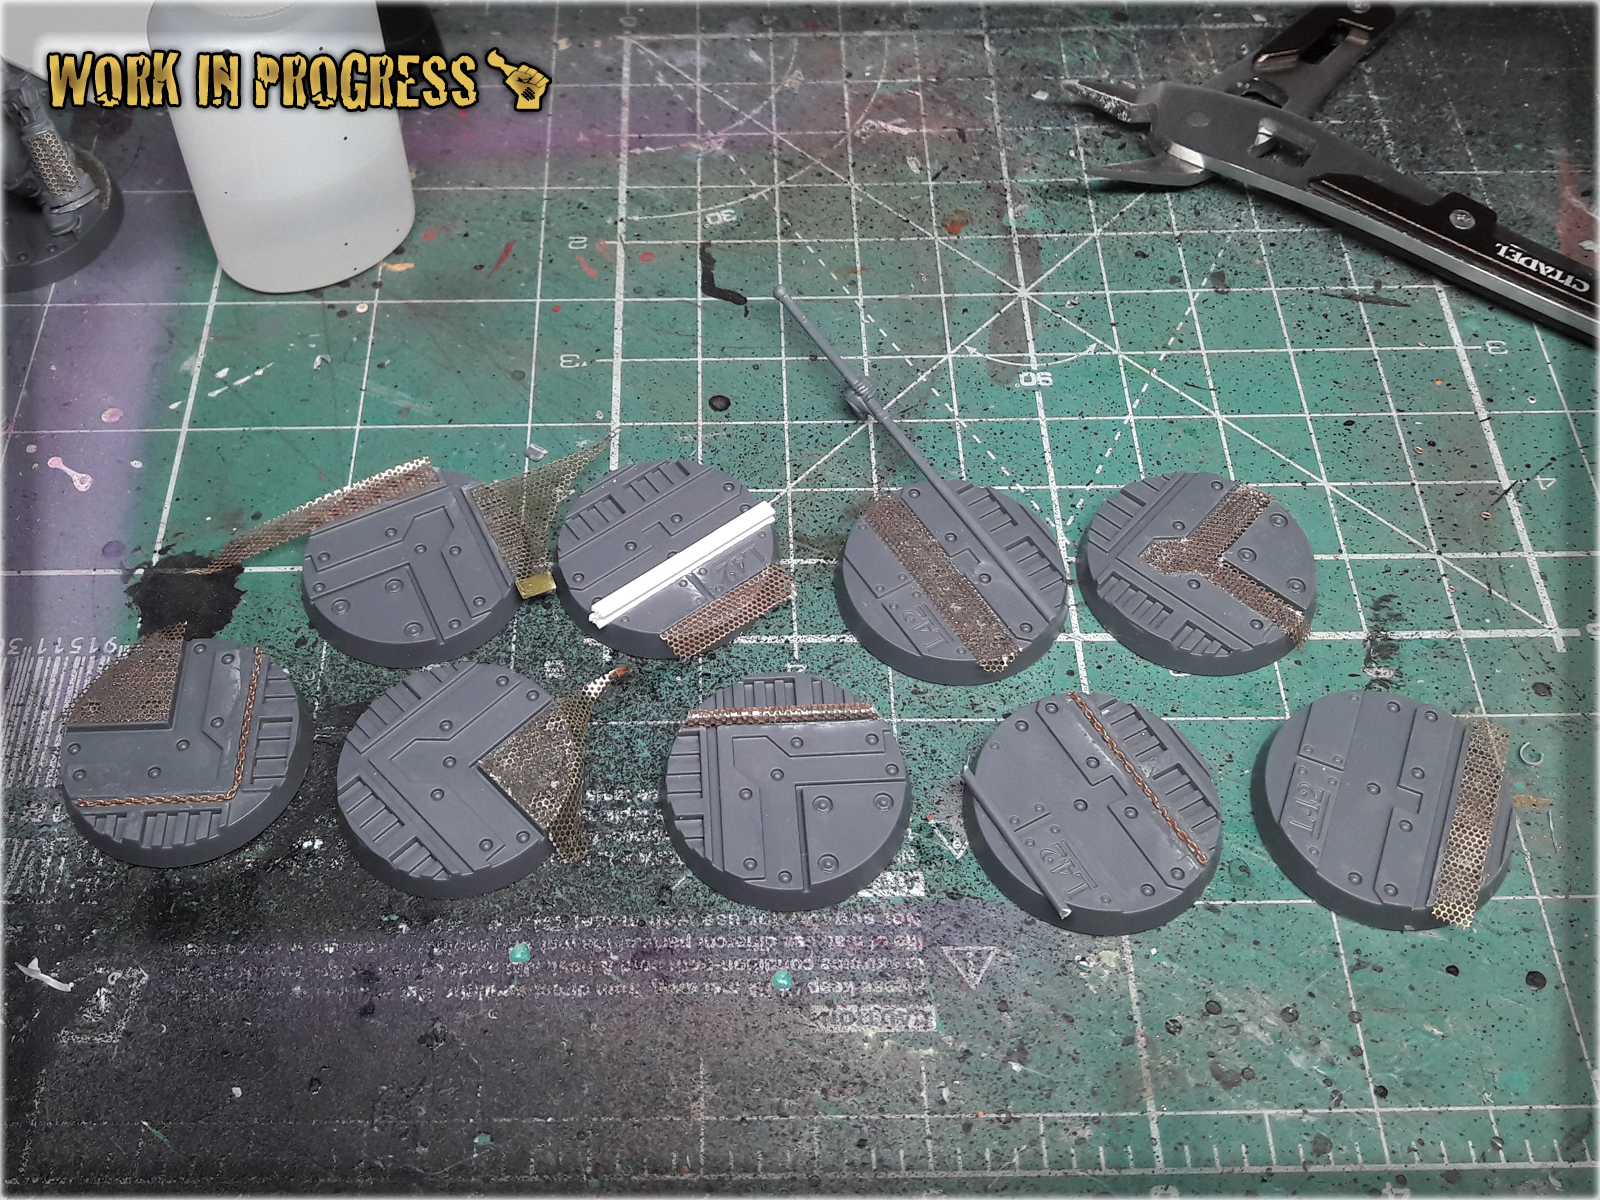
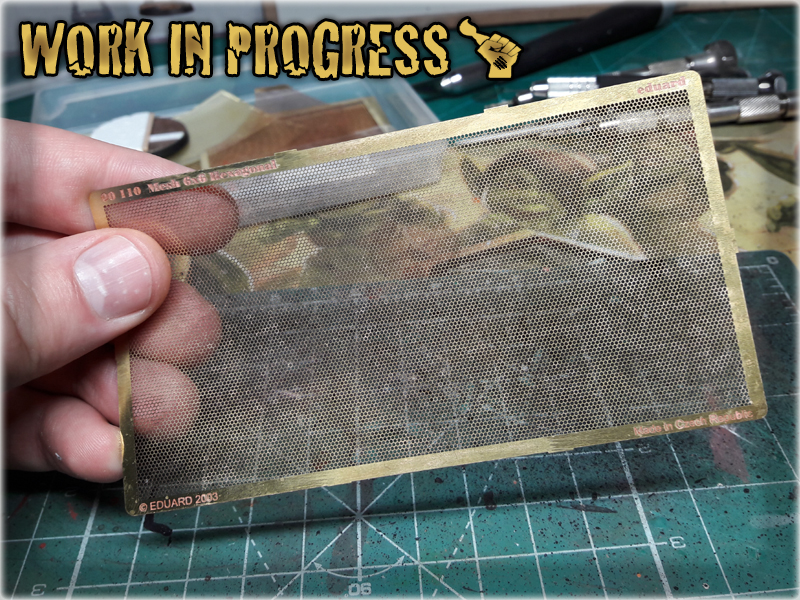
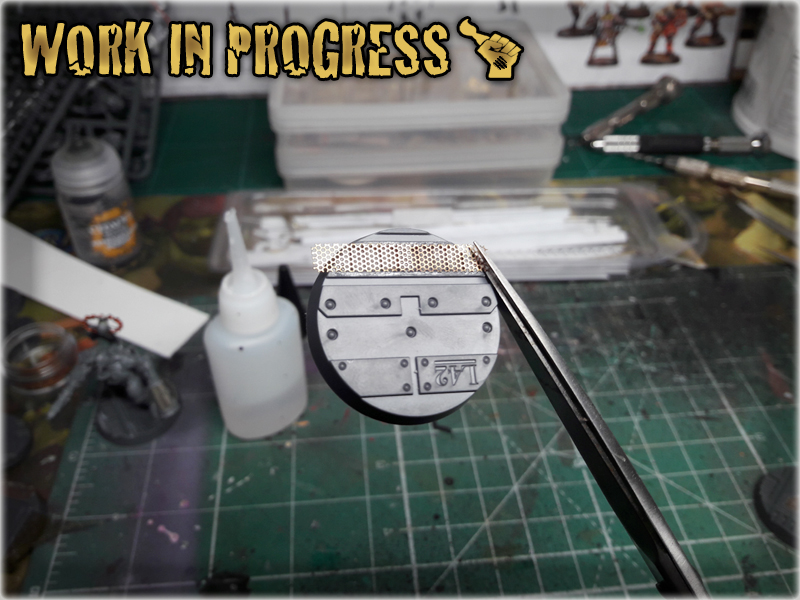
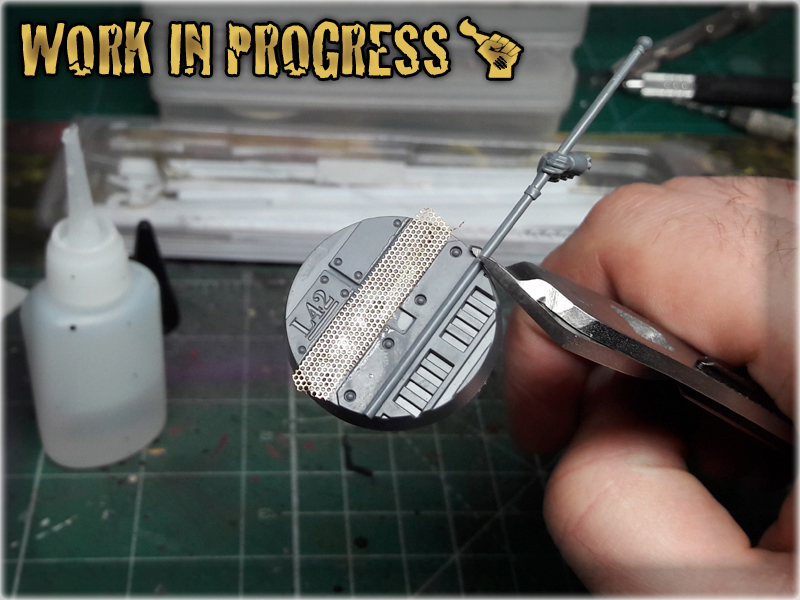
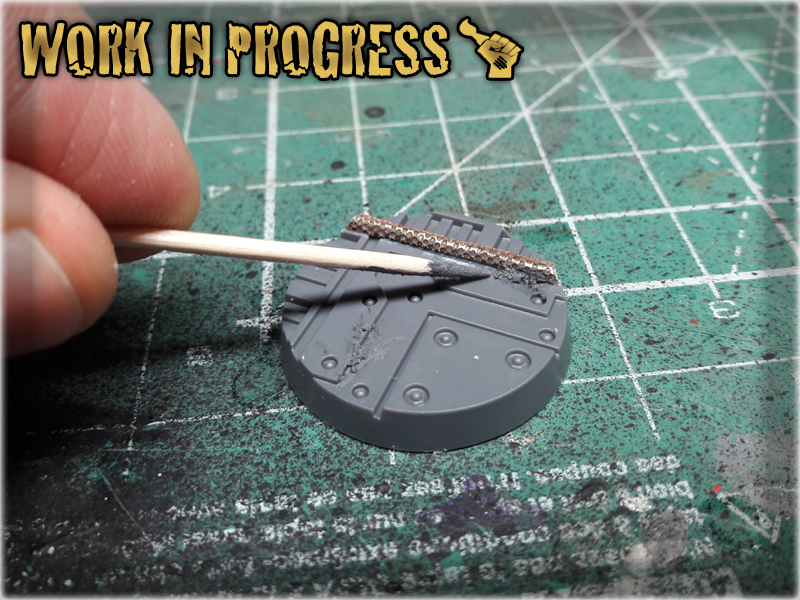
This stuff can be found in most modellers hobby stores. Personally I love it, cause it let’s me add awesome texture to the bases. It is very easy to use. I tend to cut a piece of mesh with scissors and glue it onto a designated surface, leaving an excess to hang outside the base. Once Super Glue dries out I just cut the excess mesh with scissors and file it on the edge – driving a file from top to bottom of the bases edge. This keeps the mesh glued onto the base, but smoothers the edge nicely.
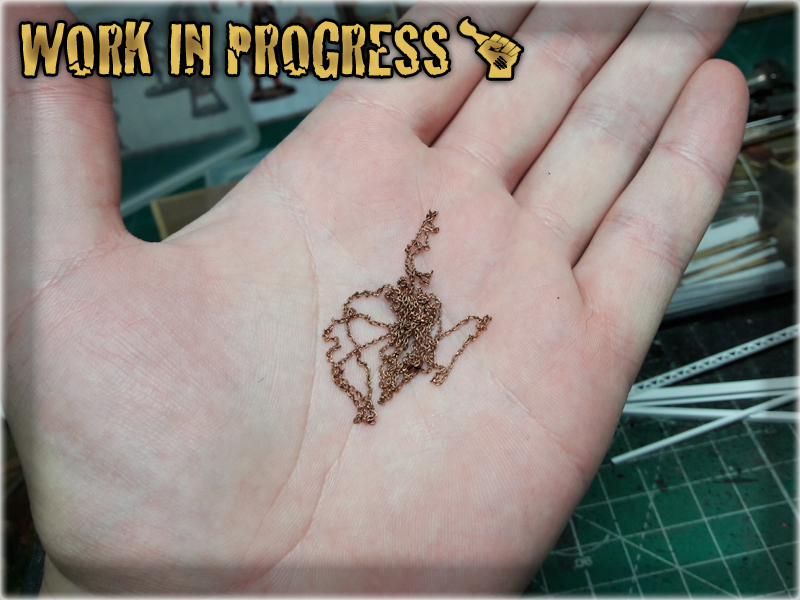
Another item from a hobby store. I just glue it onto the base and cut the excess with plastic cutters. Brass Chain is thin and rather frail so it does not damage the cutters.
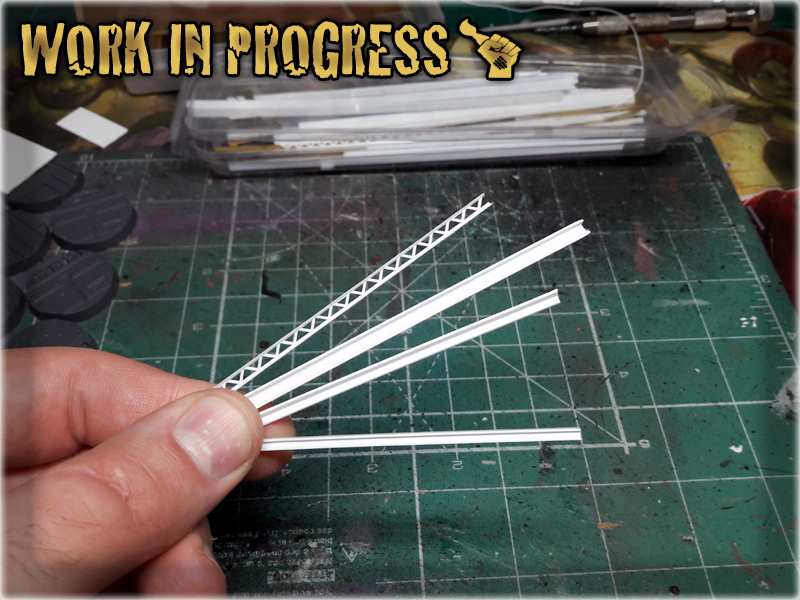
Awesome, hobby friendly and easy to use material. It comes in either flat sheets of different thickness, or in prefabricated shapes. For bases I usually use flat sheets, gluing them onto the base, then cutting to fit the edge. In case of Necromunda bases – there’s plenty of industrial texture already, so I uused a prefabricated piece of PCV to add here and there. Same technique – glue onto the base, then cut to match the edge.
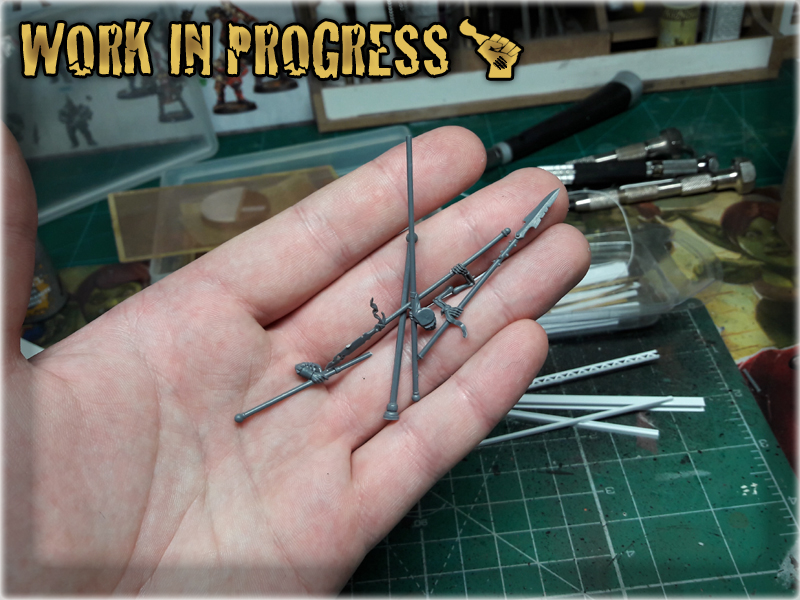
Everybody has some. For Necromunda bases I preffered thin, long spears and banner poles. I just glued them over certain areas and cut with a plastic cutters to match the edge of the base and add variety to the base’s surface.
Games Workshop’s Skulls set is something that everyone should get. If you haven’t got yours – damn – just go and order one. For what you get the price is just insane. Either way – some Skulls on the base would certainly make it stand out.
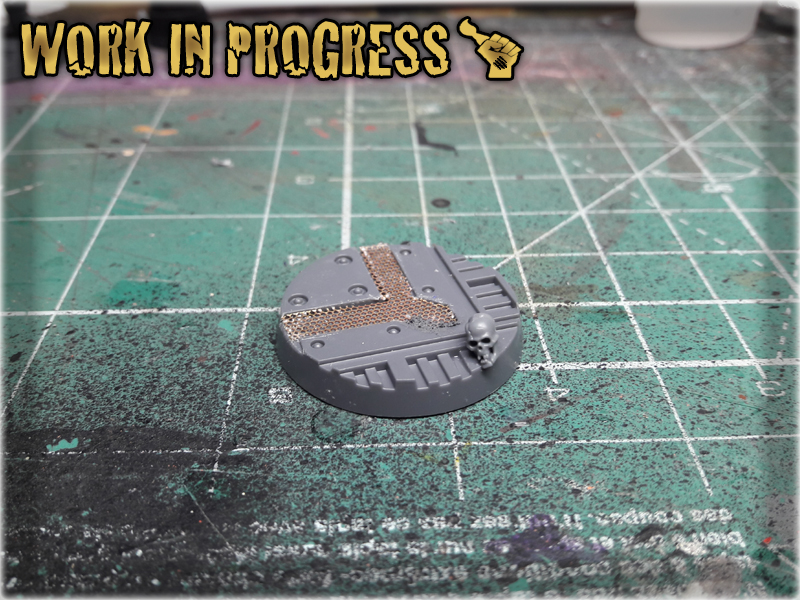
Actually any grain-texture paint would do just fine. I used Astrogranit Debris cause I don’t have many uses for this particular colour and here it is meant to go under a black undercoat anyway. I applied small amount to certain places, just to add texture.
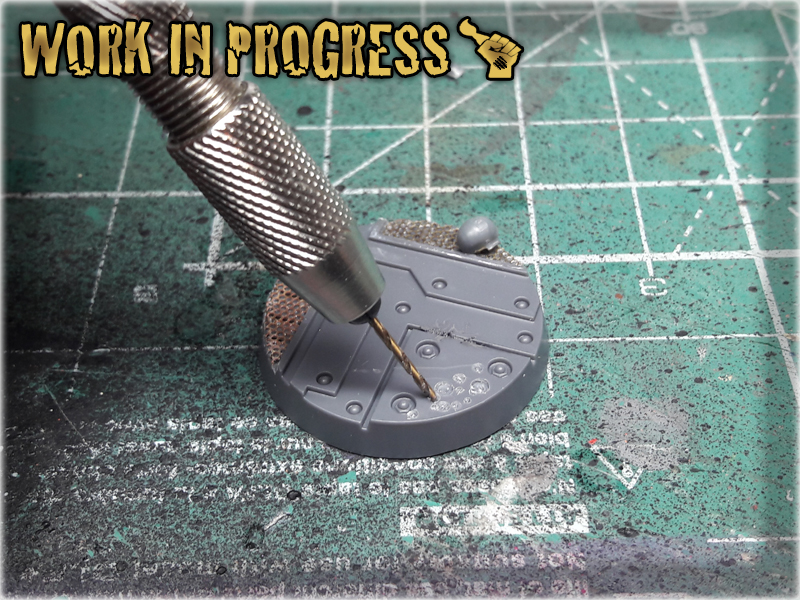
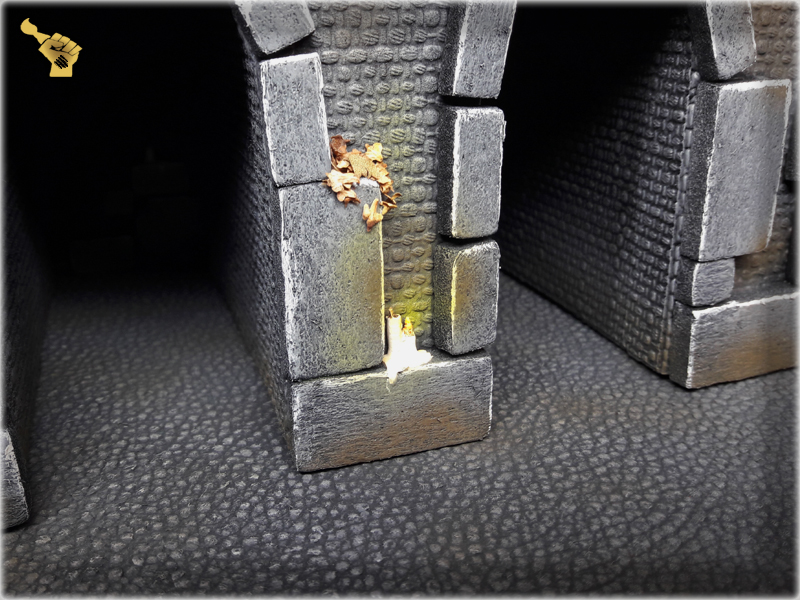
I drilled some holes in different sizes here and there to look like corrosion or some form of acid damage. Easy to do – looks cool once painted.
So, there’s that. These are just few ways to enchance Necromunda bases. I bet you can find a lot more ways to differentiate the set. Here’s how mine looks like after the above additions:

In this article I would like to present to you an easy way to prepare and then paint your own Camo Markers for Infinity the Game.
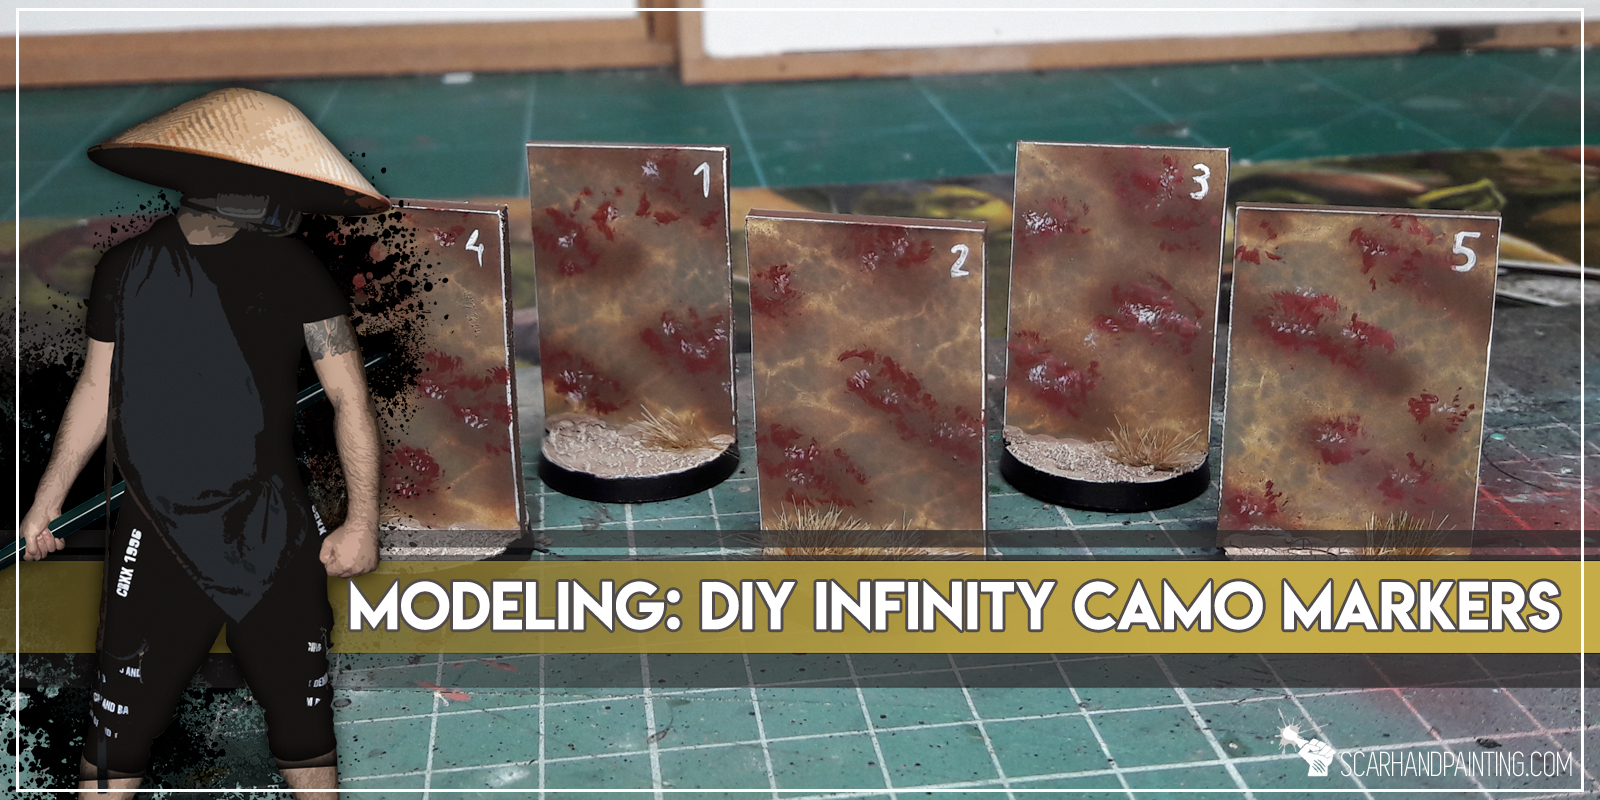
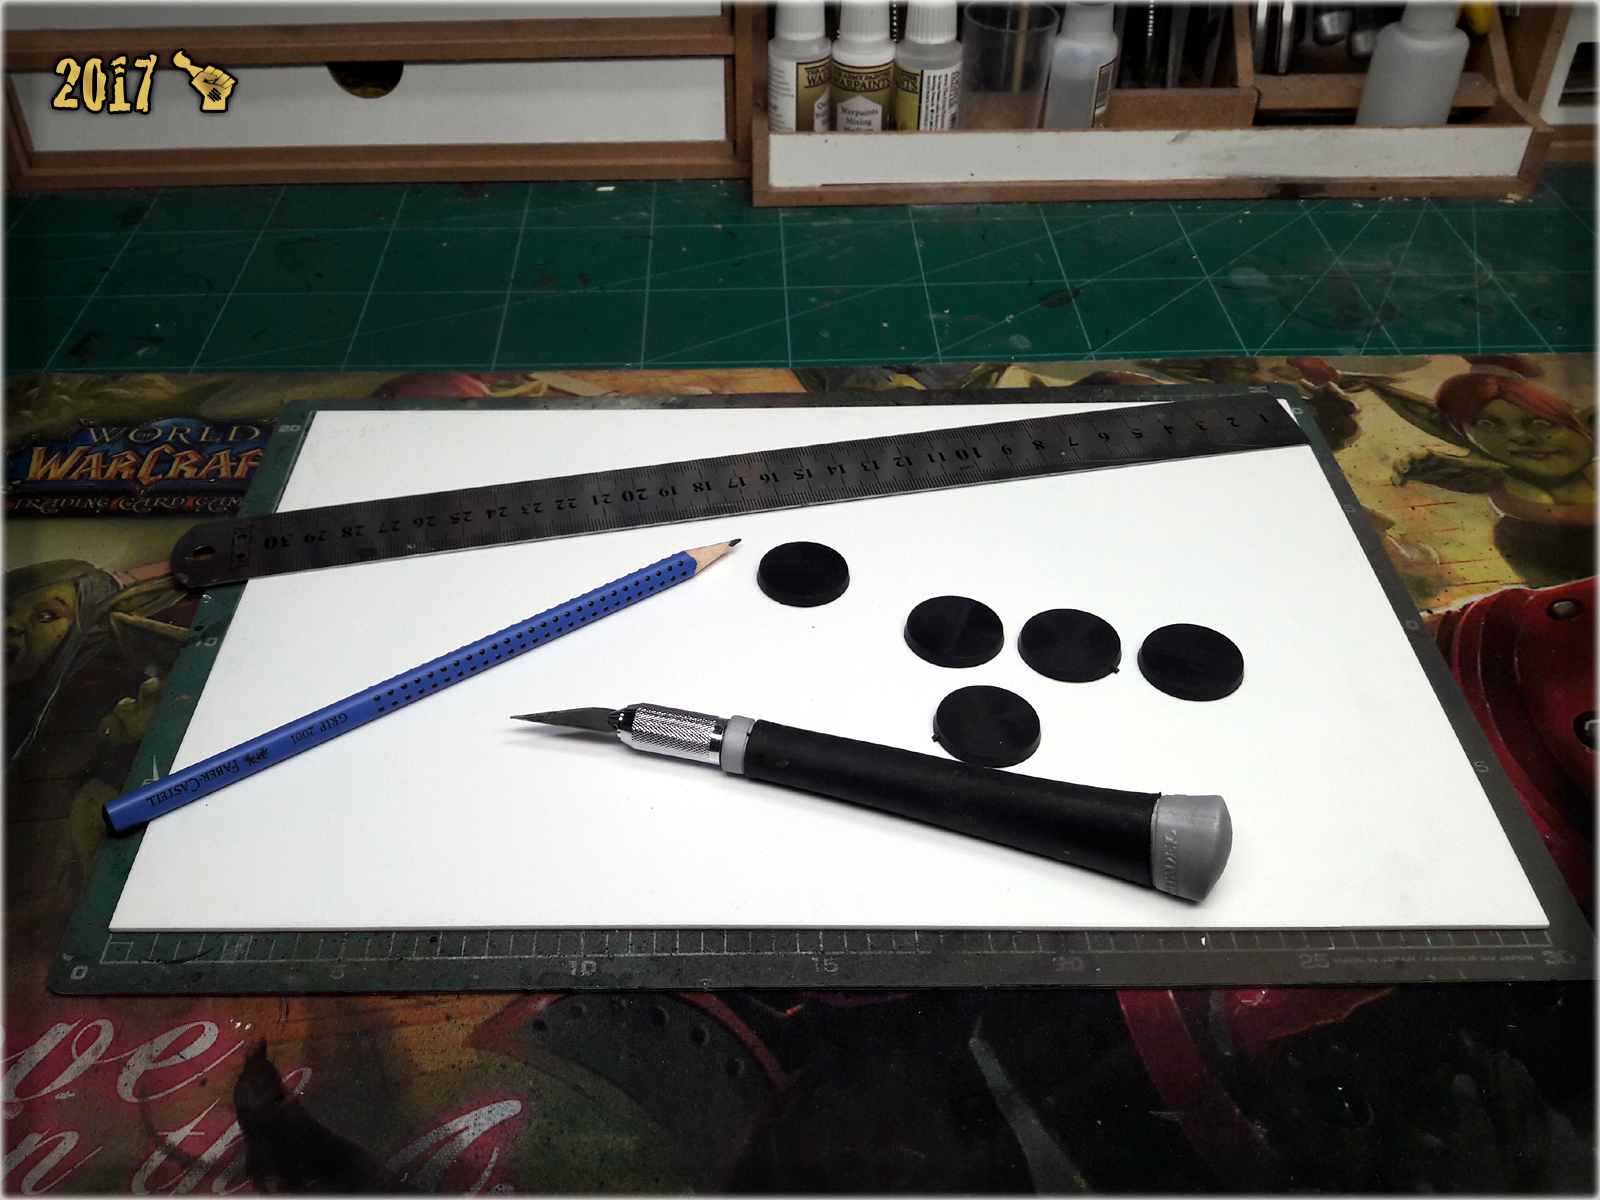
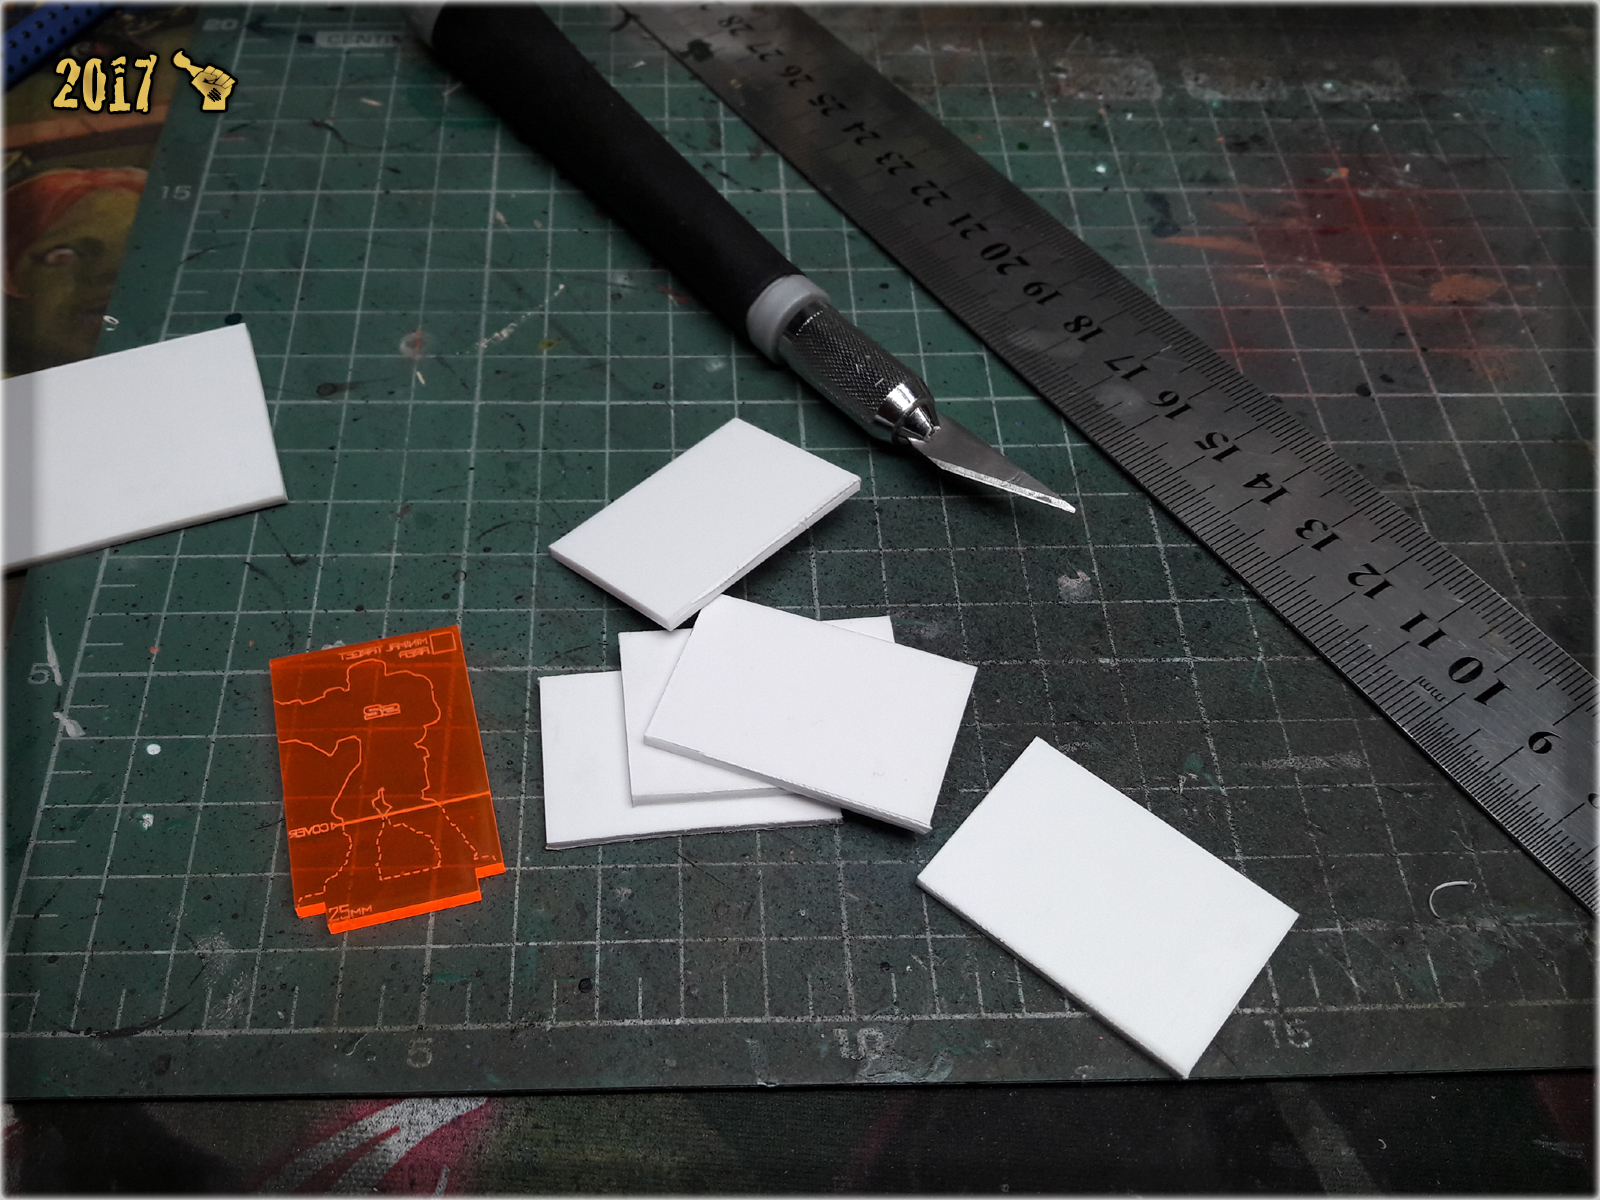
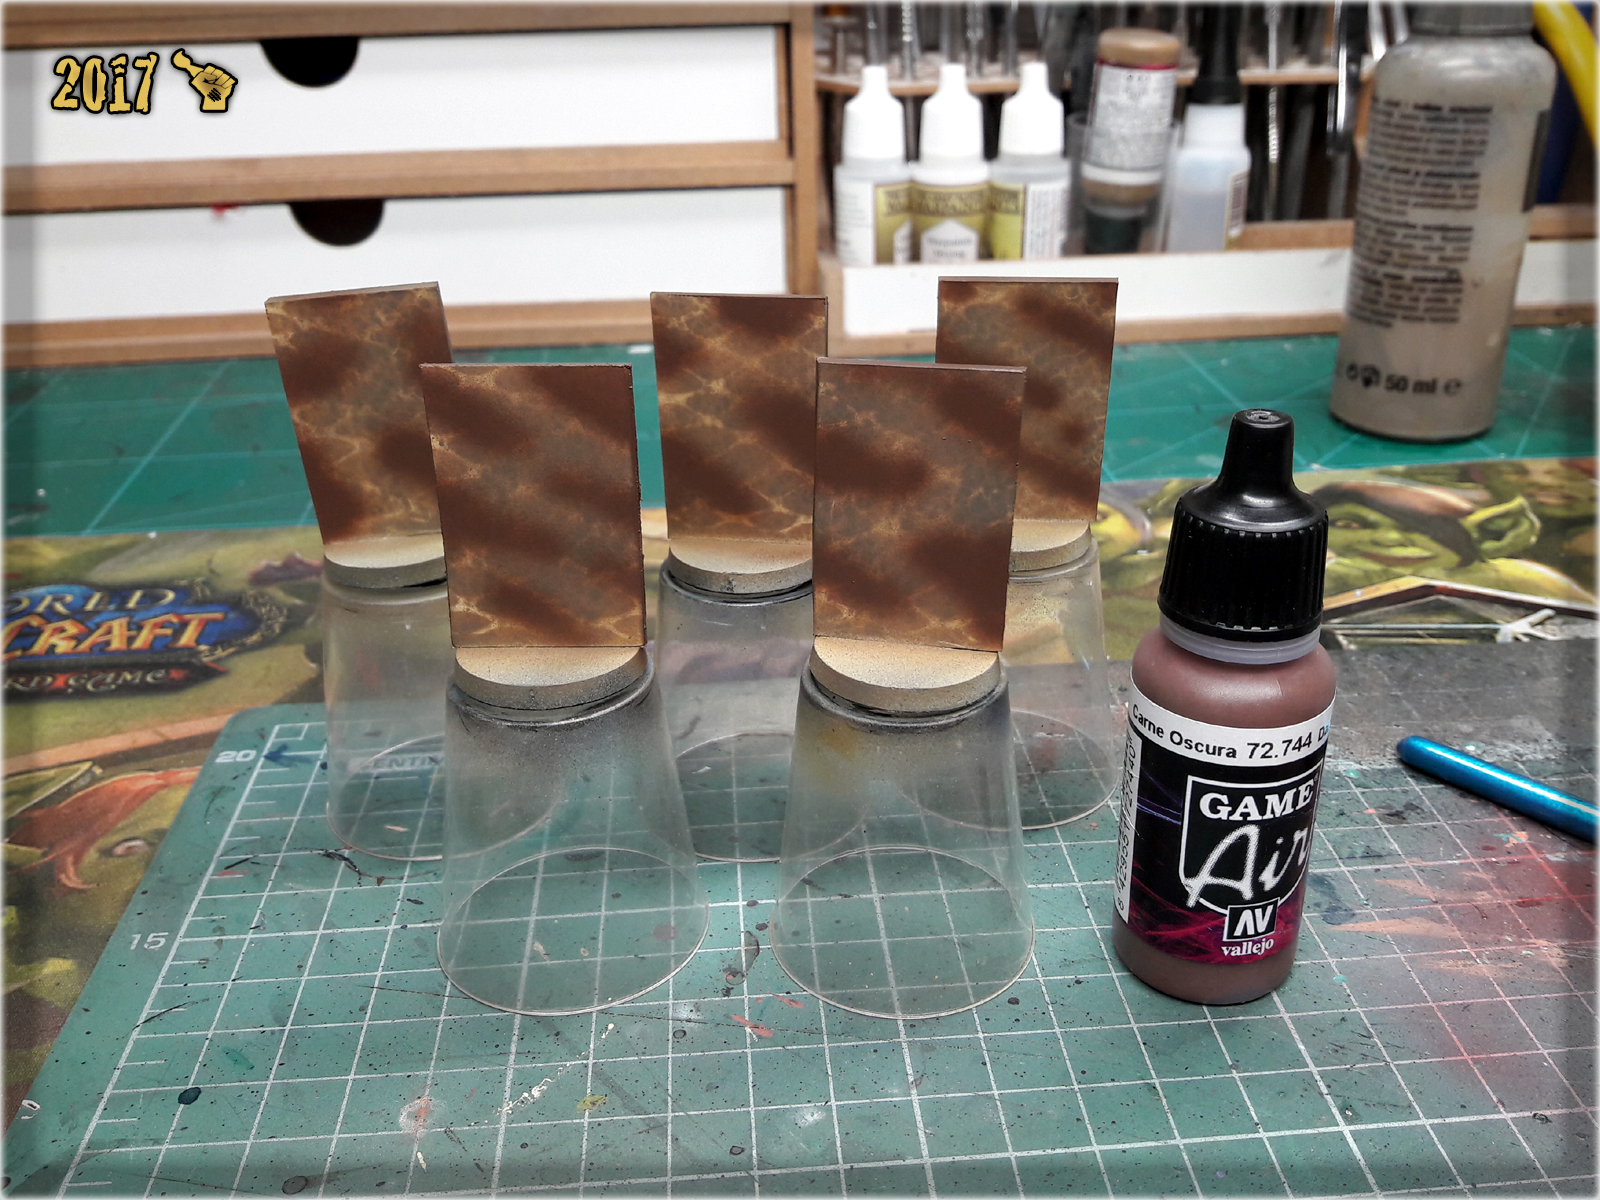
Obviously, the preparation process was pretty simple. Using a ruler, pencil and hobby knife I first drawn and then cut five 25x47mm rectangles made of PCV. I then glued them on top of 25mm round bases. At this point Camo Markers were ready to get painted.

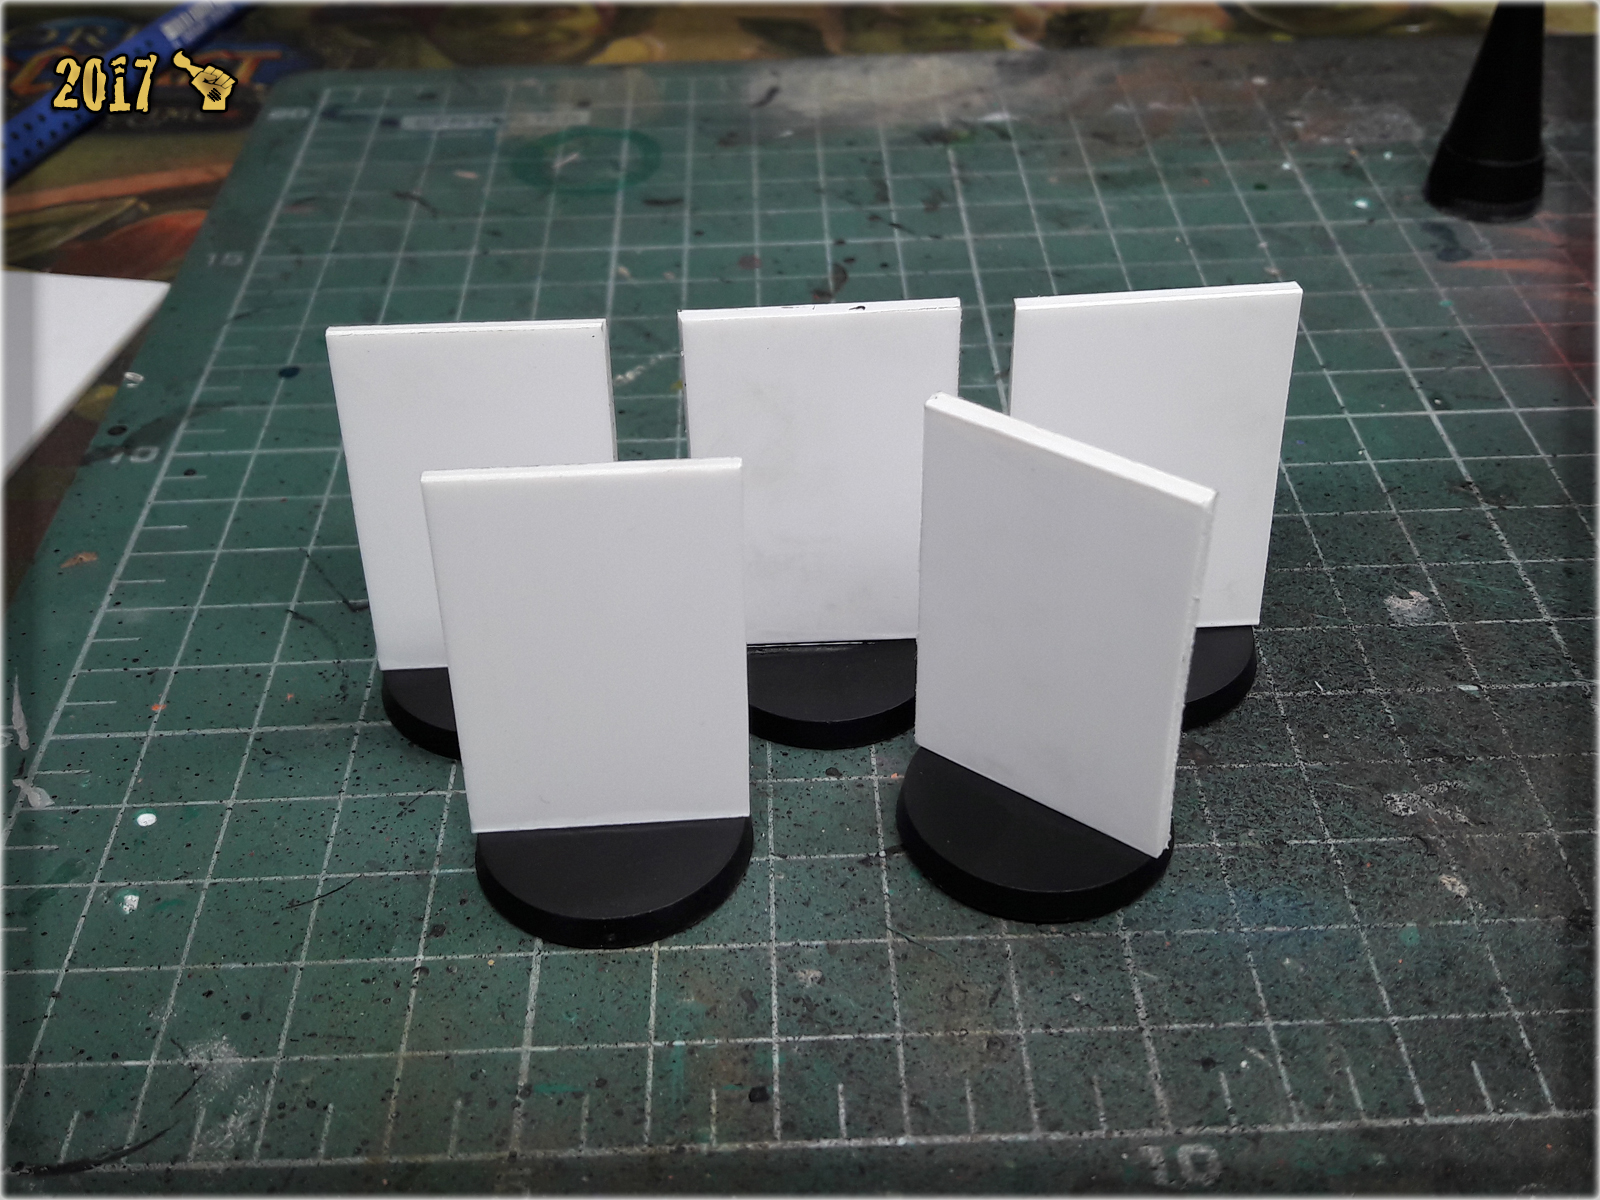
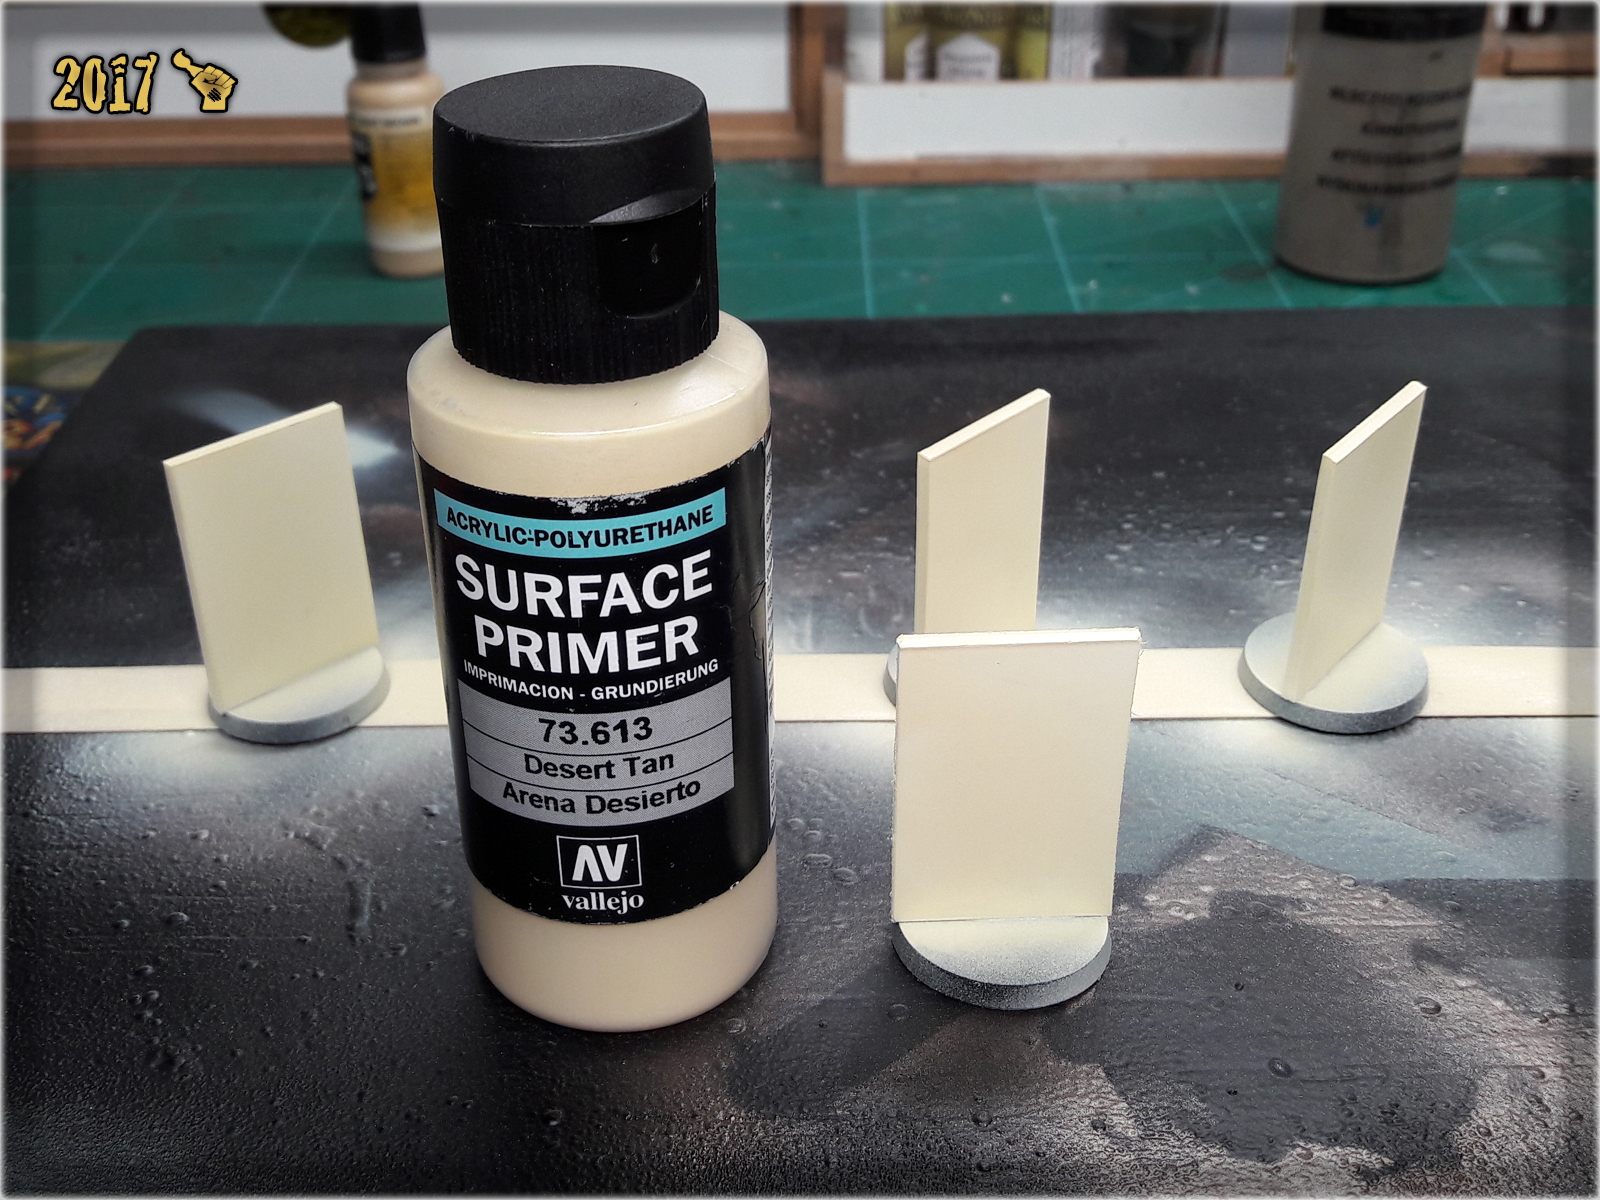
1 First step was to undercoat entire Camo Markers with Vallejo's Desert Tan.
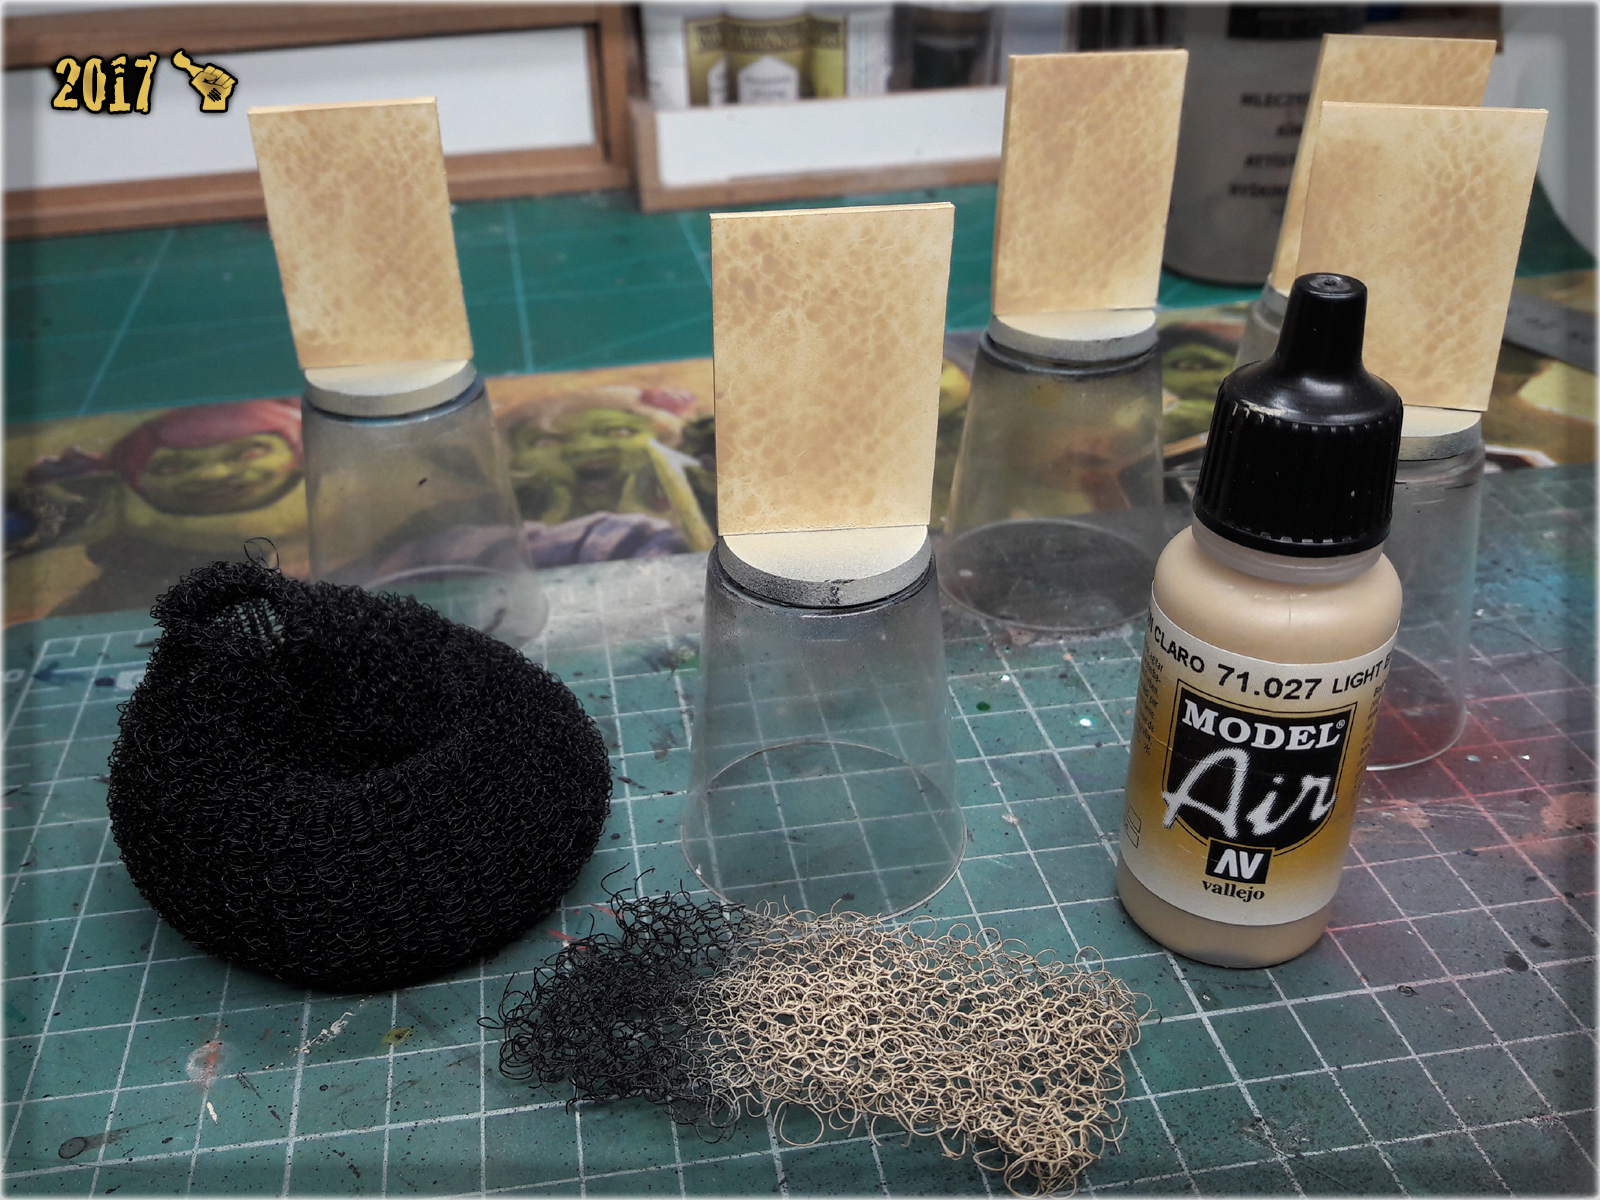
2 Next I used a piece of synthetic hair holder as a stencil and airbrushed Vallejo Light Brown over the Markers.
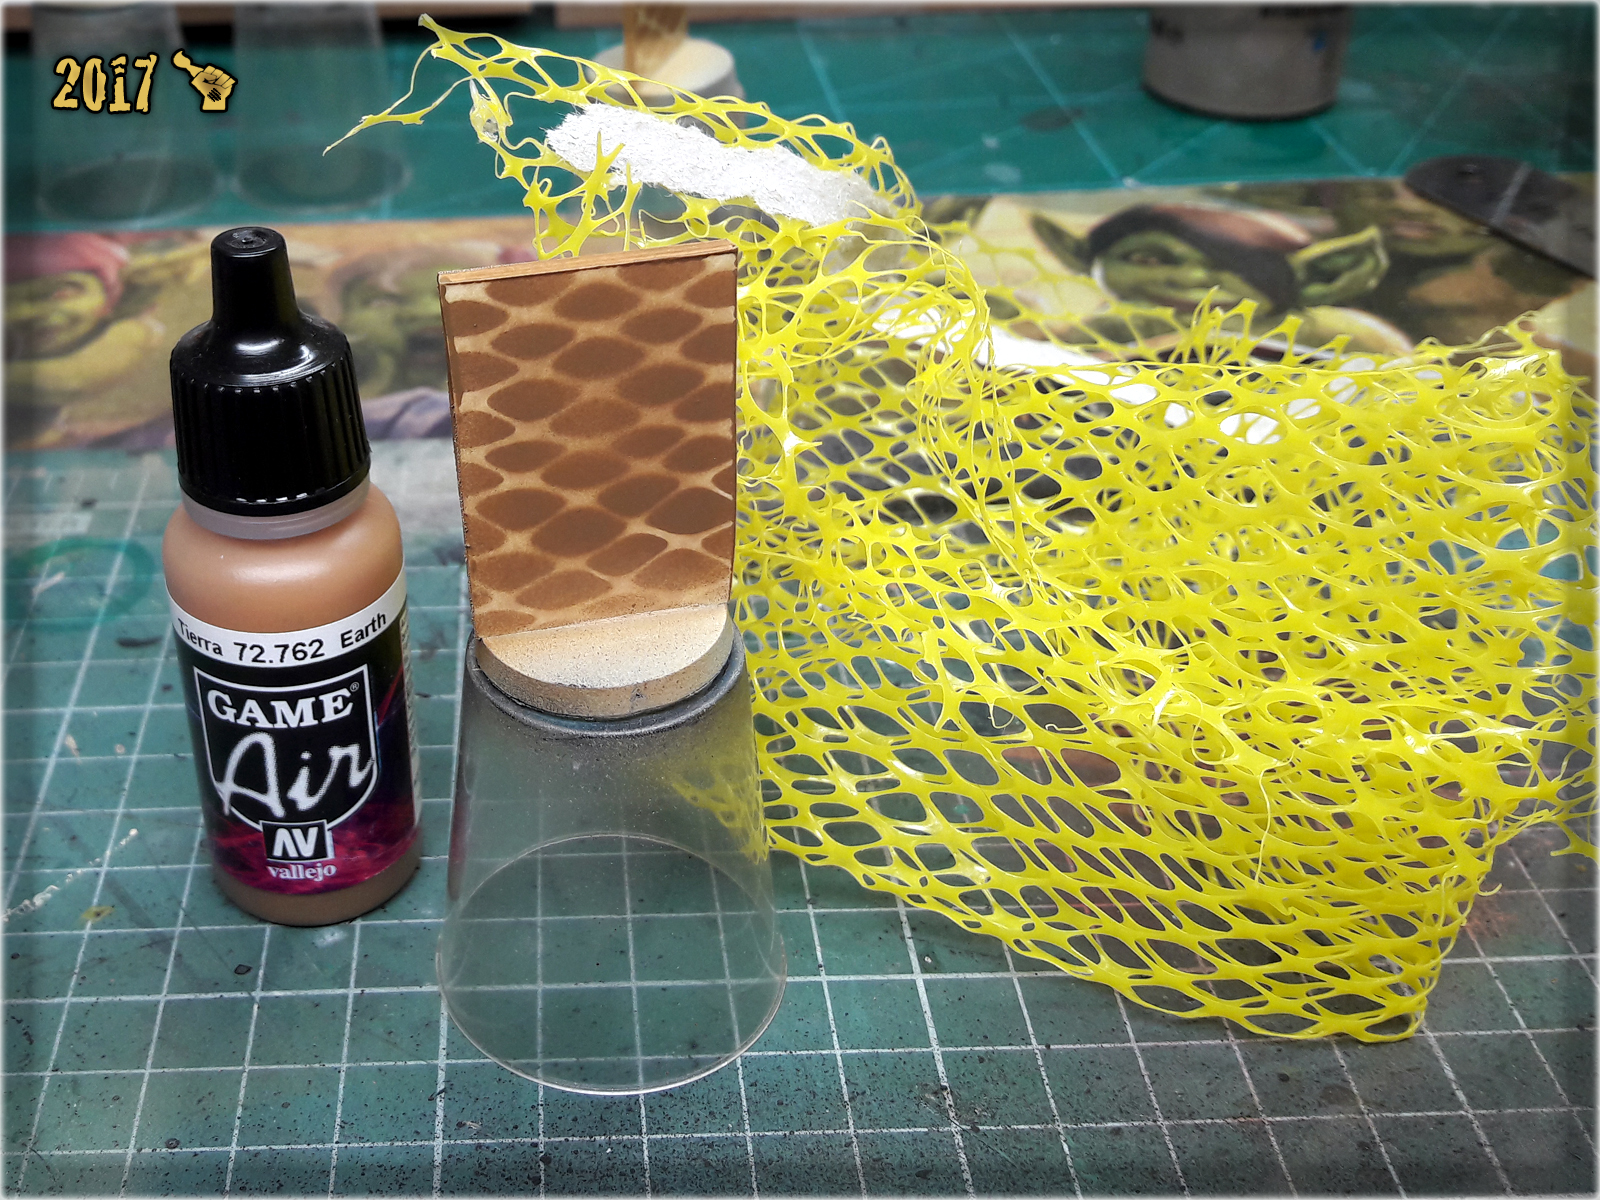
3 Then I switched to Vallejo Earth and airbrushed it over the markers using a piece of net that I got patatoes in. This net should be easily obtainable in every grocery store and makes for a really cool stencil.
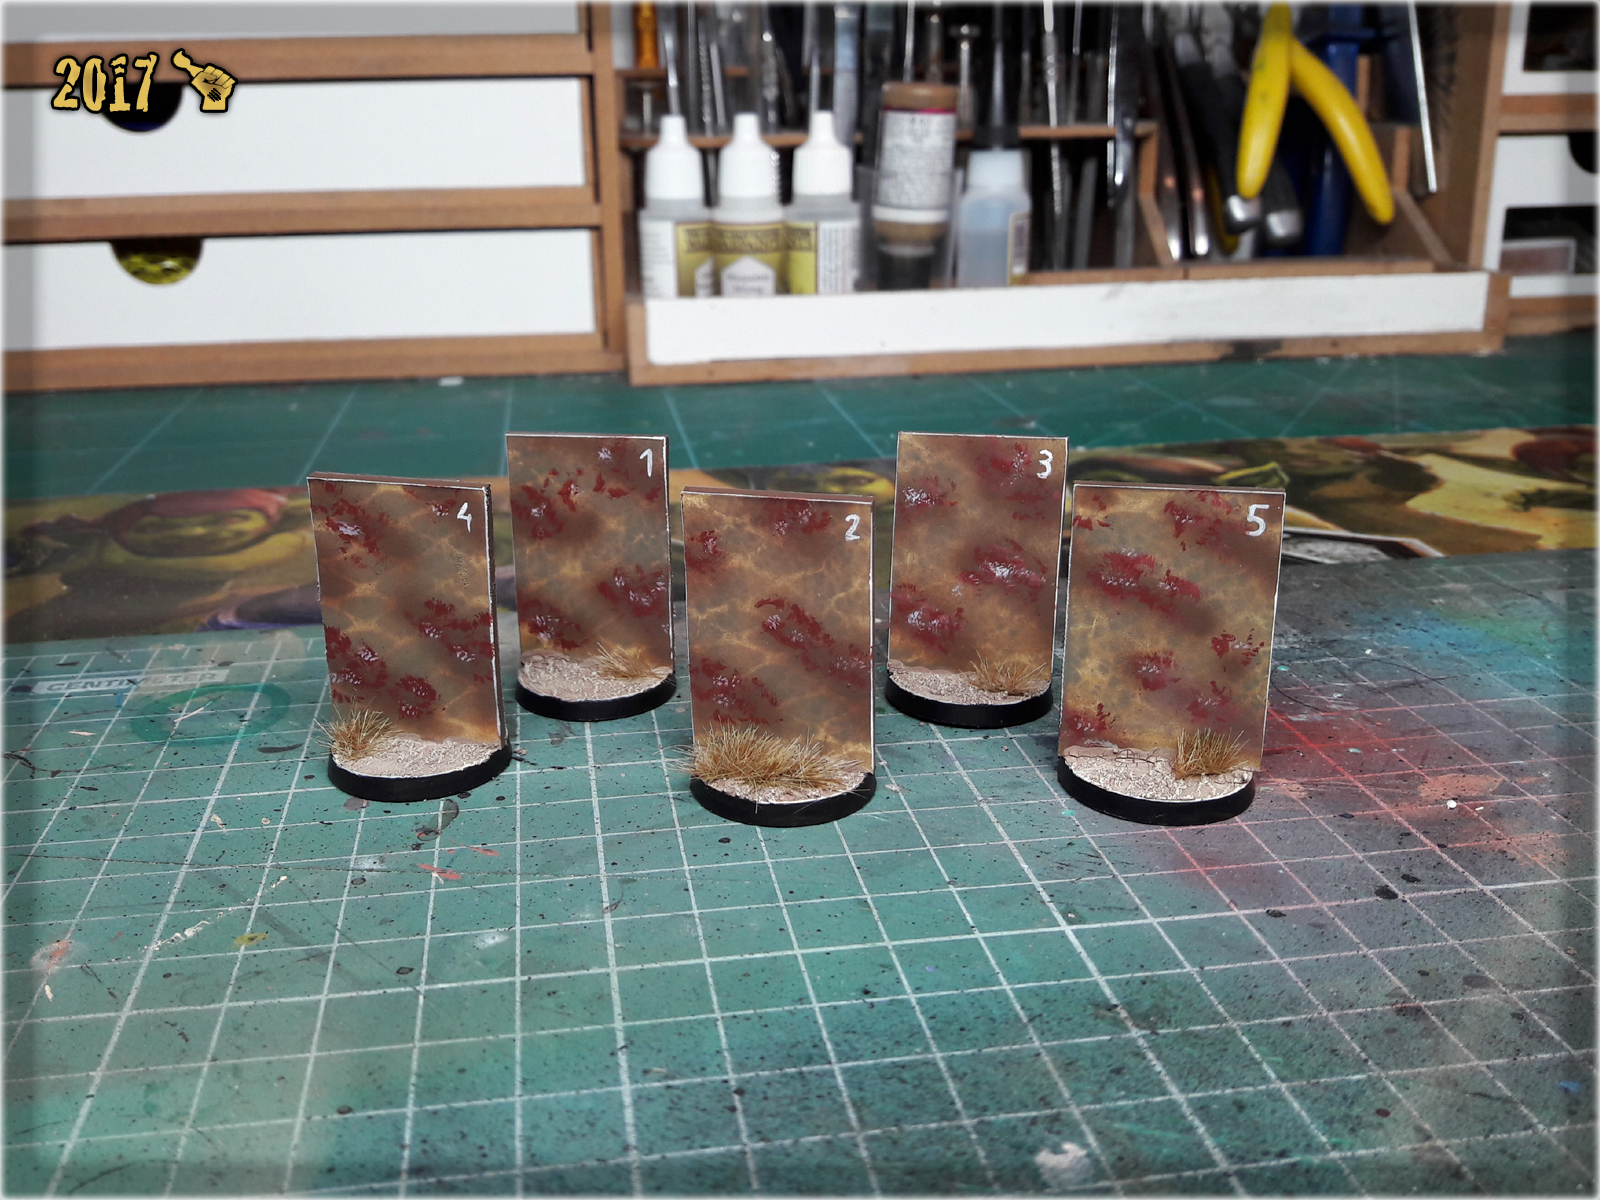
4 I then got back to hair holder stencil and airbrushed a layer of Vallejo Light Grey Green.

5 Next I airbrushed points of Vallejo Dark Flesh.
6 Some wet stippling went next. First I applied clumsy dots of Vallejo German Red Brown, then did the same with Games Workshop Pallid Wych Flesh. Afterwards I used Pallid Wych Flesh to mark edges of the markers and provide number to distinguish them from one another on the gaming board.

7 Basing came last. I used Games Workshop Agrellan Earth and Agrellan Badland, then drybrushed them with Karak Stone and Flayed One Flesh. Work done.
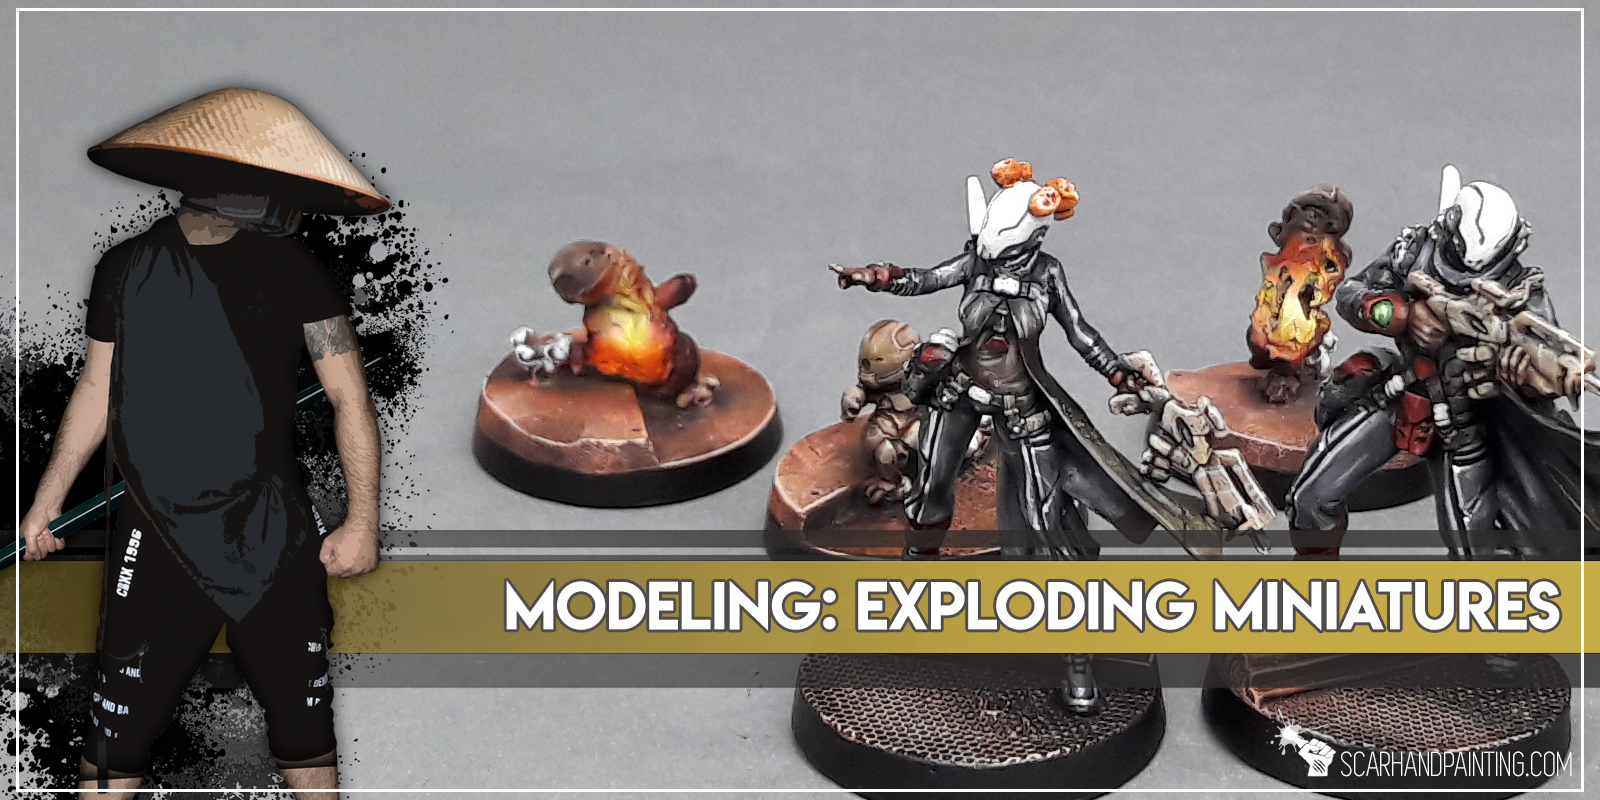
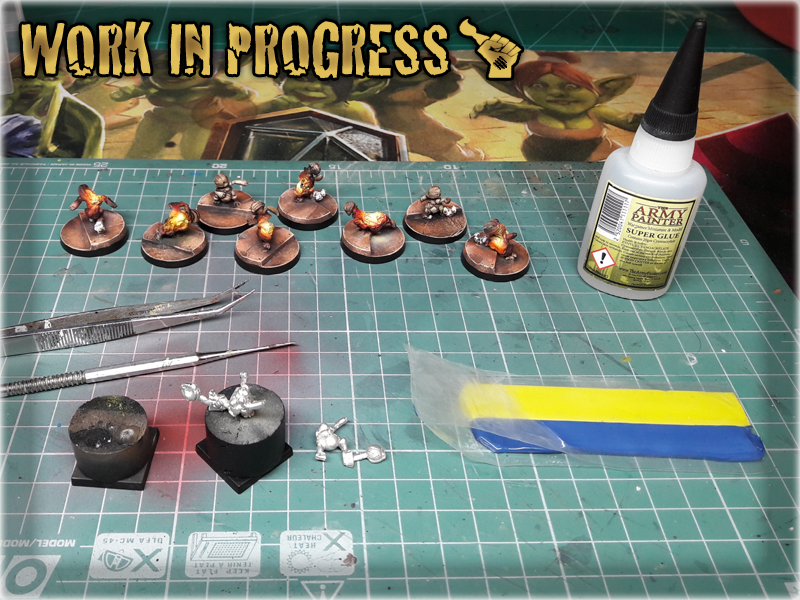
In this easy, step-by-step tutorial I’m going to show you how to create an ‘explosion from inside’ effect on the miniatures. Personally I use this method to create exploding mines or in this case Crazy Koalas from Infinity the game, but the number of potential uses is limited only by your imagination. That being said, buckle up and have a nice ride.
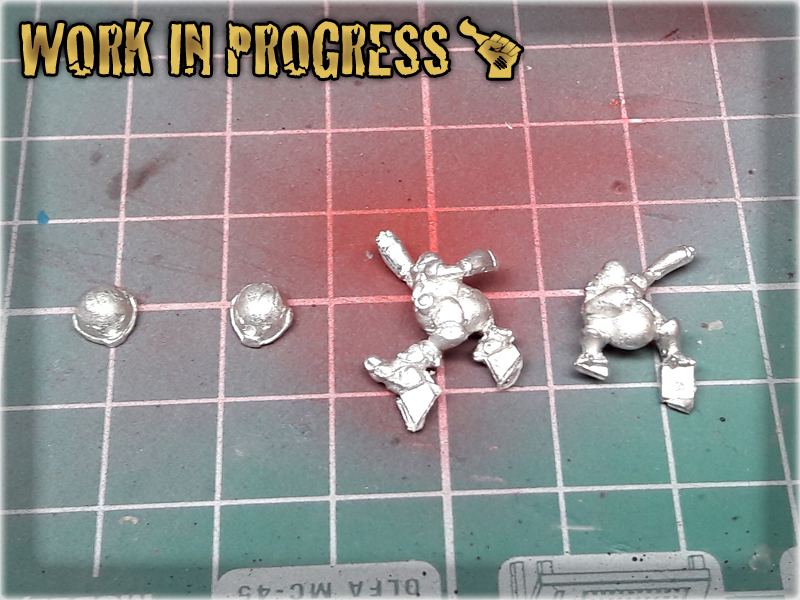
1 I started with cutting the miniature diagonally in two. I didn't thought too much about where to cut, just about the waist, leaving one hand attached to the lower part of the body.

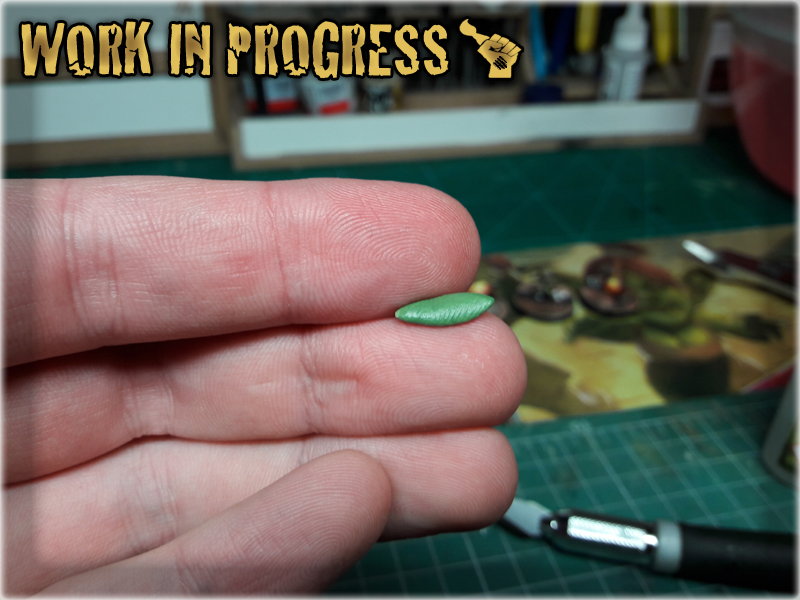
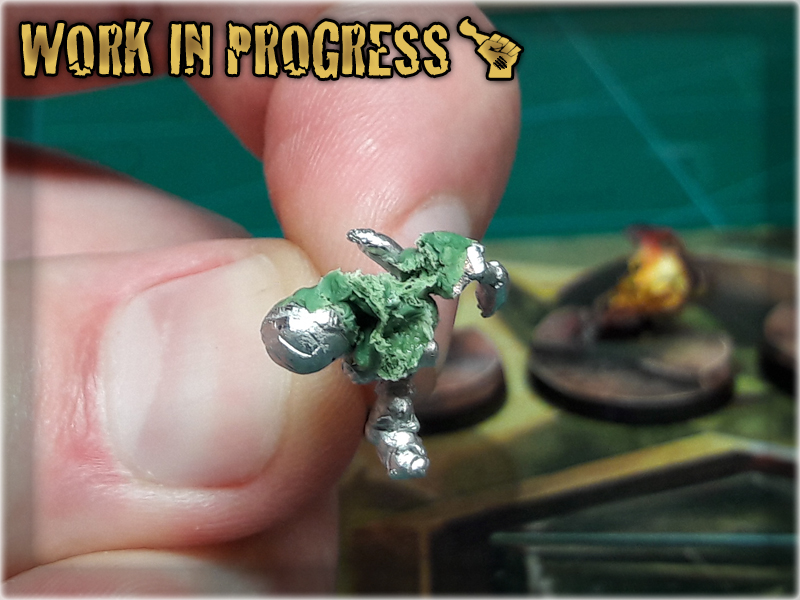
2 I then rolled some Green Stuff and glued it onto the lower body part.
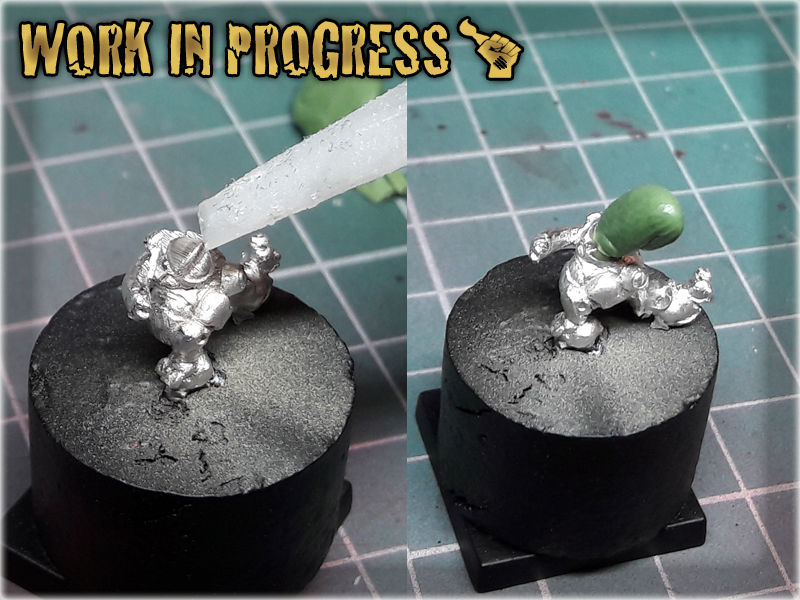
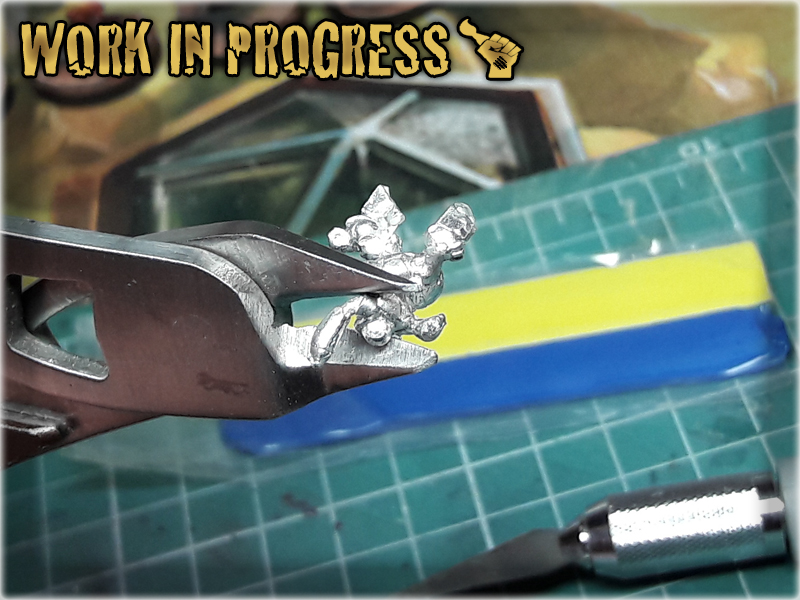
3 Next I applied a small drop of Super Glue onto the Green Stuff and attached the upper body part to it.

4 Then I squeezed both part, forcing the Green Stuff out.
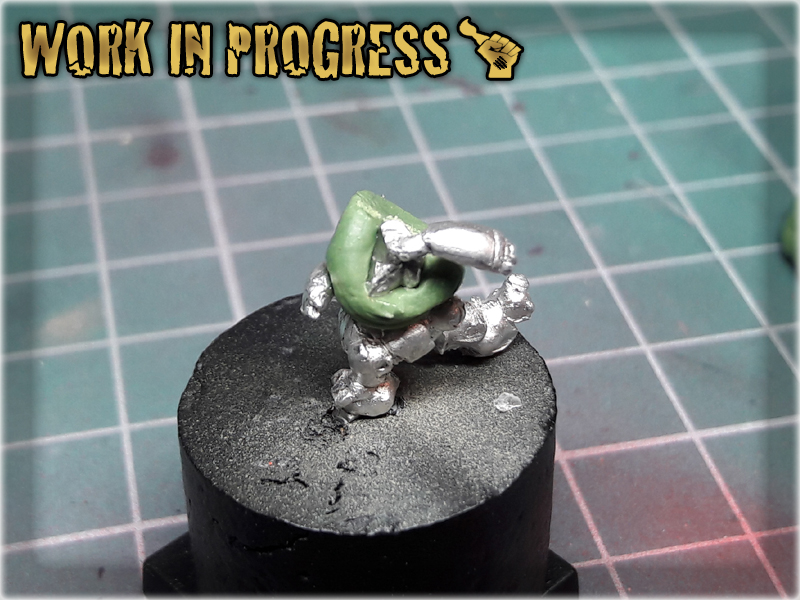
5 Next I gently pulled both body parts away, creating a gap with rended Green Stuff inbetween the parts.
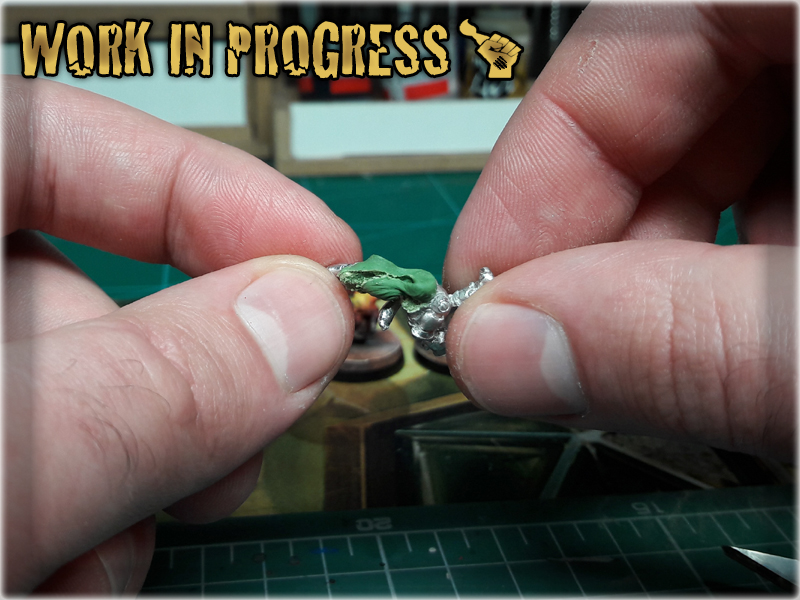
6 Next I rolled another piece of Green Stuff and repeated the technique, adding head to the miniature.

7 After pulling the head away I used a modelling tool to stretch the excess Green Stuff to the sides.
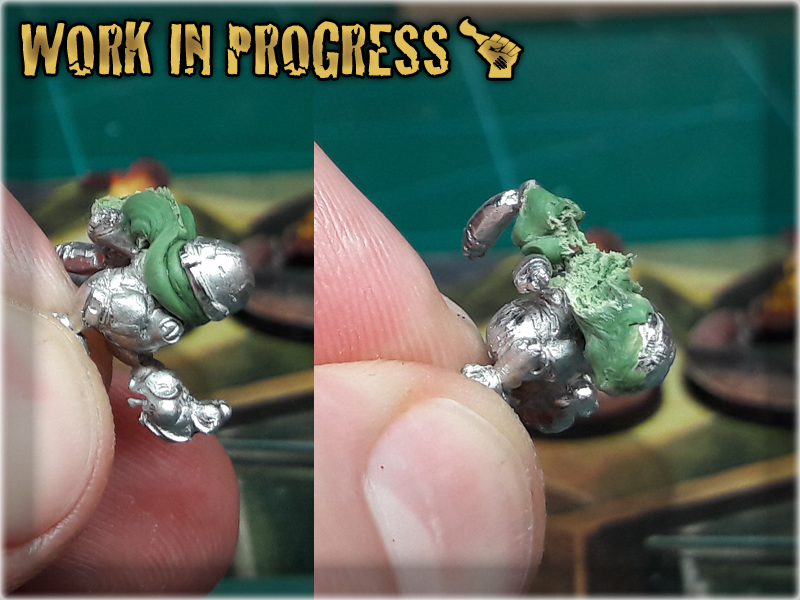
8 I also applied Super Glue onto the Green Stuff to fasten it's hardening.
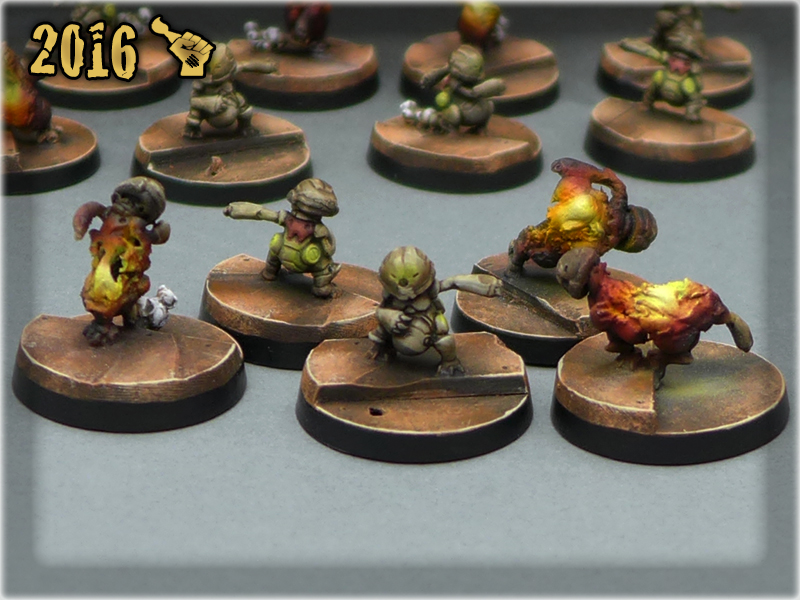
The end result is below:

Last weeks I’ve been diverting more and more attention to Mordheim. Maybe that’s because I’ve been playing PC version lately. Either way, every couple of years I get that ‘Mordheim fever’ and delve deep into my imagination, staying up whole nights, making something cool for my own Mordheim collection. Right now I work on a brand new Mordheim gaming board thus I figured out to revive an old Tutorial from Mordheim Treasure Hunters blog and add it to the collection here at Scarhandpainting. More articles are already prepared, but I somehow felt like this one will be a nice way to close the 2016th.
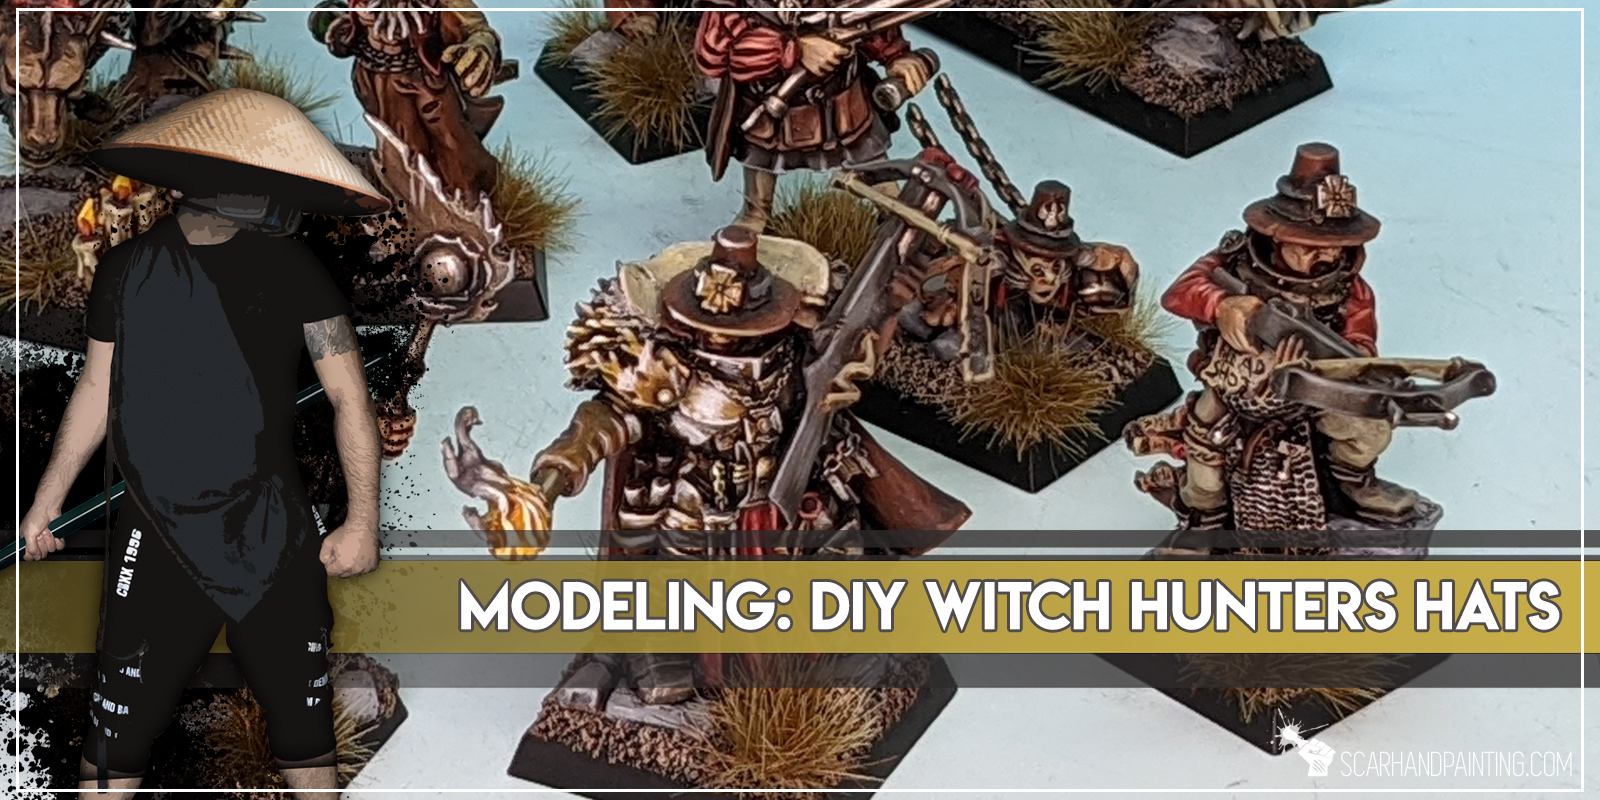
Below I will show you a quick way of making a Witch Hunter’s Hat with basic tools, some green stuff and some plastic leftovers. The thing about Witch Hunter’s Hats is that they are extremely rare and yet they look just awesome. A lot of miniatures can be reborn as proper Witch Hunters just by adding this small detail. So, here’s how I do it:
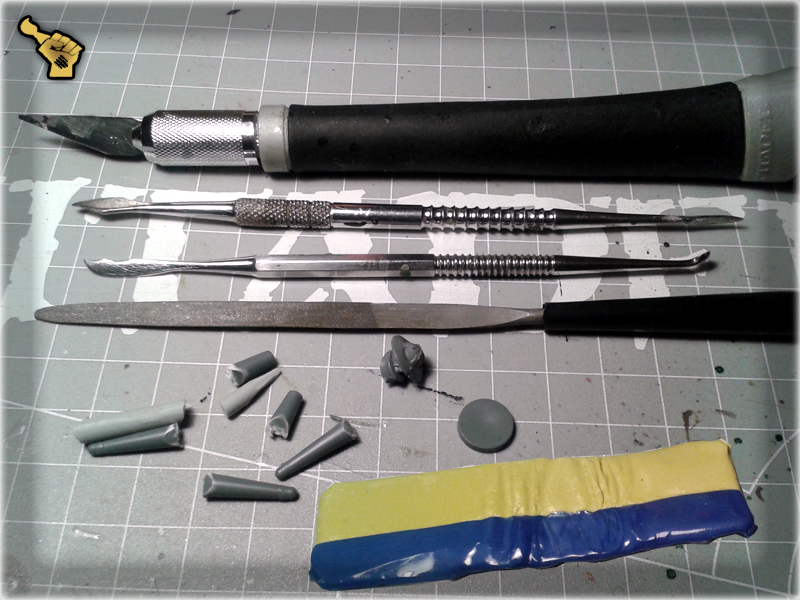
* Modelling Knife,
* Sculpting Tools,
* Modellin File,
* Green Stuff,
* Super Glue,
* Some round and flat plastic bitz (heads in helmets will do too),
* Some tubular sprue plastic bitz (easy to get as they’re in almost every sprue),
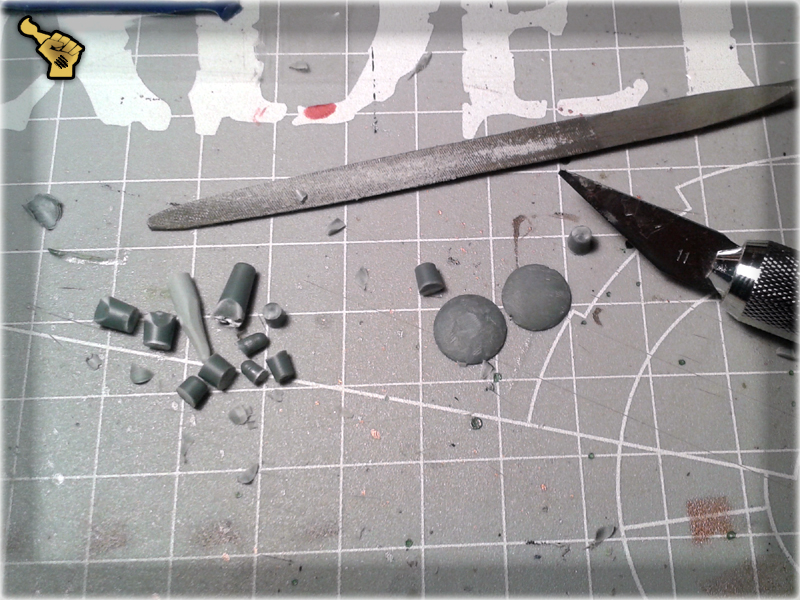
1 I started with preparation of hat parts. For this purpose I used round shaped plastic bitz, cutting off the excess of plastic with Modelling Knife first, then flattening the top area with a Modelling File. Next I used a Modelling Knife to cut tubular sprue bitz into nice hat top pieces. This is how it should look like when done:
2 I then glued the pieces together, prepared a piece of Green Stuff and rolled it into a thin line. I also cut small pieces of Green Stuff loose and rolled them into small balls.
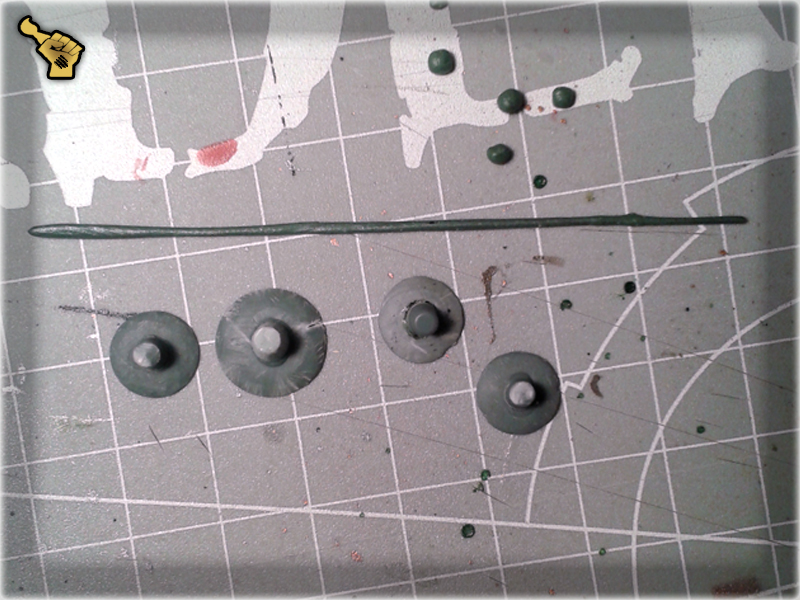
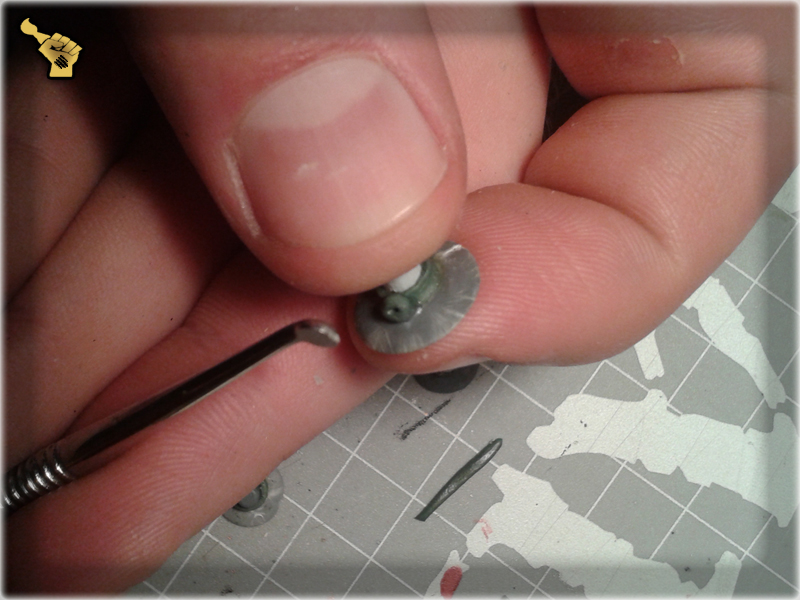
3 I applied some Super Glue around the connection between hat's top and brim. I then applied a Green Stuff rolled piece onto the glue and flattened it with a Sculpting Tool modelling it into a strap. For this purpose I used a rounded part just behind the tip of a Sculpting Tool.
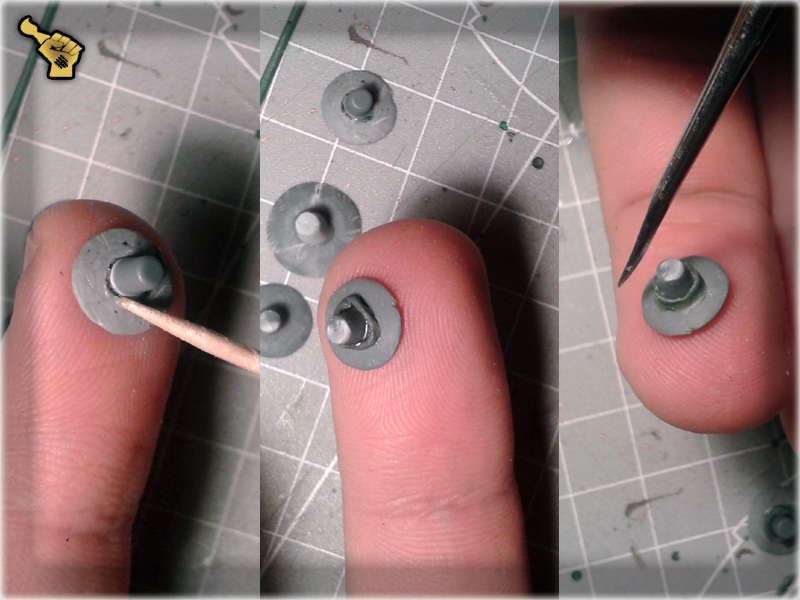
4 I smoothed the texture of starps using a Sculpting Tool dipped in water. I then left the hats to dry.
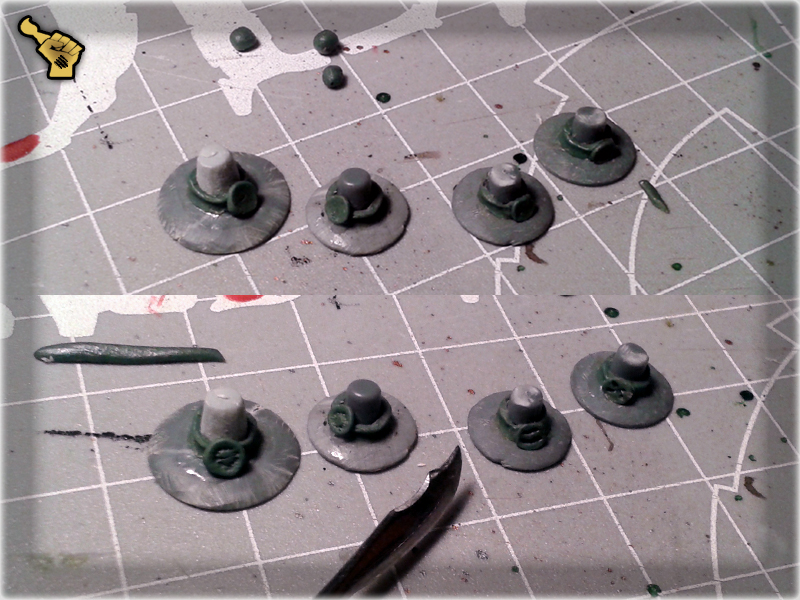
5 Once the Green Stuff dried out I applied Super Glue onto a piece of plastic, sticked a Green Stuff ball onto the tip of a Sculpting Tool, gently dipped it in the glue and applied it to a hat's strip. I also flattened the ball with the other (rounded) end of a Sculpting Tool thus creating a clasp.
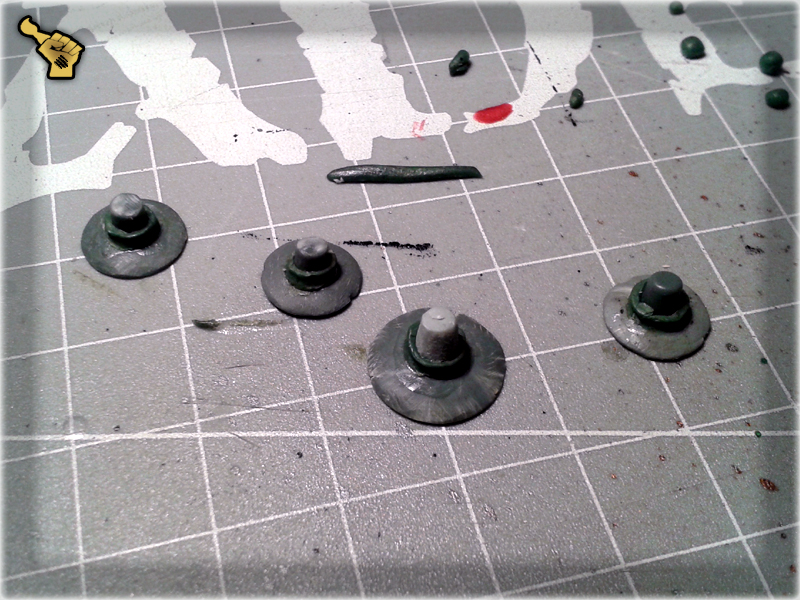
6 In the end I modelled a pattern on each clasp with the sharp tip of a Sculpting Tool. Once it was done I let the Green Stuff to dry out. Instead of modelling a clasp yourself, you can use any well sized bitz or even a piece of plastic. Actually anything fitting the hat's strap will do.
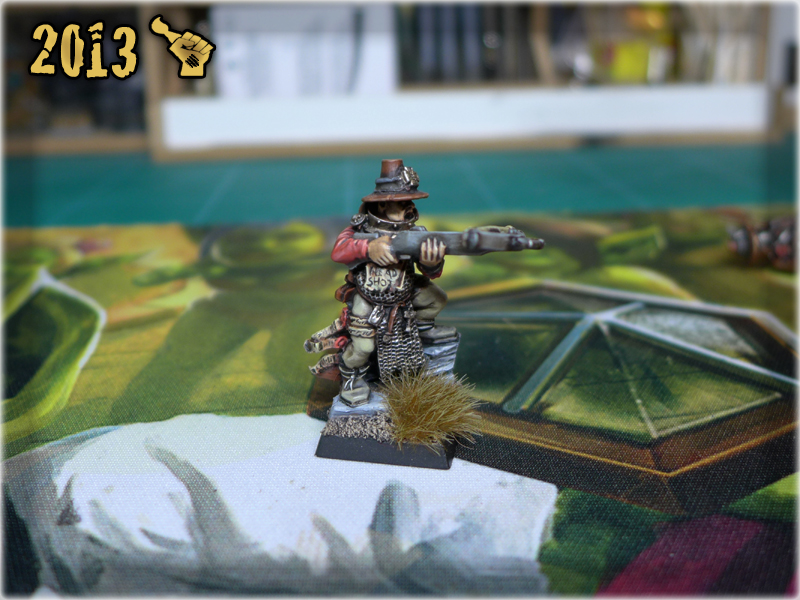
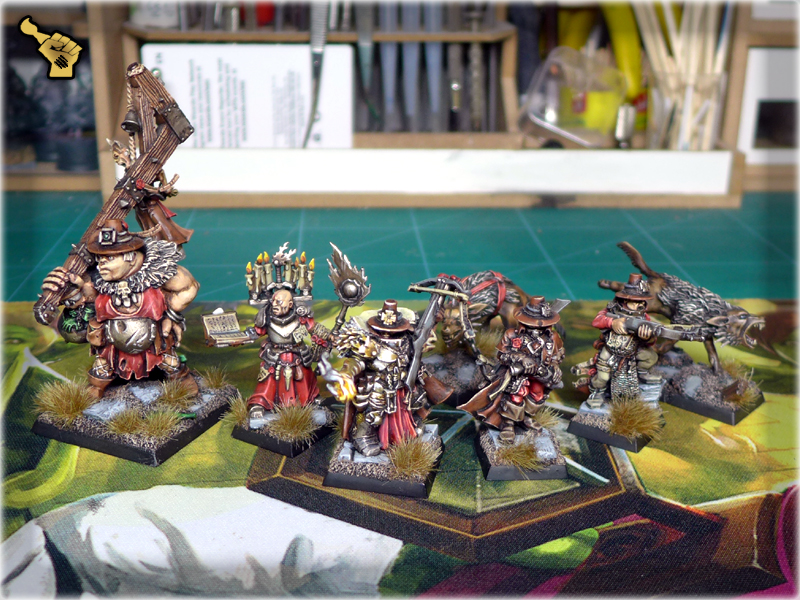
The final effect may not be outstanding but it will do the job of transforming your Imperial Mercenary, or any other miniature into a badass Witch Hunter. See for yourself in the Warband: ‘Scourge of the Witches’ gallery. Here’s a preview pic:
I hope you like the tutorial. It is an old piece but I really wanted to have it here at Scarhandpainting.
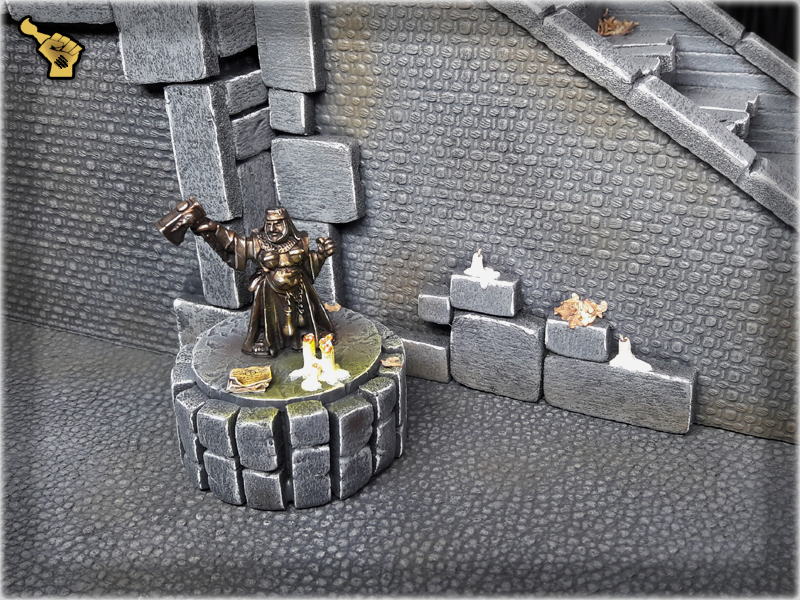
Winter is already here thus I thought about warming the theme a bit by introducing a tutorial of how to make candles for 28-30mm scale. Why produce such things? In miniatures hobby candles are rare bitz among what you get in the sets designed by main miniature producers. Even if a set contains some, their number is scarce. Why not make your own and adorn bases, miniatures and even scenery with them? Be it Age of Sigmar, Mordheim, Warhammer 40,000 or just a fantasy dungeon – candles will provide mood to both miniatures and scenery. Below is a quick and easy step-by-step of how to produce your own 28-30mm scale candles. Enjoy…

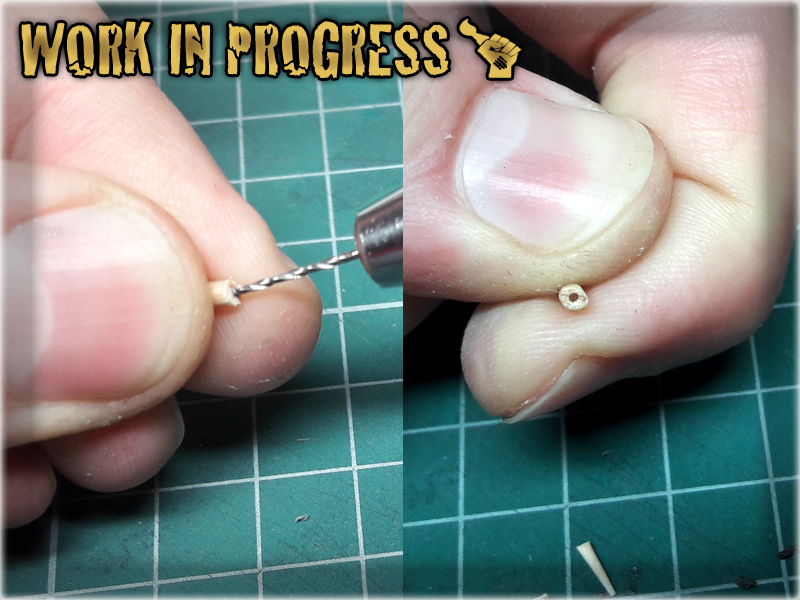
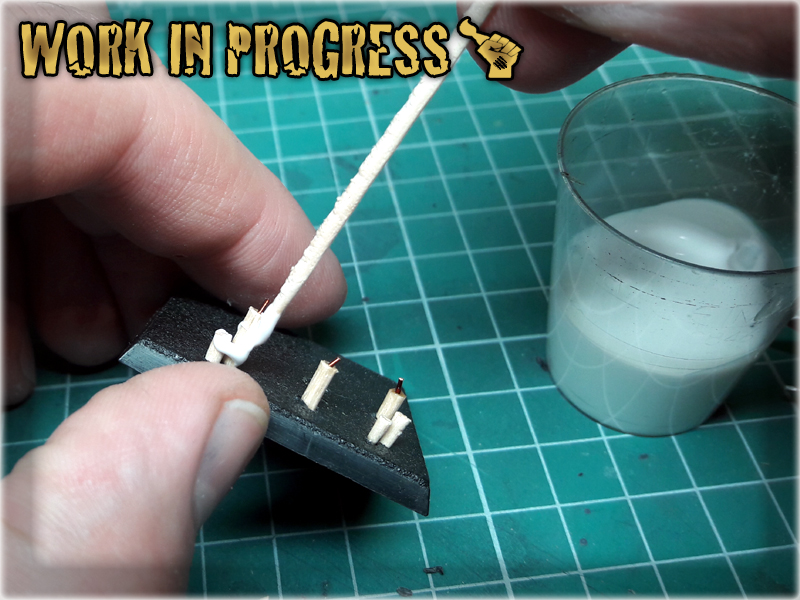
1 I started with preparation of candles-to-be by cutting toothpicks into small pieces. I tried to keep all of them between 5-10mm long, to better fit into the 28-30mm fantasy scale. Once I had couple pieces done I choose some of them and drilled small holes from one side. These will be used later to hold candlewicks.

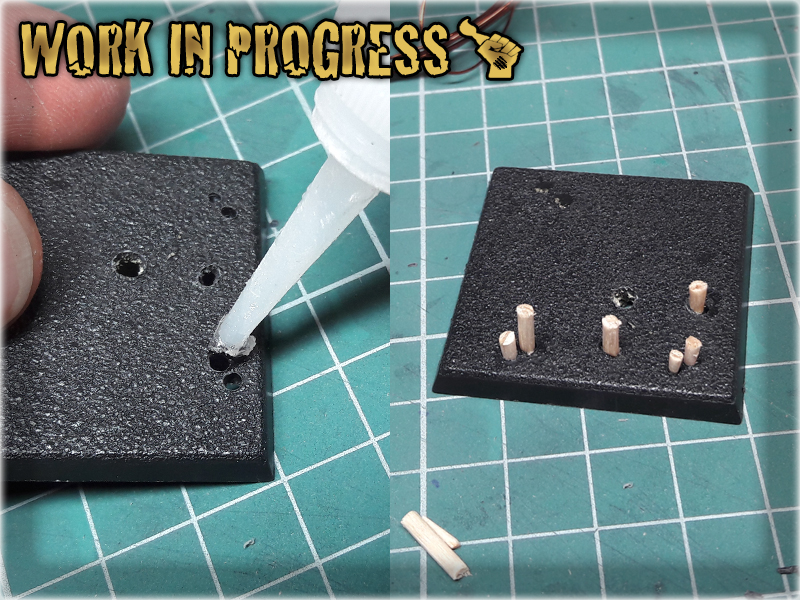
2 Next I glued the candles onto the base. In case of scenery I usually drill small holes to hold the candles in place or just glue them as it is if I'm sure the scenery won't require enchanced durability. For the purpose of this tutorial I drilled some holes in an old square Warhammer base.
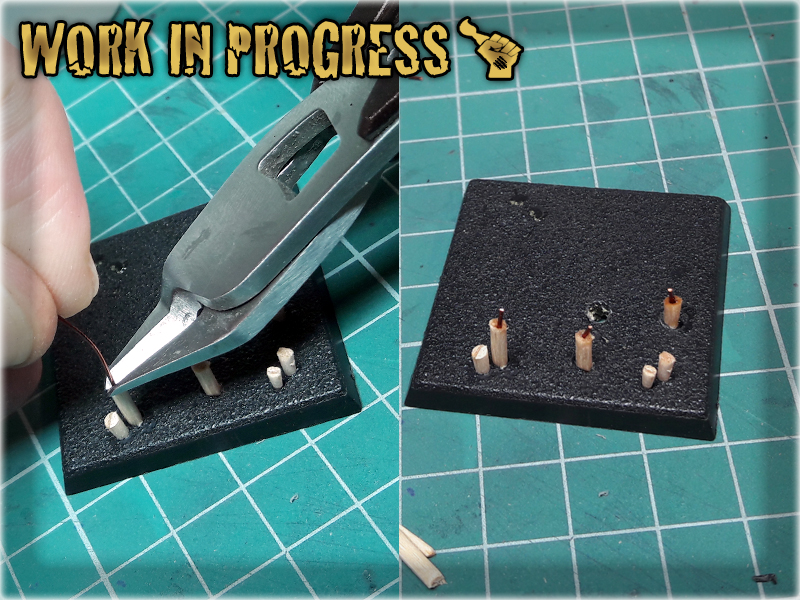
3 I then glued small pieces of wire into the holes, to look like candlewicks.
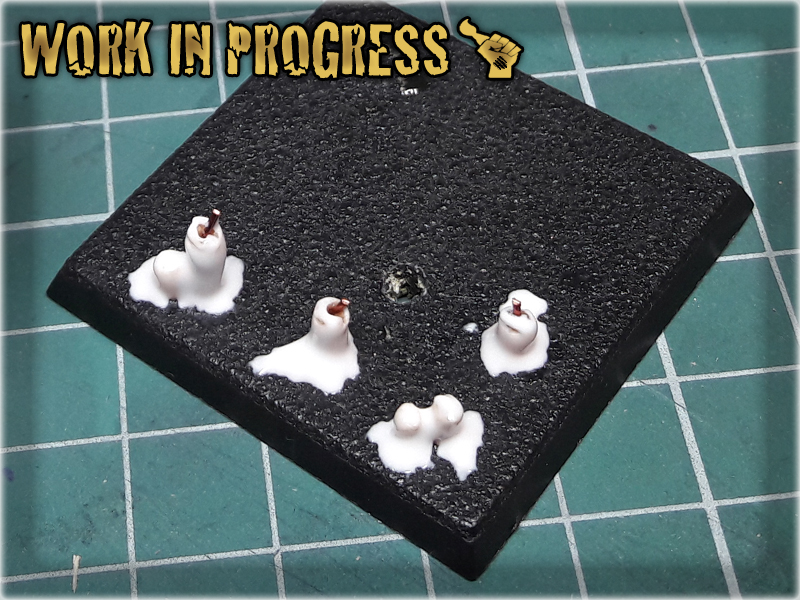
4 Then came the time to cover the candles with a basing glue, applying additional glue around the base of each candle to create an effect of spilled wax.
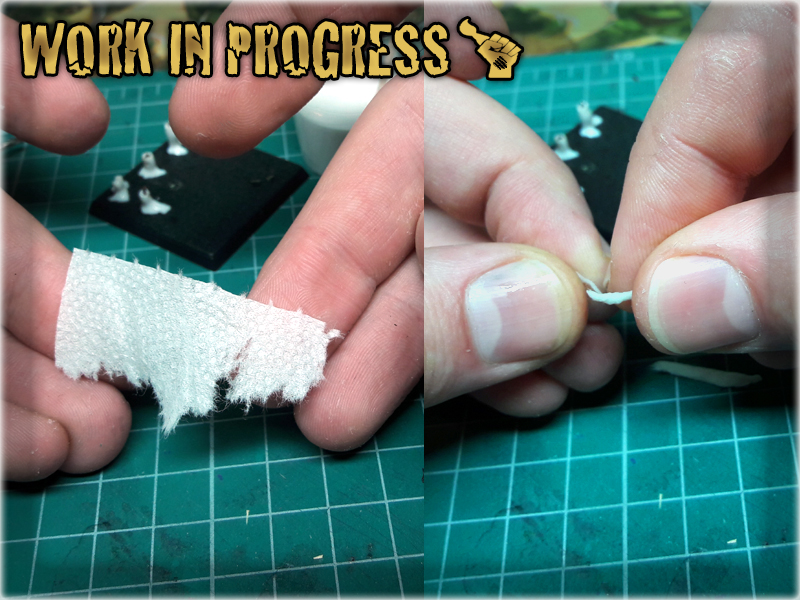
5 Next step was to prepare couple of small flames, using a wet paper tissue. I just rolled, then cut it into small pieces, which I then rolled once again.

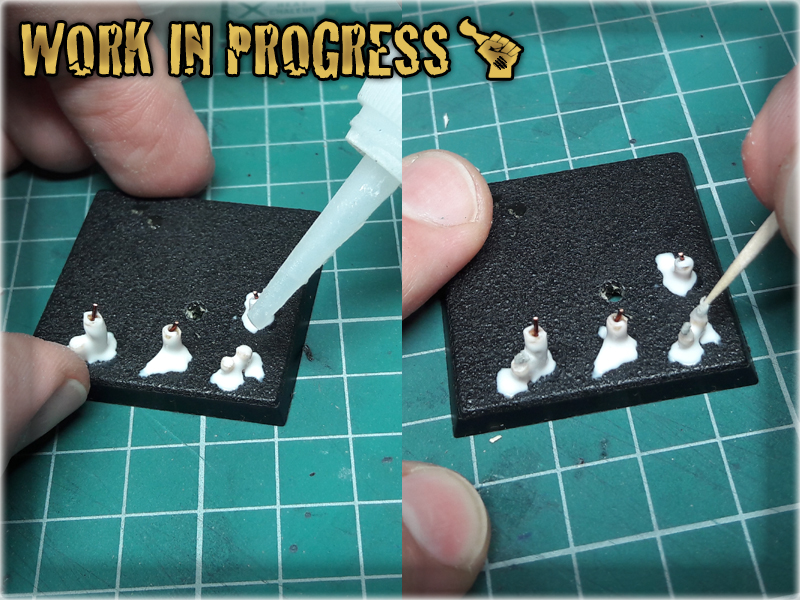
6 The flames where then glued to the candles with super glue and once in place - covered with glue to harden entirely.

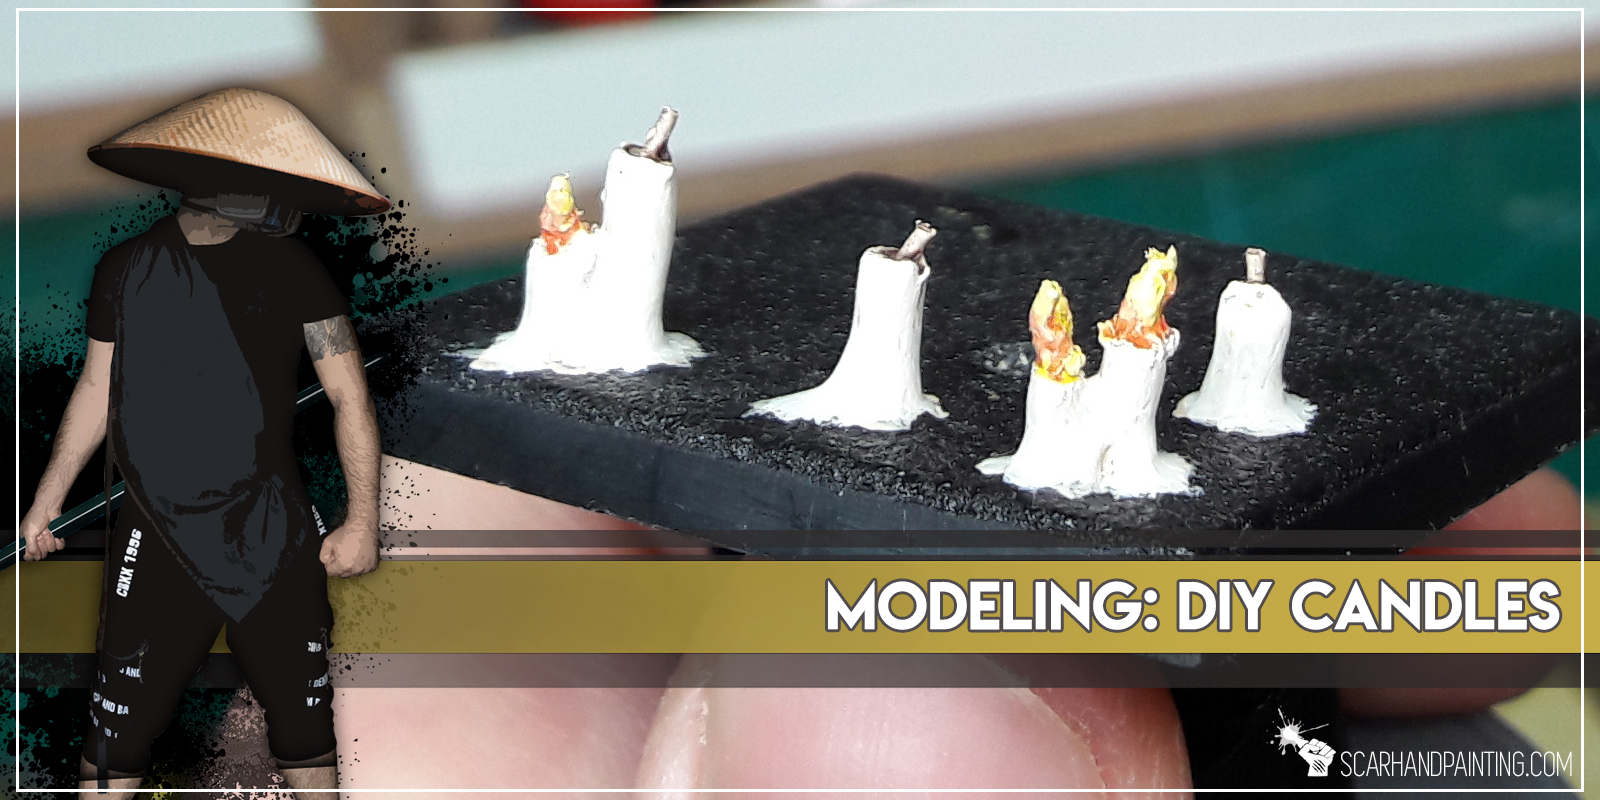
7 I left the stuff to dry, then painted it with mix of creme and white, washed the candlewicks and flames with some washes.

The end result will look more or less like this:
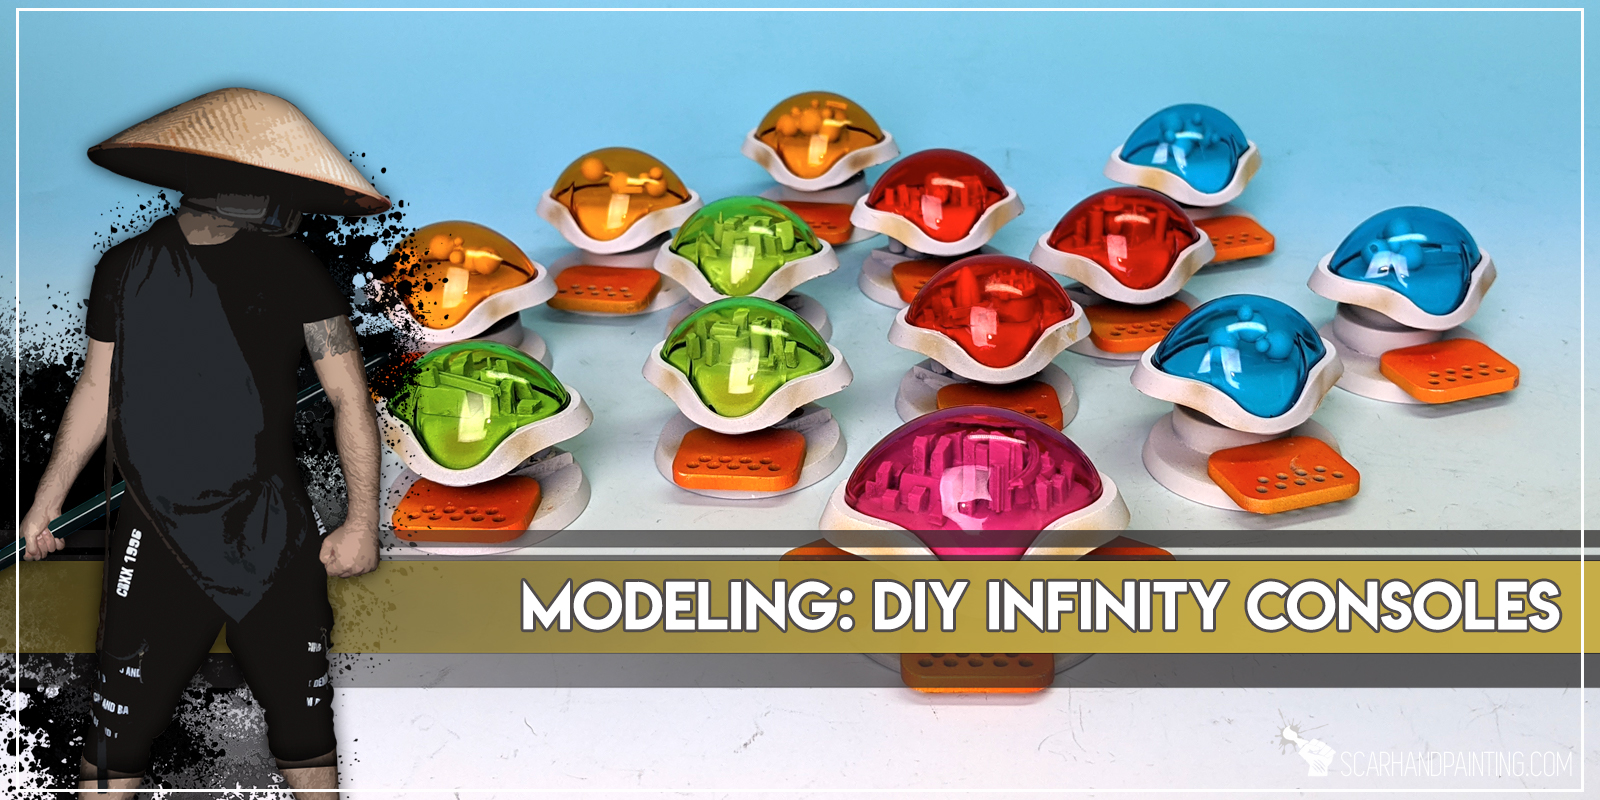
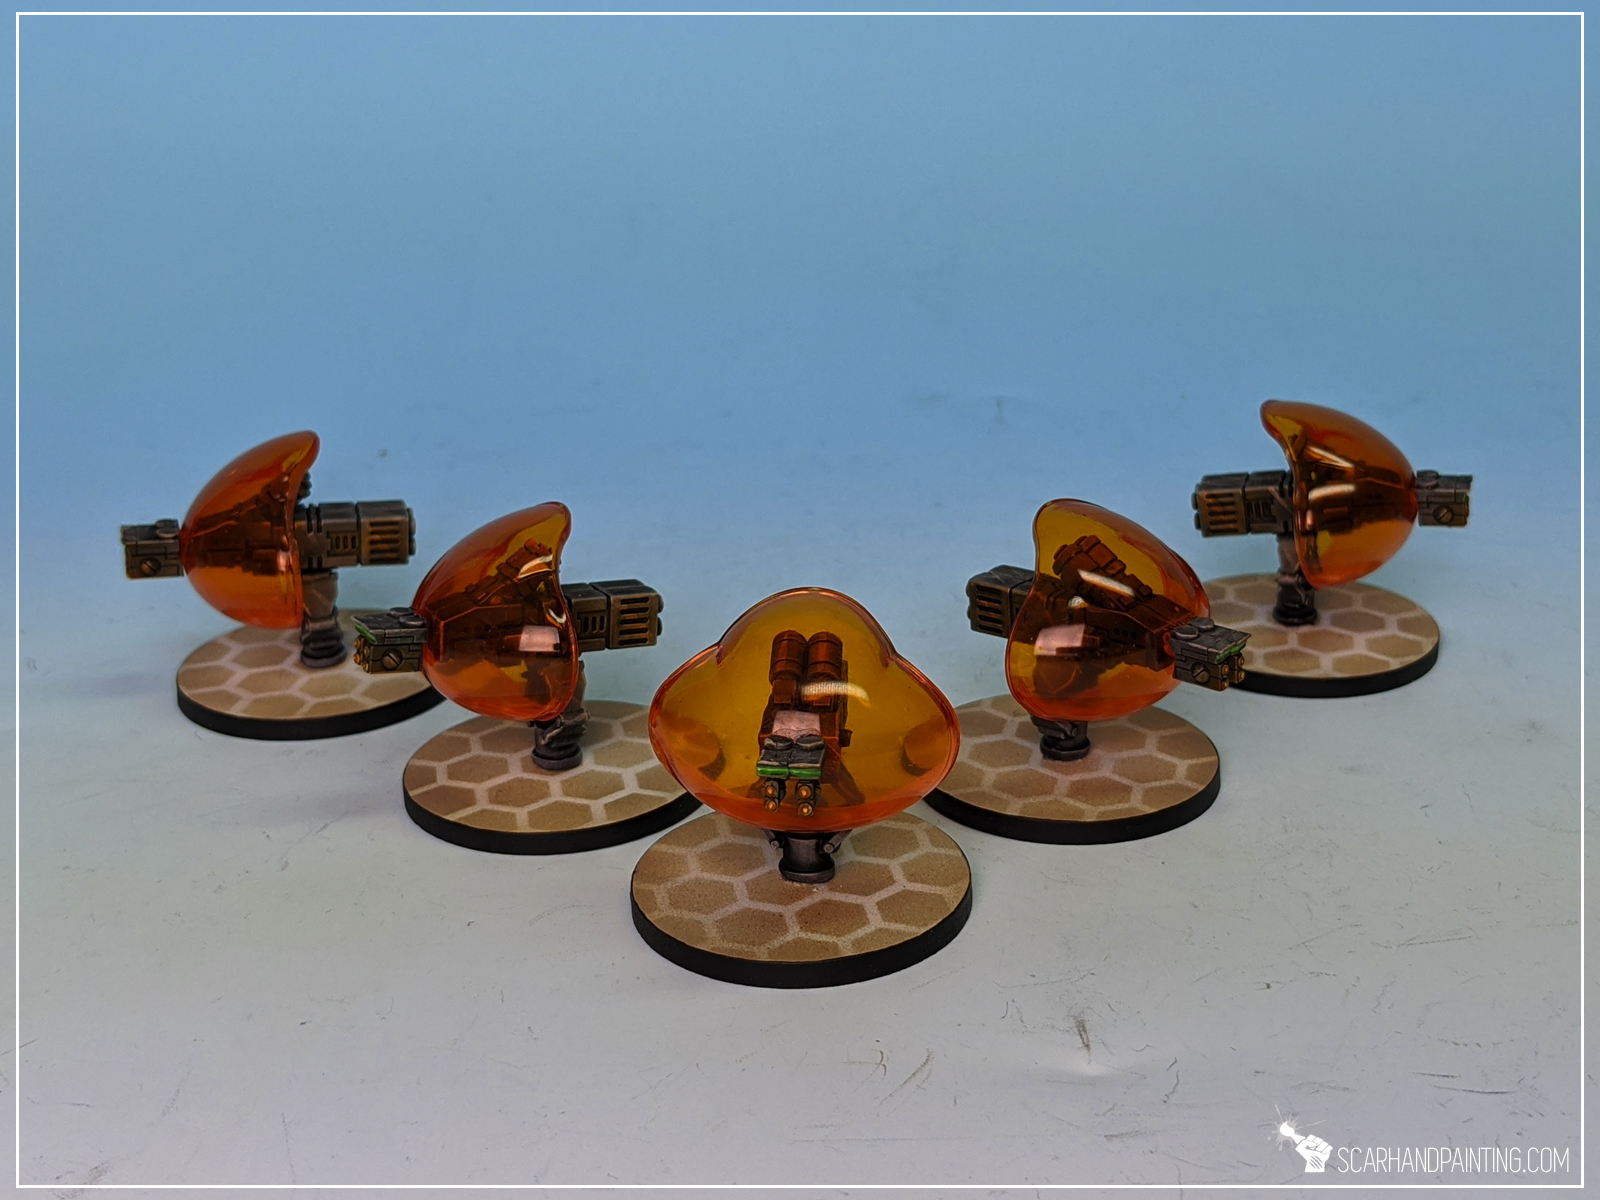
Welcome to Modelling Infinity Console tutorial, a short Step-by-step trip through a process of creating Consoles perfect for objective markers in Infinity the Game and other Sci-fi wargames.
You may consider this article to be an extension of “Tutorial: Infinity ‘Do It Yourself’ Gaming Terrain”, in which I tried to inspire you to hunt for some awesome everyday items. Pieces of what might be considered garbage, and yet an awesome source of unlimited potential, when it comes to scenery making.
Before we start, some notes:

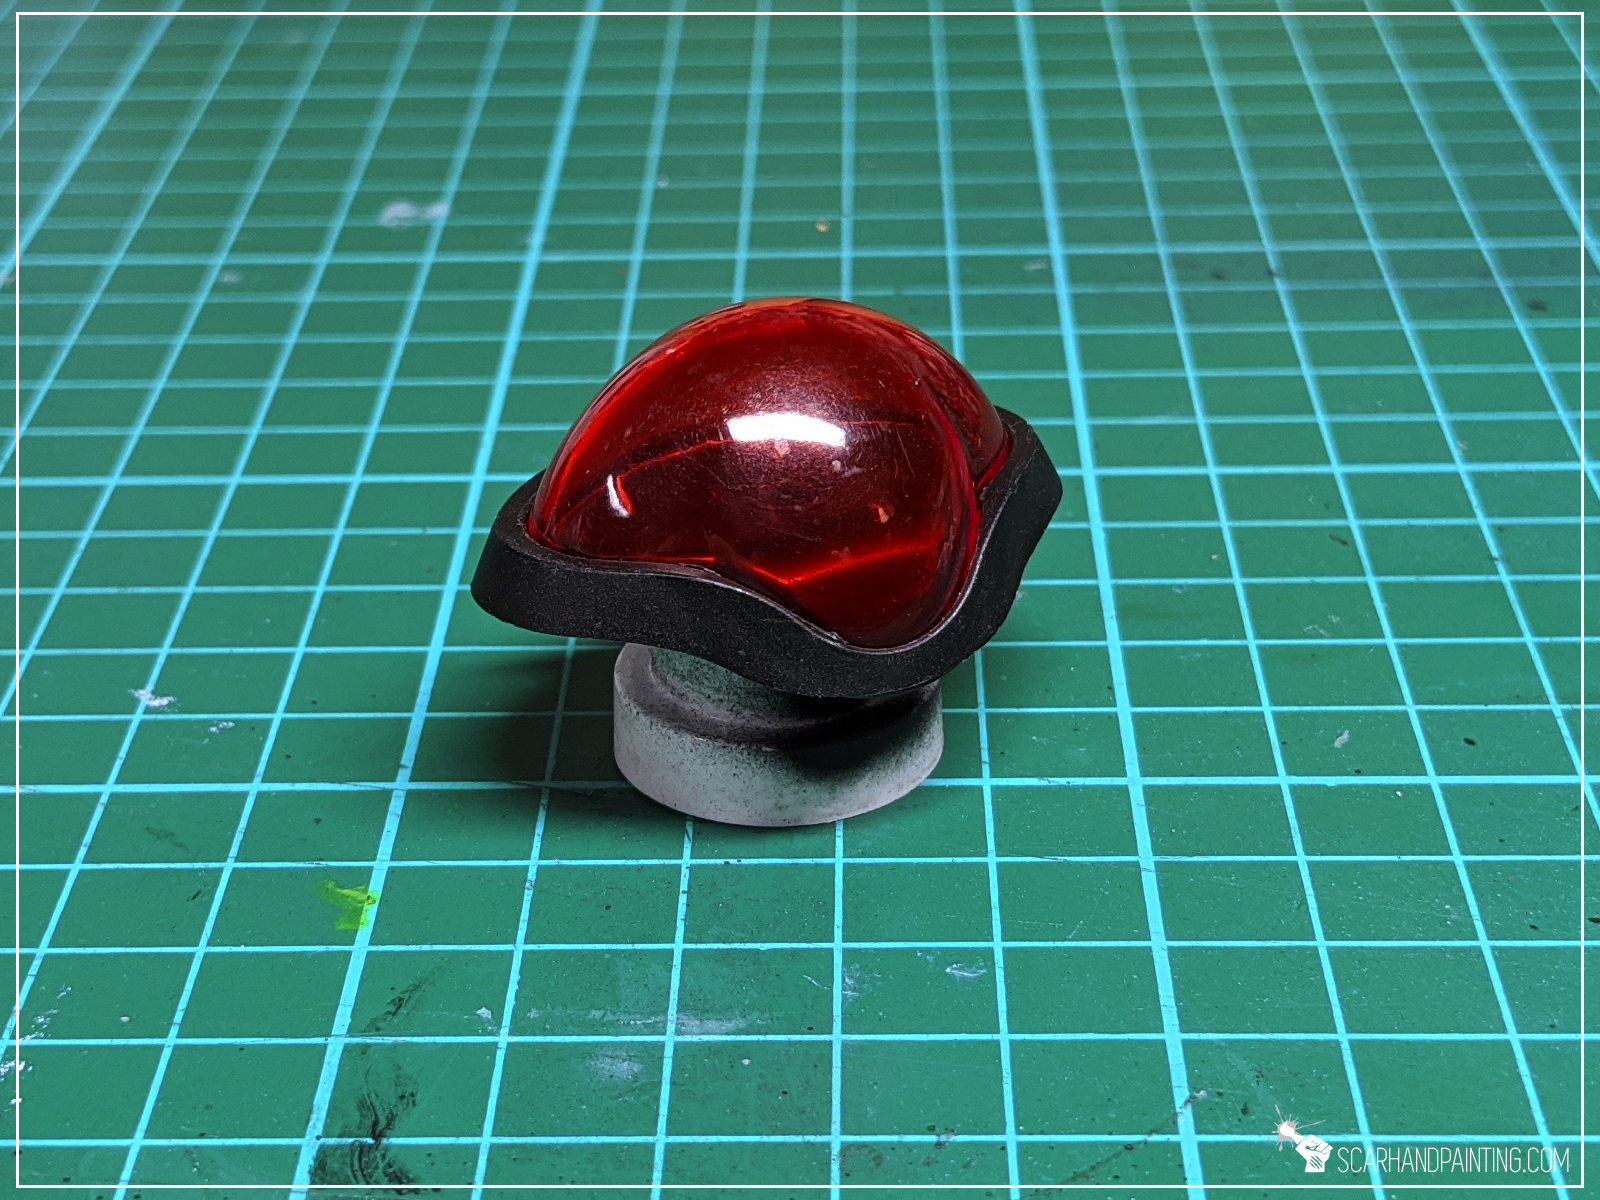
The story behind the idea is rather trivial. Years back I was taking a shower, saw my wife’s shower gel bottle and was instantly struck by a surge of inspiration. Colored, clear top element was just too cool to pass by. Transformation from a shower gel plug to a tiny console came natural. Just see for yourself.

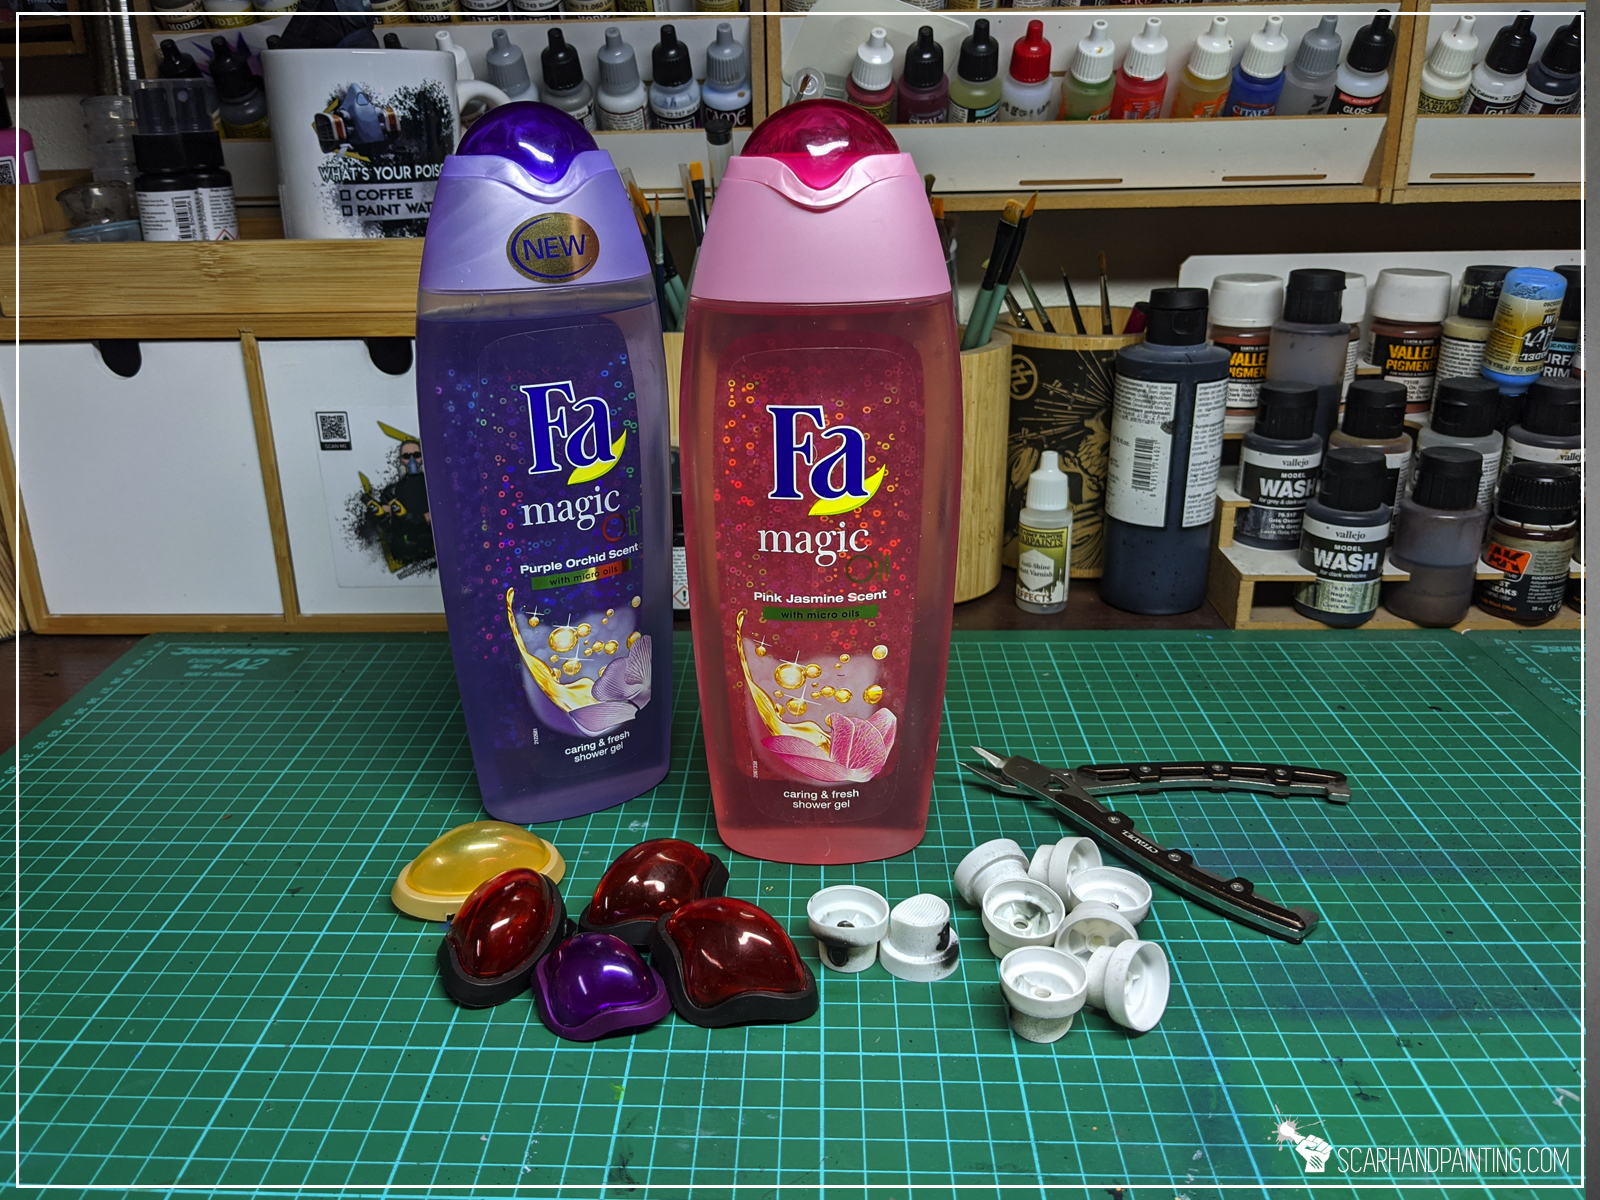
I used:

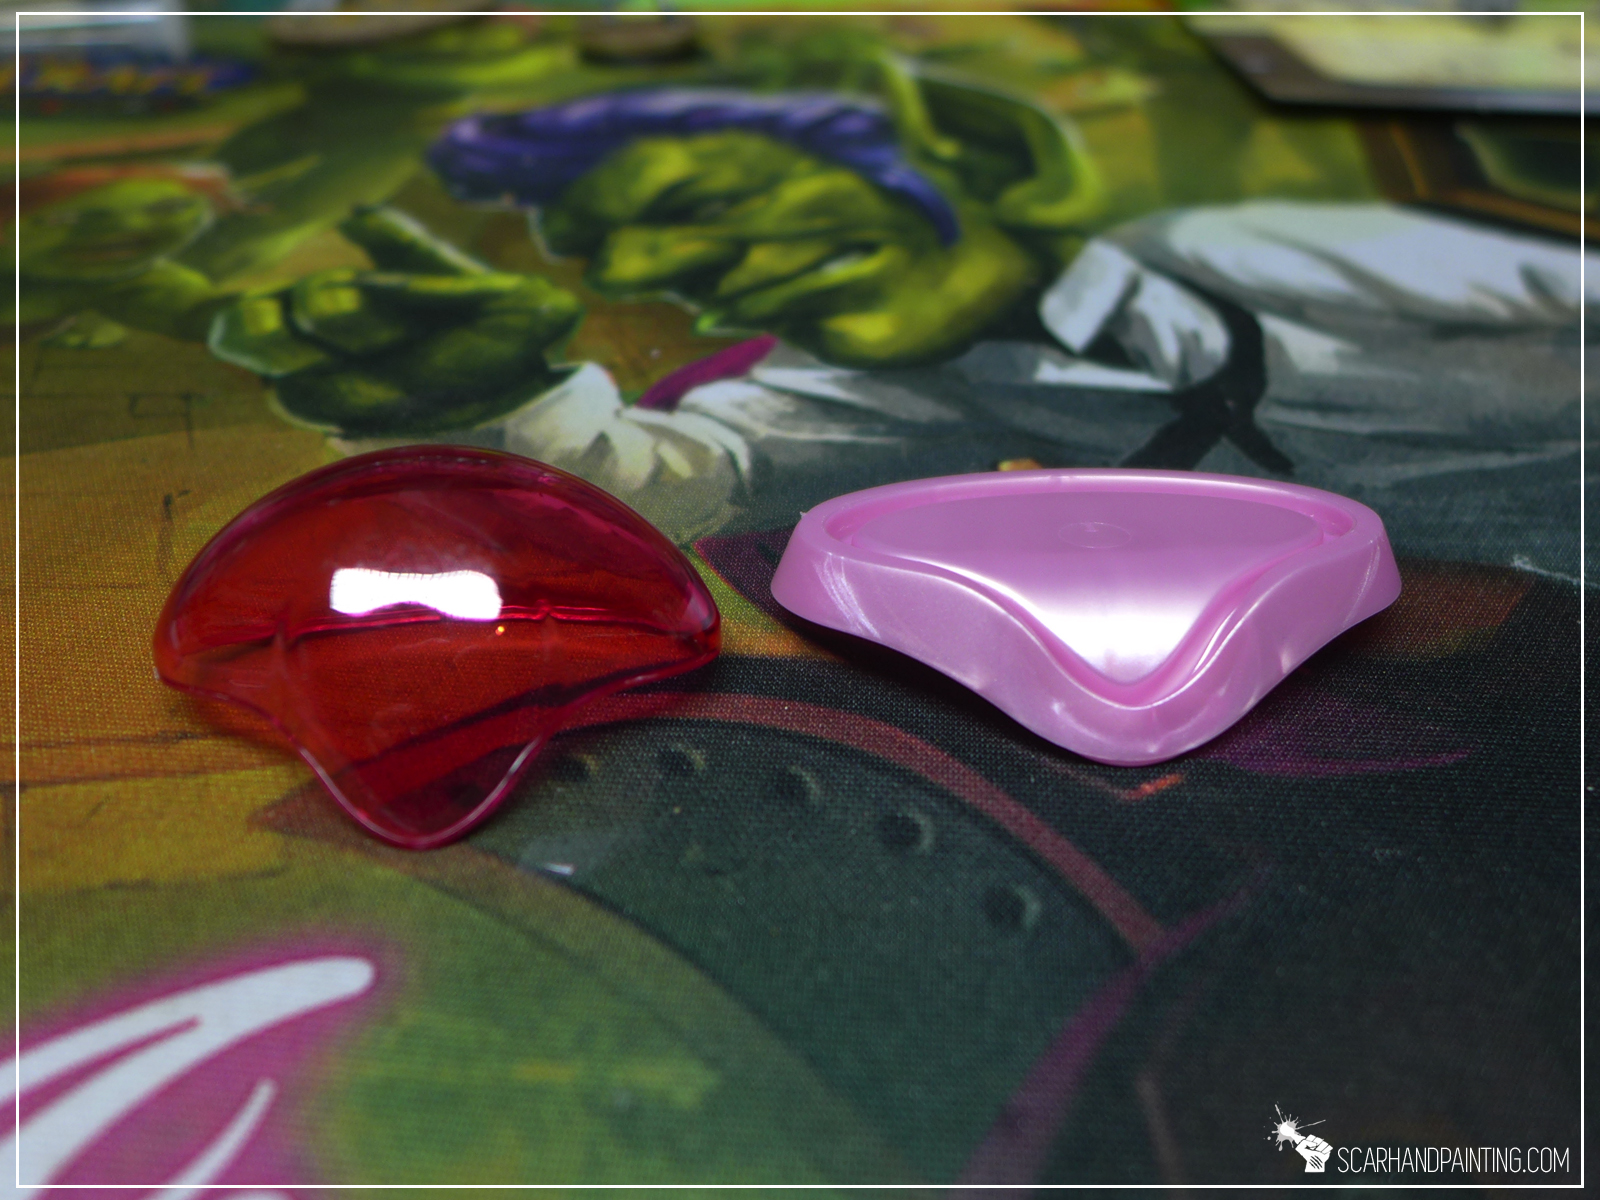
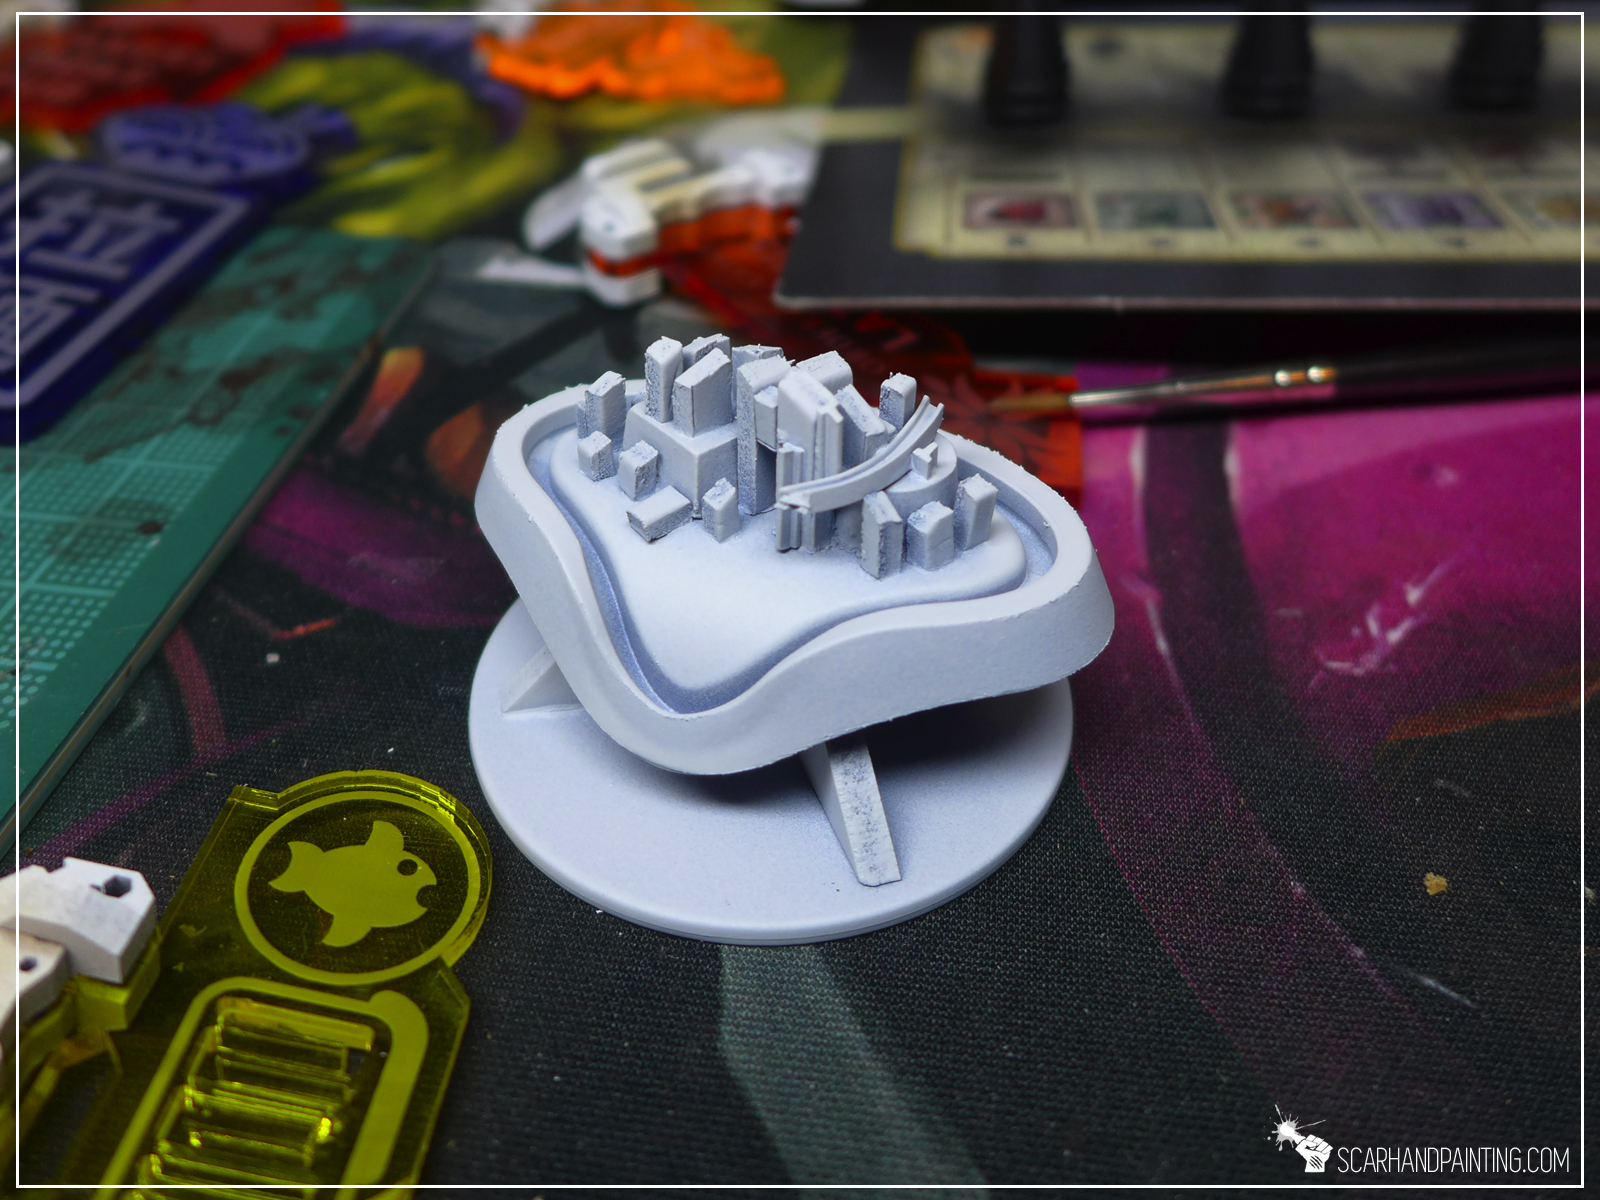
Step one: Main Body
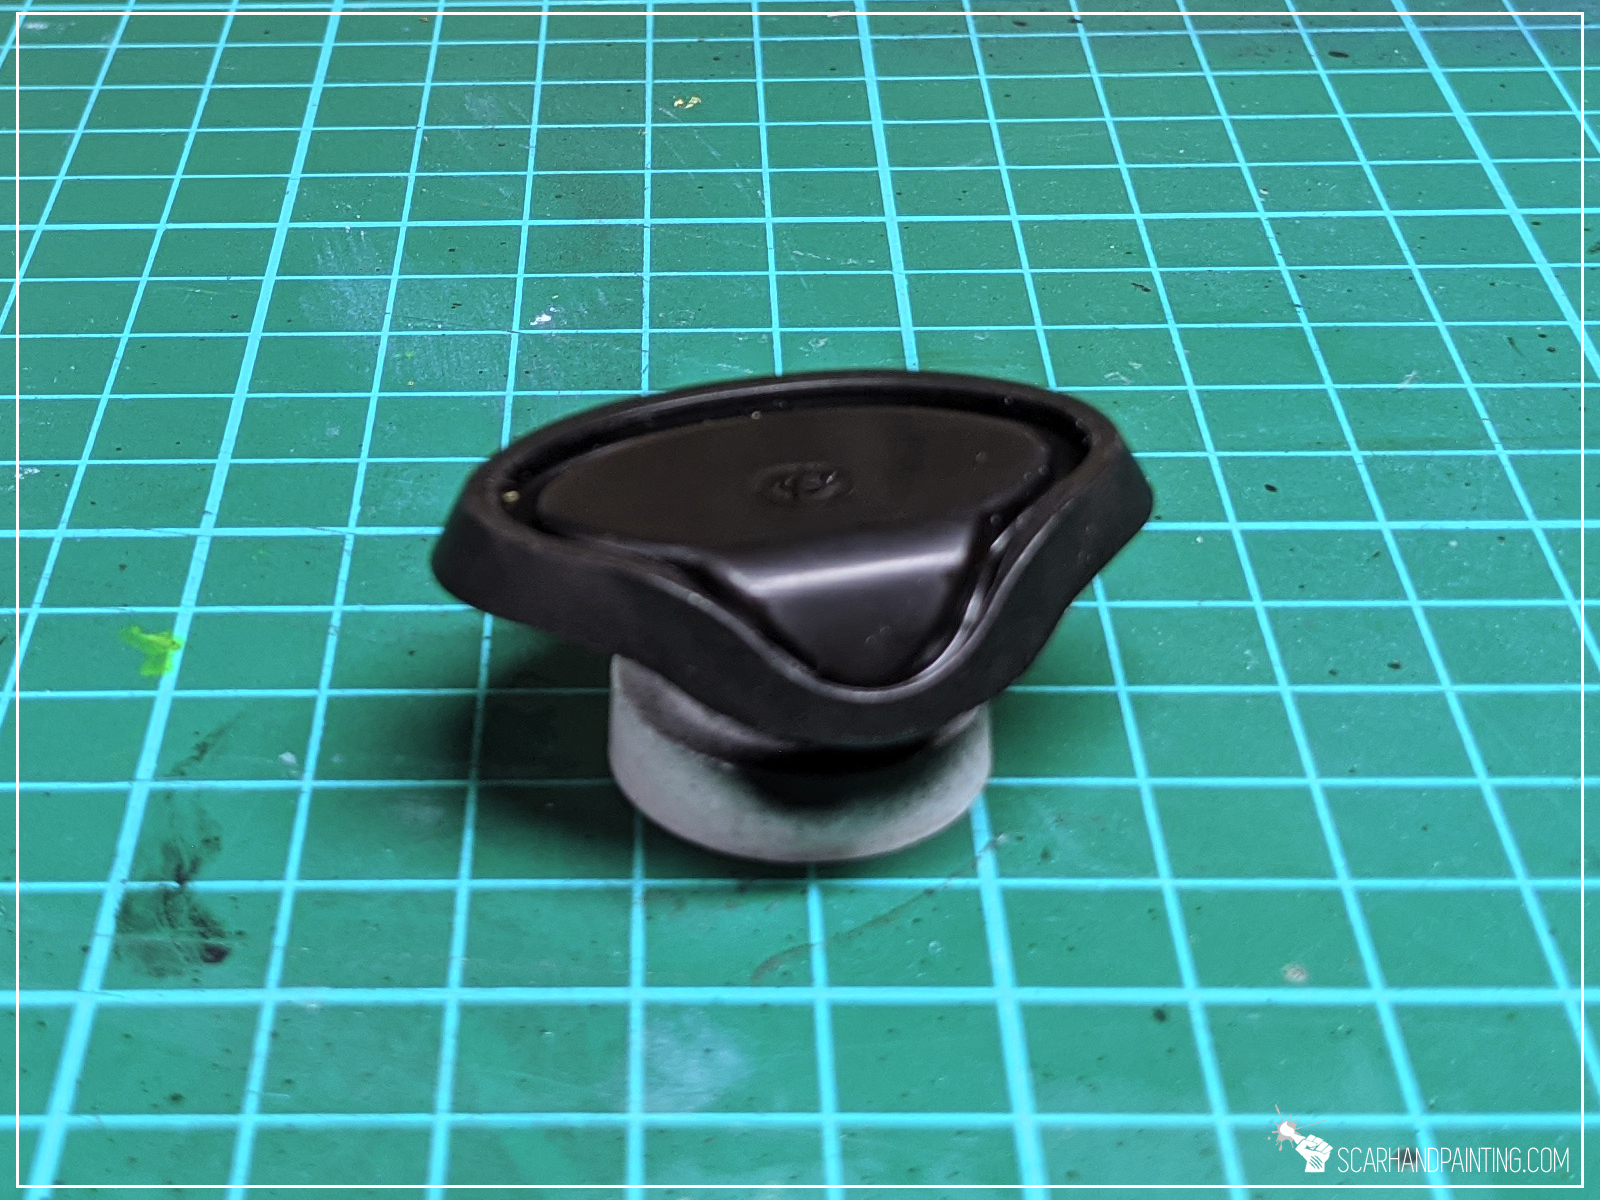
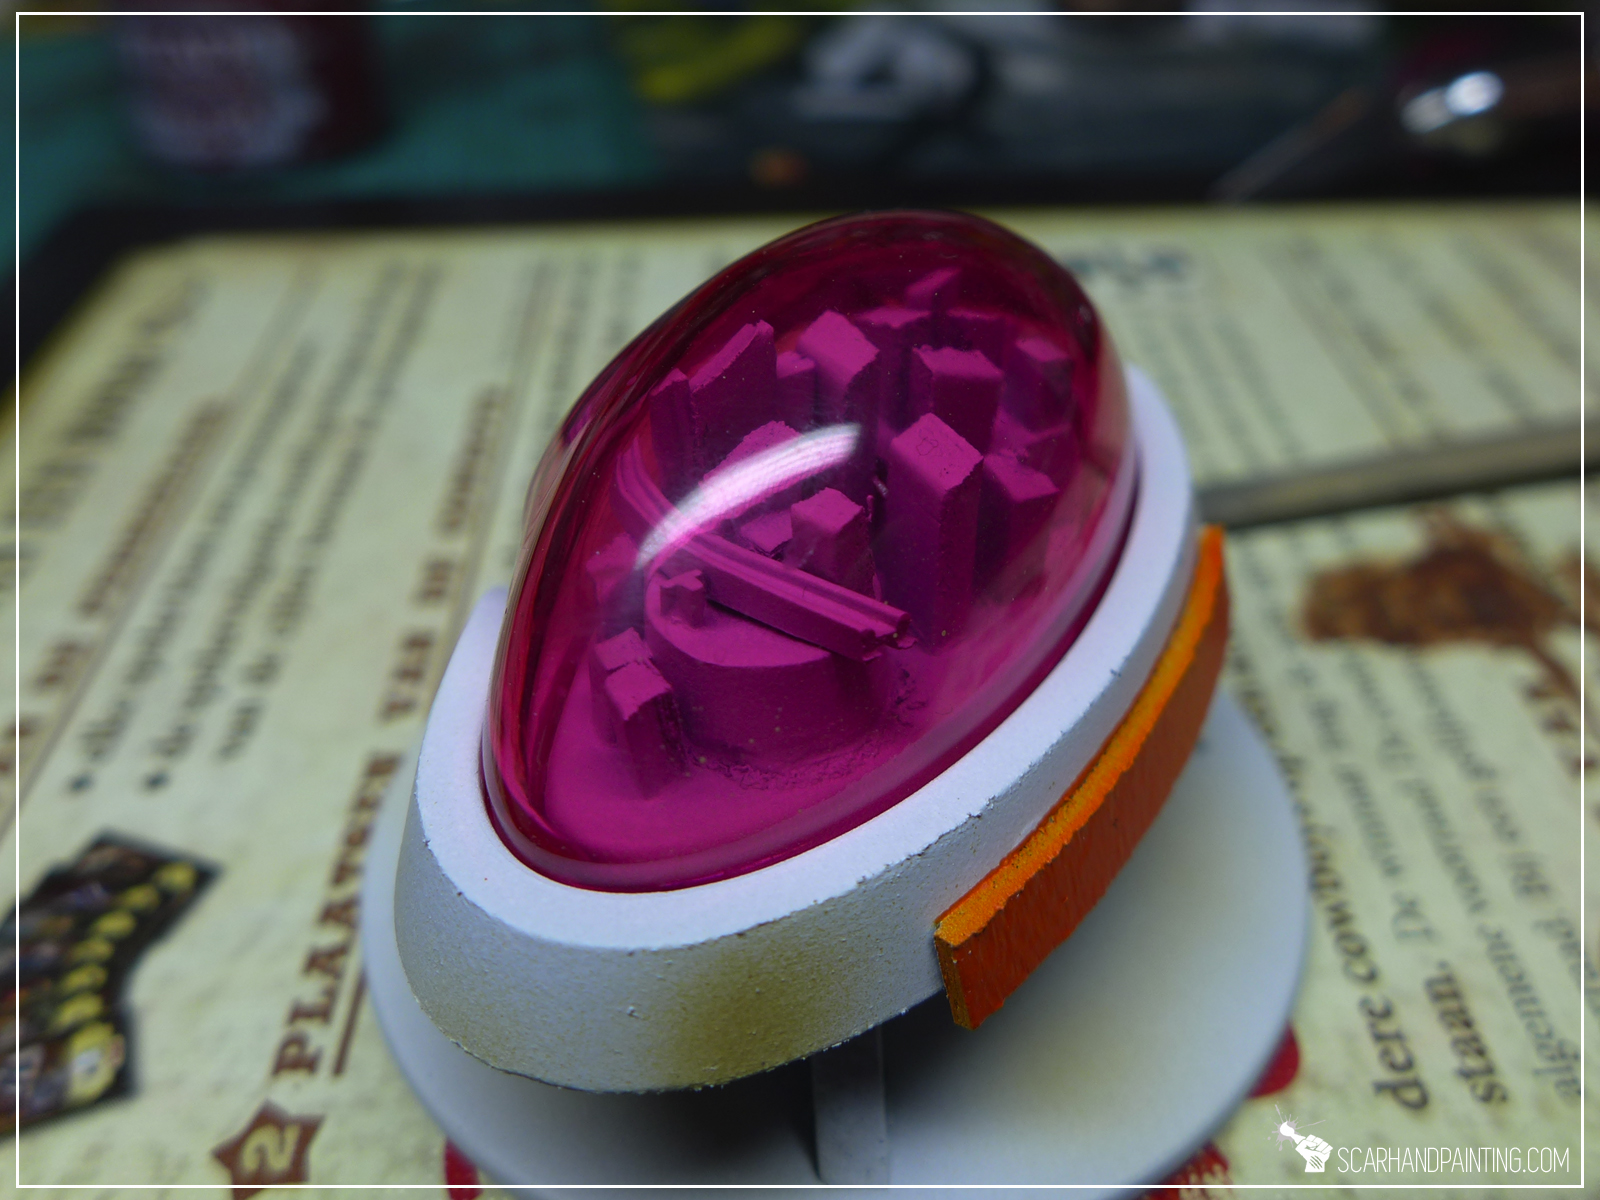
I started by cutting off the plug and pulling out the acrylic part. I then used a hobby knife to thin down the bottom of the acrylic part so that it went in and out smoothly.
Step two: Support
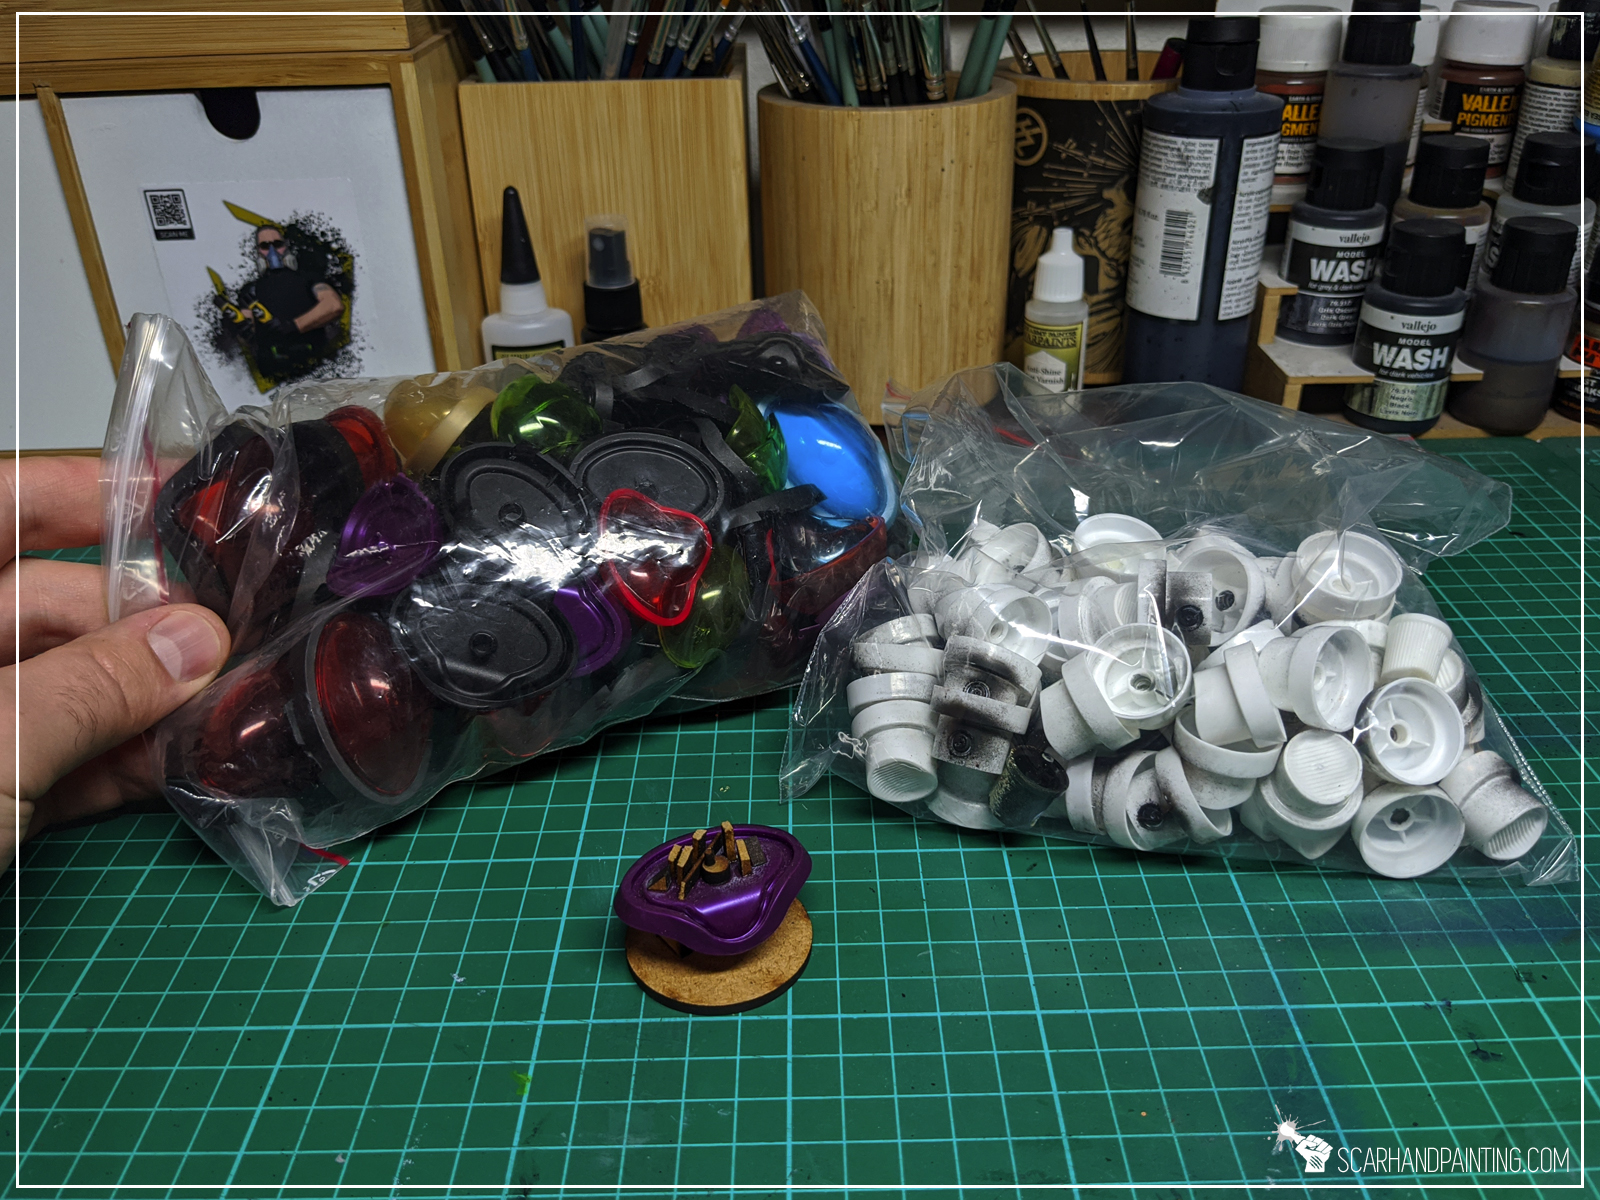
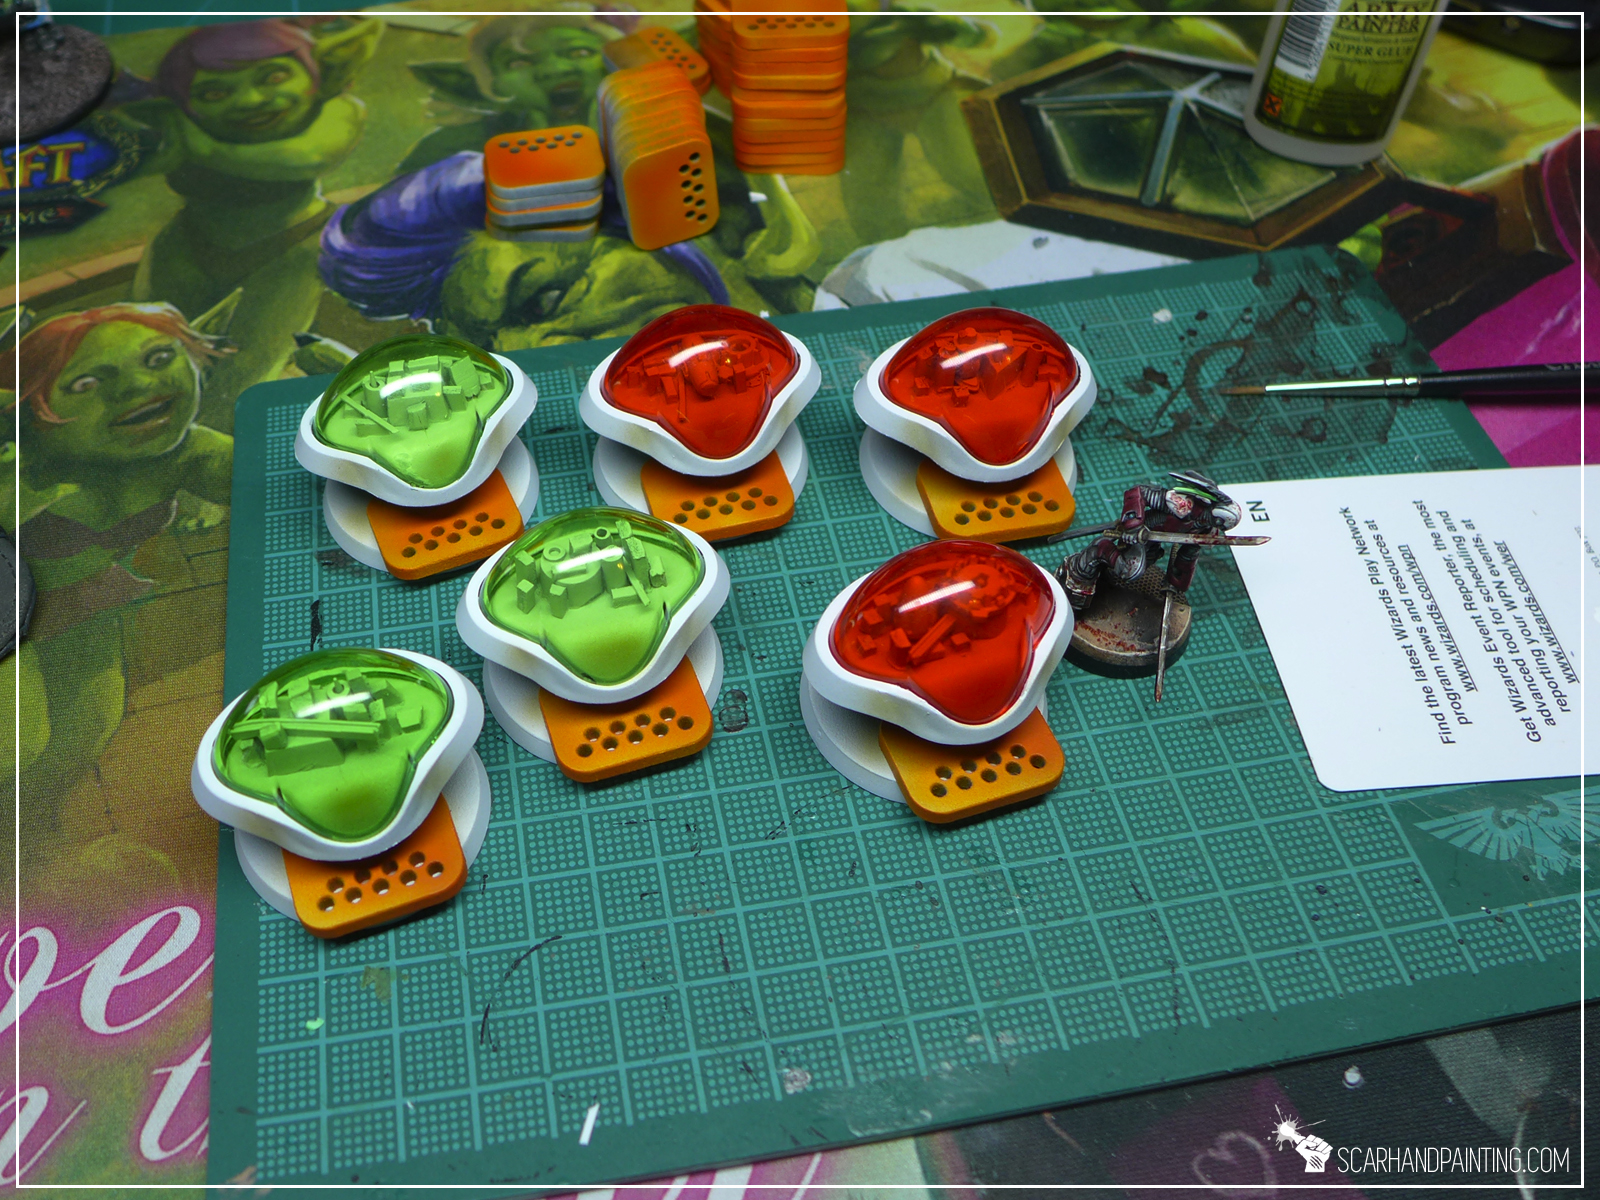
Back in the days I cut 3mm thick PCV and created four legs for the console. On the next attempt, being more experienced, I used an old Spray nozzle. Since then I tested a lot of random stuff, but given a choice I prefer the nozzle above anything else. One man’s trash is another man’s awesome Console support!

Step three: Detail
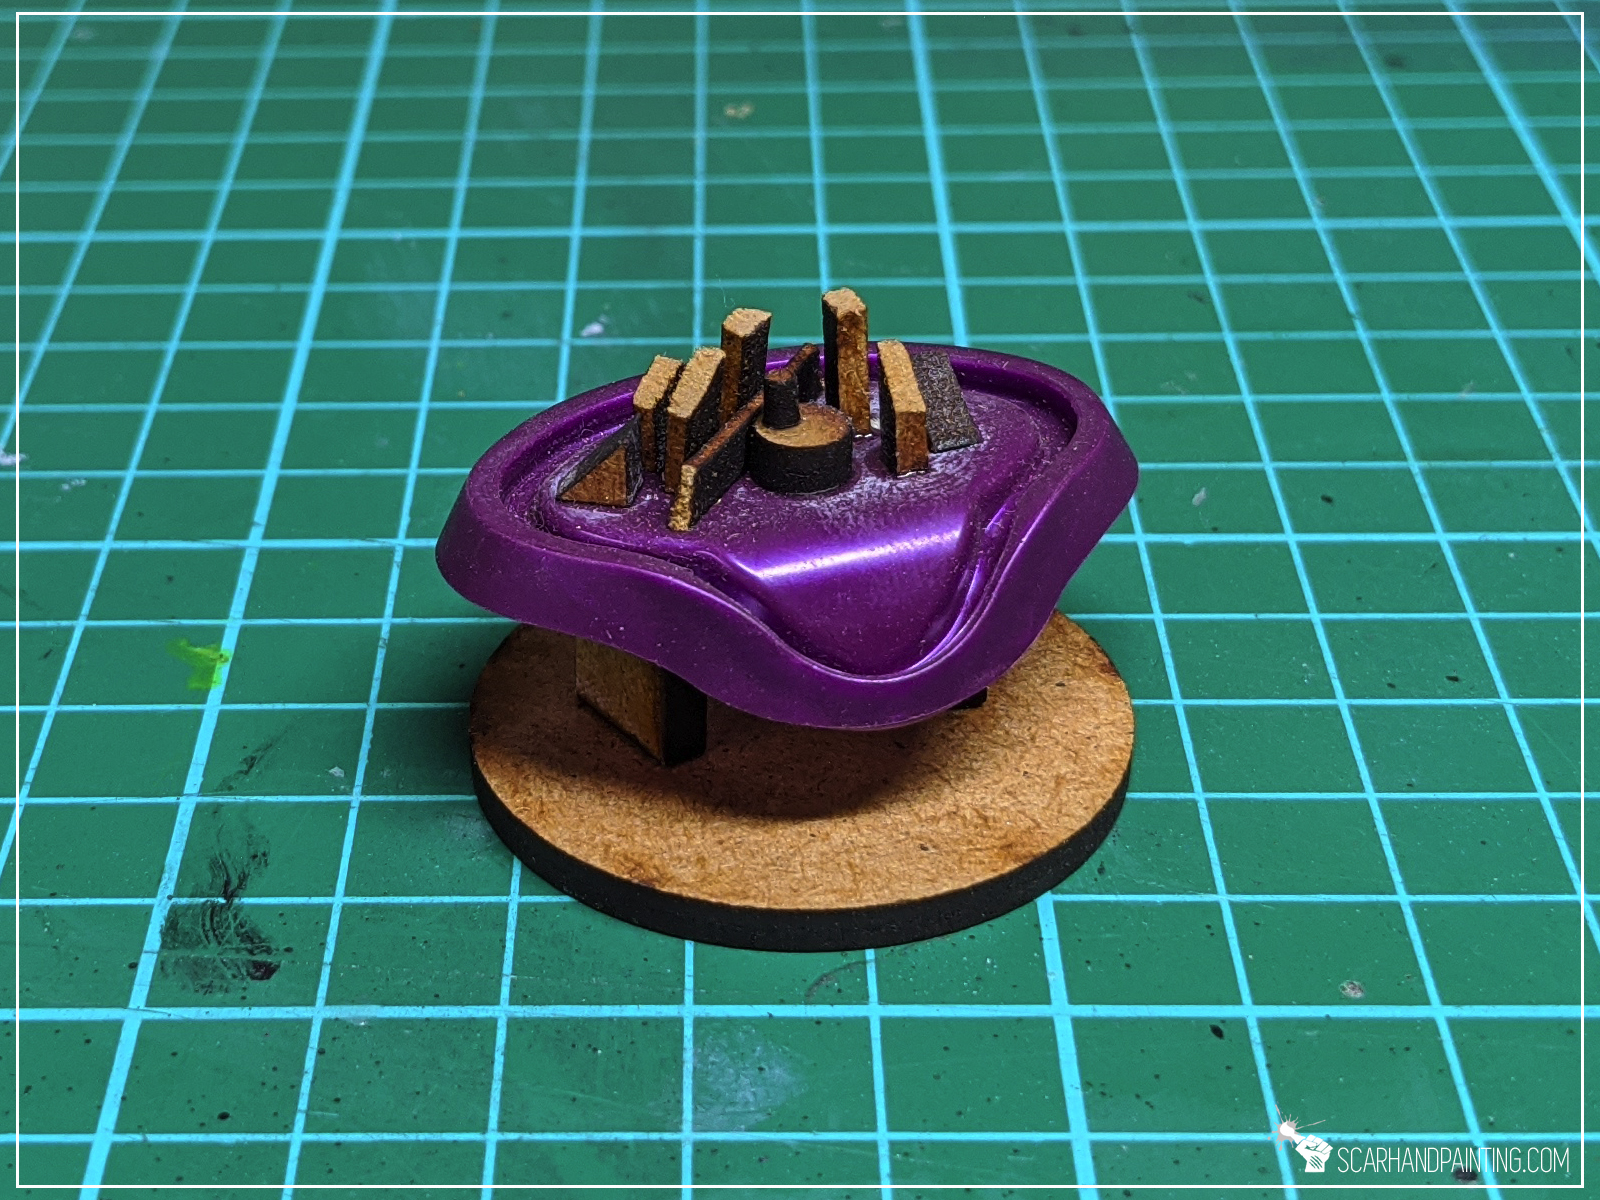
Thin pieces of PCV, lollipop sticks, Airsoft Gun ceramic balls, plastic miniatures bitz – anything will do for an awesome filler. The idea behind the console is a 3d hologram of a city space, or and enhanced molecule view. Whatever is put inside and sprayed white will look great. I leave this to your imagination.

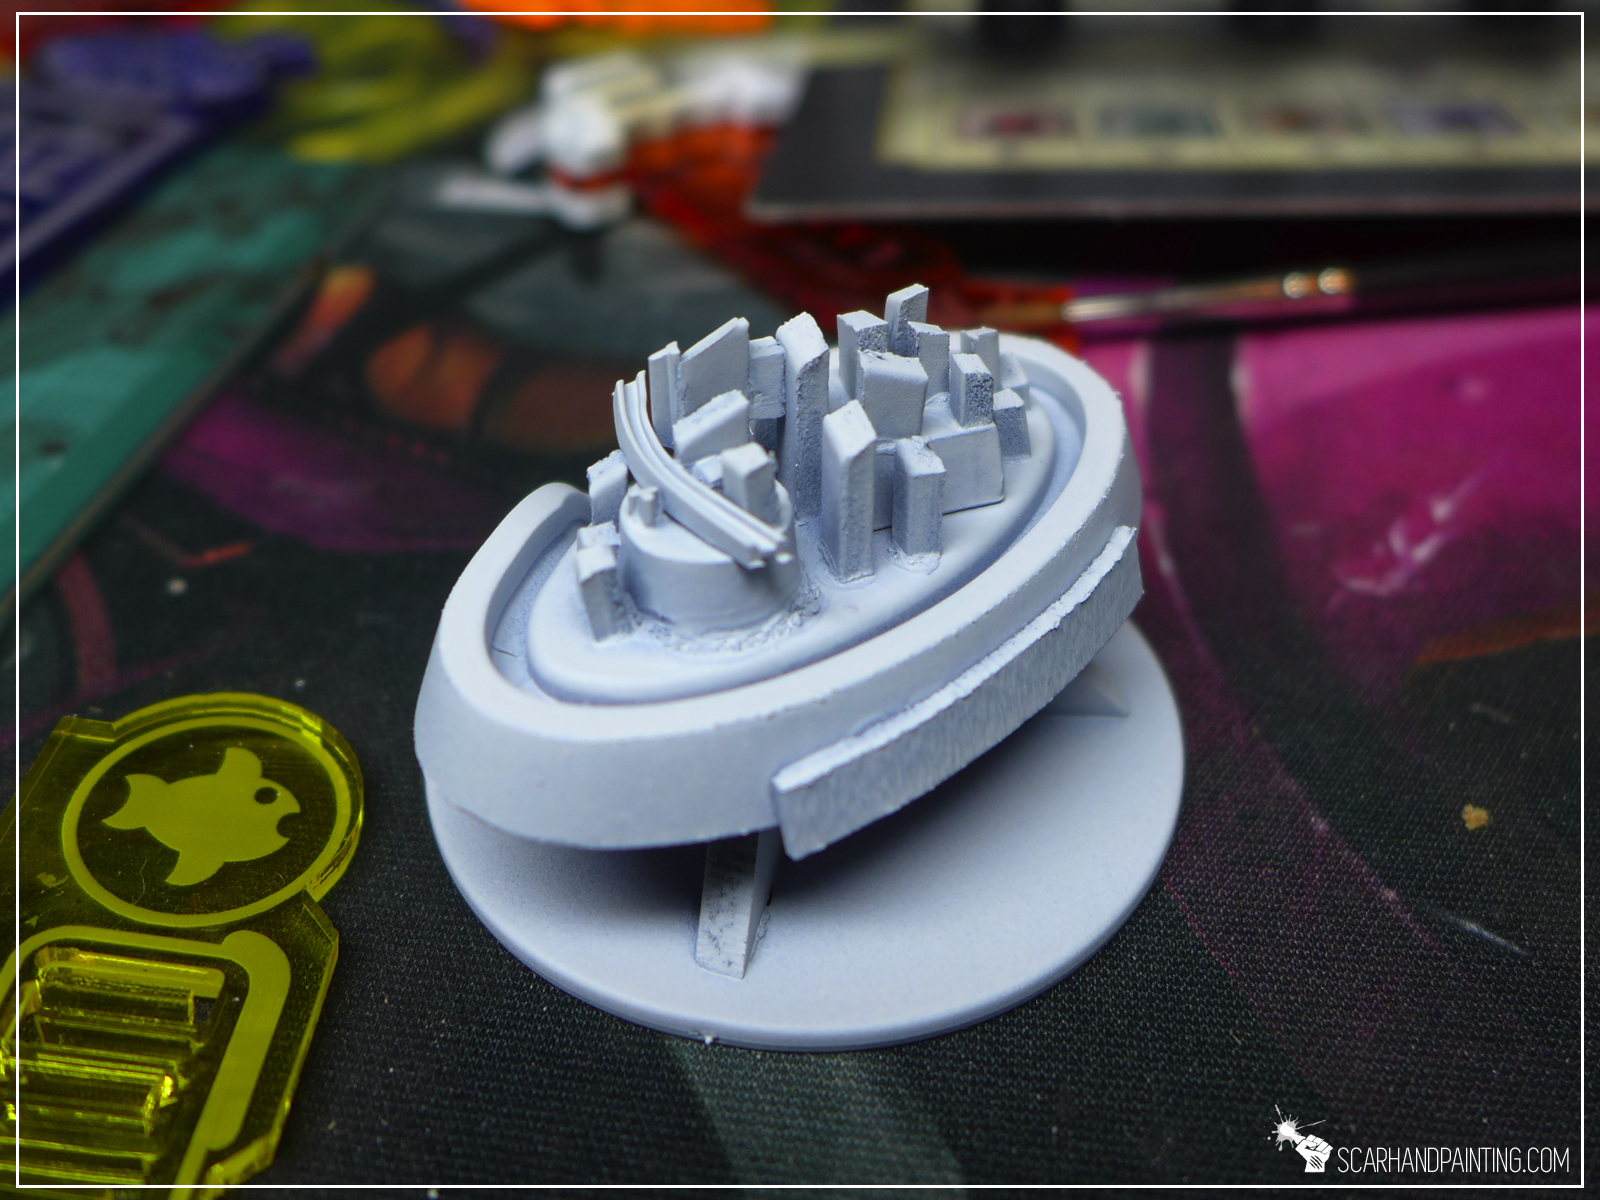
Step four: Paint job
I painted entire console white to fit my own gaming board. Looking back I strongly recommend painting the inside white to take advantage of the vibrant color mounted on top. Other than that anything will do.


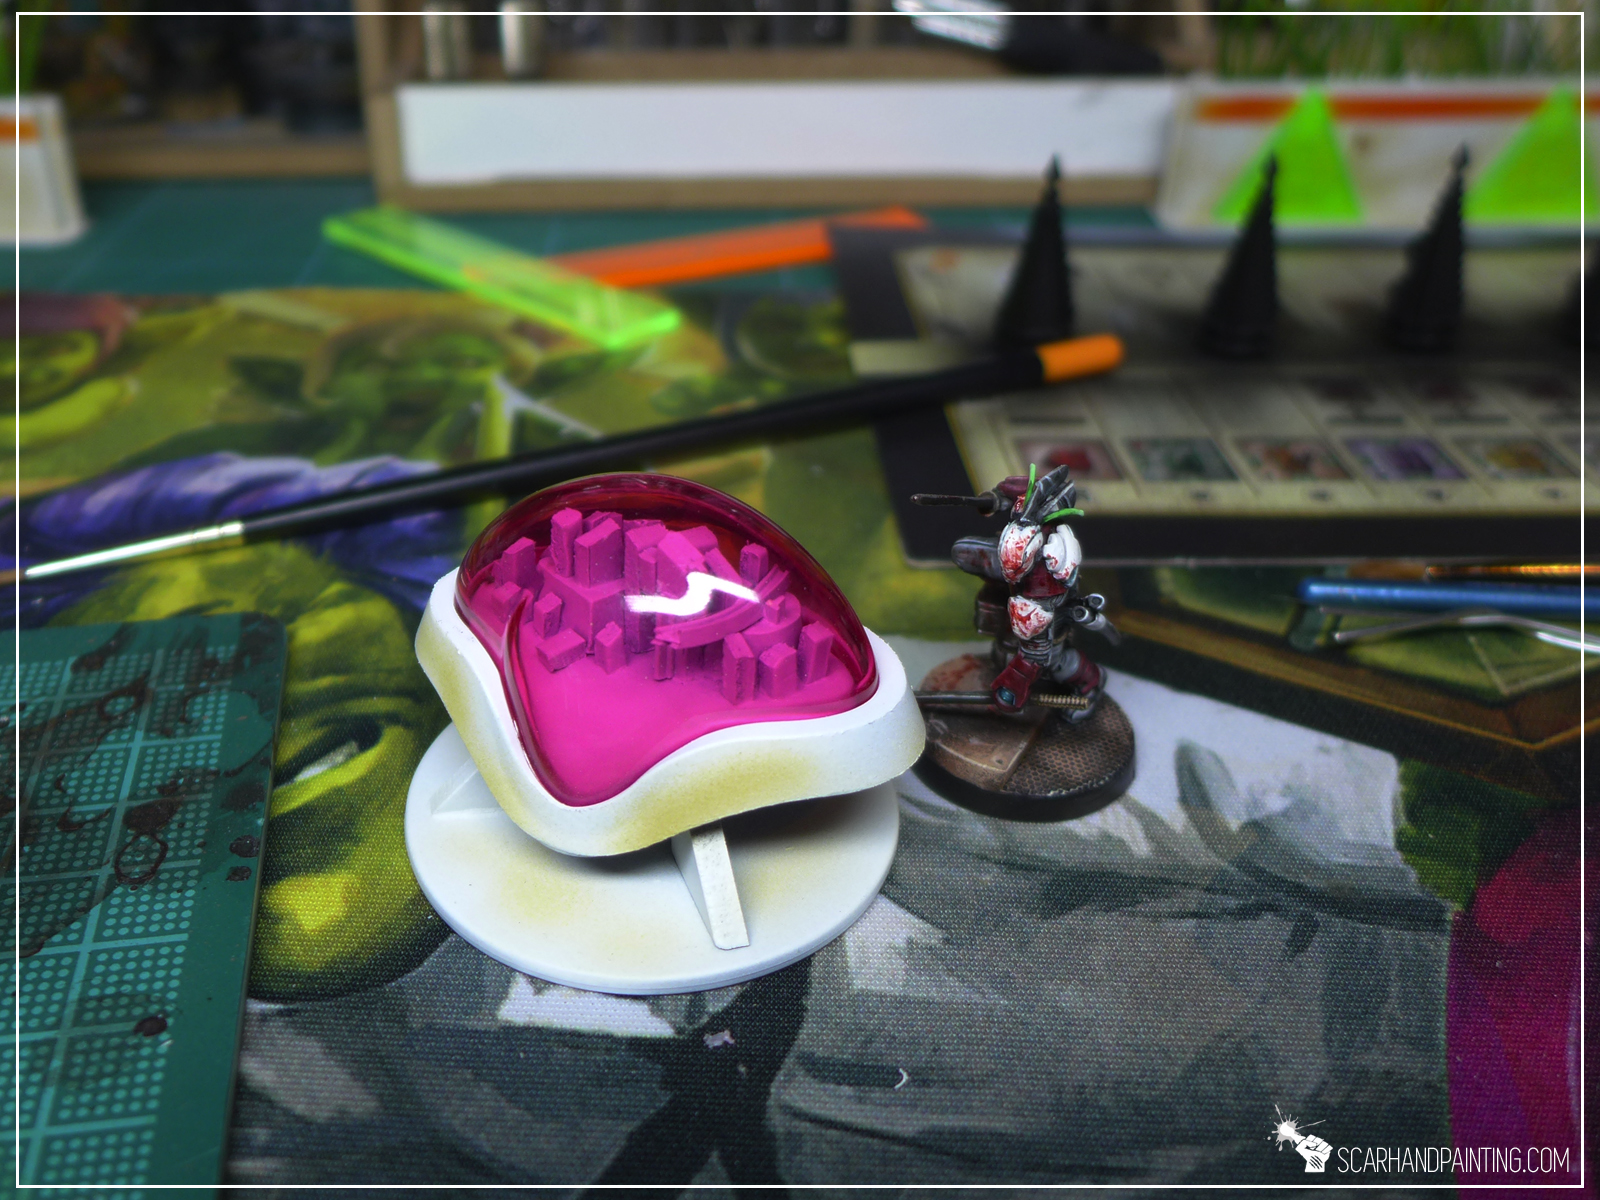
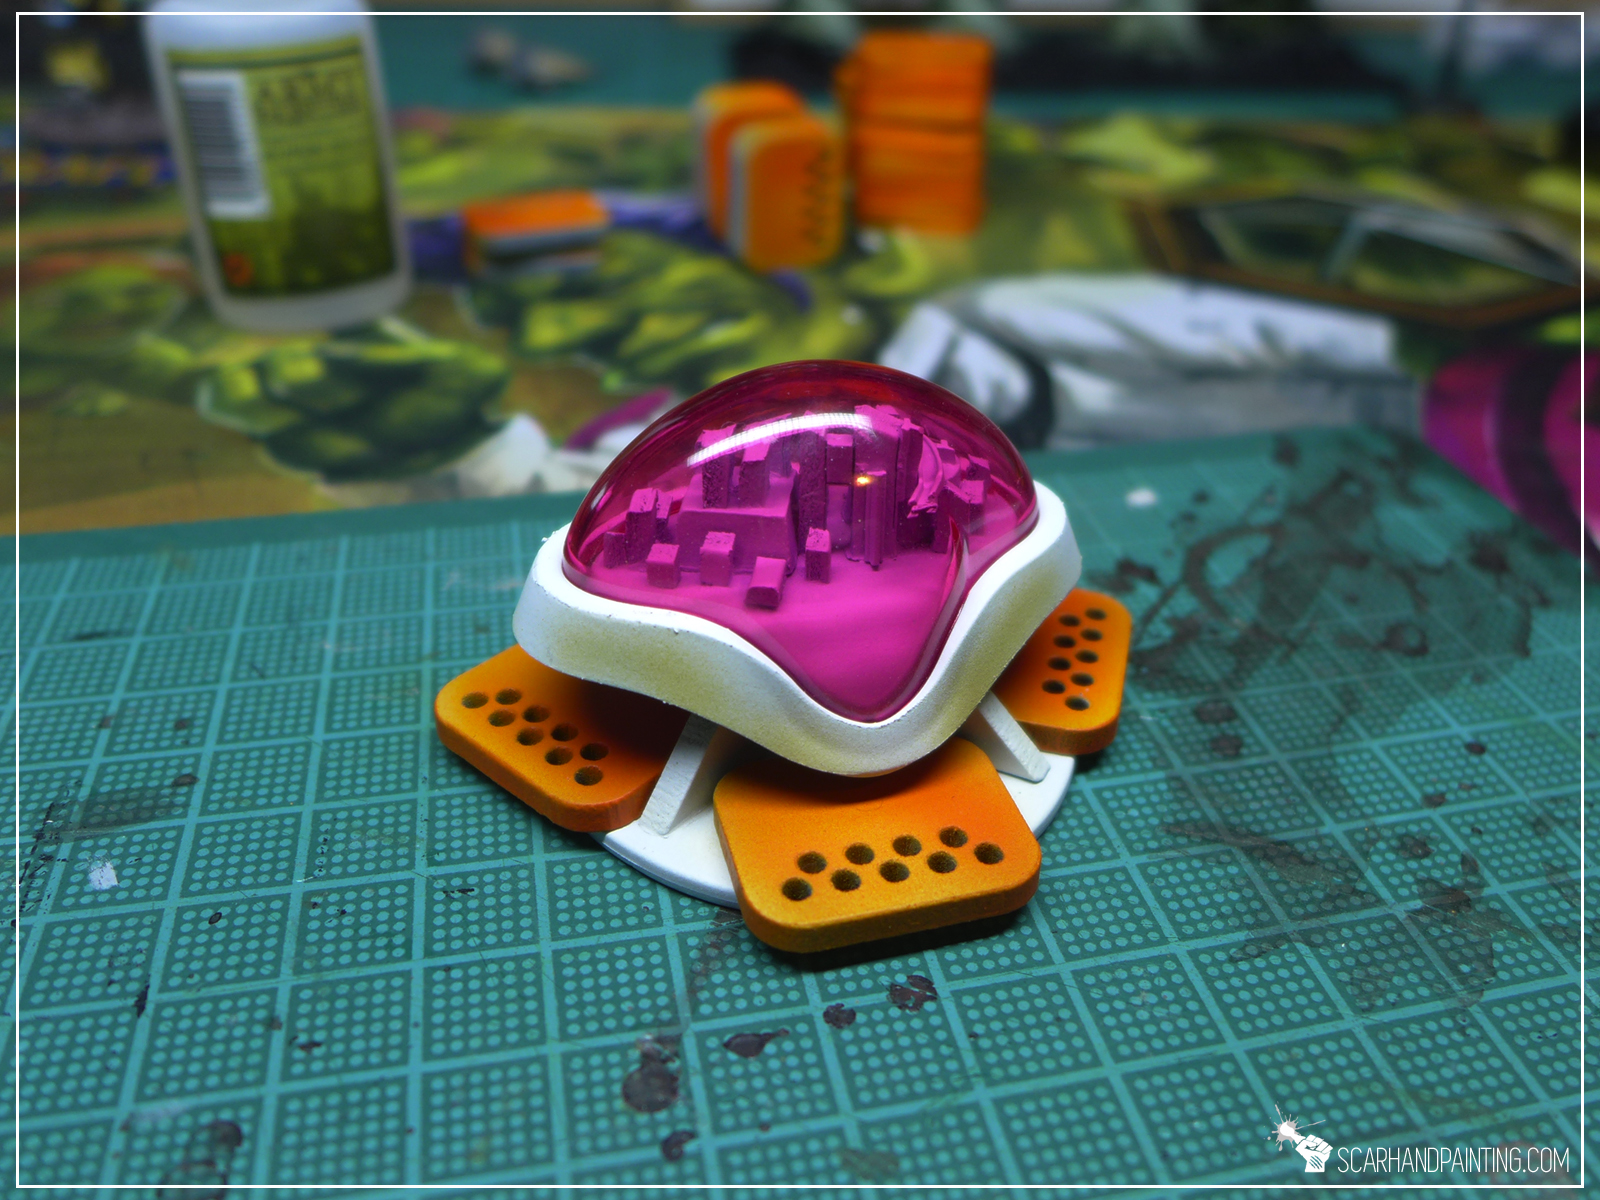

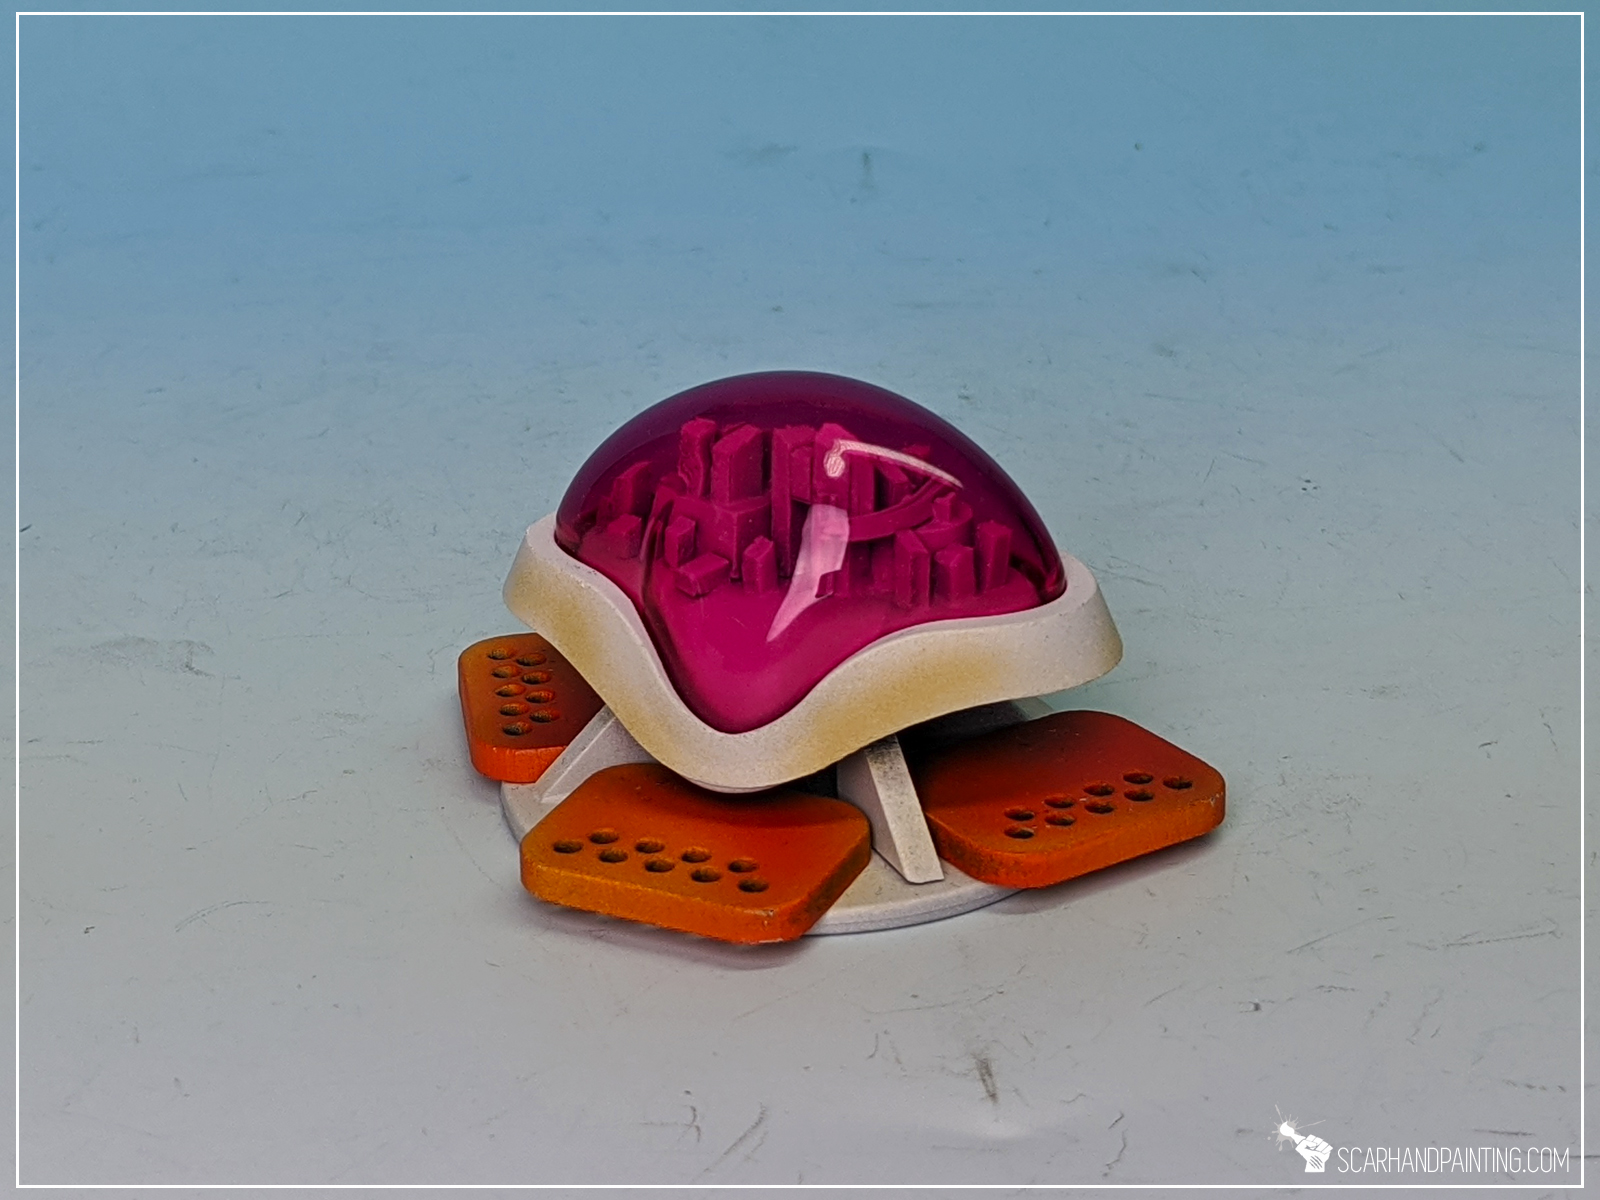
Final result:
Since 2016 I made few dozen consoles. These, being the first set, will always have a special place in my heart.
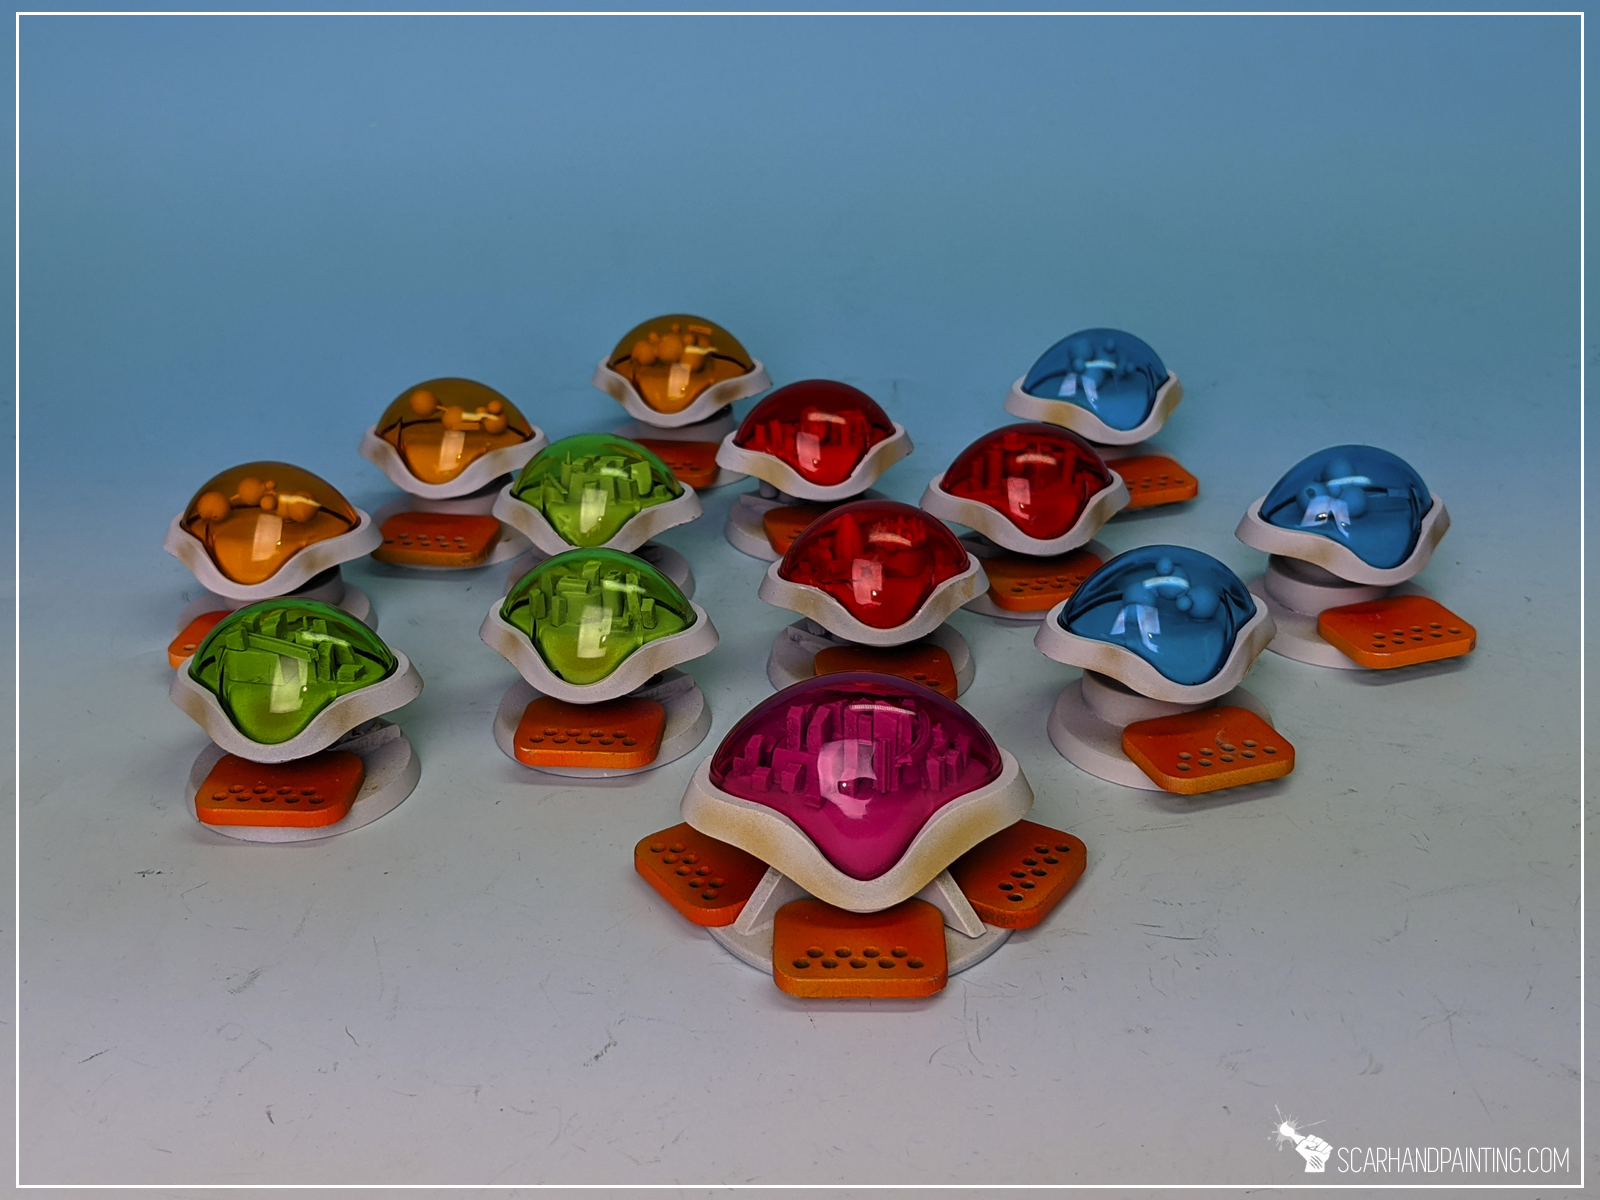
Bonus Pic: (different scenery piece)
I hope you like the article. If it ever inspires you to make your own Fa Shower Gel consoles, be sure to tag me at Facebook @scarhandpainting or Instagram _scarhandpainting so I can enjoy your work. Cheers!
Recently I’ve decided to take my previous Hacking Device Holoprojector concept to a higher level. The key point was to use the same base material: a Coca Cola bottle plastic, but instead of painting simbols and lines on it – make it look more like a complex holo projection with many ‘windows’ opened at once. A devious plan formed in my mind and here I am sharing it with all who are eager to read it!
* Scissors,
* Twizzers,
* Super Glue,
* Coca Cola bottle XD
* Piece of plastic/brass mesh,
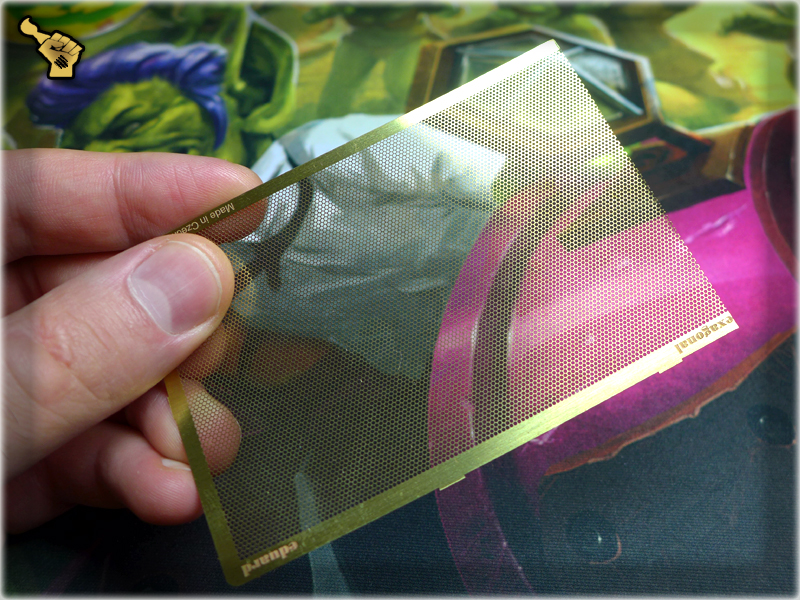
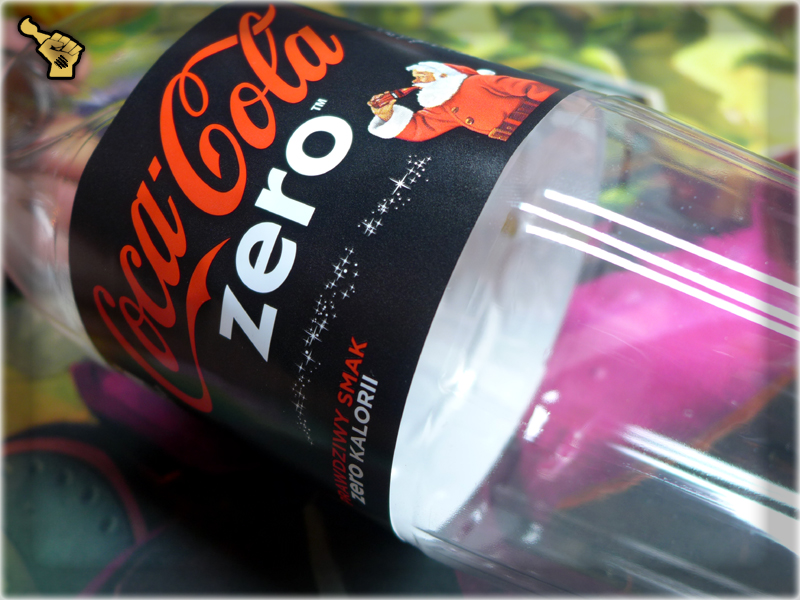
1 Using Scissors cut a small piece of Brass Mesh and a small piece of Coca Cola bottle.
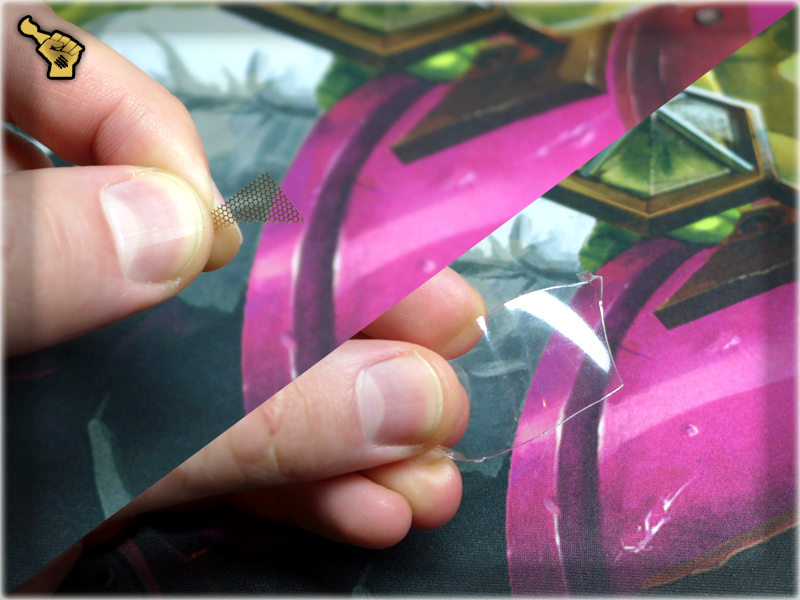
2 Still using Scissors cut a piece of Plastic into small rectangles.
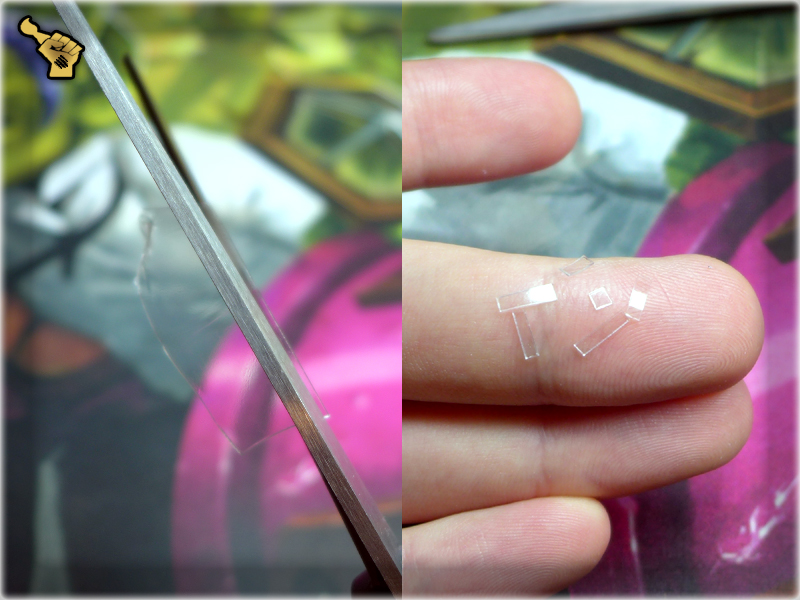
3 Use some oval shaped tool to softly bend both the Brass Mesh piece and Plastic rectangles.
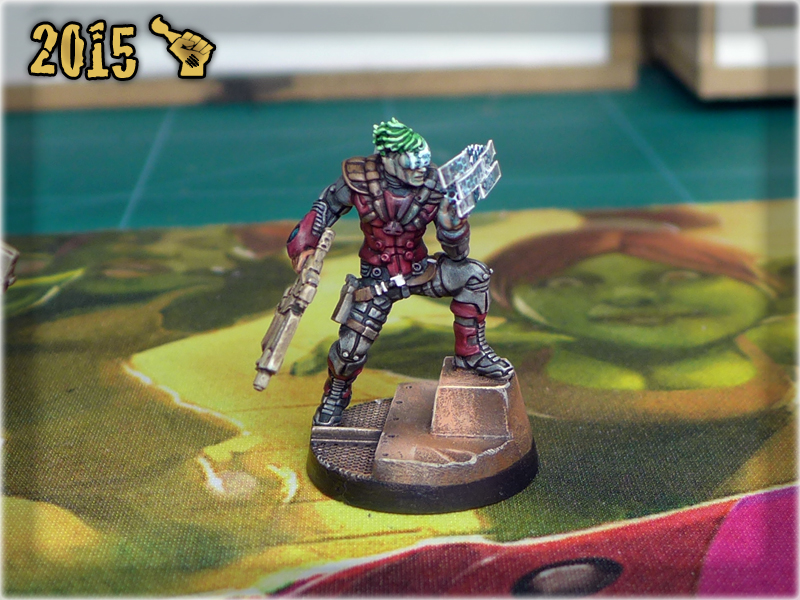
4 Using Super Glue, attach the Brass Mesh piece to a miniature.
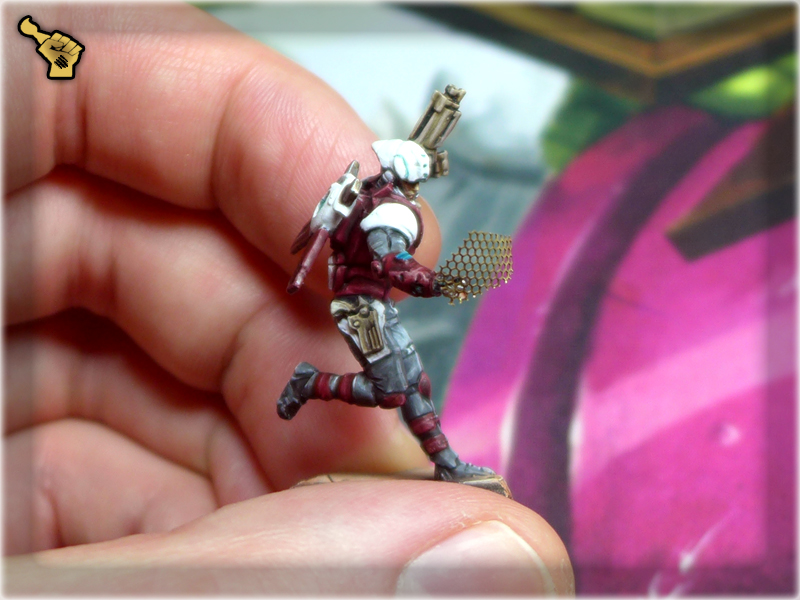
! I recommend to paint the miniature along with Brass Mesh piece at this point.

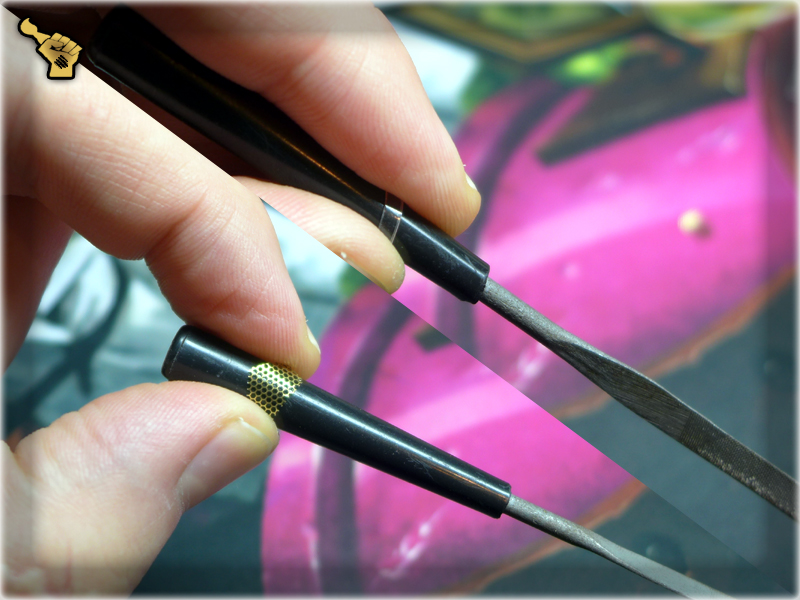
5 Using Tweezers and Super Glue attach Plastic rectangles to a painted Brass Mesh.
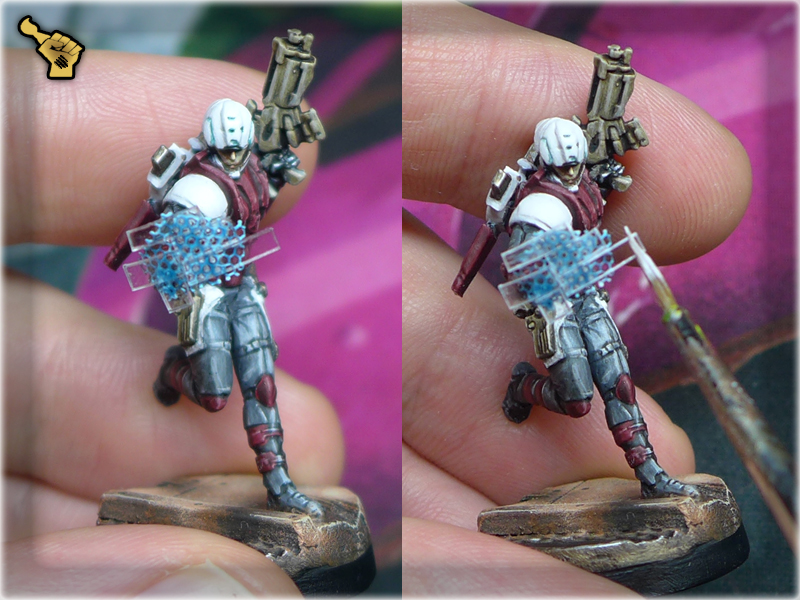
6 It is done, but you can apply some Skull White onto the edges of Plastic rectangles to make them look more 3D.
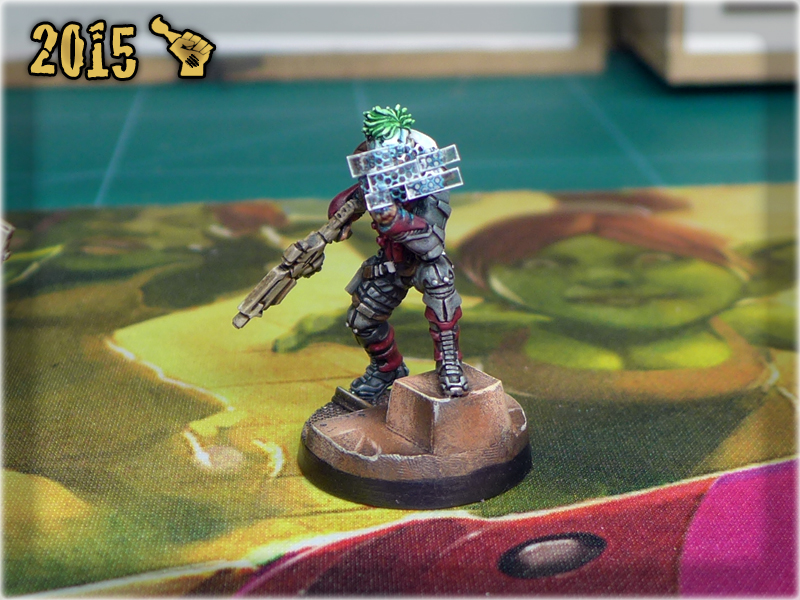
And that’s it 🙂 Whole process takes up to 10 minutes so I decided to remove old Holoprojectors from my Nomadic Hackers and install brand new ‘software’. Hope you give it a try 😉